Last Fall, I needed a good way to transport a finished Series 2 bonnet out to Michigan. You can usually get away with a moderate amount of abuse getting them in here – considering the shape they are usually in when they arrive, what’s an extra dent here or there?…
But when they’re finished, they become a liability essentially, that I DON’T want screwed up! So I needed to build a brace or a rack or something to hold the bonnet safely up off the trailer so the bottom of the lower valance wasn’t damaged – but the rear issue is the rear lower corners of the trailing edge of the wings – that is where bonnets are most vulnerable.
If you remember, I built a rack that tied into the bonnet at it’s factory mounting points – the hinges in the front, and the latches at the rear. Then I incorporated two “skis” along the bottom edge, that I simply BOLTED to the wooden deck of the trailer. This worked out GREAT (sorry about all the yelling – I’ve had alot of coffee this AM I think…) Yeah – it was great – instead of a billion straps going all over the place and cushions under that bonnet that need to stay there ate 70 mph, I had 4 lag bolts – the end.
When I got back from Michigan and knew that the design worked, I was so excited that I spent a couple days (WAY too much time…) building 5 more to put bonnets up on the 5 slots on “the bonnet shelf”, plus 1 extra – there’s actually 2 more bonnet slots in the old shop.
A couple weeks ago, I FINALLY had some bonnets to put up on the shelf, and we pulled down a customer bonnet and the bonnet from the lead sled to make space. Check out these photos of those completed bonnets, and more importantly, the completed and deployed “bonnet rack system” – which has existed in my head for probably a decade…
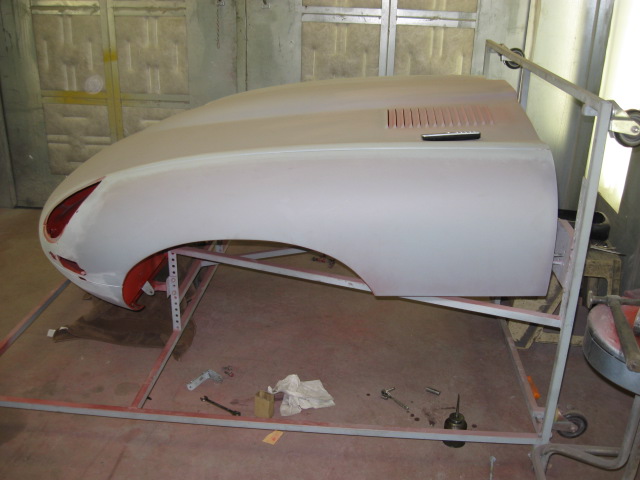
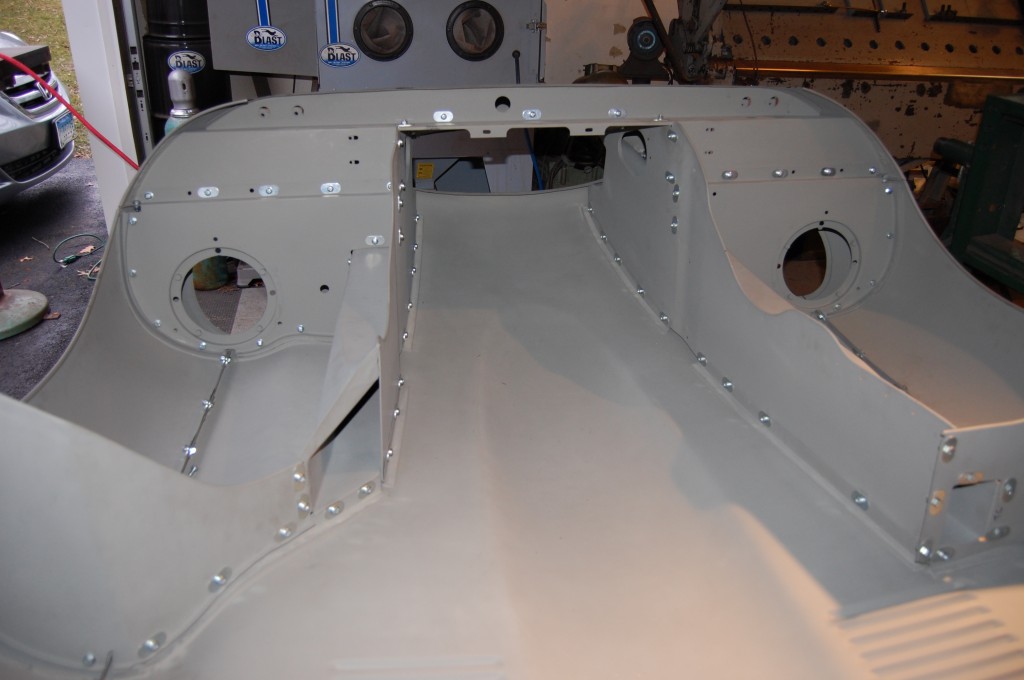
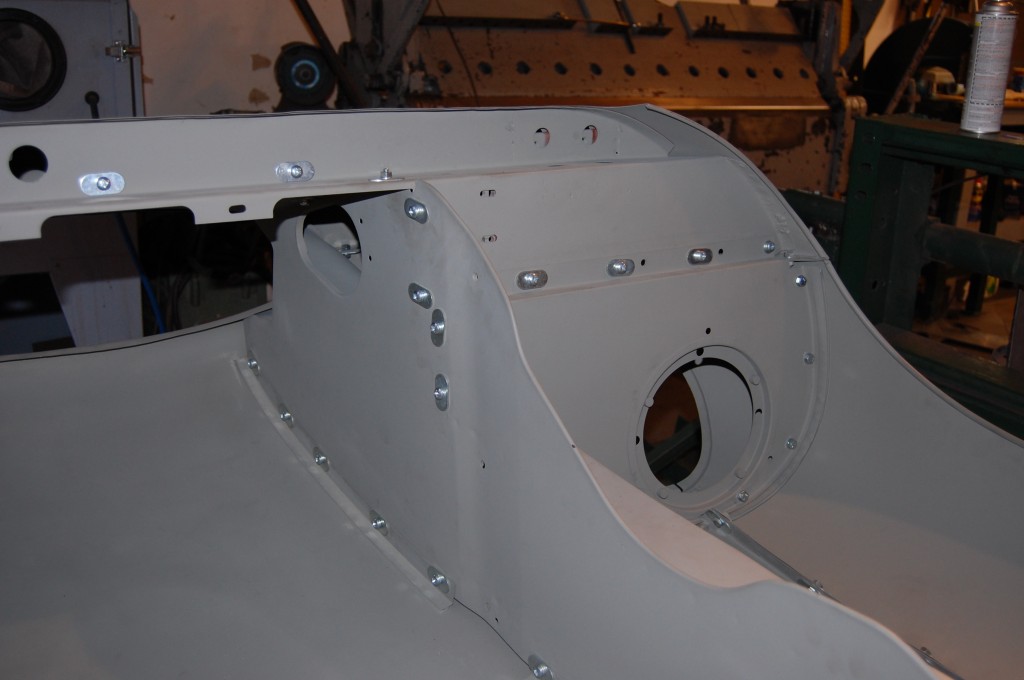
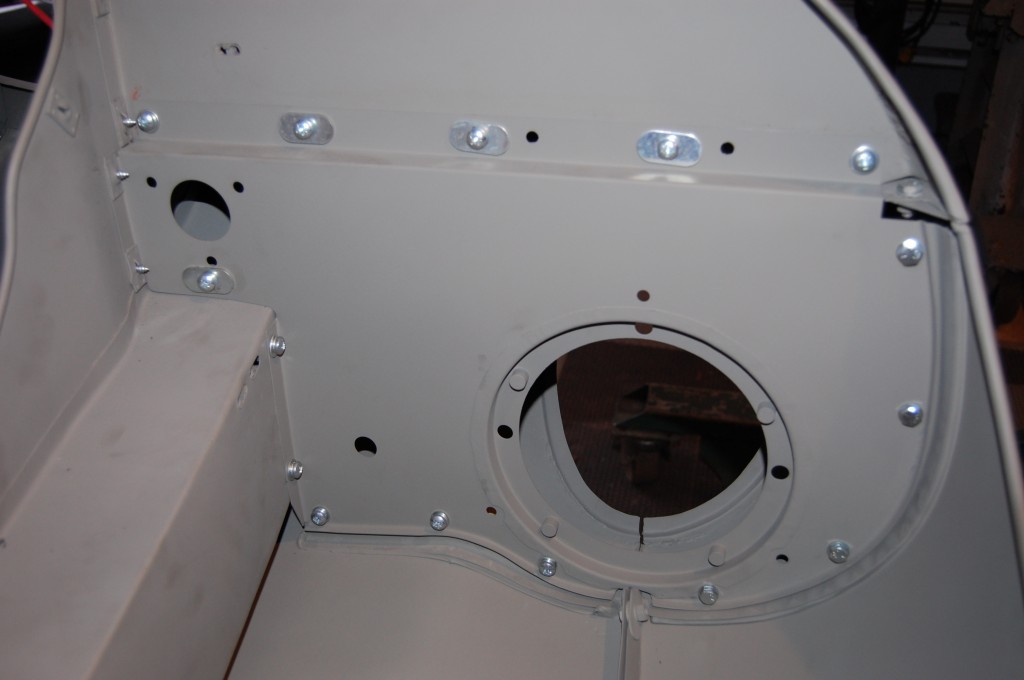
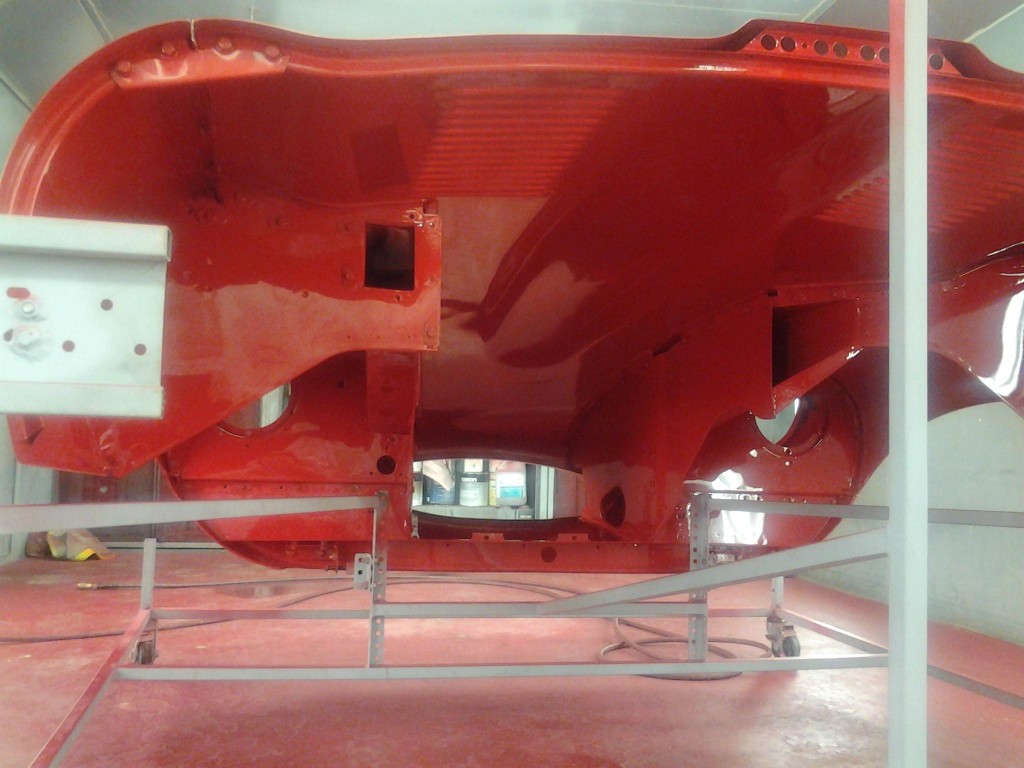
- Here is my first bonnet “cart”. This was designed so that a local restoration shop we work with could transport, store, and paint bonnets – without damaging them. This is a pretty involved item – it replcates an E-Type firewall and was designed to take all of the stock latch hardware. It is also designed to be flipped up on end to take up less space. It works well, but it’s HUGE!
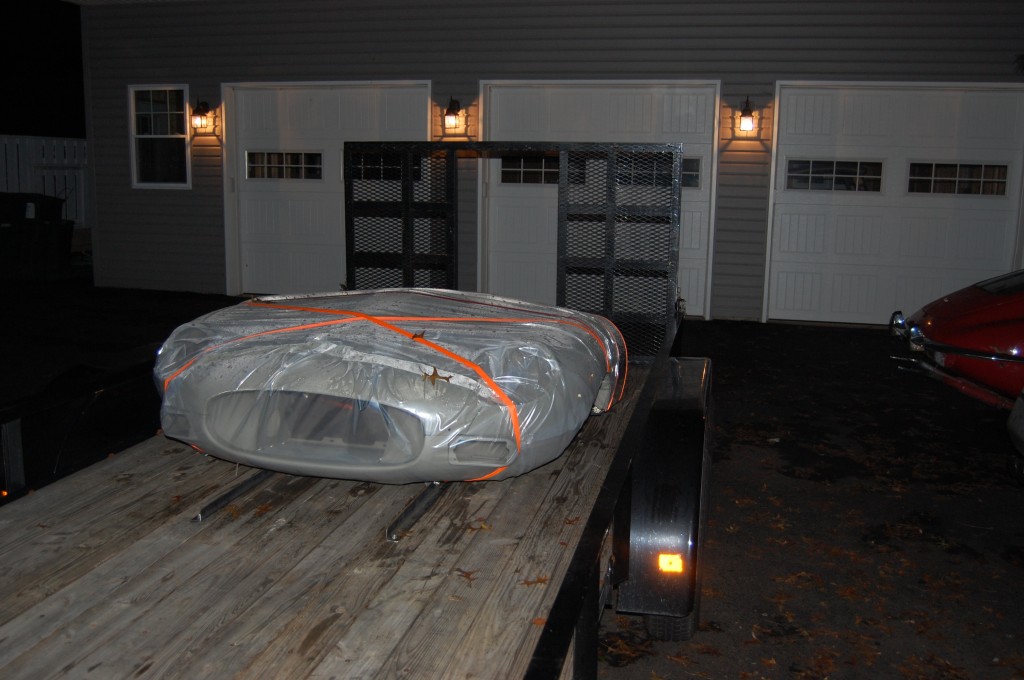
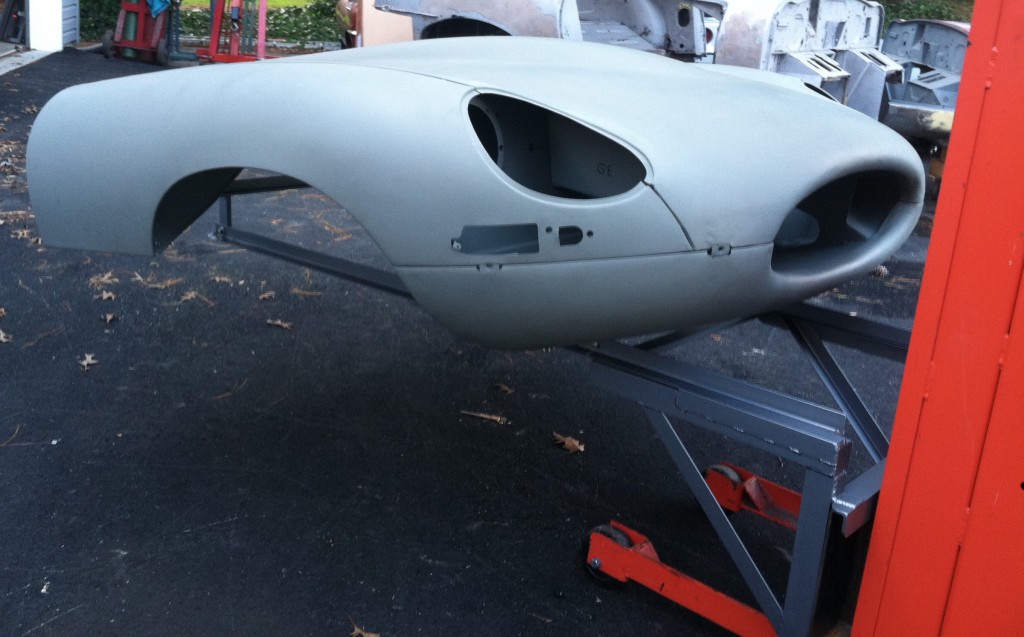
- Here is the prototype “rack” – this Series 2 bonnet is safely bolted to the deck of the trailer for its journey to Michigan.
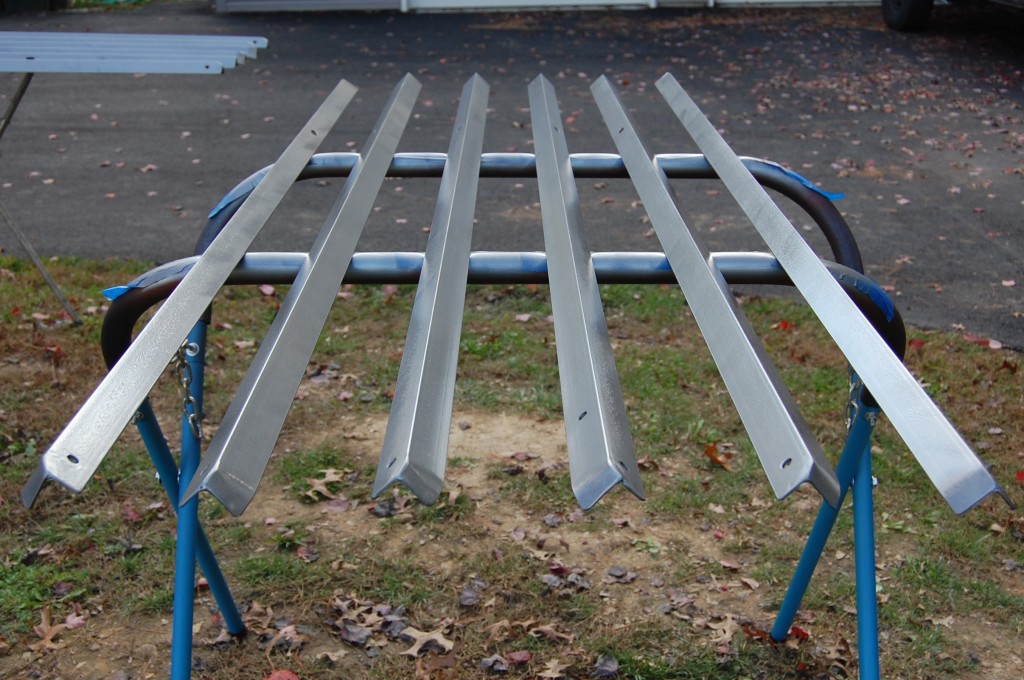
- That worked well, so I built 5 more! These are the “skis”, with edges turned up to easily slide onto the shelf.
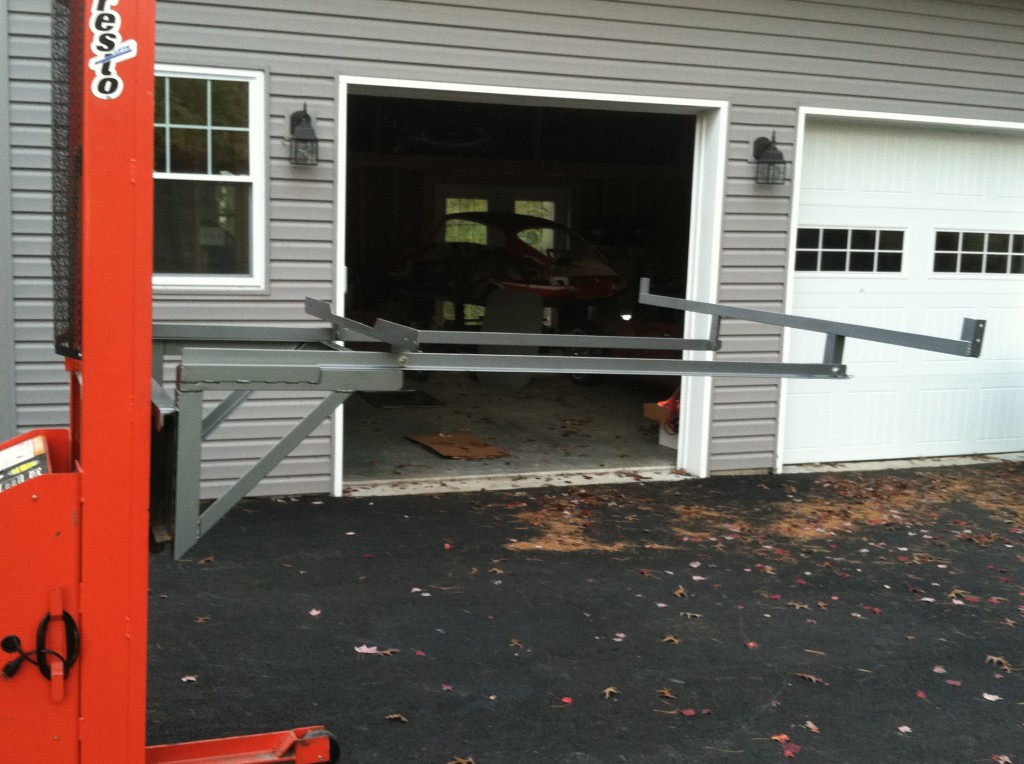
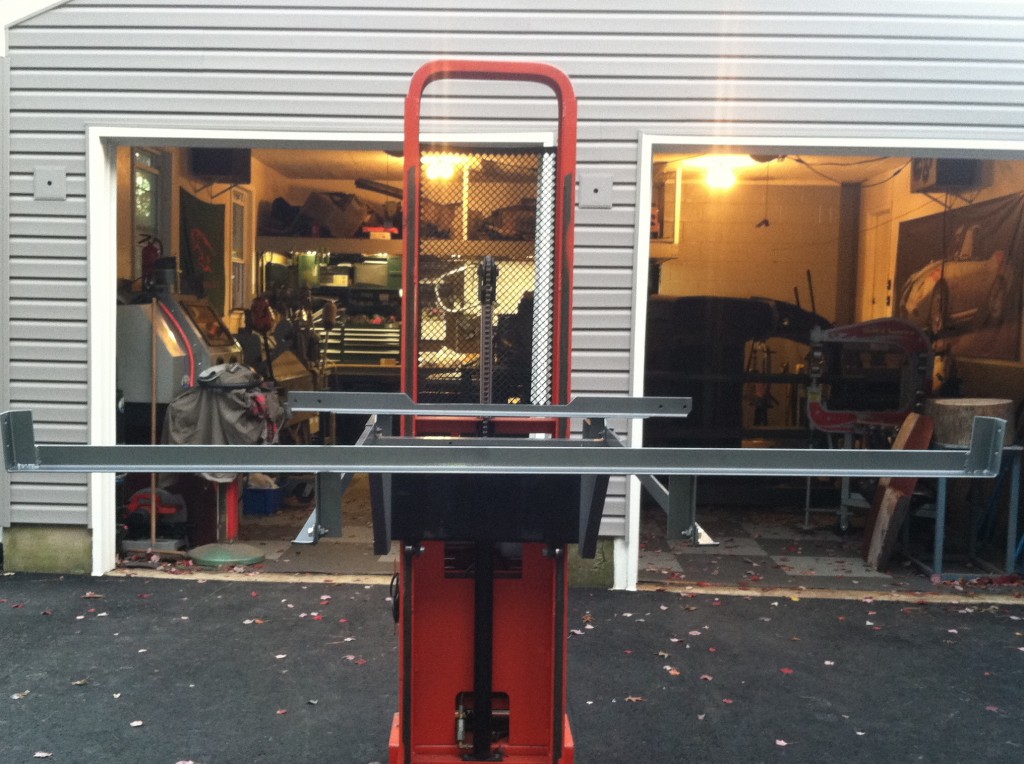
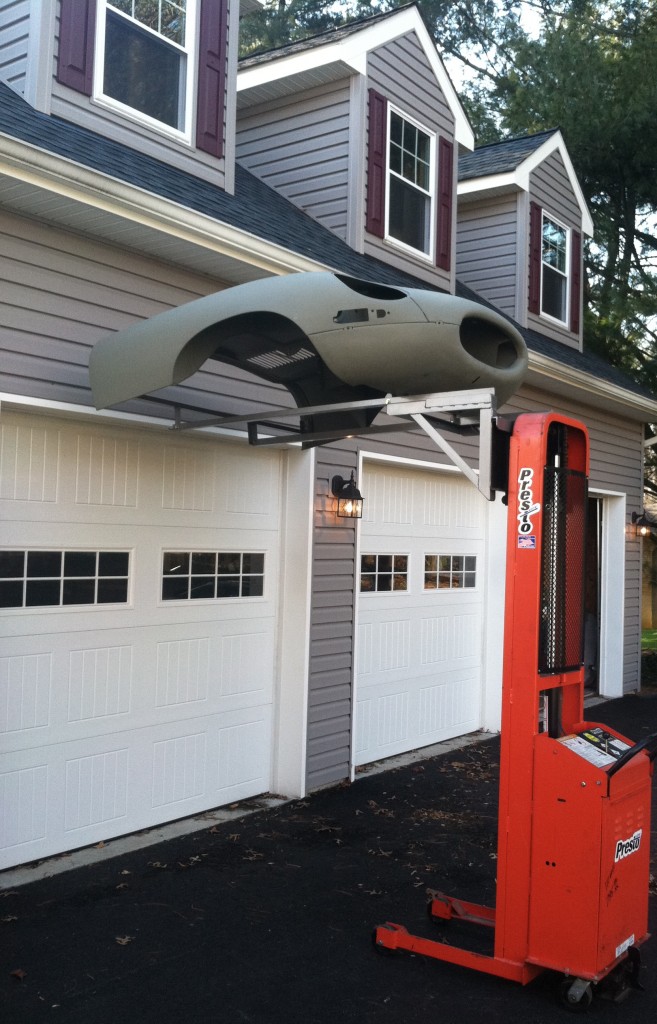
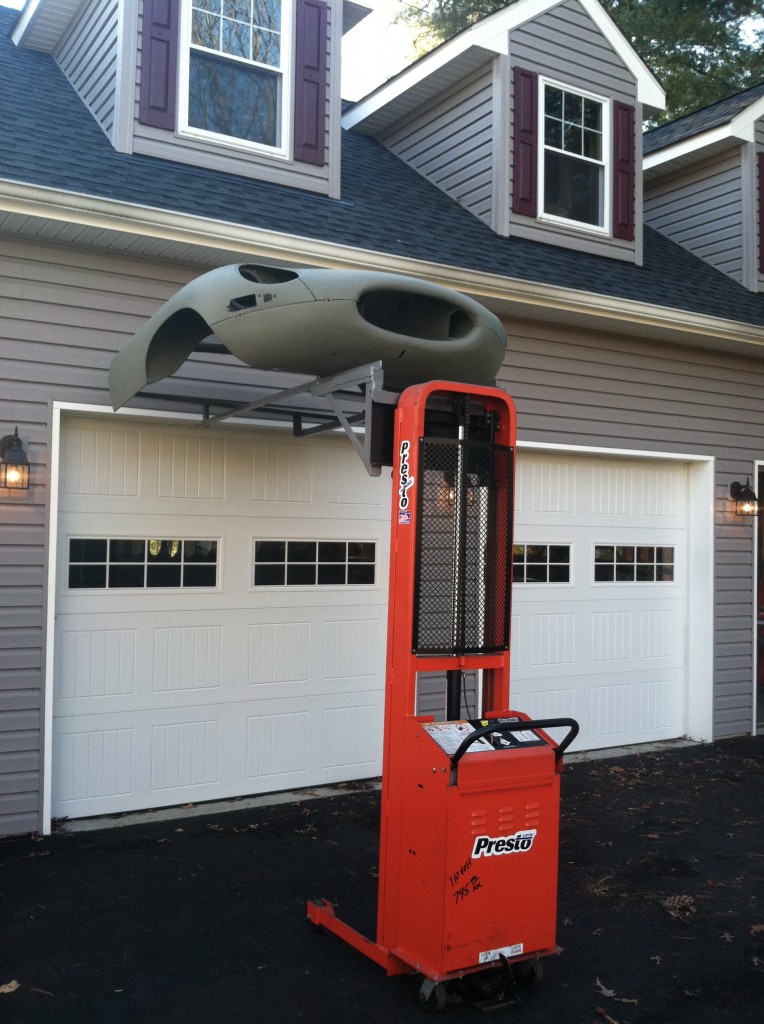
- Here is the finished product – including the surplus forklift or “stacker” I bought for this system. There is a special adapter that accepts the other end of the skis and locks them into place. Sadly, when this was finished, there were no bonnets around that it made sense to try it on, and I had already spent too much time building them to start pulling down bonnets just to mount a rack on it and play with it.
- So all 6 racks just got piled into the corner – that was last October…
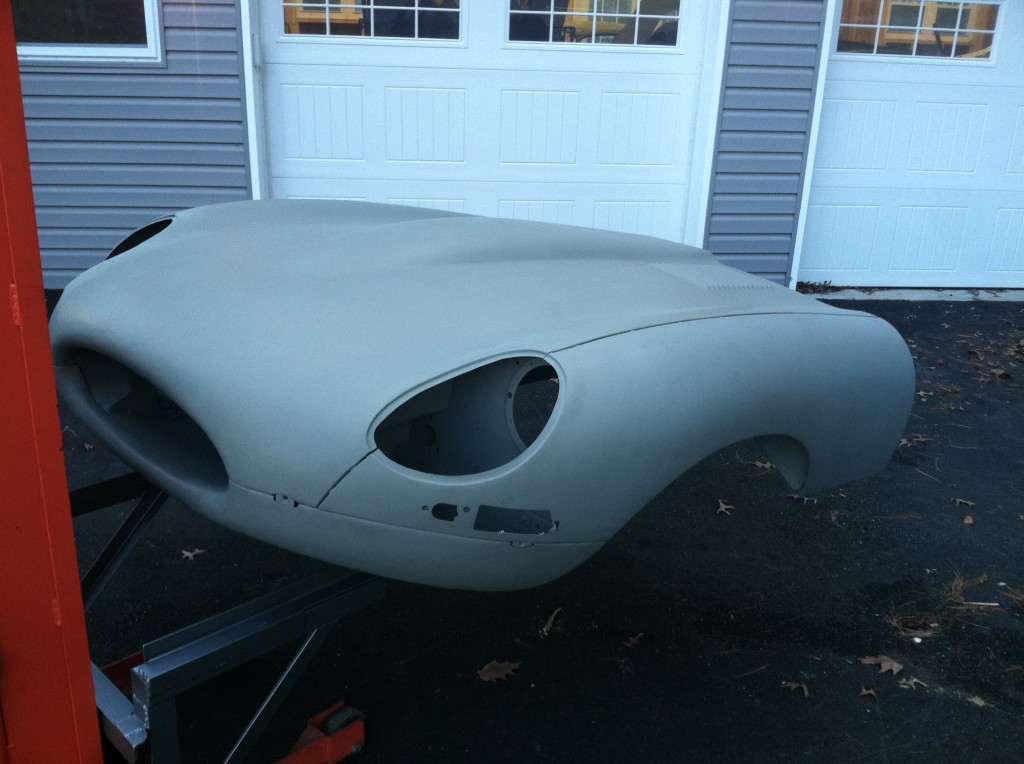
- Here is a ’68 bonnet we just finished, and needs to be stored here for a while until the shell comes in. So it needs to go up on the shelf. PERFECT – I can finally use the racks!
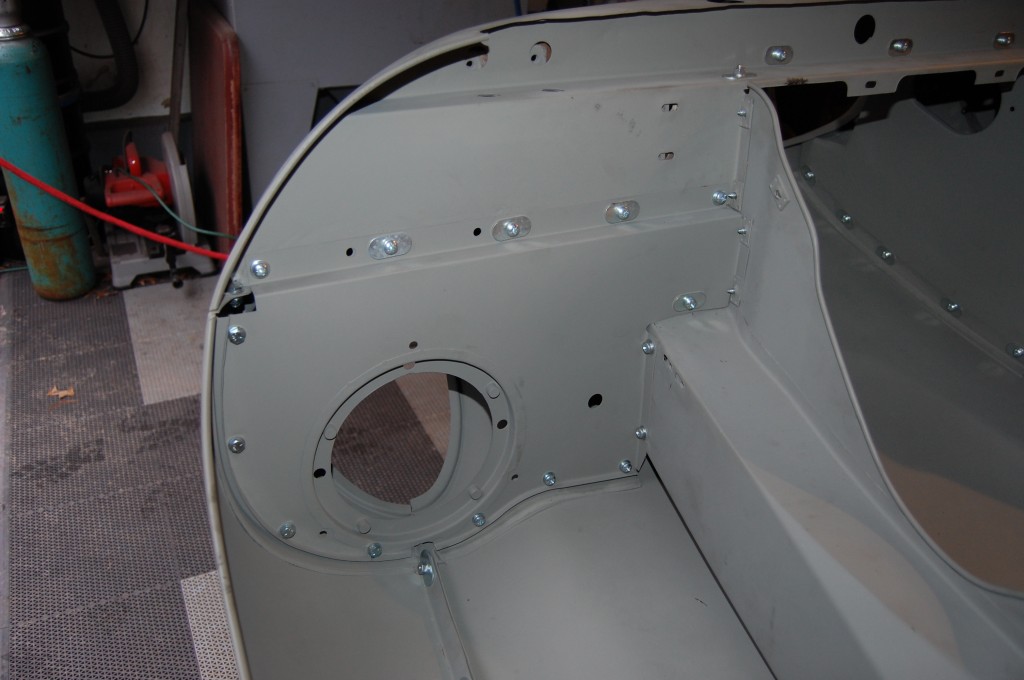
- All new hardware for this bonnet – it is going to be a driver, so restoration of the original bolts was unnecessary.
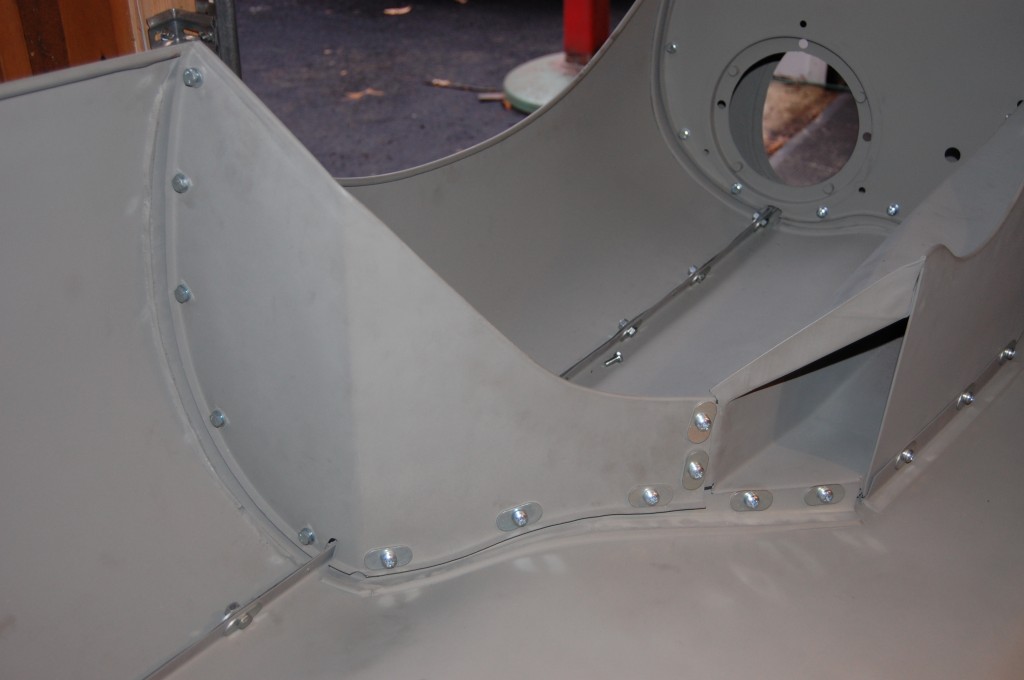
- This WAS a late 1967 “Series 1.25” bonnet – now it’s a Series 1.
- Looks great in this shot – it’s a driver, but this is a show-quality bonnet now!
- If you go back through the blogs a bit, this was the yellow bonnet…
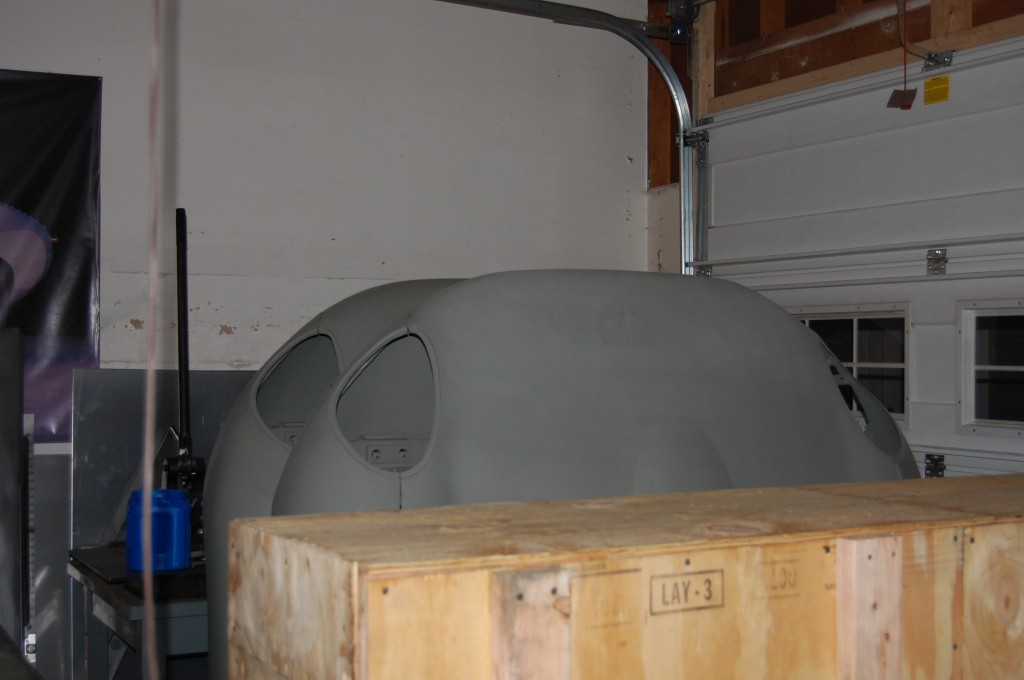
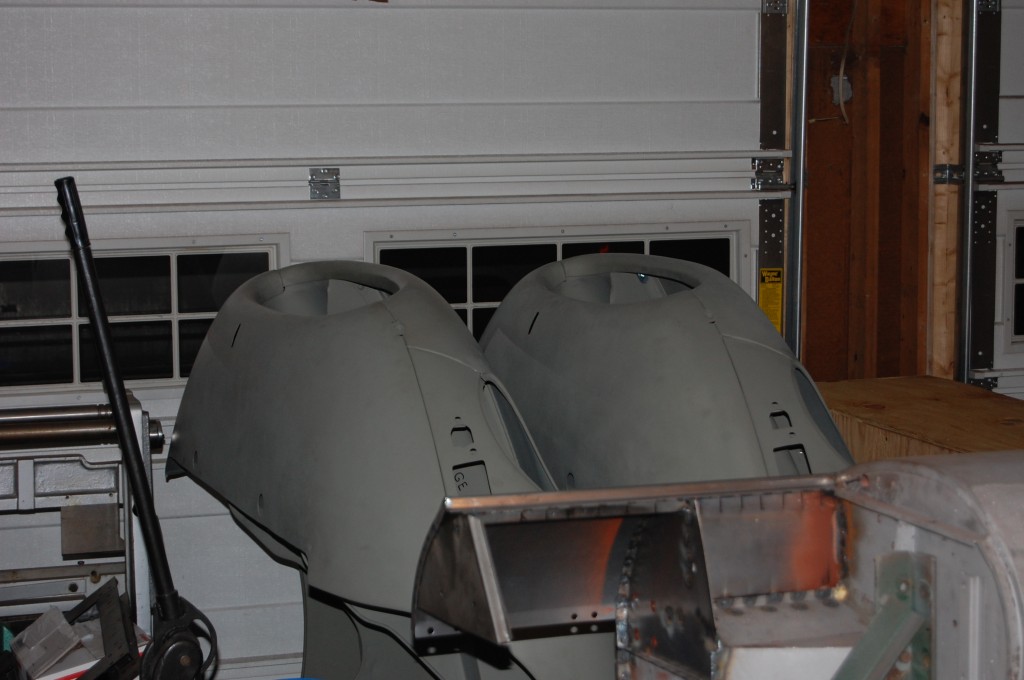
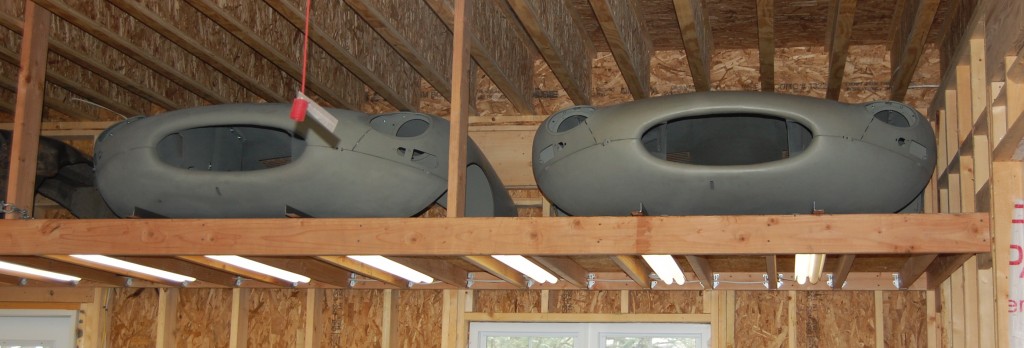
- We actually did 2 bonnets side by side a couple weeks ago to streamline the assembly and the gluing. Both are now ready to be shelved.
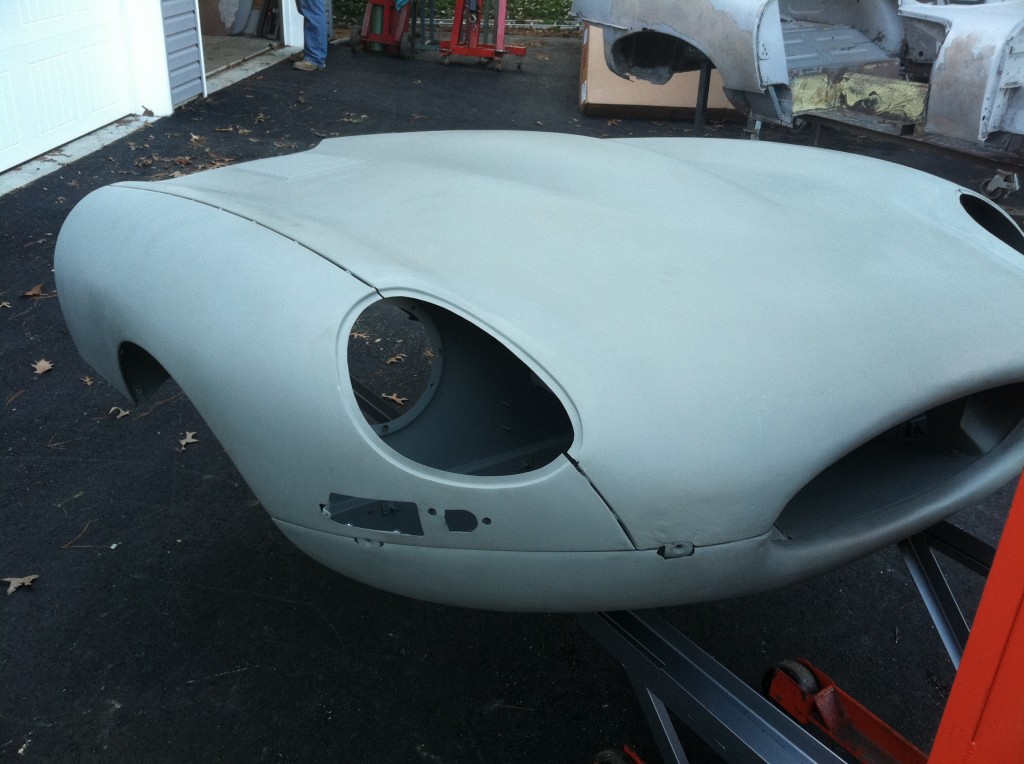
- Here is another shot. The crate in the background is the Coupe roof we shipped to England a couple weeks ago.
- Oh YEAH, BABY!!! GET SOME OF THAT!!!
- I did this by myself, and it was so great I couldn’t stand it!
- This is the other bonnet – NOT the one with the new hardware. This was also a Series 1.5 with open headlights, seamlessly converted to Series 1 with our flanges.
- We TIG these in here so that they are seamless and require little if any filler, but you can overlap the flanges and MIG them in from the bottom if you want to use our flanges to make this conversion at home.
- Here is another shot – we’re ready to go up on the shelf!
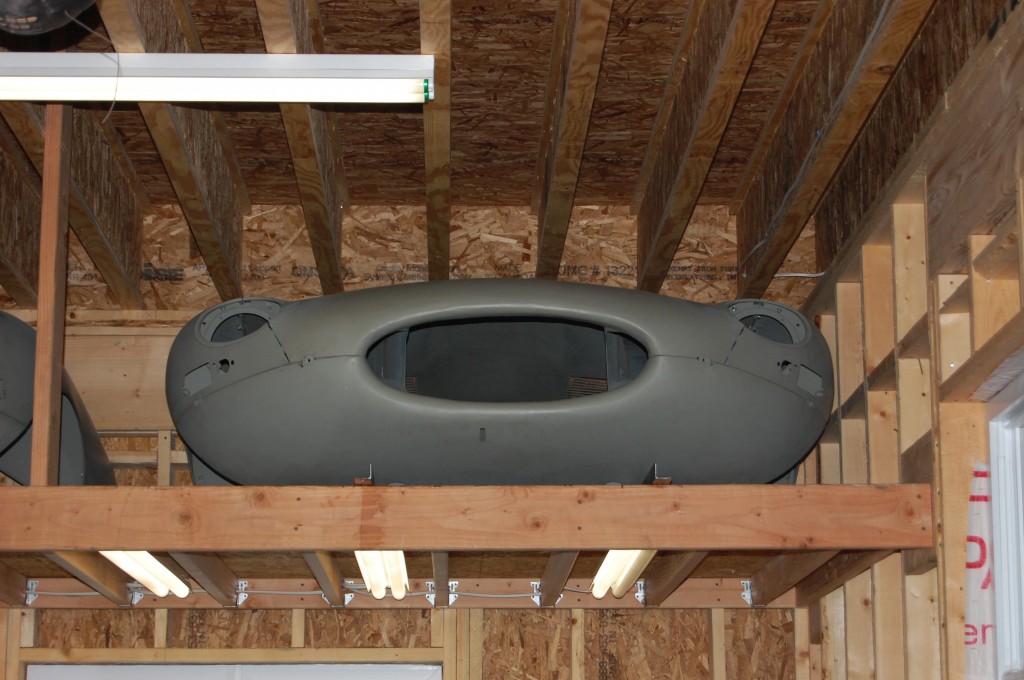
- YES!!! Even the building itself was desigmed around this bonnet stacking system!
- So up on the shelf they both went! I felt like Dr. Emmet Brown in “Back to the Future” when he just started screaming – “It Works!!! I finally invented something that works!!!”
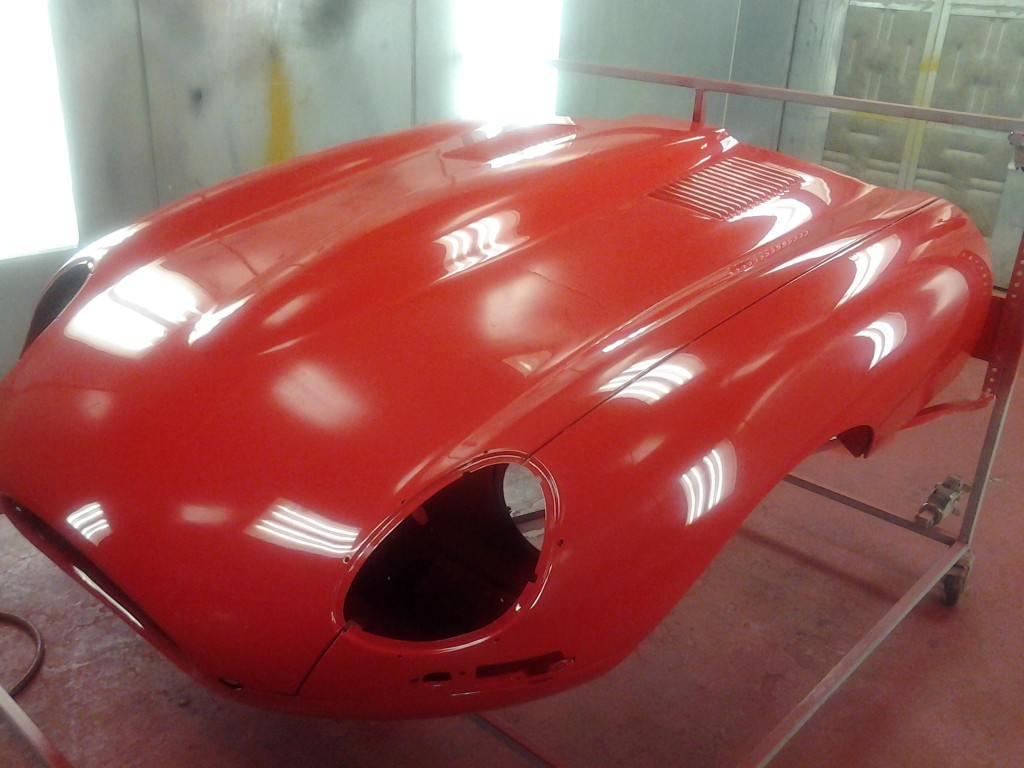
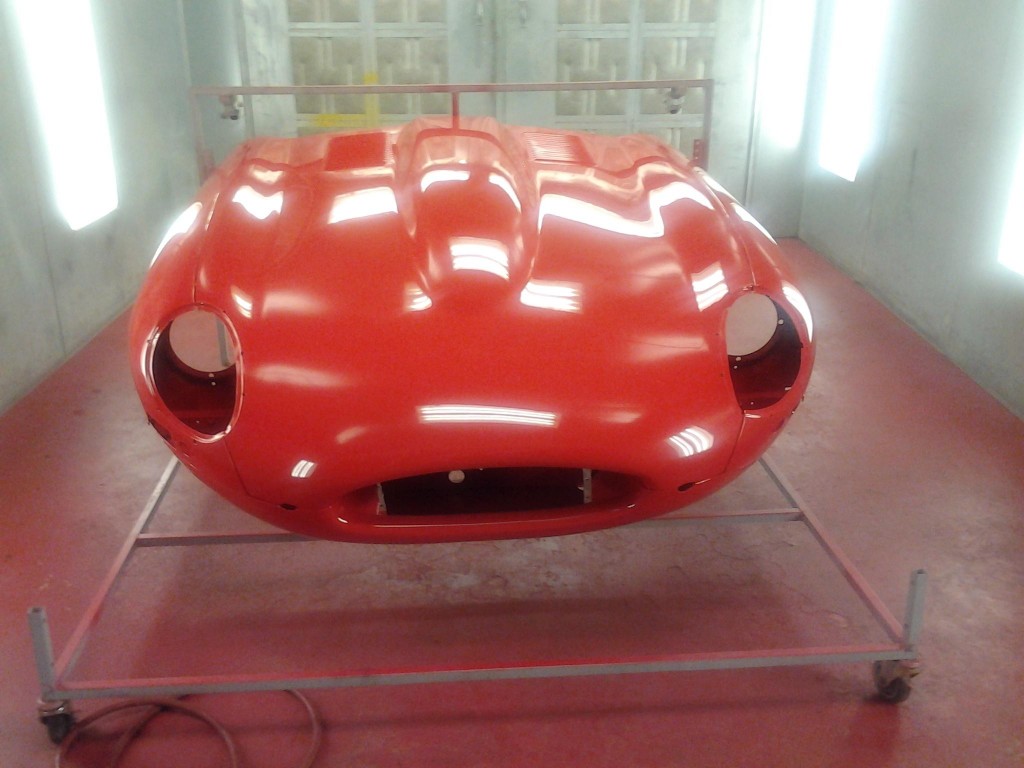
- And just to round things out, the ’63 roadster bonnet we did almost 2 years ago is FINALLY being painted! Still in the behemoth bonnet cart…
- This is a mix of base and clear that will be sanded down and then top coated.
- Just the first step of many in giving this E-Type a flawless, 100-point paint job that you can seemingly “dive into” when finished!

