Hey guys – make sure you have everything lined up for tonight! My tradition is that I cook some type of “fancy, romantic meal”… Of course, this usually means that my wife hangs out in the living room drinking alone to numb the pain of me destroying the kitchen for 4 hours, but hey – I’m a sentimental guy and traditions must live on!
Tonight’s menu is “Fried Oyster Po Boy” – because I know how to fry oysters and I know how to make a sandwich. I have learned over the years to trim down the menu as far as possible!
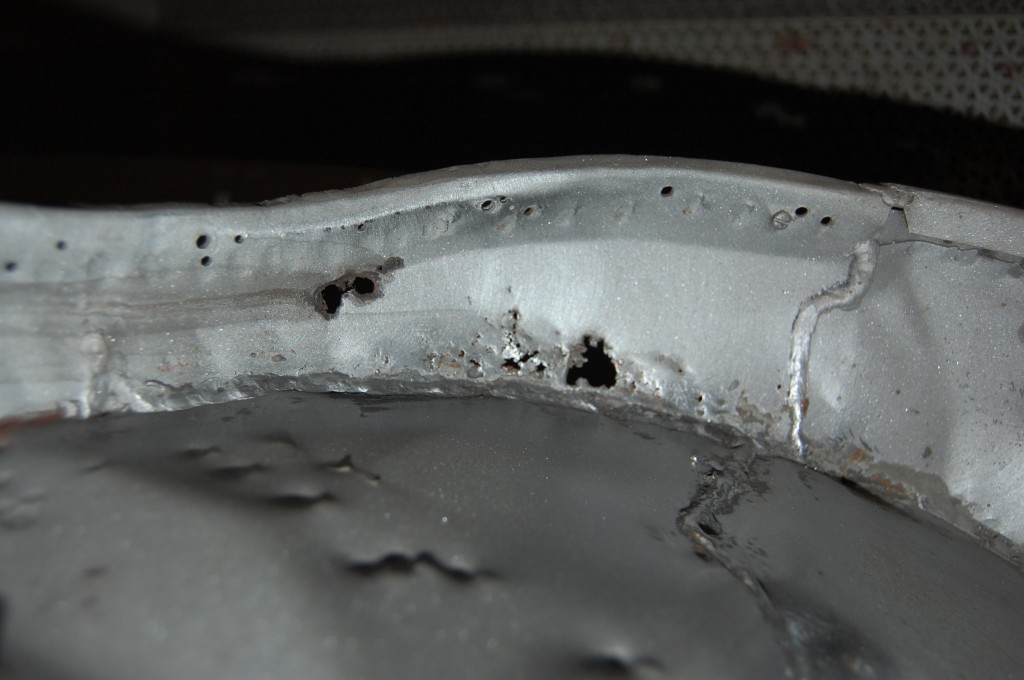
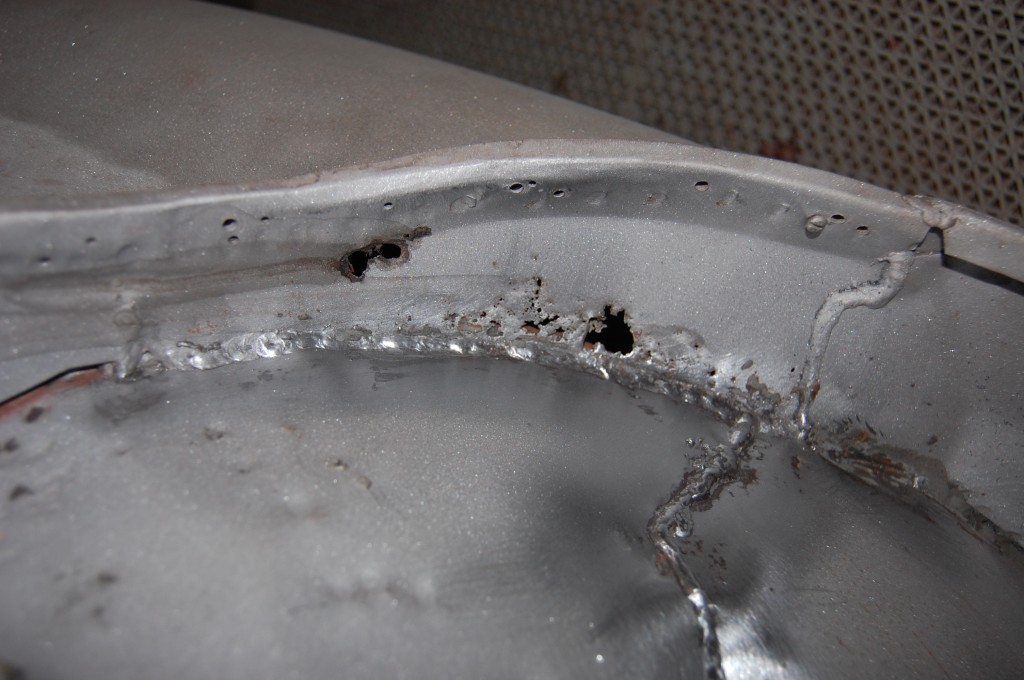
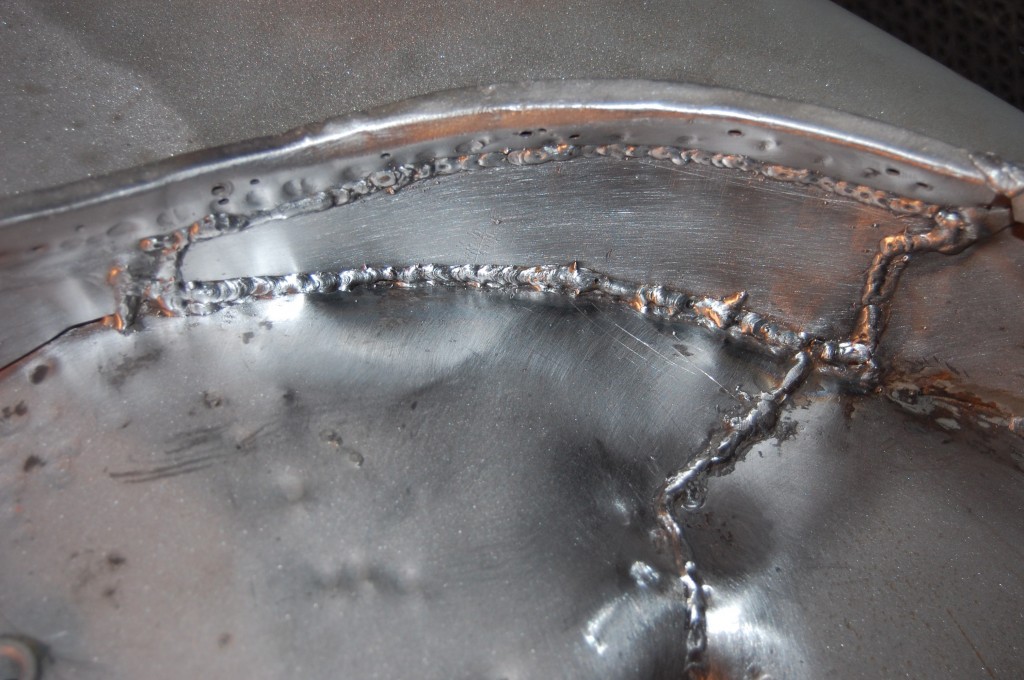
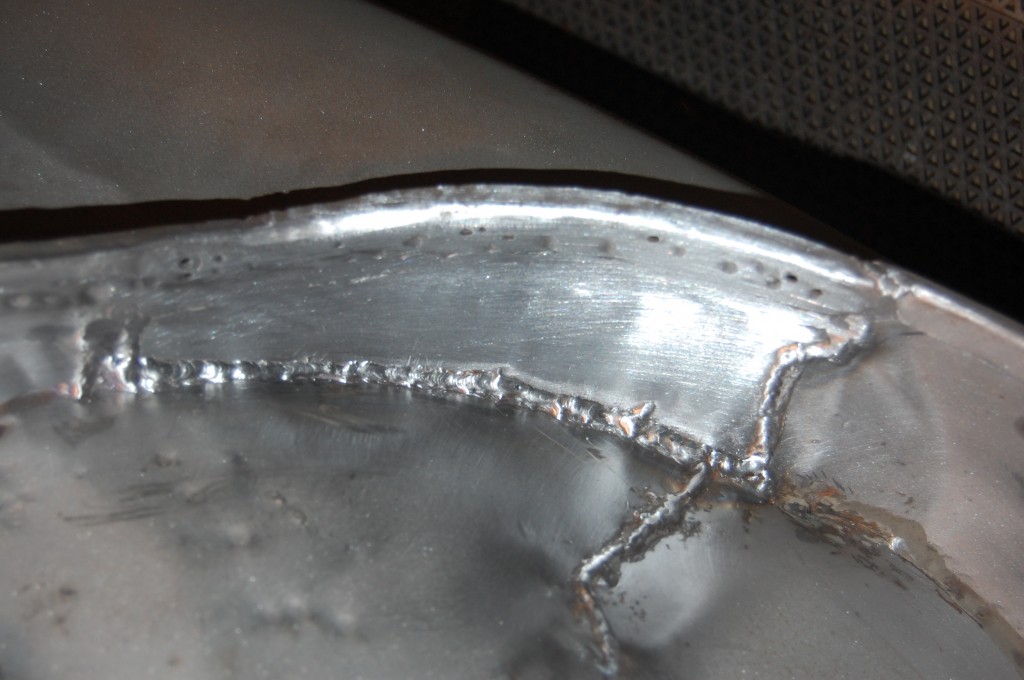
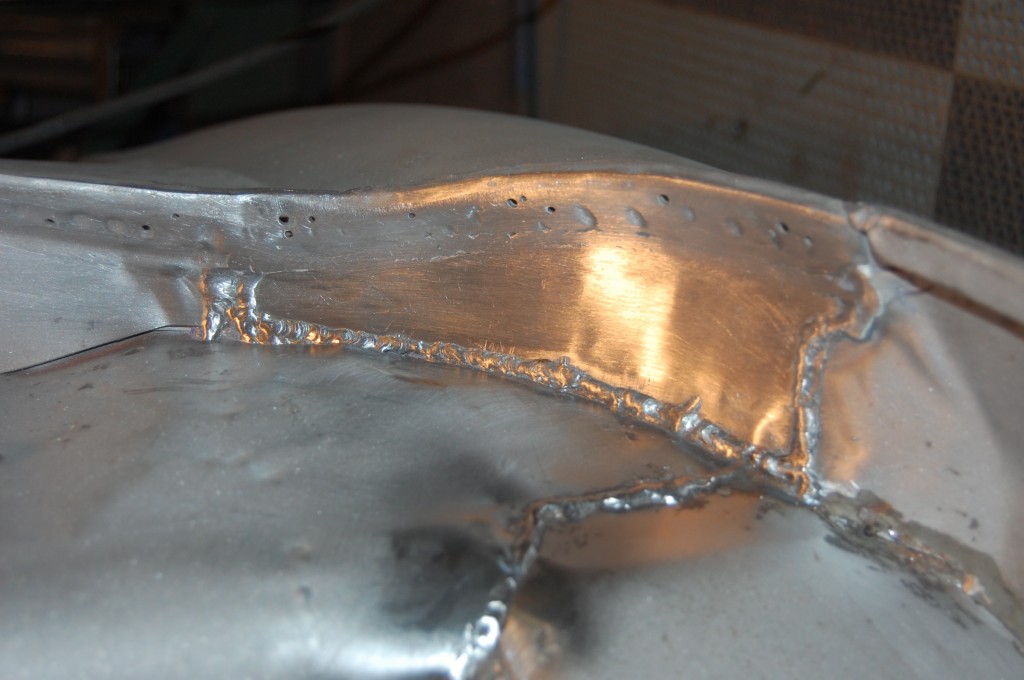
Here are some shots of a repair I did last night – it was the last step in completing the shell of the ’68 OTS we have been working on for the past couple of months. This car is now ready to come out of the rotisserie – and not a moment too soon – there are plenty more lined up and waiting!
- This is the inner, upper tonneau finishing panel on the LH side. The backside of this panel forms the wheel-well itself on a roadster, and the way the shell is assembled, there are sloppy tabs right behind this that act as a shelf – more like a TRENCH, actually – for catching mud, salt and grime. So rust in this panel is not uncommon…
- Looks simple enough, but it’s actually a tricky little bugger. One nice thing is that at the factory, they just stitched these panels in at the end of the construction process – rather sloppily in some cases, so you don’t have to get real fancy here, as it all gets covered up with interior trim anyway.
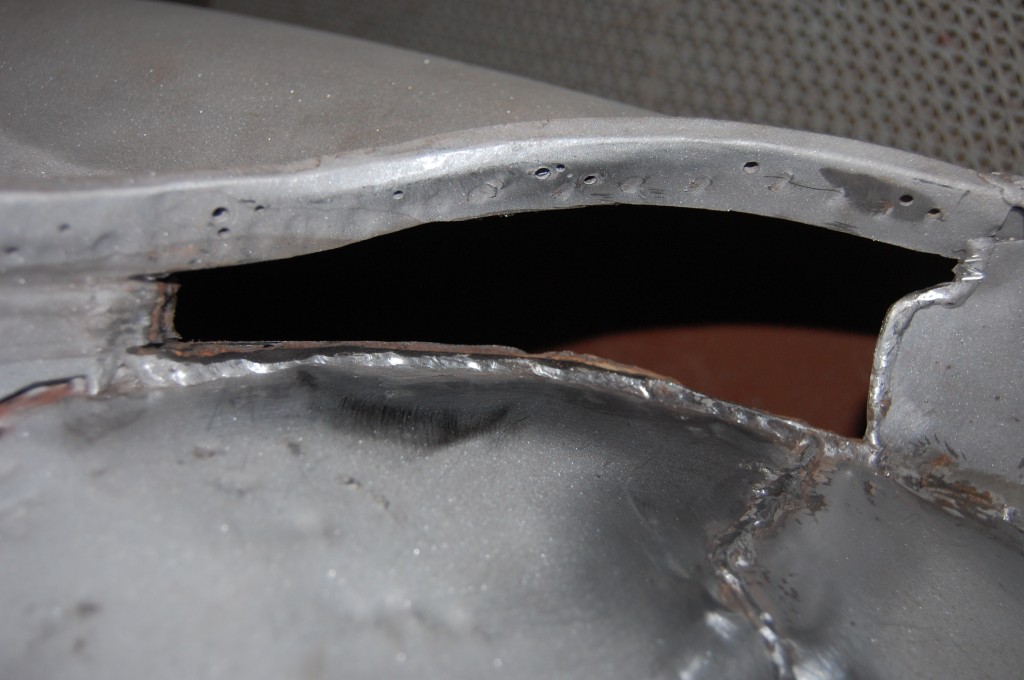
- First step is to cut out the rotted section. There’ really no sense in going all out and removing the top section, which is spot-welded to the skin of the wing itself. That area is already thin from moisture that collects in the wooden tack strip, and dissecting this upper section is just asking for trouble – and it’s just flat out unnecessary.
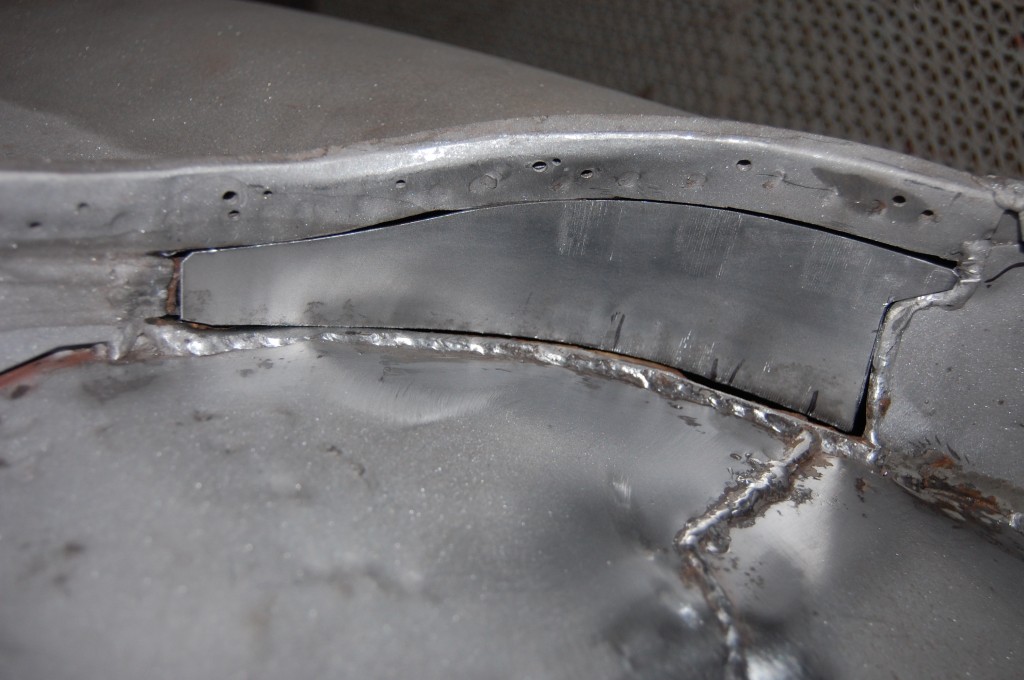
- Here is the patch all formed up – this was a tricky little devil – it has some compond curvature to it in order to get the top and bottom edges to follow the hole we cut in the shell – I thought this would be relatively quick and simple, and the next thing you know, I’m running this thing through the English Wheel!
- Here it is, all stitched in without any real blow-through issues on any of the edges – which is why I left the old factory beads along the bottom and side edges – it gave me a nice thick edge to weld to. That, and the fact that there is alot of structure here let me get away with using the MIG on this whole repair. This is complete. The bottom and side edges are as they came from the factory by just leaving the weld bead, and to grind down and smooth the bead along the upper edge is unnecessary for clearance and it doesn’t show. So for once I just walked away at this point and let it be…
- …and then I came back – because I have issues…
- It really just came down to me wanting to see this repair looking like it never happened – and here it is! Happy Valentines Day – leave work early and do something romantic!

