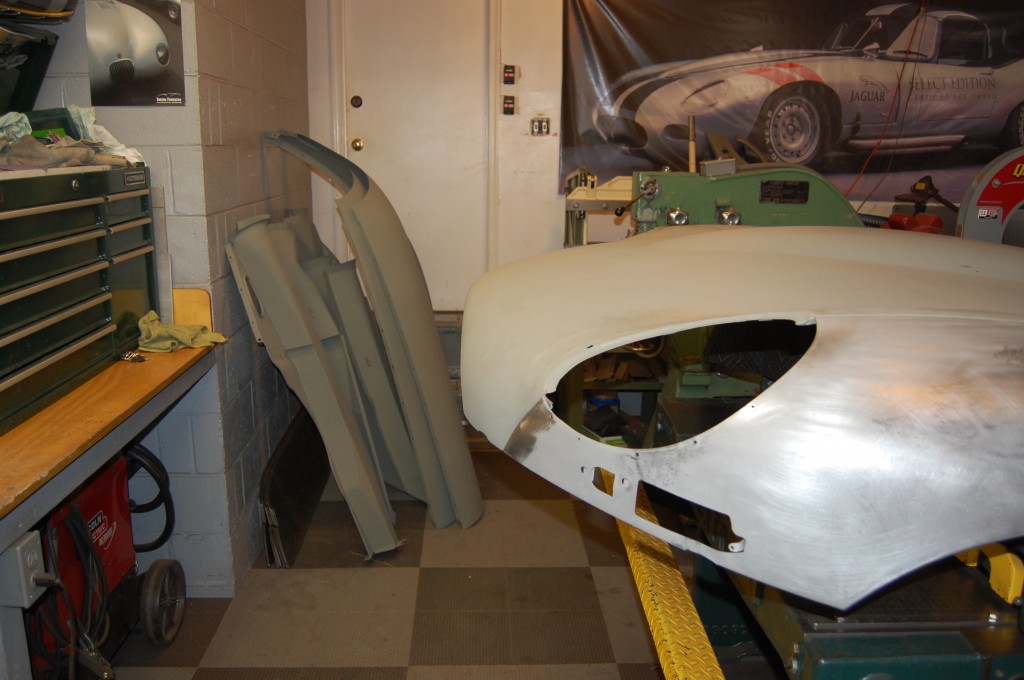
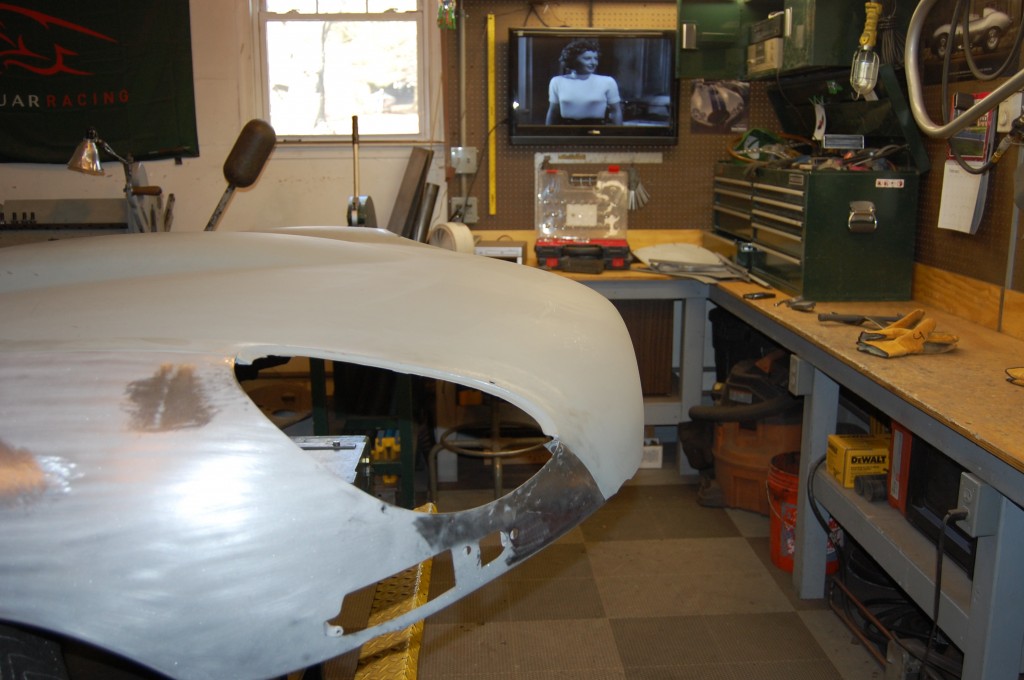
This Summer, we built a shell for a 1965 Series 1 roadster in Calgary, Alberta, Canada. We sourced a Series 2 roadster shell from Connecticut, and converted it to Series 1 configuration, while also fixing a few rust problems. The shell turned out great, and has been ready to ship since September – but she’s still here…
Once the shell was completed, the owner asked if we would please keep going and build some bonnet pieces for them as well. Their bonnet was very bad, and while they had sourced a new center section and lower valance already, they had determined that the wings, inner valances, and basically the whole thing was shot…
So, their request was to provide a complete Series 1 bonnet worth of panels, EXCEPT the center section and wings. NO PROBLEM! OK – wait – there’s one problem – you’re just going to have to wait a while – I’m behind schedule as usual, and I’ll just have to restore a pair of wings and inner valances when I get the chance – which could be a while. They were happy to wait, and we agreed to get to it as soon as possible.
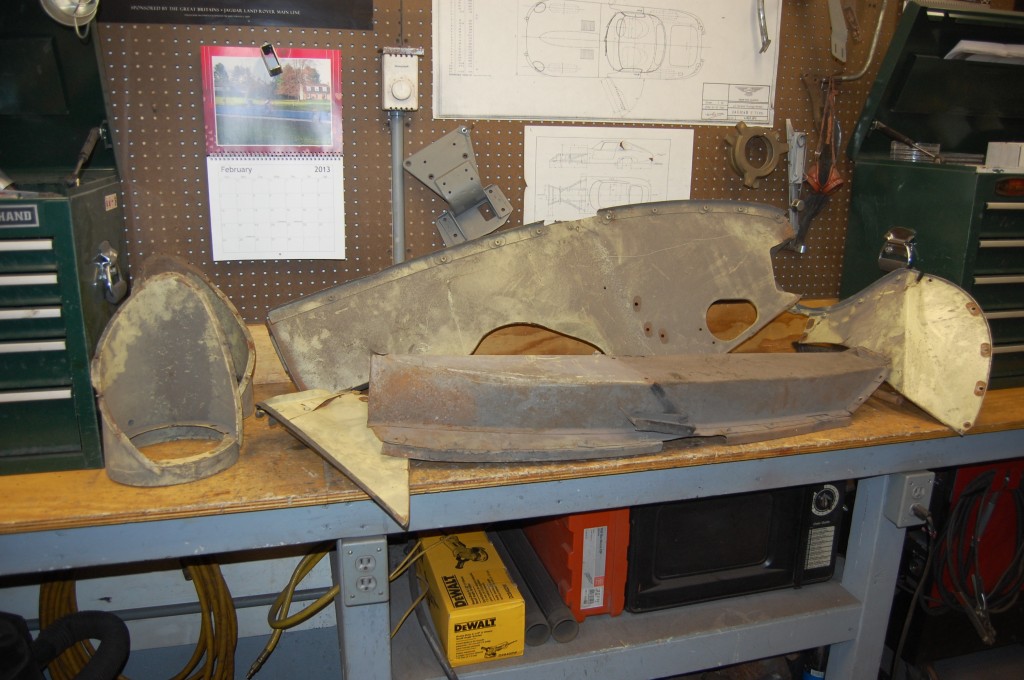
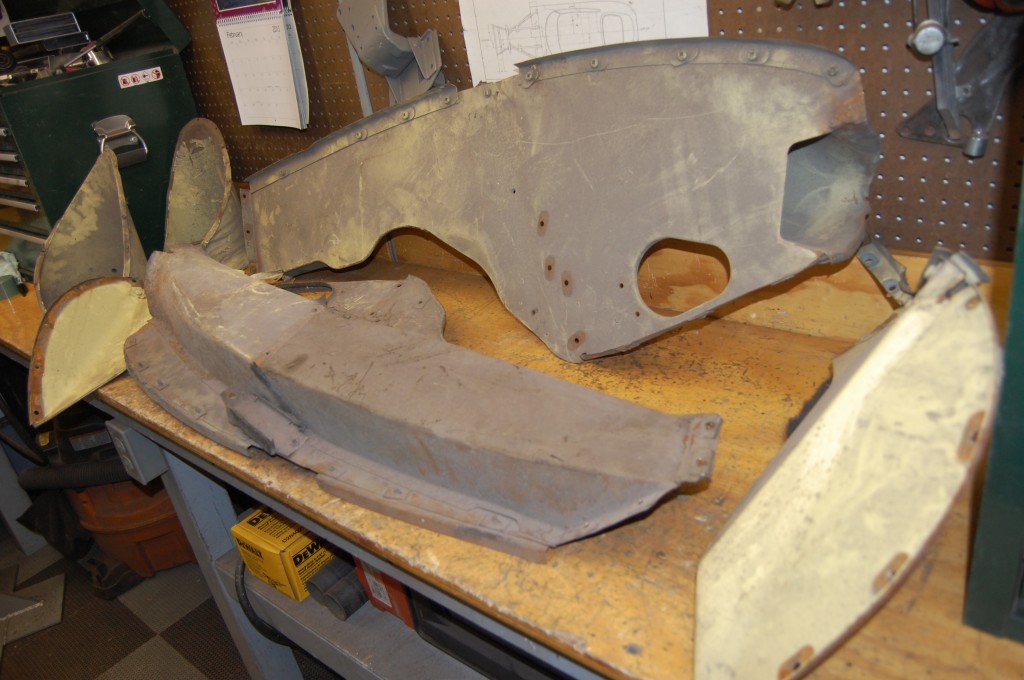
Eventually, I had an excellent pair of wings blasted, as well as several inner valances that were restorable. The wings, however, were a Series 1.5 and a Series 2, which I planned to convert to Series 1 with the headlamp flanges and some changes to the turn signal area on the Series 2. The remainder of the pieces – mudhields, headlamp diaphragms, mouth tray, and a complete flange set, are all parts we fabricate here new, and can come off the shelf.
This stuff was all blasted and ready to go a few weeks ago, and then something better became available – quite literally, something PERFECT for this order!
- Up before dawn on Saturday morning for another E-Type parts rescue!
- We’re headed into the heart of New York City – Brooklyn to be exact. And just outside of NYC, it started to snow…
- Still trucking – and still snowing!
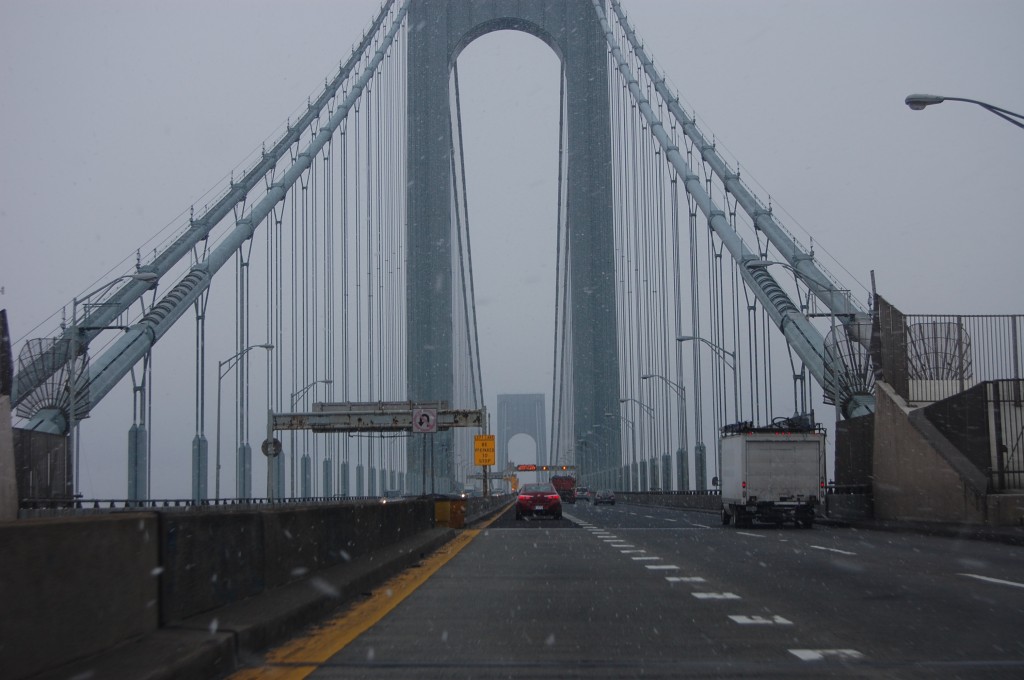
- And now we’re headed into Brooklyn over the Verrazano Narrows bridge – in the snow!
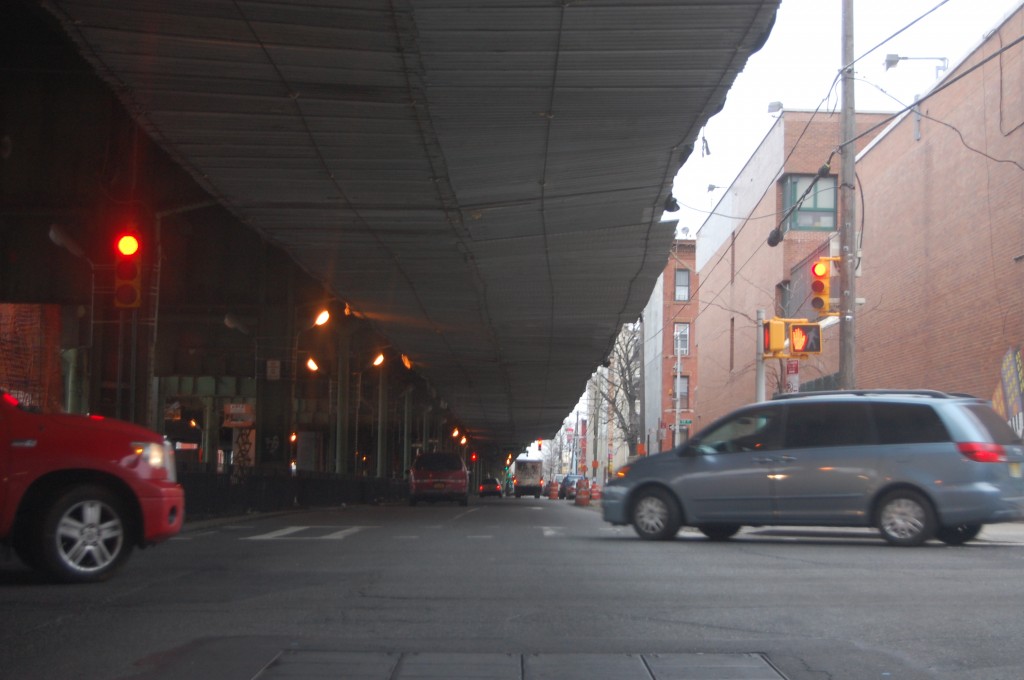
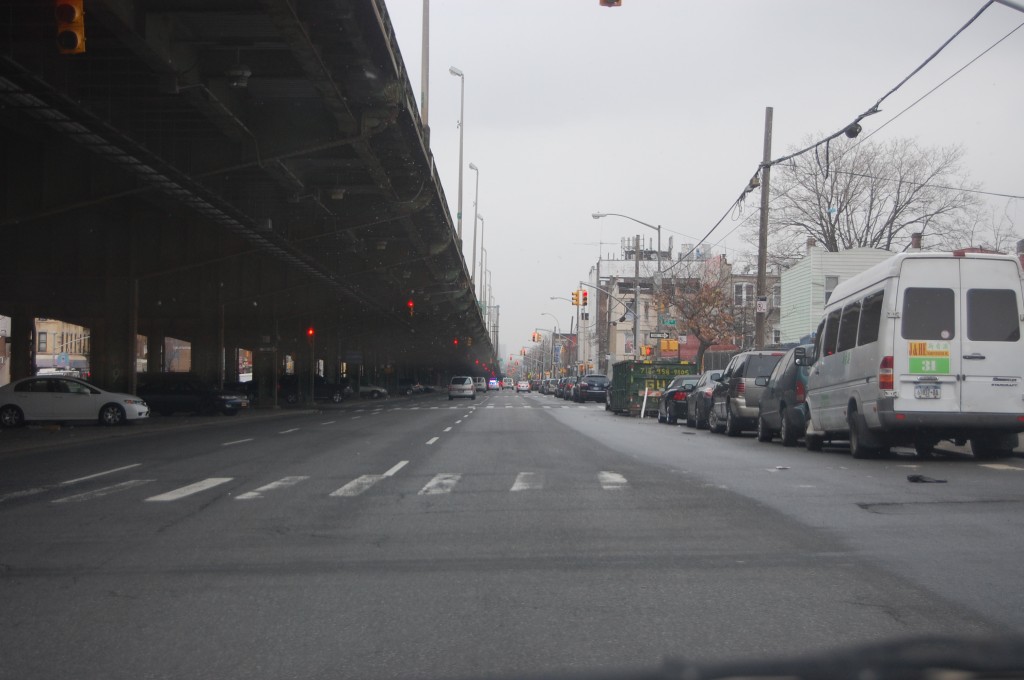
- We’re down into Brooklyn now, with the “BQE” – the Brooklyn-Queens Expressway above us and to the left. All of that “stuff” above us is some type of catch-all for construction work, but it all looked like it was going to come crashing down any second!
- Still following along next to the BQE on 3rd Avenue. Our destination is a defunct body shop. The owners have sold the building to developers, and the stock of used body panels is being sold off one piece at a time. AND – they have something that’s PERFECT for this project…
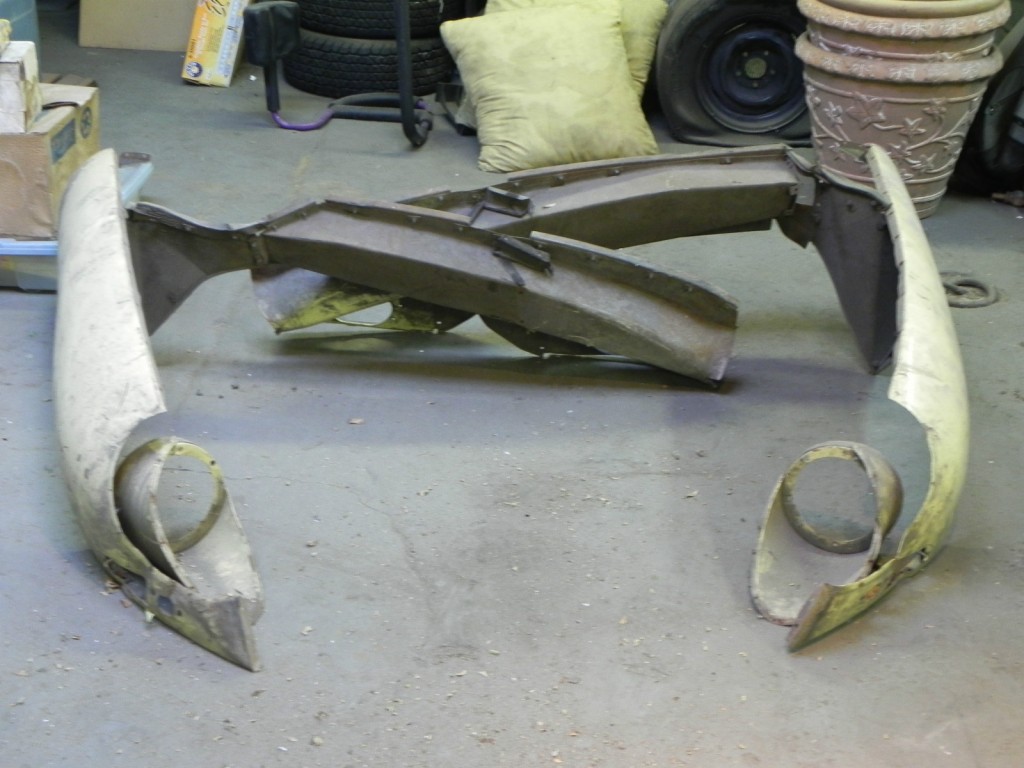
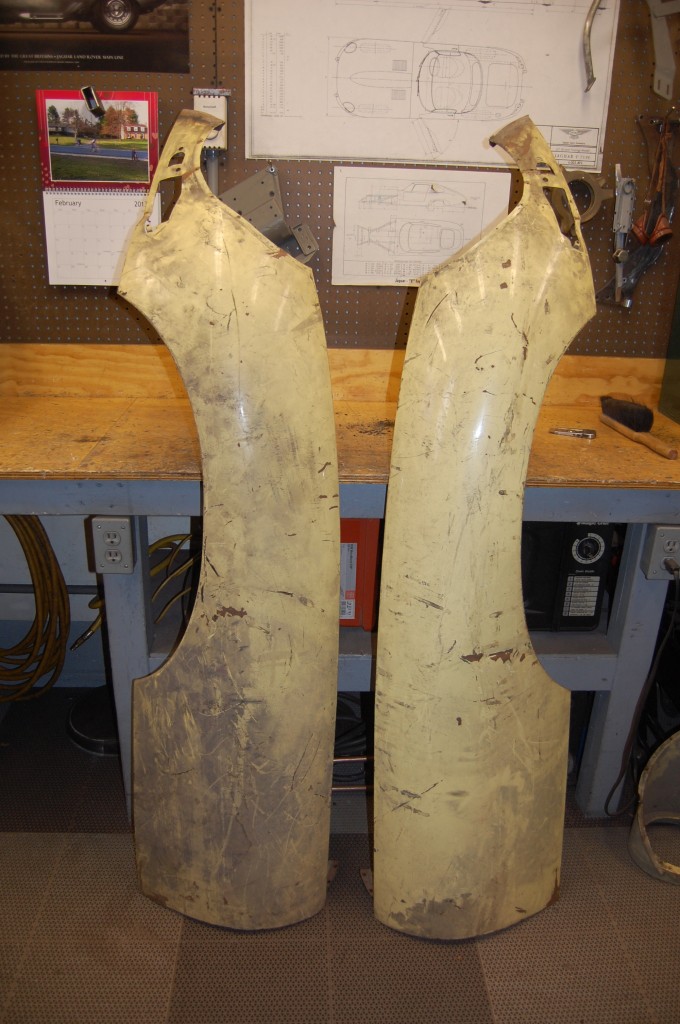
- …and here it is! Voila! One pair of excellent, original, rust-free and not totally mangled Series 1 wings and inner valances!
- What’s that? These aren’t Series 1?… They will be!
- I could tell from the photos that these pieces were quite good. You have to take a bit of a gamble on things like this, but I’m getting pretty good at picking through the photos to determine condition. When I see parts that look great in a fresh coat of primer – that’s trouble. When I see dirty parts like this that look like they are in the factory paint (which they were) – that’s GOLD, baby!
- Even in this blurry shot, you can tell that the inner valances will be very nice pieces. And we’ll get some flanges and some decent Series 1.5 scoops as a bonus. Well, time to load up and head home!
- Back at the shop by noon, and it’s time to get to work. I decided that I would just rally over the weekend and try to get this order filled.
- The first order of business was to get things taken apart, and then strip the undercoating from the pieces – then get them over to John to be sandblasted.
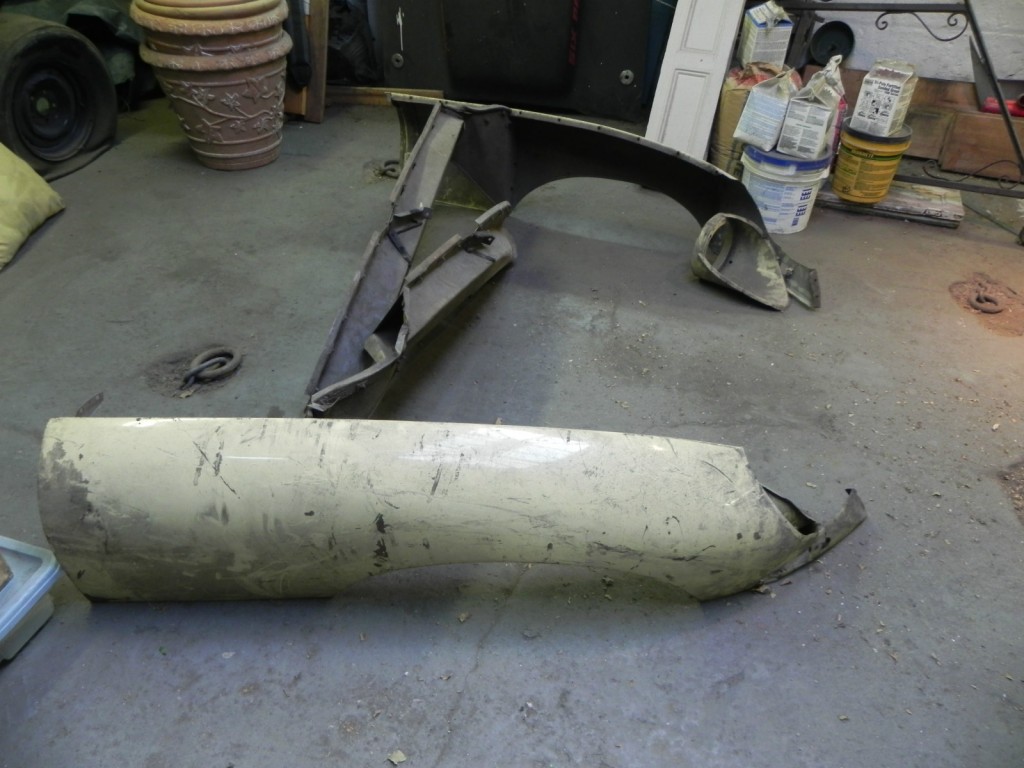
- Here are the wings. Each had a kink in the rear of the wheel opening, but overall they looked great!
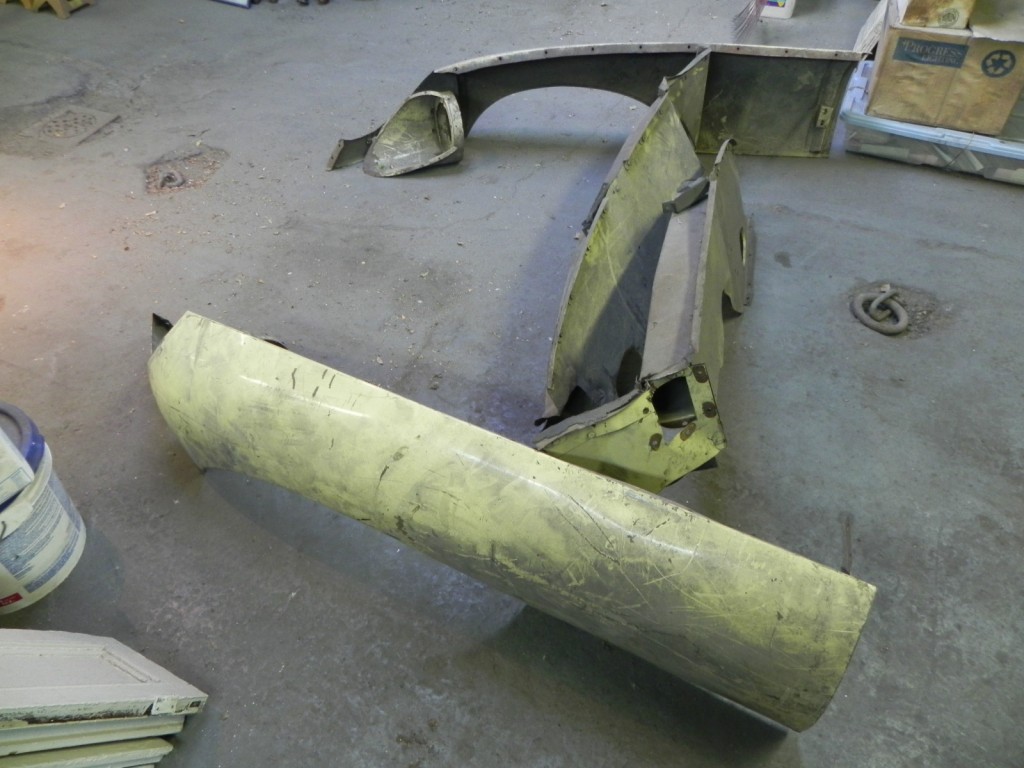
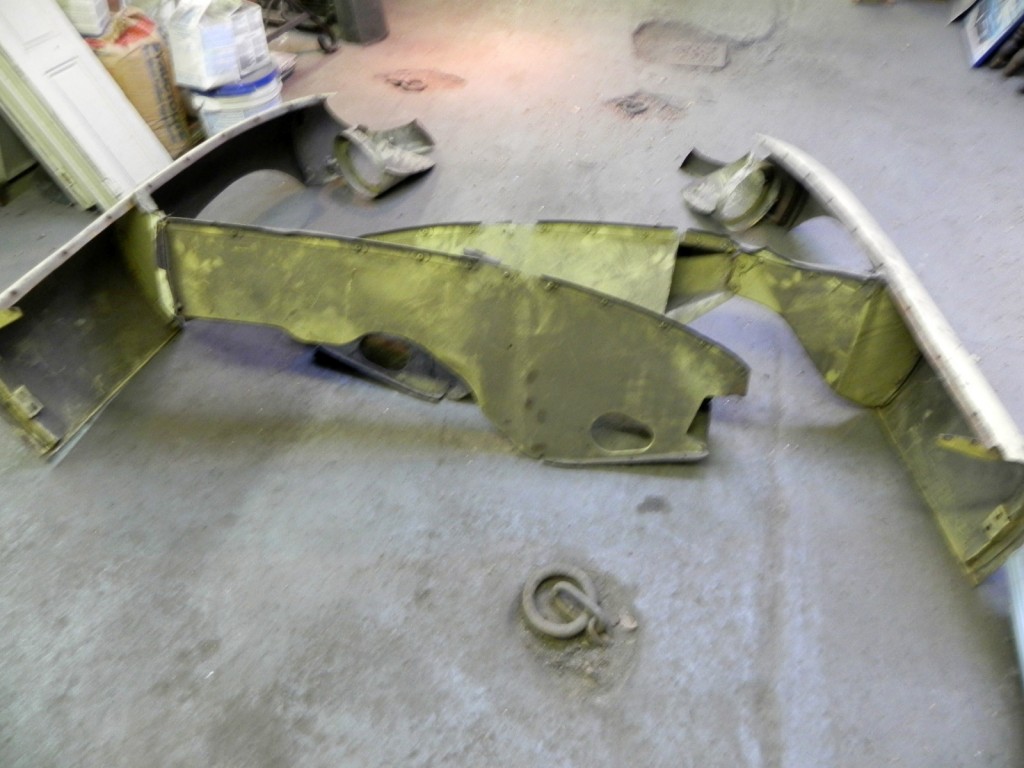
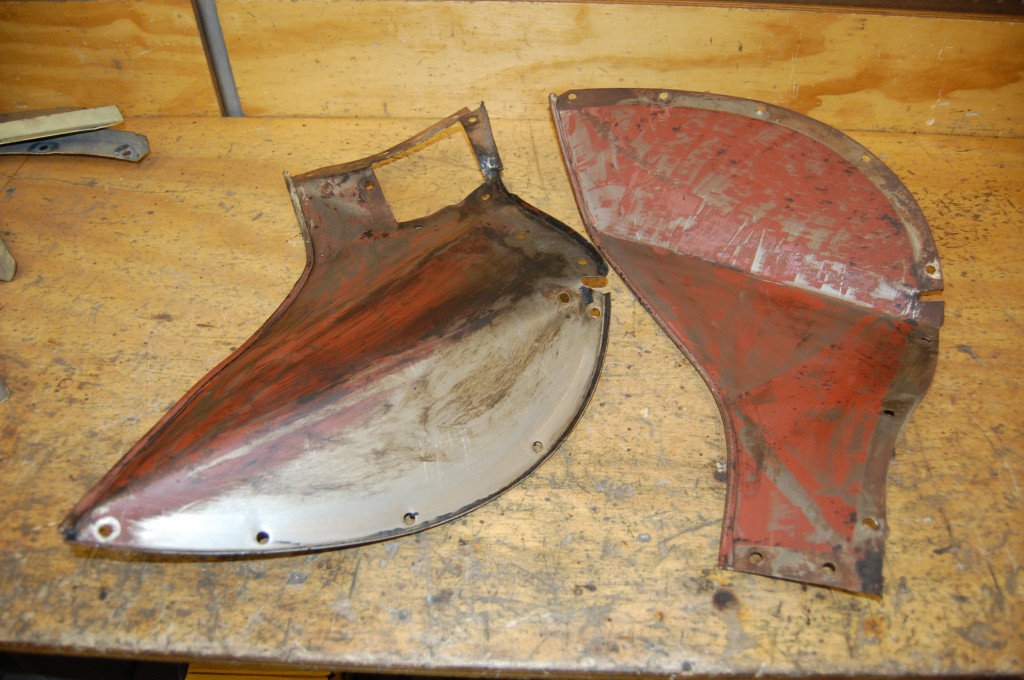
- After I dropped off the parts to be blasted on Saturday aftrenoon, I was pretty beat – getting up at 5:30 is not my usual style! On Sunday, I came out into the shop and cleaned up, and then got to looking at these mangled up mudshields… Hmmm – these sure are nice and rust-free originals – too bad someone bent them all up like this.
- I wonder if I could get these kinks out?…
- So the next thing you know, I throw them in the blasting cabinet to have a go at it. I figured what the hell – nothing to lose, and it would be good practice at smoothing panels, as getting a dead flat panel dead flat again is just about the hardest trick!
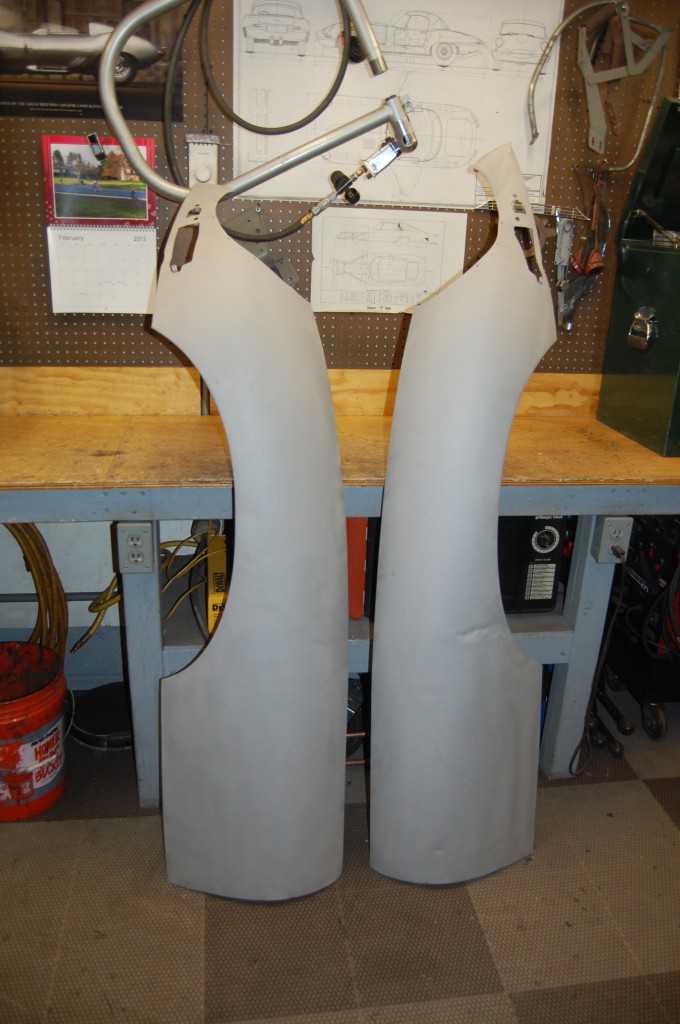
- Here is a shot of the kinks in the RH mudshield.
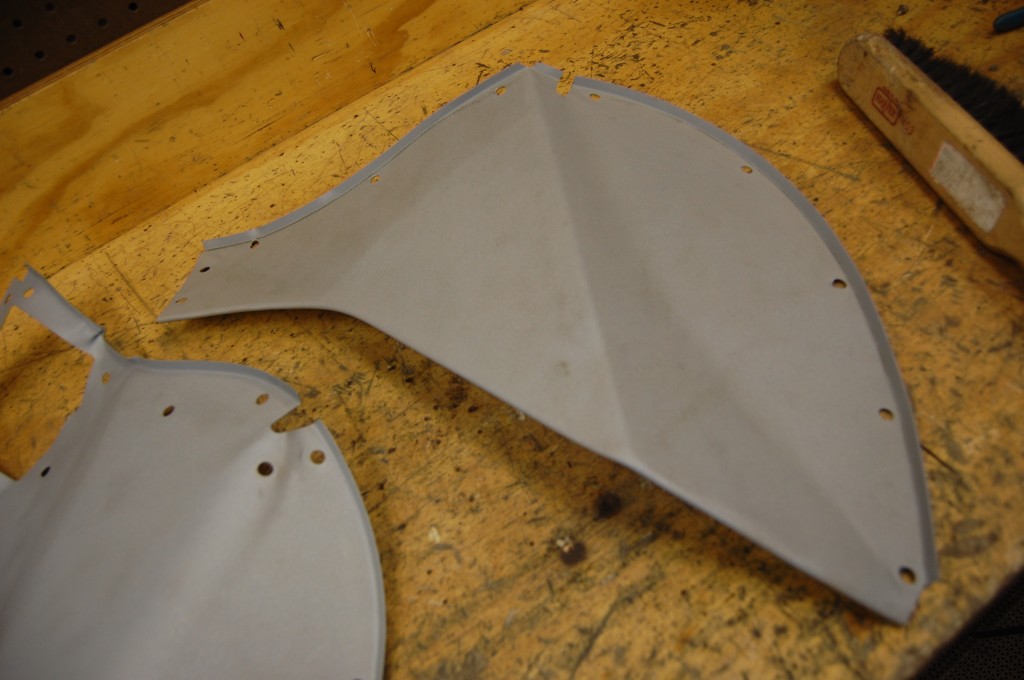
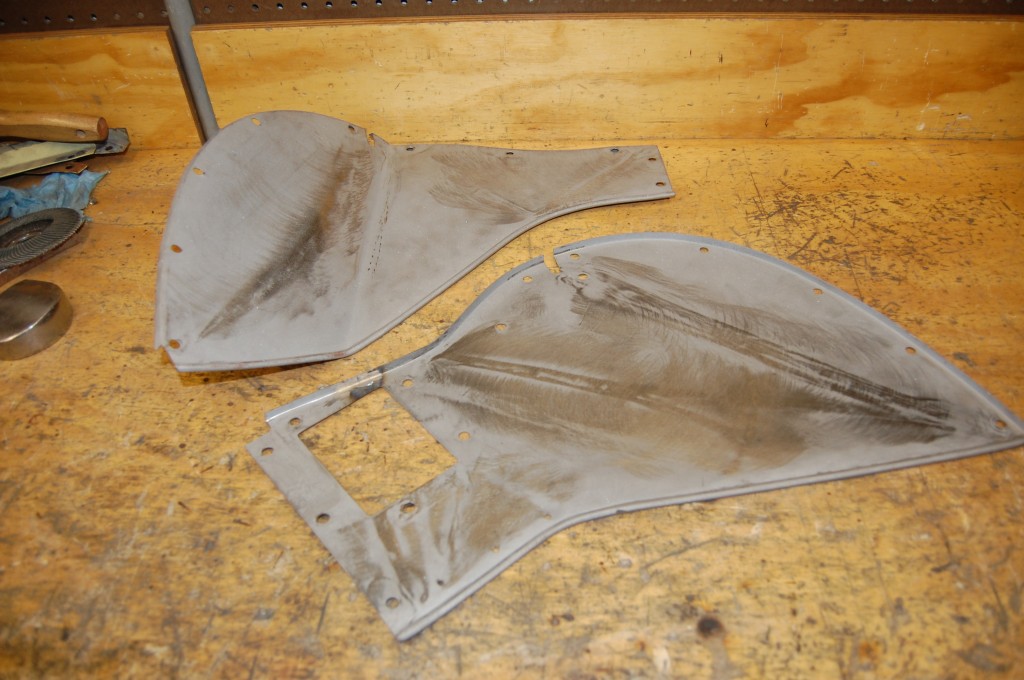
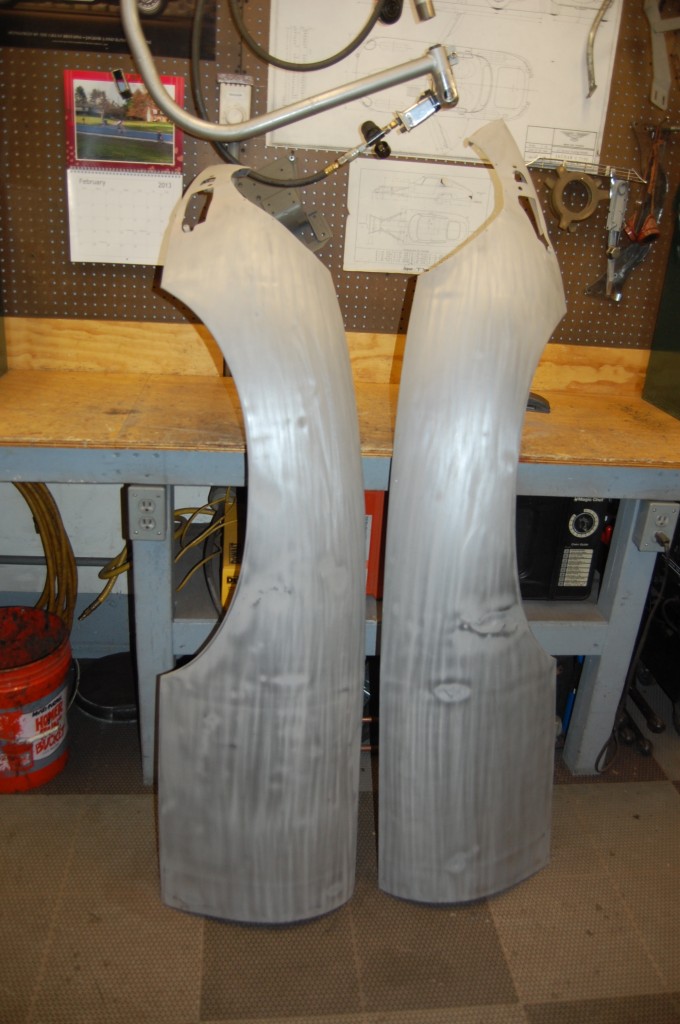
- Over an hour later, and here’s the result. Not too shabby, huh!?!
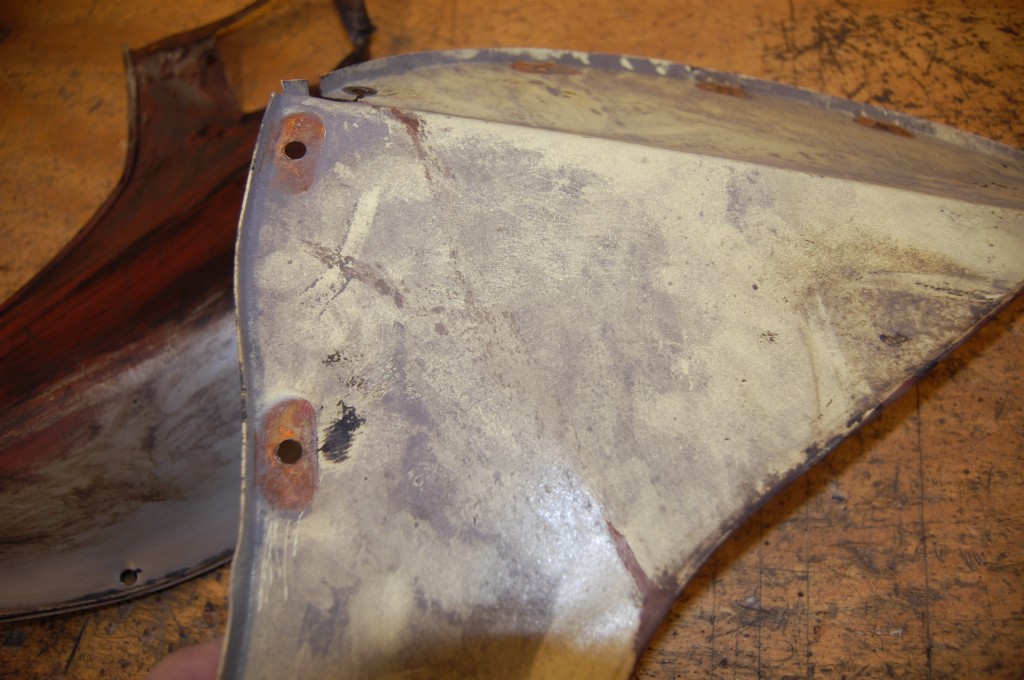
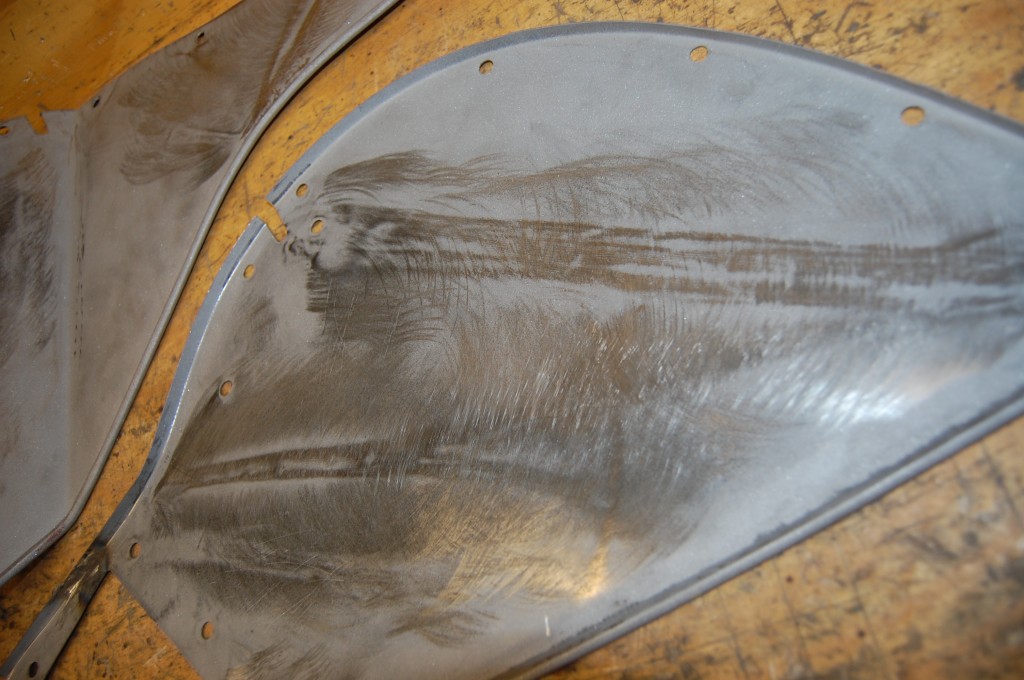
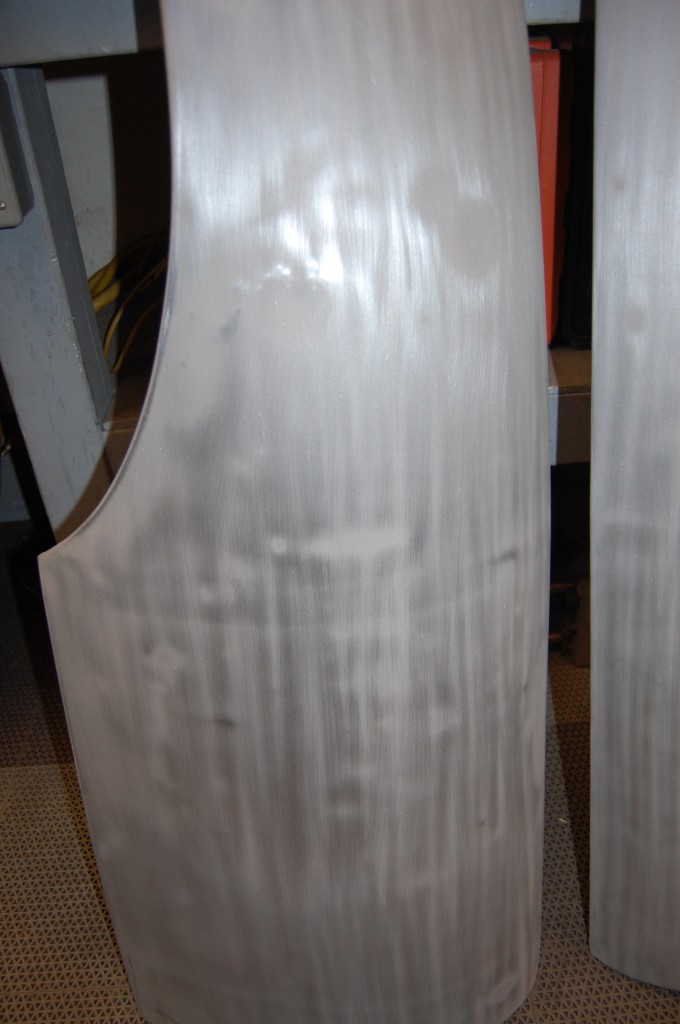
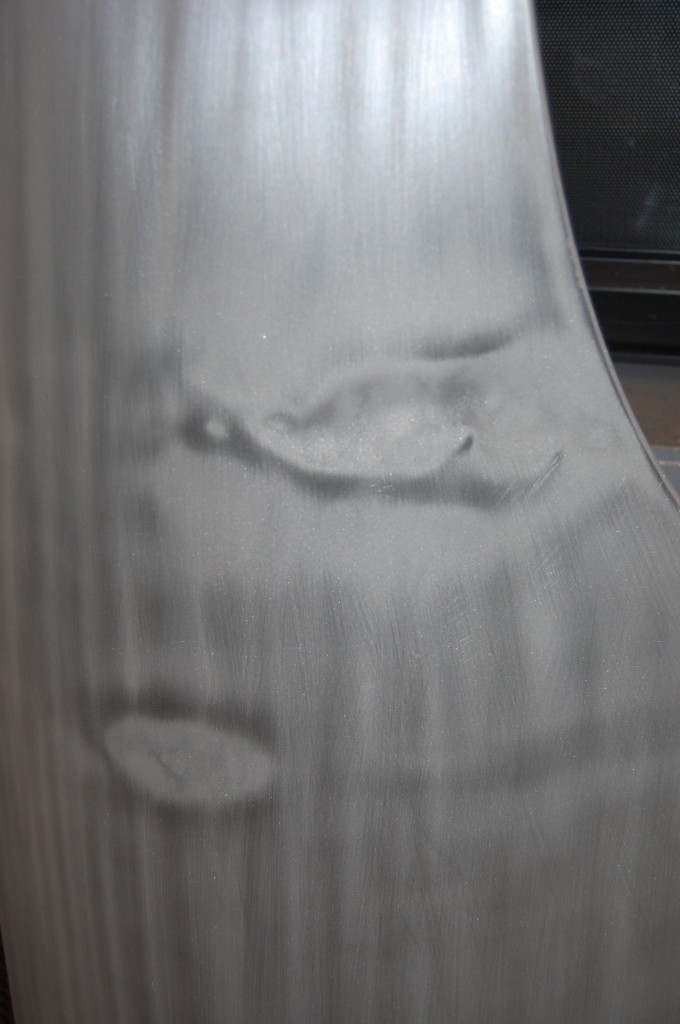
- These marks are what I call a “ghost image” of the damage. I worked these with a slapper and dolly, then ran them through what my guys call “the magic machine” – with my self-invented flattening dies…
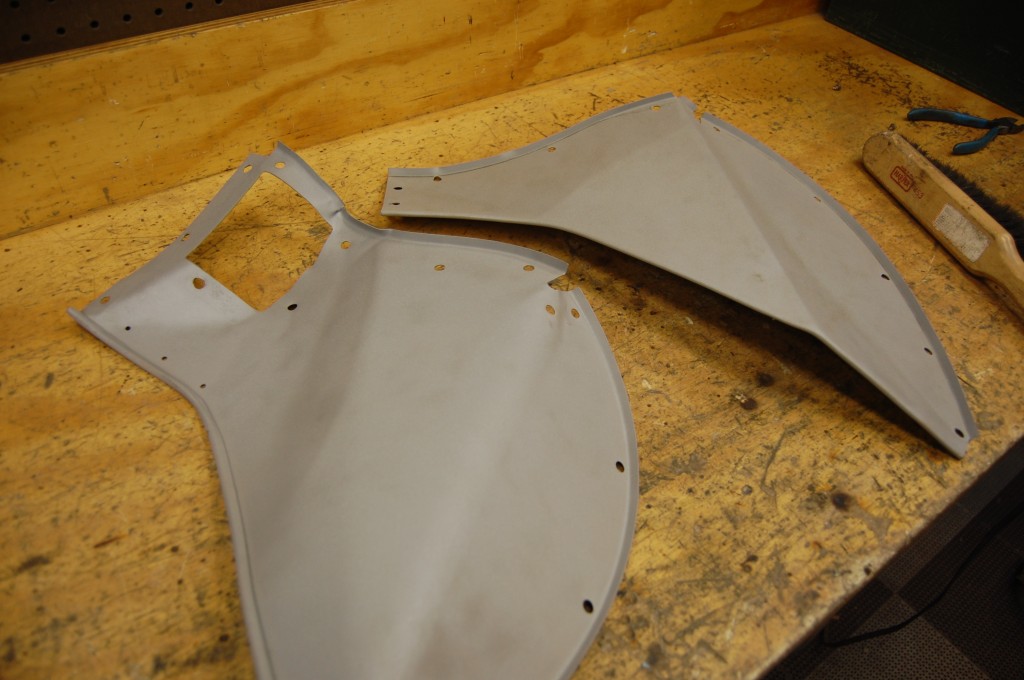
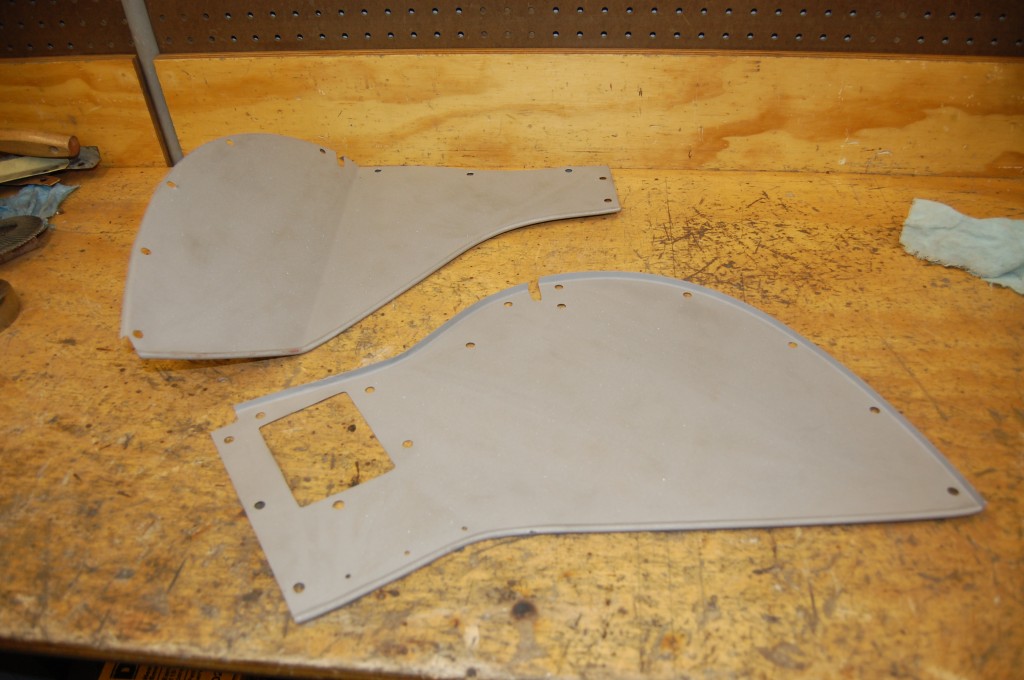
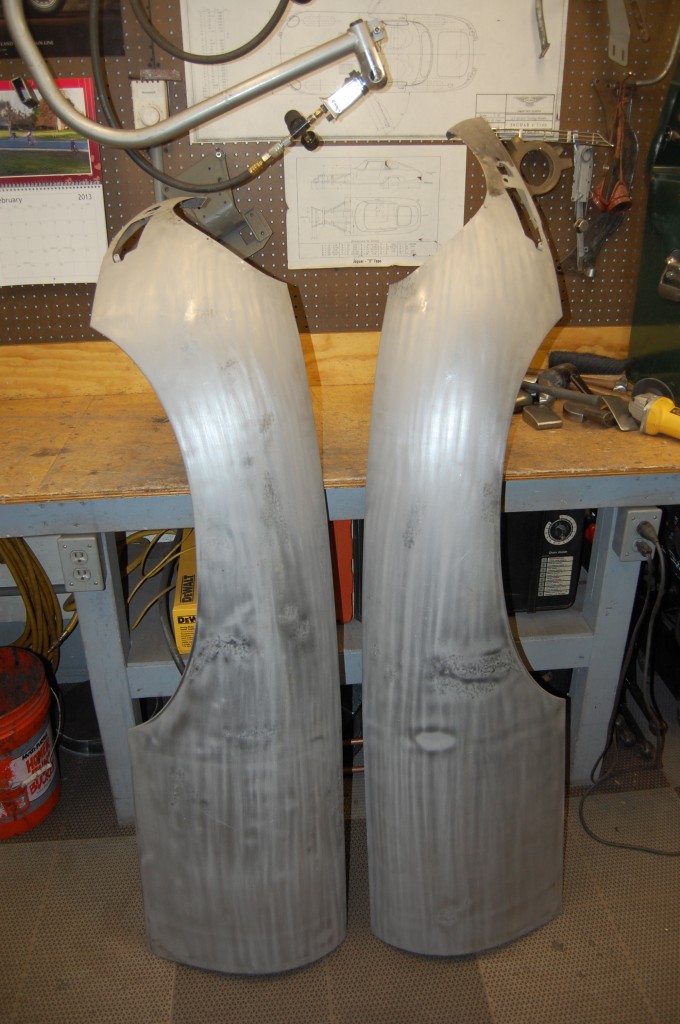
- Here they are after re-blasting them to remove the highly polished surface left by the shrinking process. These are not absolutely perfect, but let me tell you, they are DAMN CLOSE! I think that with a good thick coat of high-build primer, they’d do the trick!
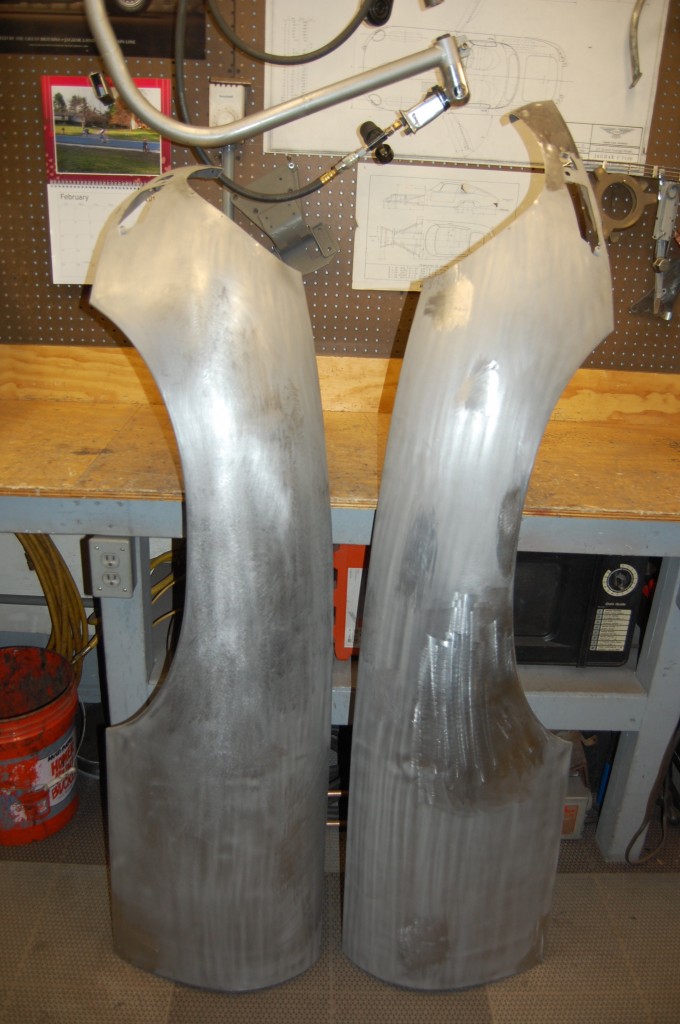
- Now it’s Monday mroning, and I awoke to find the wings and inner valance blasted bare and delivered to the shop already. John does great work – I call him “The Master Blaster” – when he blasts a panel, it is SPOTLESS – inside and out – WITHOUT damage!
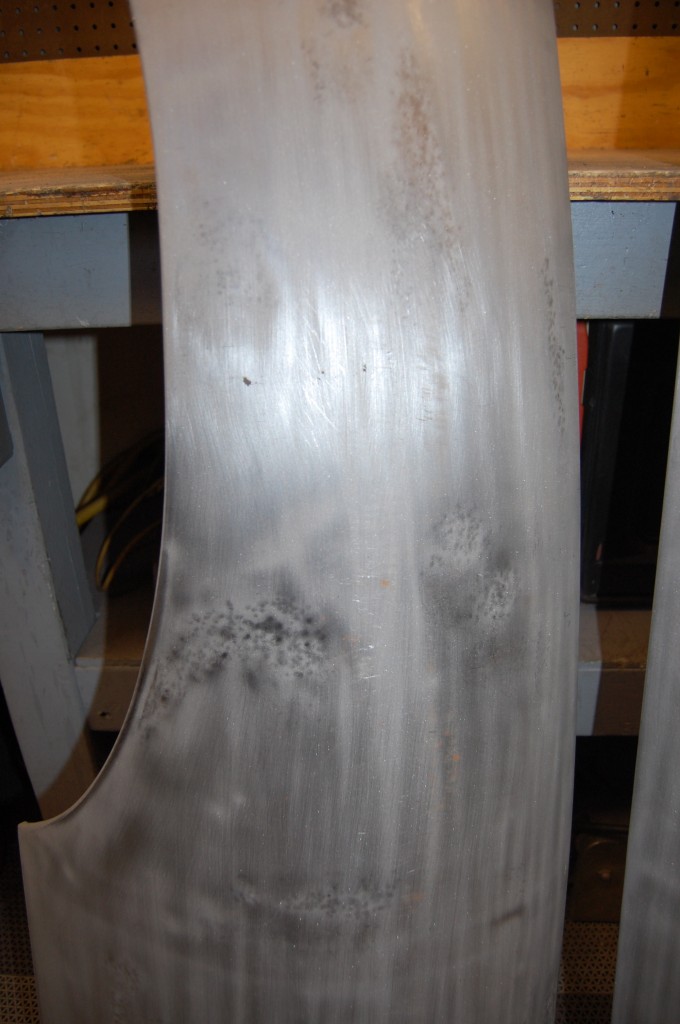
- First step is to scuff the panels with a sanding block to reveal every little imperfection, and as it turned out, these had PLENTY!
- Lots of little bumps in these, but they were mostly shallow.
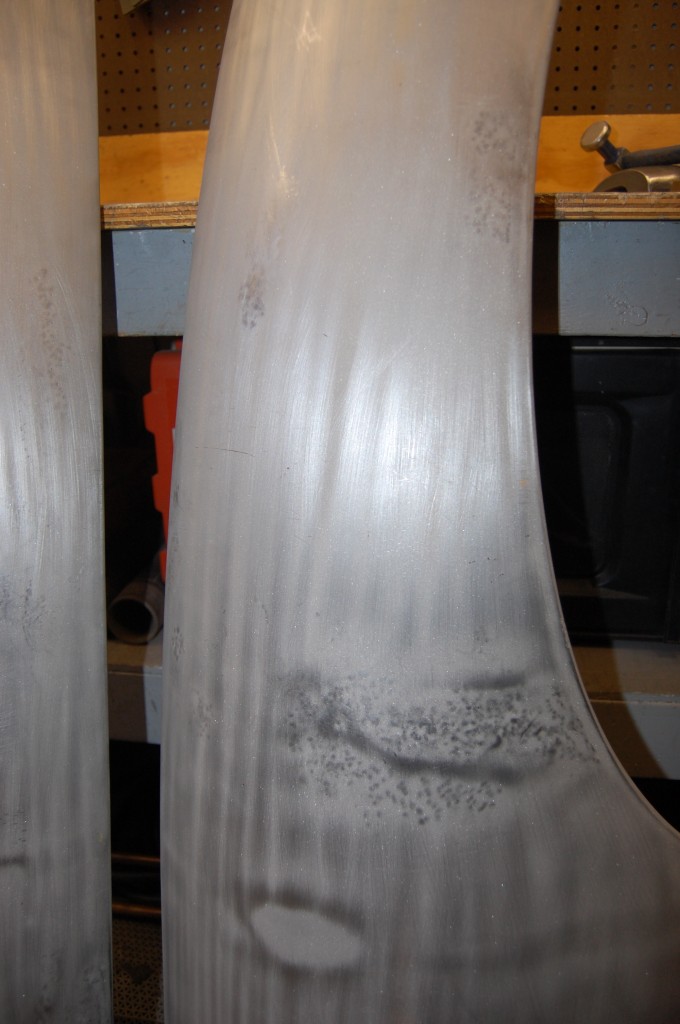
- Except for this mess – a good sized kin that someone whacked with a hammer a few times.
- This is after about 2 hours of hammer and dolly work.
- All of the dents have been carefully brouight up to the surface.
- This area is very smooth now, but still needs shrinking and finishing. BUt even at this point, these wings would be welcomed with open arms by any decent restoration body shop.
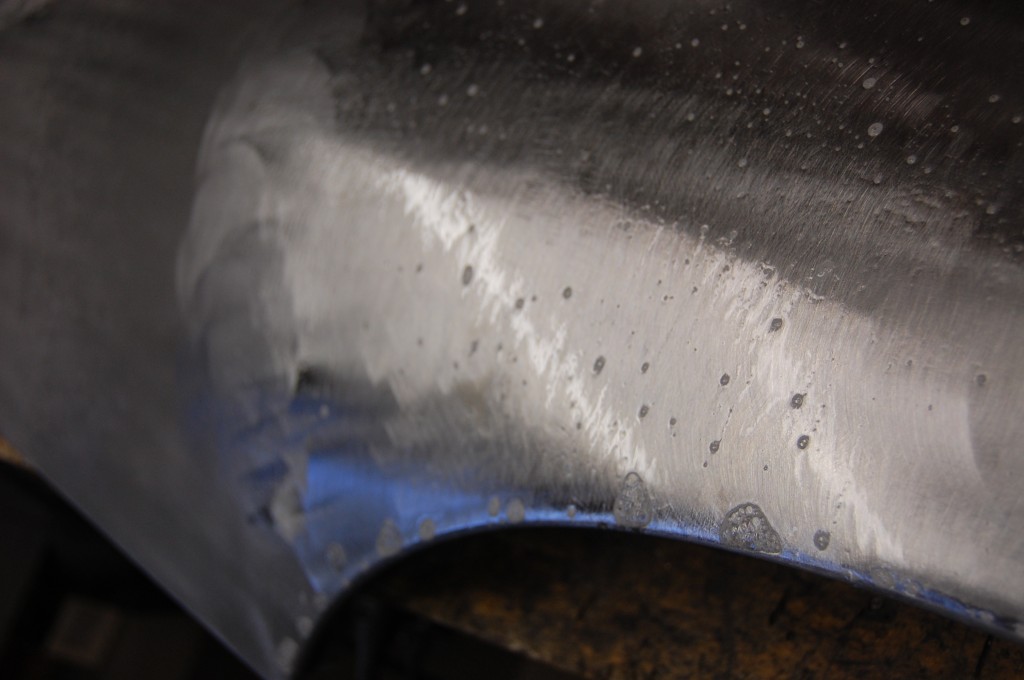
- This is where the big messy kink was. There was a good deal of work here shrinking, and so while scuffing down the burnished surface, I also just SLIGHTLY flattened things evern further to make the area perfect in bare metal. This is covered with soapy water, cooling…
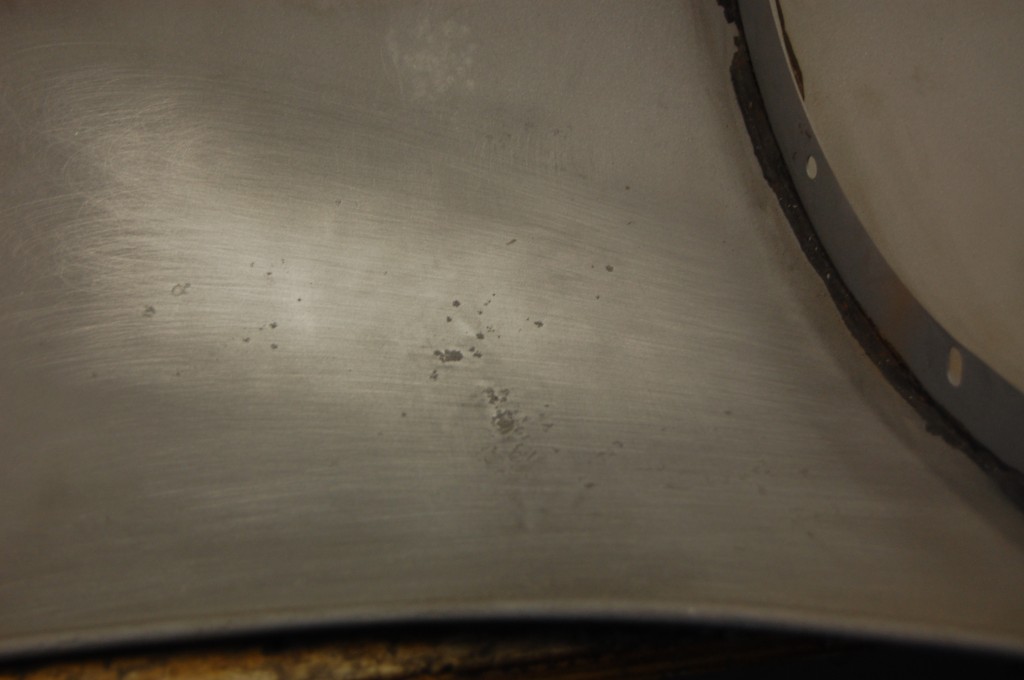
- But just in case you don’t believe me, and think the damage was simply ground down smooth – here is the back side. There are some rust pits where the panel rusted where the paint and undercoating was chipped off from the kink, but otherwise, this is also just about dead smooth on the back as well.
- These wings are now finished and ready for some self-etching primer – BUT, they’re still Series 1.5’s. That’s why the left side is floppy in the front – without the headlamp flange, SEries 1.5 wings have almost ZERO strength up front, and are often kinked and bent up there like these were.
- After some lunch, the wings were bolted to a perfect Series 1 center section, and laid over the shear to be converted with out covered headlamp flanges.
- Here is the other side. It’s Monday afternoon, but I still count this as a “weekend rally”, because today is President’s day… That is Barbara Stanwyck on the TV – it was a 15-minute short on here career between movies on TCM. Throughout the work on these wings, I watched “Mutiny on the Bounty” – 1962, then “Grand Prix” – the greatest movie of all time, then “The Time Machine” – also a great vintage flick!
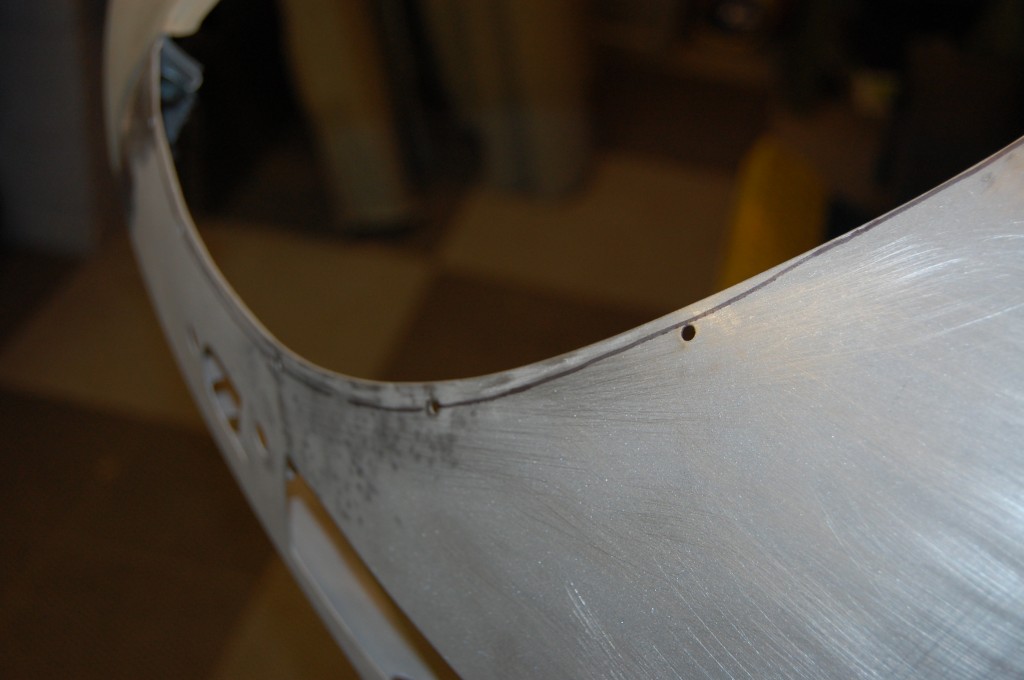
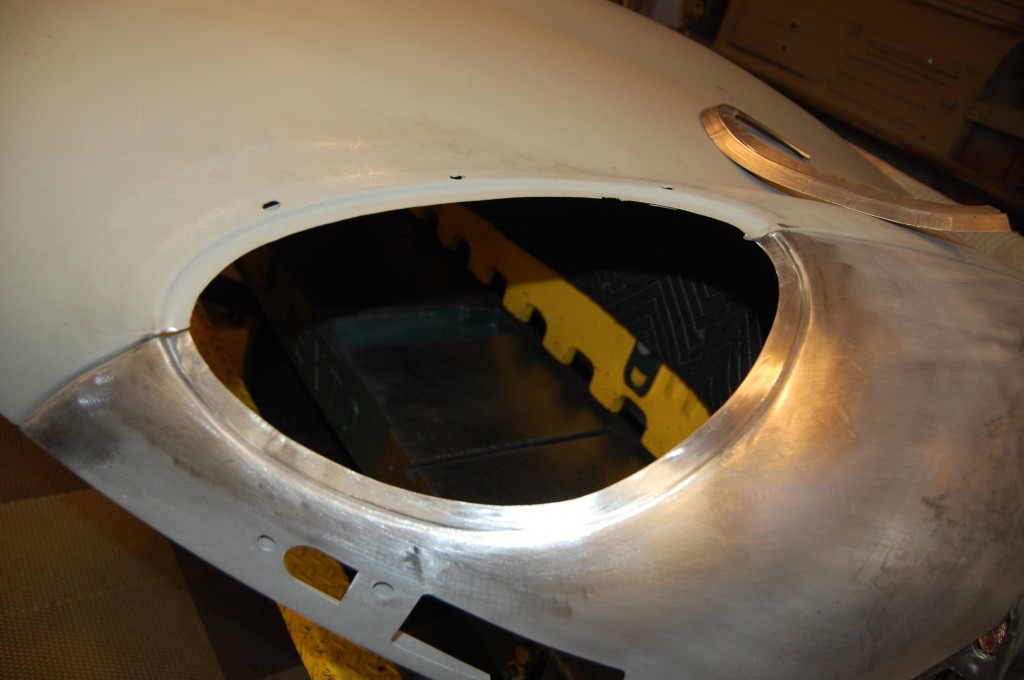
- First we mark a line to trim these back 1/4″ from the proper Series 1 flange location.
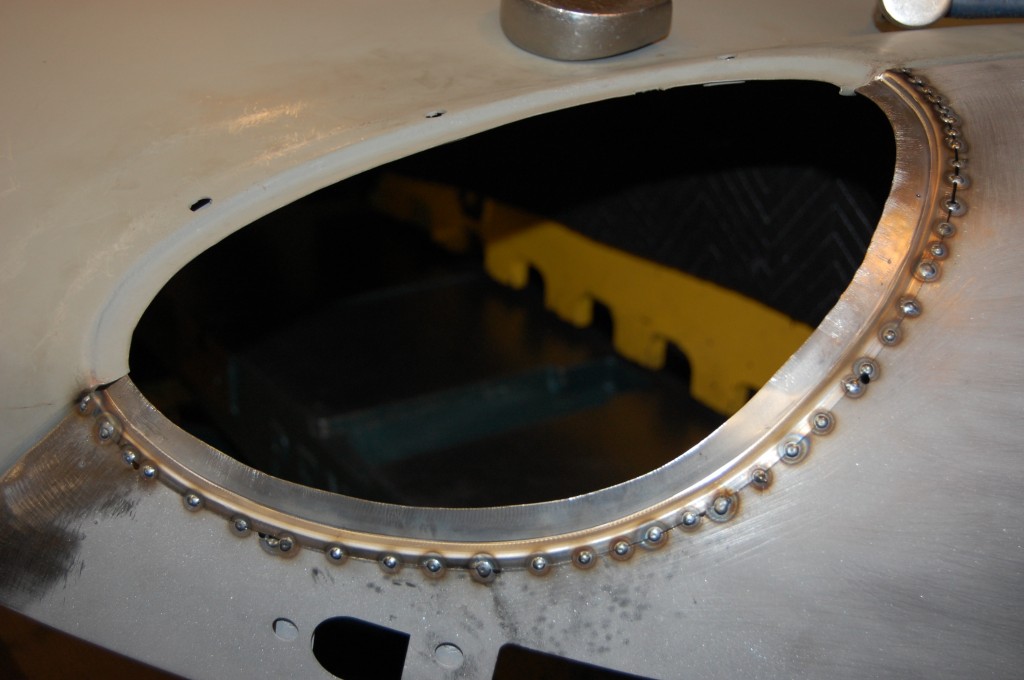
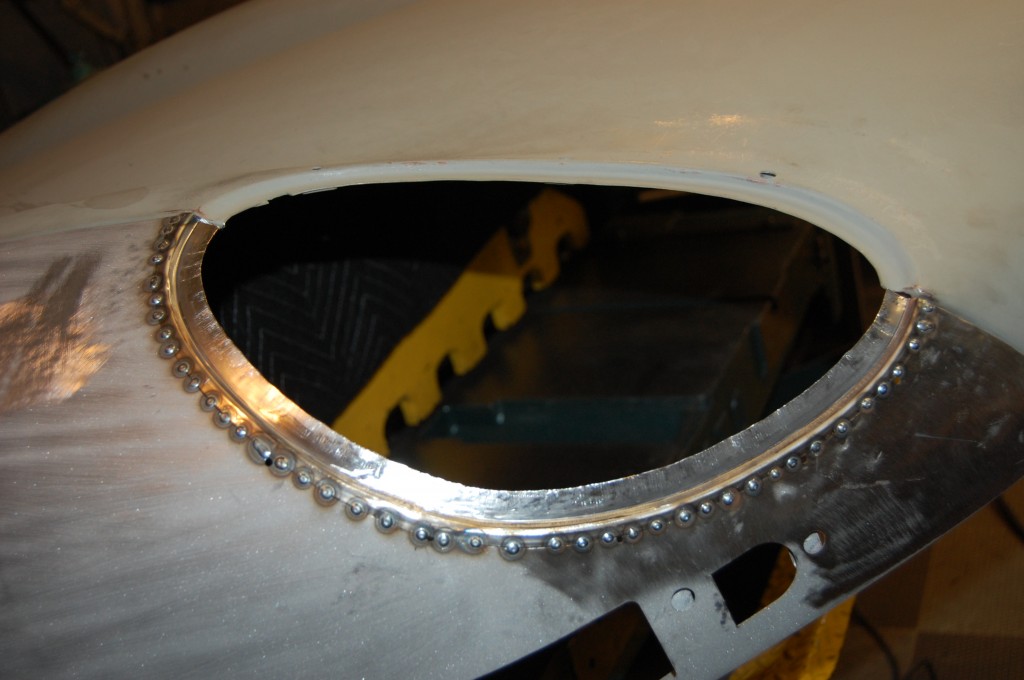
- Then we position and tack the flamnge in place with the MIG.
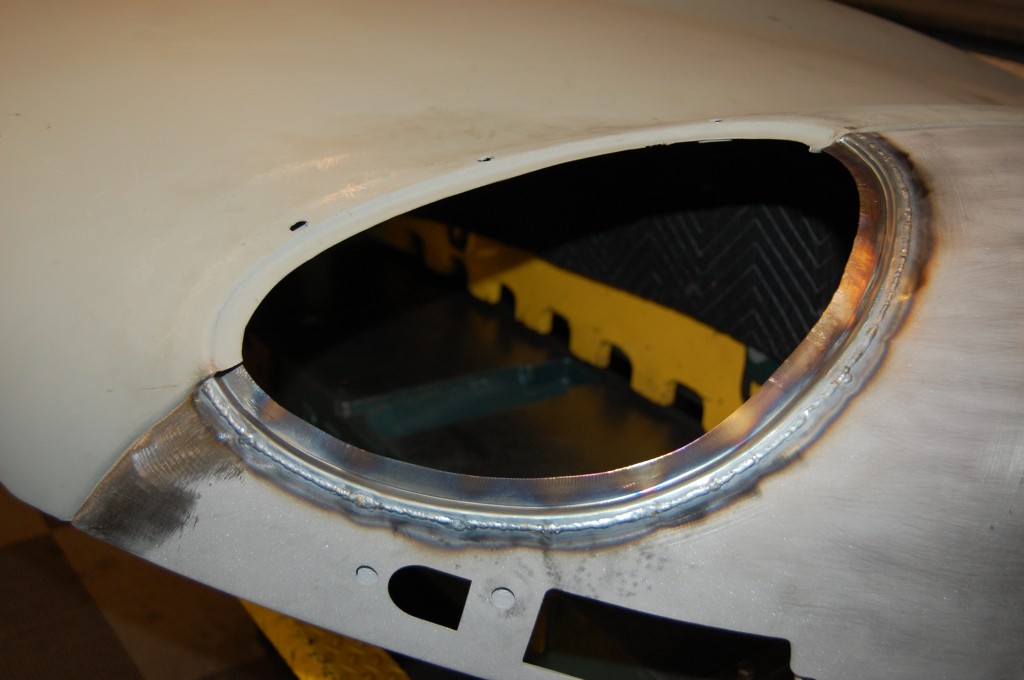
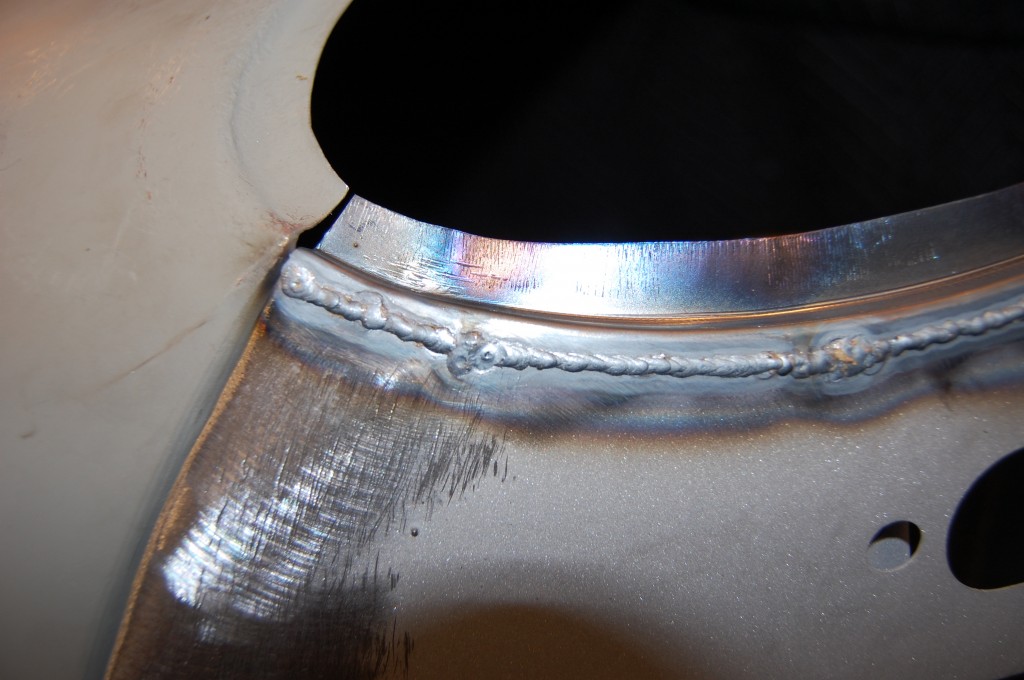
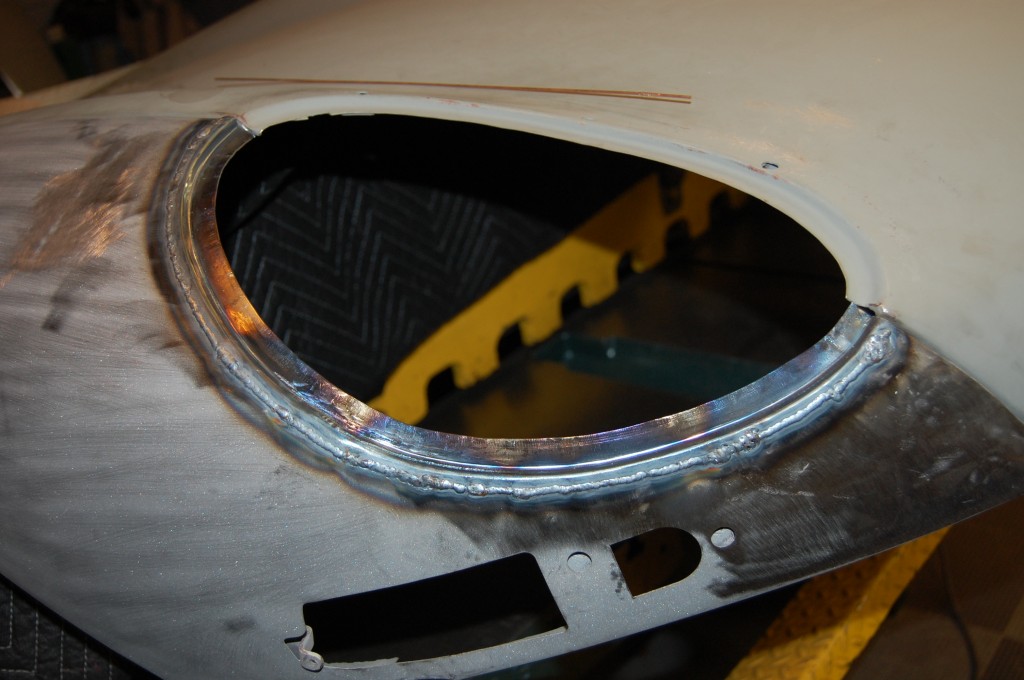
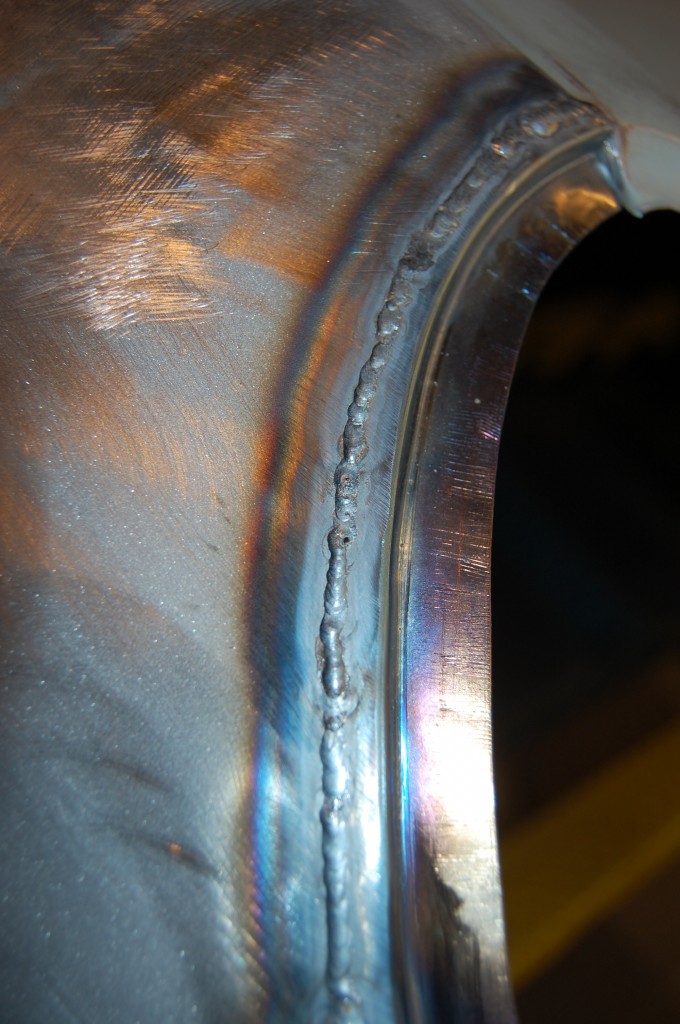
- Then we use the TIG to get a good, solid weld that adds the minimal amount of heat to the panel.
- Practice makes perfect with the TIG…
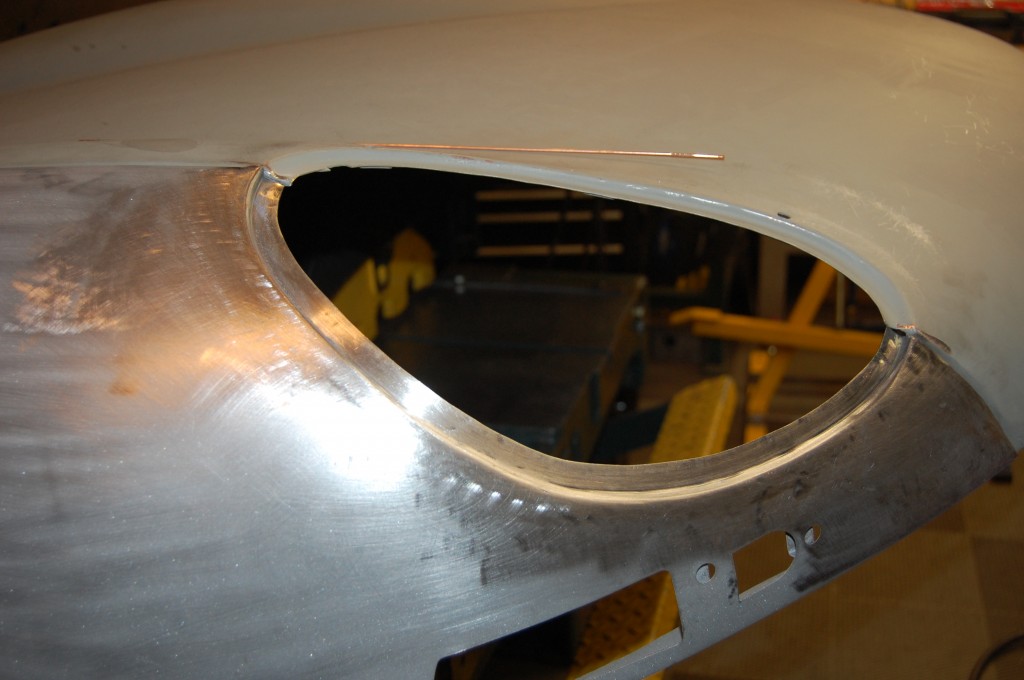
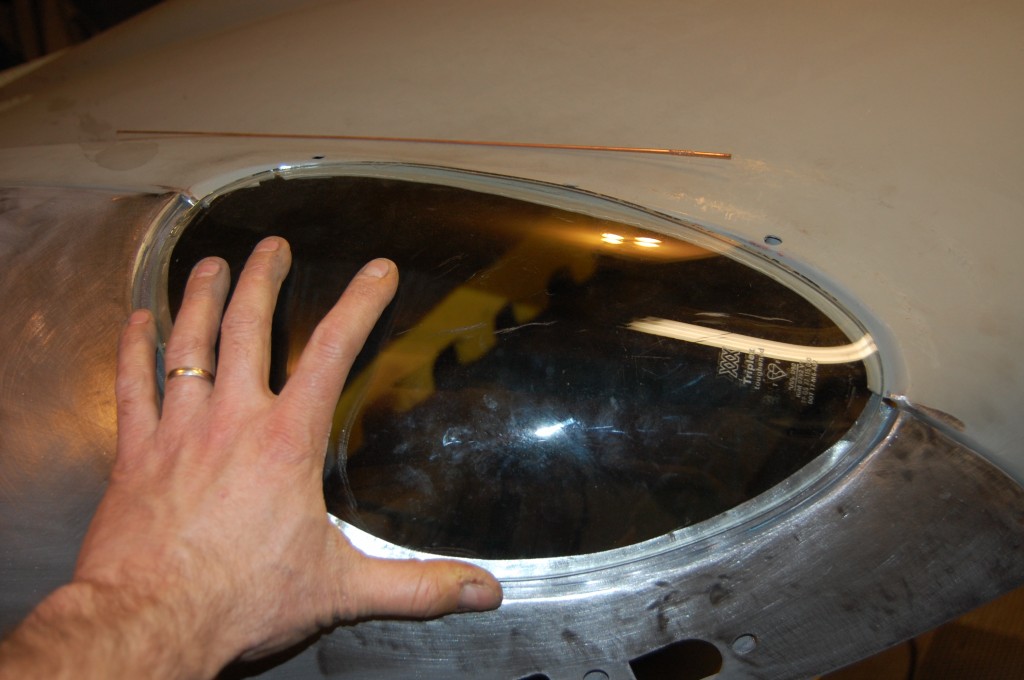
- Then we grind and sand down the weld, to reveal a perfect Series 1 wing!
- Over to the other side, the flange is tacked into place…
- …then TIG welded…
- …taking our time here…
- …then grind and end the weld, and…
- Viola! Another perfect Series 1 wing to match! And – it’s still Monday of the three-day holiday weekend, so aside from priming the pieces – Mission Accomplished! And that’s a good thing, since it means we can now ship the shell and get more space for the upcoming construction to finish off the interior of the new shop!

