We’re coming down the home stretch on this ’68 OTS – and that’s good, because we’ve got plentry more E-Types waiting for their turn in the rotisserie!
This Spring, we’re going to build new rotisseries – probably two. The goal is to build something that can be easily transported back and forth to the blaster, has a smaller footprint, but still locks the shell into a solid structure. Our current rotisserie is great (if not very pretty…) – it lines up an E-Type shell laser straight. But unfortunately, it’s design makes it pretty much stranded at the shop…
Over the past week, we have repaired rust in the rear lower valances on both sides. This is a REALLY time consuming repair – and to be honest, I’m not even sure why – the clock just seems to spin around faster during this one. What takes the time is not so much the lower valance skin itself, but getting all of the inner structure repaired to mate with it cleanly.
We fabricate ALL of the panels in this area, and offer them for sale – as always, drop us an email or give us a ring if you need help down here!
- RH side – we’ve dissected the rusted areas from the outer skin and the inner support panels.
- Another shot. The dolly you see in the background is not defying gravity – I took this shot with the car turned on it’s side, and standing on one of the main support beams of the rotisserie…
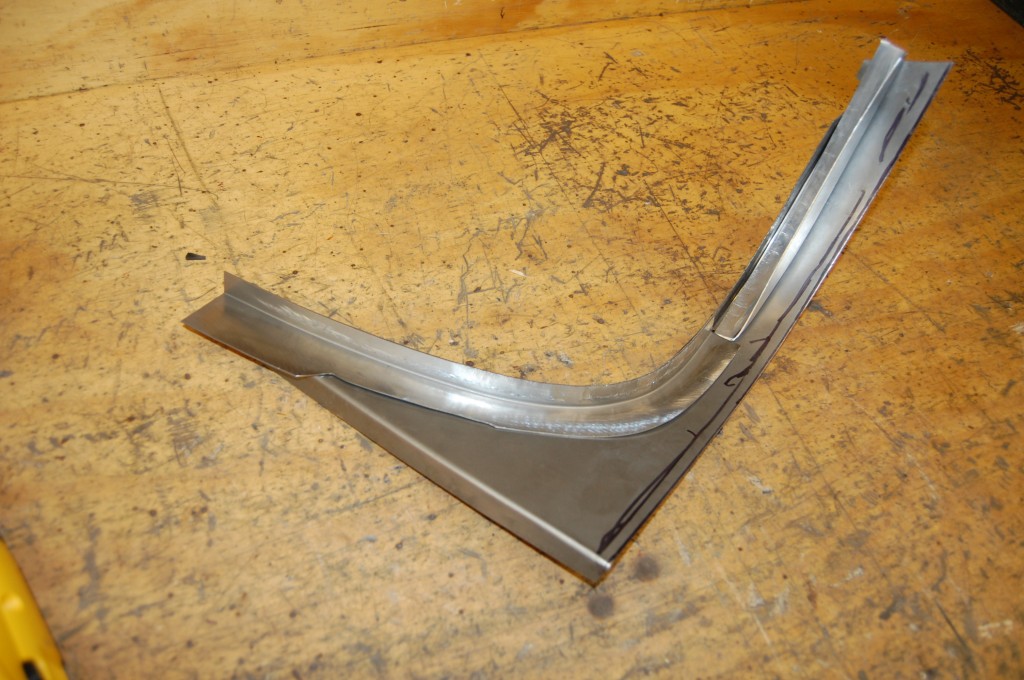
- Here, we’ve formed up a patch for the rear edge of the wheel arch.
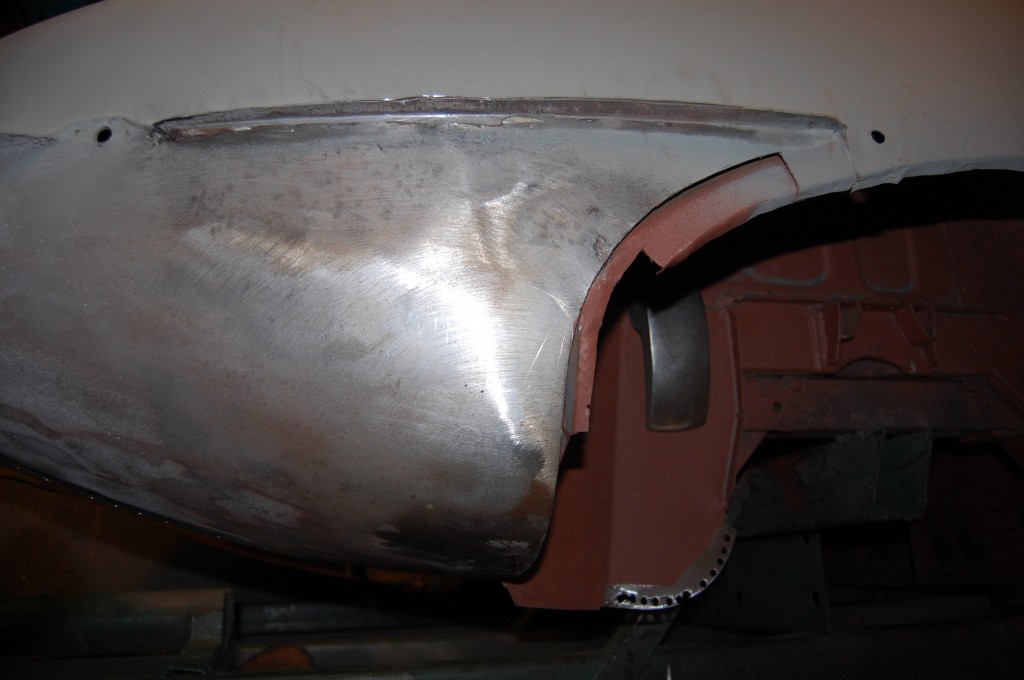
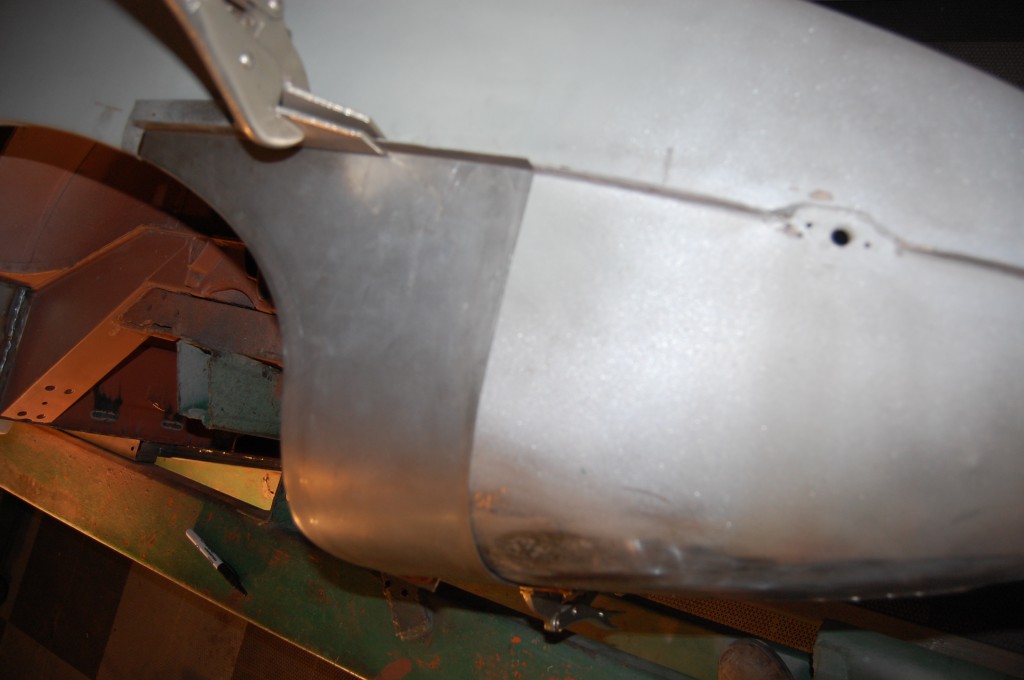
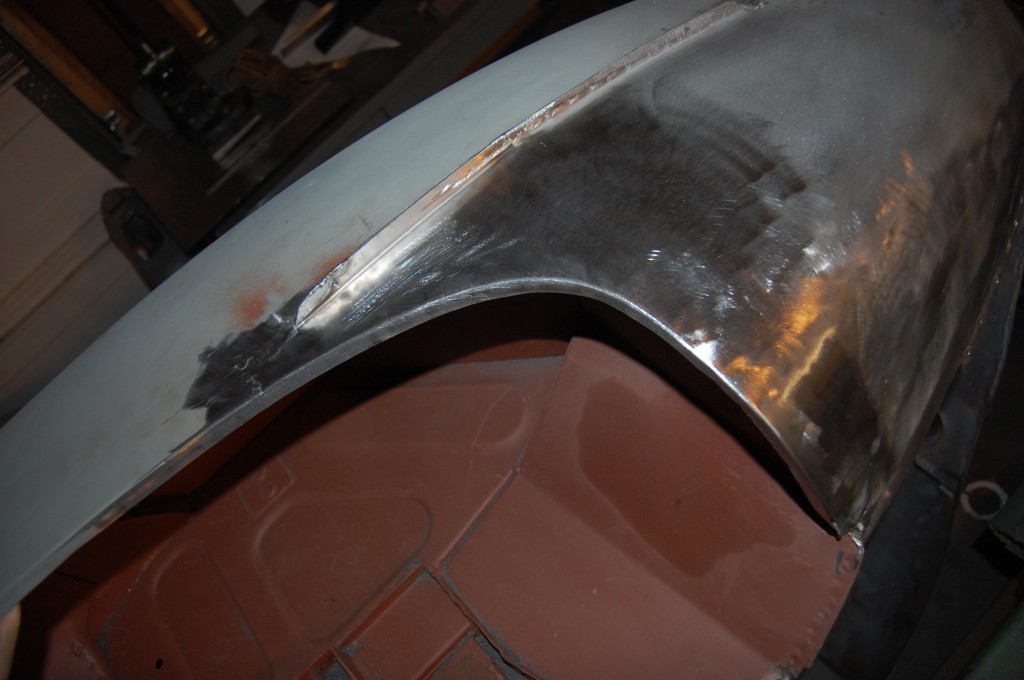
- This side wasn’t too bad, so we didn’t need to resort to one of our standard rear lower valance repair panels. You should always try to limit the size of the new piece being introduced.
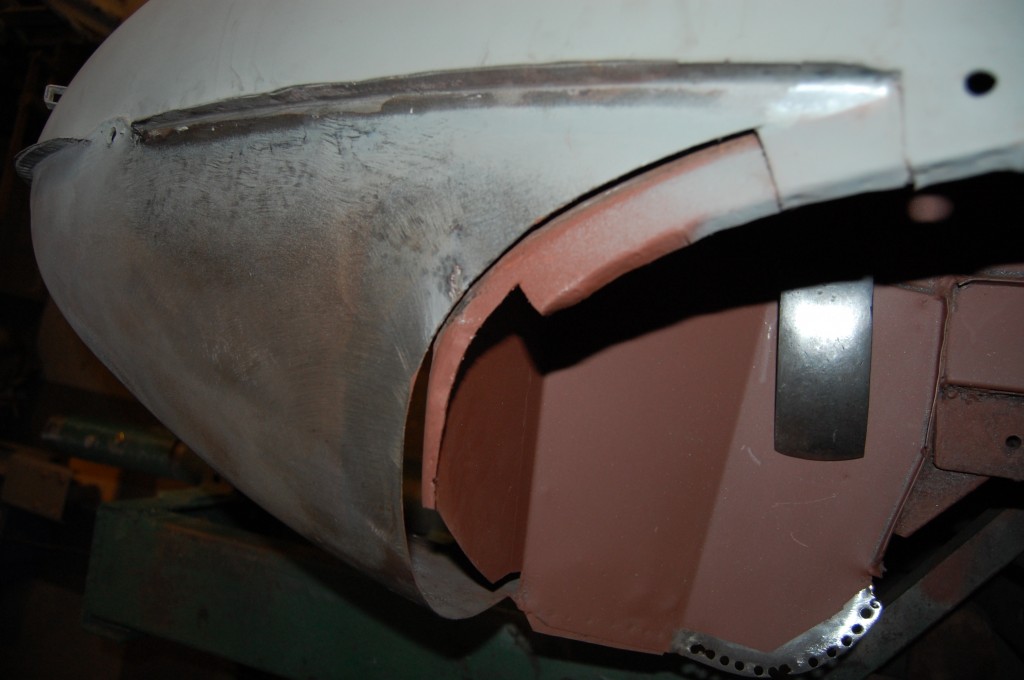
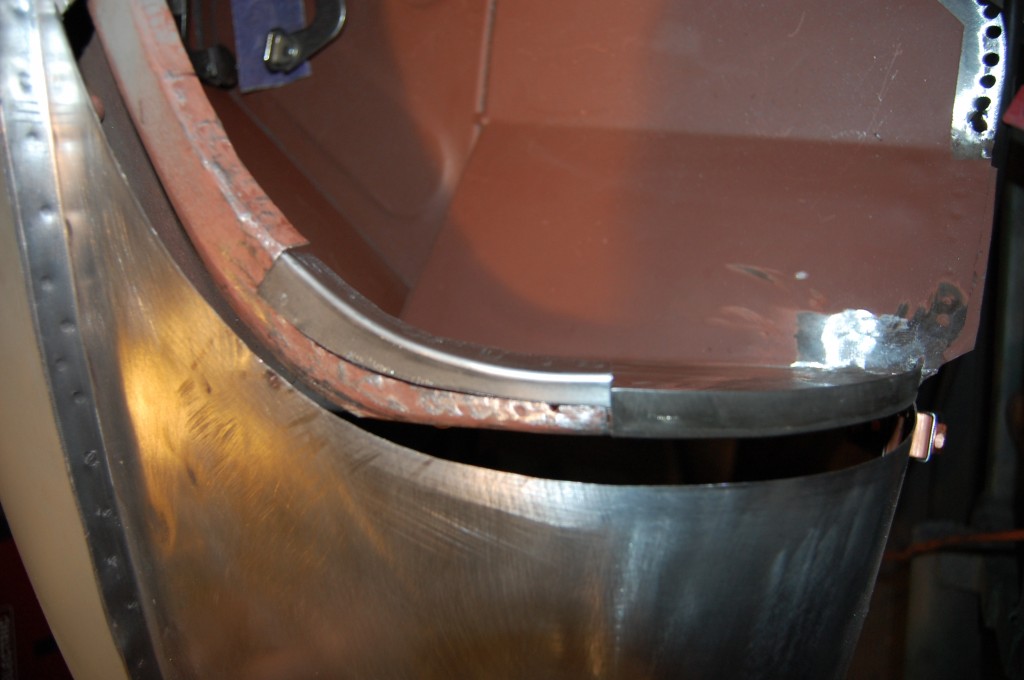
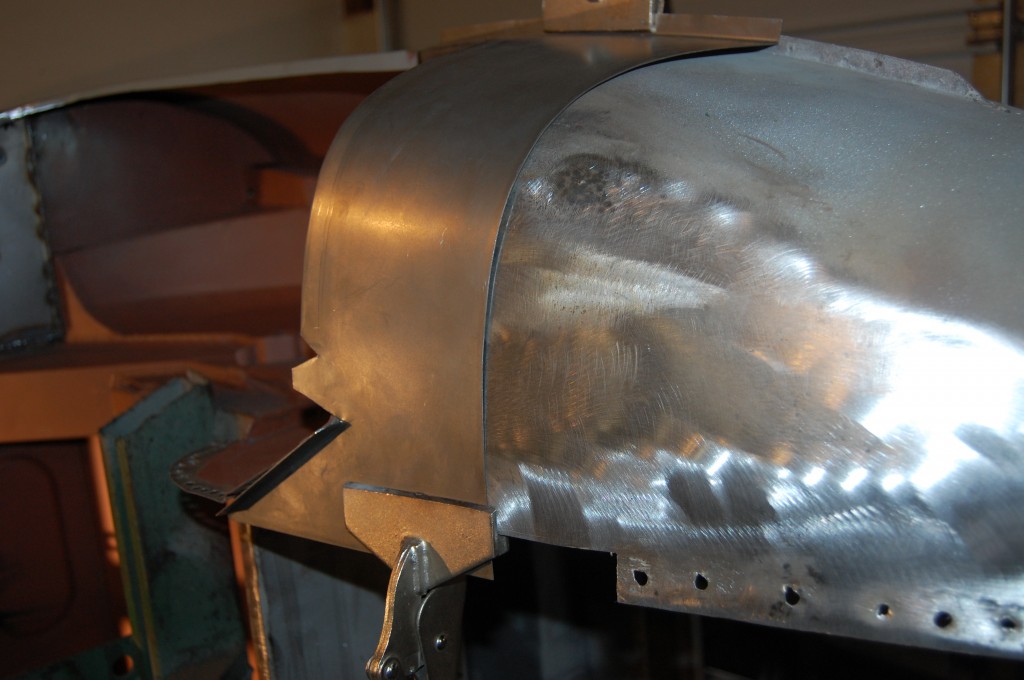
- The new piece wraps all the way around. You need to form this piece first, THEN form up the inner repair sections to mate up against it snugly.
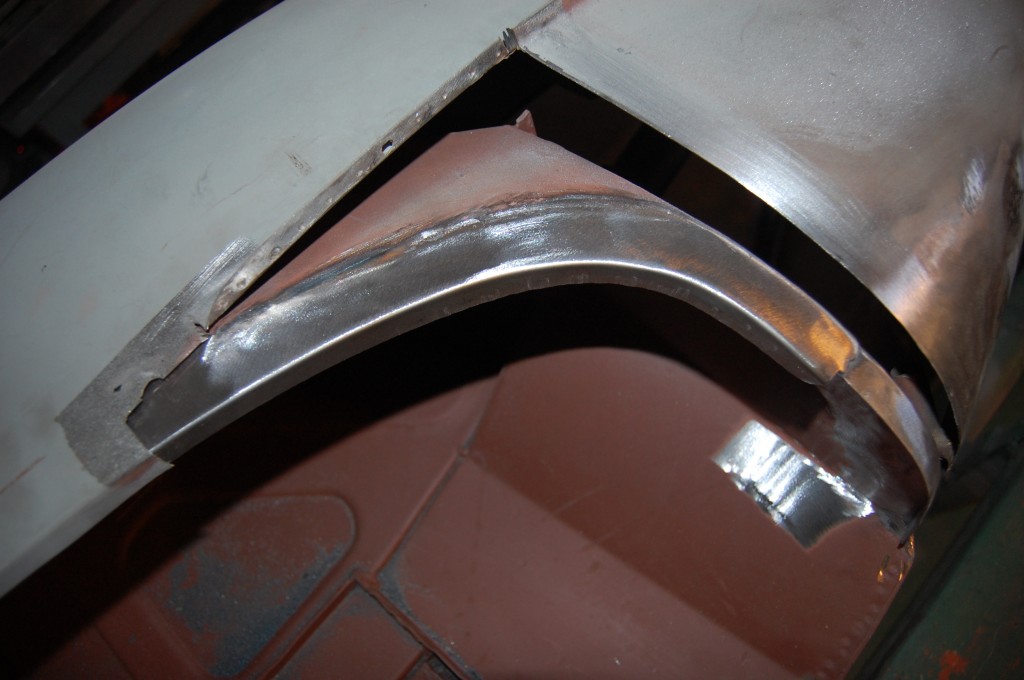
- In this shot, the repairs to the inner pieces have been made and sanded down smooth.
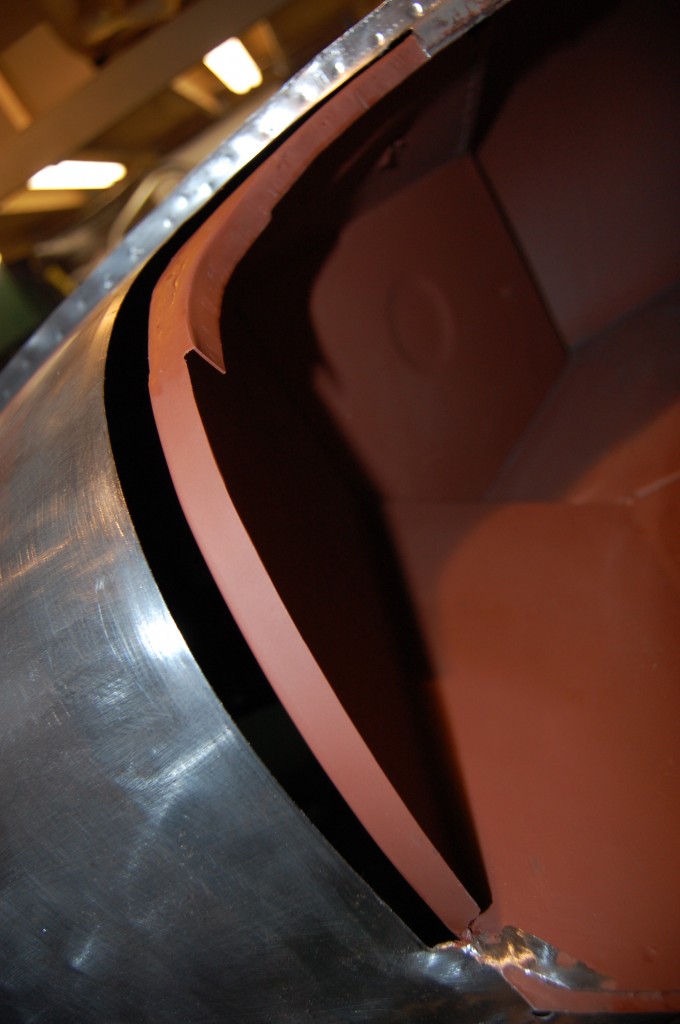
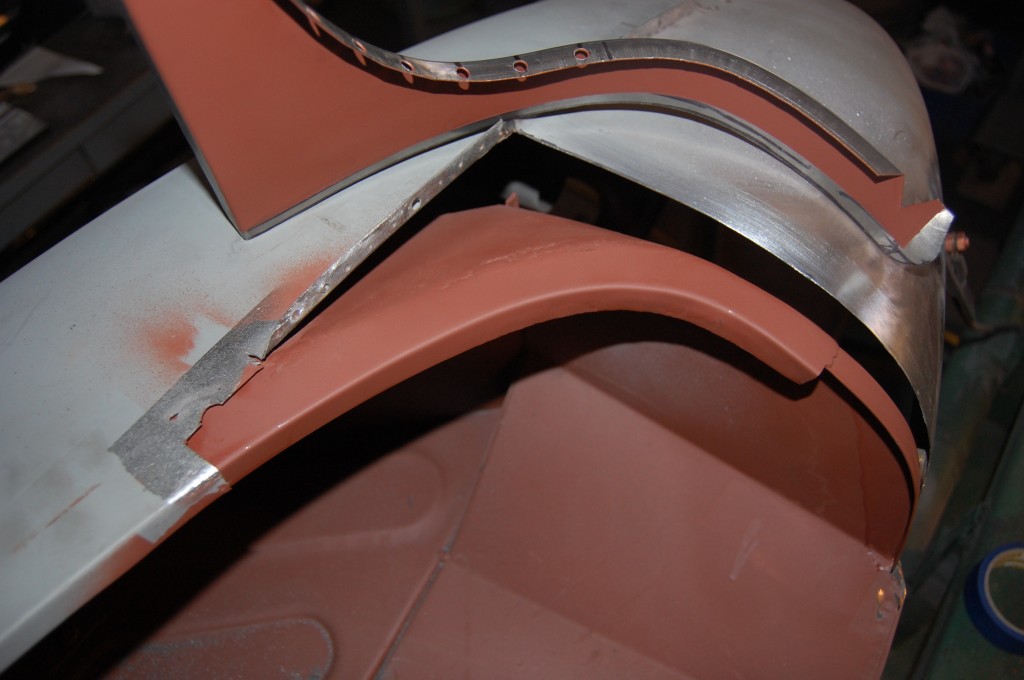
- Next, they’re coated with red oxide. On these rear valances, we don’t need to spot-weld the outer skin to the support piece – it’s not structurally crucial like in the sills. So we coat the piece and will seal this up with seam sealer from both sides later at the body shop.
- Another shot of the internal repairs.
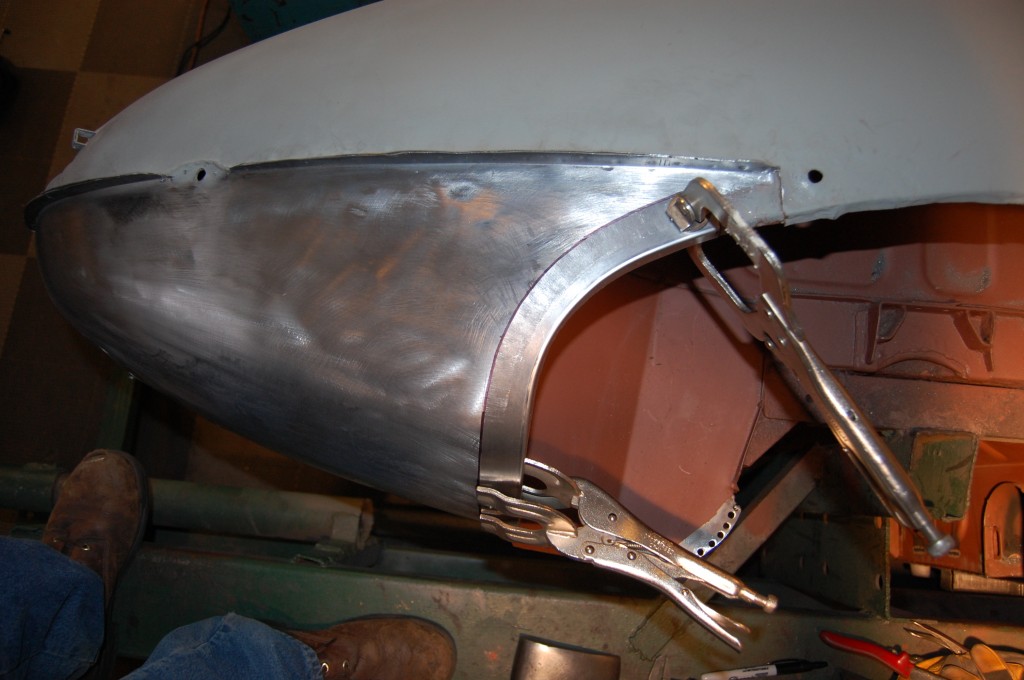
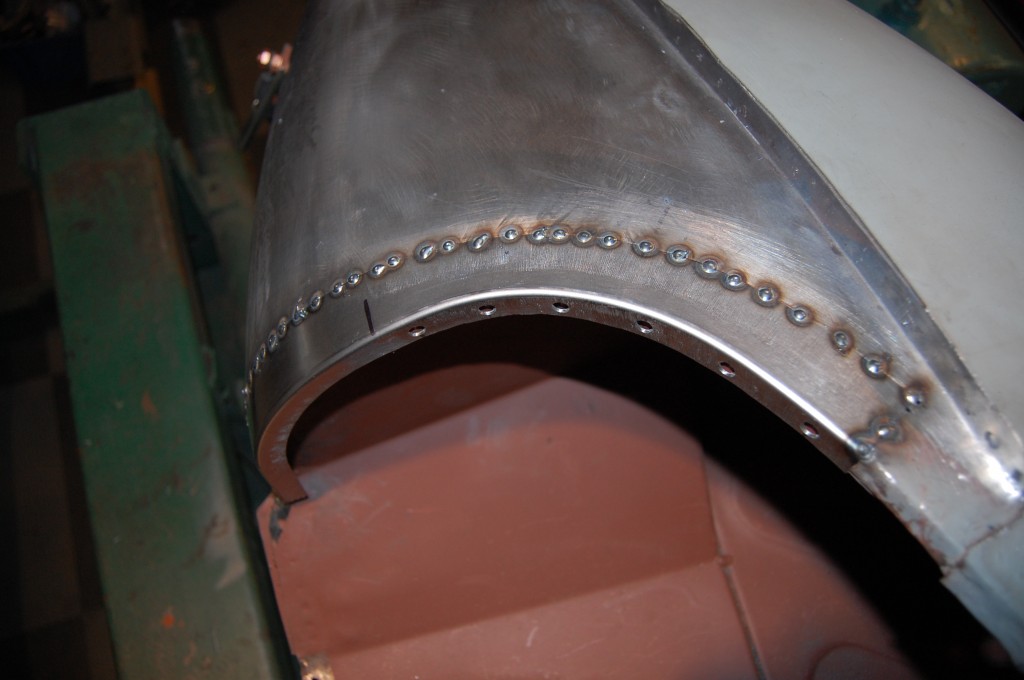
- The outer repair patch has been tacked into place with the MIG. This is a time-consuming step, as fitment against the original metal is crucial.
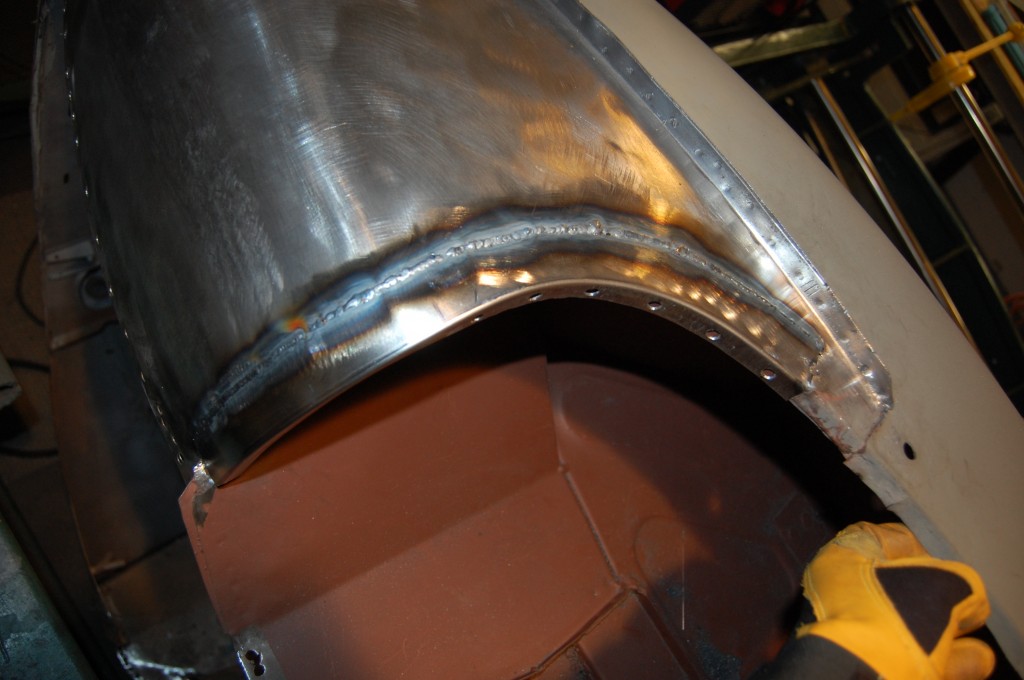
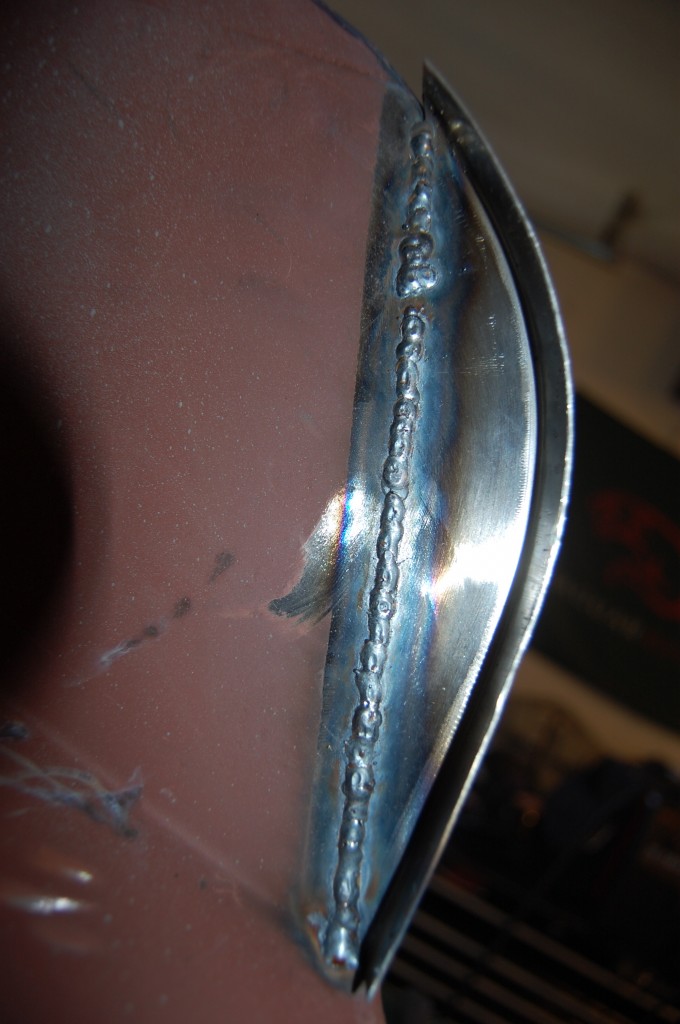
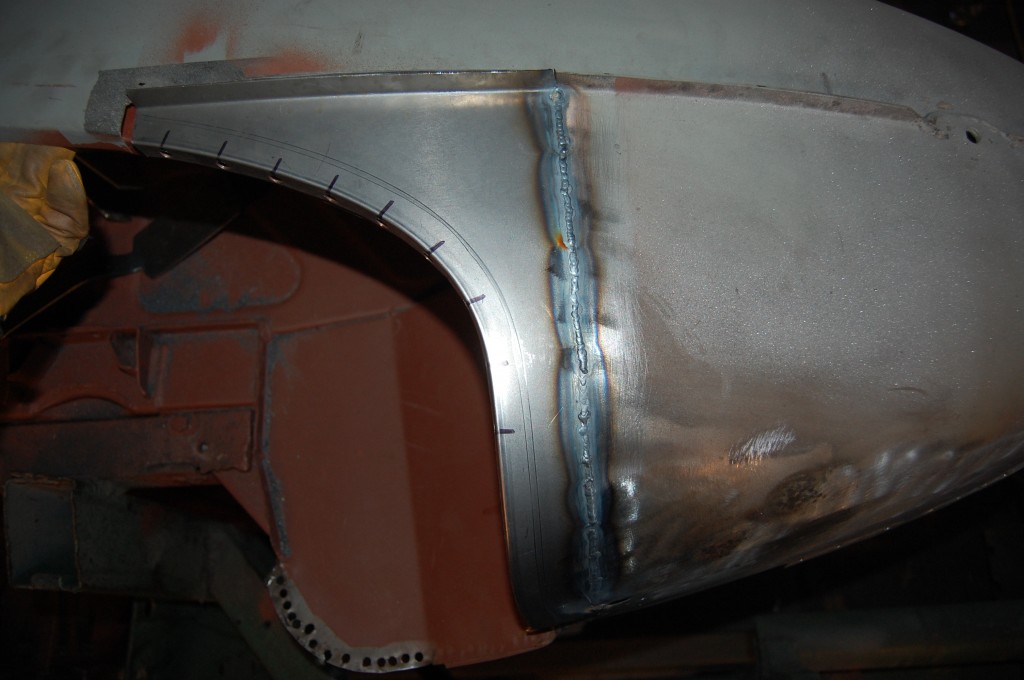
- Next, we TIG-weld the patch along the entire seam. Also time-consuming, as we take out time, and since I have to do this while straddling the support beam of the rotisserie, and working the foot pedal situated on the other support beam…
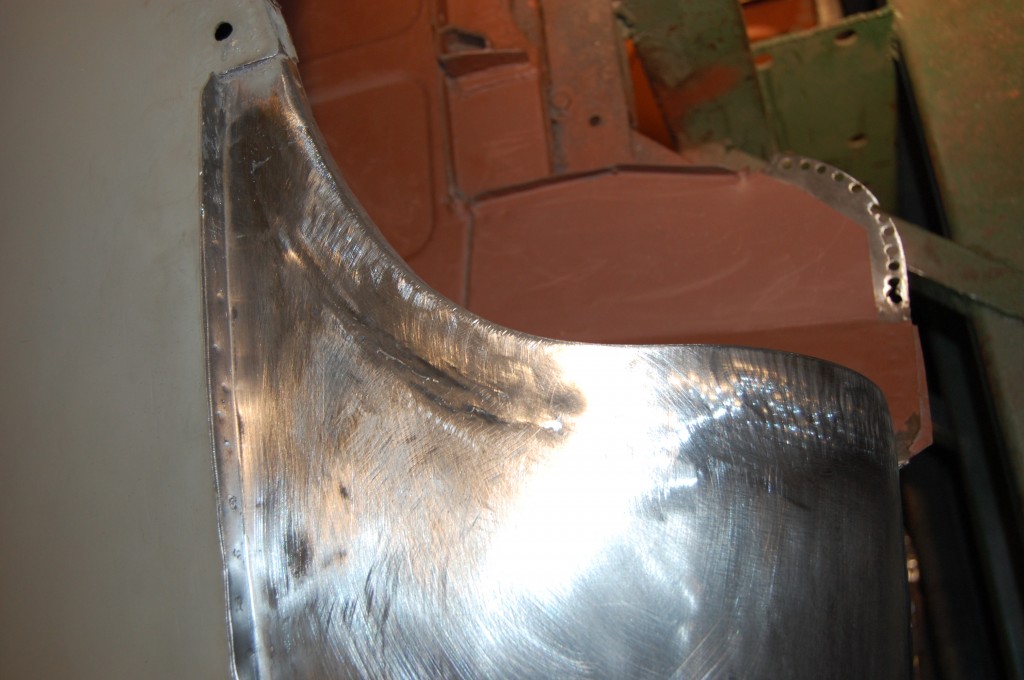
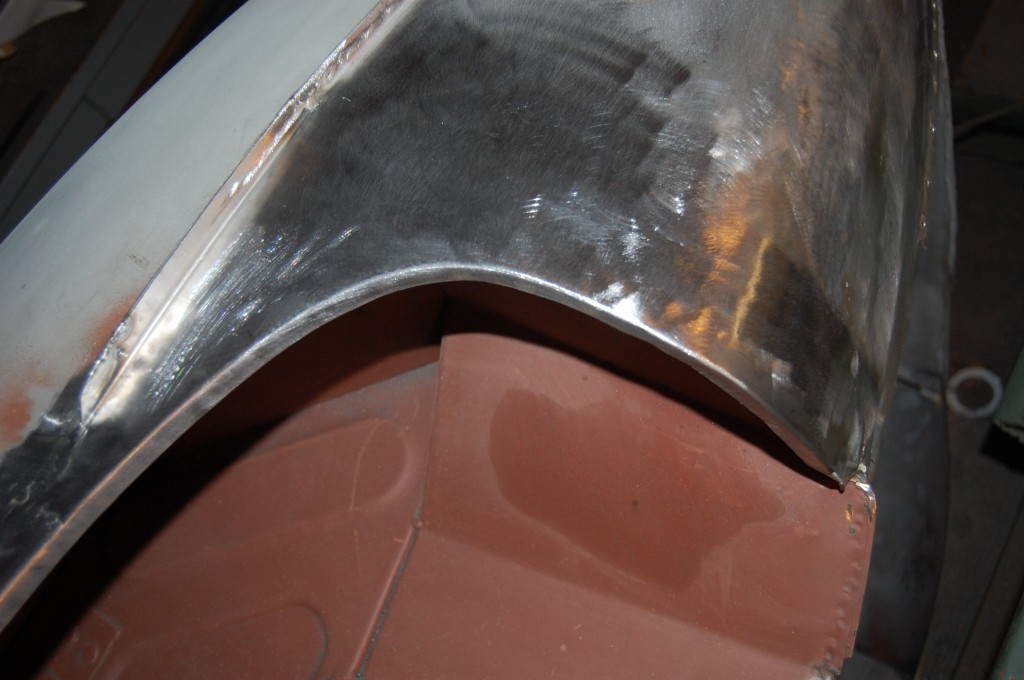
- The weld is sanded down smooth and gone over with the shrinking disc. This side was a little persnickety in the smoothing phase – thre was trouble, and we had to break the welder back out…
- But all’s well that ends well, and this reapir is now solid. A little filler (1/16″ tops) will finish things off down here nicely.
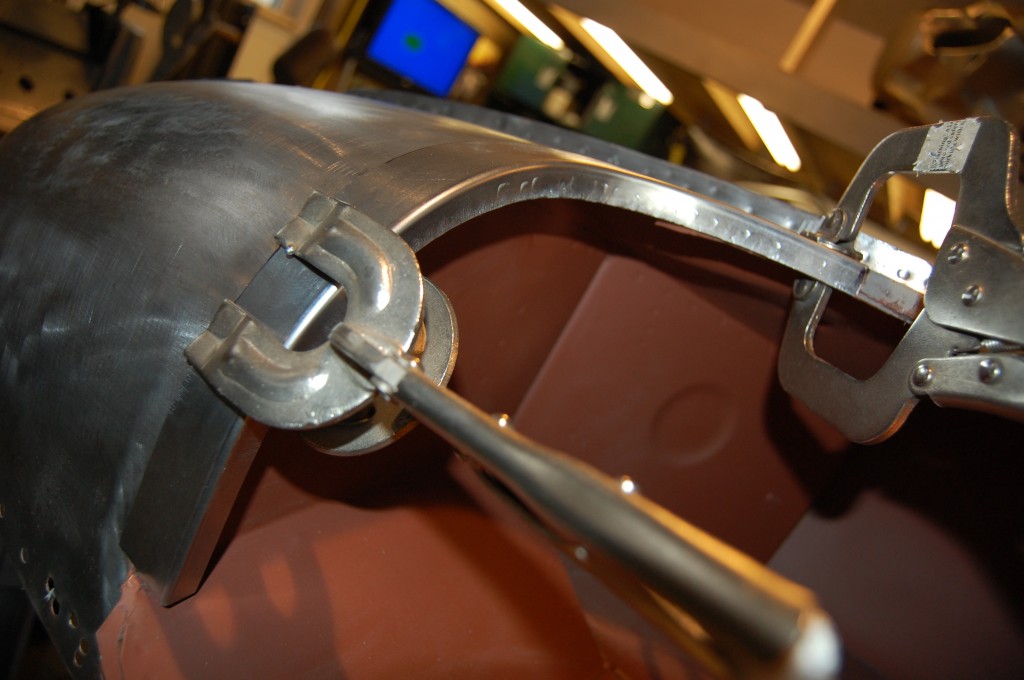
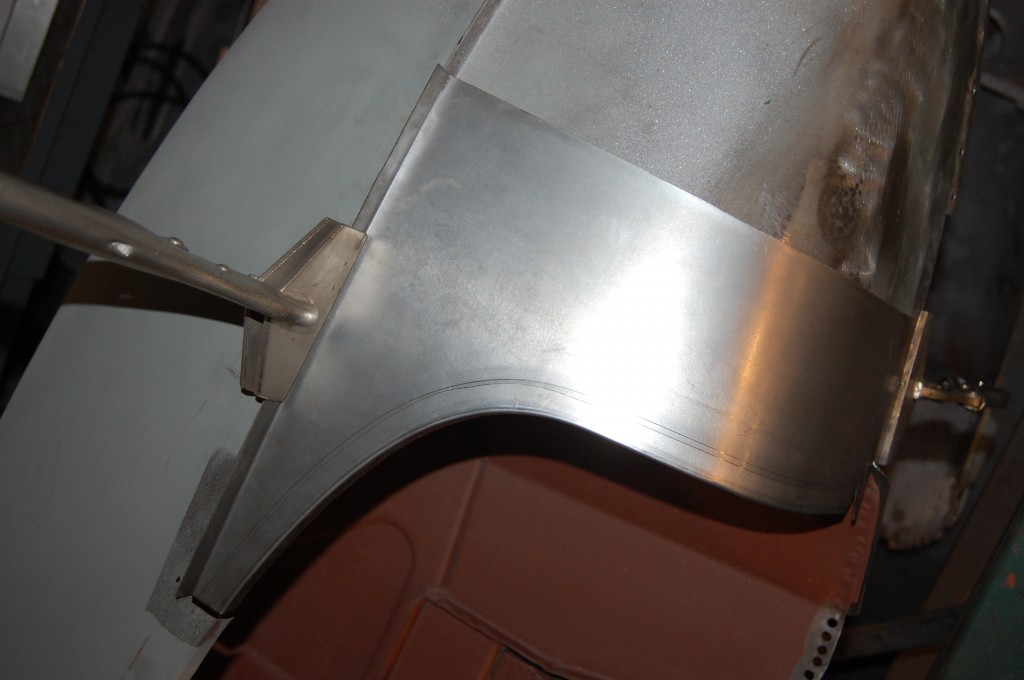
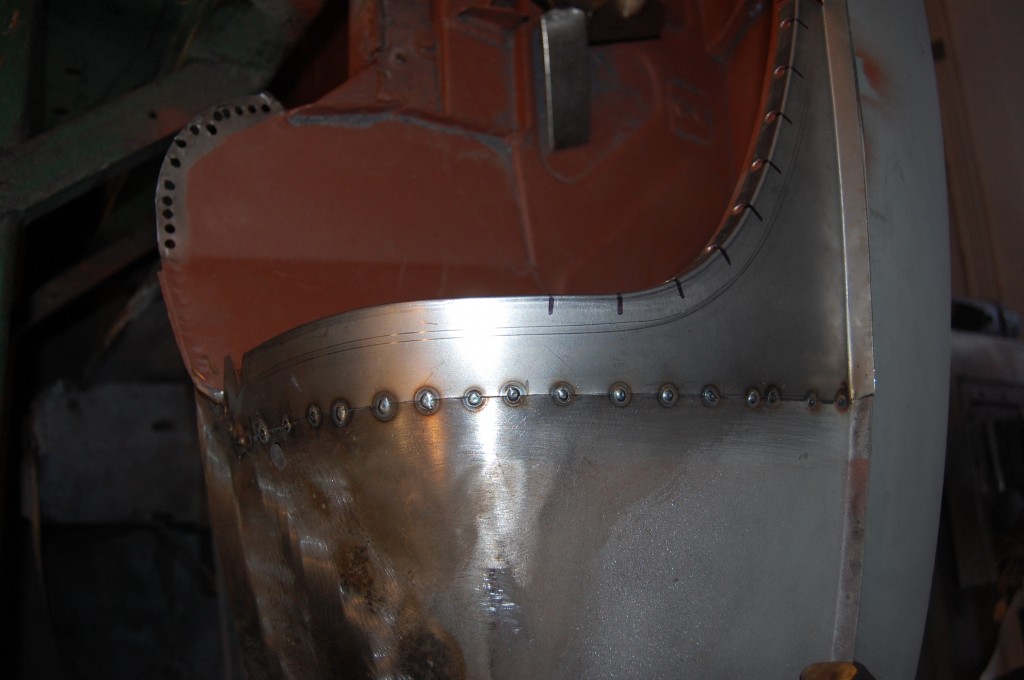
- On the other side, we ARE going to use our rear valance patch – a Monocoque Metalworks part that only we make – call us to purchase!
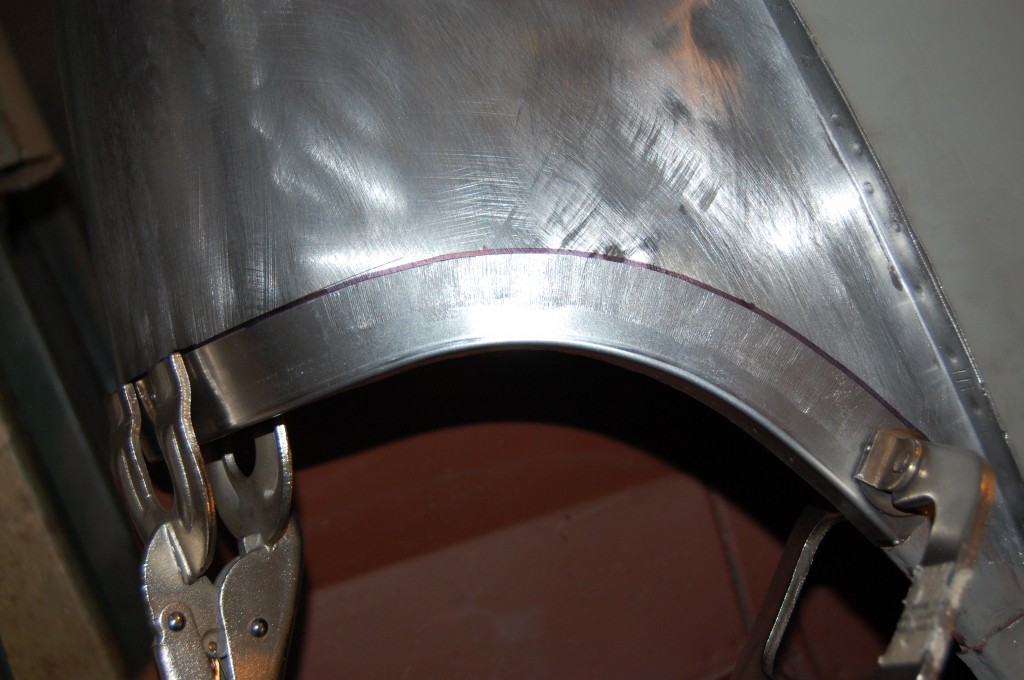
- This panel is correct in every dimension and curve. It is 4.5 inches wide from the rear edge of the weehl arch back. We find that is MORE THAN ENOUGH to cover even the worst rust in this area. Note the curvature of the wheel arch
- We patterned this 4 times I think to get it right – it is DEAD ON! e, but youy want to trim it down as far as you can to just cover the rusted area and no more.
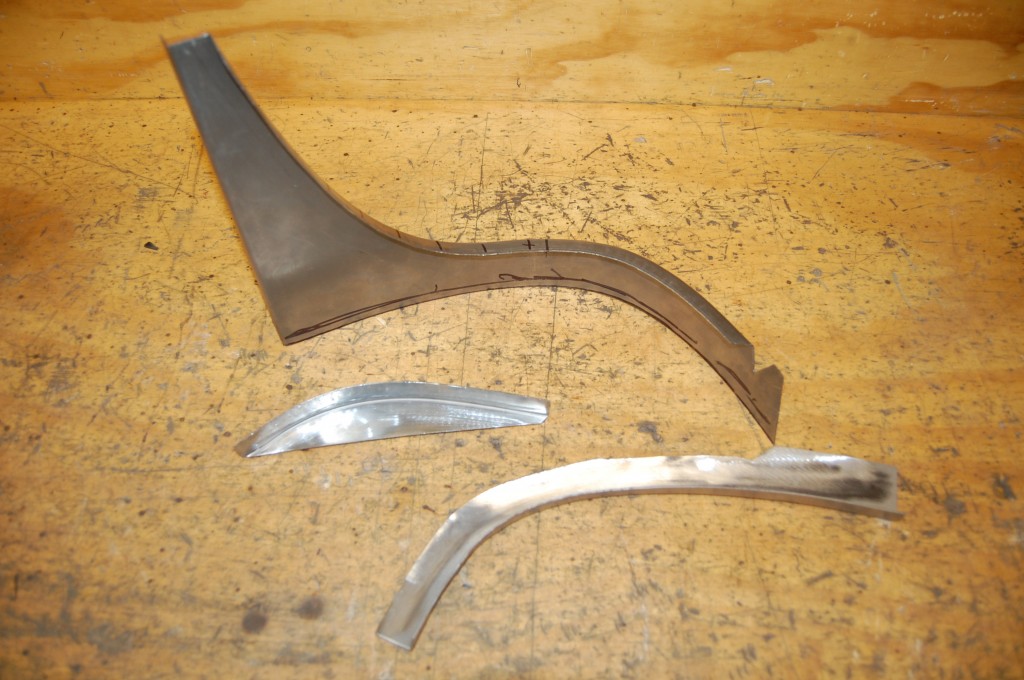
- SO – here is the same panel, trimmed down to match the issues with this shell. Also in this shot are the repair poieces we have fabricated for the inner panels.
- Again – very time consuming – it took 2-3 hours to for and fit these three small panels.
- First, we weld on the patch for the lower section. This was done with the MIG – trying to do this vertically with that flange right there would have been too tricky – attempting it with the TIG would have caused more blow-through risk than carefully stitching it in with the MIG, and as you can see by the results, that was the right choice.
- Next, the upper piece is also butt-welded into place. Here, we did use a combination of MIG tacks and TIG stitching.
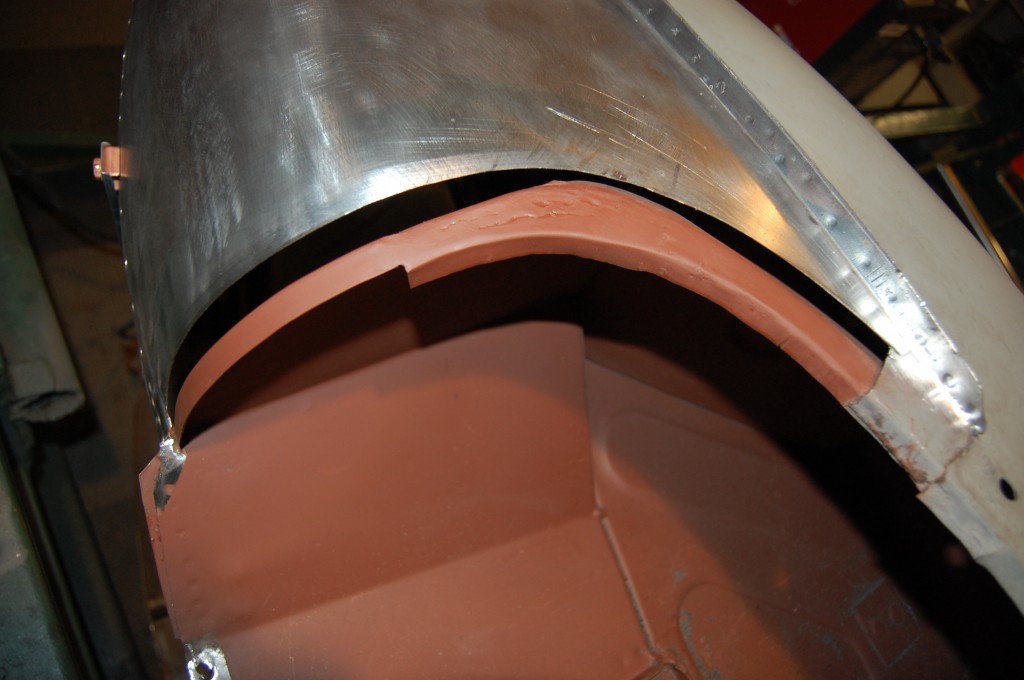
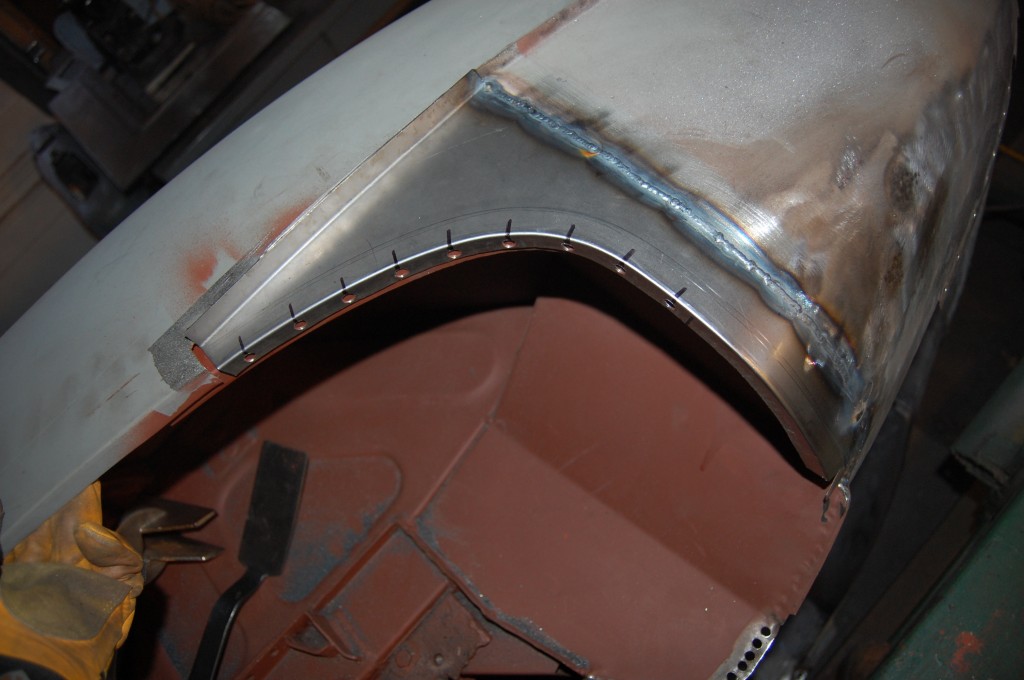
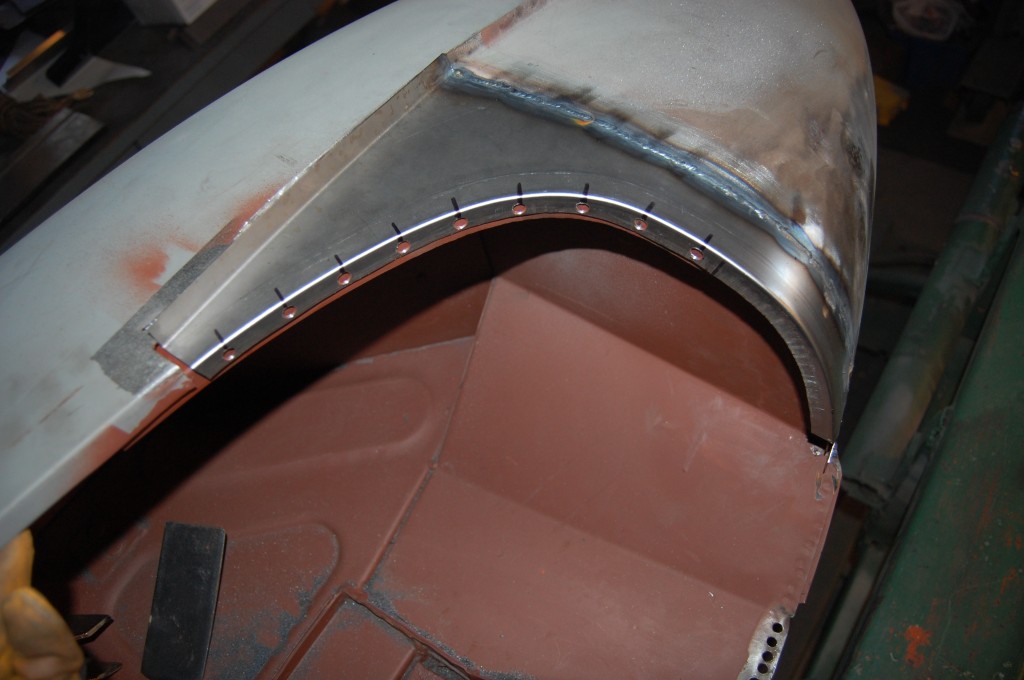
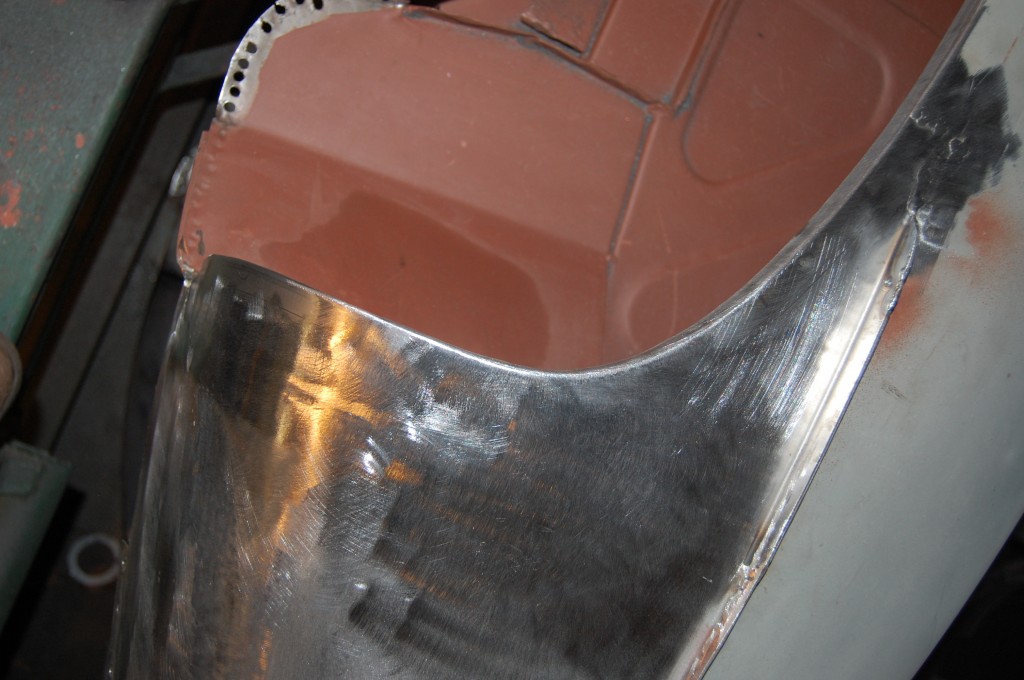
- Everything gets a good coating of red oxide before we close it up. As you can see from the holes in the edge of the outer patch, we will plug-weld the edges of the inner and outer – we can’t get the spot-welder in here.
- Tacked in with the MIG.
- Then stitched with the TIG. Attempting this step with the MIG would cause warpage GALORE!
- Another shot of the TIG welded seam.
- And another…
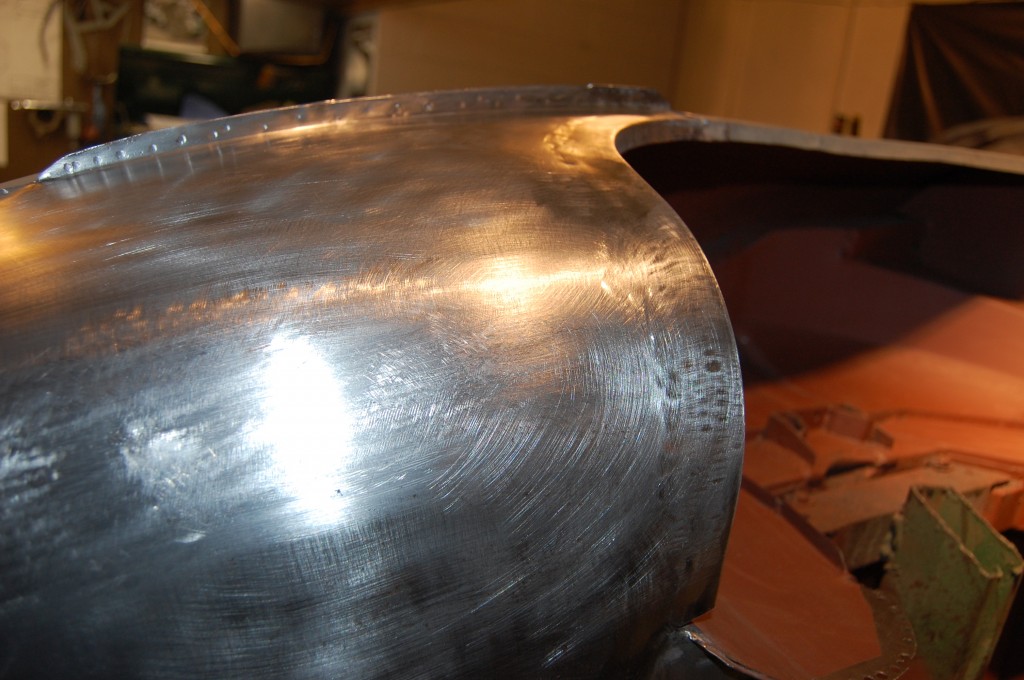
- All welded up and ground down!
- This side came out great!
- As good as new! All patches here were fromed from 19-gauge cold-rolled steel sheet – this is rock-solid and guaranteed for life!

