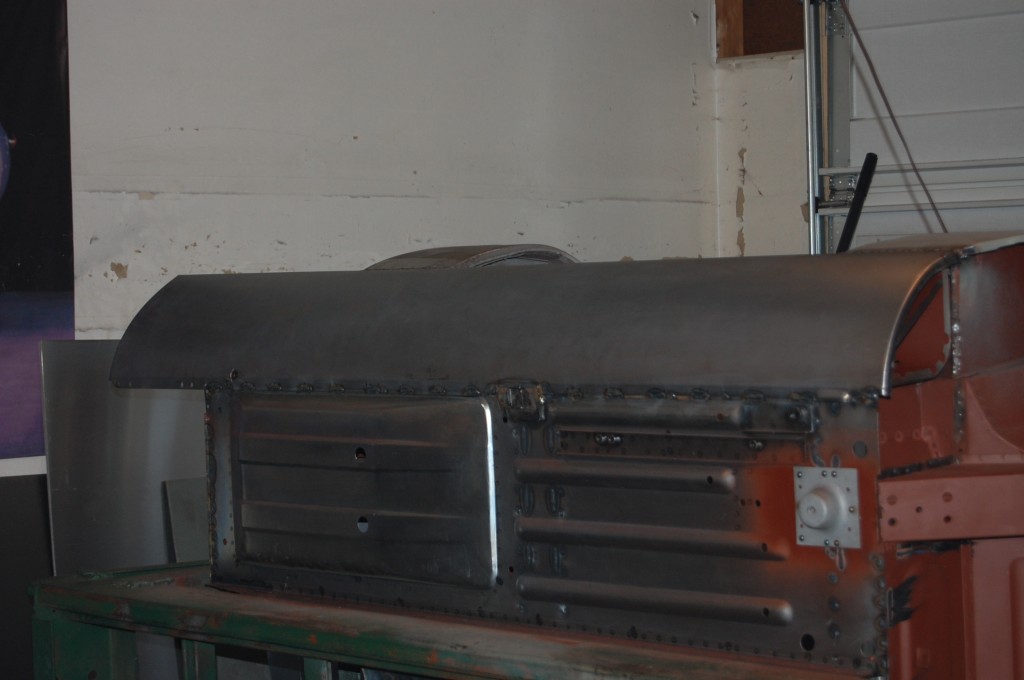
After the new subframe was added to this shell, it was time to close everything in – hiding the subframe from sight completely. This makes our “hidden subframe” a great addition to any E-Type – driver, racer, or 100-point concours show car!
-
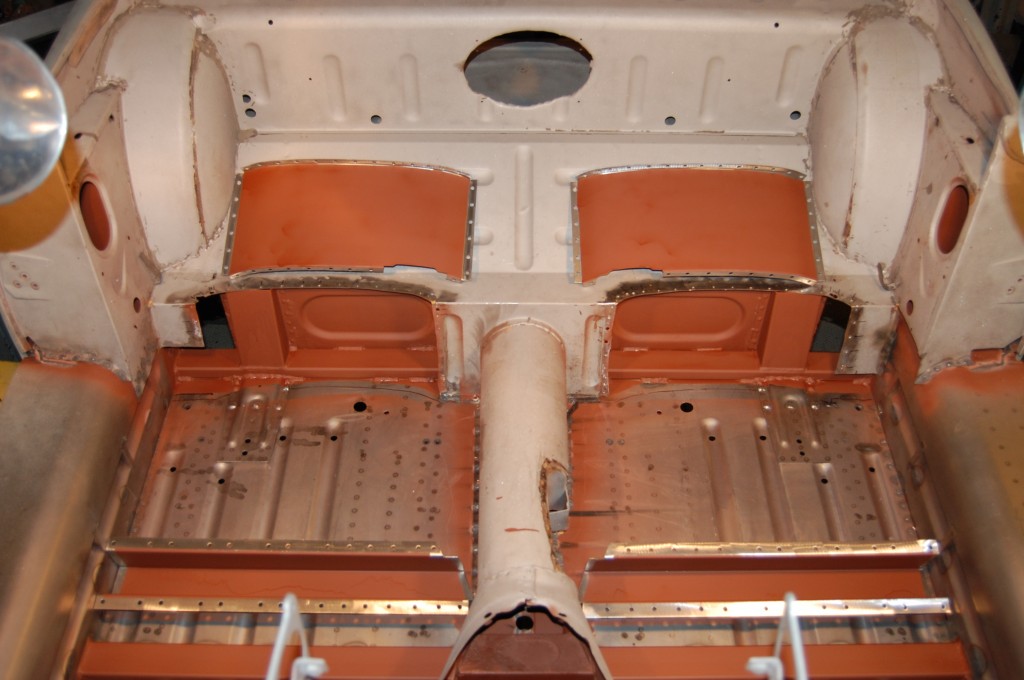
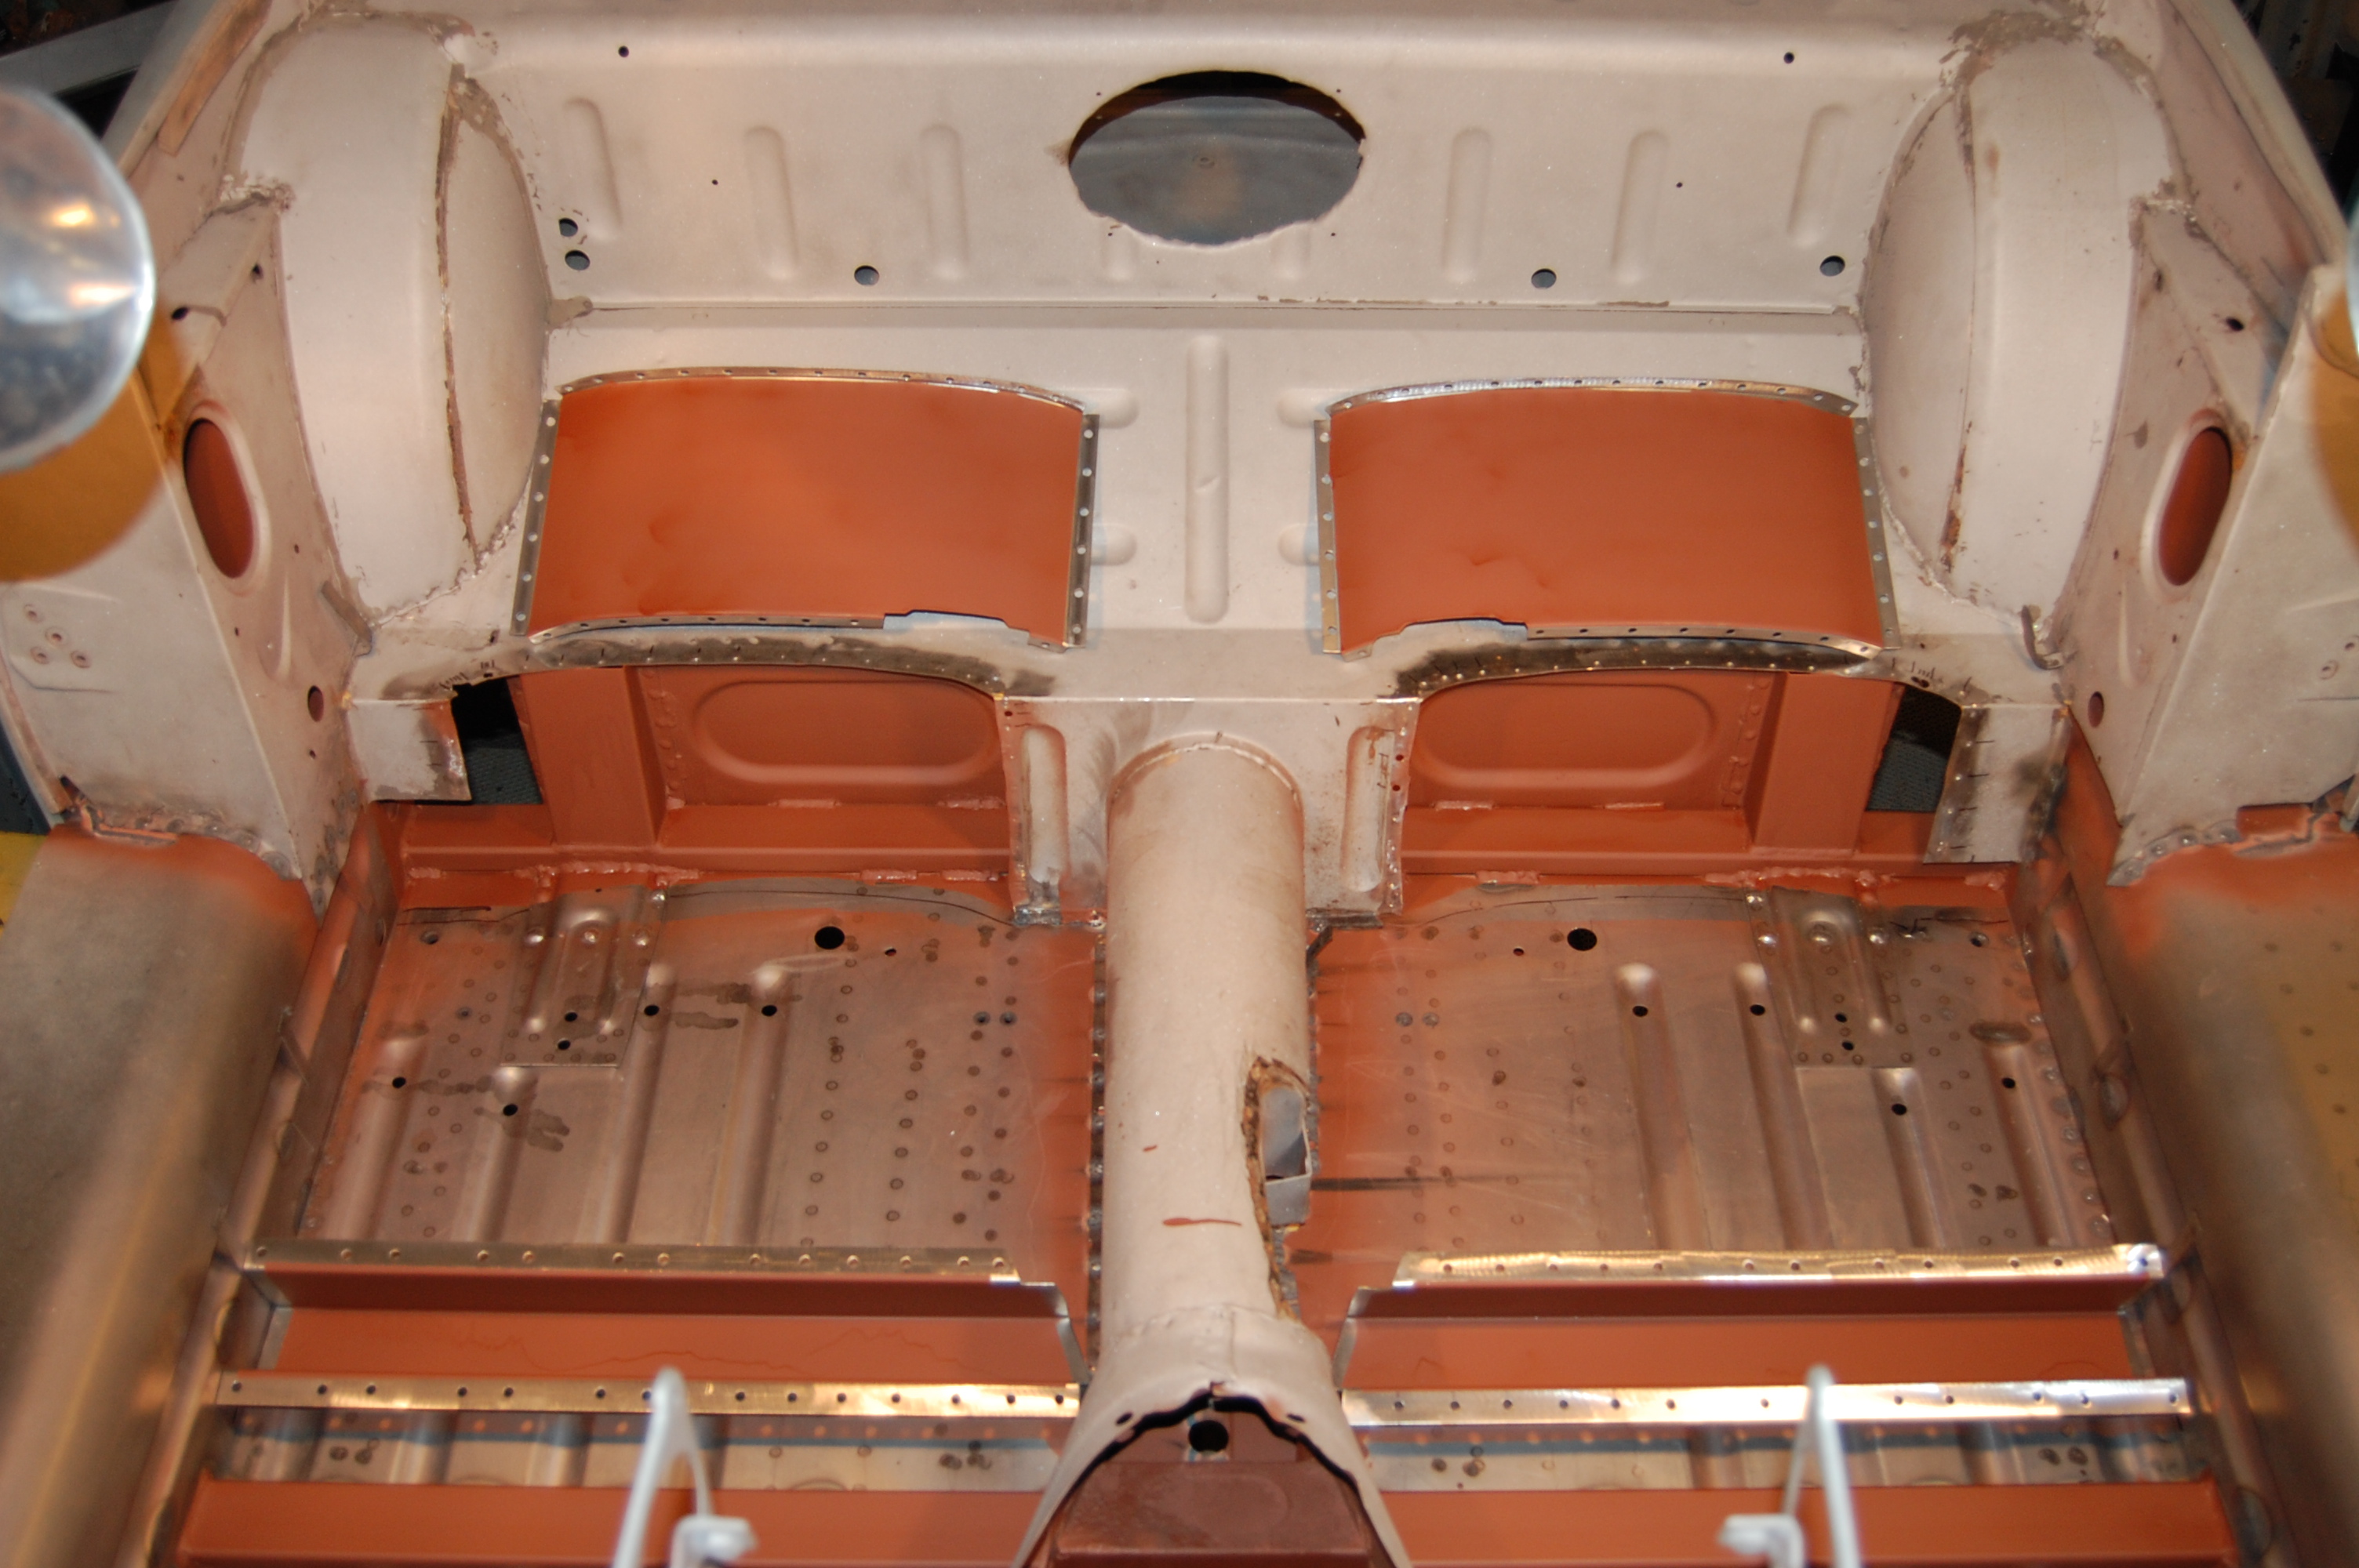
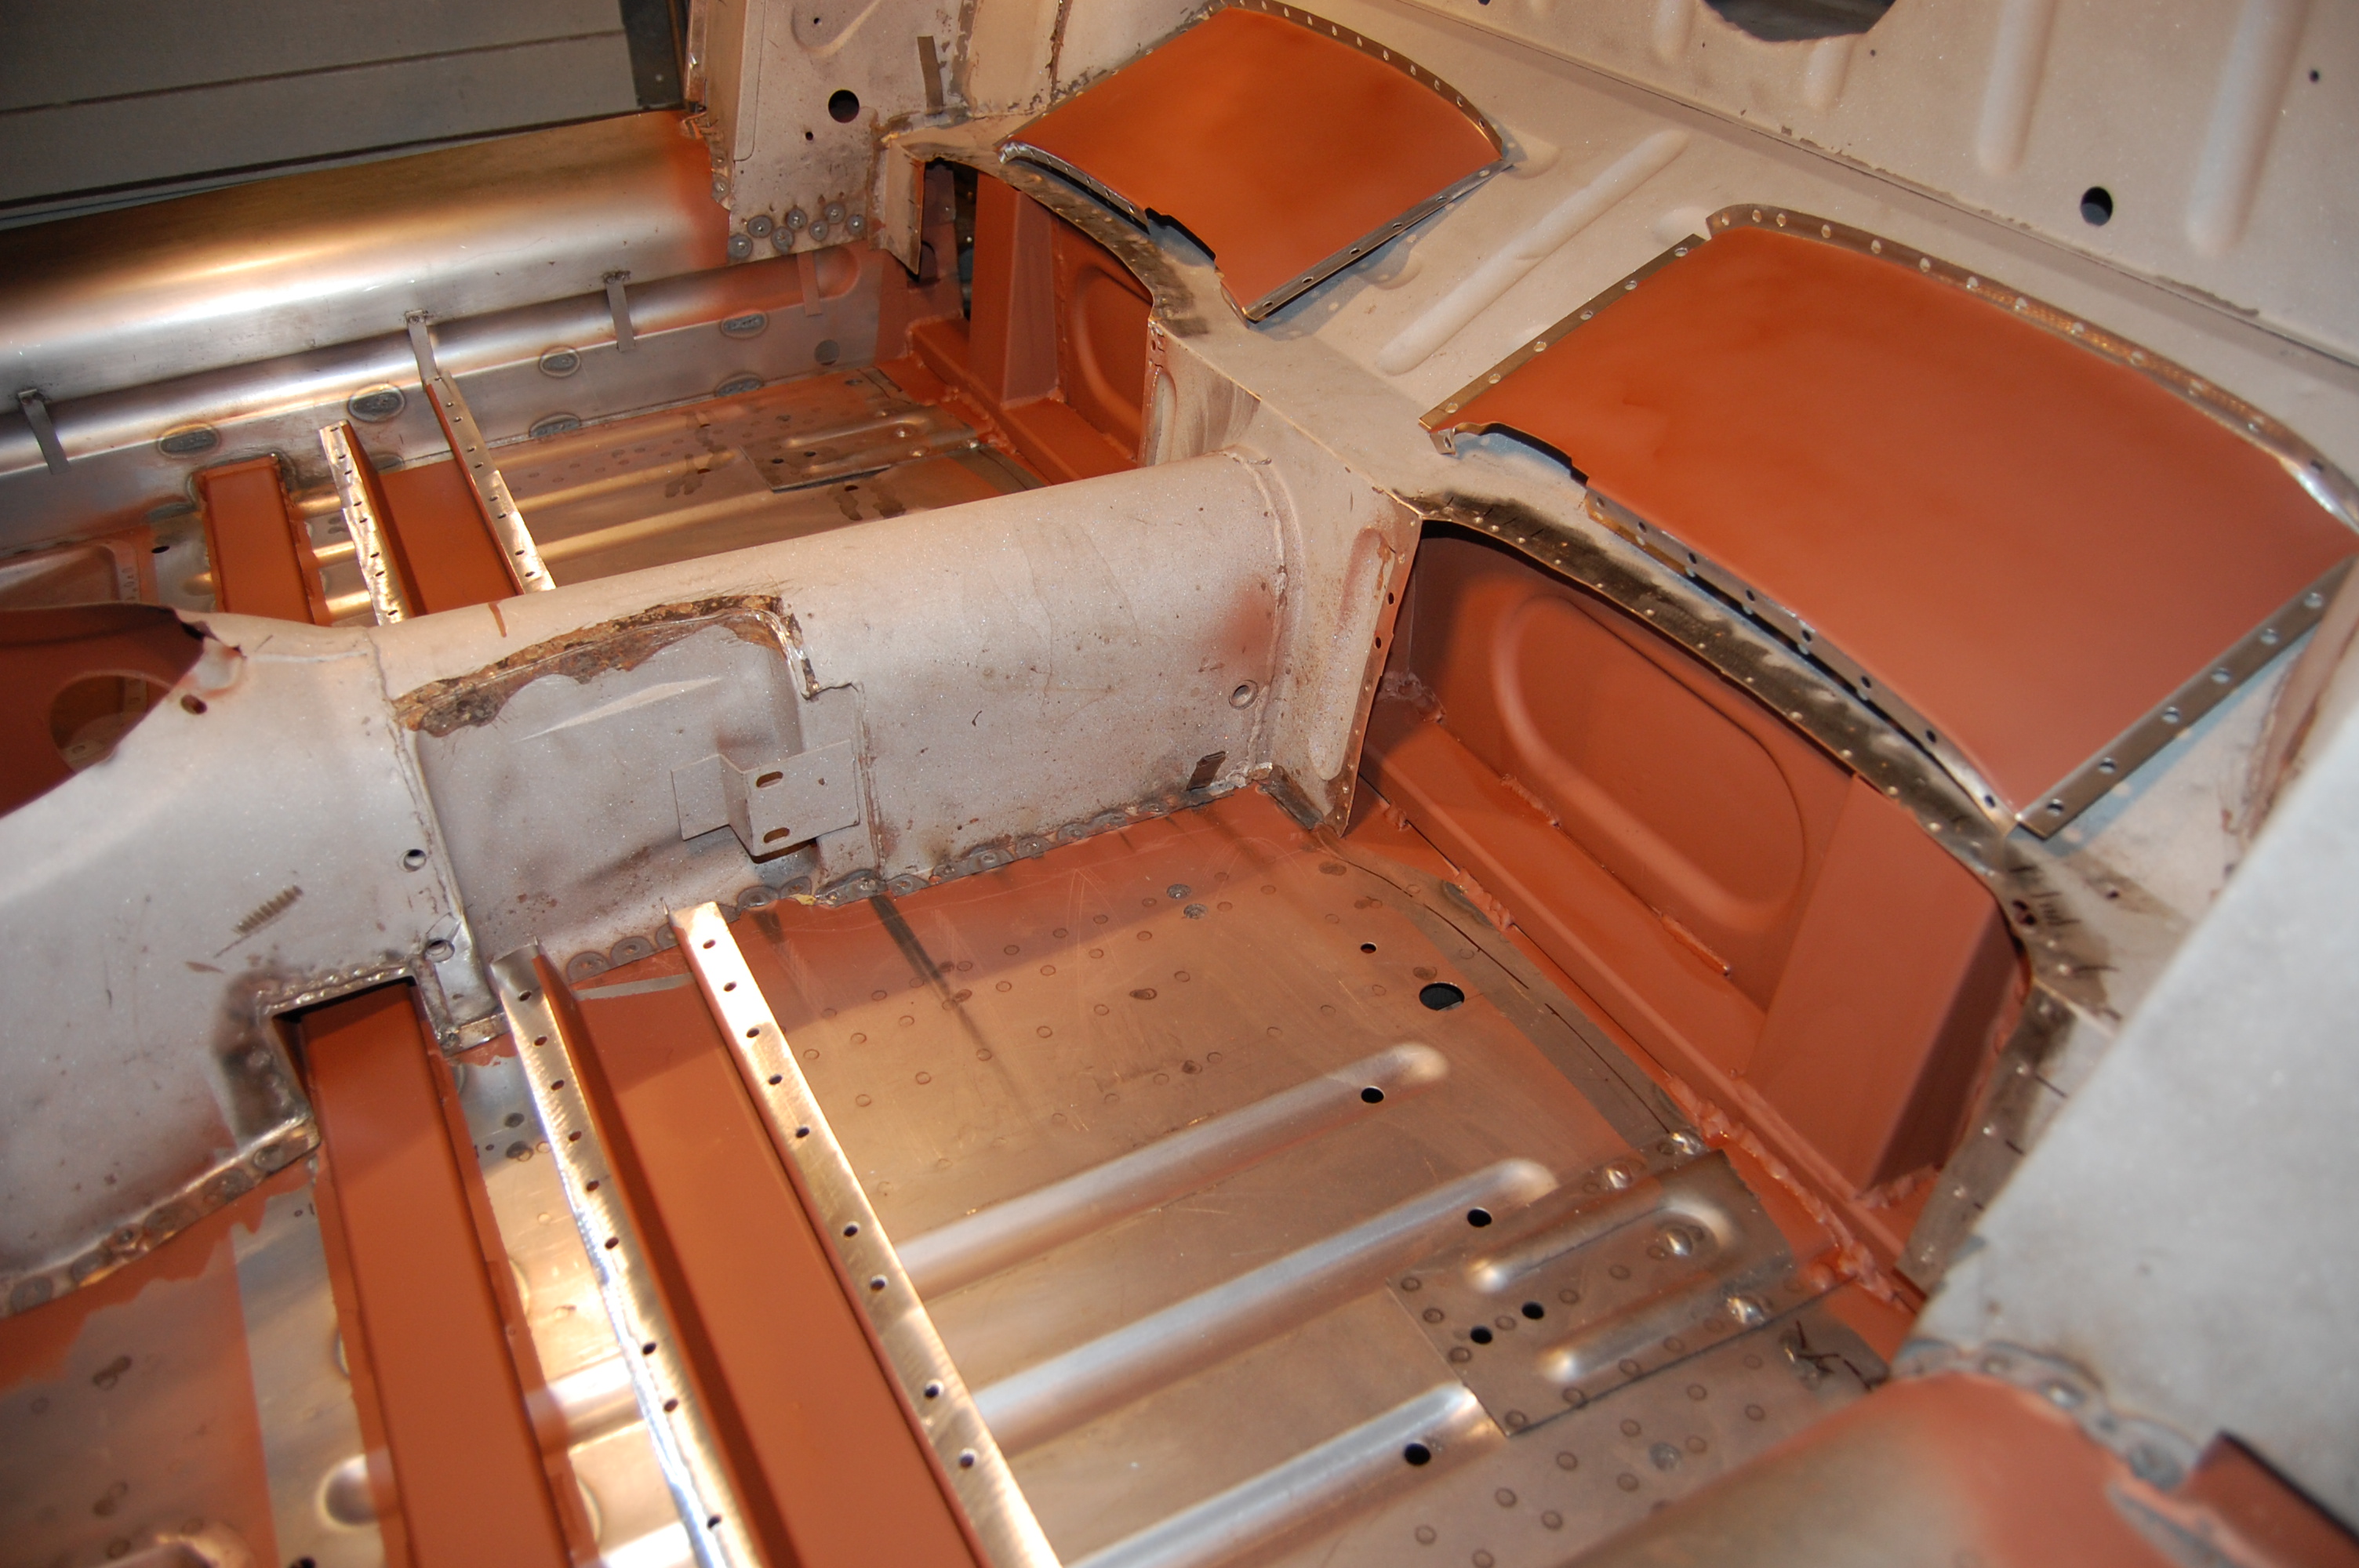
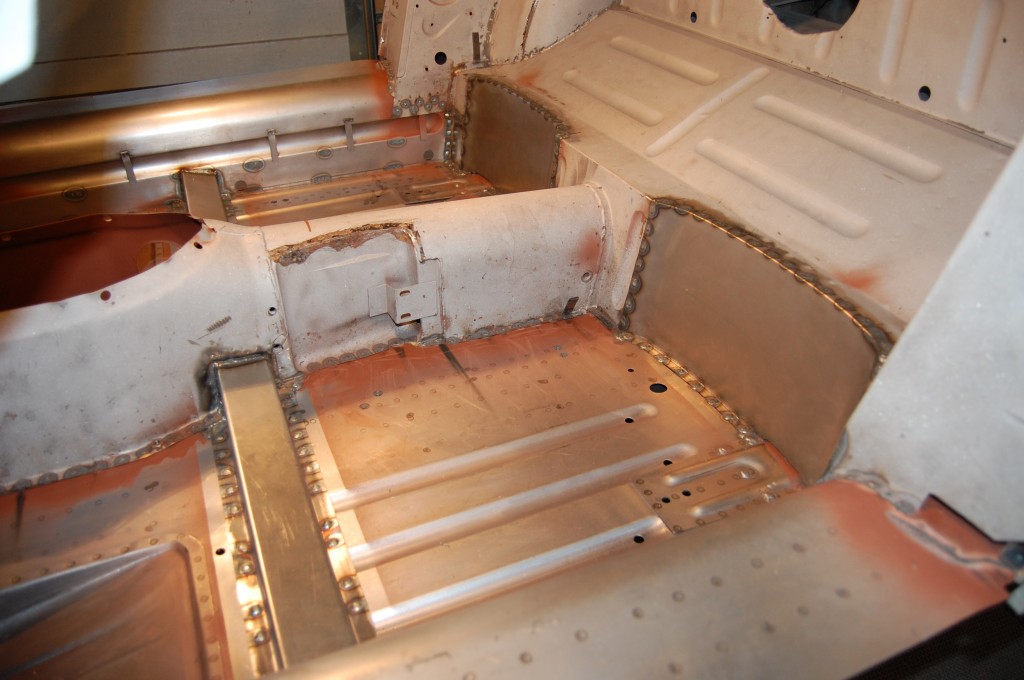
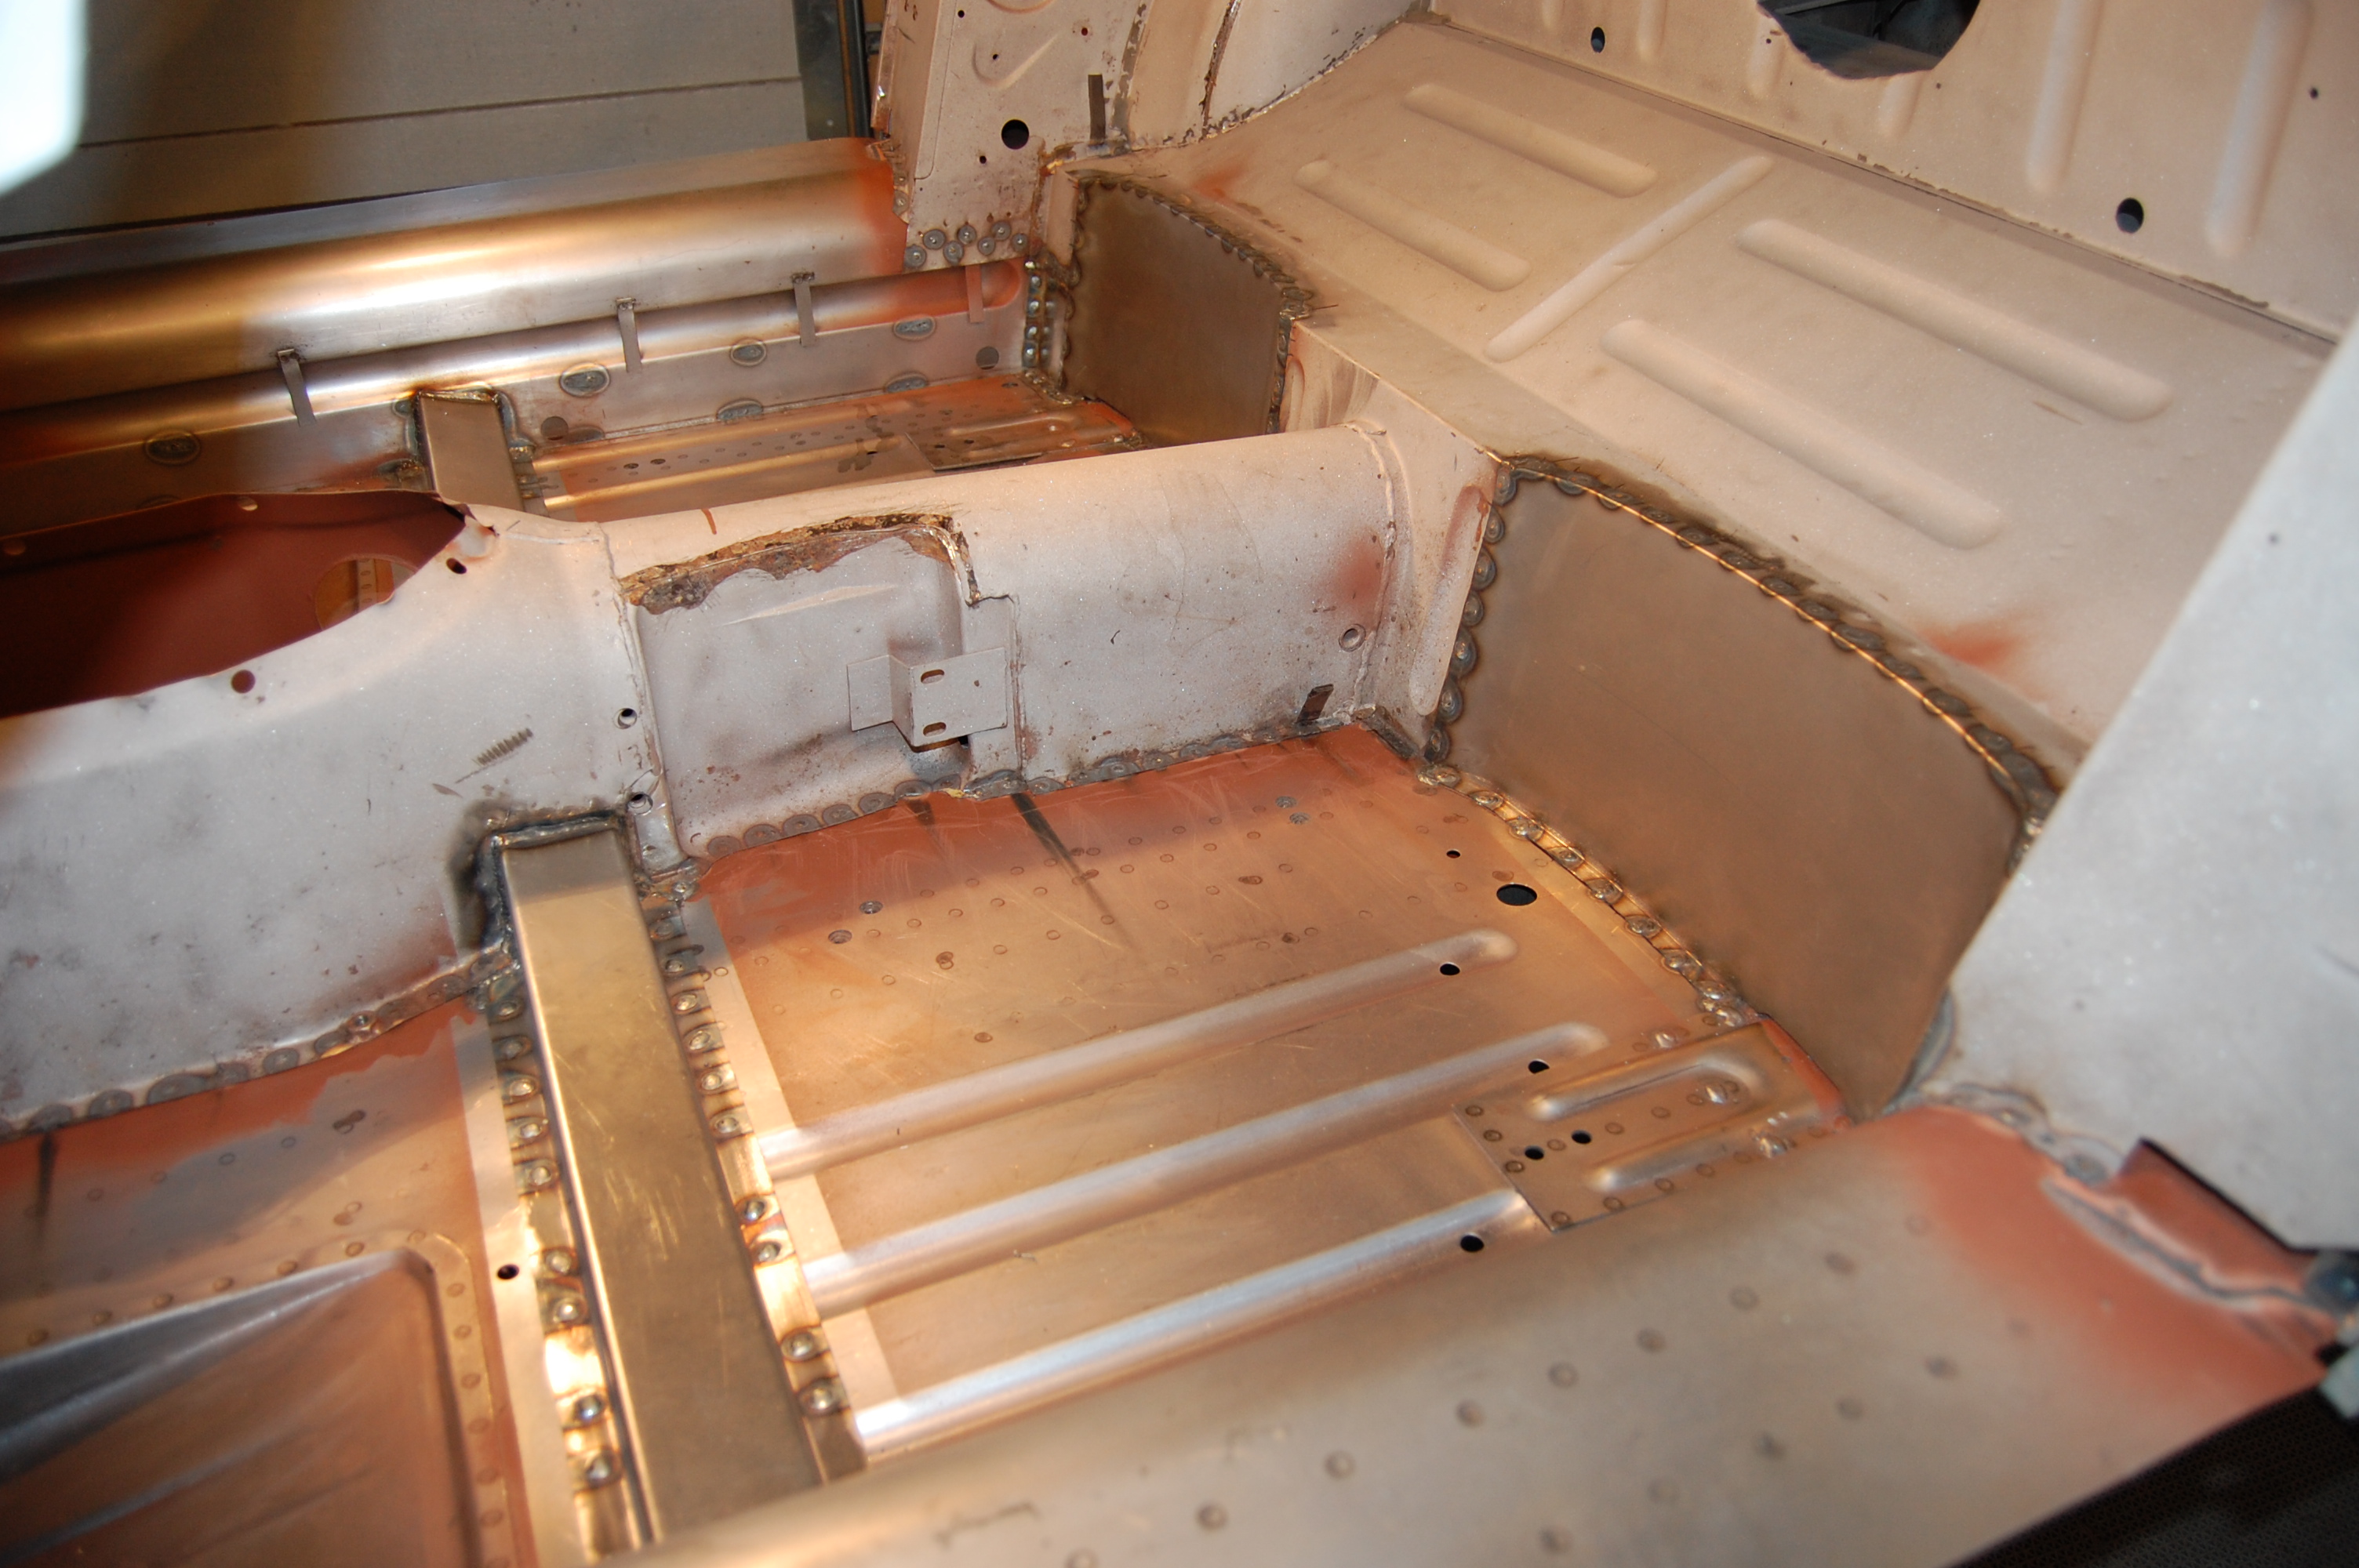
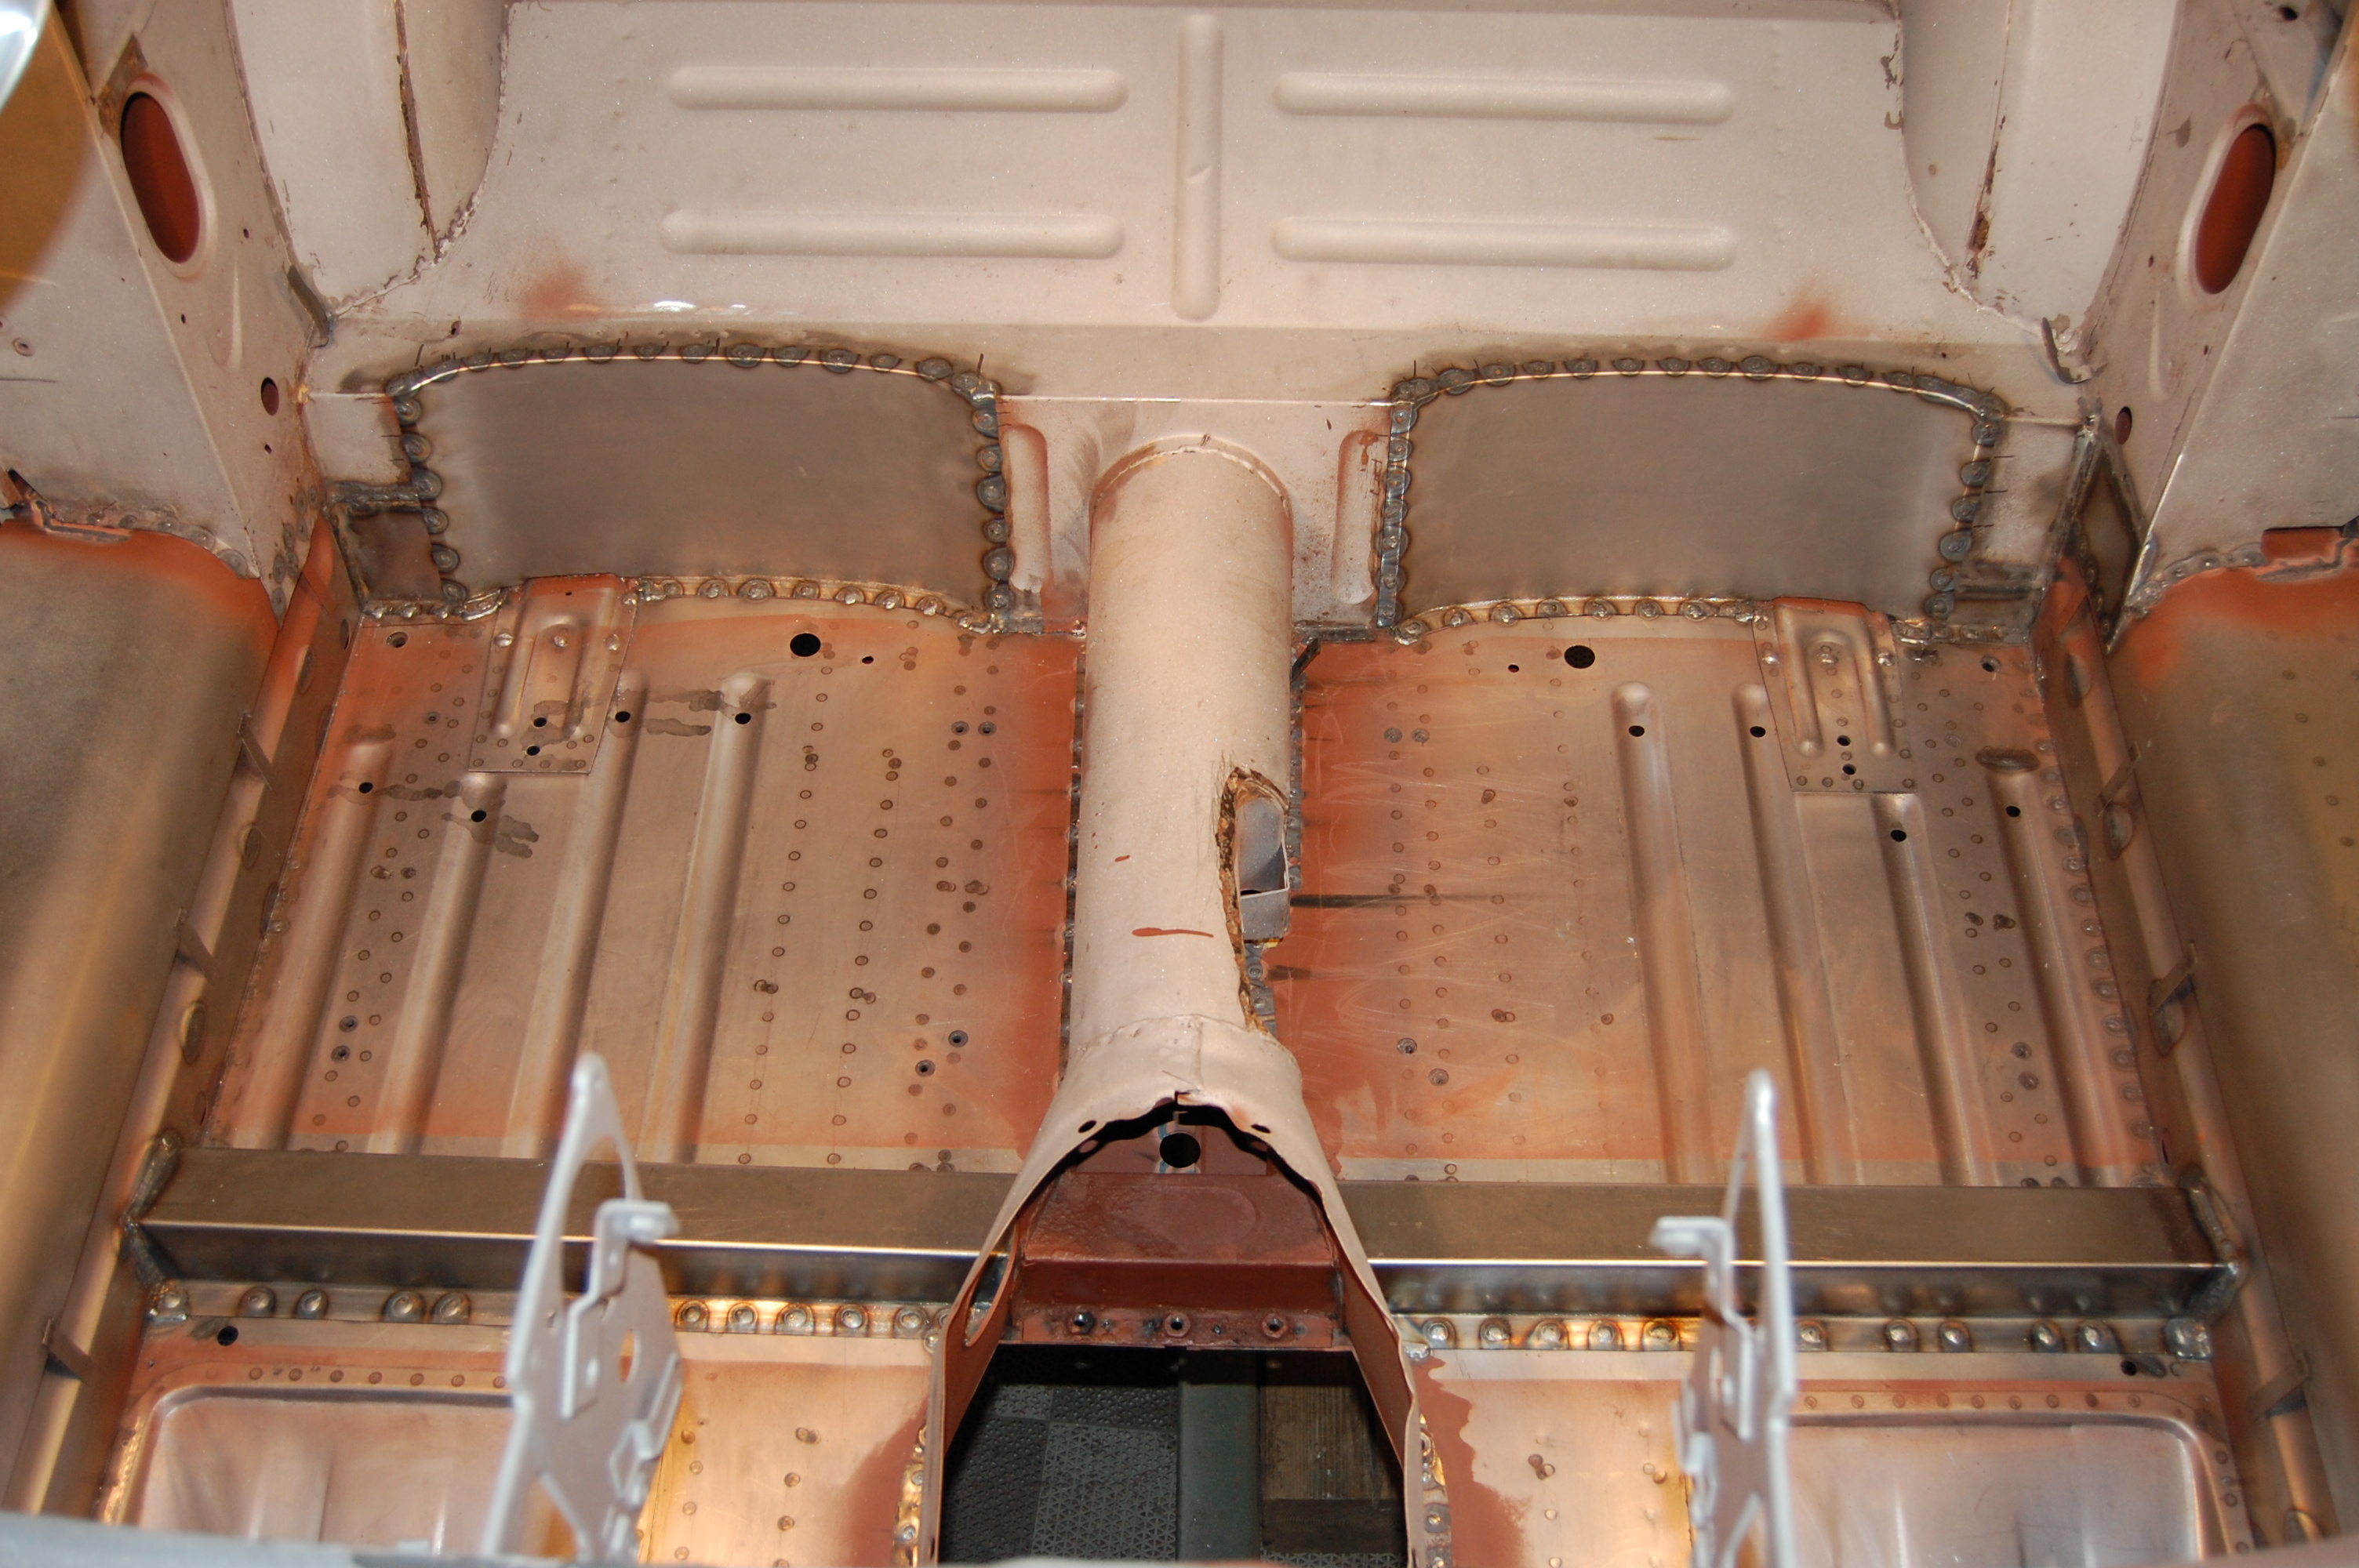
- In this shot, the inside of the rear bulkhead has been beefed up with thick tubing, and everything has been coated with red oxide. You can also see the additional brace under the crossmember. In this E-Type, the entire tunnel assembly was good, so we repace the stock crossmember in two pieces. This is OK and will not hurt the strength of the crossmember if properly welded.
-

- The backside of the new seat dish is also coated before being welded into place. We make these seat dishes in-house – call if you need some!
-
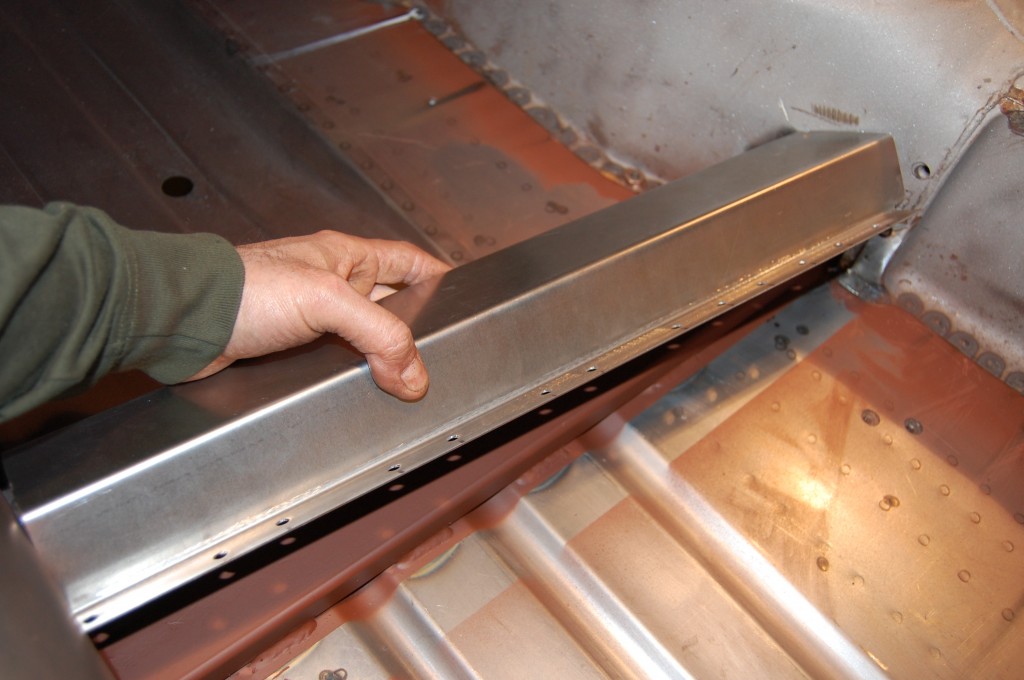
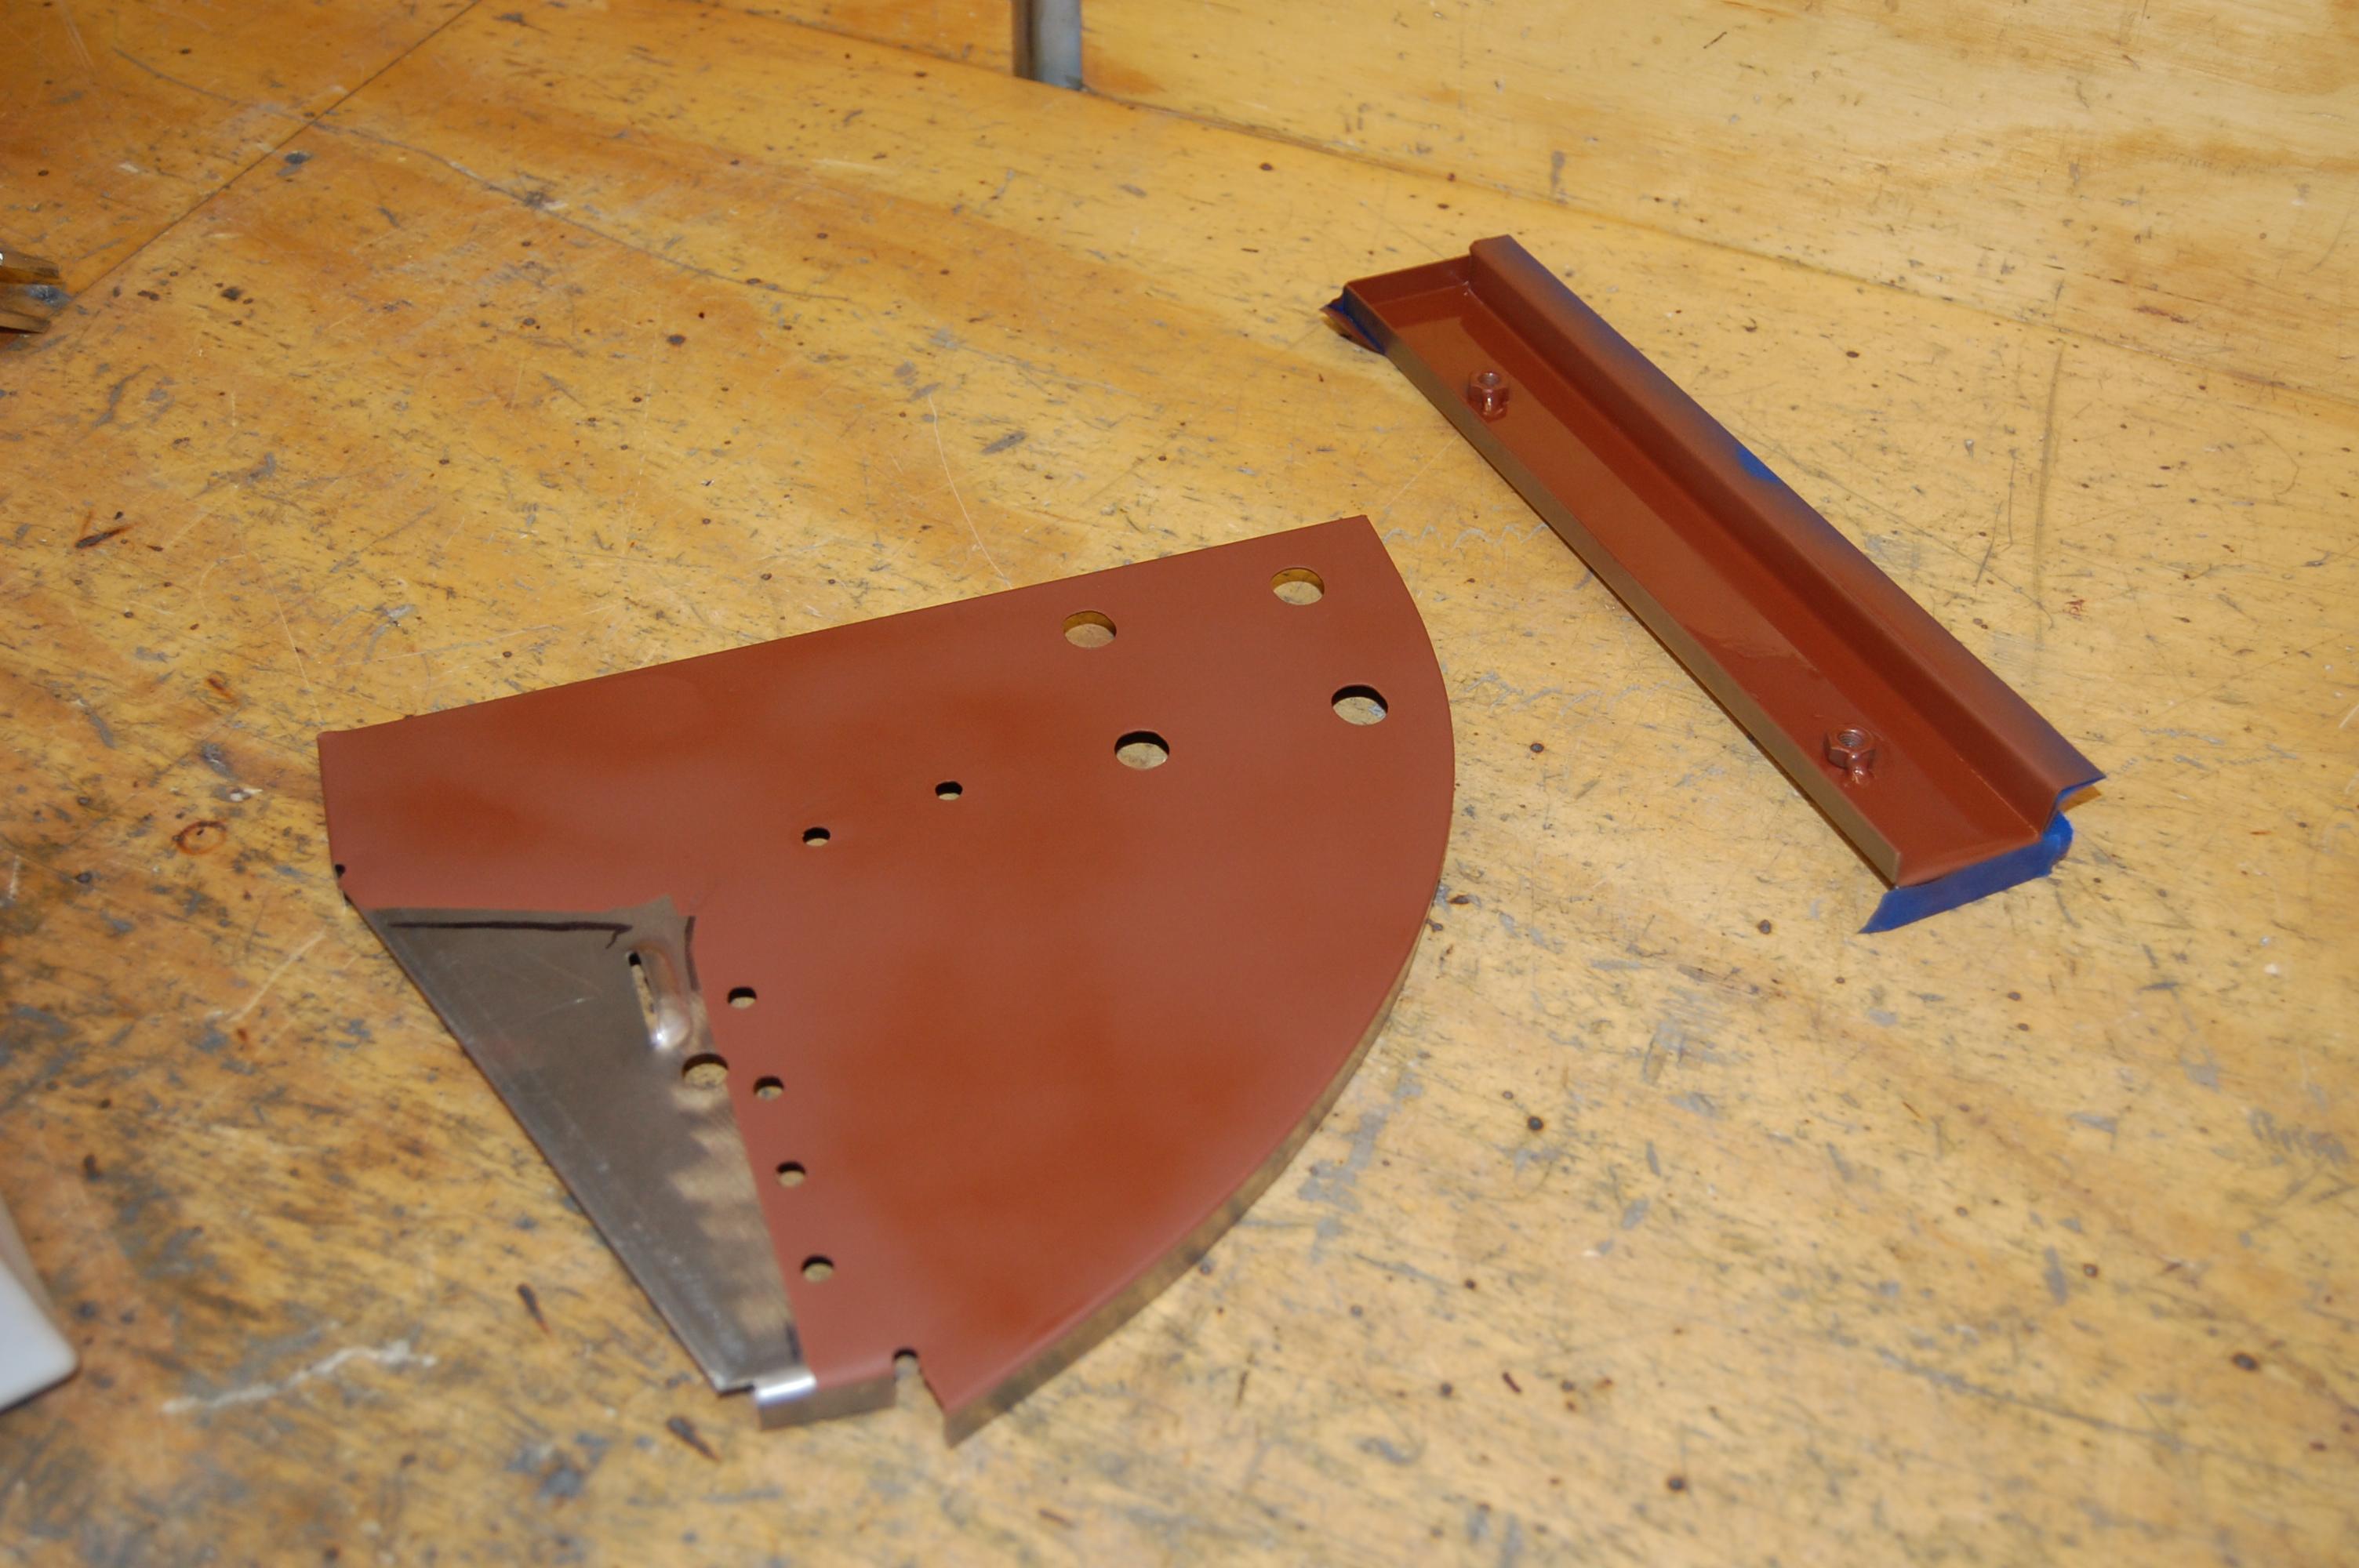
- These crossmember halves were originally a very thin piece – 20-gauge at best. That’s one of the reasons they rust out so quickly. Ours are thicker, 18-gauge pieces – also available (in the square 3.8 design or slanted 4.2 style)

-

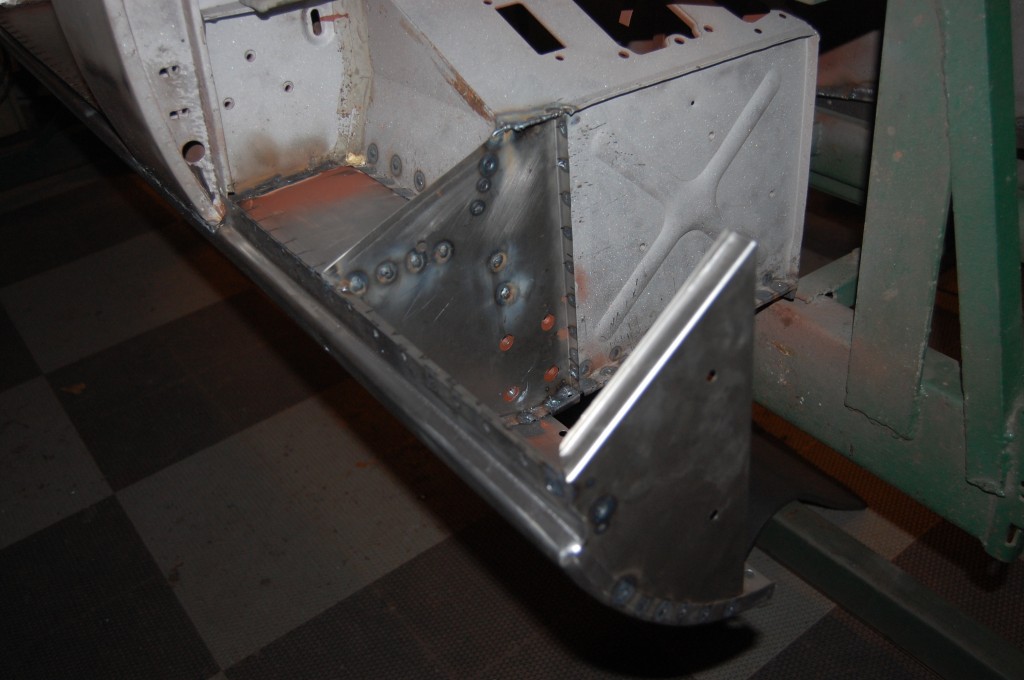
- Another shot of everything before it goes together. After the subframe is welded in, these pieces are almost just cosmetic!
-
- Everything is now plug-welded into place.
-

- 100% correct – with alot of extra strength hidden underneath!
-

- This shot shows a patch stitched in to the bottom inner panel in the B-post area.
-
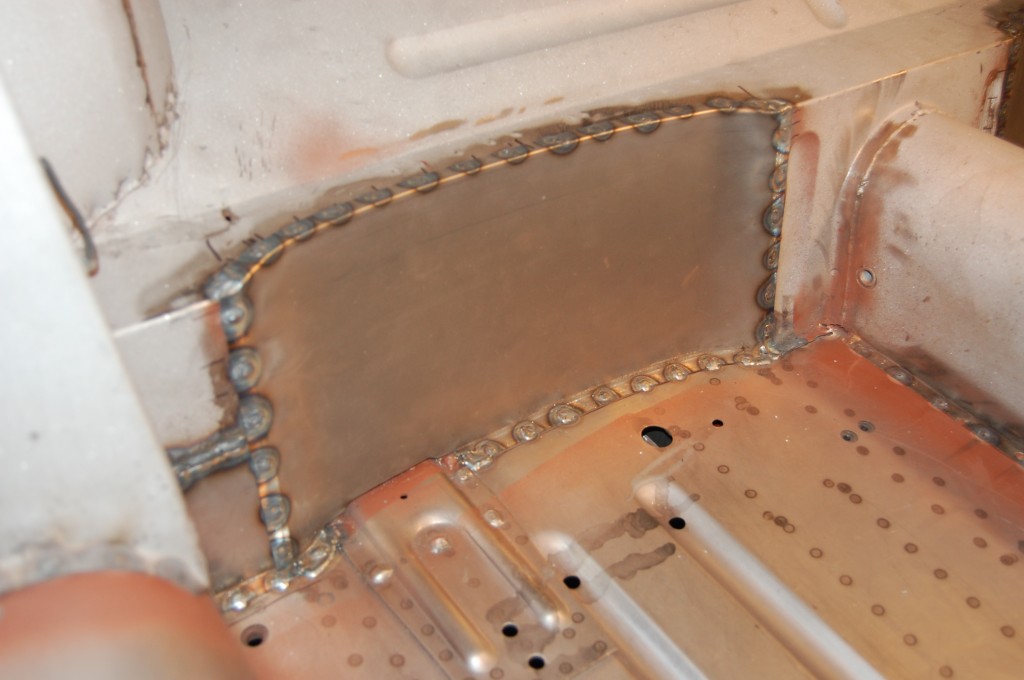
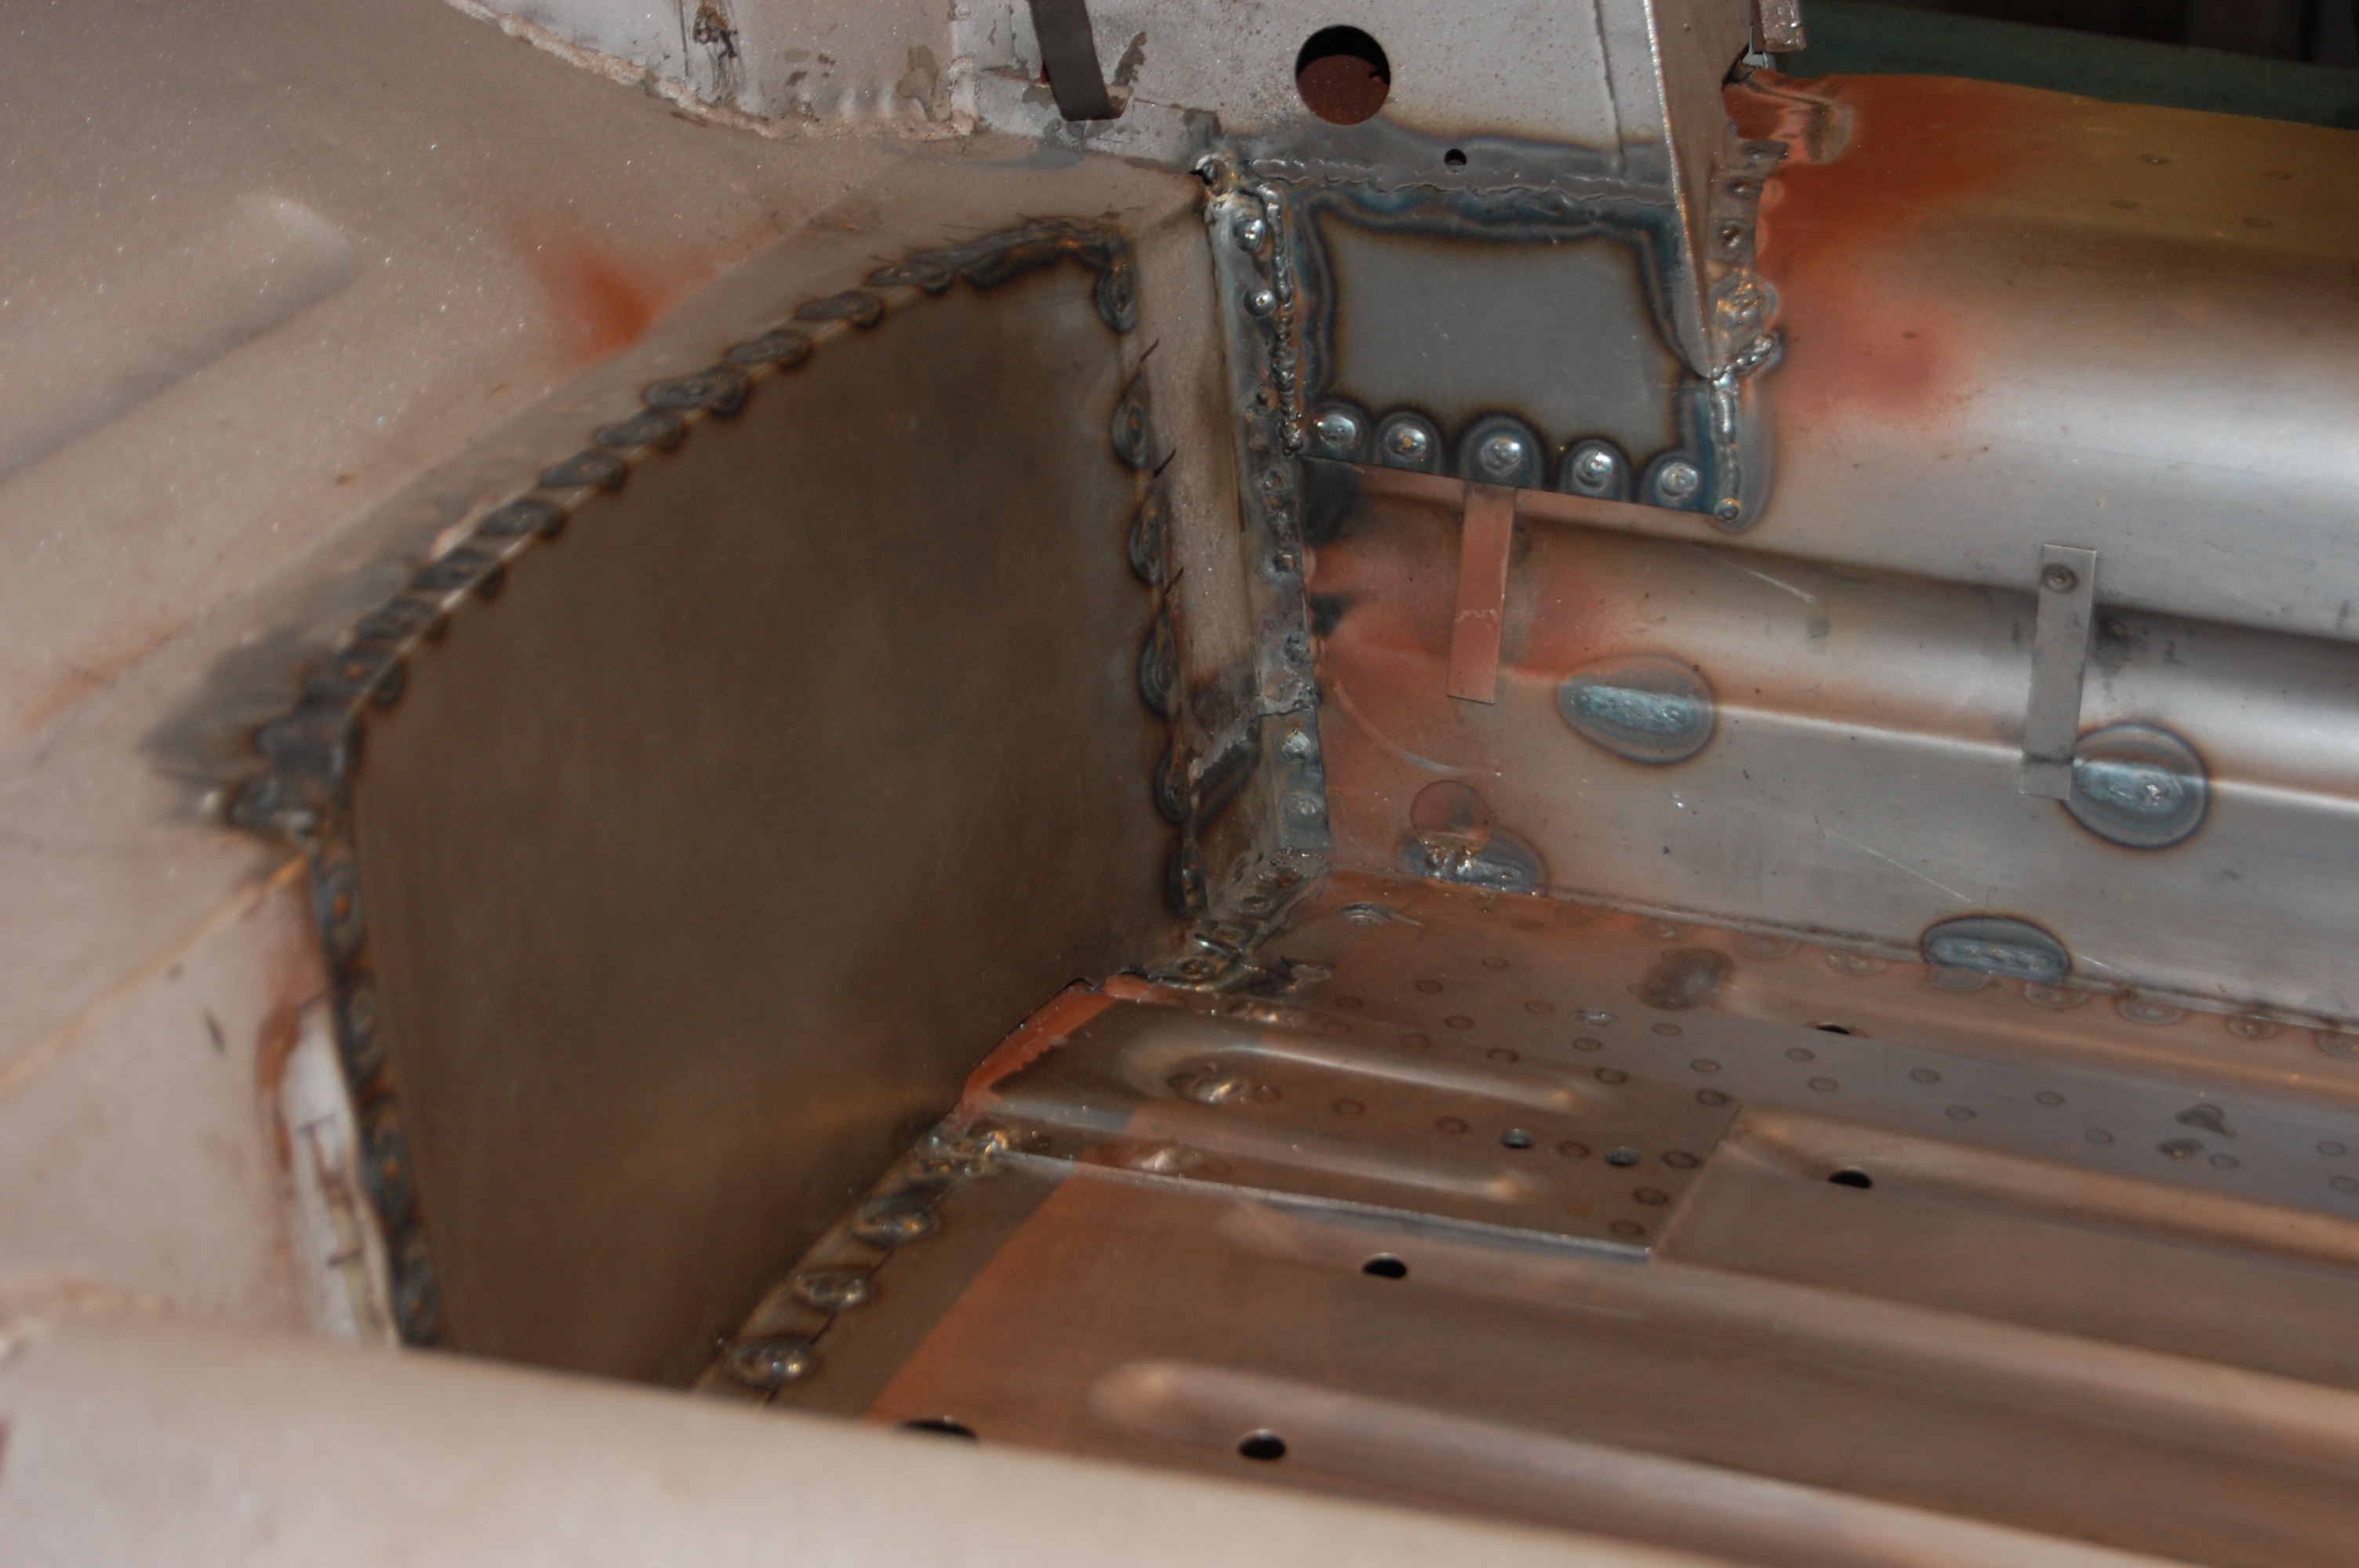
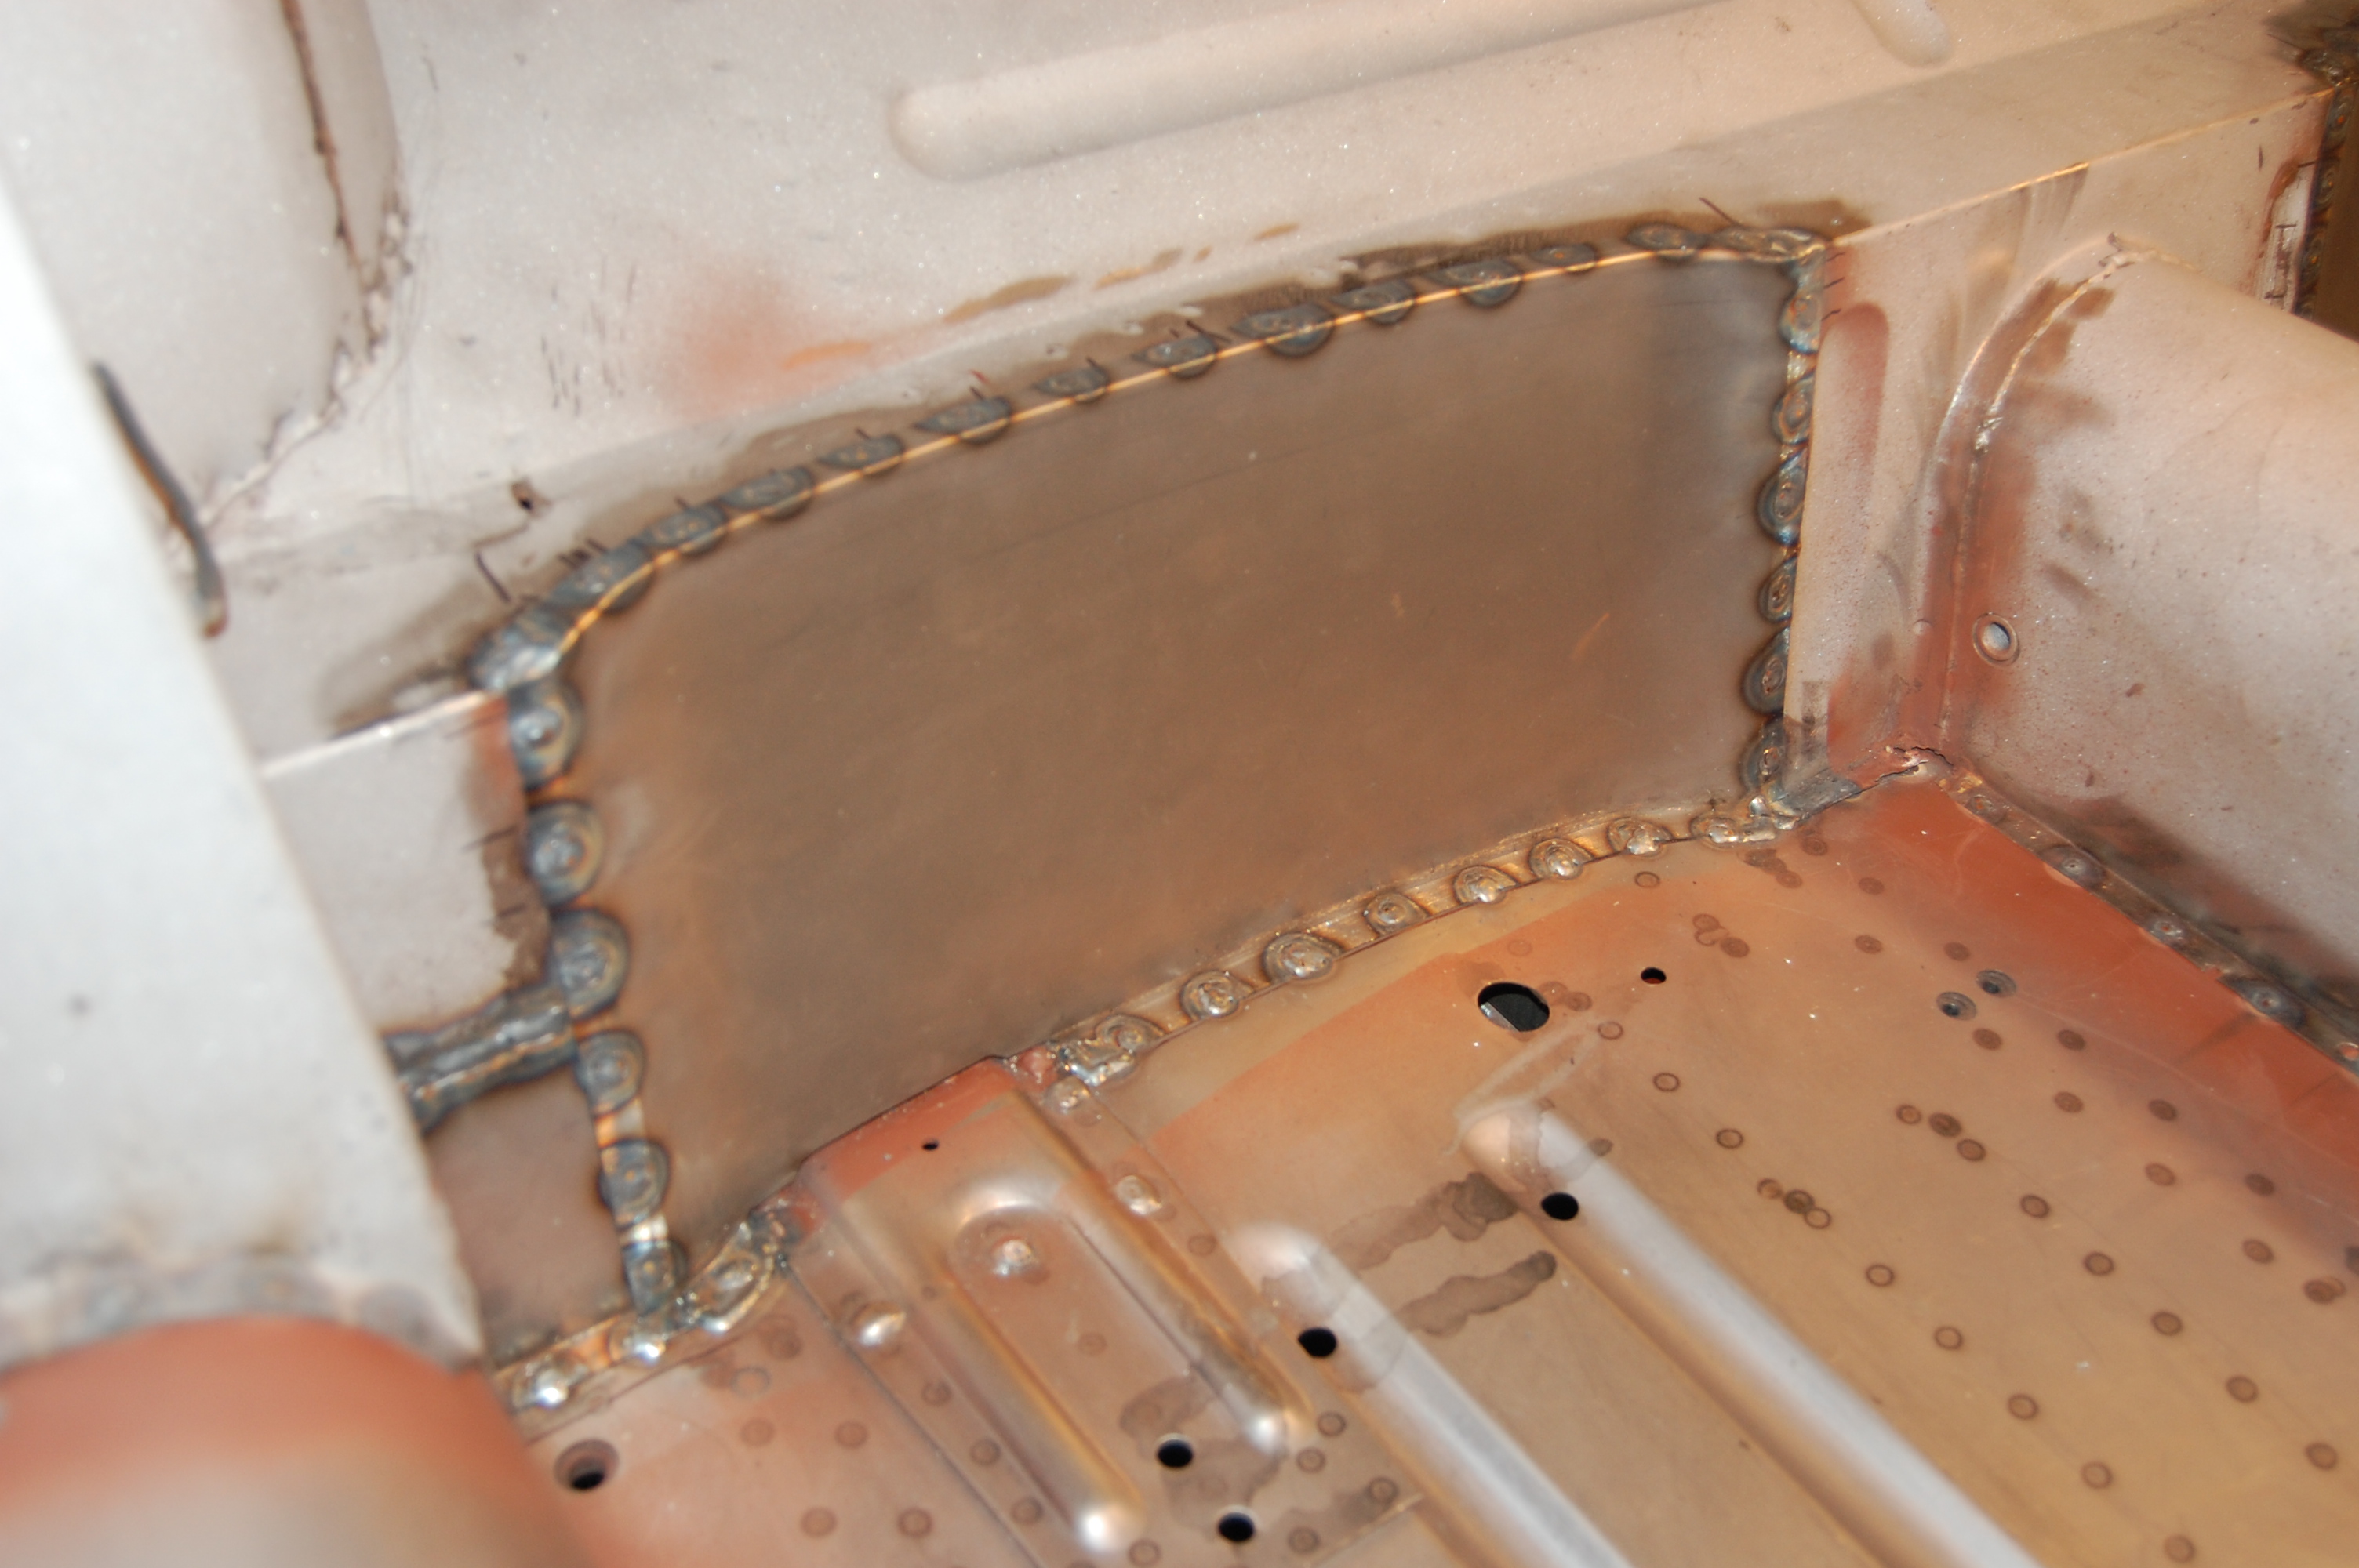
- Here, we see a patch in the outer panel of the lower rear bulkhead – it is very common to get rust here and to need to replace this – but it does make it easier to get the subframe tubes in!
-
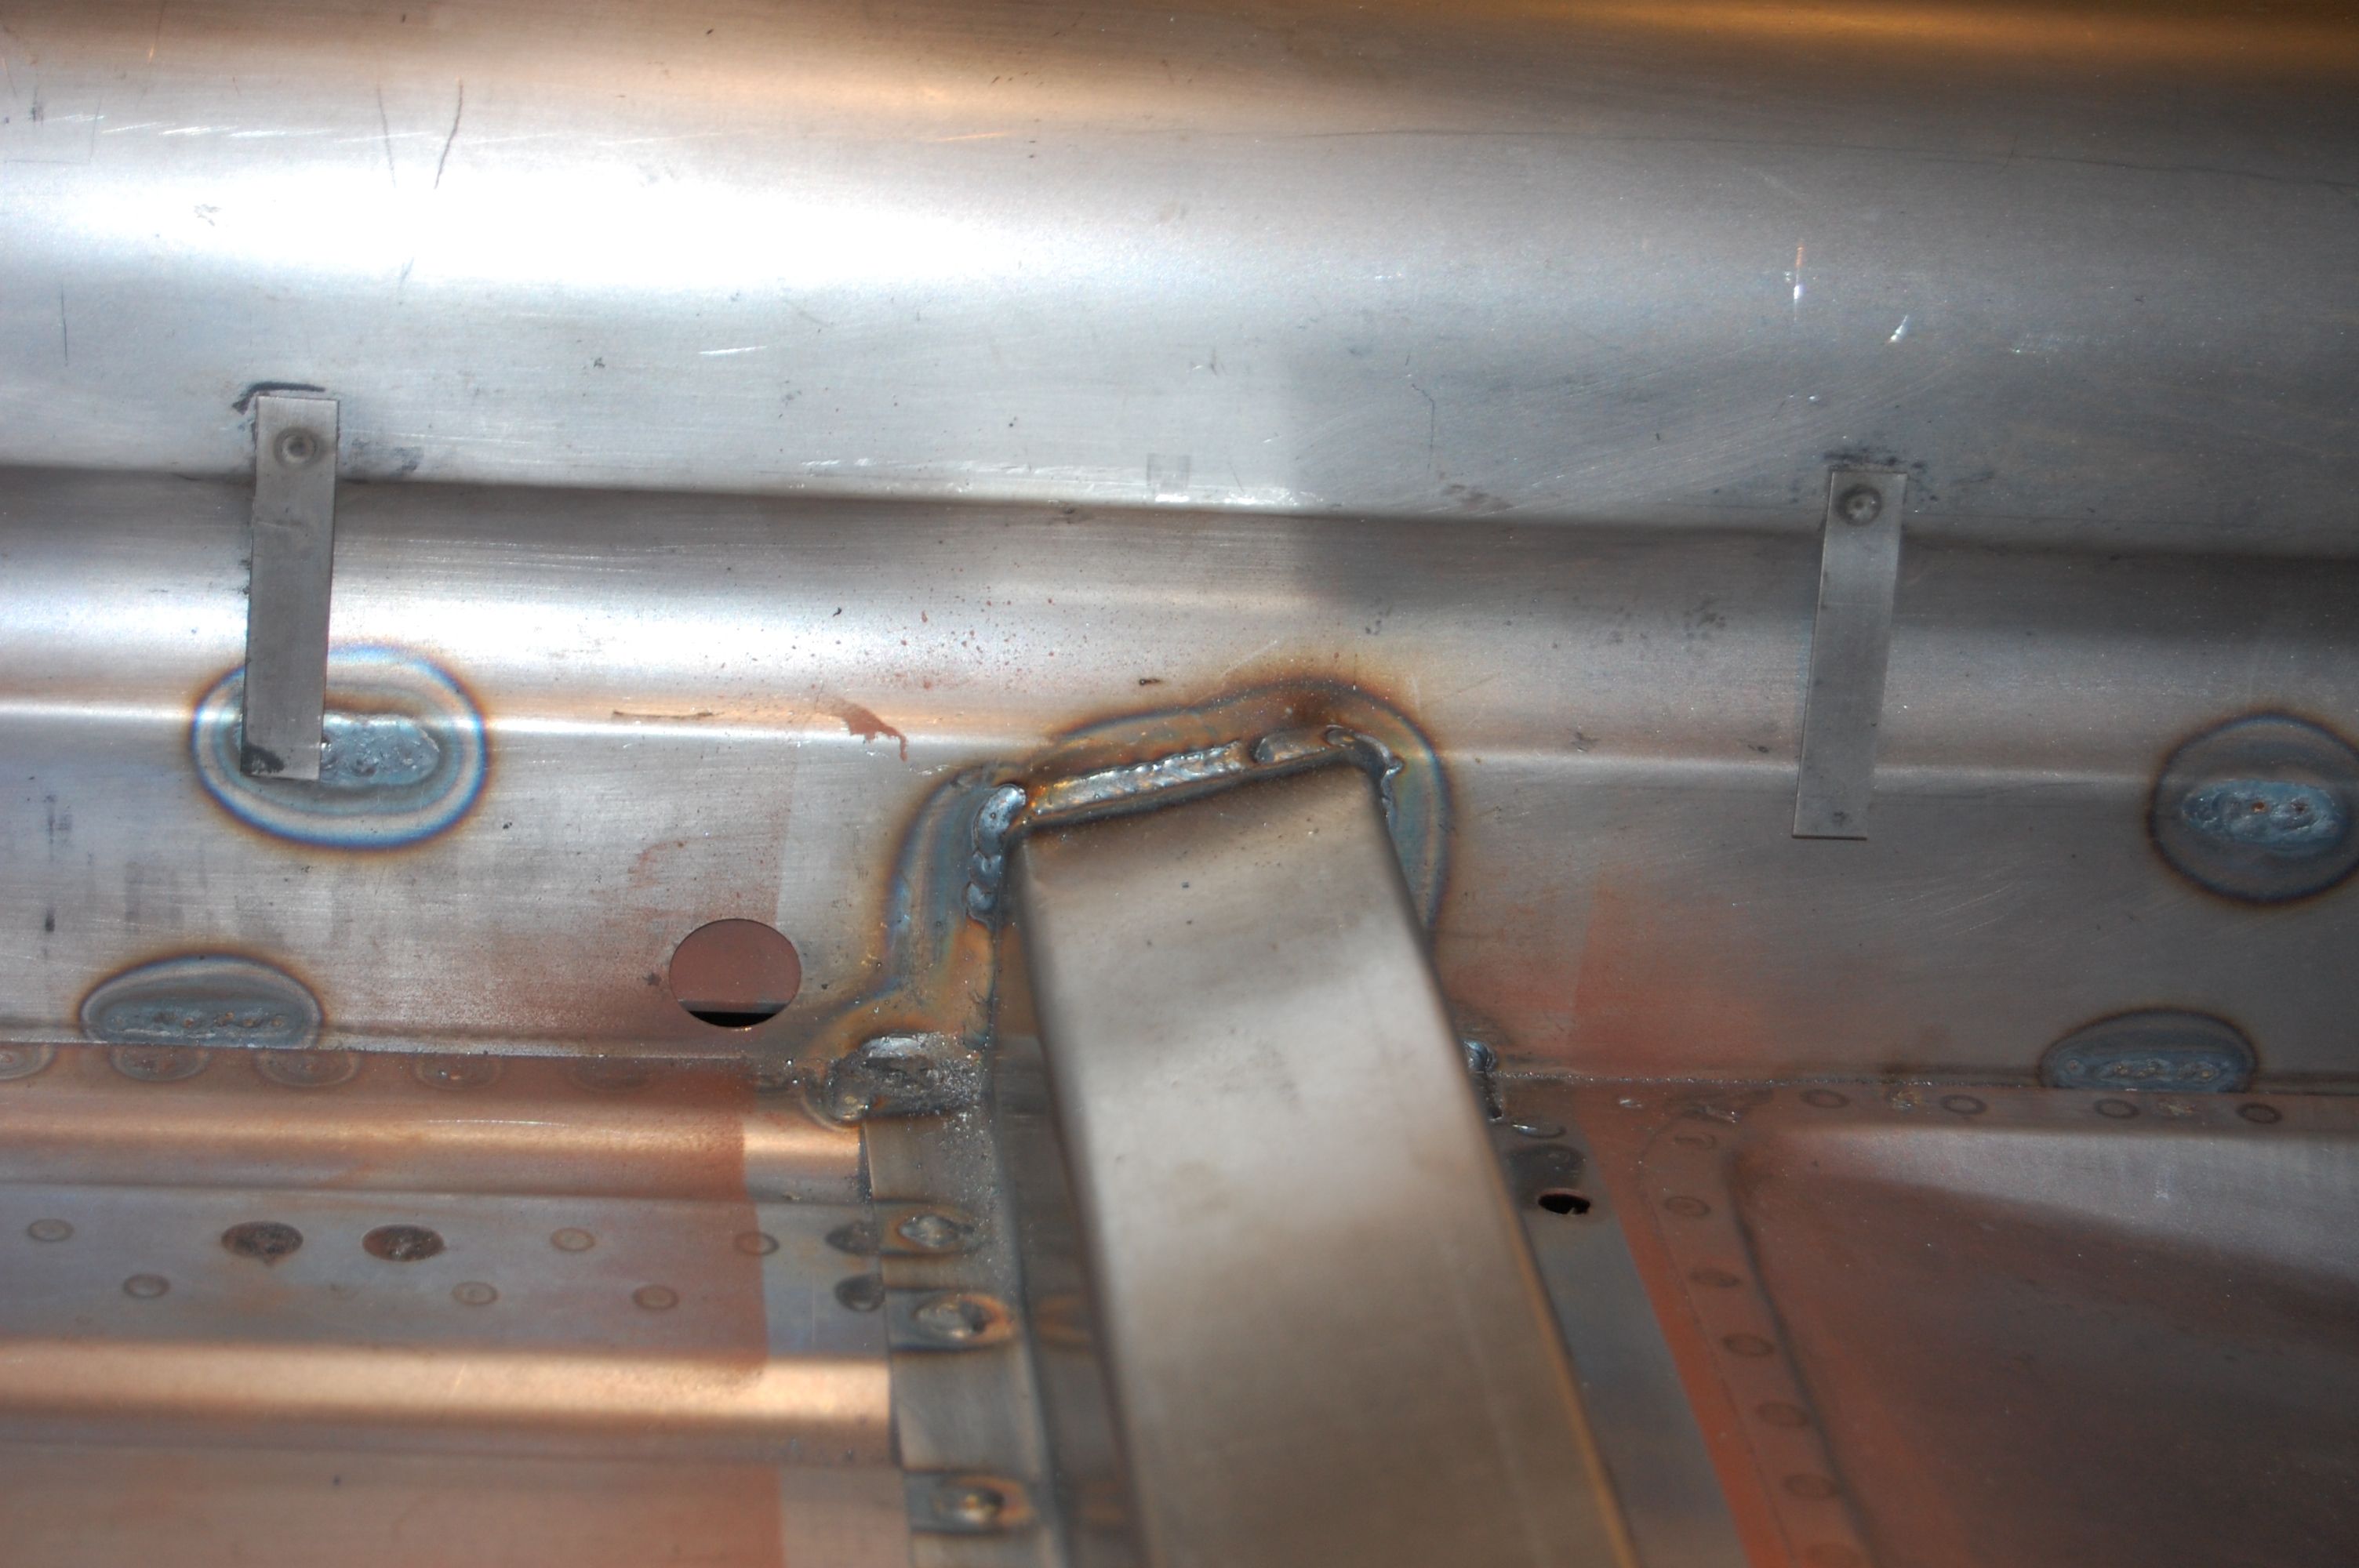
- Here, the 18-gauge crossmember half is welded to what remains of the original under the tunnel.

-

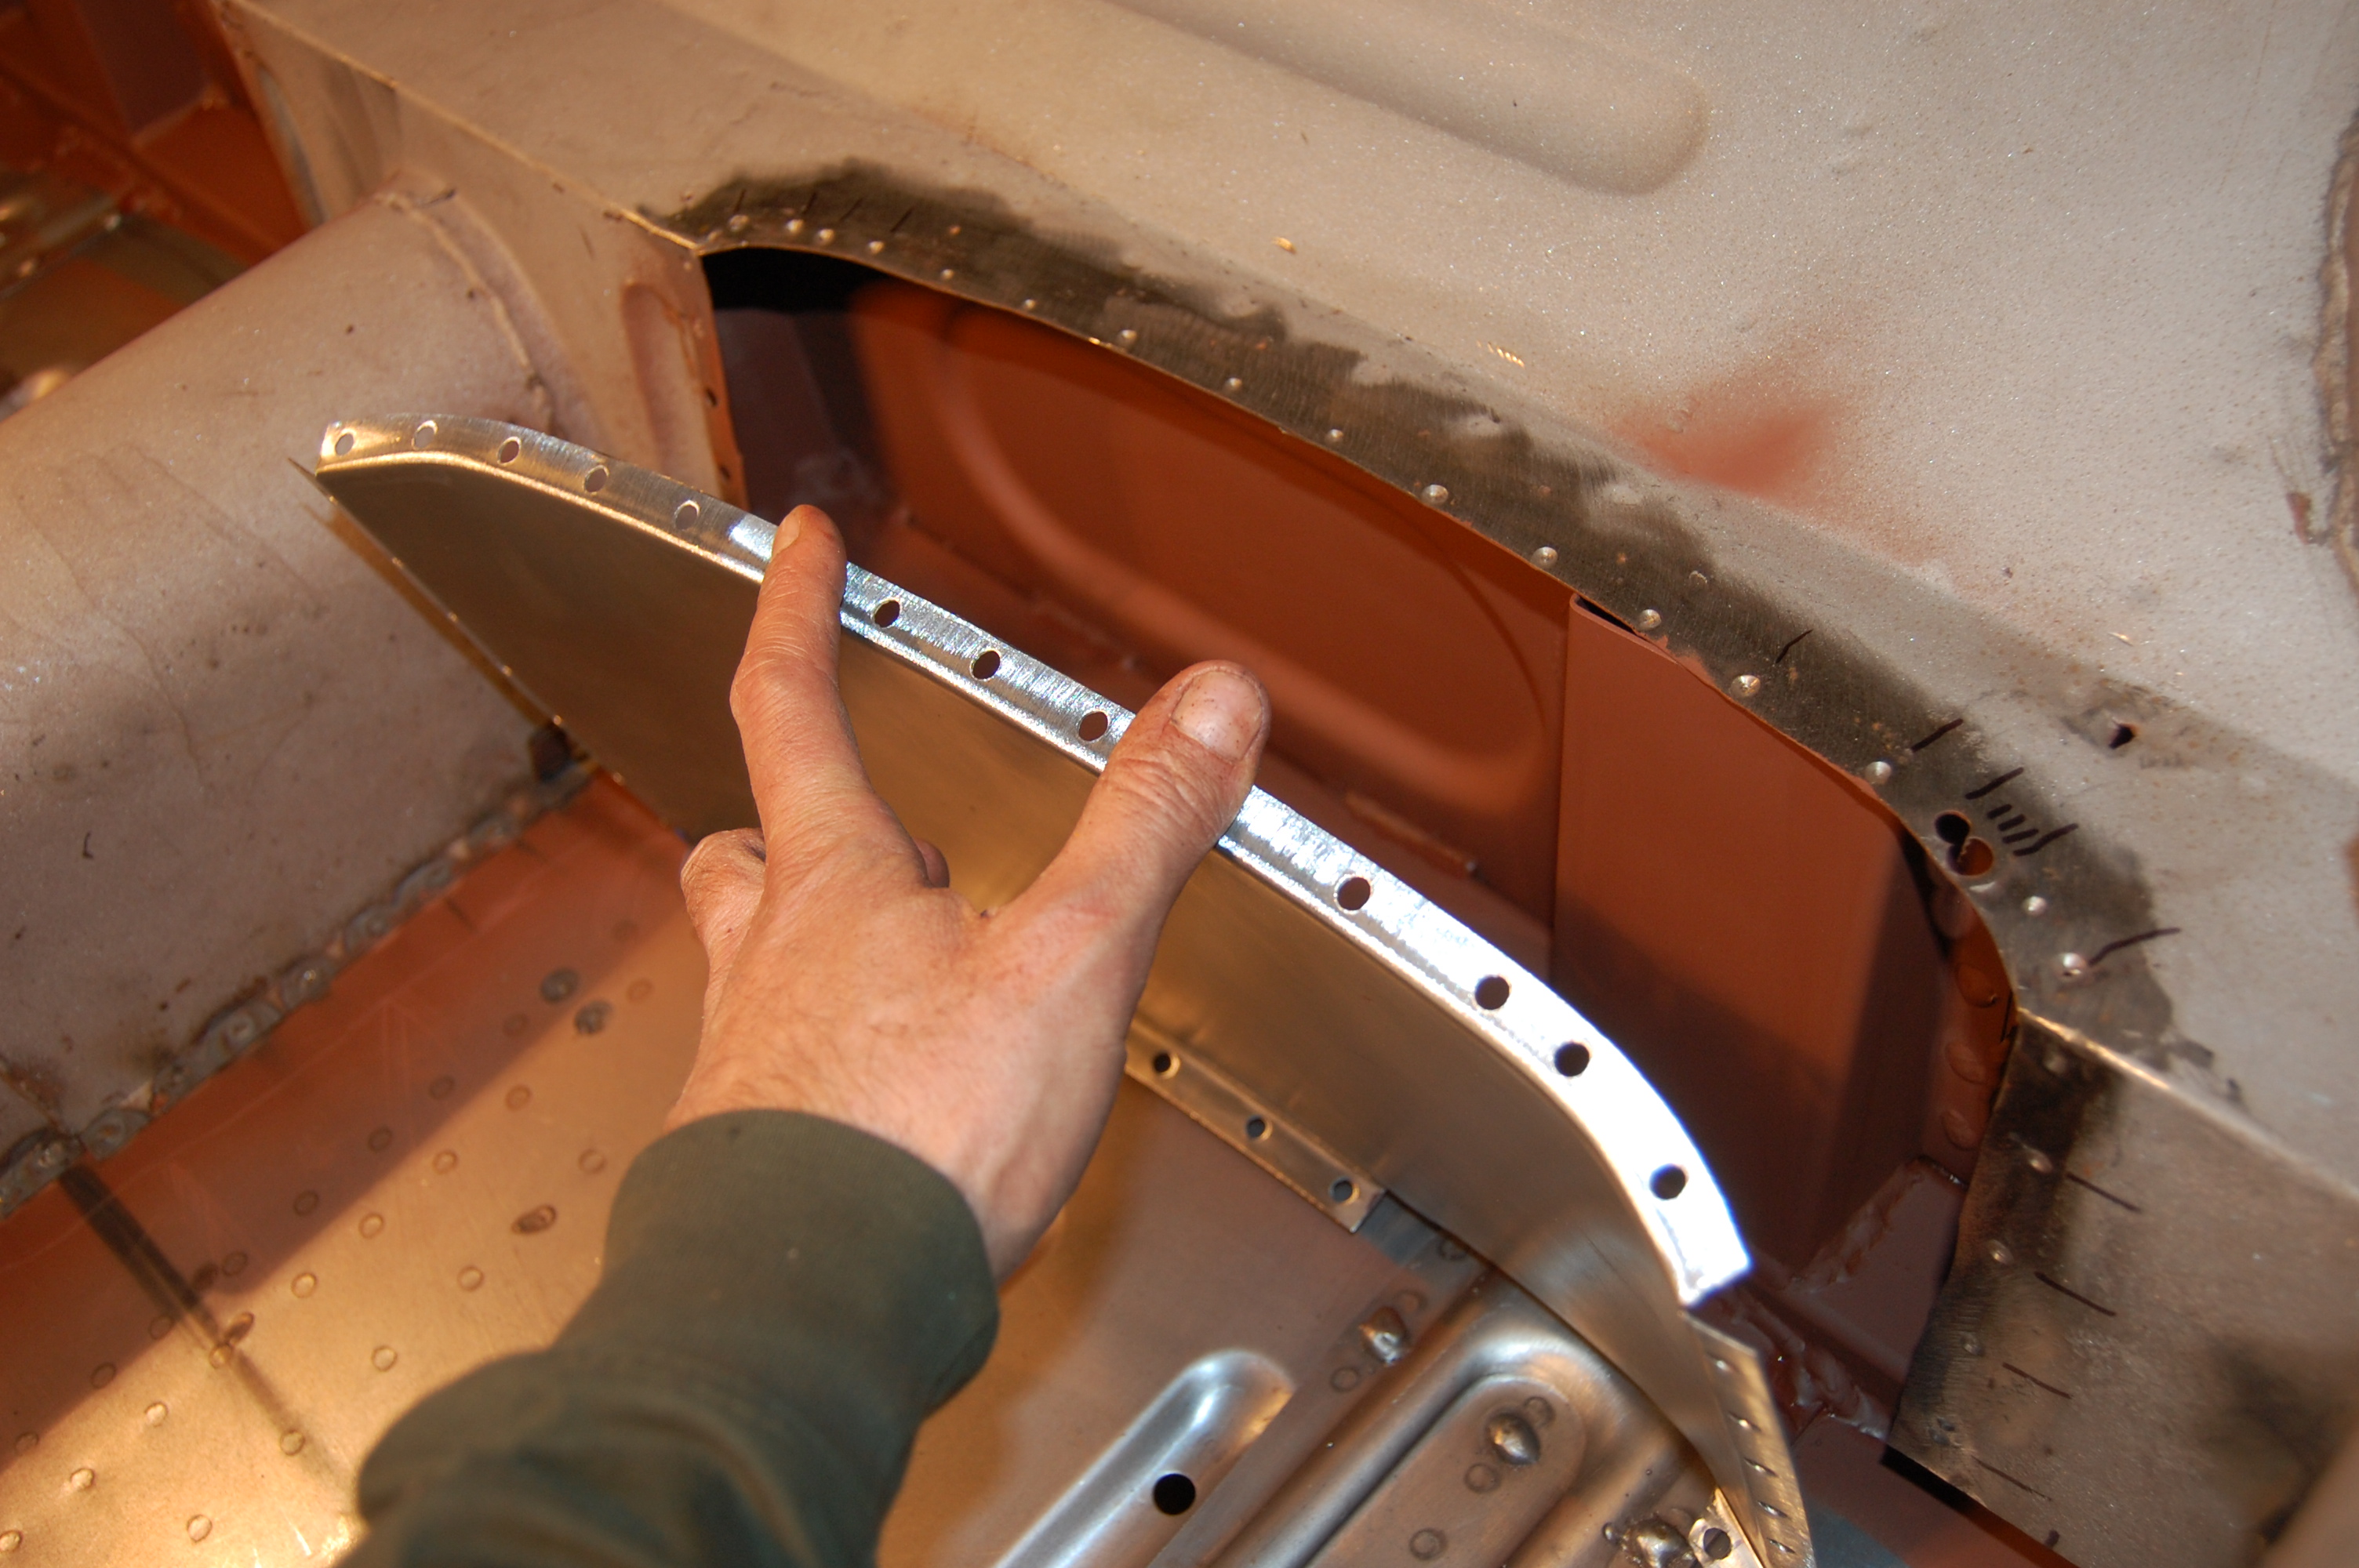
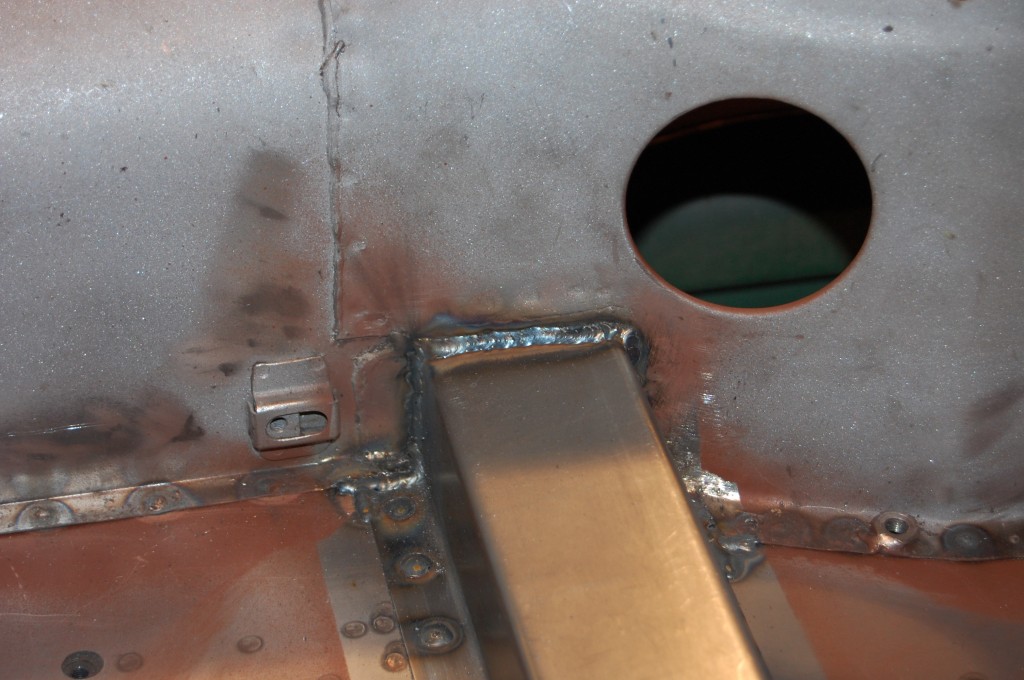
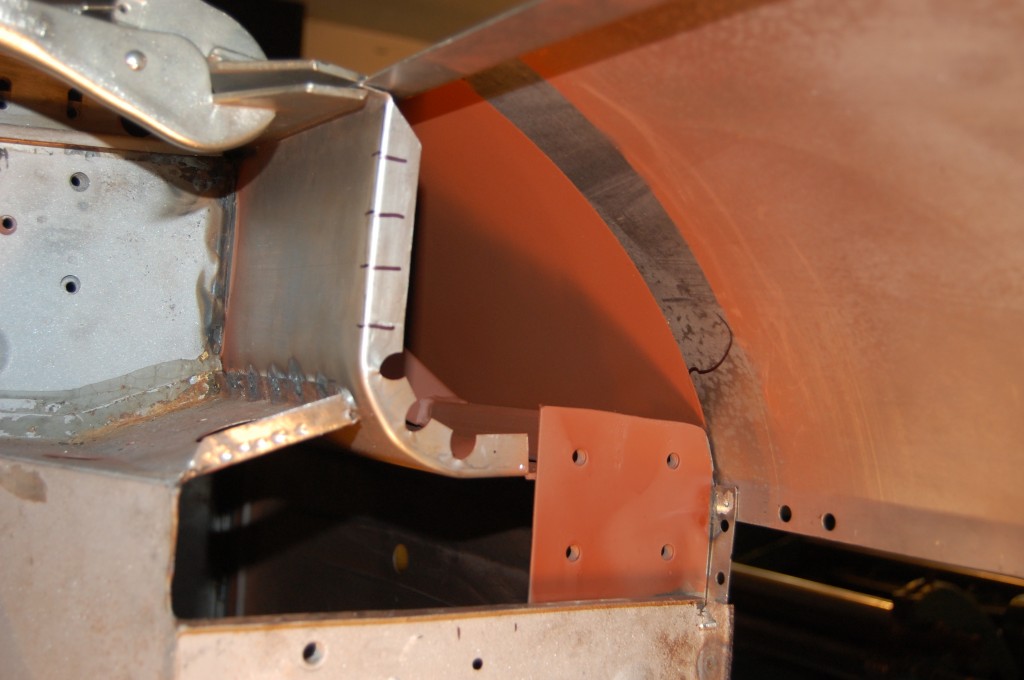
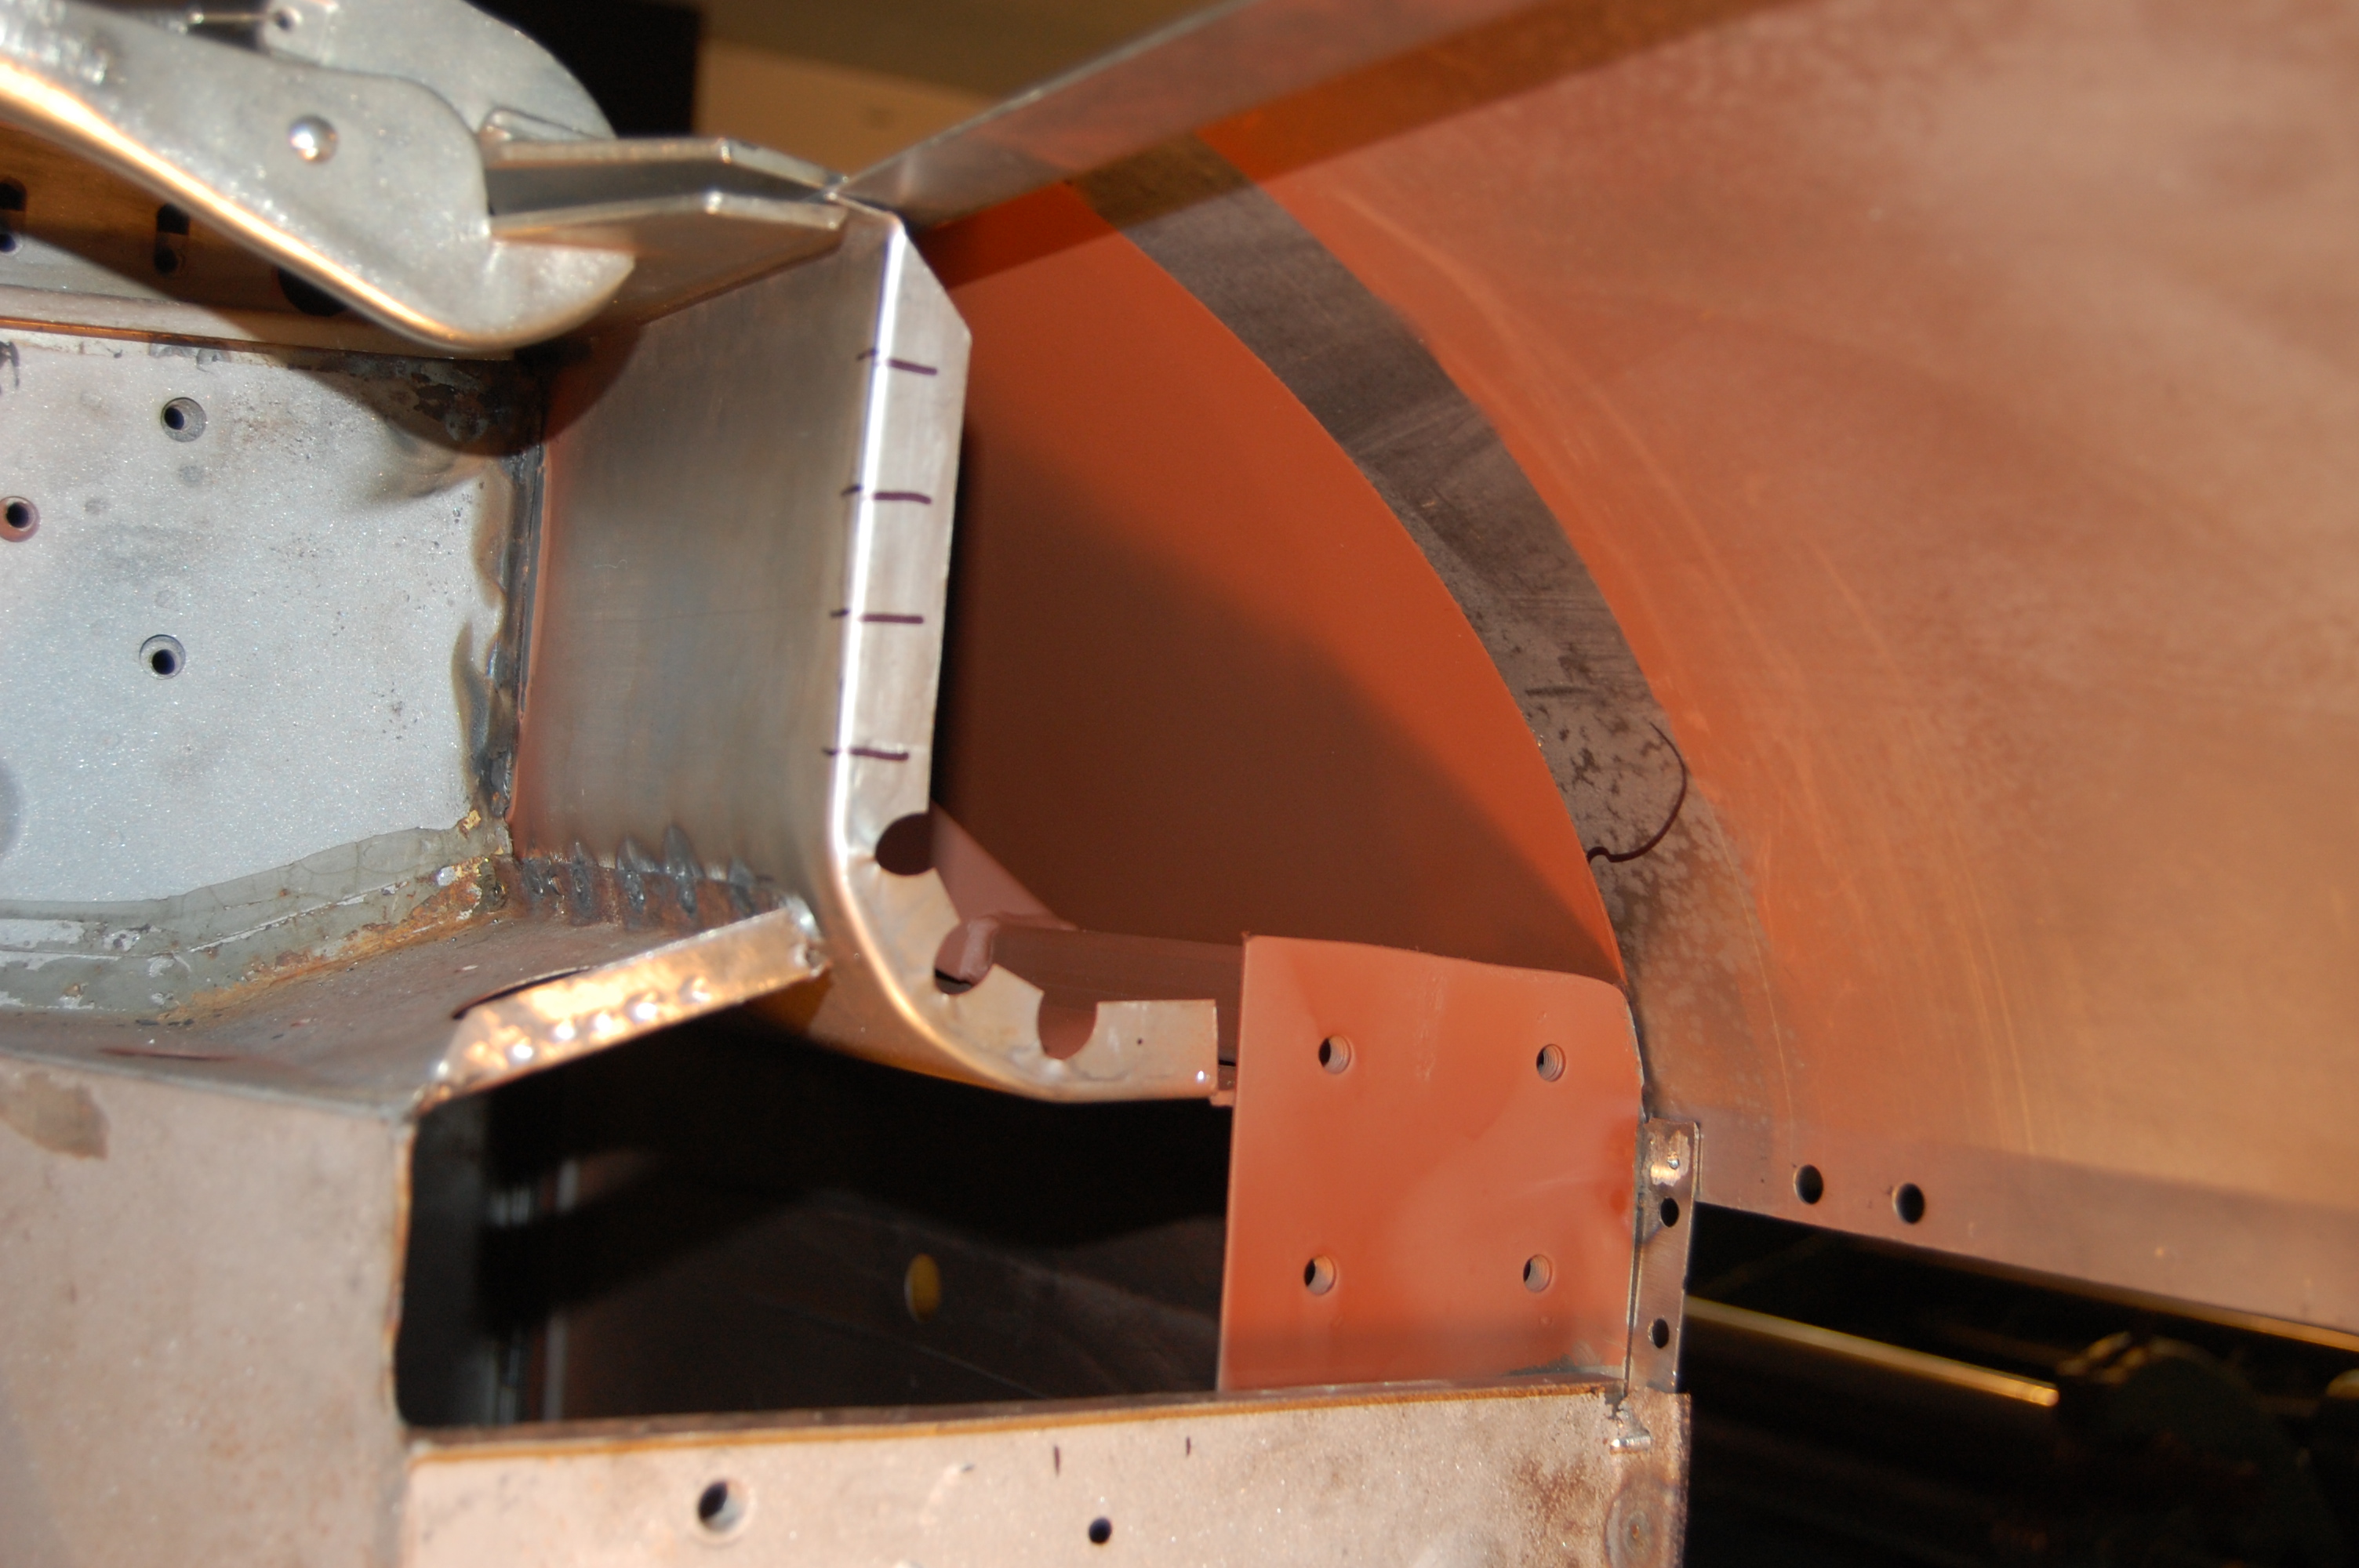
- Originally, these pieces were spot-welded to the inner sill via little tabs. This is a quick (and weak) method, and since both our inner sill and crossmember piece are now thicker, 18-gauge, we sticth the cossmember directly to the inner sill. In this shot, you can also see the weld penetration from the subframe tube inside the sill.
-

- Here is the LH outer sill going on – everythiung incside is well coated in red oxide.
-
- A little different from the factory treatment – this is SUPER strong, and well protected!

-
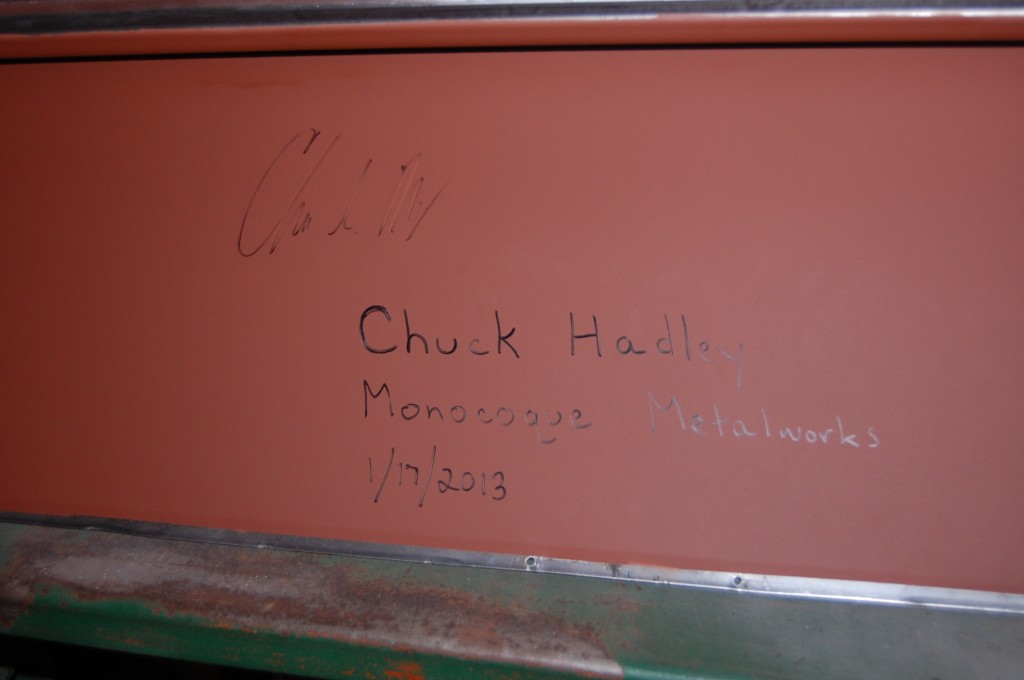
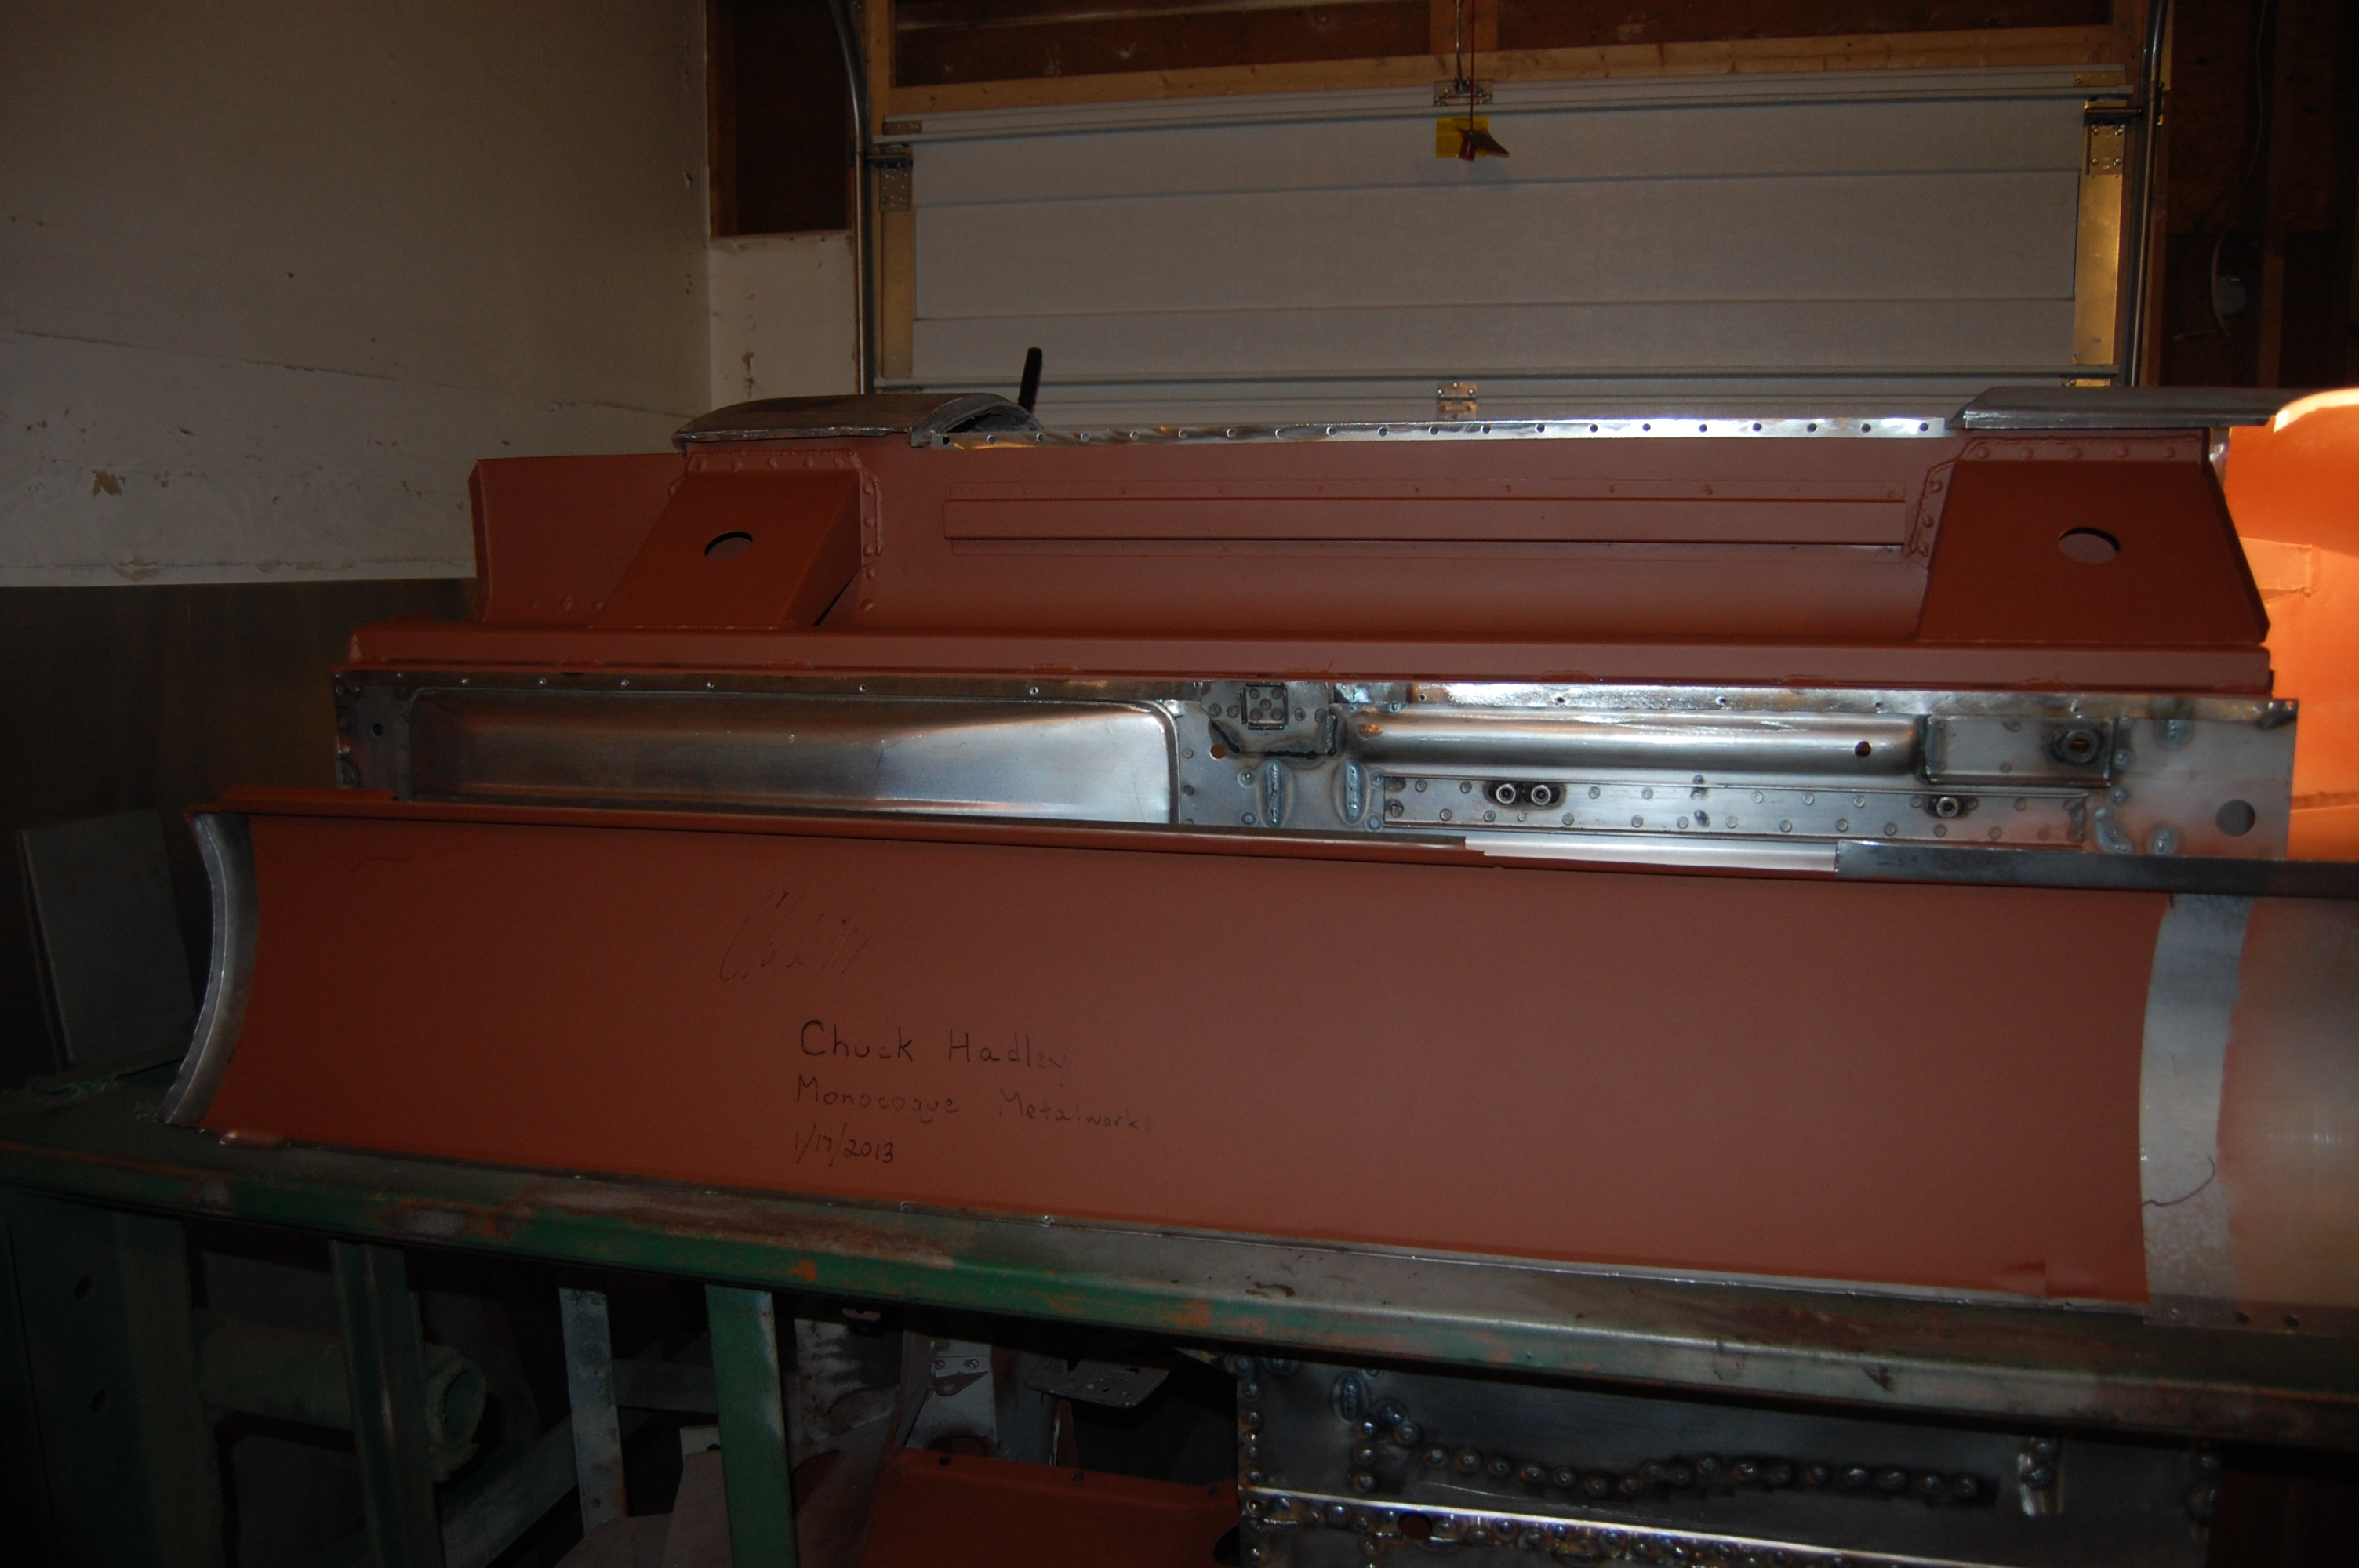
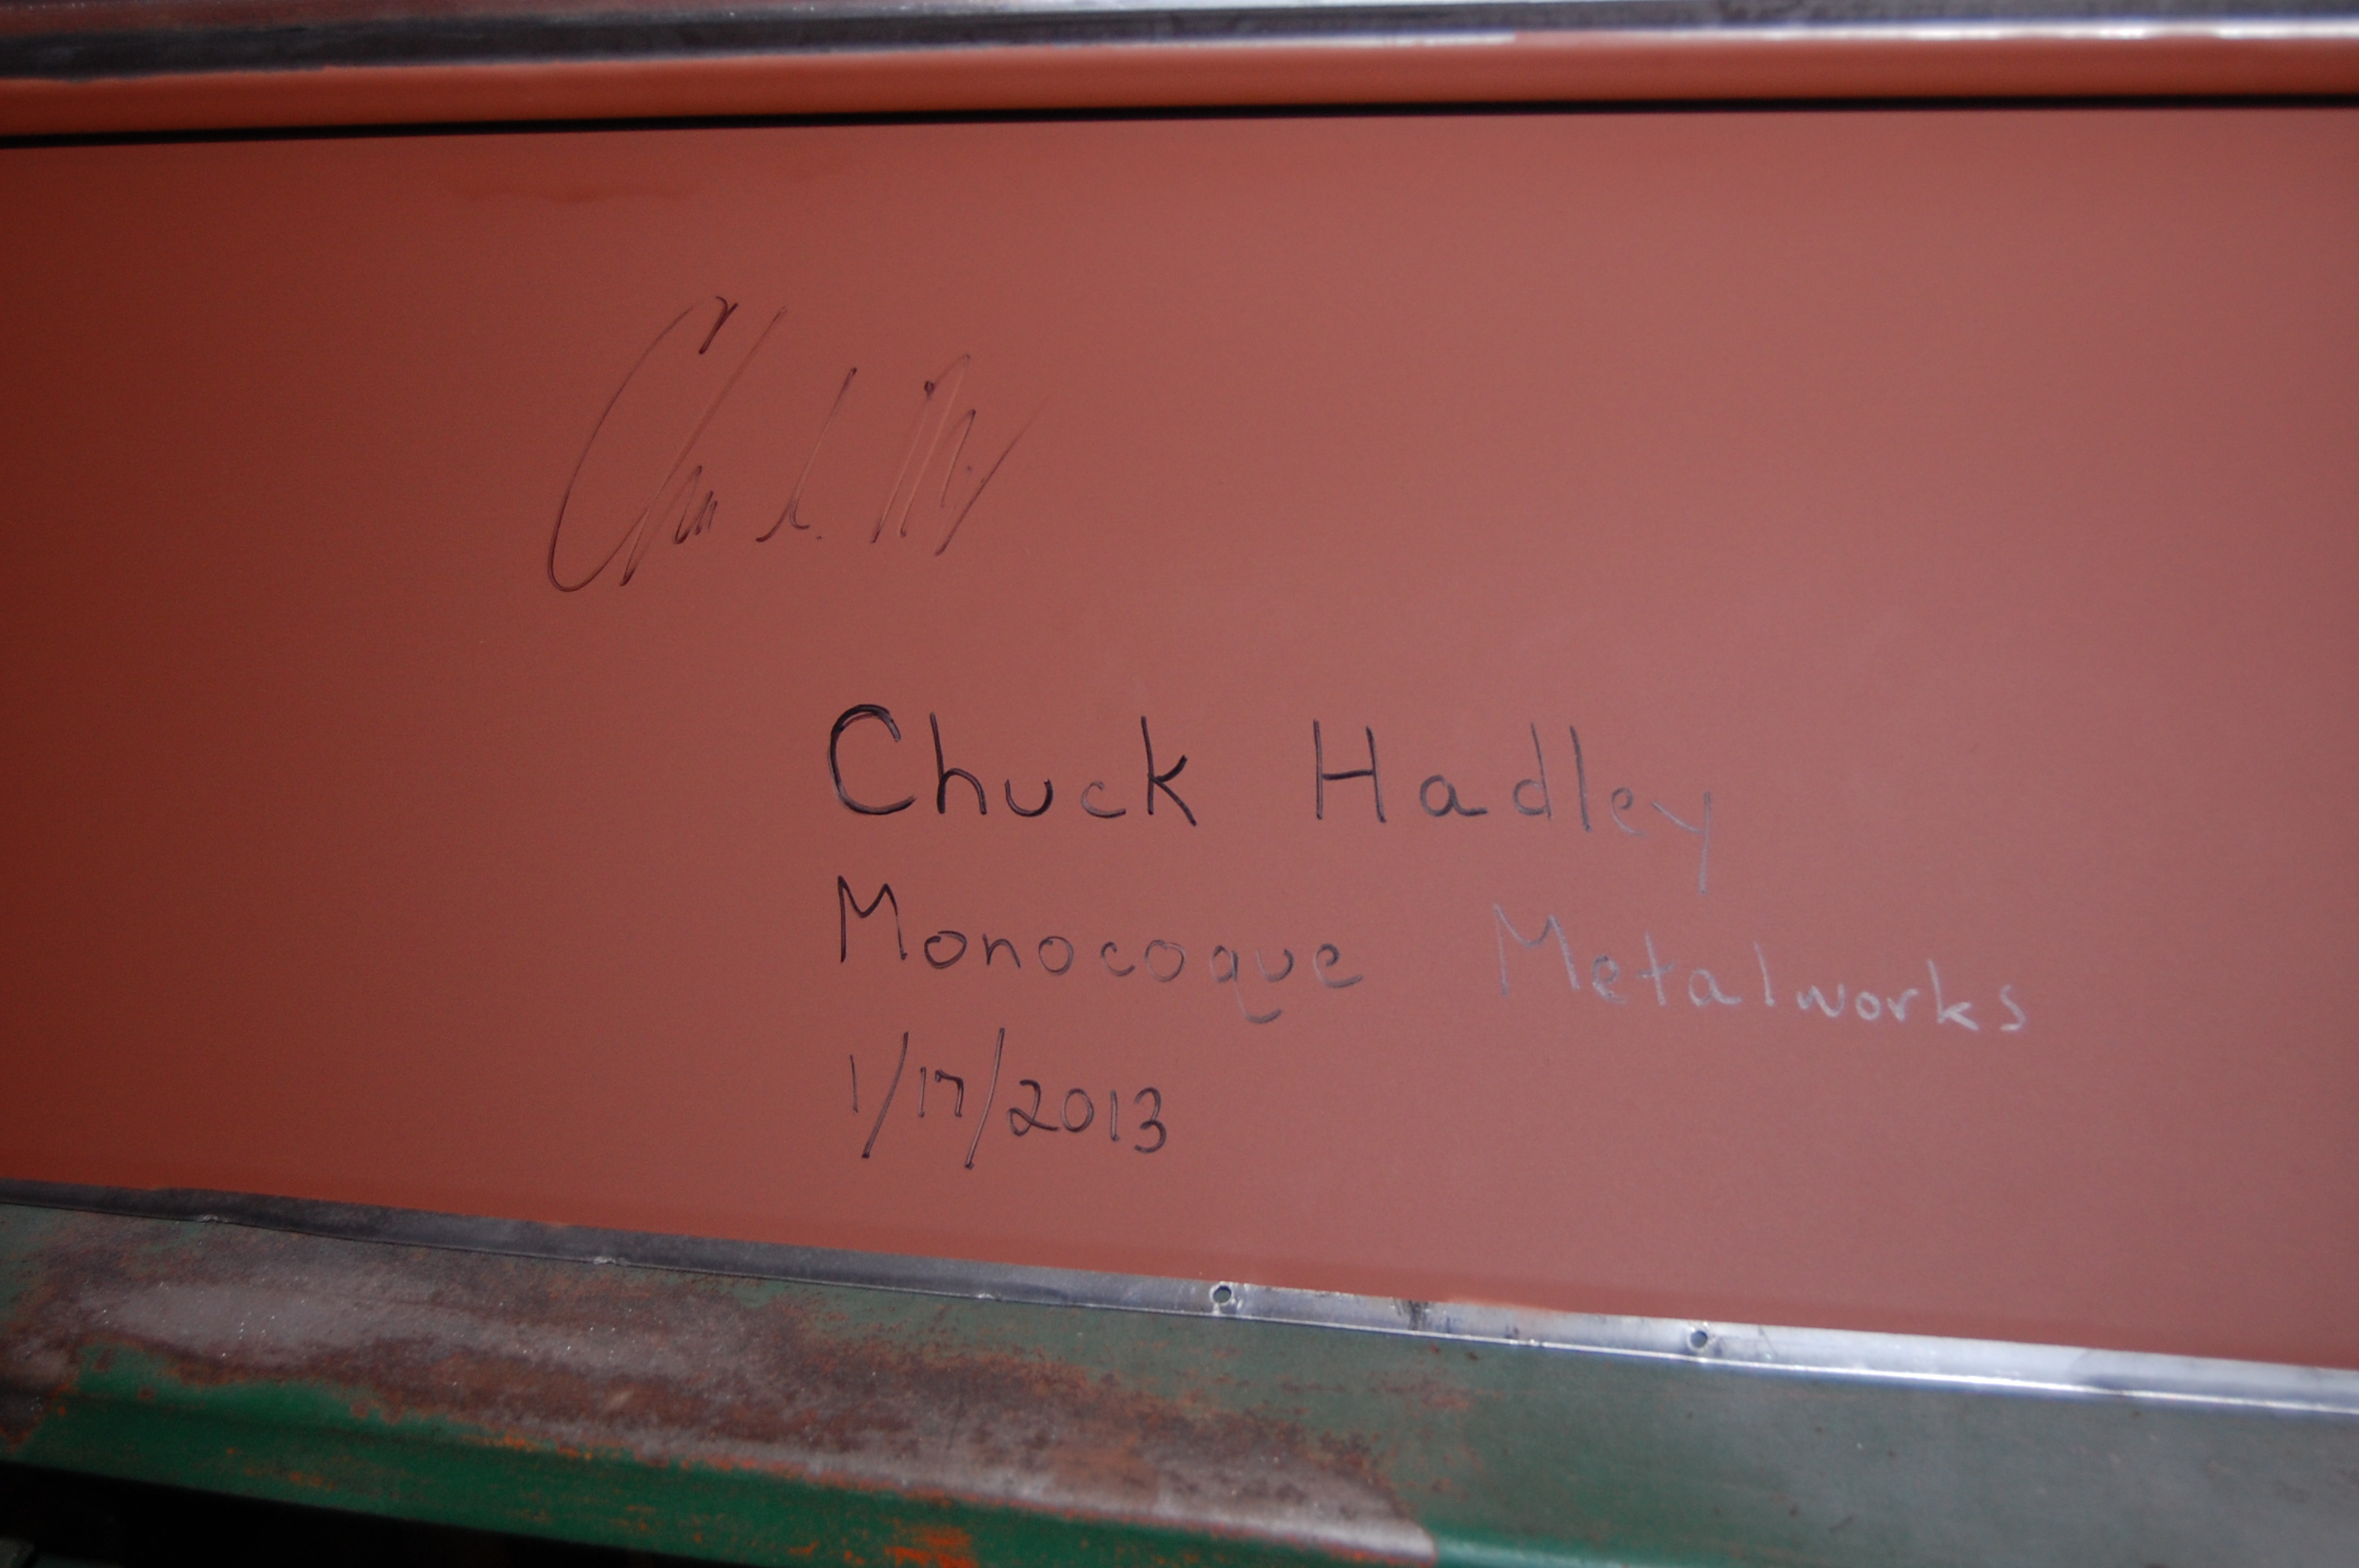
- I have absolute faith in every shell restored here – so I sign my work. This shell is 100% guaranteed for life.
-

- Here is the RH side – same treatment.
-
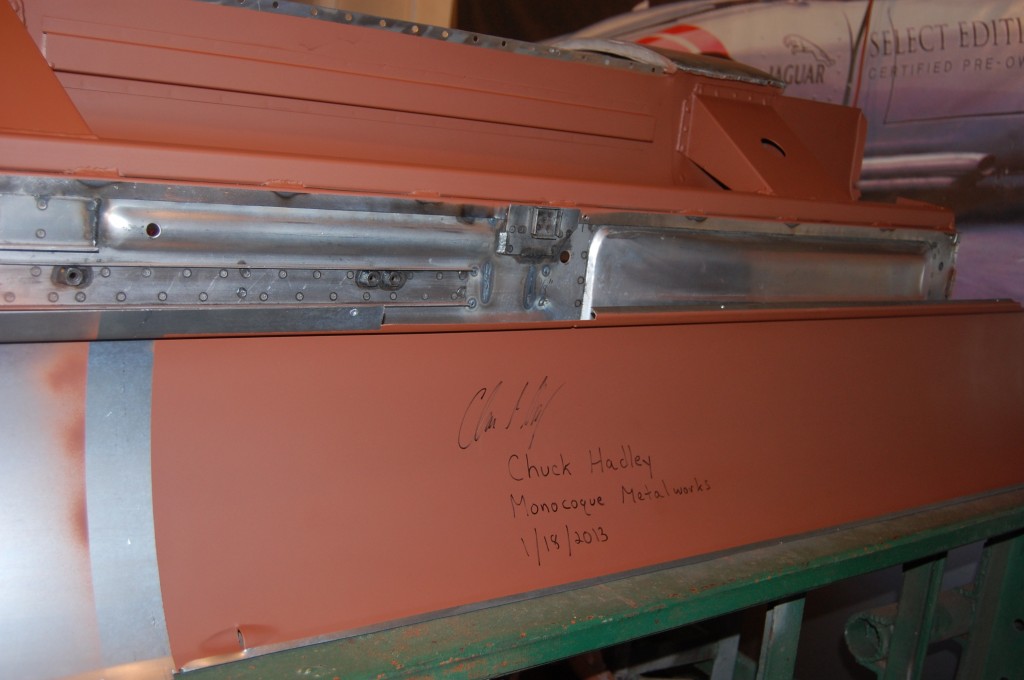
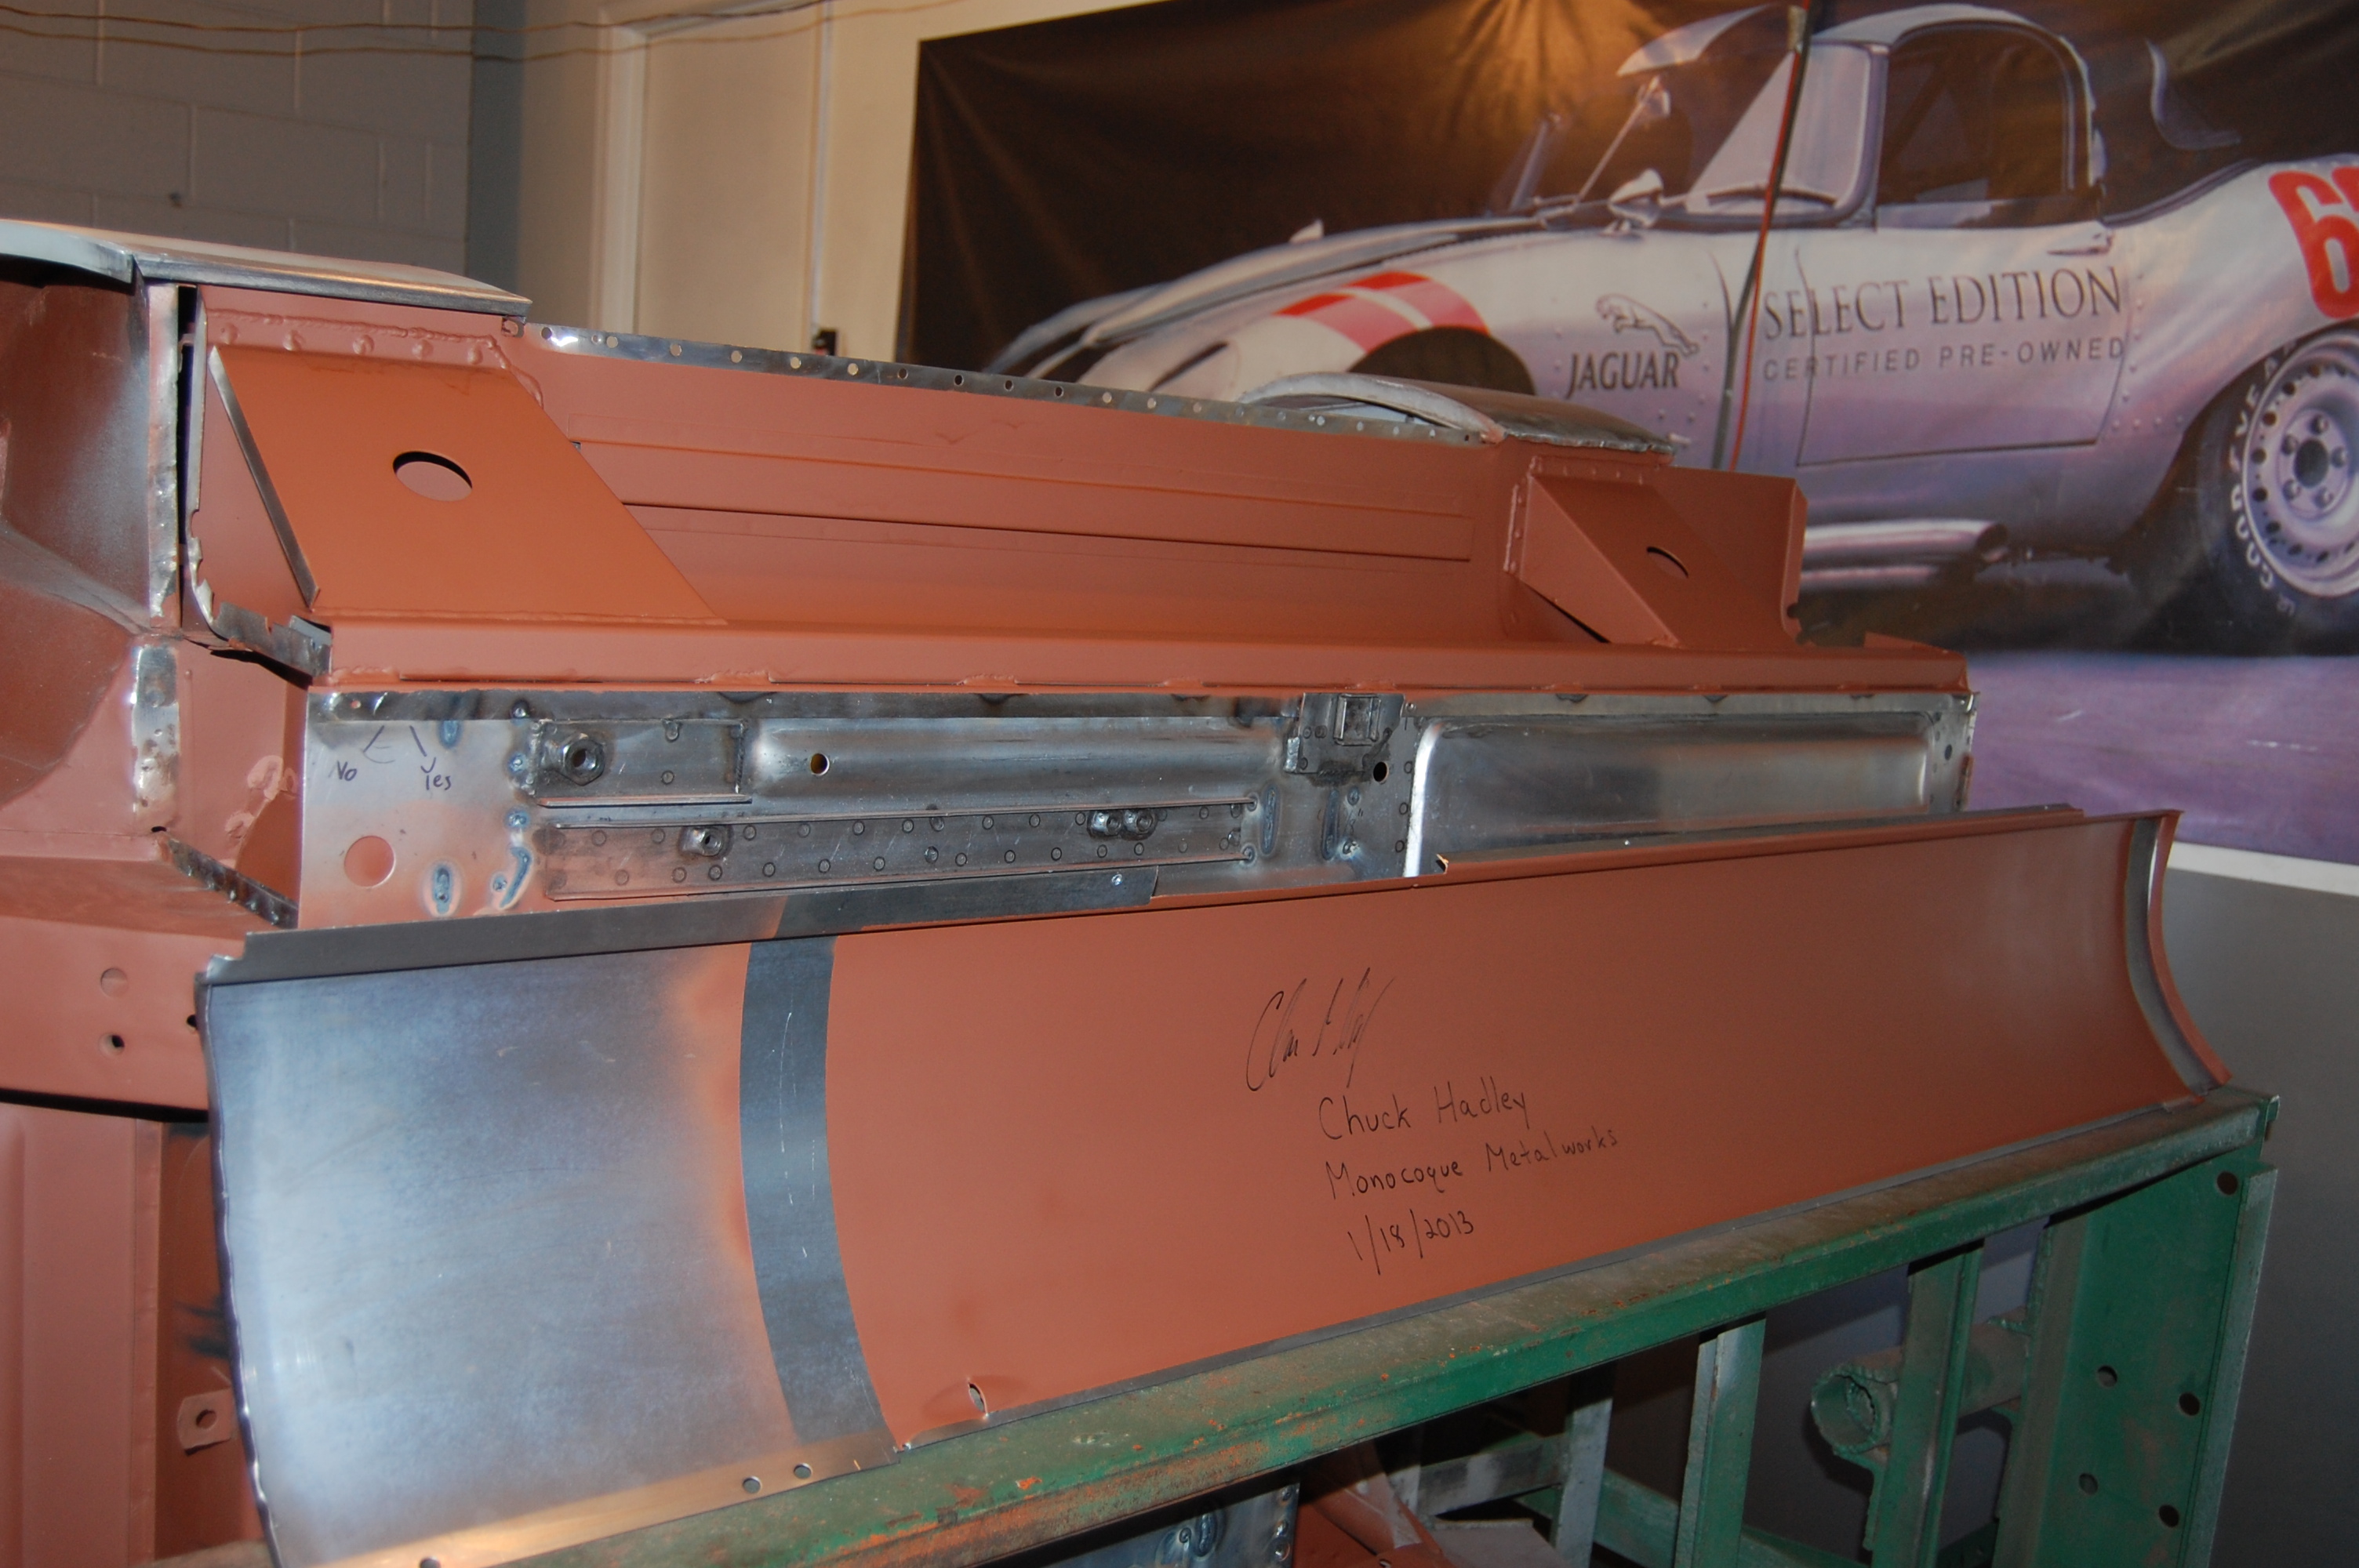
- A day later, but still quality work that I’m happy to put my name on.

-
- This shot shows the LH outer sill welded into place.

-

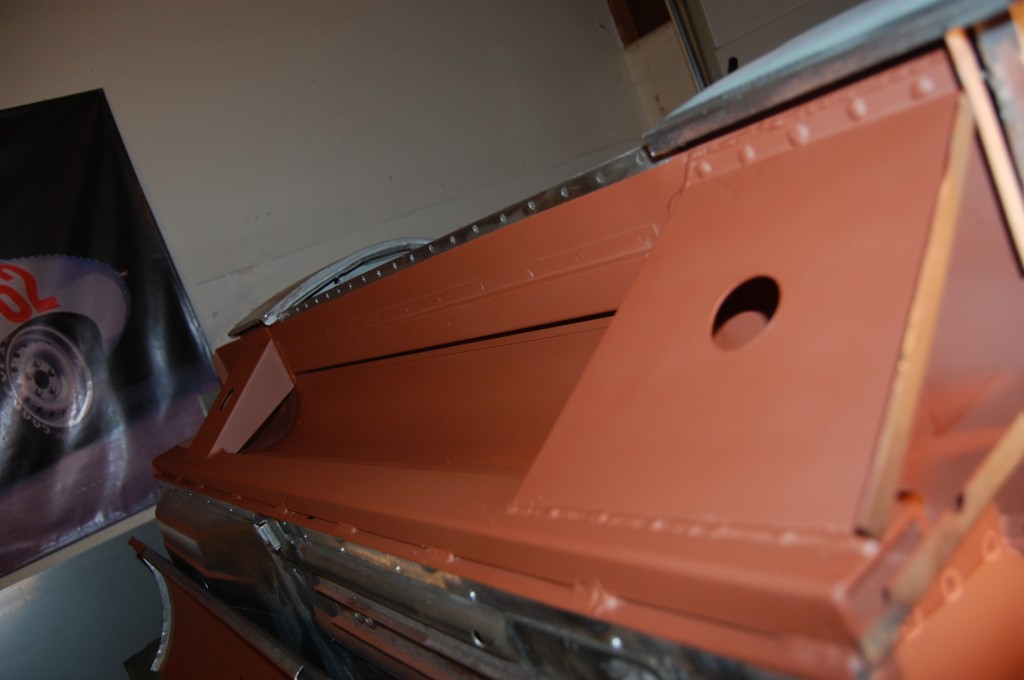
- ALL panels are coated before being welded into place!
-
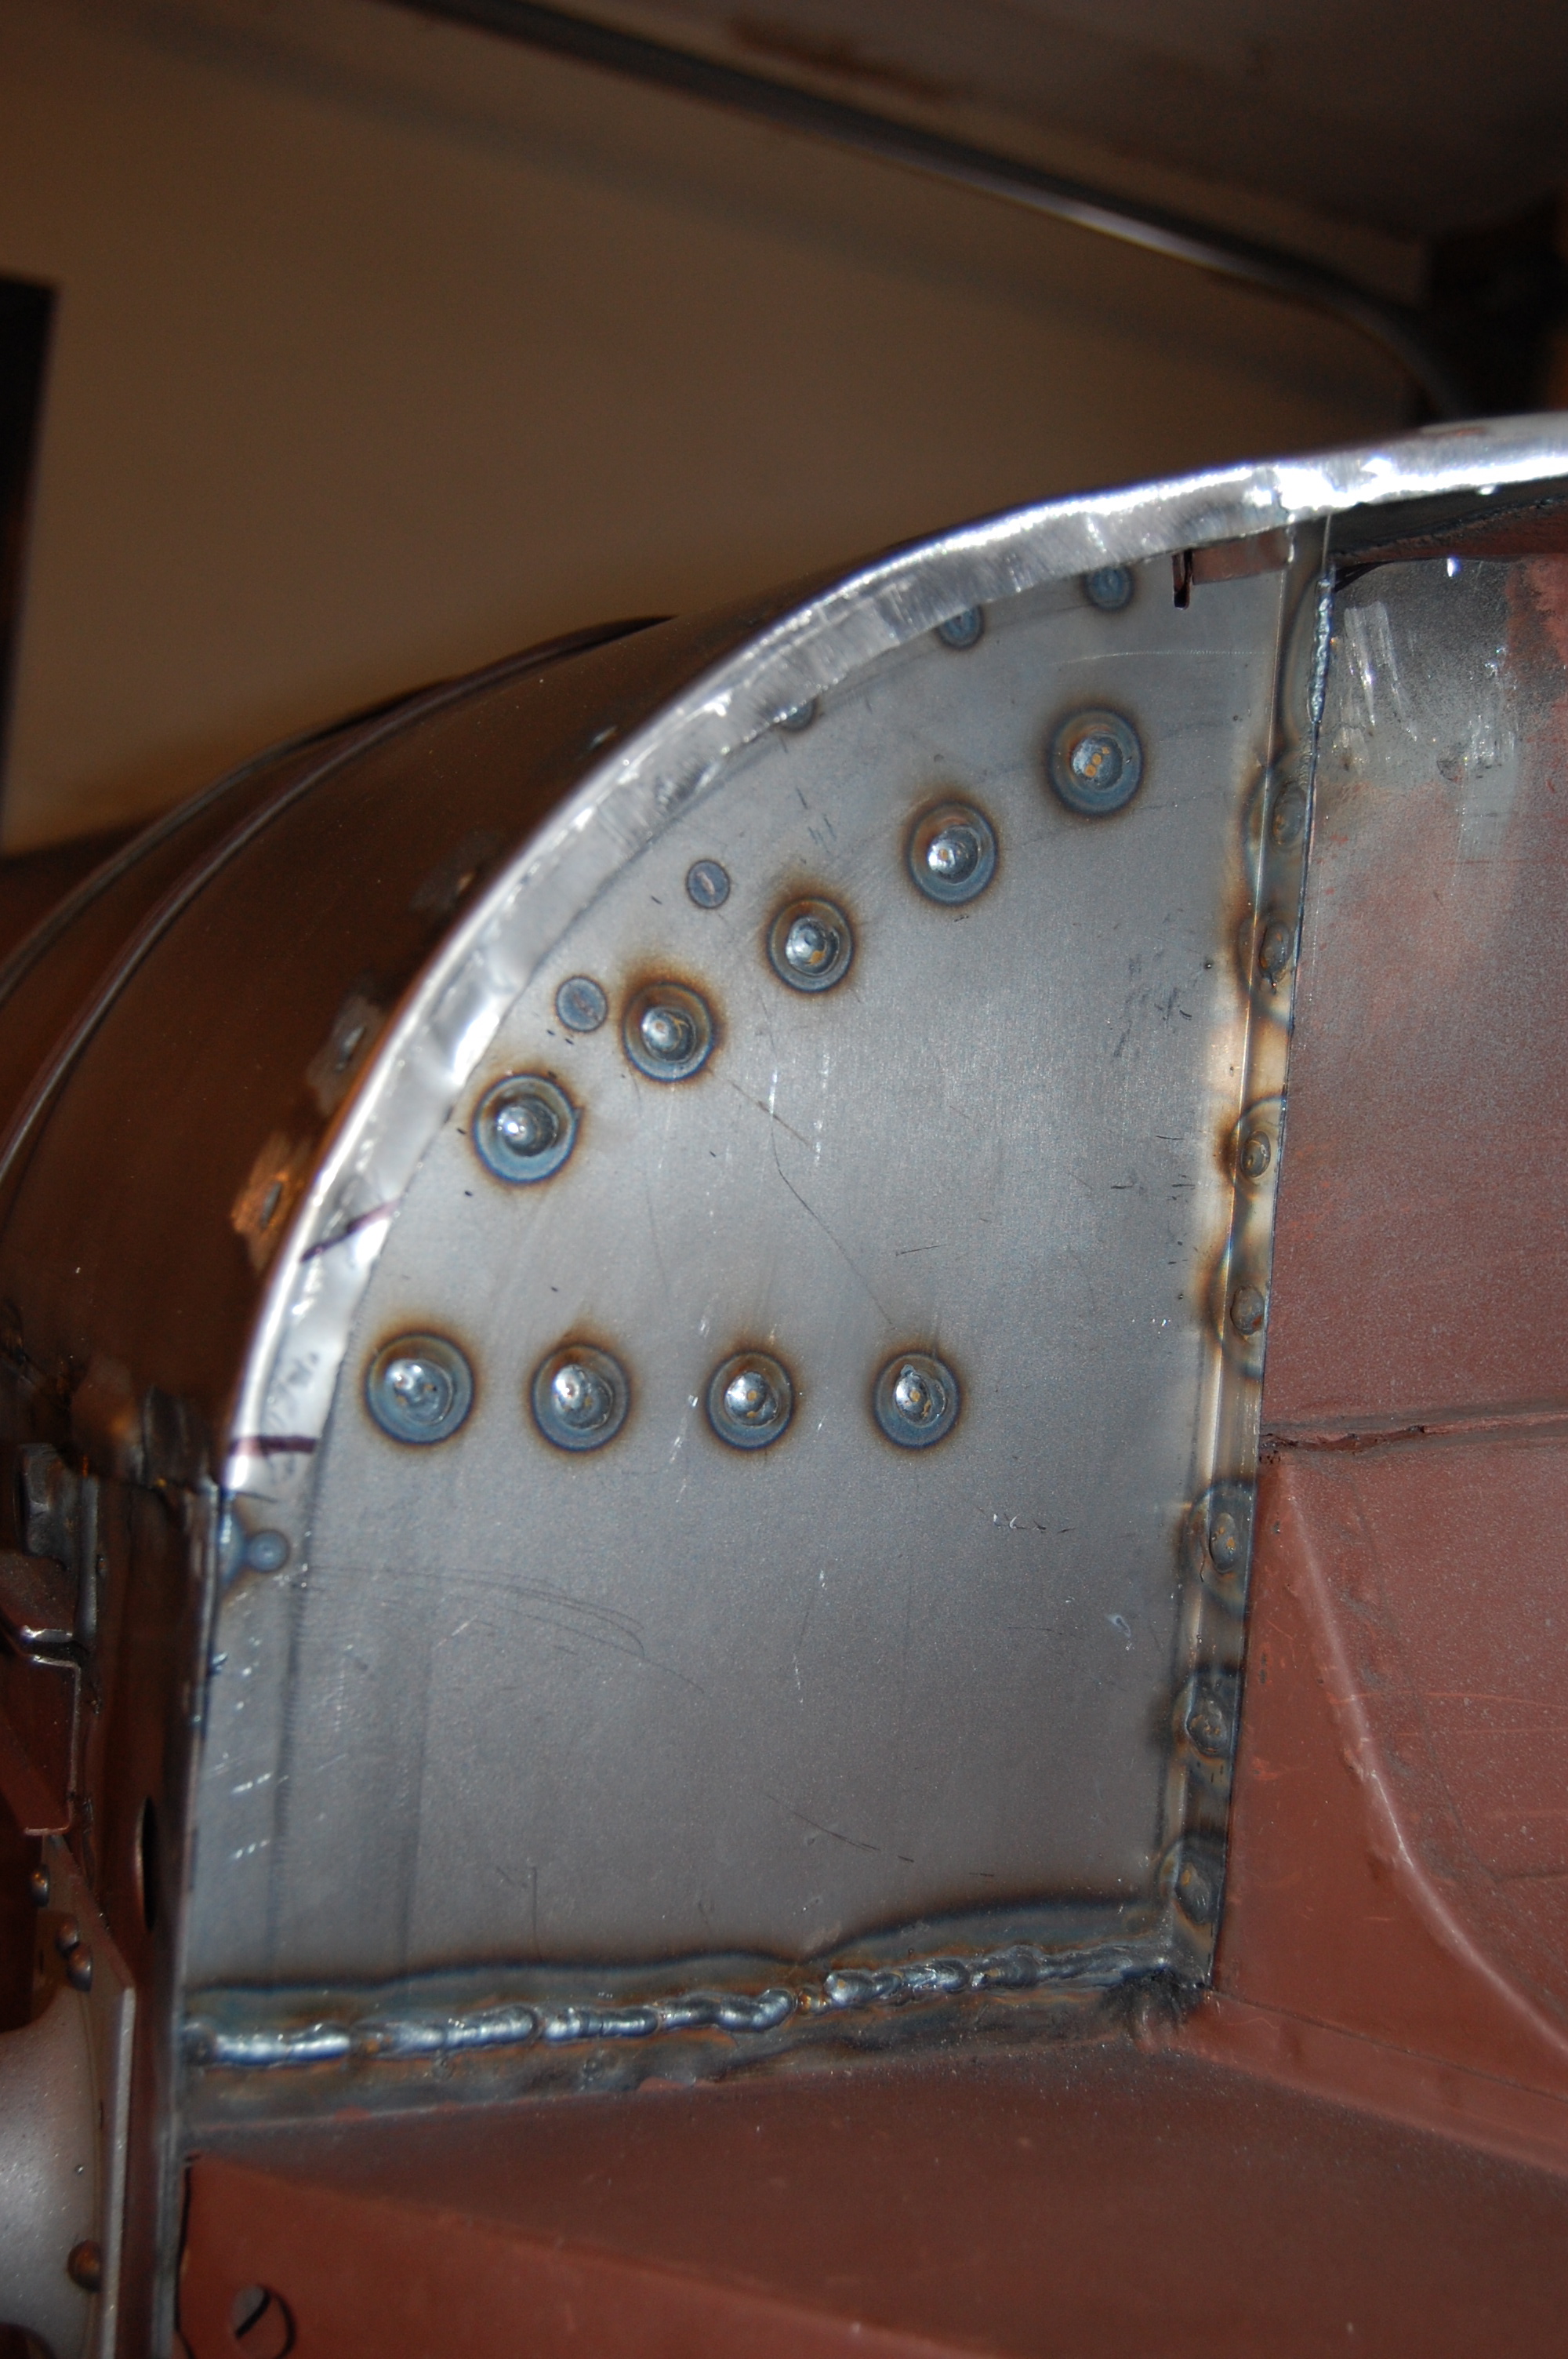
- By 1968, the factory was simply using seam sealer on the joint between the bulkhead closing panel and outer sill. Because we make our own bulkhead closing panels, we can ensure that the fit is tight enough for spot-welding – adding strength to the structure. We recently fine-tuned the pattern for this piece, and it now fits beautifully – MUCH better than “the other guys…”
-

- These panels are also in-house – this is the rear closing panel for the LH sill. We use a combination of spot-welding, plug-welding, and some stitching too to get every seam welded with absolute strength.
-
- RH rear sill closing panel.

-
- The rear sill closing panels were also spot-welded to the outer sill, but got a little persnickity during the process, so the spots were drilled and it was then plug-welded and ground smooth.

-
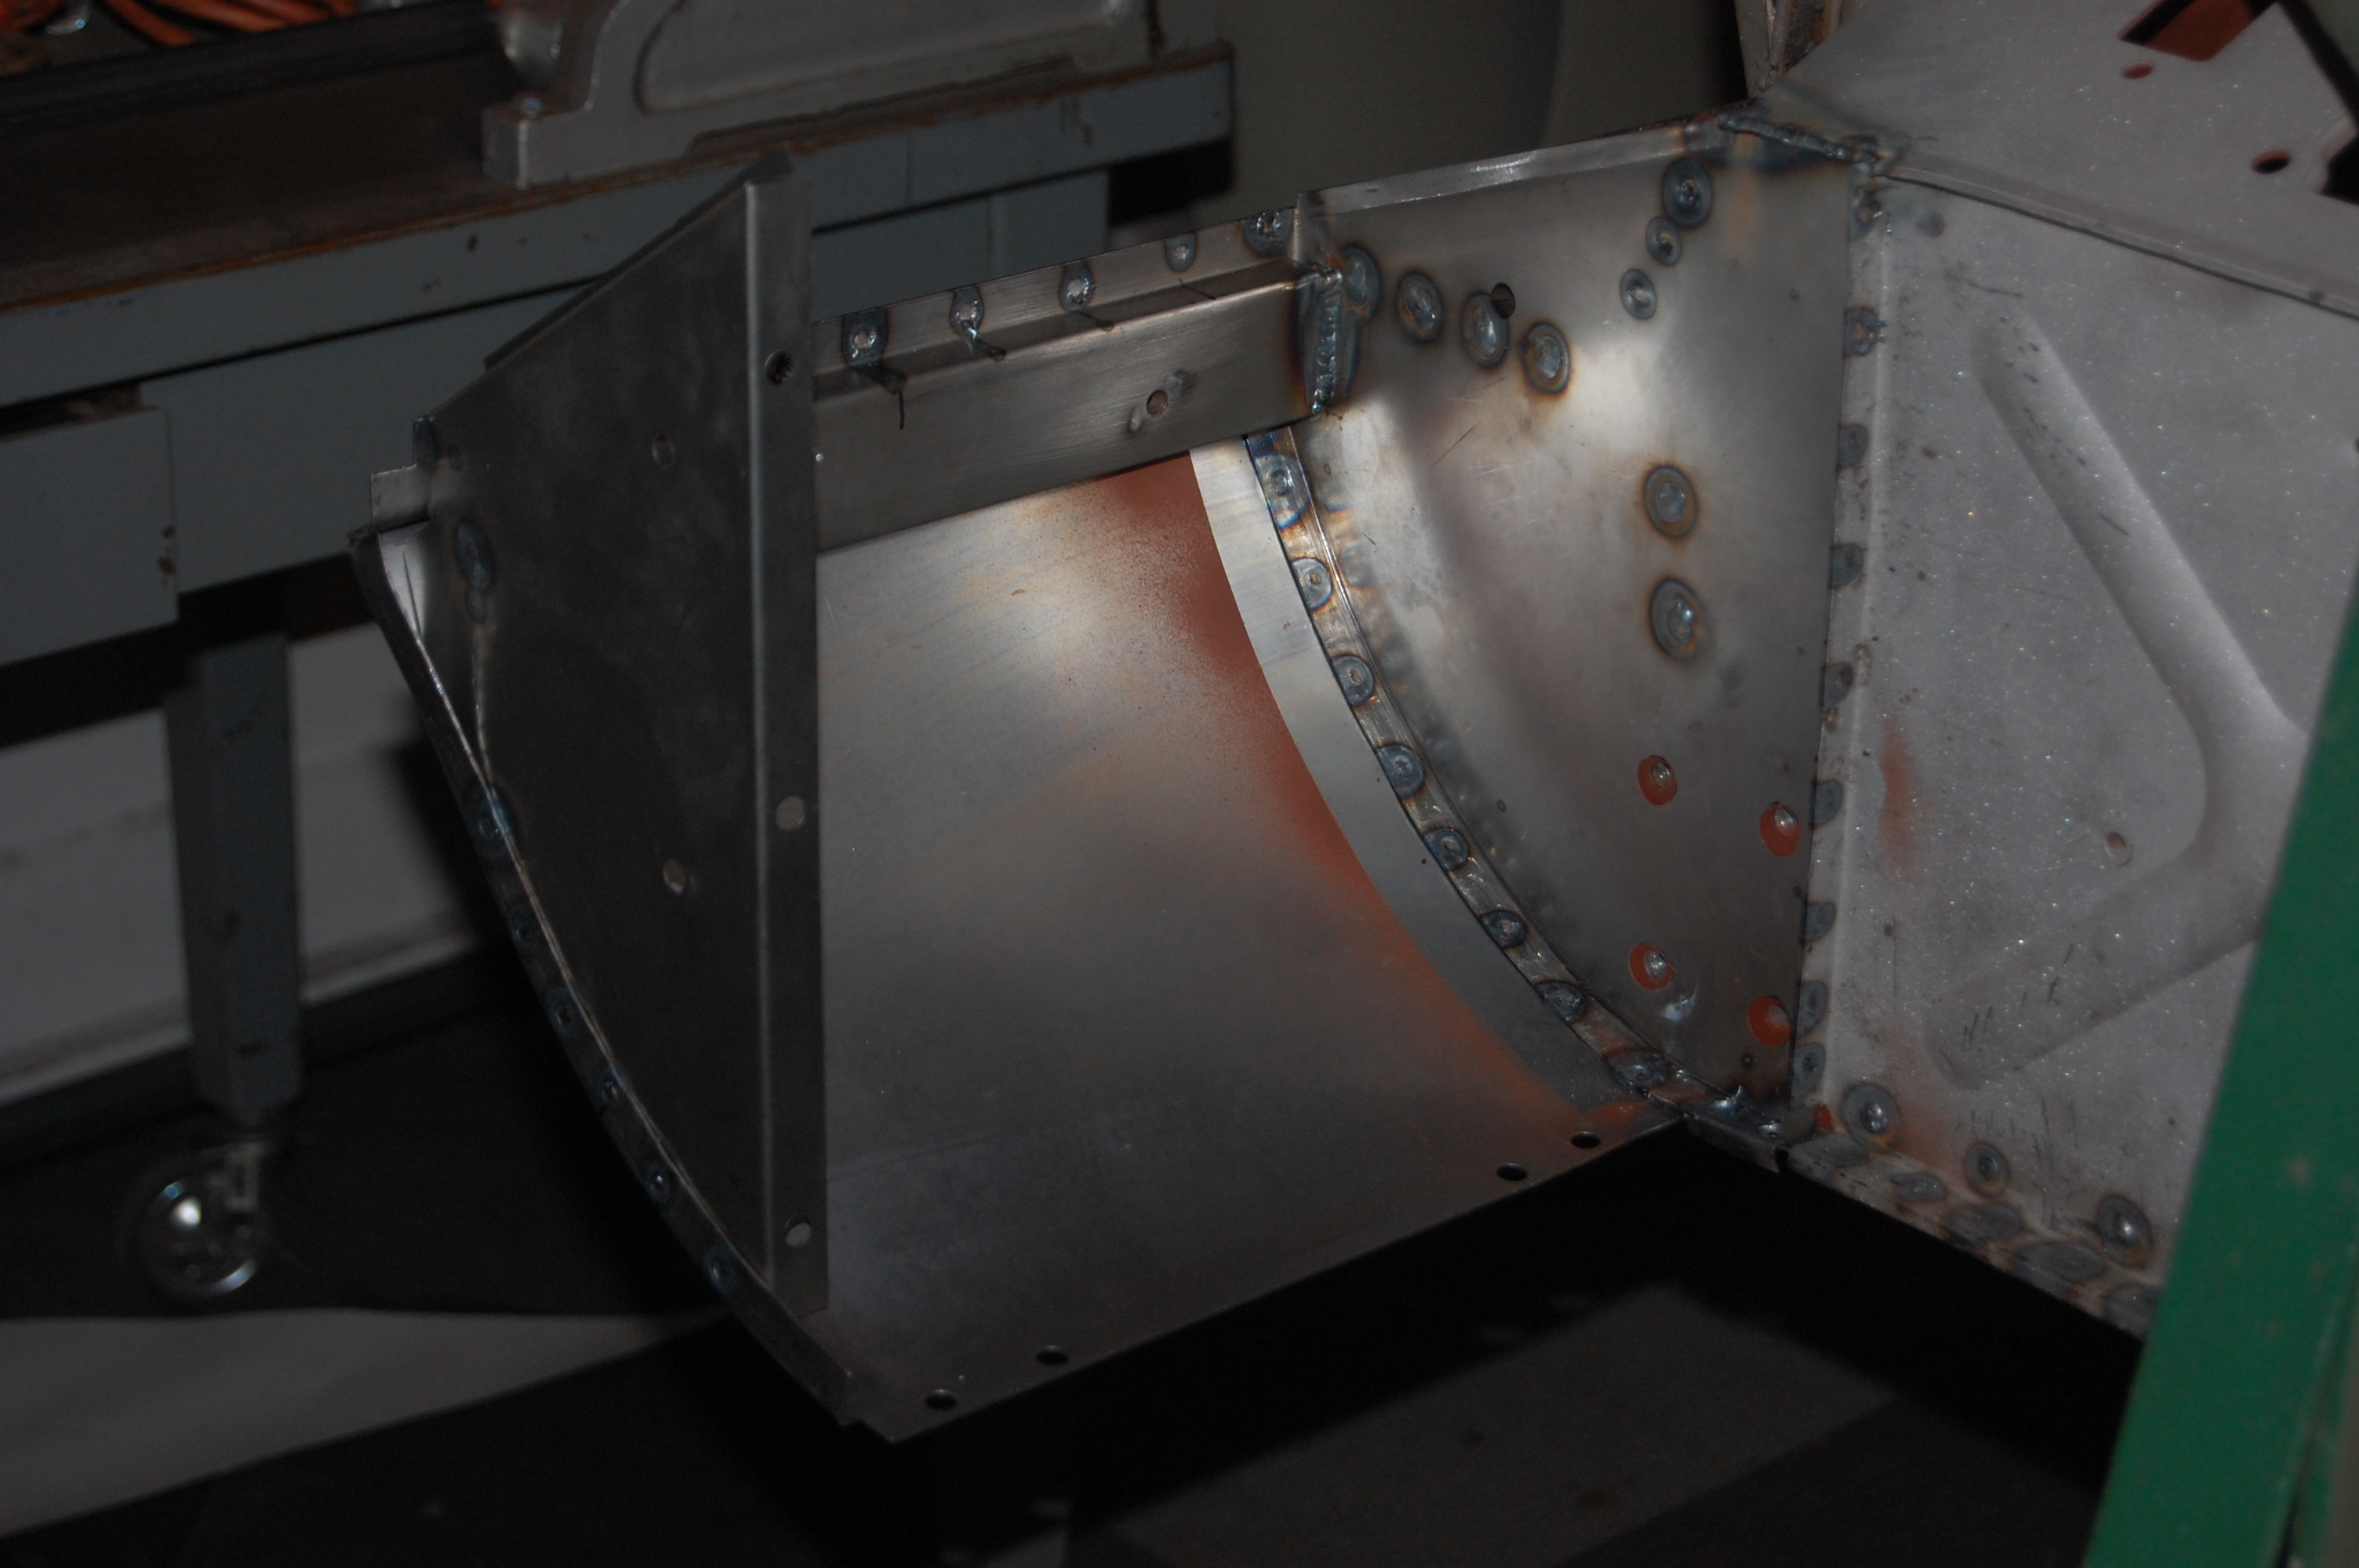
- Here is the RH front corner – all new.

-

- Lots of new metal in the lower sections of this one! If you look closely, you can see a series of small holes that were welded up along the bottom edge of the RH X-panel on the bulkhead. This was where a panel was pop-riveted into place in the original early-1970’s repair. No more pop-rivets for this E-Type!

-
- The fit between our bulkhead closing panel and the outer sill is perfect – I think we have re-drawn this patter 4 or 5 times in the past couple of years to get here!

-
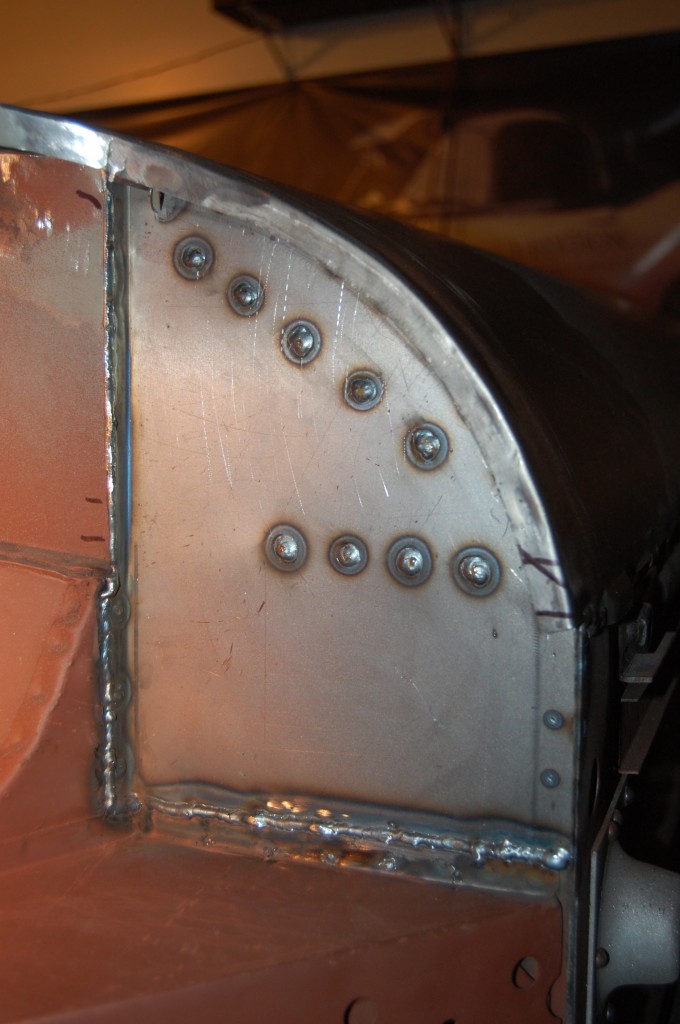
- The RH side is tight too! If you need closing panels – call us – the fit to the outer sills is crucial, and the panels available from other sources just don’t fit like they should. Ours are dead-on accurate, the proper thickness, delivered in fresh, bare steel, and either the same price – or less!