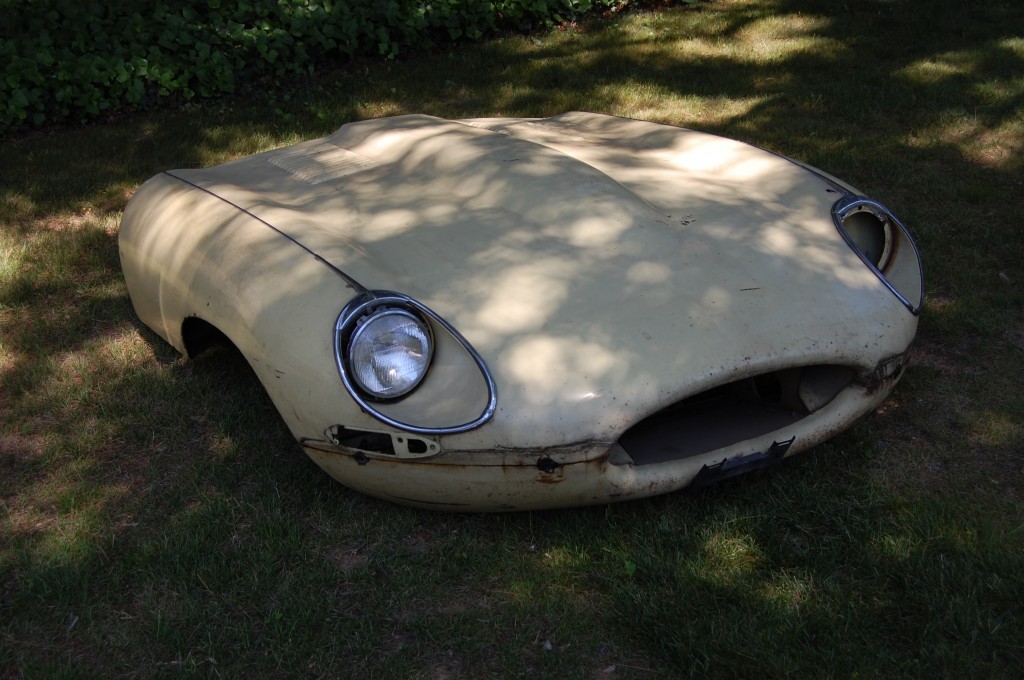
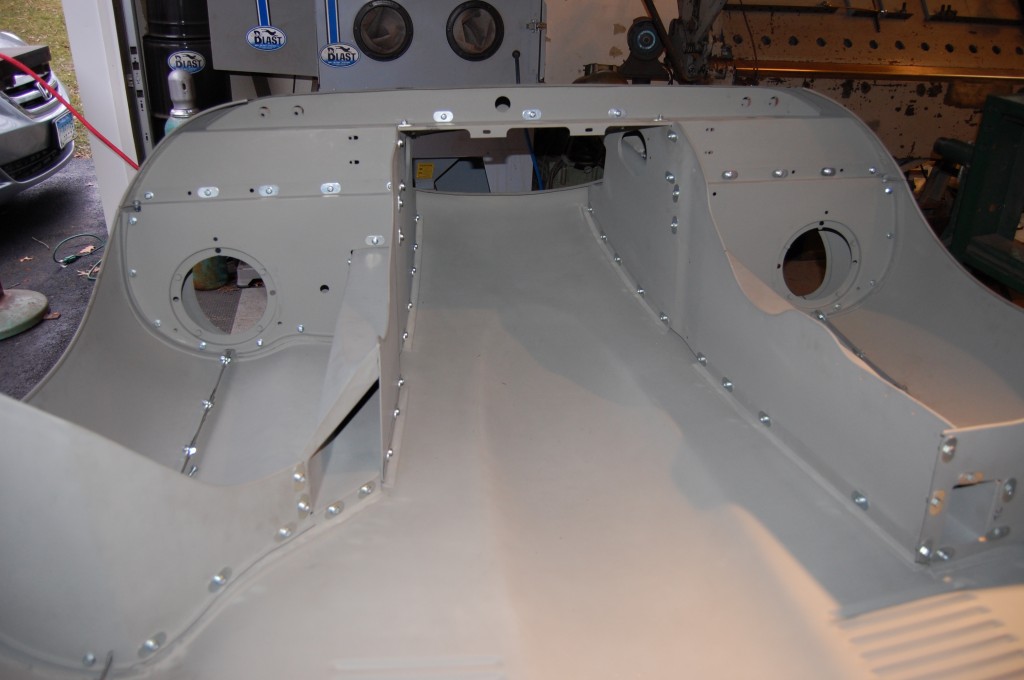
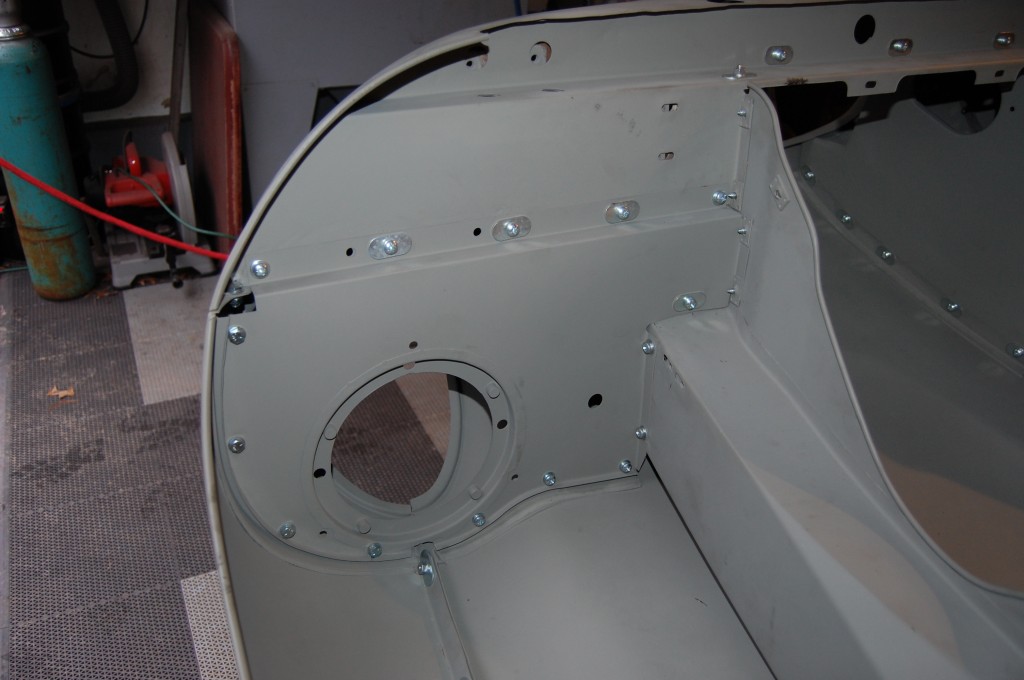
We restore more bonnets than shells, and we restore more lower valances than bonnets, so I guess lower valances are our most popular restoration part!
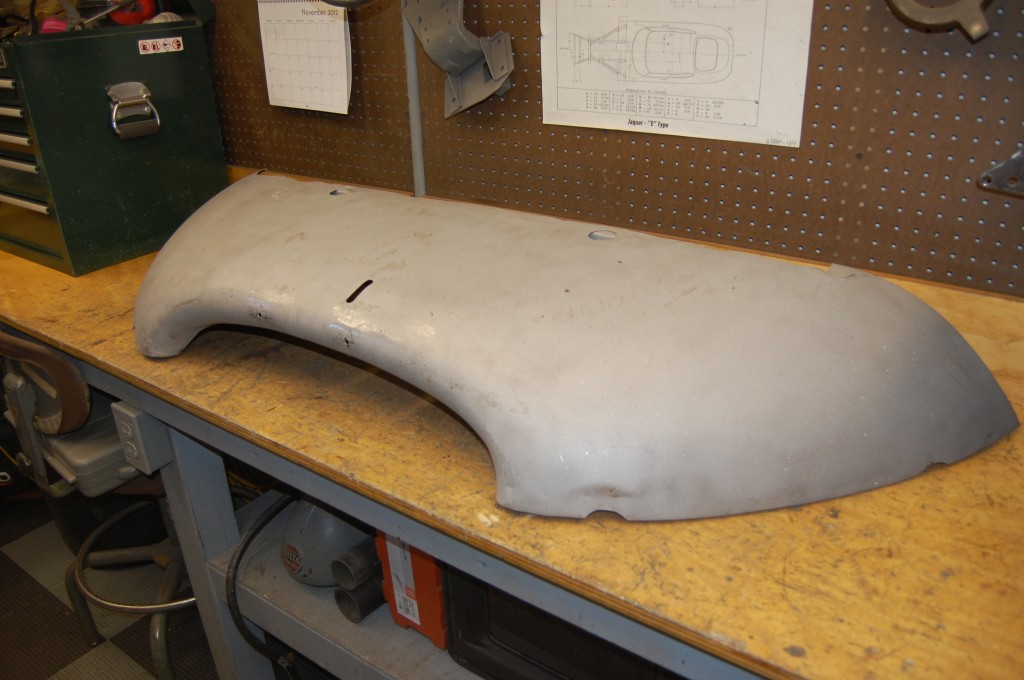
This is a 1968 E-Type roadster bonnet for a customer that lives a mere 5 miles from the shop – lucky him! We will be doing the shell sometime next year, but we agreed to go ahead and get the ball rolling and “squeeze in” the bonnet this past year…
We just finished assembling the bonnet yesterday, and it looks great. This bonnet was totally virgin – it even still carried it’s original paint! So, not ONE SPECK of filler to deal with, and anything we found under the paint was from the factory – and as you’ll see, we did find one little interesting thing.
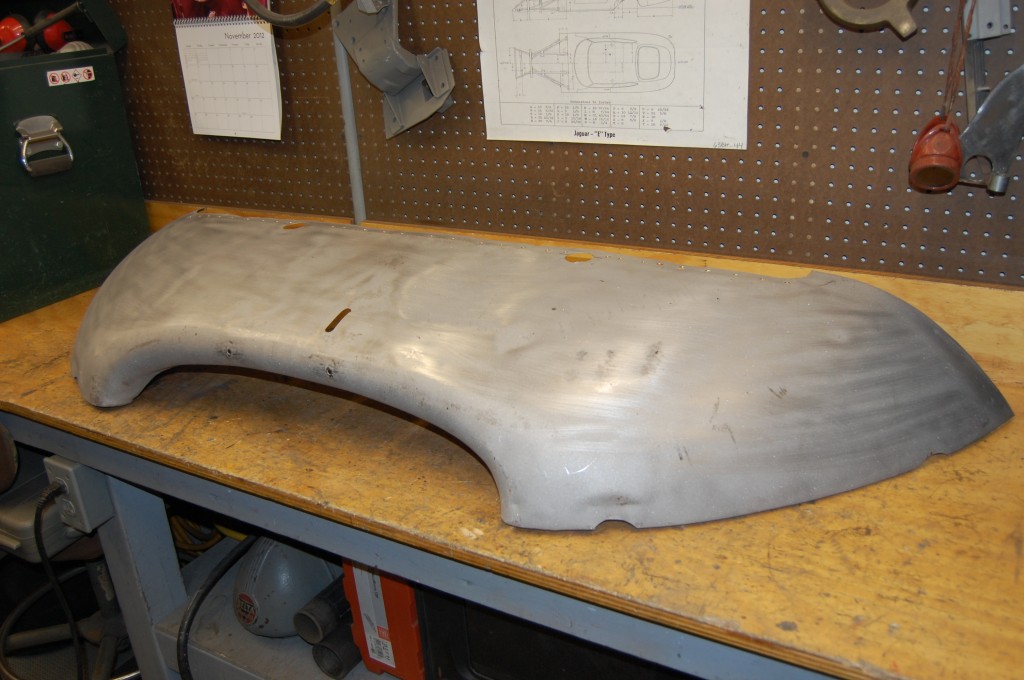
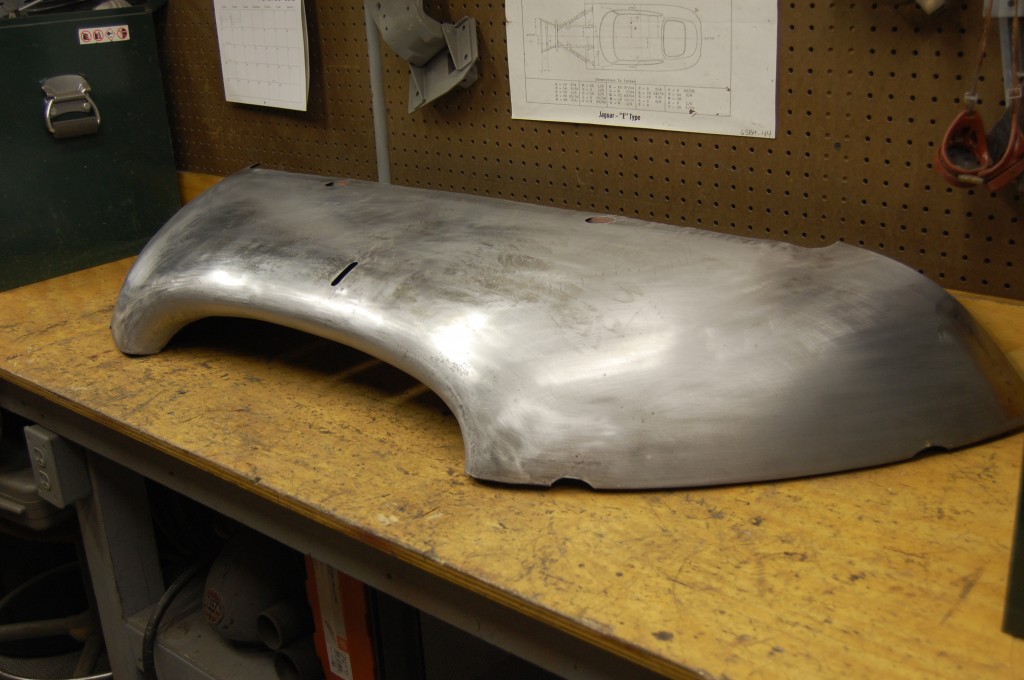
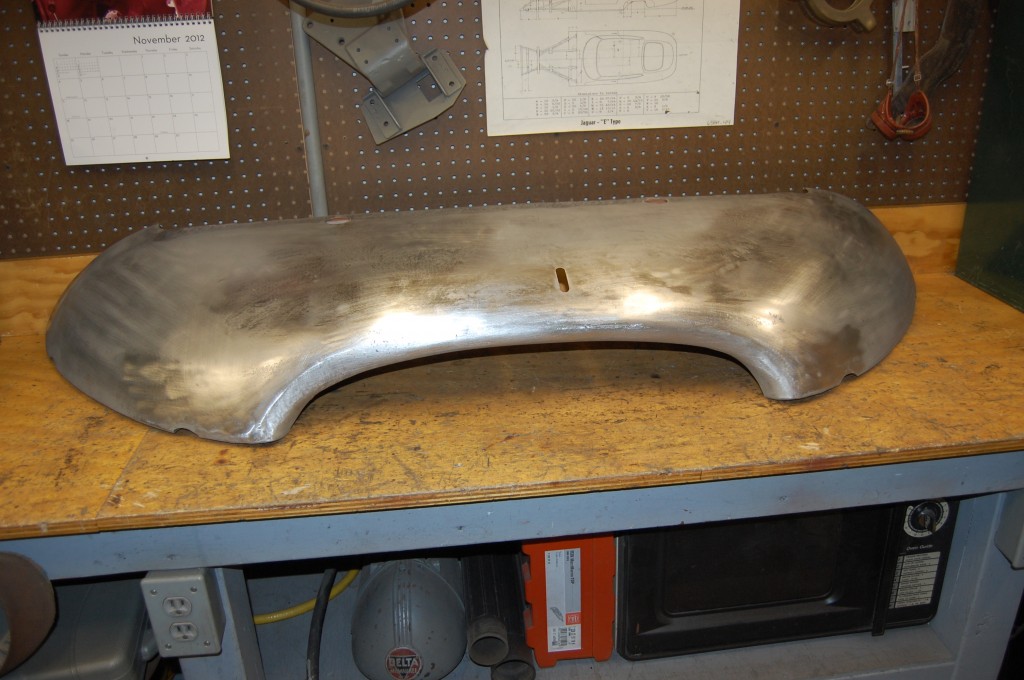
This is the restoration of the lower valance – take a look!
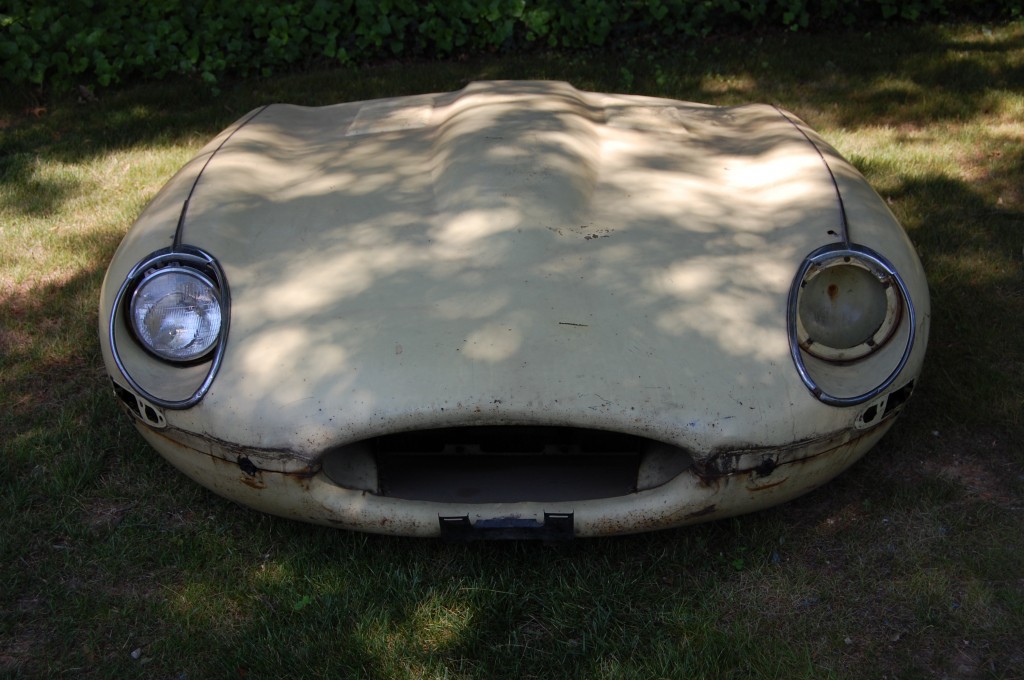
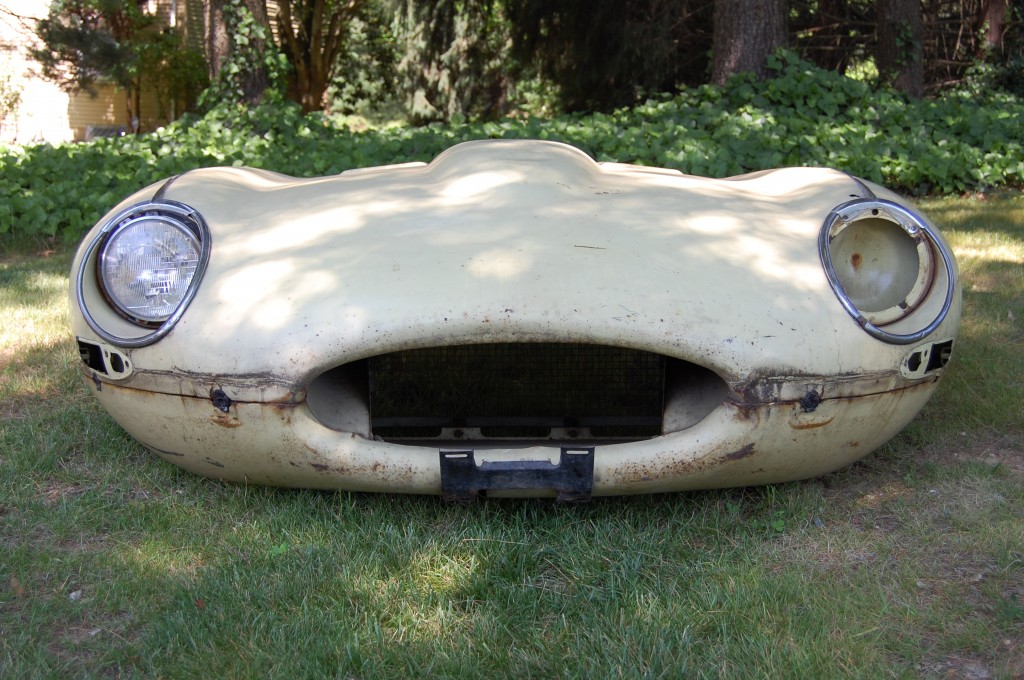
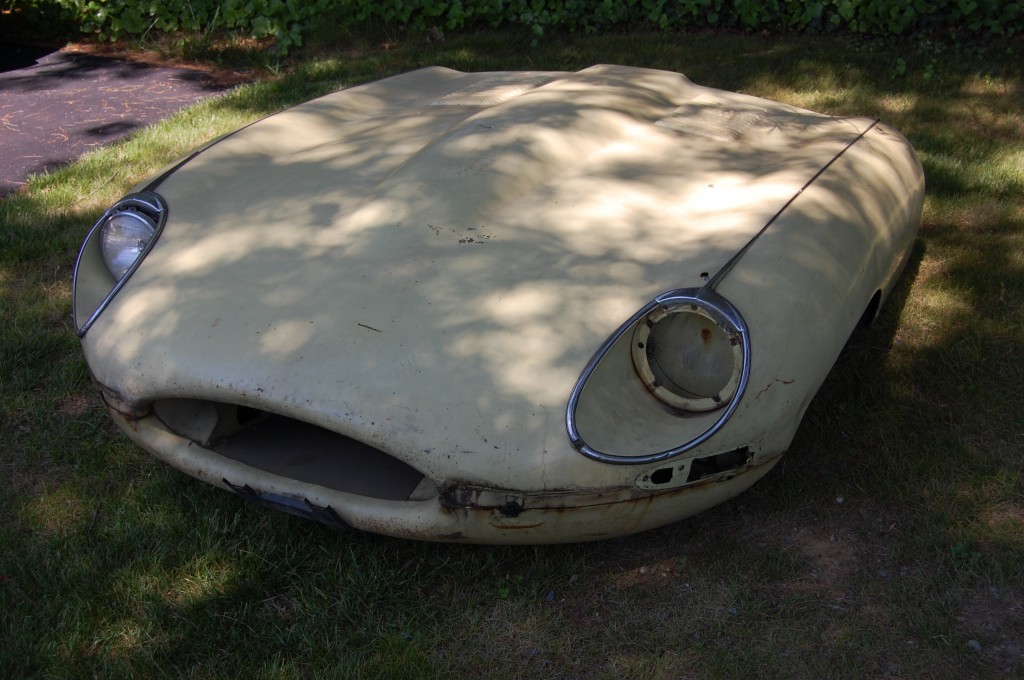
- Here she is – a 45-year-old “virgin” bonnet!
- Our task is complete restoration, couple with conversion to covered headlights.
- The mouth looks real good – a little pointy on the sides, but that’s how they came from the factory – the motif ears cover up and mismatch issues, etc. there.
- This car is what some people call a Series “One and a Quarter” – it is 100% Series 1 except for the open headlights.
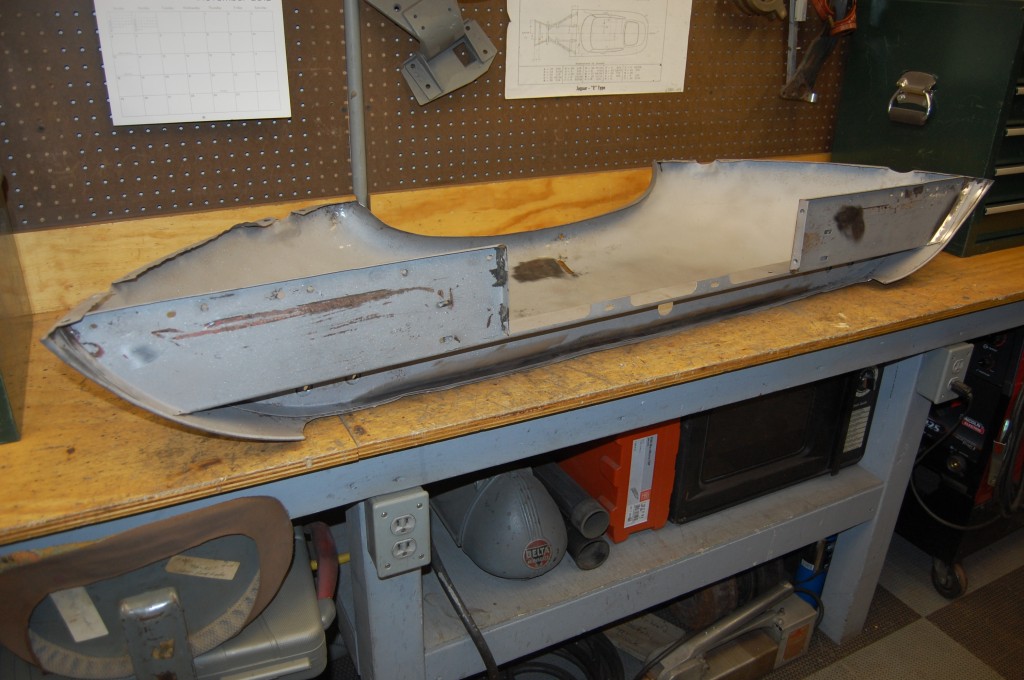
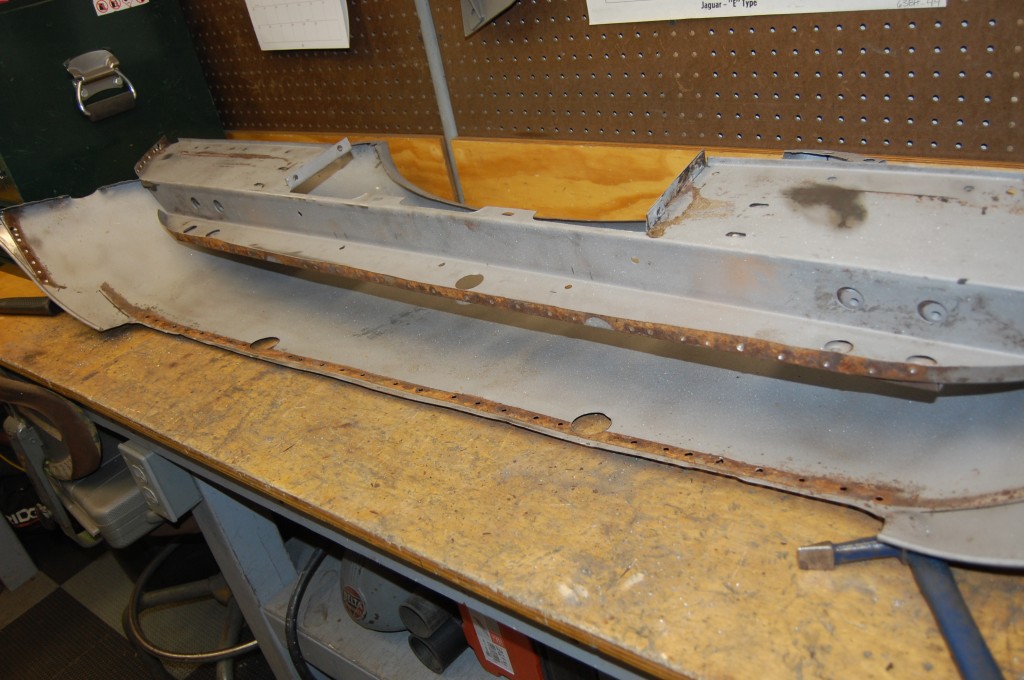
- The valance has been blasted bare, and we’ve already hammered out a few dents and creases from parking blocks, etc.
- The support member is borderline, but I decided to go ahead and replace it with a new part made here in our fabrication shop – the new support members are so nice, and it is quick and easy to replace it.
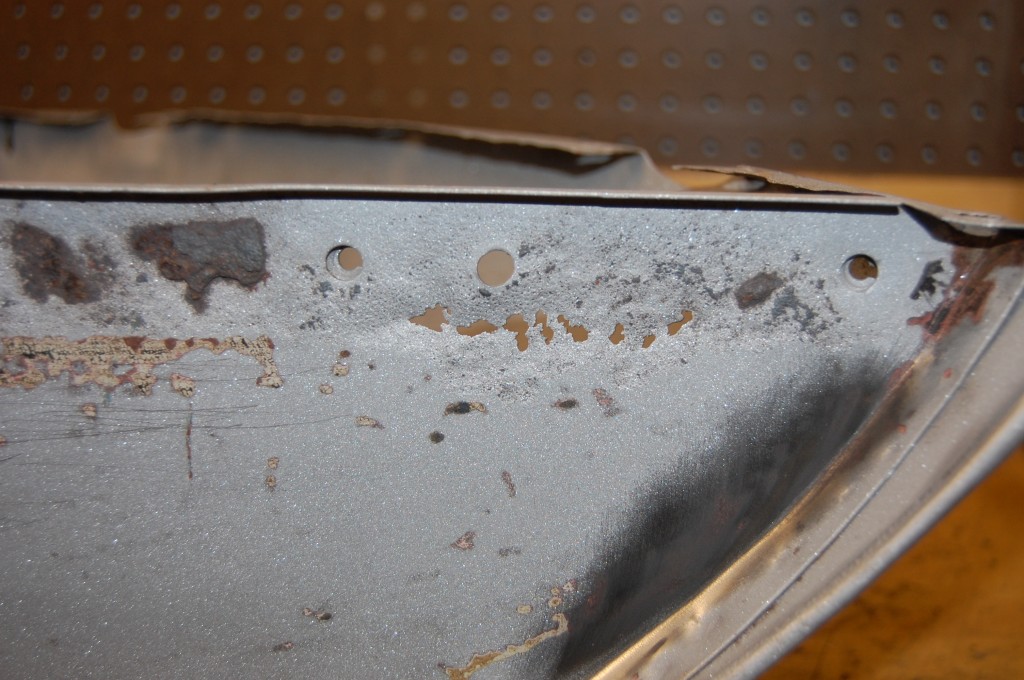
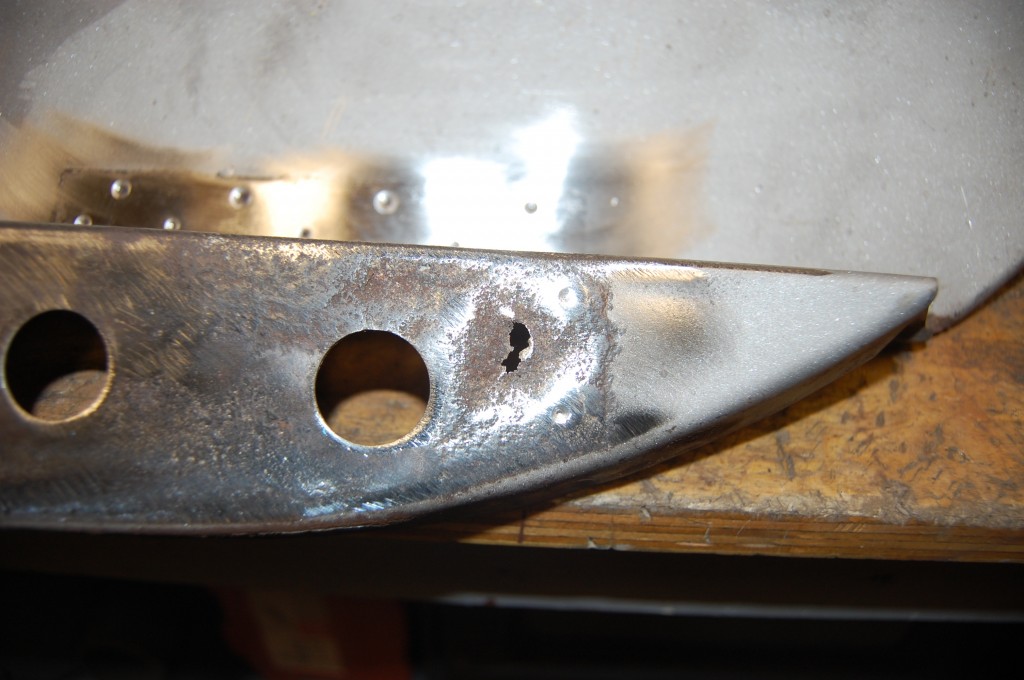
- It has this cancerous rust in the wall where rust developed between the support member and the headlamp diaphragm…
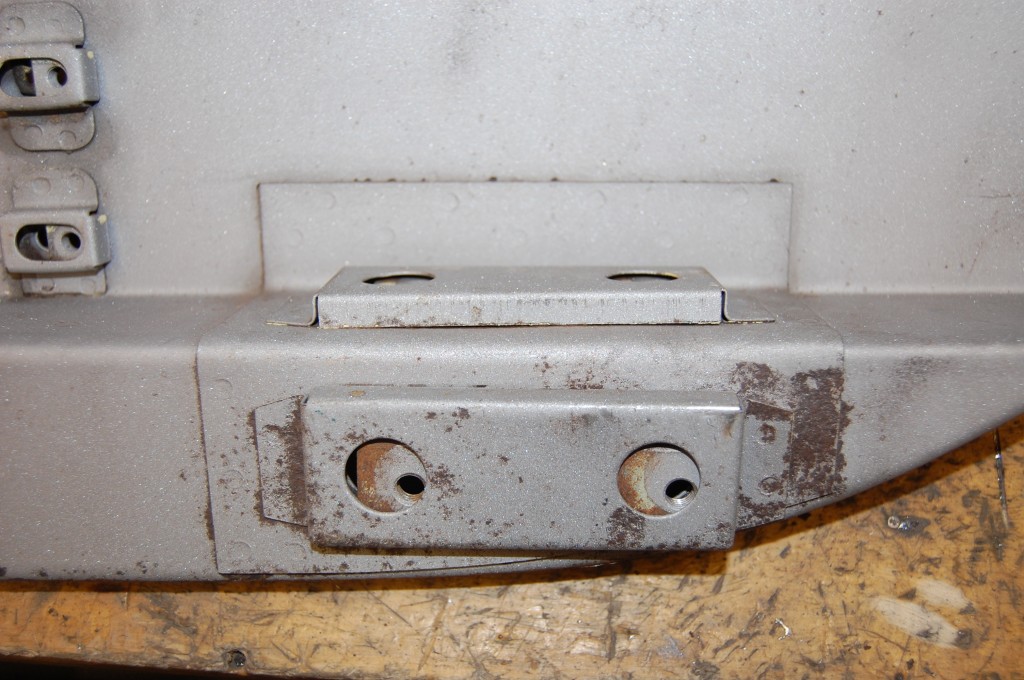
- …and one side of the caged hing plates is bulging badly with rust internally.
- Here it is coming through on the other side.
- So out she comes! This is what EVERY seam on your E-Type looks like inside. EVERY seam…
- Wait, hold everything – I had a change of heart… After I drilled out the support member, I decidced, “hey, this isn’t so bad, I can fix this.” One difference is that when they are welded to the outer skin, it is almost impossible to get in there and work. But once it was out, repairing it became alot more realistic, and so I decided to patch the wall and replace the one caged hinge assembly rather than replace the whole thing. This saved the customer about $300.
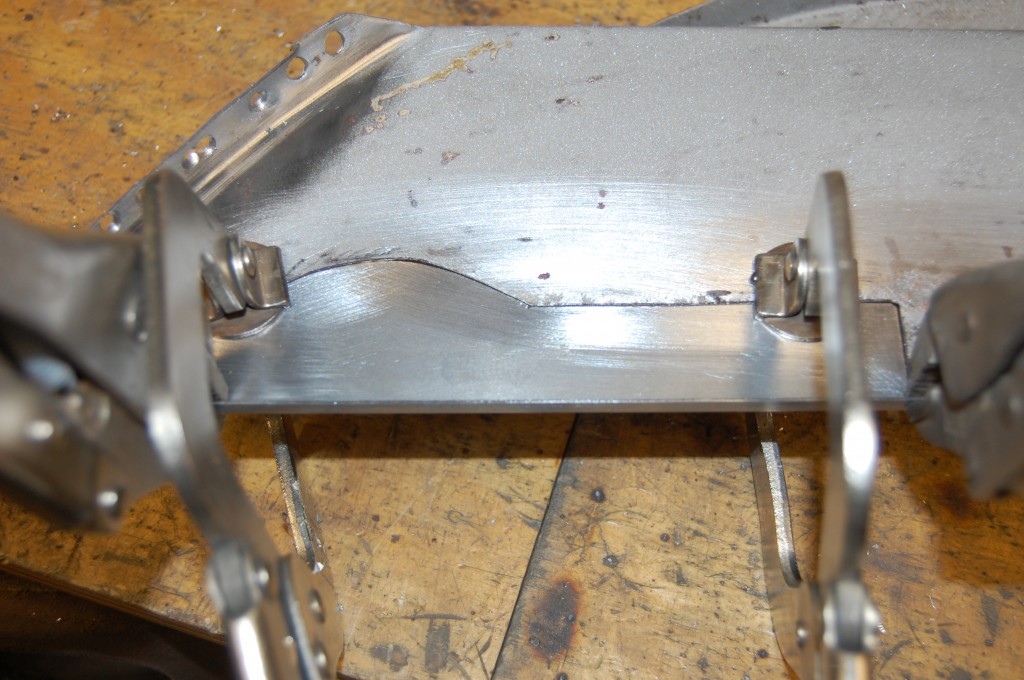
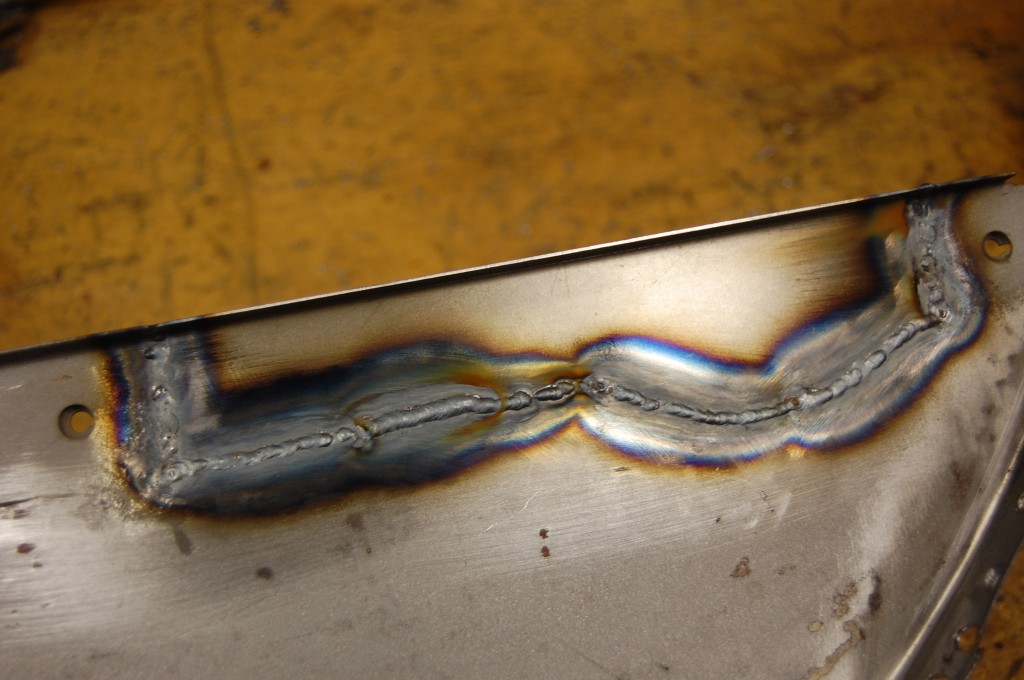
- Here is the patch TIG welded into place. Most of it will be hidden under the headlamp diaphragm flange, and just that little dip will show, but all of this will be sdanded smooth anyway…
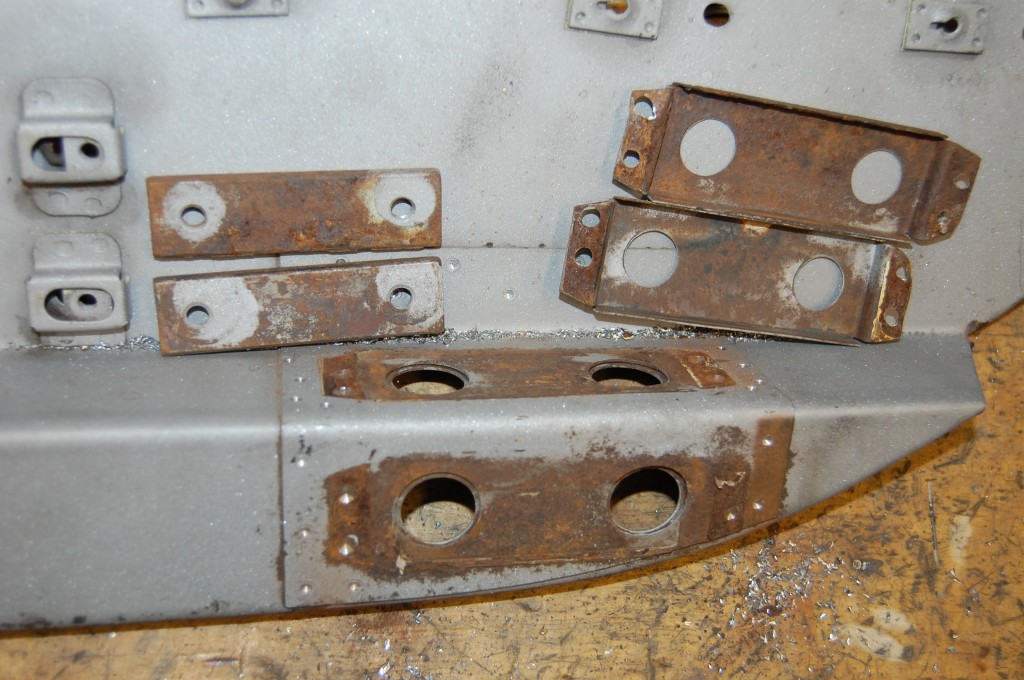
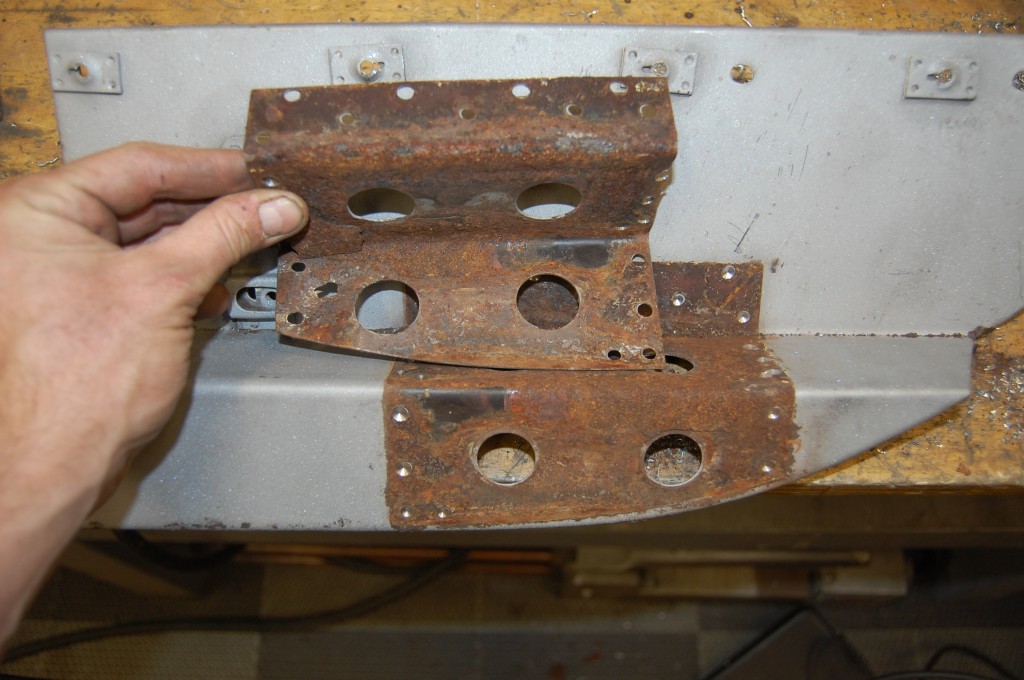
- Here is our bad hinge assembly.
- Plates and retainers come off first…
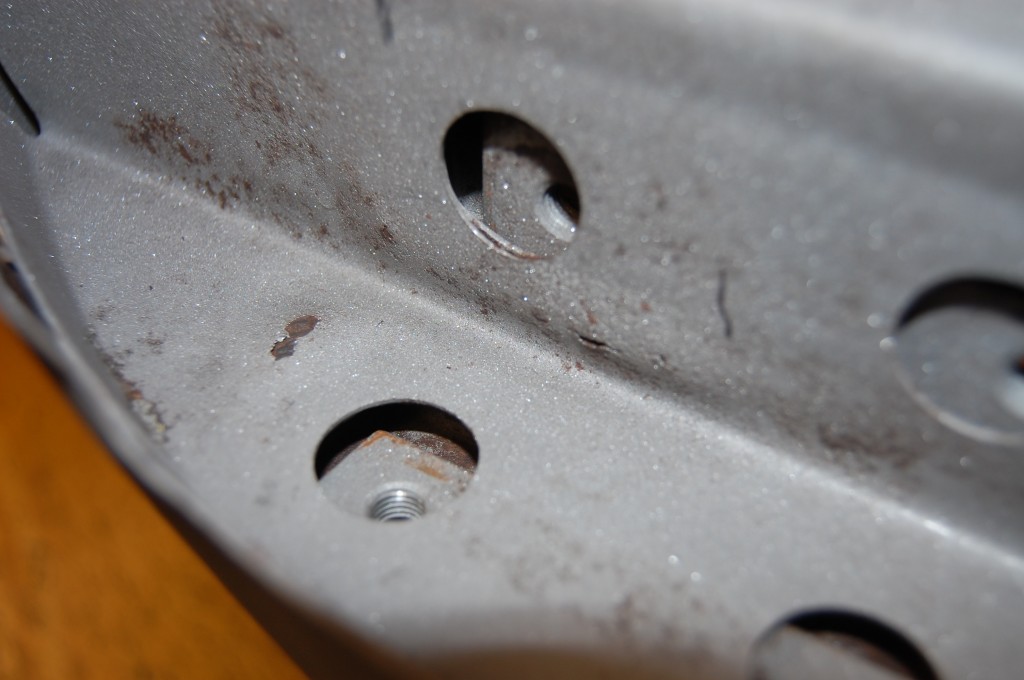
- Then the reinforcement plate comes off. This large area of metal sandwiched together is a major rust trap… Note the holes in the main member piece.
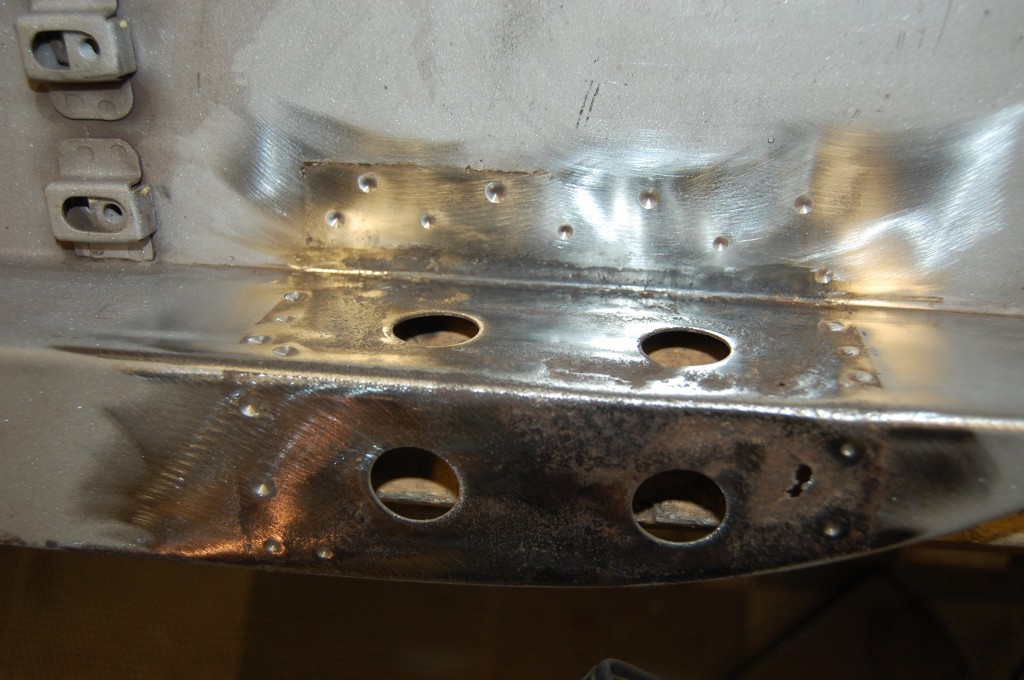
- Fist, we sand and gring away all of the rust.
- We’ll need to patch this.
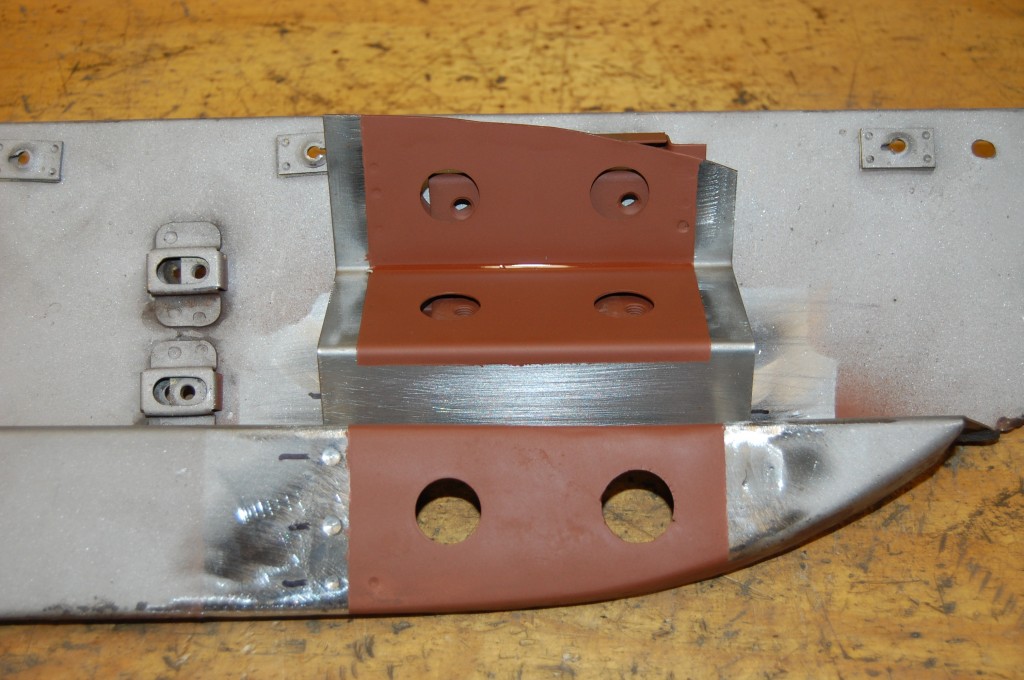
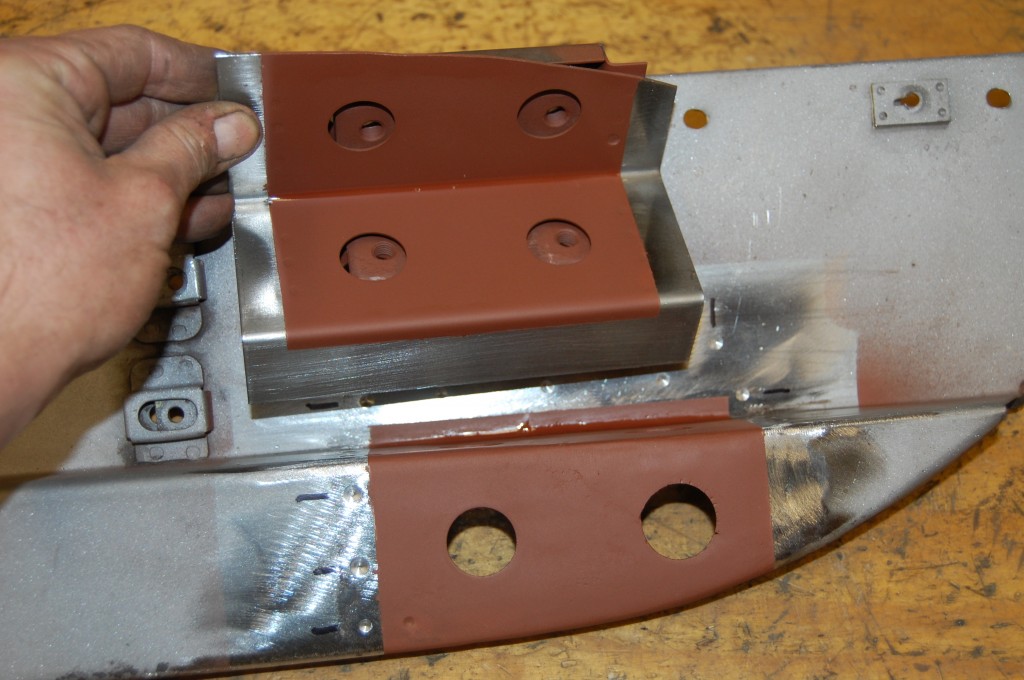
- Patched and ground smooth, and a new backing plate has been formed up. both pieces are coated with 2 coats of red oxide. I’m not a big fan of that weld-through zinc primer. For one thing, it doesn’t stick, and second, almost anything washes it off. Finally, it works well with spot welding, but don’t use it with any kind of MIG welding, it just contaminates the weld and does more harm than good…
- Another shot. We keep the area where the spot-welds will be bare for a good solid weld, and everything else is well-coated. I believe this is the best answer here. At the very least, it’s LIGHT YEARS ahead of Jaguar’s method – NOTHING!
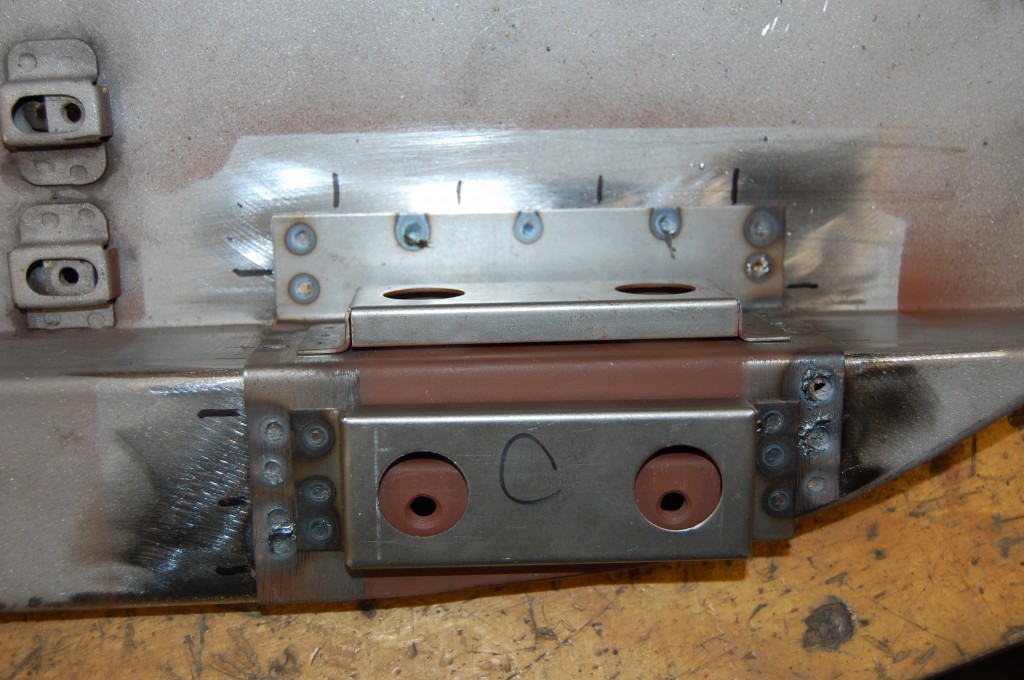
- All welded up and good as new! Two of the spot welds got a little fussy over on the right side, but we just doctor thoise up with the MIG like a plug weld when that happens…
- Next we work on smoothing the skin with the added benefit of not having to work around the support member.
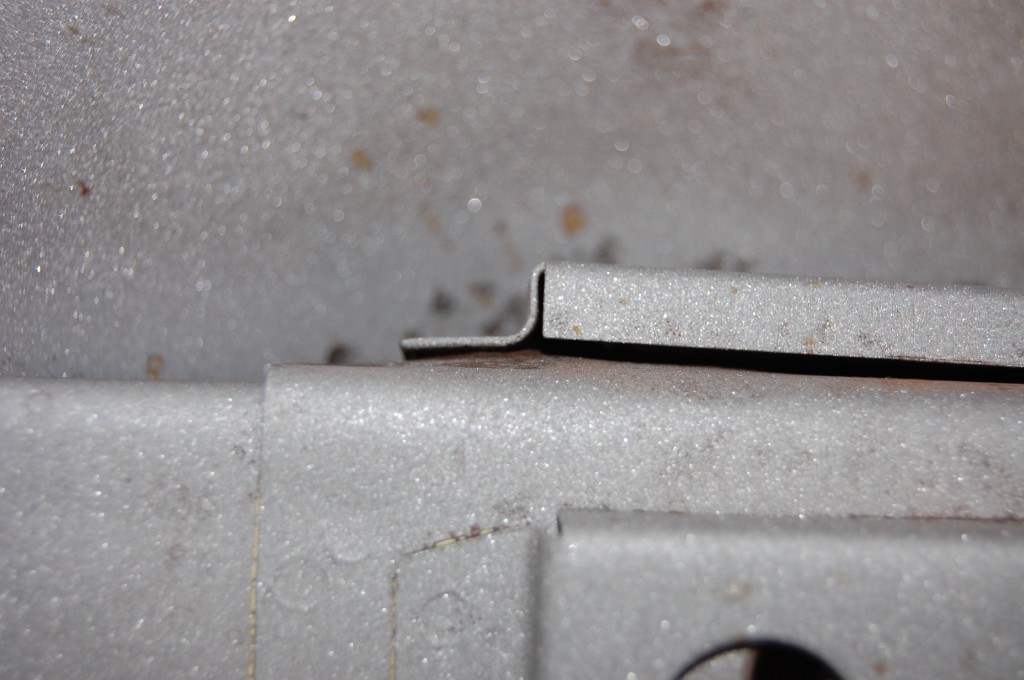
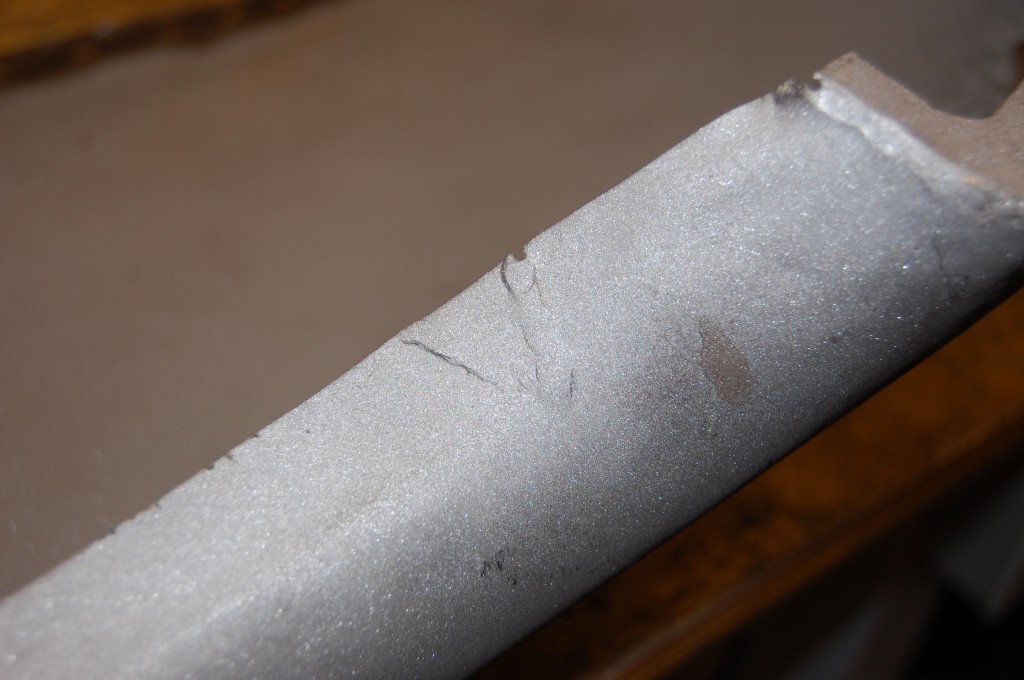
- THIS IS FACTORY! This is pretty cool – it’s like a little mystery… This was probably a tear in the metal that formed as a result of the stamping of the piece. So they just stitched in this little patch. So… I left it there – JUST like it was – becauae I think it’s cool…
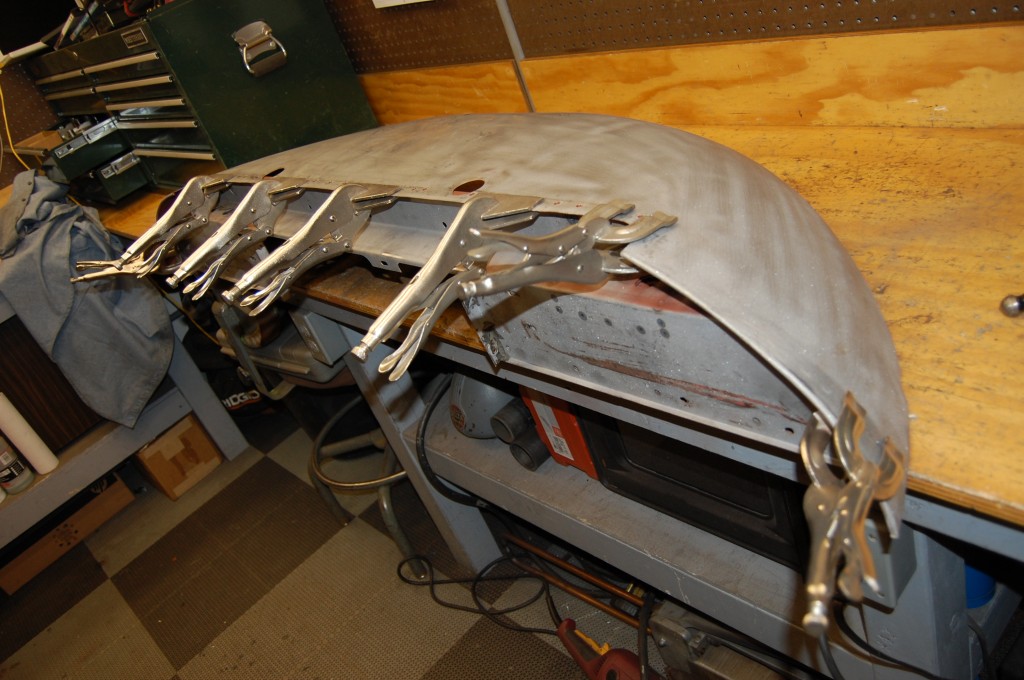
- Time to fit the repaired support member back into place – if we were replacing it with a new one, the procedure would be the same.
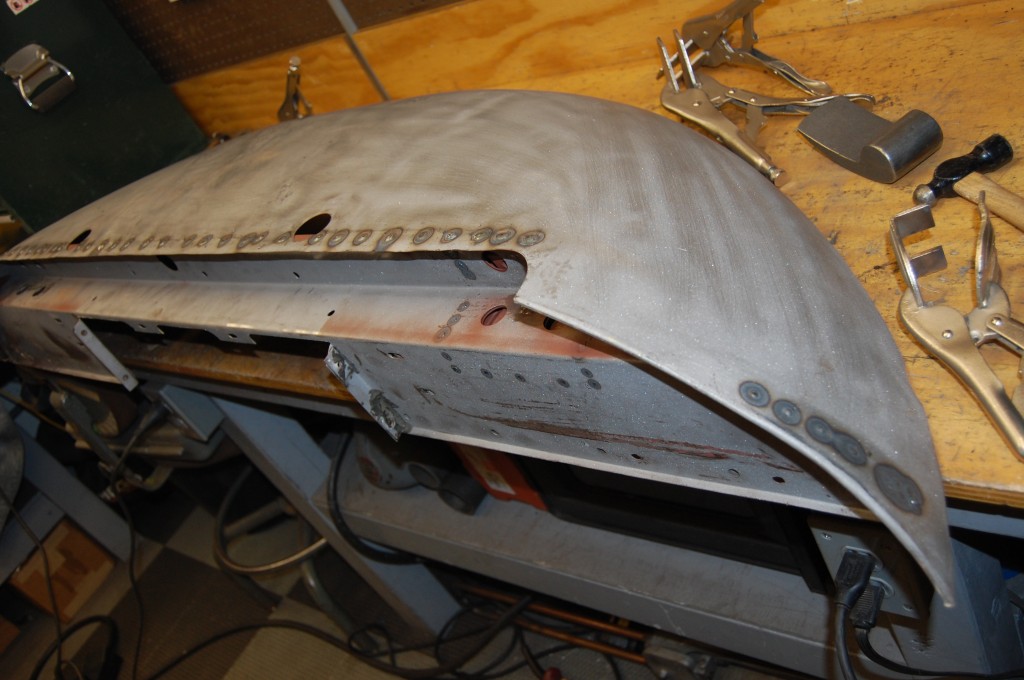
- We use the holes we made to drill out the old piece to plug-weld in the new piece, or in this case, the restored piece.
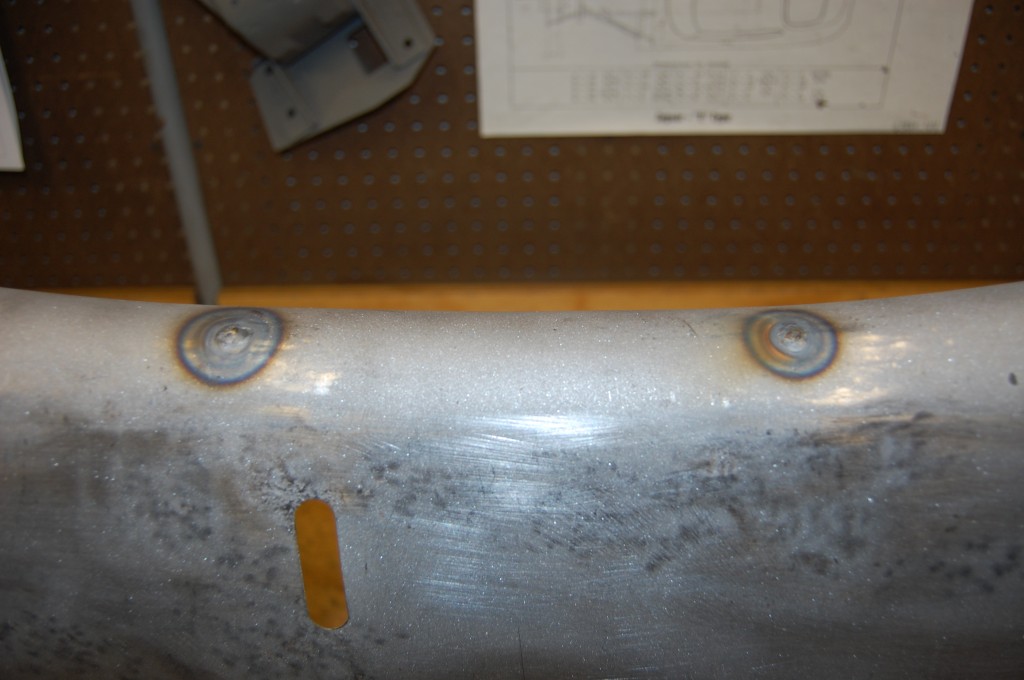
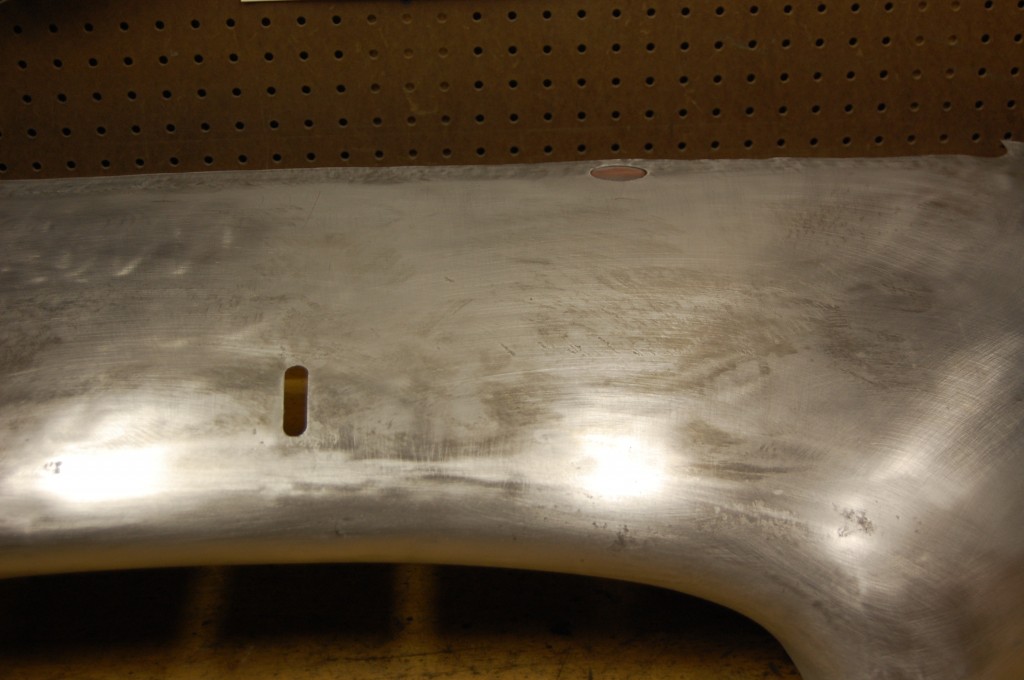
- Standard procedure around here is to weld up the licences plate bracket holes, but leave the slot for the rod in place – pretty sure that is how these came from the factory – you drilled the holes only if you had to.
- Holes are then filed smooth. You can also see other hammer and dolly work in this shot. The sandblasted suraface makes a good “map” of the smoothing work…
- hand smoothing is complete, and now it’s time to shrink and do the final smoothing.
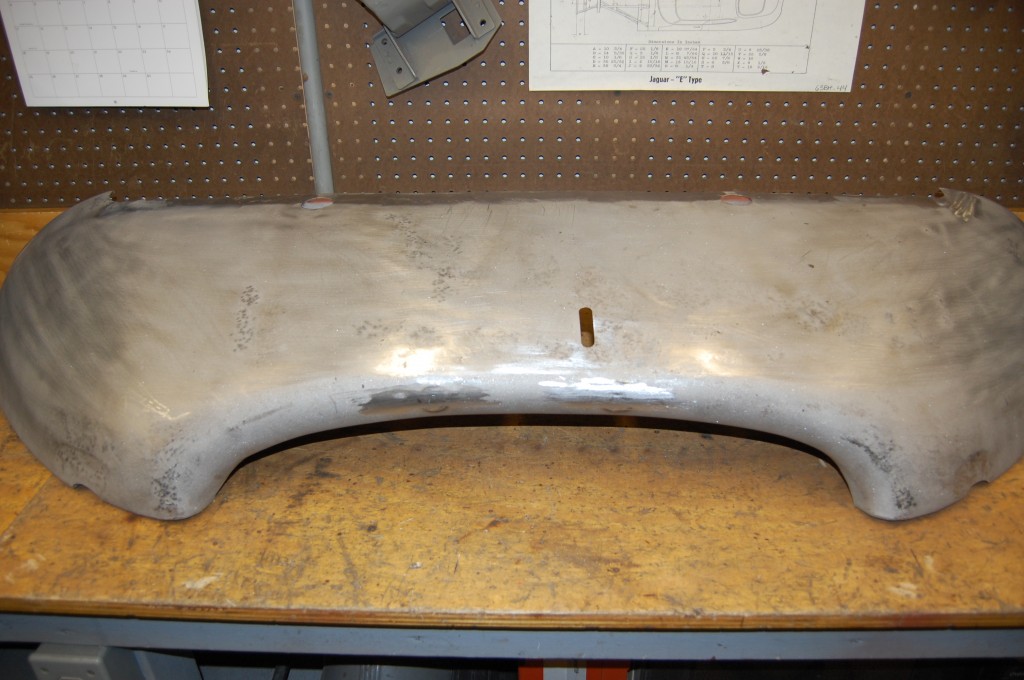
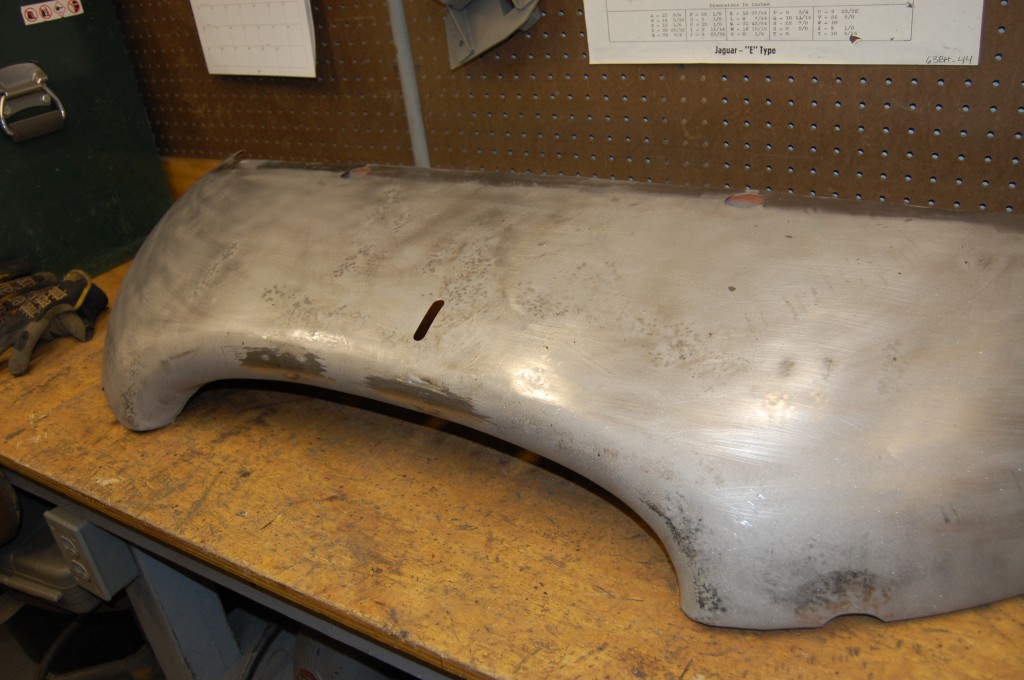
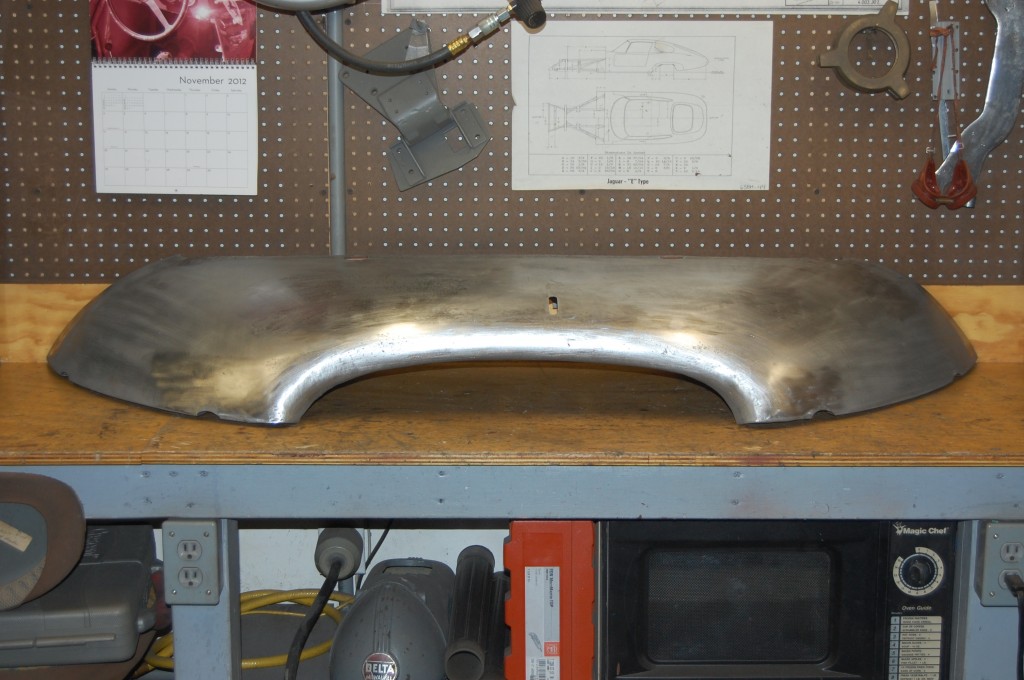
- Voila! Done, and good as new!
- This piece came out great, and I was glad to have been able to save the original support – AND some of the customer’s money!
- Another shot – the slot remains, but the license bracket holes are gone as if they never existed.
- Close up.
- This picture was in with that group, and I thought it would be a fitting end to this blog entry – mission acomplished! This all went down last November, and this was the next day, when I took the day off and went surf-fishing with a friend.
- Here is a shot from yesterday – this is the same lower valance as part of the completed bonnet.
- Here is that area where the wall was patched – invisible!

