Once the chassis legs and rear bulkhead were repaired, we were able to fit the floors and inner sills into place. This allows us to form up and weld in all of the necessary patches to the bottoms of the B-post panels that were cut out due to rust.
After several hours of forming up small patches, I got a little bored and decided to tackle a bigger issue that also needs to be resolved before the floors can be attached permanently.
The LH rear wing was rusted out at the bottom of the B-Post. This is very common and we have started forming up and offering a patch for this area. But before we can weld this in on this particular car, the LH rear wing has some past accident damage that was poorly repaired in the past and needs some serious help…
And that’s what it got! Wow – this turned out alot better than I had hoped – I had my doubts on this one! Take a look!
NOTE: These pictures aren’t as crisp as usual because the battery in the good camera died and this was a hot and heavy work session, so I just kept going with the camera on my cell phone – which is actually still pretty good for a phone!
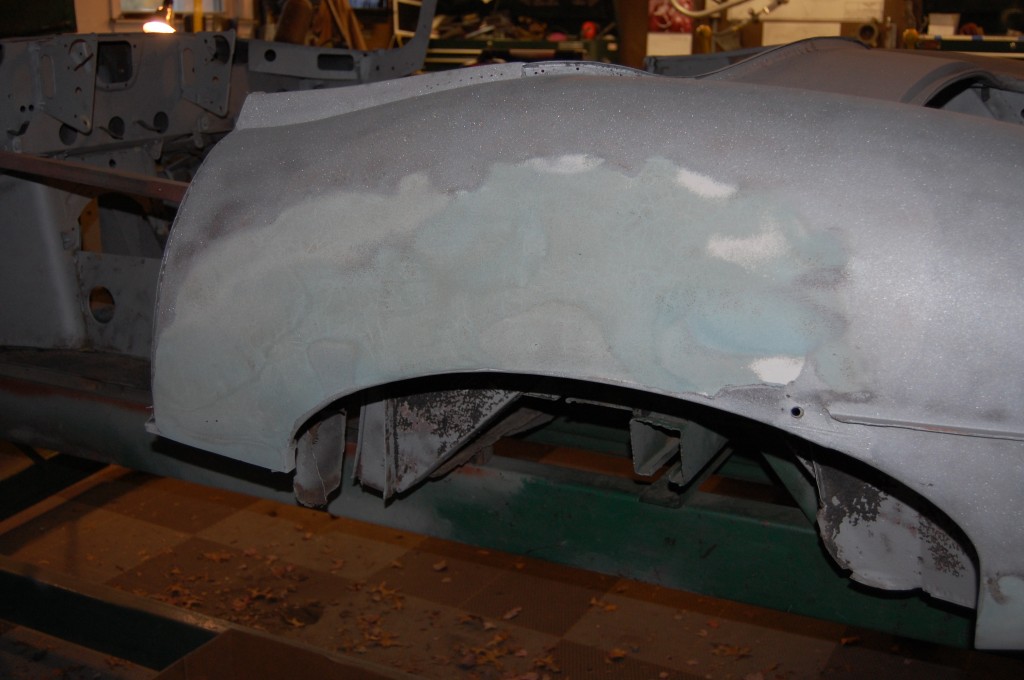
- Here is a reminder of what we got to work with coming out of the blasting booth. Uh-Oh – Roadsters aren’t supposed to have problems here – what is this all about?
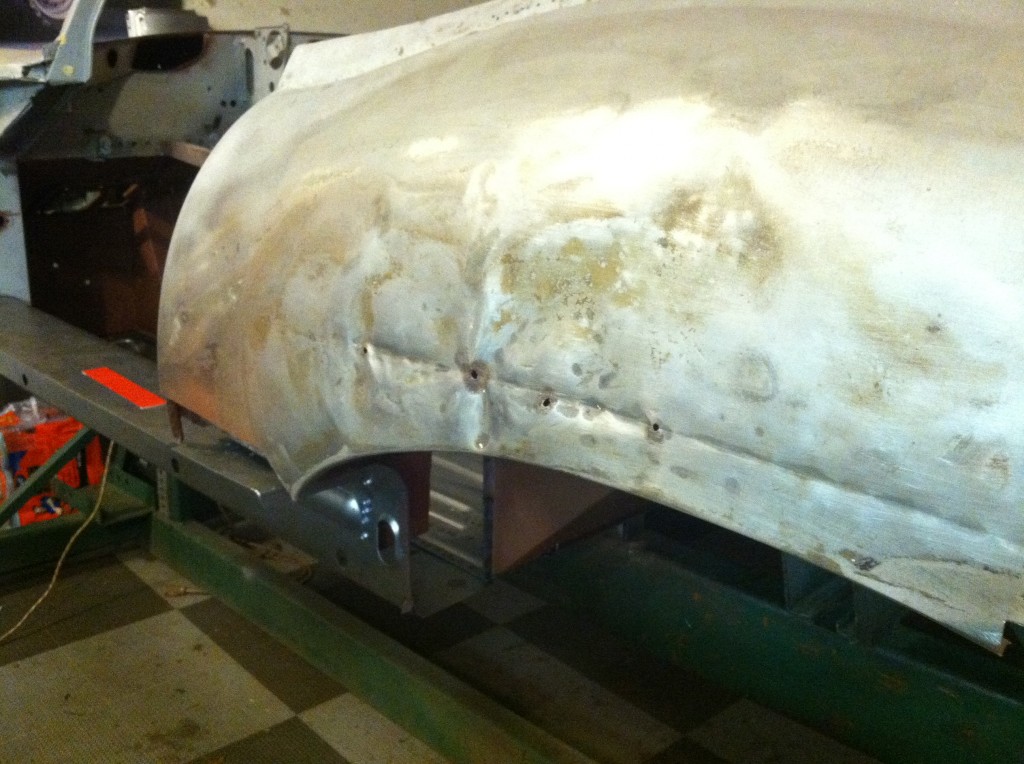
- Well, here’s the answer, and it’s alot worse than I imagined. As usual – even with everything I’ve seen, I am just NEVER going to learn! I guess I’m just an optimistic guy!
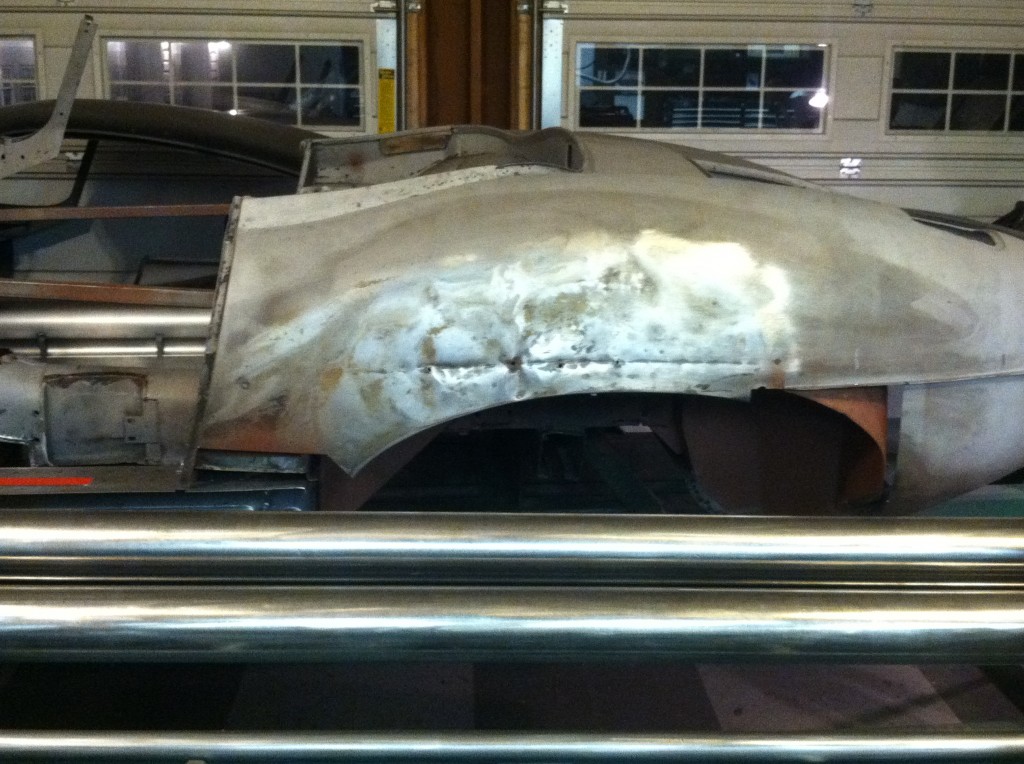
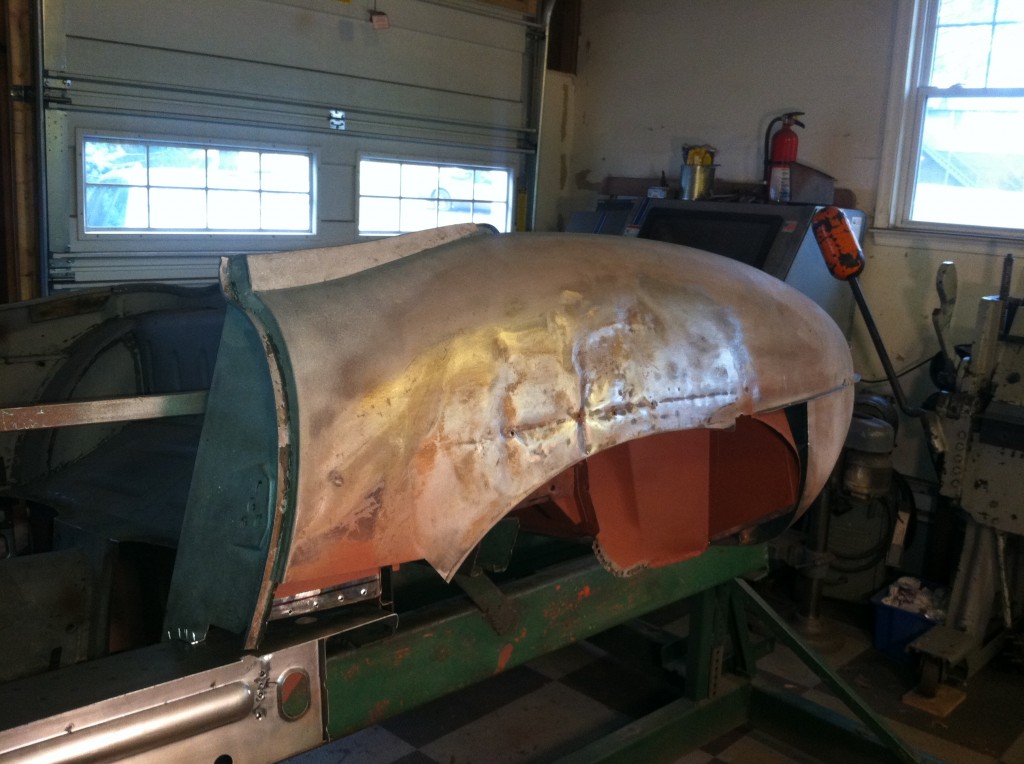
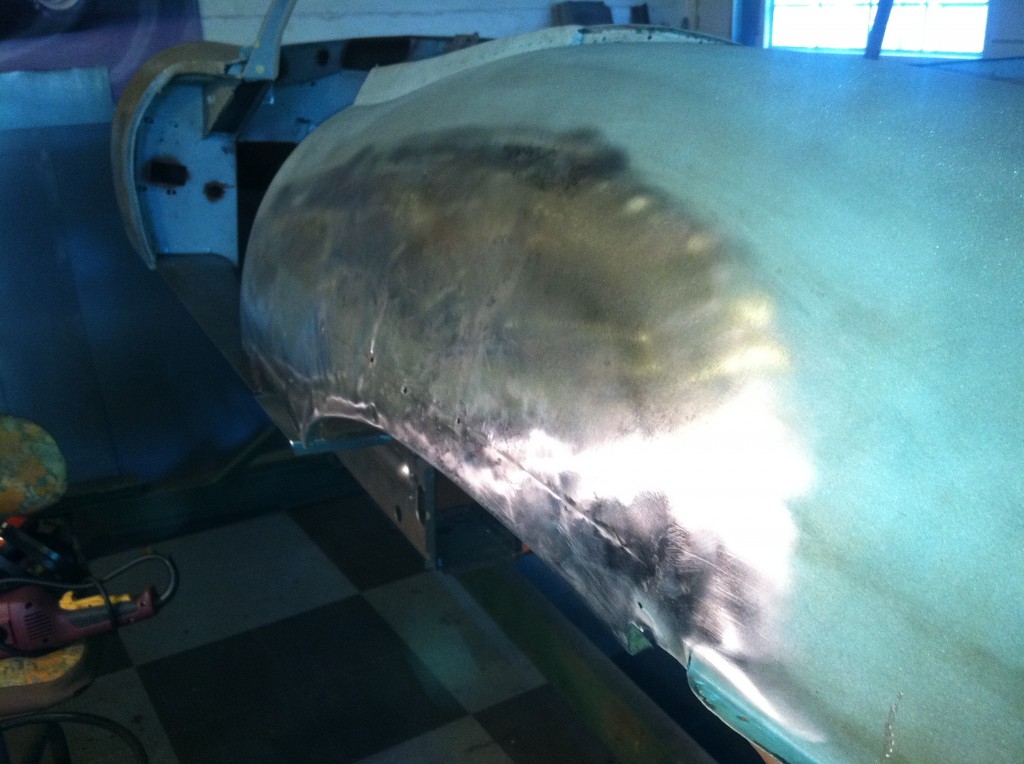
- The car obviously came into contact with something rather pointed, and ended up with this long crease just above the LH rear wheel arch. This is a real shame, since roadsters don’t have an inner wheel house that makes this area rust like the coupes and 2+2’s, and this area is usually perfect on roadsters…
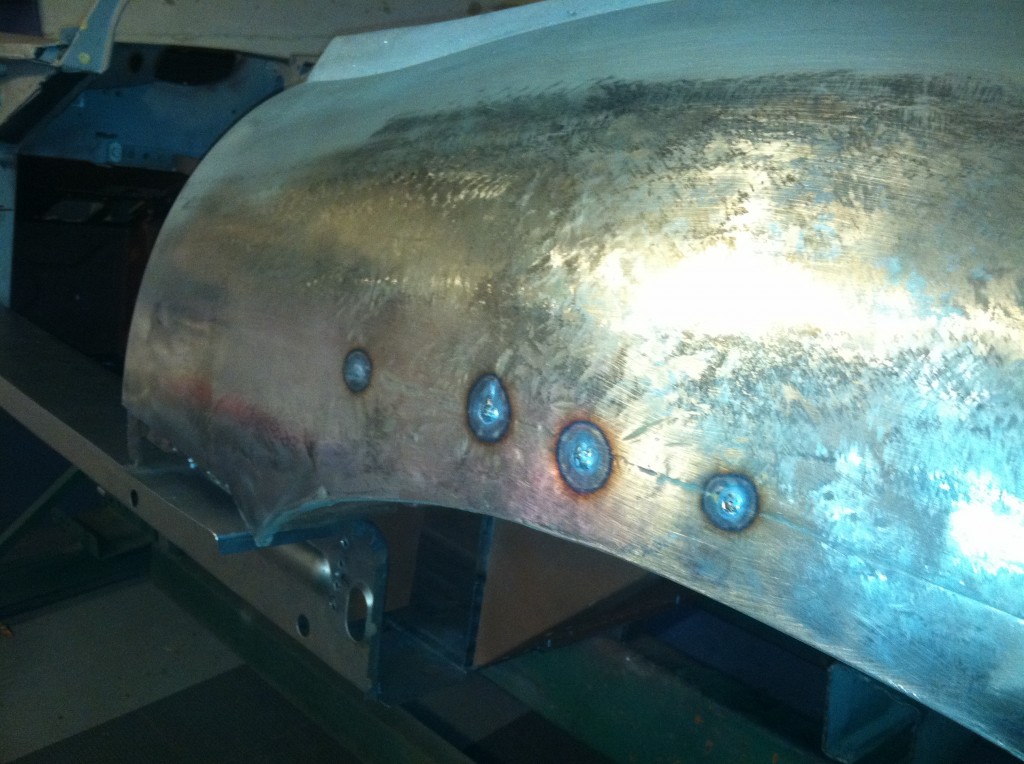
- To add insult to the injury, some “bodger” in the past has gotten out the drill and the trusty dent puller to try and fix the issue. COME ON – this is actually one of the very few panels on an E-Type that you actually CAN get behind! Oh well, it’s not a virgin hit anymore, but at least their laziness also carried over to the repair – they drilled 4 holes, hit the dent puller a few times, and then got out the filler. So this should not have much stretch in it.
- Step 1 was the initial reshaping – done the old-fashioned way: hammers, dollies, and slappers. I could have made quick work of this with the planishing hammer, and that would have erased the crease completely, but the planishing hammer would not fit in the wheel well. It was cold today, and I worked up such a sweat on this that the windows in the shop fogged up! Next, it’s time for some shrinking.
- Here is a shot from about an hour later, after lots of shrinking and careful slapper work. When the shape is finally smooth and where we want it, we can go ahead and TIG up the holes. Two stayed at 1/8″, but two had to be bored out to over 1/4″ due to rust.
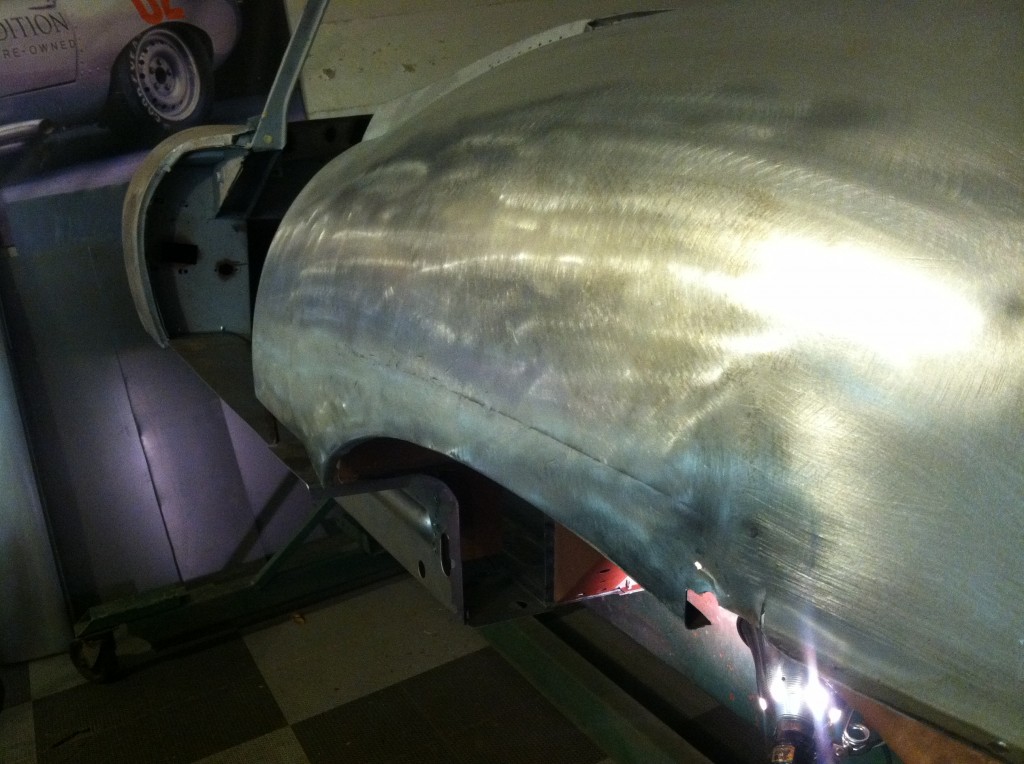
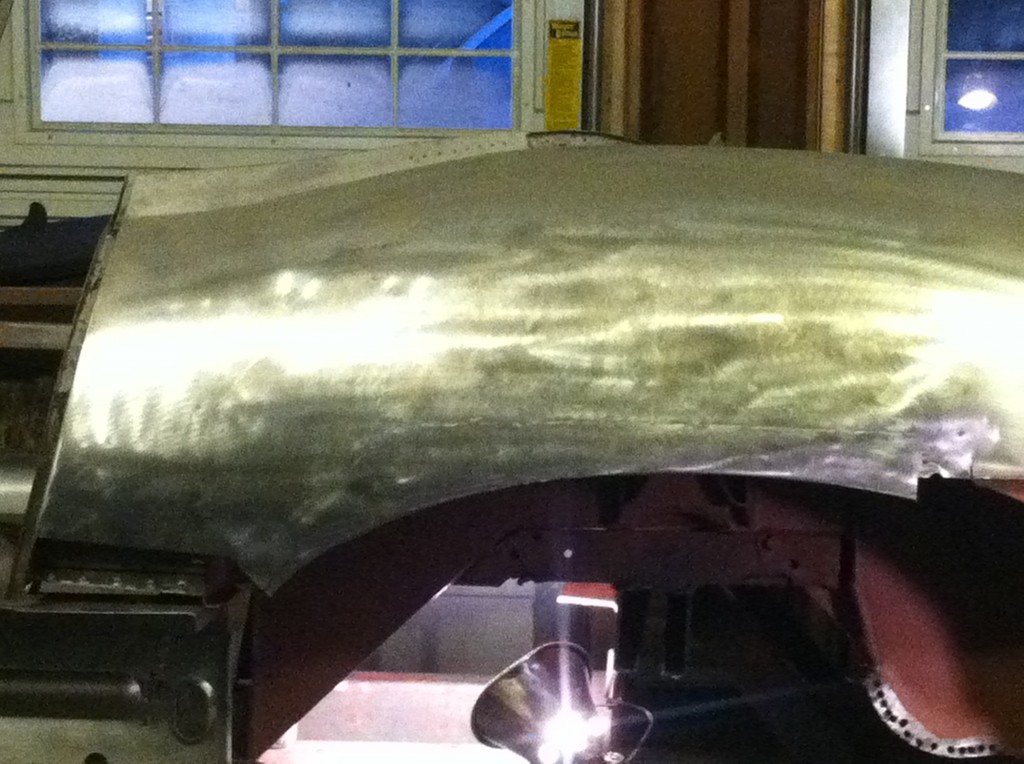
- OH YEAH! This is after the metalwork is complete, and we have scuffed down the area to remove the burnished and polished surface left by the shrinking process.
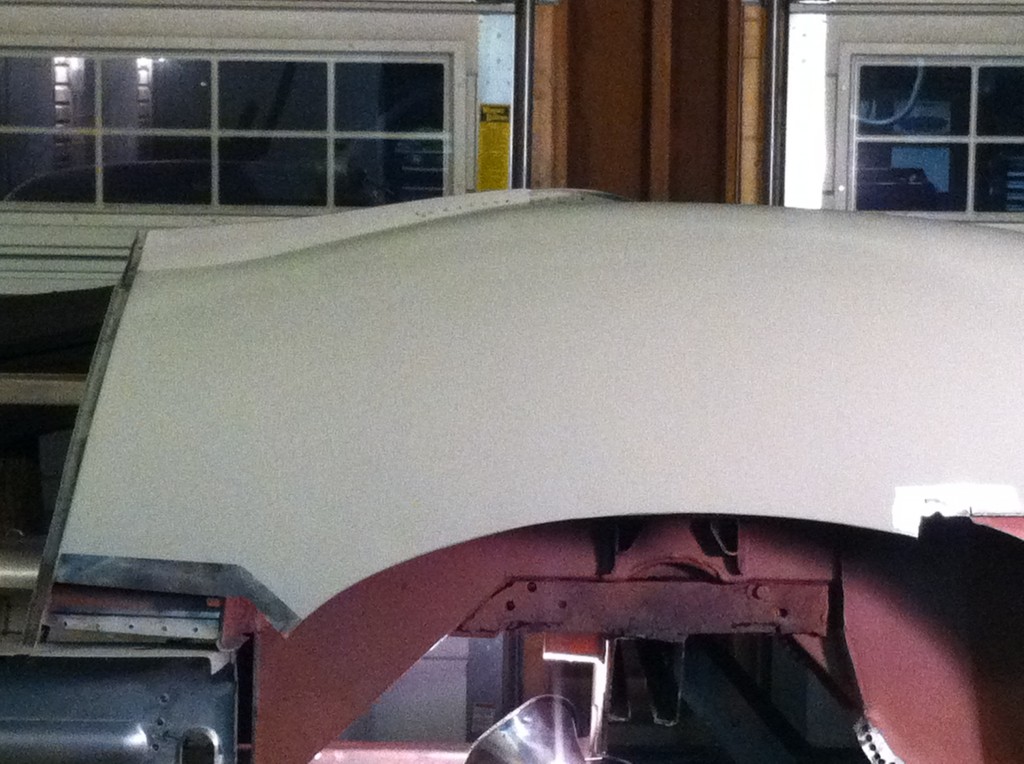
- It’s not perfect, but it is DAMN CLOSE! We are probably within 1/32″, and very light filler, or even a heavy coat of high-build primer will do the trick!
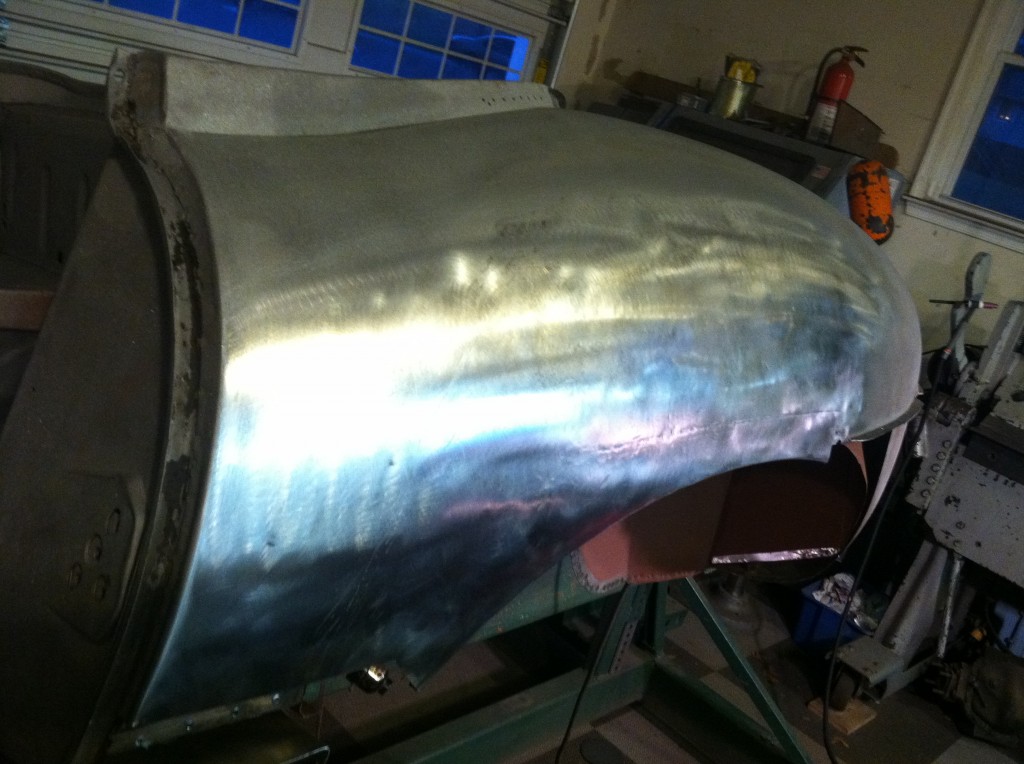
- Here is a head-on shot. You can still see the deepest part of the crease – only the force of the planishing hammer with it’s hardened heads could have taken that out completely. It’s probably just as well, as I might have put in toomuch stretch trying to get the crease completely out.
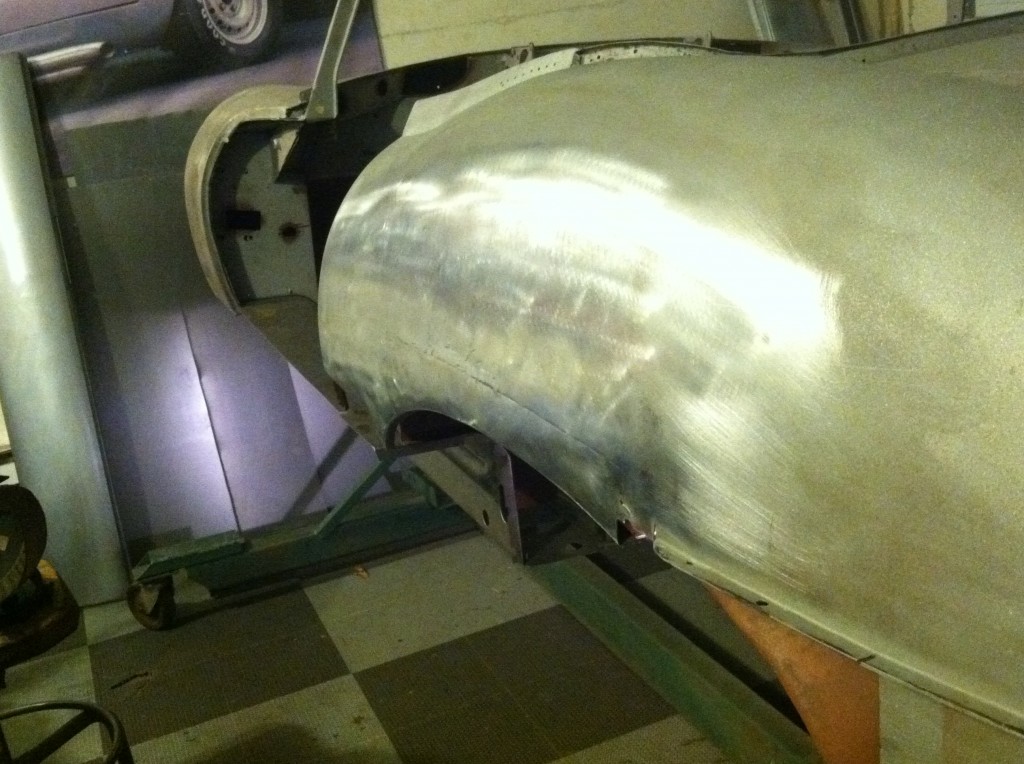
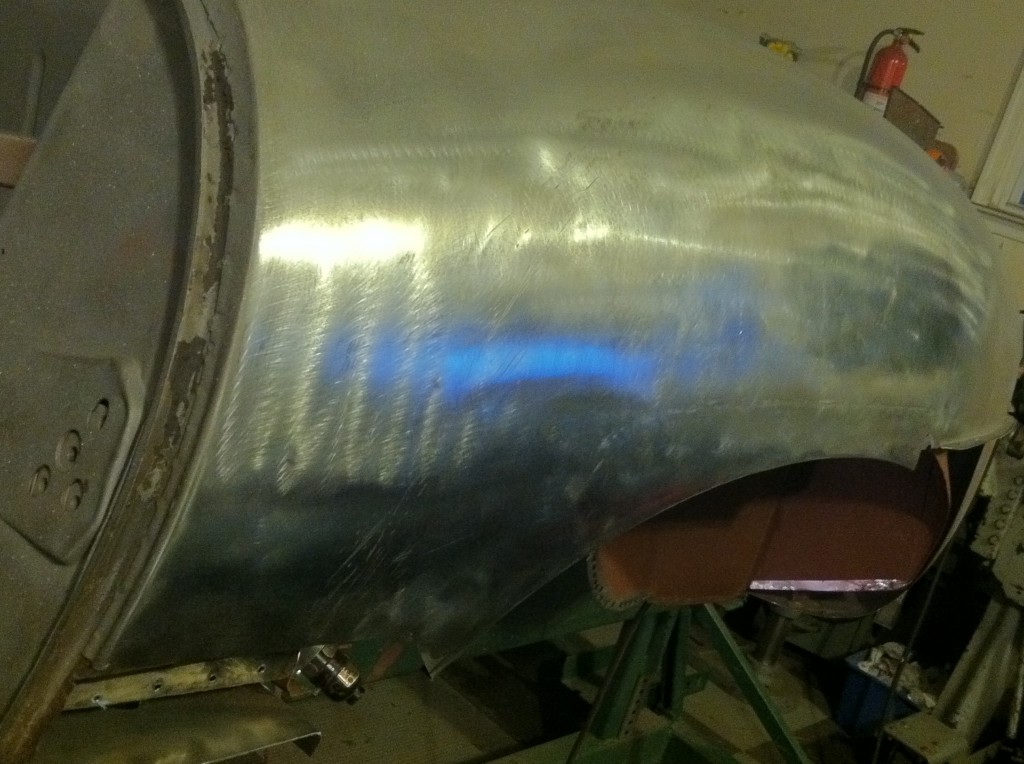
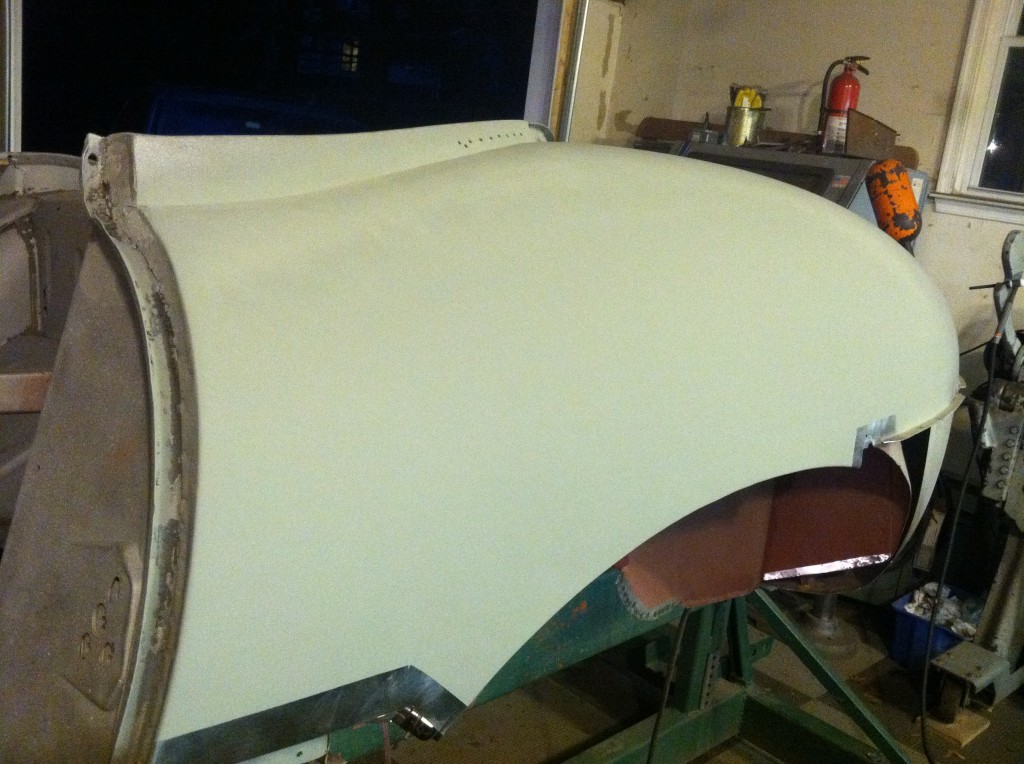
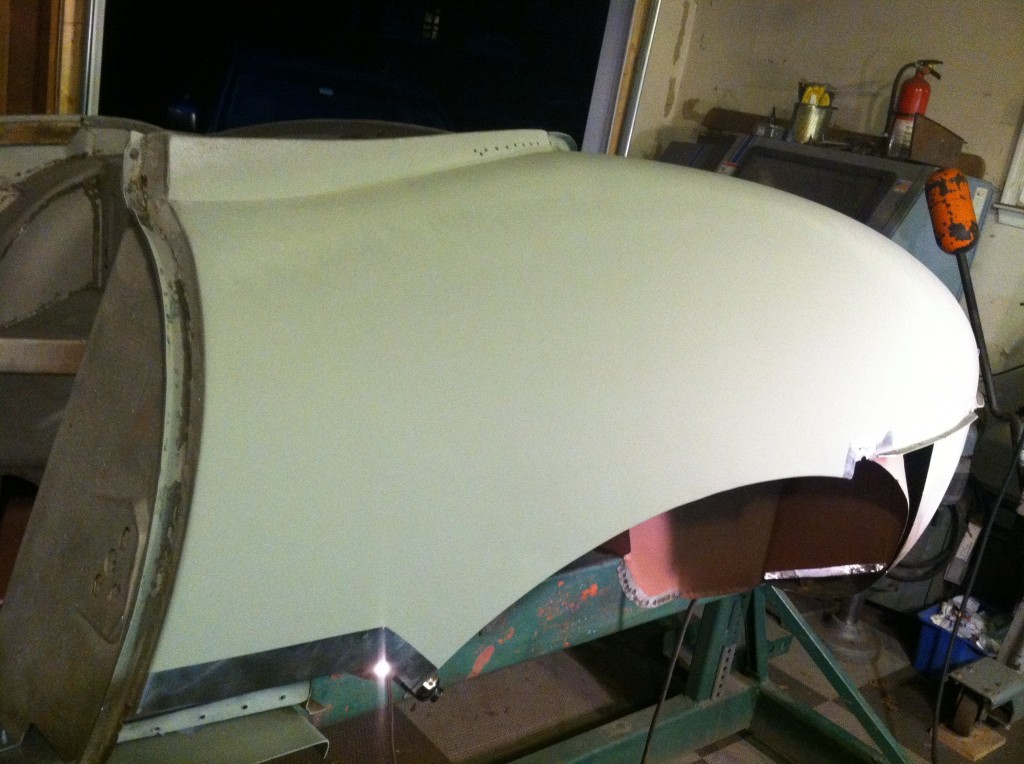
- Another shot of the completed metal work.
- And another. This took several hours, but is a MUCH better (and quicker and cheaper!) solution that pulling the whole wing out – OR cutting this section out and patching it.
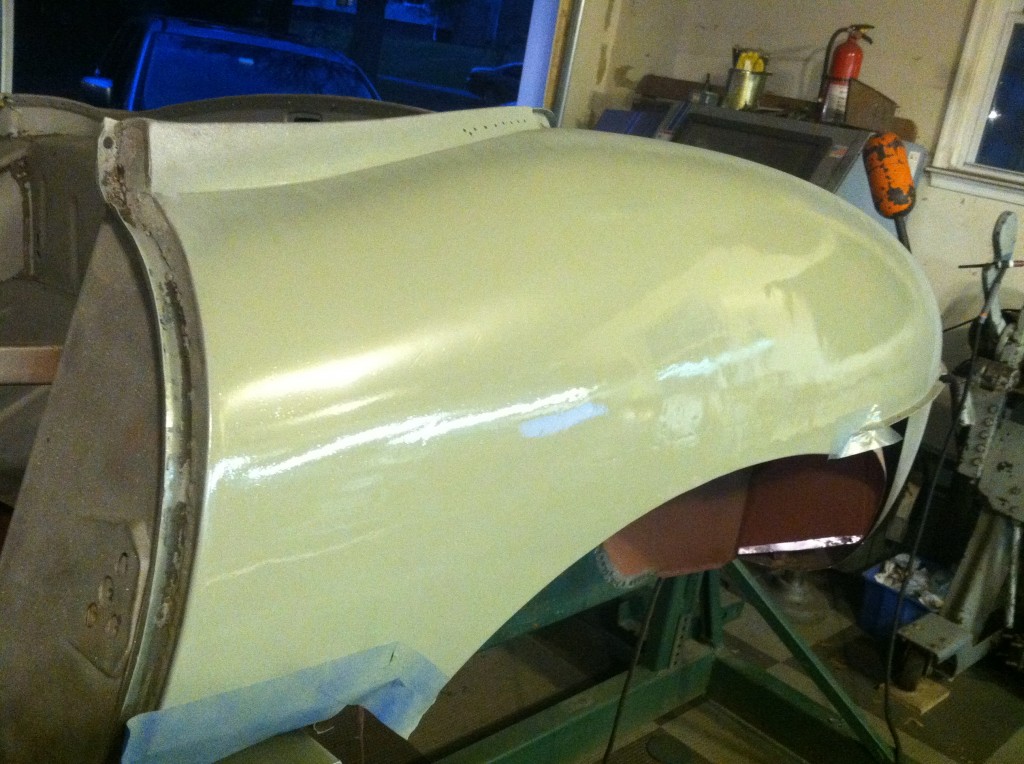
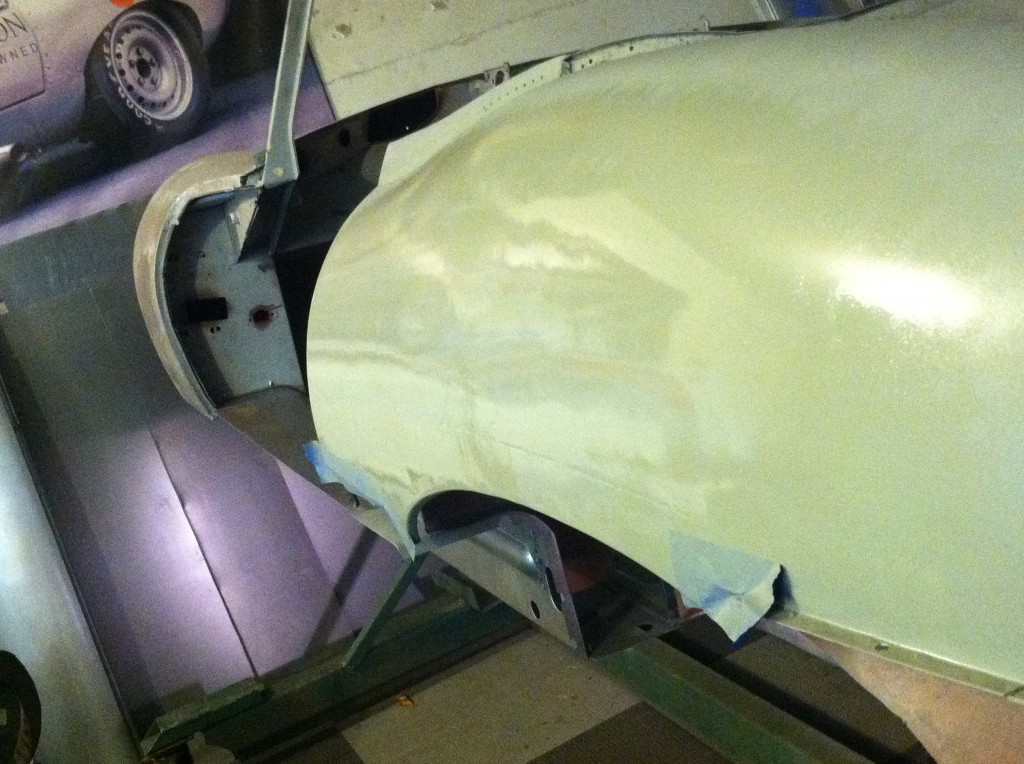
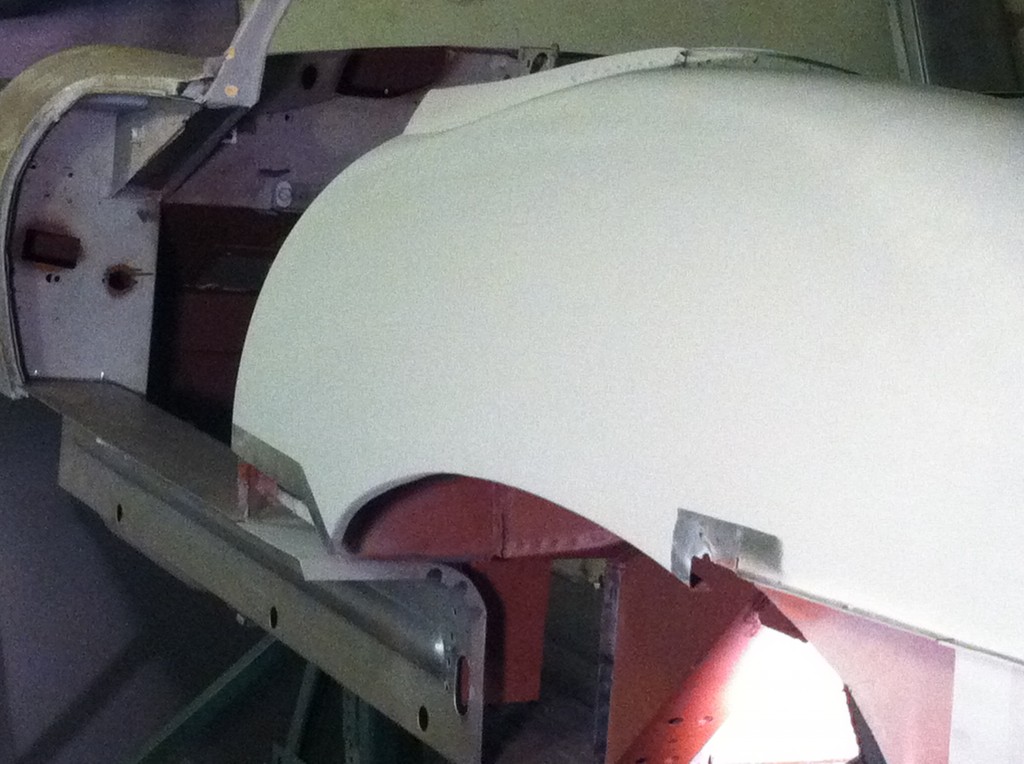
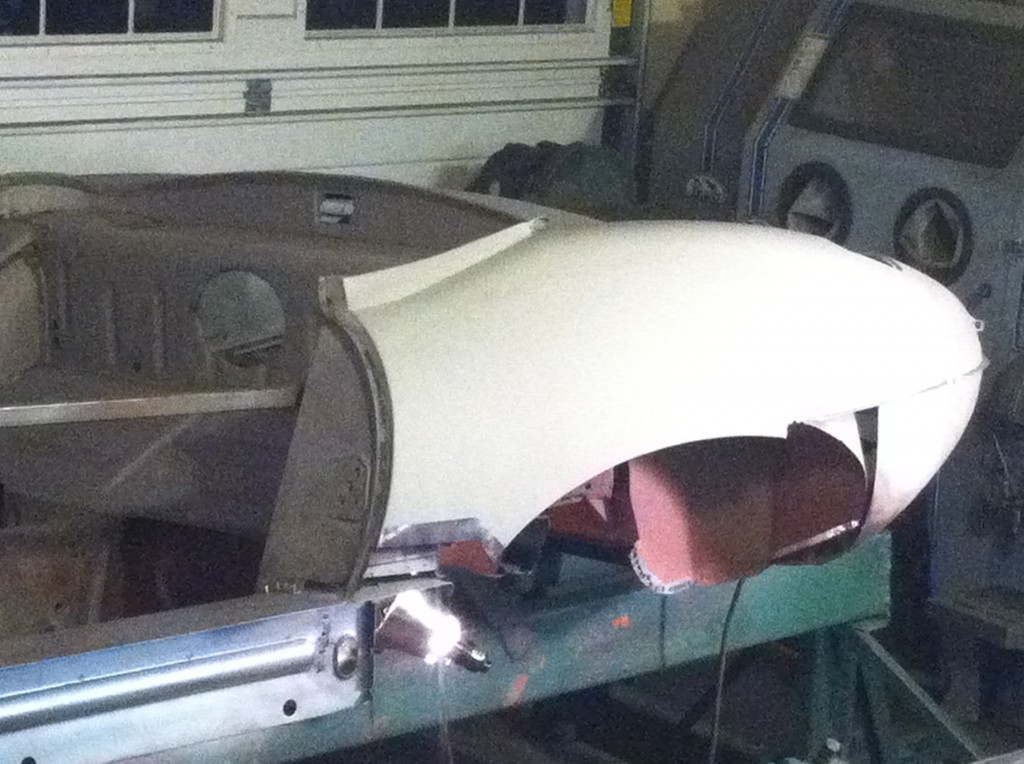
- Here is a shot in one coat of WET etch primer. I took this so you can see the true surface of the repair with it’s very slight imperfections that need to be filled.
- YOu can keep going and going until this is perfect, but that also involves grinding at the end and I don’t like to remove metal. Some shops will go nuts at this stage with a DA to show you a beautiful surface, but how thin is that wing after that? That’s a BAD idea – DON’T DO IT! Those shops also never show you the wet paint shots, because…
- Here is what it looks like dry – perfect!
- And it just about is – a few more coats of primer and you could block it down dead smooth!
- Same wing after a few hours of work.
- Now that’s better! As we said – it will still need LIGHT (1/32″) filler and block sanding – I tell the customers to load the panel with a skim coat of filler, then block sand it almost all back off, allowing the panel to “take what it wants” here and there – but block sand it until there is metal all over the place. THEN spray it with the high-build primer.
- Of course on this repair, the high build primer might produce enough thickness to get the whole job done. Next, we’ll stitch in the patch in the forward section of the wing just above the sill, and hopefully that will be just as smooth and seamless! Stay tuned!

