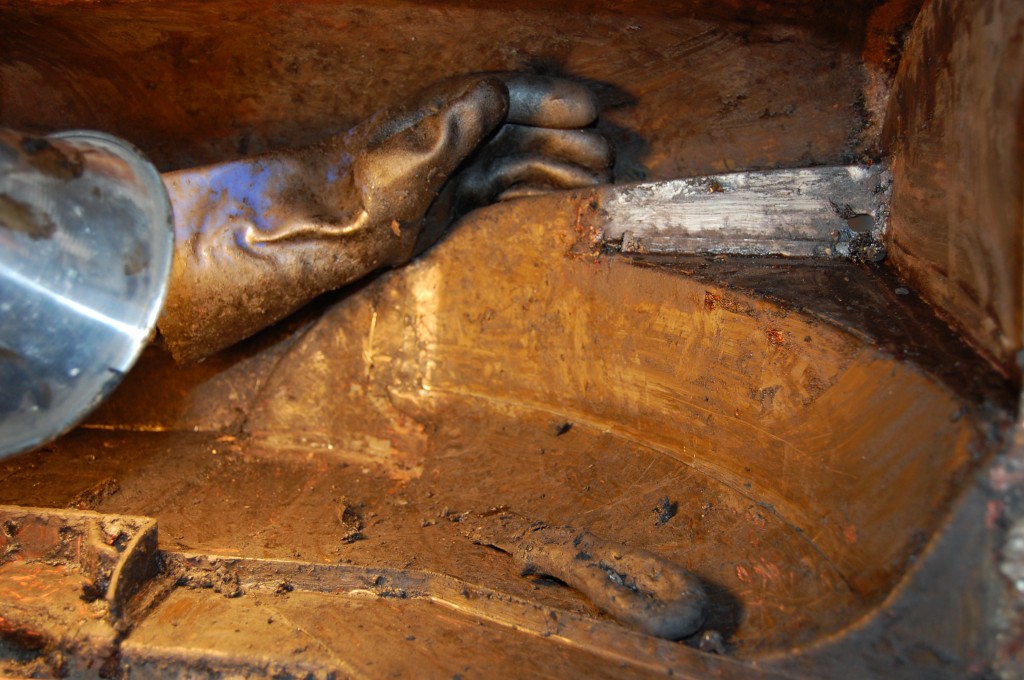
This is my least favorite part of the process – it’s depressing, REAL dirty, and DANGEROUS!
When people come to visit the shop, they are often freaked out by the shears, brakes, etc. like they are going to get their fingers cut off just by looking at them – and that stuff is dangerous and you have to be REALLY careful! But the most dangerous tool in the shop – and something most if not all of you have too – is the 4.5″ angle grinder!
With a slicing, grinding, or wire wheel spinning at 10,000 RPM, this thing is just looking to kick back and hit your hands and fingers ALL THE TIME! And, although I’m big on safety, it’s useless with the guard, so you have to take that off and that makes it even more dangerous – so BE CAREFUL, and ALWAYS wear gloves!
The other thing that makes dissection dangerous is the sharp corners that you get left with on the bottom of the A and B-posts. No matter how hard I try, I get spiked in the head and lower back with these damn things 2-3 times on every car! And it’s one of those things that just ENRAGES you, instantly! I have taken that point of the B-post right into my skull so hard I could feel it coming to a hard stop on the bone – be careful, and as you do this work, take time to slice the sharp corners off at a 45 or round them down some…
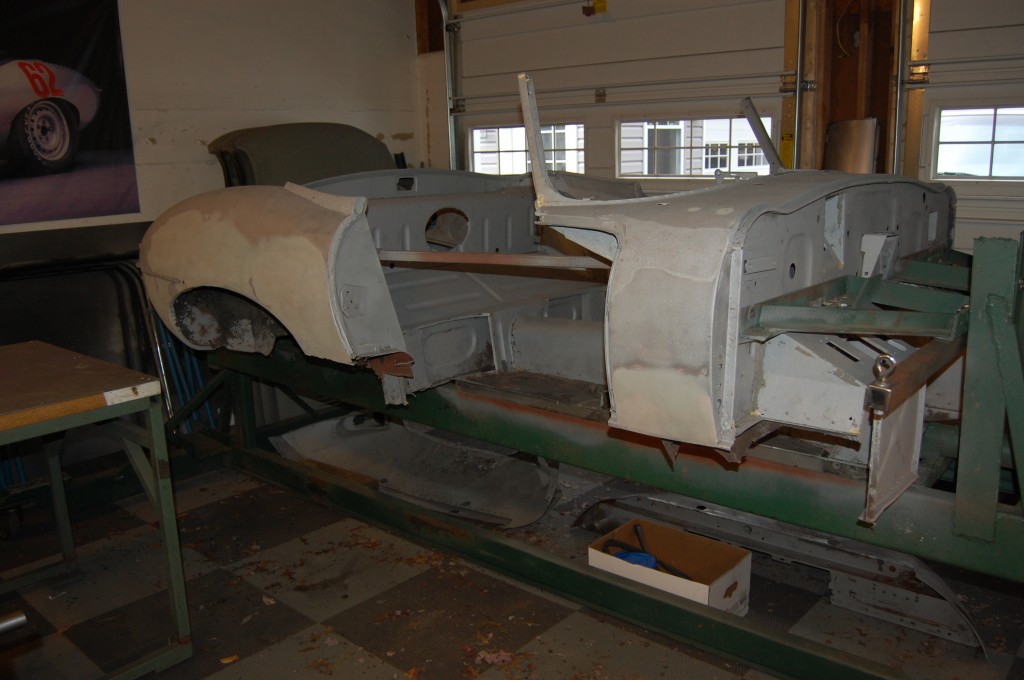
OK – enough of that rant (can you tell it really aggravates me!?!). Here are some shots of the dissection stage of this ’68 roadster. It WAS a “relatively solid, straightforward shell” – was…
- Here she is, fresh out of the blasting booth.
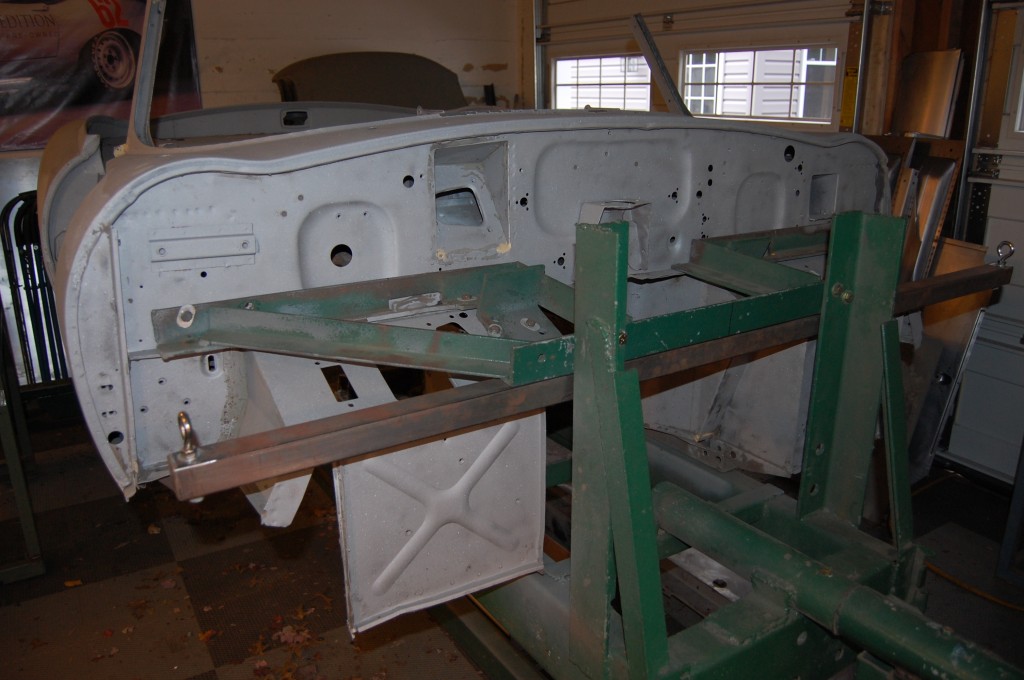
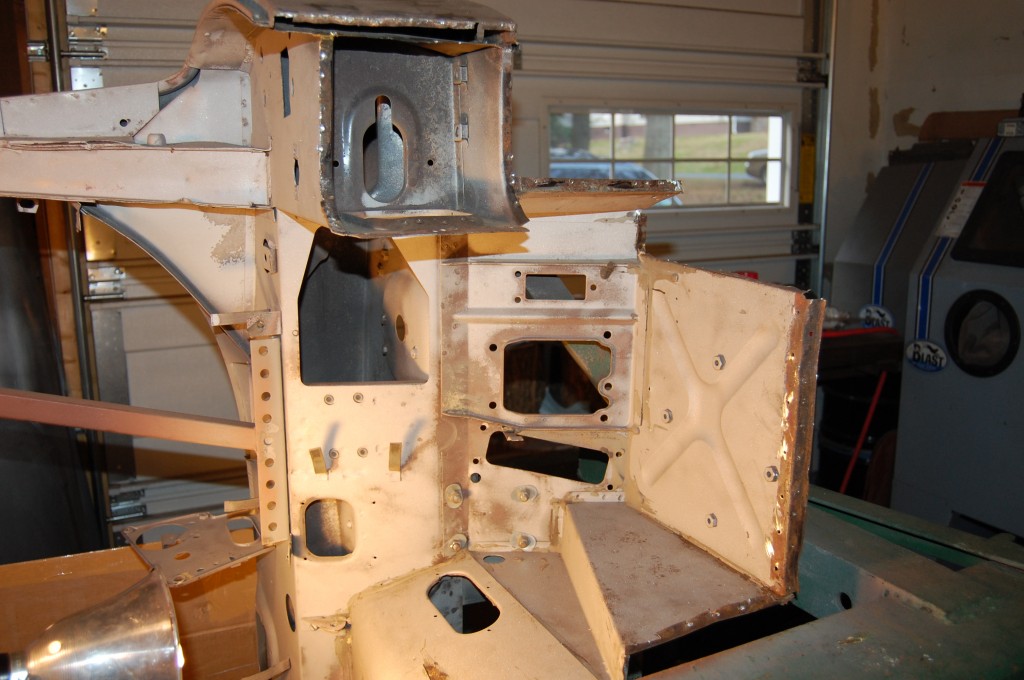
- Firewall and forward bulkhead are great! When the bulkhead is gone, you’re done… We can fix it – I actually have patterned and prototyped every single piece in there, but rebuilding the forward bulkhead drives the overall project cost through the roof. It really should only be done when you are a person who is very sentimental about their car, and wants it brought back no matter what it takes. Of course, most guys that feel that way about their E-Type take really good care of them and they are perfect in the bulkhead – like this one – owned by this customer since 1974 and kept indoors every day since!
- That being said – the customer told me that whatever we find in this car has been there since he bought it – ALL of what you are going to see happened in the first 6 years of this car’s life in Wisconsin.
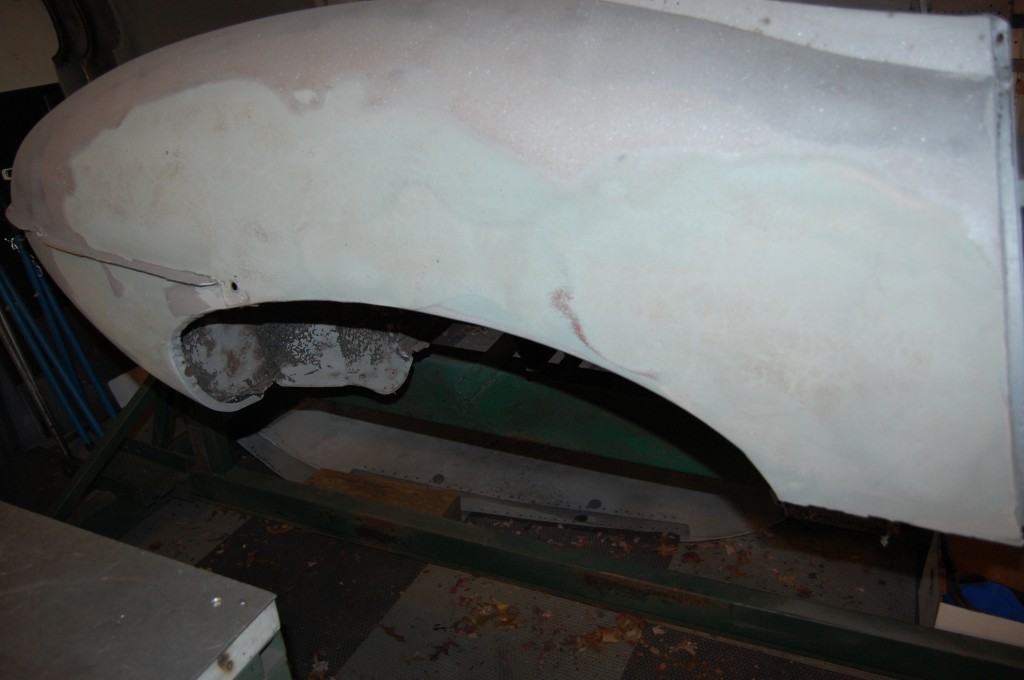
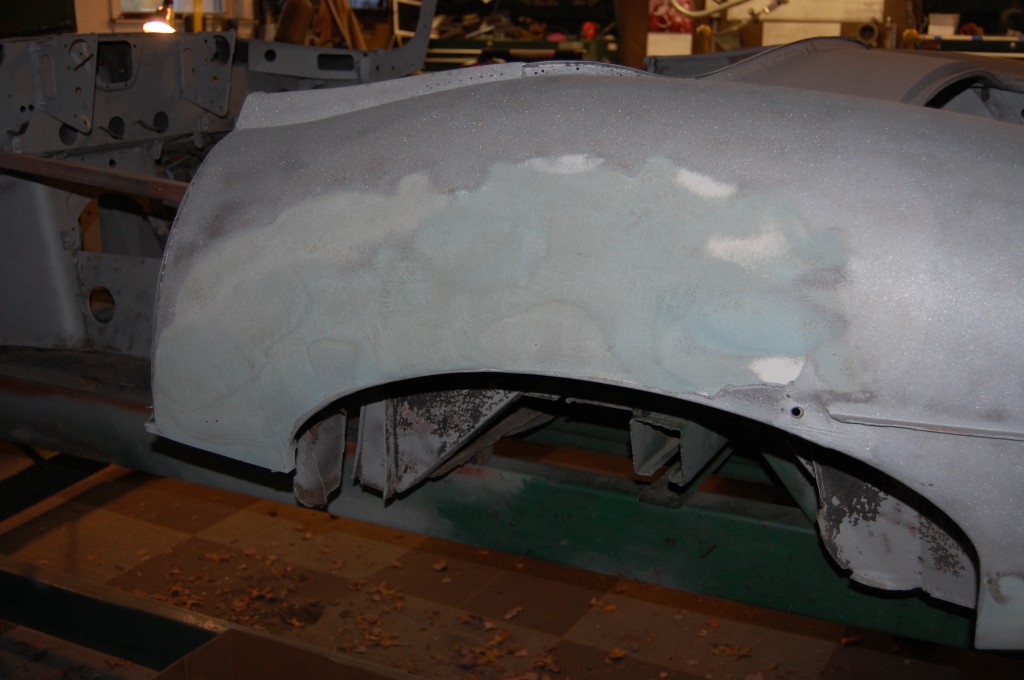
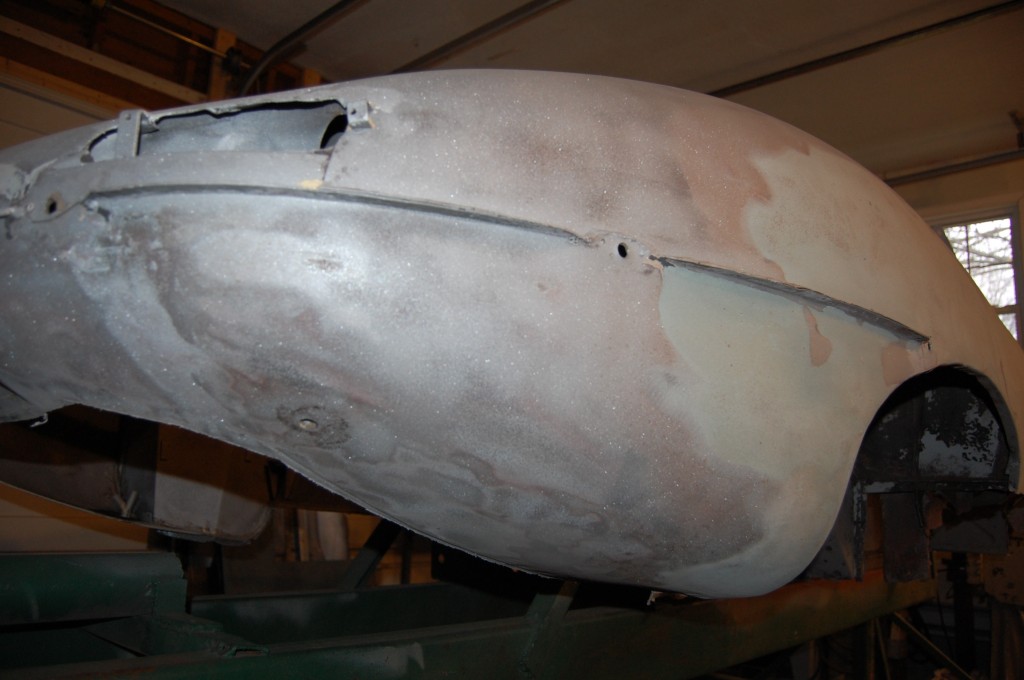
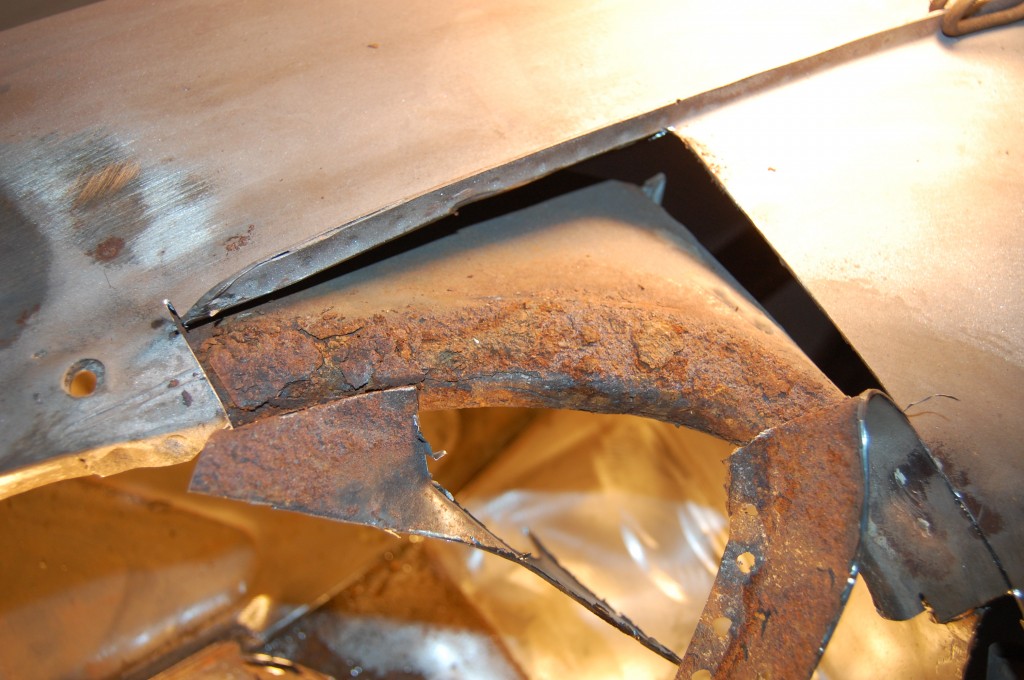
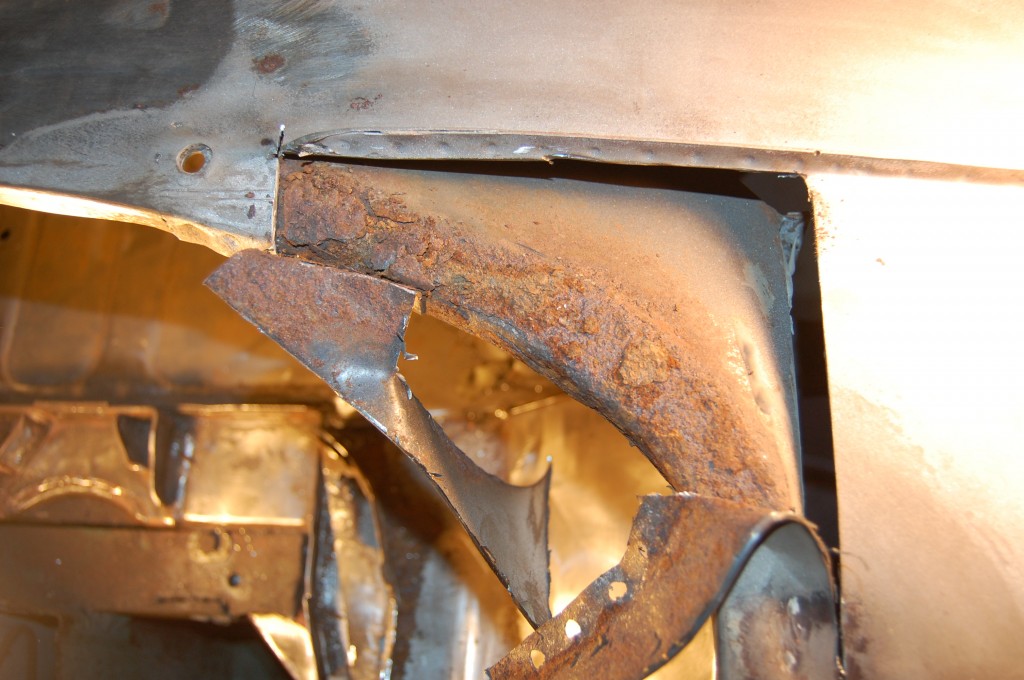
- Looks like a typical coupe rear wheel arch… BUT WAIT A MINUTE – this is a roadster!
- Still haven’t gotten a shell in that hasn’t suffered the typical “broken check strap” damage. Don’t play games with the check straps – it’s cheap insurance!
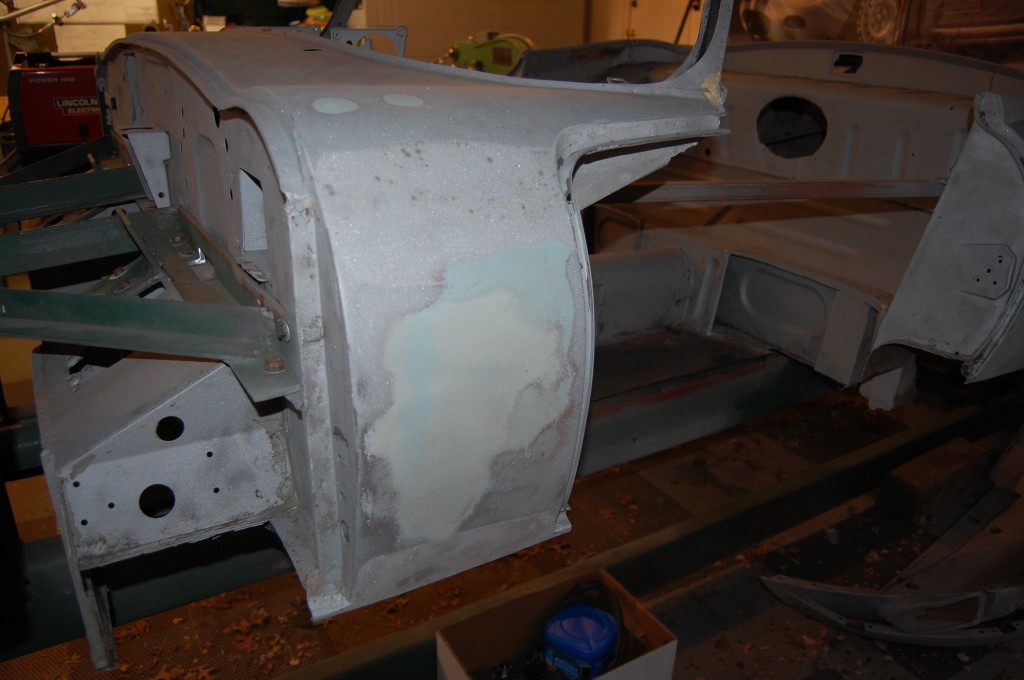
- Here we go again! What is the deal with this car? Turned out that both sides had dents and creases over the wheel – I don’t think I have a good photo of that yet but I’ll put one in the next blog. It is going to need some hammer and dolly work, along with shrinking and slapping, etc. – we’ll have to reshape the rear wings like we do a center section!
- Also typical…
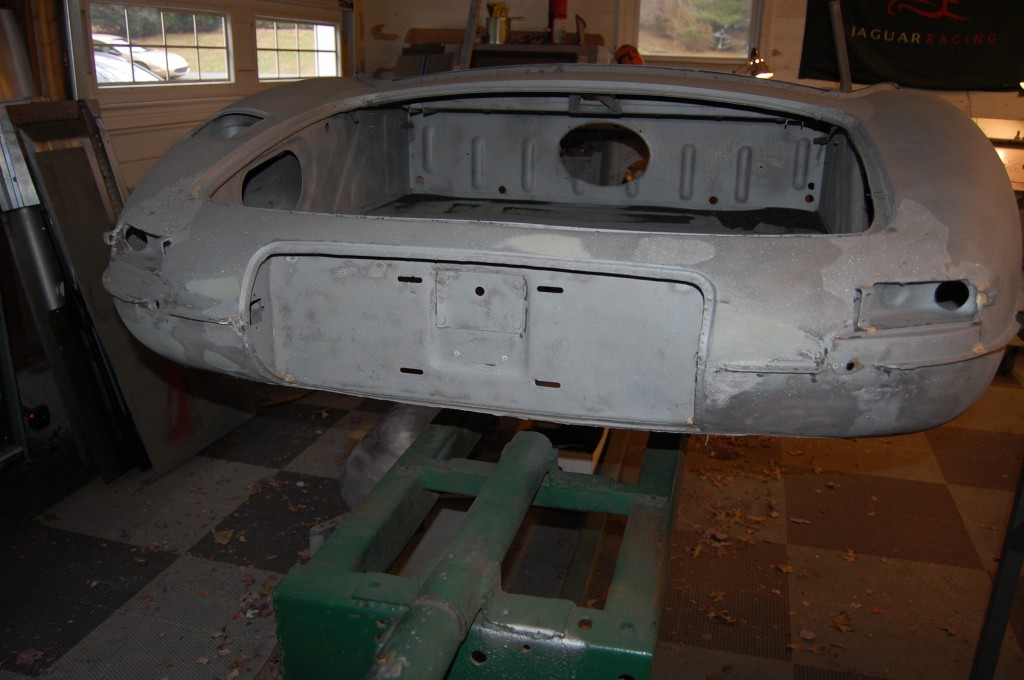
- The tail looks good – some standard small creases from the bumper blades at the very ends, but no problematic rust.
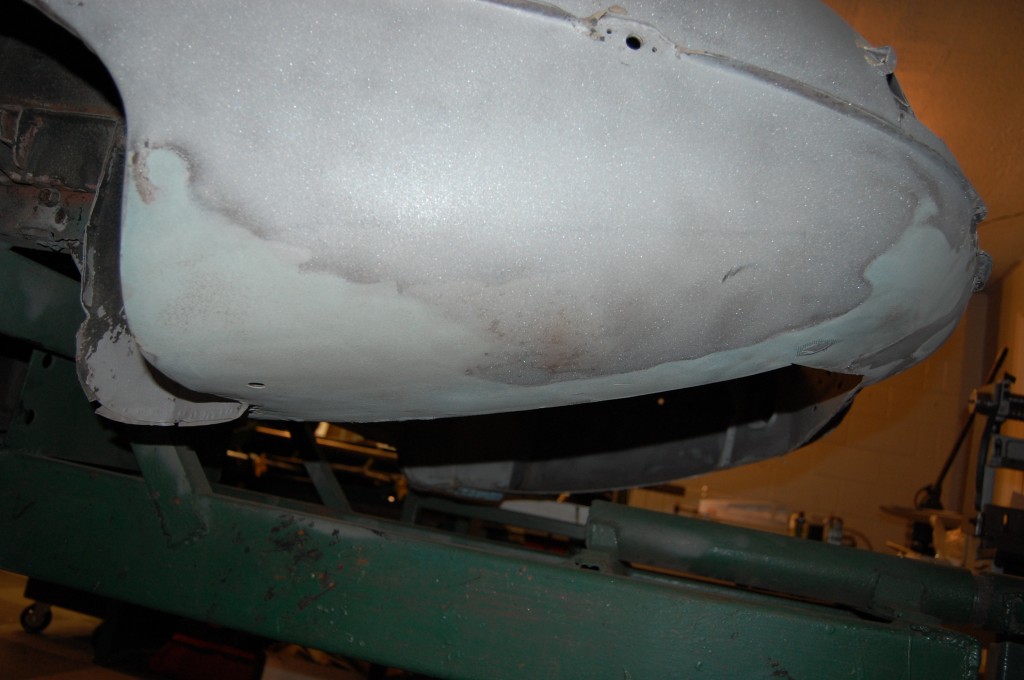
- Typical rust in the front edge, but otherwise straight and virgin. This is the perfect example for use of our partial rear lower valance panel – shown below in a photo below. Well, time to get the filler out!
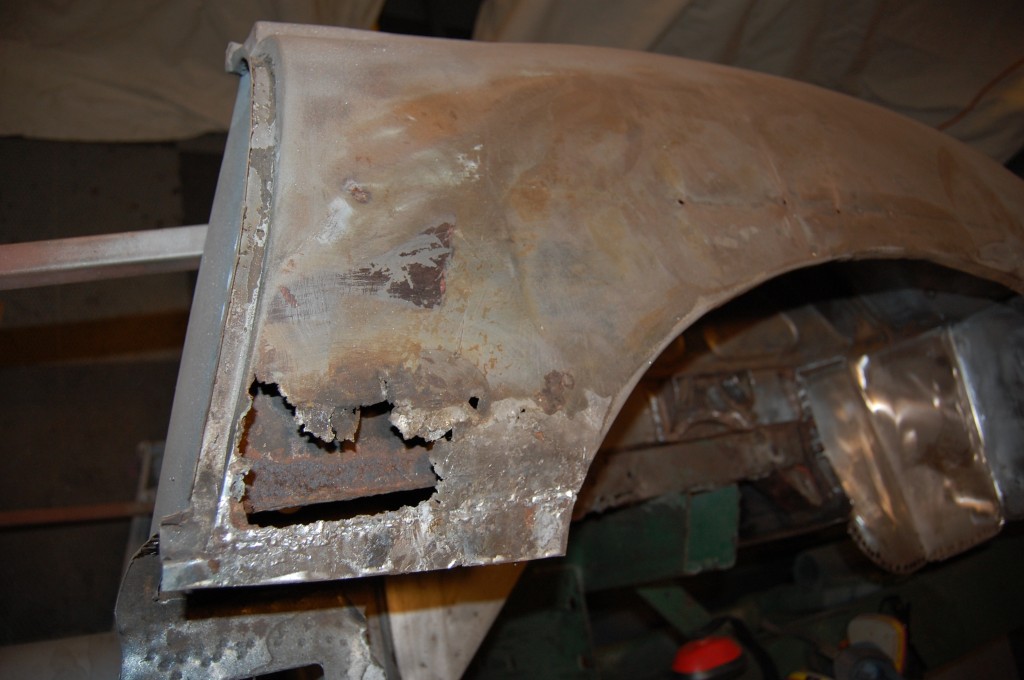
- O-M-G… I am just NEVER going to learn… This is not what I expected to see under this filler. They had actually done the lower edge pretty nicely, and I was fooled up to this point.
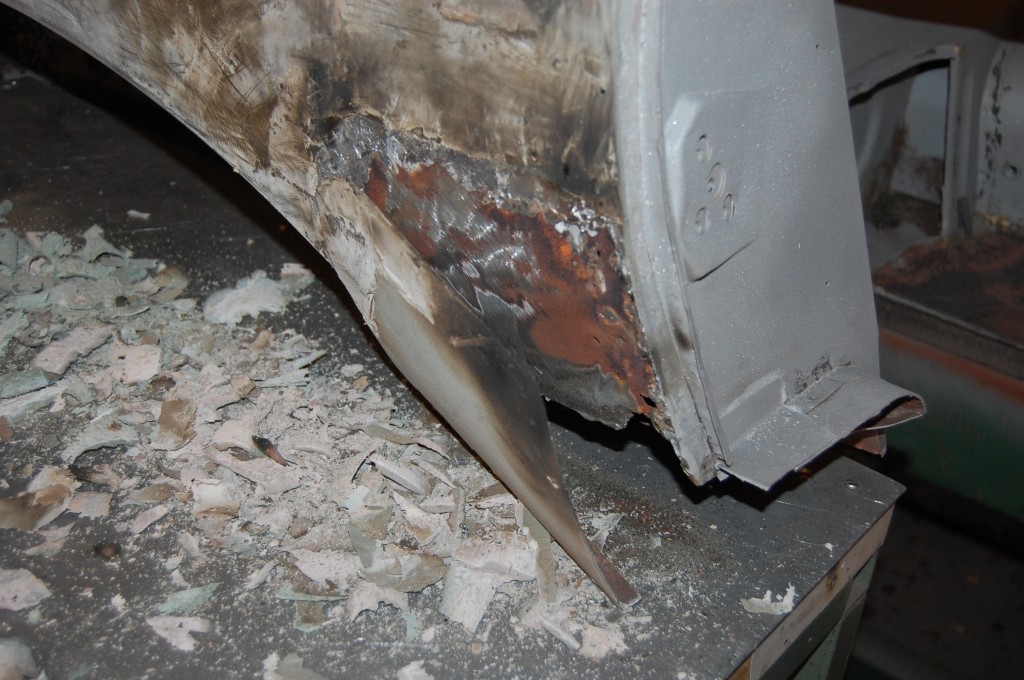
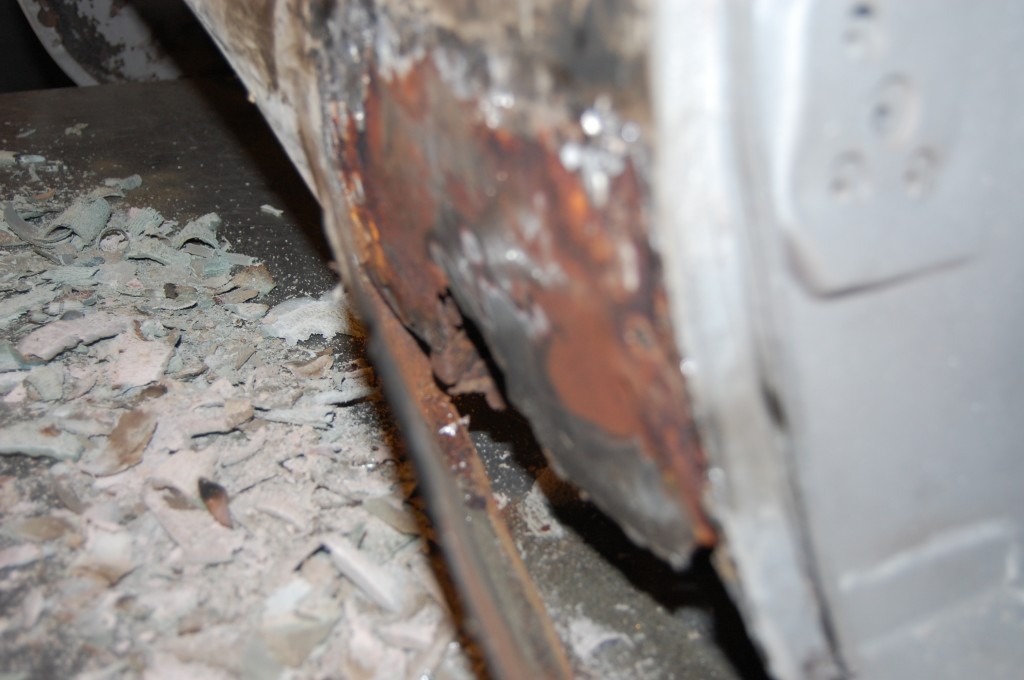
- This was a thin 22-gauge patch panel, GLUED ON WITH MELTED LEAD! And of course, right over the rusted metal, with no attempt to cut it out, or seal or repair it…
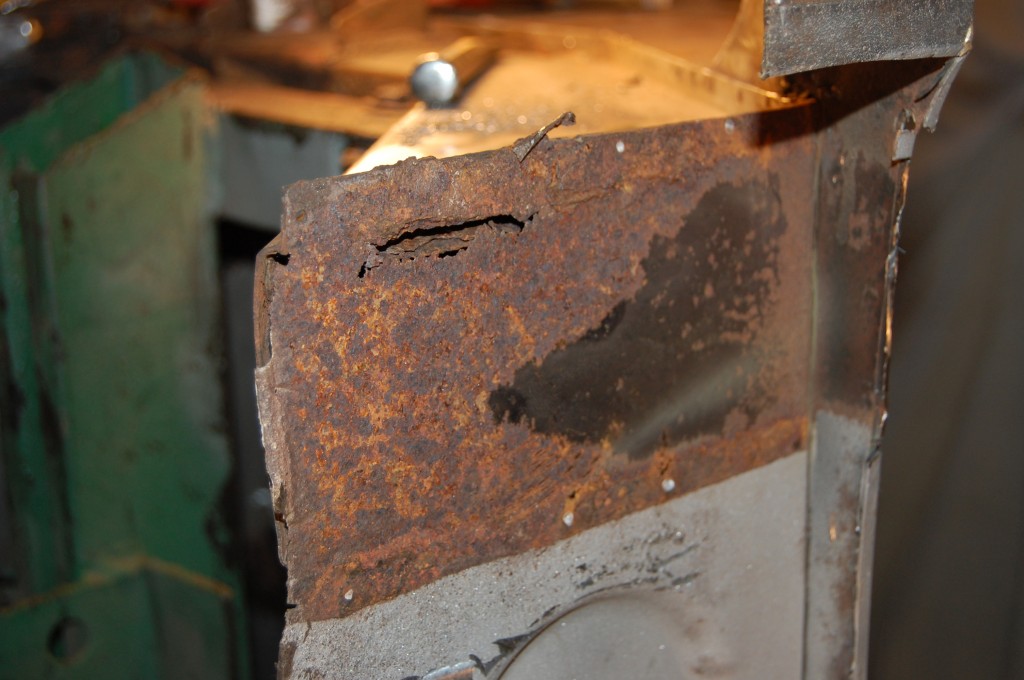
- This is another surprise – the rear panel of the rear lower bulkhead was badly rusted where it meets the chassis legs. This is all going to have to come out and be rebuilt – more unexpected work and time…
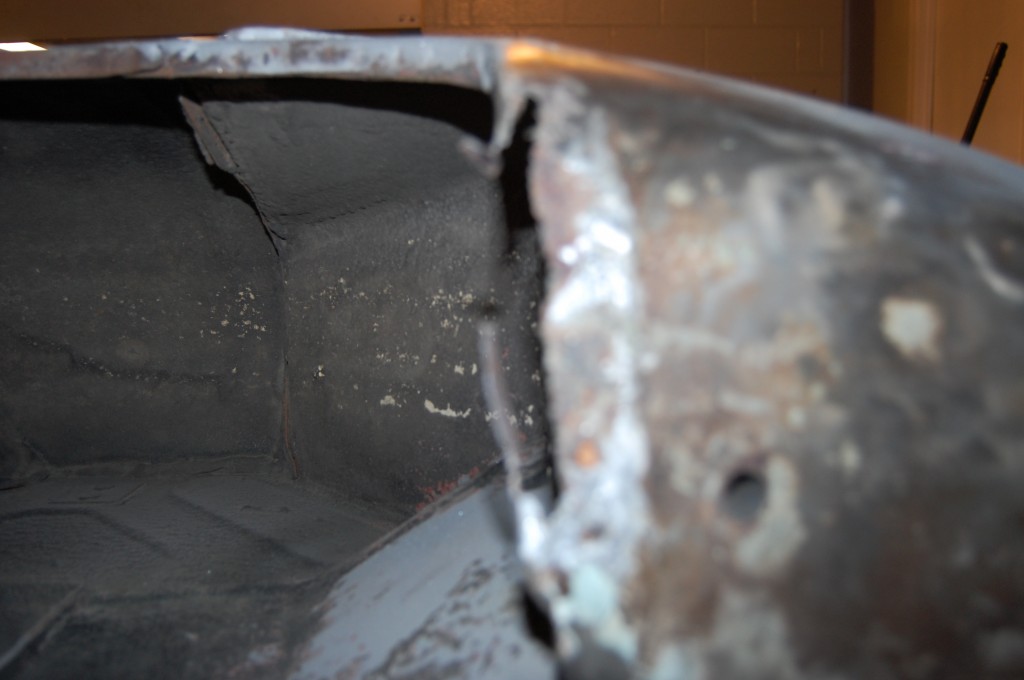
- See that rust in there bulging out this seam? That’s not good.
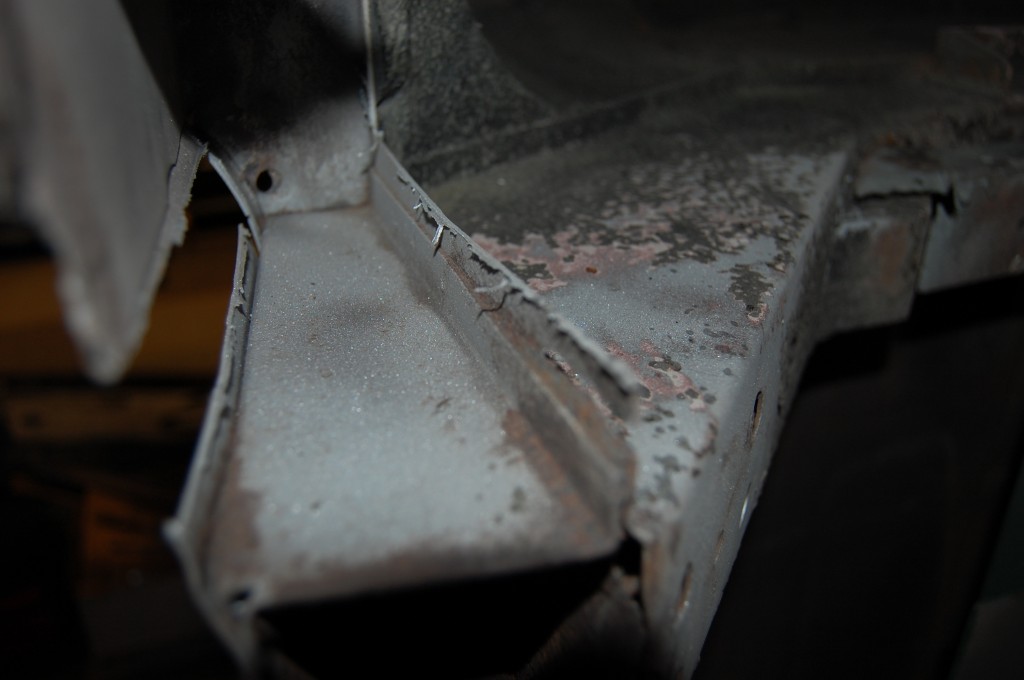
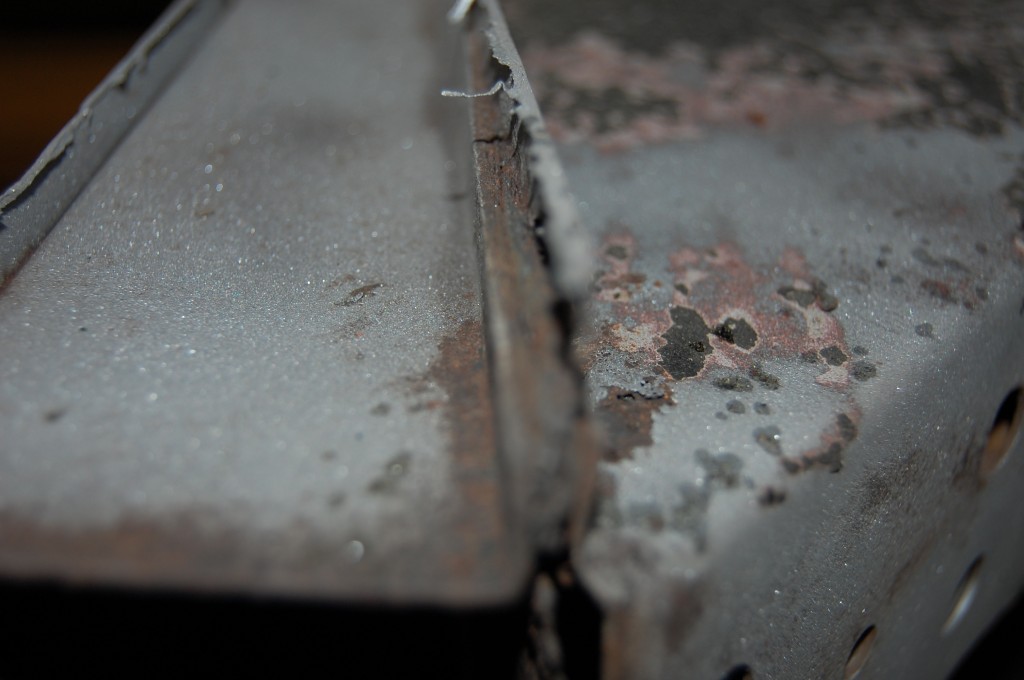
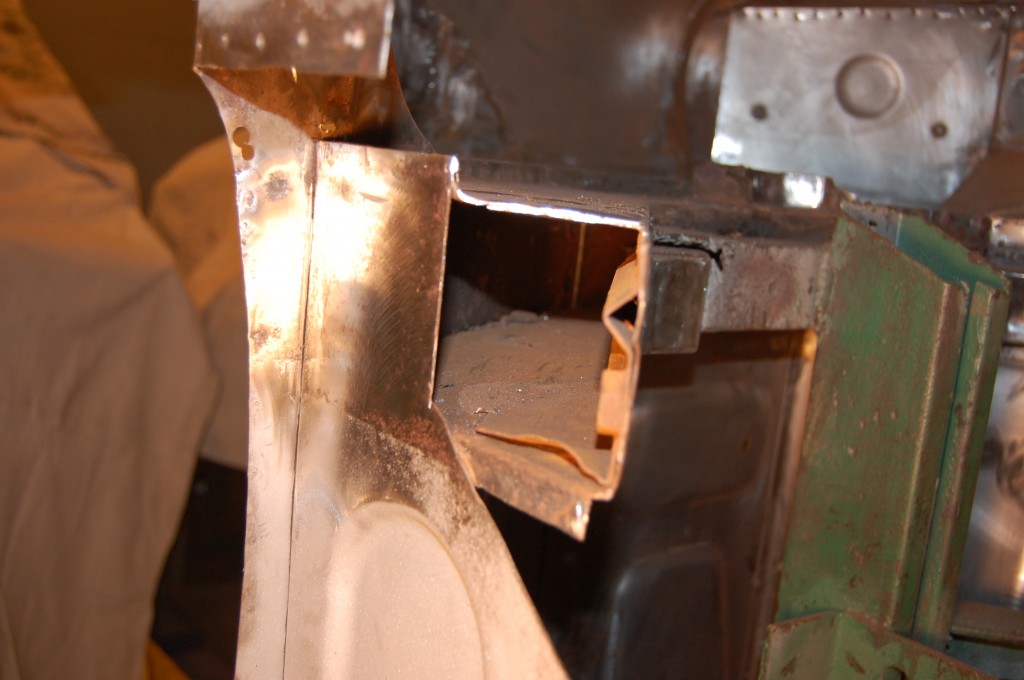
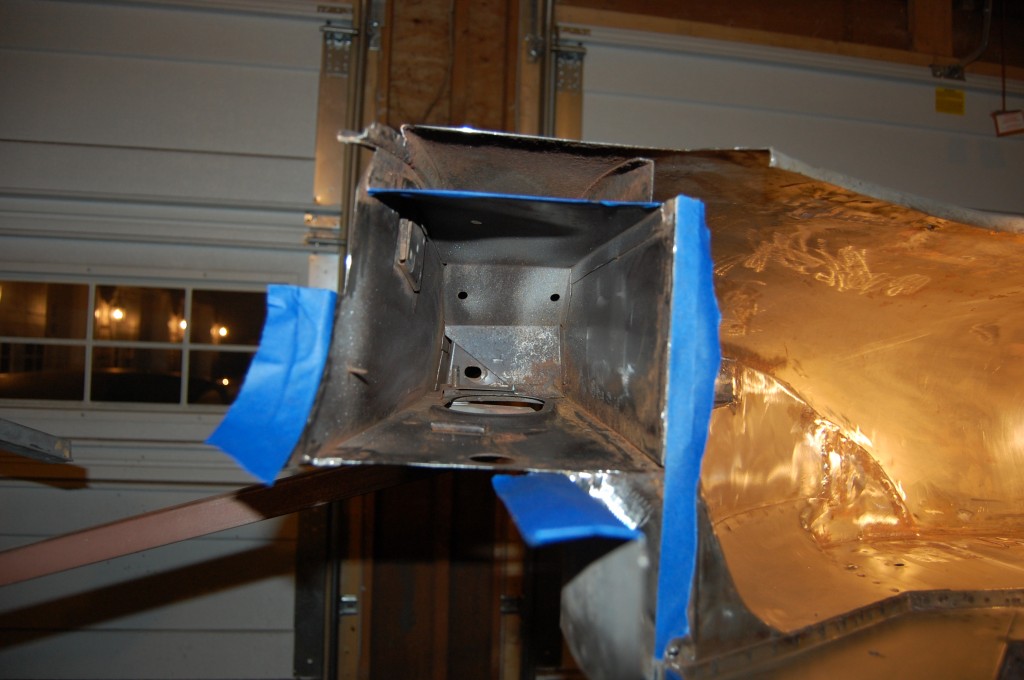
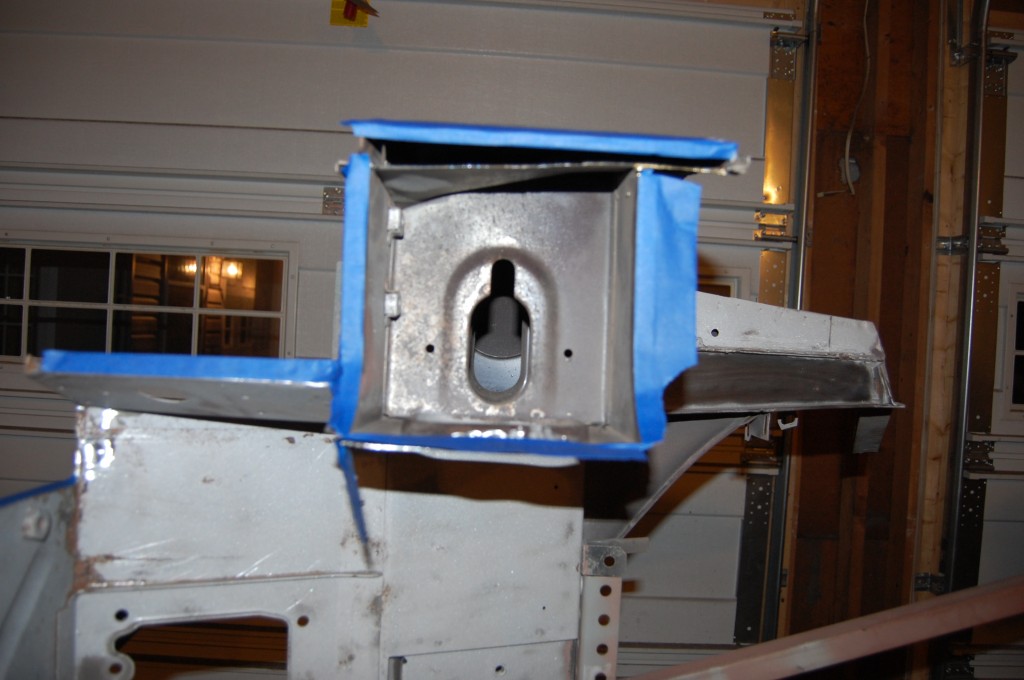
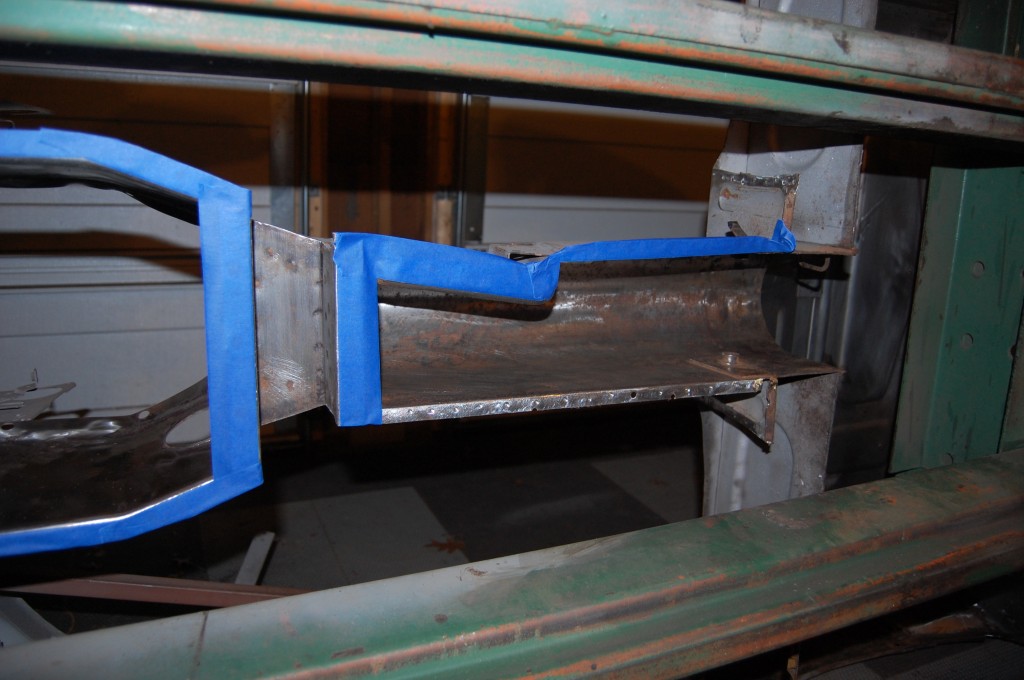
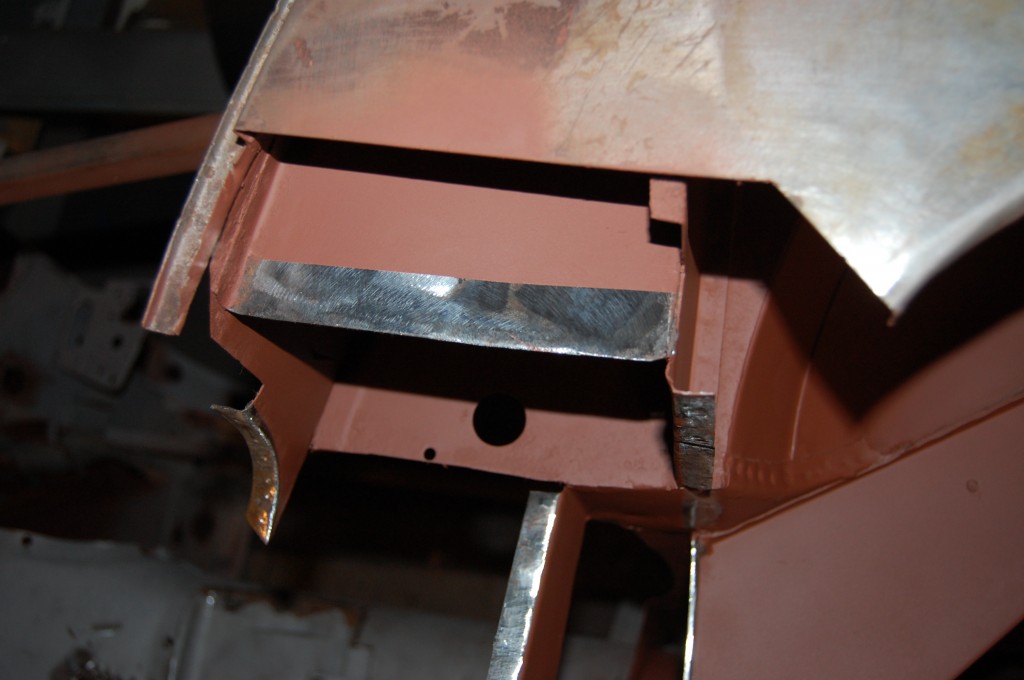
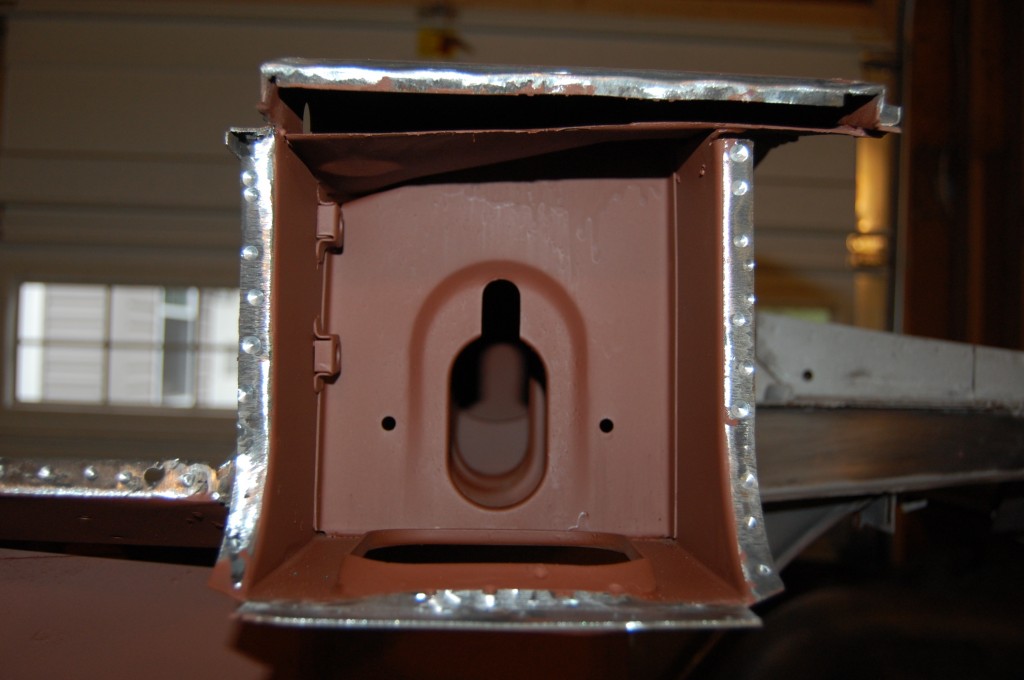
- This shows how the A and B-posts look after the initial cutting and blasting. We’ll carefully remove all of this left-over metal, and then dress these flanges. And then we’ll sand and scuff the metal up in there before sealing it well with multiple coats of red oxide – which I love because it works – and it STICKS!
- This was also covered with a “lead-glue” patch… Again, this is a perfect situation for using the partial rear lower valance, shown below.
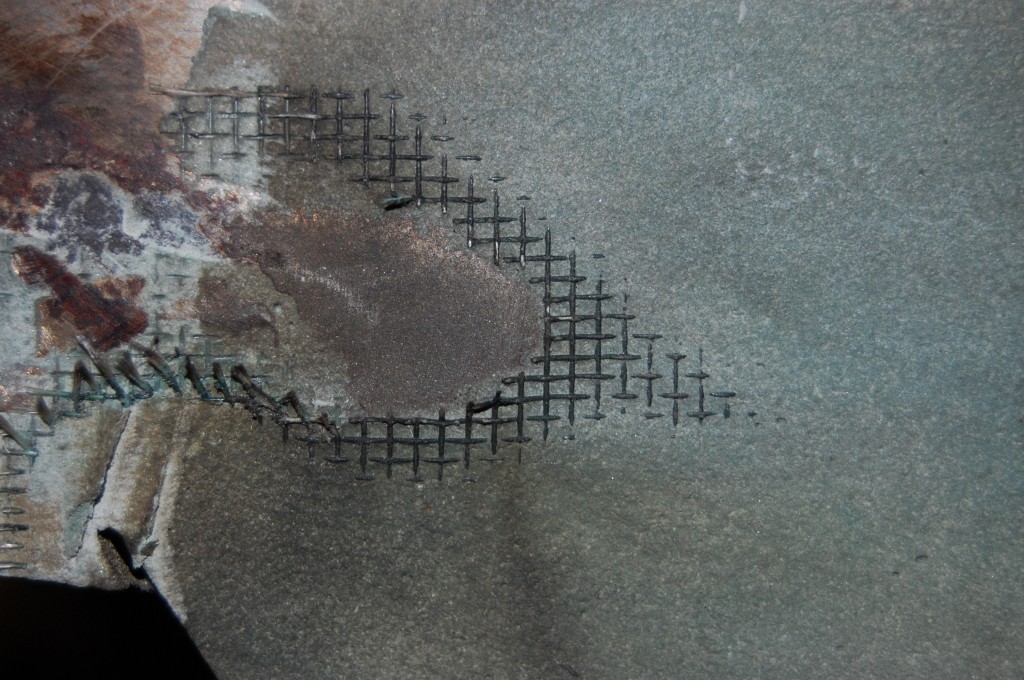
- Haven’t seen this one in a while – window screen used as a binder for the Bondo!
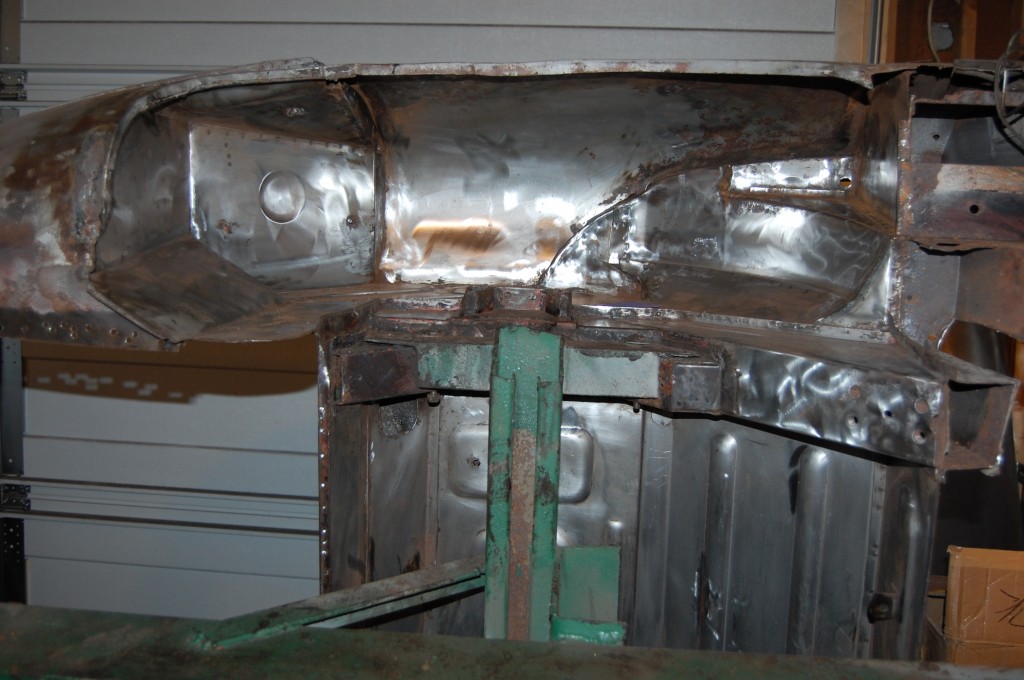
- After getting out the filler, it’s time to get the undercoating out of the rear wheel wells and the area above the IRS. I have tried EVERYTHING to get out the undercoating, and there’s just no easy way to do it. Some people do manage to blast it out, but I shudder to think of the volume and pressure they are using! Anything even close to the realm of “normal” pressure for blasting just bounces off. Sometimes you can scrape it dry with some success – this wasn’t one of those times… There is also alot of rubber seam sealer up in here, and that all has to come out too – it is always rusted underneath. So you just suit up and jump in!
- OK – we’re starting to get somewhere with the flange prep. I always start in the front because it’s always in better shape – it builds a littel confidence for when you start to get into the disastrous B-posts.
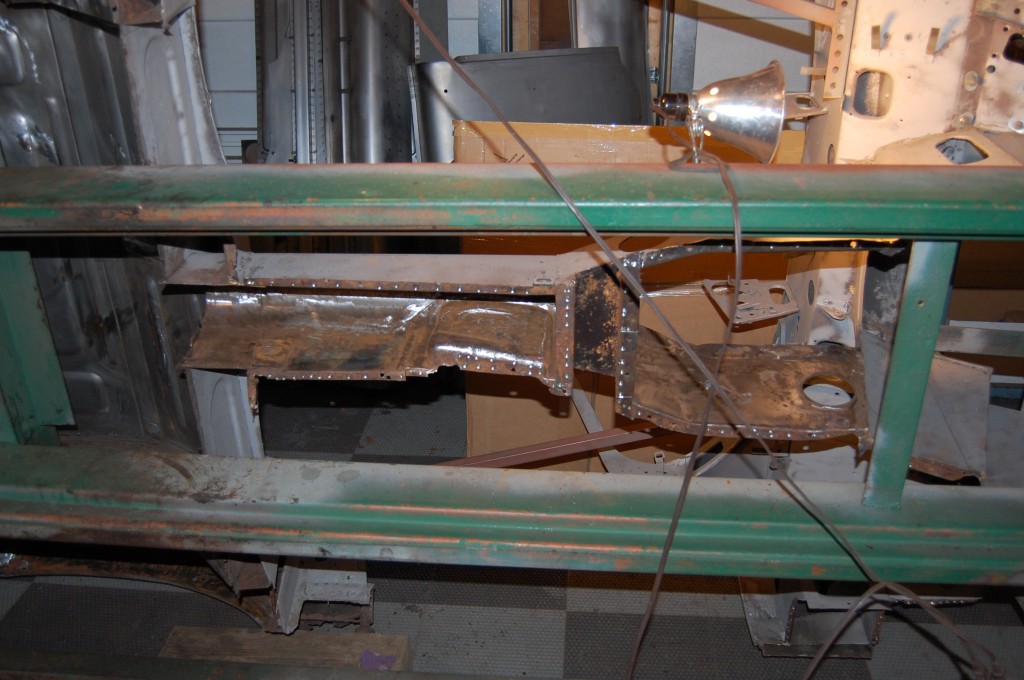
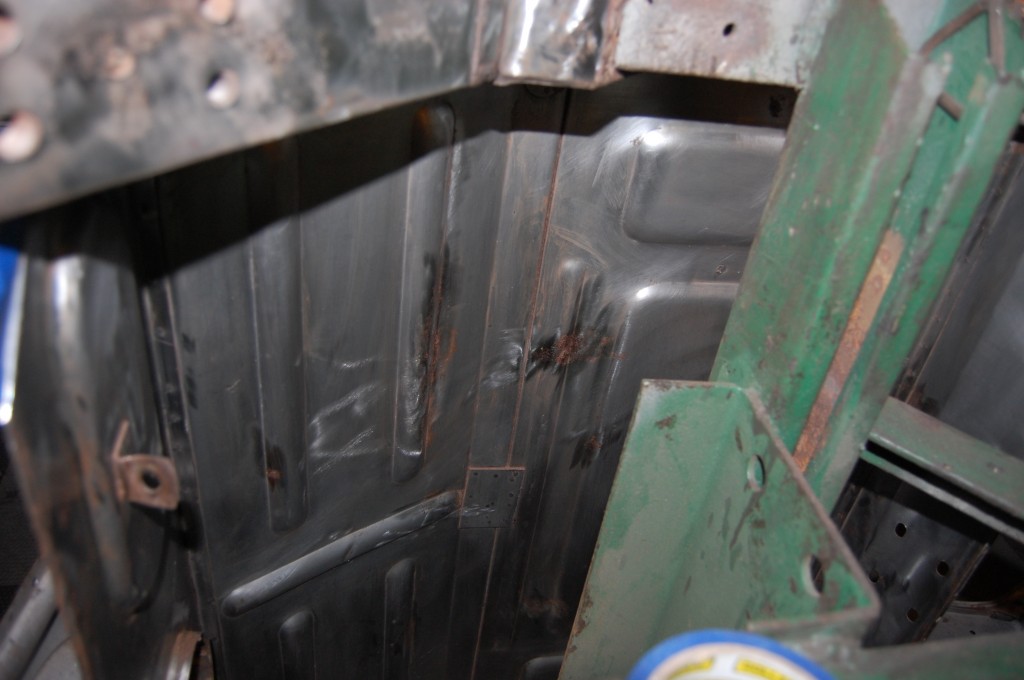
- The tunnel is in great shape on this car! We’ve removed all that was left of the floor now and opened it up, stripped the undercoating, and sanded it down as well as we can. Now, you might ask yourself, why not do all this firts and then blast? Well, there are several reasons, but mostly boils down to the fact that there is very little holding the car together now and we need the strength of the rotisserie at this point, and the rotisserie is too cumbersome to get into the blast booth. We are in the process of “re-tooling” – building two special new rotisseries that double as body jigs, and can be transported back and forth to the blast booth, which is 1/4 mile away from the main shop.
- BUt for the moment, we’re making sure the job gets done right the old-fashioned way – with elbow grease – LOTS of it!
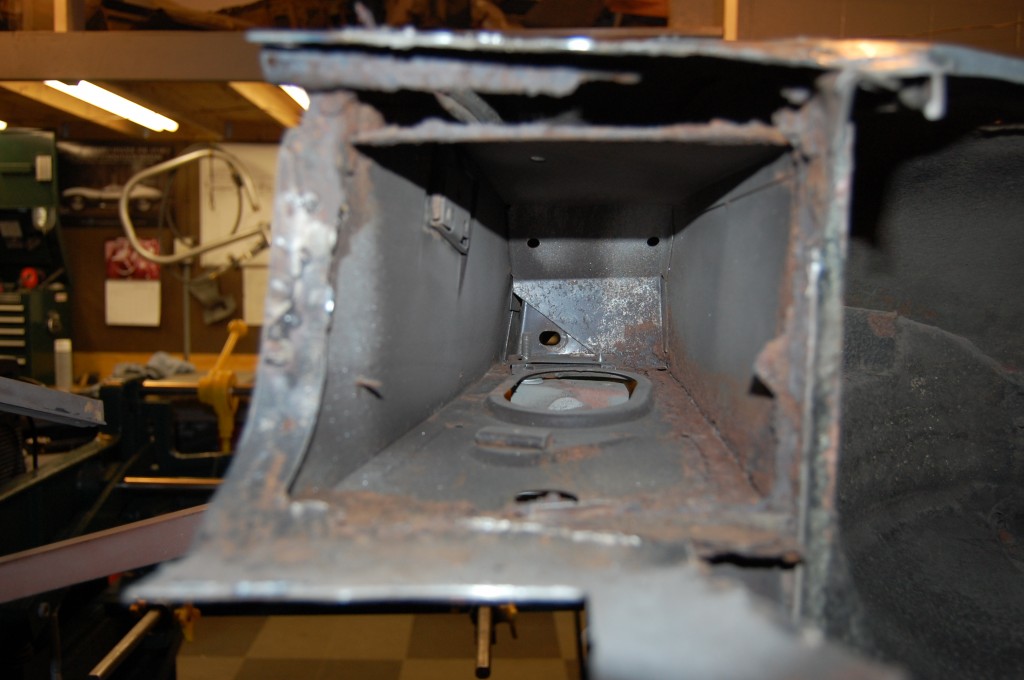
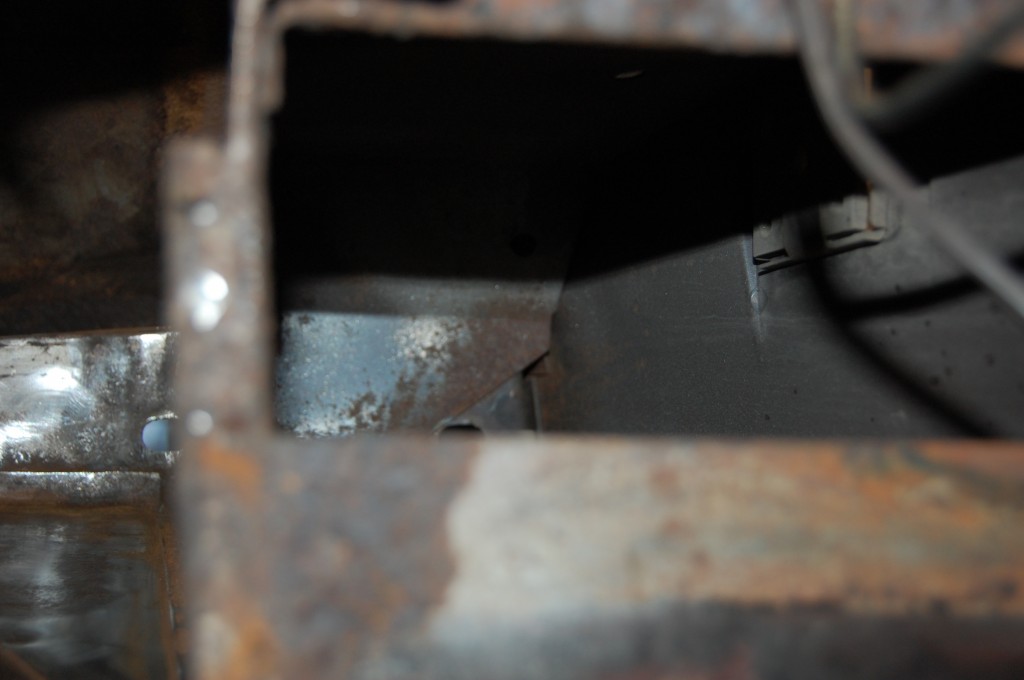
- This is a shot up inside the RH B-Post. There is a flap along the bottom edge that is about 8 inches by 3 inches. It doesn’t do anything – I’m convinced it was there so that the B-post inner side panels could be dropped onto the inner sills and sit there during assembly. What it DOES do is trap moisture and water and is a big part of what makes the B-posts rust out so fast. It’s always in the way too, so I cut them out – on the rare instance when it still exists. It is in the bottom half of this photo.
- The RH wing wasn’t any better – another “lead-glue” patch. We just started making 18-gauge patch panels for this area – they go up and back from the bottom corner of the door 10 inches in both directions.
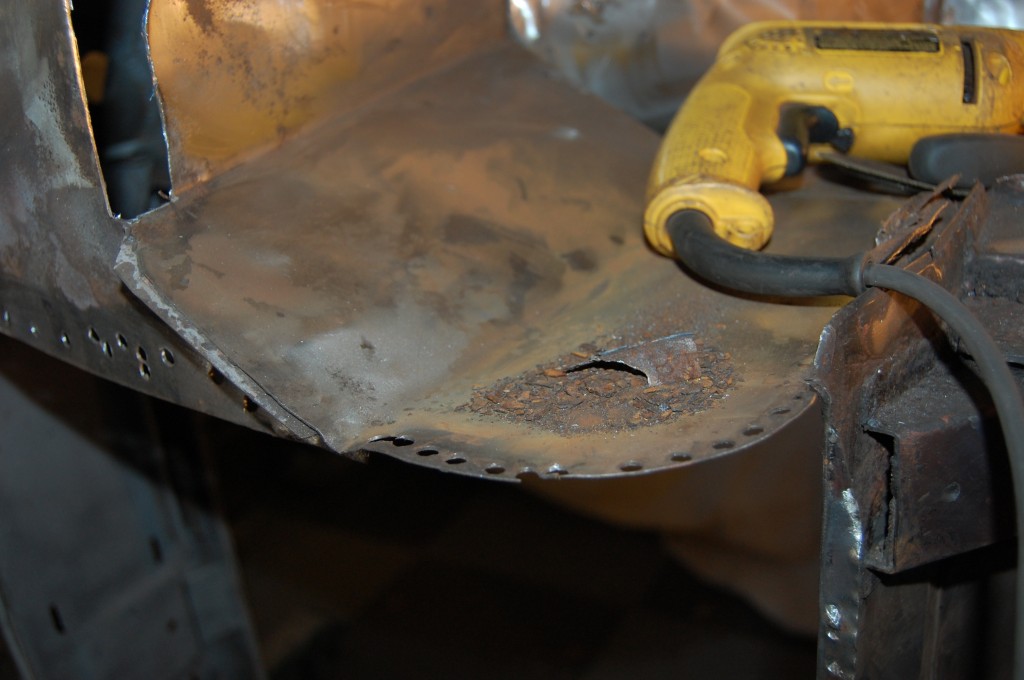
- We have removed the support between the seat dish and the chassis leg. Lots of cancerous rust…
- All cut out and wire brushed internally – we’re back to good, solid metal with light surface rust only.
- Dissection just goes on and on – you just have to keep pushing through. Piles of rust like this come out from all over the place!
- Here is the same area between the seat and chassis leg on the other side. We’re in DEEP now on this car!
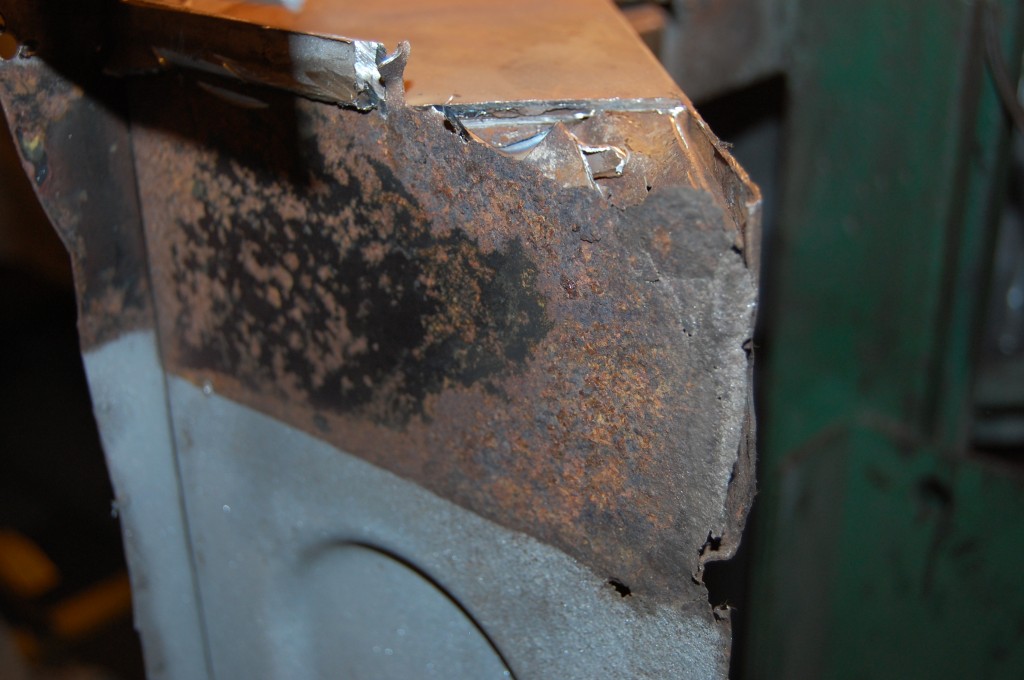
- Forward edge of the rear lower valance on the LH side. This was solid on the outside, but bulging along the dge was a tell-tale sign that this was lurking underneath…
- This will need new metal on both the inner and outer pieces.
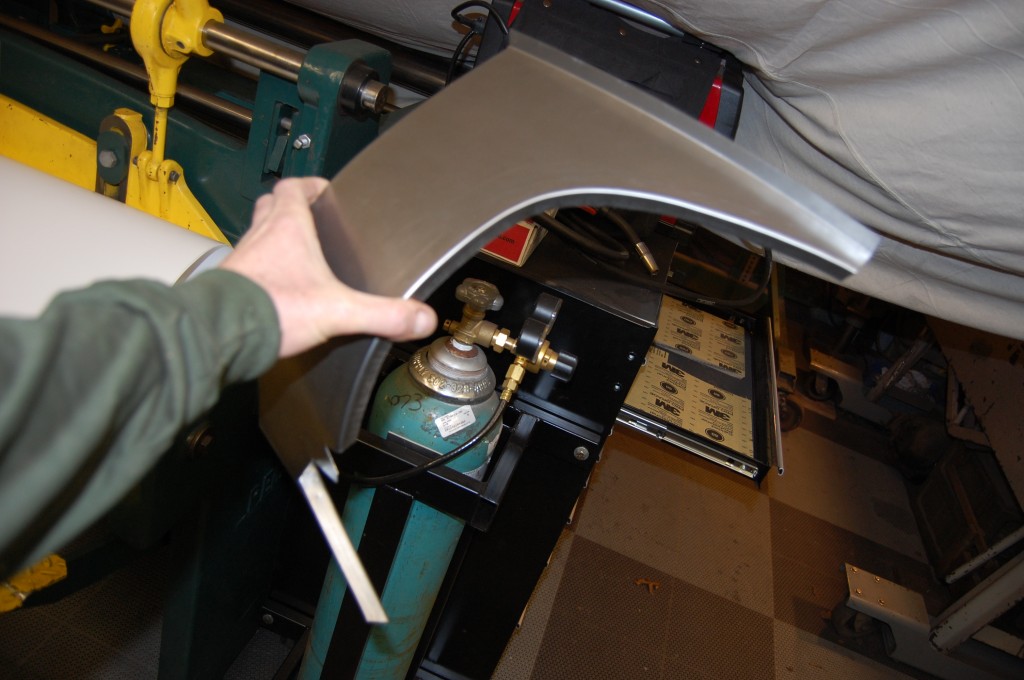
- Here is the partial rear lower valance that we fabricate here. I just patterned this for the THIRD time, and now I can say without a doubt that it is PERFECT! I could never get my hands on a shell that was virgin in this area, but THIS CAR was! Despite a couple of small patches glued on with lead, the original edges and shape were still in this car – AND they were a dead match for the one NOS rear lower valance that I have. So NOW we know – I made a slight change in the pattern on the edge, and these are PERFECT now! I was pretty happy about that…
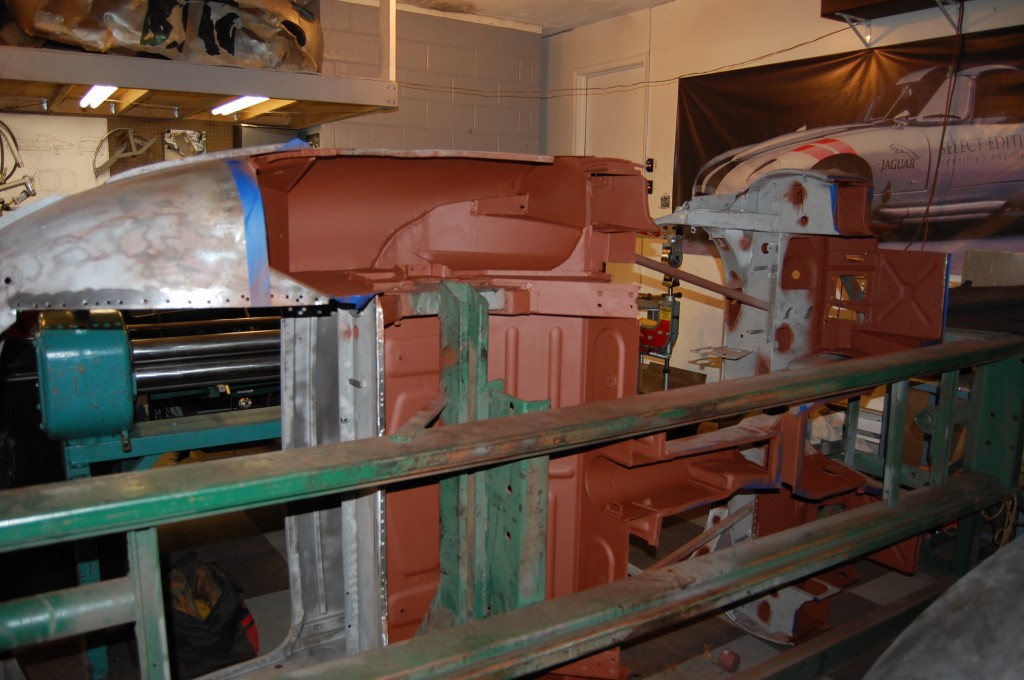
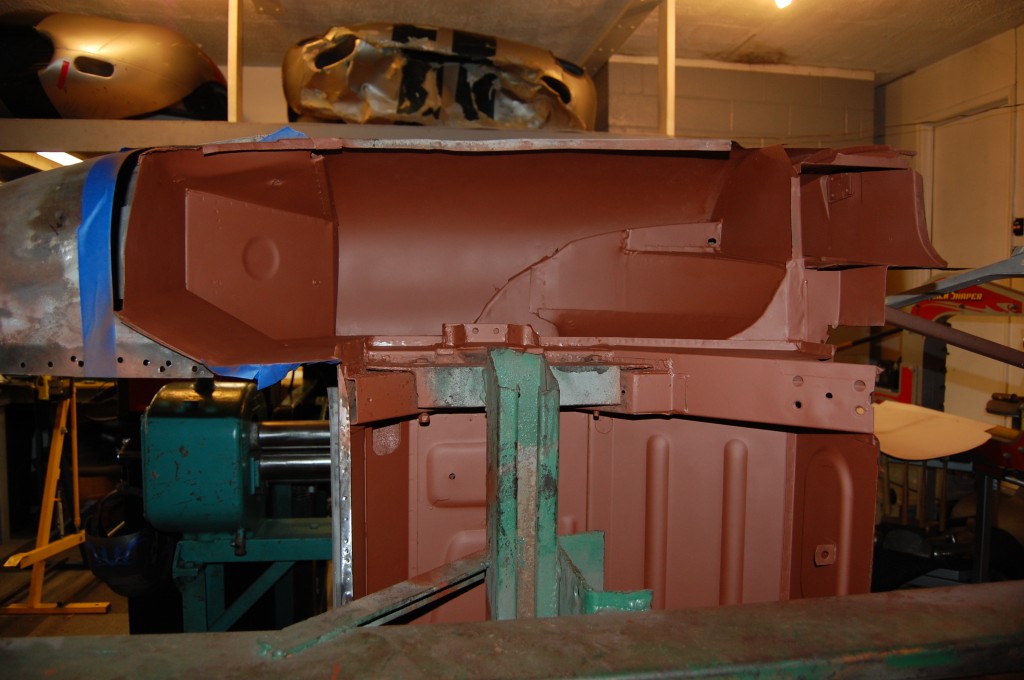
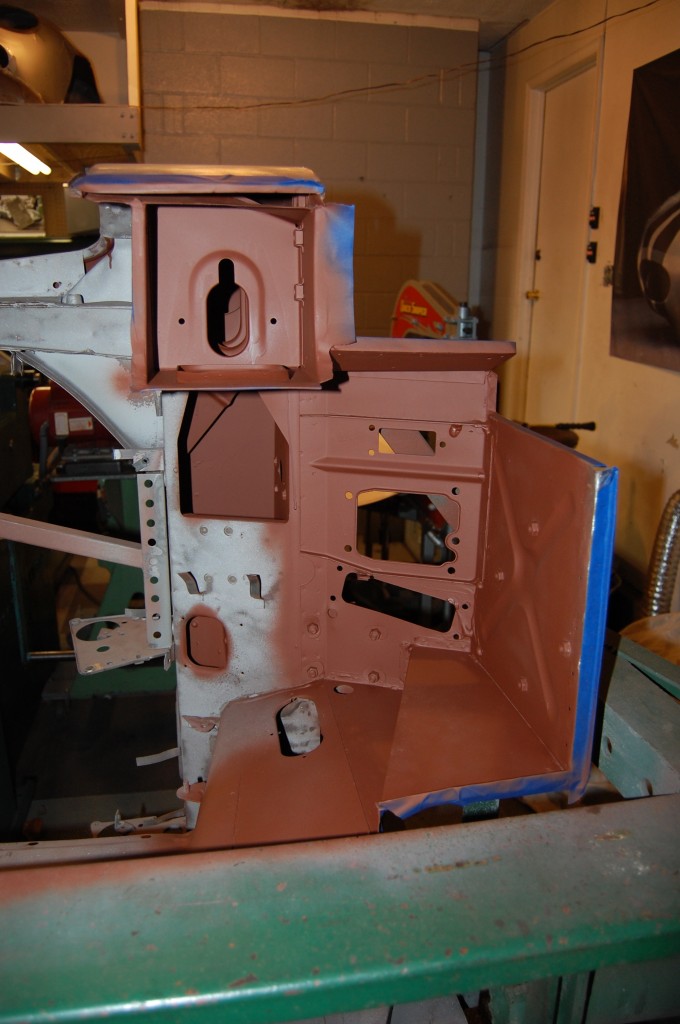
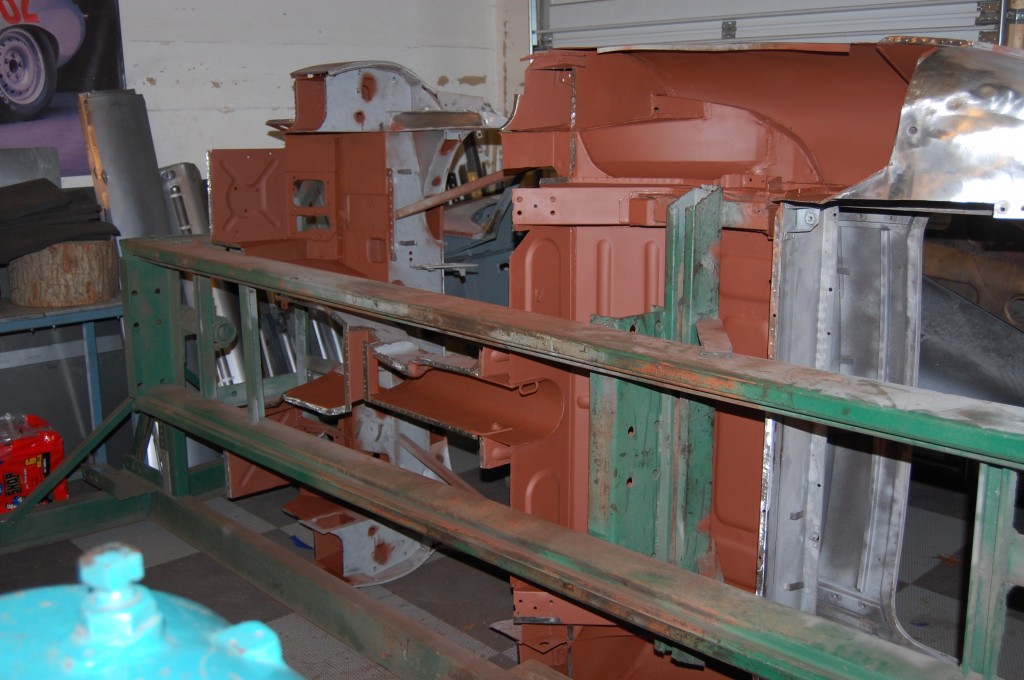
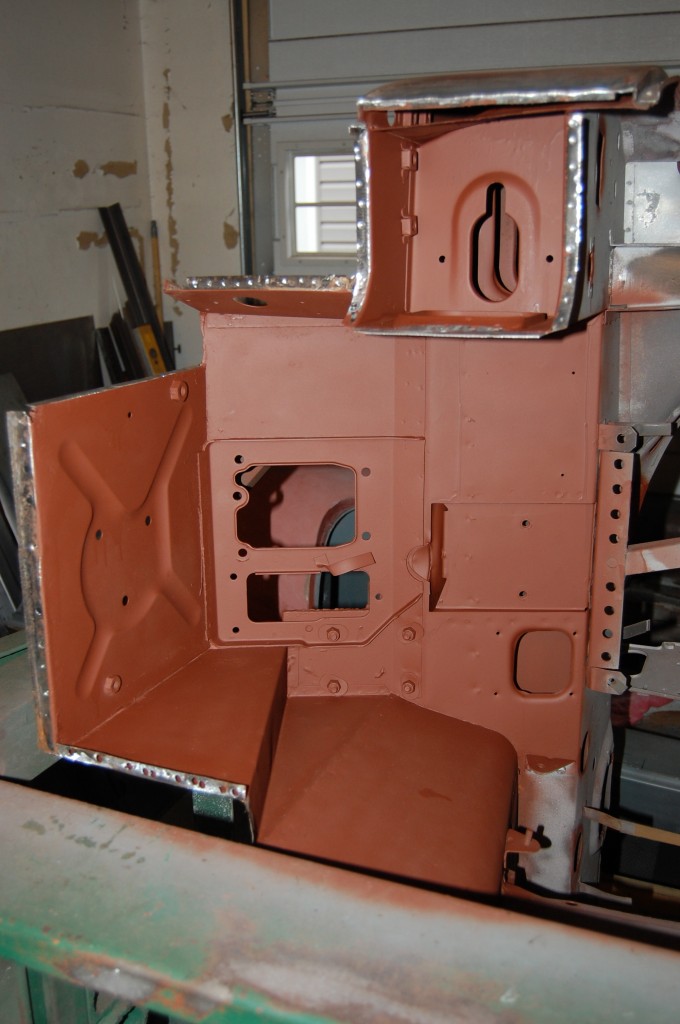
- OK – everything is either blasted, stripped, scuffed, ground, or sanded, and we’re ready to put some red oxide into the enclosed areas. There was not much left of the LH B-Post – there will be lots of reconstruction in here just to get back to the point where we can start the floor and sill replacement.
- LH A-post – good clean metal – this area is in great shape.
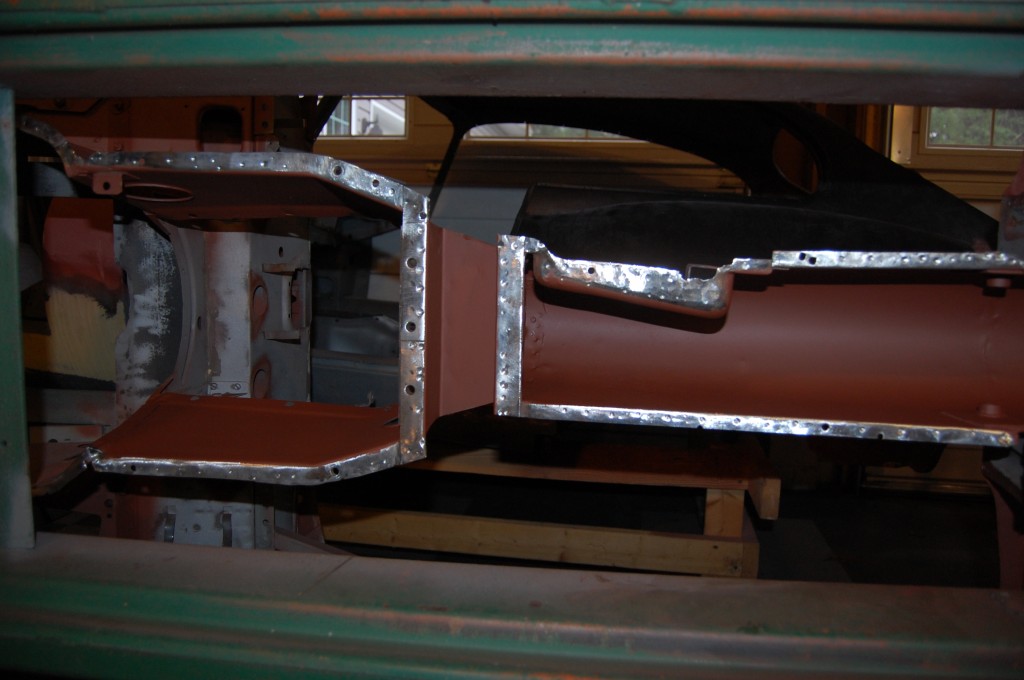
- We were able to save the complete tunnel and all of it’s flanges – a nice treat. Replacement of the tunnel can really add up (but those new tunnels sure look fancy in the photos! – see the ’63 coupe we did earlier this year!)
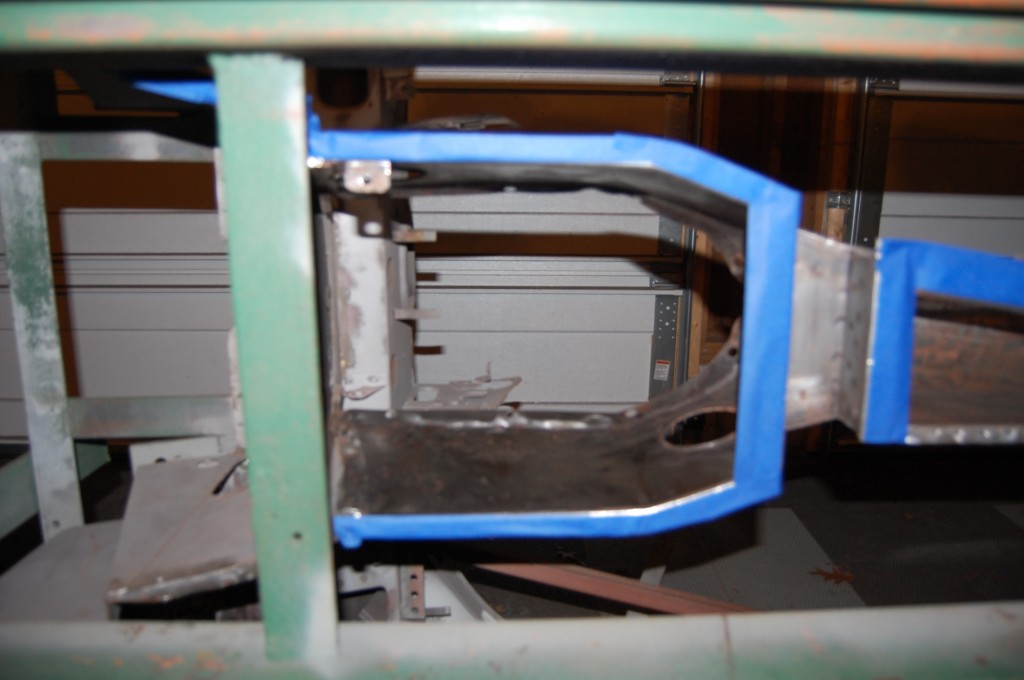
- We’ve scuffed the inside down by hand and machines, and are now taping off the straightened flanges so they will be clean for welding.
- This was ALOT of work to get all of the undercoating out, but well worth the time!
- Looks better already!
- In my opinion, this is some of the best rust protection there is – I’m not a big fan of all of that fancy stuff out there – it all has various drawbacks – not the least of which is getting the next layer of paint to stick to it! Two coats of red oxide, two coats of etch, one coat of epoxy primer, rubberized gravel guard, then finish paint. That will last through your grandchildren’s lifetime.
- Sometimes I get a little paint happy when the red oxide is out. This area had alot of rusty seams where we had peeled and scraped out the seam sealer.
- There’s not much of the old girl left now, but what’s here is SOLID!
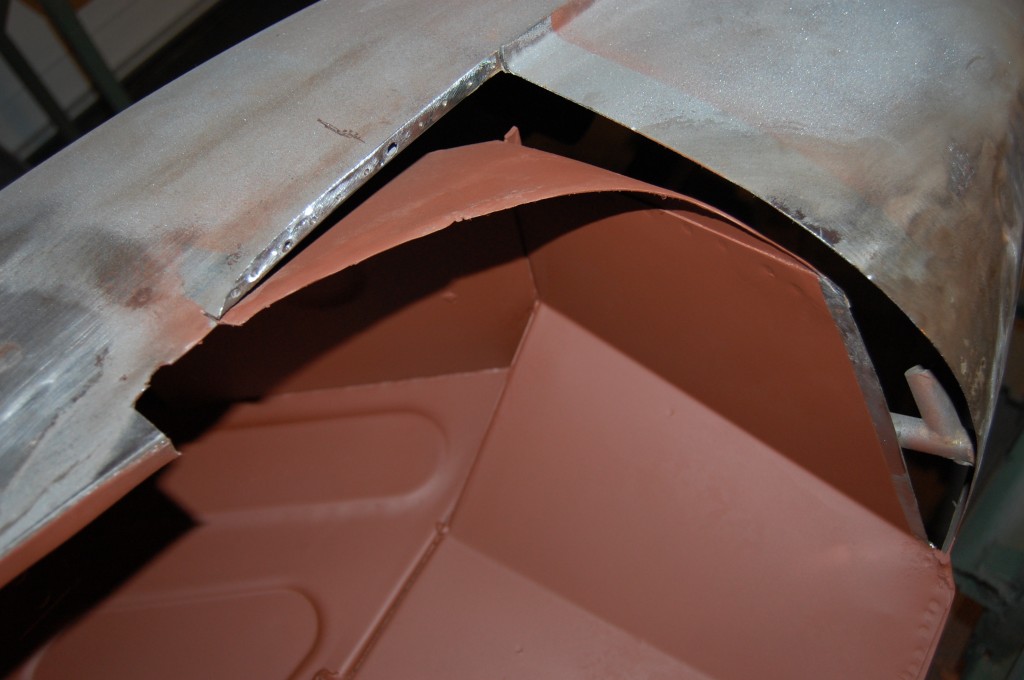
- We cut out the rusted area of the inner wheel house and the whole outer. We will use a partial rear lowrer valance here – seamlessly TIG welded into place.
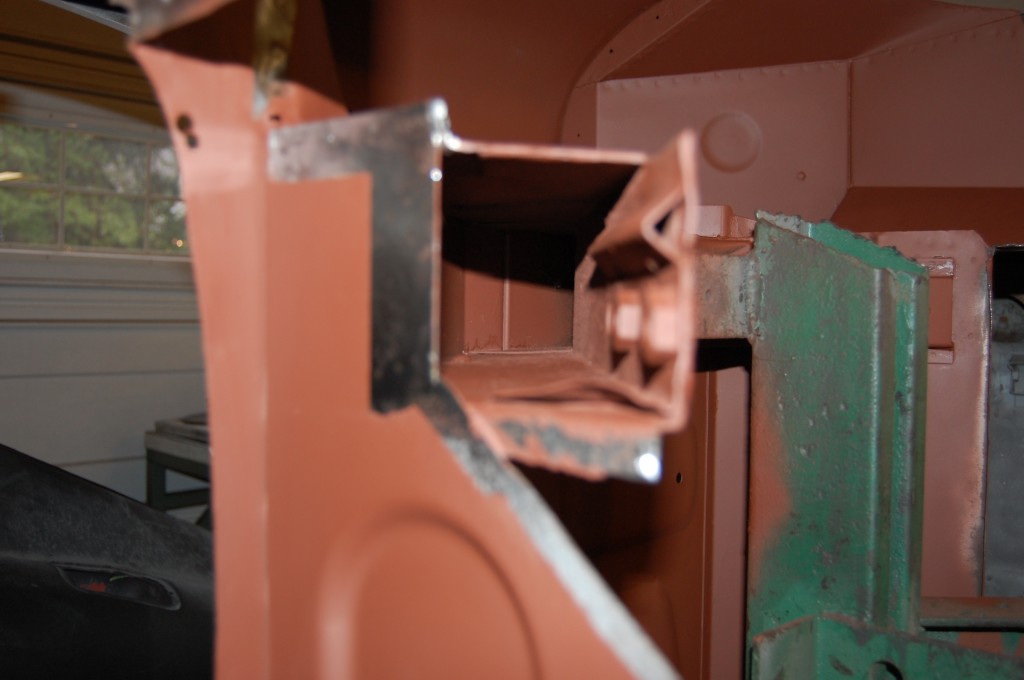
- This is the LH chassis leg – all of the rust is cut out and scraped and ground out of the inside. We popped up that little reinforcement and scraped a little rust out of there, and we’ll smack that back down after this paint dries.
- LH B-post – LOTS of work to be done here.
- LH A-post – better than factory now.
- Look closely and you can see that we’ve made sure that EVERYTHING is coated inside the bulkhead. There are LOTS of drips and runs in there, but it is very well sealed now.
- This photo is a little dark, but shows a very nice tunnel that could be saved – a BIG time (and money!) savings!

