This is a shell that has been at the shop for a while – patiently waiting restoration. We have found our customers to be extremely flexible on schedules with their shell restorations as the business matures, and we appreciate that! It’s not just a sales pitch – we are booked well into the future constantly, so if shell restoration is in your future, don’t wait – call and reserve your spot in the lineup ASAP!
The shell is one of the more solid shells we have done. It will need the usual floors, sills, boot floor, etc., but the upper panels are all in excellent condition. Usually, we find ourselves replacing shut face panels, patching or replacing the entire tunnel, etc. On this one, it SHOULD be a straightforward process of mating new panels up against perfect original panels – we’ll know after she gets out of the blasting booth (which is where she is at the time of this writing – about half done.)
This blog will show shots of the shell as received, and also of the shell being dissected for blasting.
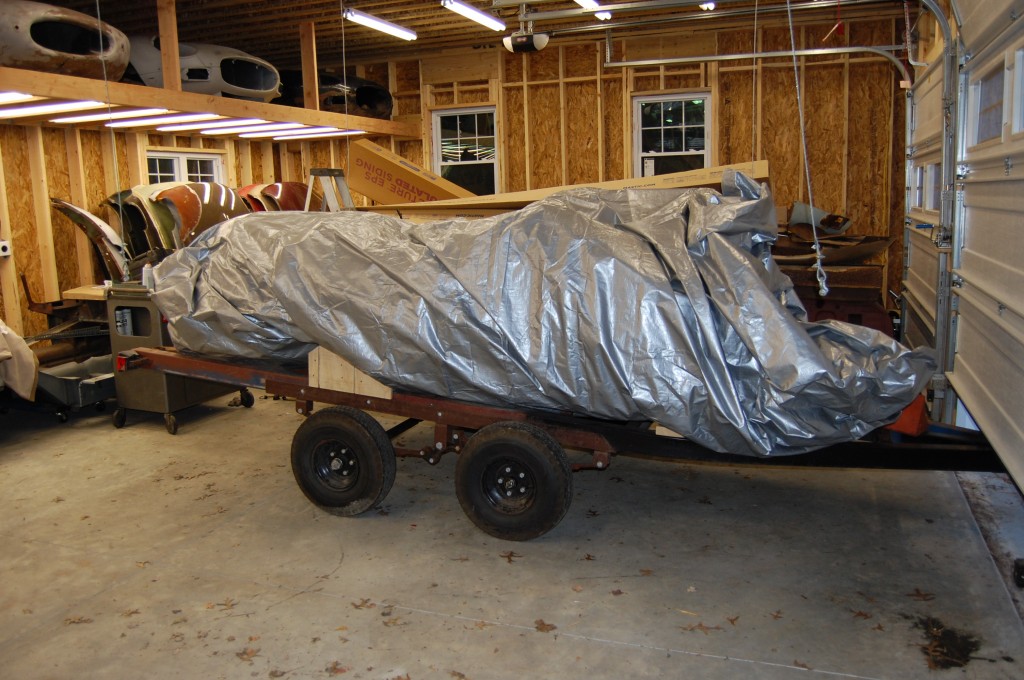
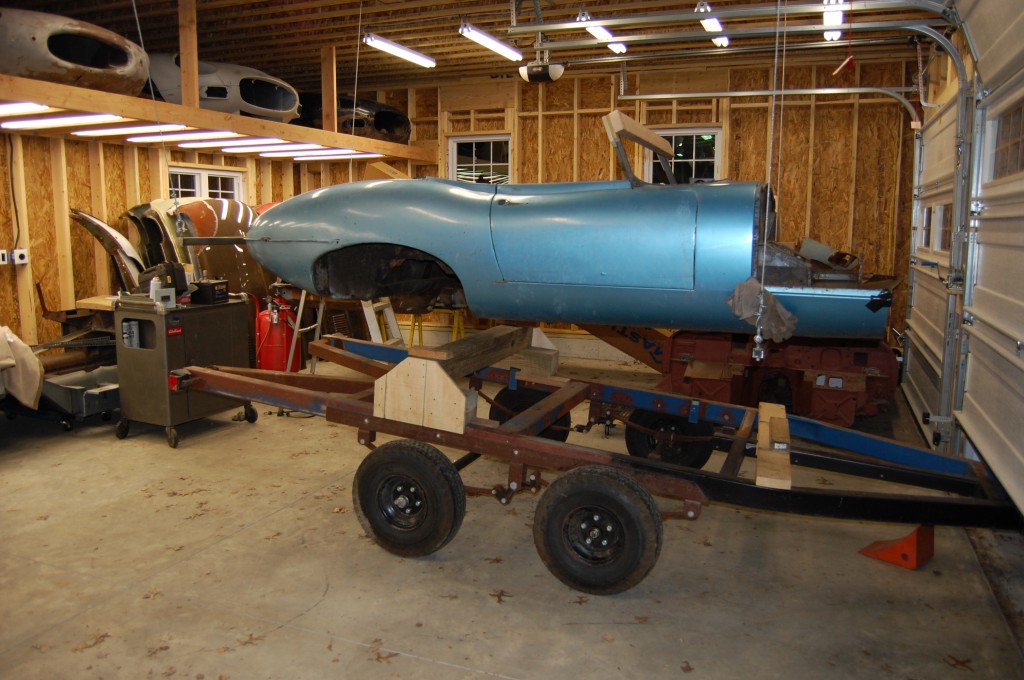
- Here she is coming in on a boat trailer modified just for this shell – it was actually a very strong and well-designed item!
- Next, we use the pulleys to get her off and onto a cart until it is her turn in the rotisserie.
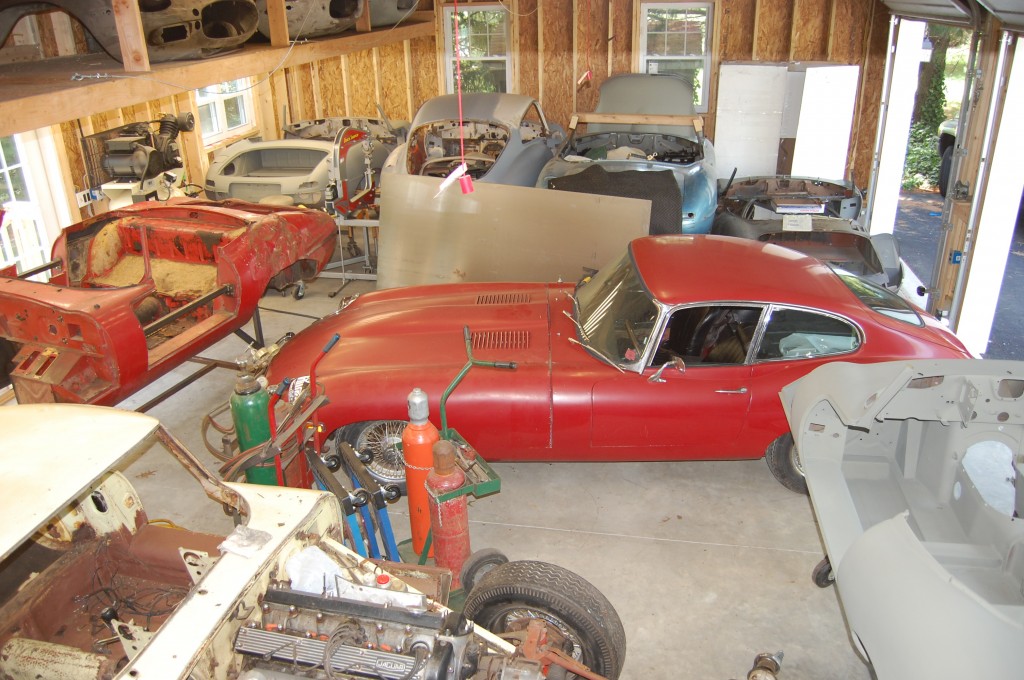
- Patiently waiting in the background this past Summer.
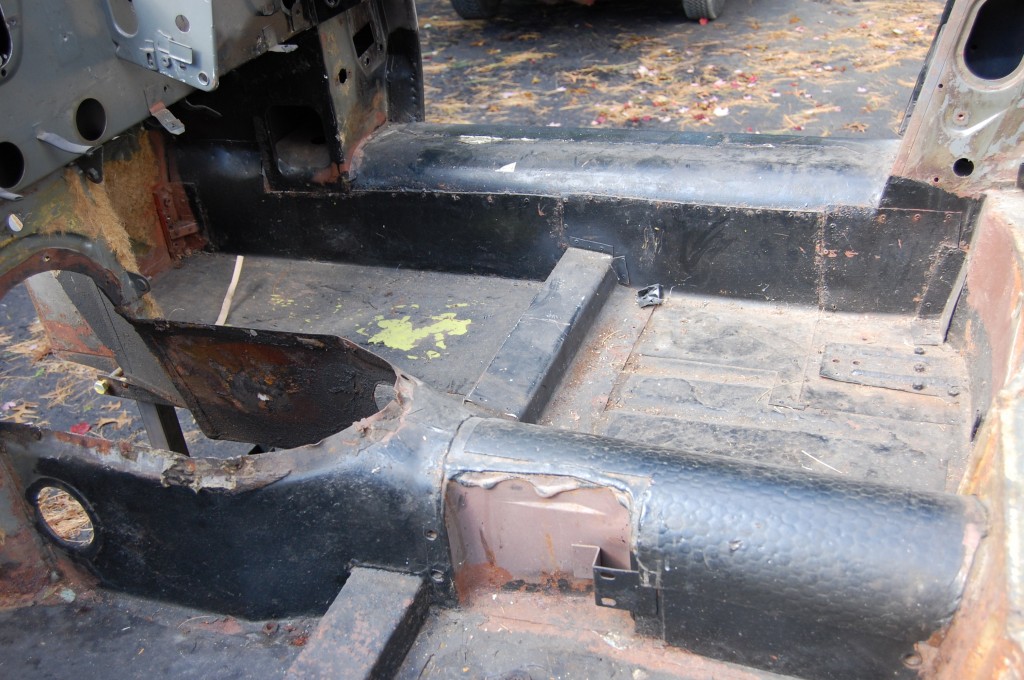
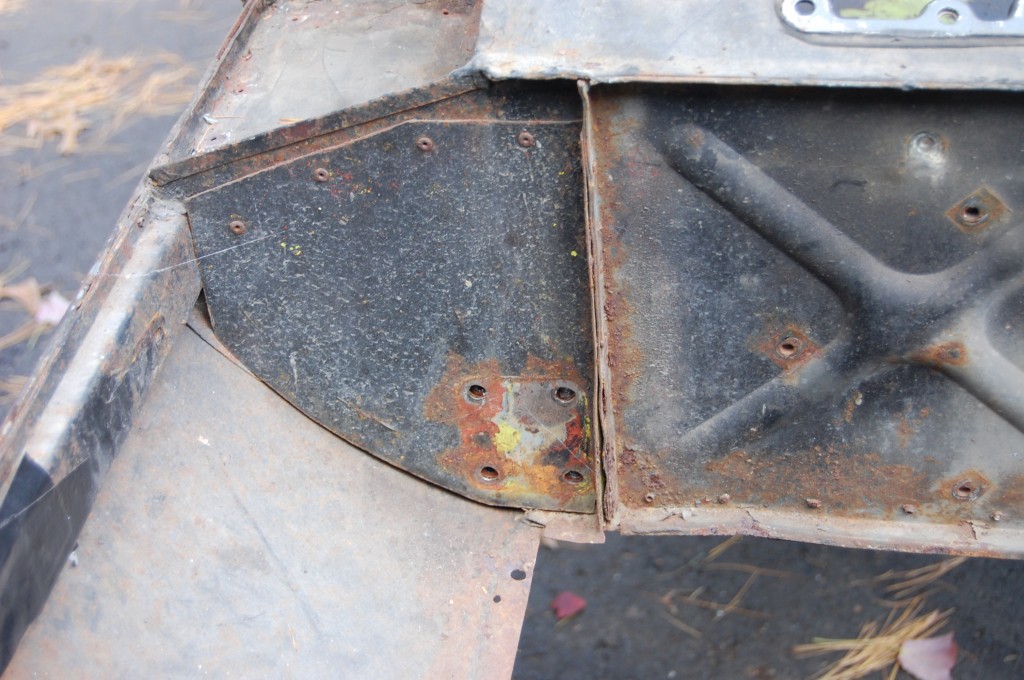
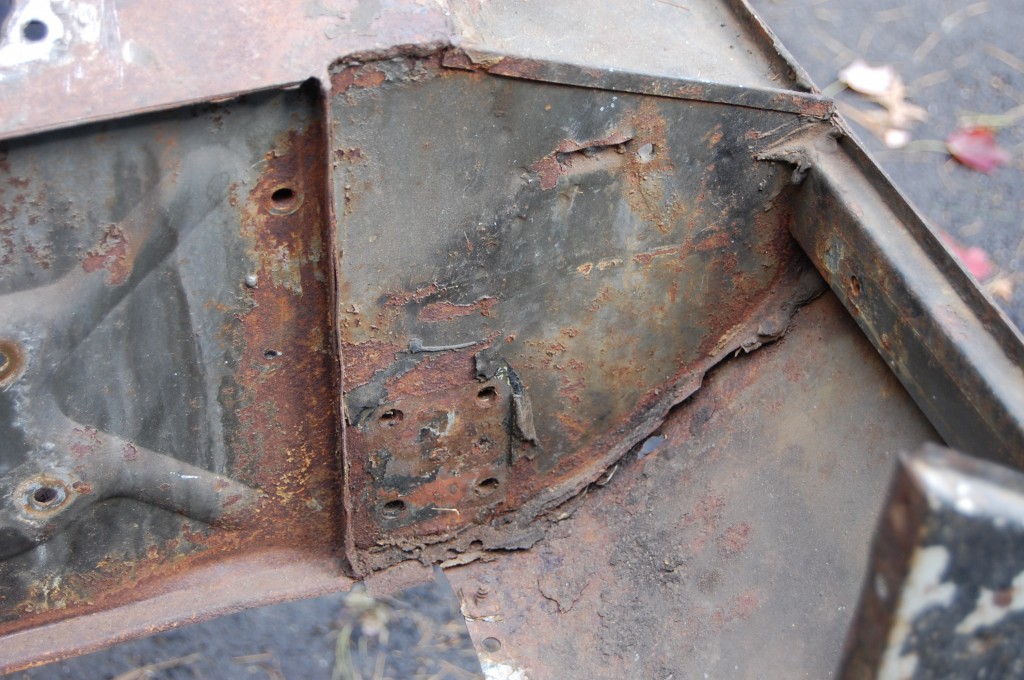
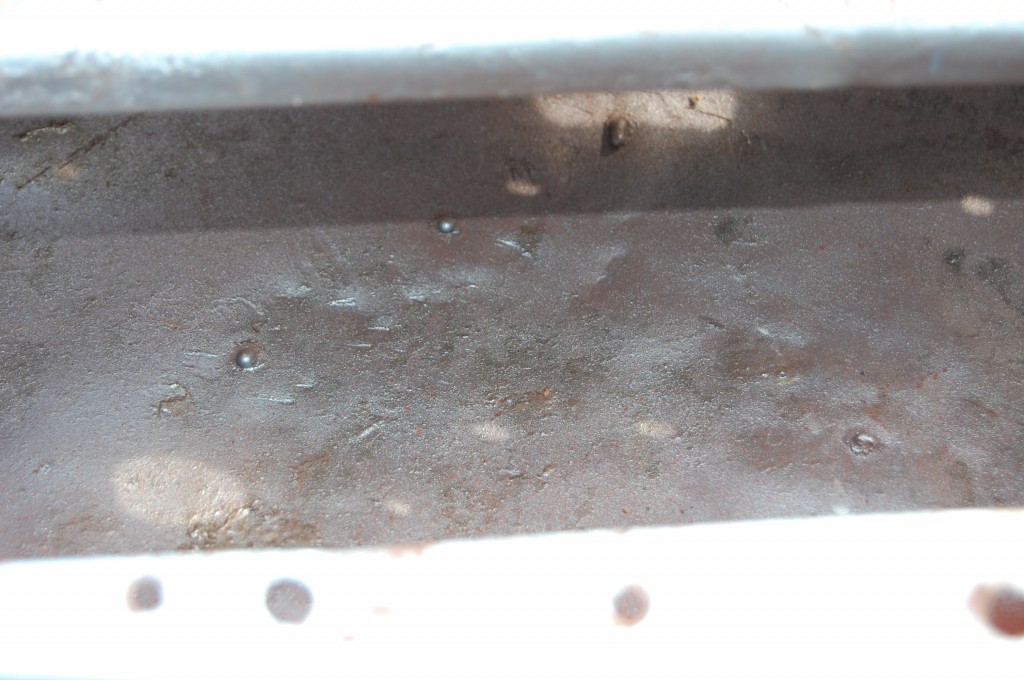
- Here is our starting point – LOTS of homemade panels pop-riveted right over the original rusted areas. The owner purchased this car in 1974, and said that all of this was already there when he did – that means that this ’68 roadster rusted out in just 6 years! I’m seeing and hearing alot more stories like that – these cars rusted out FAST!
- Not exactly up to our standards…
- I’m always fascinated by the time and effort people put into doing this wrong…
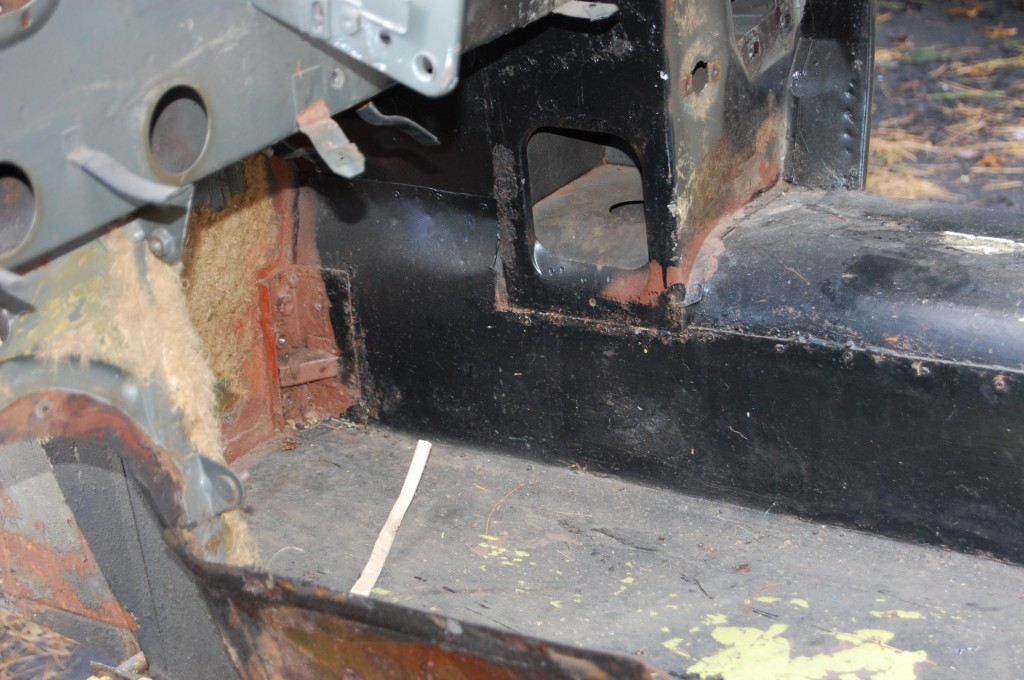
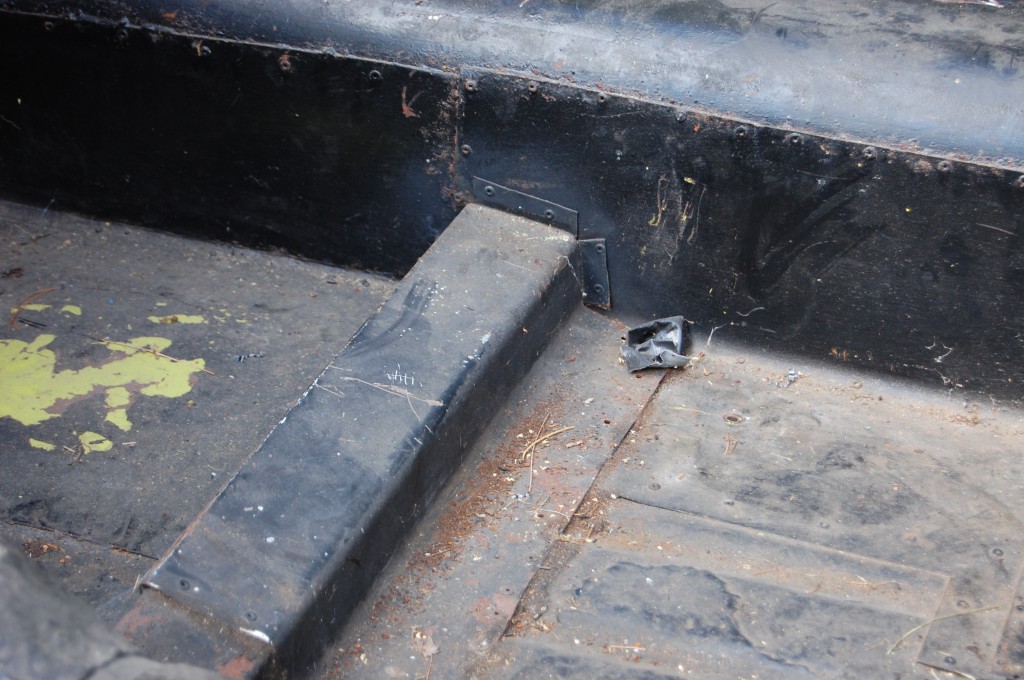
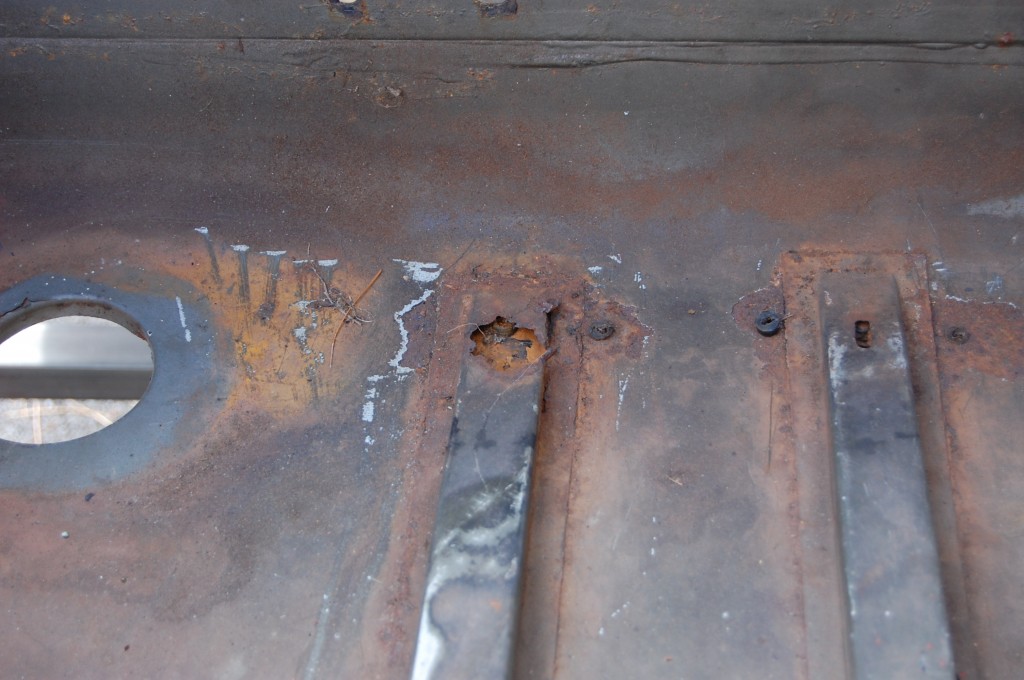
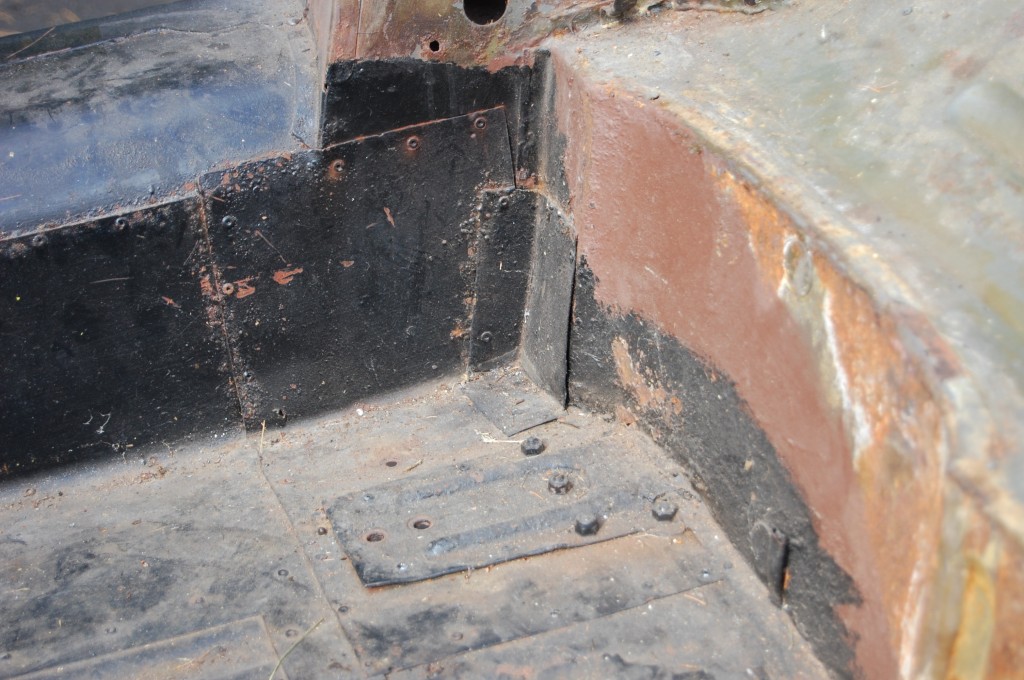
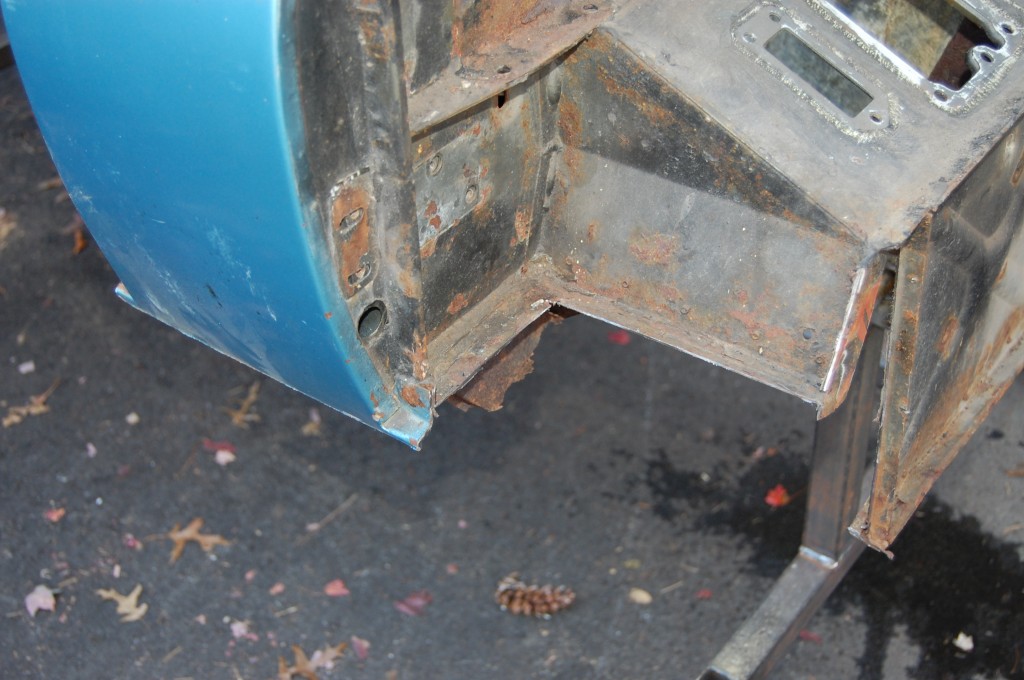
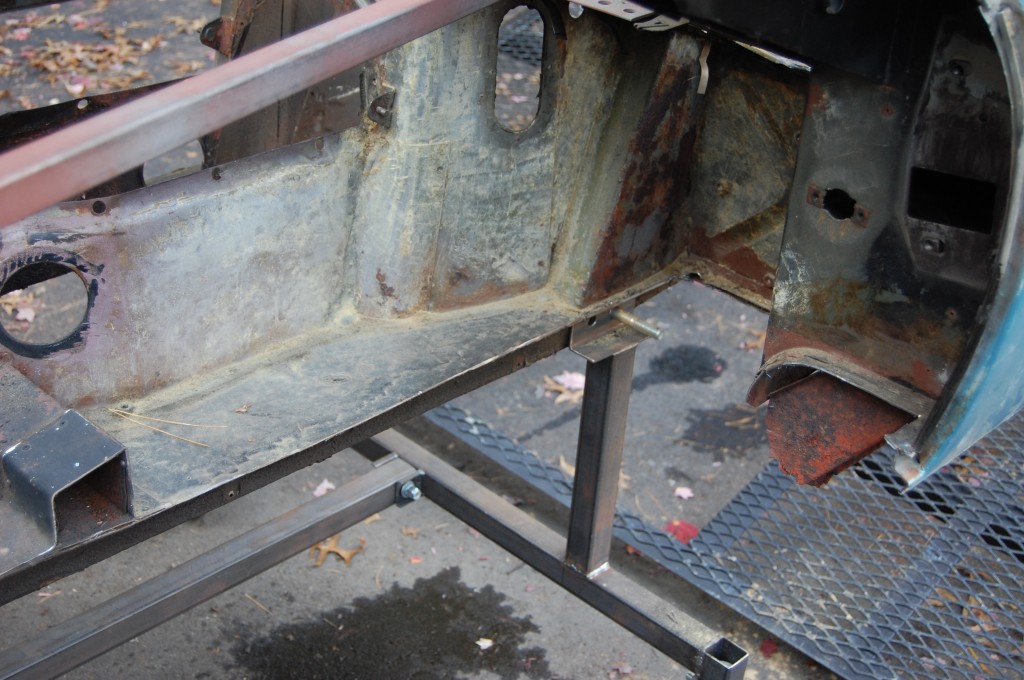
- The floors will be replaced completely, but it looks like we can save the X-panels in the lower bulkhead.
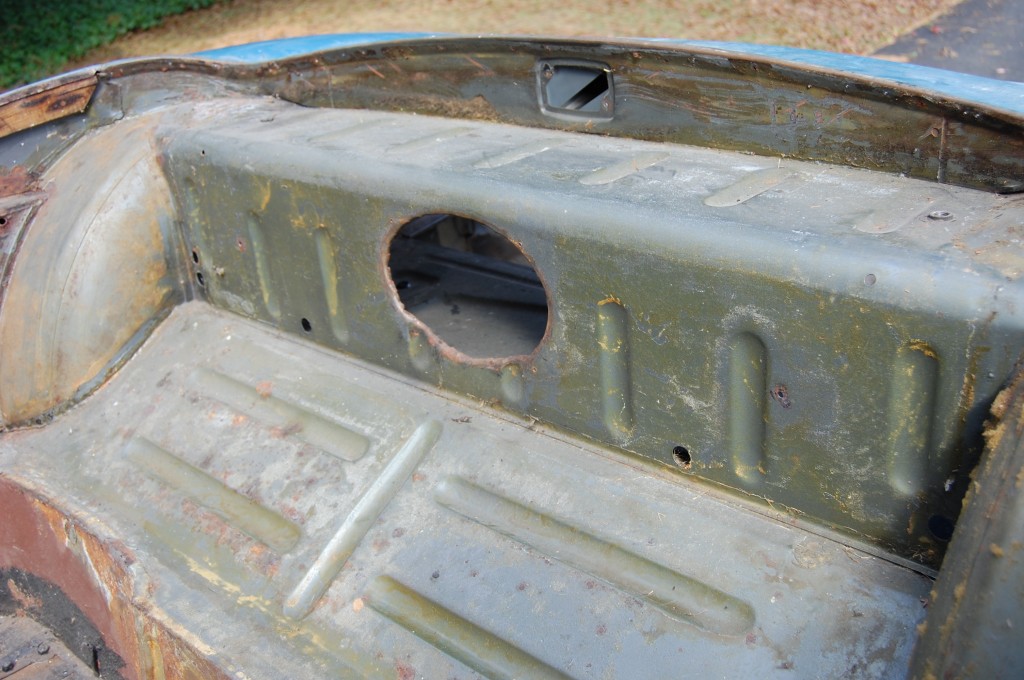
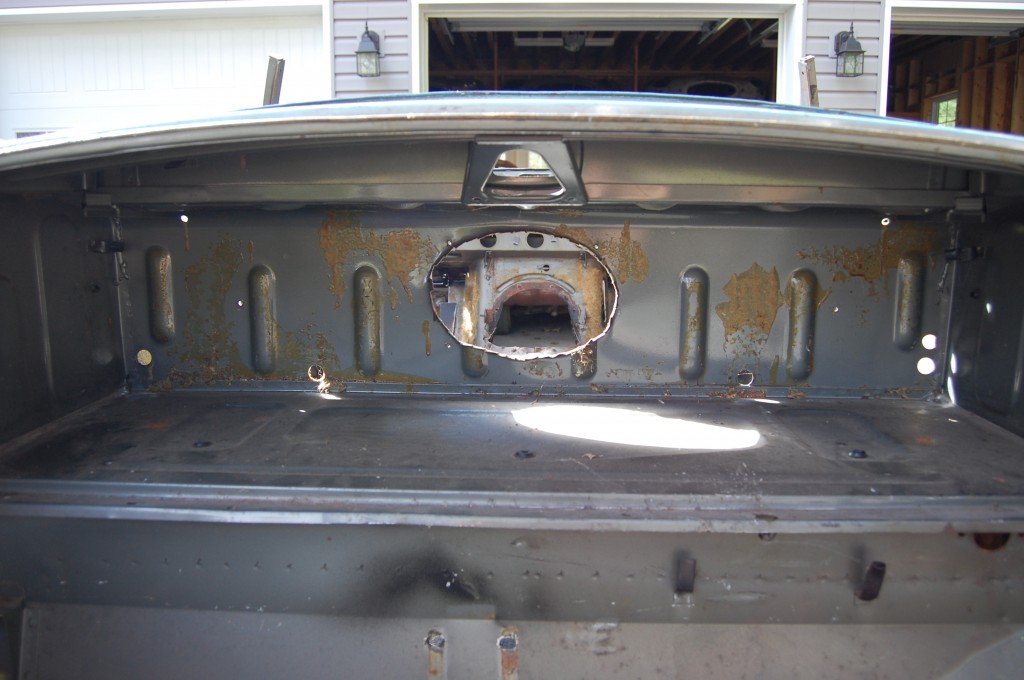
- Ahhhh yes – another roadster has it’s rear bulkhead slaughtered in the name of a stereo system – but in this case, I guess it was mono!
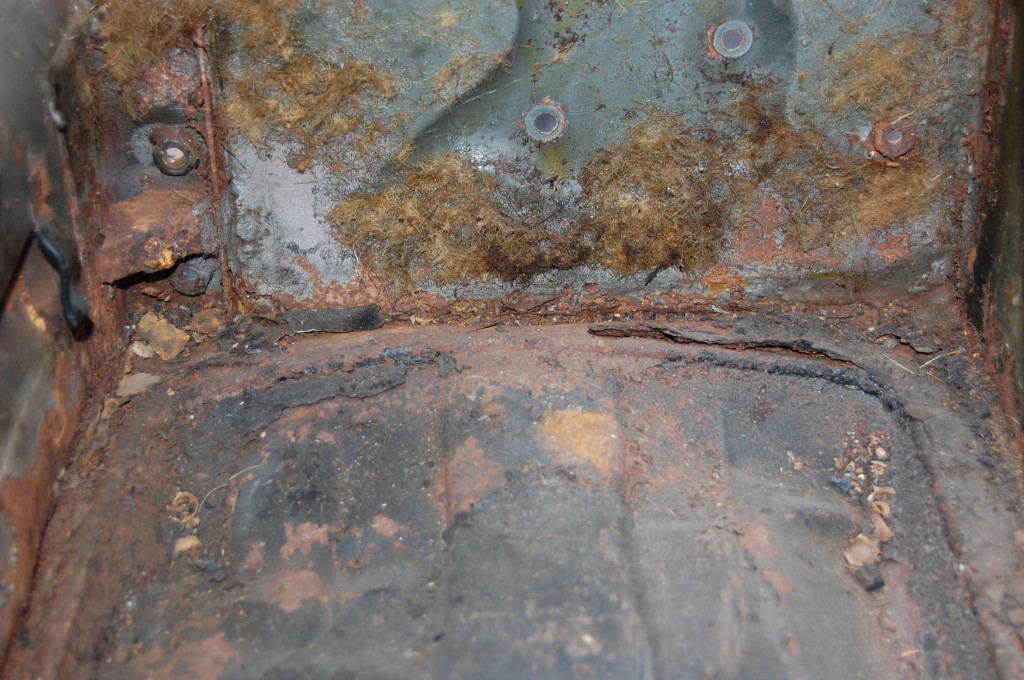
- The boot floor is better than most, but it is still coming out.
- Aside from the speaker hole, this area is very nice – good to see, since repairs here are time consuming and costly.
- This patch is purely cosmetic – and barely even that!
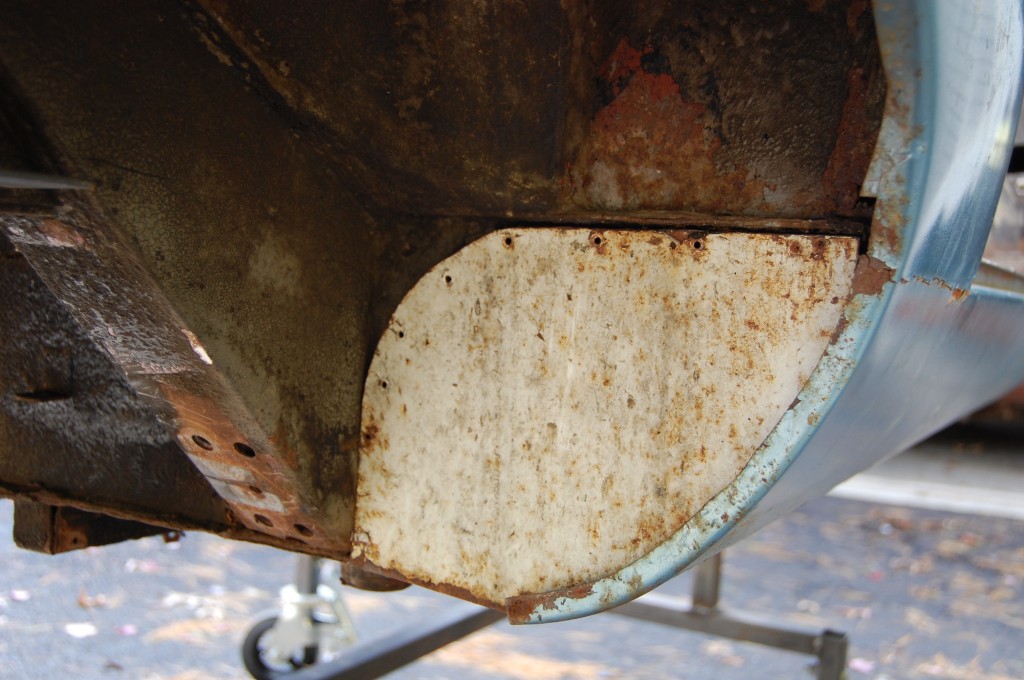
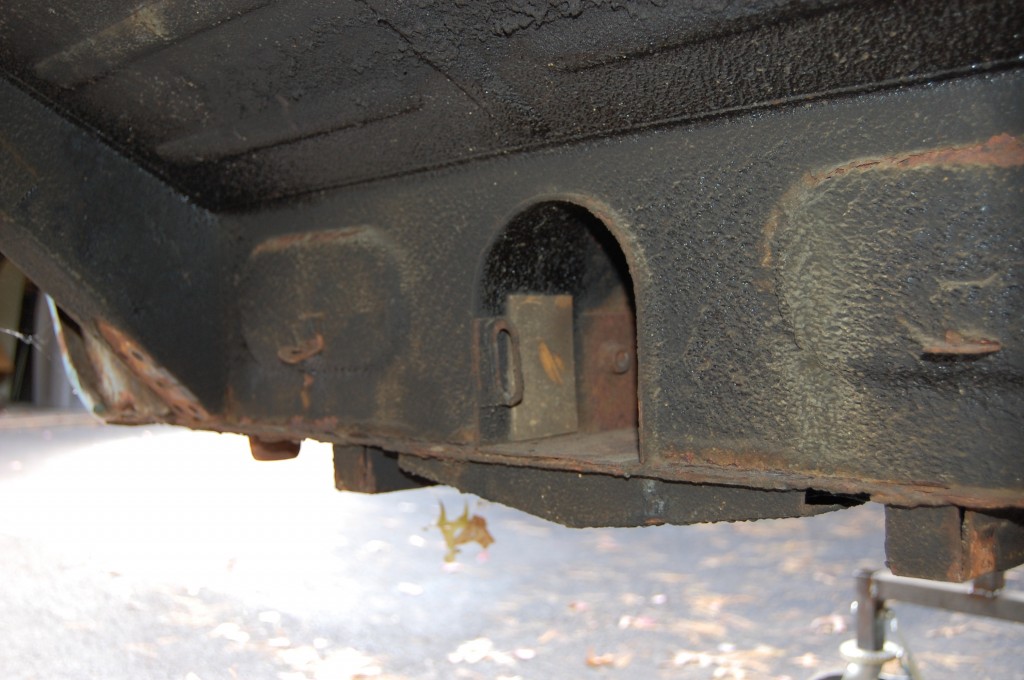
- This area looks good, but there’s alot of undercoating to strip. The blaster won’t touch this – it just bounces off – at least at the pressures we use.
- Another non-functional patch.
- This side is still virgin, but will also come out.
- And the patches just keep going, and going, and going…
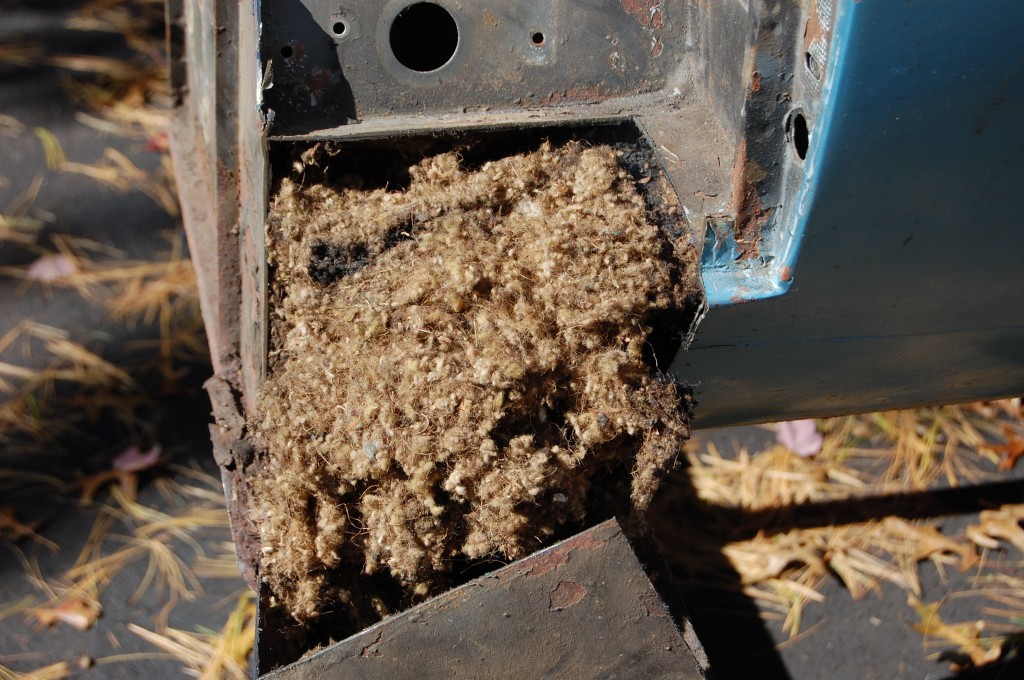
- HOLY FLAMING CHIPMUNKS!!! “Uhh, Chuck – I think there’s something on fire in here.” – was what one of my guys said when he started slicing into the sill – and smoke started pouring out of all of the holes inside the cockpit! I had a hunch that something like this was the culprit, but I sure didn’t expect the nest to be so BIG – WOW! This was no mouse nest – this was chipmunks, and the sill was at least 1/3 full of shredded upholstery and nut shells!
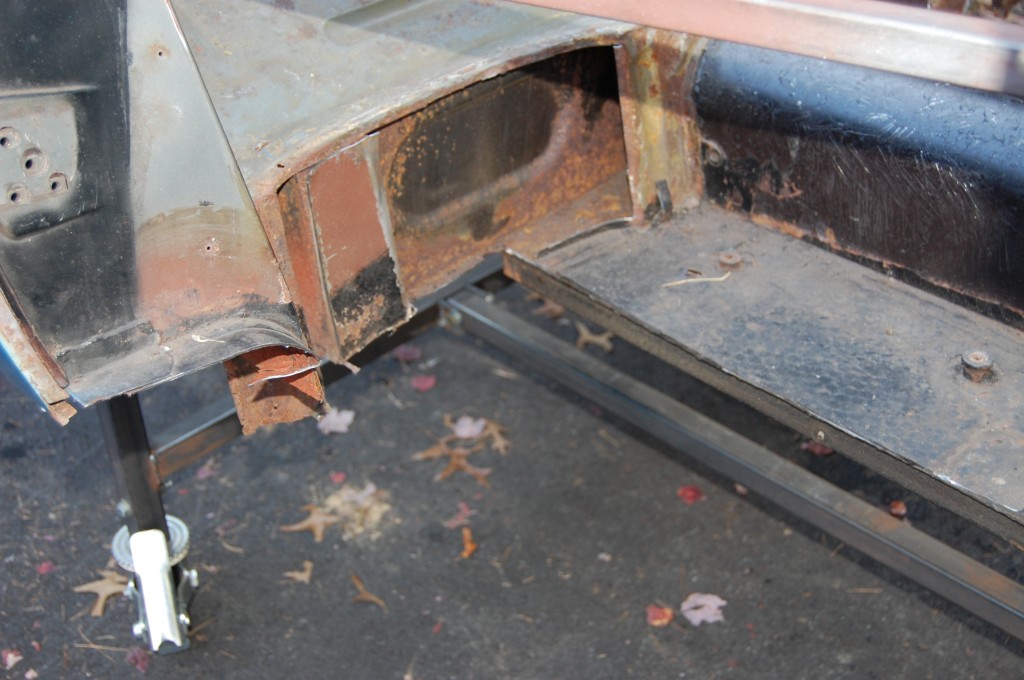
- The initial dissection is complete, wlthjough there is still some fine tuning to be done – all of the flanges need to be dissected and cleaned.
- We leave the main runners under the floors in until the shell is mounted into the jig that is the revolving part of the rotisserie.
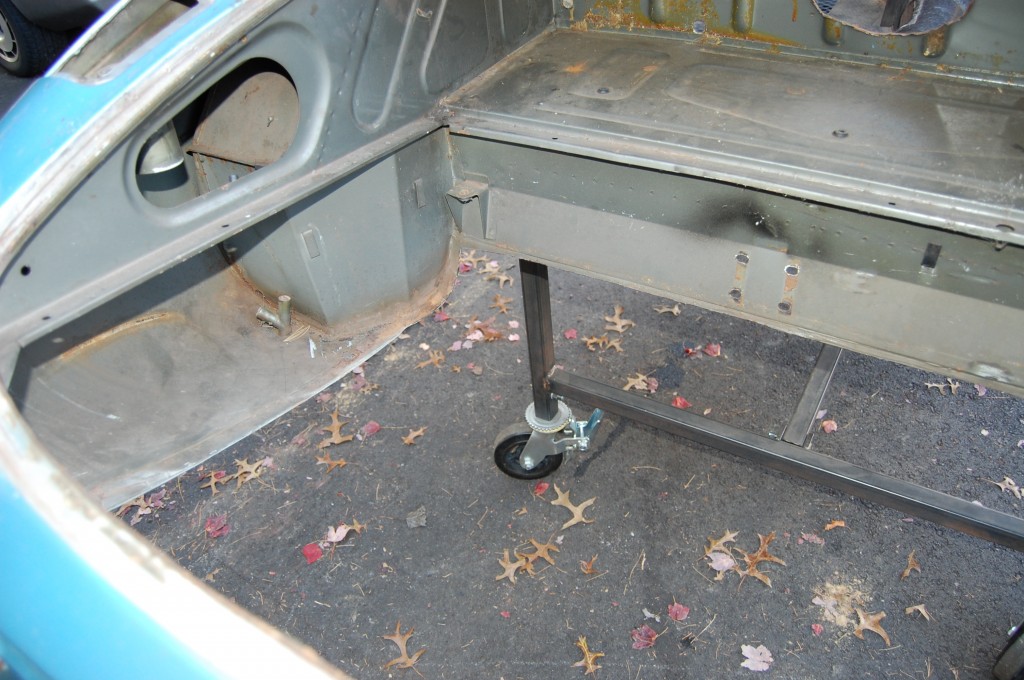
- The rear seat dishes were removed so that we can blast inside them, but also so we can install our hidden subframe.
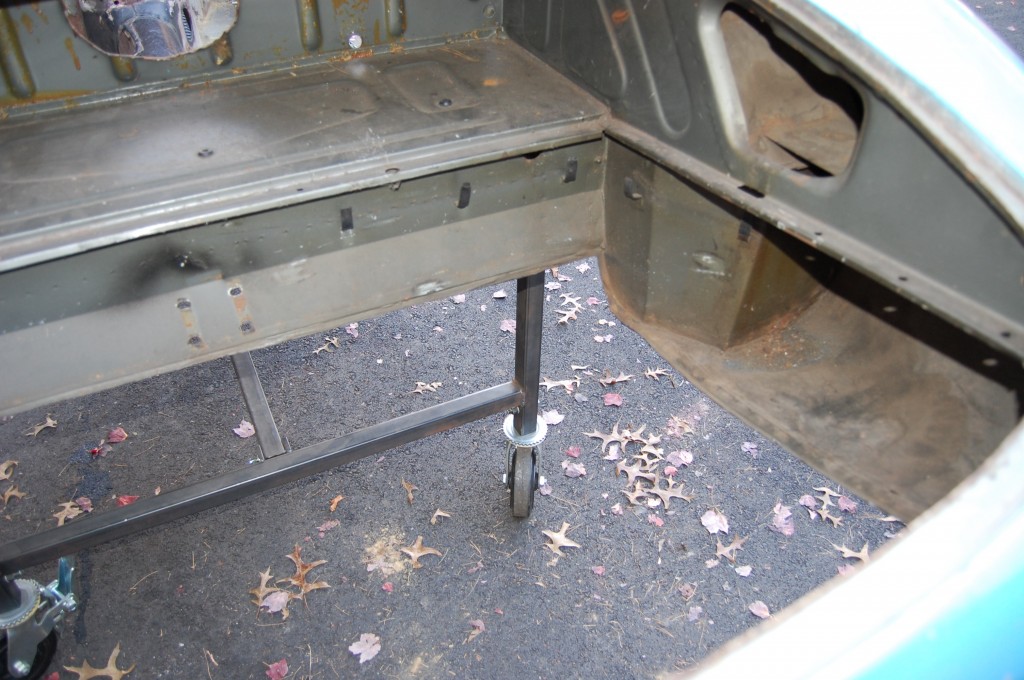
- Boot floor is out – that was pretty straightforward. This shell is better than most – the upper areas are very solid and still in their original paint.
- Here’s the other side of the boot floor.
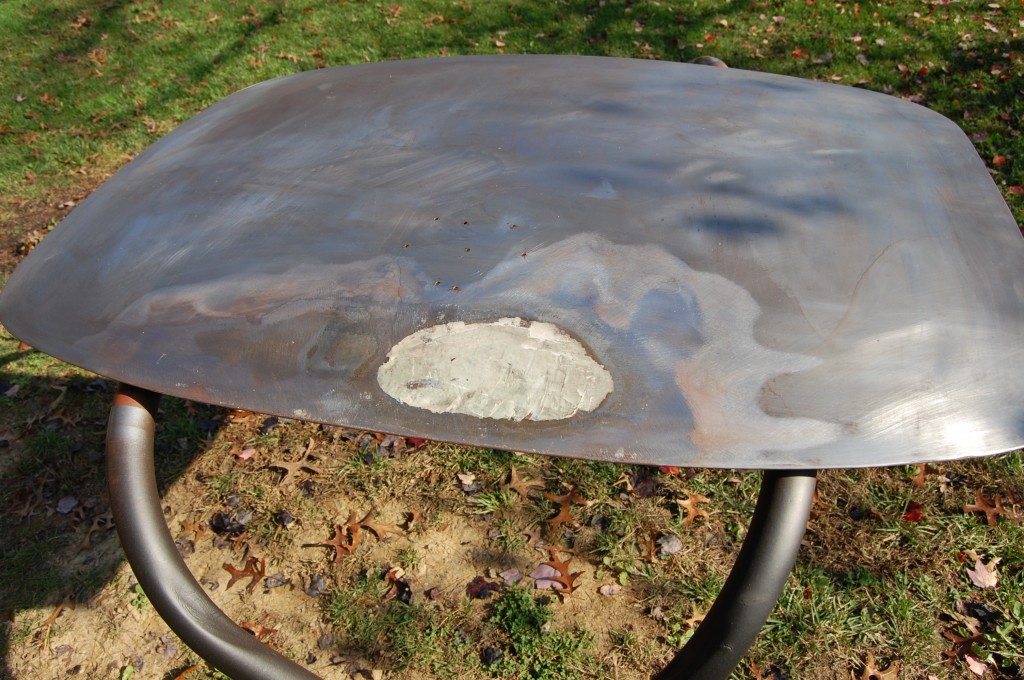
- The decklid is stripped by hand with chemicals – blasting these is a BAD idea – DON’T DO IT!
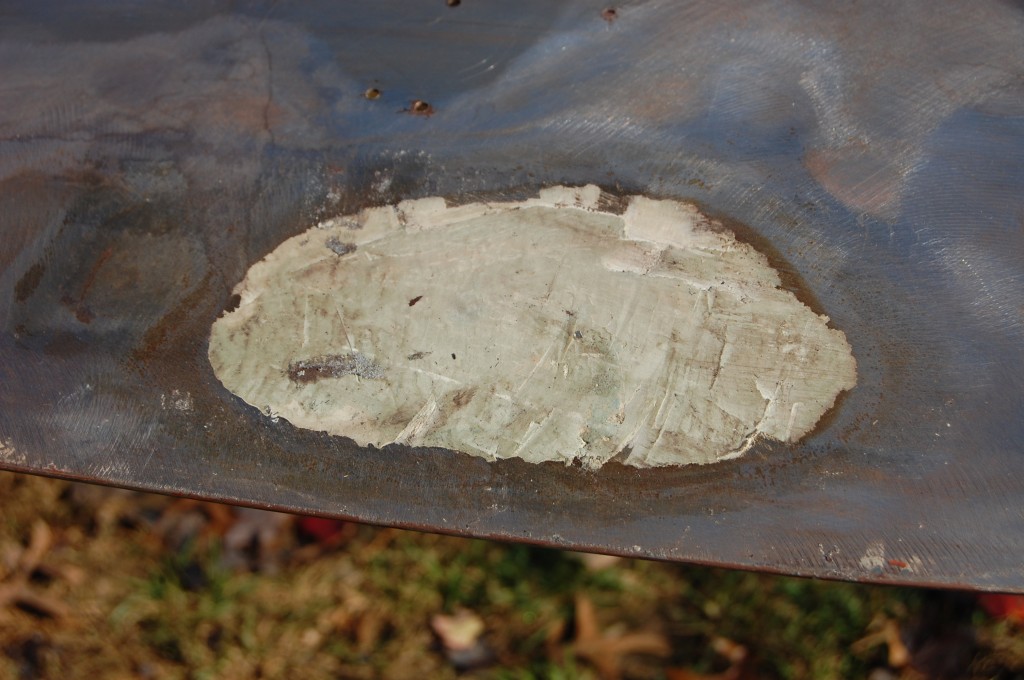
- This patch of filler is directly over the intersection of the inner support pieces (of course…) – there’s probably not alot we can do here, and the filler was shallow, so we elected to simply remove it all, and re-fill in the final bodywork phase with a good, modern filler.
- Here is an inside shot of one door – already poorly patched. This will get a new skin – maybe the first from our new roller!
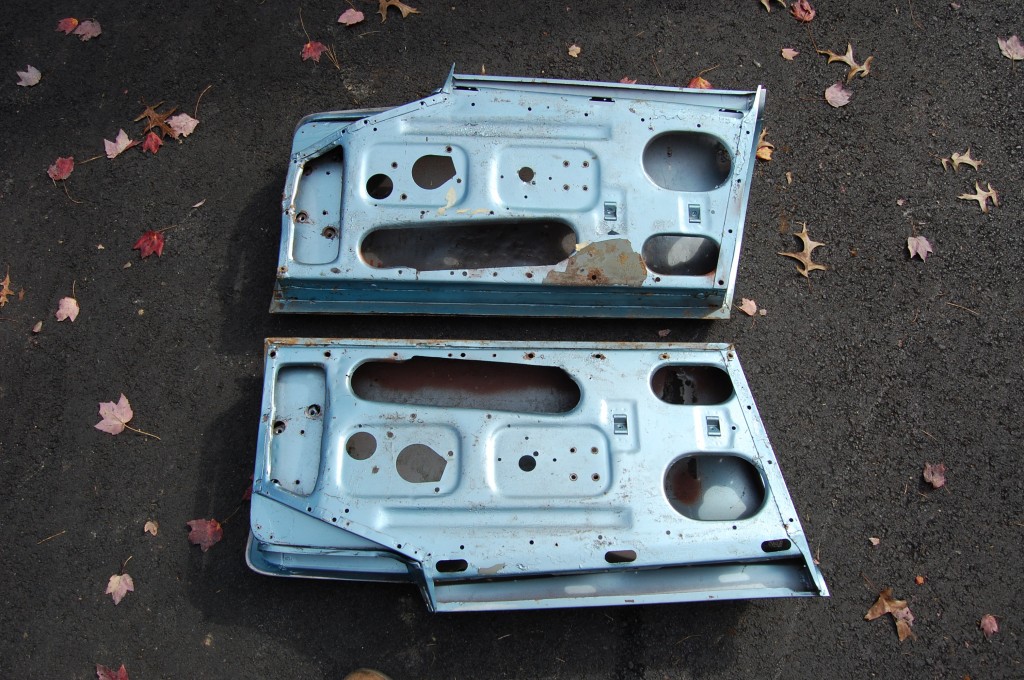
- Here’s the before shot of both doors.
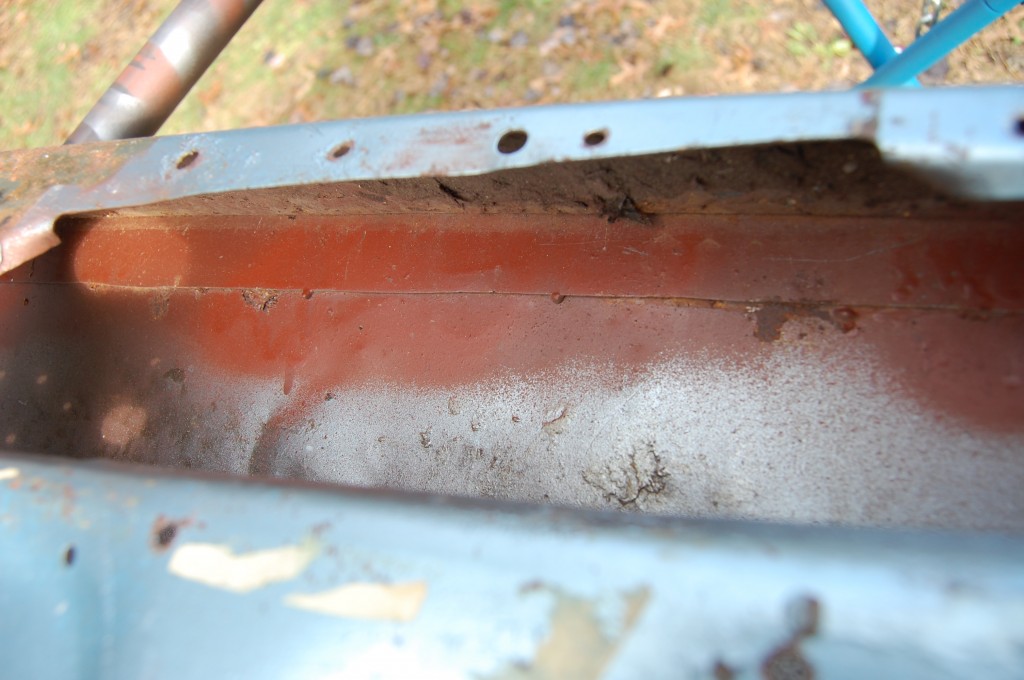
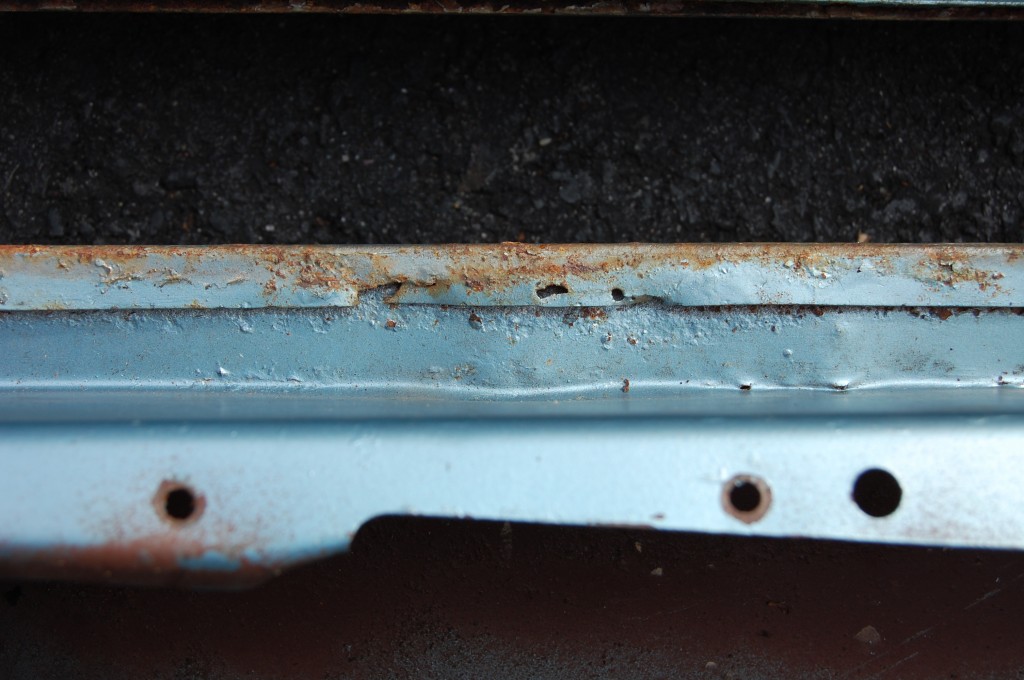
- The bottom of this inner shell is borderline – we MAY be able to save this by filling a few small pinholes with the TIG, followed by some careful hammer and dolly work. If we can, that will save 3-4 hours of shop time replacing the whole bottom panel like we usually have to.
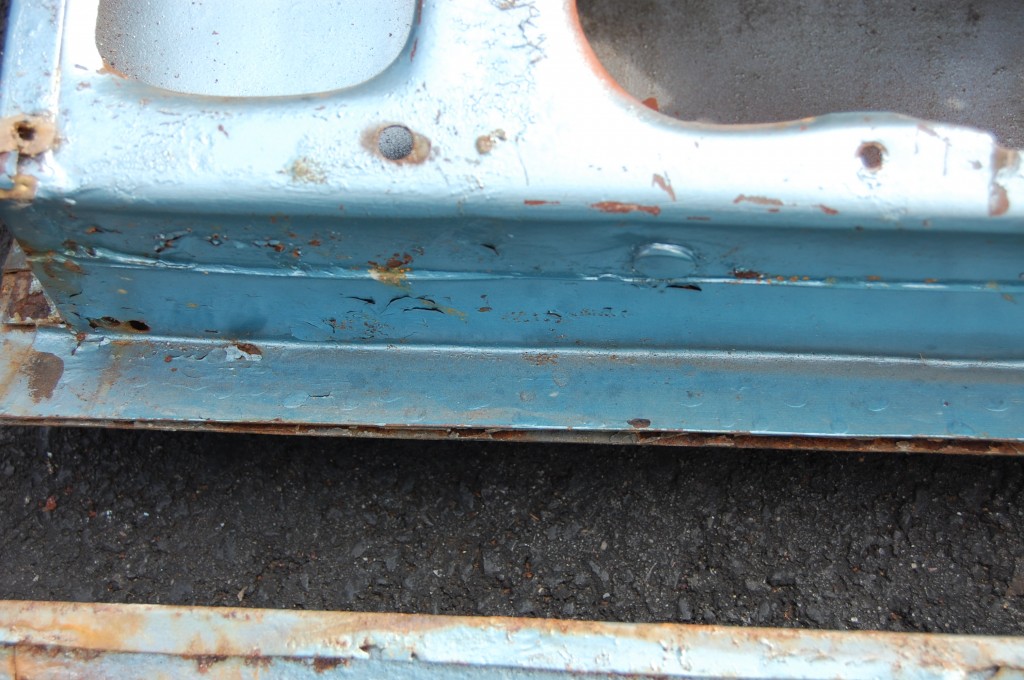
- No such louck on this door – it will get a replacement panel for the entie bottom.
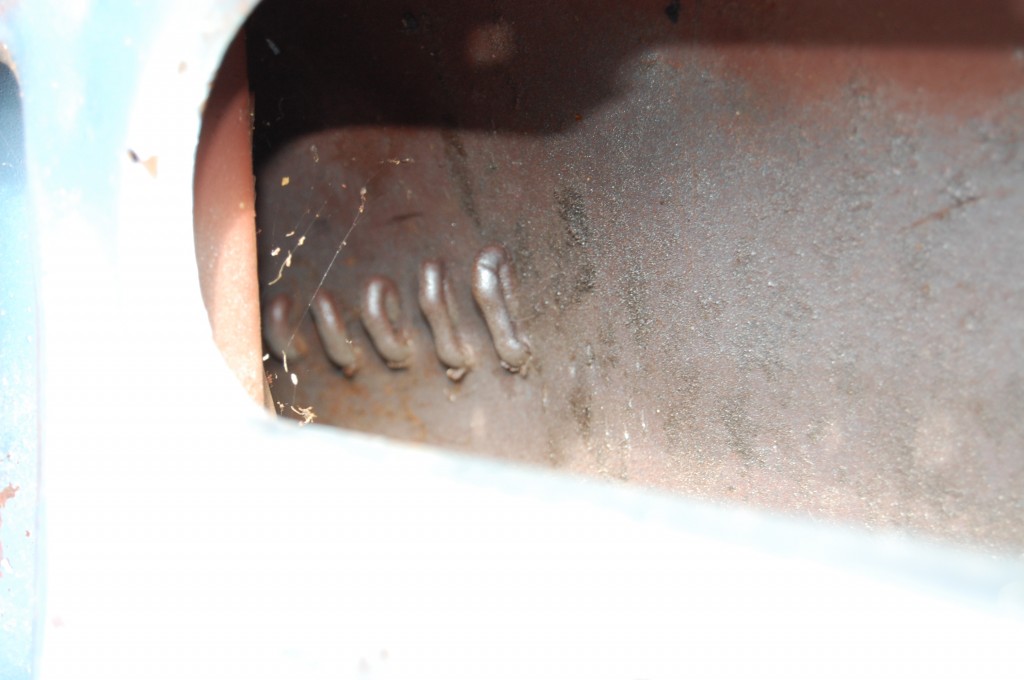
- “Bondo worms” – filler smushed through holes left by a dent puller.
- And this shot shows that there is ALOT of filler in these skins – how much? – who knows! We sliced the whole thing off in one piece and took it down to the steel recycling place – it’s probably halfway to China now and will come back in a few months to a Harbor Freight store near you!

