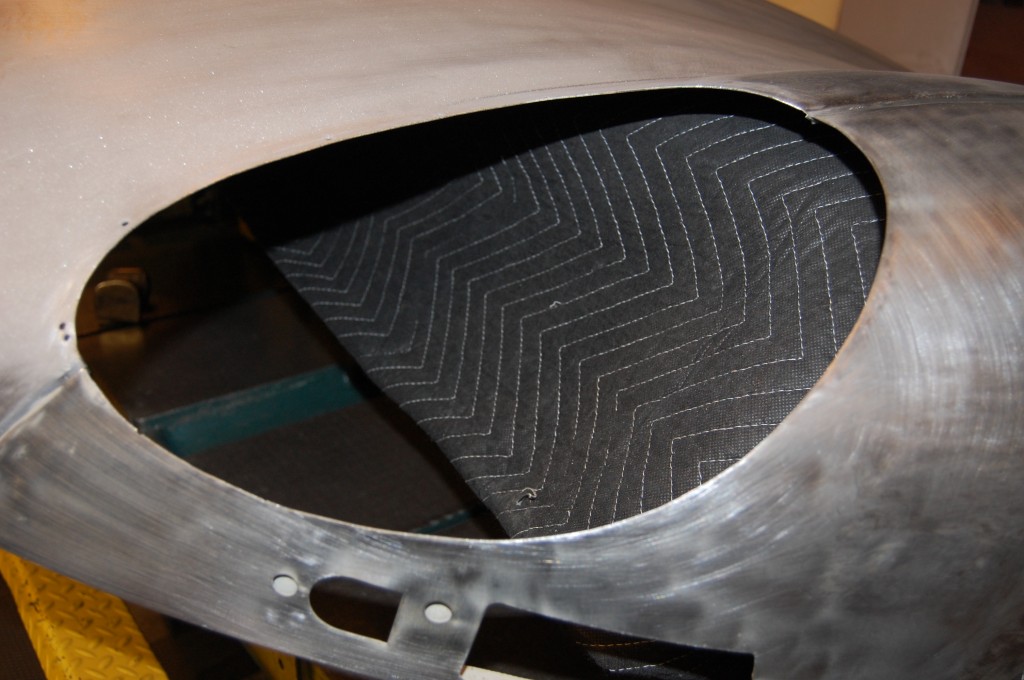
I’m actually starting to feel guilty about all of the Series 1.5 bonnets that I’m either converting, or providing the flanges for… It’s getting to be alot.
I did a post last year where I talked about what’s right, what’s wrong, etc. – and stated in that post that I think the Series 1.5 bonnet actually LOOKS better from an aesthetic point – and I still believe that’s true. But there’s just something about those covered headlamps that make it a “true” E-Type – evidenced by the fact that I’m now making flanges to convert even Series 2 and 3 bonnets as well.
I did another conversion yesterday, and while doing it, made my peace with the whole thing when I finally decided that YES – these are Series 1 bonnet pieces that had their flanges cut off at the factory by hand – I’m SURE of it!
When I do these, I lay a template on the panels that I took from a original ’63 coupe bonnet. When I lay these on, the Series 1.5 headlamp openings are ALL OVER THE PLACE! The wings themselves are all the same (although strangely, the turn signal openings are all off by about 1/8″ from a Series 1…), but the headlamp opening is very irregular, and also cut at a strange angle when you look right at the edge.
SO – I believe that they simply kept right on making Series 1 panels, and then as they came out of the press, simply sliced off the flanges. And they knew that as long as they stayed within 1/4″ of the flange, they’d be fine, because the riveted in headlamp scoop of the Series 1.5 had a wide enough lip on it to cover any irregularity in the cut.
Take a look at this Series 1.5 center section being repaired and then converted (also during hurricane Sandy), and I’ll show you some of the proof!
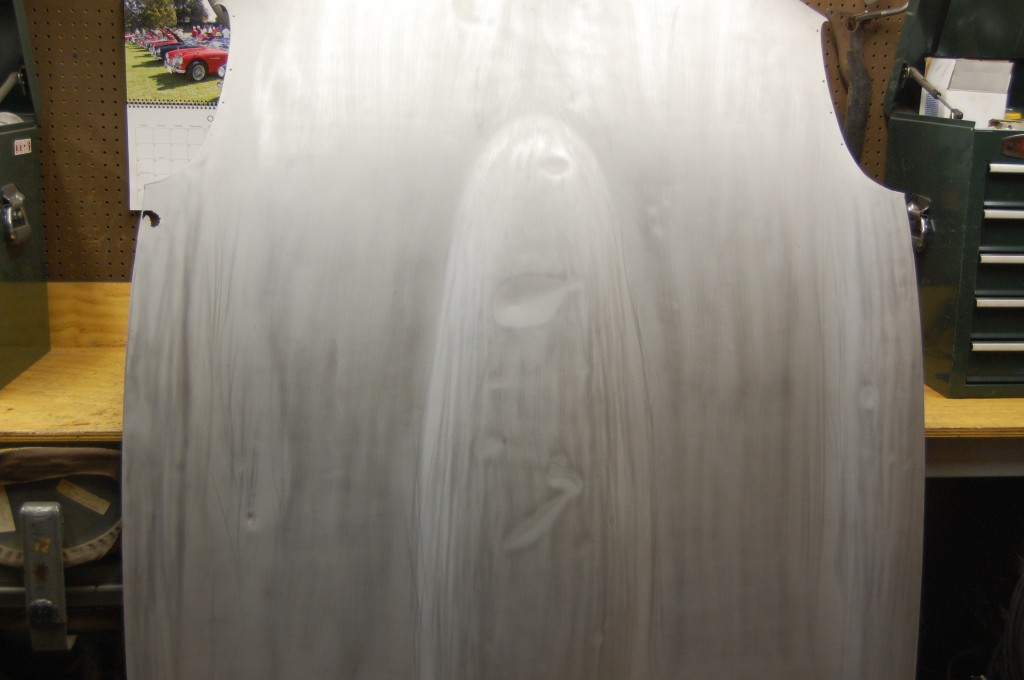
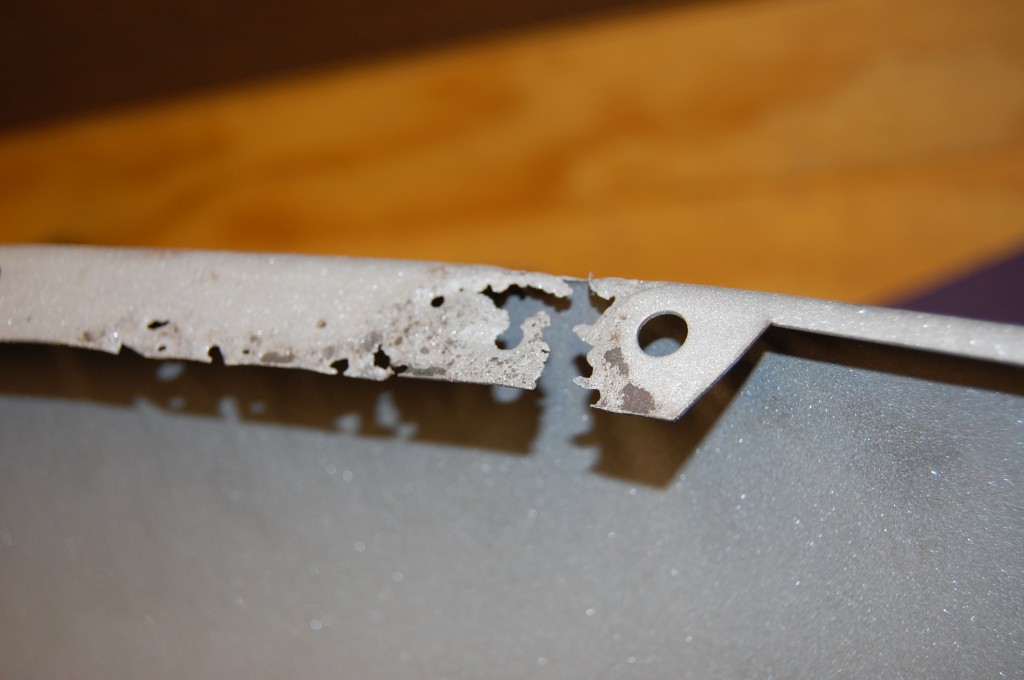
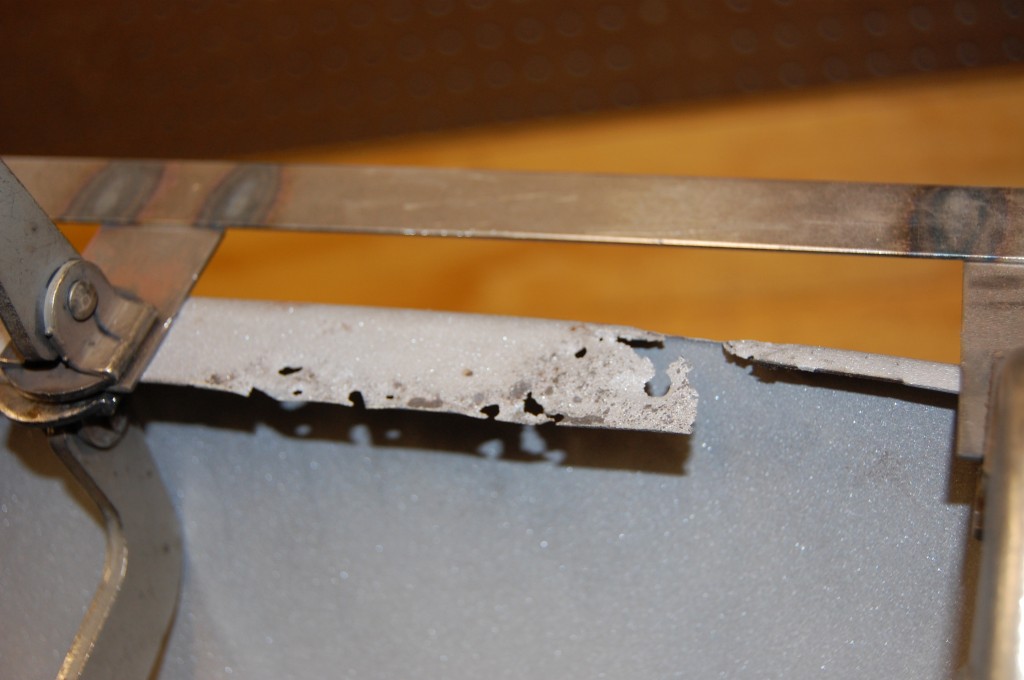
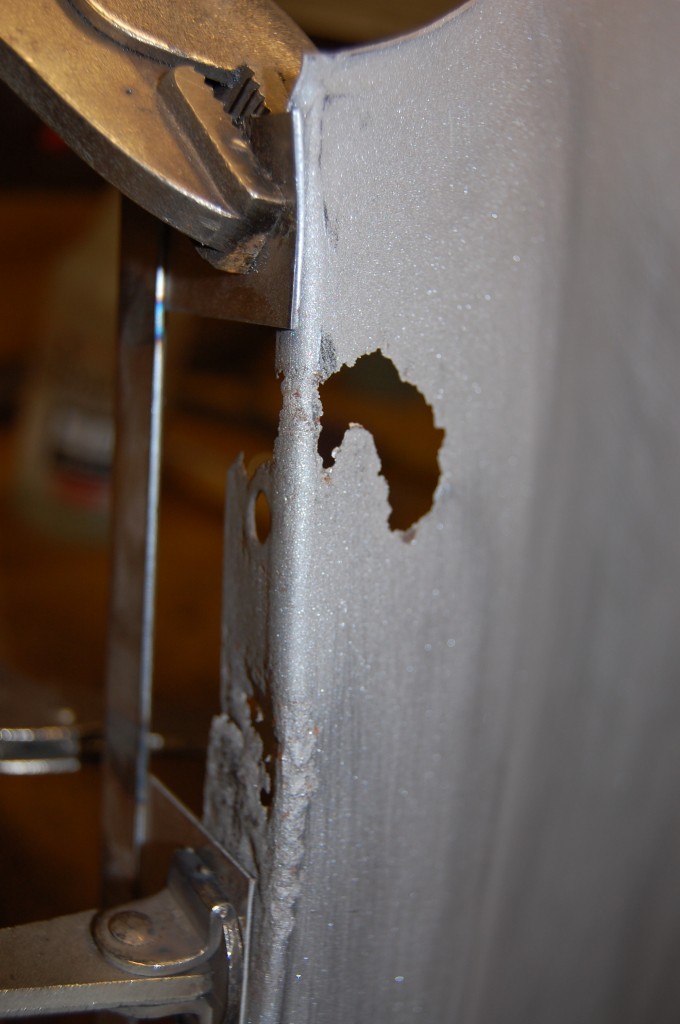
- Here is our starting point. Pretty good overall – some dents here and there, and some rust in the forward ends of the flanges and in the top of the skin just behind the headlamp opening. Actually, all of the rust on this panel was caused by moisture locked under the SEries 1.5 headlamp eyebrow…
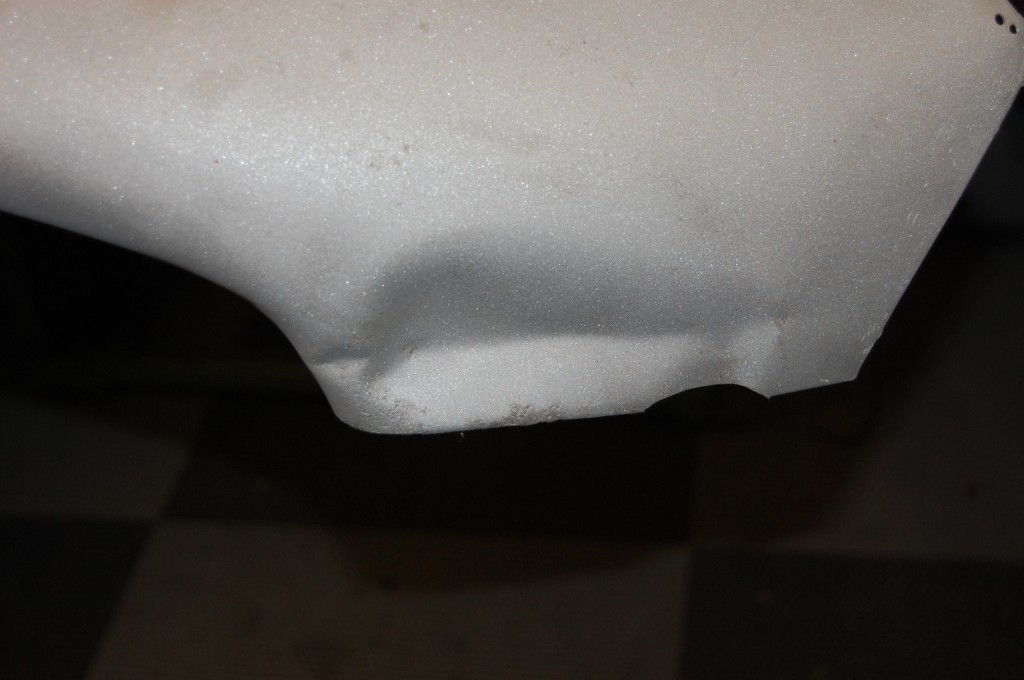
- Typical damaged from a minor hit right on the over-rider.
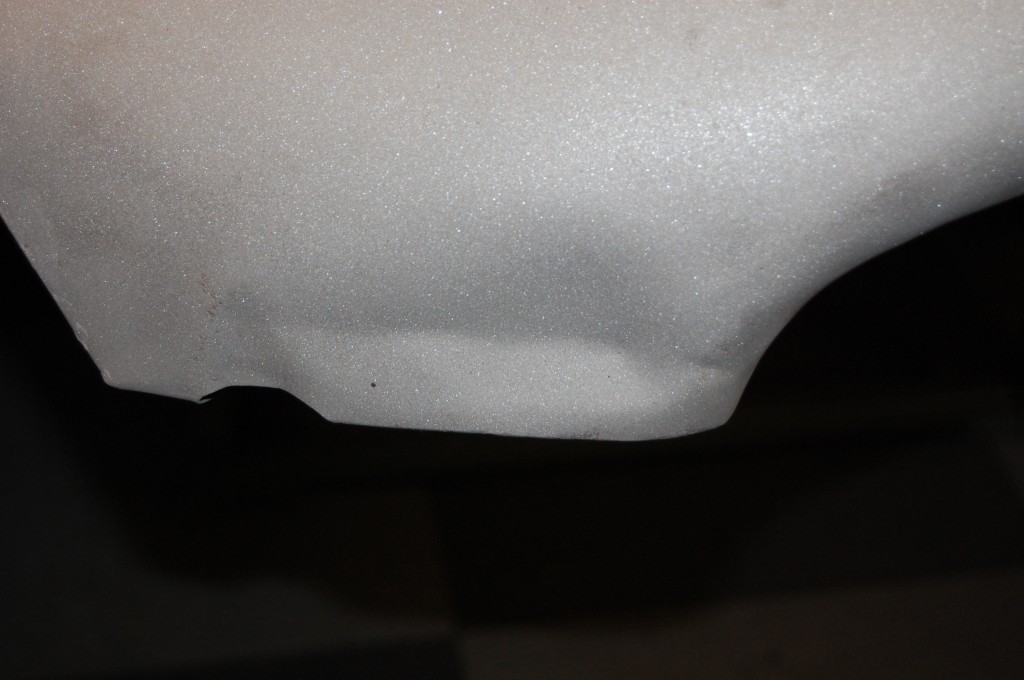
- Other side has the same issue – you can clearly see the crease from the bumper blade.
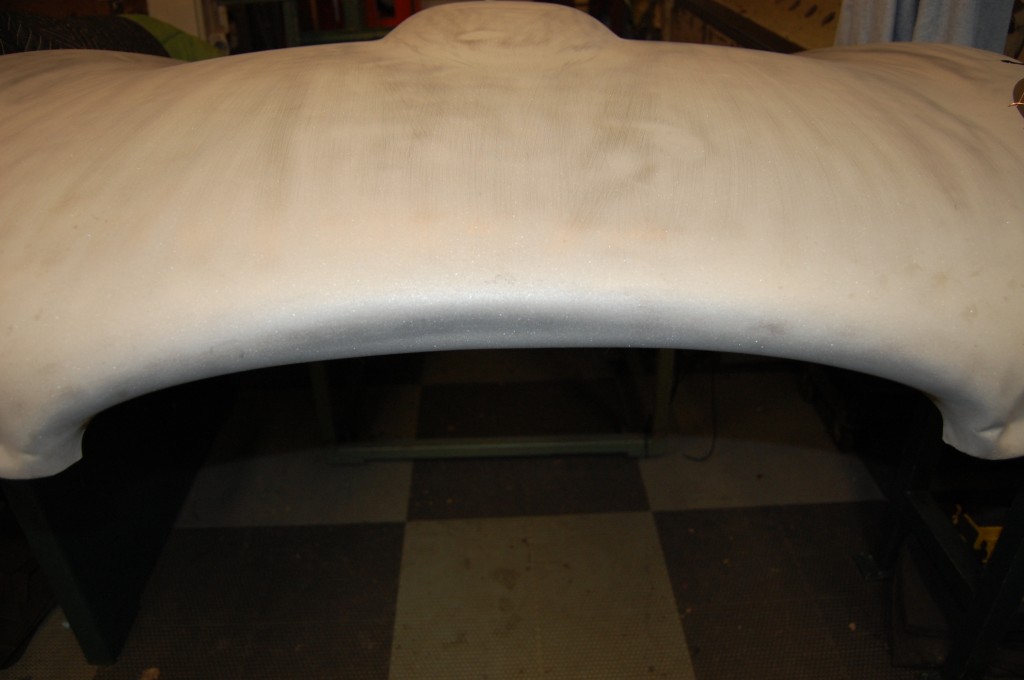
- And this crease in the leading edge of the nose may be from the same collision.
- This will need reapir – it is just starting to wrap up and over to the outer skin.
- First, we clamp things down to try and maintain the curvature as best we can – but they always need re-arching during test assembly anyway after these type of repairs.
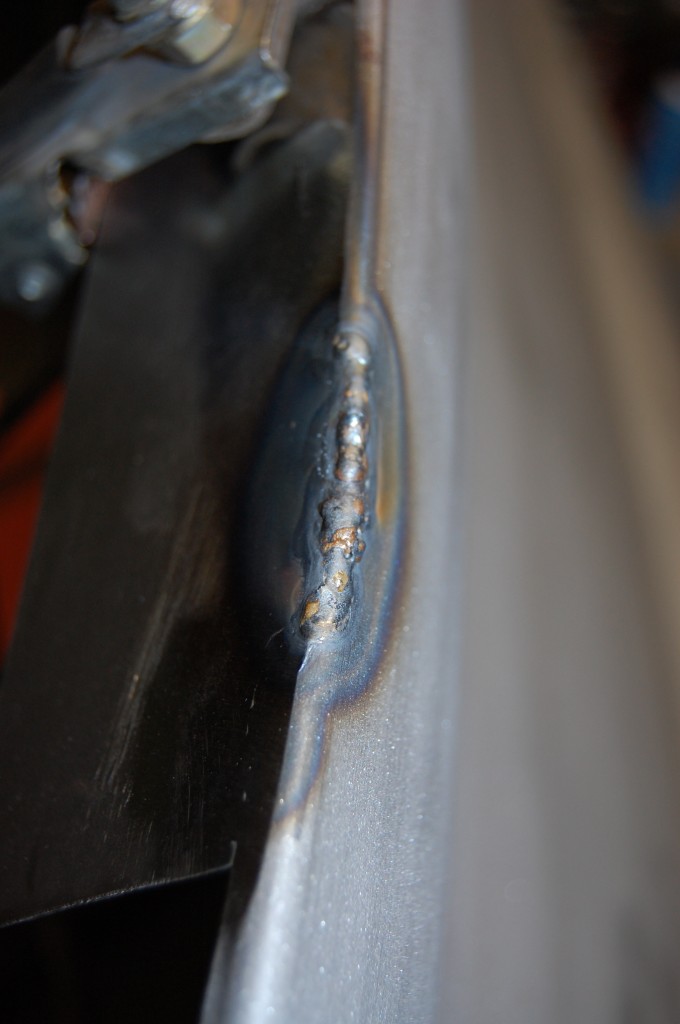
- This is a very tricky weld with the TIG.
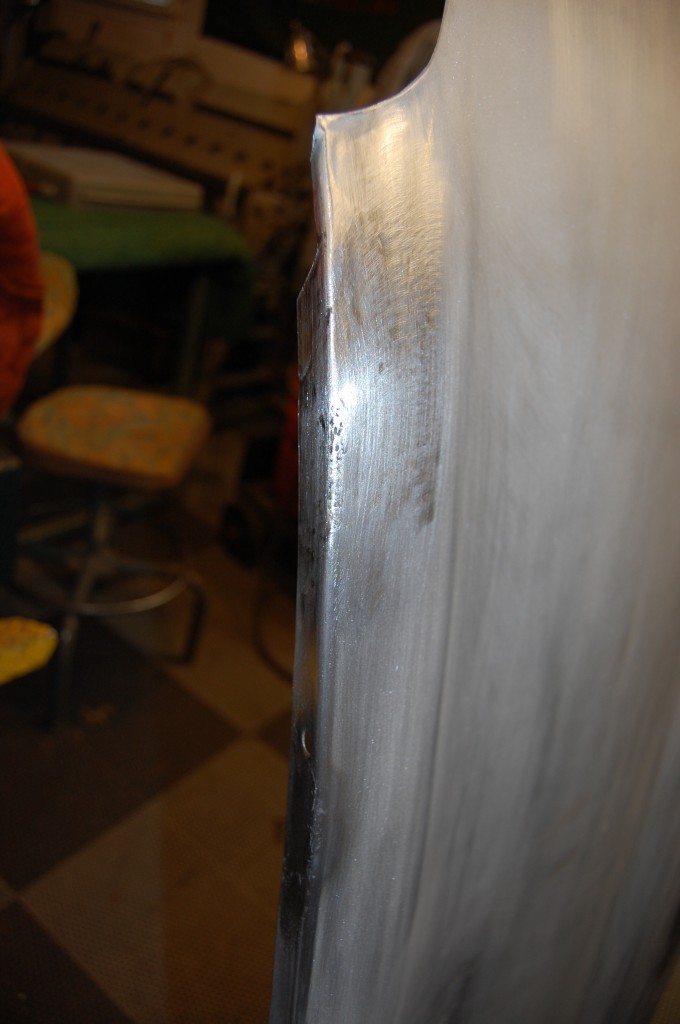
- Ground down, this area is now as good as new!
- Time for the other side – this is caused by rust forming under the SEries 1.5 eyebrow chrome.
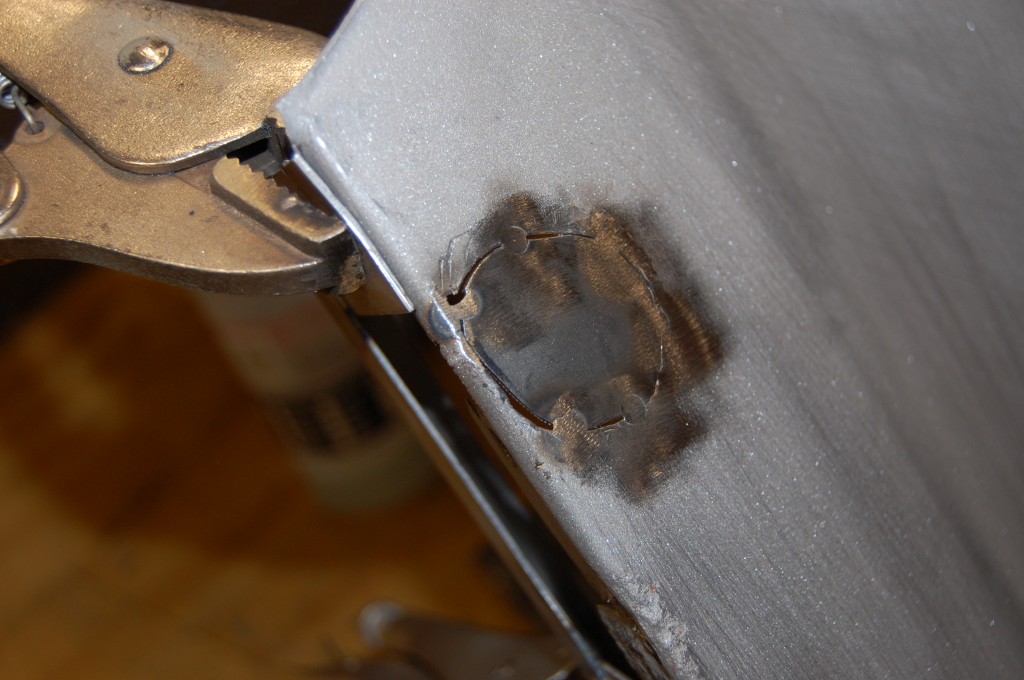
- Here, we have tacked a small patch into place.
- There is also flange repair to be done on this side. Here, you can see how I use larger pieces and then trim them after the fact. This makes it easier to position the edges while tacking.
- Skip a few steps, and here is the same area – also as good as new!
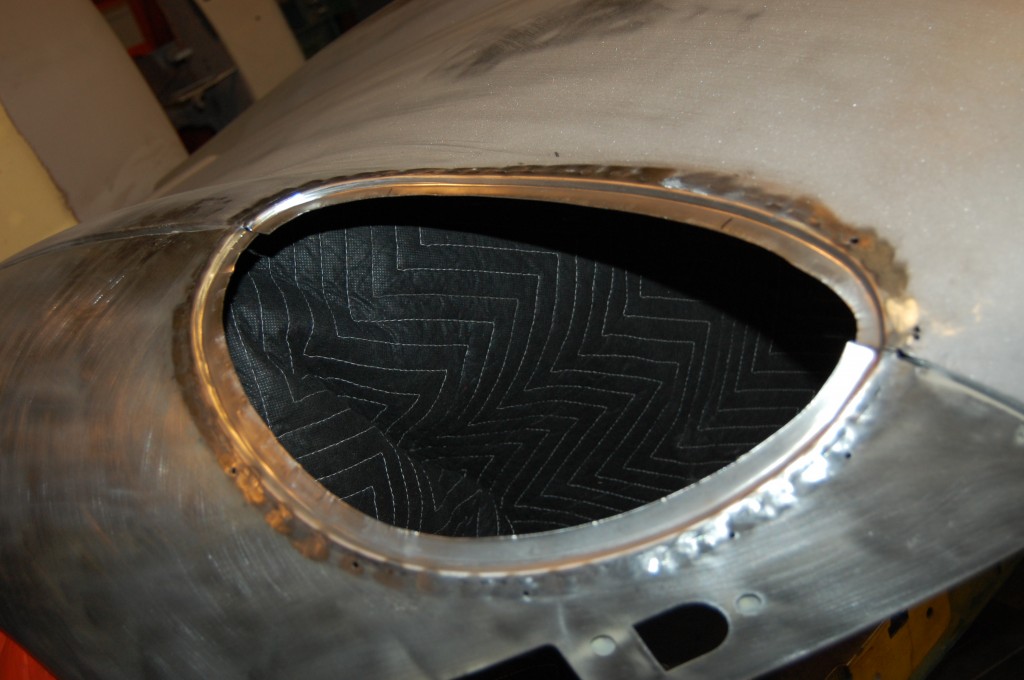
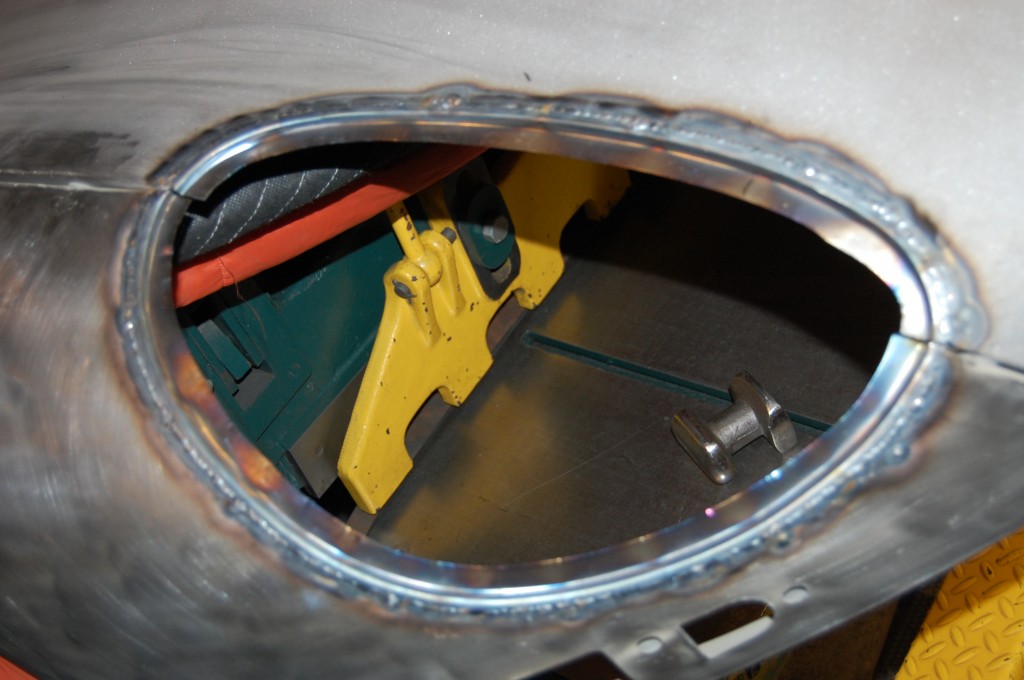
- Now it’s time to convert these panels to covered headlamps.
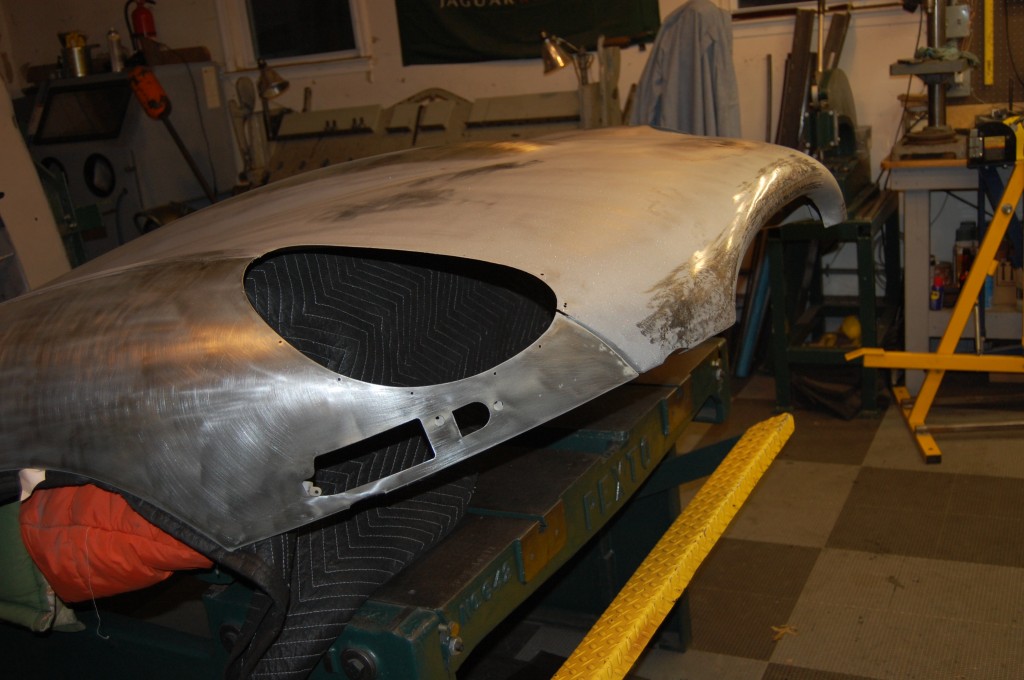
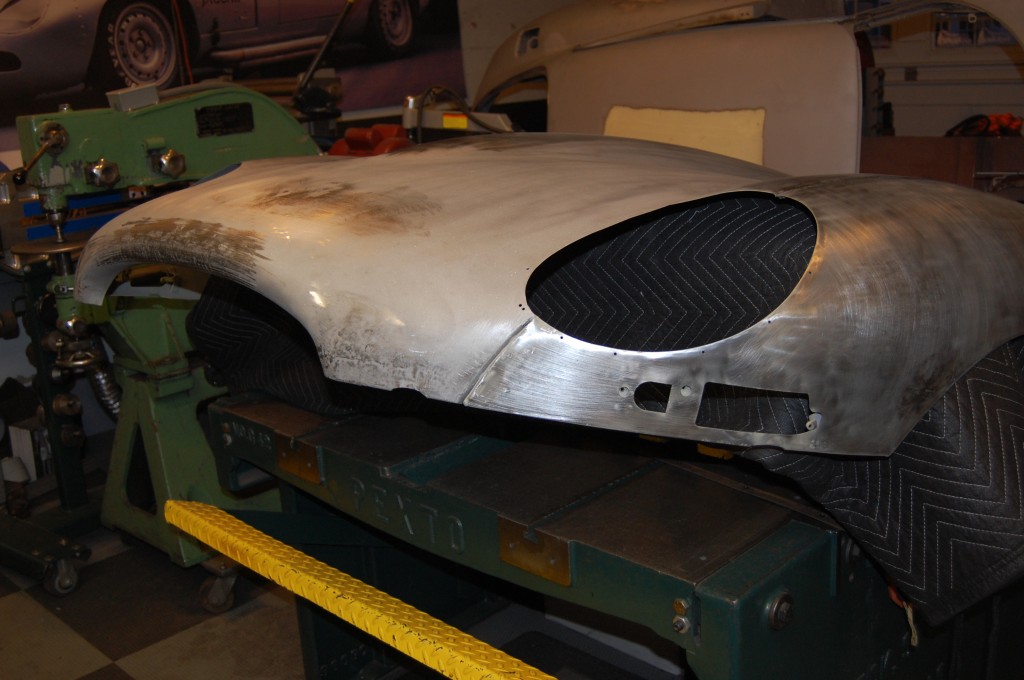
- In these shots, you can see the completed repairs to the nose.
- These panles are bare because it is raining like crazy out! So we’re just moving on to the next step and will prime the panels after they are converted.
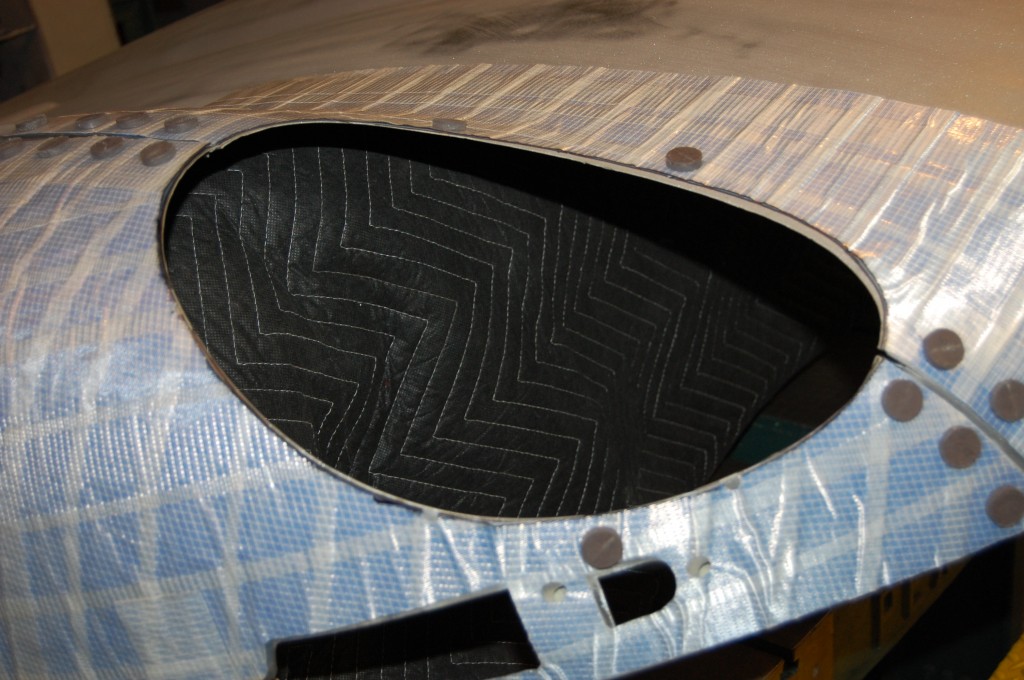
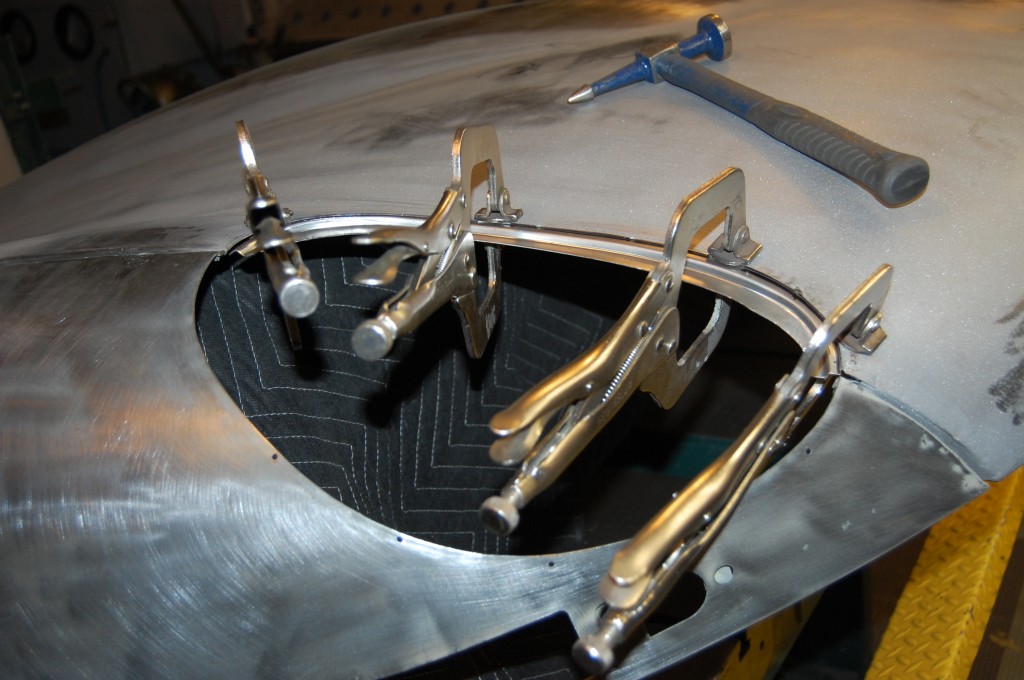
- Here we are laying on the flexible shape pattern. It SHOULD show use approx. 1/4″ of metal, uniformly all the way around the opening, but it never does. Our step of trimming back the opening also always serves to center it on the panels as well.
- Fitting the first flange into place – lots of time consuming adjustments…
- She’s now fitted, trimmed, and tacked into place.
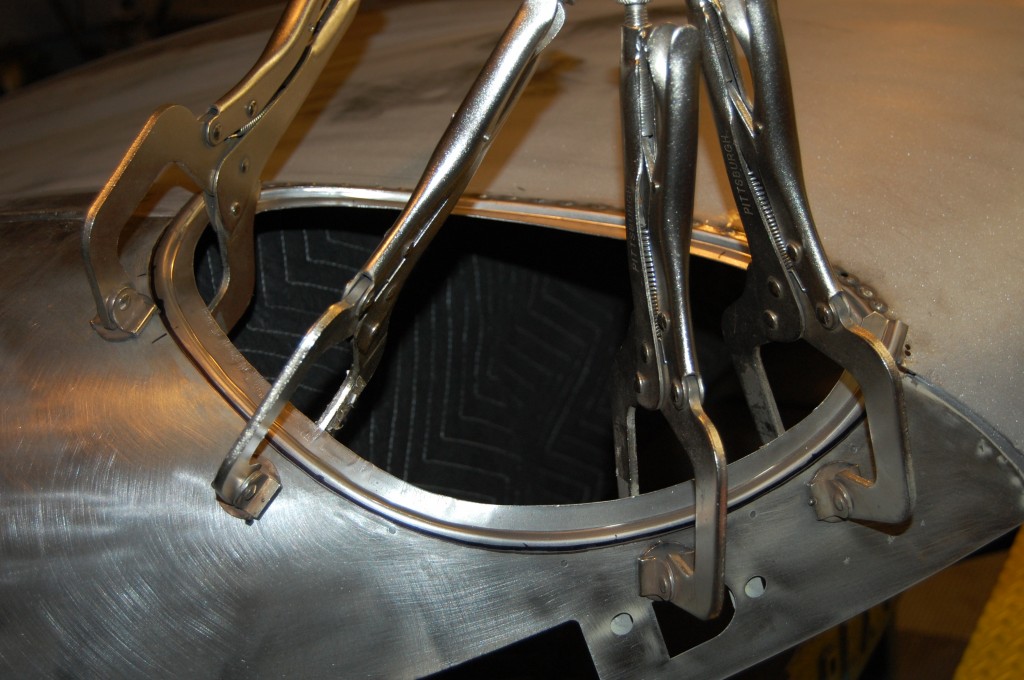
- Now fitting the wing flange.
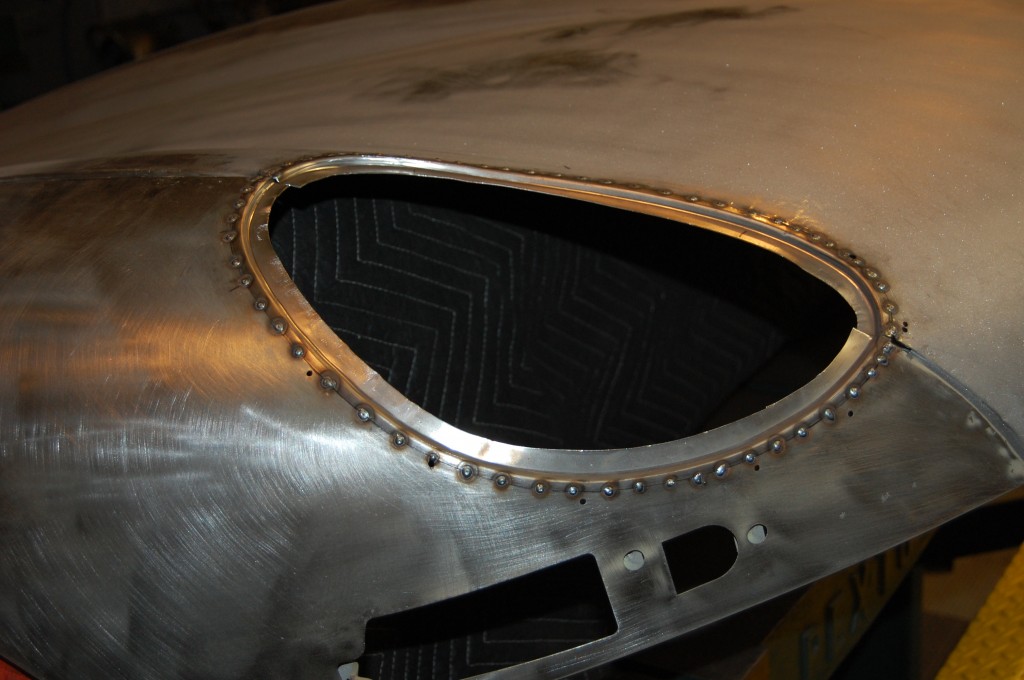
- Both flanges tacked into place.
- Next, we grind down the tacks, and also in this case, we have used a slapper and dolly to align the flange and wing surface along the same plane – there was a dip right at the seam that should be flat.
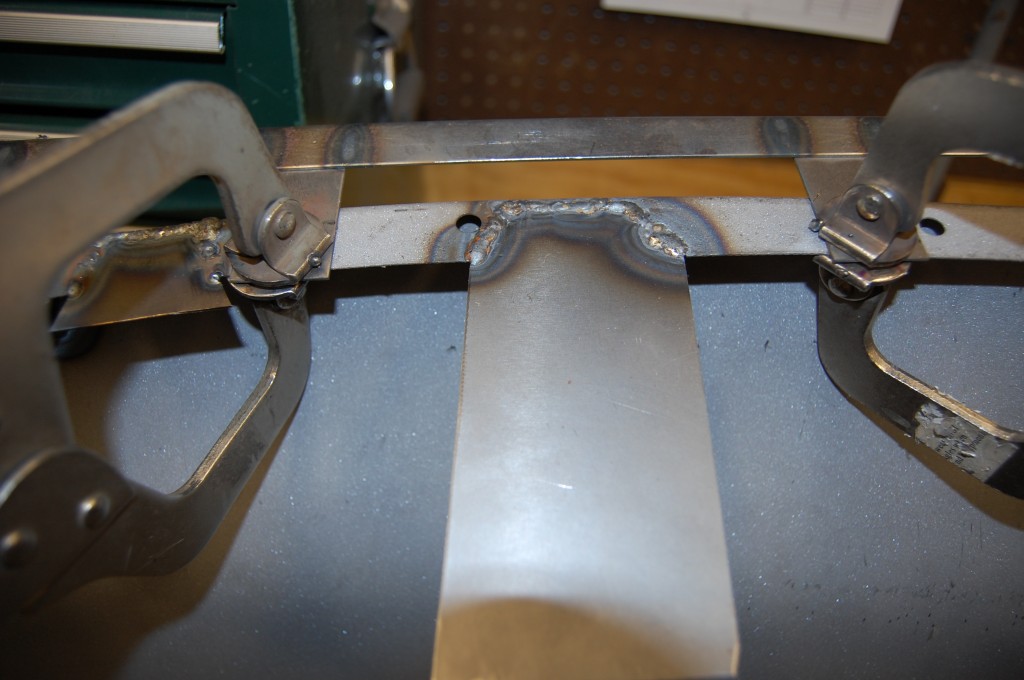
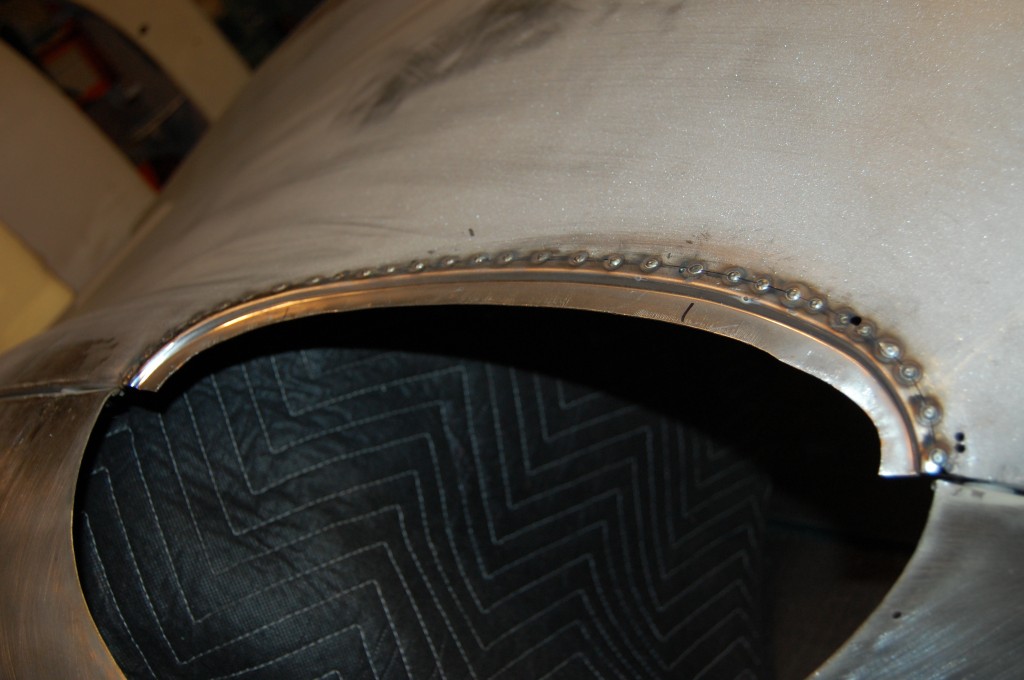
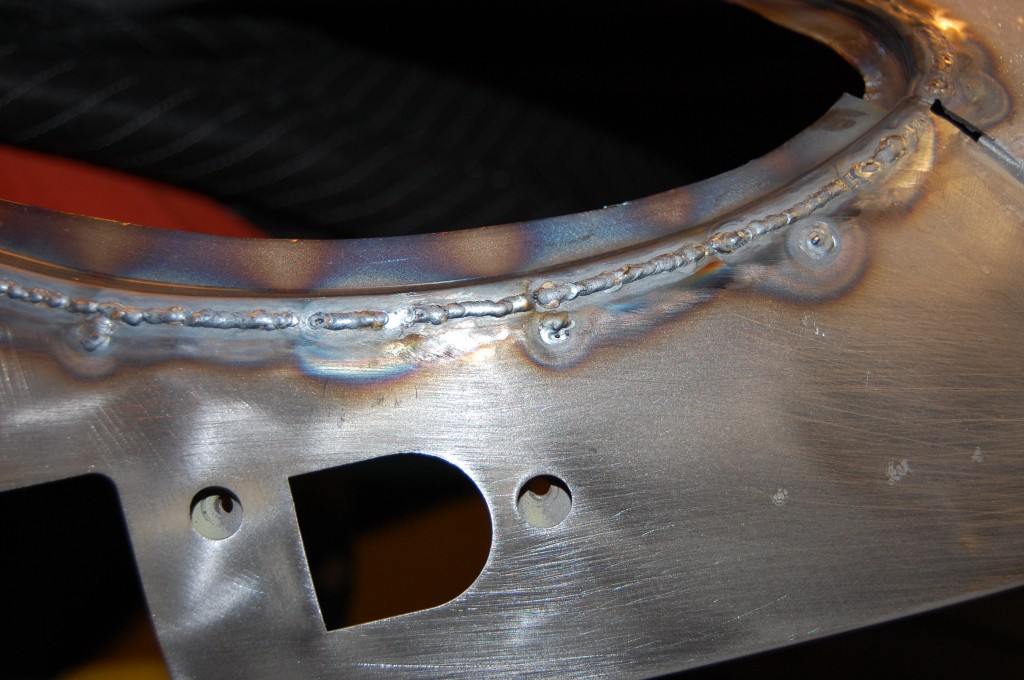
- Finally, we can use the TIG to carefully weld along the entire seam.
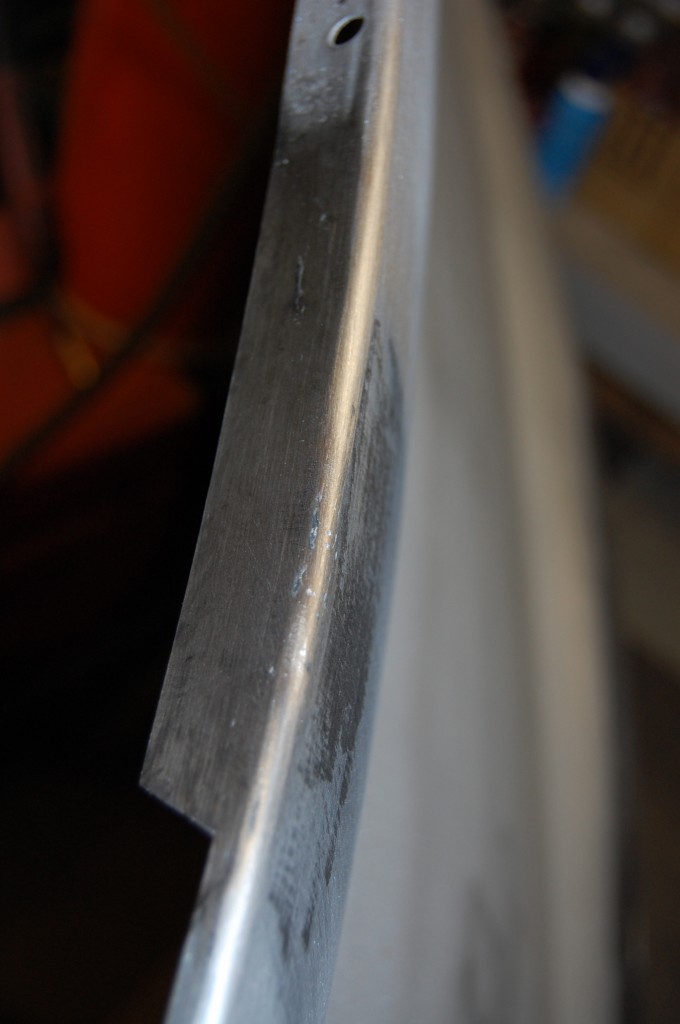
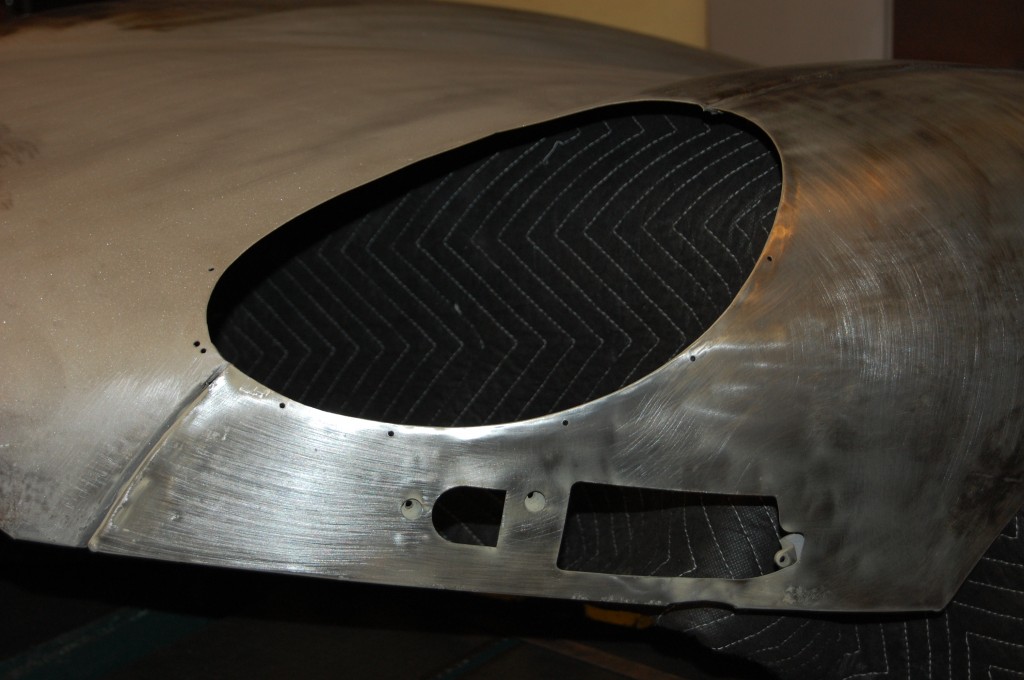
- Now, look closely at the TIG weld, and you can see that just below it, we have welded up the holes left from the rivets of the Series 1.5 scoop. On the center sectuion, our seam went right through these holes.
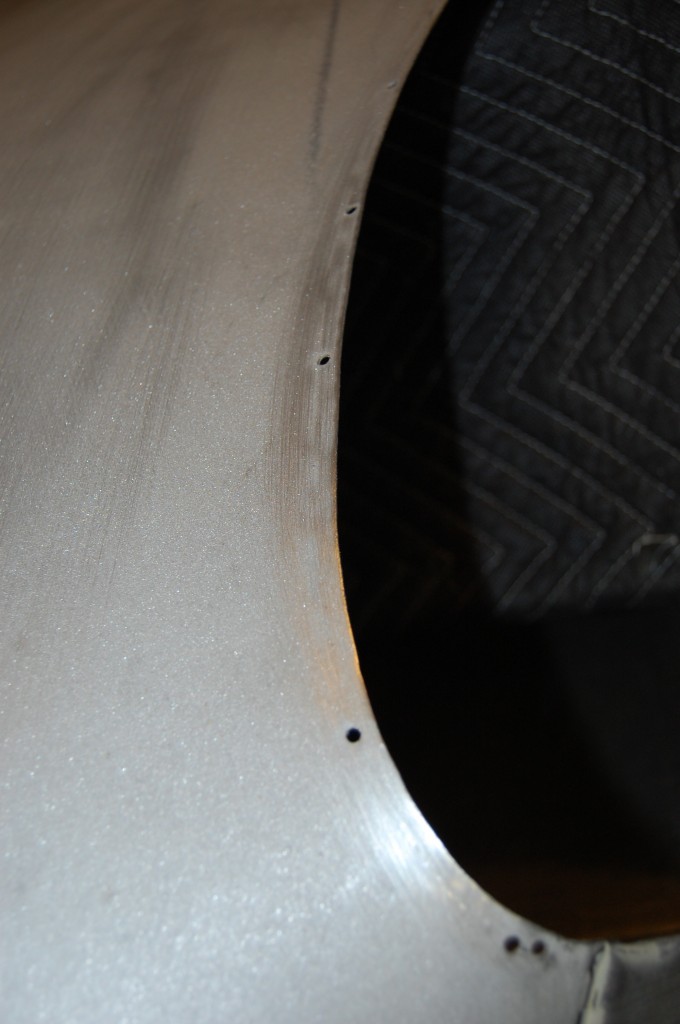
- NOW, over on the other side, we can also see these rivet holes, but on this side, they are about 3/16″ within the edge that we marked with the same pattern we used on the other side!.
- And on the wing, we have cut them completely off! So, I’m convinced that these Series 1.5 bonnets were once Series 1 panels, that simply had their flanges sliced off at the factory!

