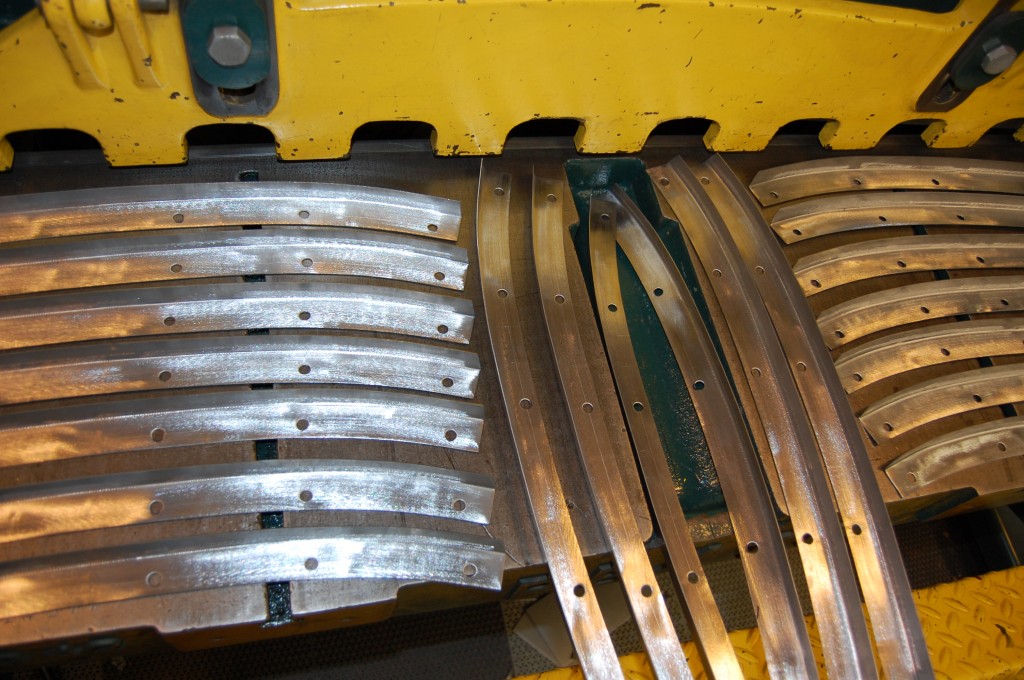
I have a tough time keeping parts in stock, and flanges are the worst! I am always getting caught with my pants down on flanges, and it just happened again – AAGGGHHH!!!
The last time I made a big batch of bonnet flanges was in February, I think. You have to make them in big batches – that is the only way it makes sense. But what that means is that you eventually get an order for a set of flanges, and you end up spending DAYS filling just that order, because you can’t make just one. Of course, when it’s over, we’re all stocked up again.
It just always comes at the worst time – and it just did. October has been a crazy month already, and then a flange order came in – I went up to the shelf to pull the flanges (already knowing what was up there…) and came away with about 3 or 4 flanges – the complete set is 14!
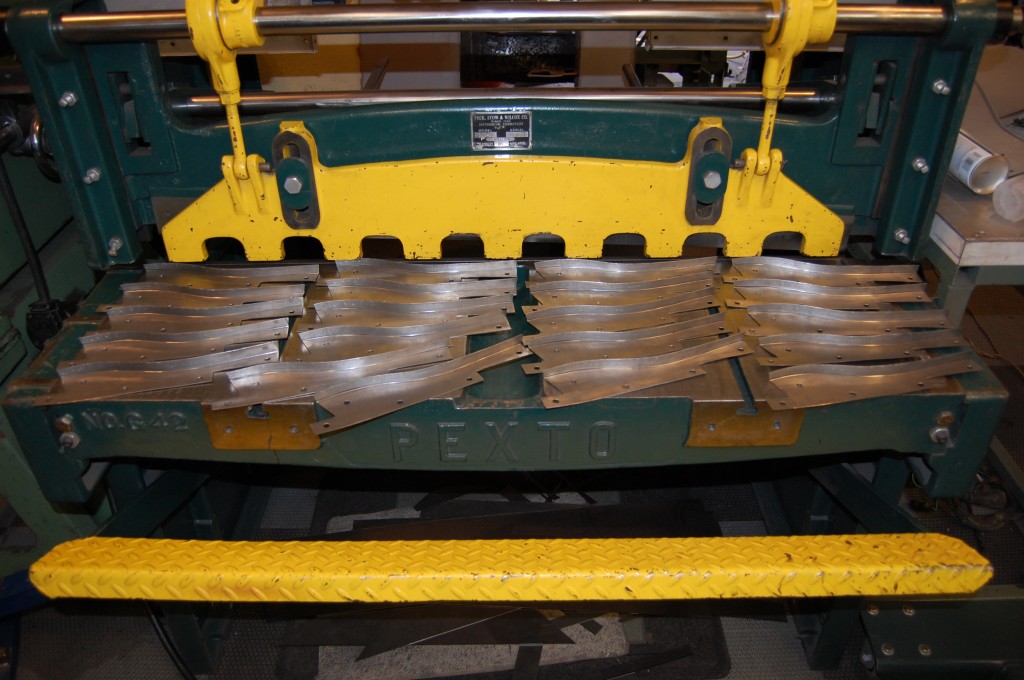
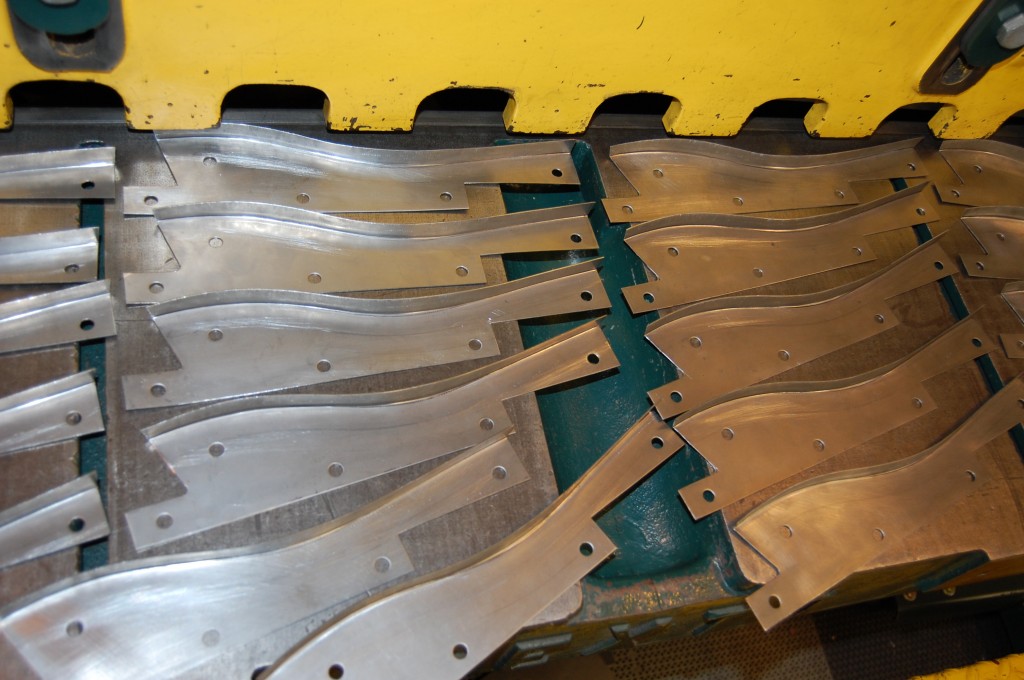
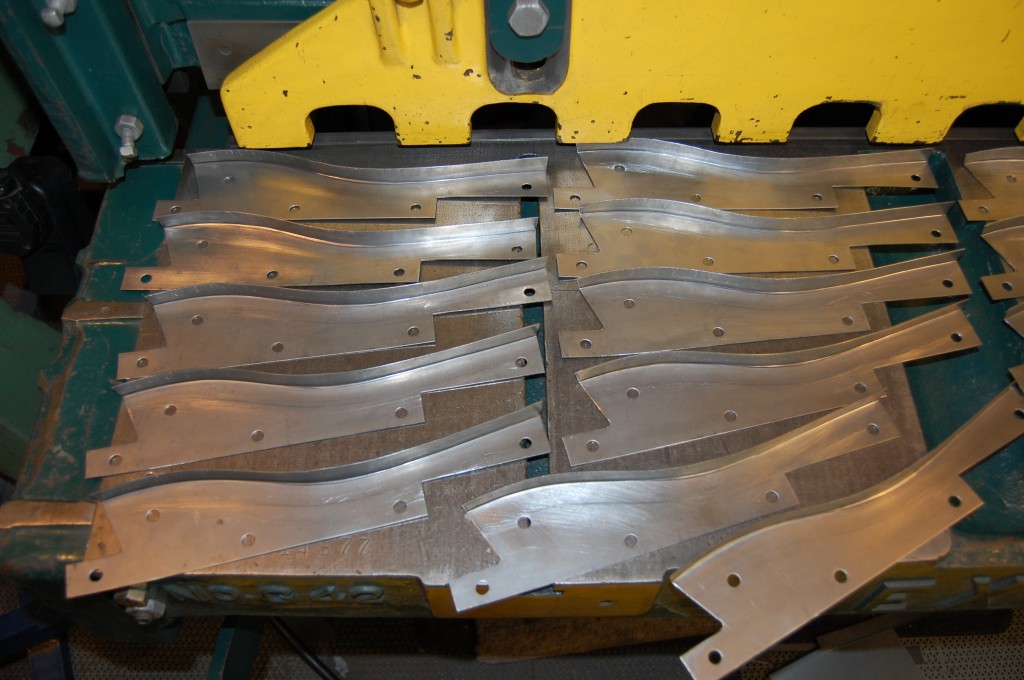
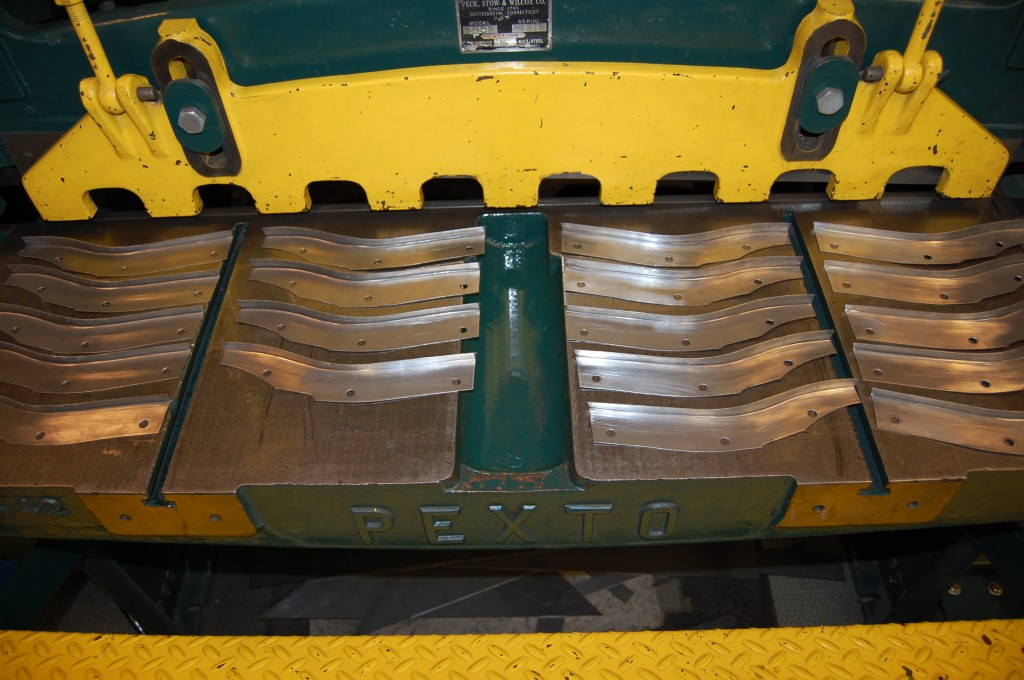
So guess what I did today?… Here are some photos of semi-mass-production of bonnet flanges from today. I was alone in the shop today, and spent the morning listening to “Music of Your Life” on the Internet, and then watched Turner Classic Movies in the afternoon. Today’s movies: “The Opposite Sex”, and “Gentlemen Prefer Blondes” – let’s just say that what was up on the screen was a little distracting. Hey, what can I say? I like old stuff – curvy sports cars, and also curvy – well, you get the idea…
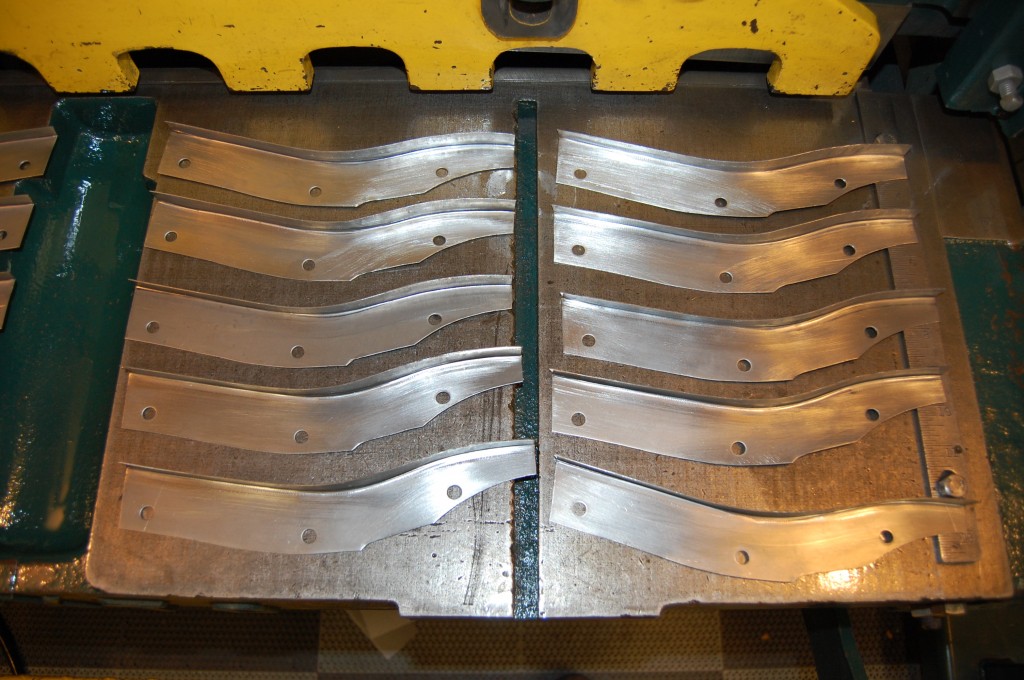
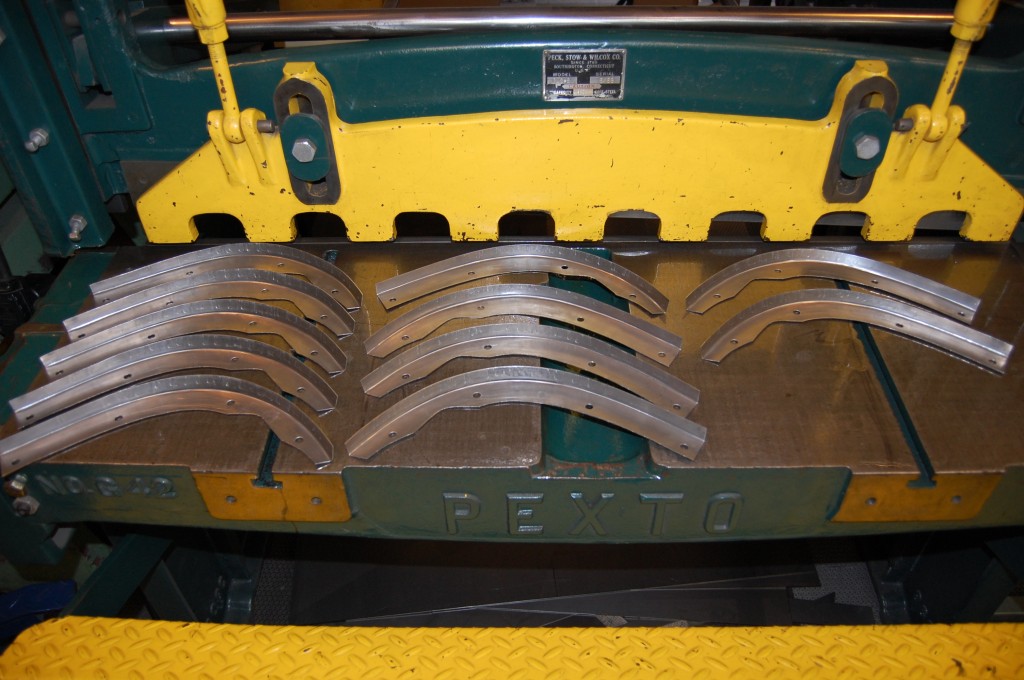
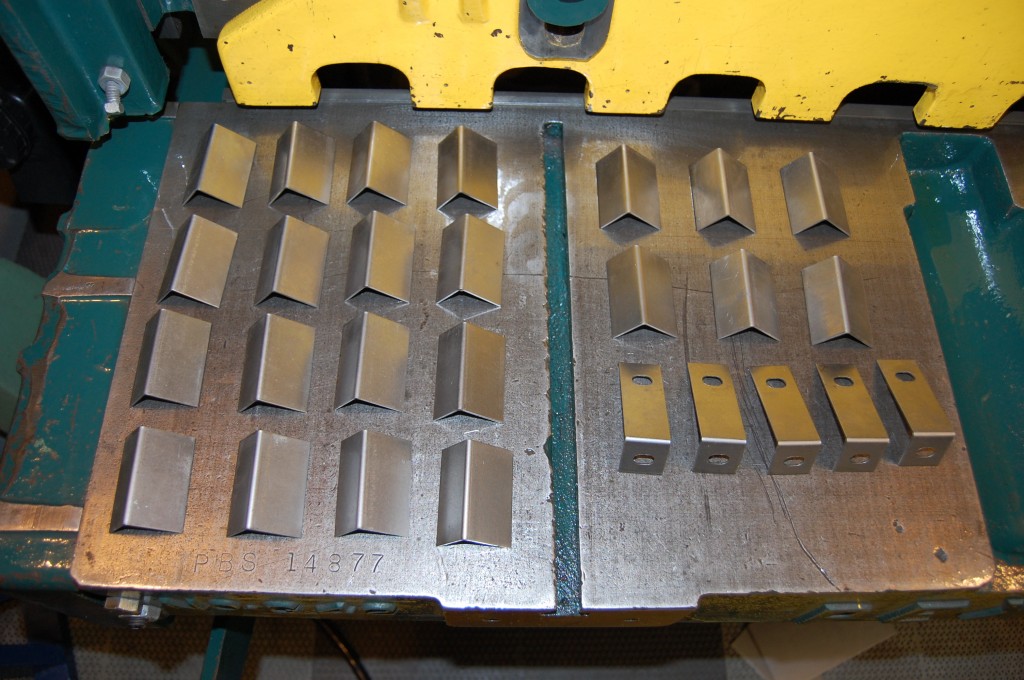
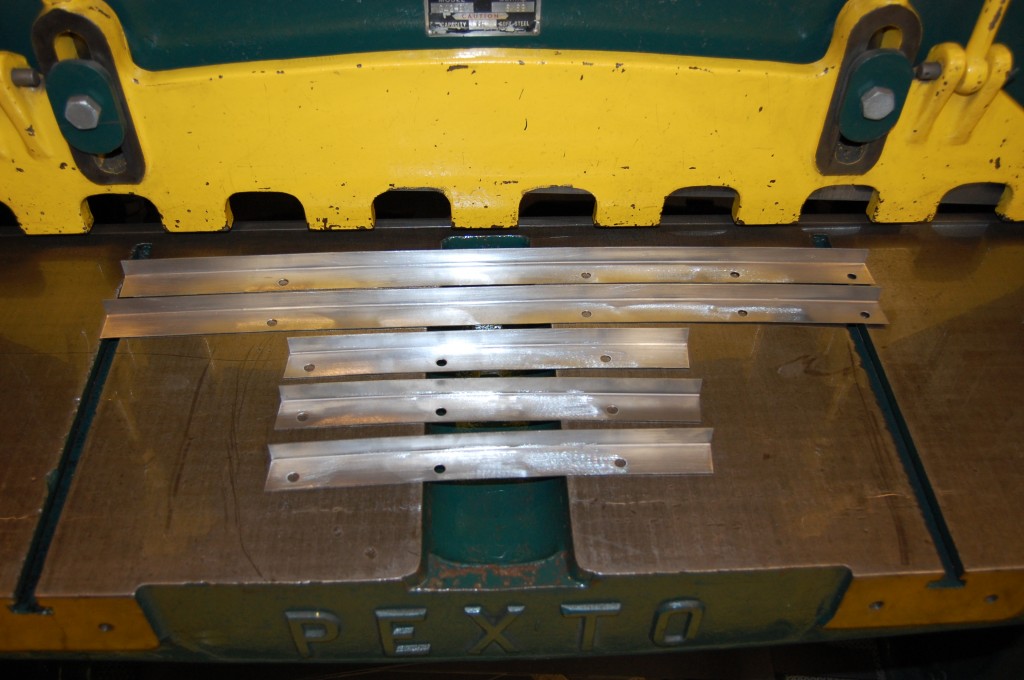
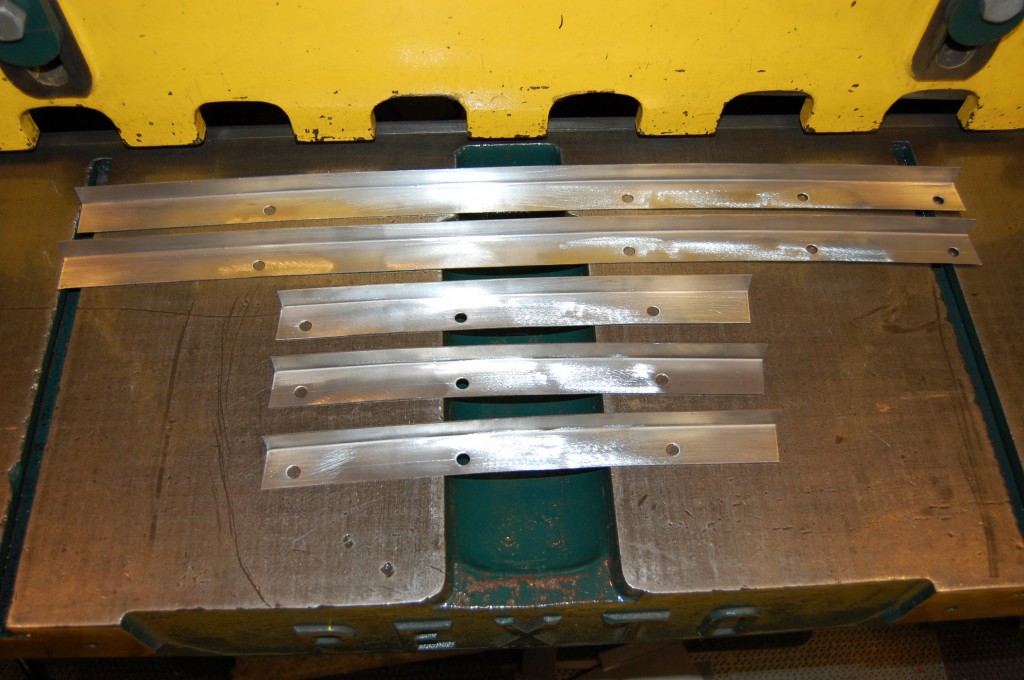
- I lay the flanges out on the shear table and spray them with rust preventative – which is basically just a very light oil. I have had issues with new parts rusting this Summer – it was very humid – so I was not bashful with the spraying, and by the time all of the flanges were sprayed, this table was dripping! That’s OK though, I can still remember the hours of sanding the rust off when I restored this shear!
- These are the LH mudshield to center section flange – the “heater flange” – it is always the first to go, so I made alot of them – I sell alot of these as singles and end up using one on almost every bonnet that is restored in the shop.
- These are hand made – one at a time – in small batches.
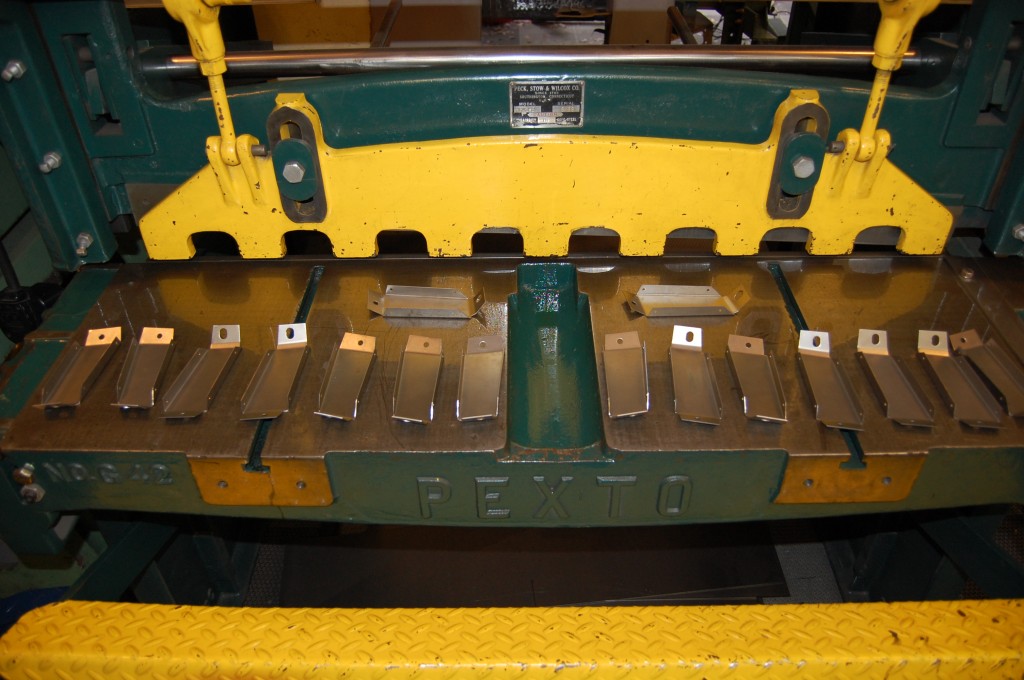
- These are the headlamp diaphragm to center section flanges.
- These originally have those speed nuts welded to the back side for the large sheet metal screws, but I can’t find a source for those, and to be honest, doing it this way makes lining them up for the adhesive alot easier. I use a phillips head 1/4-20 machine screw instead here that looks exactly the same when assembled.
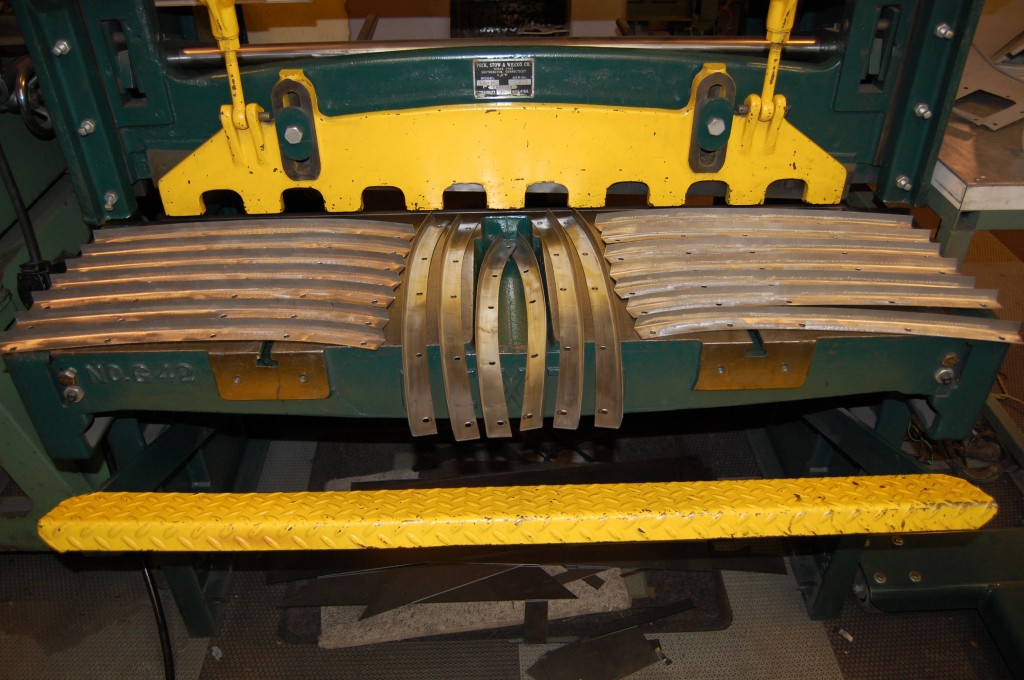
- These are a pain to form up – forward wing to headlamp diaphragm flanges.
- The lip is 90 degress on the ends, but shallower in the center to match the contour of the wing – getting right just takes time and patience.
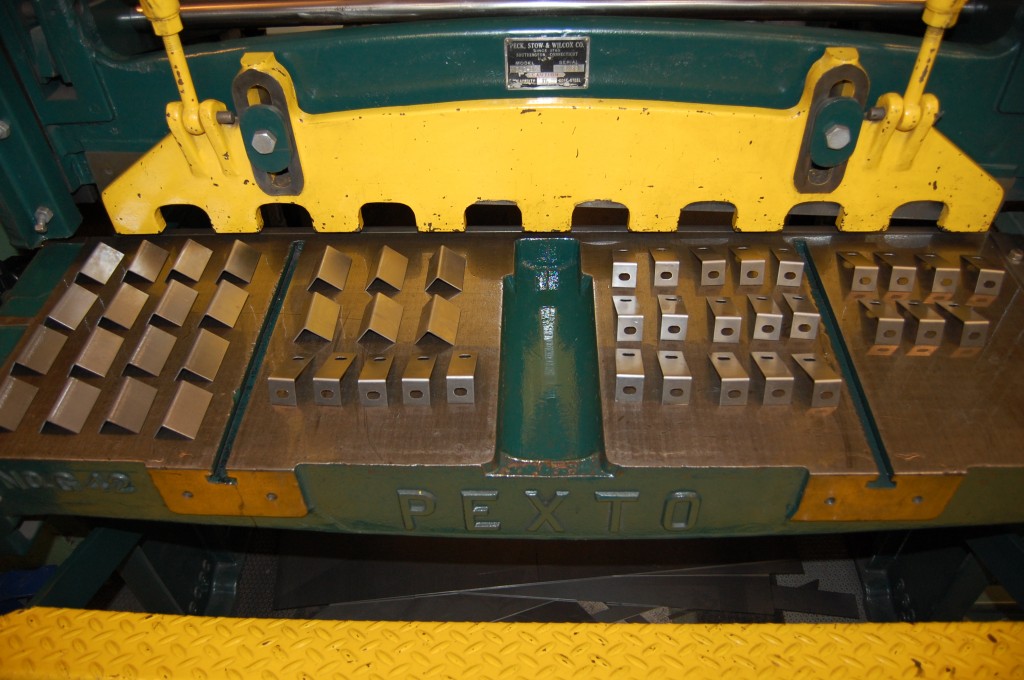
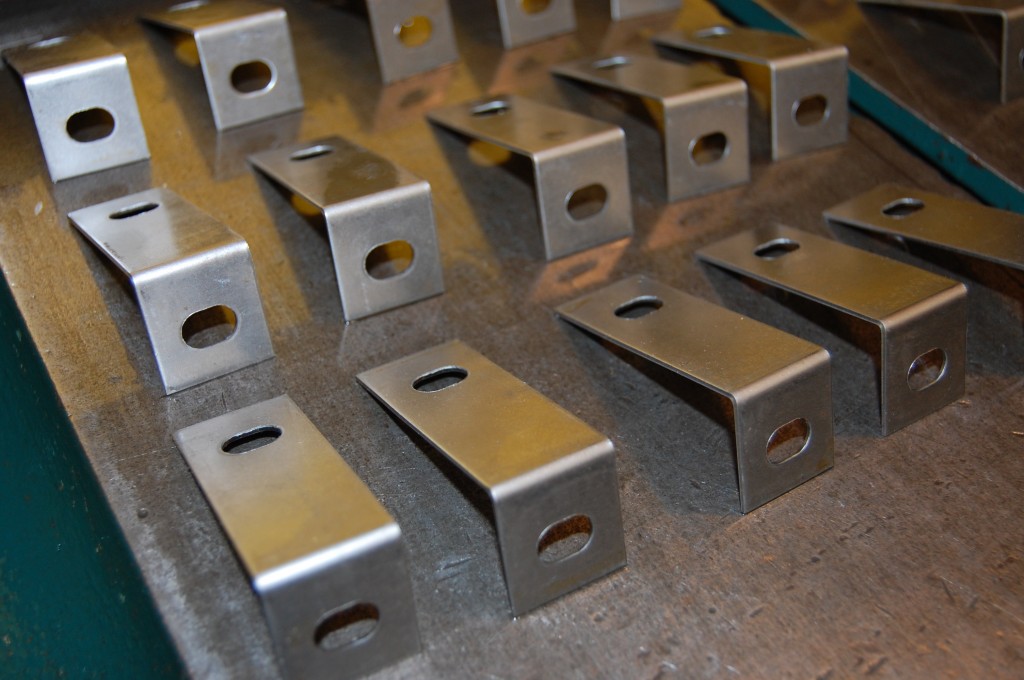
- These are the brackets we include for welding in the ends of the center wing flanges (not shown in any of theze photos – thats’ tomorrow AM – they are a SUPER PITA to form…)
- These are thicker – 16-gauge instead of 20 like the rest of the flanges.
- These are EXACTLY like the originals – the slot gave them wiggle room at the factory.
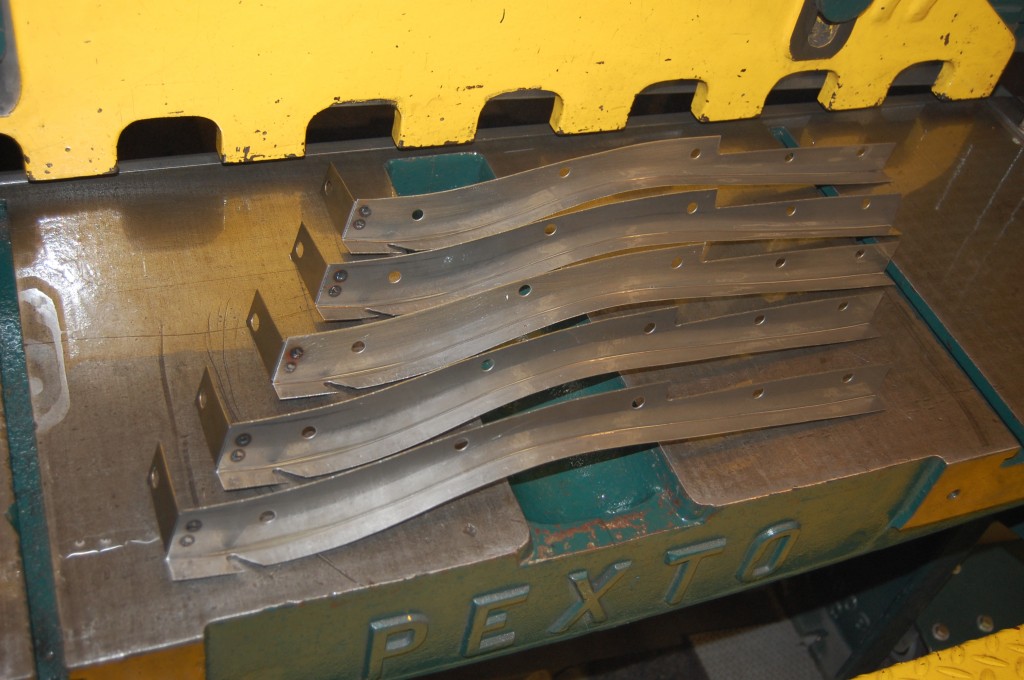
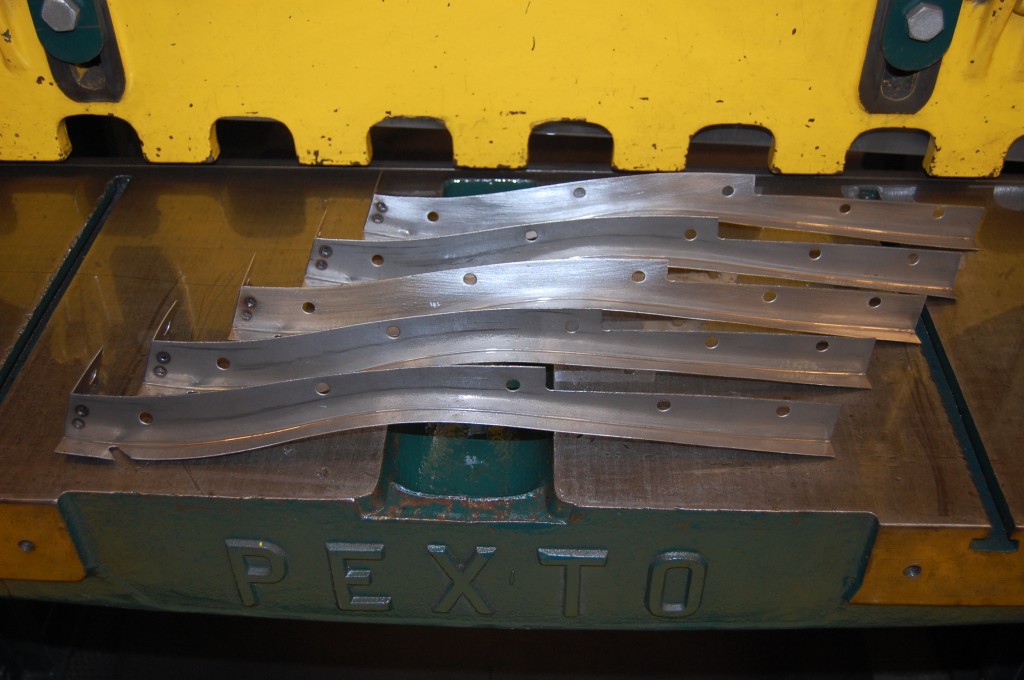
- This is also a difficult flange to make, and then you have to spot-weld that extra tab on. I did not make these today (and last night – I didn’t make all this in one day…) – these 5 were left over from the last batch.
- These rarely seem to go bad and we get very few calls for these as singles.
- And we NEVER get call for these as singles – I think these inner valance to center section flanges in the rear are easy enough for the home restorer and body shops to fake – een though they do have some curve to them.
- We see alot of “homemade” flanges in the bonnets we restore in the shop. Some ar not bad, but most are made from thing galvanized flashing from the hardware store with triangles cut in the to make the curves – NOT pretty…
- I include a pair of these filler panels with every flange set, and you would not believe how many people have called to ask where they go! These are a filler that go above the inner valance air tubes. They sit between the top of the air tub and the bottom of the center section. One end bolts to the headlamp doaphragm, and the other to the inner valance just above the “bug screen” (at least that’s what I always called that thing, but looking back on it, it would have to be a pretty big and scary bug to be stopped by that thing!)
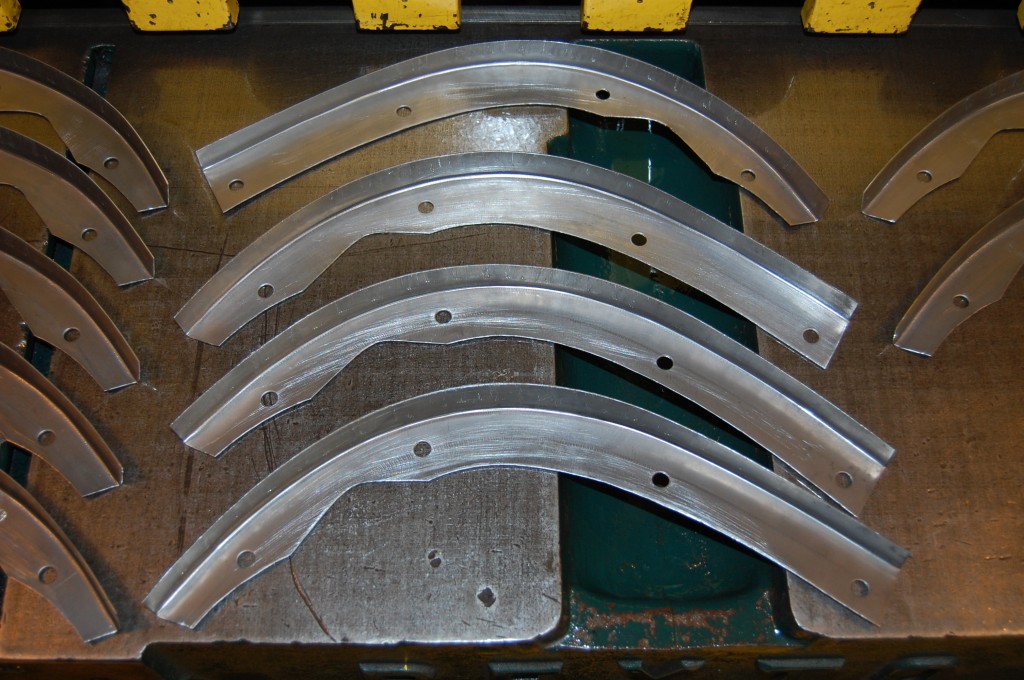
- These are the forward inner valance to cenetre section flanges – they go right up in the nose on either side of the mouth and main air intake.
- These are actually really tricky to make – they take a great deal of time to get the curvature just right, and the flange itself is not quite a 90-degree bend either.
- Gentlemen Prefer Blondes – 1953
- The Opposite Sex – 1956

