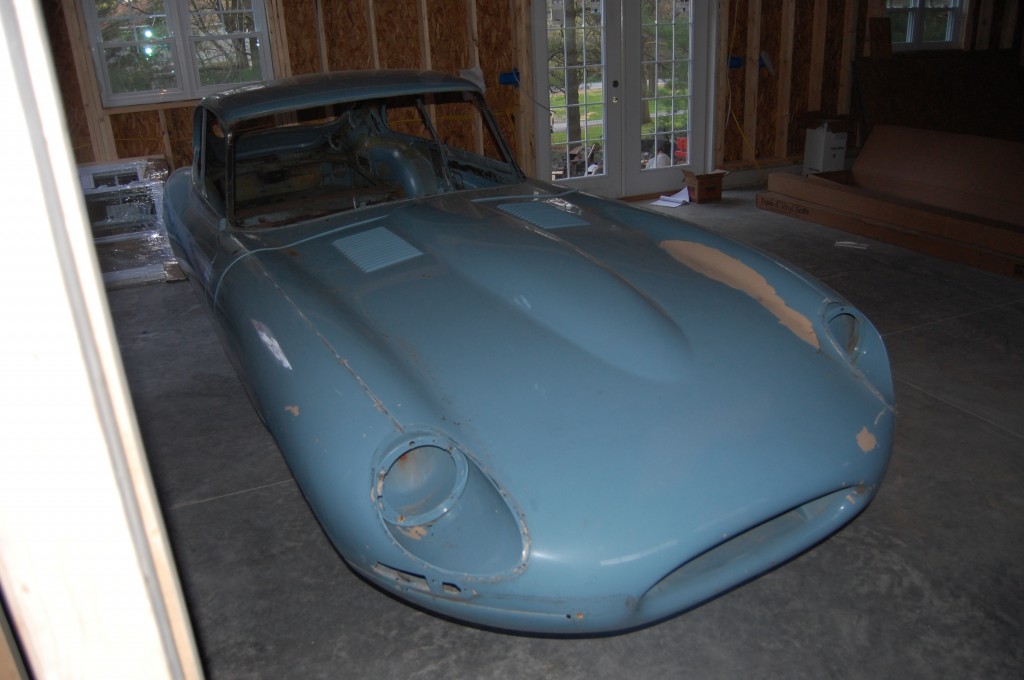
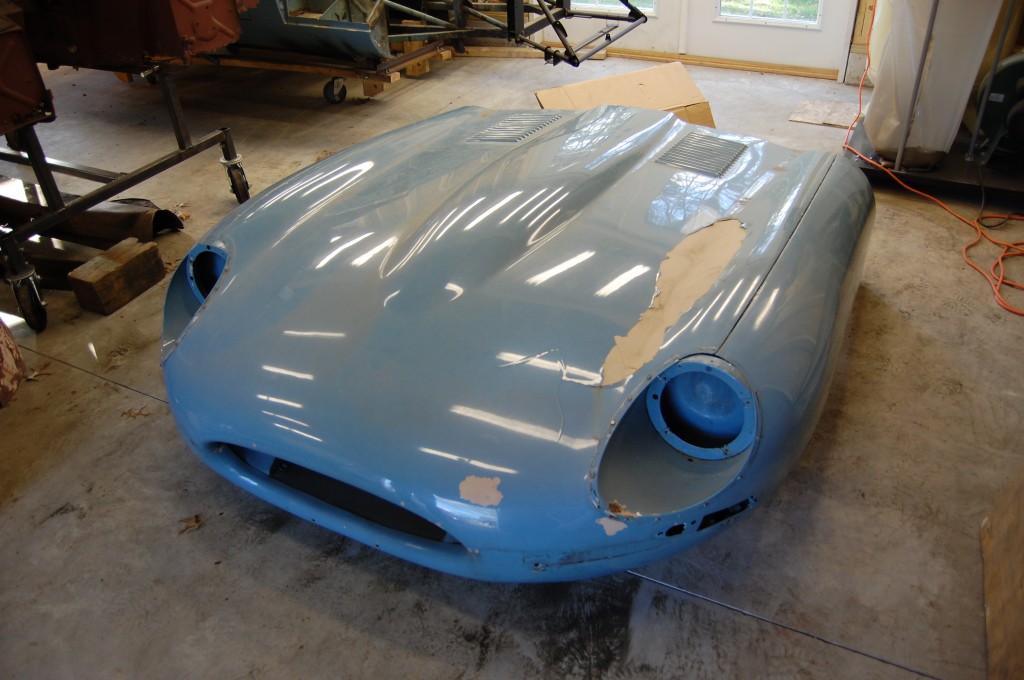
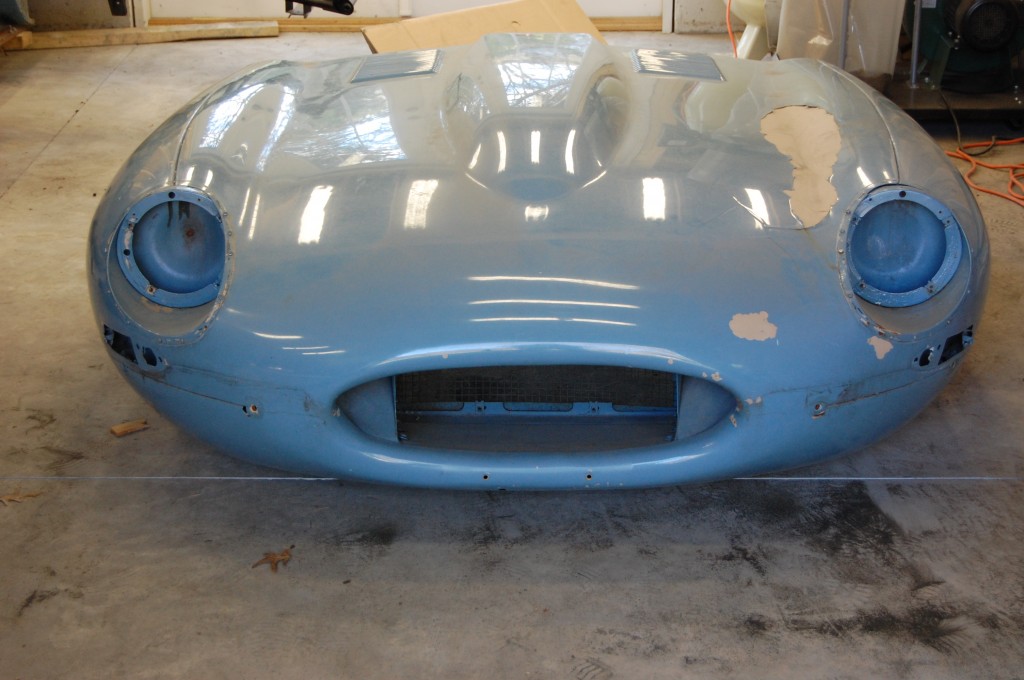
We’re replacing the 2+2 body shell with a short-wheelbase coupe, but we are keeping the original 1968 bonnet – though it will be converted to Series 1 covered headlights just like the one we did last week.
This car looked great when it came in – almost too good – and it was. I think the previous restoration was “high level amateur”. While the pieces were VERY rust free, crash damage had been only moderately repaired, and the solution to everything was wholesale coverage with a thick layer of filler.
Actually… I guess it wasn’t THAT bad of a solution if it truly was an amateur job – kind of an old-school hot rod approach, and a home-built solution to multiple layers of professional high-build primer, block sanded (which is really the way to go nowadays…). It sure was a pain getting it all off though – what a chore!
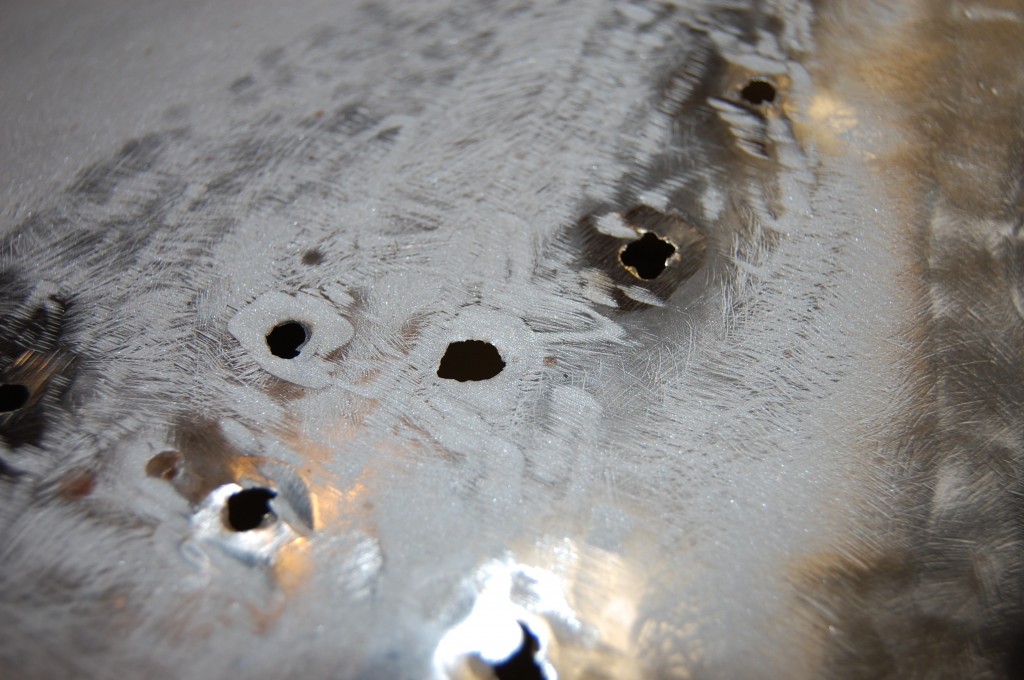
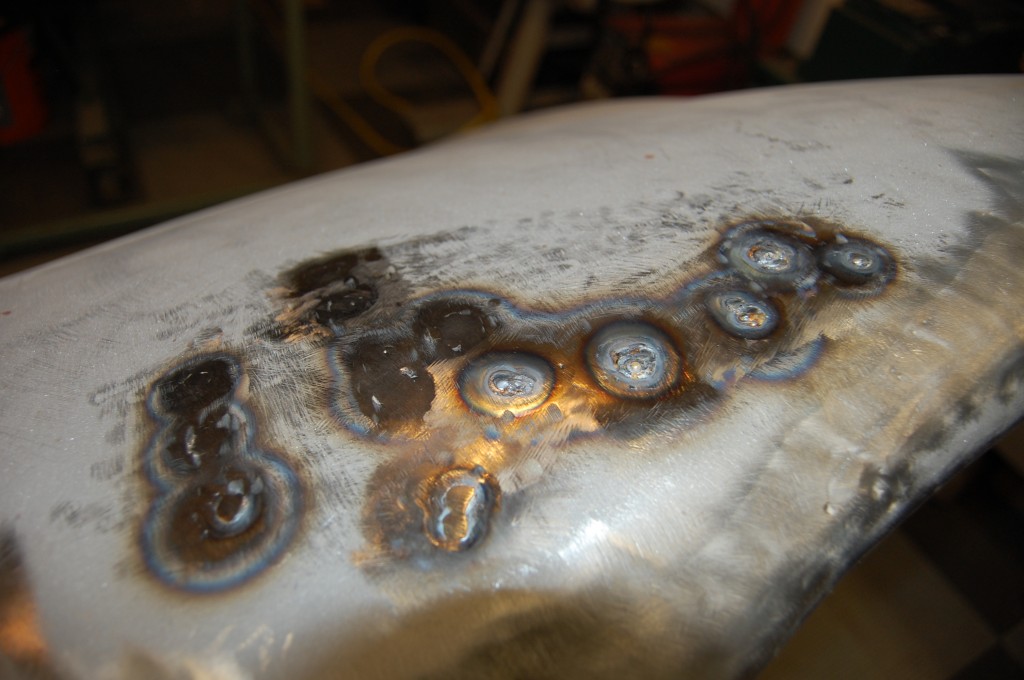
After the filler was all ground out, and the panels blasted bare, the center section revealed some real ugliness with dent-puller holes that were crudely welded up with a MIG welder. We spend alot of time welding up dent-puller holes, but not like this! The angry grinding of the little MIG knobs was the worst part – the metal was very thin, and getting all of this out of there revealed some much bigger holes to deal with – complete with paper thin edges – AAAAAGGGGGHHHHHH – what a mess!
This is worst case scenario, and for a while it was touch and go as far as being able to weld up and planish the holes, or having to wheel up a patch and replace the whole area. We got it though – have a look at the carnage – and the solution!
- Here she is on her old shell with the Series 1.5 headlamps.
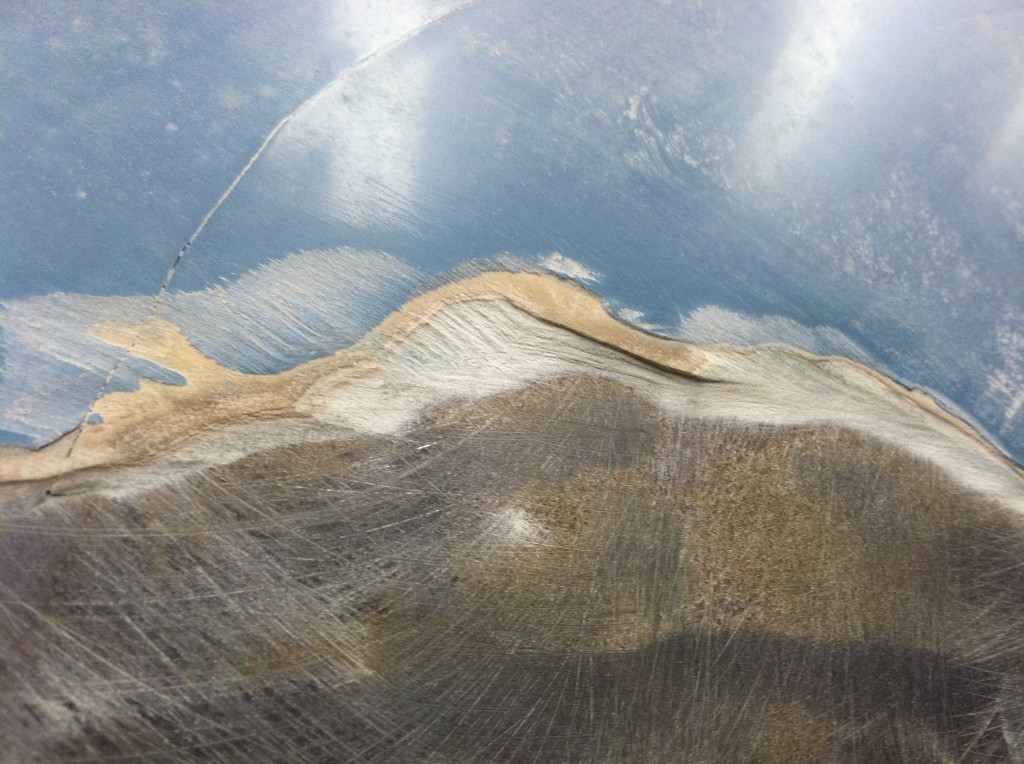
- One thing that that the previous restorers got wrong was the adhesion between their finishing products. I think that their layer right under the blue paint was wet-sanded to the point of being a mirror finish, and without the right paint system, this is what happens. Make DAMN SURE that your E-Type is painted by someone who knows EXACTLY what they are doing – ask ALOT of questions! The last thing you want is for your new paint job to start this in a couple of years…
- For all of the adhesion problems, though, the bonnet looked perfect – at this point, we did not yet know what horrors lie beneath…
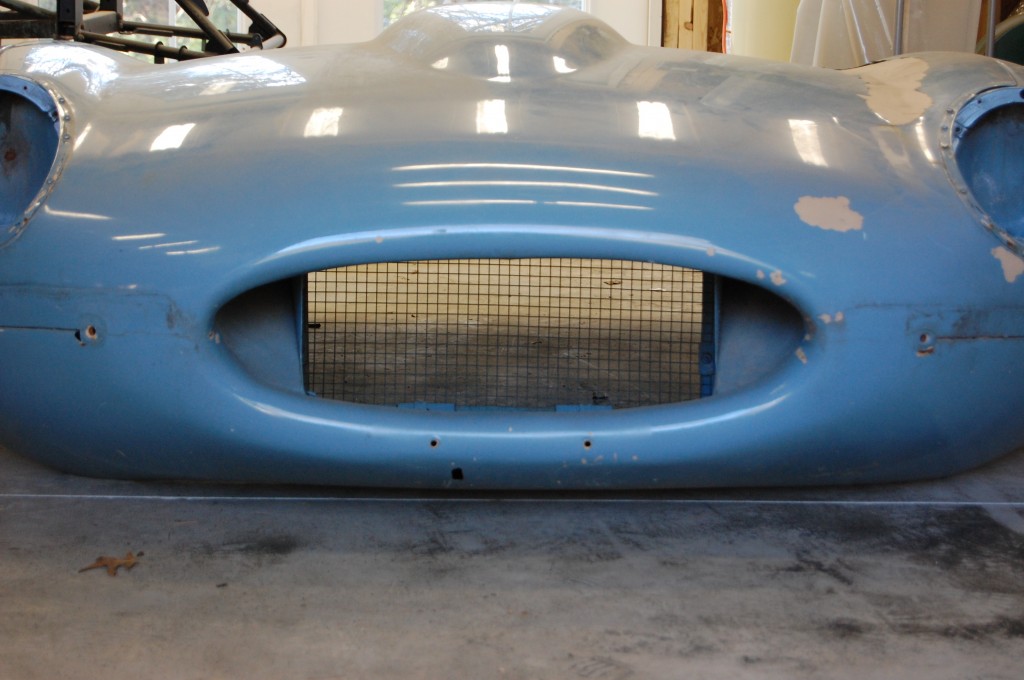
- Only when you got right up on the nose from straight in front, did you start to notice that maybe the top of the upper arch was a little flat, and filler was suspected.
- And then filler was revealed – LOTS of it! Here, just forward of the power bulge, it was over 1/4″ deep
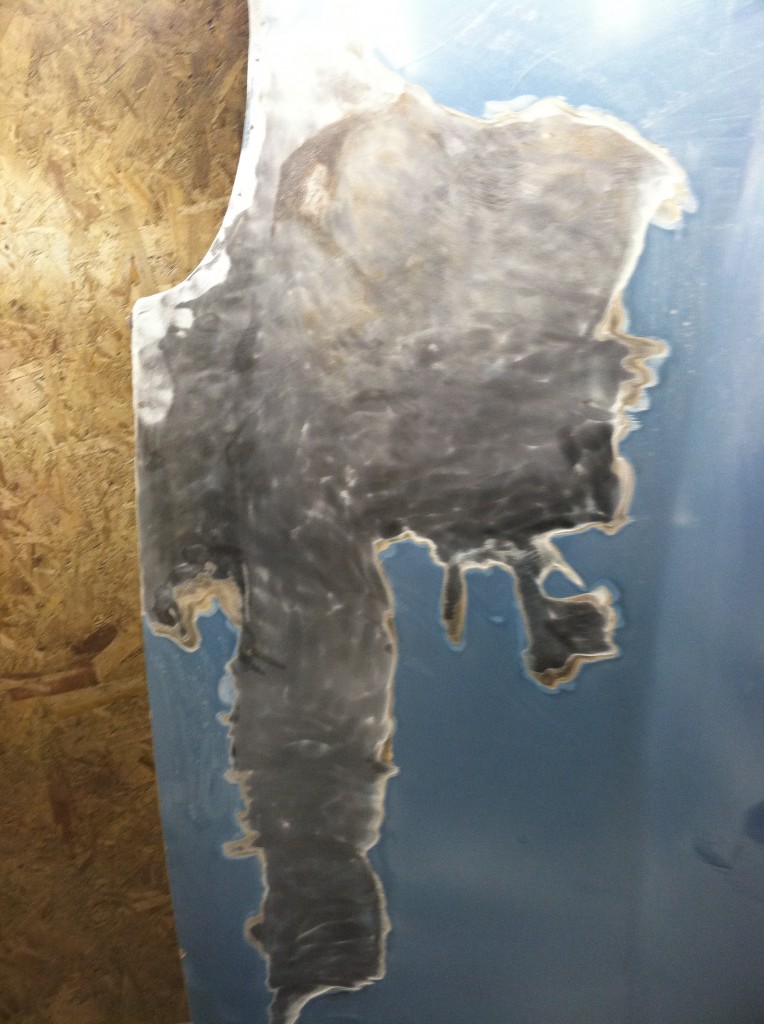
- And the filler just kept going, and going, and going – that’s when we realixed that filler itself had been used instead of block-sanded primer, and that the entire center section (and it looks like the whole car!) has a layer of continuous filler on it! We eventially switched to chemical strippers – and lots of hours!
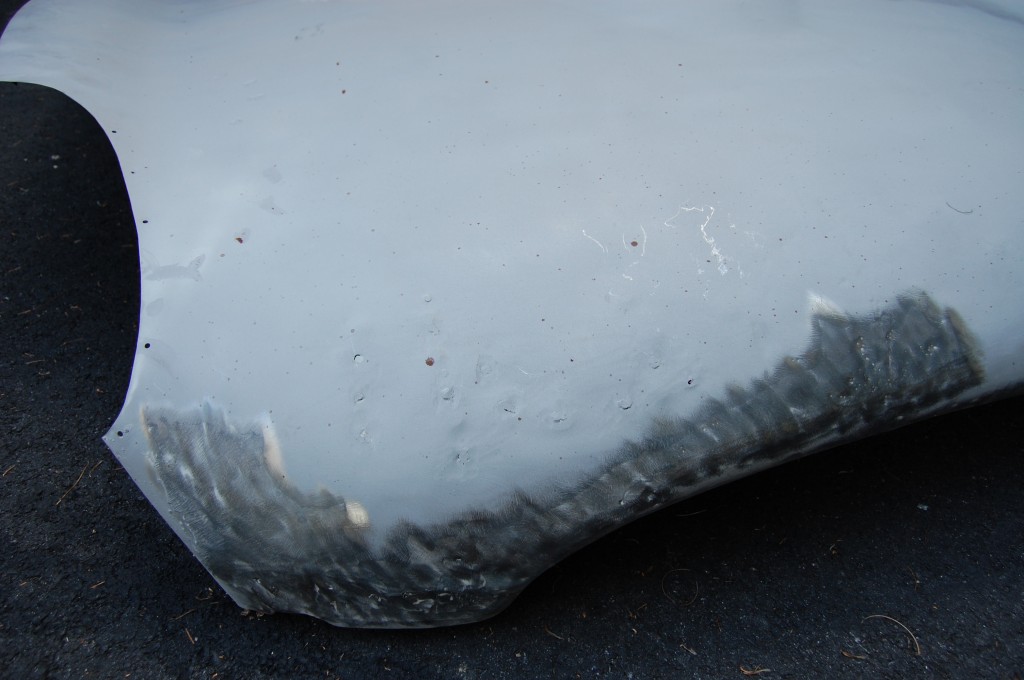
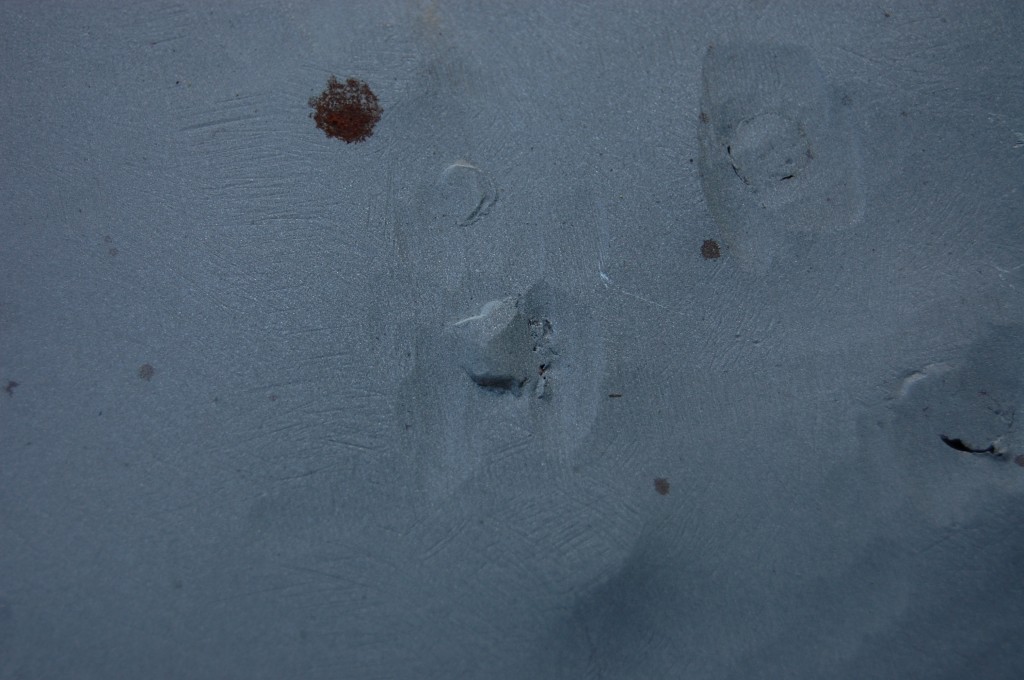
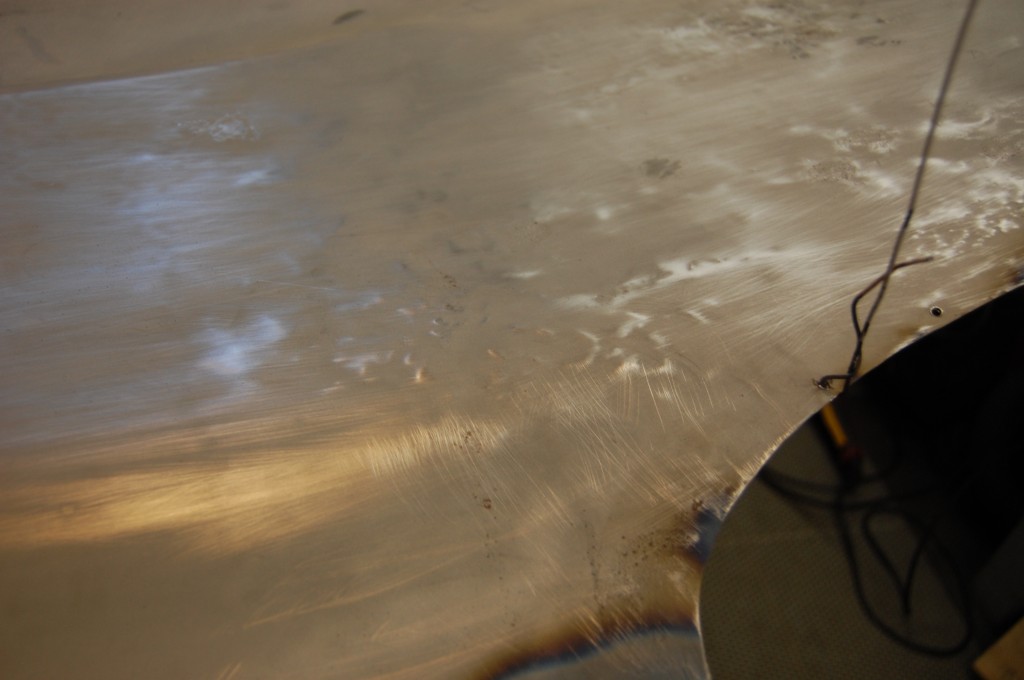
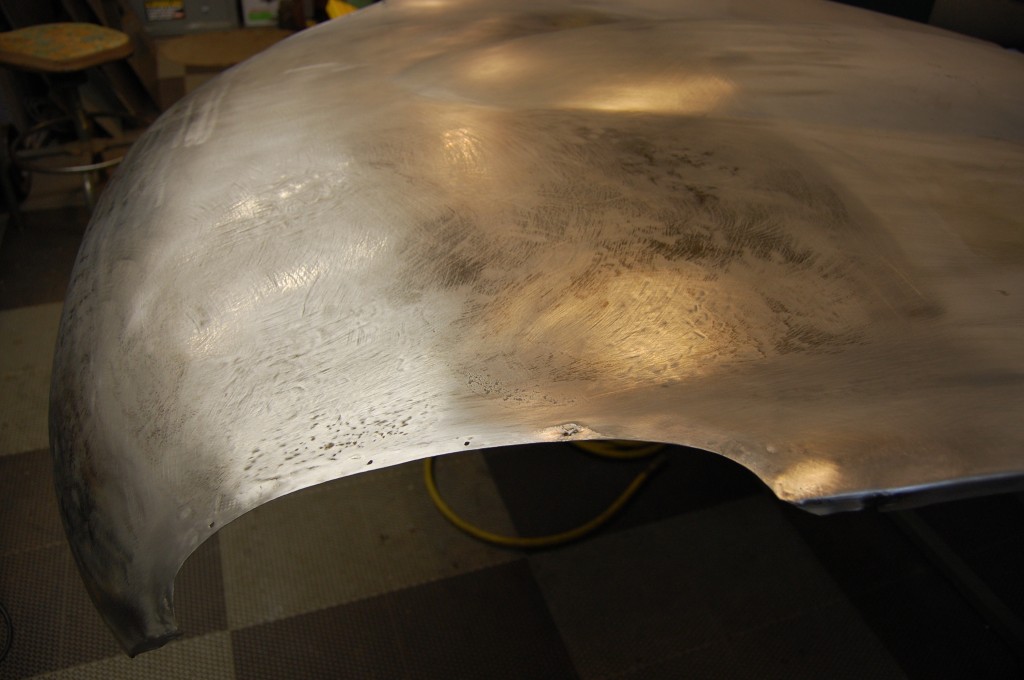
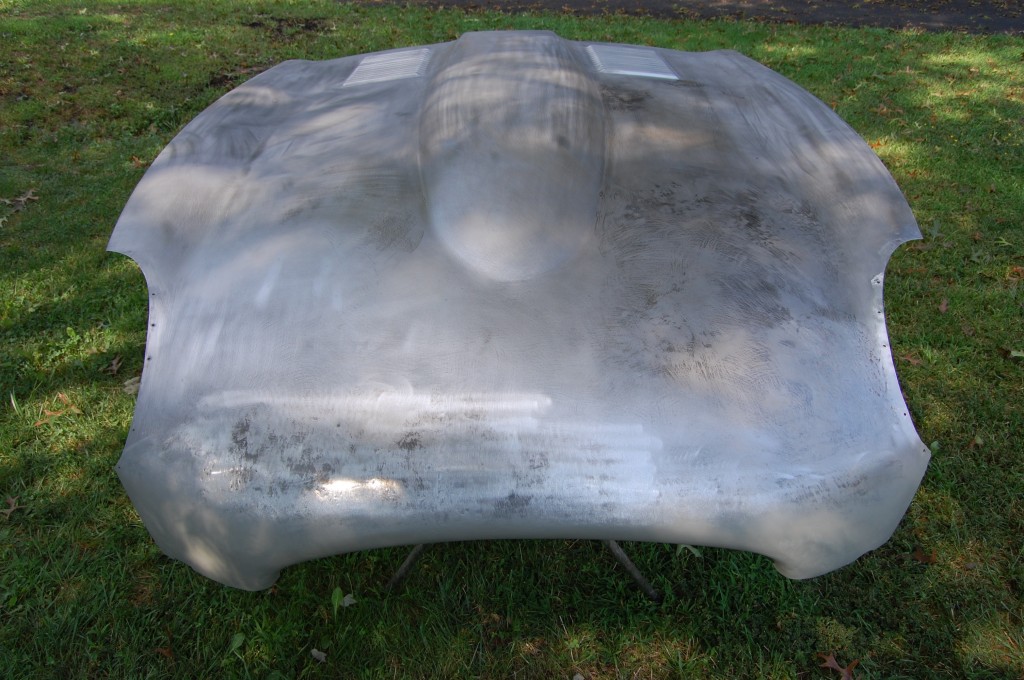
- Finally – after grinding out the filler, chemicals, blasting, and more grining of the thickest filler, we had her down to bare steel. This sat around for a while bare – which is actually pretty rare around here, and it looks like it got spattered with water – that is what the little brown specs are. It’s been bone dry ever since it was brought back into the shop, and to be honest, the only thing I can come up with as to how this happened is that maybe it got sneezed on… After the work was completed, we hand sanded the panel and took care of this – it was a minor issue.
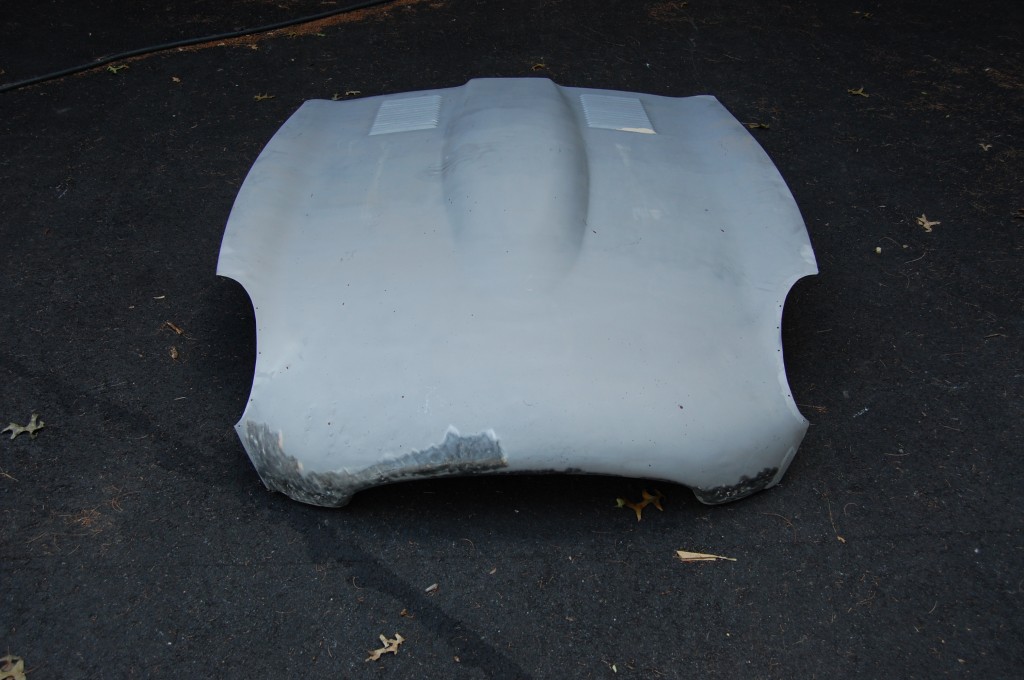
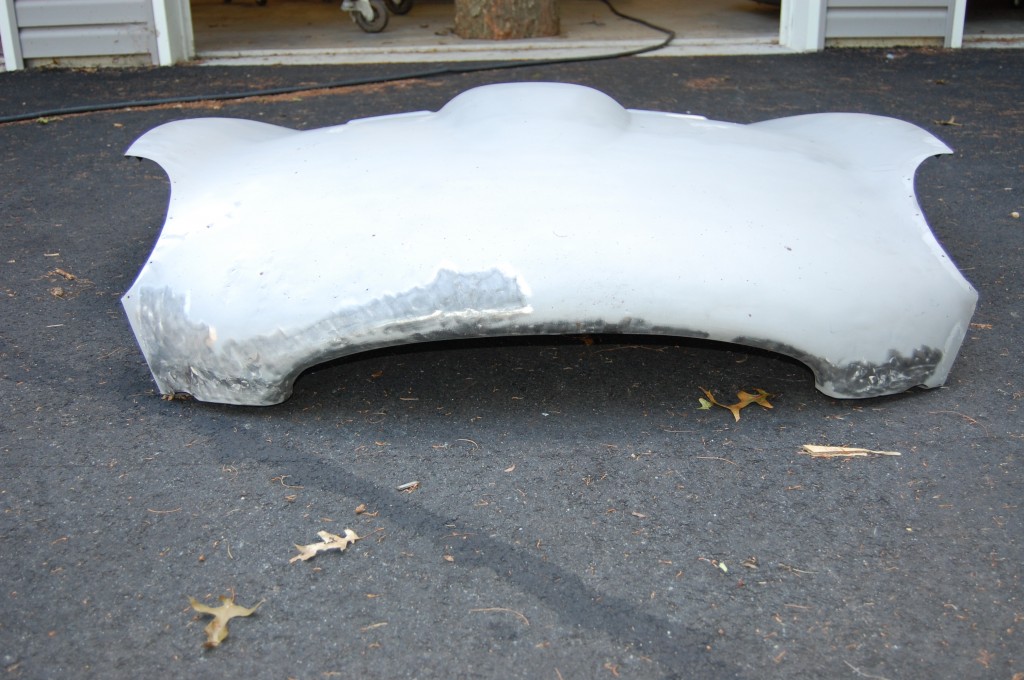
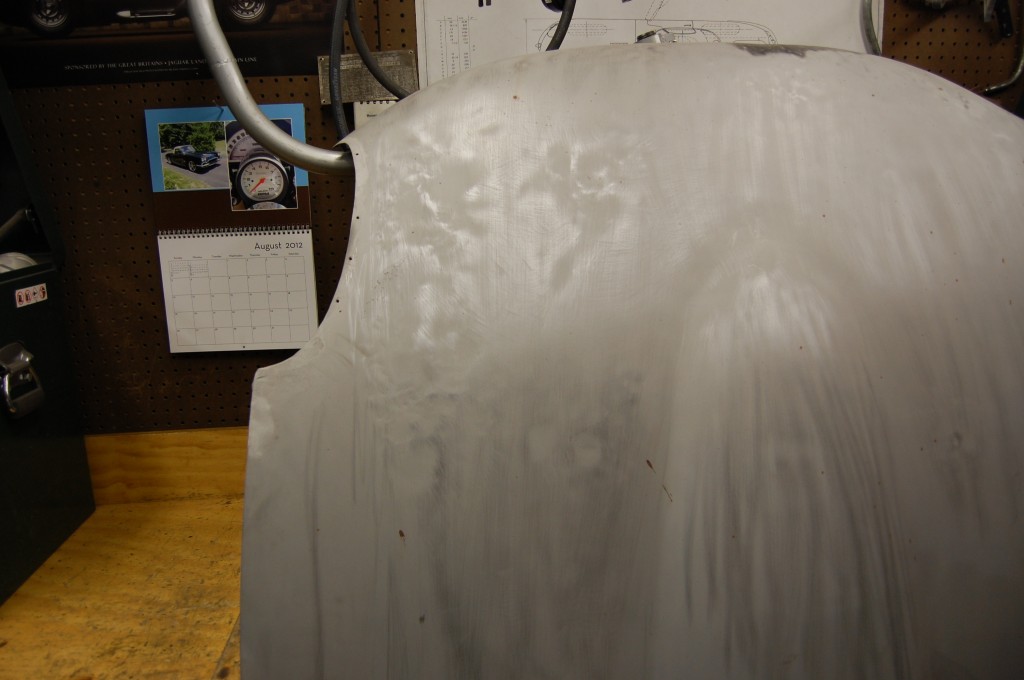
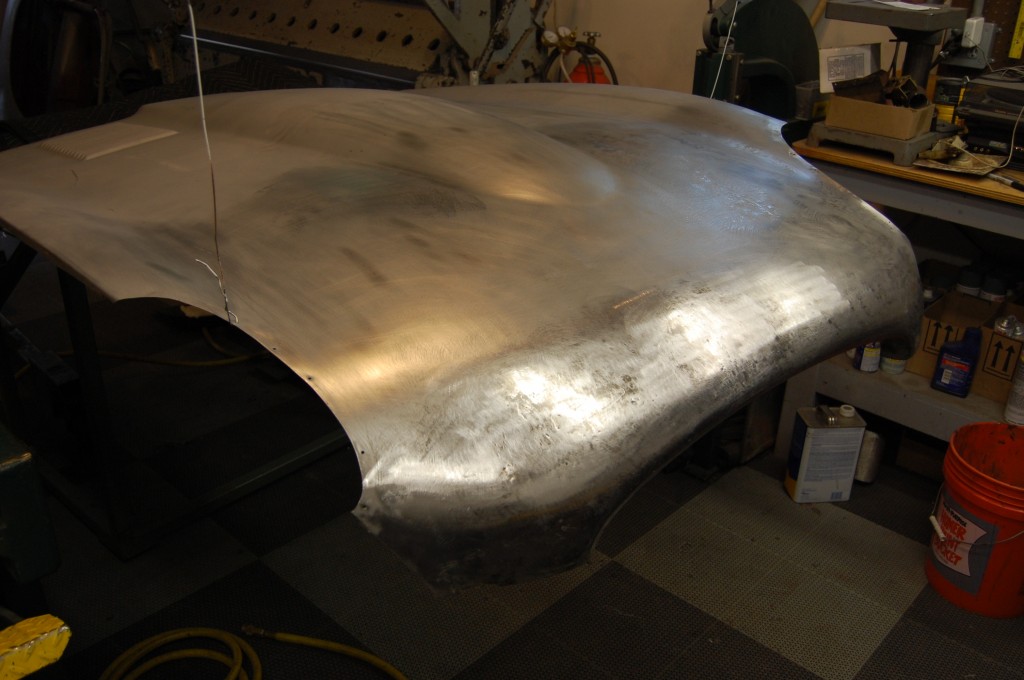
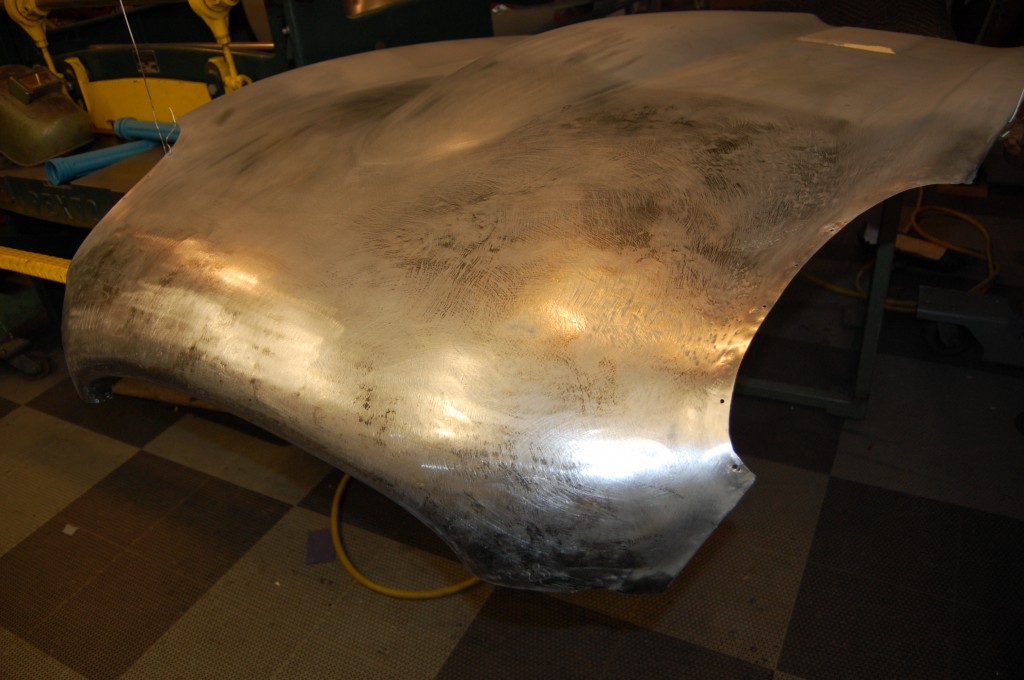
- When it was all finally stripped, from this distance, it doesn’t look too bad, but…
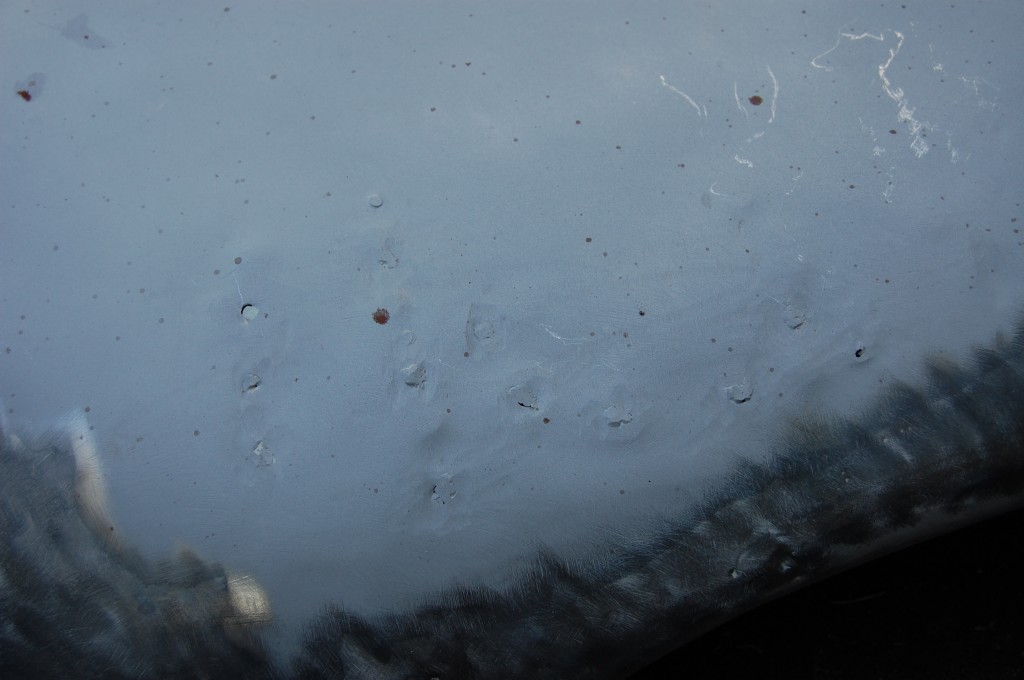
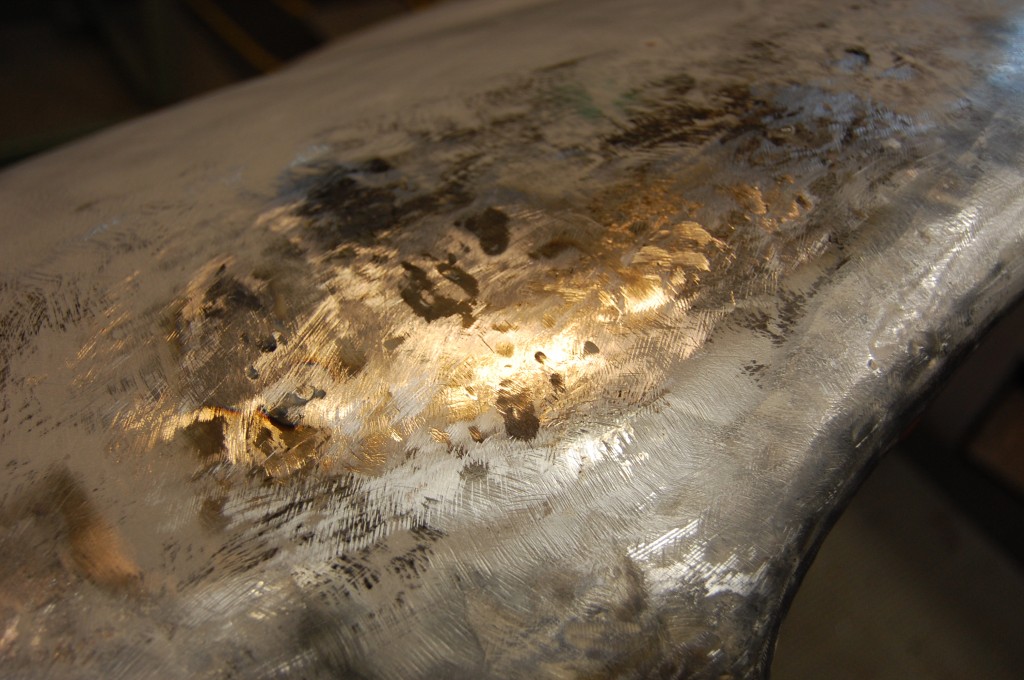
- Start looking closer, and there’s trouble…
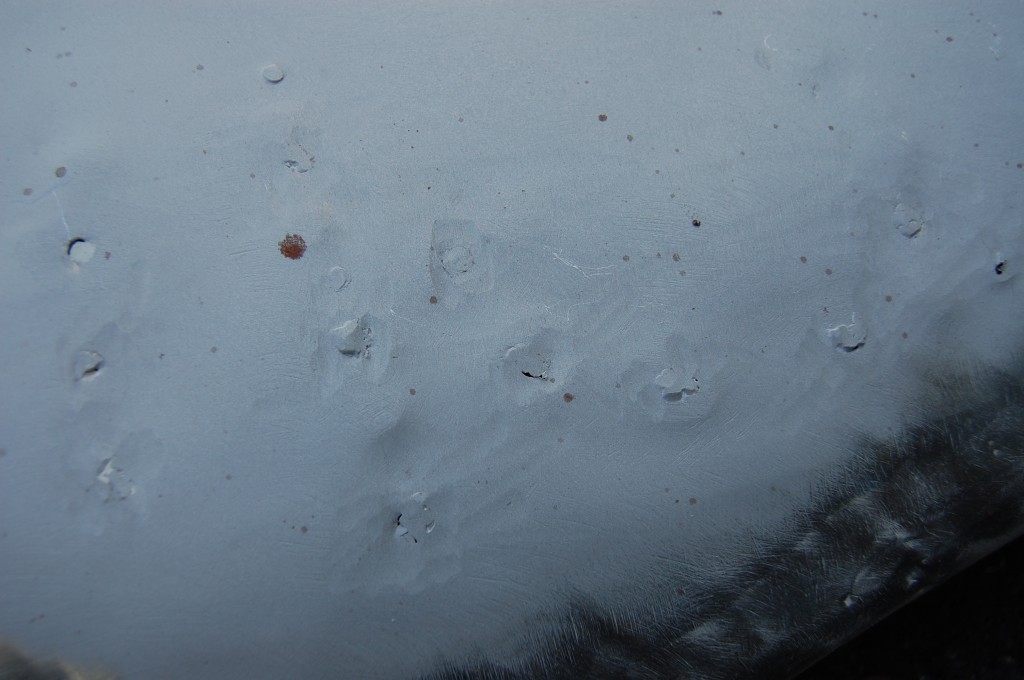
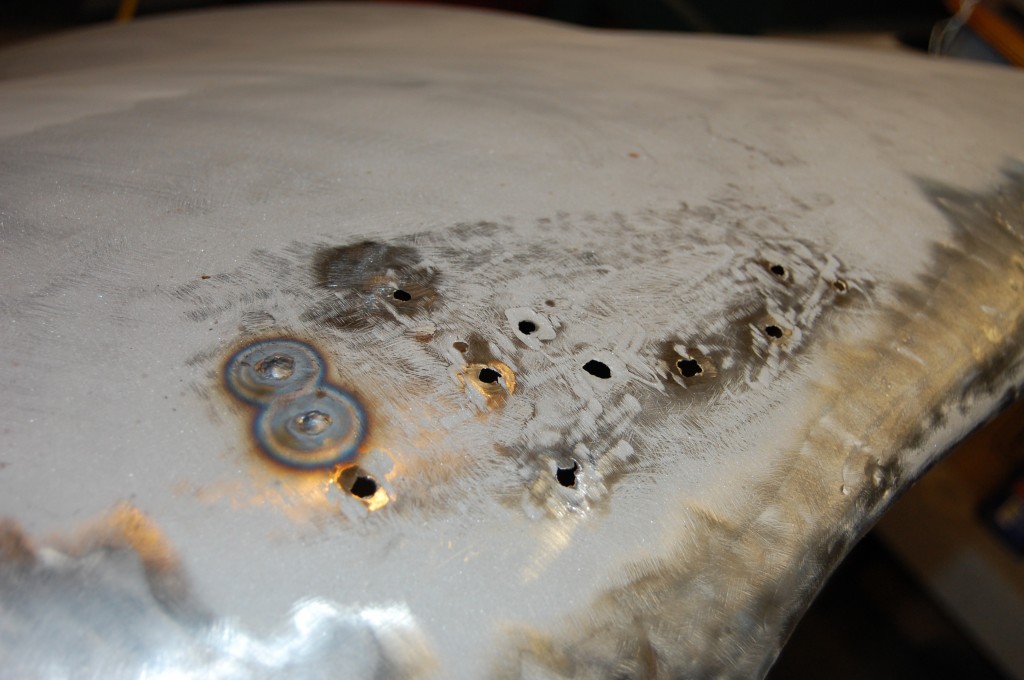
- The dent-puller holes had been filled with a MIG welder, and then ground down – but not quite as skillfully as we do it here…
- Oh boy…
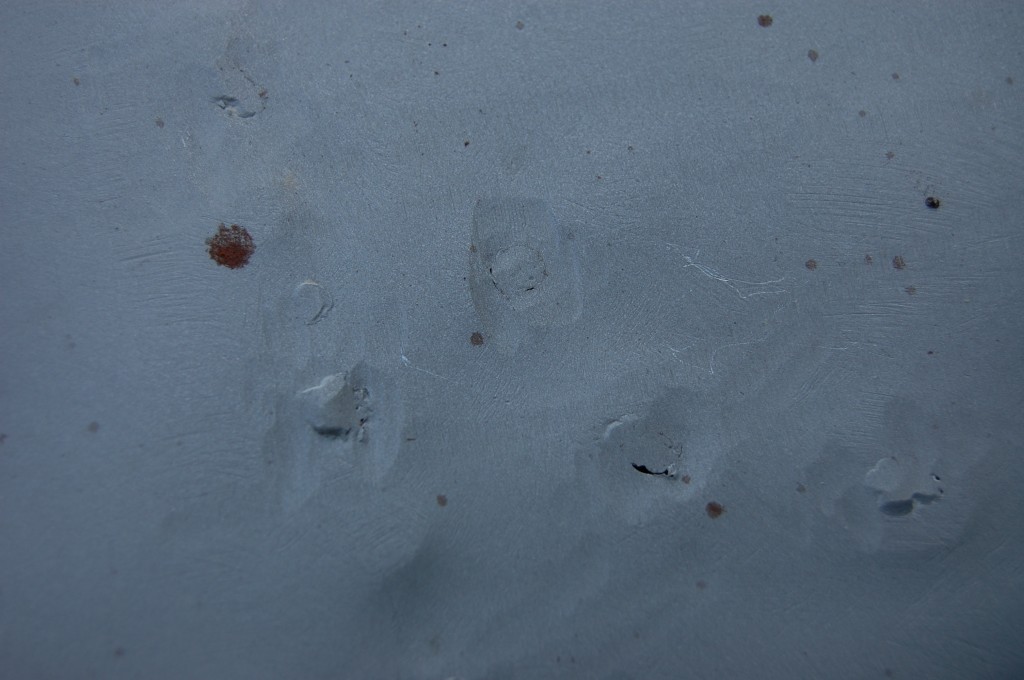
- This is really worst case scenario – these gouges are going to be tough to work with.
- This mess is what relegated the panel to sitting around for so long – time to do something about it!
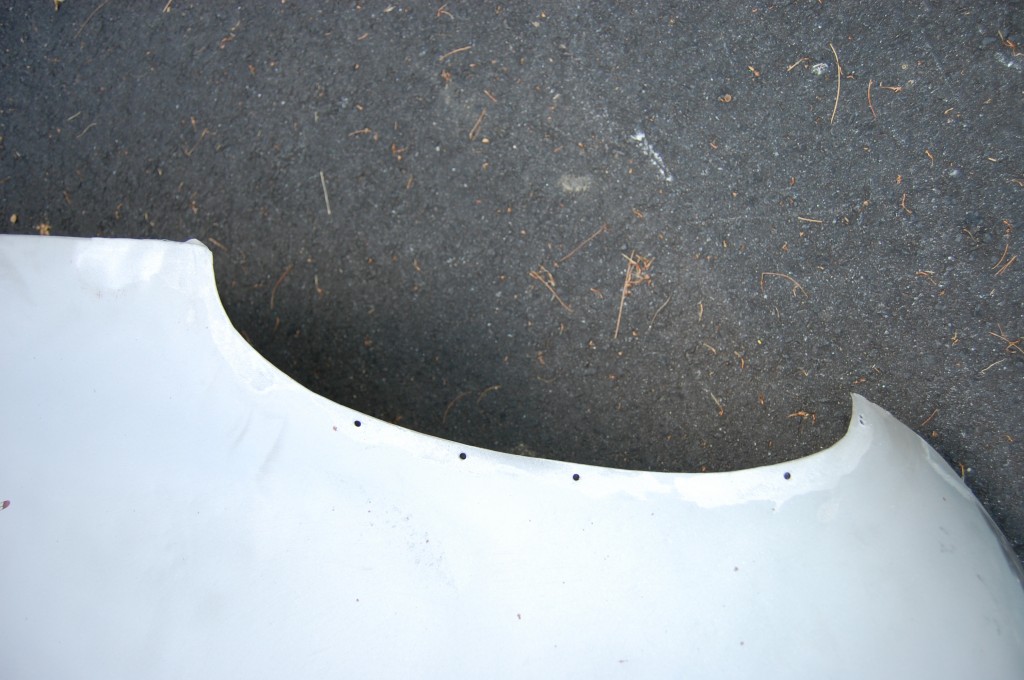
- There was a previous repair done around this headlamp opening, and lead was used – we’ll need to melt this out and smooth things out.
- The first step is to scuff the freshly blasted panel down with a sanding block to get a better look at the surface.
- This ws one of those times when I got into things so deep that I forgot to take pictures – almost! So here, you can see that we have had to dissect and remove all of the little MIG welded knobs. They actually were bad – no penetration, and as we started to grind them down and planish the area smooth, they all cracked and started popping out, so out they all came. This was more bad news, because it made the holes bigger, and REAL thin around the edges. At this point, we have TIG welded the first two closed again.
- This is a close-up showing how big – and thinned out, these became.
- Well, we got them all closed, but in the finishing stage, we had to touch things up multiple times – some of this metal was tough to work with!
- Another shot during the action – looks like some shrinking has already happened in this shot.
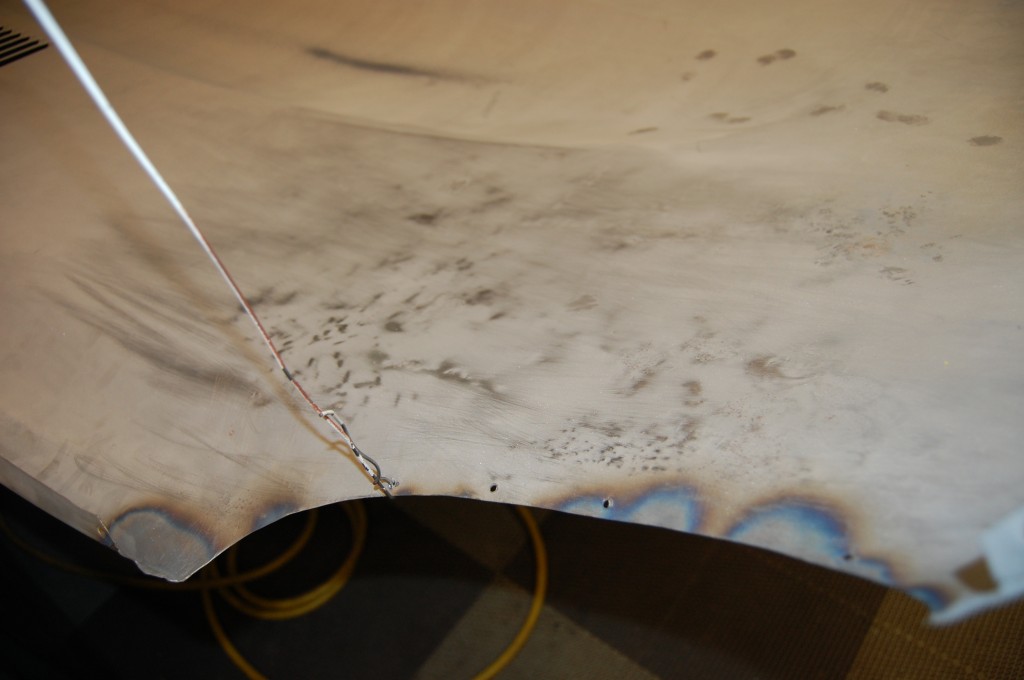
- This is the underside of the LH side of the center section. W had to work this area from both sides to get it right. The blue areas are where we have melted out the lead repairs completed in the distant past.
- Scuffing has revealed the work we have ahead of us here.
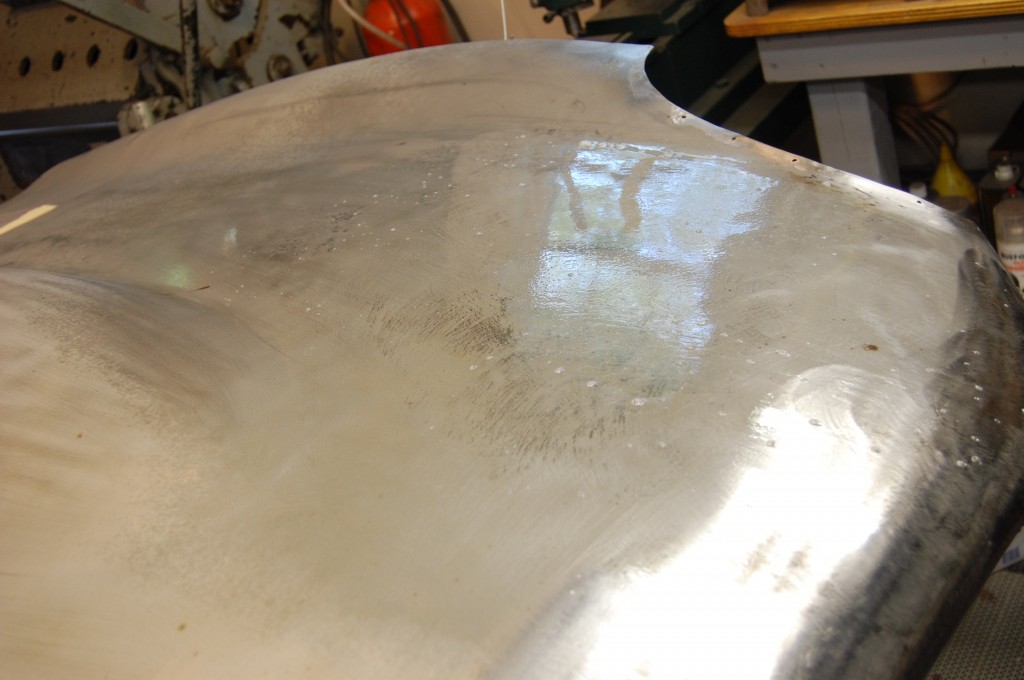
- After alot of hand planishing with dollies and the slapper, and shrinking, we’ve got this area back as good as new. The gloss is soapy water that is used to quench the metal during the shrinking phase.
- The metalwork is now complete on the first 24 inches of this panel! The welding up and smoothing of the holes was a success – and faster and probably more uniform that a patch would have been. We may get away with block sanded primer here now.
- Good as new!
- I was really pleased with what I was able to do here!
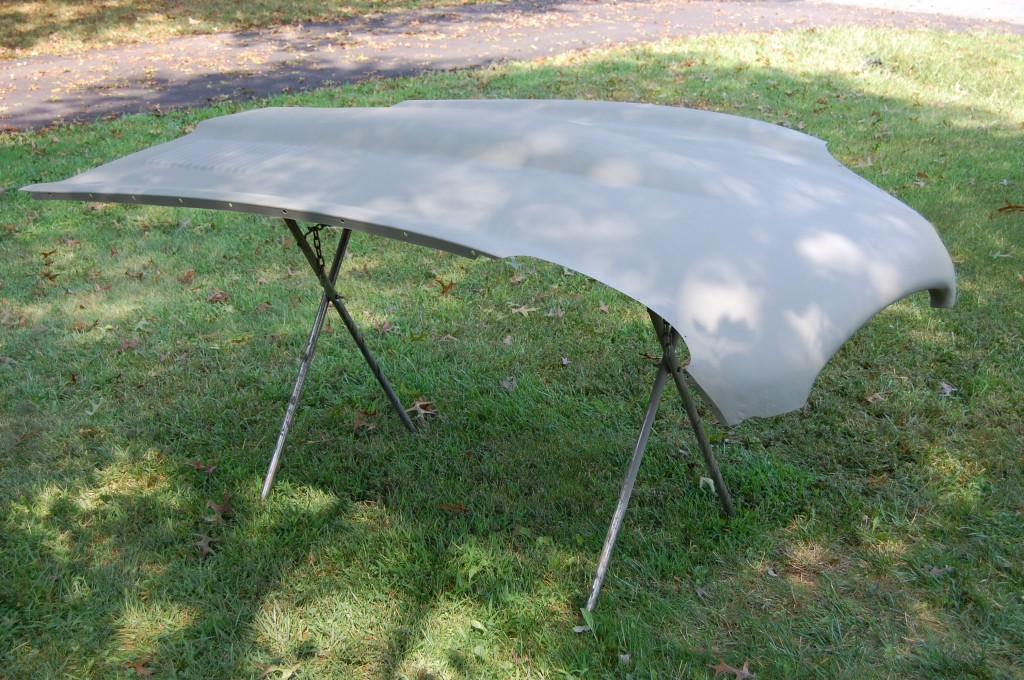
- All of the little rust specks have been sanded off now, and this panel is ready for some self-etching primer.
- Primed and ready for re-assembly. Some surface imperfections from the previous repairs remain here that will need a little filler, but the area is smooth now and back into the factory arrangement. During the planishing of the “holey” area, we also reshaped the nose, adding back in the arch in the center that had been flattened out a little in the past – she has the proper nose shape now too. If your bonnet has some tricky metalworking challenges that you want erased – the right way – give us a ring!

