I often get calls or emails from customers looking for a possible patch panel and/or some advice on how to proceed with their particular problem. I can usually help – and we actually support alot of shell restorations via e-mail photos, by sending the various panels needed, forming special patches, etc. Sometimes, though, I have to write back and basically say, “Ok – just stop…” and this was one of those times…
A couple of months ago, a customer wrote to me for some advice on repairing their bonnet. They had started some repairs, and had stepped up to a new lower valance. I think that after they bolted up the new lower valance, their other panels were looking pretty bad by comparison and they wanted the whole skin to look like the new lower valance.
What I recommended was to “trade up” to some better original panels from our supply. One thing that the customer was concerned about was the fit of the final product to the shell. I assured them that original panels – properly restored – are always the best way to go. The new stuff seems to be getting worse and worse all of the time…
As it turned out, we had a set of matched wings and center section from a ’68 Series 1.5. These were very nice pieces that I picked up at a swap meet a few years ago. The story I got when I purchased them was that they were found in the attic of a gentleman that had Jaguars and had passed away. If I had to guess, I would say that these panels were removed from his car because of the rust in the side flanges, and were probably replaced with new panels – most likely Series 1 stuff…
Here are some photos of the customer’s original panels, and then the panels we were able to provide. All panels that we sell are restored pieces, so you’ll also get to see these panels brought back to near-perfect condition. In a separate blog posting, we will weld in a set of our Series 1 covered headlamp conversion flanges, making these identical to Series 1 pieces in every dimension.
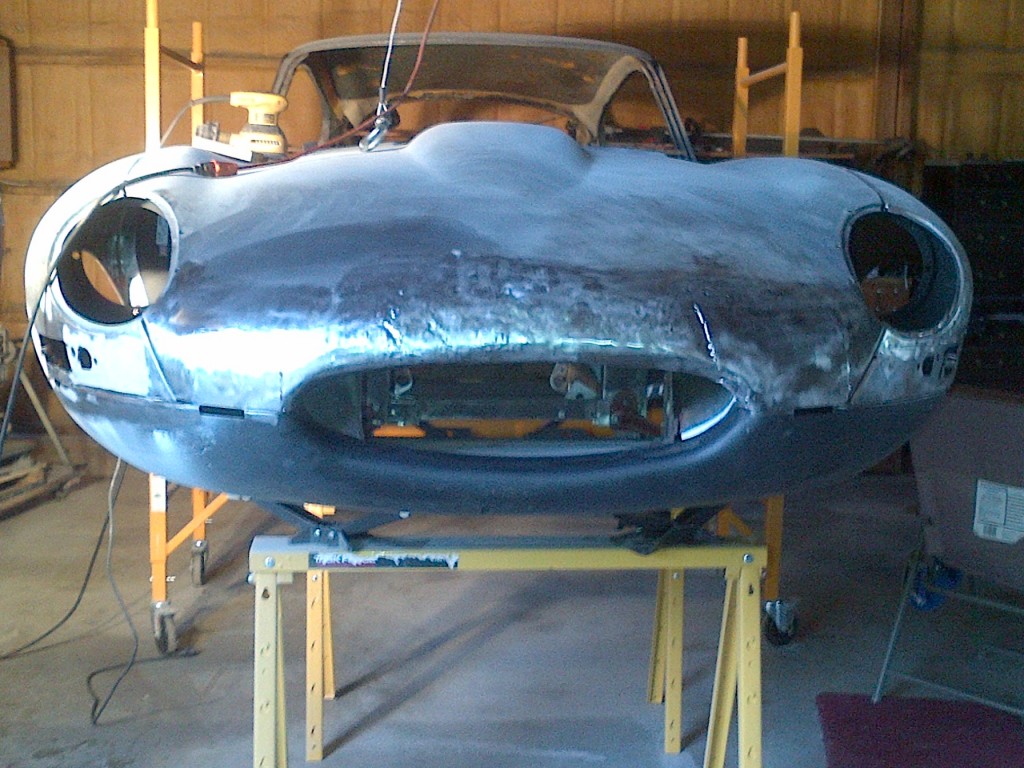
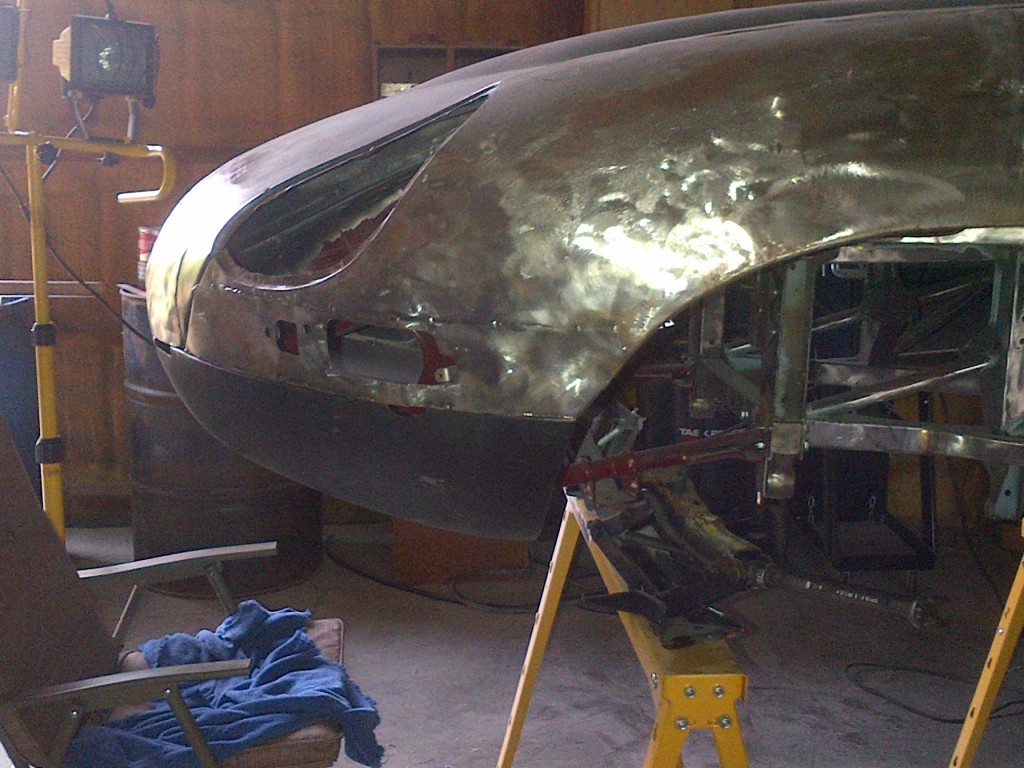
- Here is the customer’s bonnet – overall, things look kind of “semi-OK”, and maybe even salvageable from this distance, but she’s really just too far gone. OH – it’s theoretically fixable, but for the amount of hours and therefore, cost – we can do ALOT better for the customer.
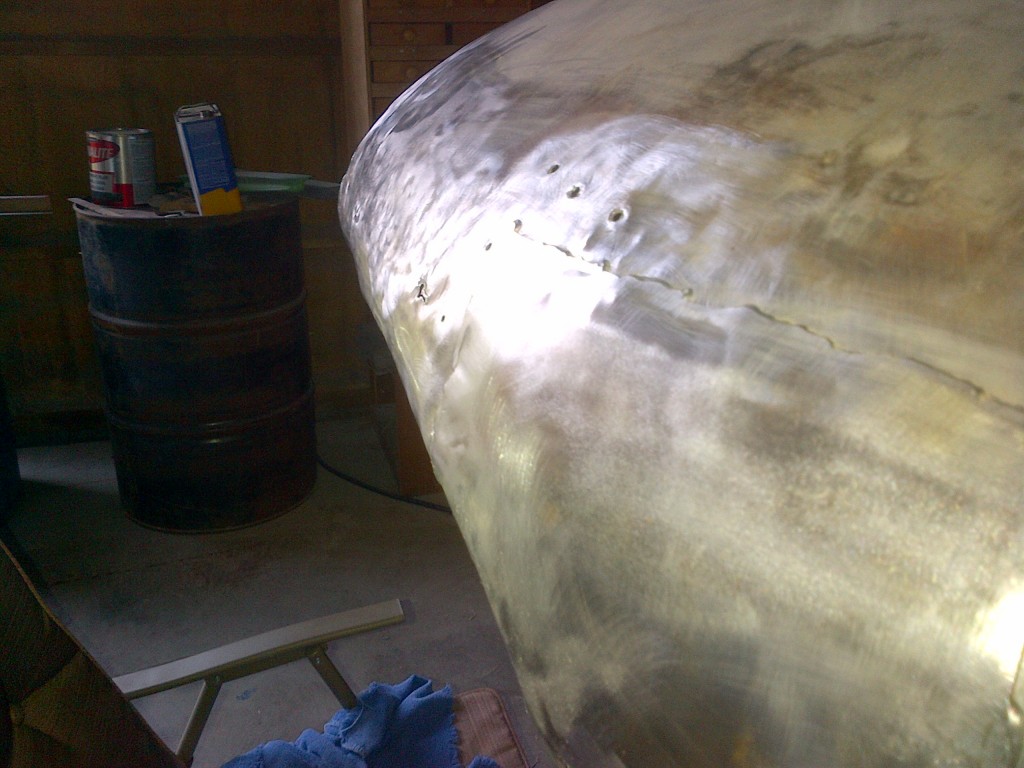
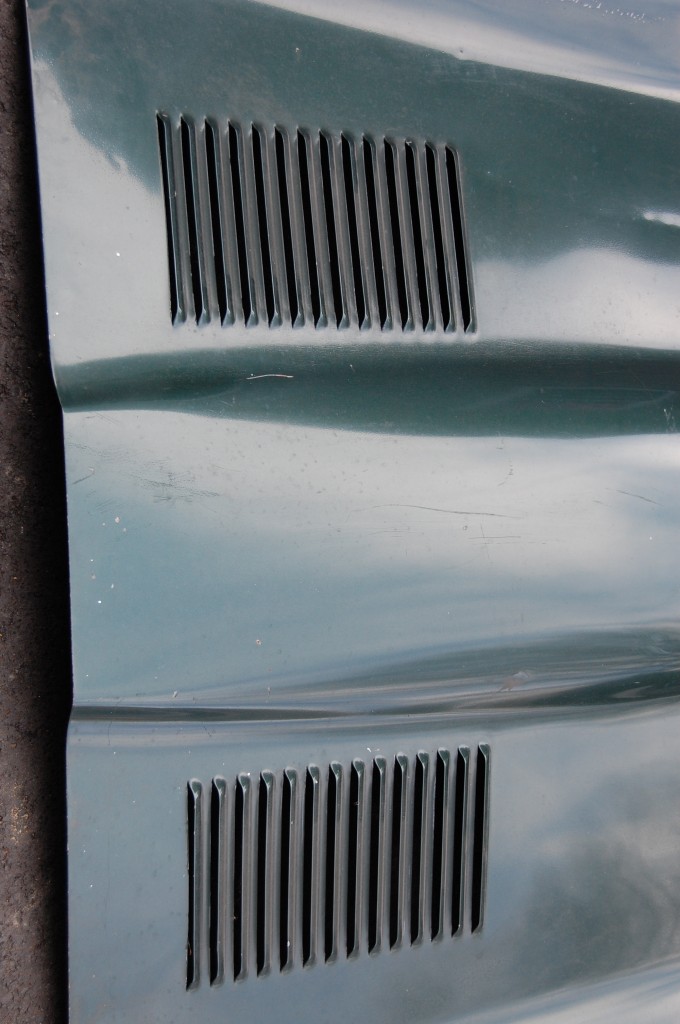
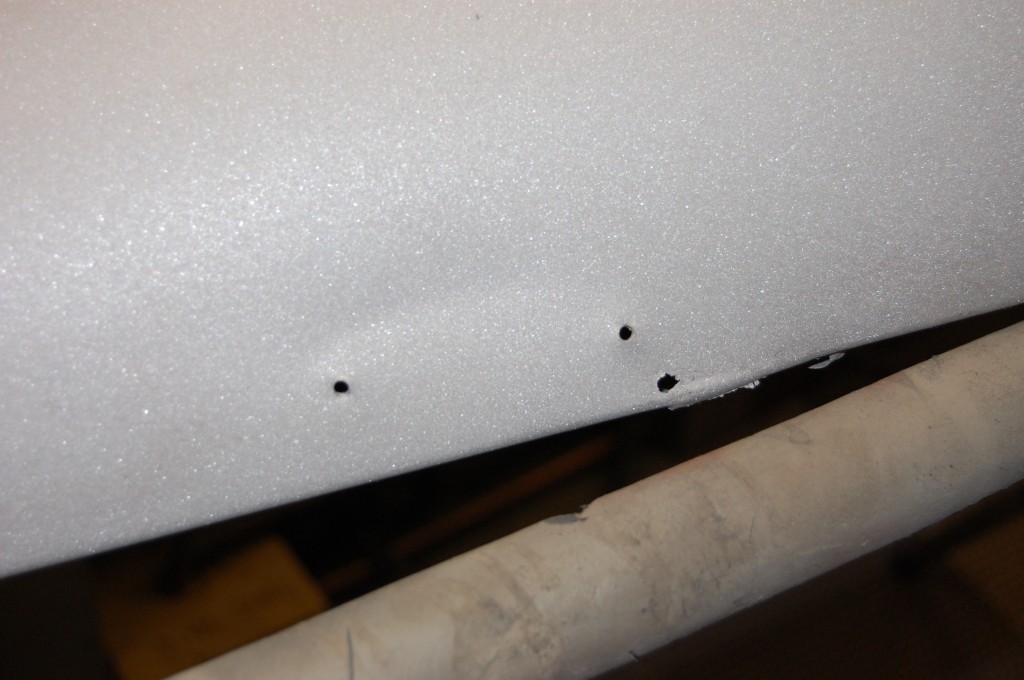
- The flat areas in front of the louvers are just about the hardest areas to repair and smooth, so these holes are bad news…
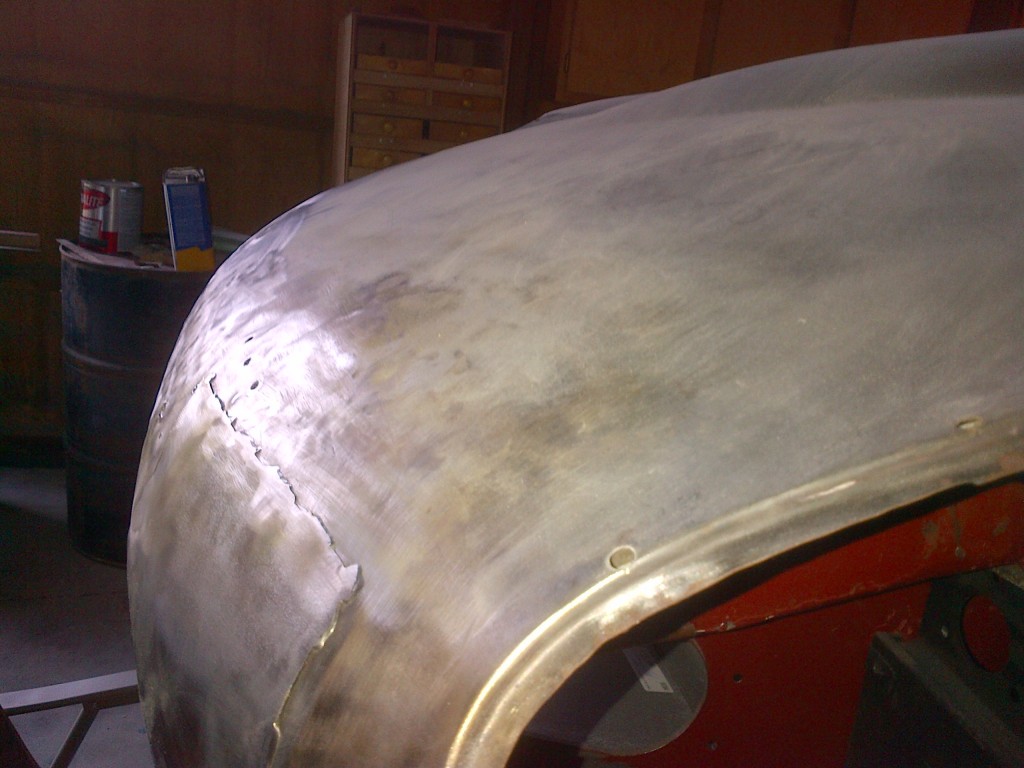
- These dents are actually workable – we have done miracles with power bulges in the past (see the crushed V-12 bonnet last Winter) – but it’s all shop time, and it starts to add up – making a bterr panel look more and more like a better choice.
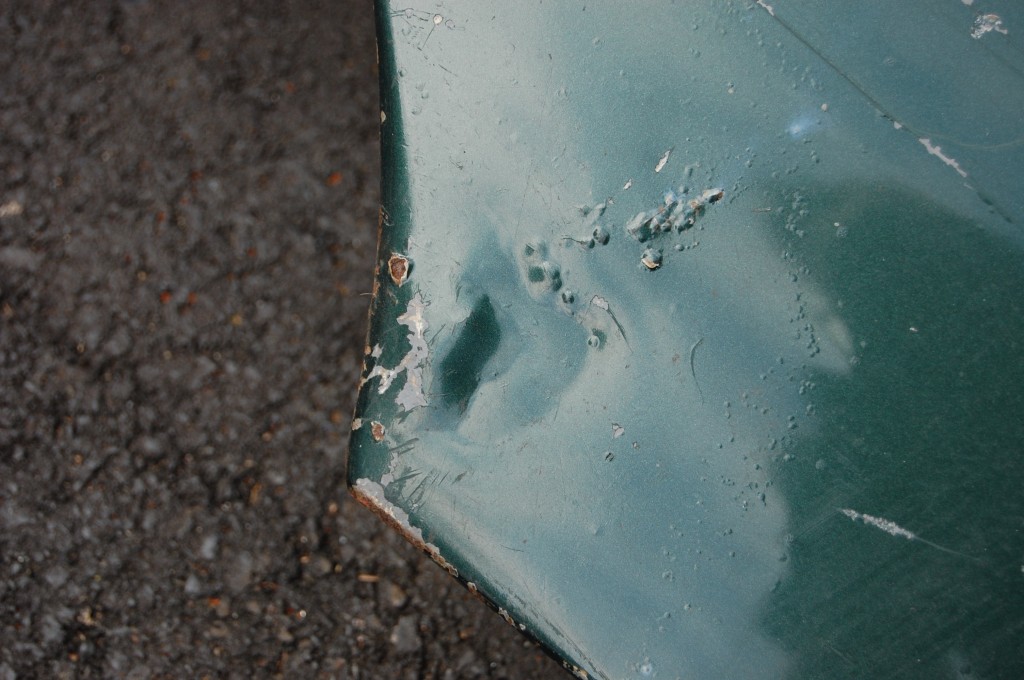
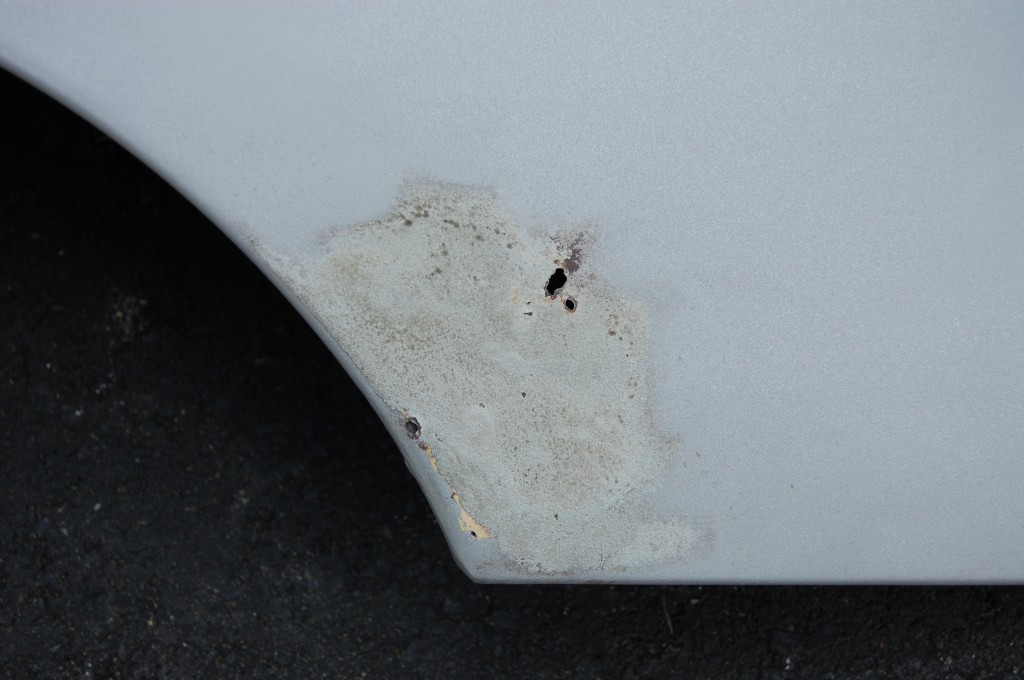
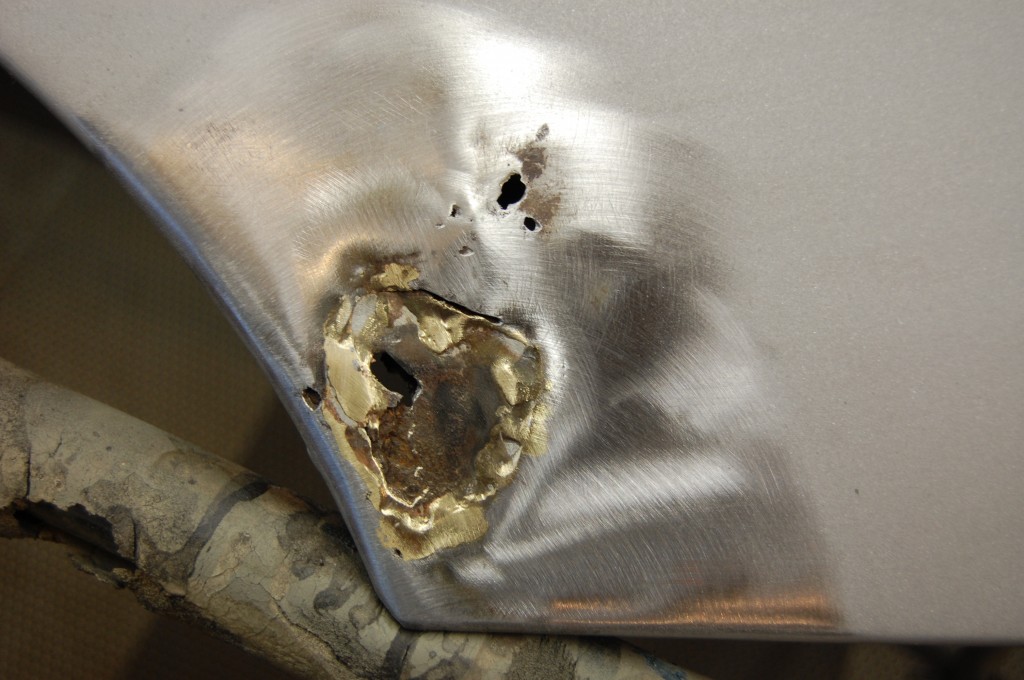
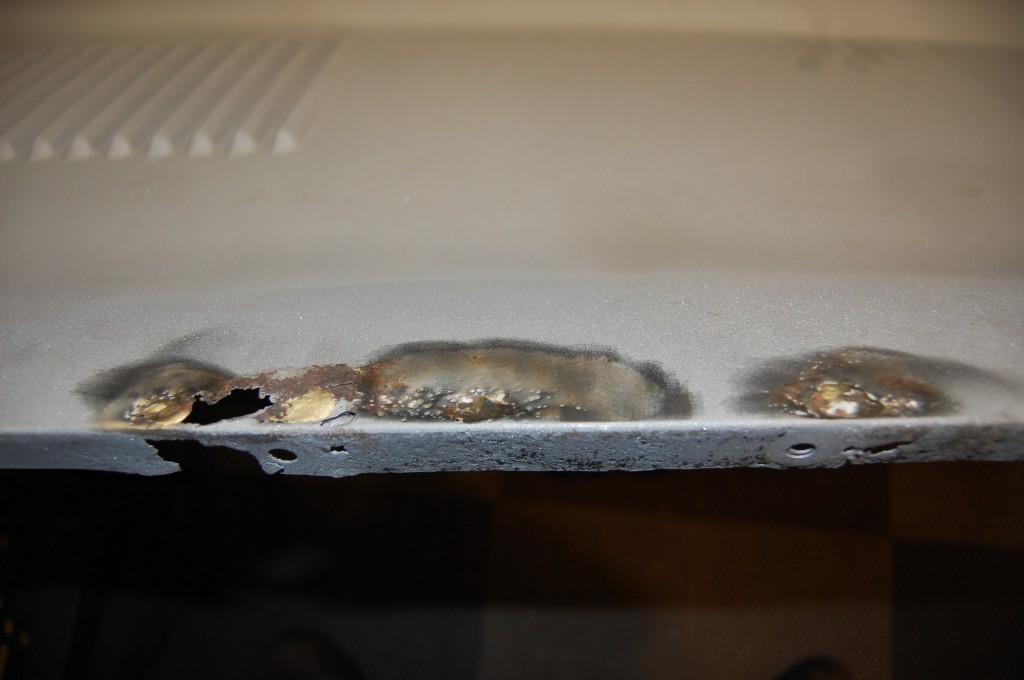
- OK – NOW it’s starting to get ugly. This patch was put in with the best intentions, but it is now no longer something the customer wants to move forward with.
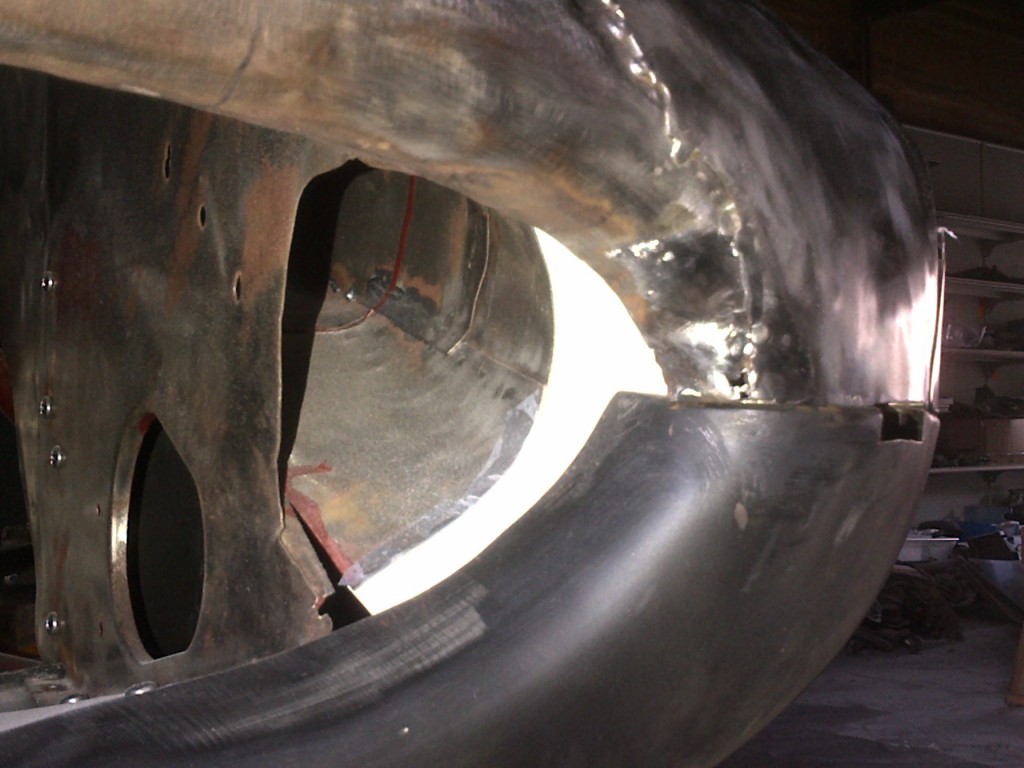
- Here you can see that the whole wing below the headlamp is a patch – this is a nice try, but this is just not workable…
- This contour in the corner of the mouth is critical, and the correct shape has been lost.
- In this shot, you can see the problem with the leading edge. This would require LOTS of hammer and dolly work here – or LOTS of filler – which would inevitably crack and fall out at this thickness.
- One last photo. I put this one up because you WOULD NOT BELIEVE how many “100-point Concours” E-Types out there actually look like this under their fancy paint jobs. Start driving them around – and do it like they’re meant to be driven – and the bondo starts cracking and falling out in chunks!
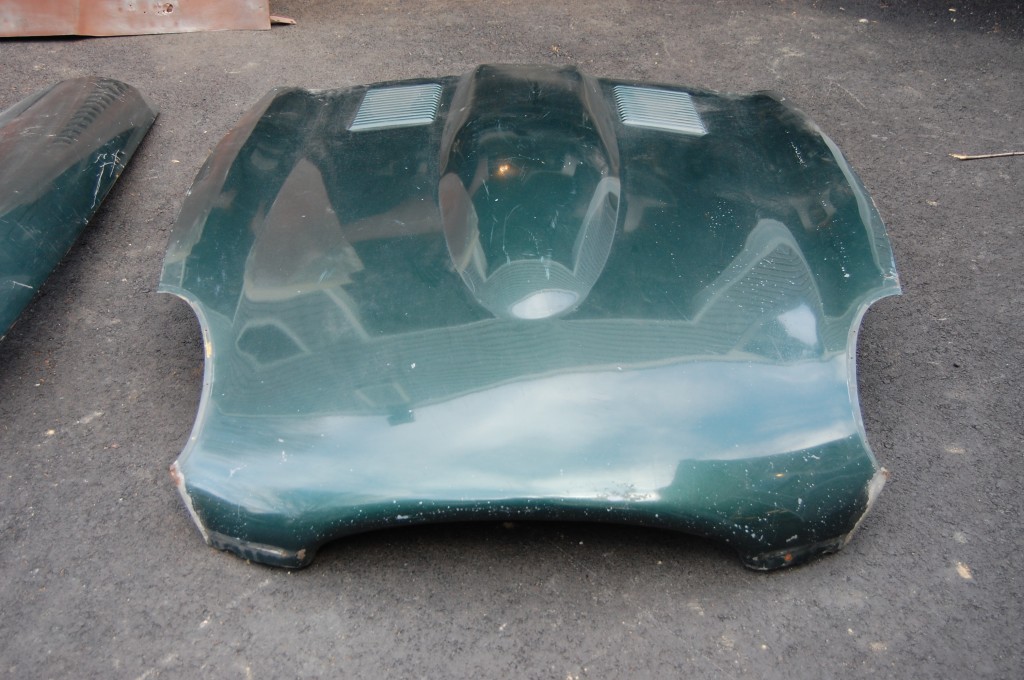
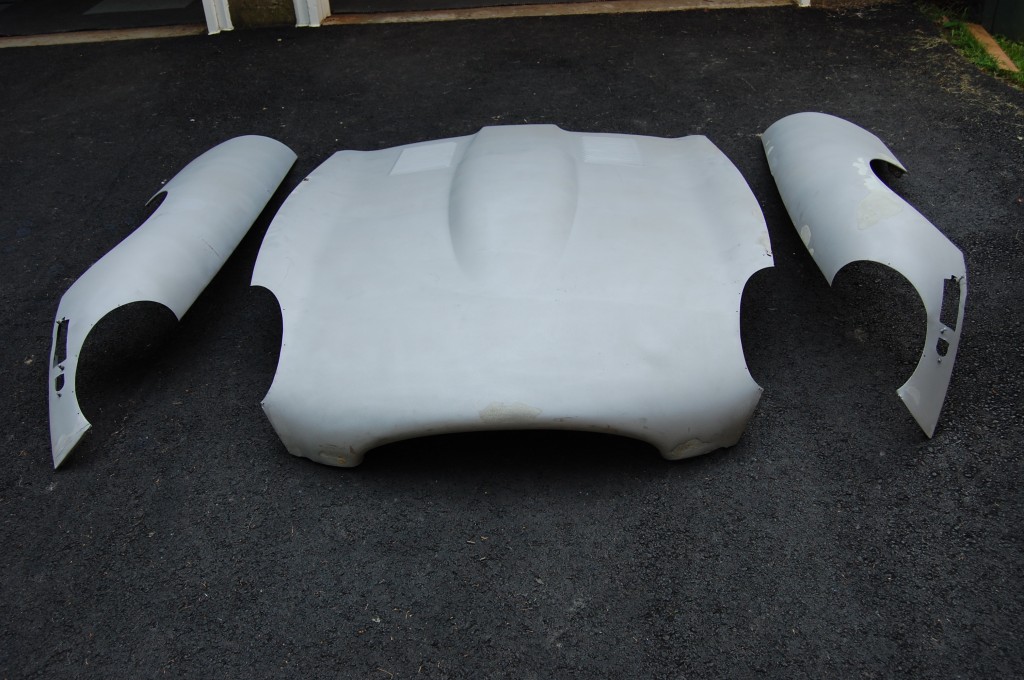
- Here’s the solution – these Series 1.5 panels are in GREAT shape, and we can seamlessly convert them to Series 1 specs.
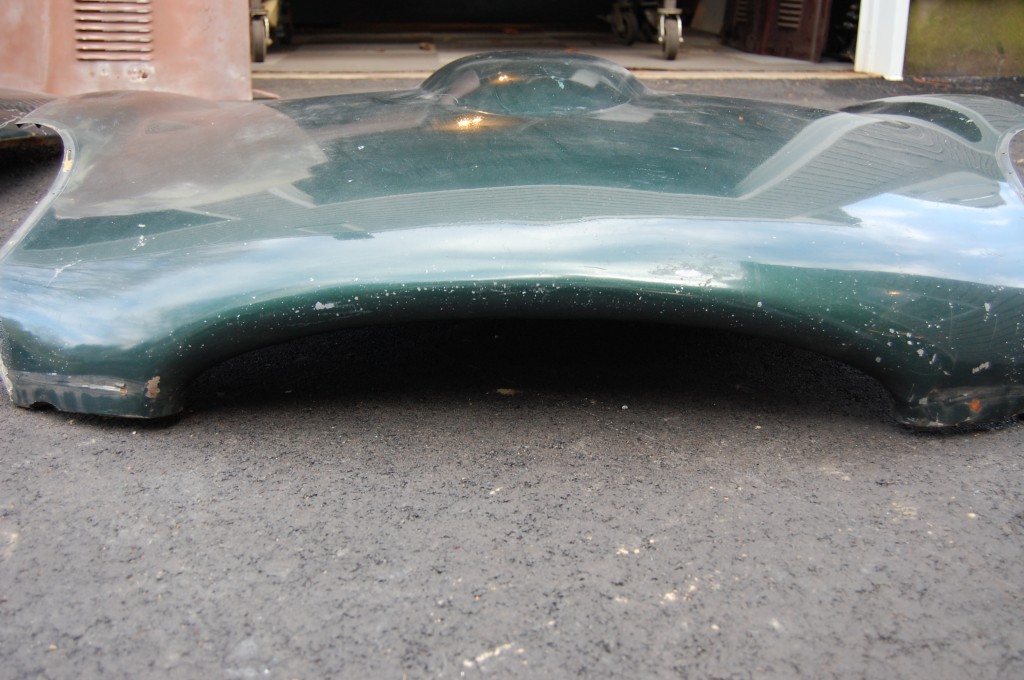
- The nose is PERFECT! I was actually saving these for one of my own projects, but those are so far on the back burner at this point, that it’s better to see these help someone else’s dream of getting their E-Type on the road.
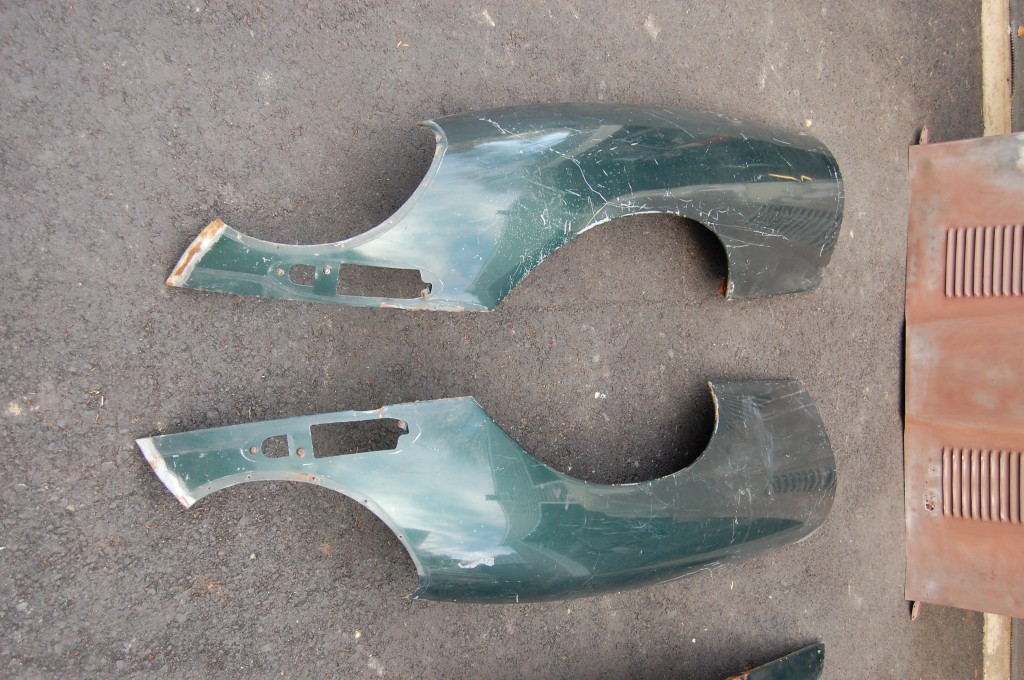
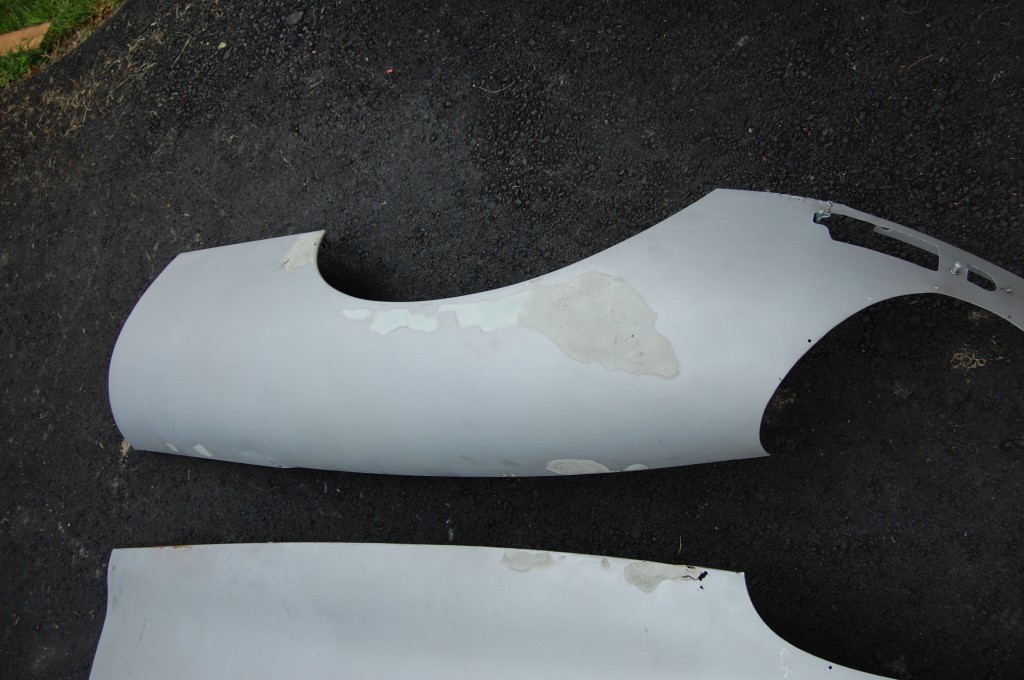
- The wings are not quite as nice as the center section, but they match, the lengths of all three pieces will be the same, and there’s nothing here we can’t fix.
- This is a rust hole in the center section – we’ll weld this right up and you’ll never know it was there.
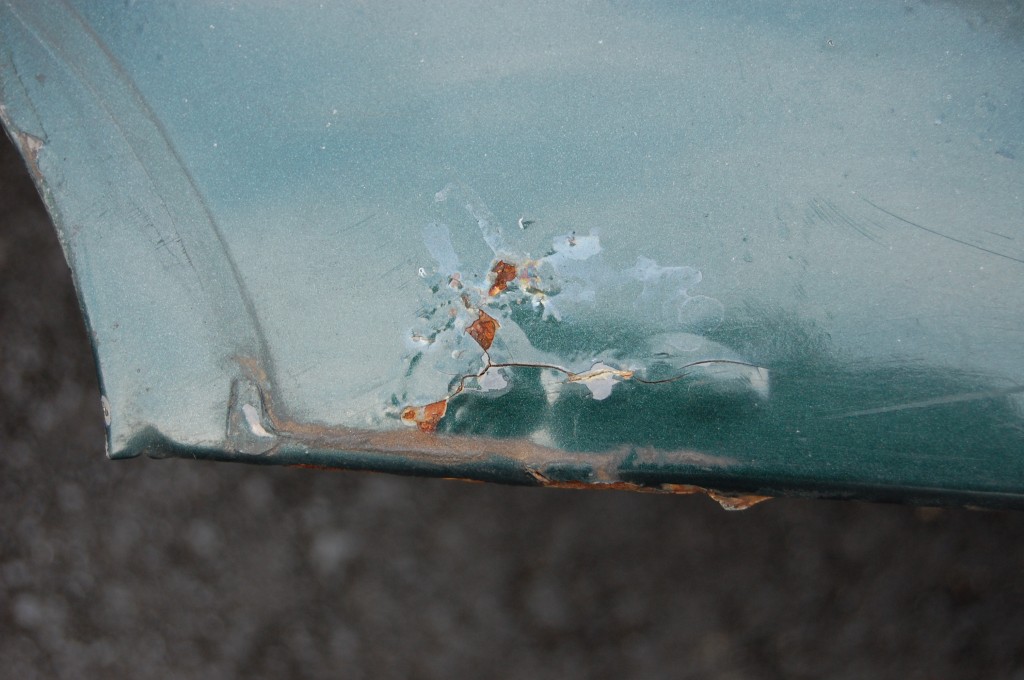
- This is probably the worst of it – and very typical of E-Type wings. This is something else we have succesfully repaired in the past.
- There’s NO filler in this – what a great piece! The best part about these pieces is that although there are rust issues, the lack of ANY accident damage means that these pieces CAN be made perfect again – and we will!
- Panels have been blasted bare inside and out. This photo shows that there was very little filler in these panels.
- The LH wing was the worst piece – the larger patch of filler is actually very thin – it was a crease in the panel.
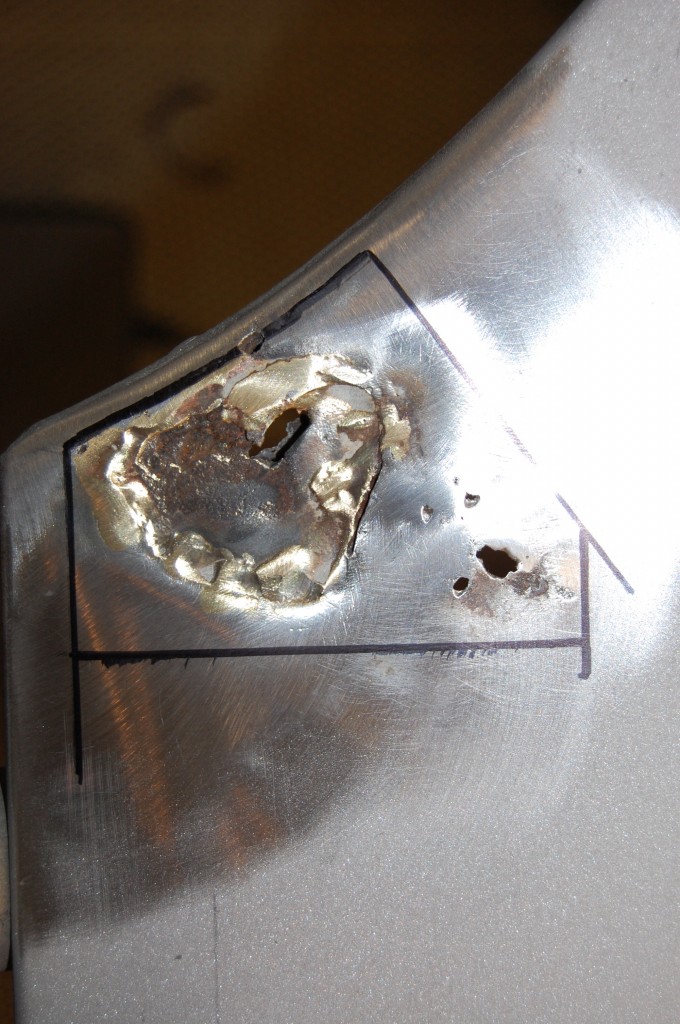
- Bondo is covering up some type of crude patch here – obviously brazed in.
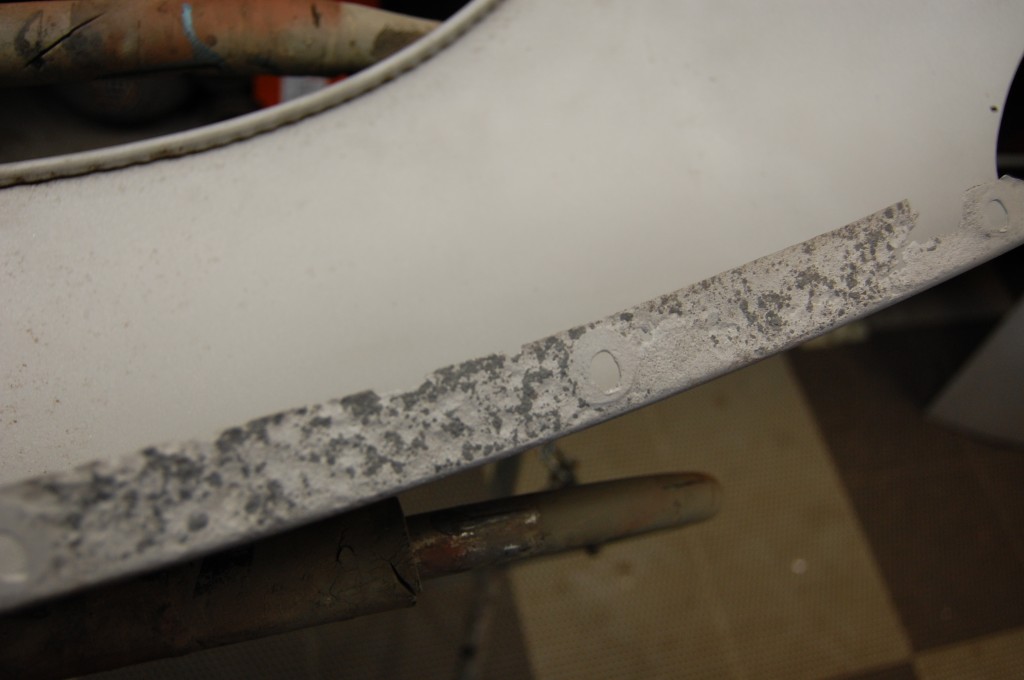
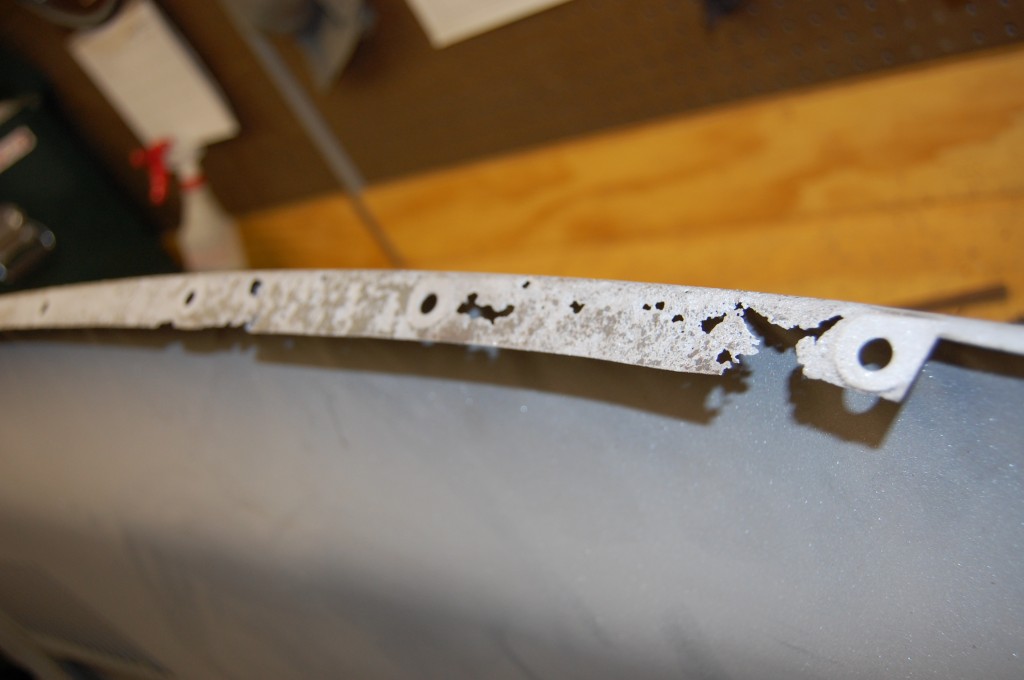
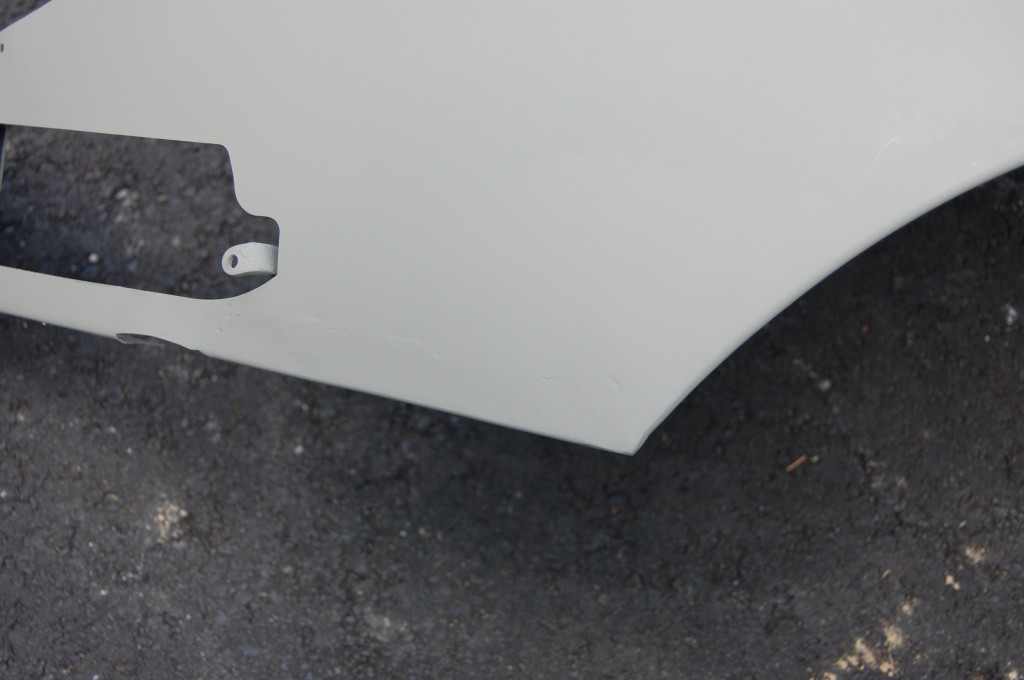
- All of the flanges have pitting and some areas we will need to replace.
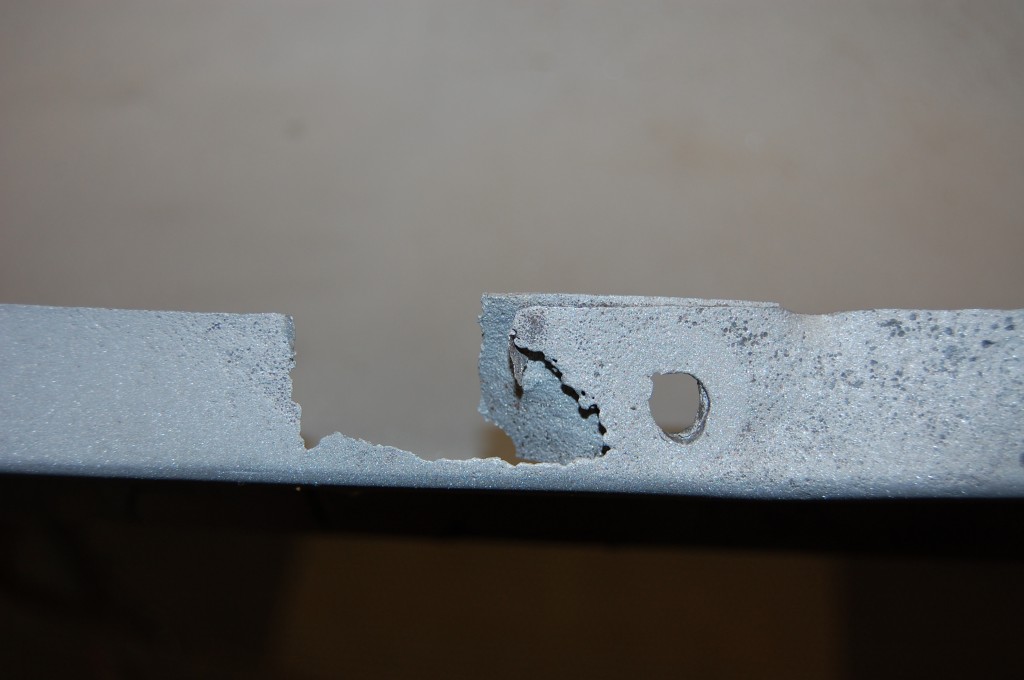
- This is the section where the middle bonded flange is welded to the side flange – rust within that weld has eventually led to this – we’ve seen it before.
- This is the RH wing – the bottom brace has rusted away here, but miraculously, the outer skin has been completely spared – we NEVER see this – but we’ll take it!
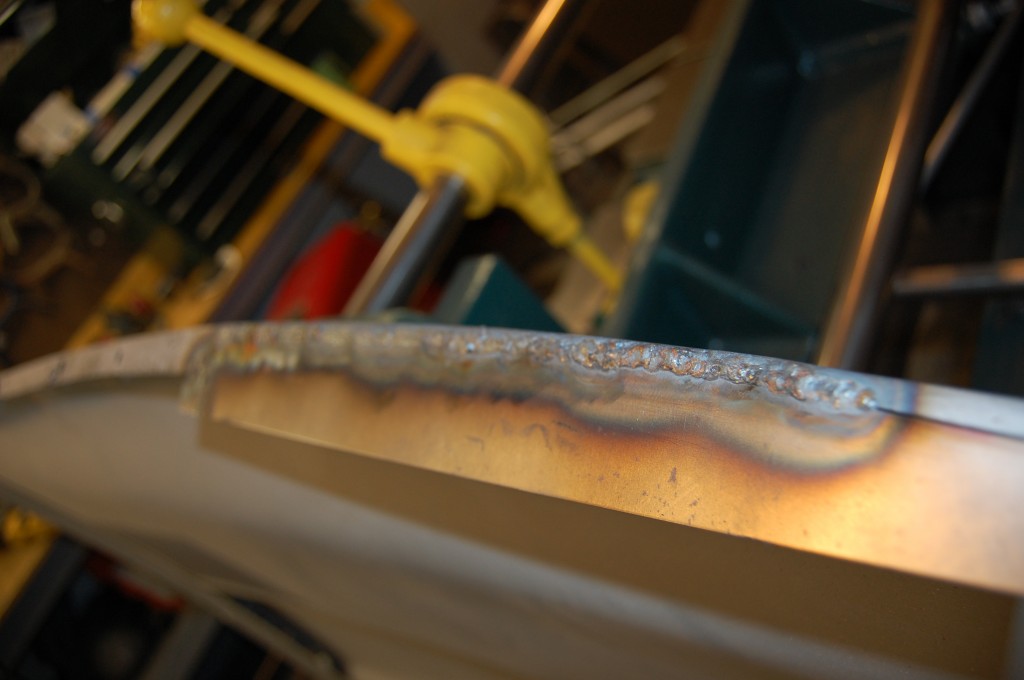
- Here is the first of several repairs to the long flanges – this is the forward section of the RH wing. The flanges were pitted and thin, so the welding in of these was very tricky – lots of patience was required here, and a feather-light touch on the pedal!
- Another repair further back – this is where the middle bonded flange came in – see photo above.
- This is the crease in the LH wing – we can dolly this back into shape.
- Both wings had these old mirrior mounting holes. We TIG-ed these up so that the customer can make their own decision on mirrors. My preference is none at all!
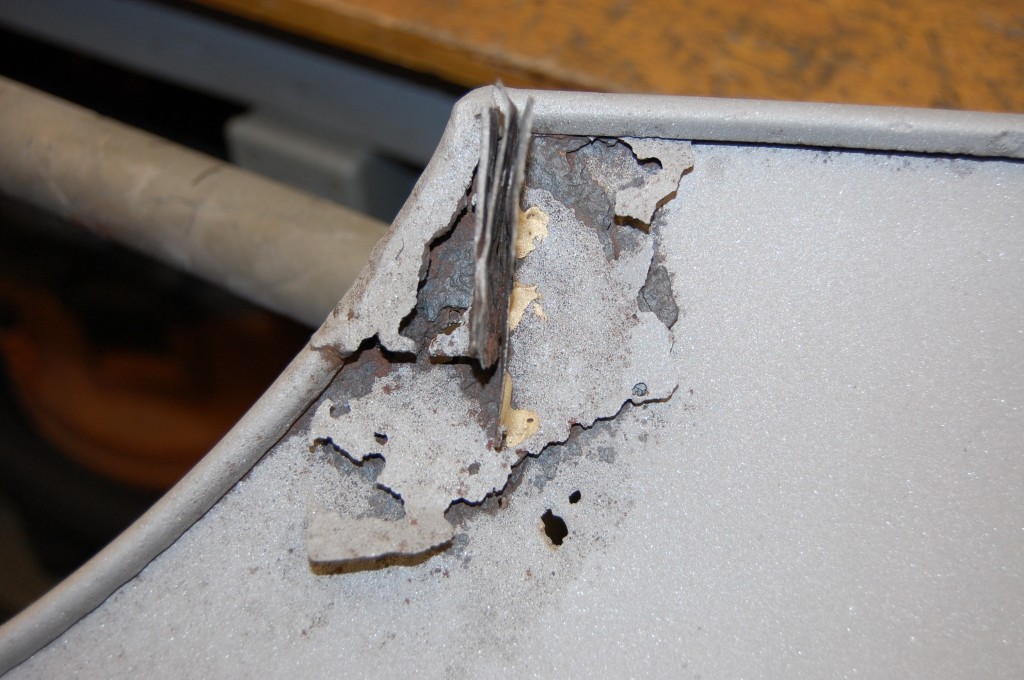
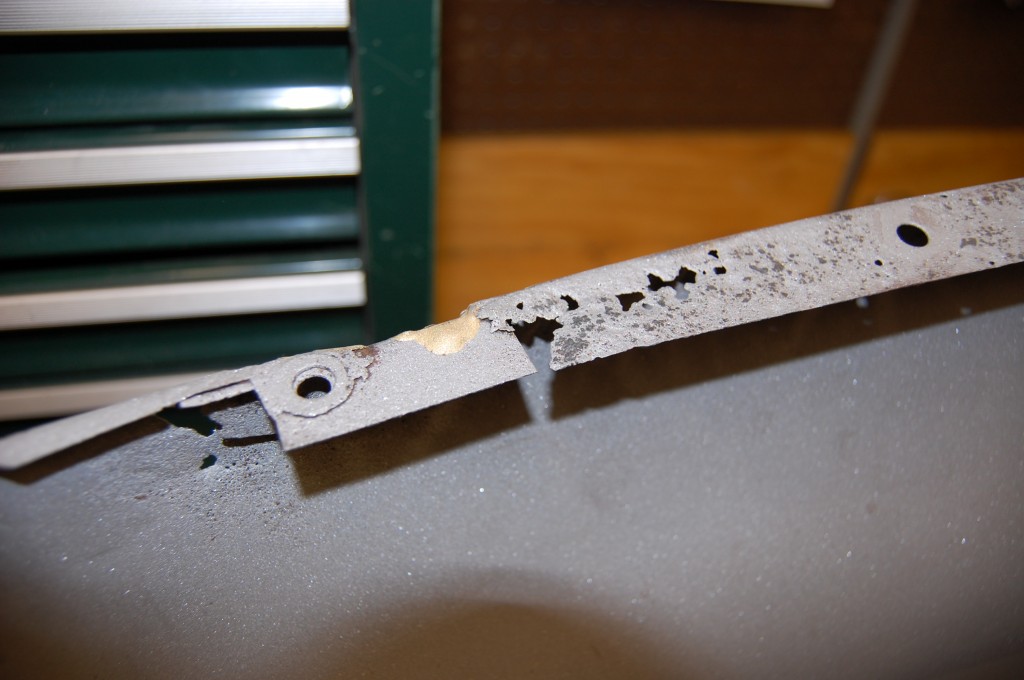
- Lovely…
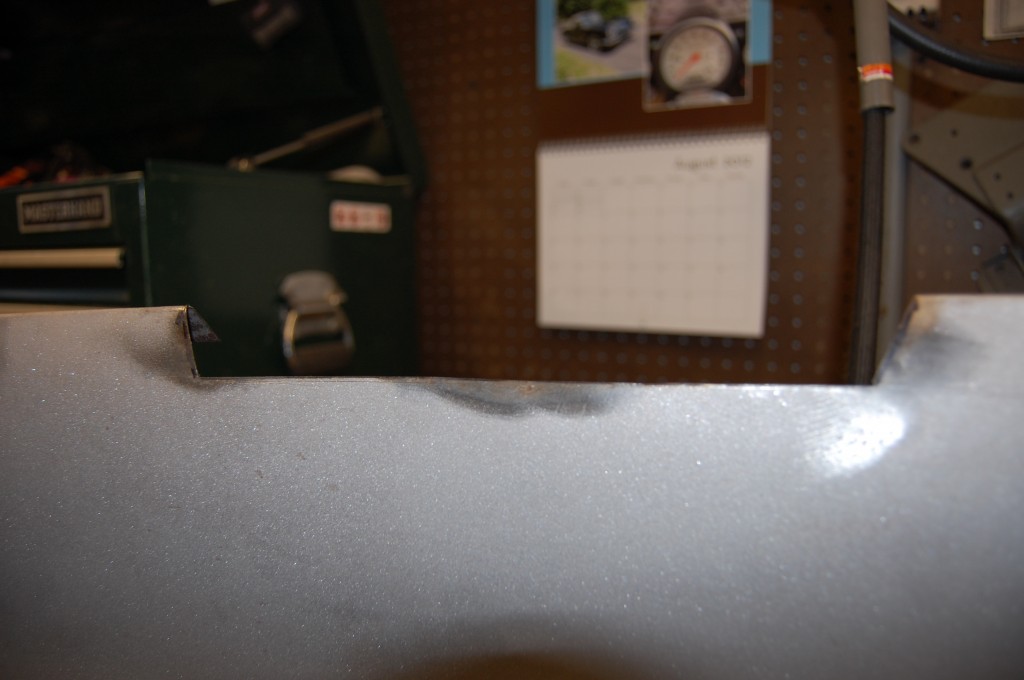
- As you can see, the “patch” rusted away faster than the wing itself!
- Here is our planned cut…
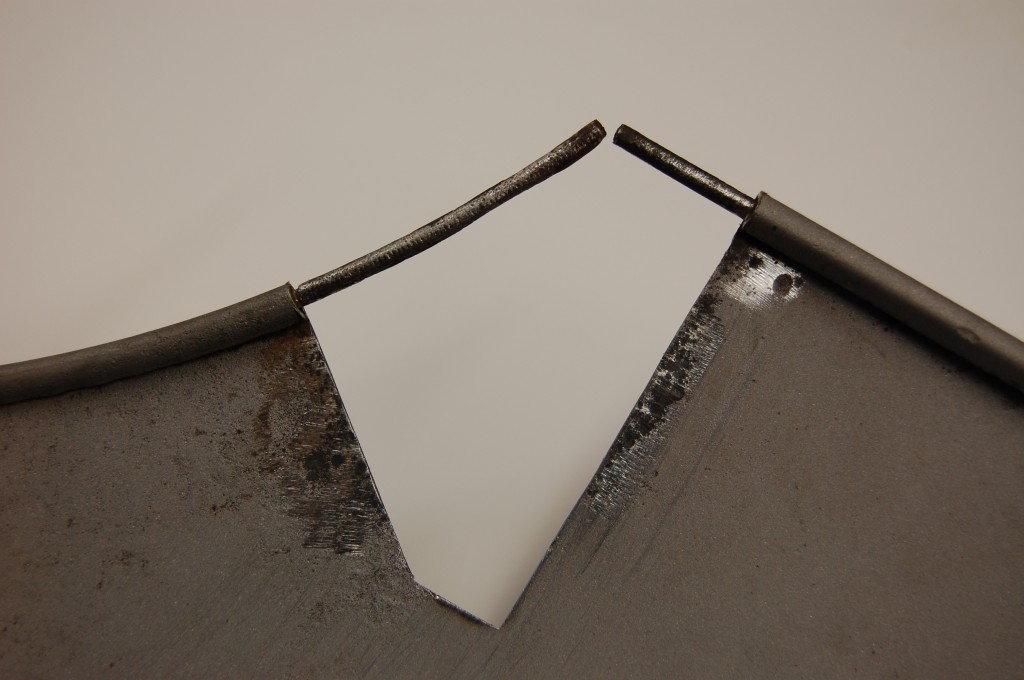
- …but in the end, this seemed like a better idea.
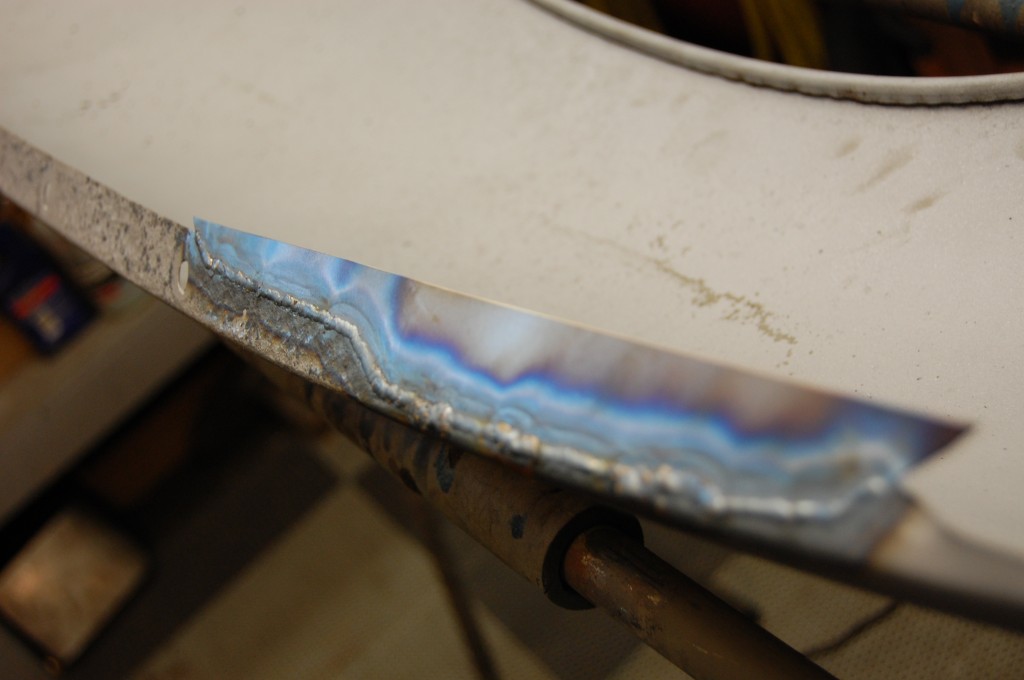
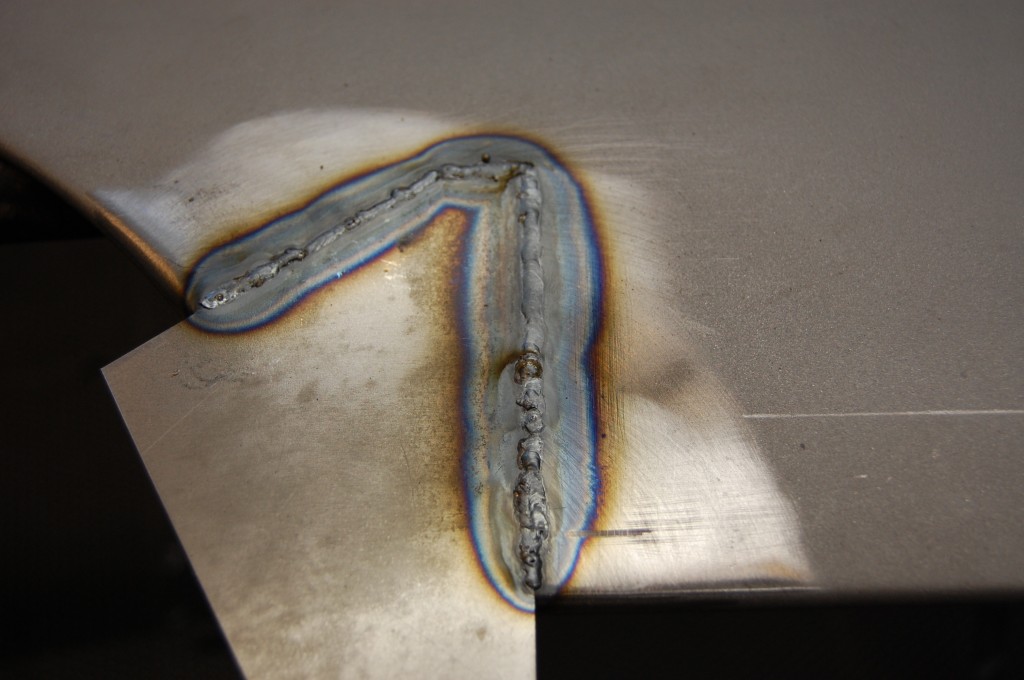
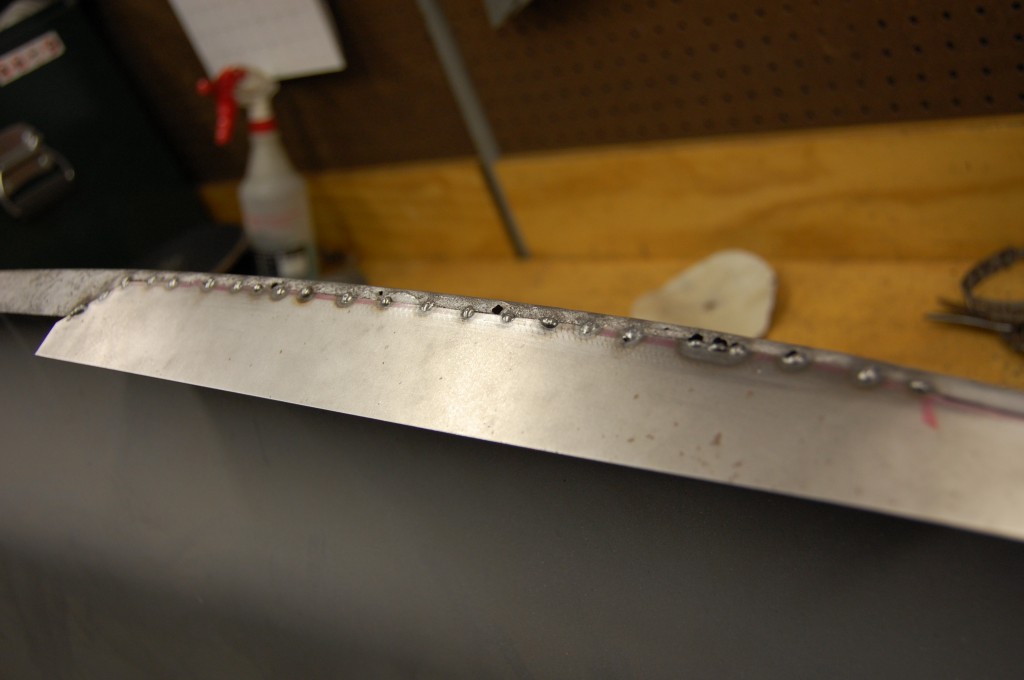
- We TIG-ed in a new piece, then rolled the edges around the original wired edge.
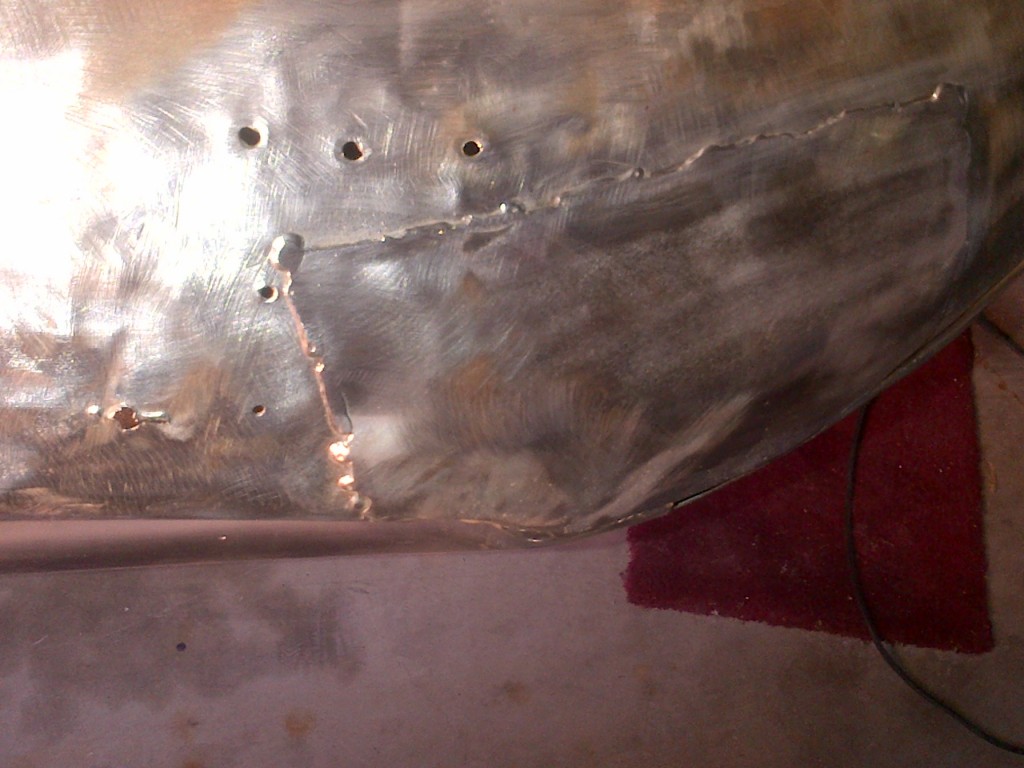
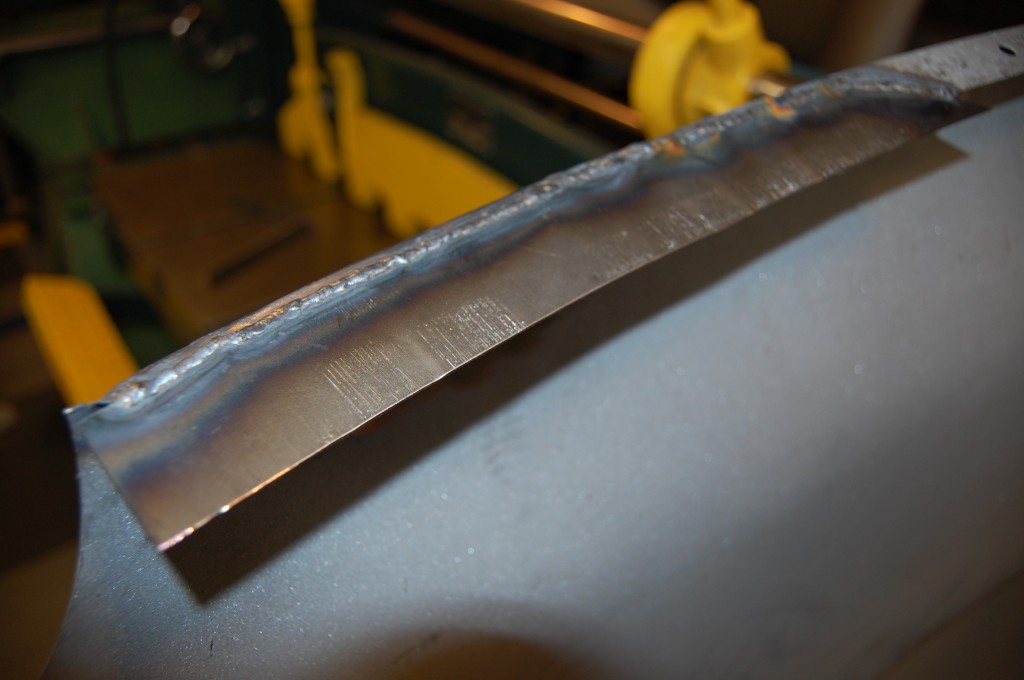
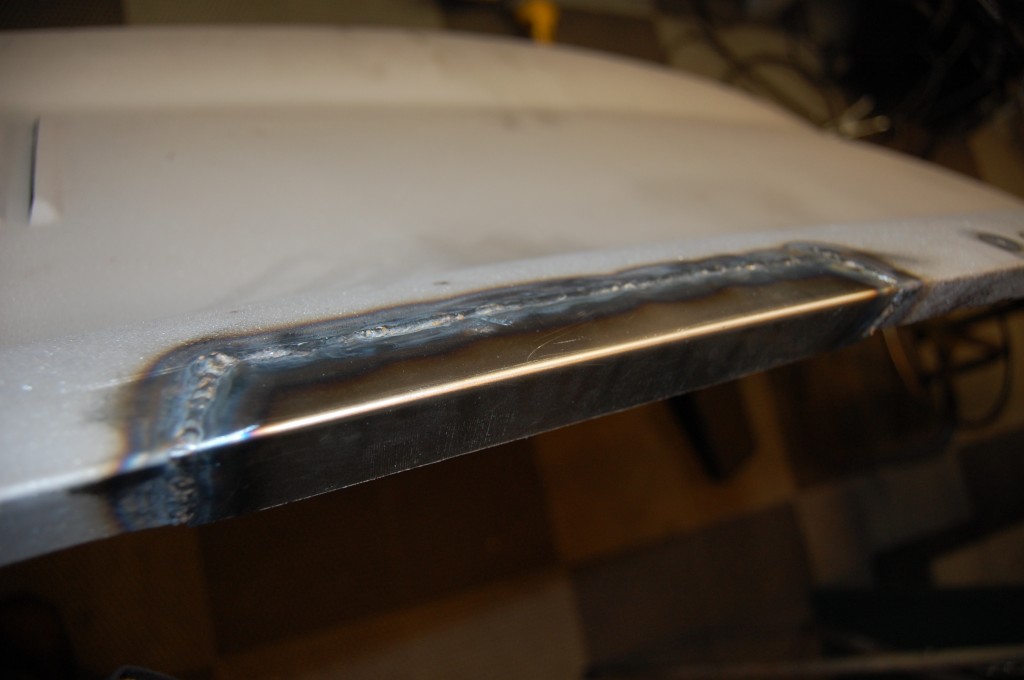
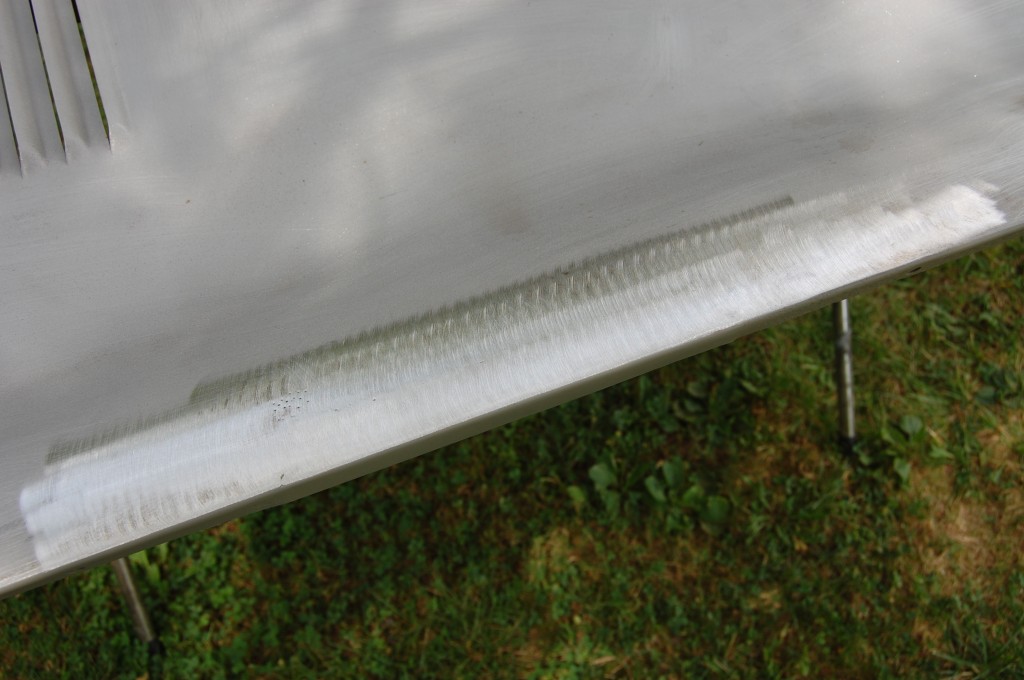
- After welding, some grinding, planishing, and some shrinking, the panel is as good as new and the new patch is barely even noticeable in bare steel.
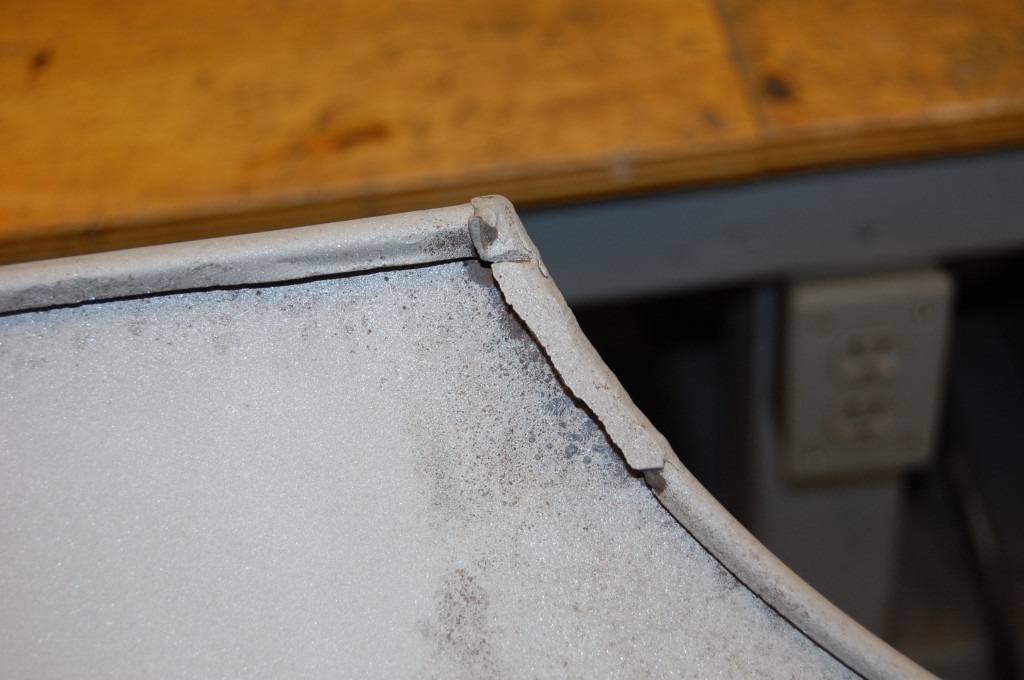
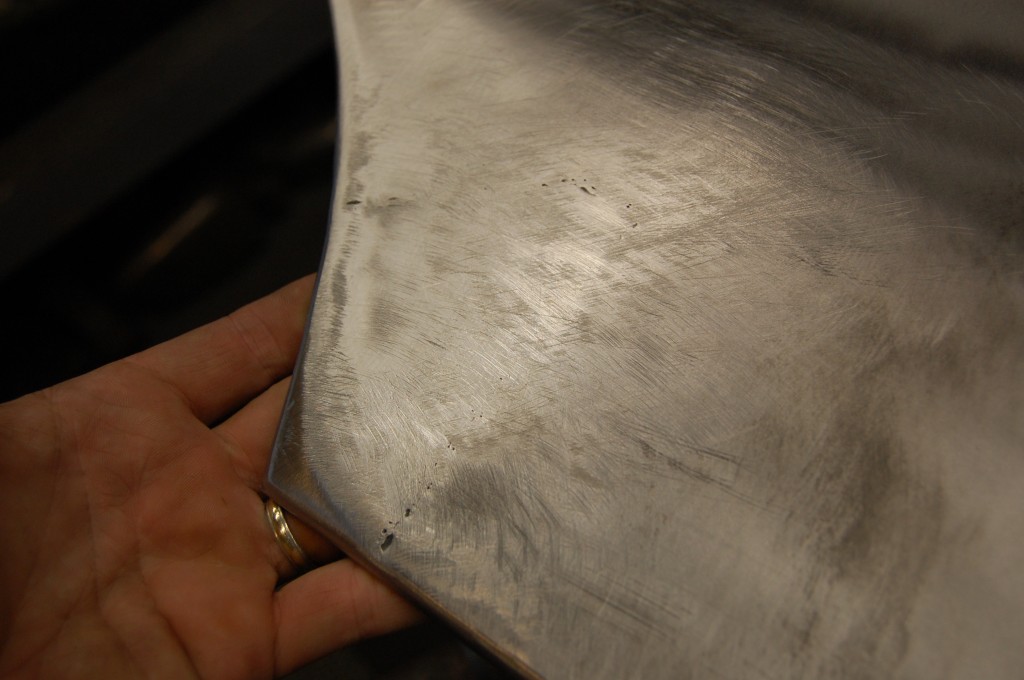
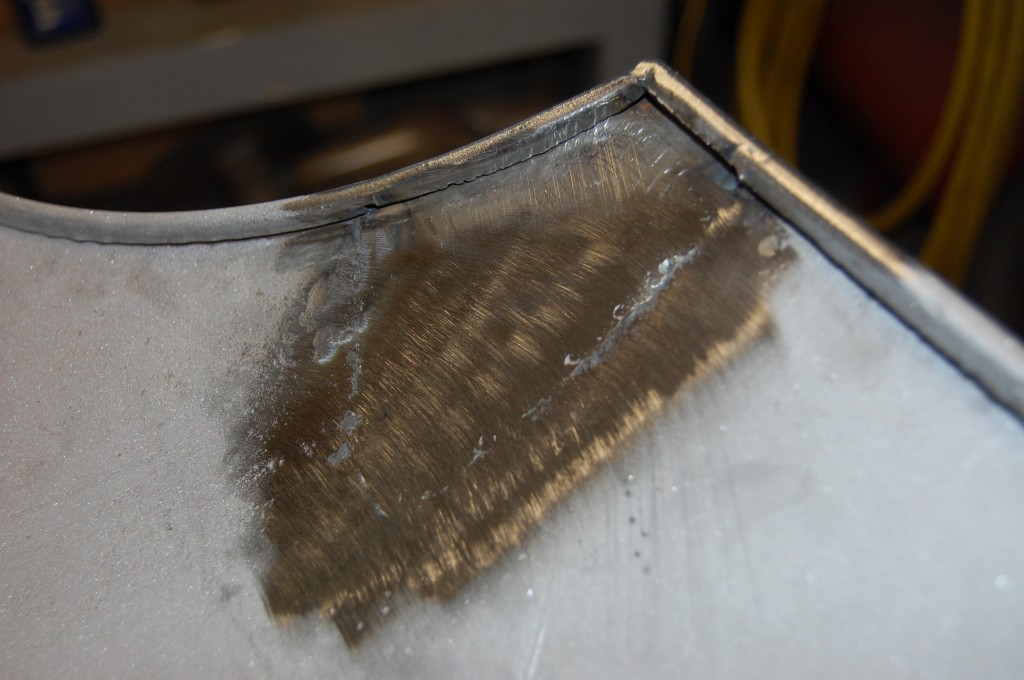
- Another shot of the finished corner – compare this to the photos above!
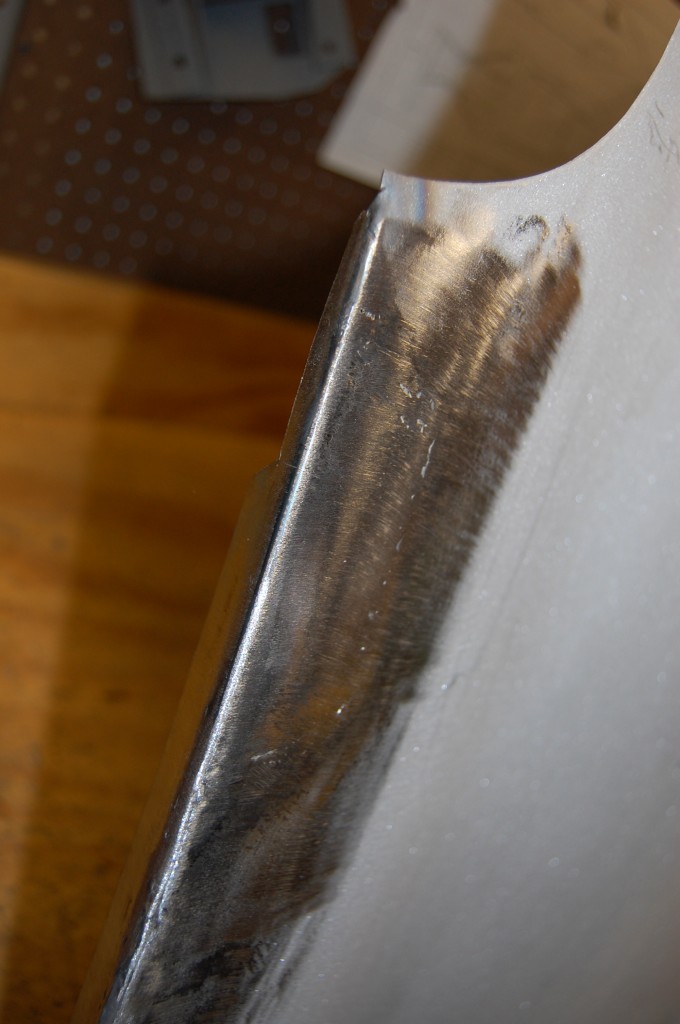
- The inside surface is not quite as perfect, but it is still flush and a little cream filler could be used to make this surface perfect if desired. The beaded edge looks factory, and most of this will be hidden under the new middle bonded flange and corner brace that gets welded in.
- Let’s call this “Area #1” – forward section of LH center section flange.
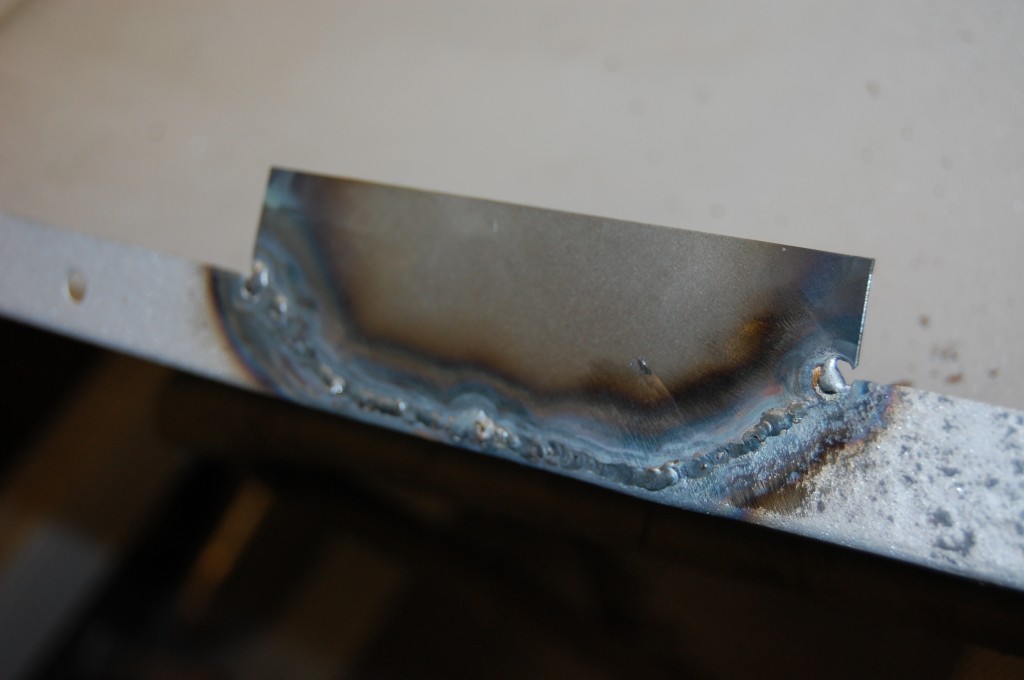
- Here is the patch TIG welded into place. We trim it to the proper size after all of the wleding and finishing is complete.
- Here is the completed “Area #1″ from the topside – there is actually a small patch in the top as well – it is about 4″ long and 1” wide.
- “Area #2” – forward section of RH center section flange.
- The patch set into place with delicate tacks from the MIG.
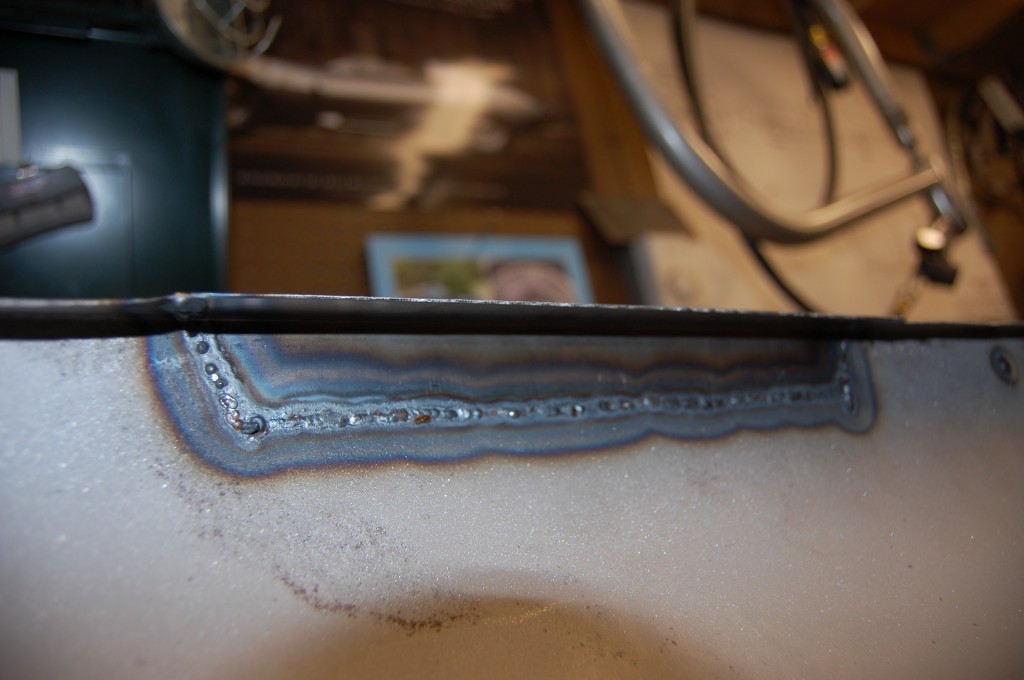
- Now we have gone over the seam with the TIG. This is WAY harder than it looks – some of the pitting in the flange right at the seam is paper thin, so it takes a VERY delicate touch!
- OK – here is the worst of it – “Area #3” – center of the RH flange of center section.
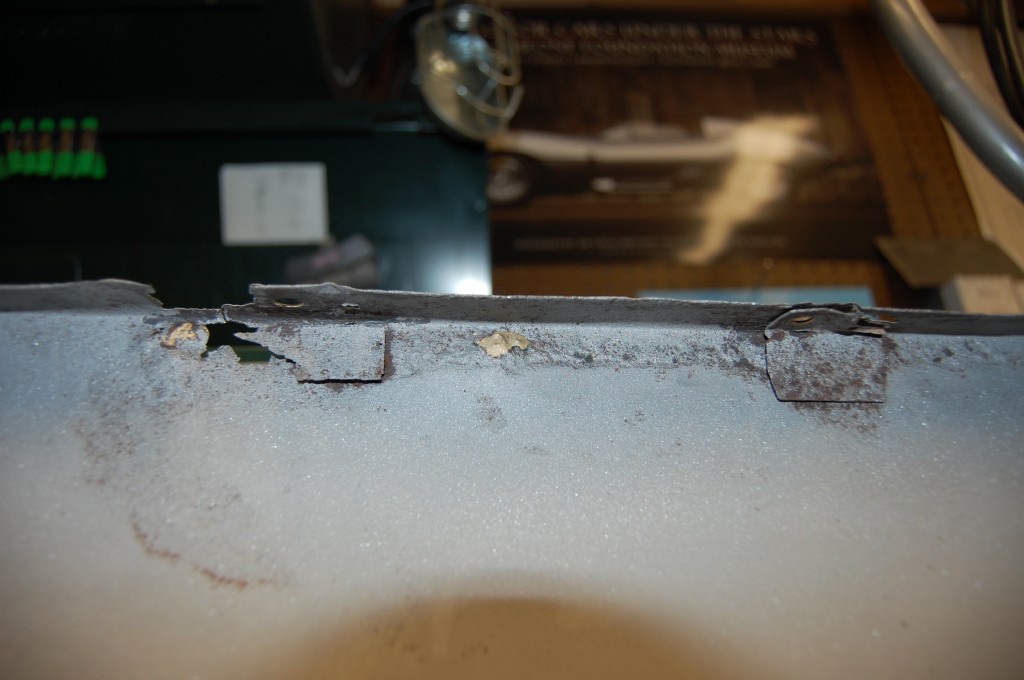
- Here is the top side of “Area #3” – those little scraps of metal brazed in are a MAJOR rust trap, they have got to go!
- This is a BEAUTIFUL center section, so cutting this section out too alot of nerve!
- Skip a couple of steps – here is the patch TIG welded into “Area #3” – underside.
- Top side of “Area #3” – now it’s time to finish the area with planishing and careful grinding, filing, sanding, and shrinking.
- Top side of “Area #3” after metal finishing.
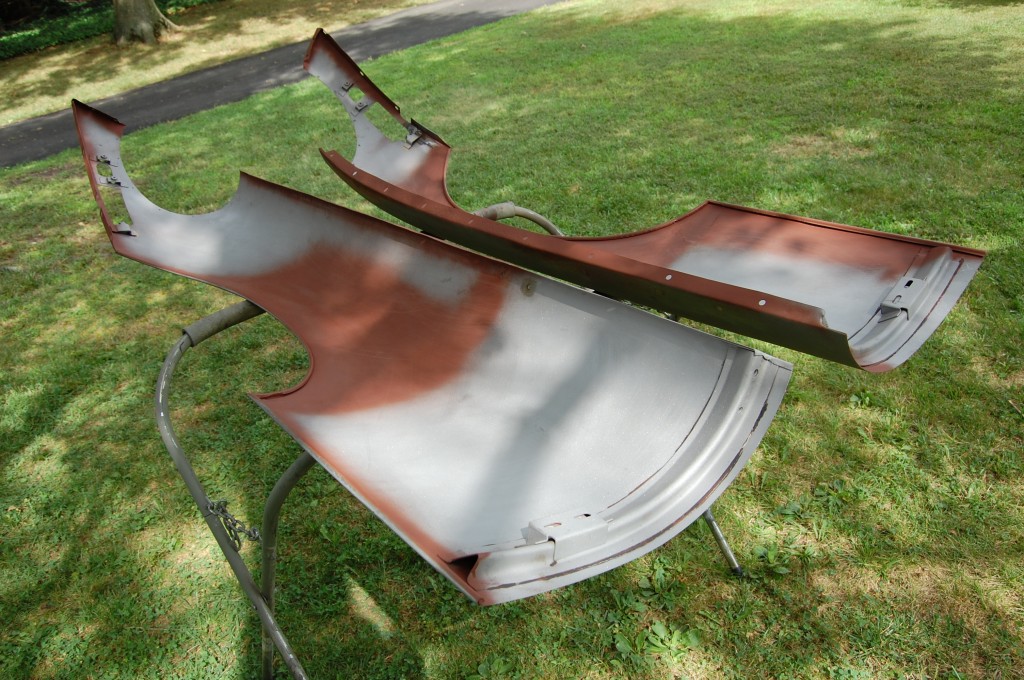
- Time to protect these panels – here we are applying red oxide to any areas we believe will benefit from it – basically any pitted areas.
- Oh Man – this is about the point when the “seller’s remorse” started to set in!
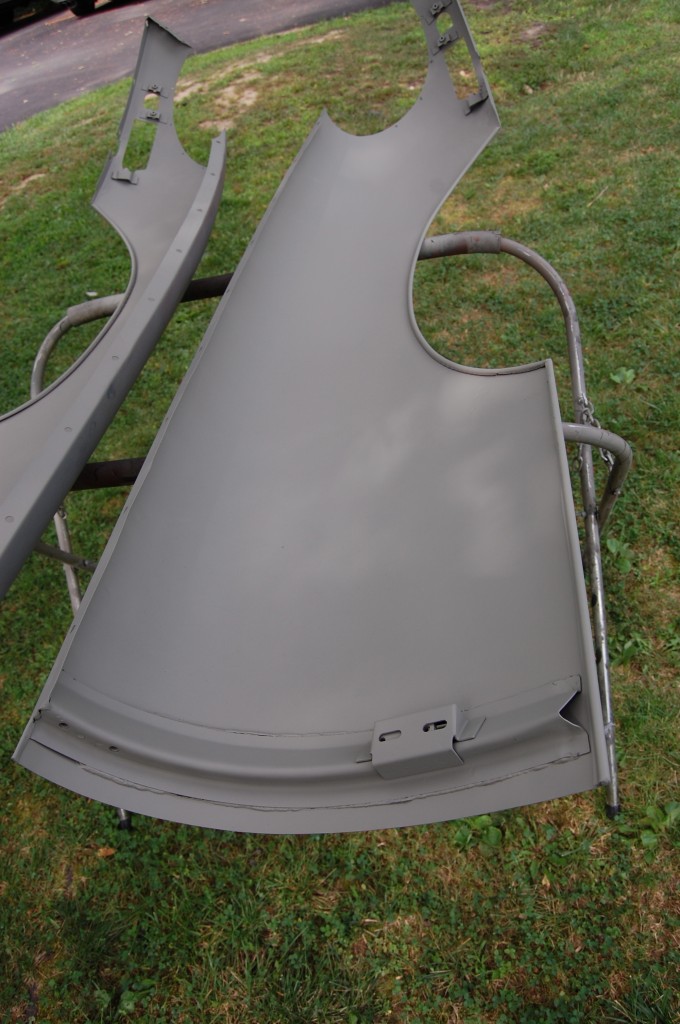
- Are you KIDDING me!?! Look at this – PERFECT! And this is the side that had all of the work done on it!
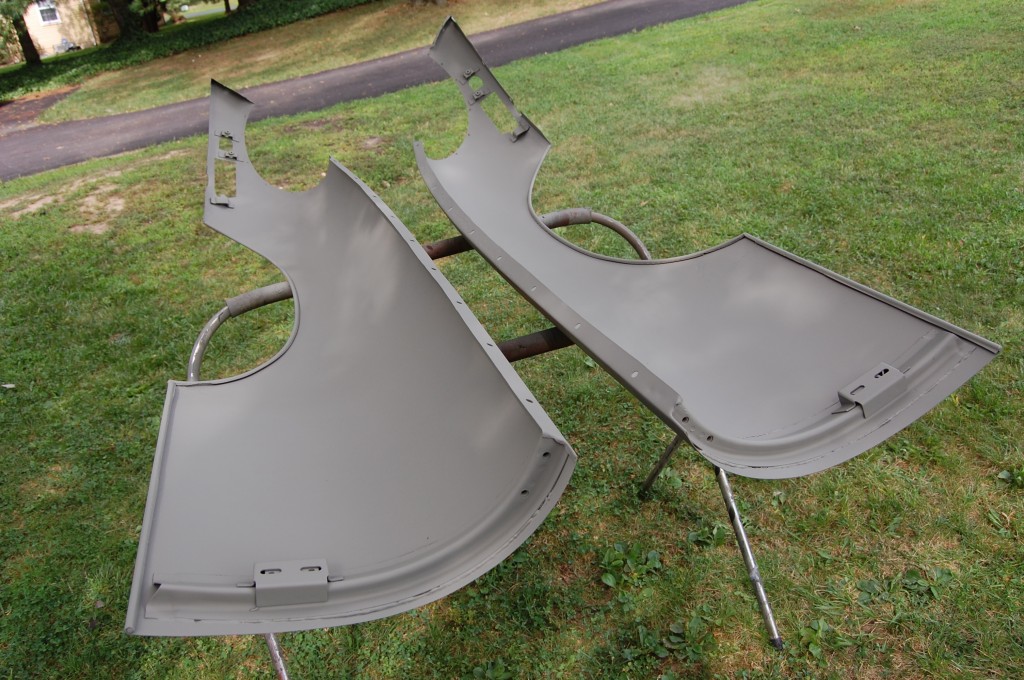
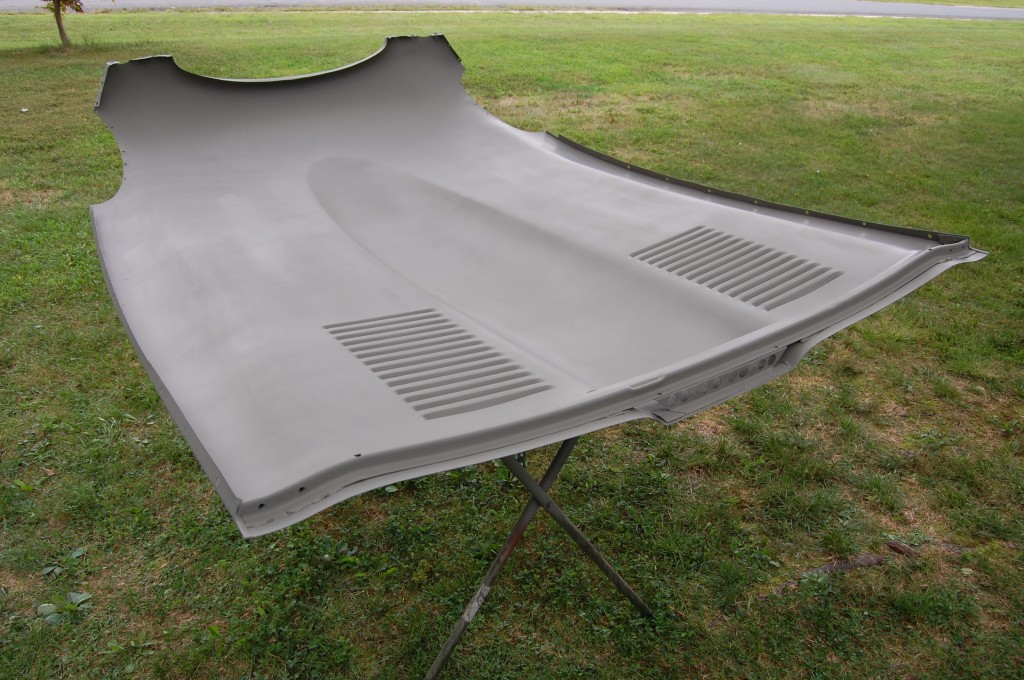
- Here is the underside of the center section with 2 thin coats of self-etching primer.
- Another shot of the top side of “Area #3” before priming. I was sweating this one – lots of slow curves that had to be right!
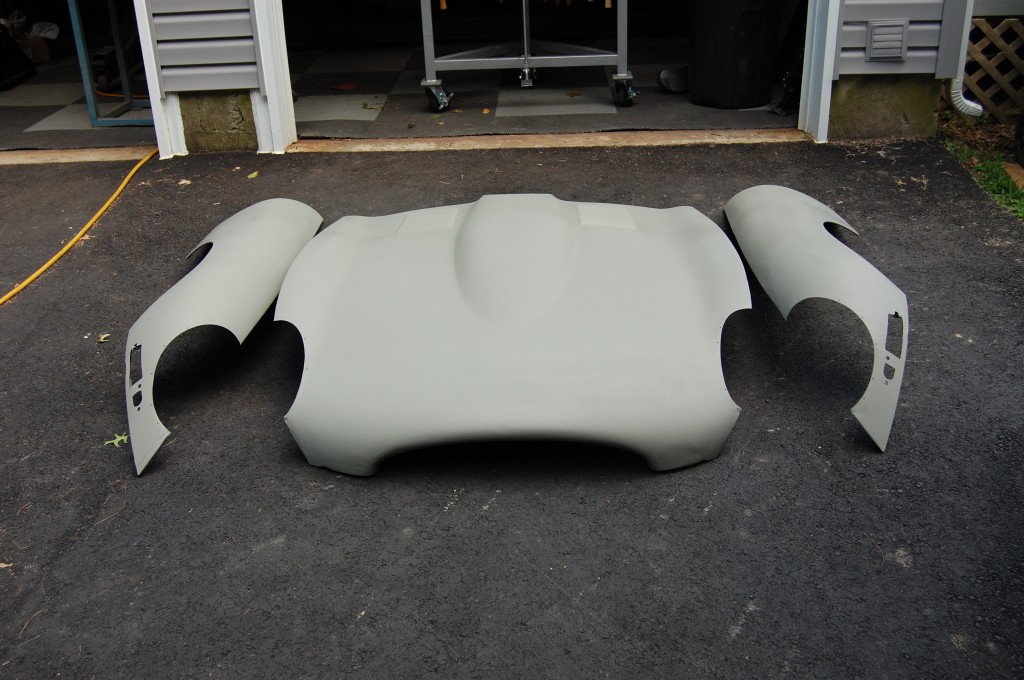
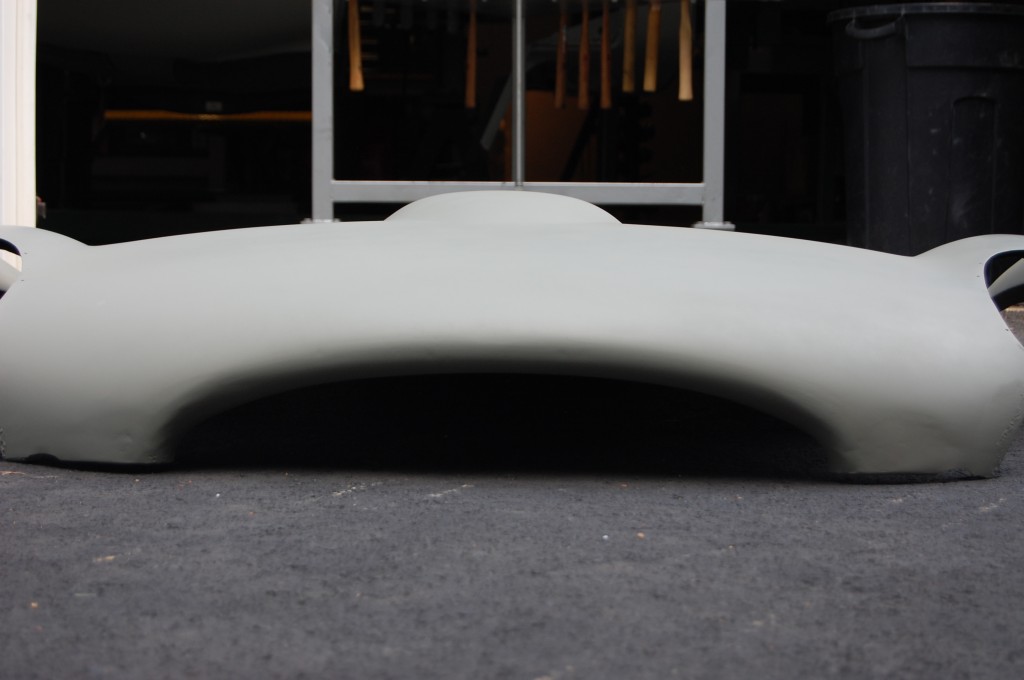
- The finished panels – I can’t believe I let these go!
- “Area #3” after priming.
- This is the corner that was patched on the LH wing.
- This area was also patched with the flange and about 1″ up into the skin.
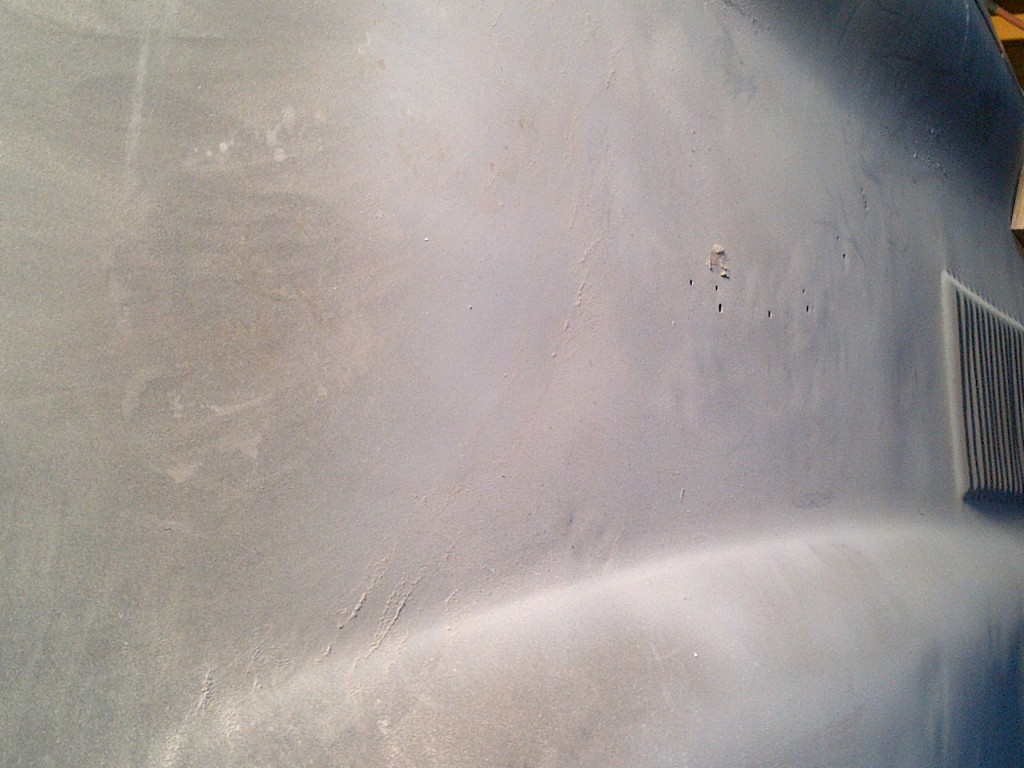
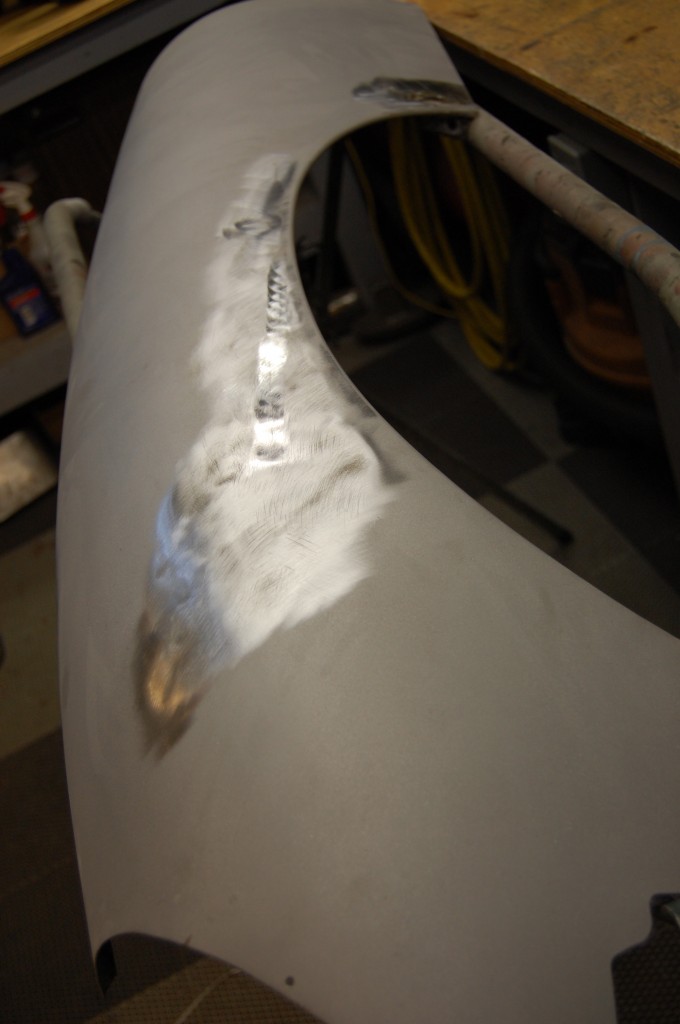
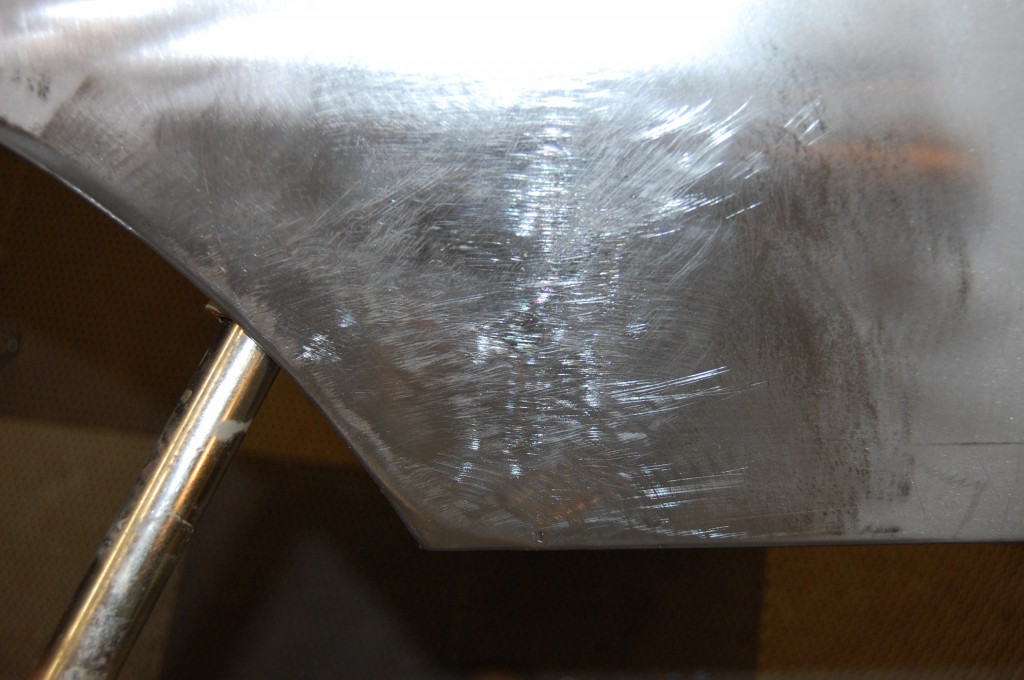
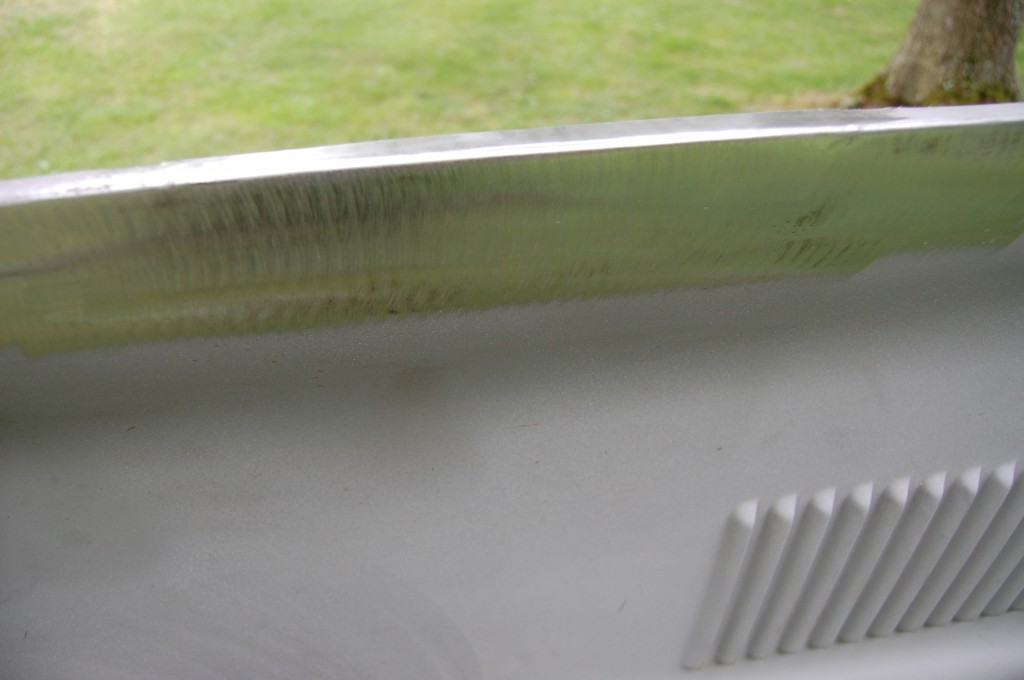
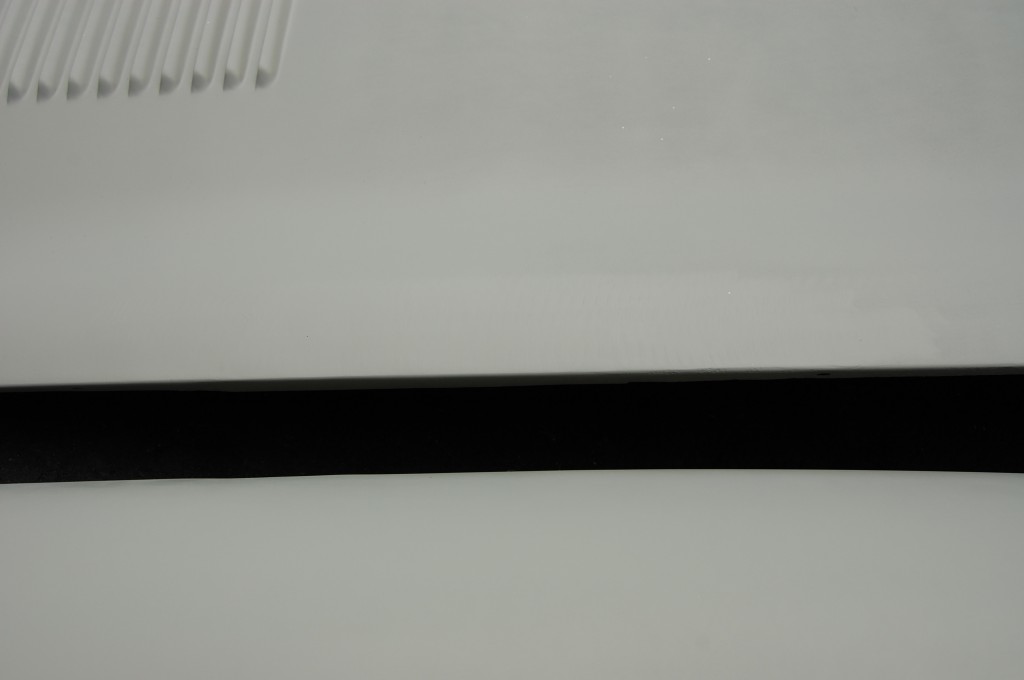
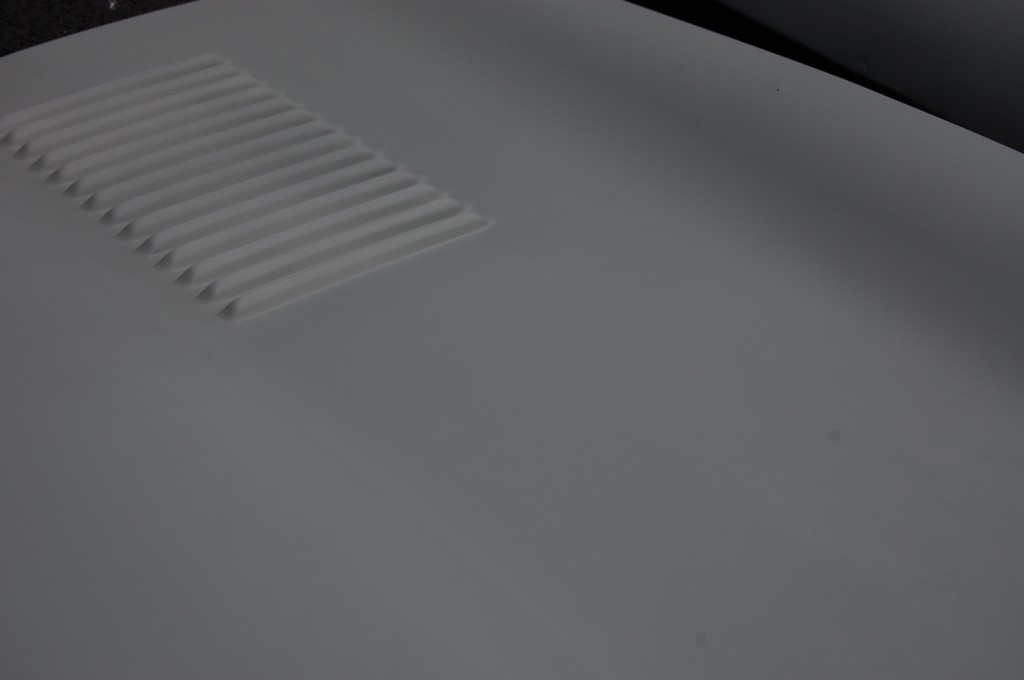
- The crease in front of these louvers came out without alot of trouble – problems in this area are just about the hardest to get right.
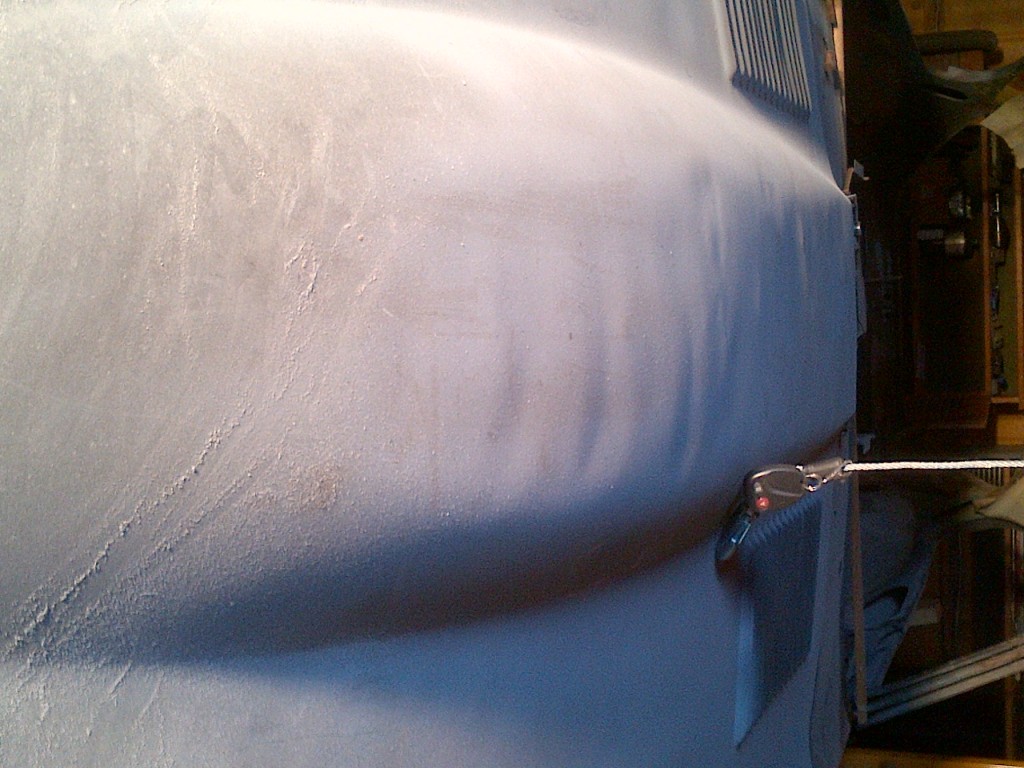
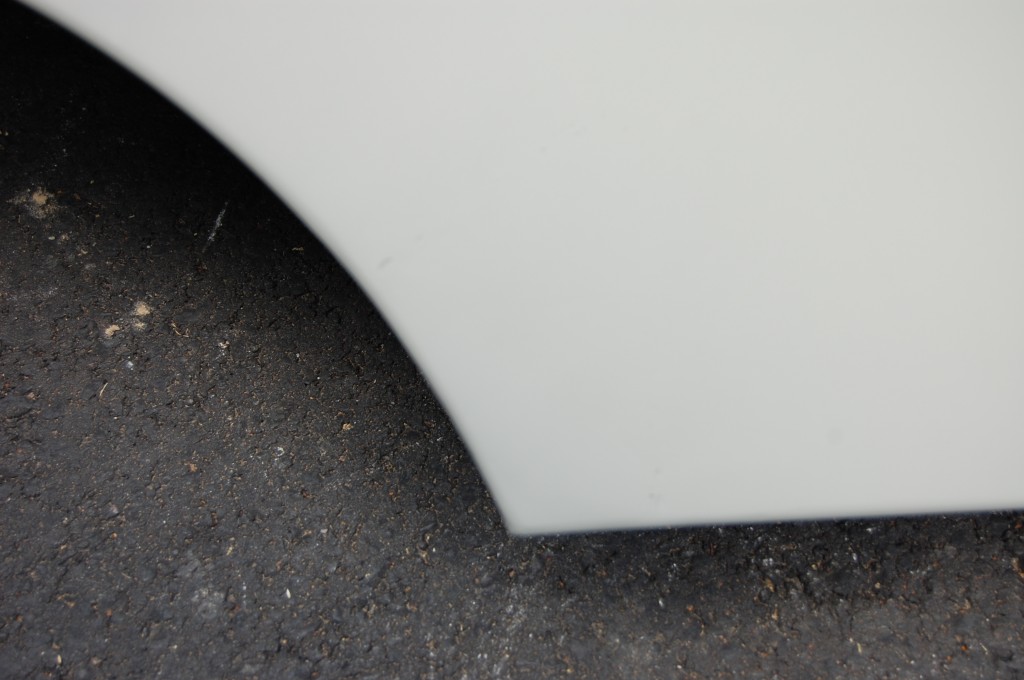
- Aside from one little dent right in the nose that came right out, the nose was virgin and perfect. You can just make out some minor surface imperfections here – super small little dings that I couldn’t even see when it was blasted, and some other lines, etc. from past sanding on the panel – these had been resprayed once. Actually, now that it is in primer and there are some shadows to help out, I can see that the lower corners need a little more love with the dolly and spoon – which they will get when we install a set of conversion flanges and make these panels into Series 1. We supplied these panels to the customer outright for less than the cost of new panels (which I believe are just about useless – stay tuned for an upcoming blog on that…). Properly restored original panels are ALWAYS the best option – call us if you need some for YOUR E-Type!

