Earlier this Summer, we drove up to Connecticut to pick up a very solid Series 2 roadster shell (see earlier blog posting titled “The latest adventure”. The tub needed to be converted to Series 1 specs, but also turned out to need a little rust repair as well – the floors had been repaired somewhat in the past, and I was not happy with the work, so I made some changes.
The task on this shell was to convert it to Series 1 specs, fix any rust issues, remove any dents, and prime. The crate the shell, and ship it to it’s new home in Alberta, Canada. Take a look at some of the repairs and metalwork we performed.
-
- We have agreed to strip the entire external skin bare, inspect the surface, fix any problems, and prime with self-etching primer.

-
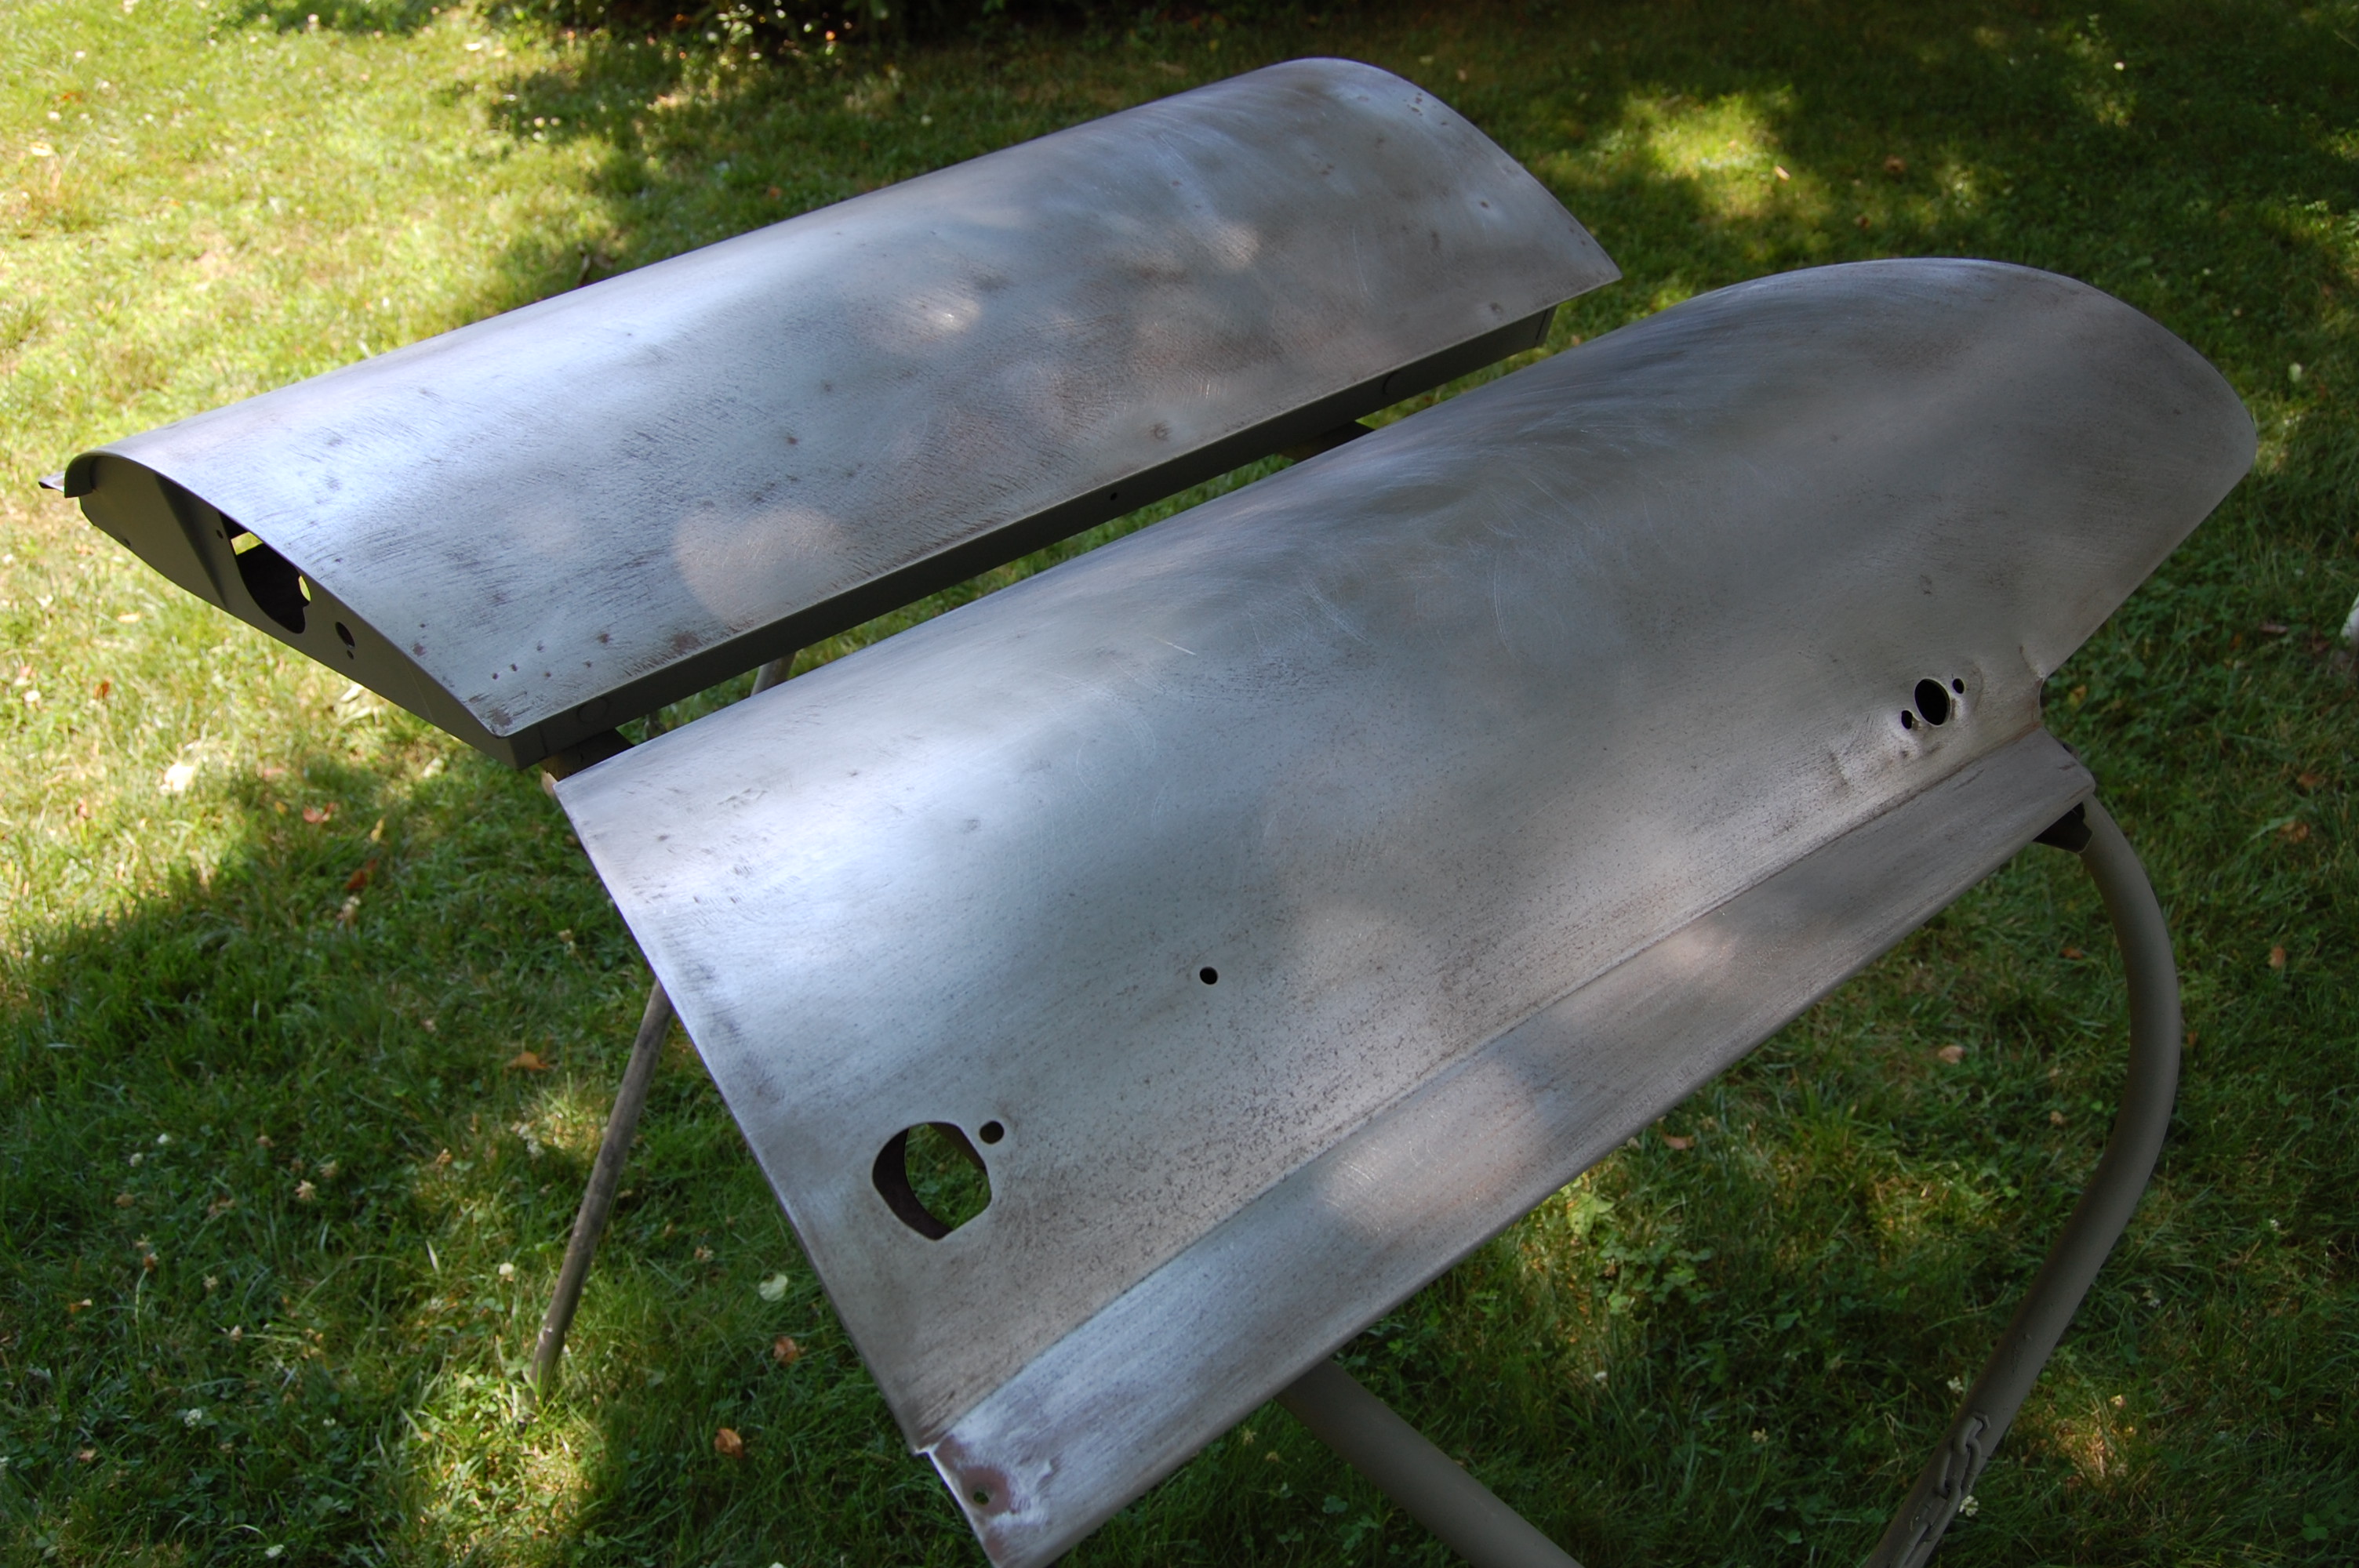
- That means the doors too.
-
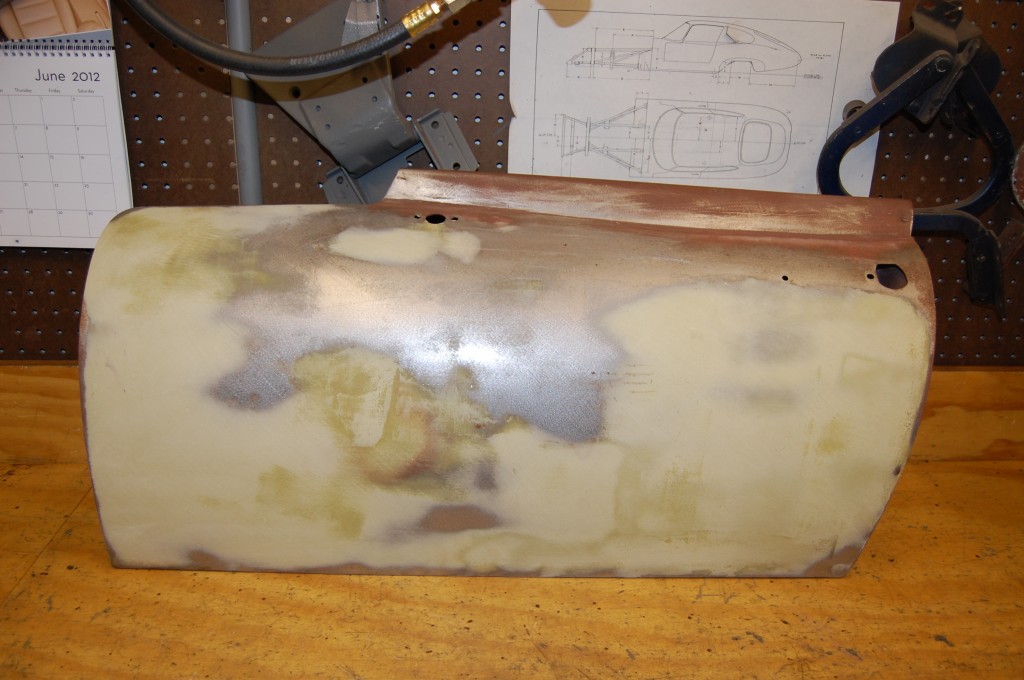
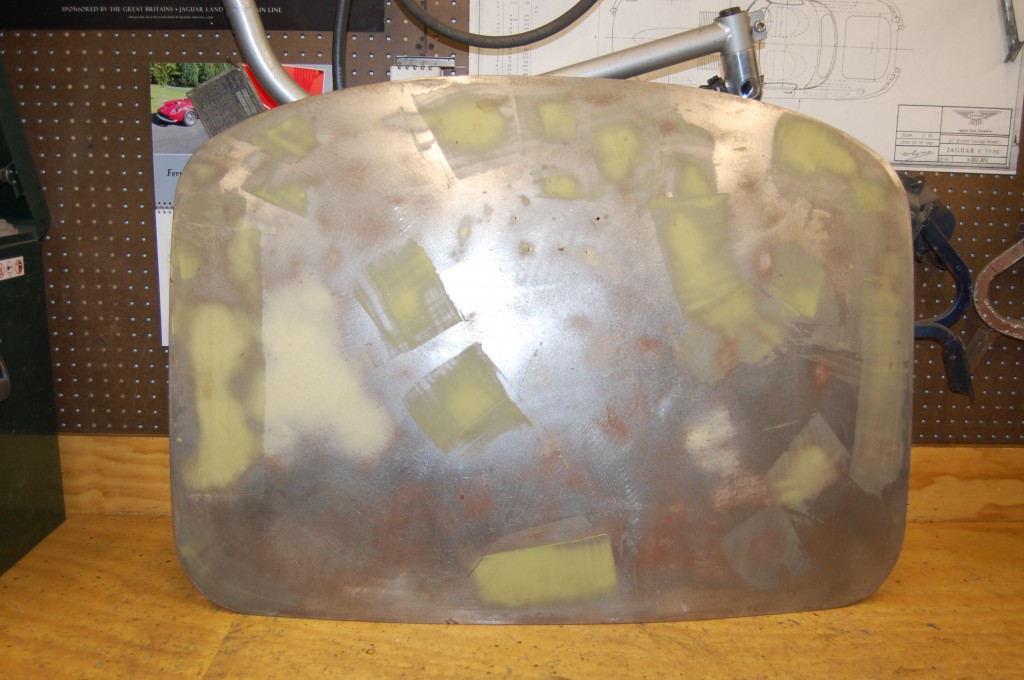
- This filler looks relatively shallow, but we will stip it out and improve the door surface so that hardly any is necessary.

-

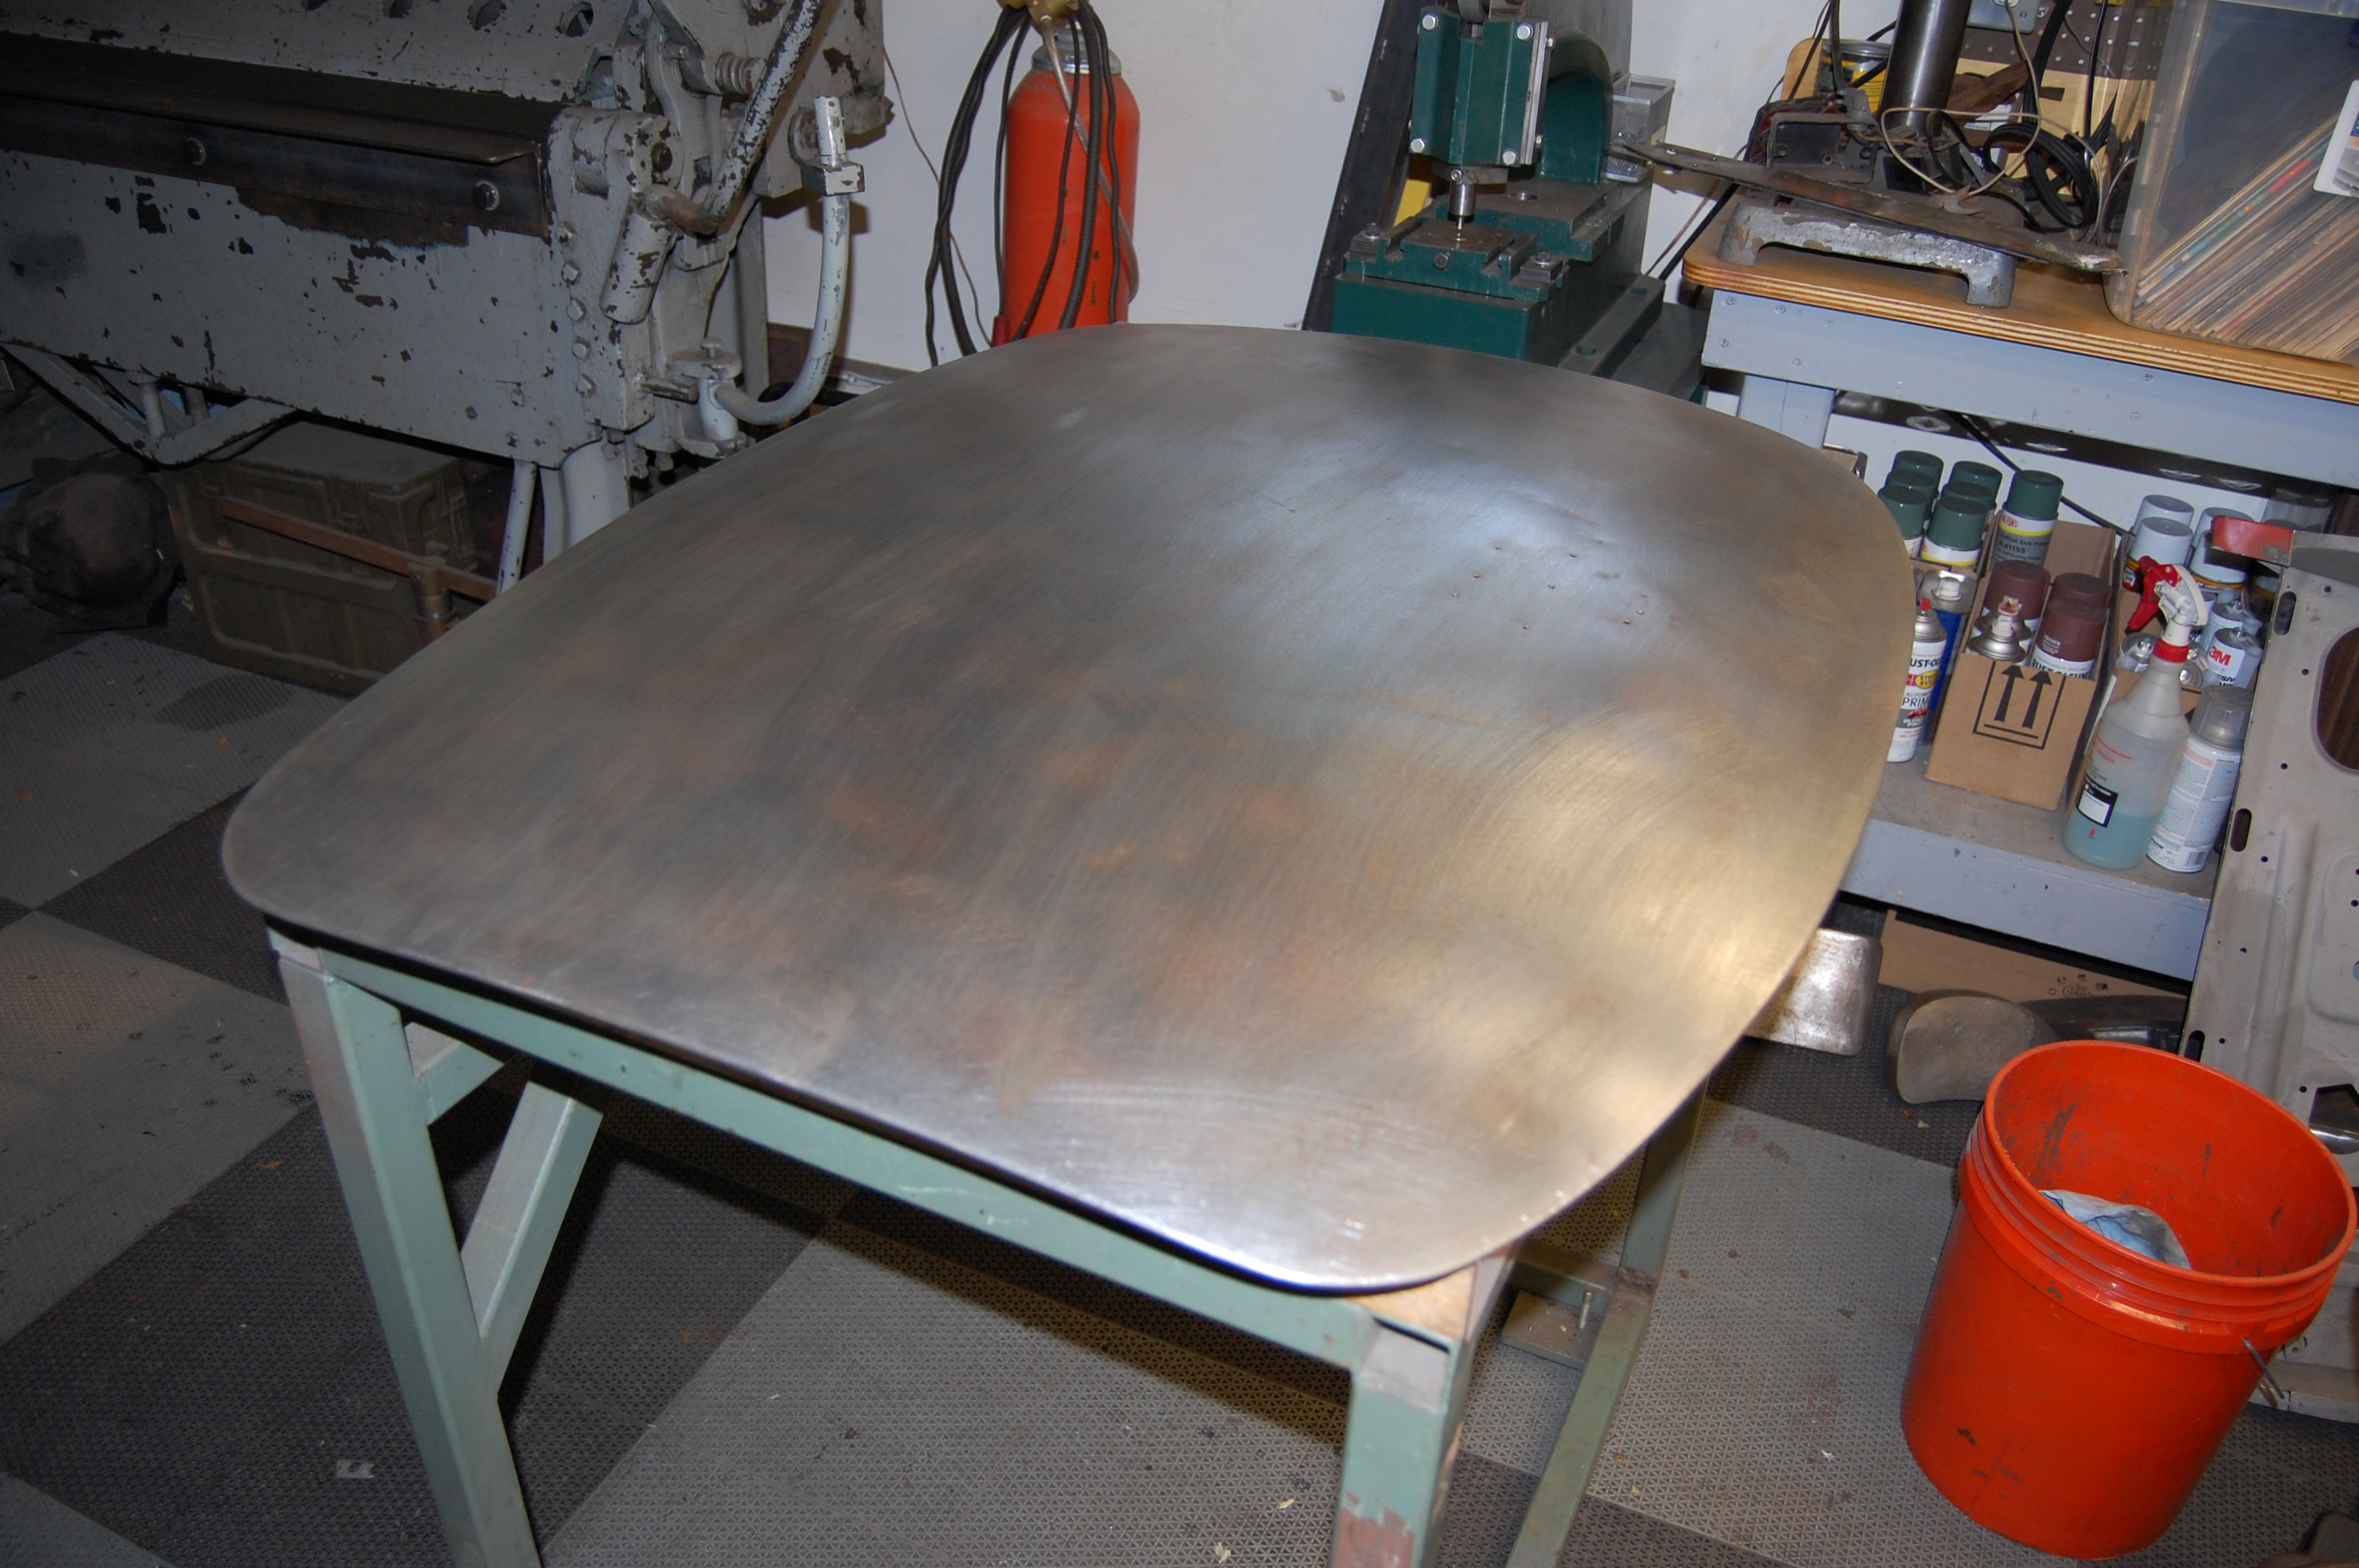
- Decklid looks good – we improved one shallow dent.
-
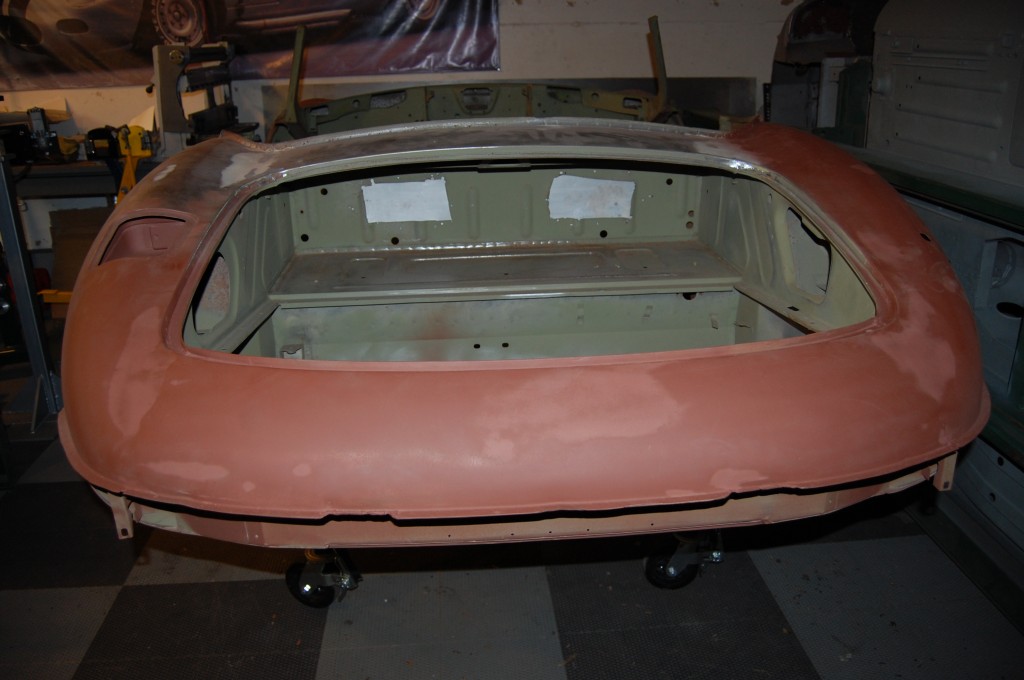
- Series 2 tail – for now.

-
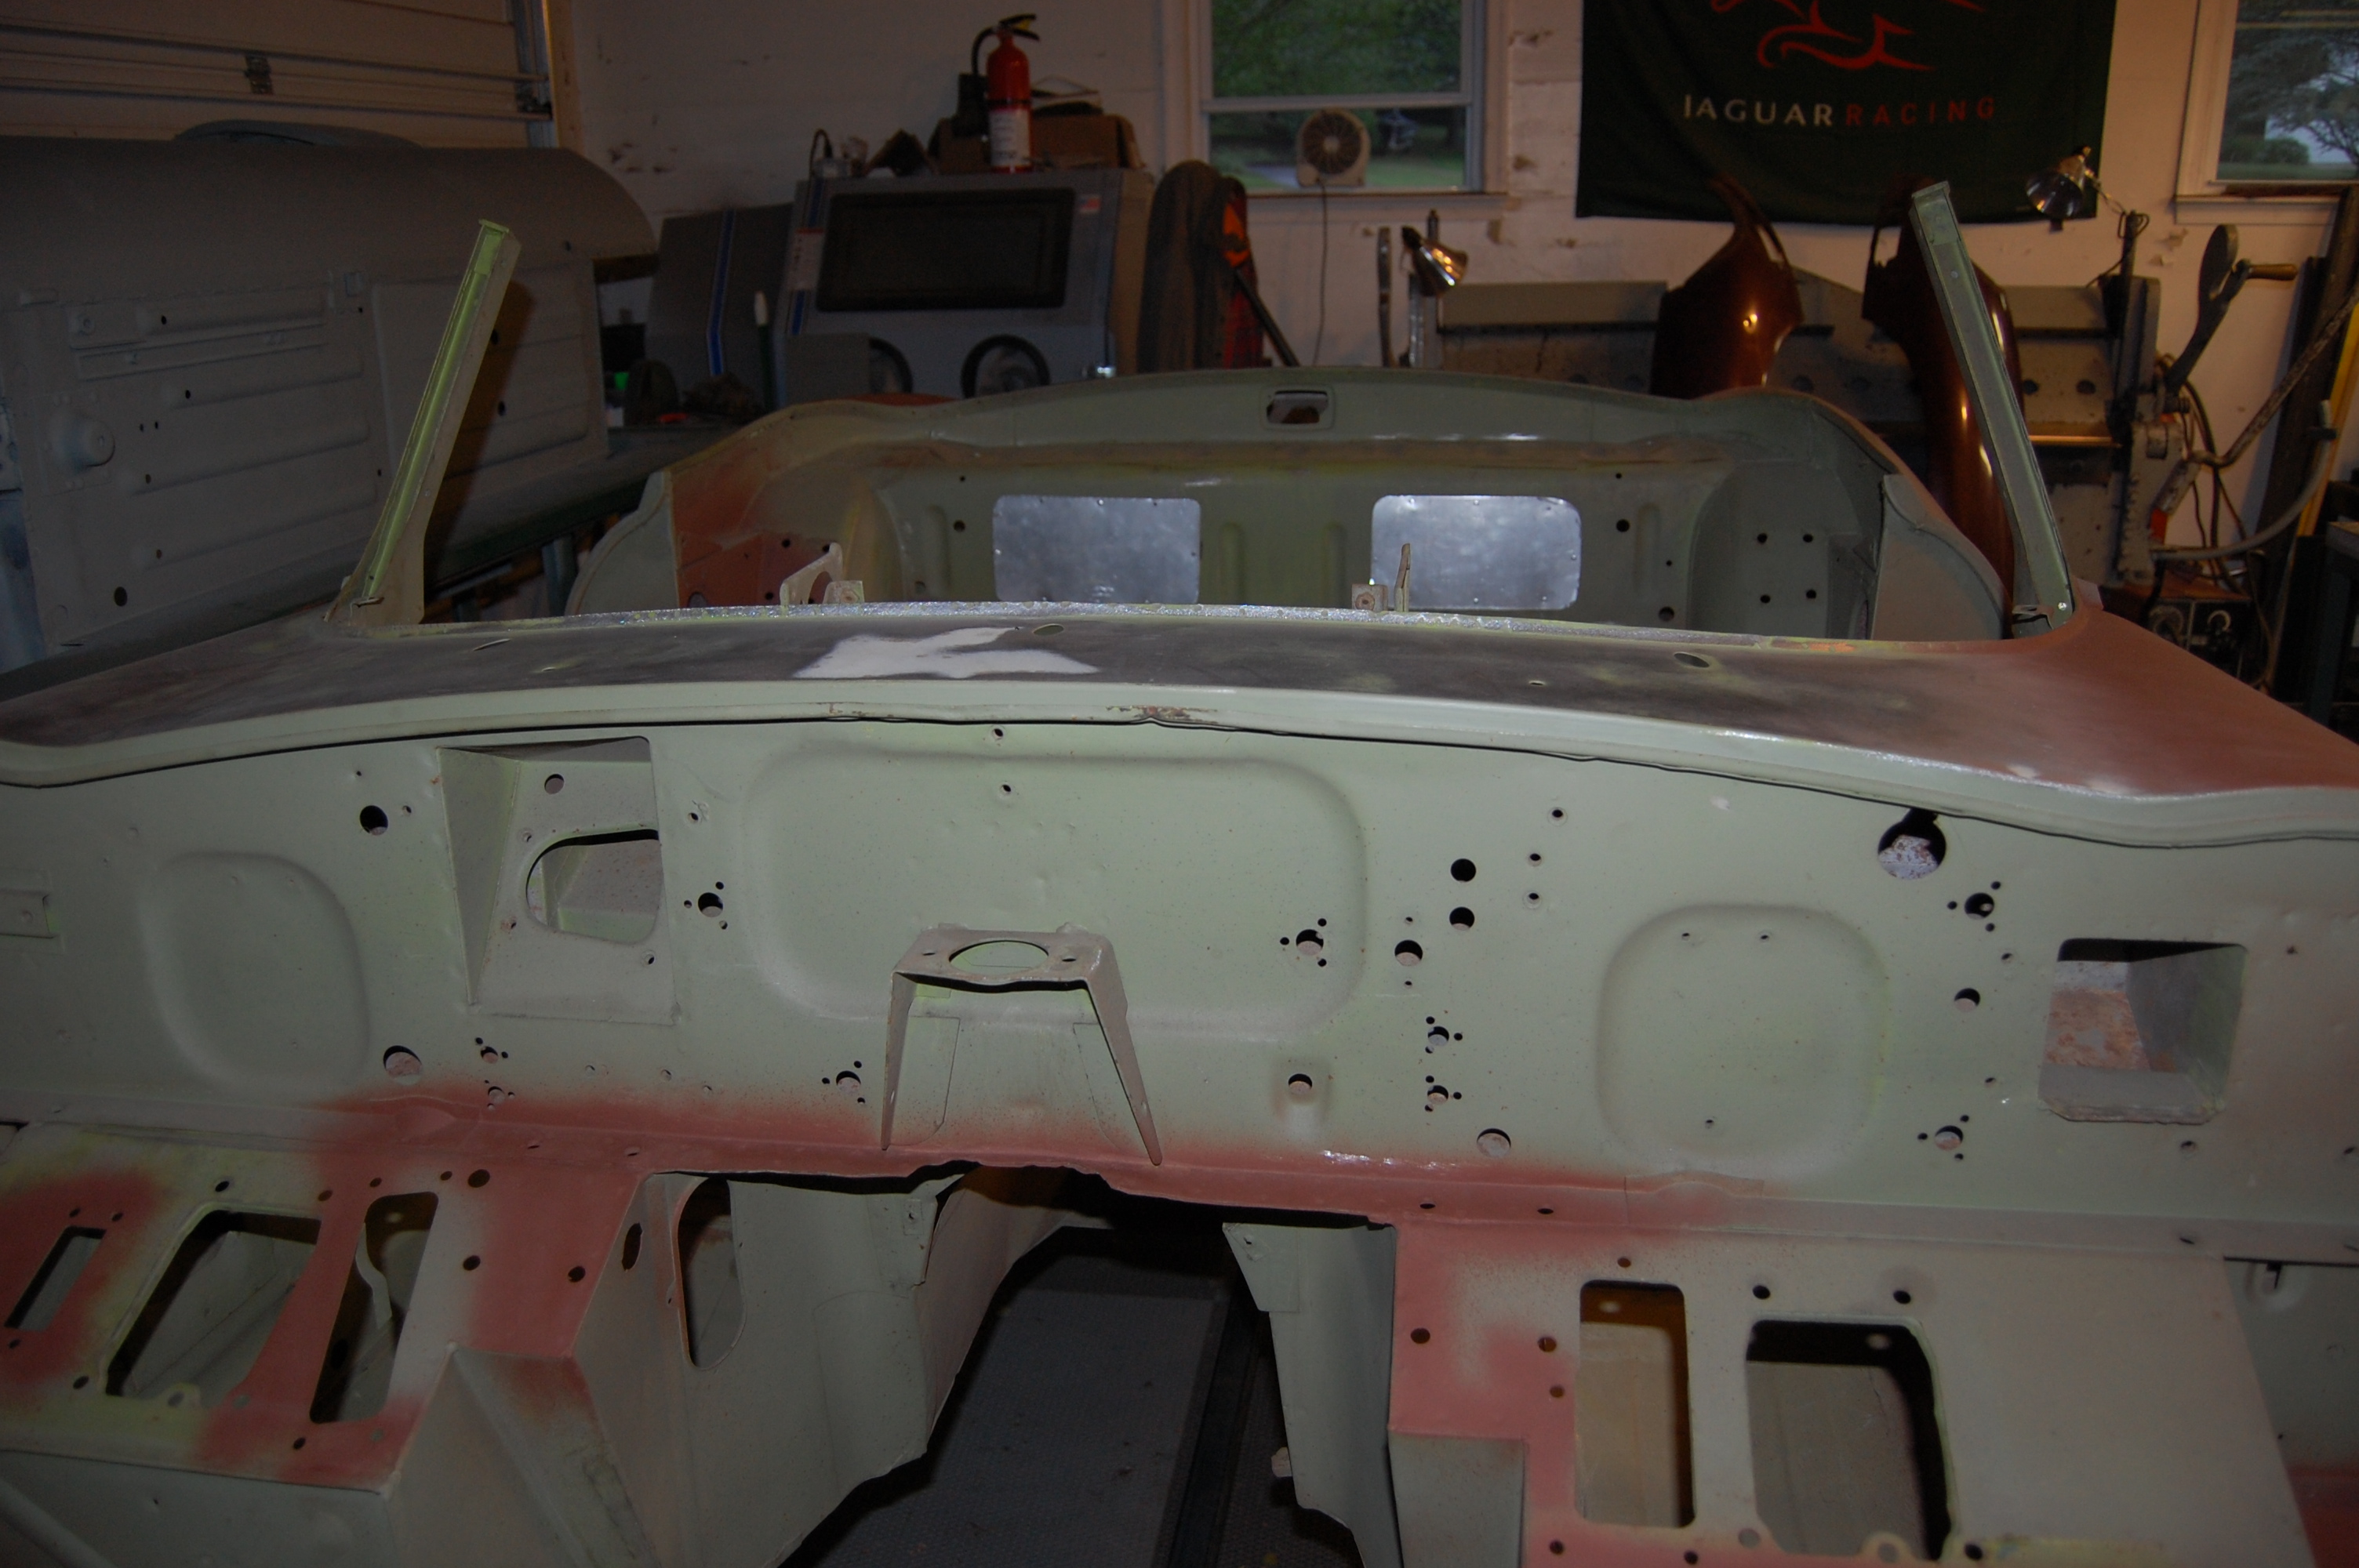
- The firewall and cowl is excellent.
-
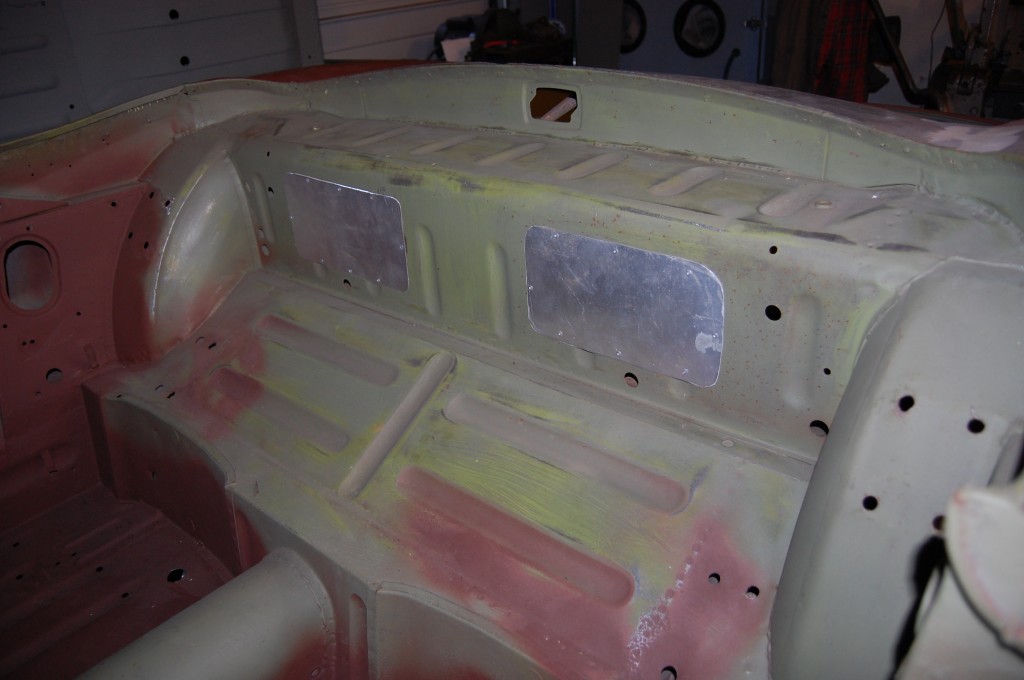
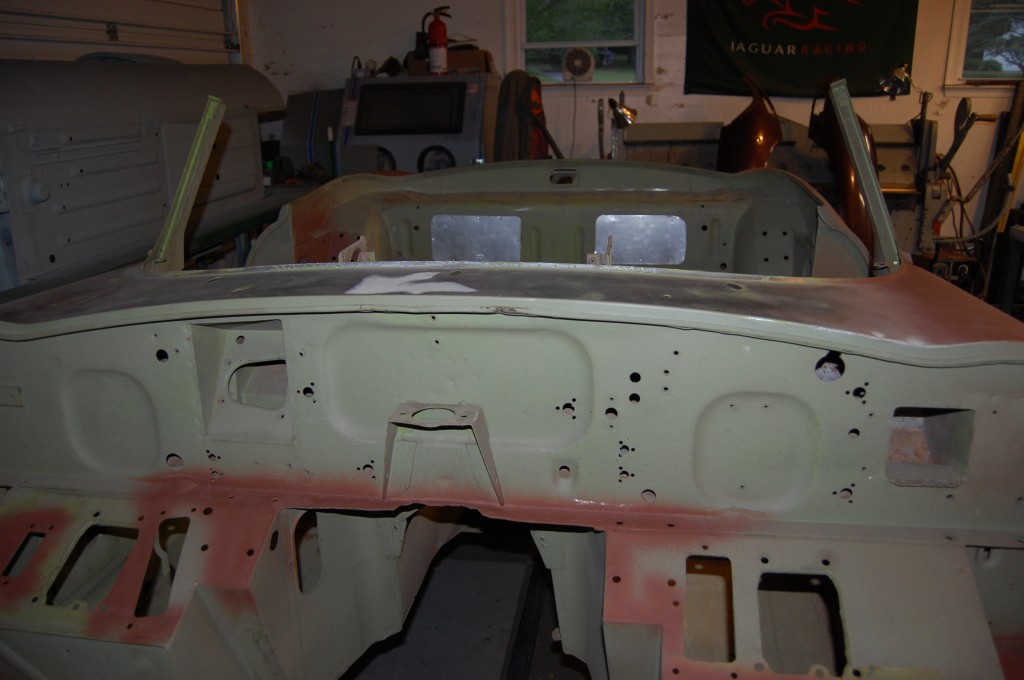
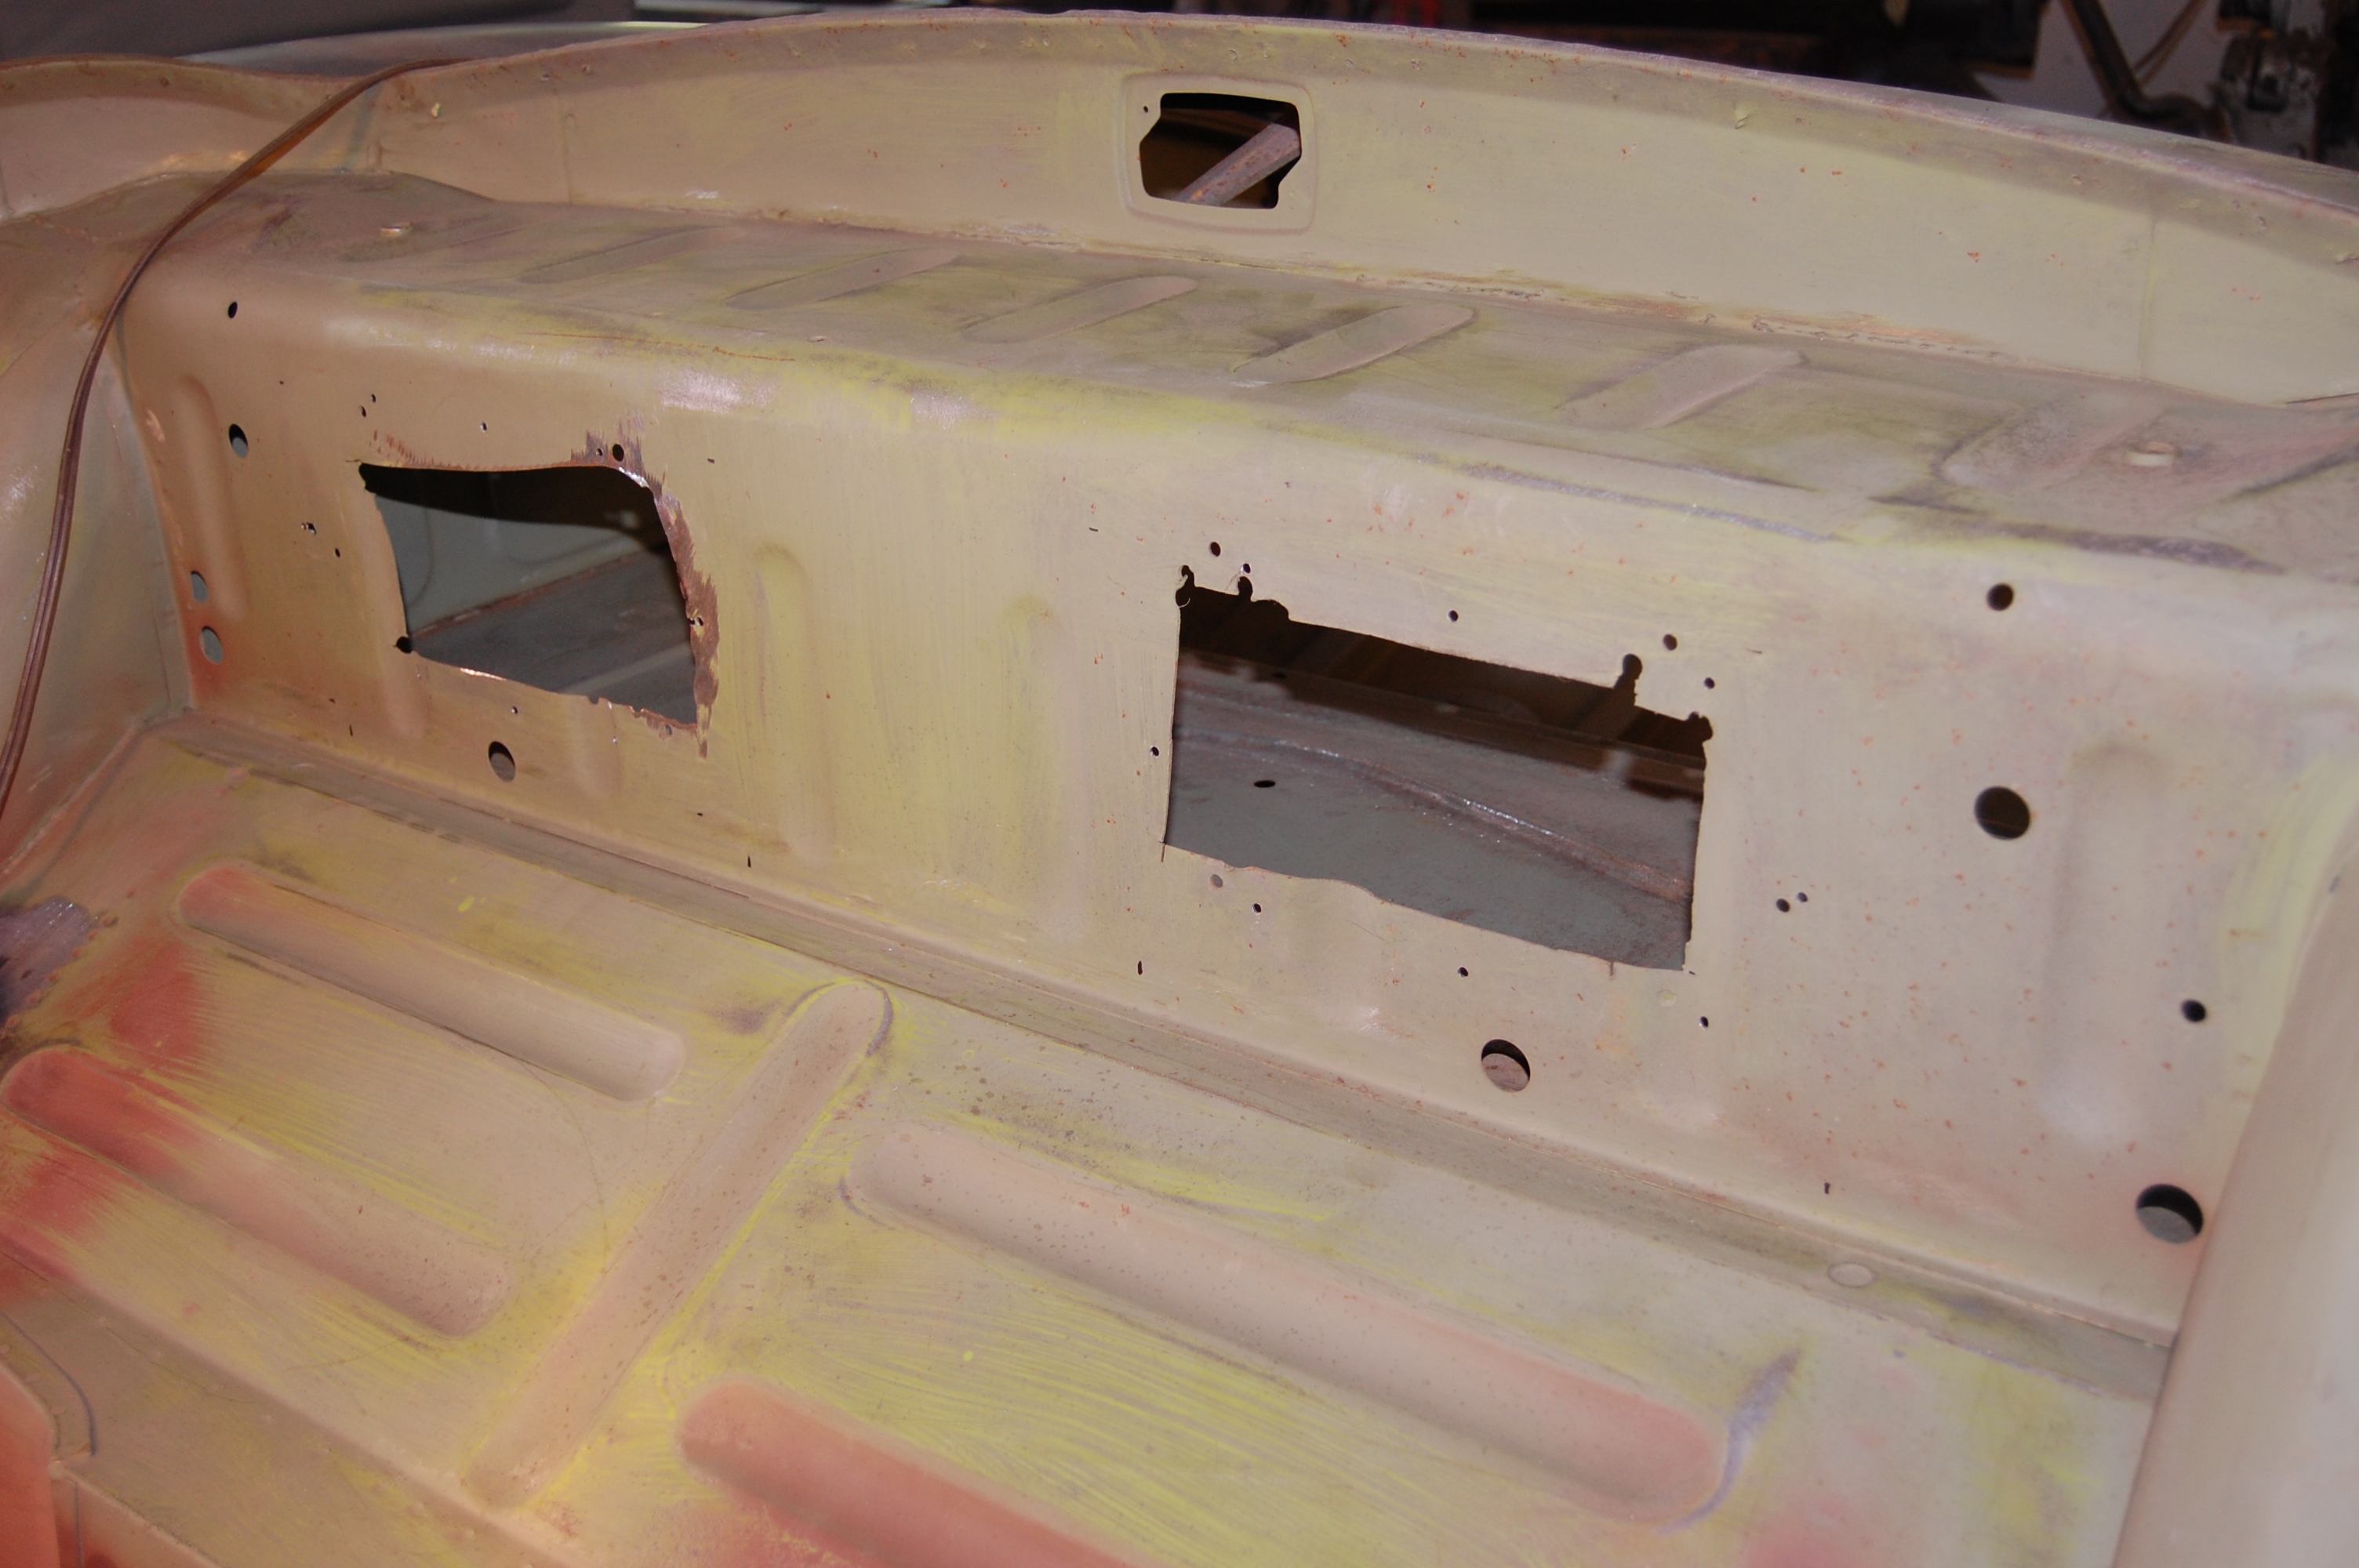
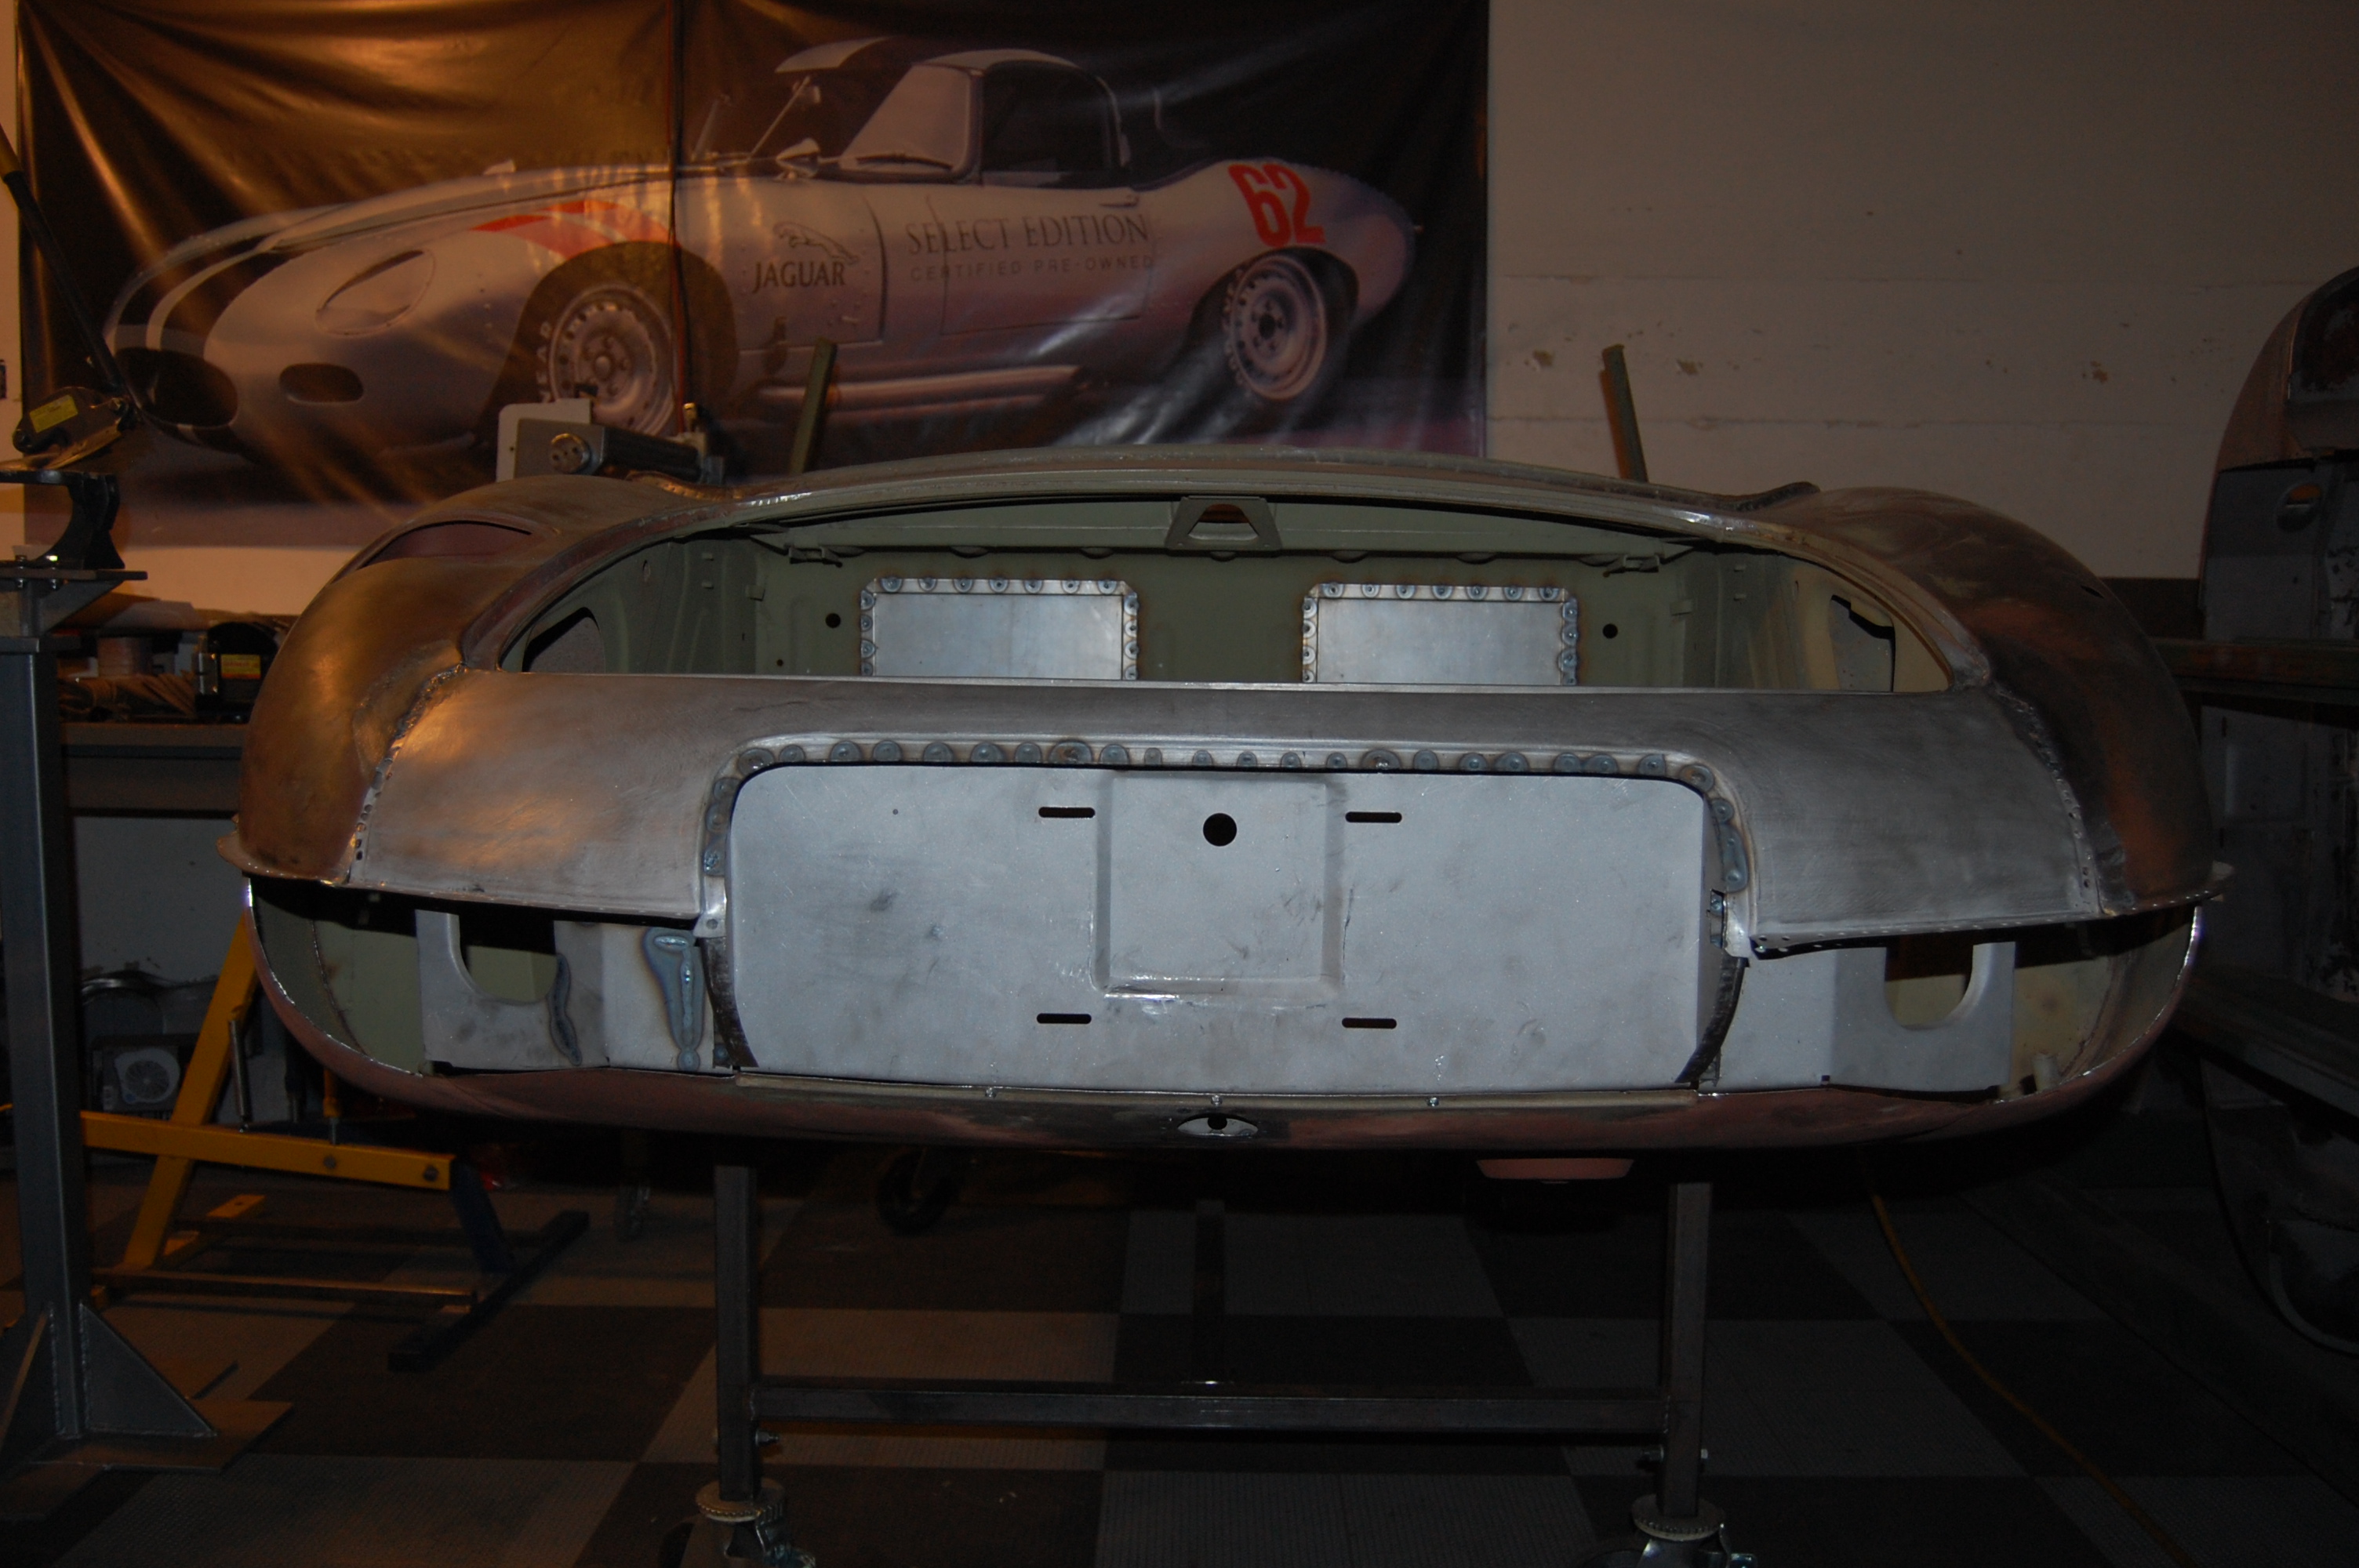
- This is VERY common – speaker holes crudely cut into the rear bulkead of roadsters. We are going to have to remove these crude aluminum plates and do something here.

-
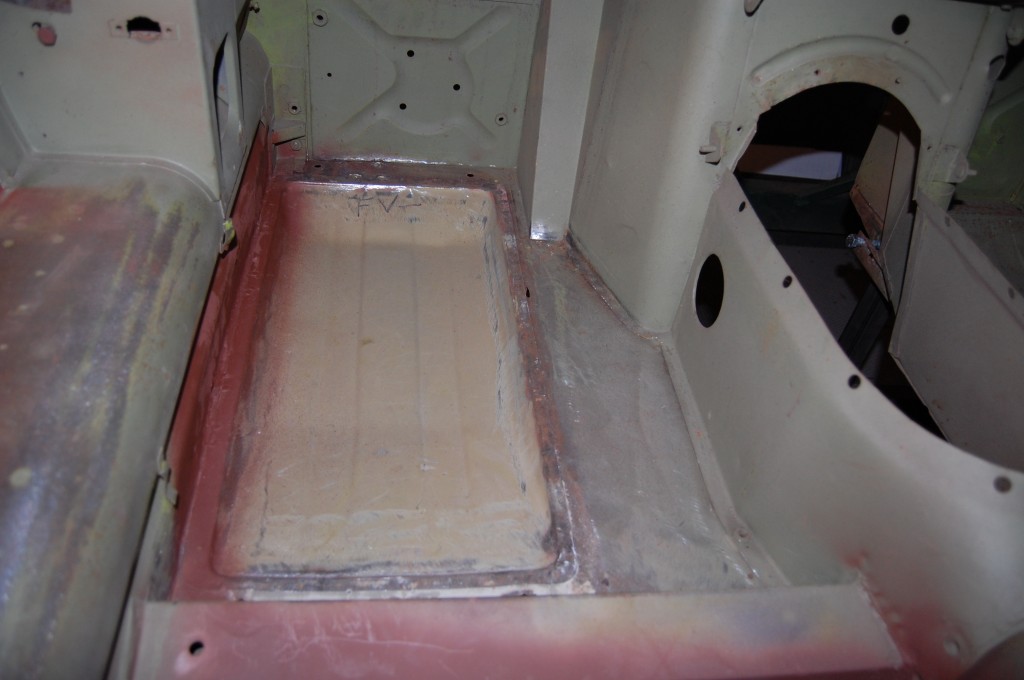
- A new LH footwell was installed in the past, but the work was not up to our standards, so it will come out.
-
- This patch is also messy – made up for with some filler…
-
- This is the RH side of the crossmember – badly corroded, but the floor was salvageable – pitted, but solid. This will also come out.
-
- Here we are melting the leaded seams out of the rear end to start the conversion to a Series 1 tail.
-
- RH side factory seam.

-
- Everything Series 2 has now been removed.

-
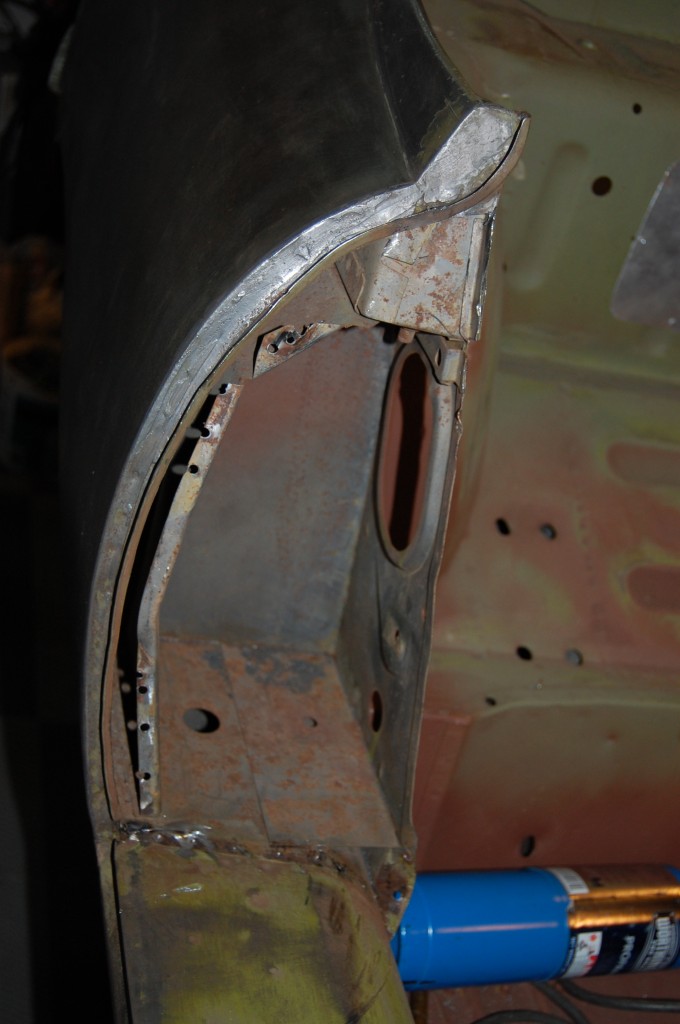
- Including the shut face panels, which are different on a Series 2. The inside of the B-post is excellent, but will get sanded and liberally coated with red oxide, as always.

-
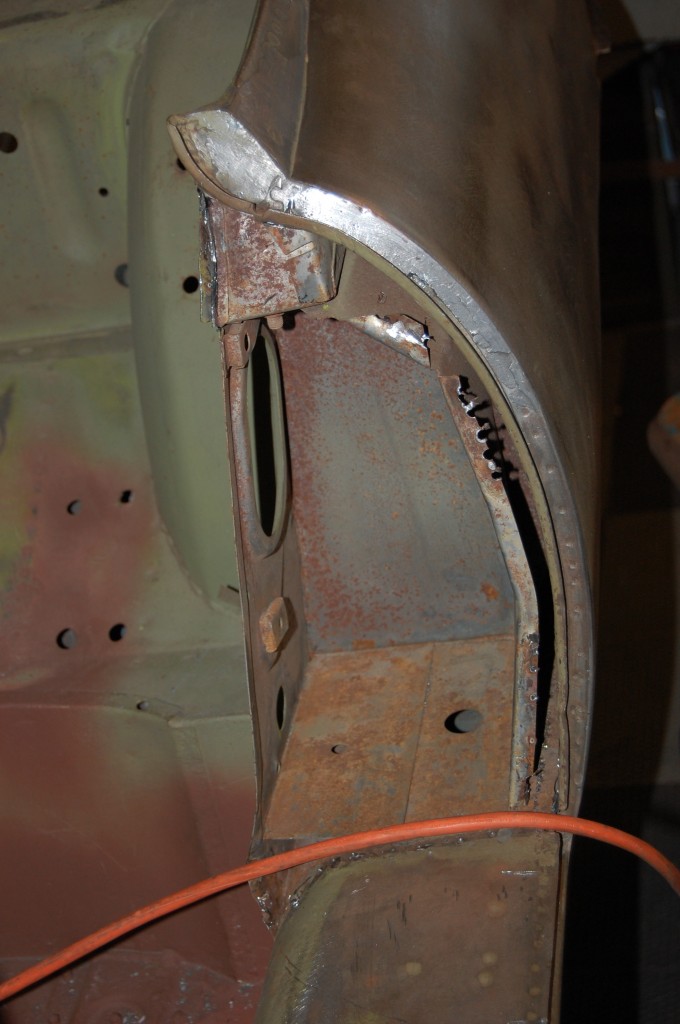
- LH side is also pristine inside!

-

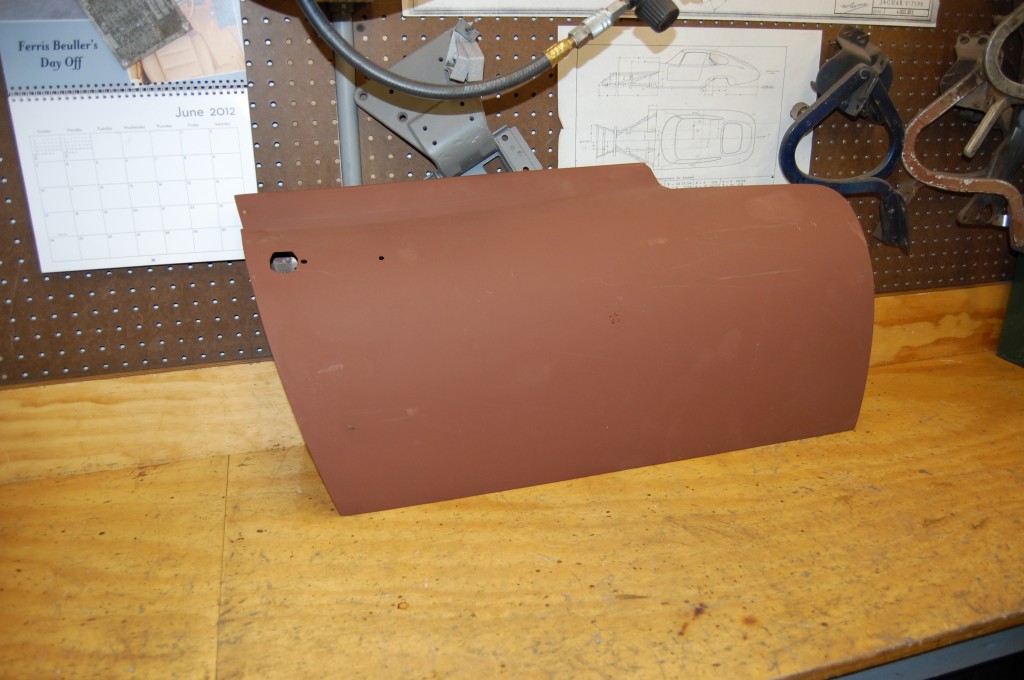
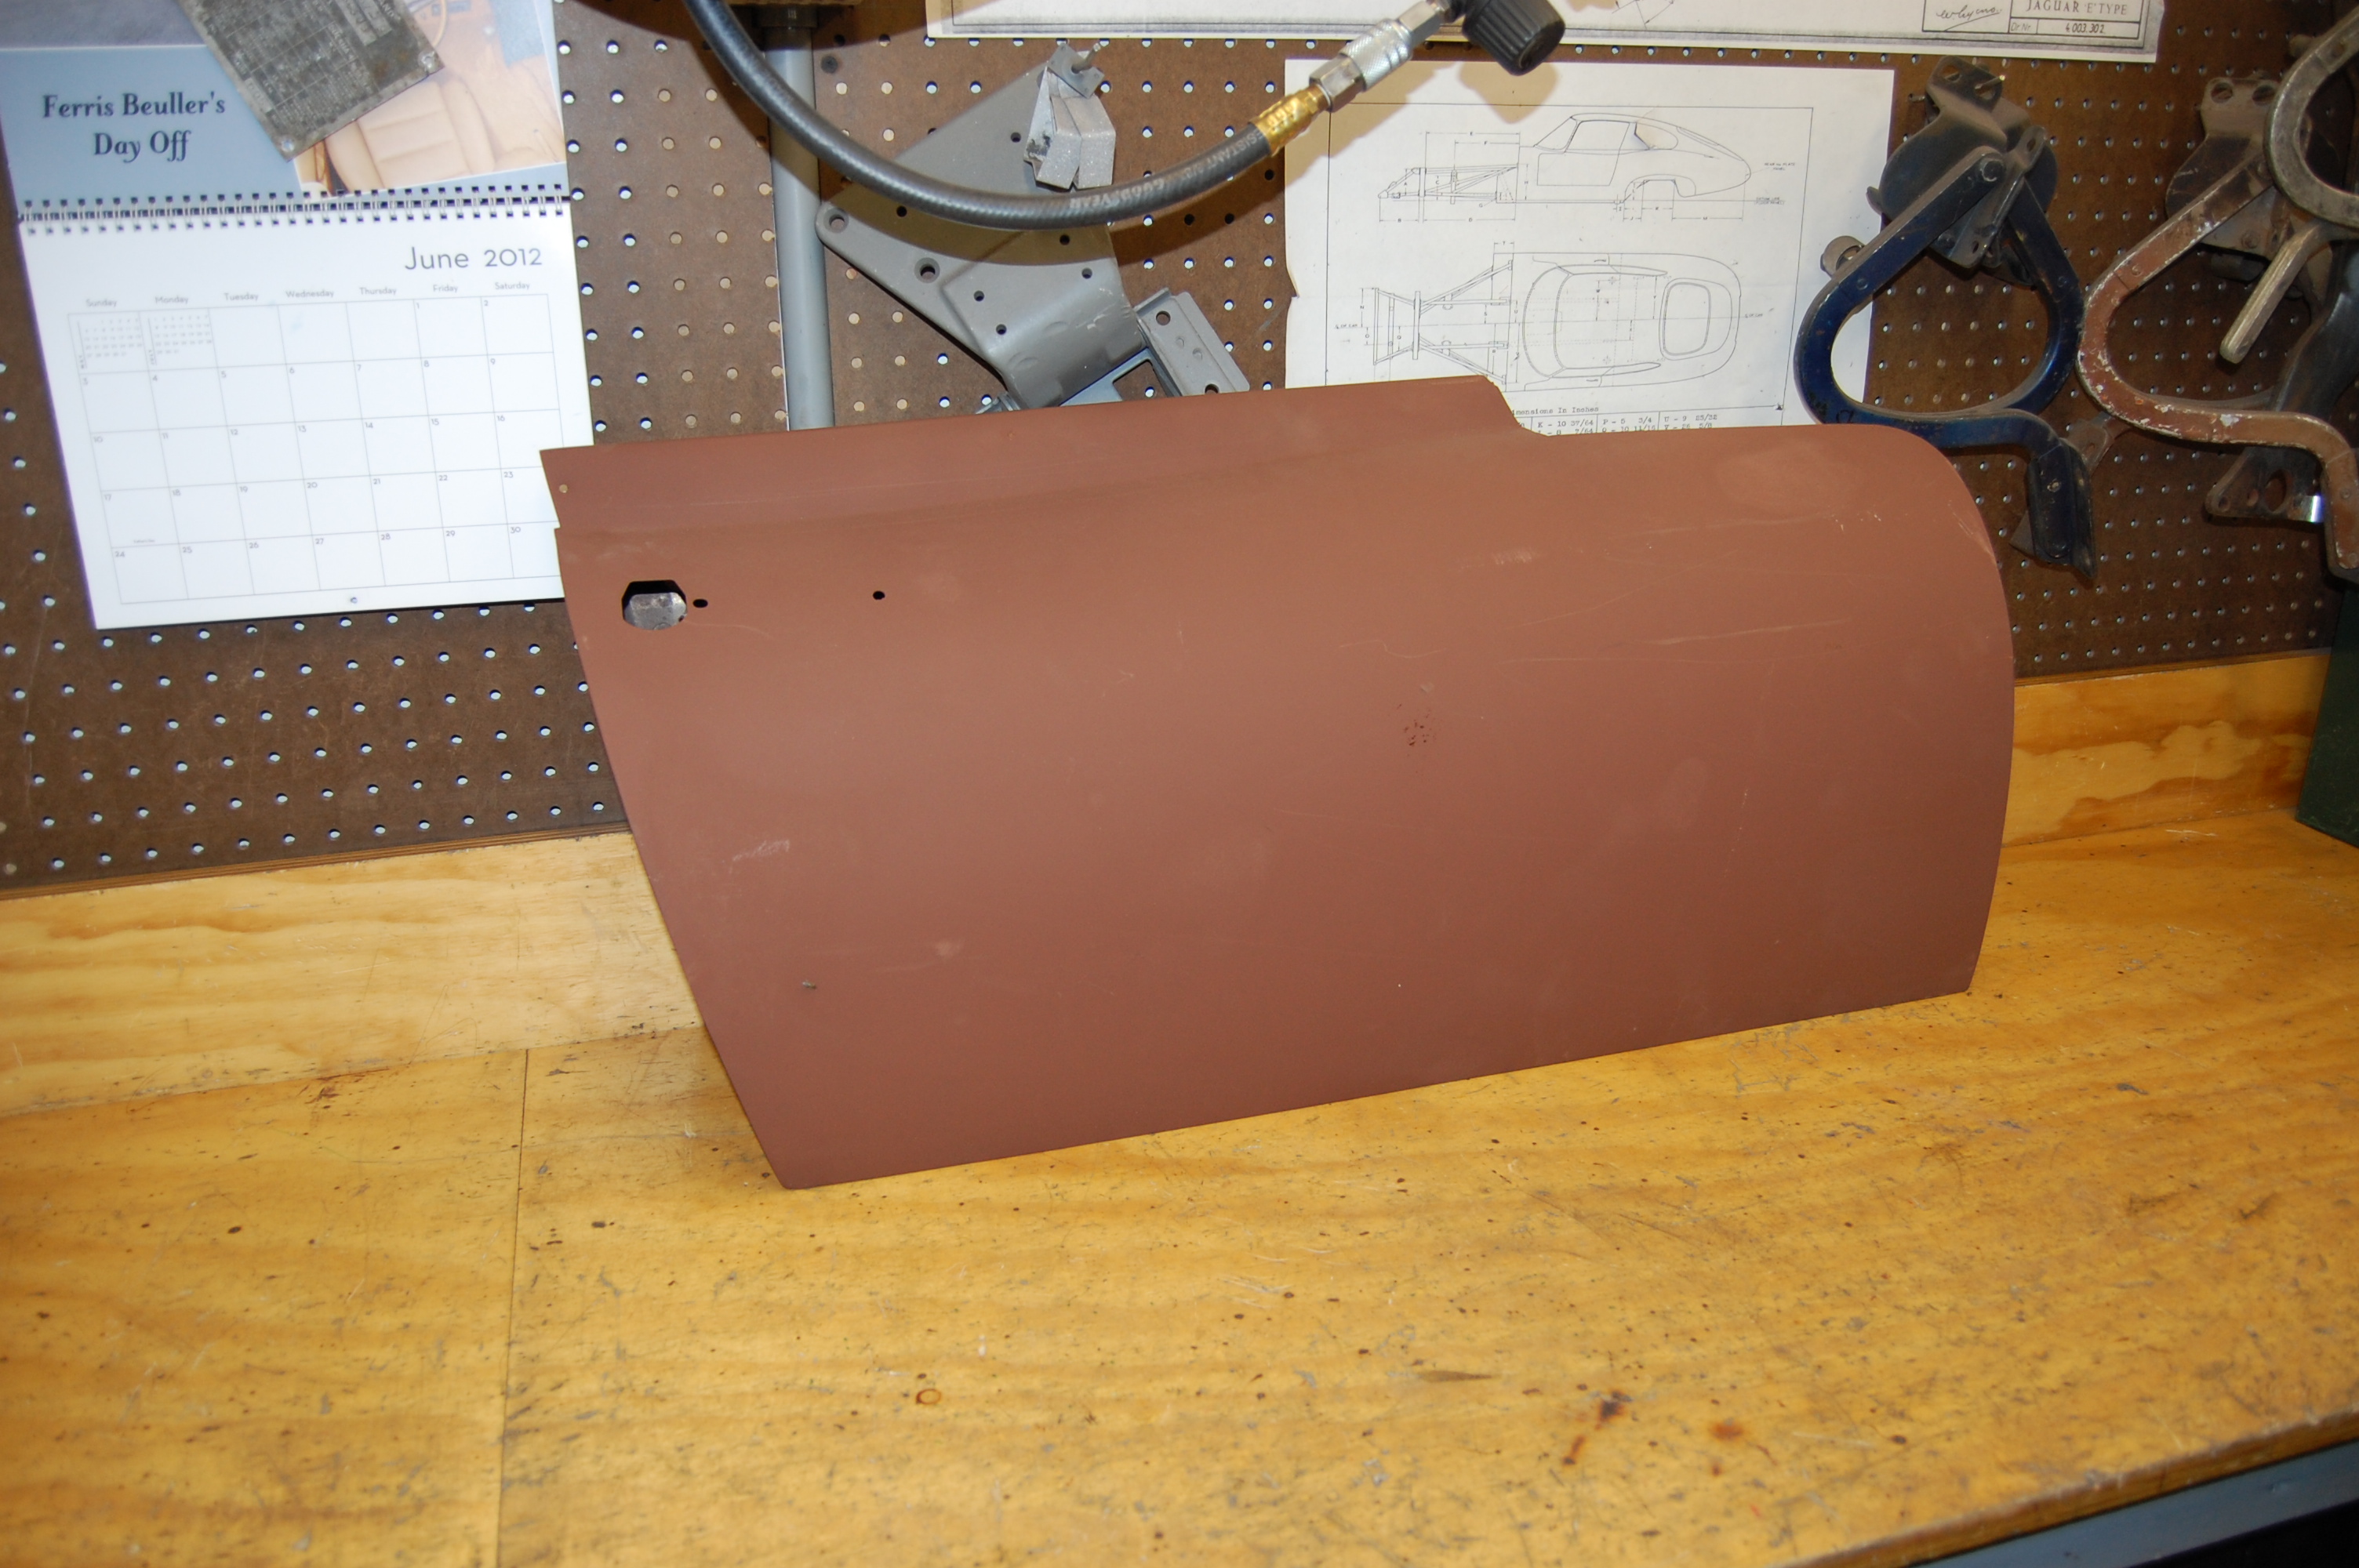
- The doors weren’t bad – a couple of dent puller holes were welded up and some dents removed.
-
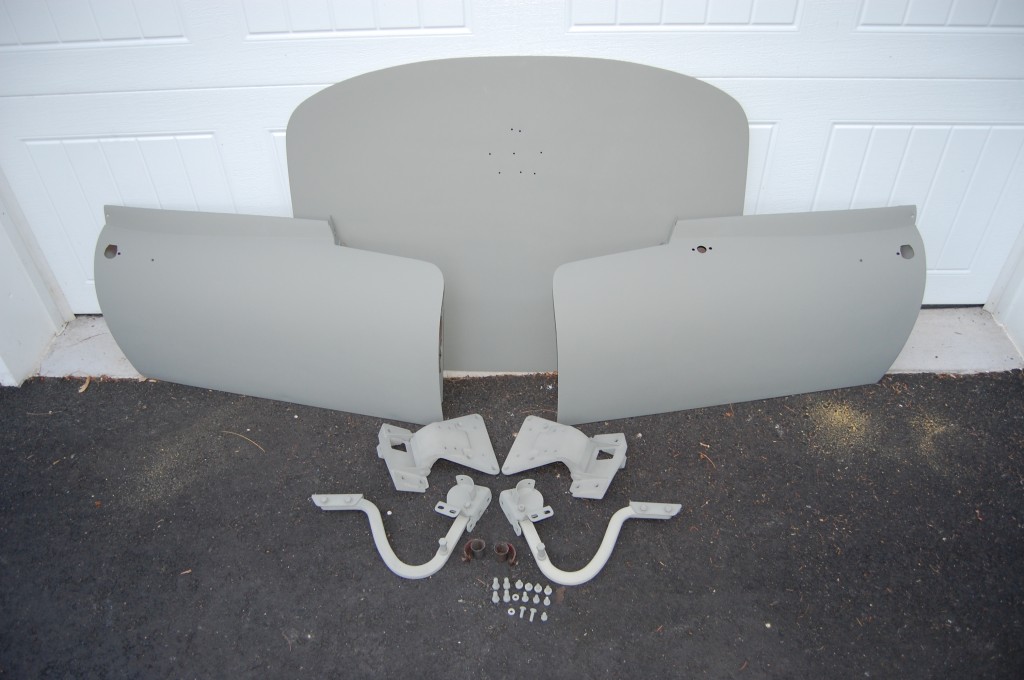
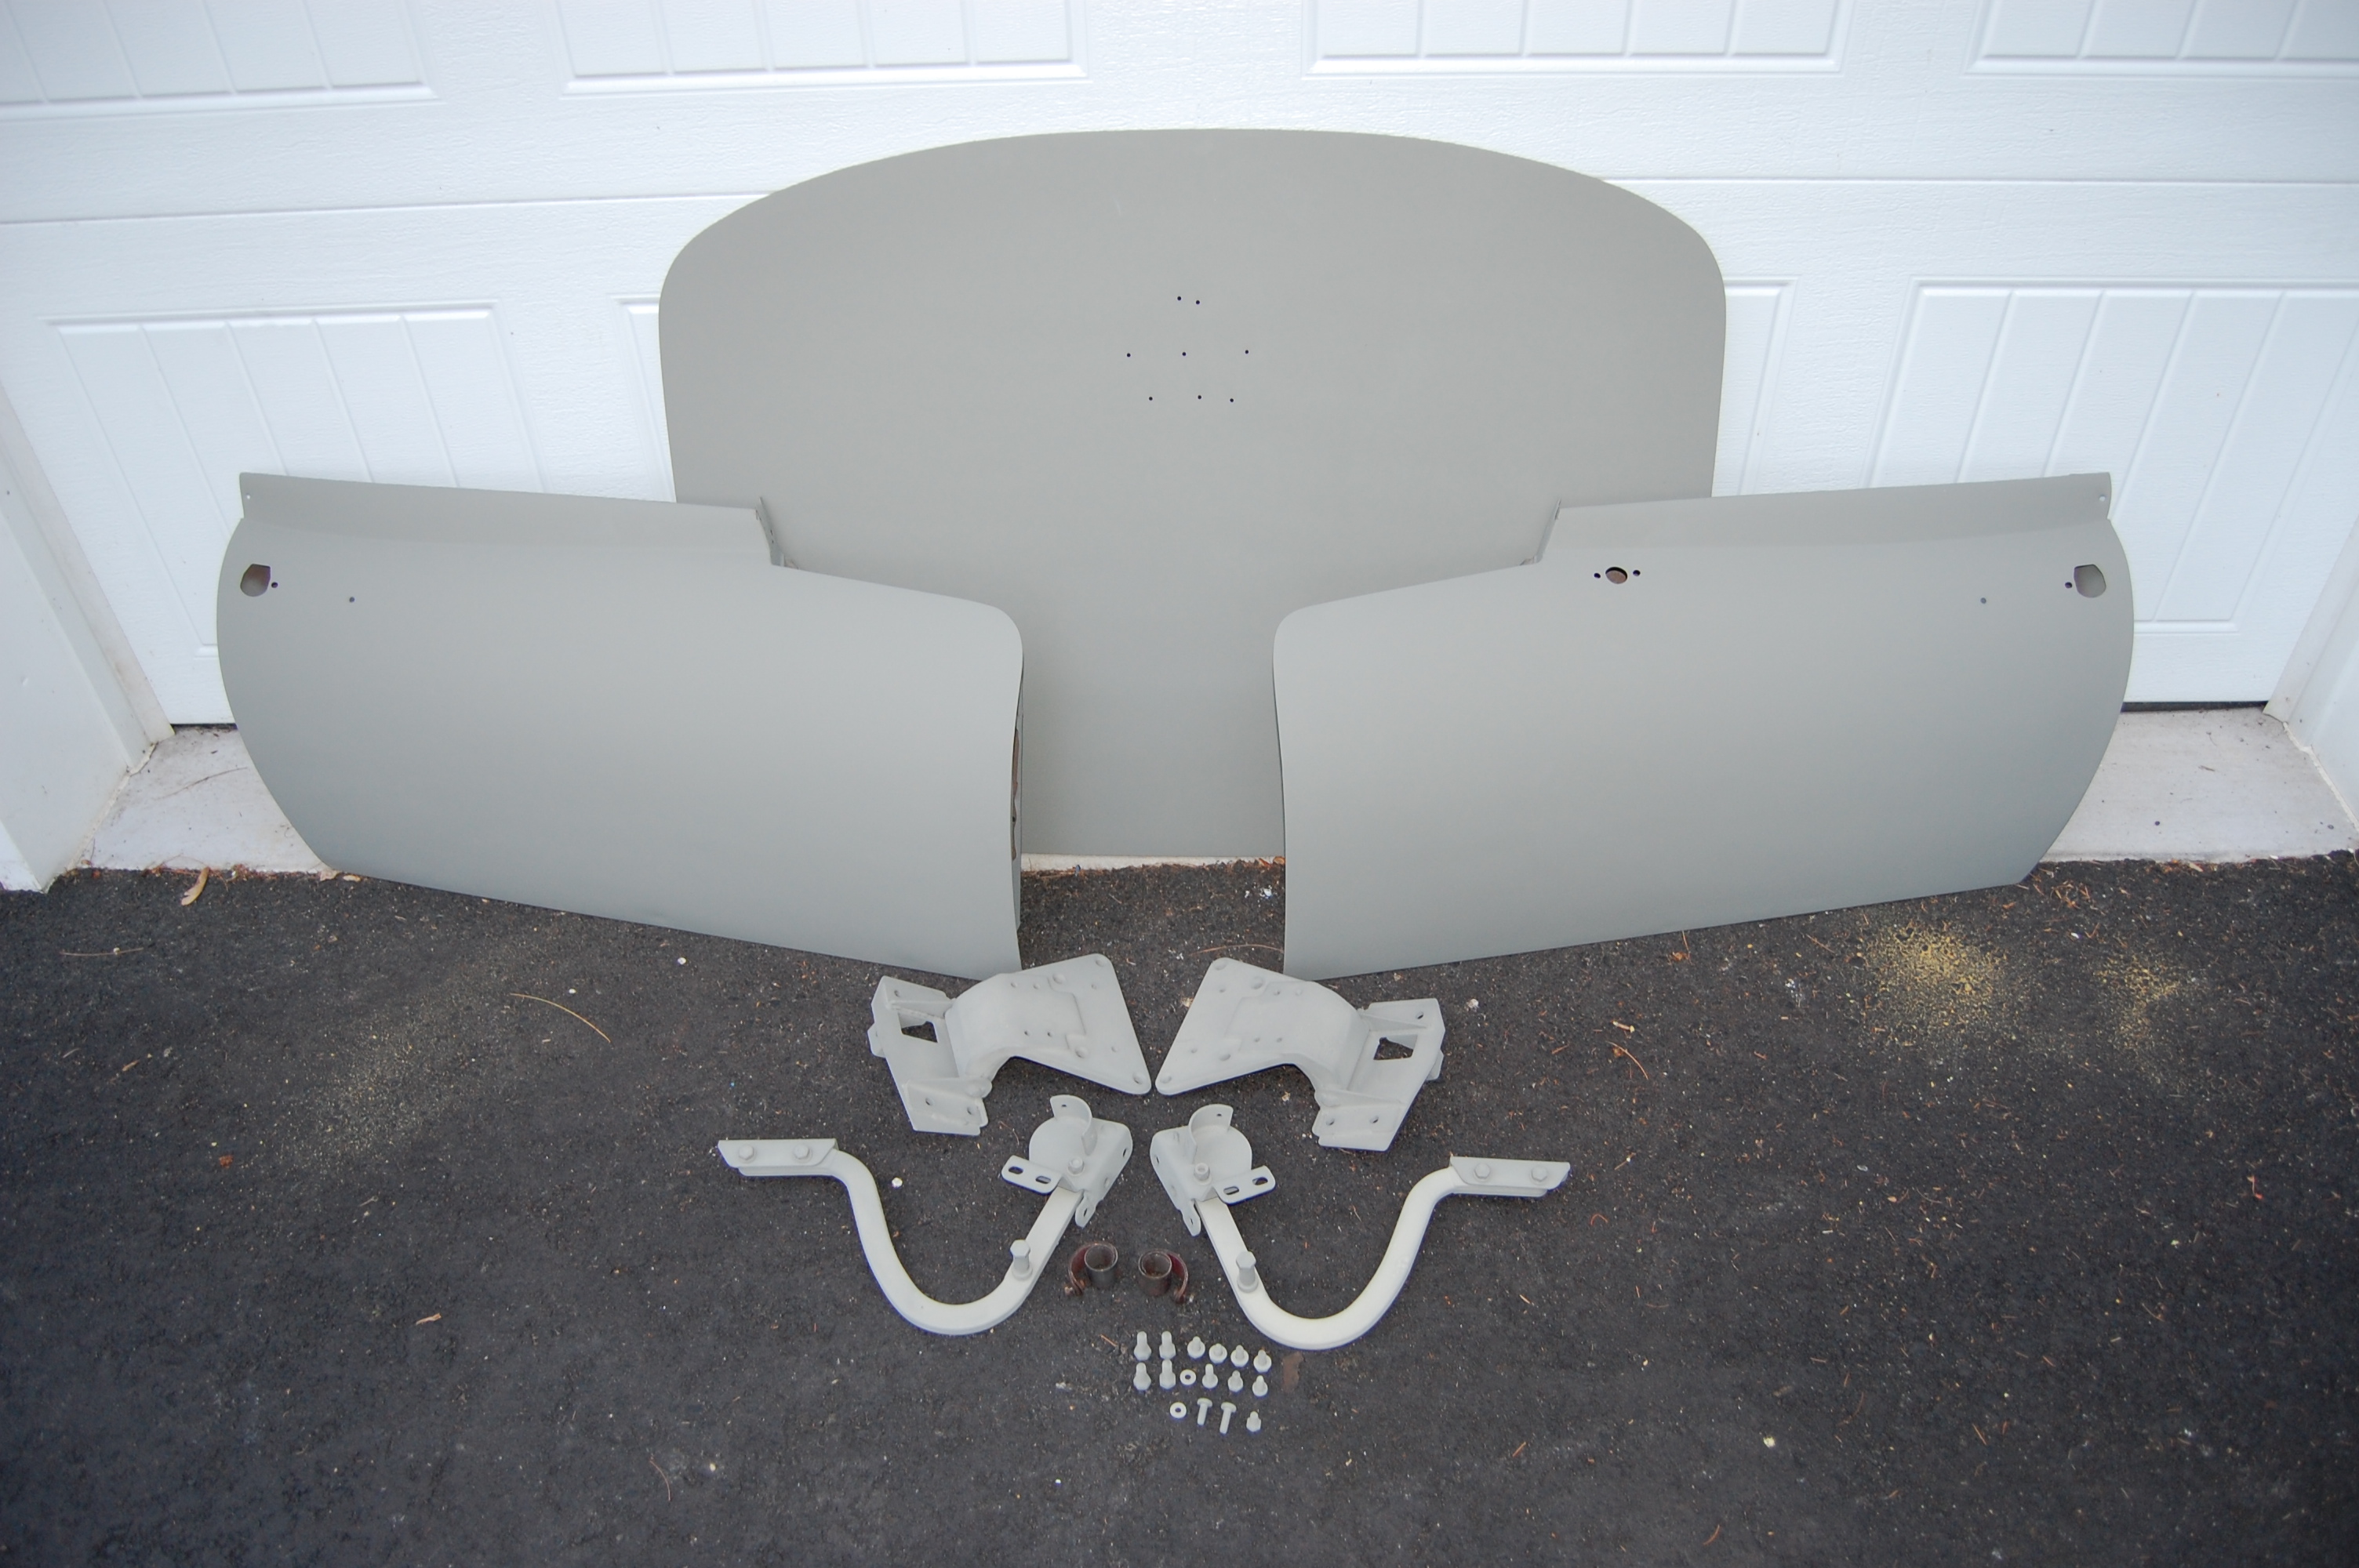
- These pieces are all completed – excellent virgin originals that just need a little light filler here and there.
-
- This is the new RH crossmember piece before being welded into place. It has been uprated to 18-gauge from 20.

-
- New Series 1 shut face panel has been welded into place. This was an NOS panel from our stock that came from a parts house that had allowed their stock to surface rust. Last year, we purchased a large collection of those panels, glass-beaded them, and coated with red oxide.
-
- RH crossmember welded into place.
-

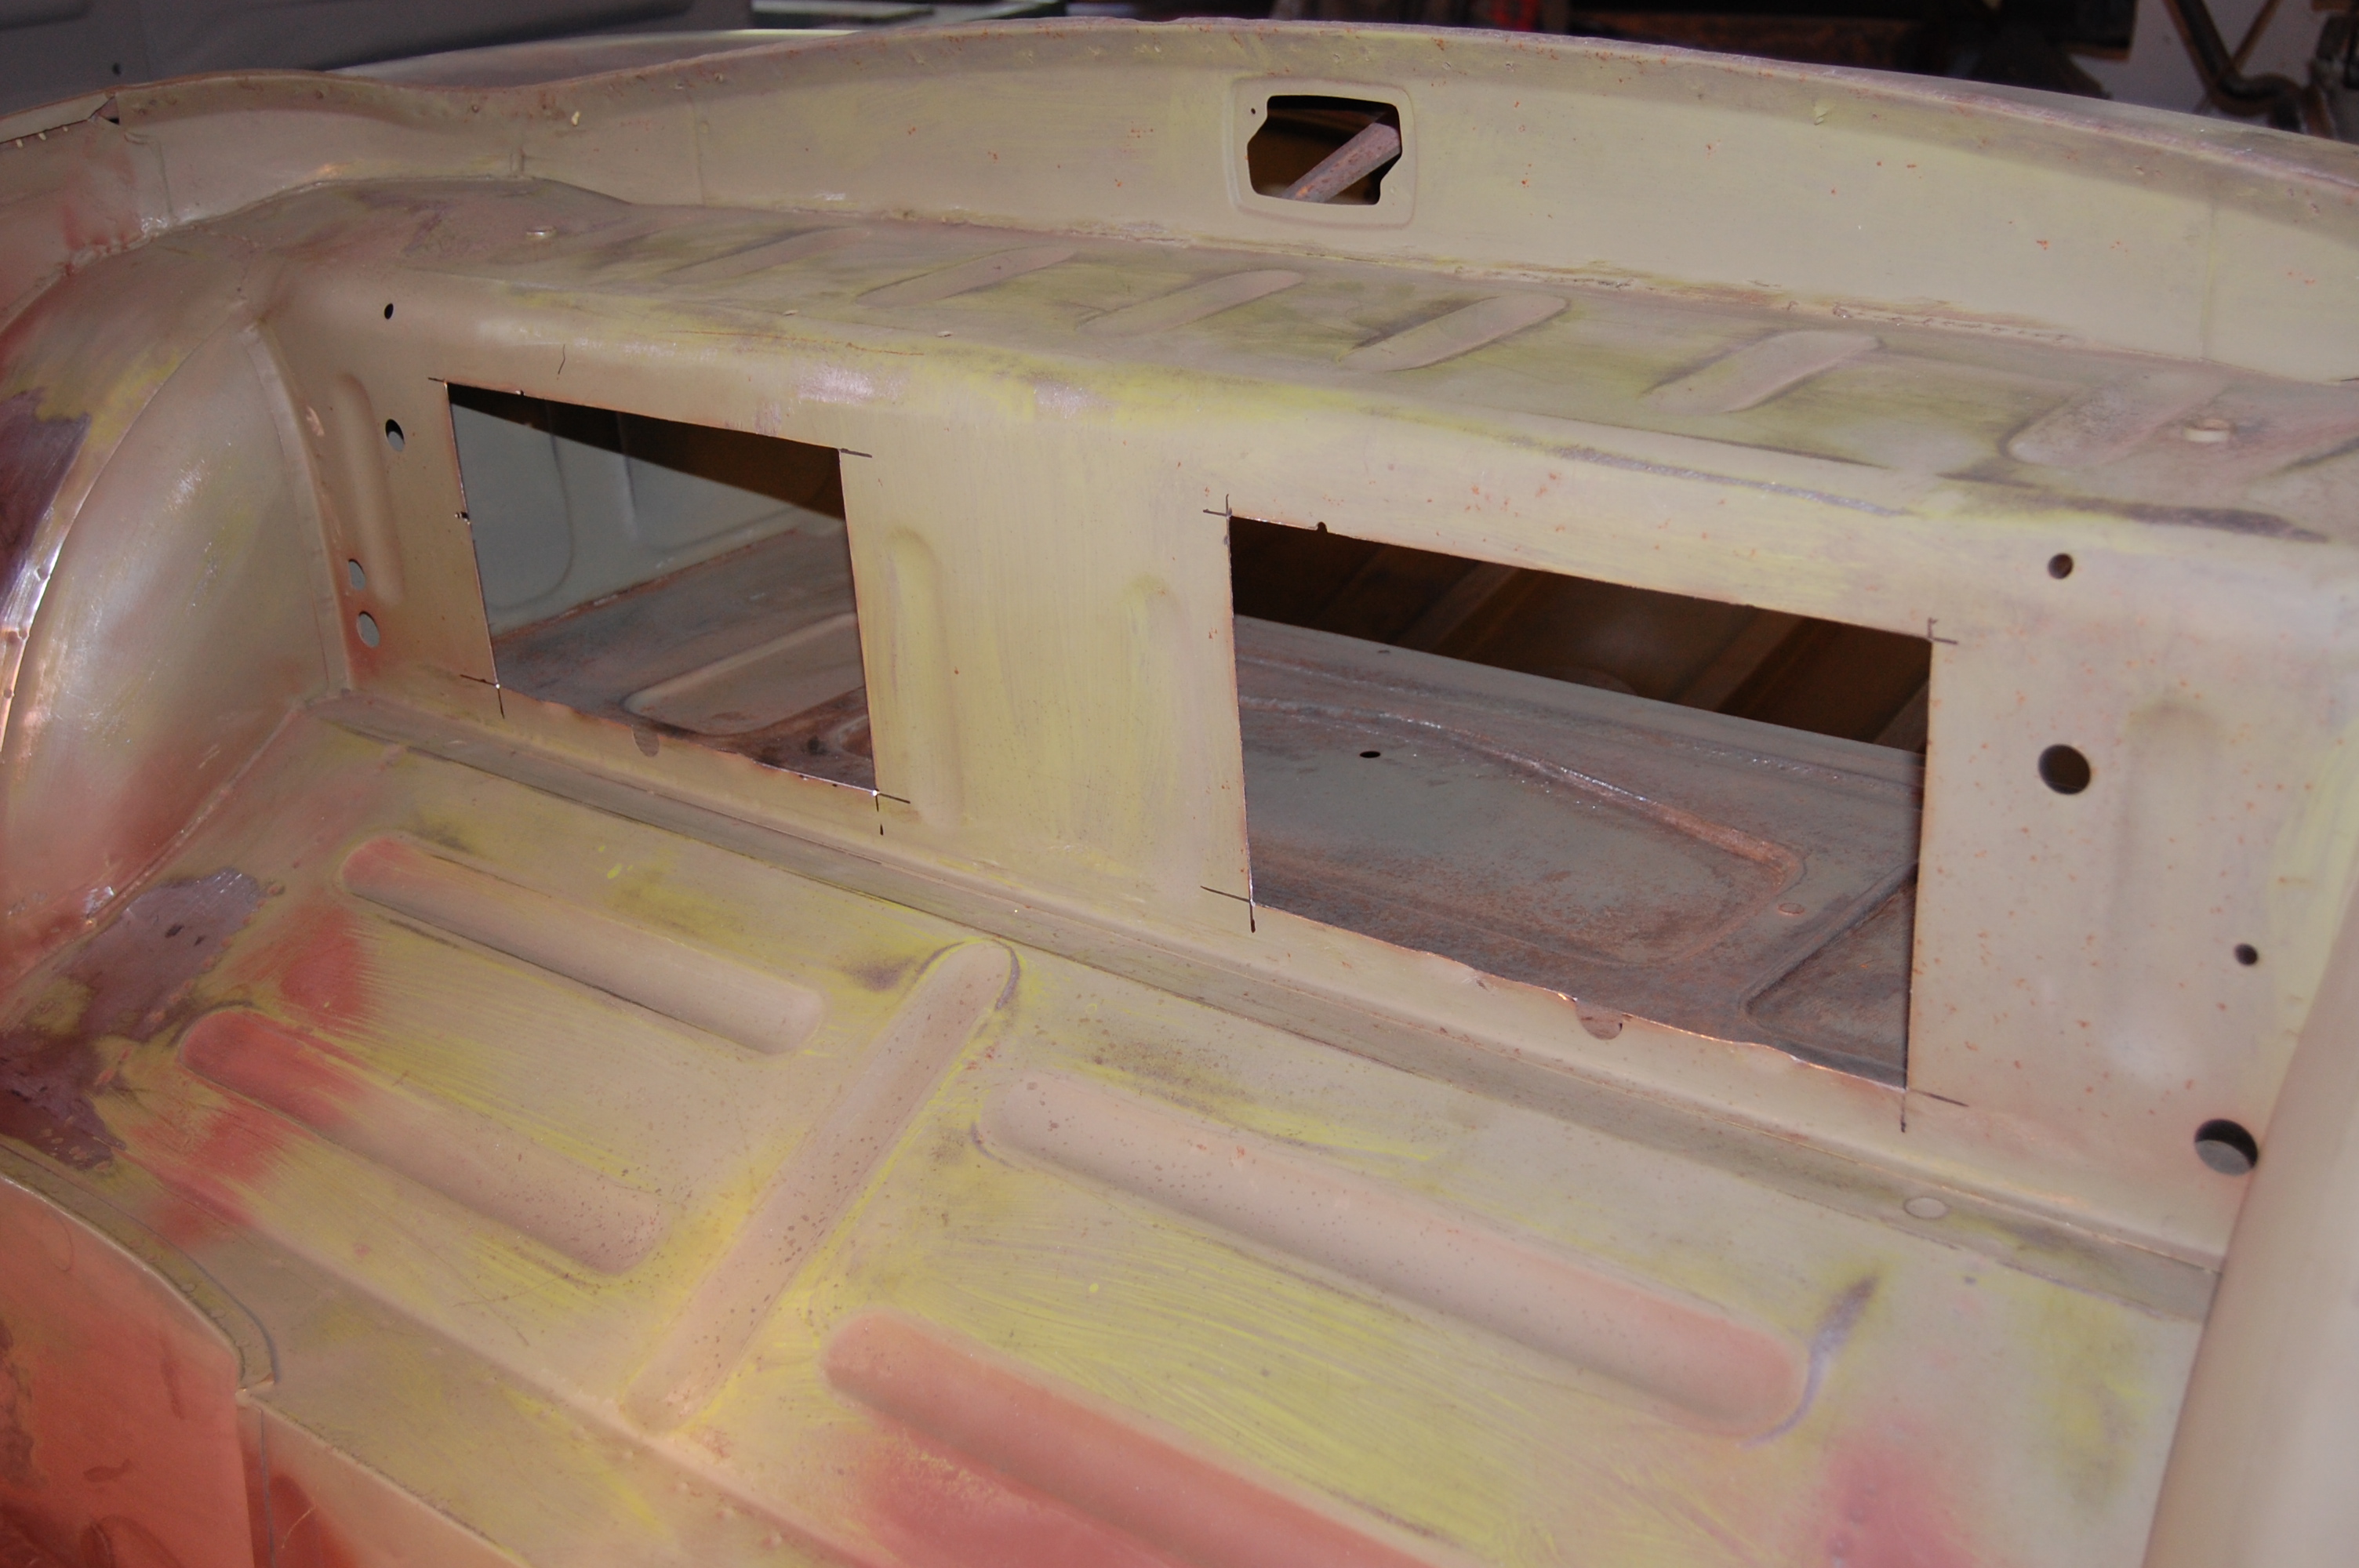
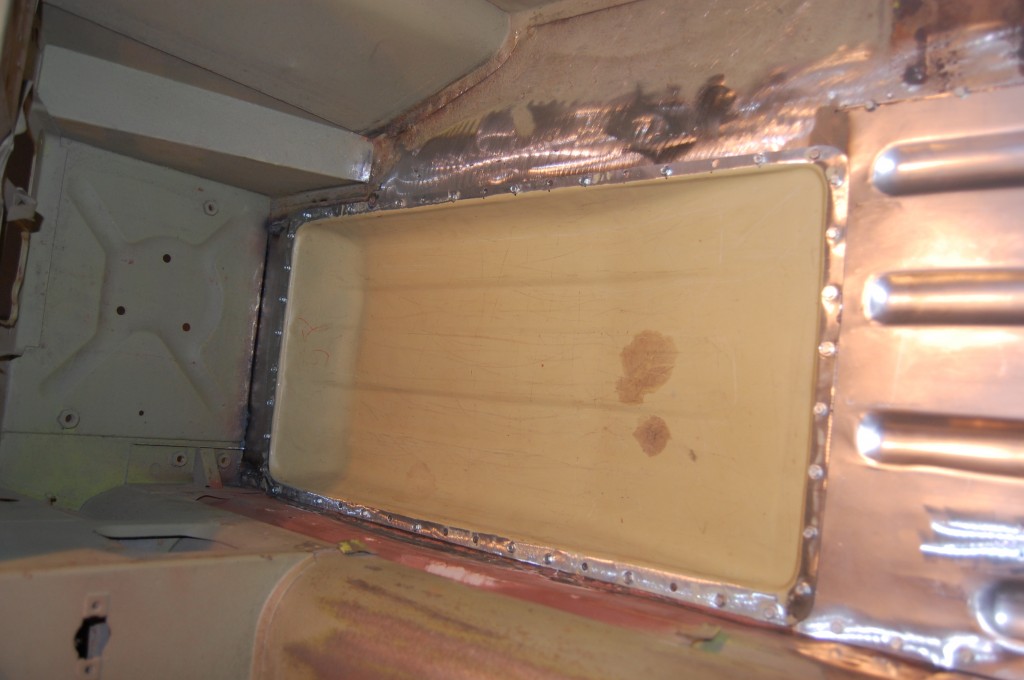
- These speaker holes were NASTY!
-
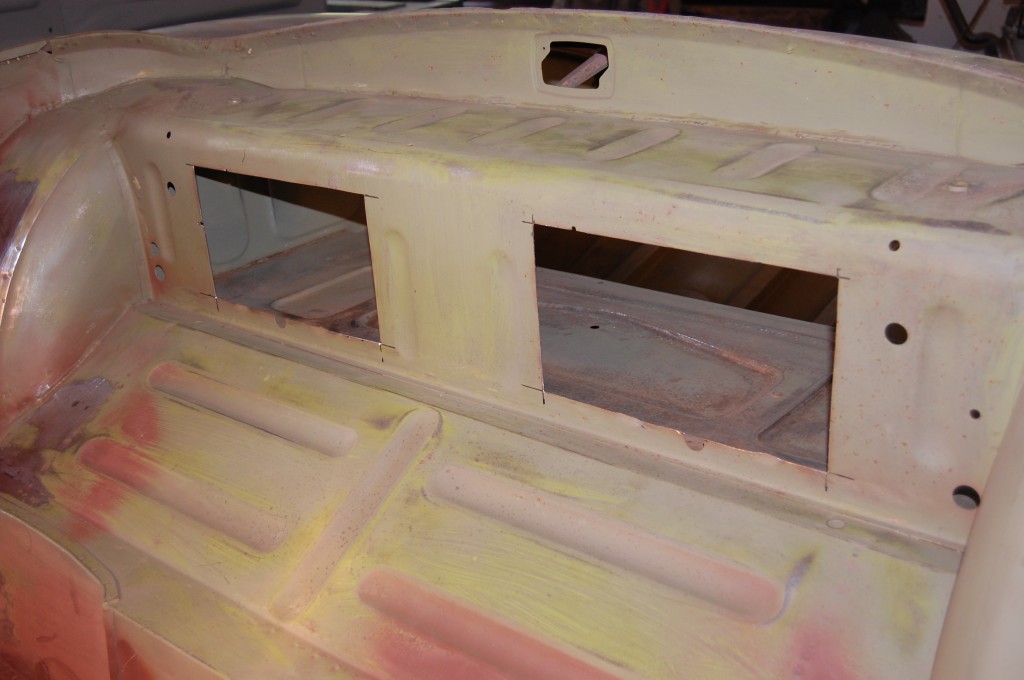
- We carefully cut new, larger sections that will be solidly patched.
-

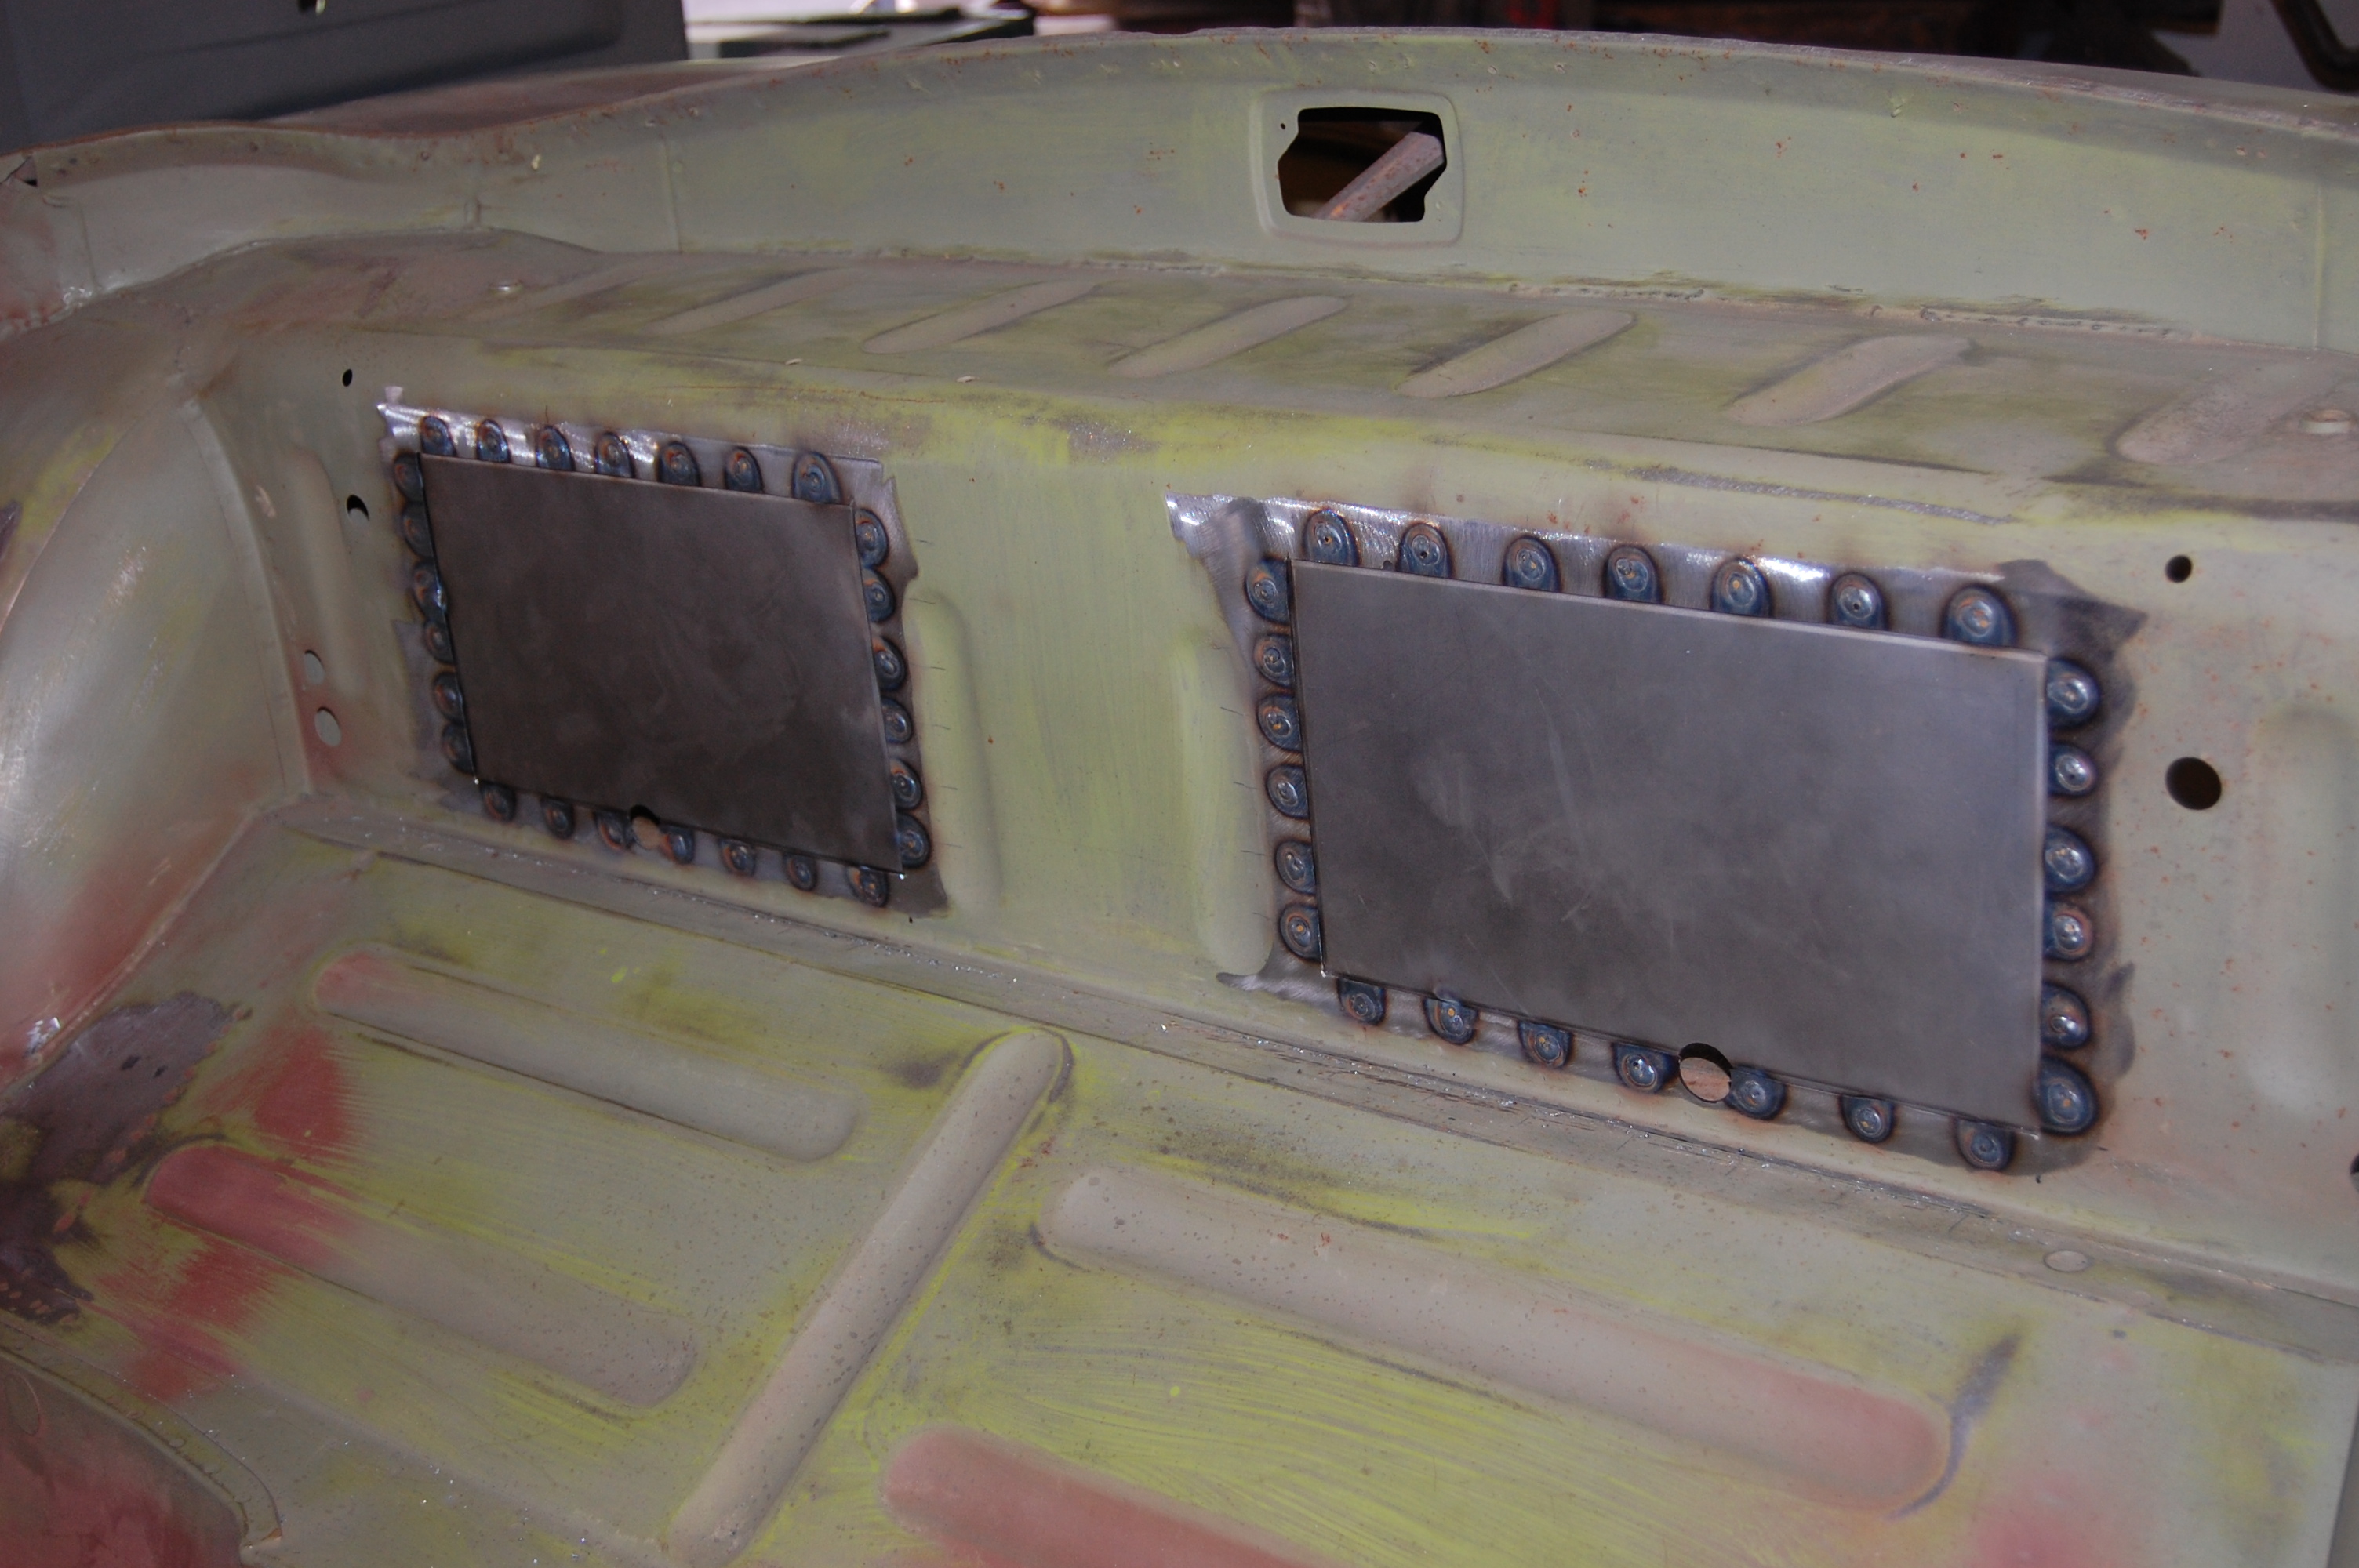
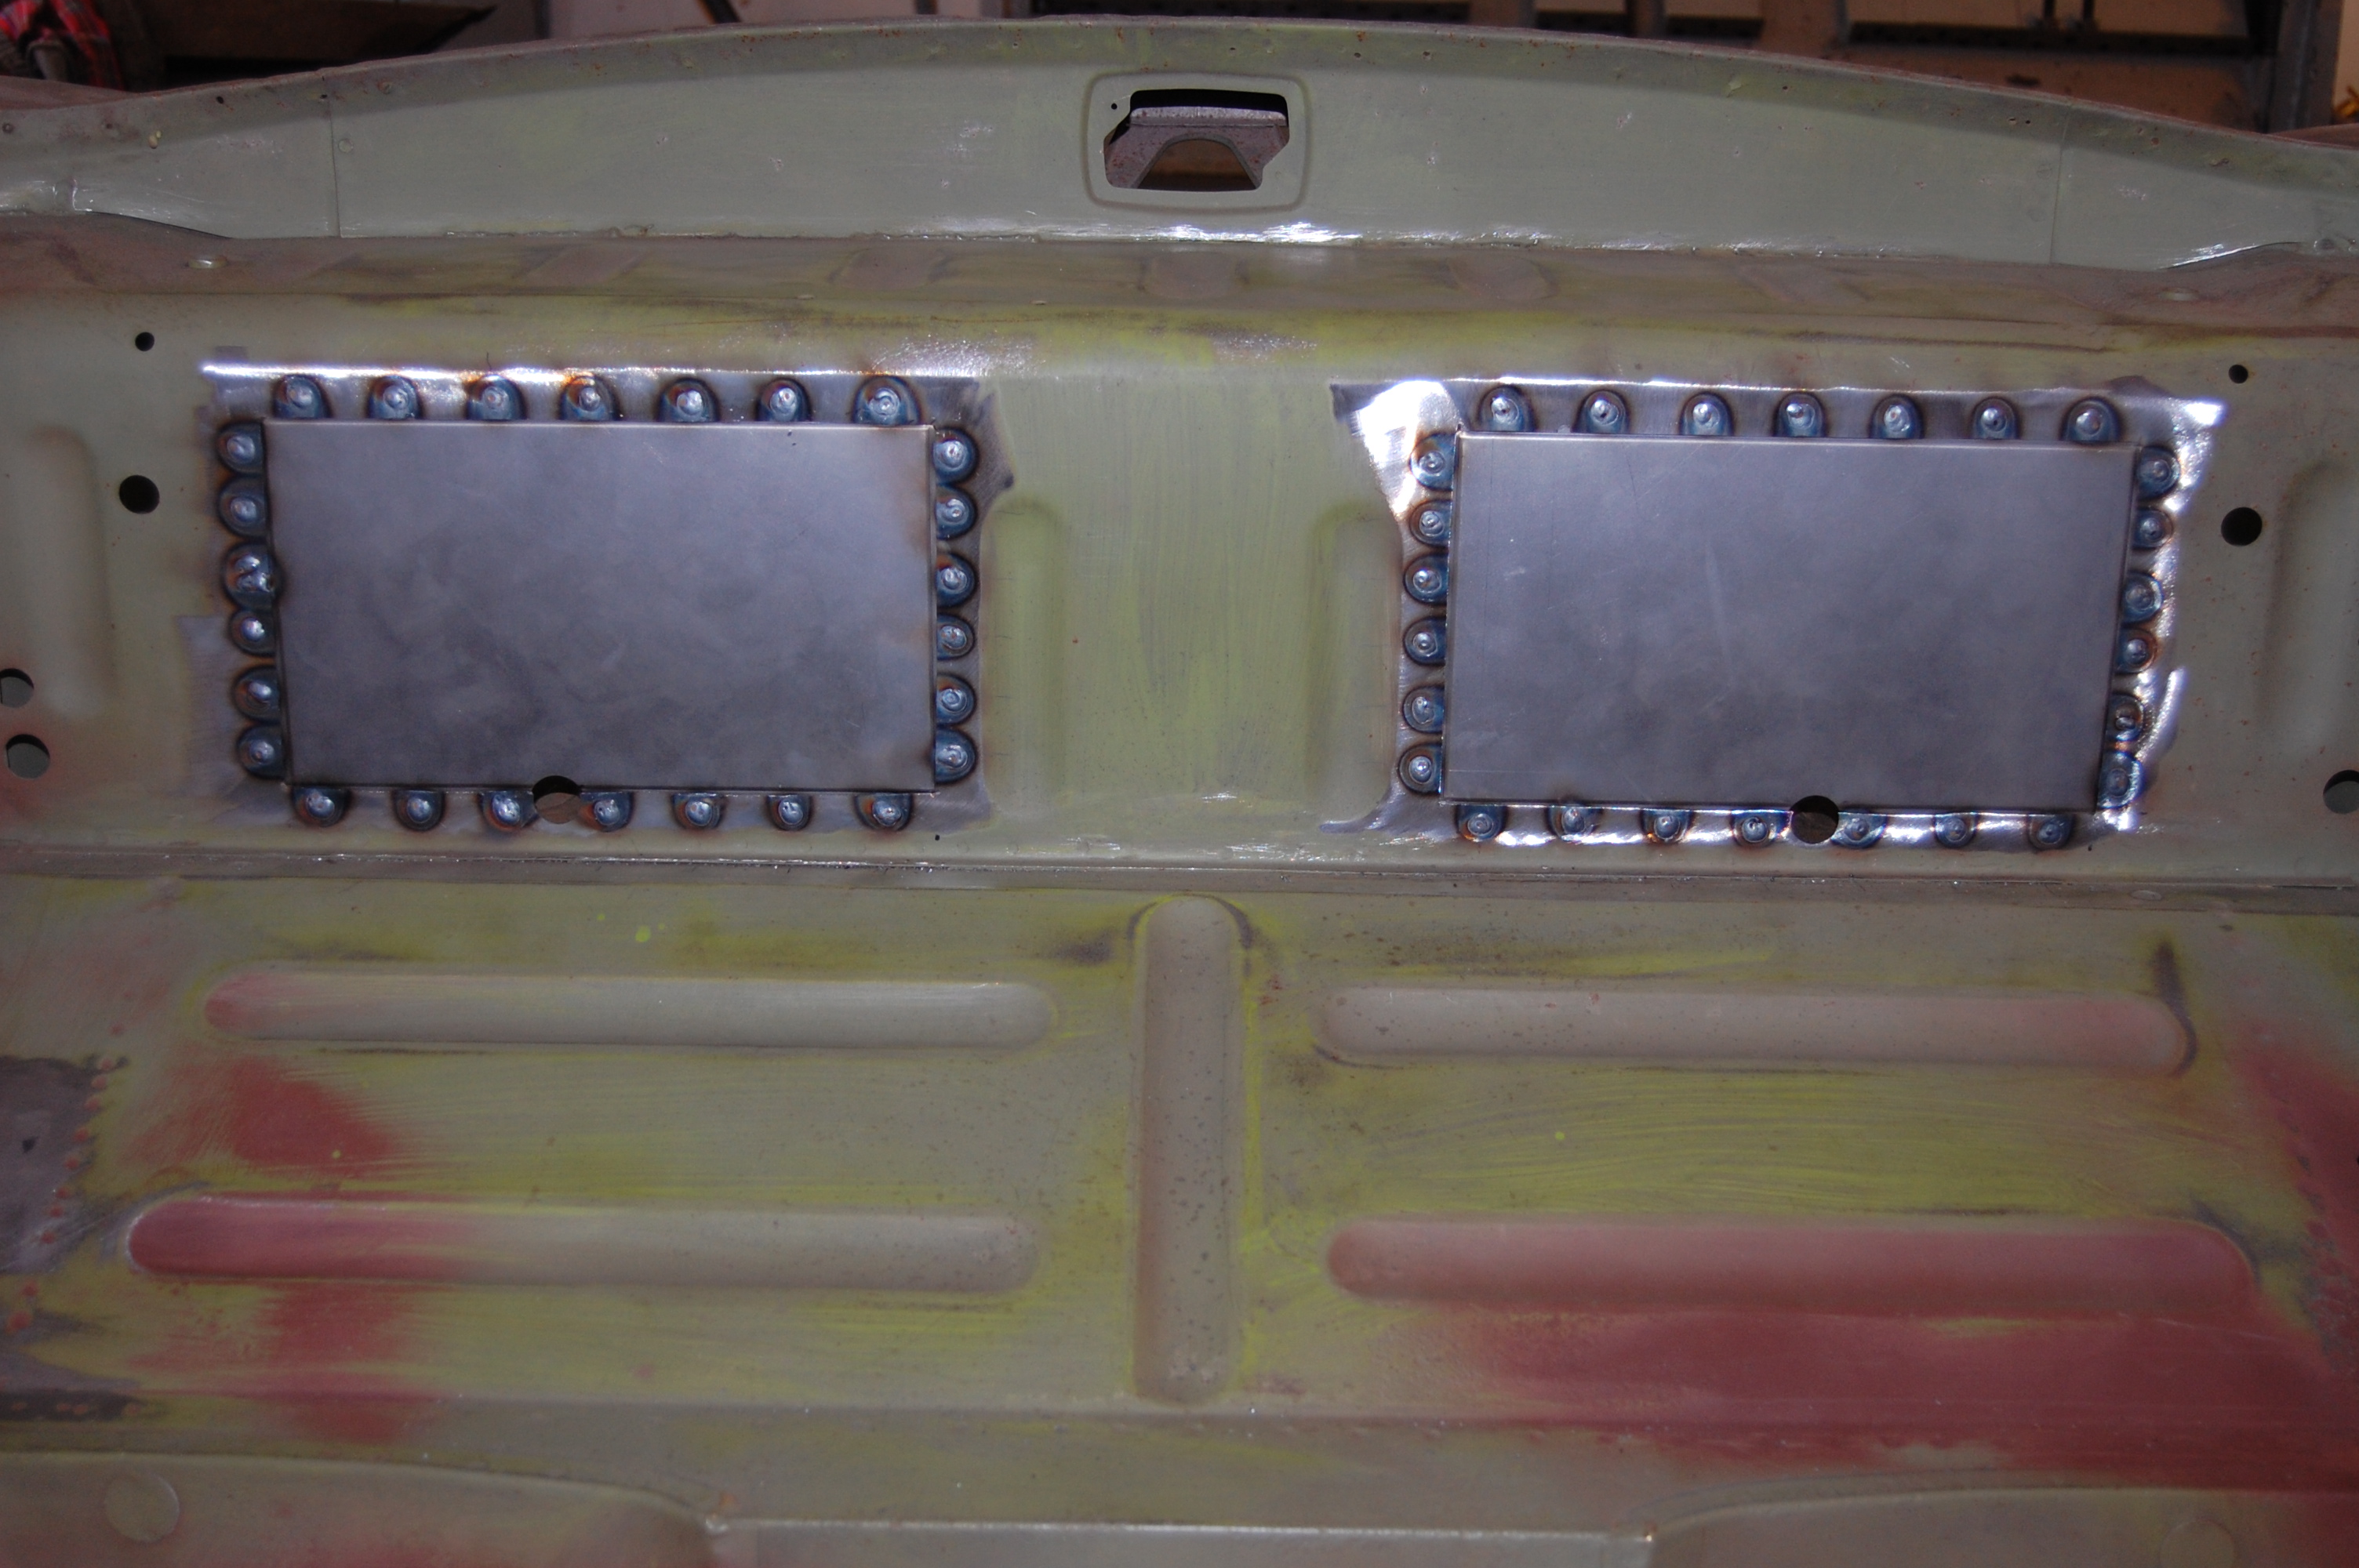
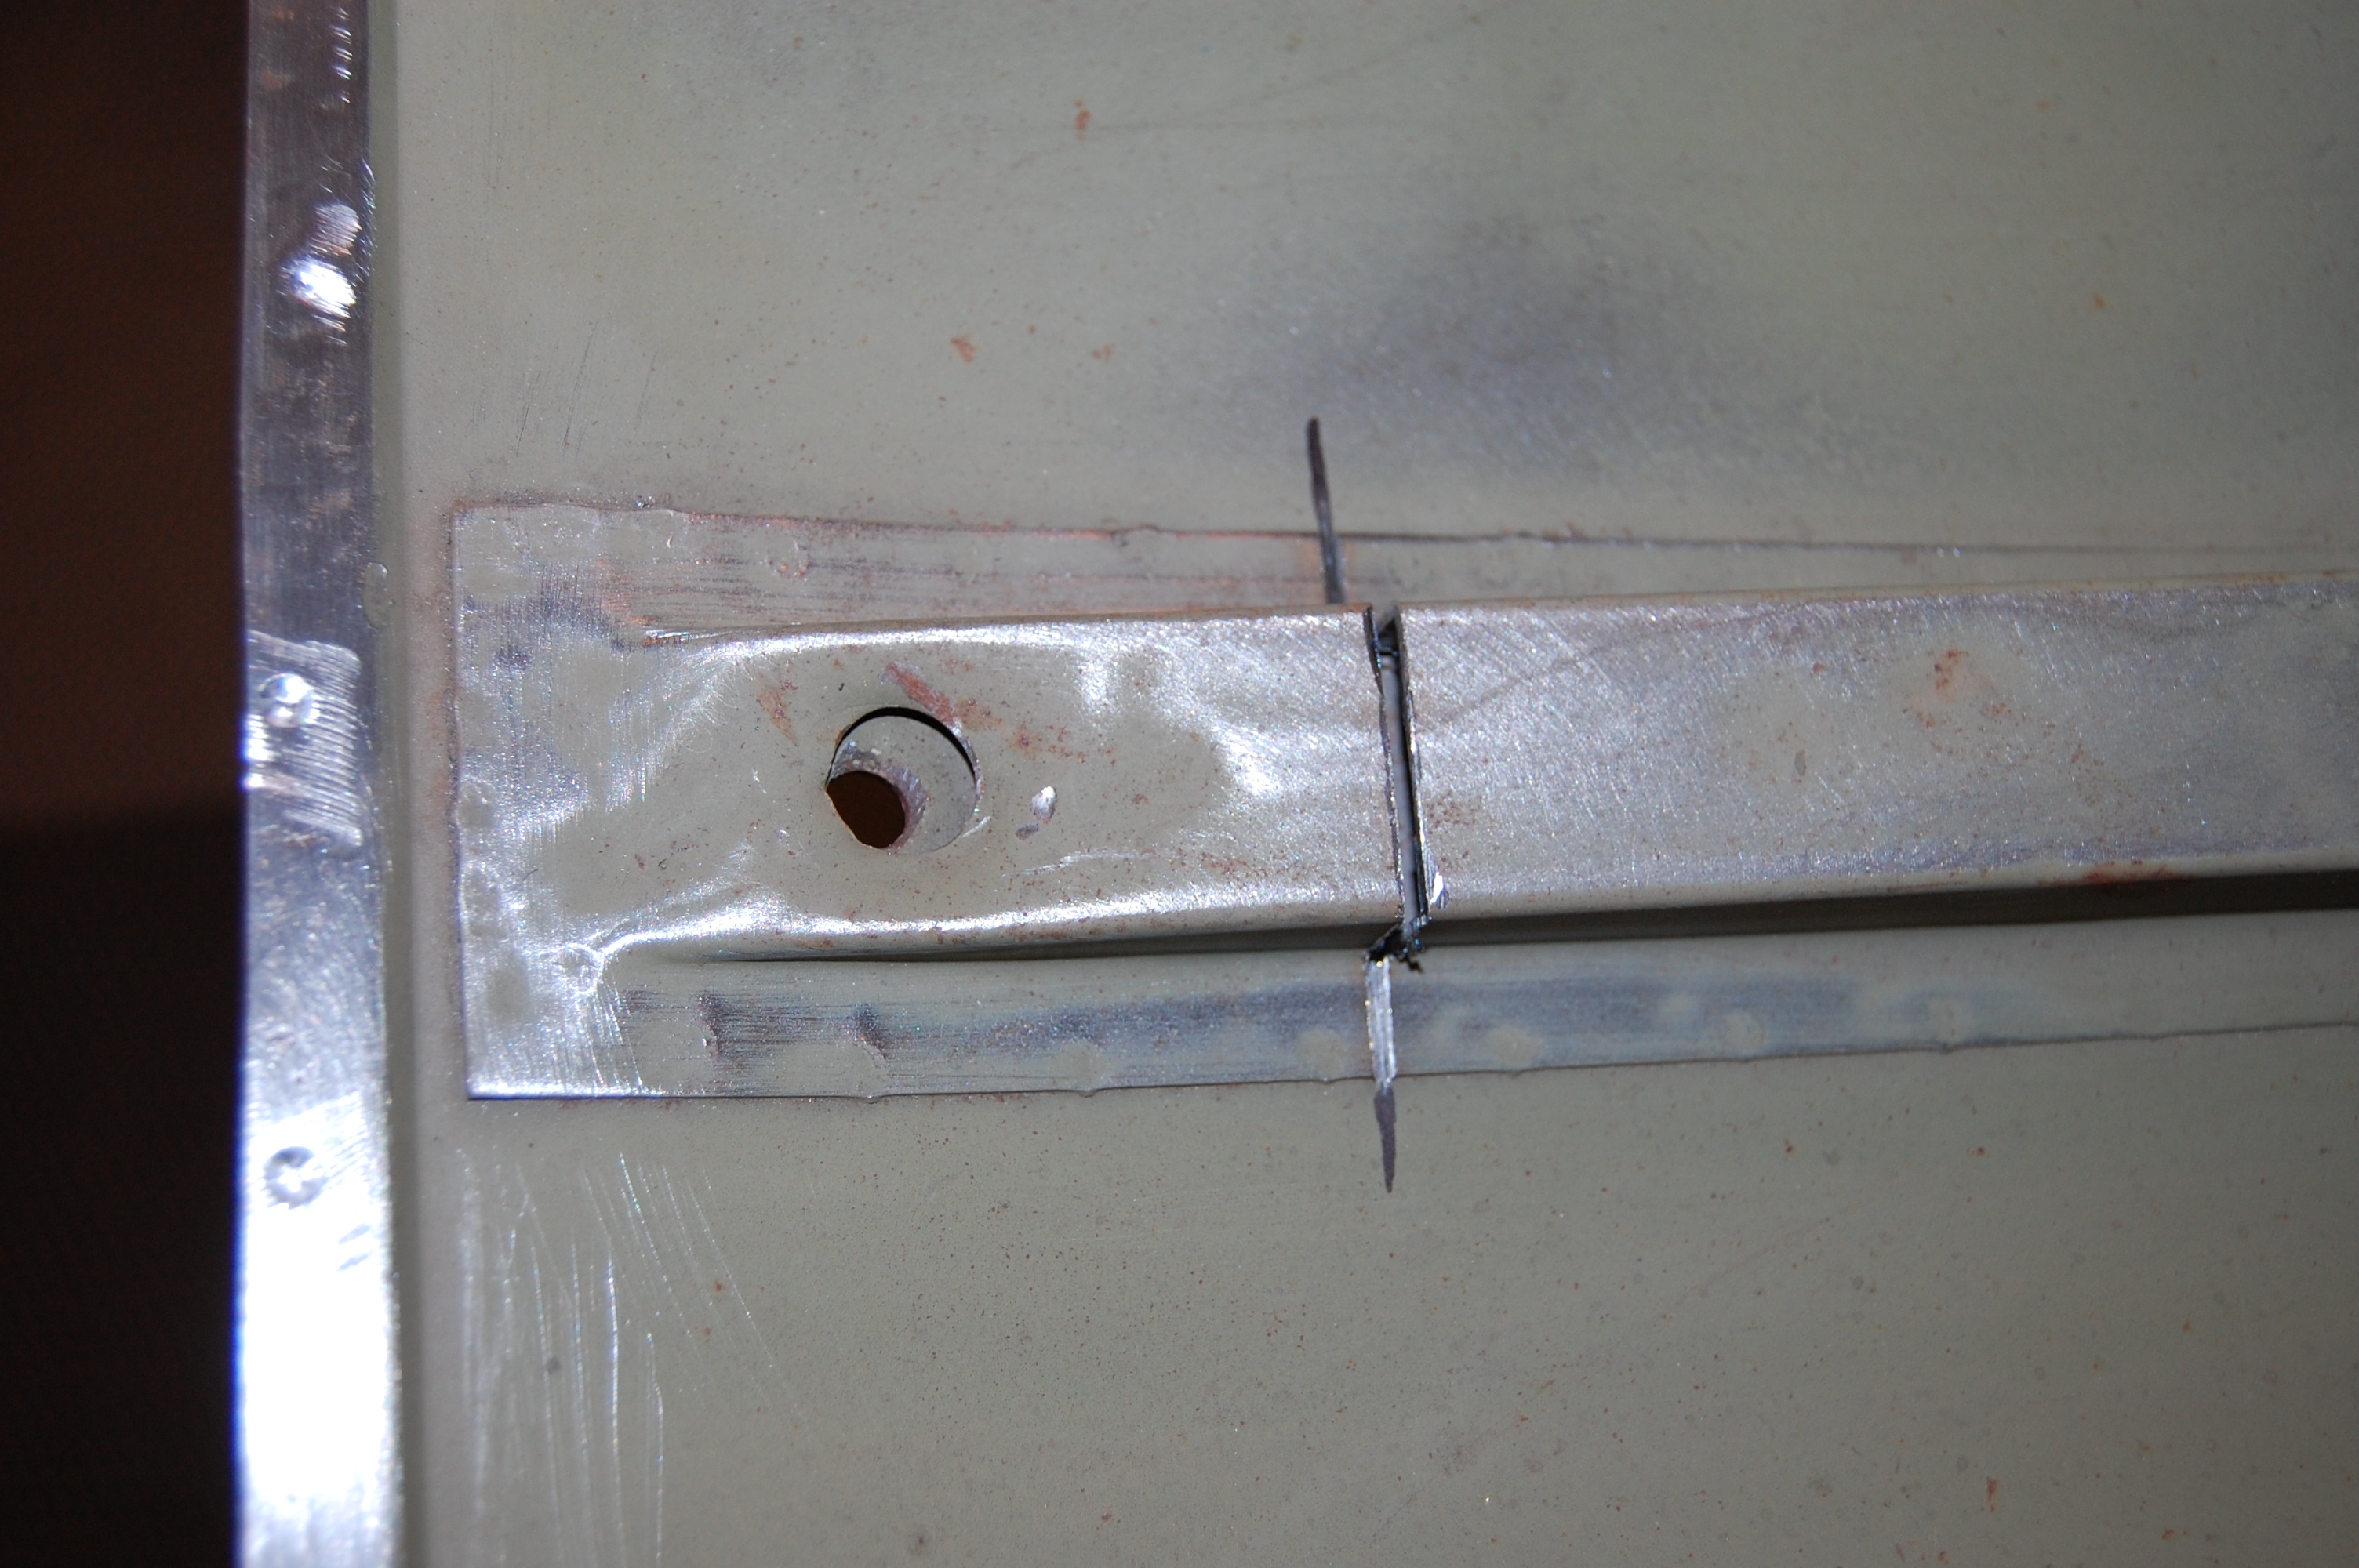
- This is all hidden under carpet, so this non-factory repair was deemed acceptable and was a good compromise. The patches were flanges for a flush fit, and plug-welded into place.
-

- Made from thicker 18-gauge steel, these patches were a solid solution to this problem.
-

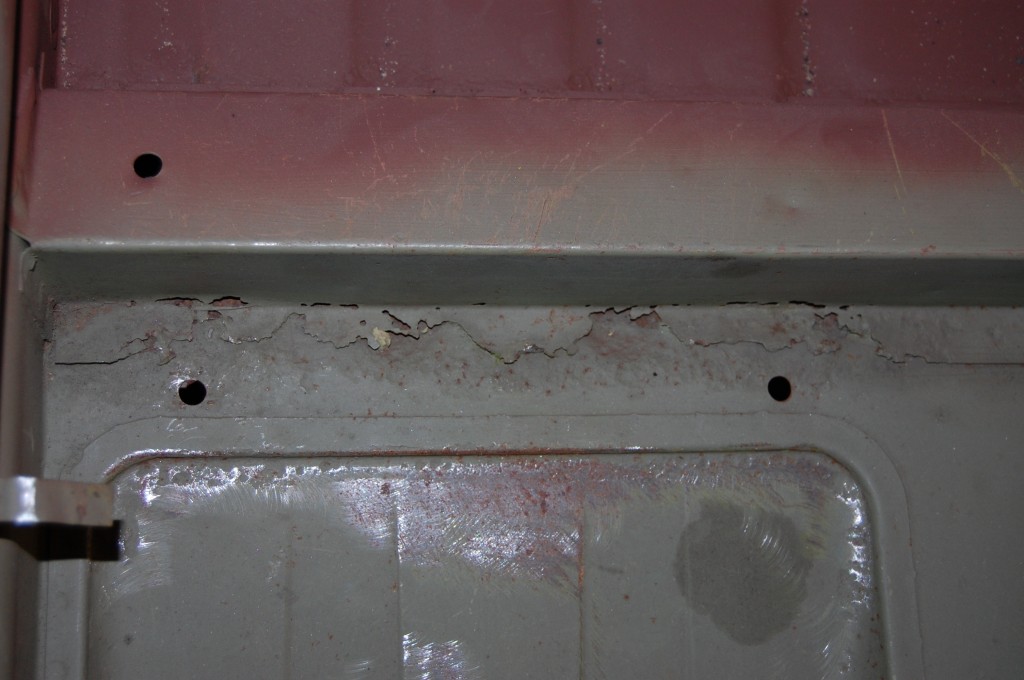
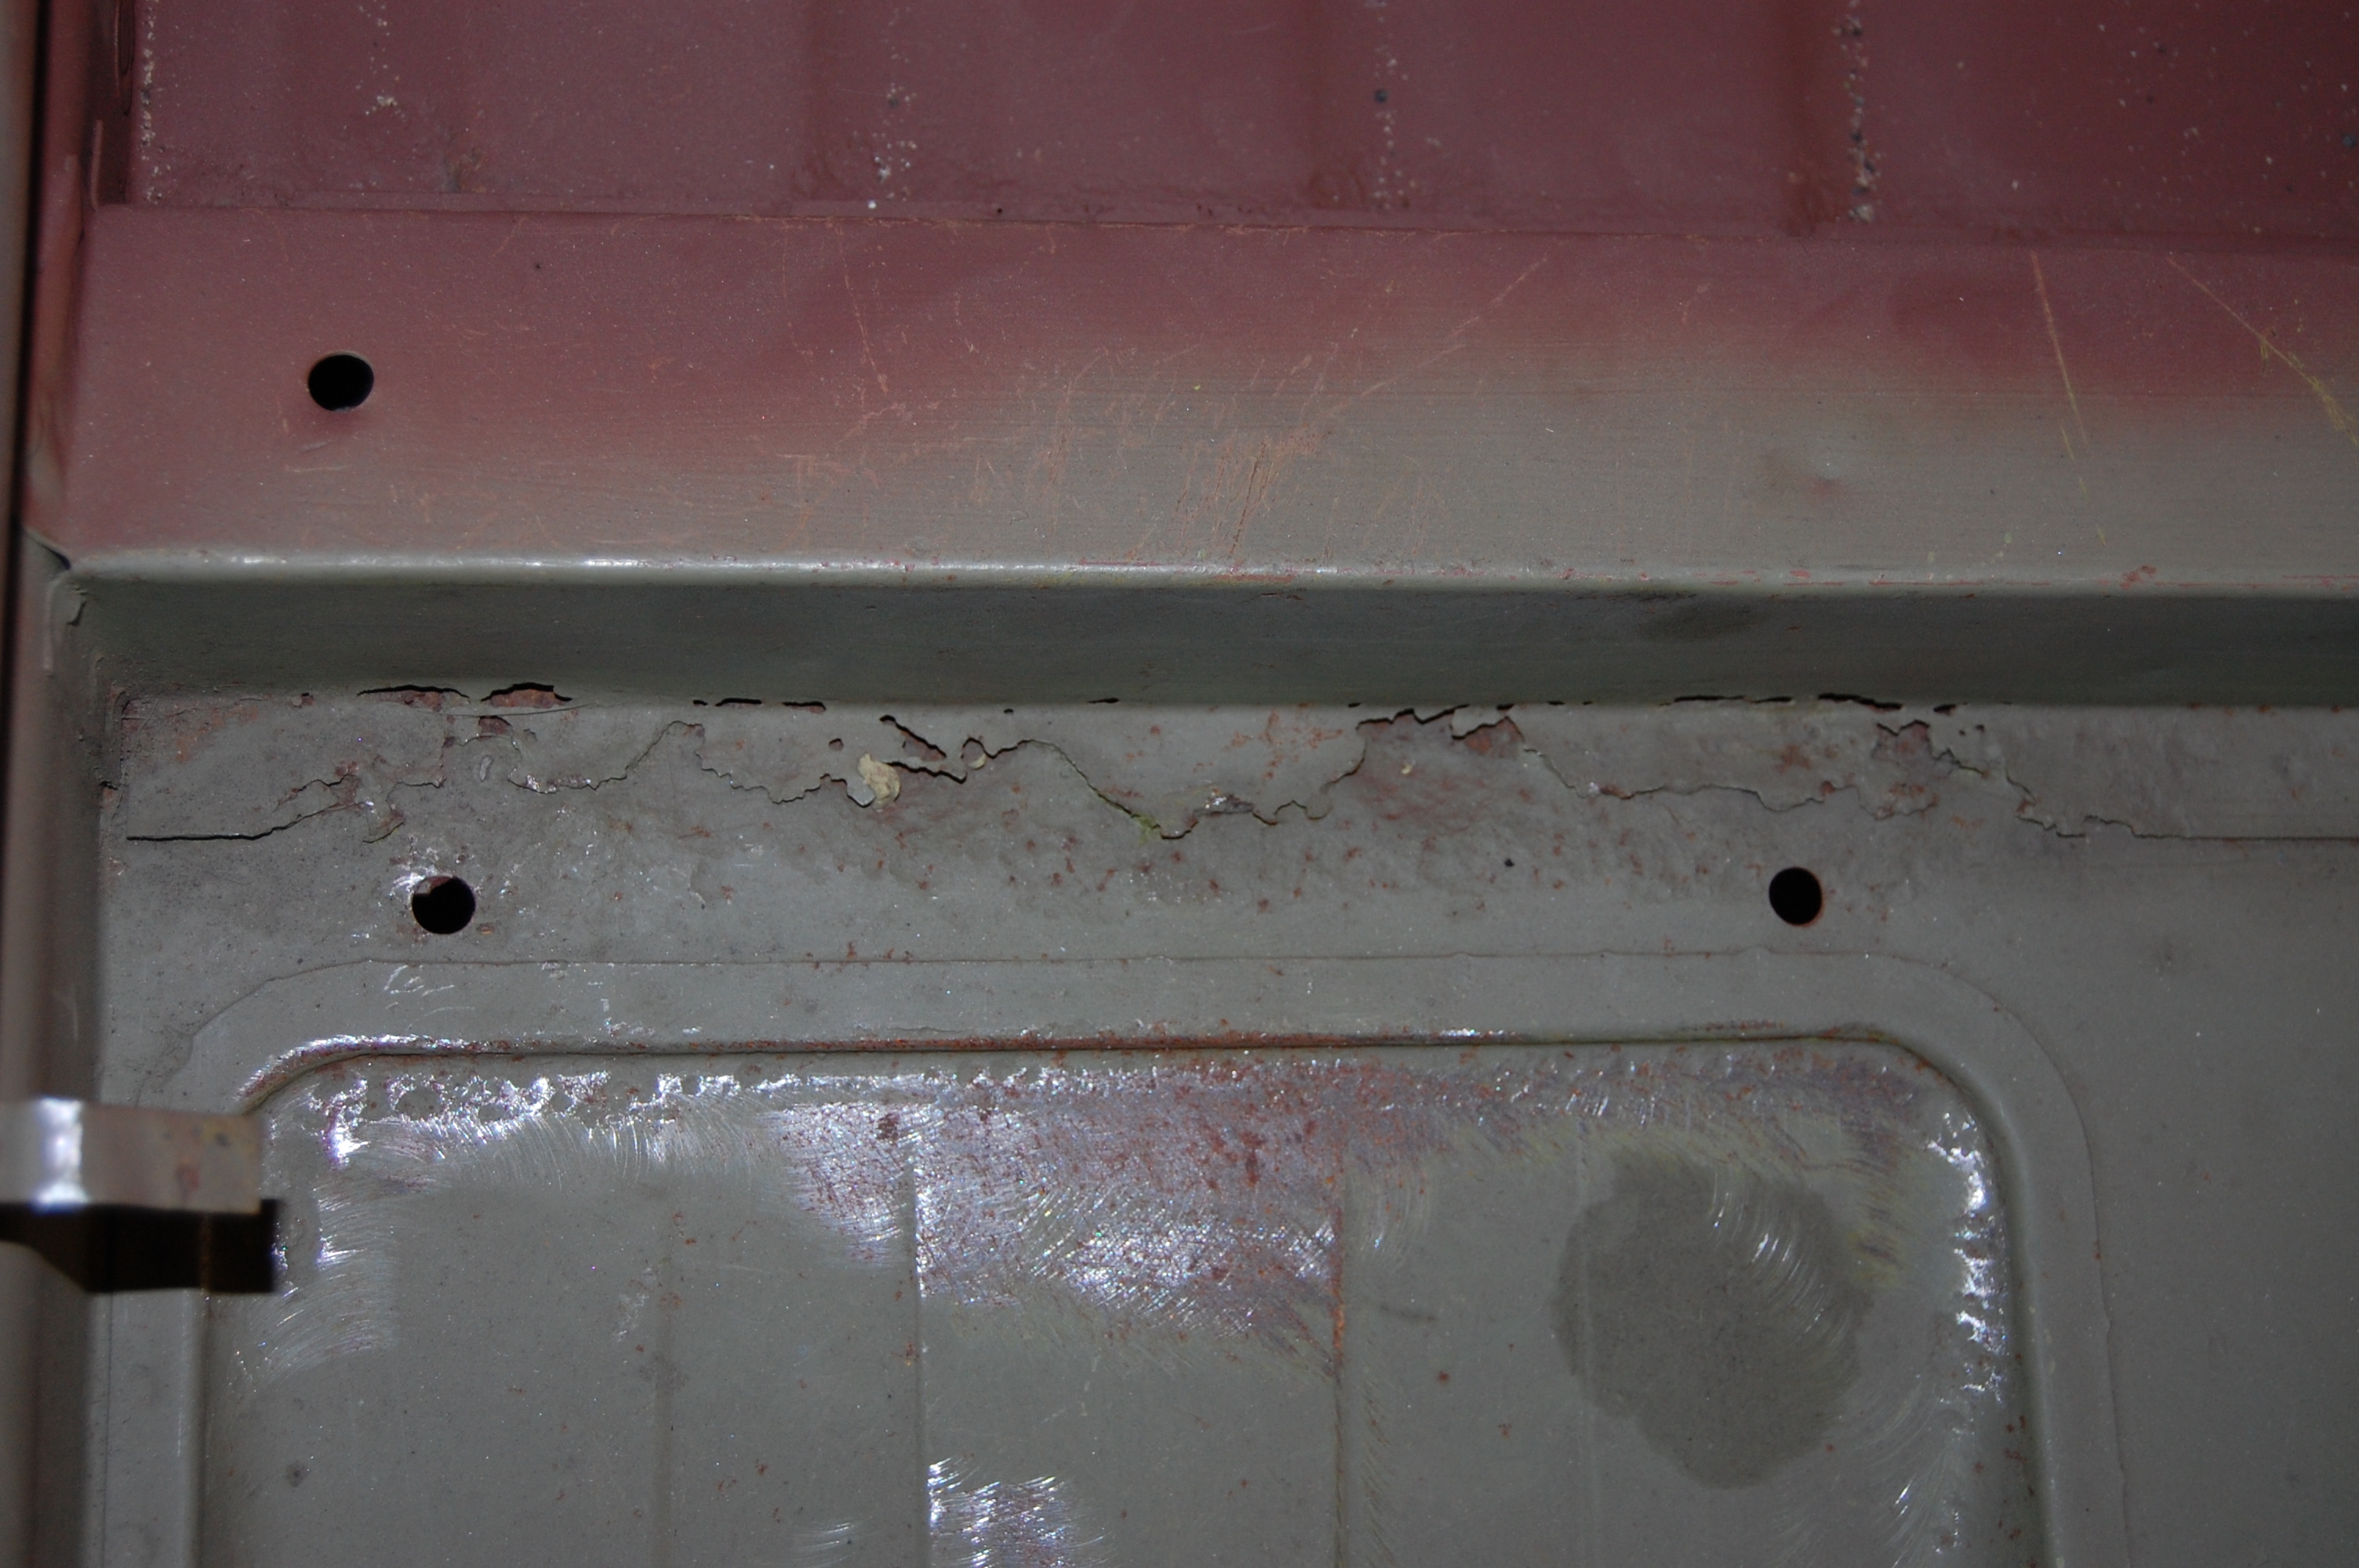
- A close inspection of the floor revealed FILLER! It was smeared into badly pitted steel, and the whole thing lookd great, but was deceiving – and weak. We cut out all of the bad areas and started over. A complete new floor was not the way to go here – that would have opened alot of things up un-necessarily.

-
- The front was not much better, and also removed.

-

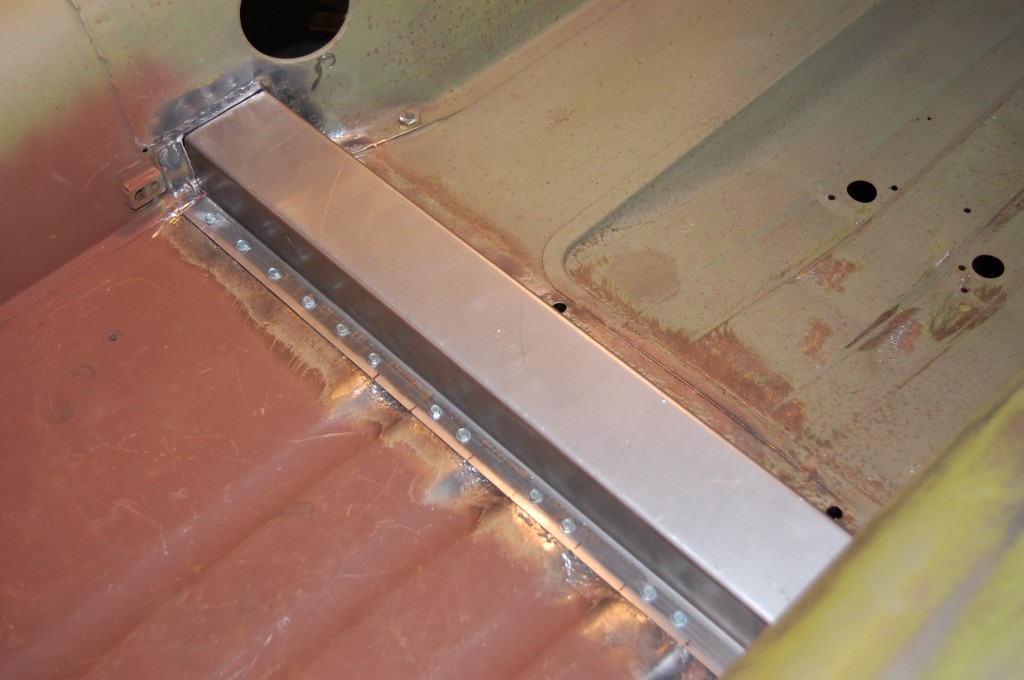
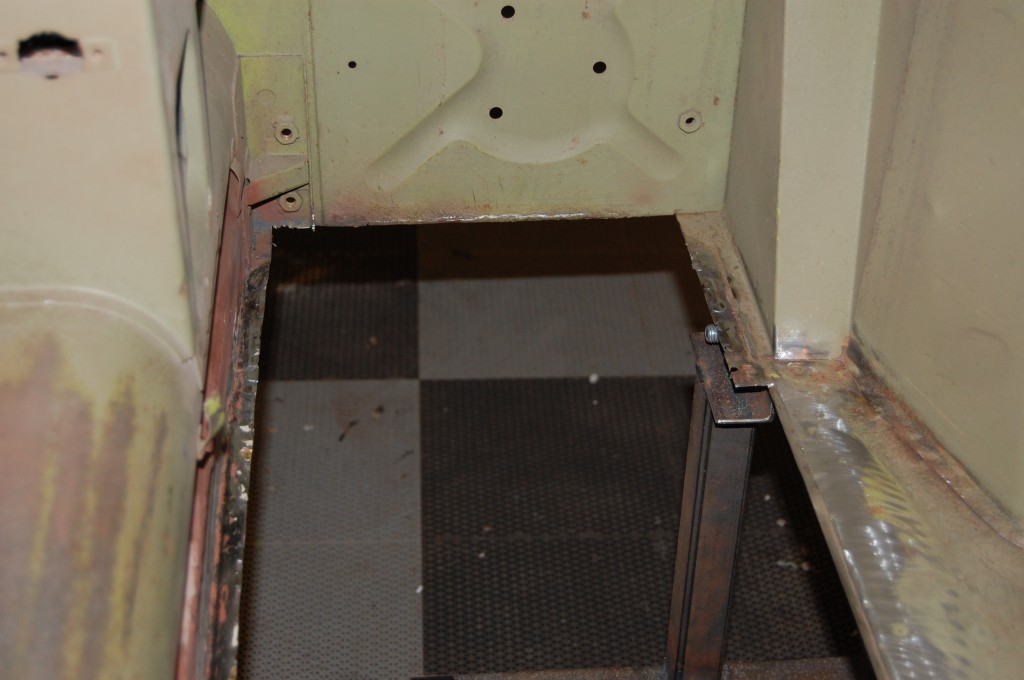
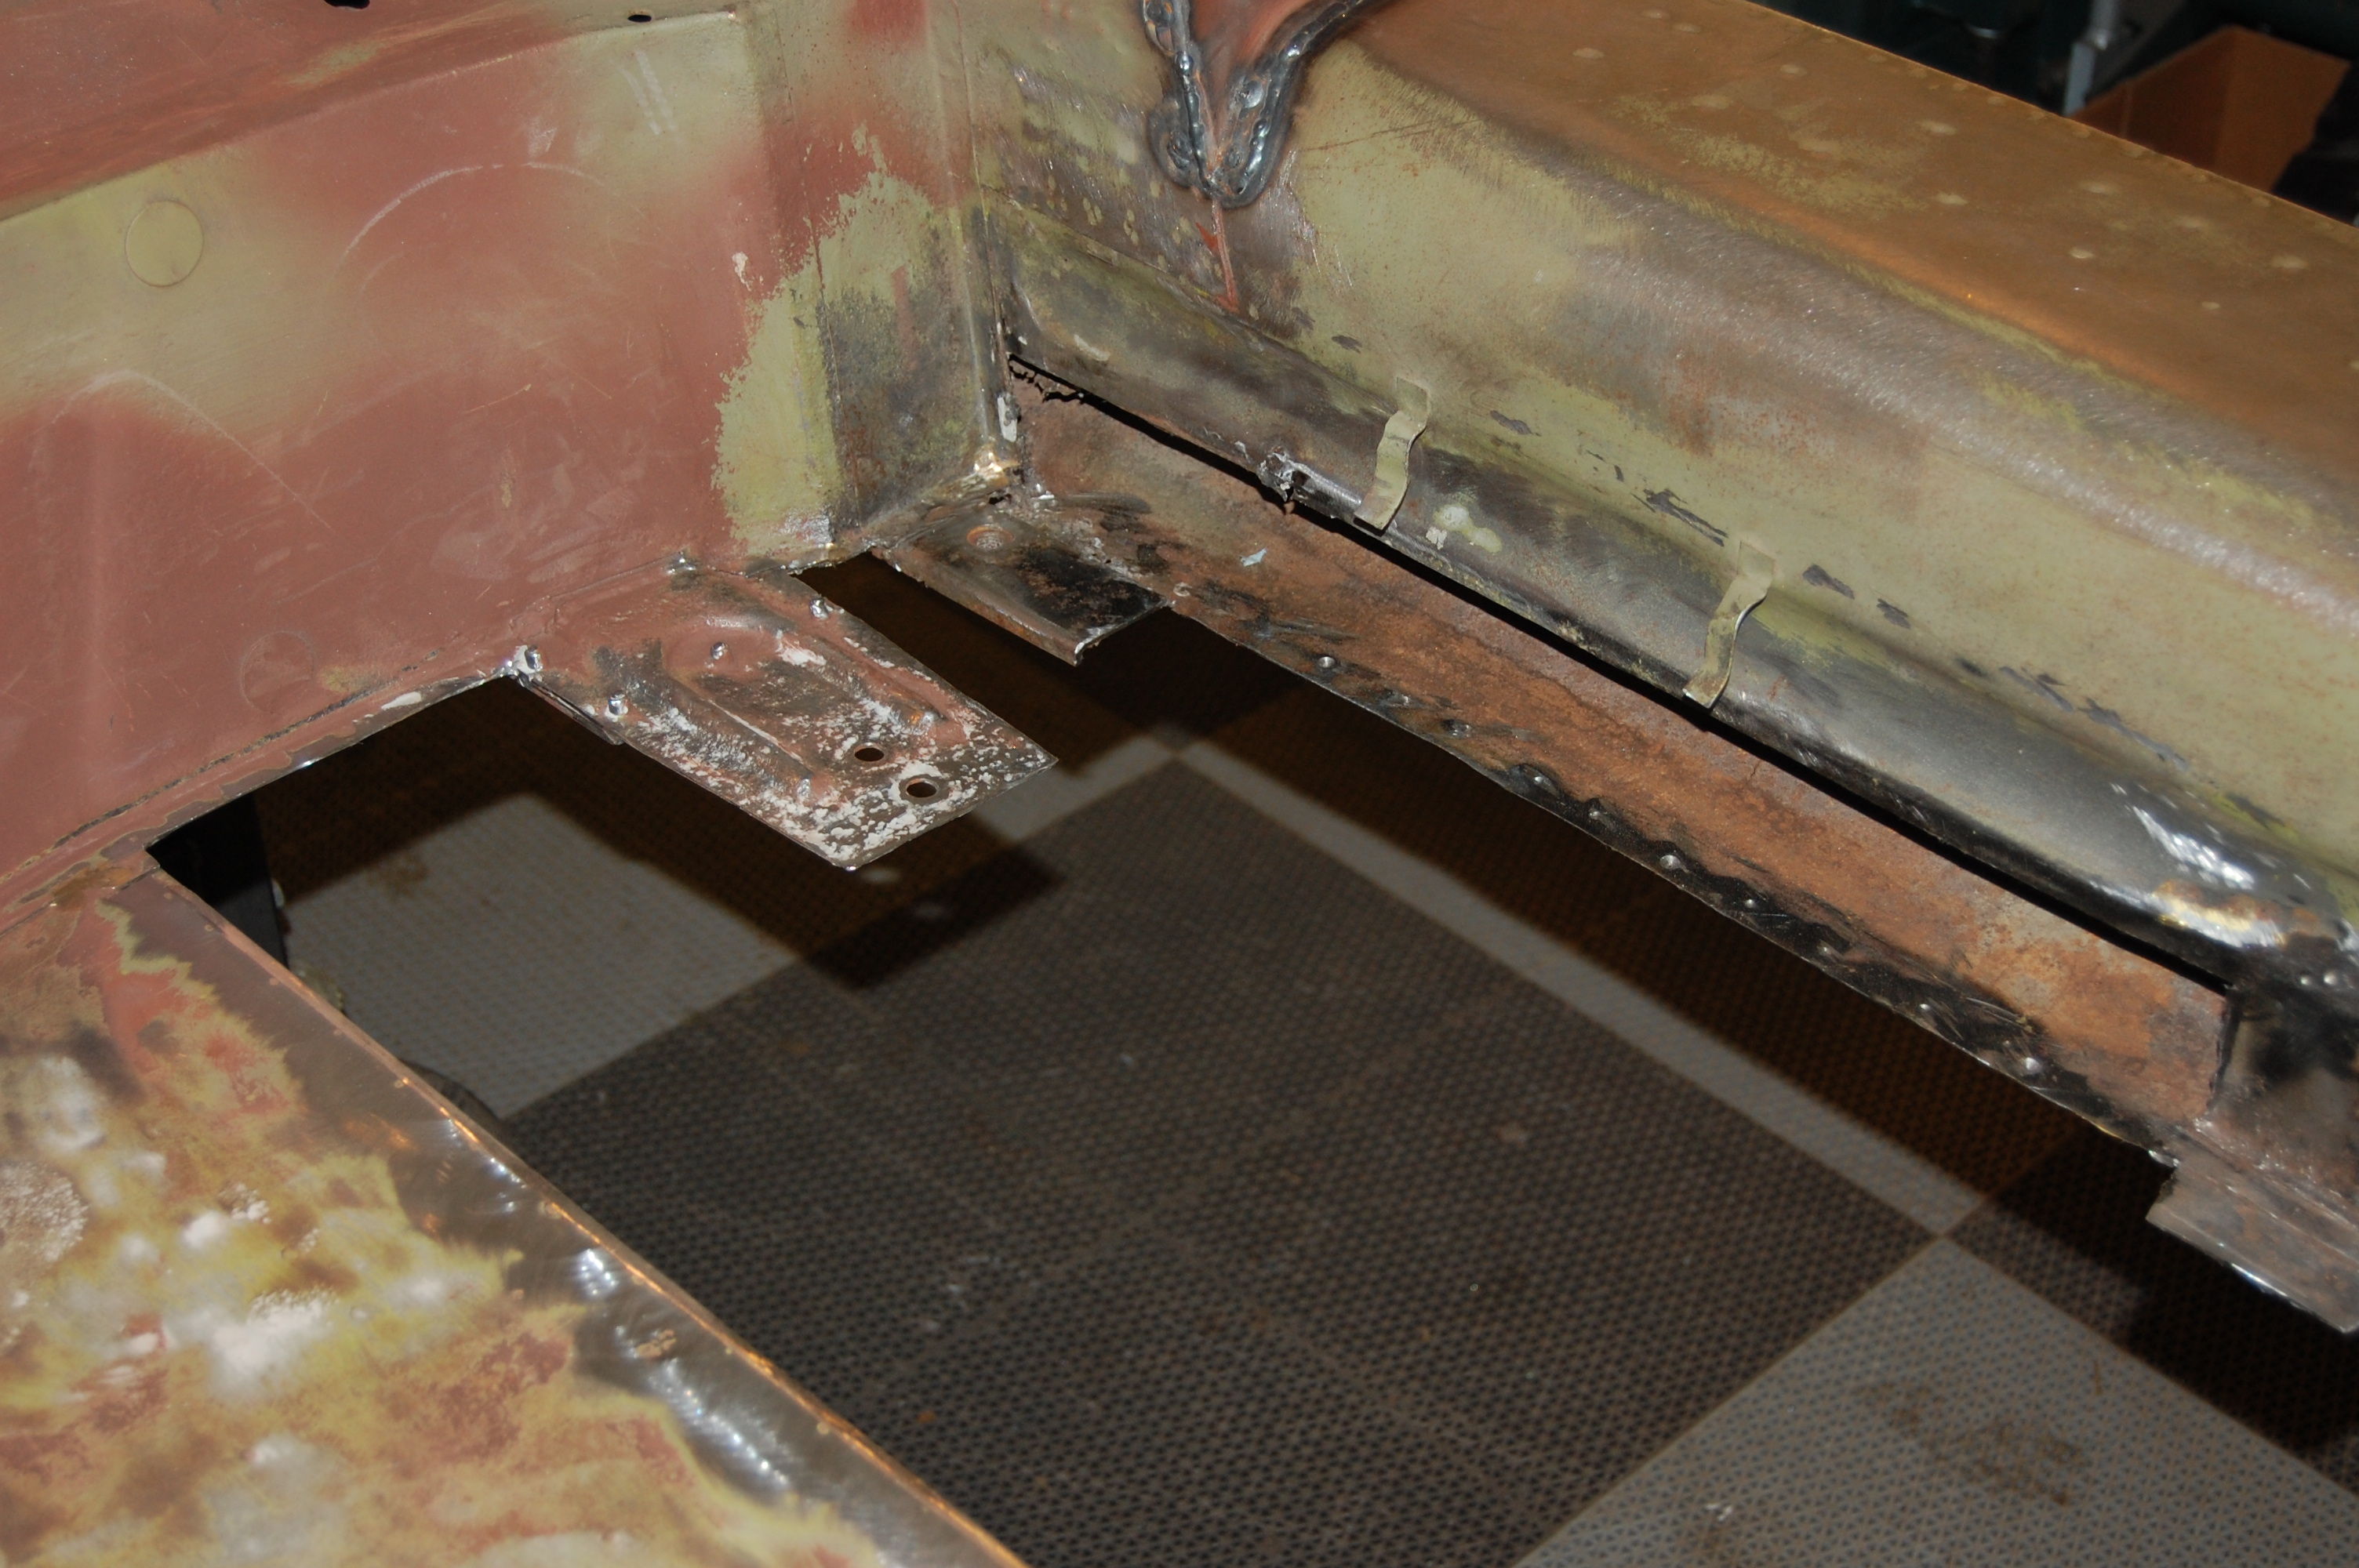
- We also cut out the previous patch in the inner sill.
-
- The area was prepped and then I went totally BERSERK inside the sill with red oxide – as far as I could reach – and then some!

-

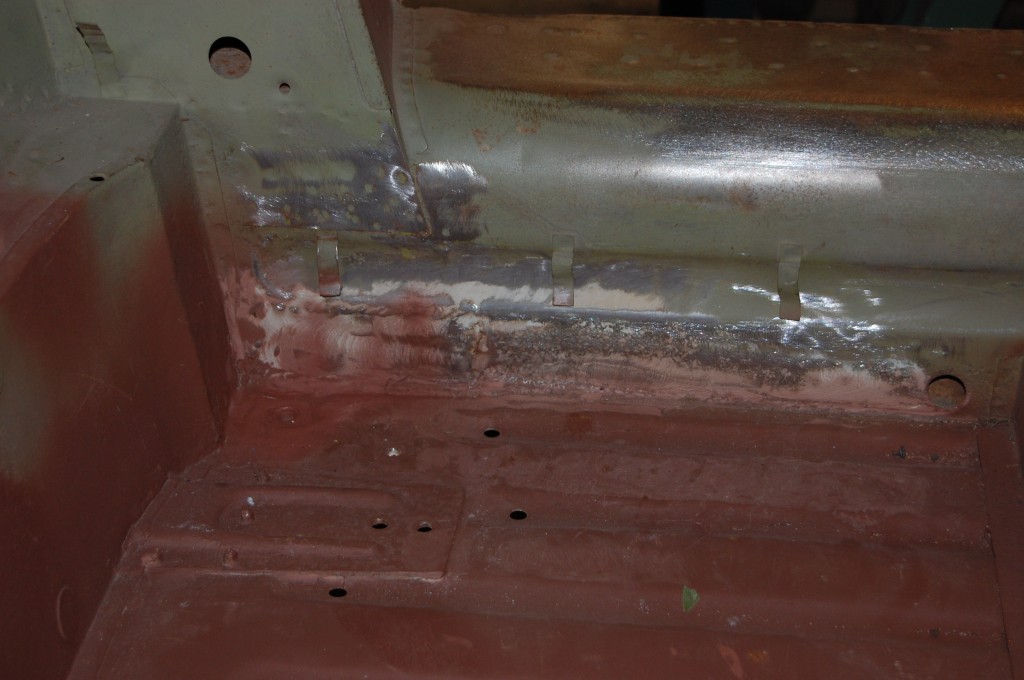
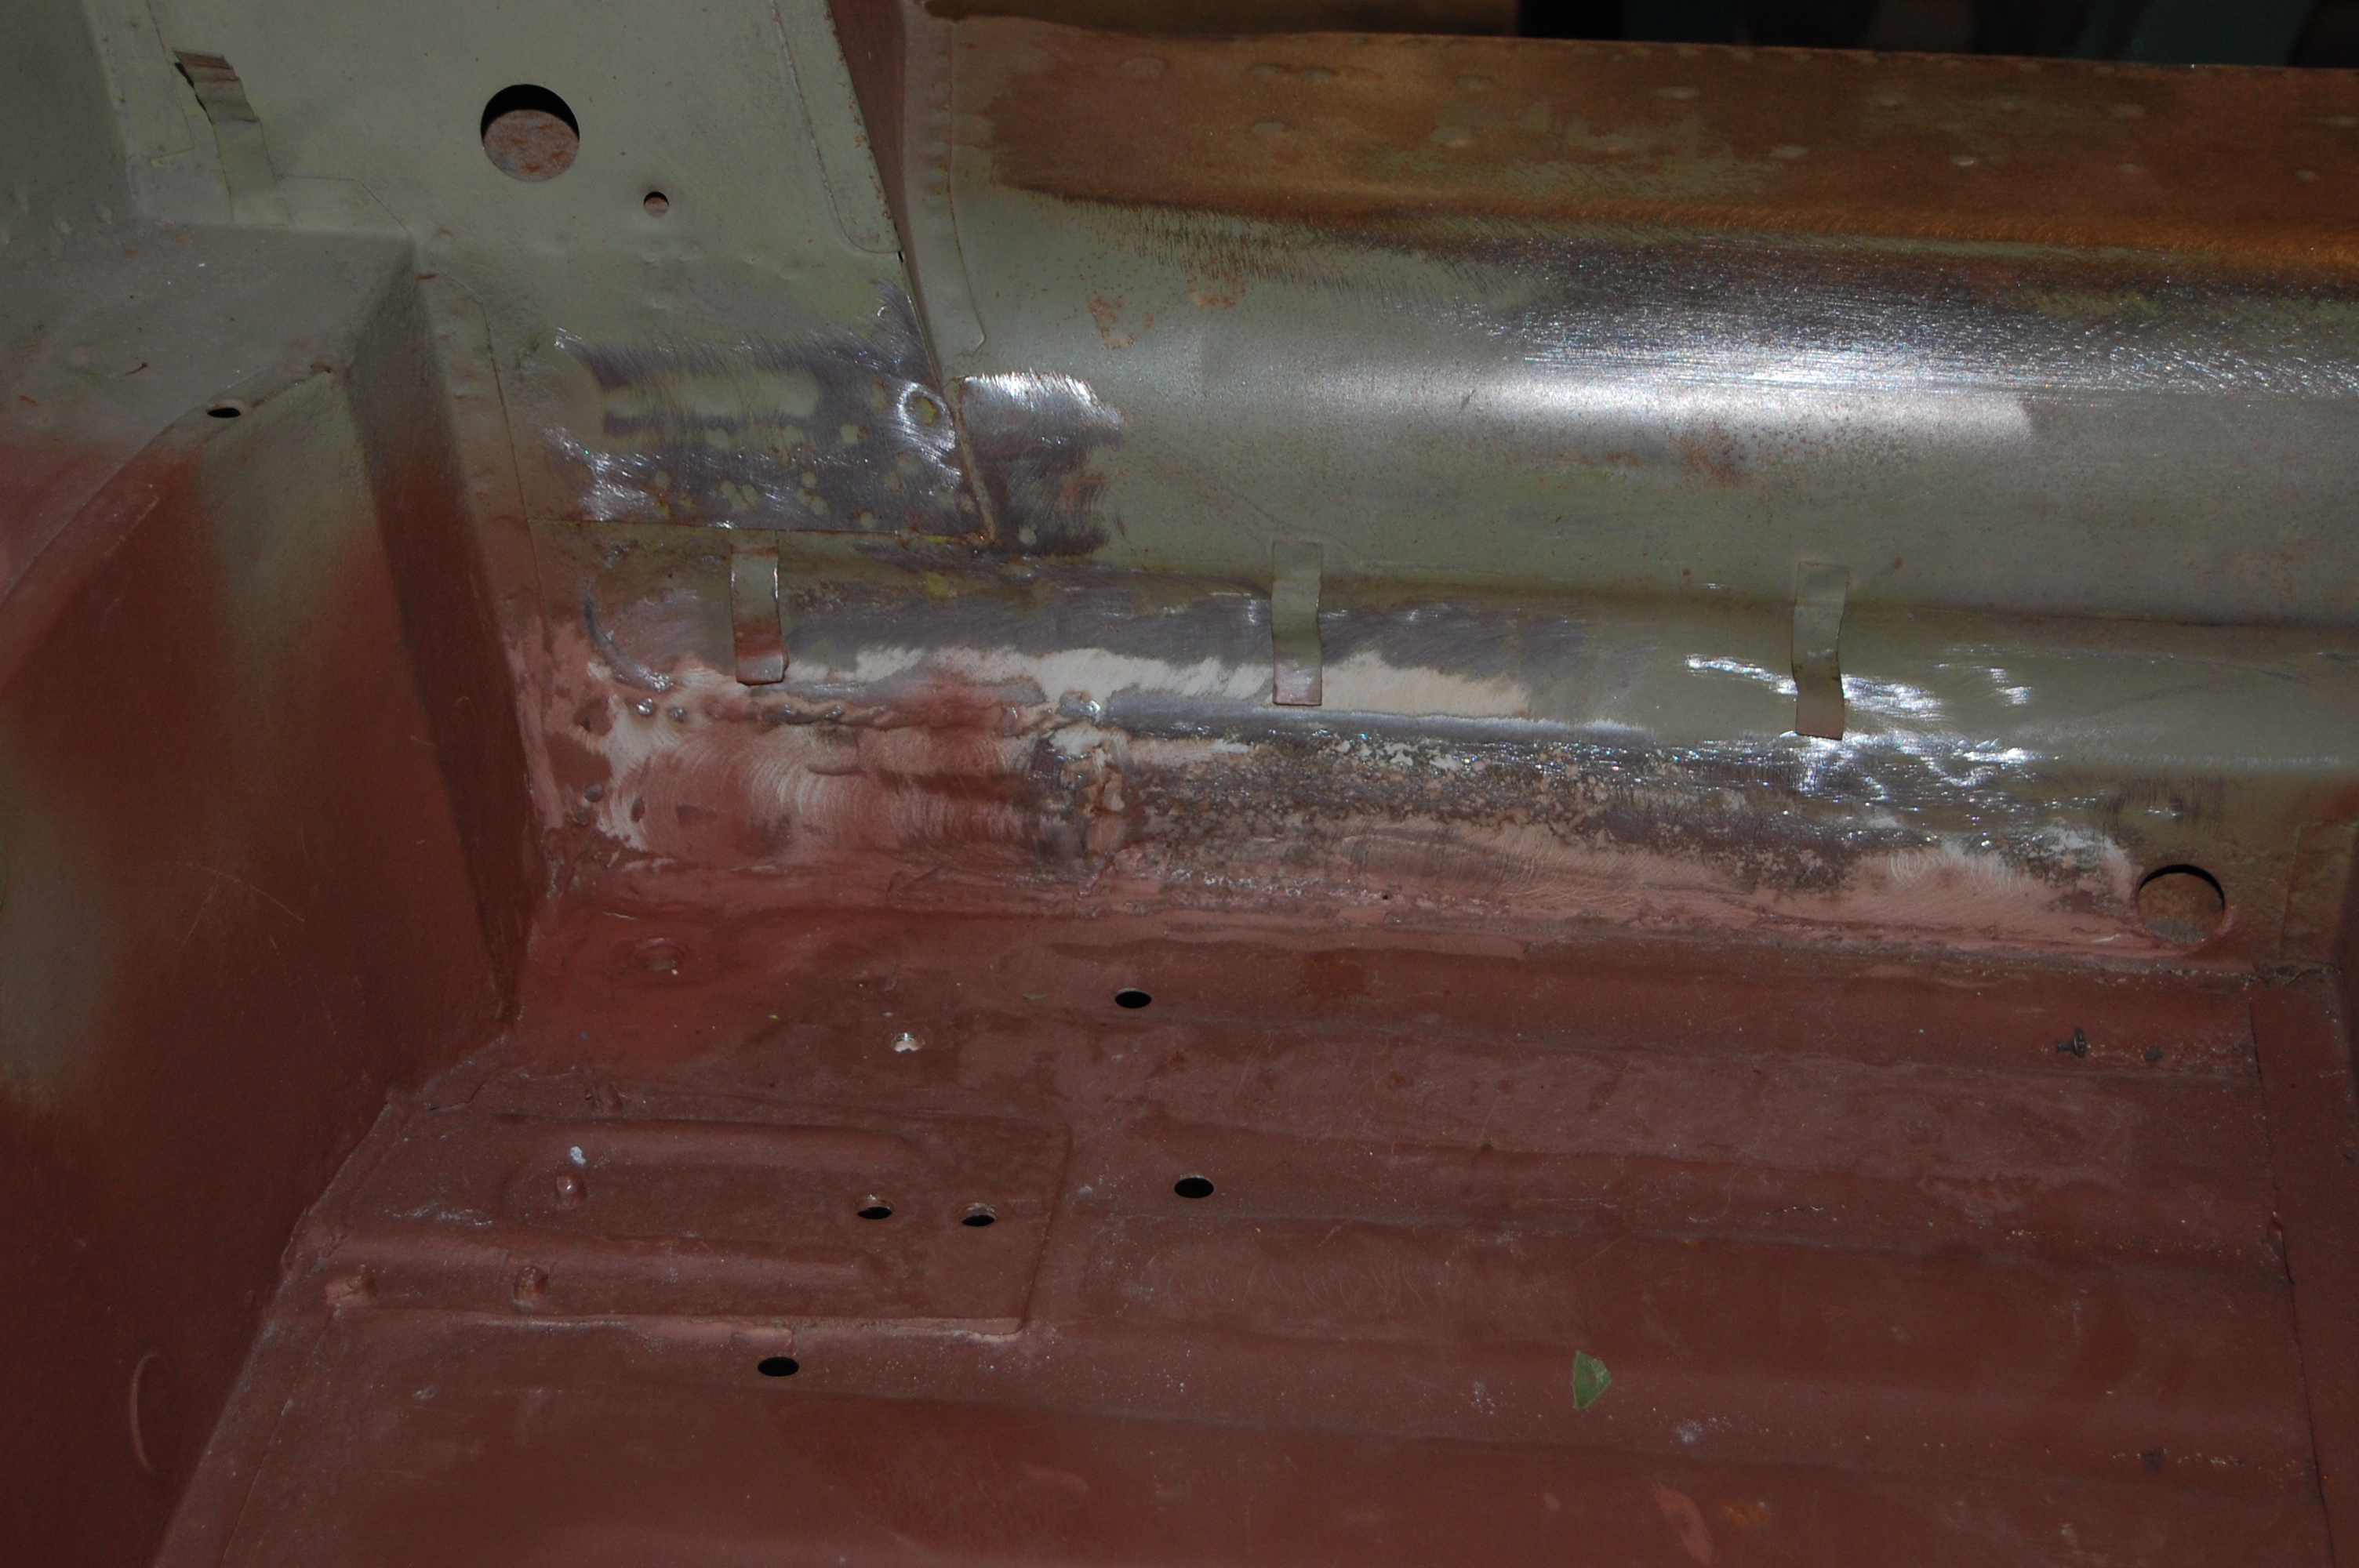
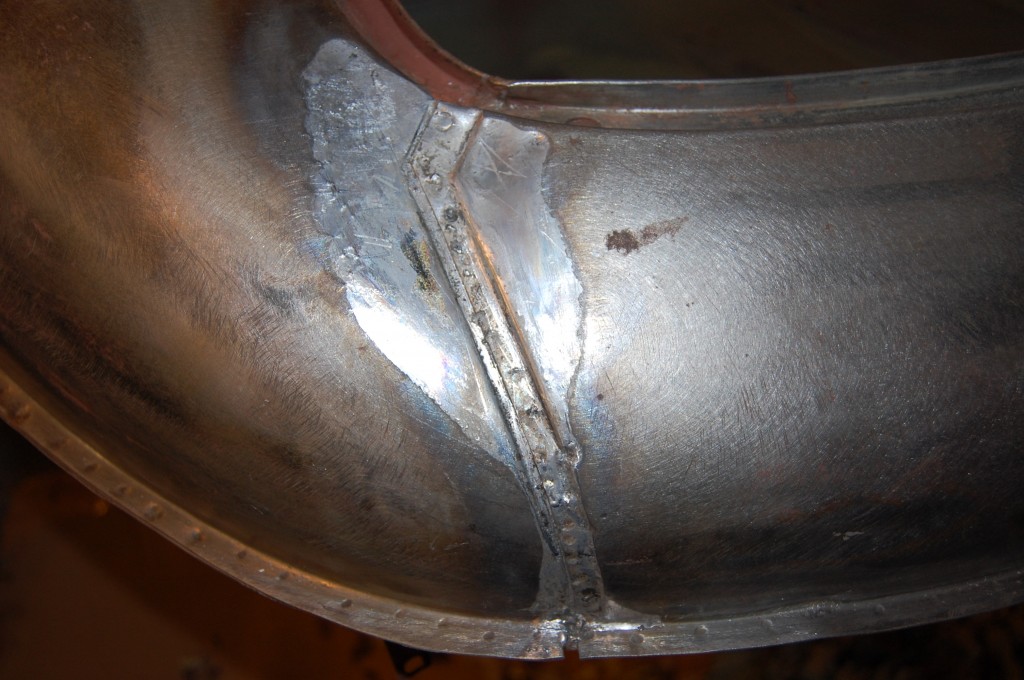
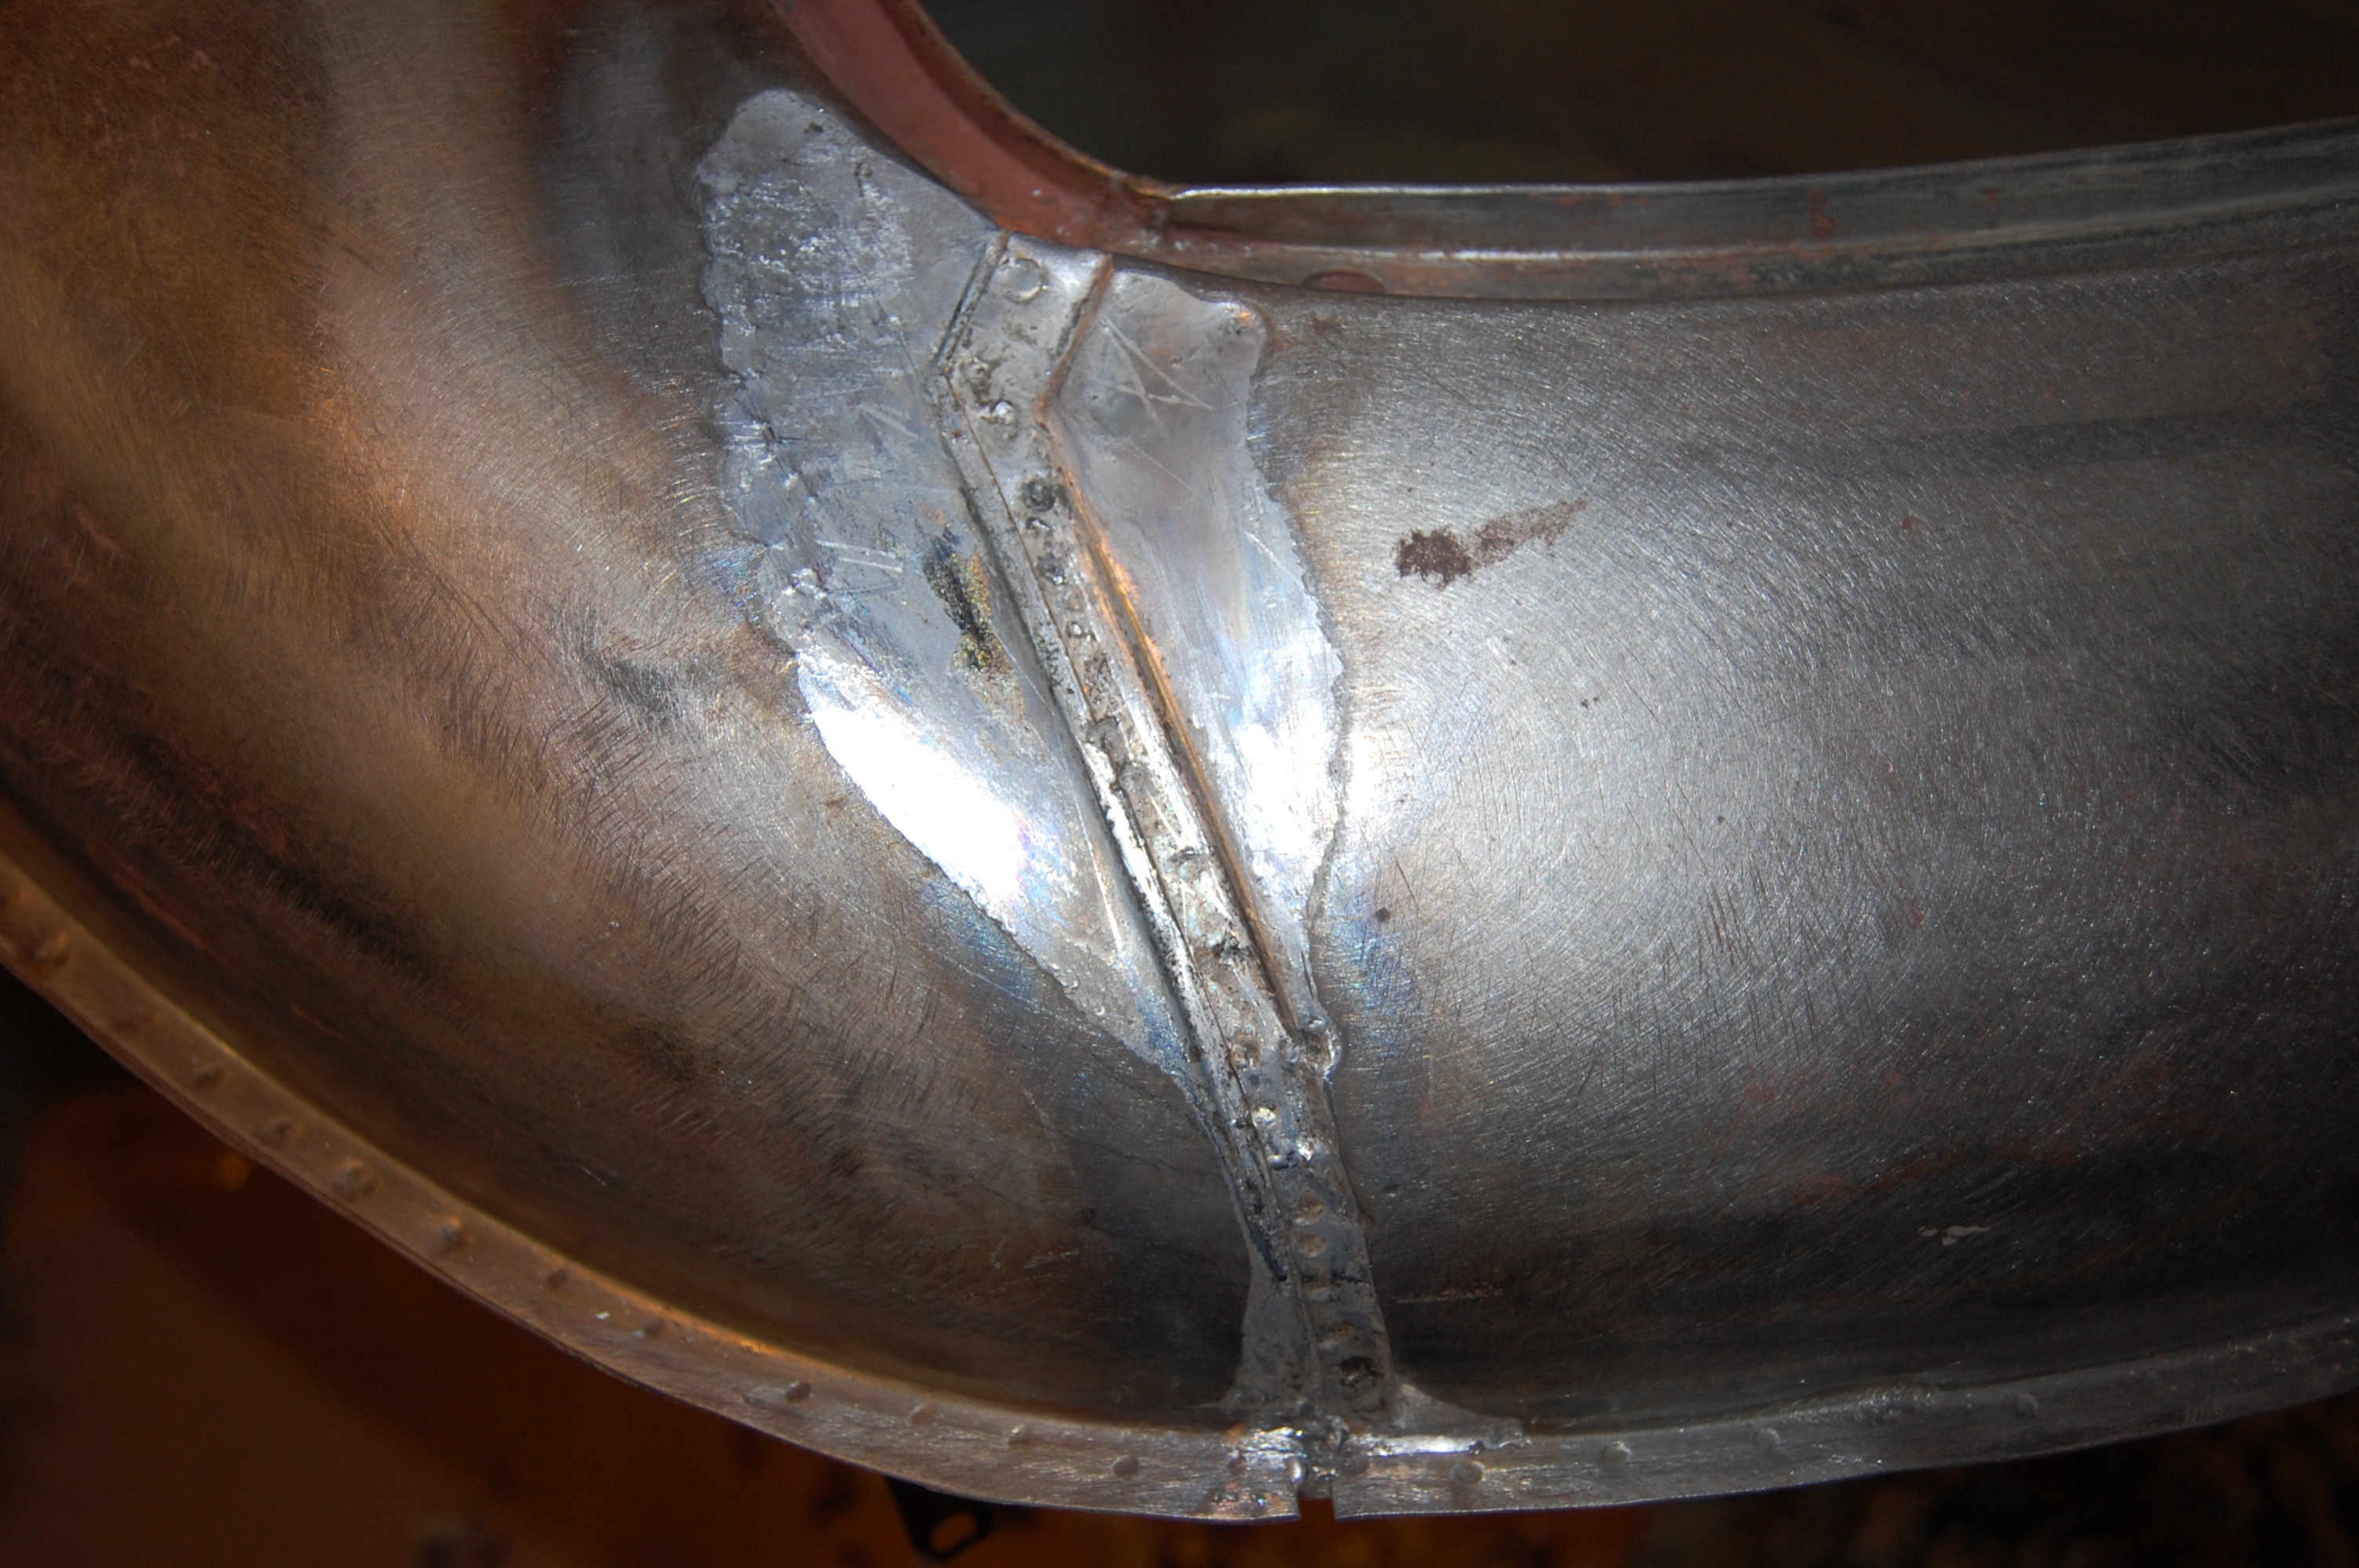
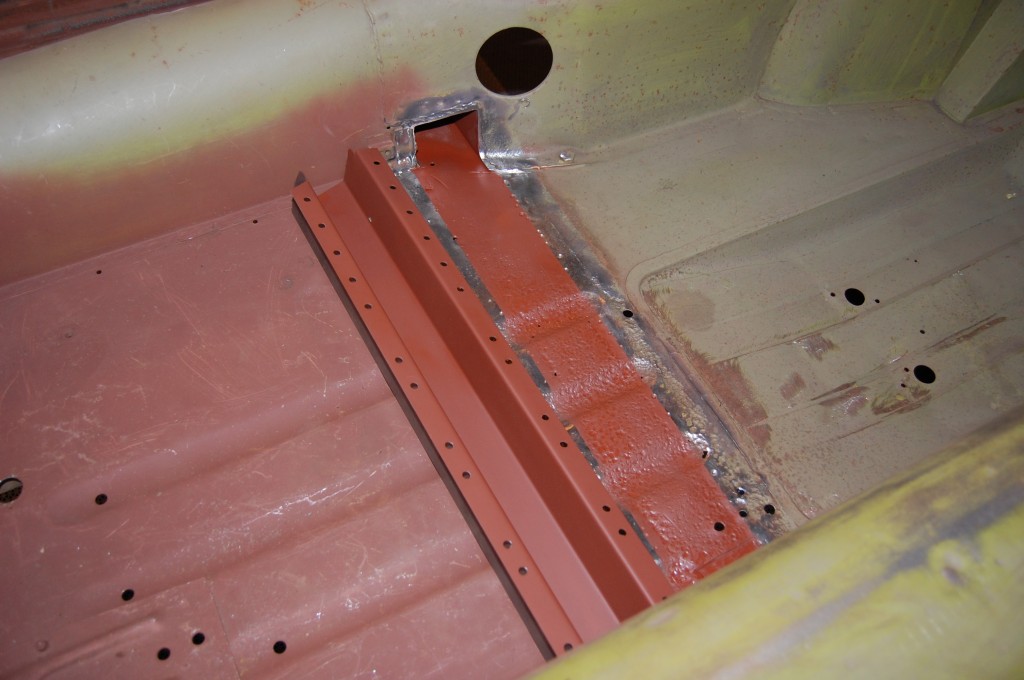
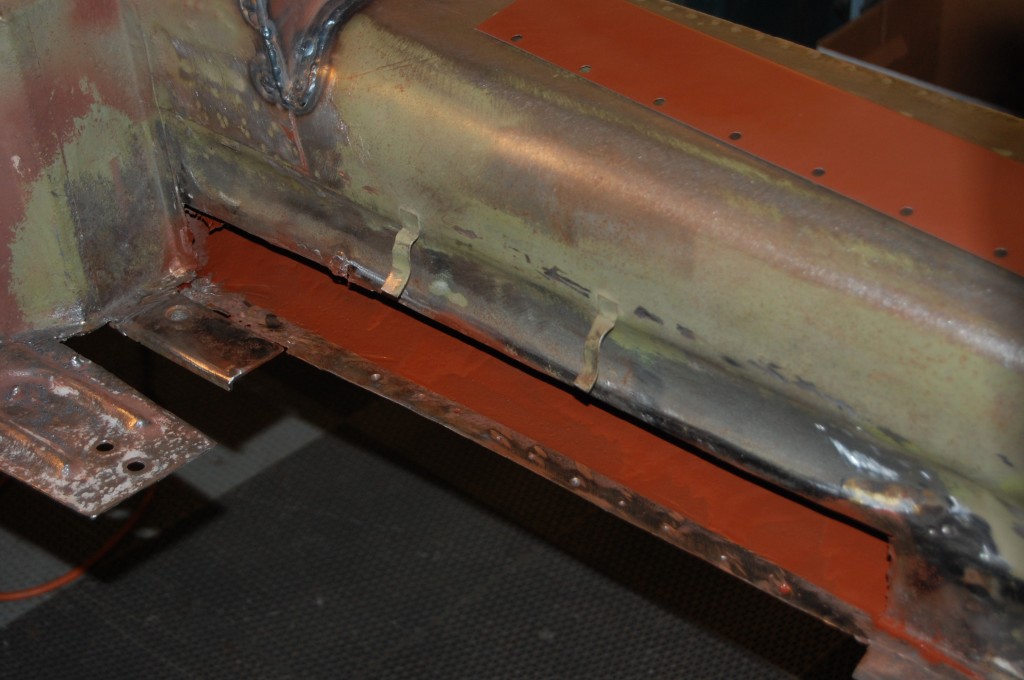
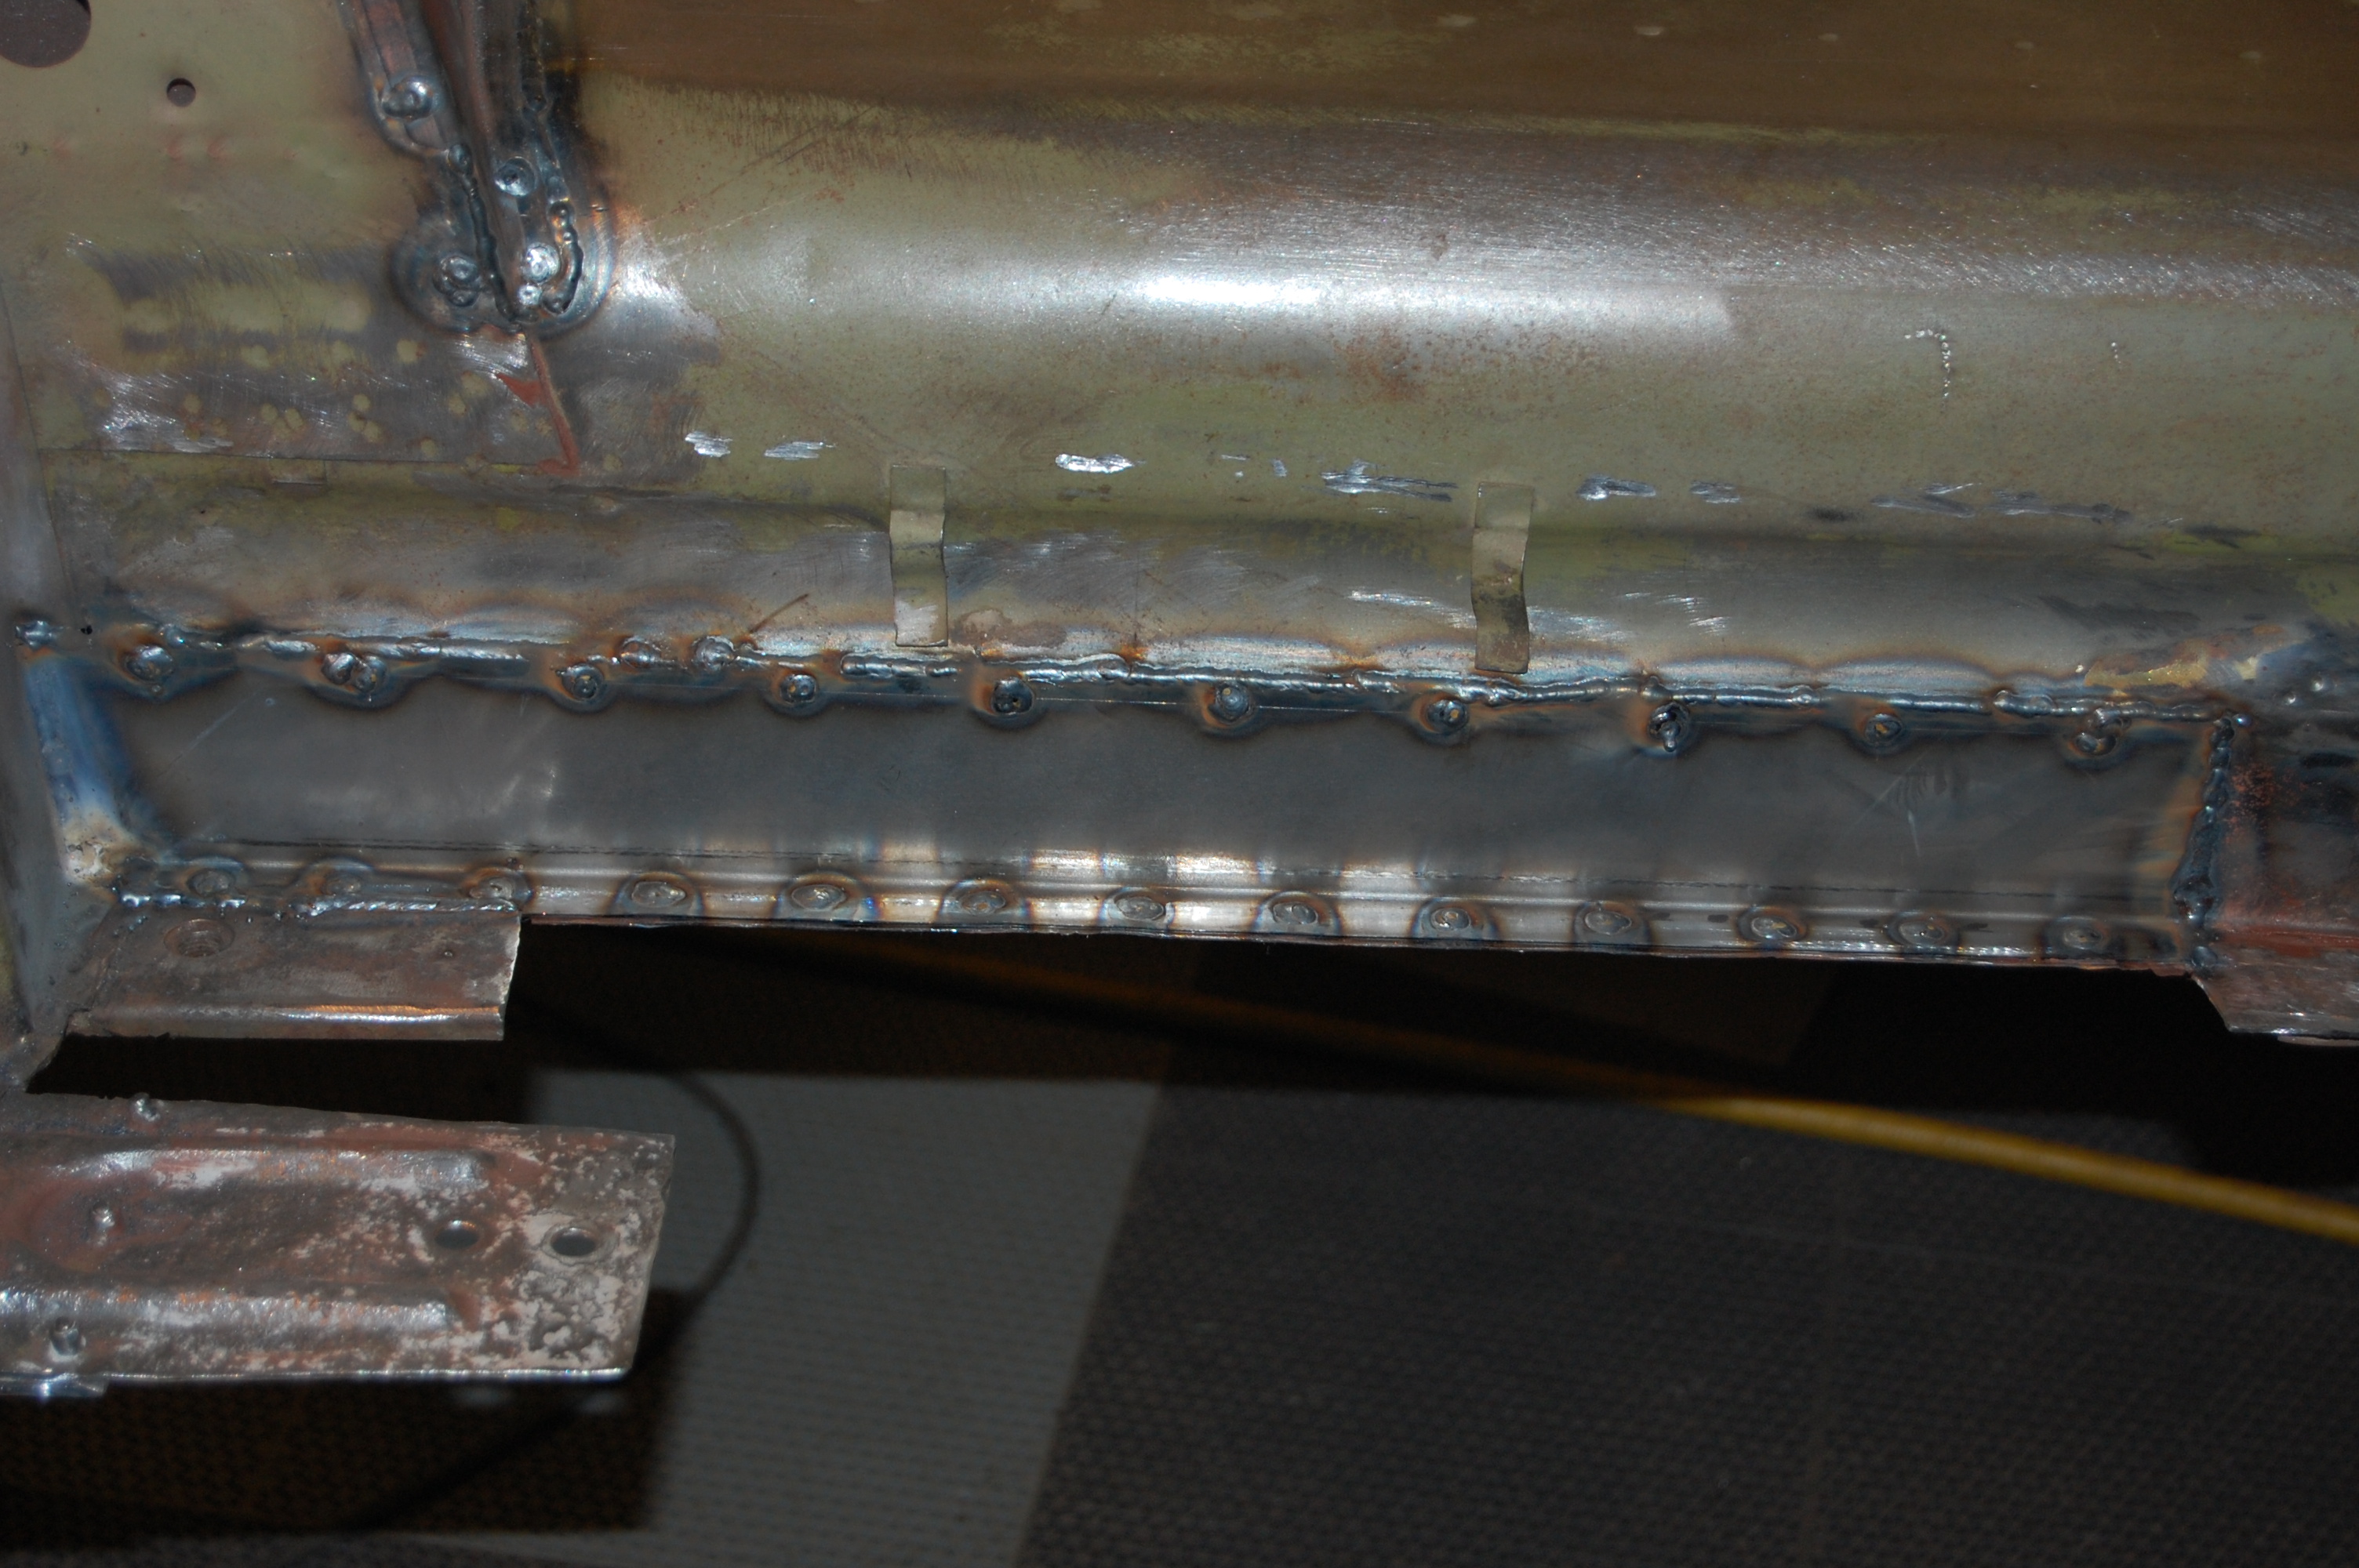
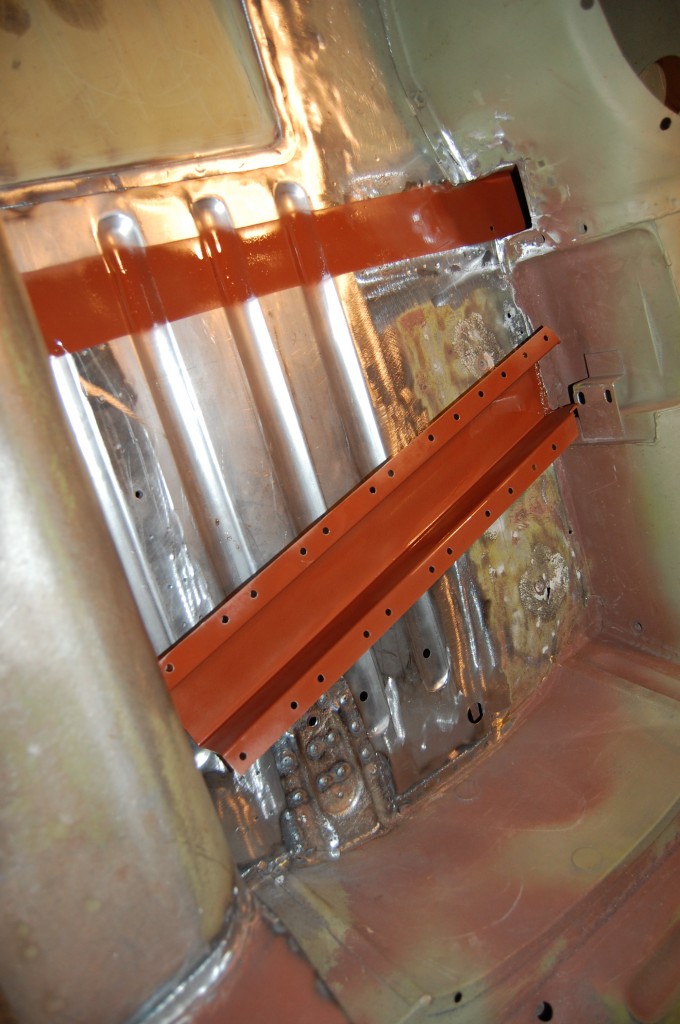
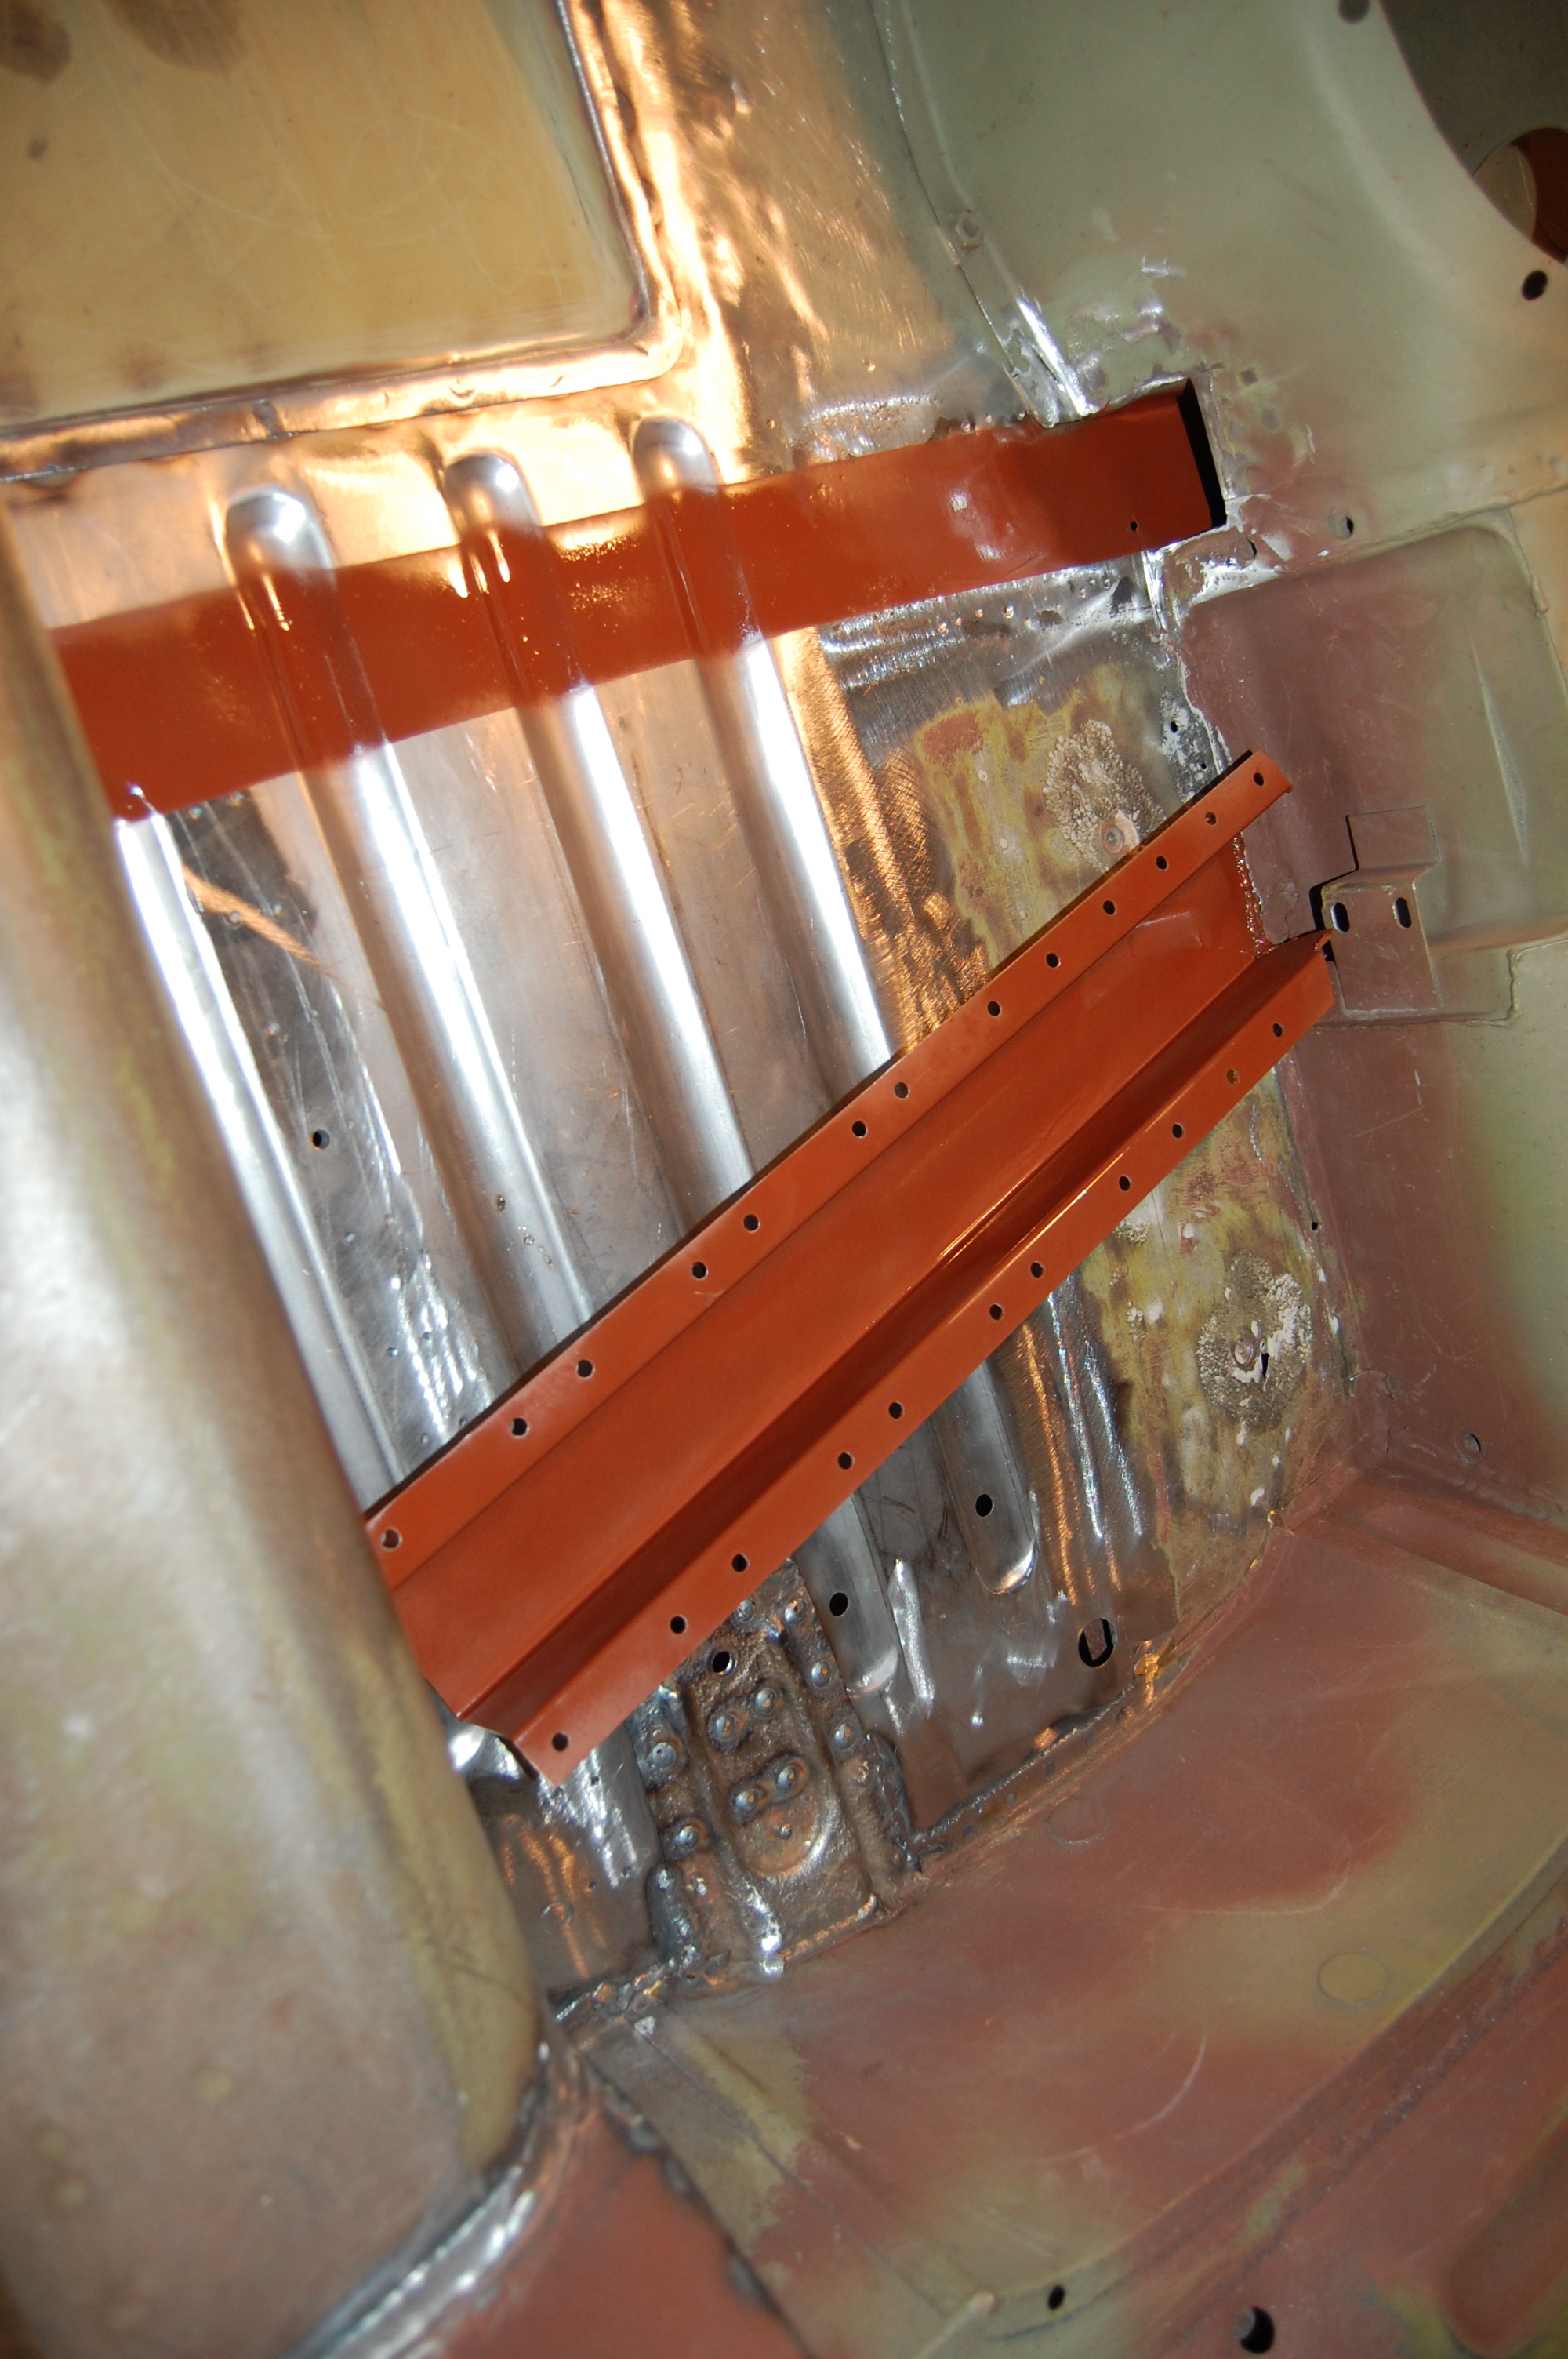
- Next, a new section was formed from thick, 17-gauge cold-rolled steel, and solidly welded along its entire length.
-
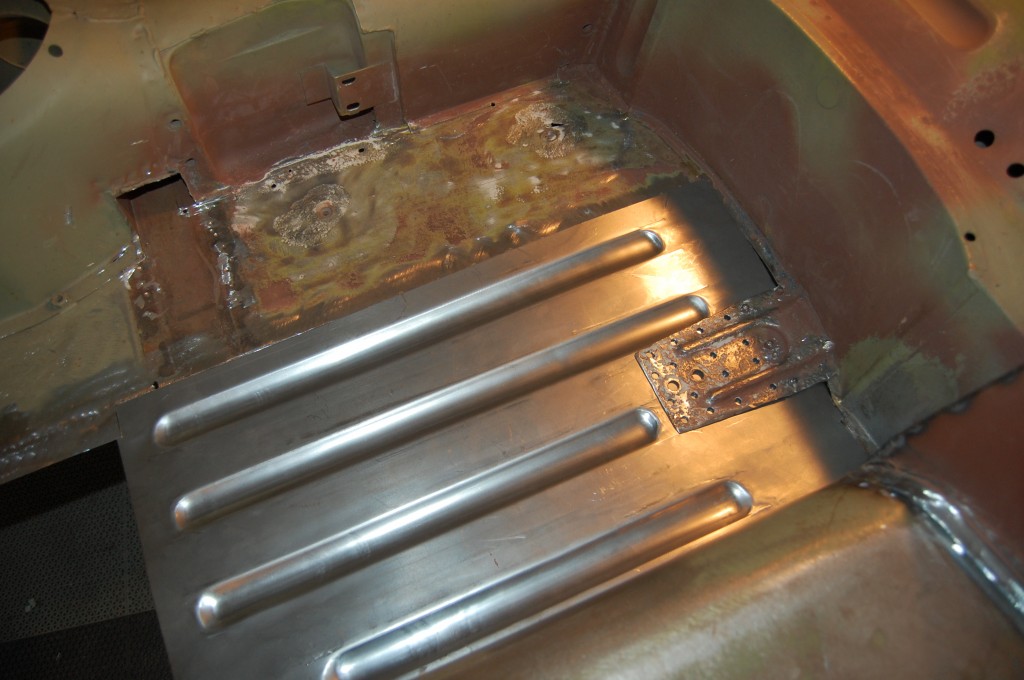
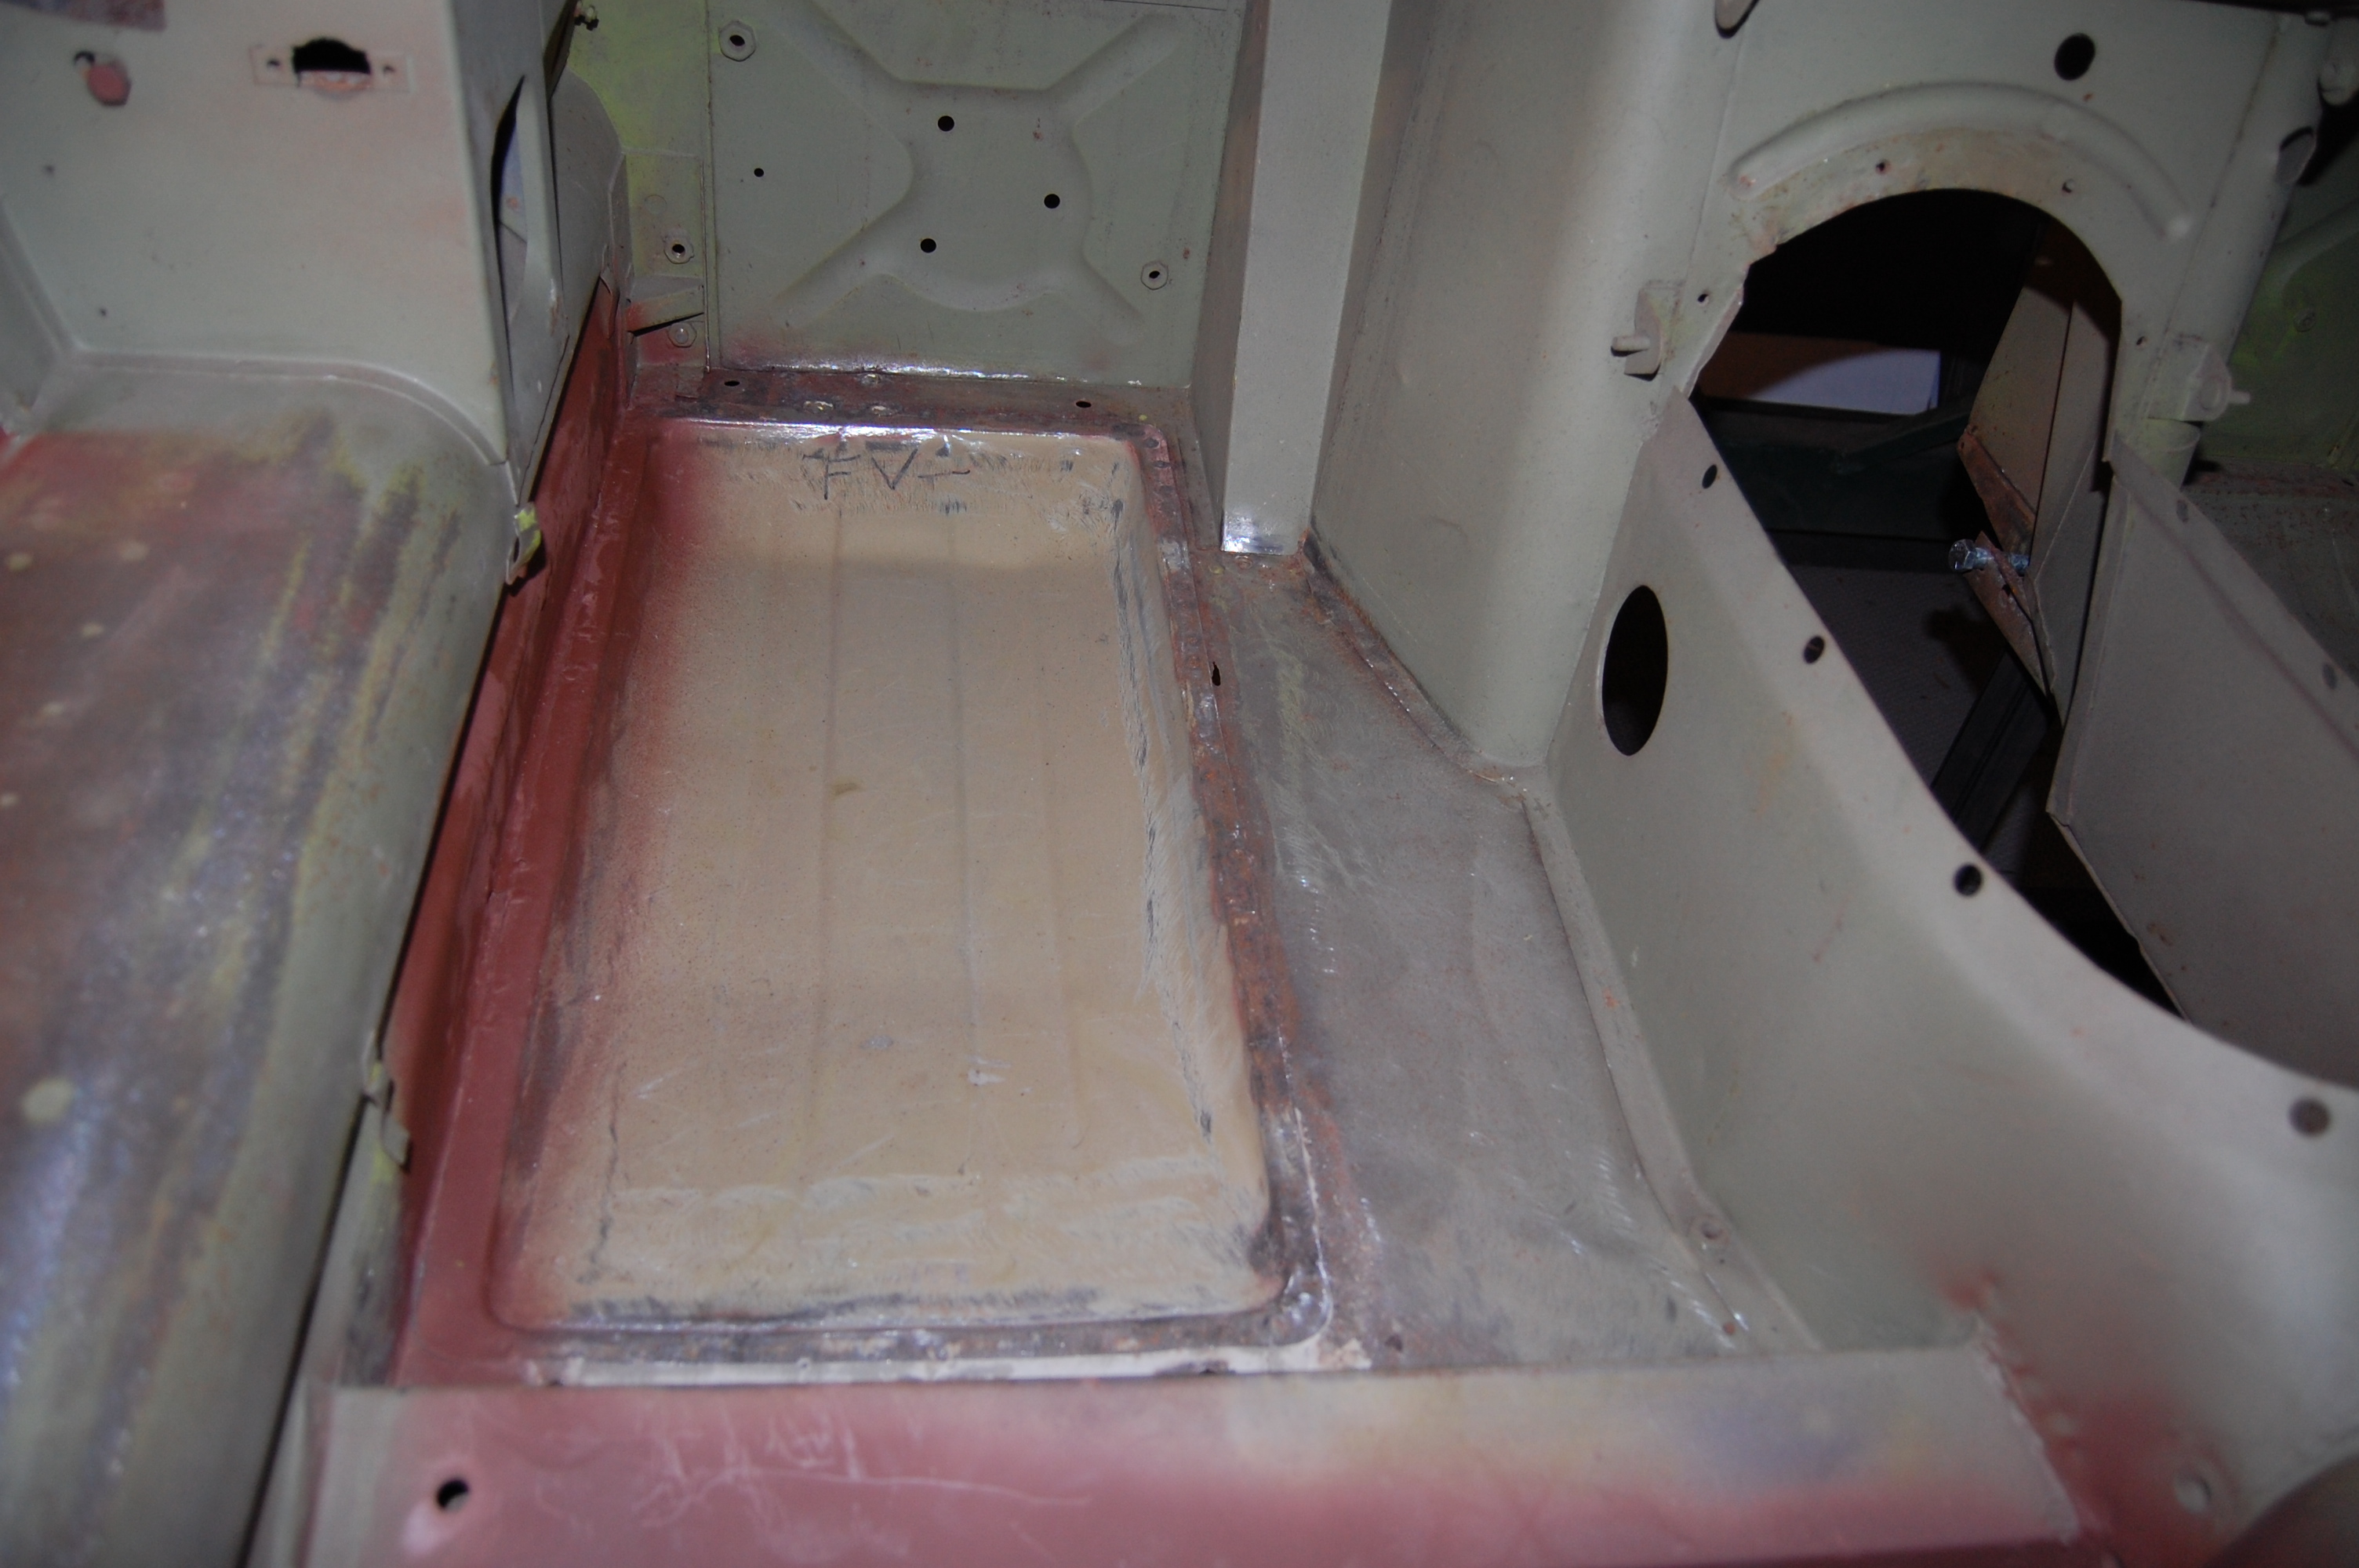
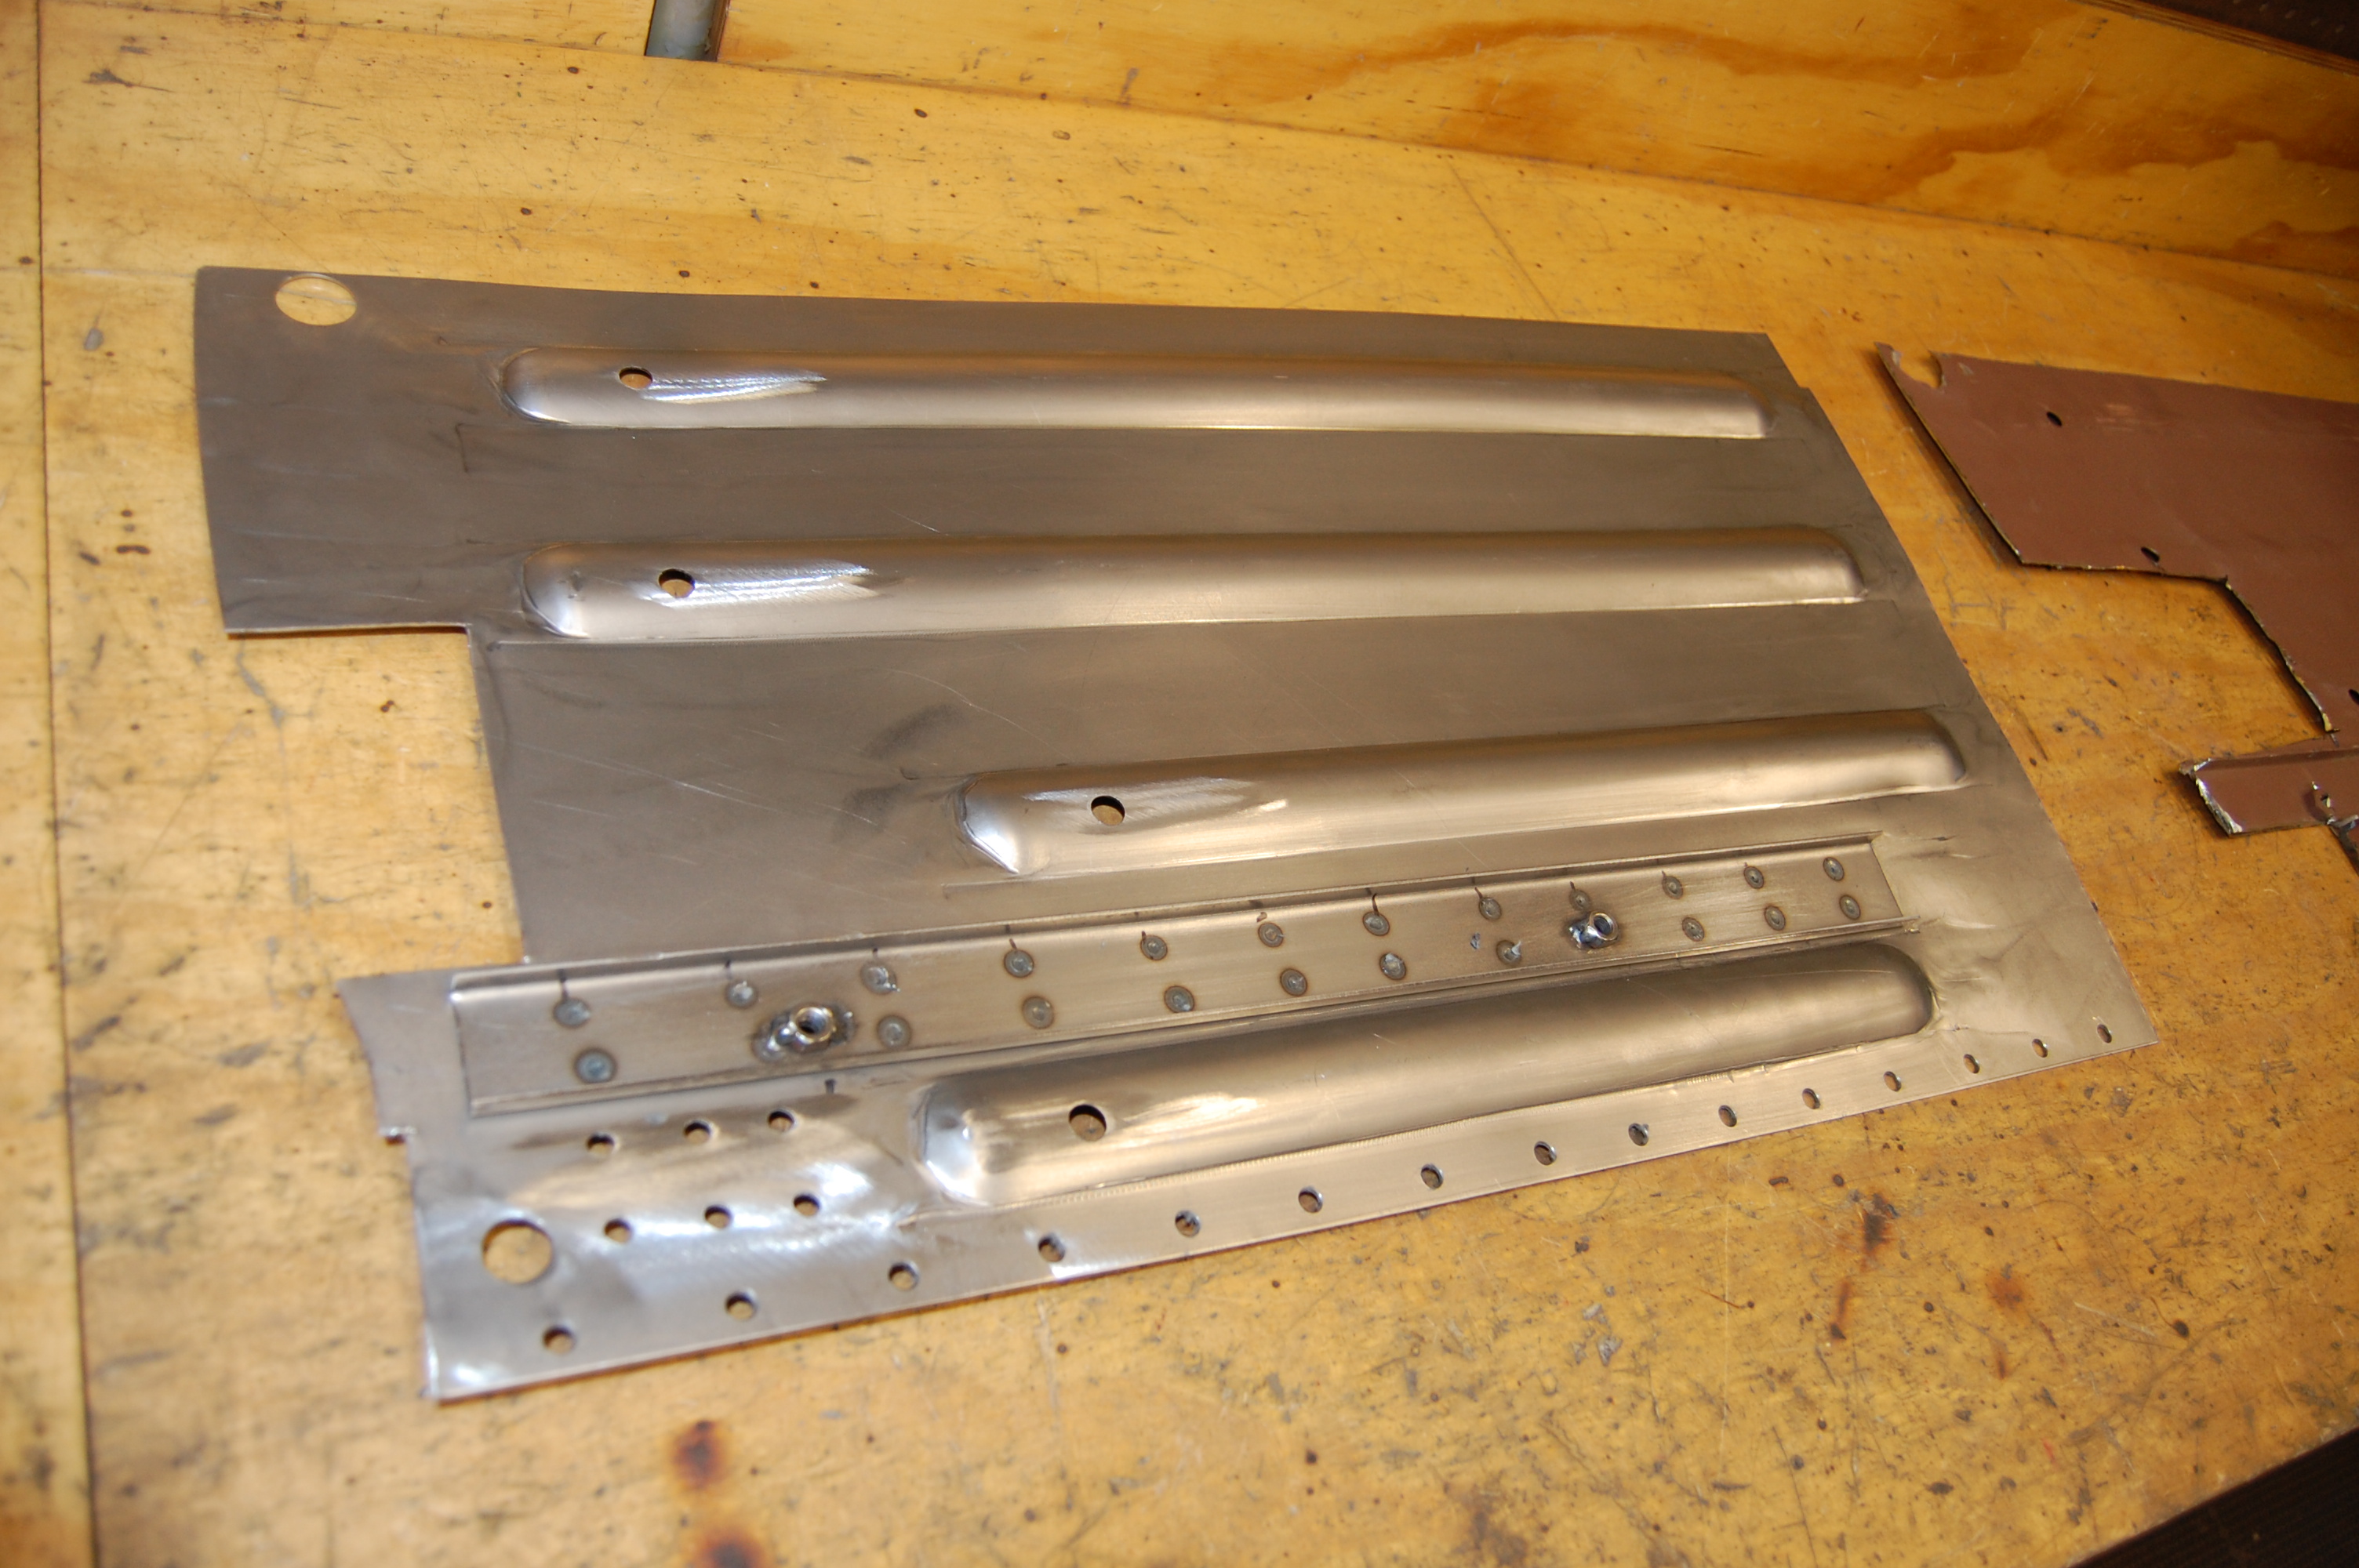
- Here is our custom floor patch – patterned to match the original floor beading EXACTLY.

-

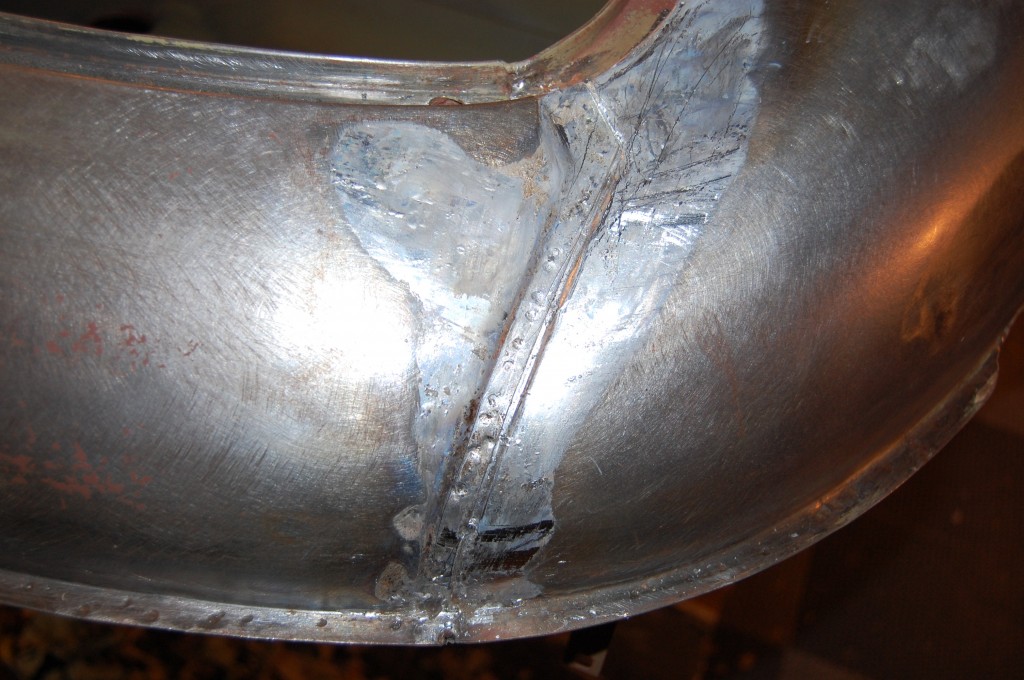
- After fitting, we formed and spot-welded a new seat mounting rail.
-
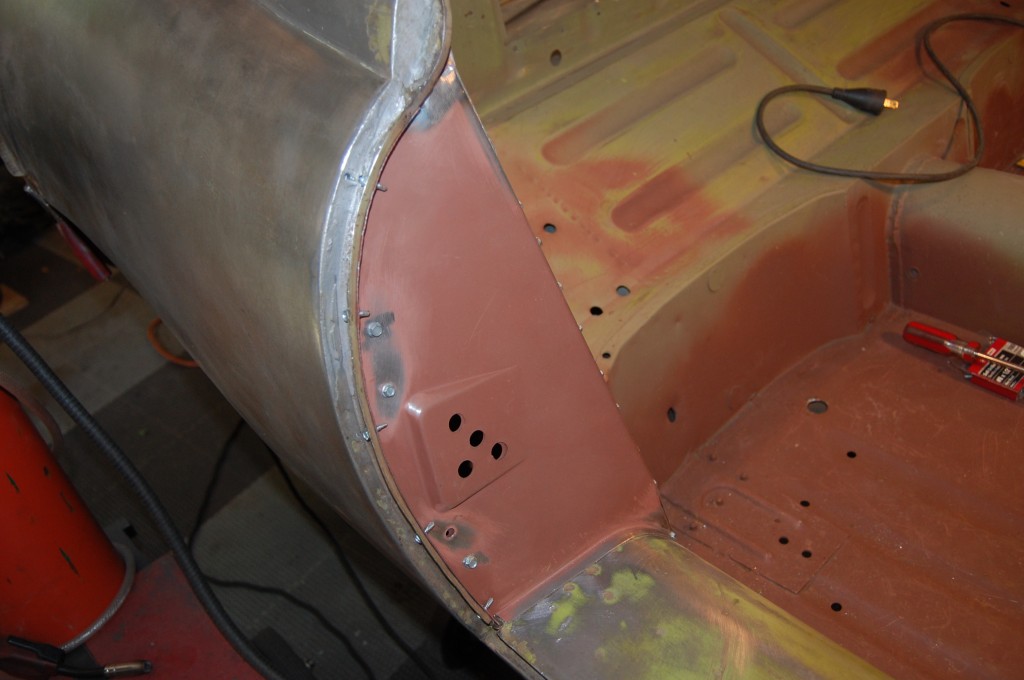
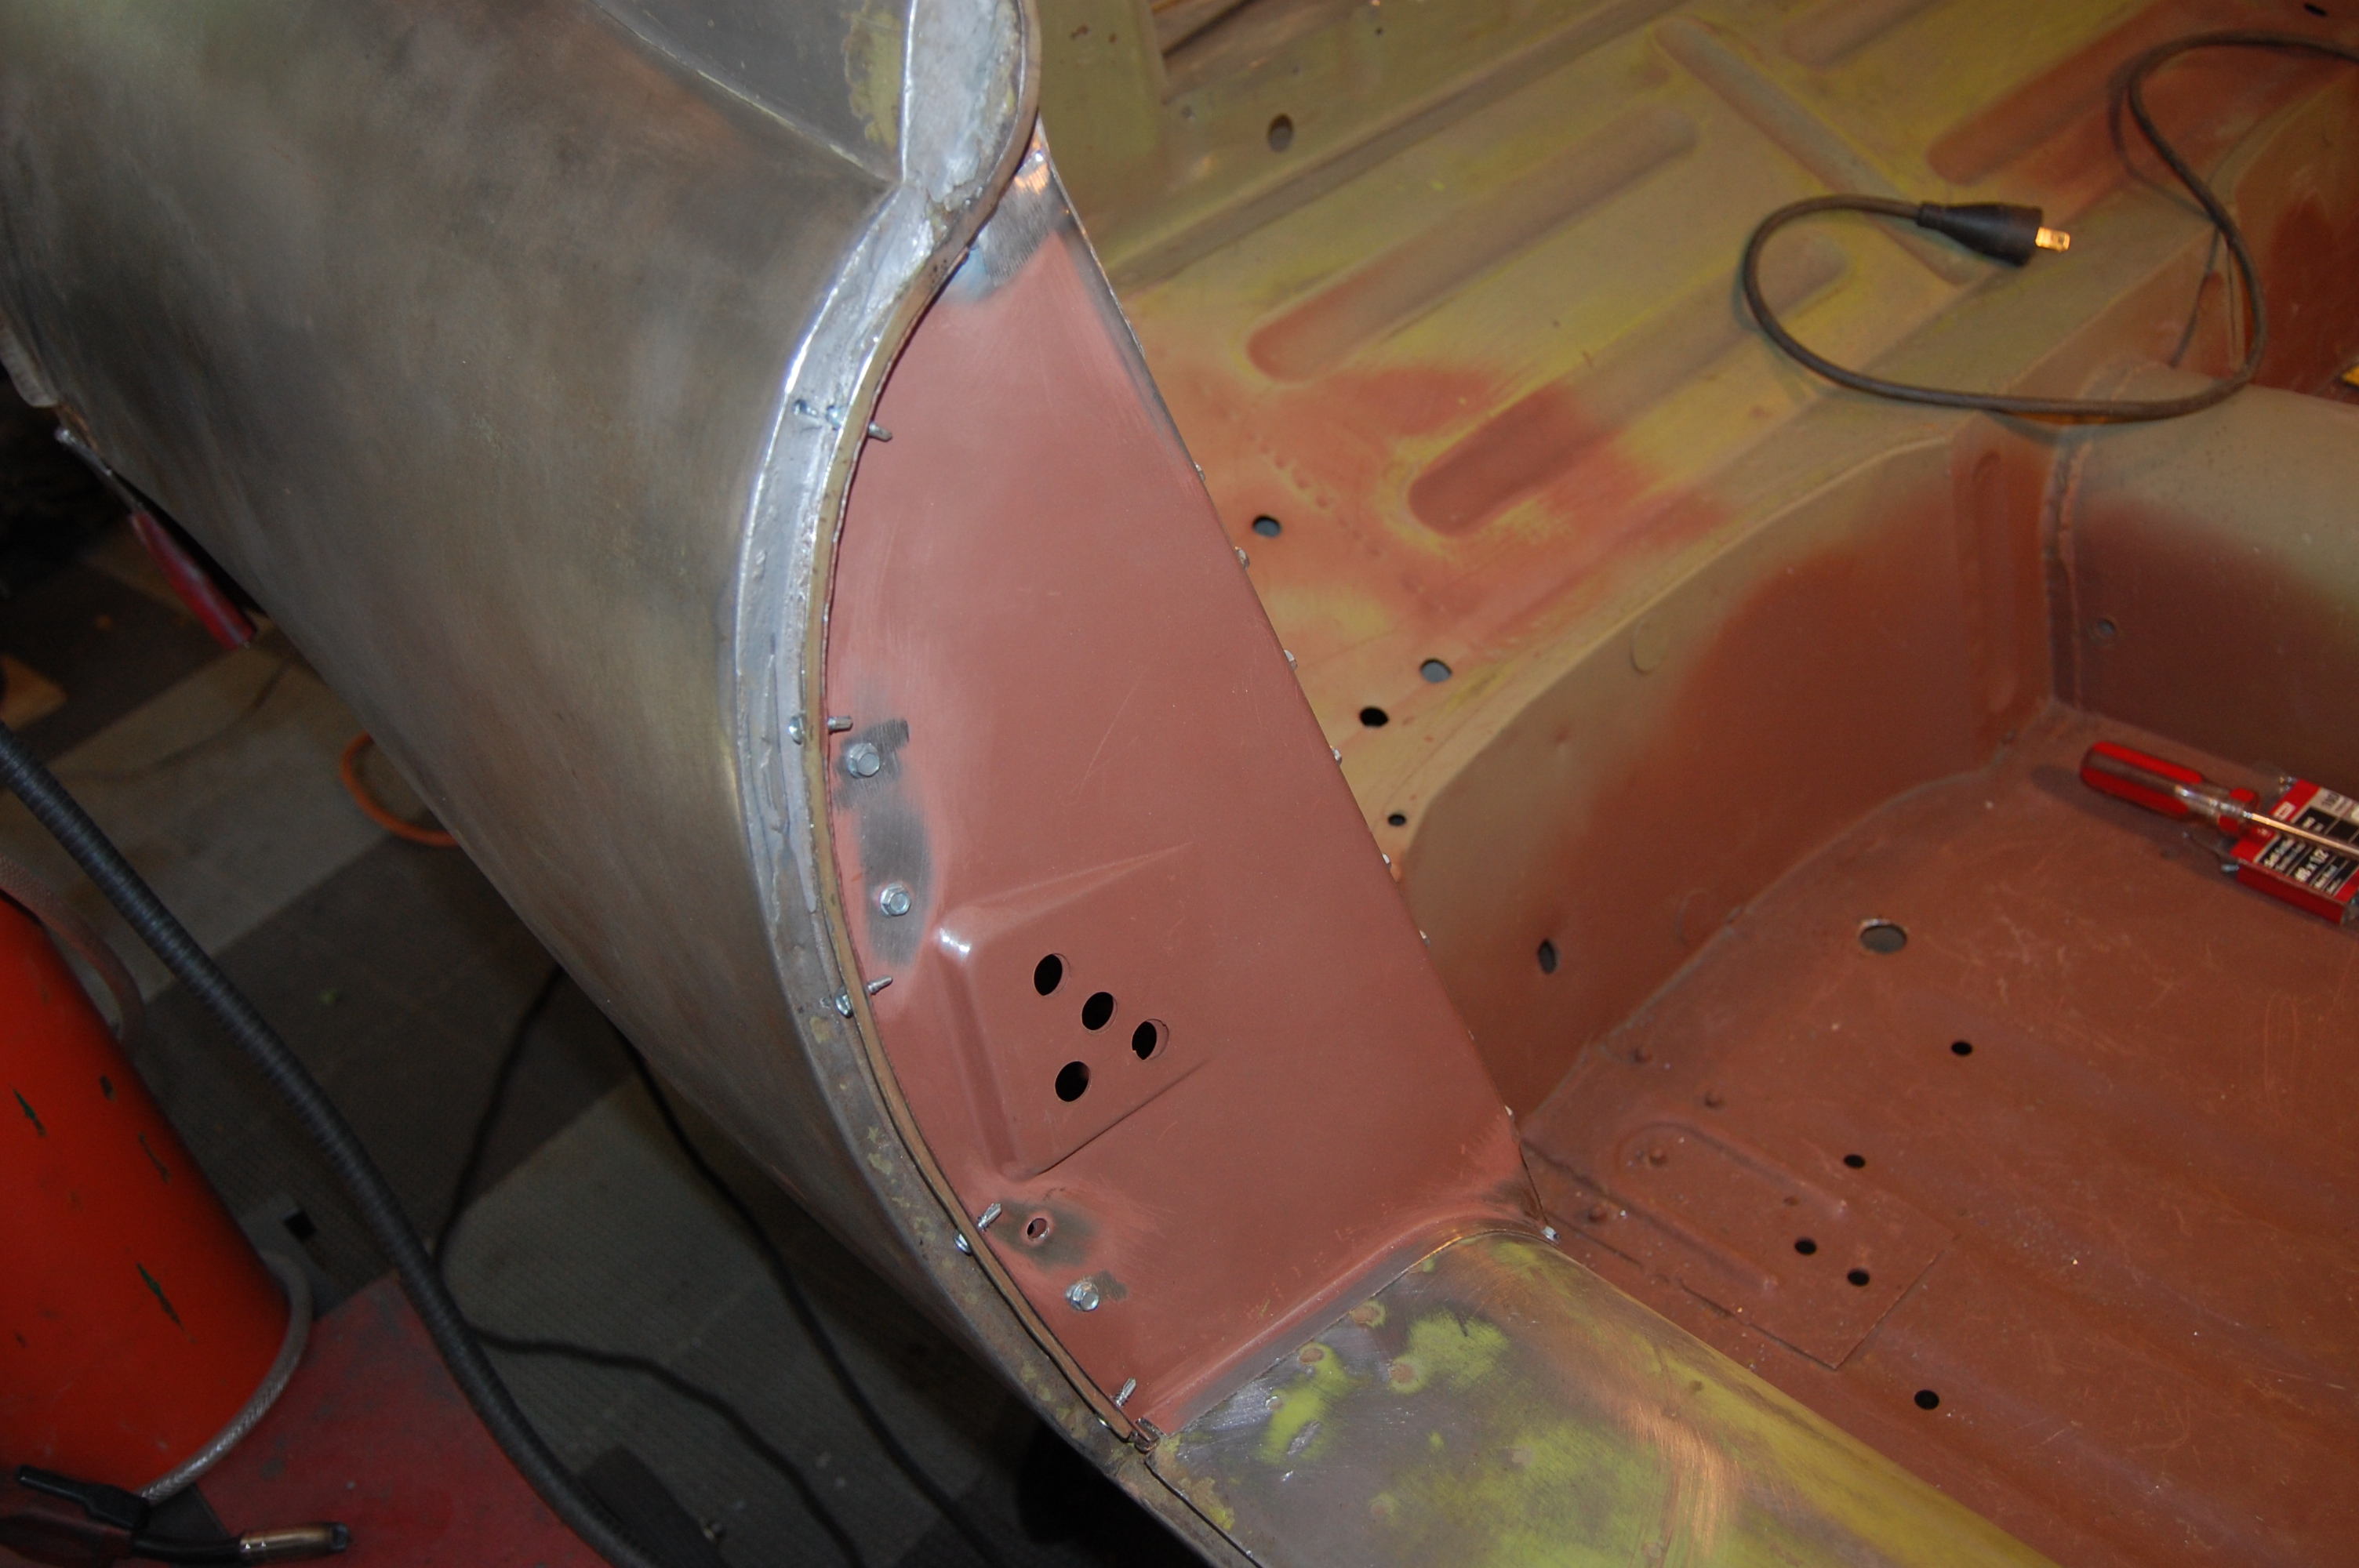
- This is a BIG improvement over where we started.

-
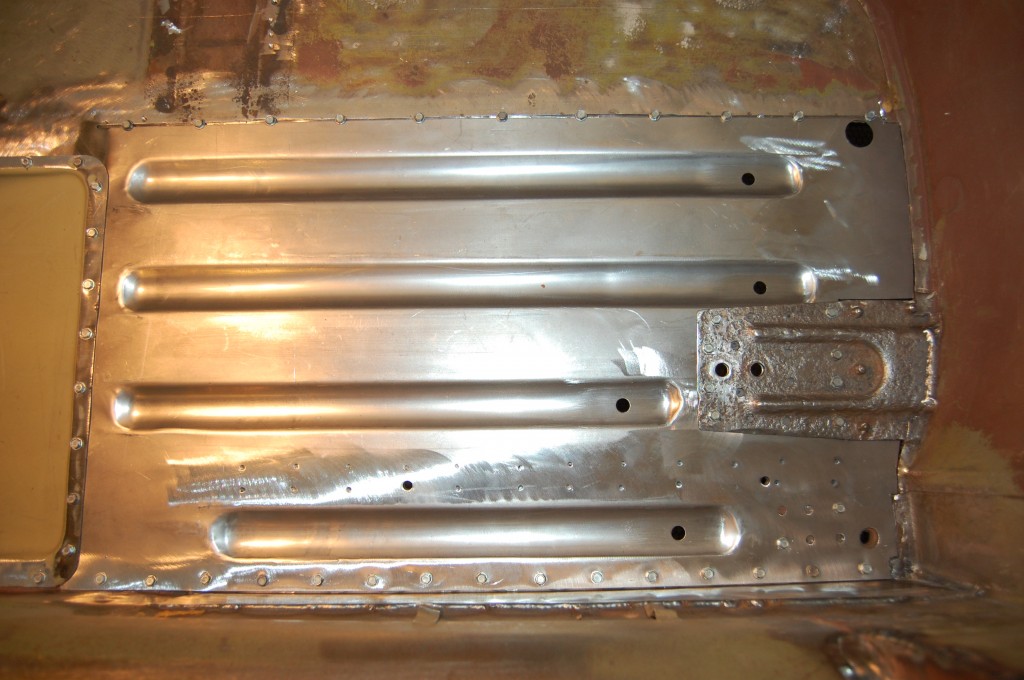
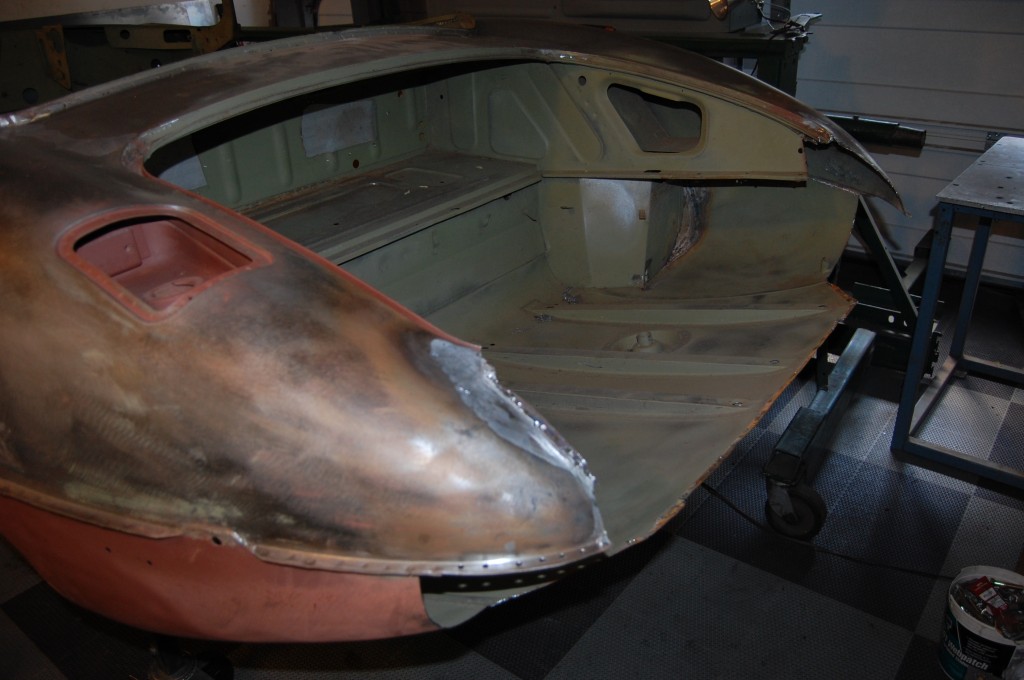
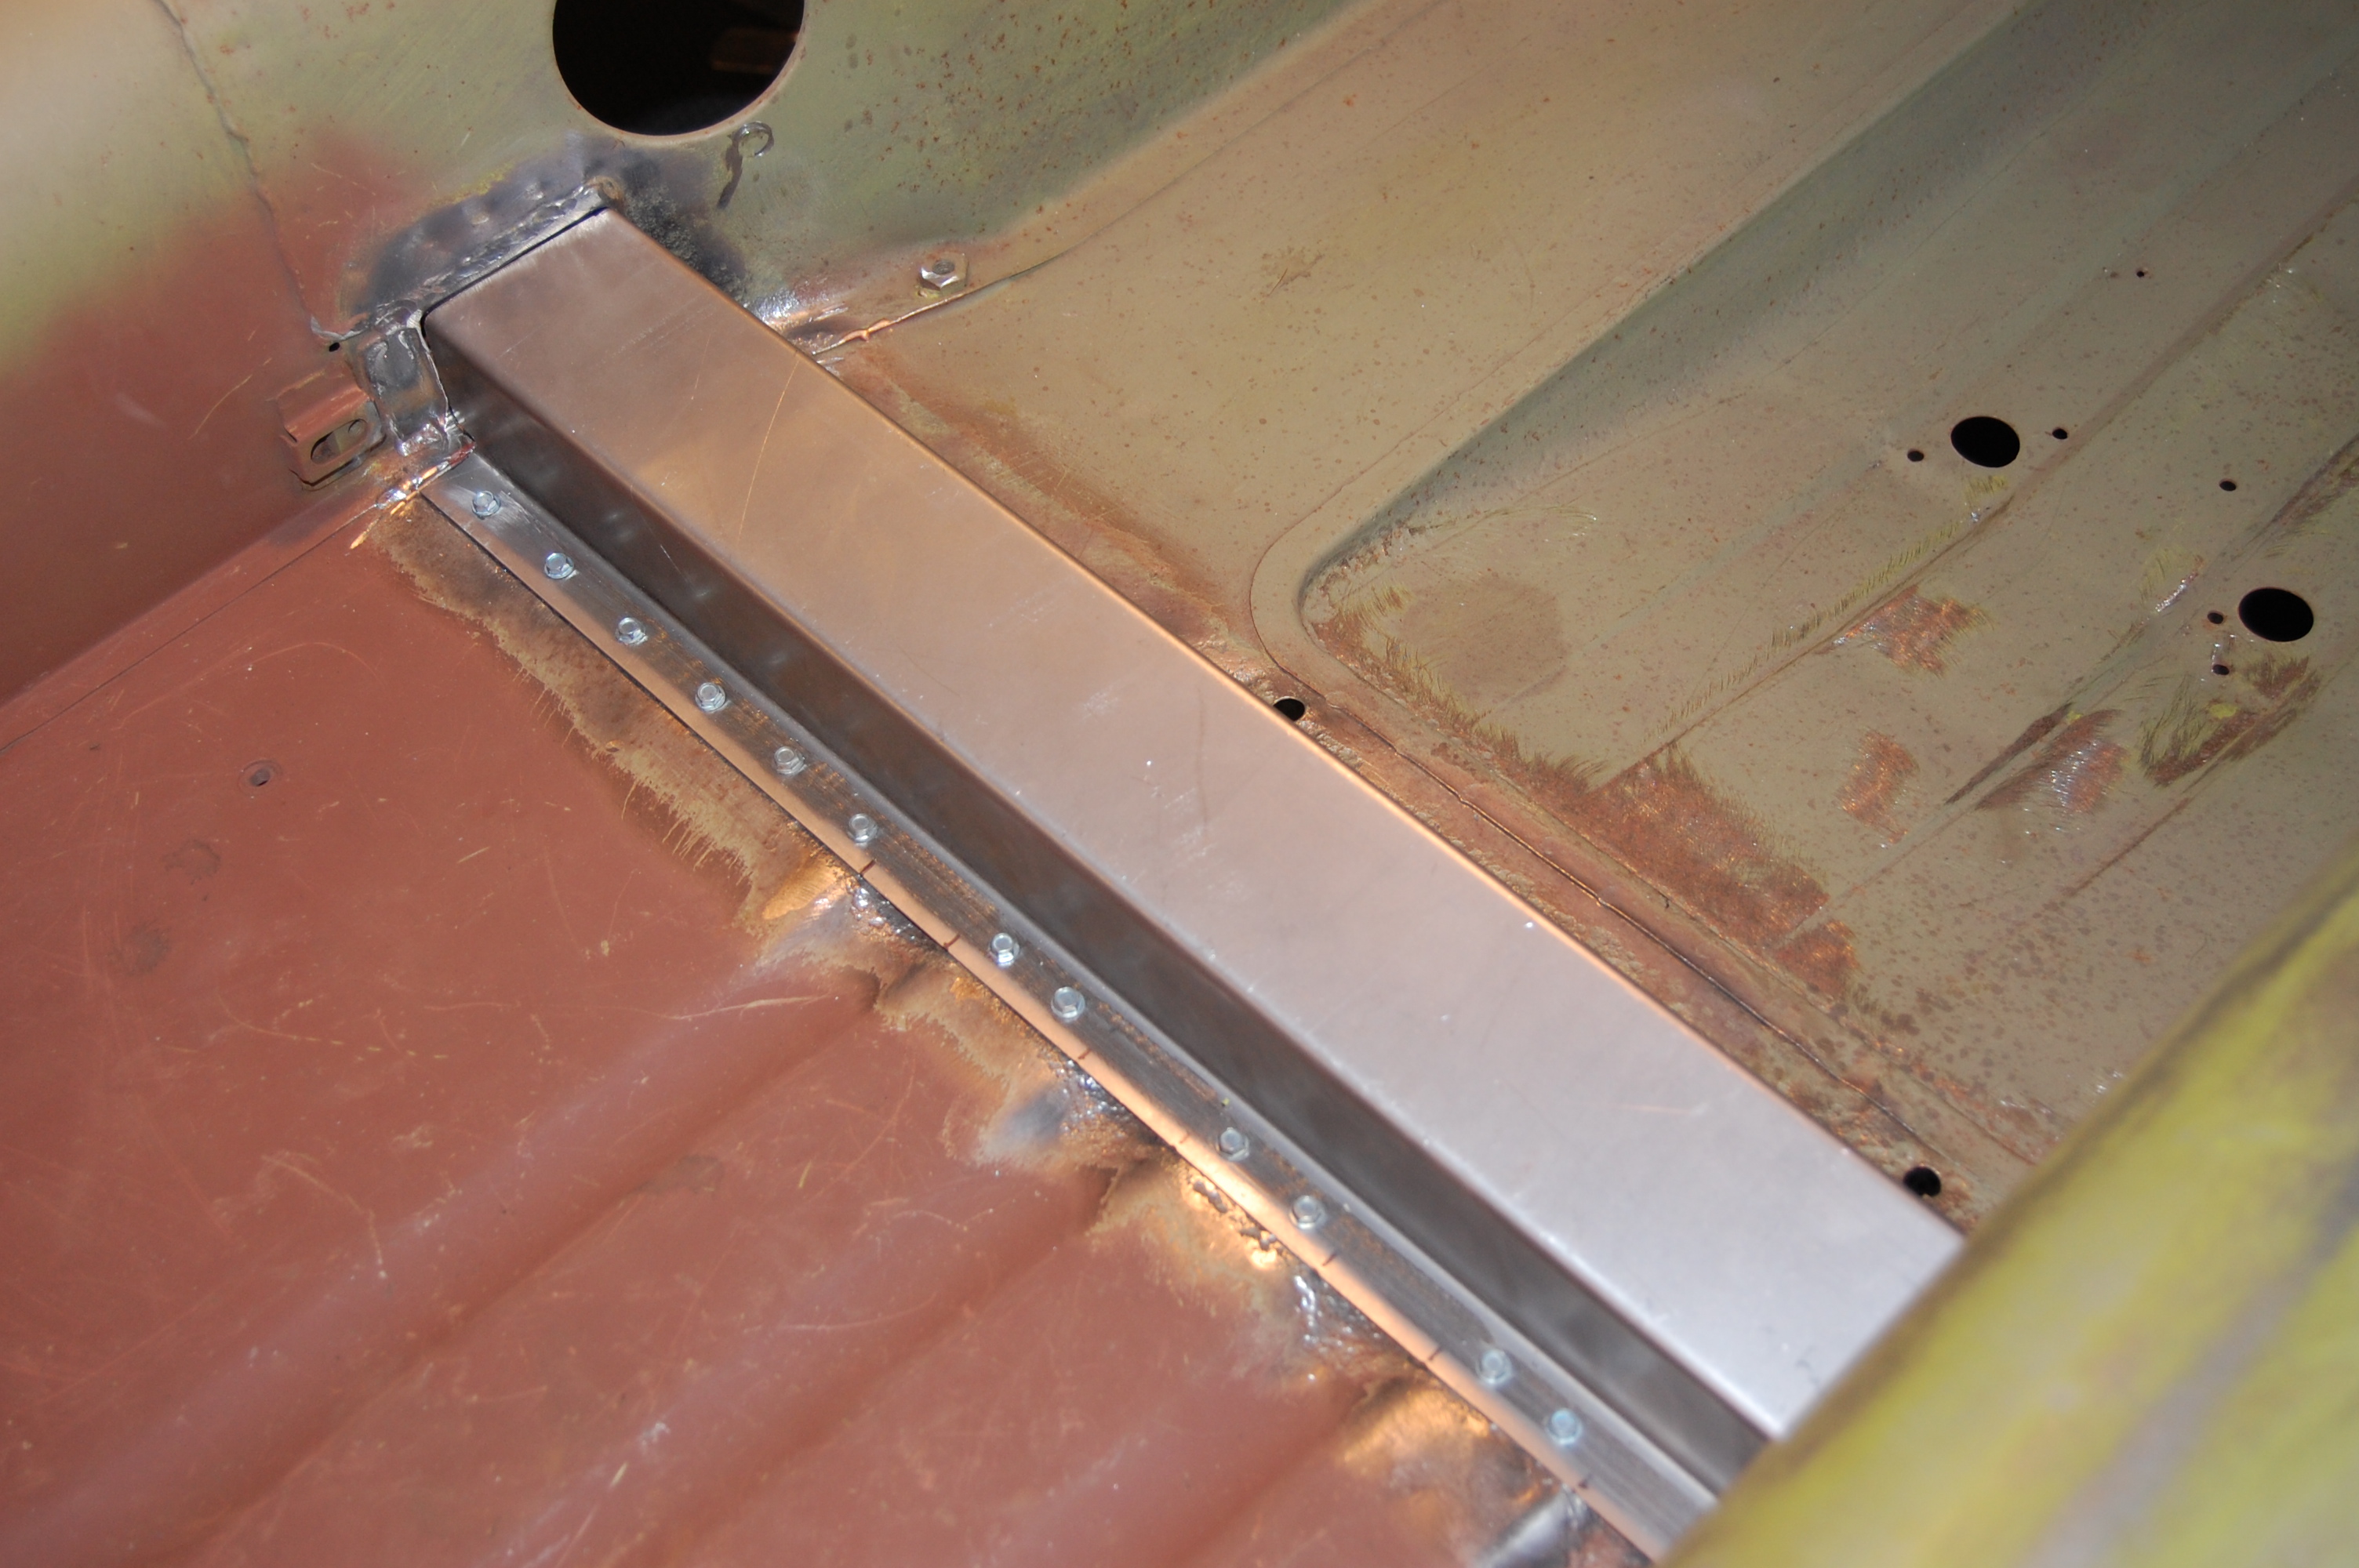
- Here is another shot of the piece fitted into place.

-
- And another.

-
- And another showing the reapirs to the forward section of the floor and a new footwell.

-
- After welding everything into place and grinding down the plug welds, a new crossmember was formed for the LH side as well from 18-gauge steel.
-
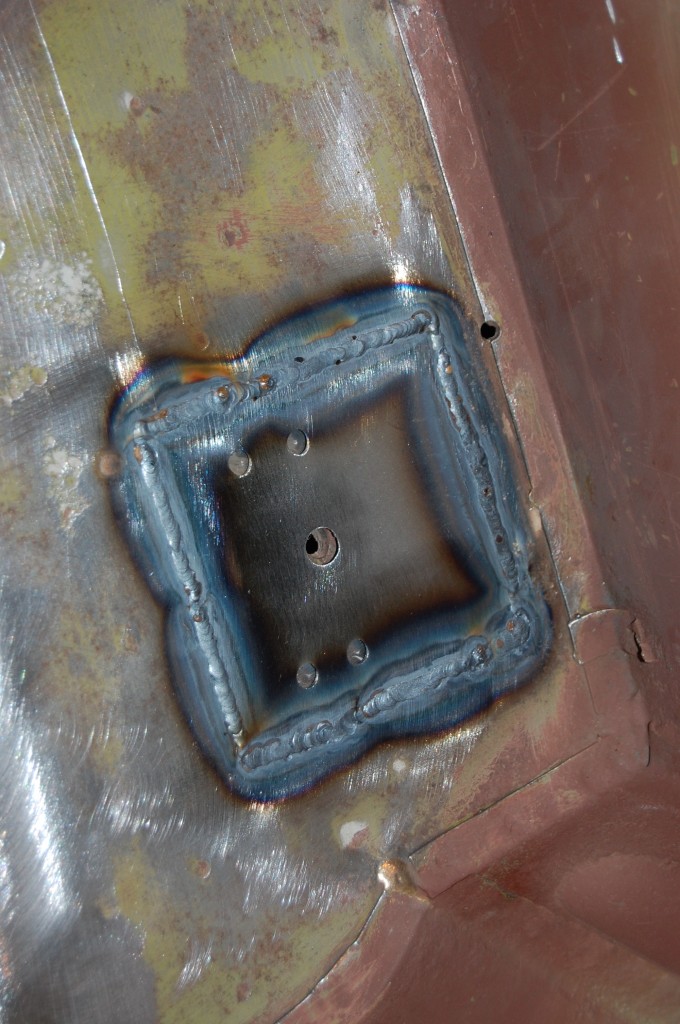
- This seat mount was also corroded, so another piece of 18-gaige came to the rescue with the help of the TIG welder.

-

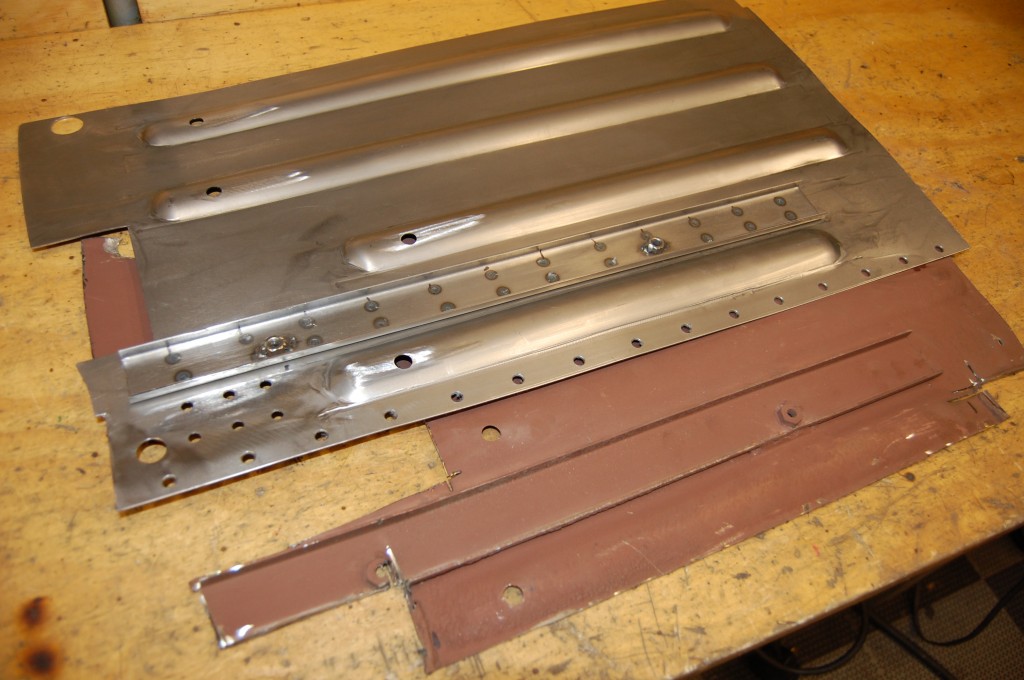
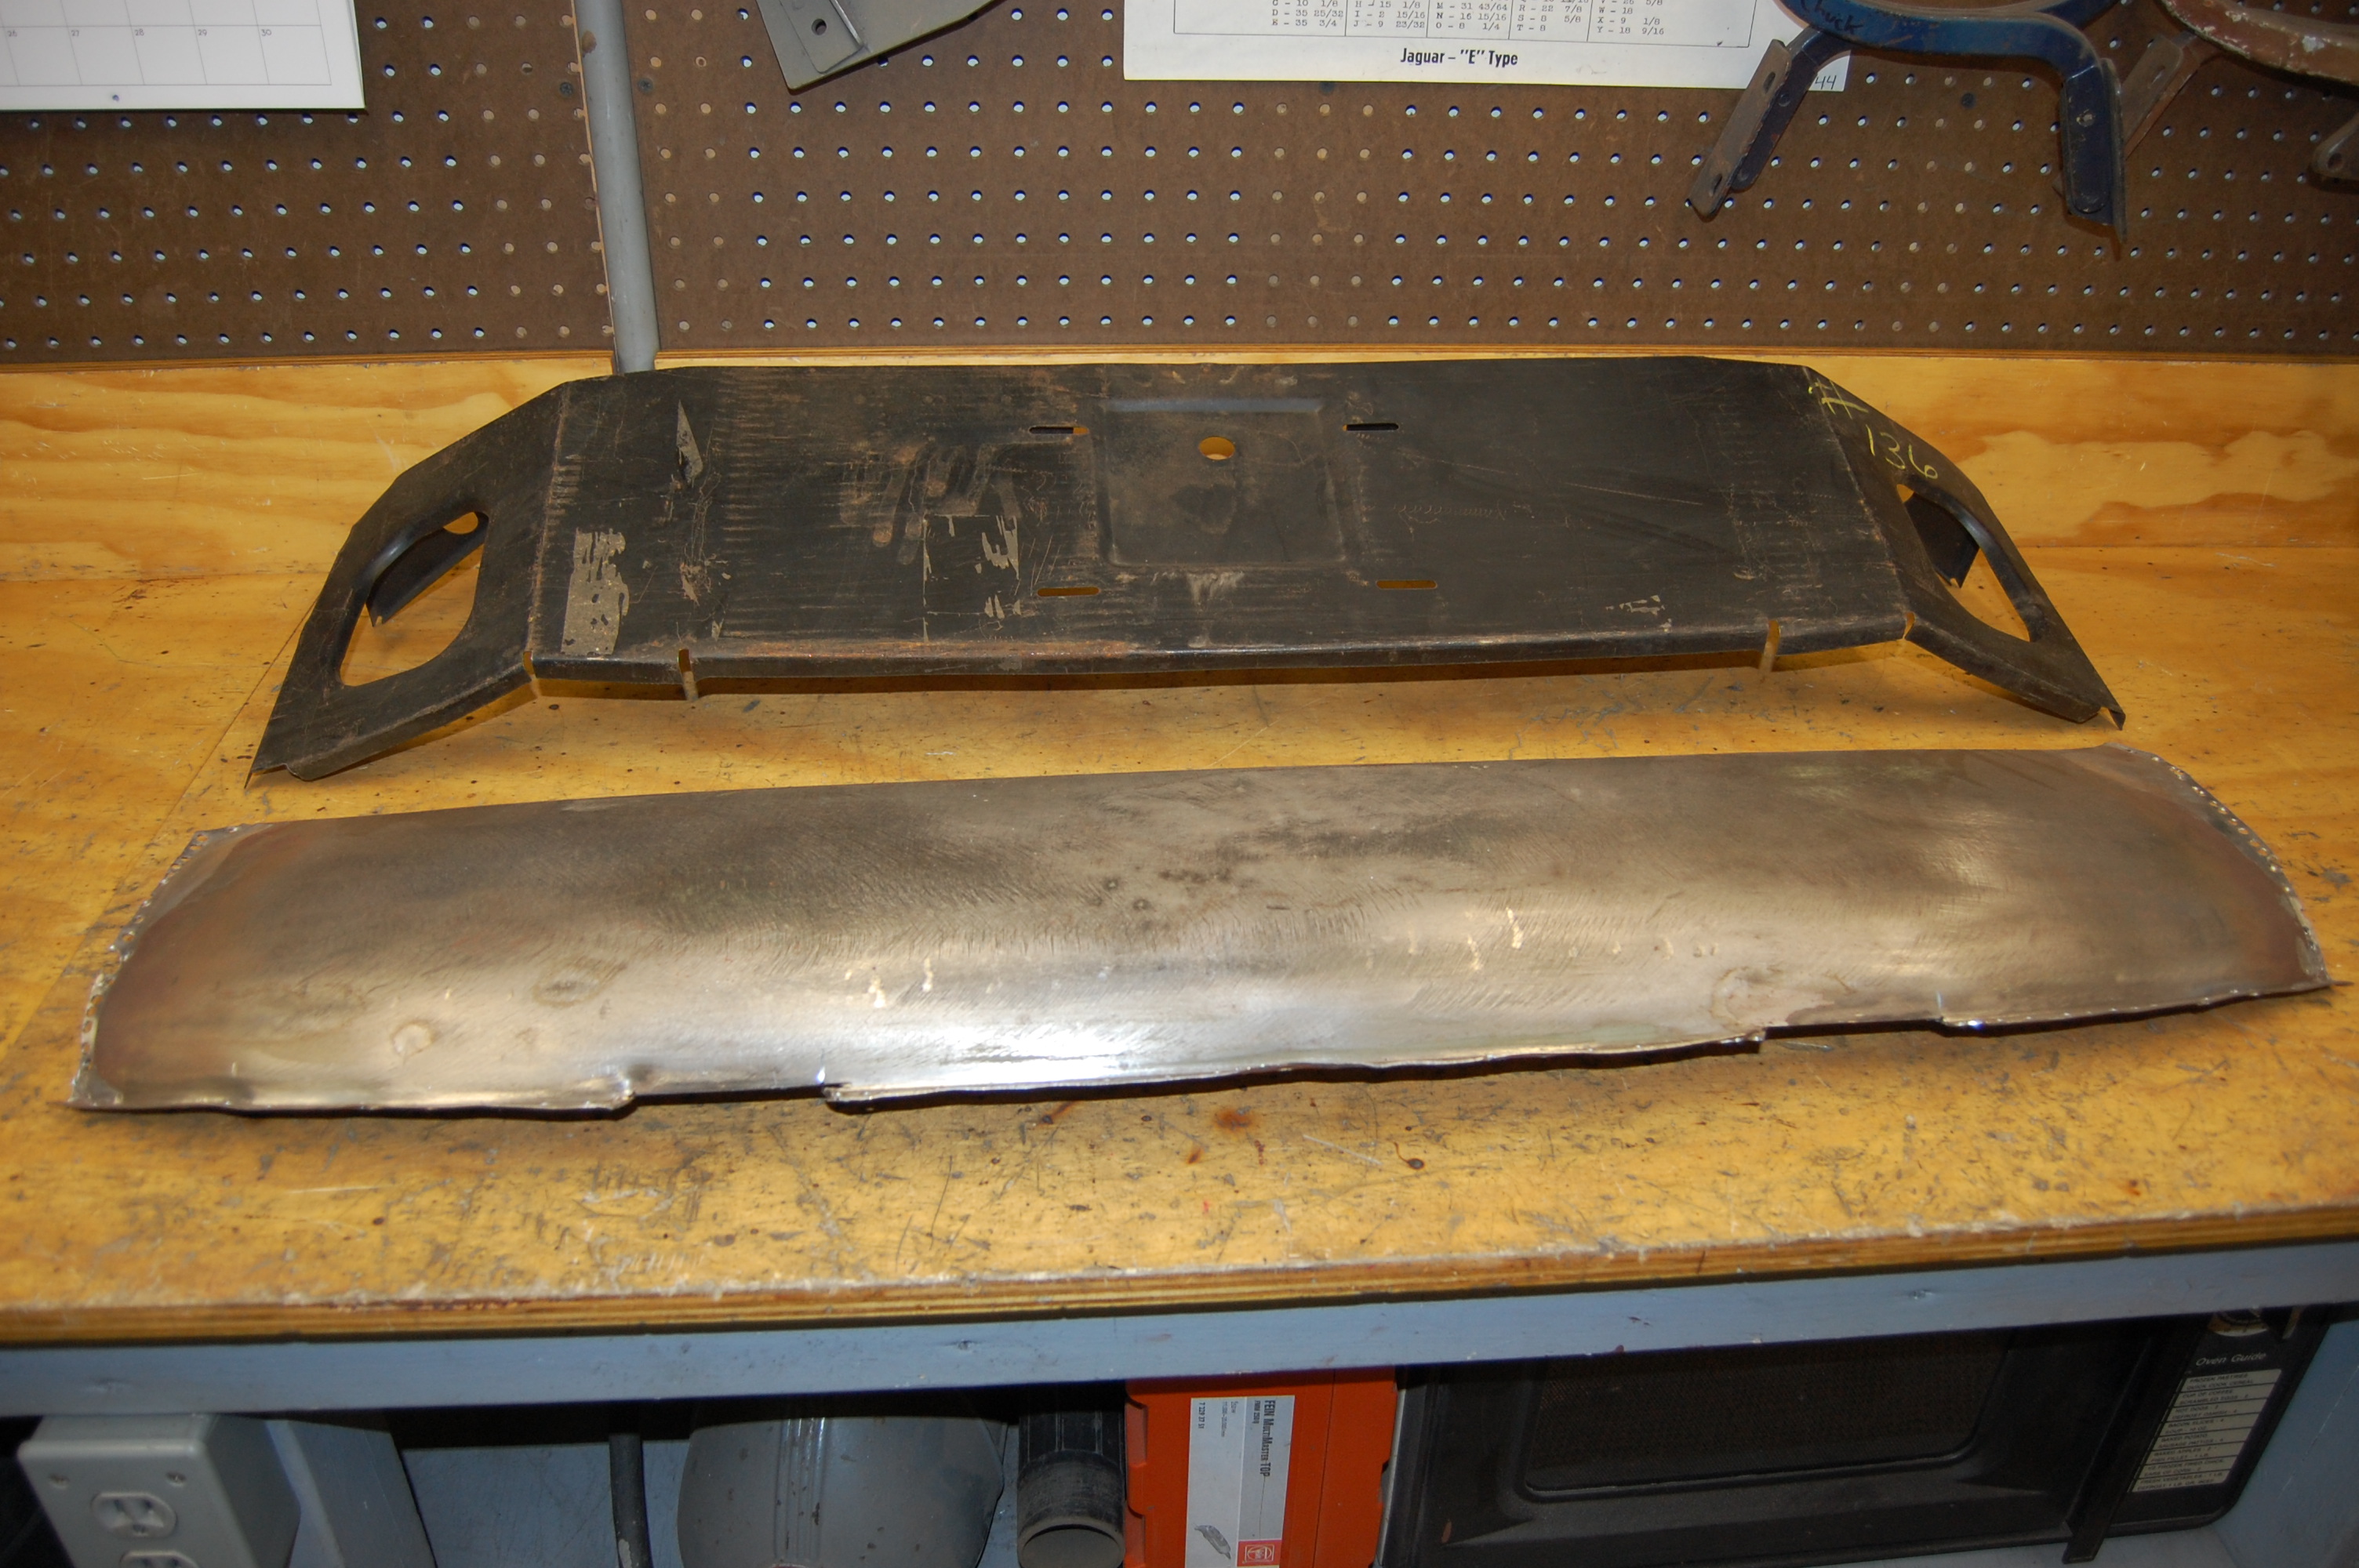
- This is a new rear license panel for a Series 1, and the Series 2 lower tonneau that we removed from this shell.
-
- Using the original shell and modifying it to Series 1 specs saves time, and also ensures that the decklid is going to fit just as well as it did originally.
-

- The Series 2 cars do not have the little reverse light pod that the Series 1 cars have, so we need to carefully remove this rear section of the center boot floor brace to make room for it.
-

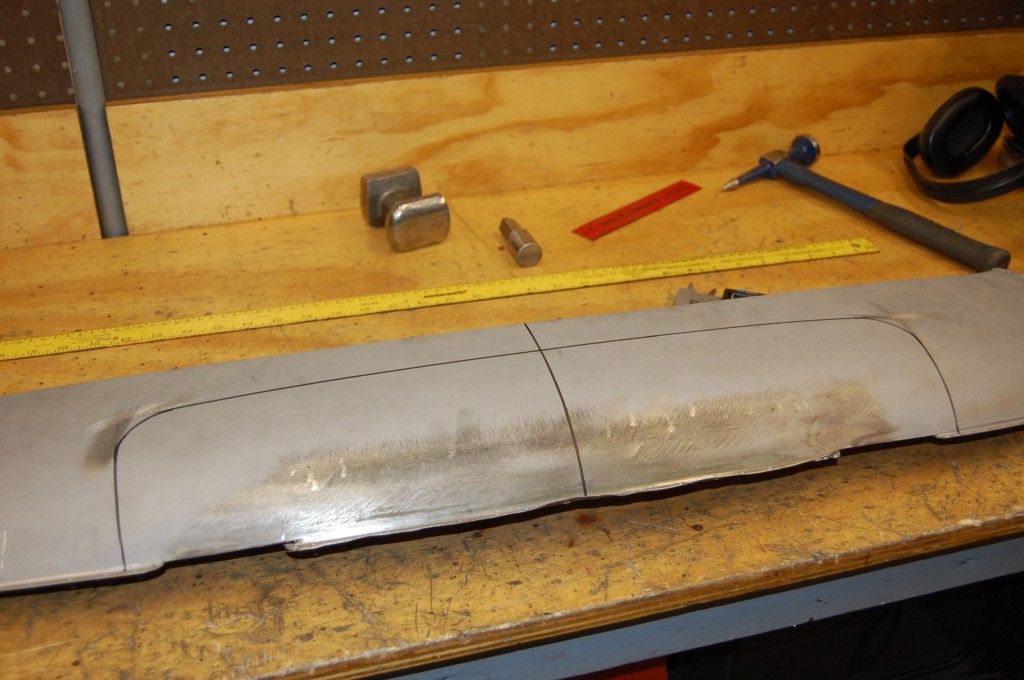
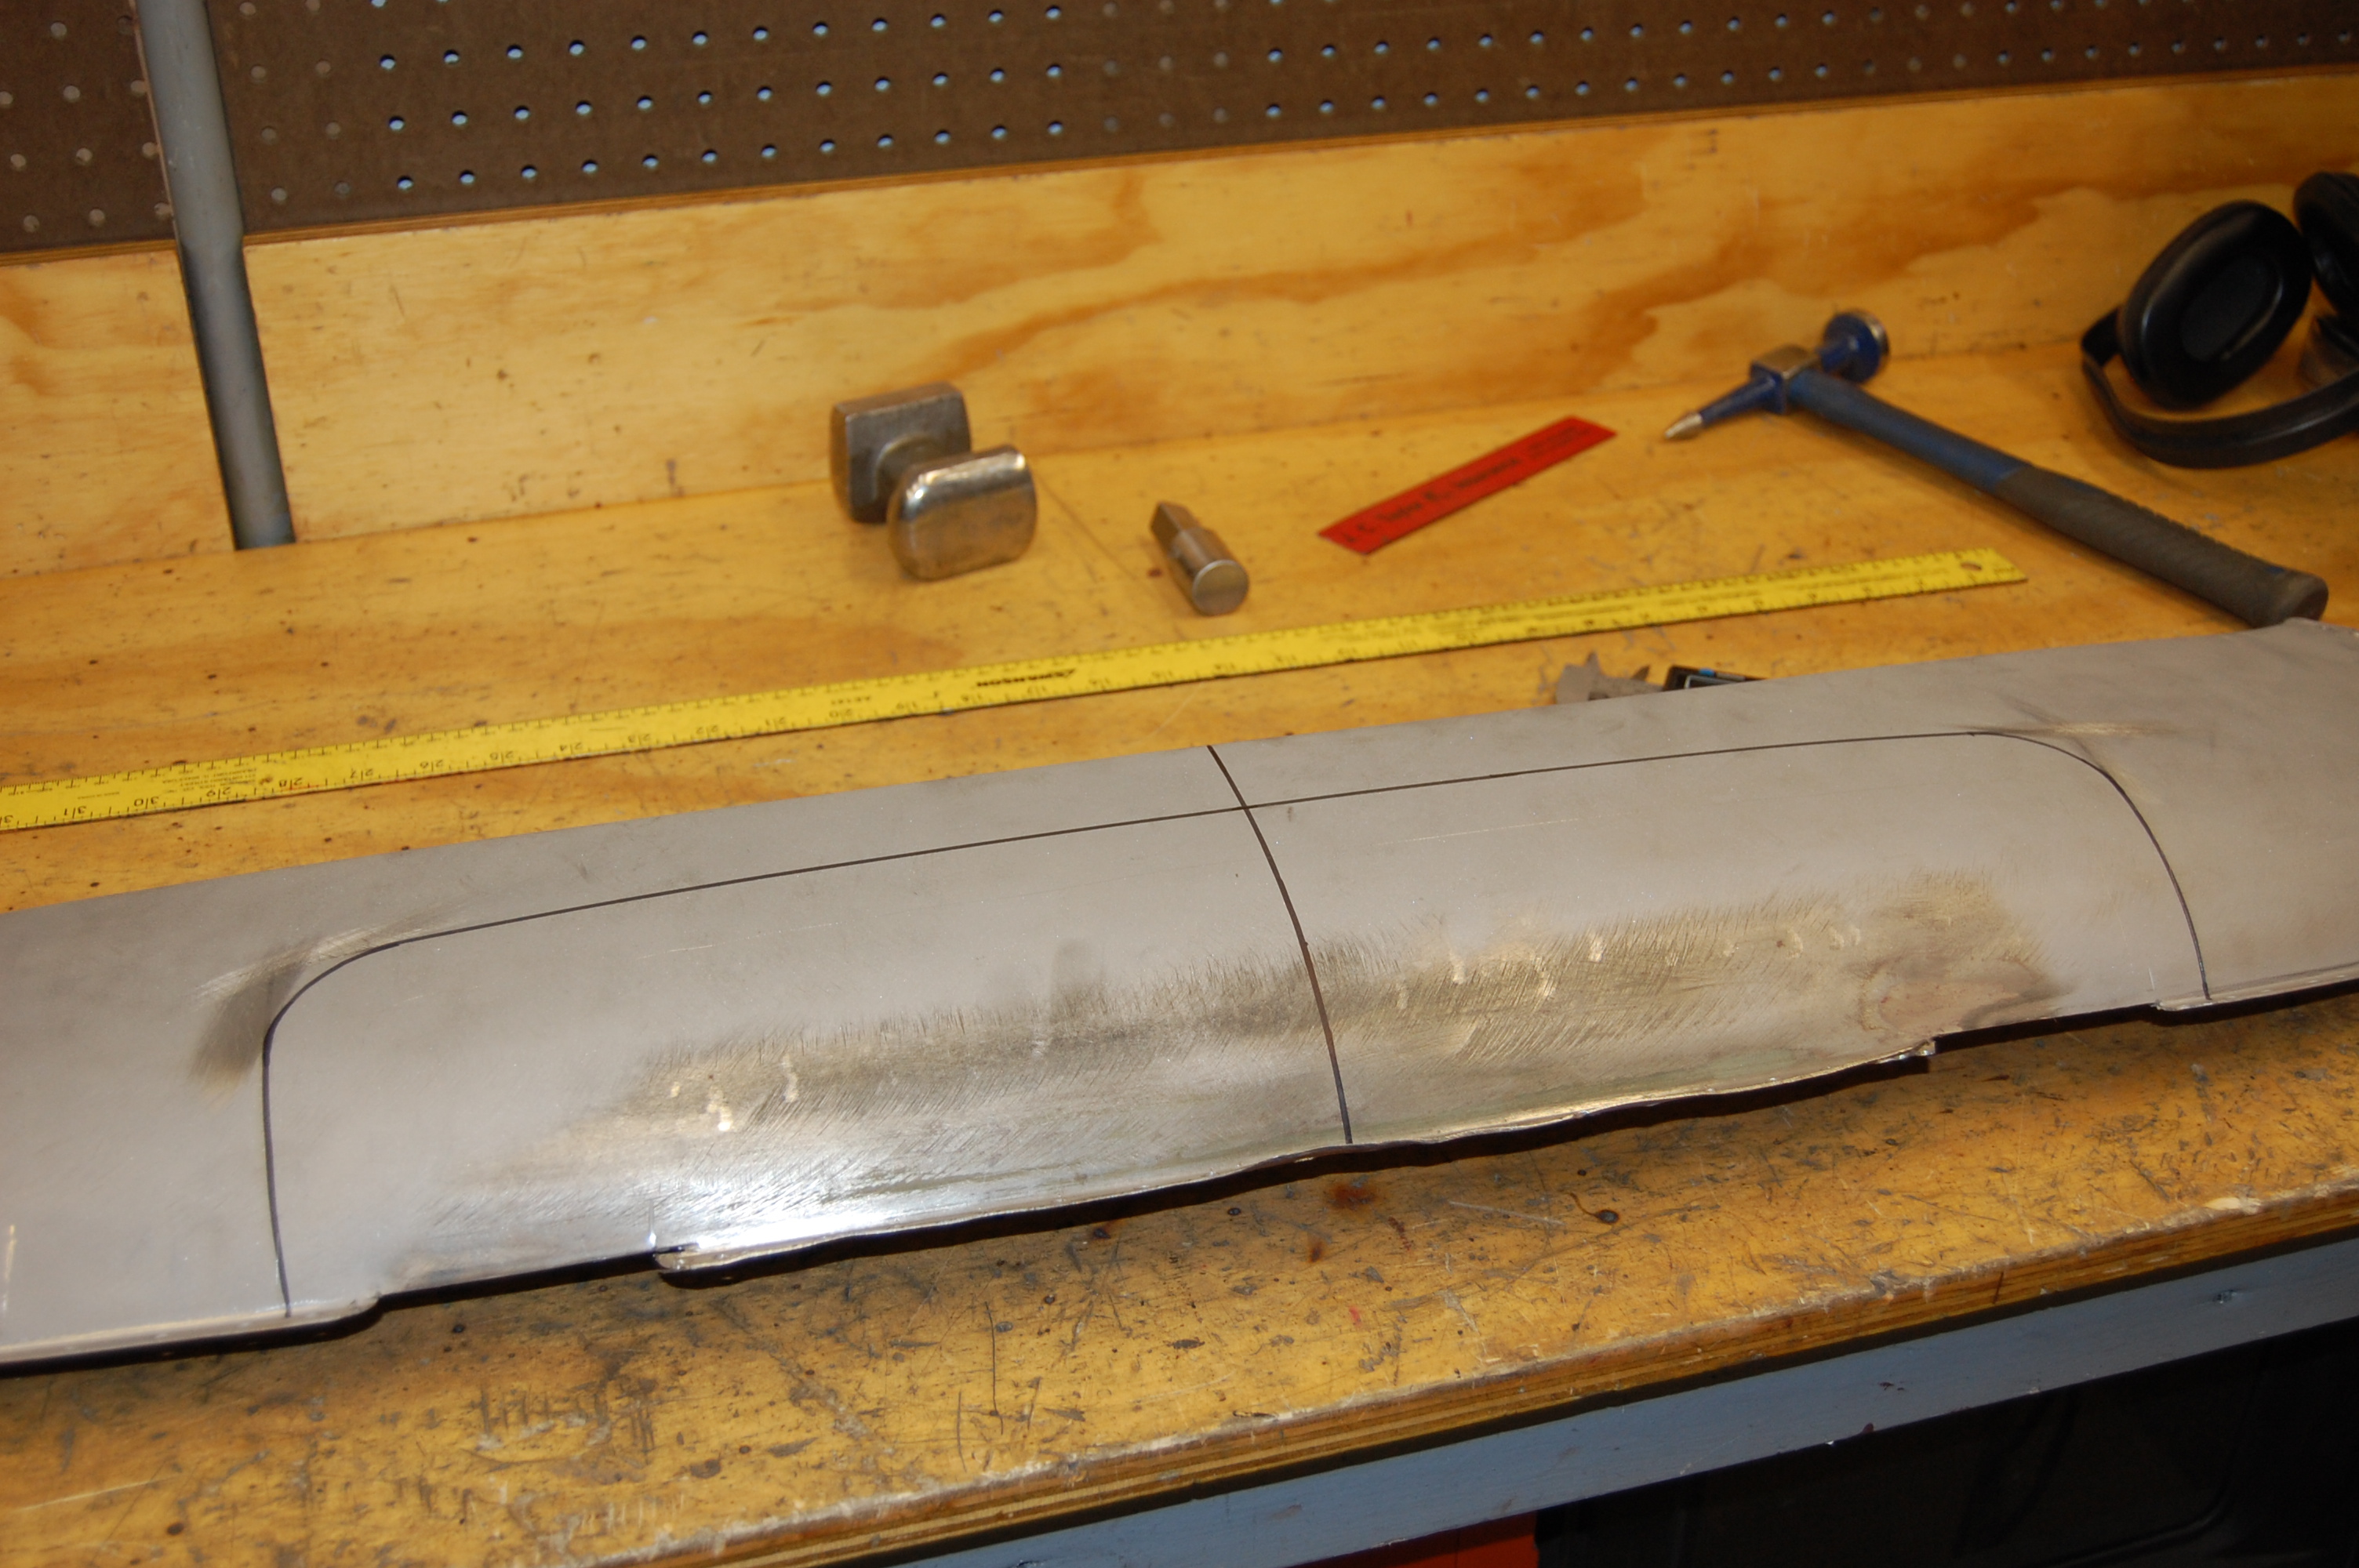
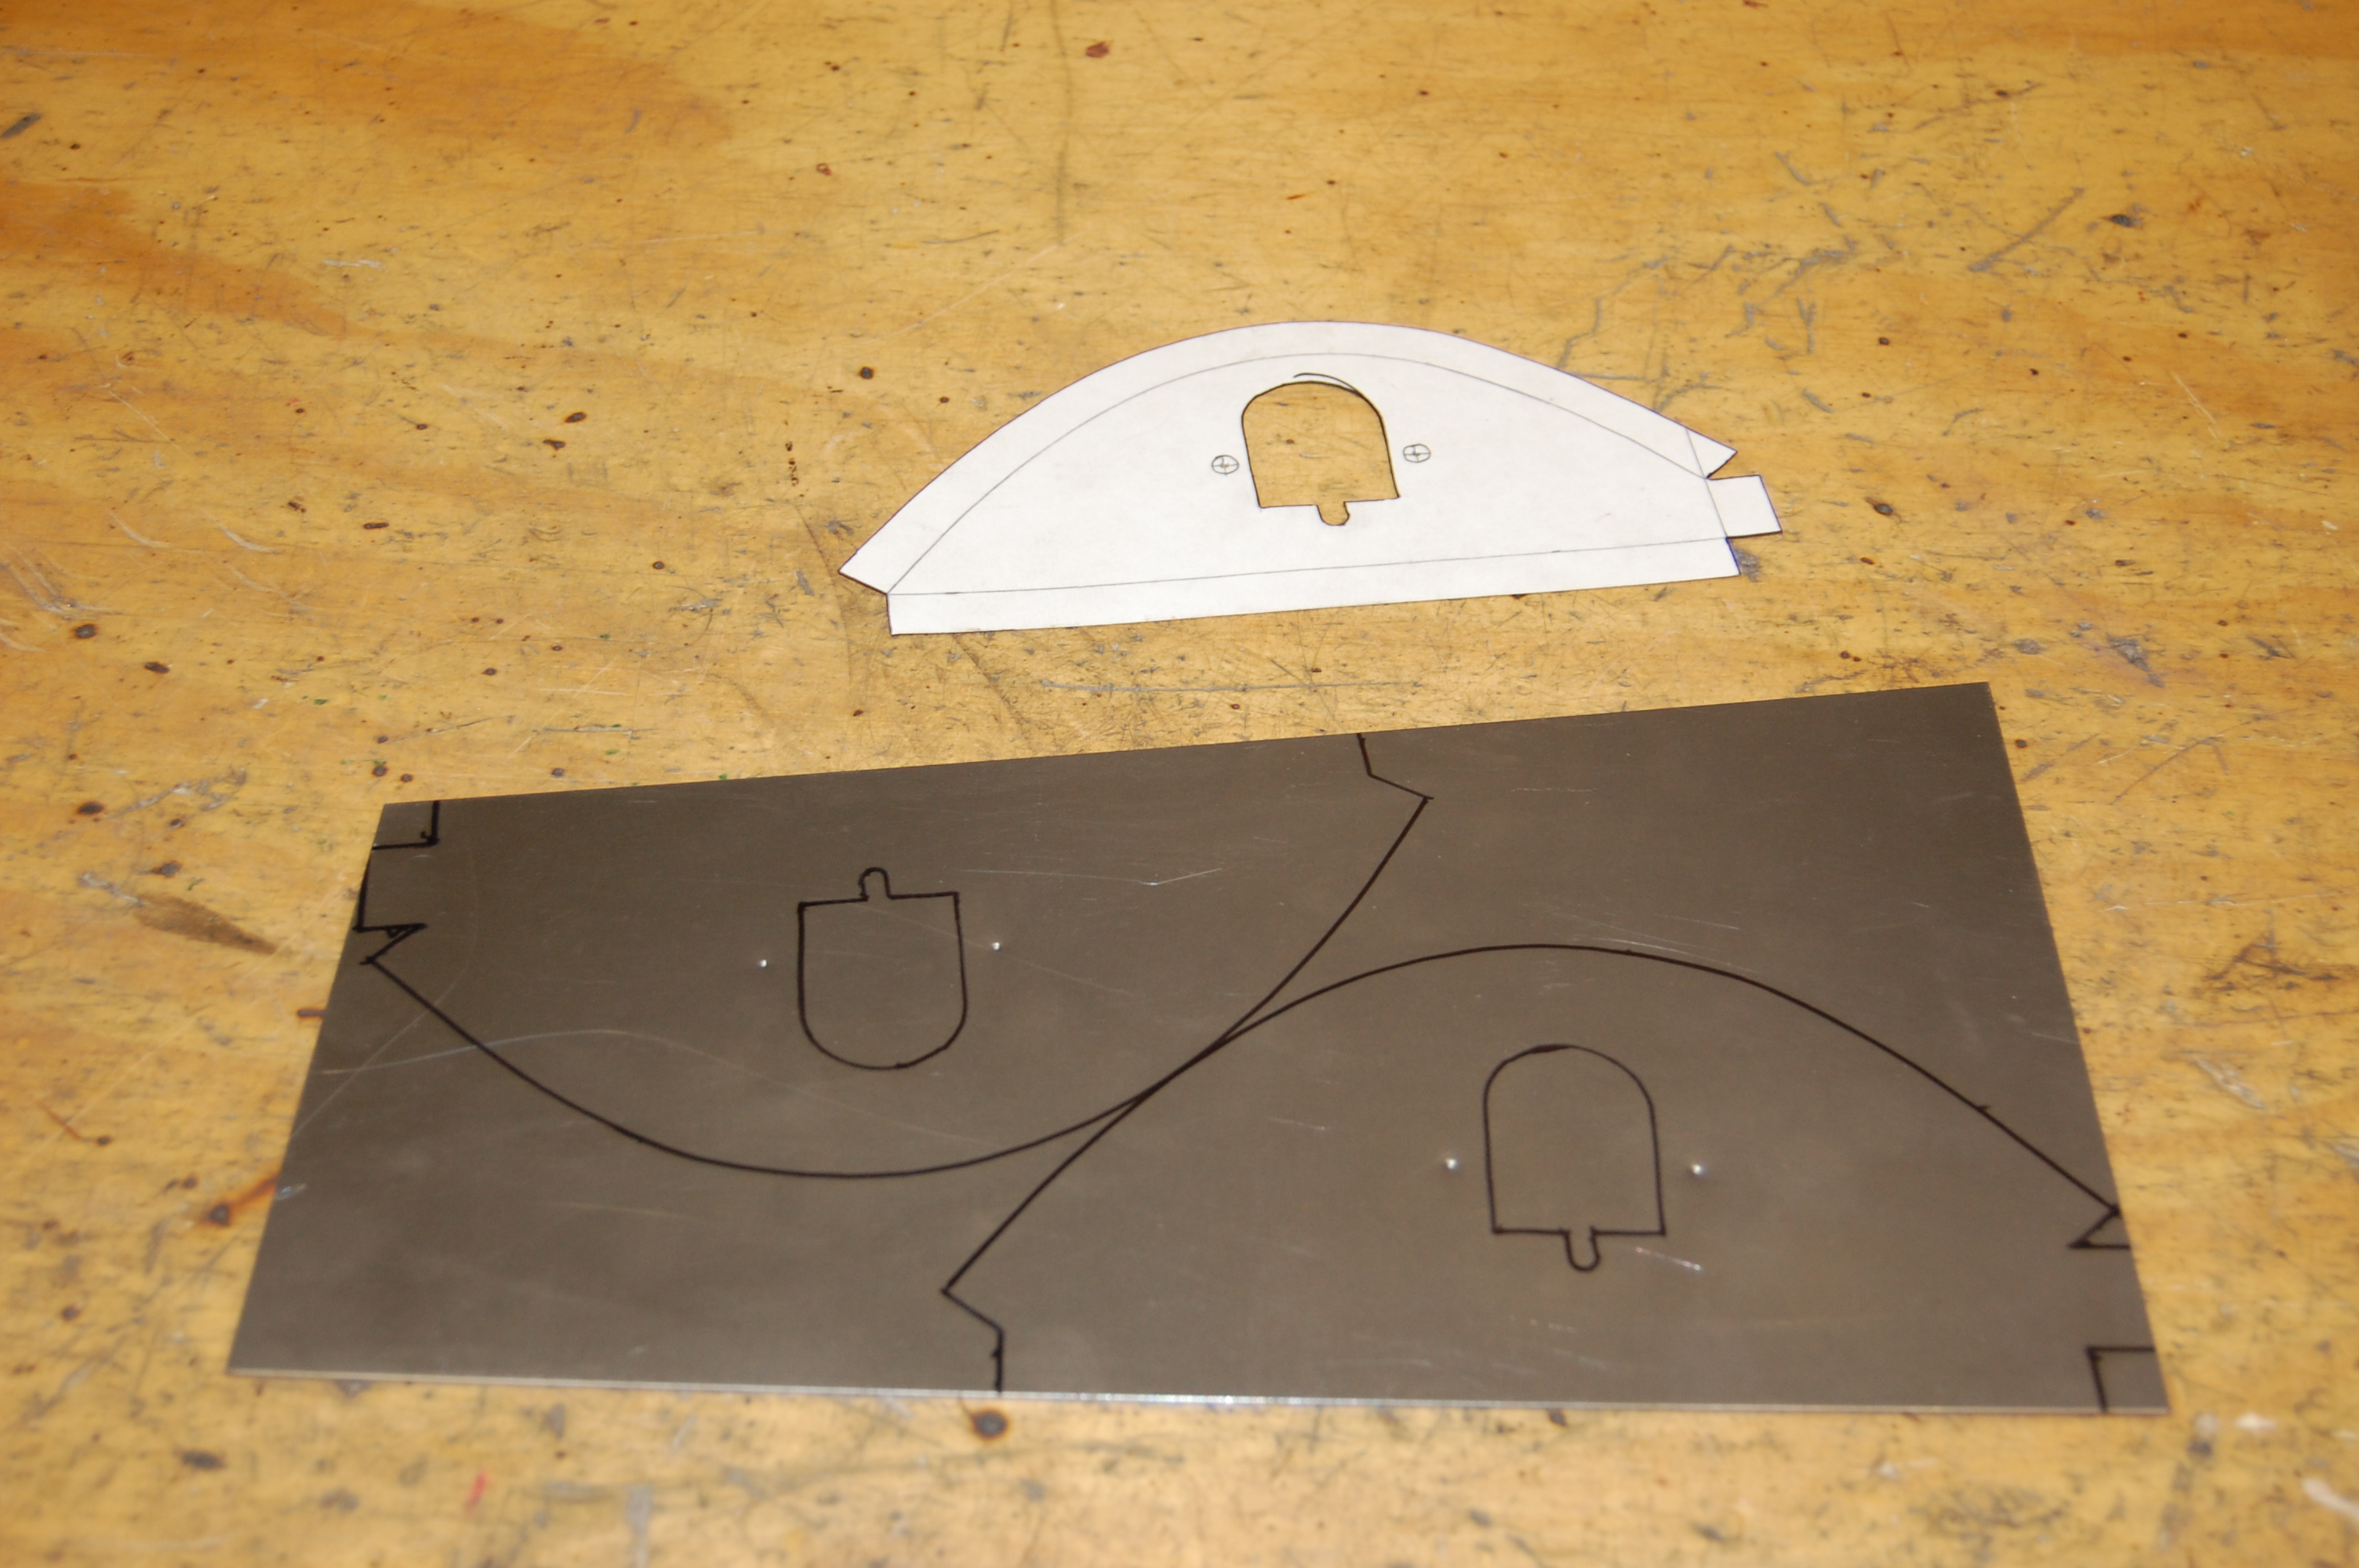
- We’ll need to make up a couple Series 1 license lamp panels as well.
-
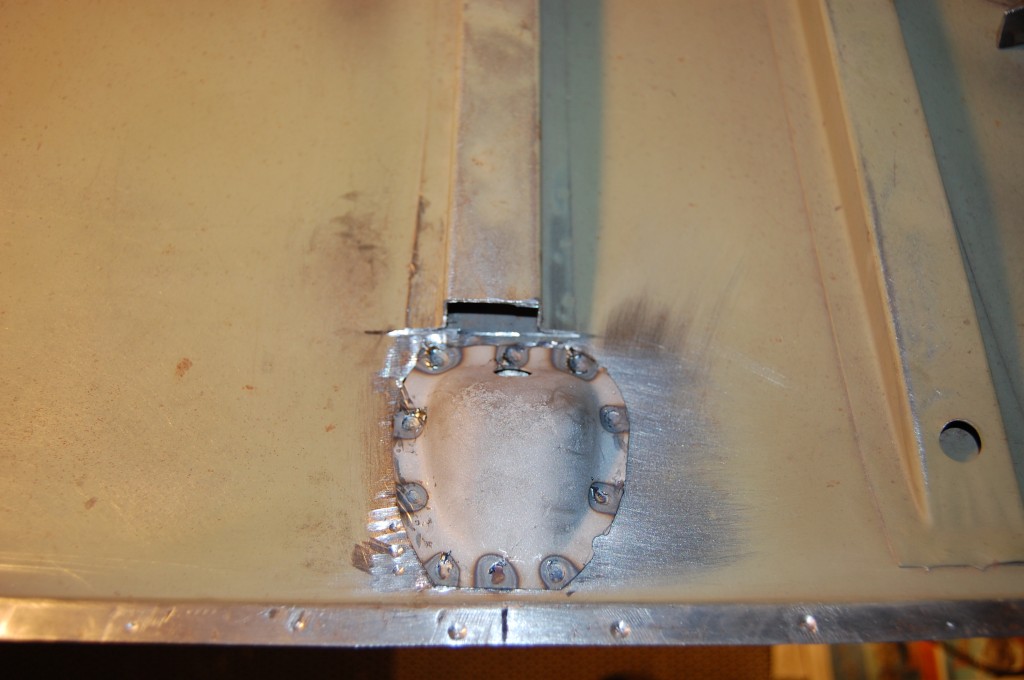
- The reverse lamp recess is now welded into place – donated from a Series 1 boot floor that has been replaced on another E-Type.

-
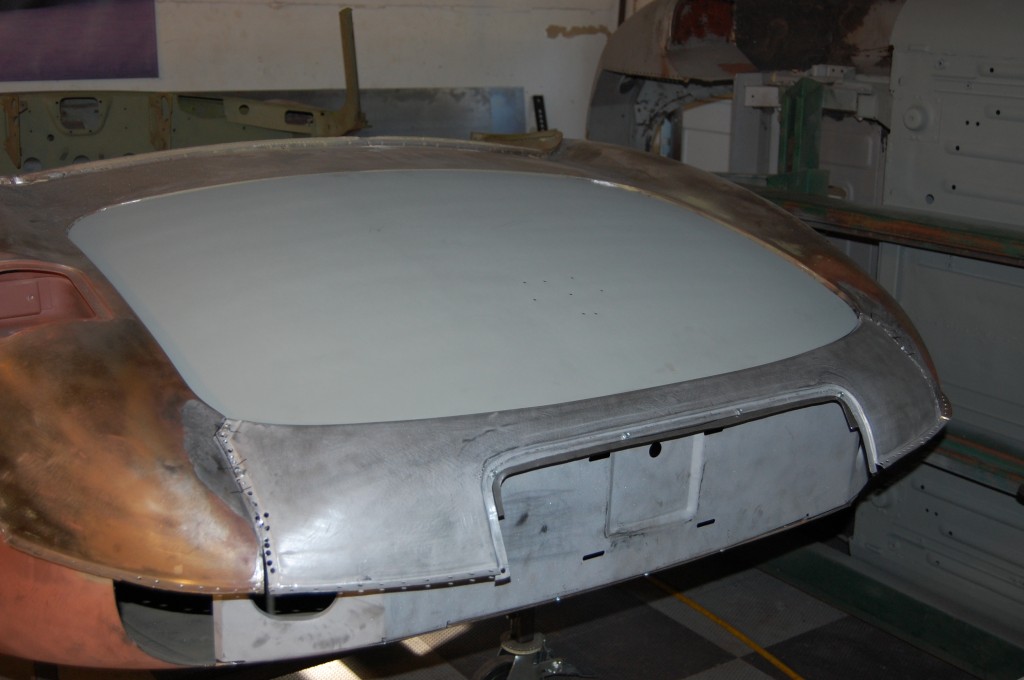
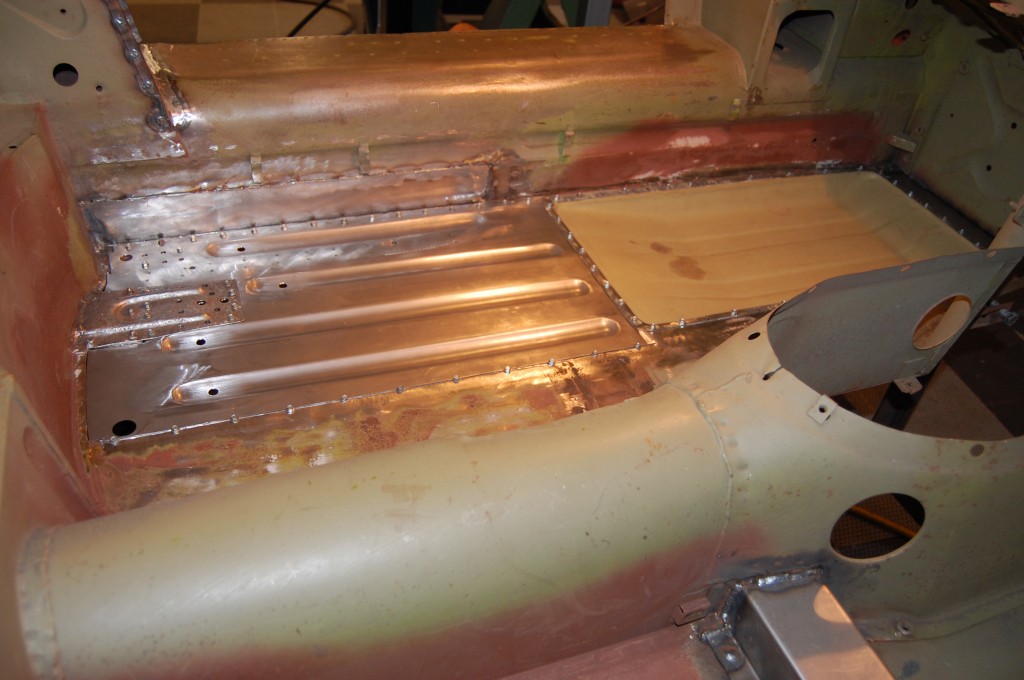
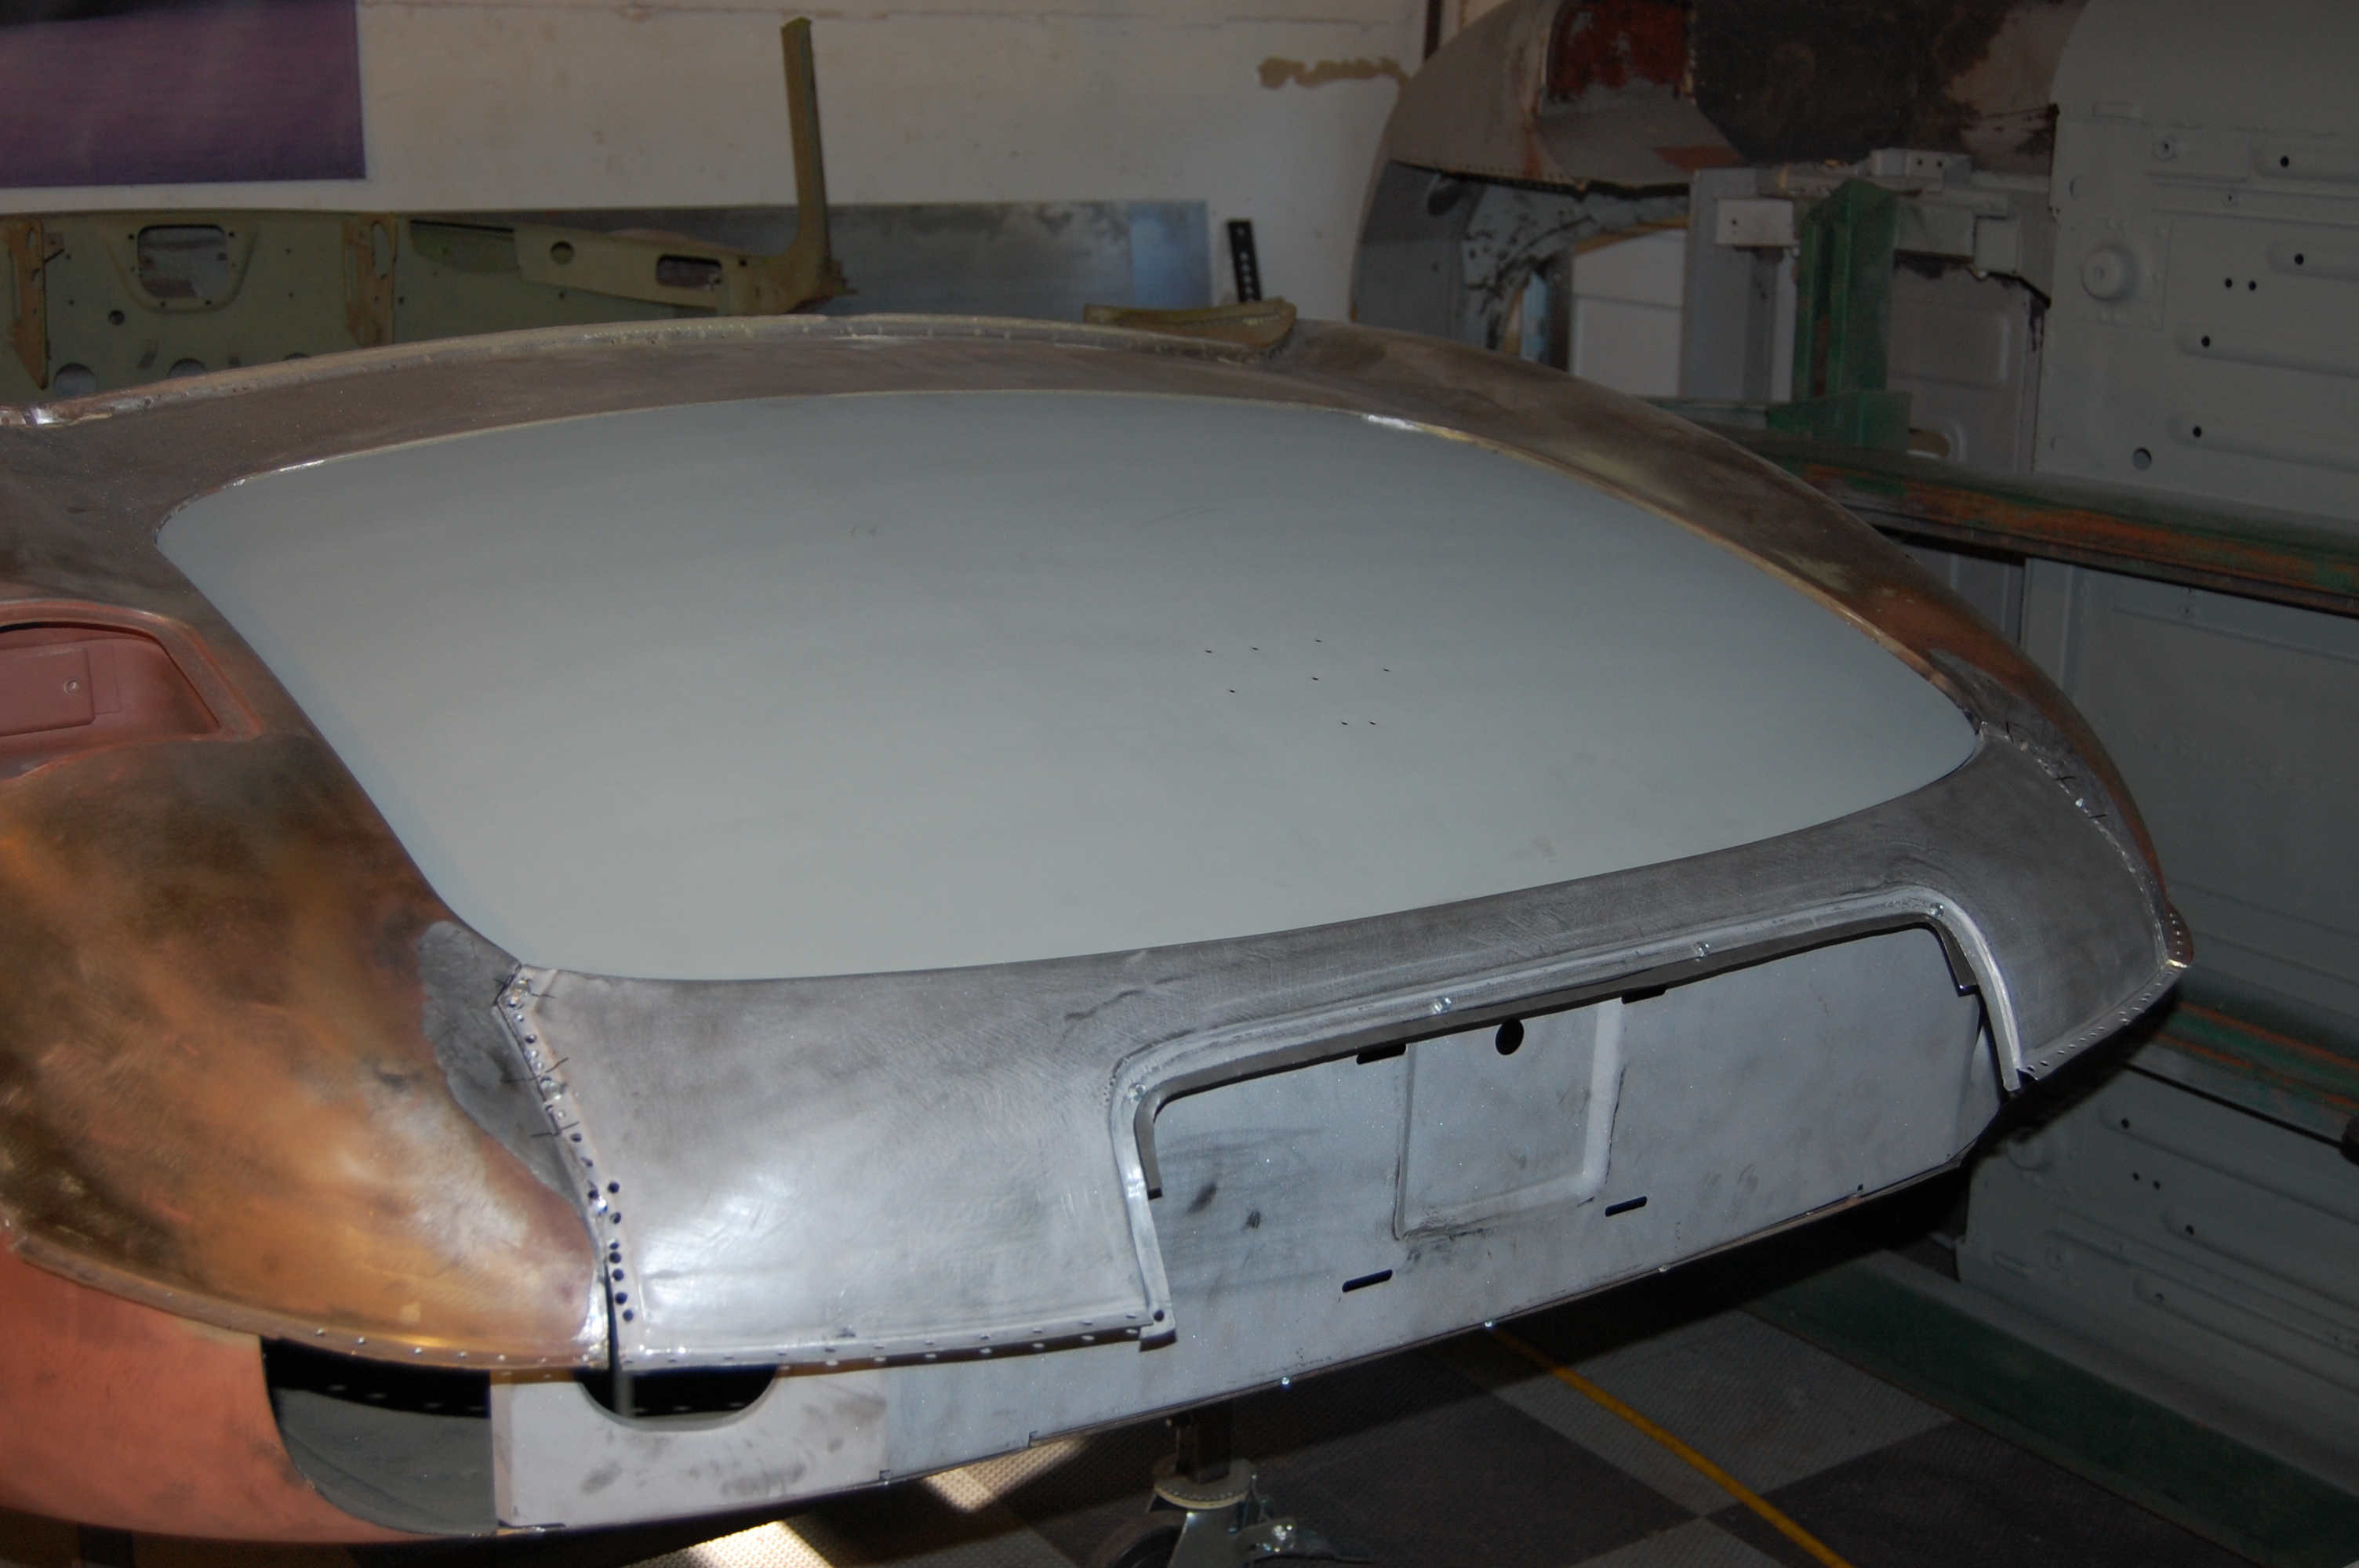
- Some trial fitting – things are starting to look a little different!
-

- Top half is done – next, we’ll flip her over once the rotisserie is free in a few weeks and finish the conversion on the bottom side.
-
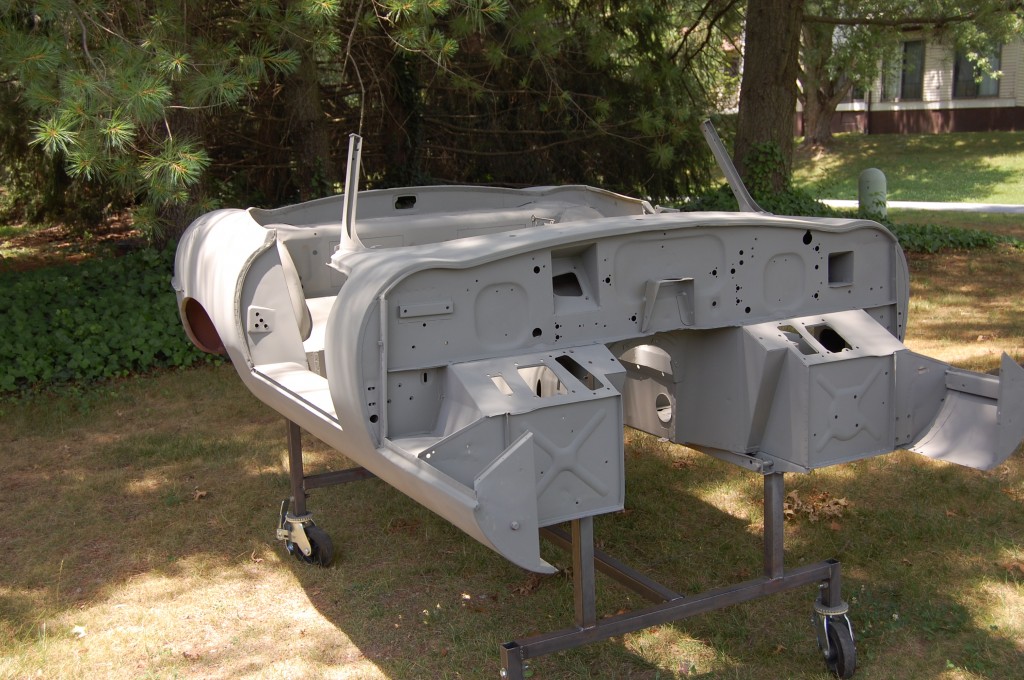
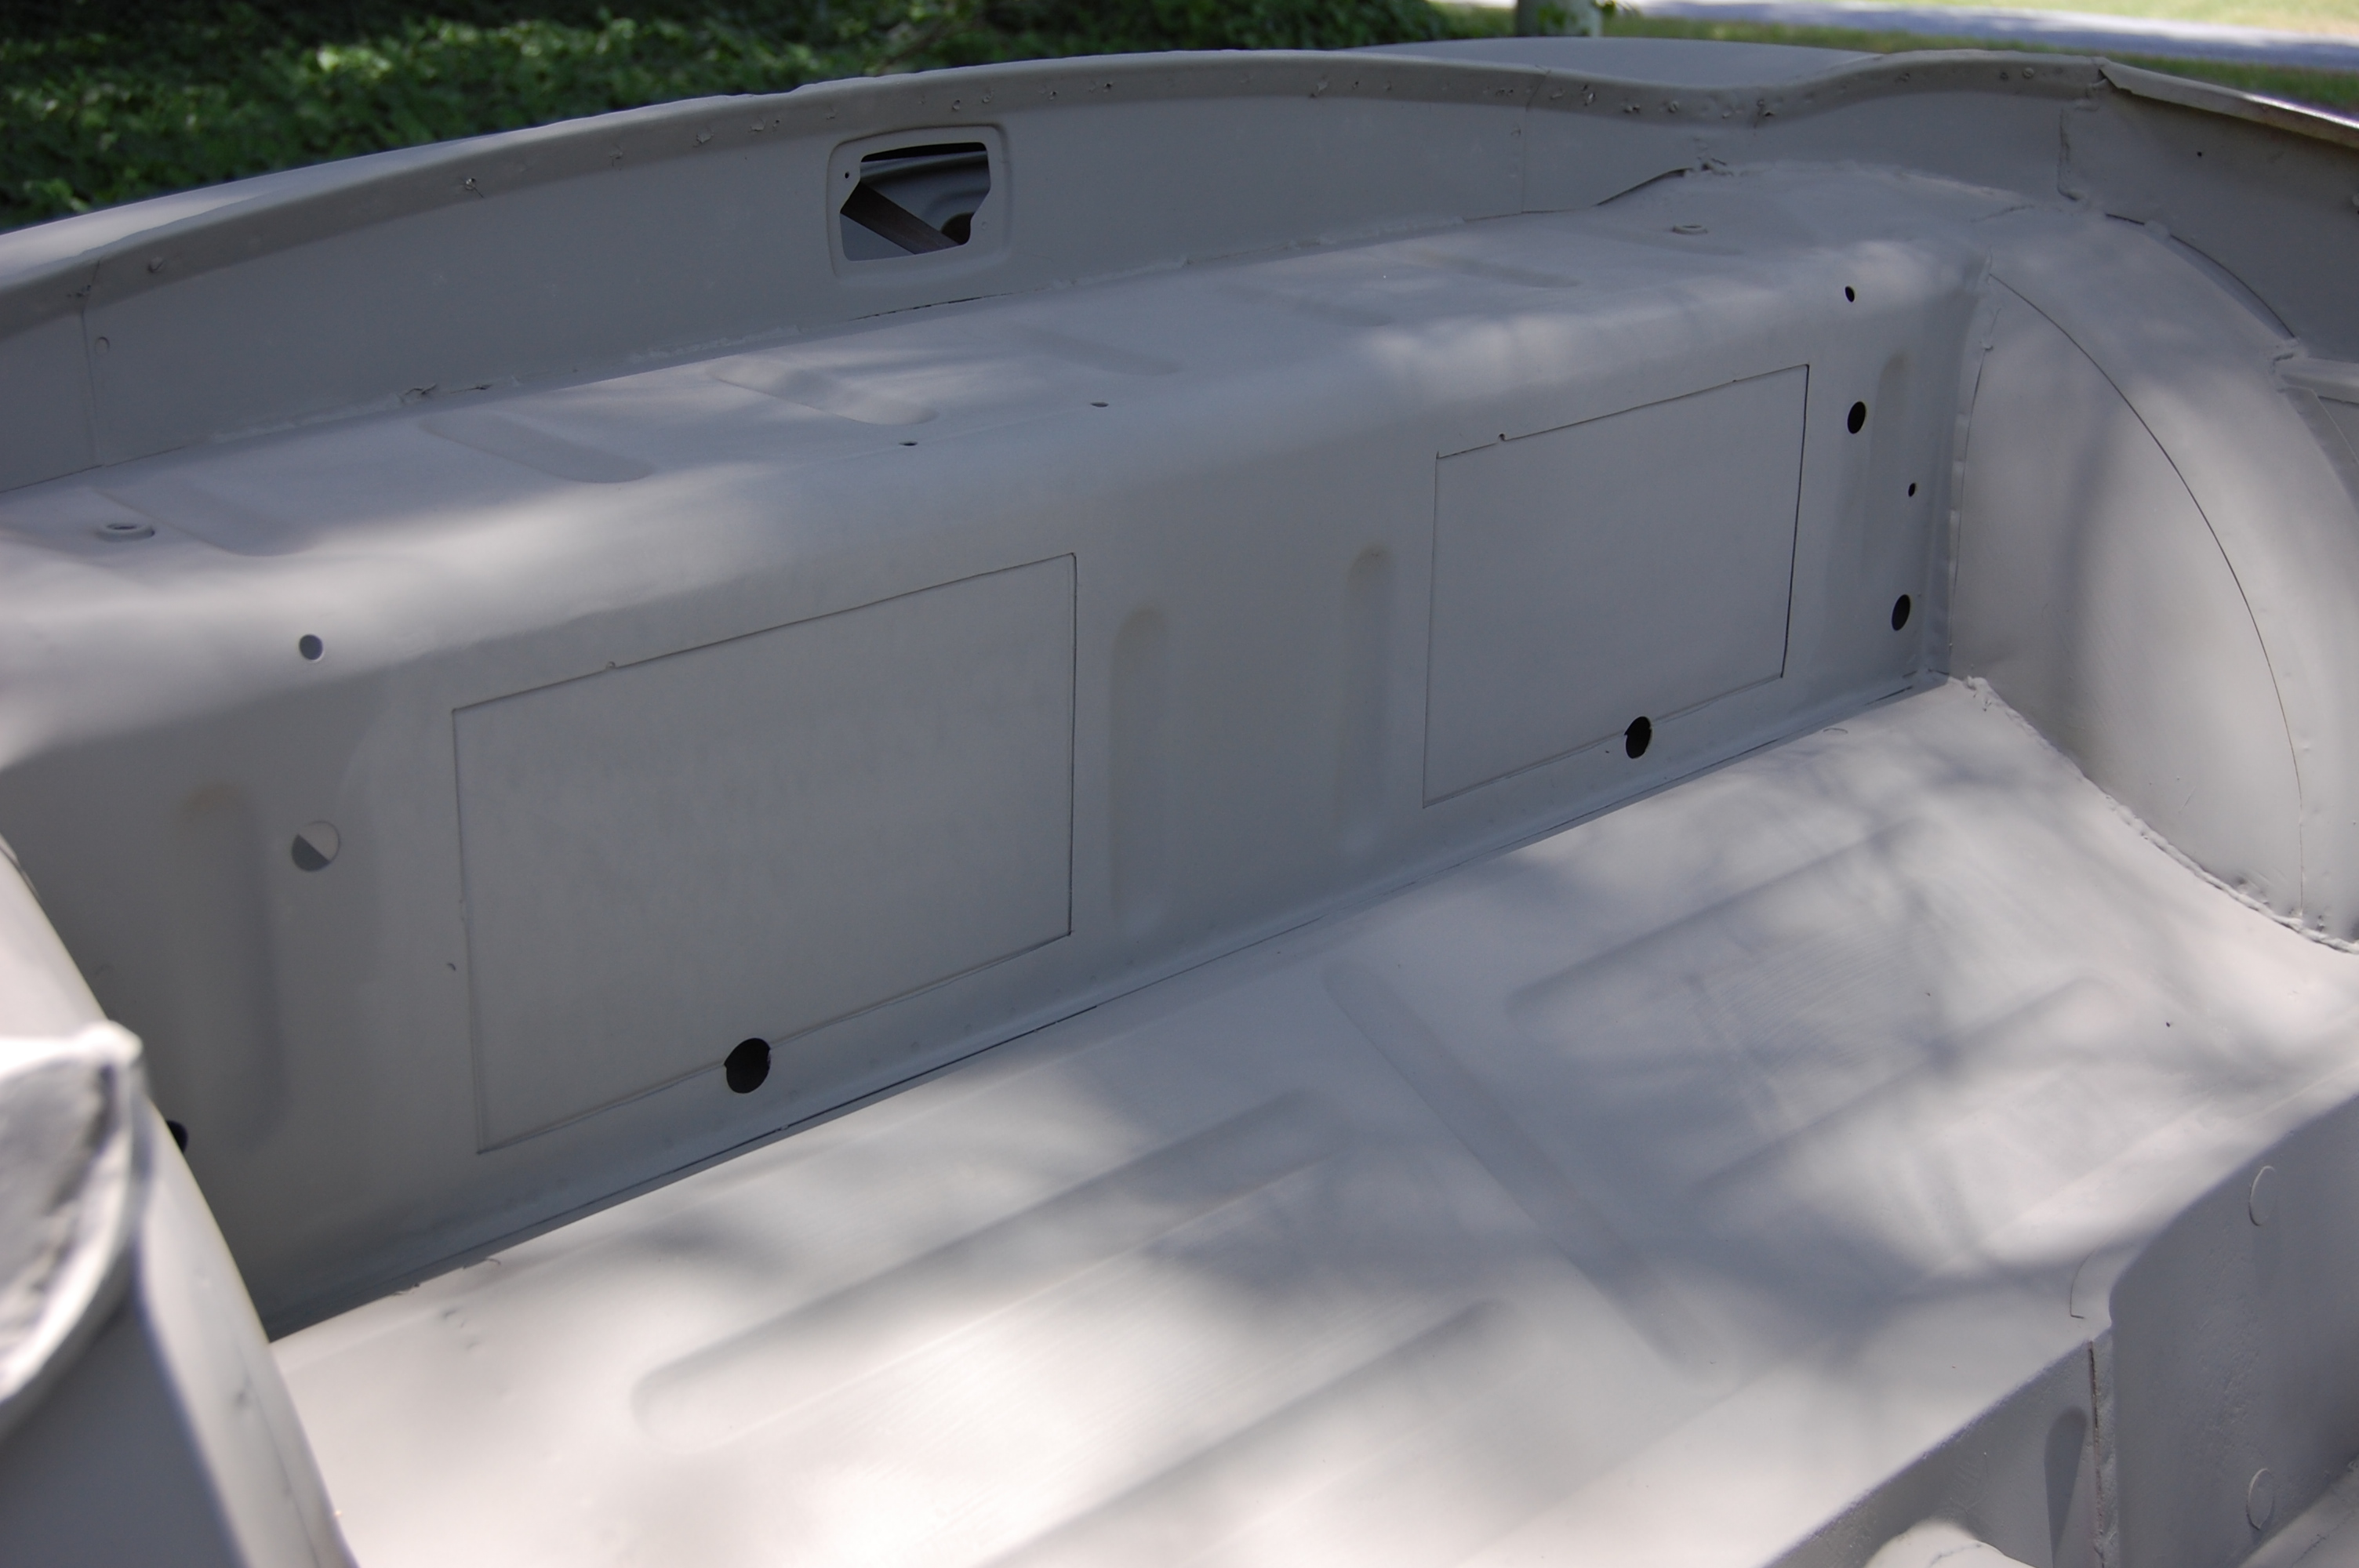
- After we completed all of the repairs and changes that could be done in the cart, we scuffed the whole shell down and coated it in 2 coats of self-etching primer.

-
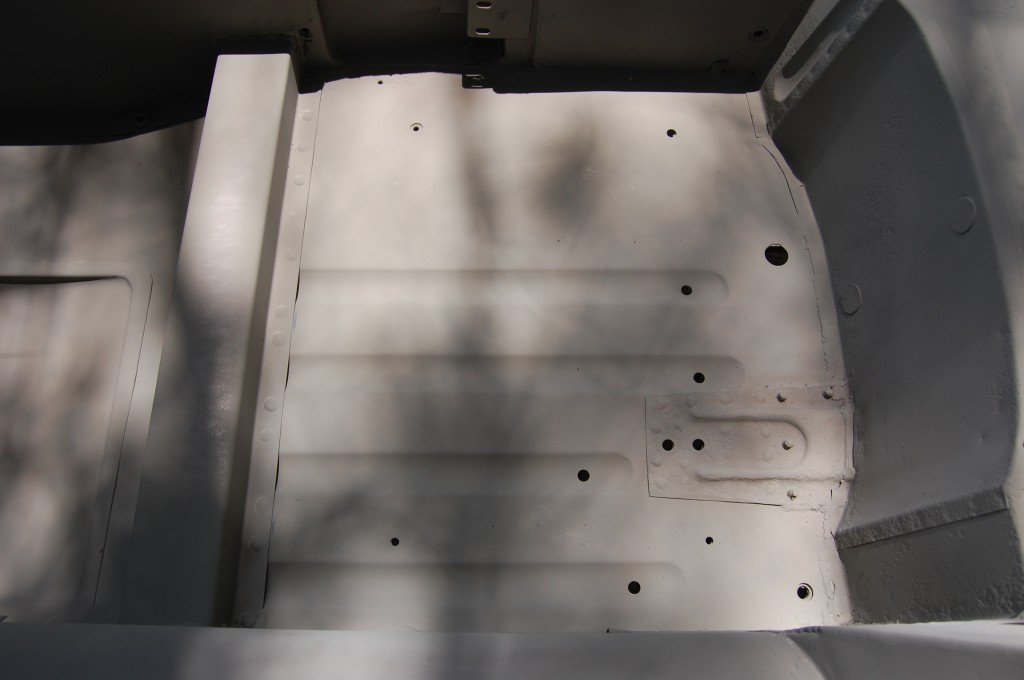
- The floor is better than new, since many panels have been upgraded to thicker pieces, and even William Lyons himself would think this was a factory panel!

-

- In all one color, the speaker hole patches are hardly noticable, and are flanged and recessed so the surface is flat under the carpet. We have eliminated a few strengthening beads in the rear bulkhead, but the thickness of these patches makes up for that nicely and this rear bulkhead is rock solid.