This project is the restoration of a Series 2 bonnet that was brought in from Michigan. The customer had visited our shop last Fall and purchased one of our lower valance support members so they could restore this bonnet themselves.
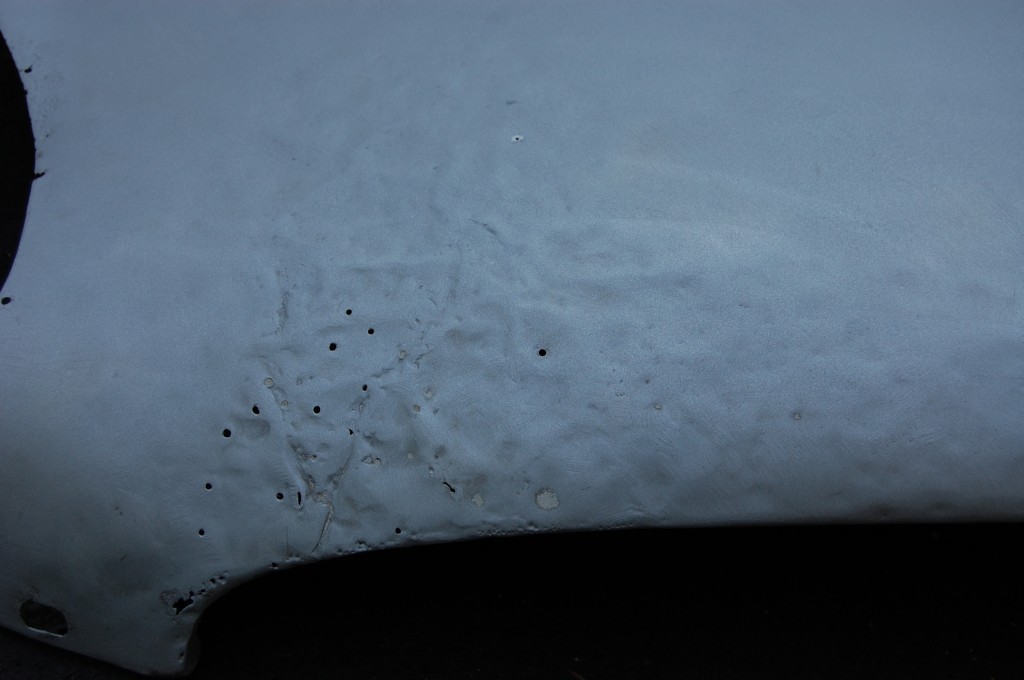
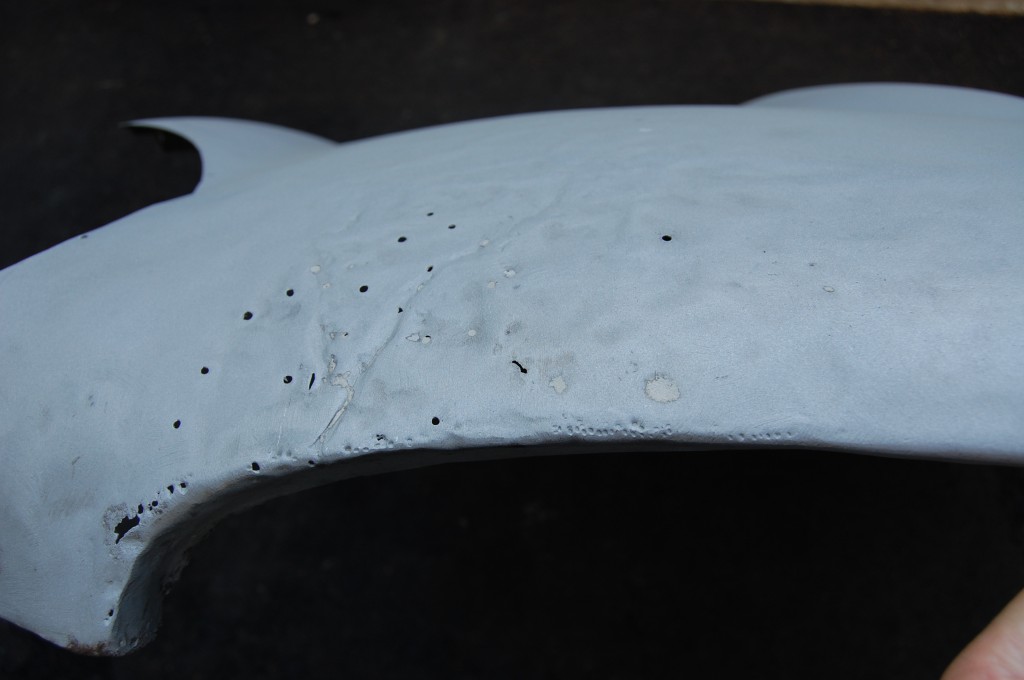
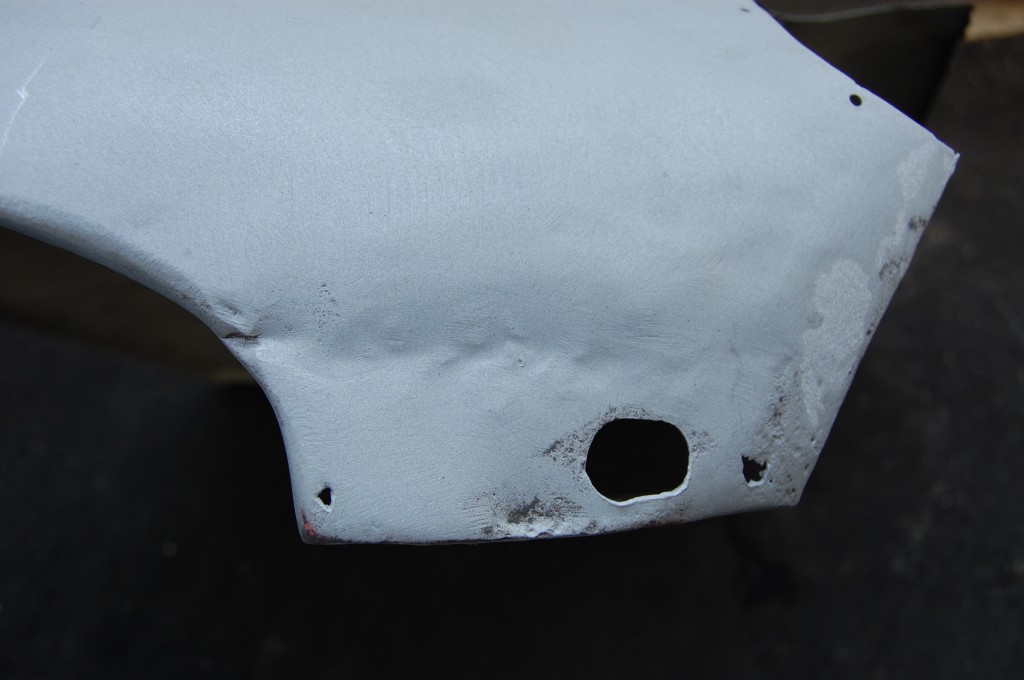
Unfortunately, once they started stripping the bonnet down to bare metal, the nightmare started… The bonnet had been smashed in the nose, and then REALLY badly repaired – and filled with 3/4″ of filler – covering tears, holes, crazy welds, you name it!
After bringing all of the pieces here, I had to face the fact that their center section was just too far gone – and I HATE THAT! So we went up into the parts attic, where the customer chose a “new” center section from our stock of original bonnet panels. Everything we had up there had some issues – but we settled on a dark blue center section that looked like it would do the trick.
Follow along as we “trade up” this unrestorable center section for another one from our stock that is.
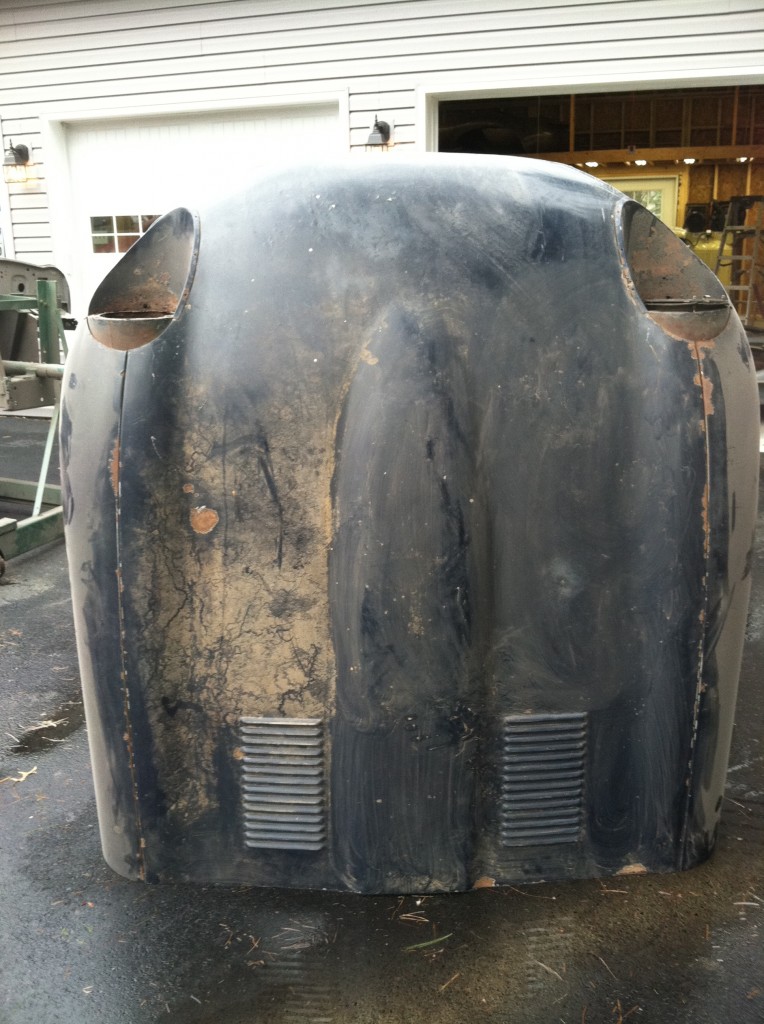
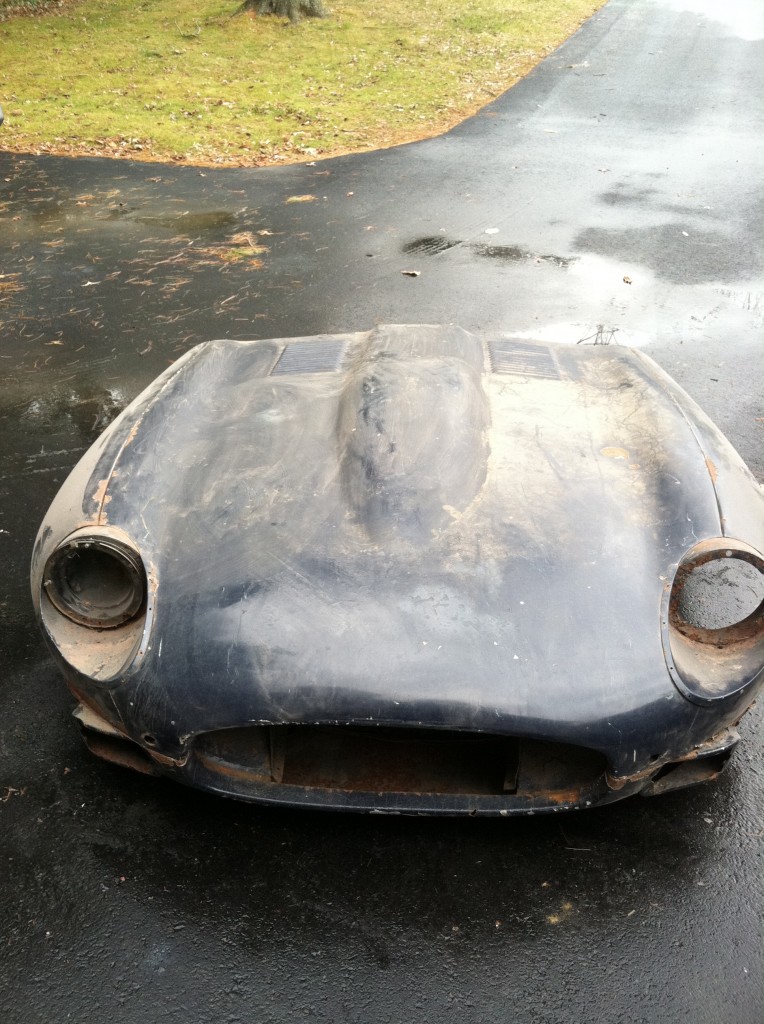
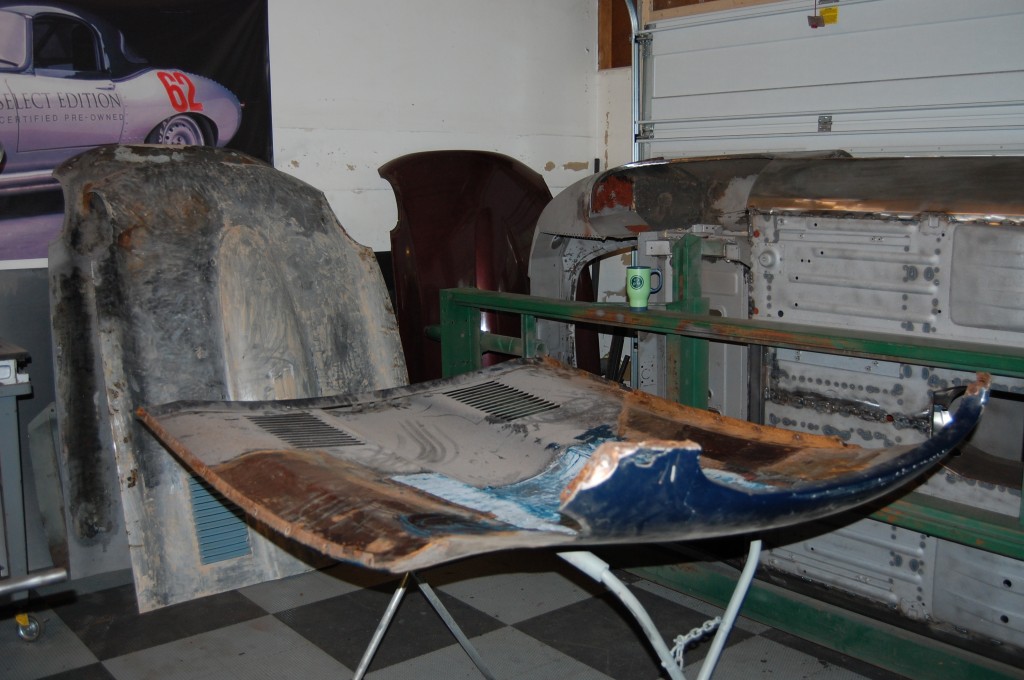
- Here’s where we went for the replacement center section. This bonnet was rough, but the center section looked useable – and from what we could see, relatively straight.
- This bonnet came with a Series 2 roadster parts car that we purchased last Fall. The car was incomplete – without a drivetrain – and alot of other things. The monocoque shell found a home with another customer, and now it’s nice to see the bonnet getting used as well.
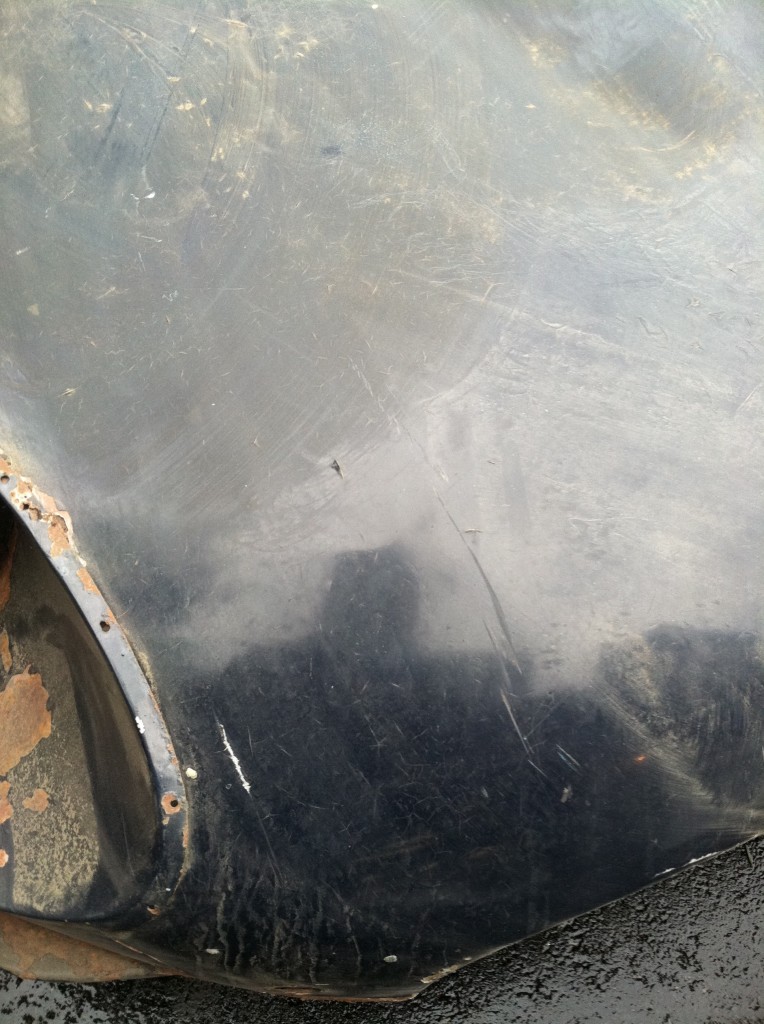
- We could tell that there was filler here, but could not get a good look at the underside as the damage was inside of the headlight holes and above the air tube.
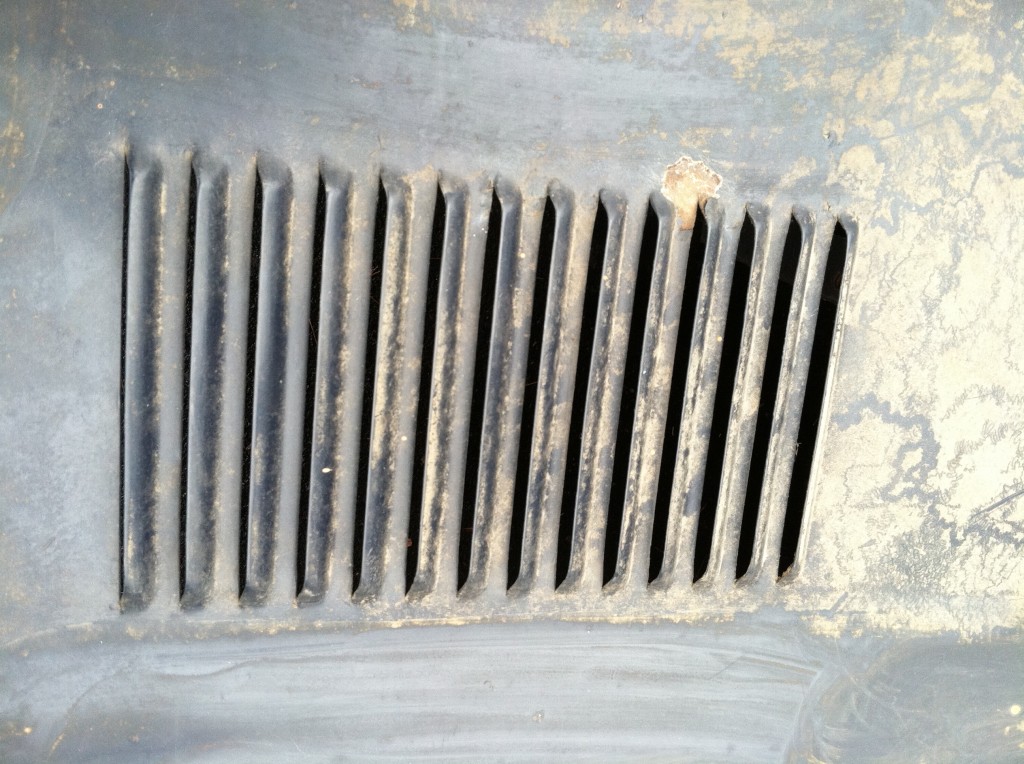
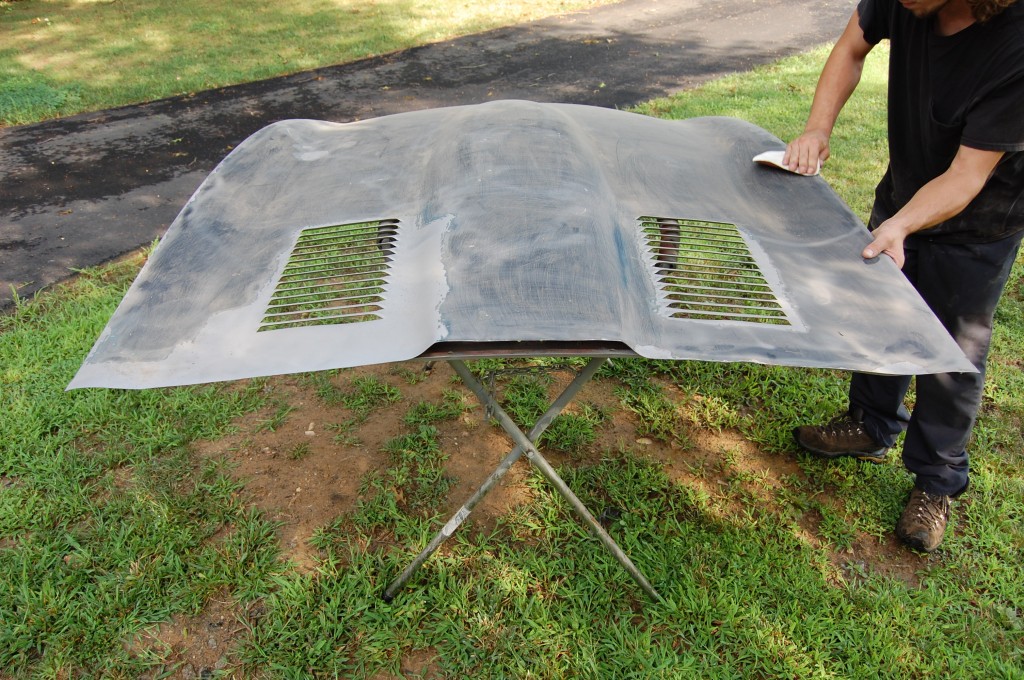
- Both sets of louvers were flawless – very important.
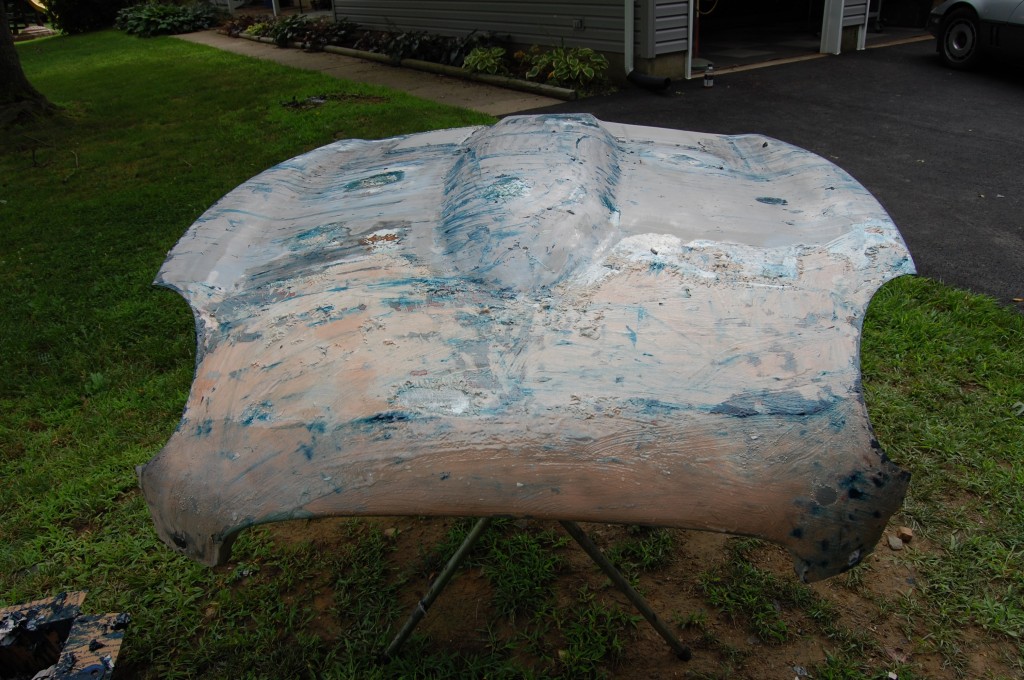
- OH My GOD – Don’t look at it! This is what the customer found under the filler – both pieces are toast.
- The sad part is that I probably could have reshaped this wreck when the damage was virgin. Unfortunately, a past bodger has done more harm to this panel than the wreck itself…
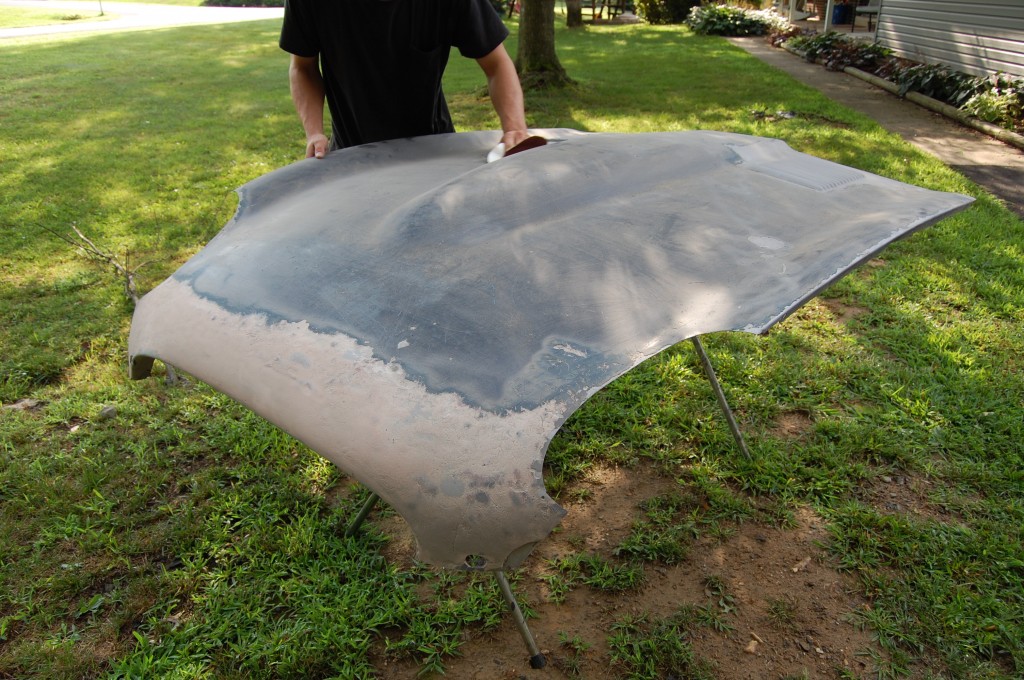
- First order of business was to chemically strip the underside of the bonnet – it had some type of rubberized “lizard skin” type coating under the paint.
- Bonnets all over the place – and center sections sure do have ALOT of surface area to safely strip. We use chemicals, blasting, razor blades, elbow grease – whatever it takes to get it clean and keep the shape safe!
- The topside also proved too tough for safe blasting – so it’s back to the chemicals.
- This center section is good and straight – I think this will work!
- Paint is off – filler comes out next.
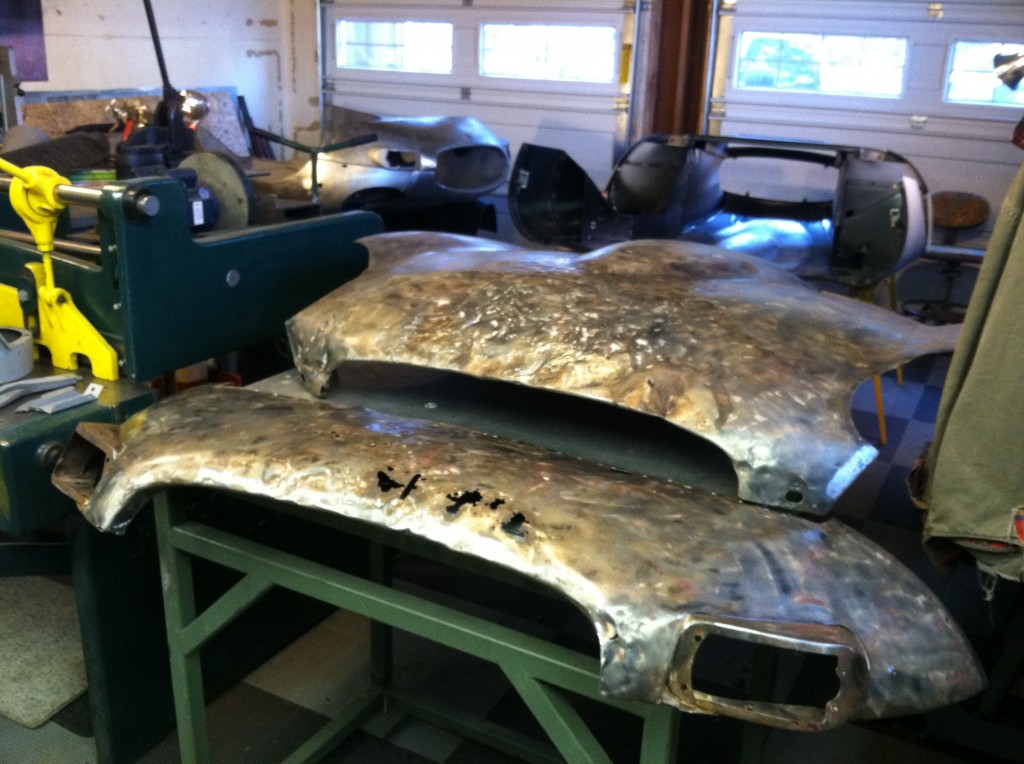
- Well, from 10 feet away, the overall shape looks good – sort of… There is a mess up front, but this can be fixed – the important areas – the louvers, rear edge, flat areas, and power bulge are all excellent. The side flanges aren’t bad either.
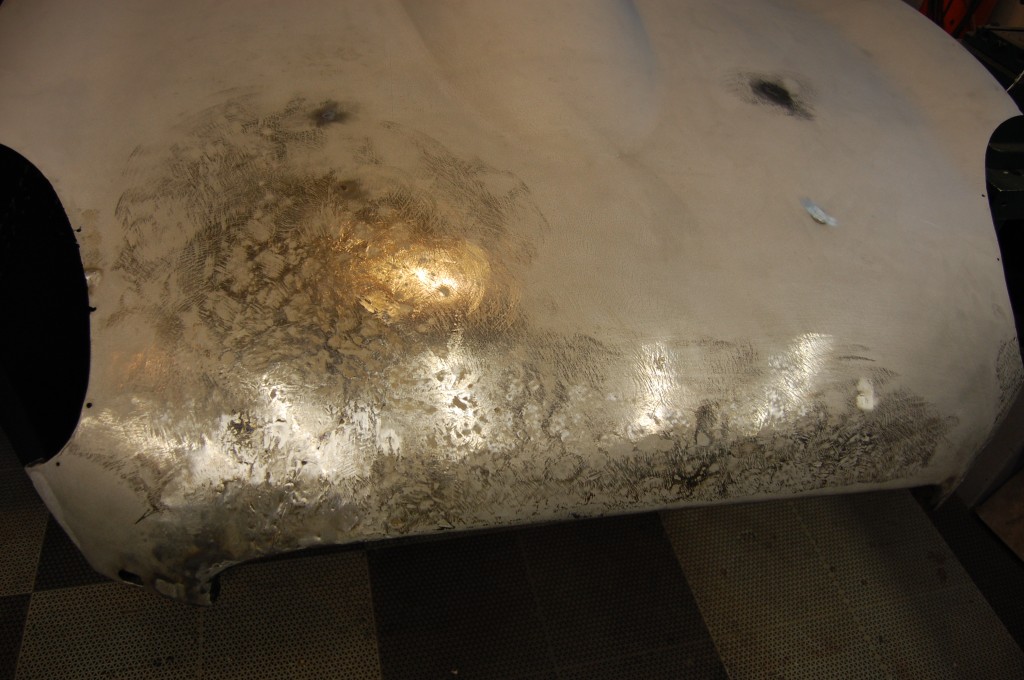
- Here is a close-up of our problem area. As usual – the bodger has done as much – or more – damage than the wreck itself!
- Our old nemesis the dent puller has been at work here as well…
- And the other side has some damage from the bumper blade.
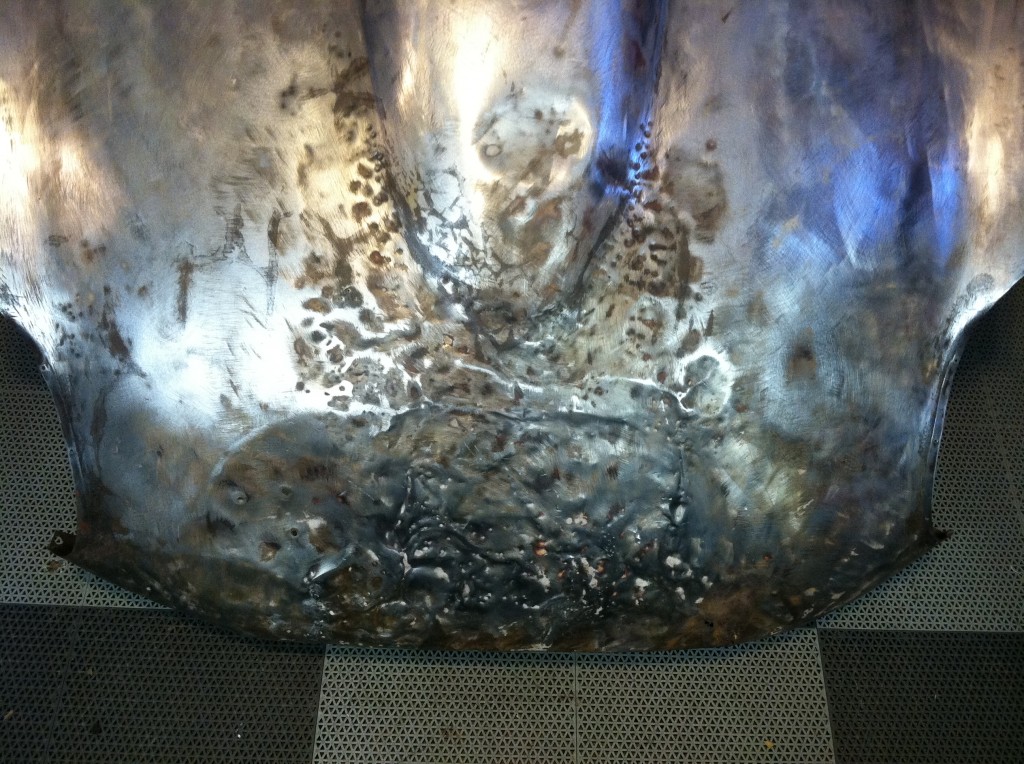
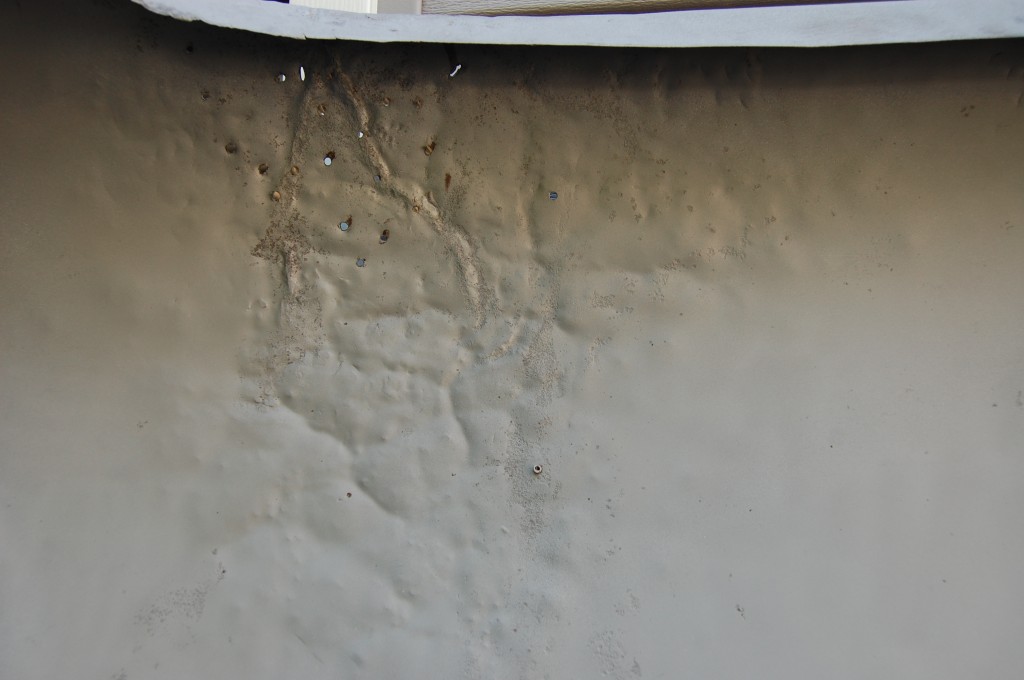
- Here’s the underside of that area – kind of looks like a brain, huh? Unfortunately, whoever did this was a moron…
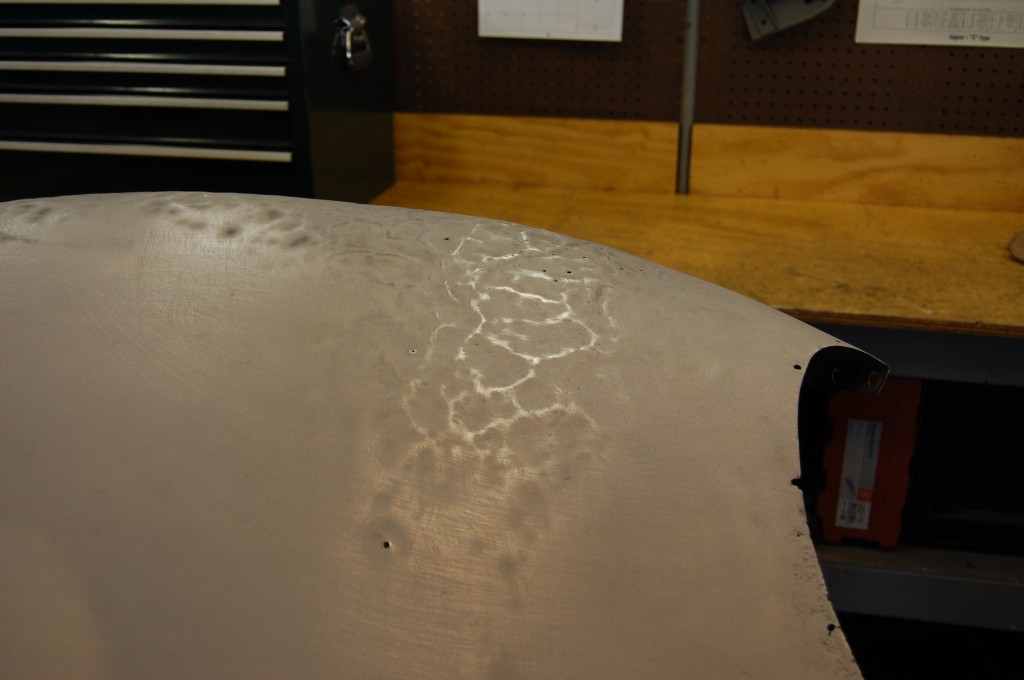
- Here, I’ve suffed the panel to show you the pattern of high and low spots in this area.
- And scuffed here as well to show the area prior to the metalwork.
- This shot was taken after the completeion of the planishing step – some by hand, and some by the air-powered planishing hammer. Knowing when to use each method is important. So is having the proper machinery and radius heads – ue a cheap planishing hammer here and this panel is scrap metal just like the first one!
- This is another shot right after the planishing step. Compare this to the same shot a few photos above. Also, look at the reflection of the overhead light – the metal is just about back to where it should be.
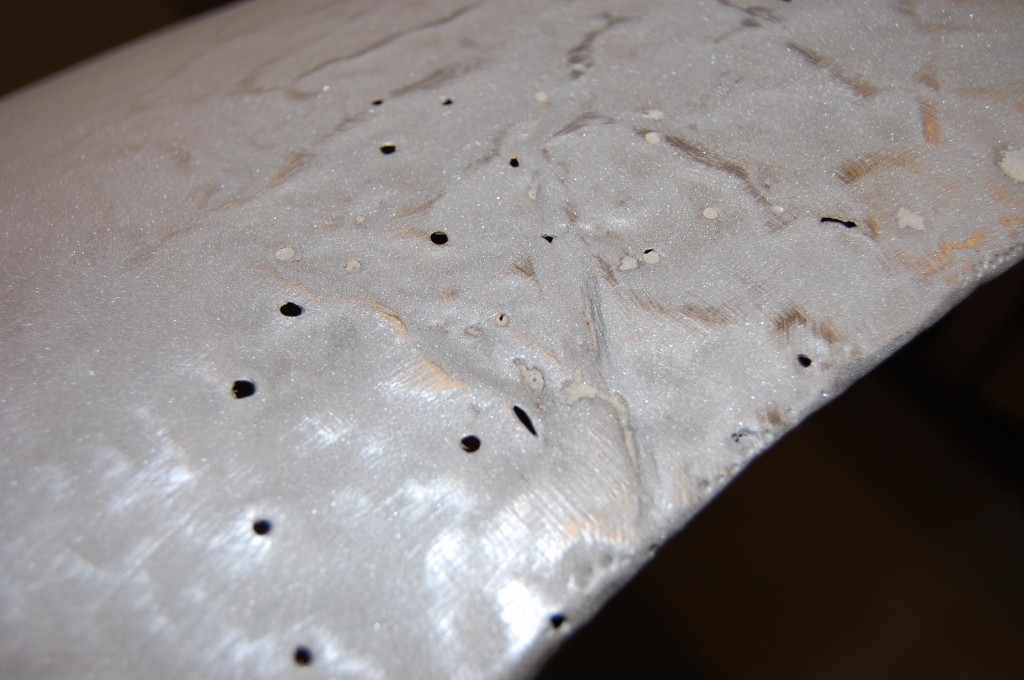
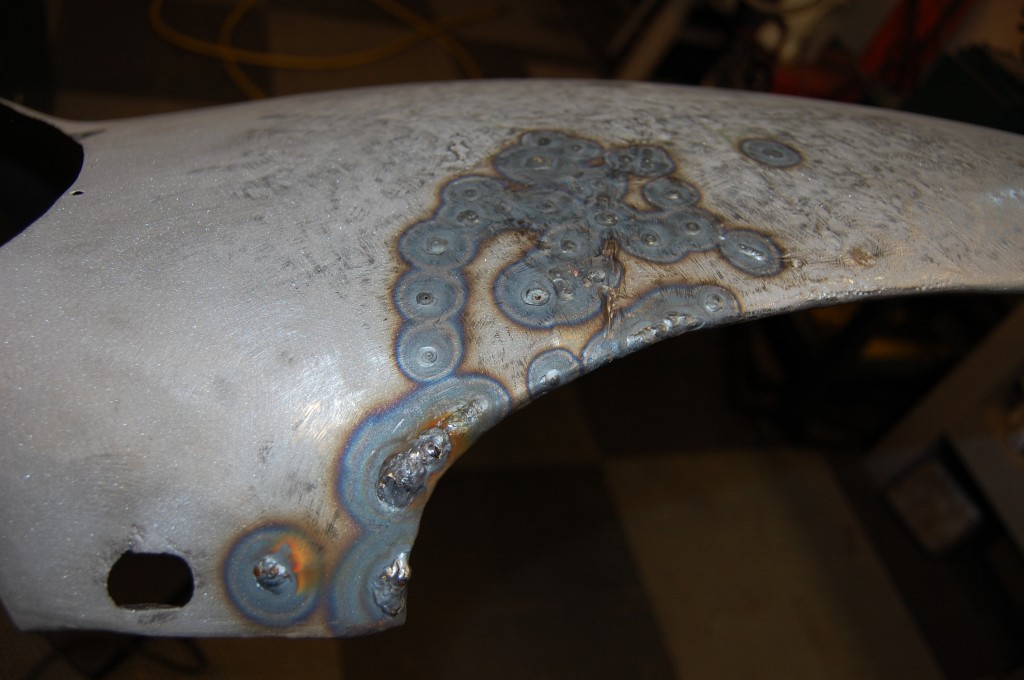
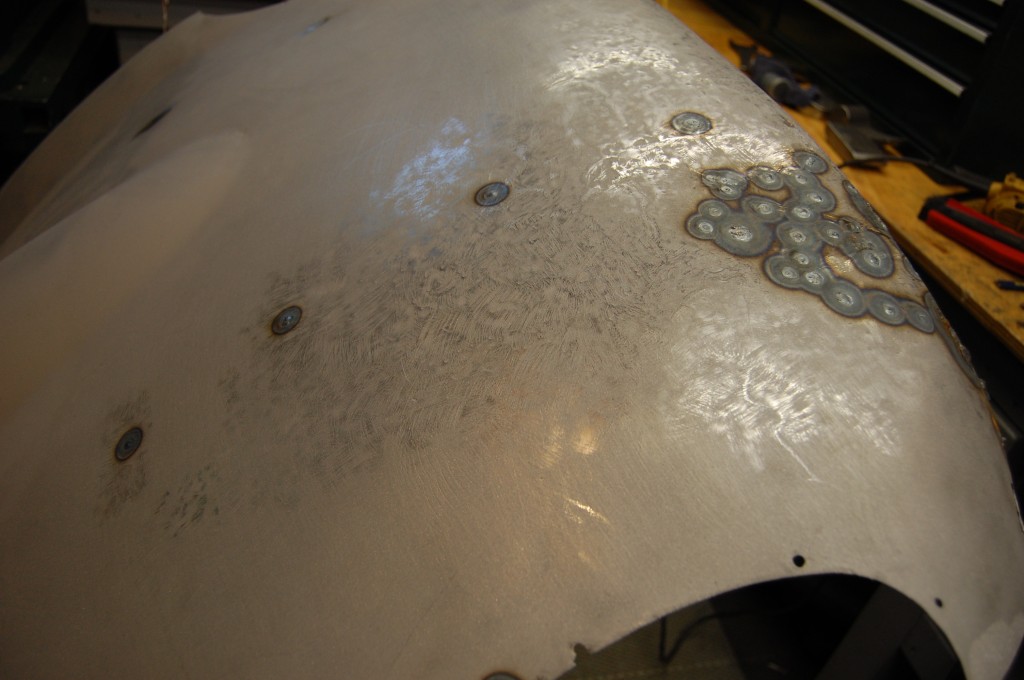
- Next, we erase the damage caused by the dent puller with some careful TIG welding.
- Strangely, the bodger had also riveted the two leading bonded flanges into place and just smeared filler over the rivets. We took care of that too.
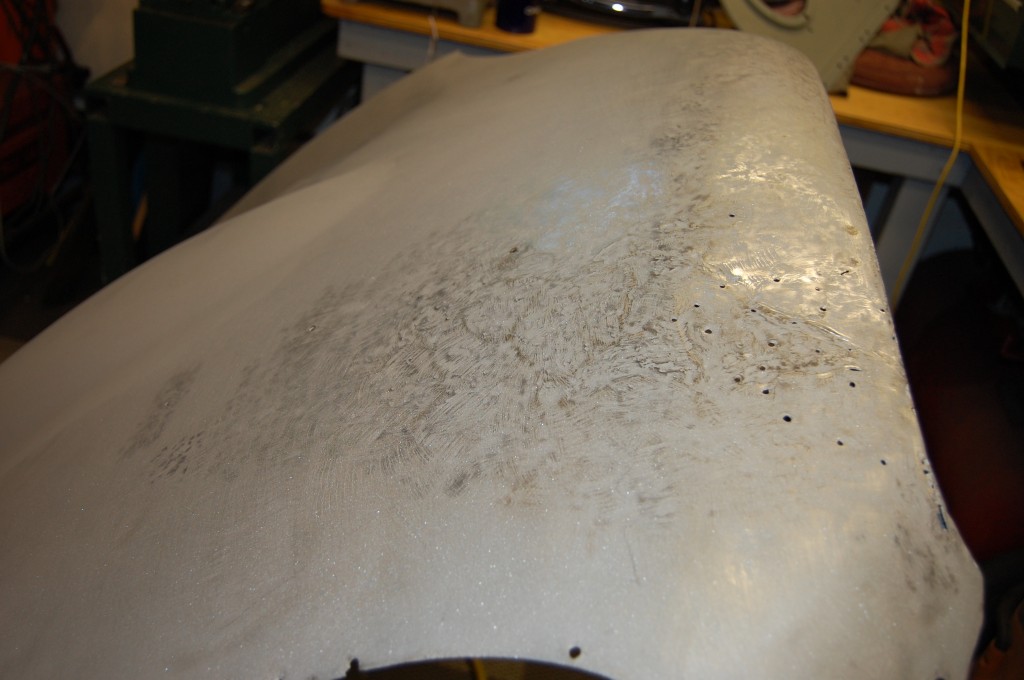
- Next, we gring and file the welds smooth, the re-planish the area to remove any shrinkage and/or warpage from the welding
- Next we move onto the shrinking process, which continues to smooth and level out the surface.
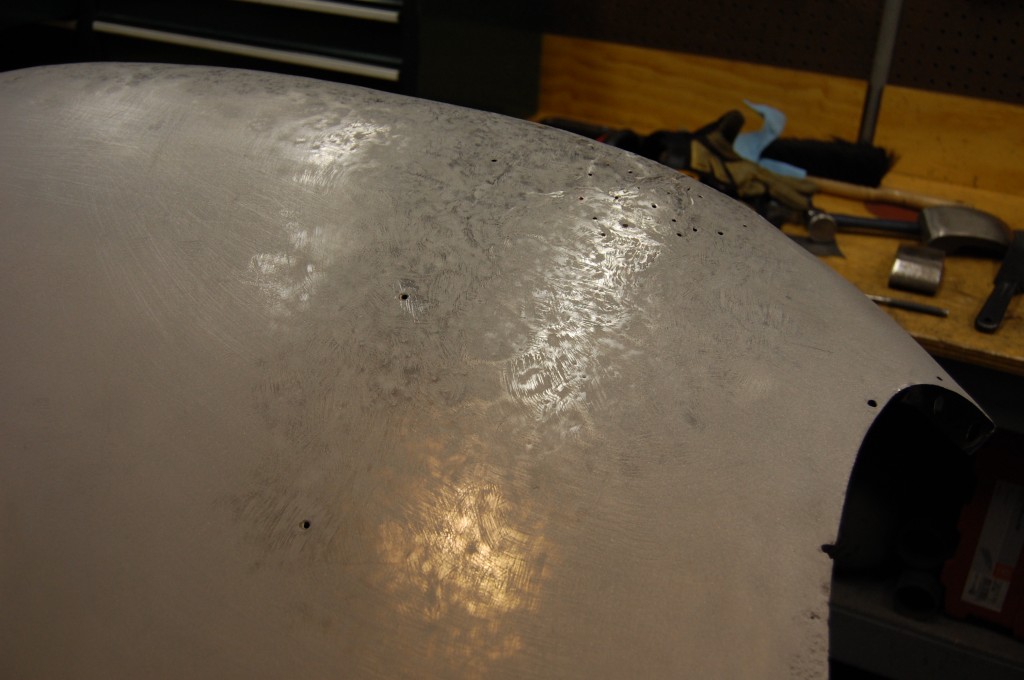
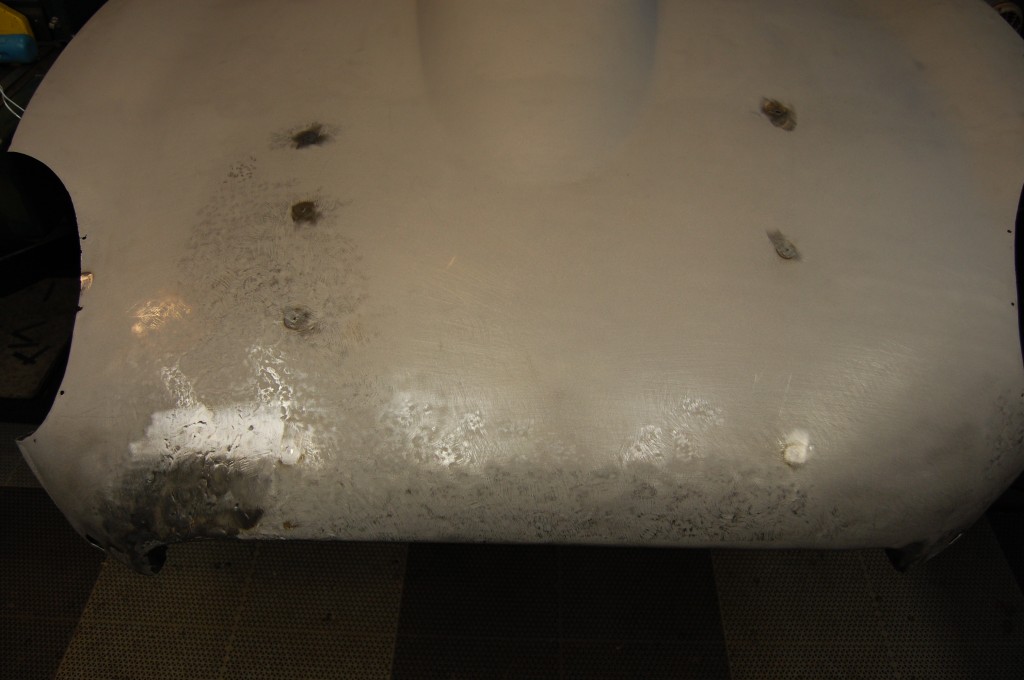
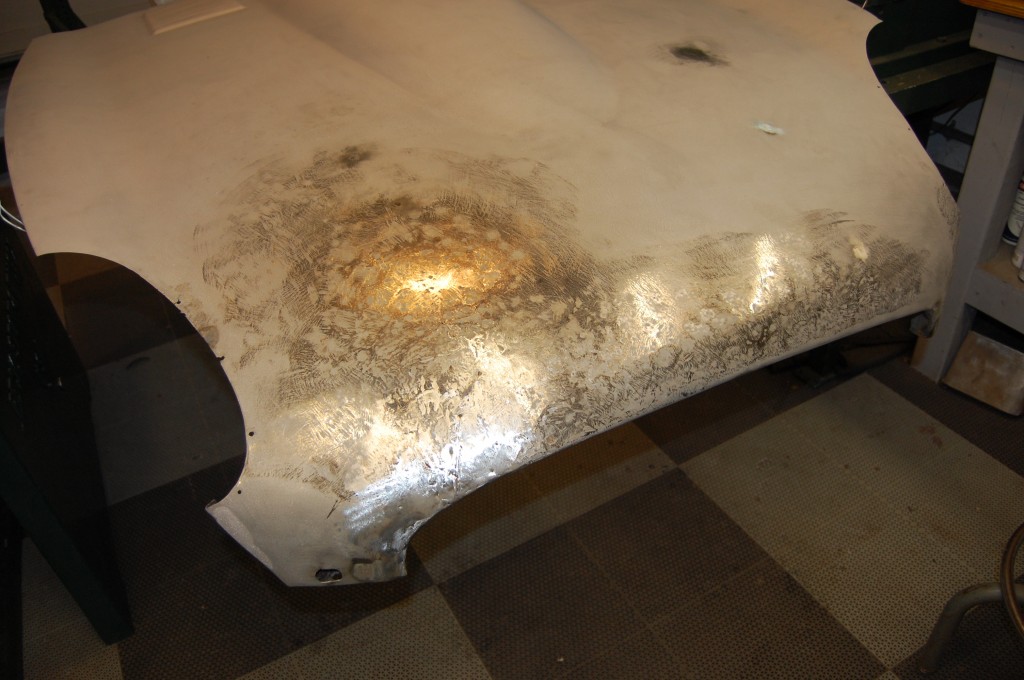
- Look at the reflection of the overhead lights – things are lined up correctly now!
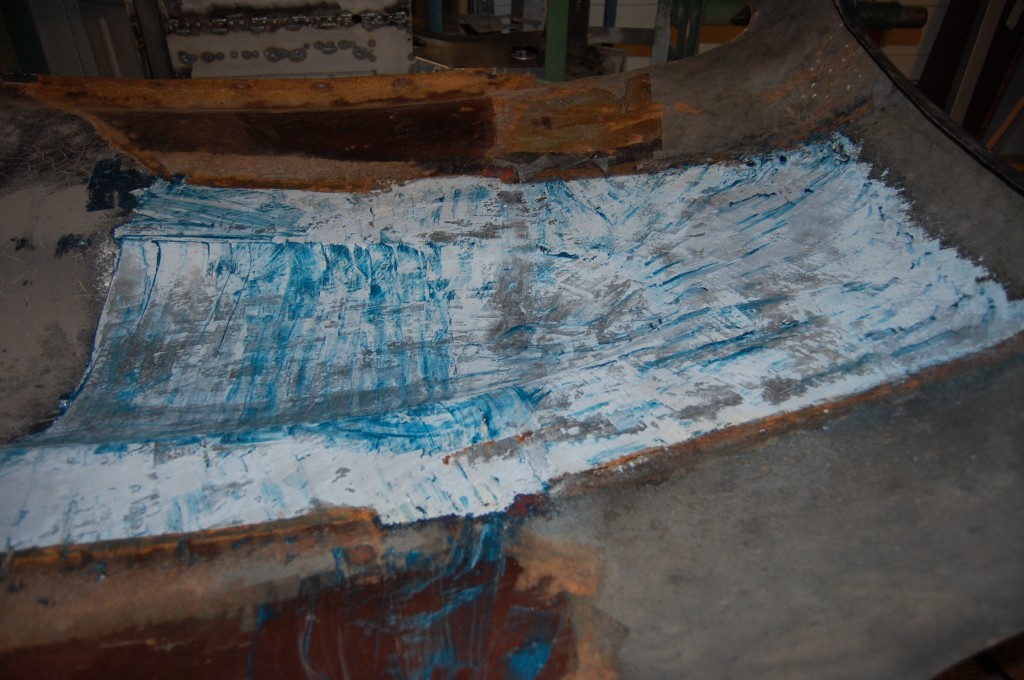
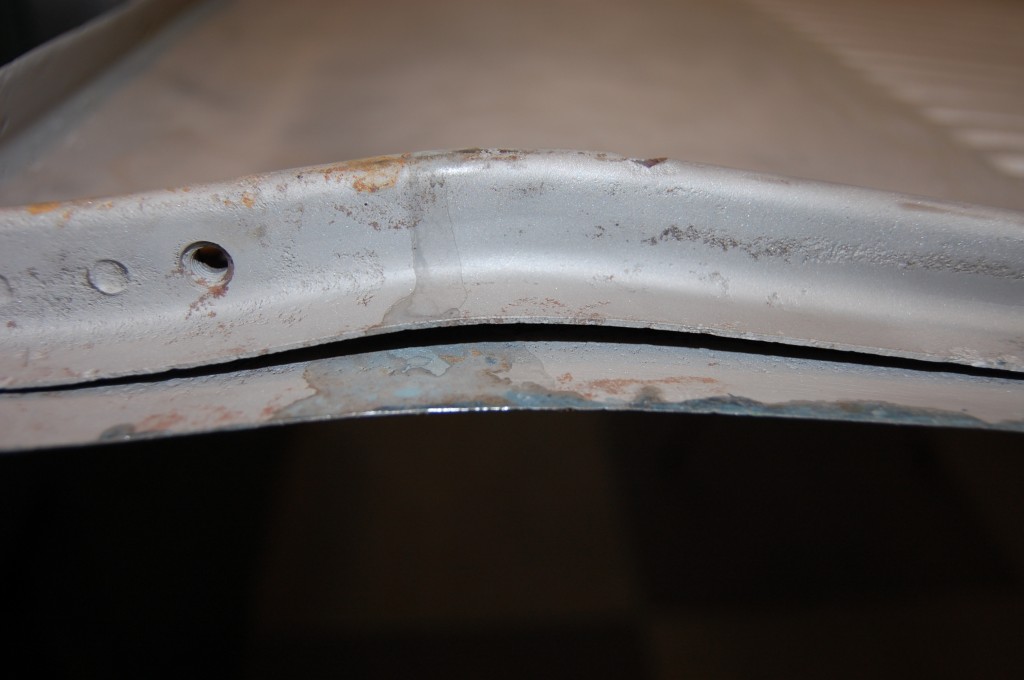
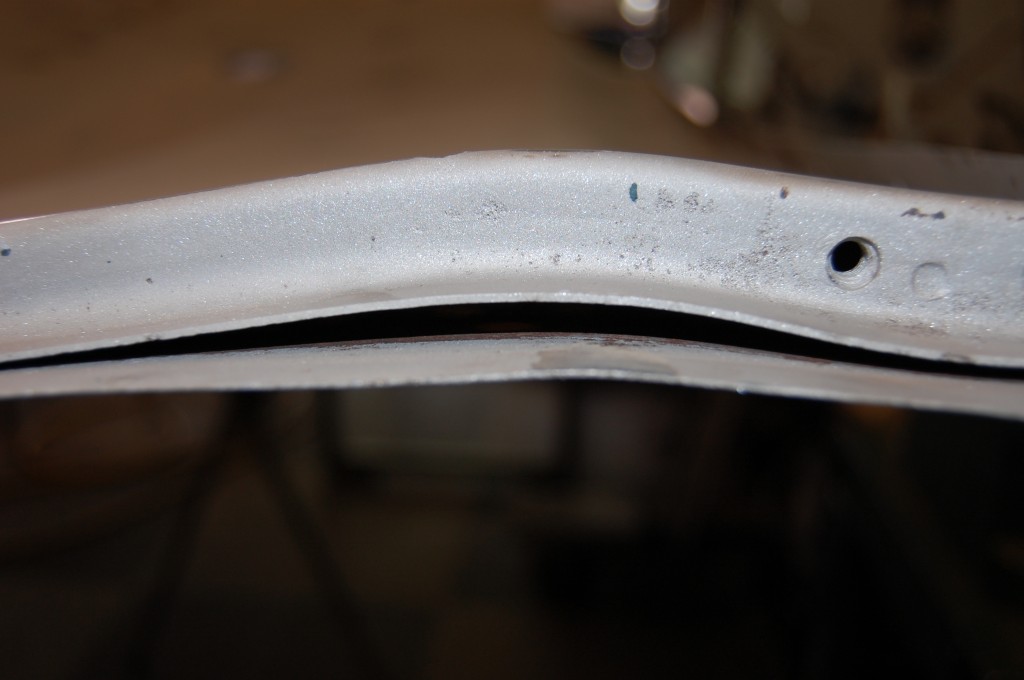
- Next, we need to take care of some delamination that has occurred in the valleys at the rear of the bonnet.
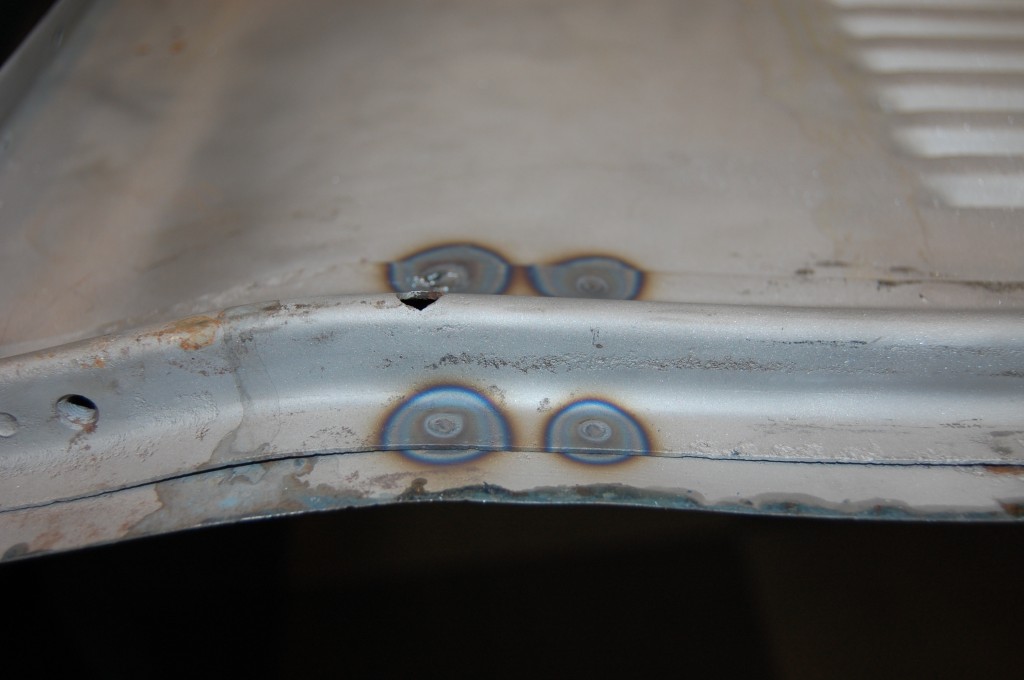
- This is the rear support member. It is spot-welded in the flat areas of the bonnet on bothe sides of the power bulge, but then glued on the outer edges – including this curve. I’m not really sure why they did it that way, because I have seen this happen on lots of bonnets.
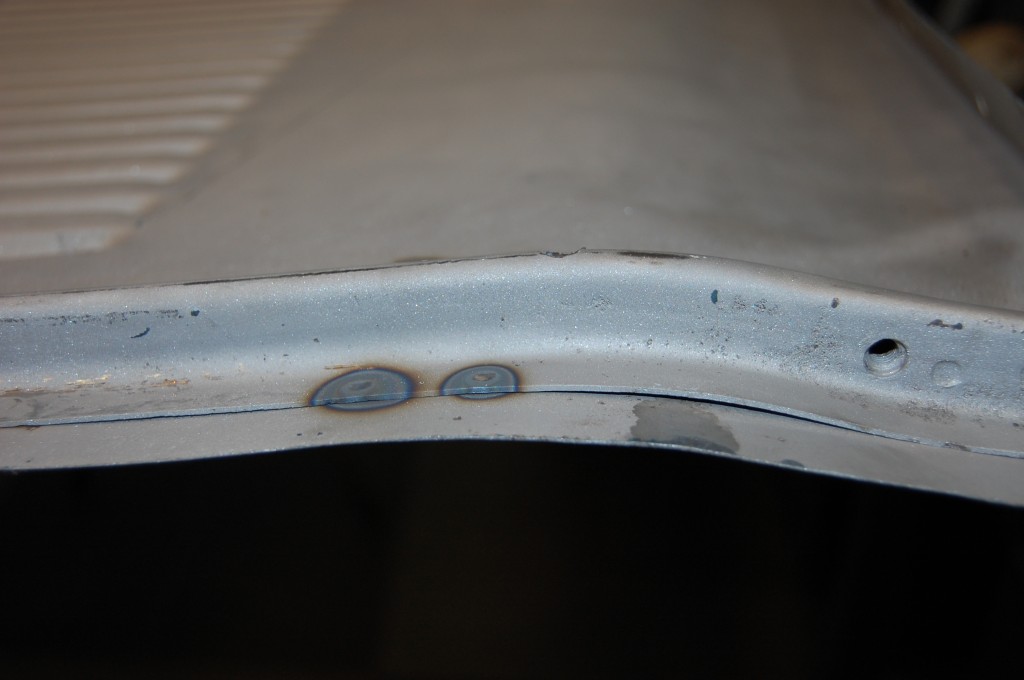
- The solution is to bring the spot-welds out further.
- This simple repair took care of a BIG issue. Look for this if you restore your center section at home.
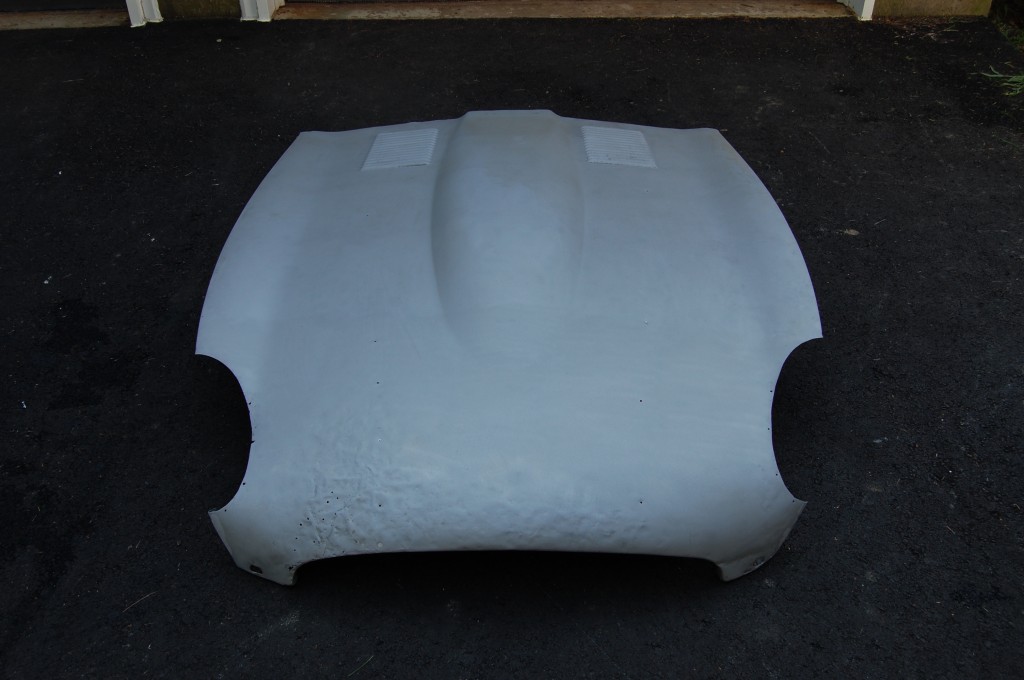
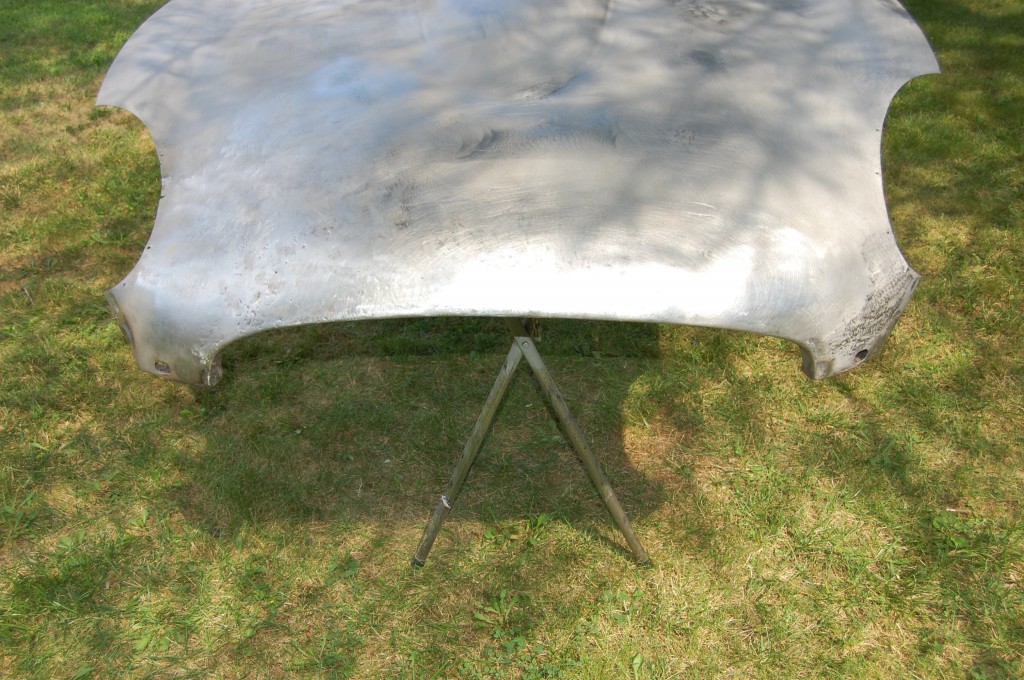
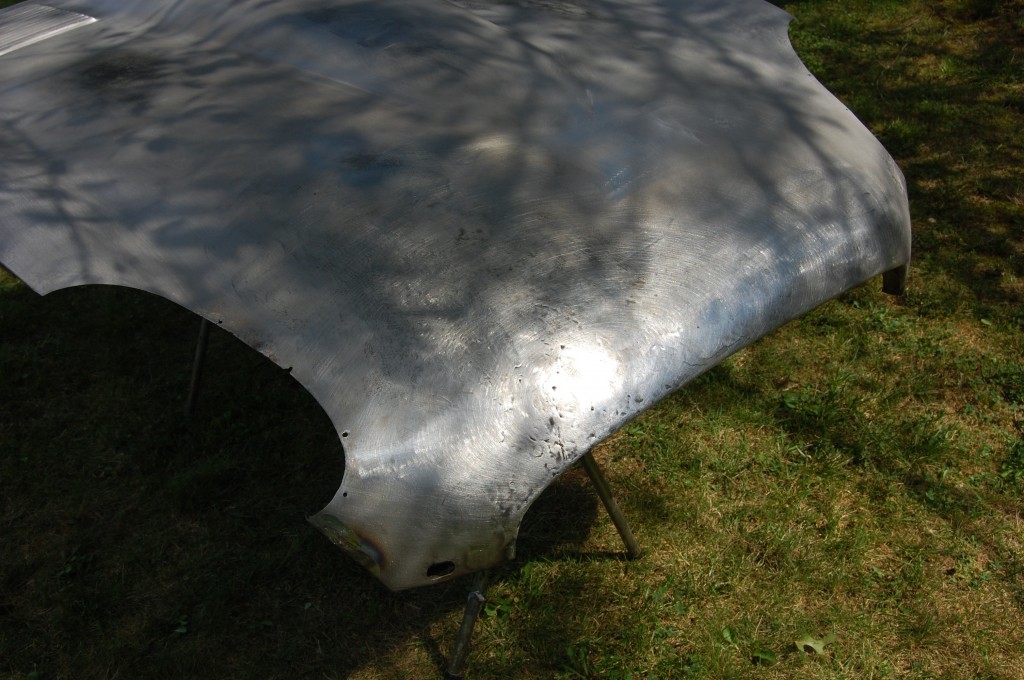
- Here is the finished panel – ready for a good coat of self-etching primer and assembly as part of a properly restored bonnet.
- The shadows make this picture pretty crummy. I will add some photos shortly of the panel in self-etching primer.

