Now it’s time to turn our attention to the center section of this bonnet. This is the gold center section that was part of the “junkyard bonnet” that the customer found in the back of a box truck at a junkyard in New Jersey. It was a pretty tired bonnet, but better than their original, so they purchased it along with a pair of decent doors and a hatch. Sadly, the rest of the gold Series 1 coupe these parts came from probably went into a crusher… 🙁
-
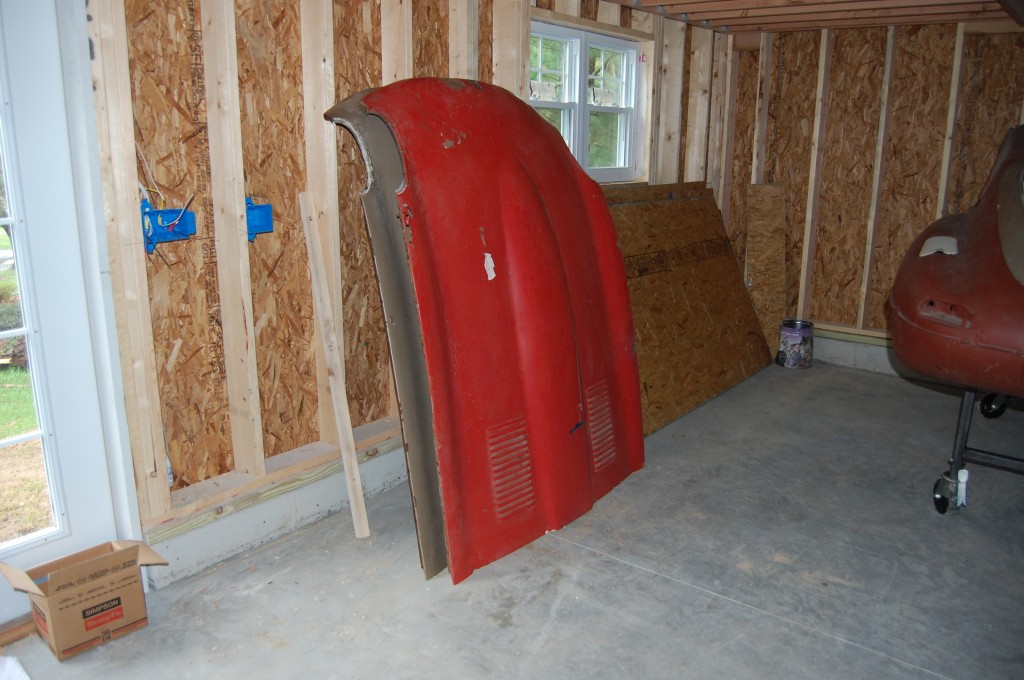
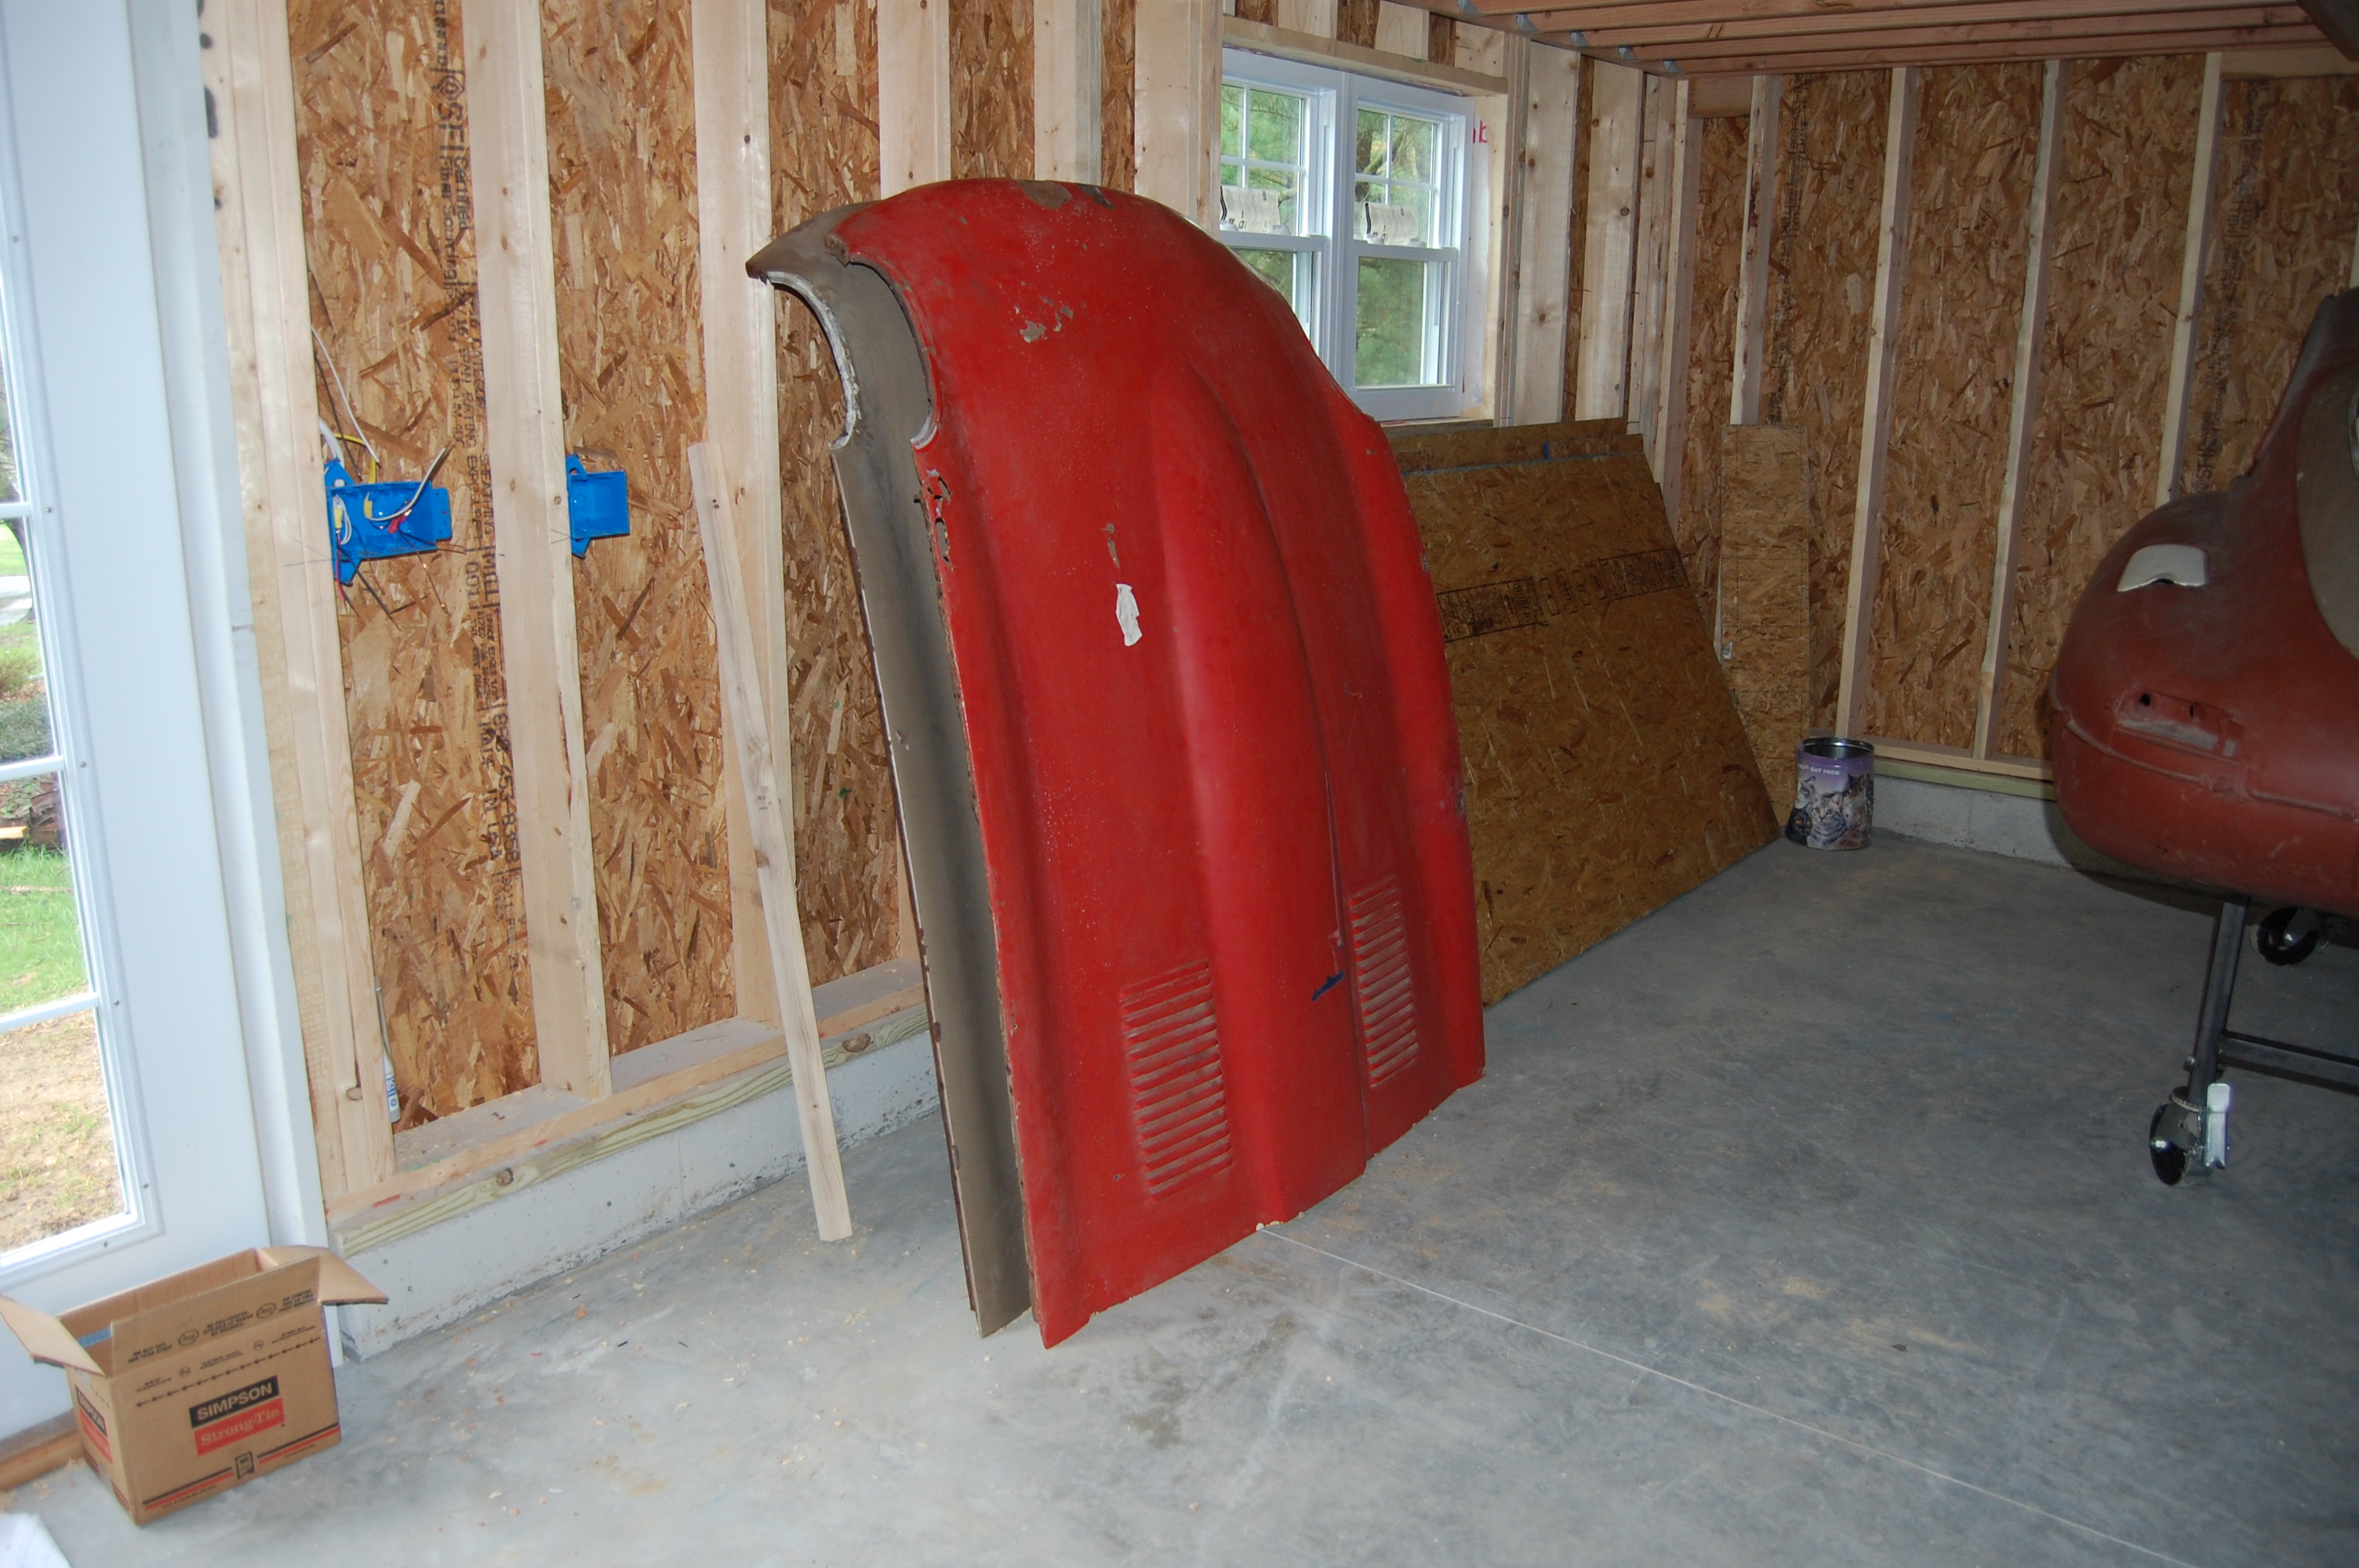
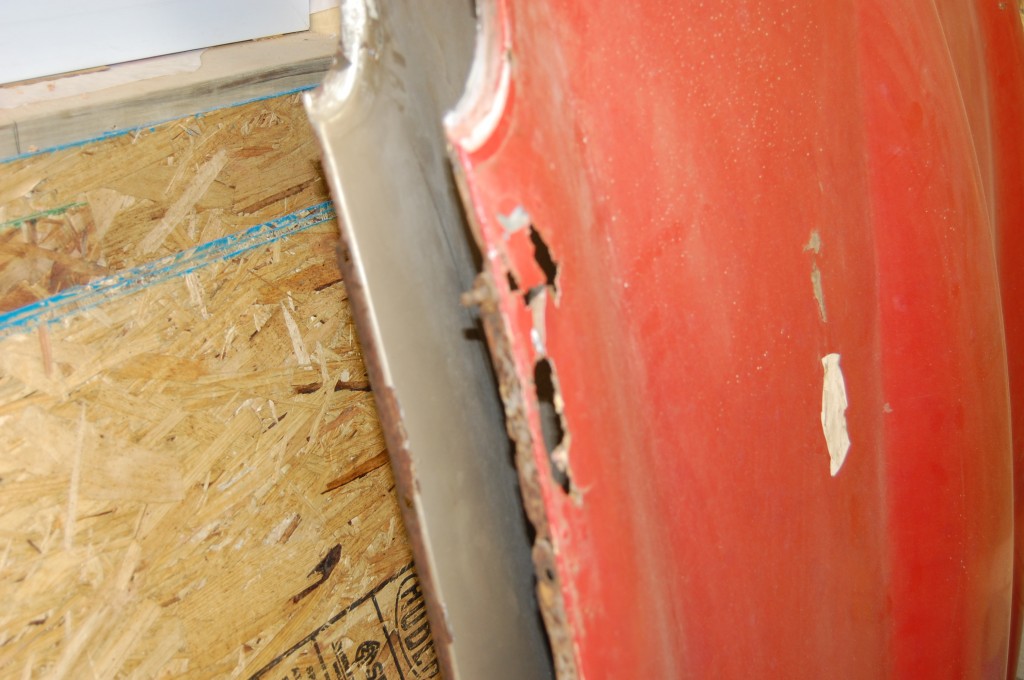
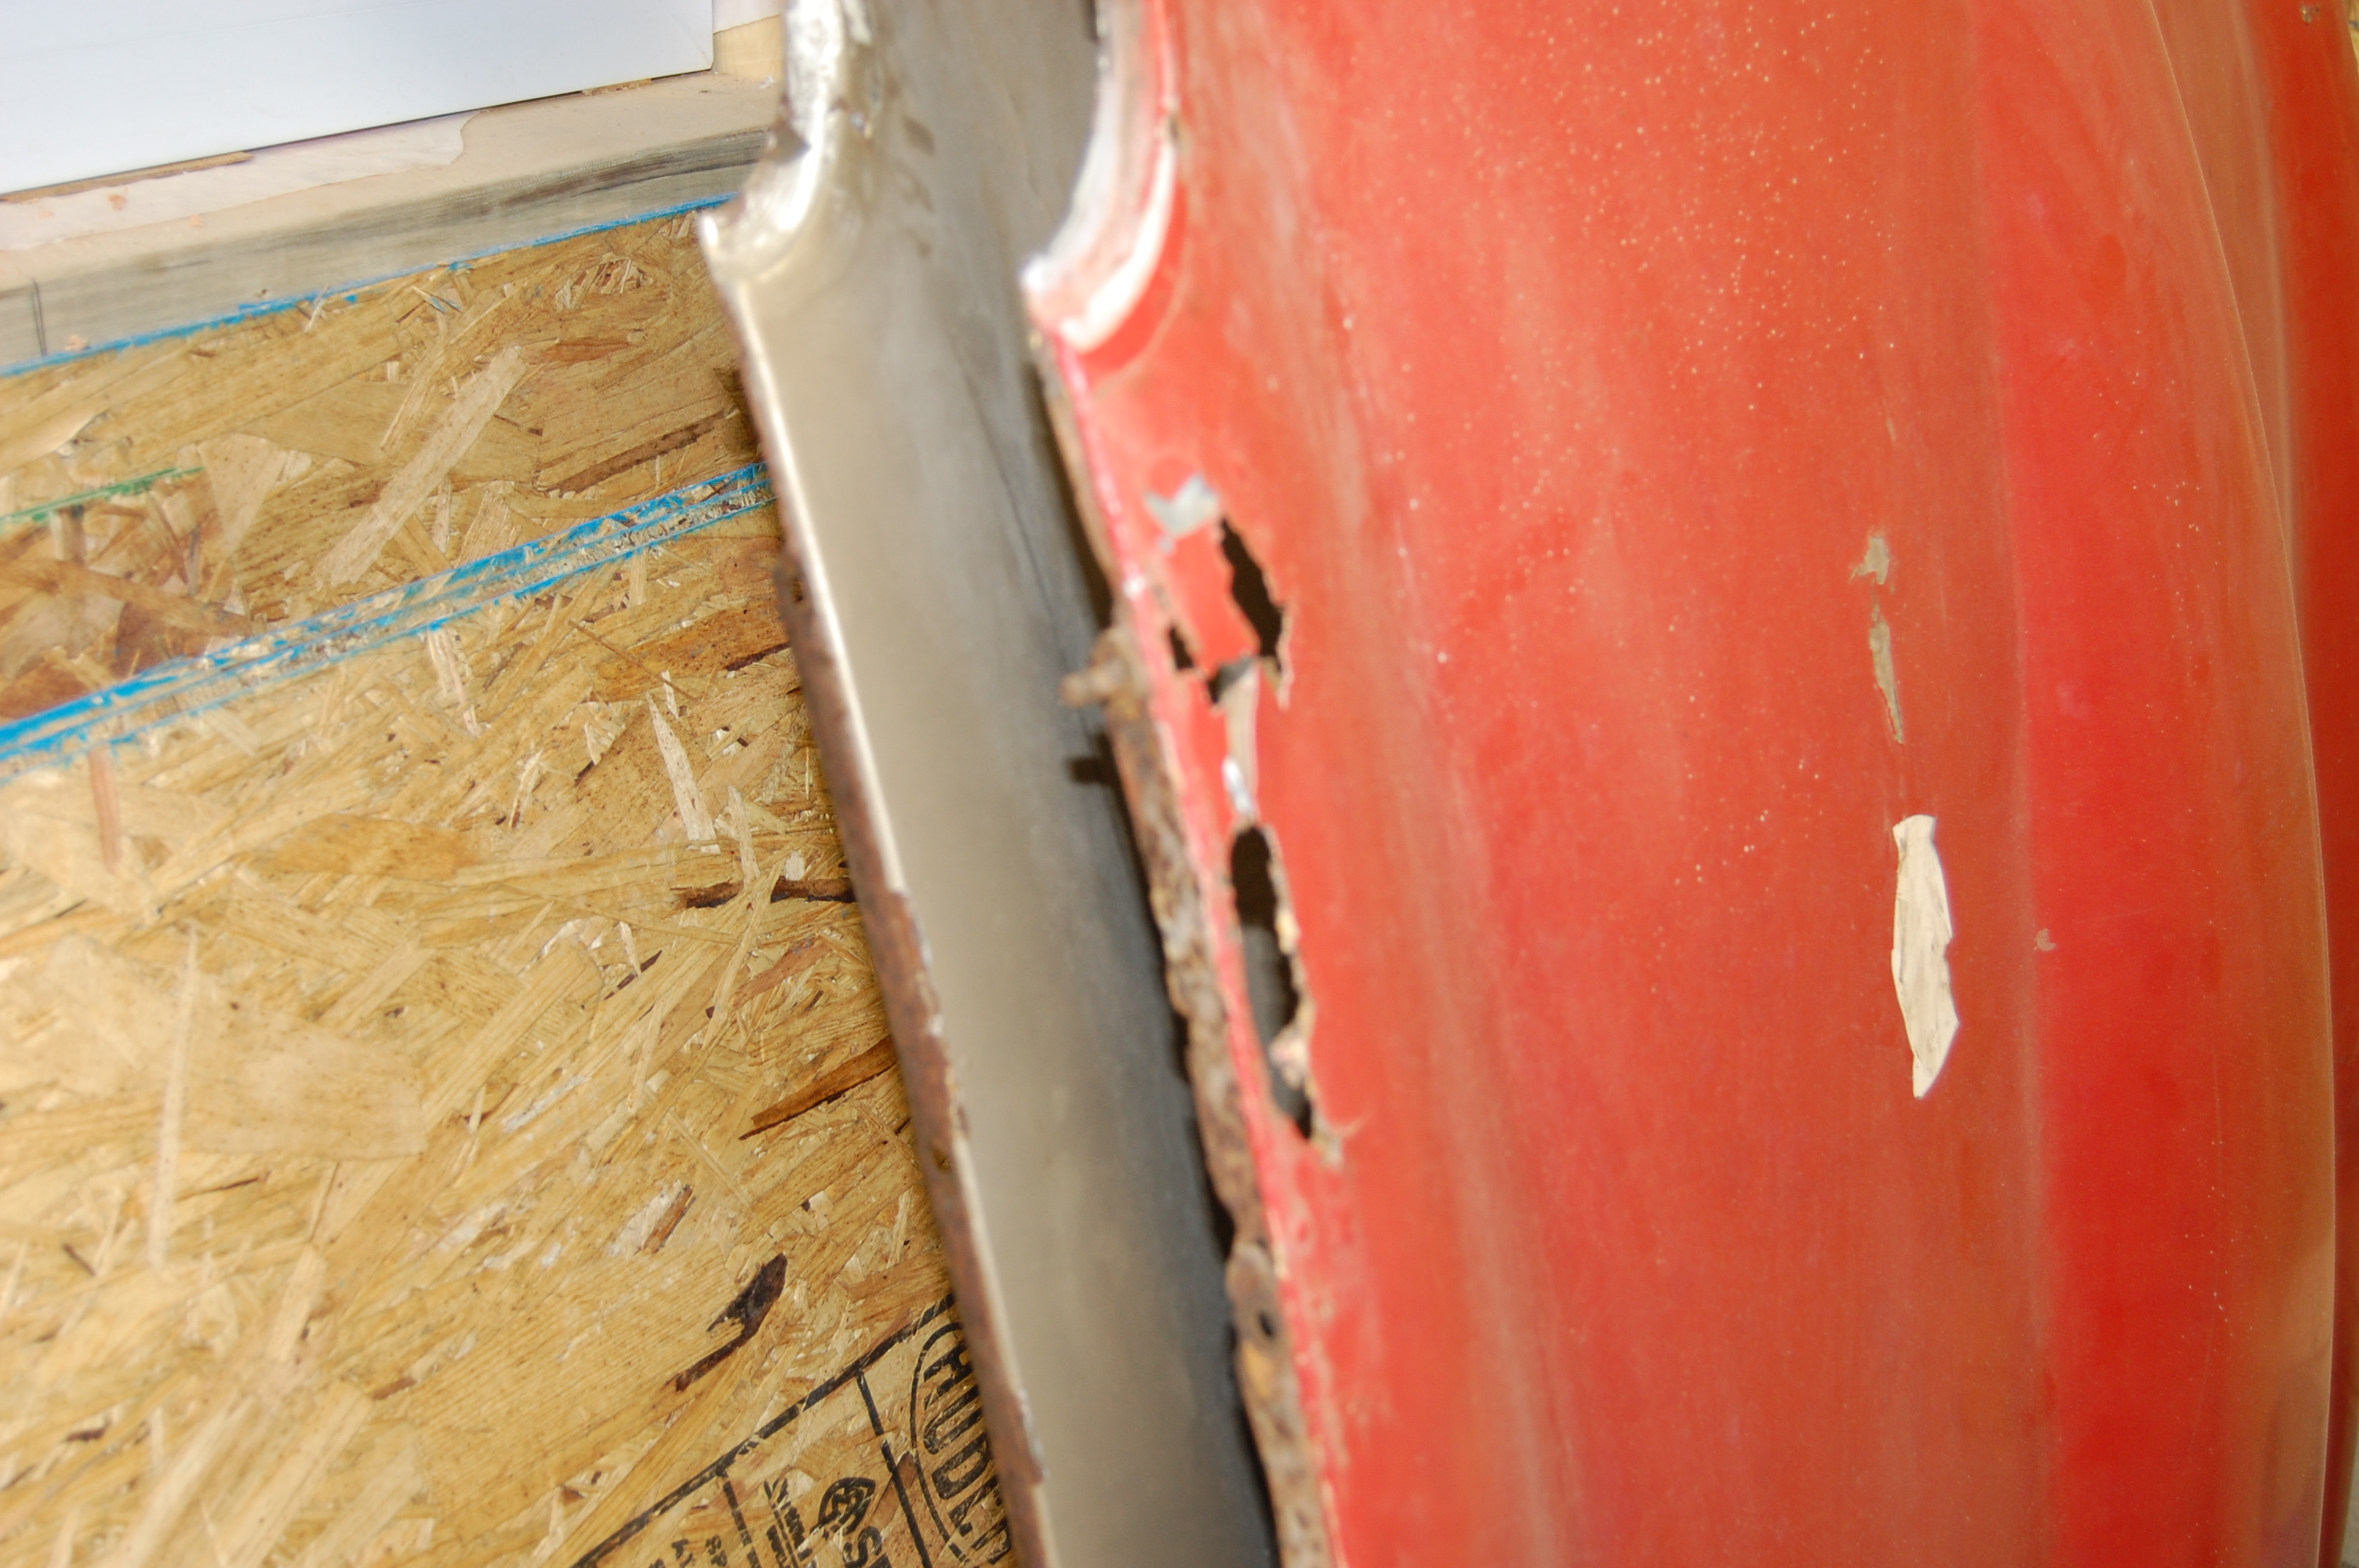
- Here is the original red center section, and the junkyard gold panel. The owner requested that we use as many of the original, red panels as possible (actually, the car was originally opalescent dark green), but…
-

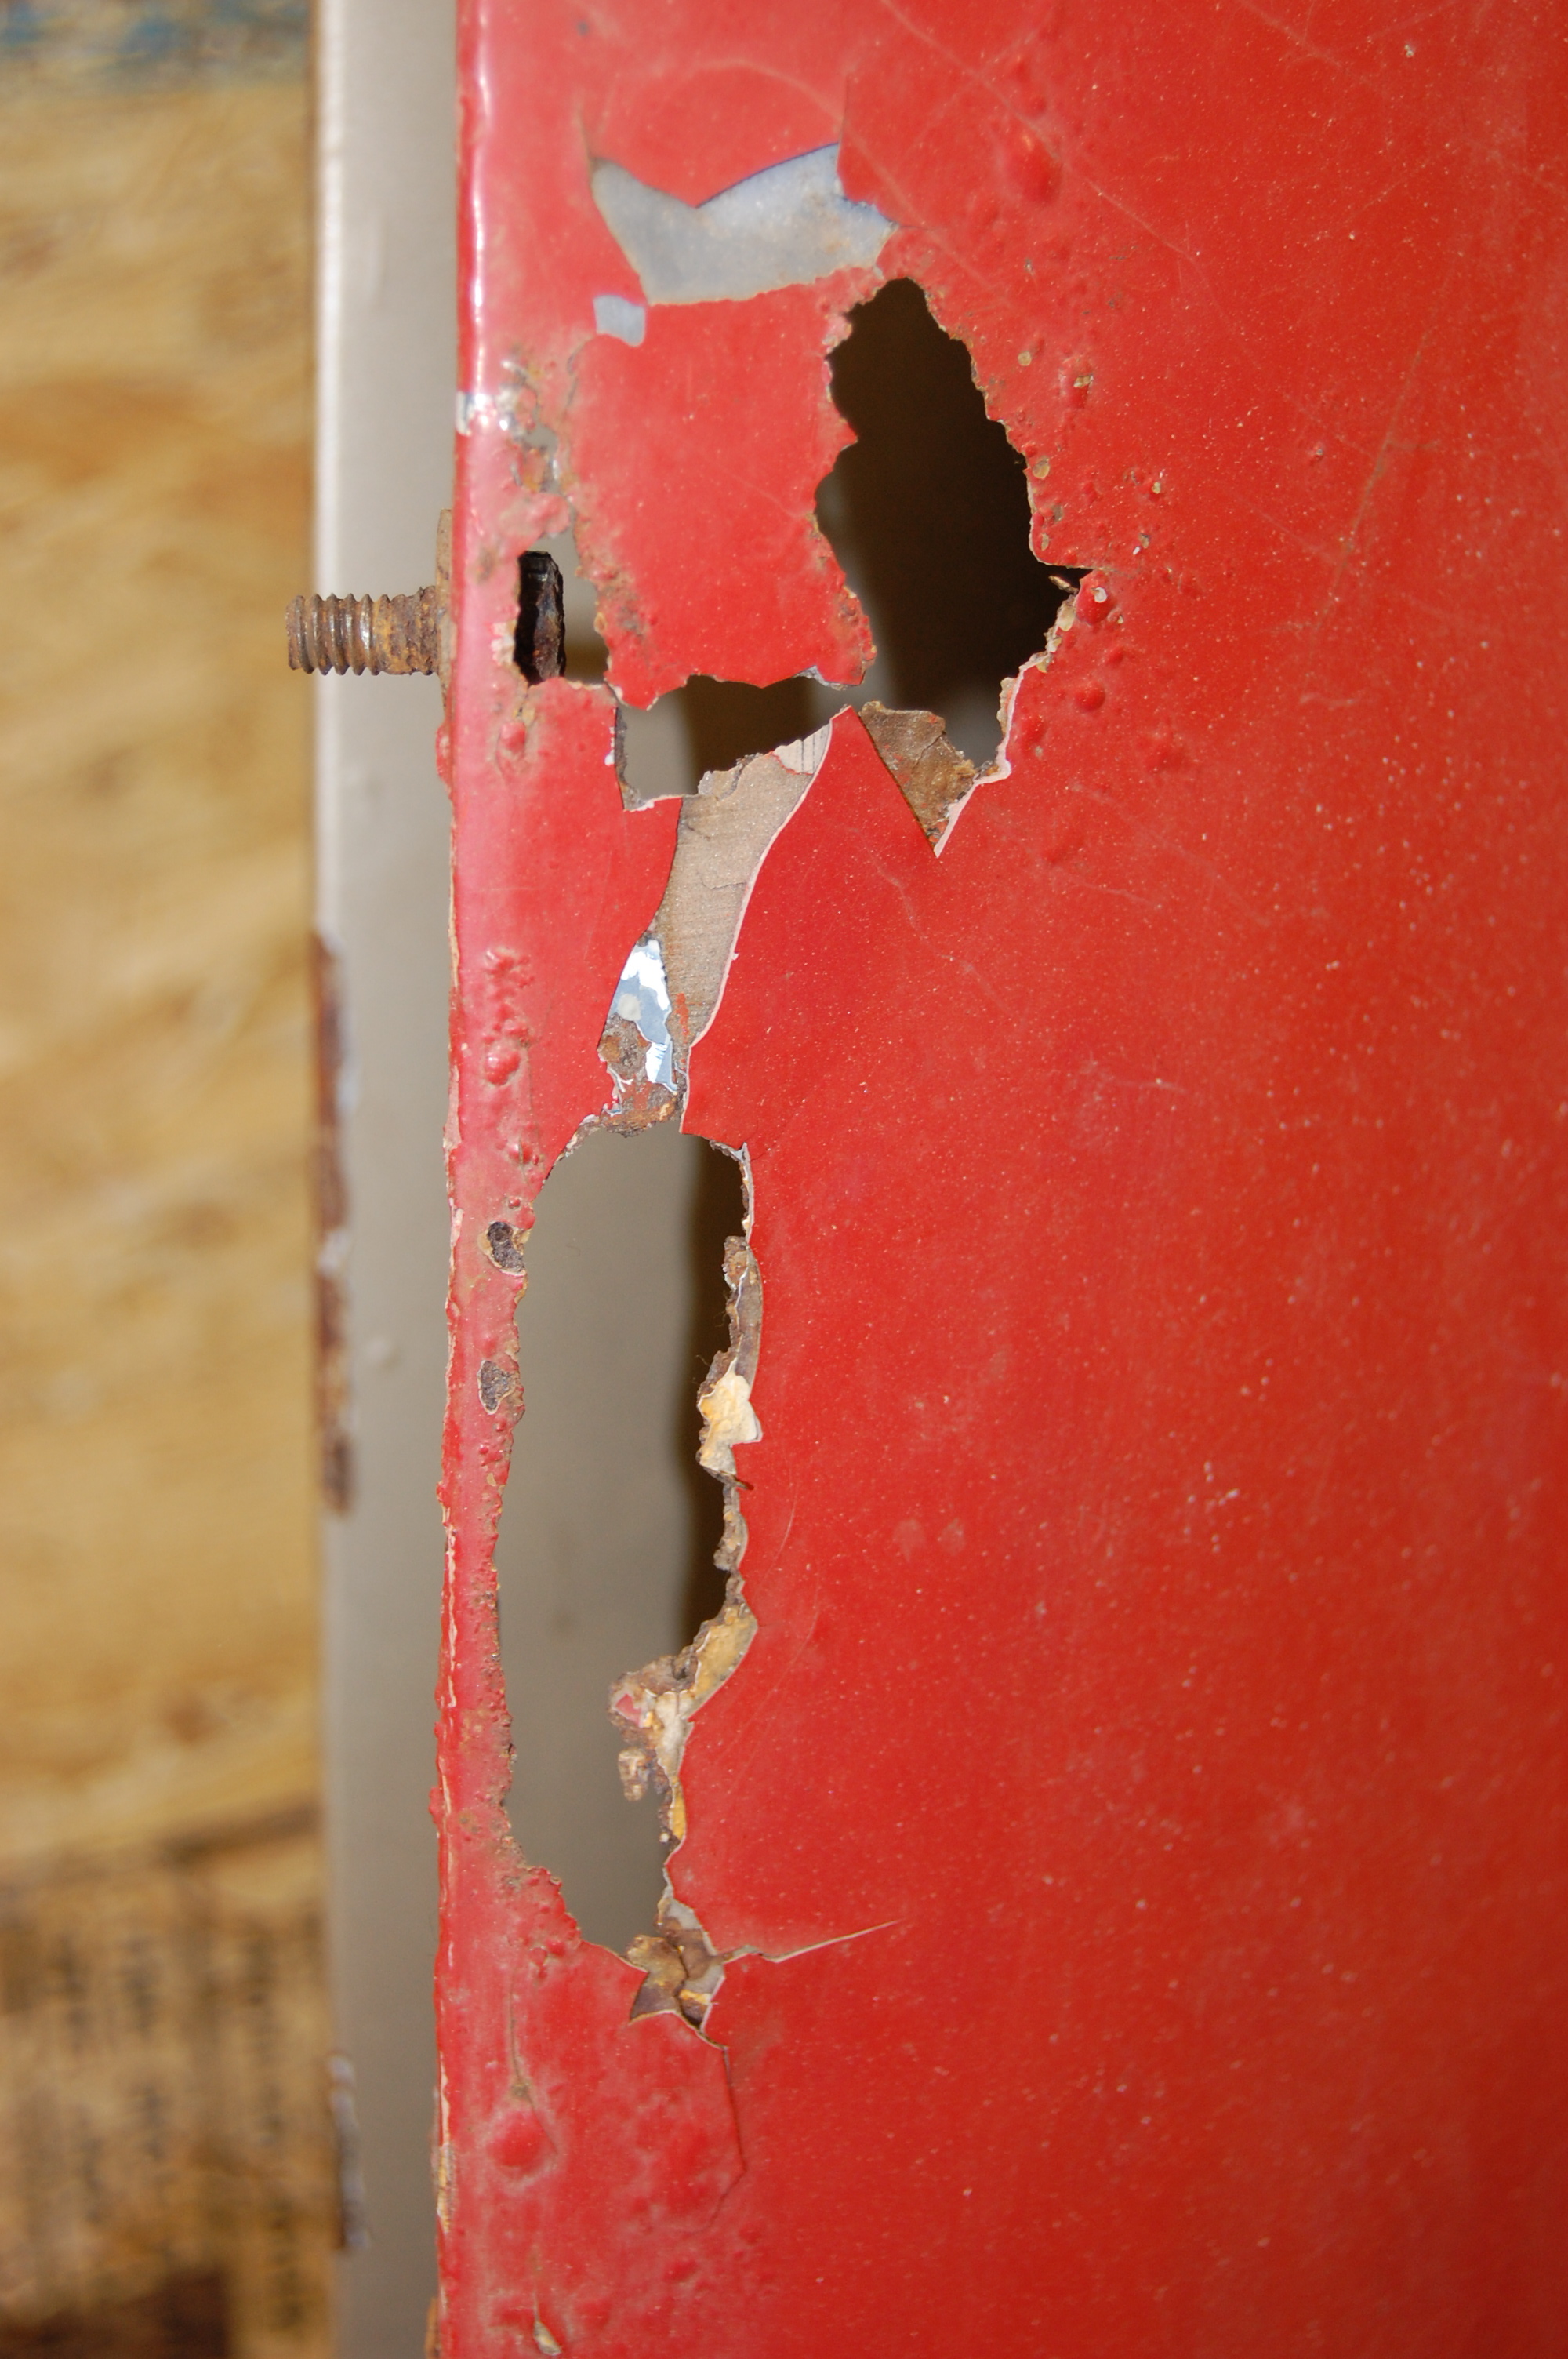
- …this center section is too far gone from an economical stanpoint – there are aolt of hours here and there were at least 4 areas like this.
-
- And since they had the gold bonnet and it was better, we went with that one and the matching gold wings.
-
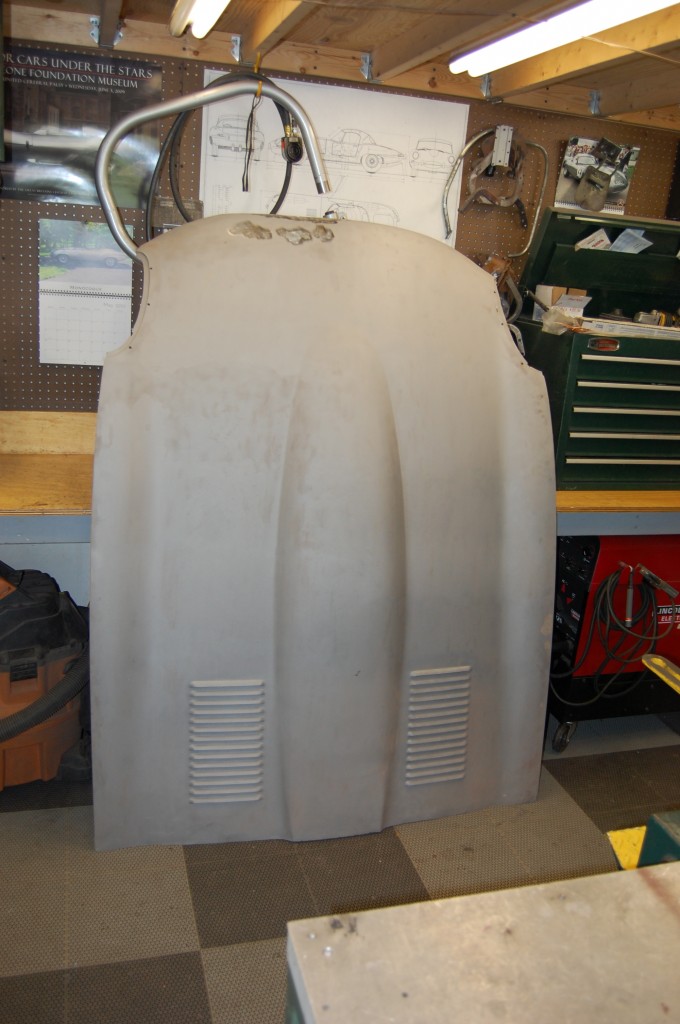
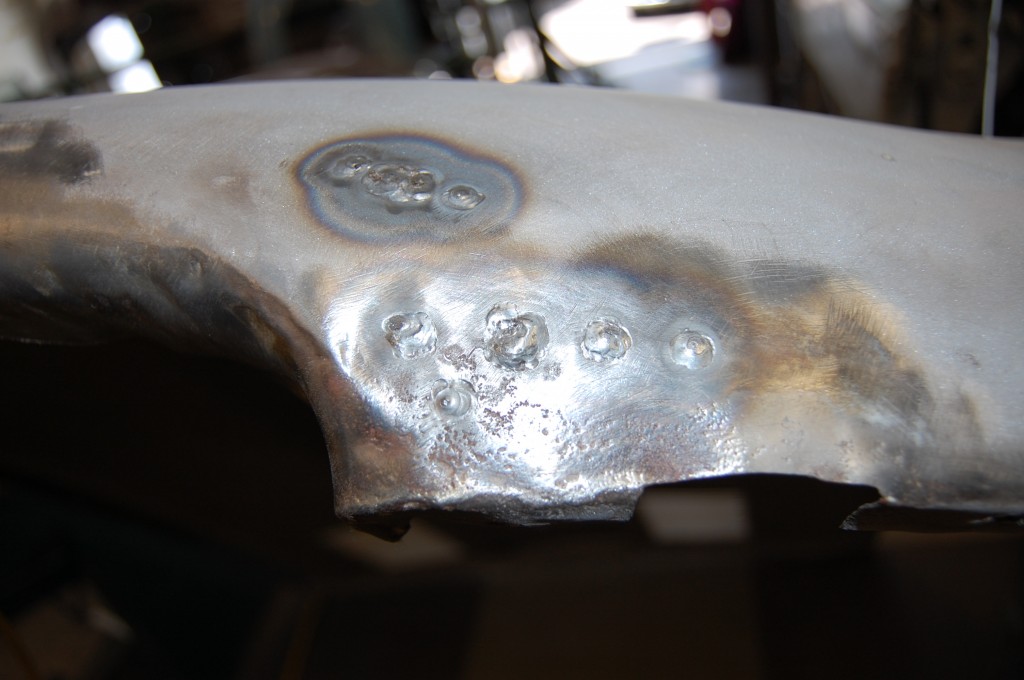
- Here is the gold center section, blasted bare and the heavily filled areas wire wheeled, and ready for some much needed TLC.

-
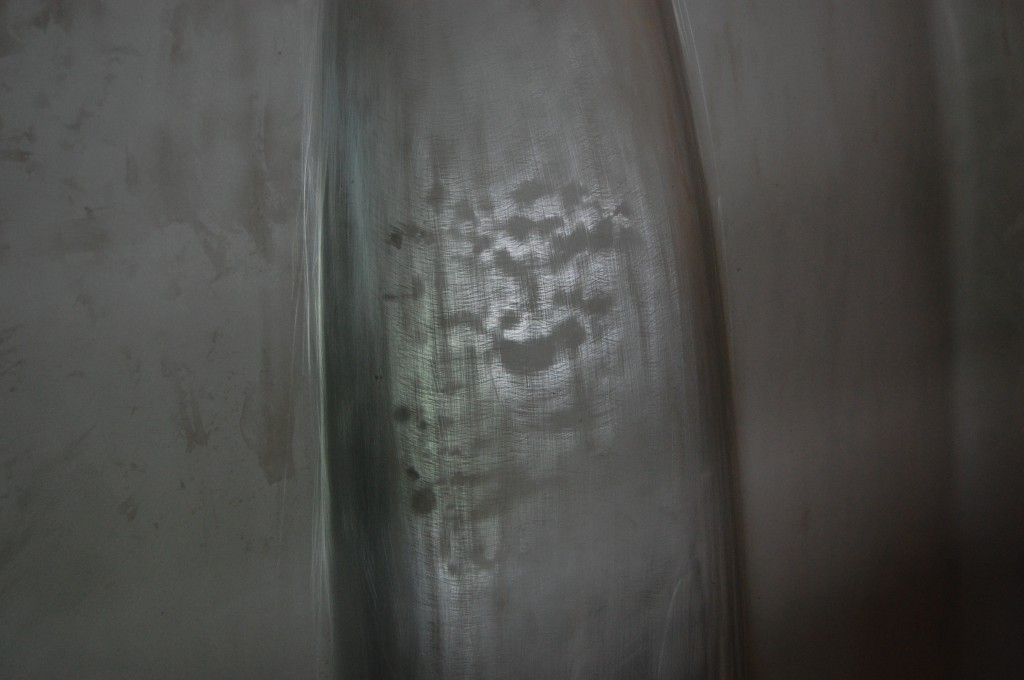
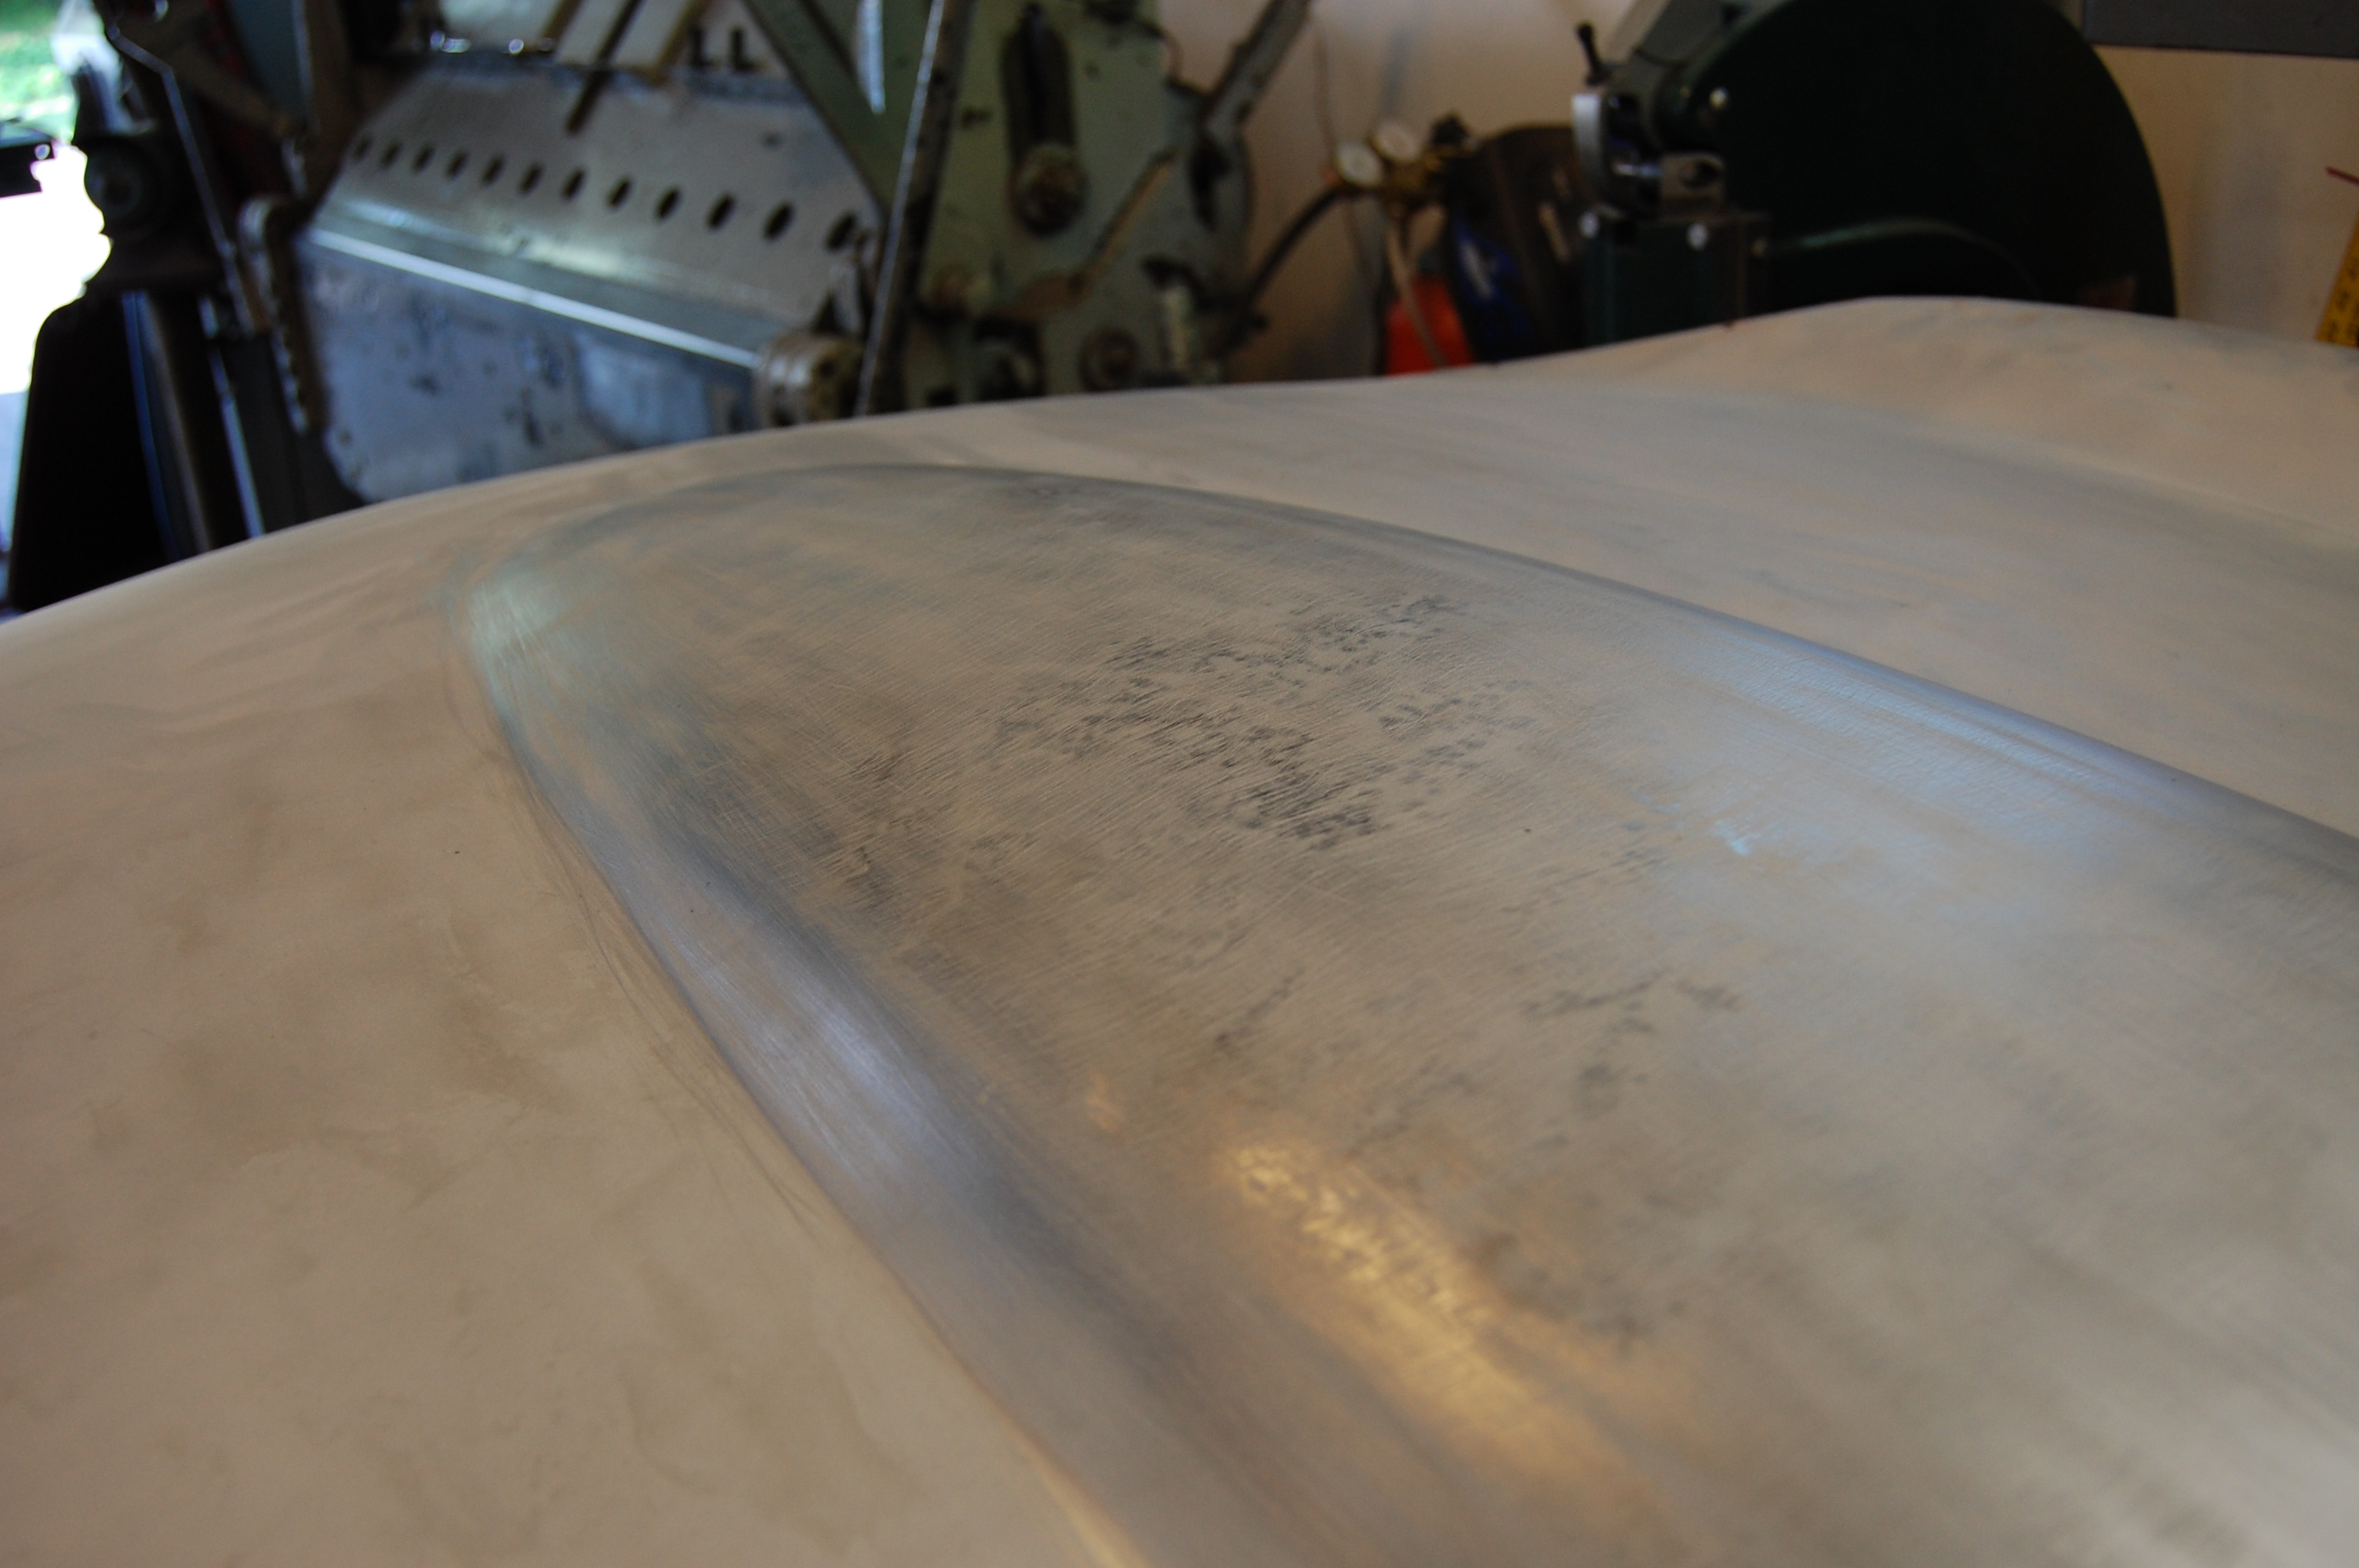
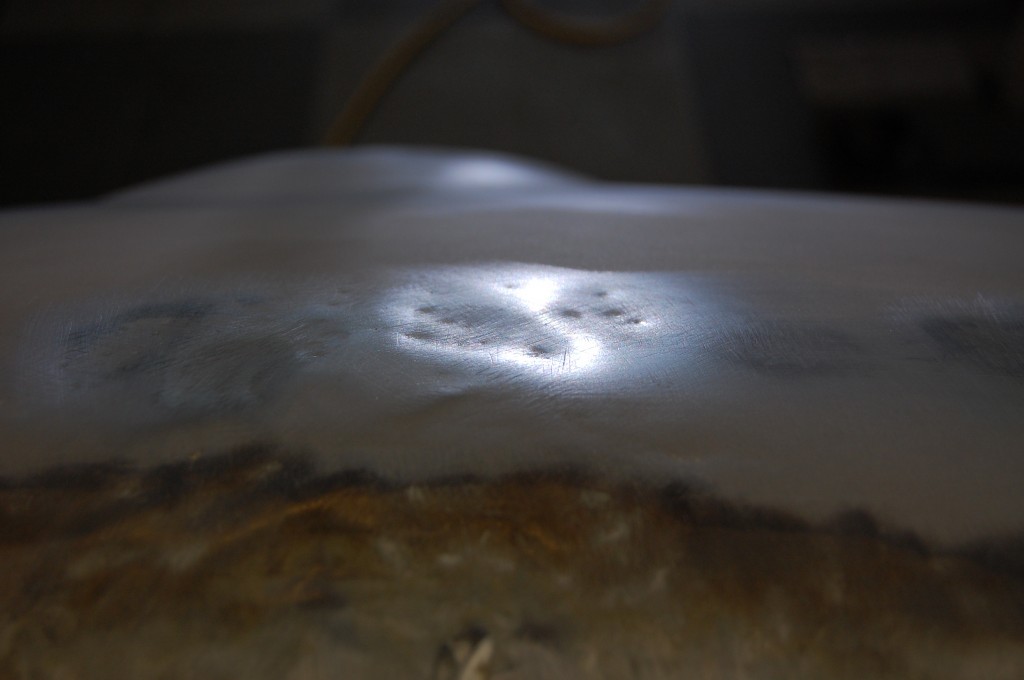
- Here, I’ve block-sanded the power bulge to show a minefield of dents.

-

- Dents? What dents?… They’re gone now – inside and out. All that remains are w whole series of pick hammer marks on the inside surface from some barbaric bodyman in tha past that will need to be filled and smoothed.
-

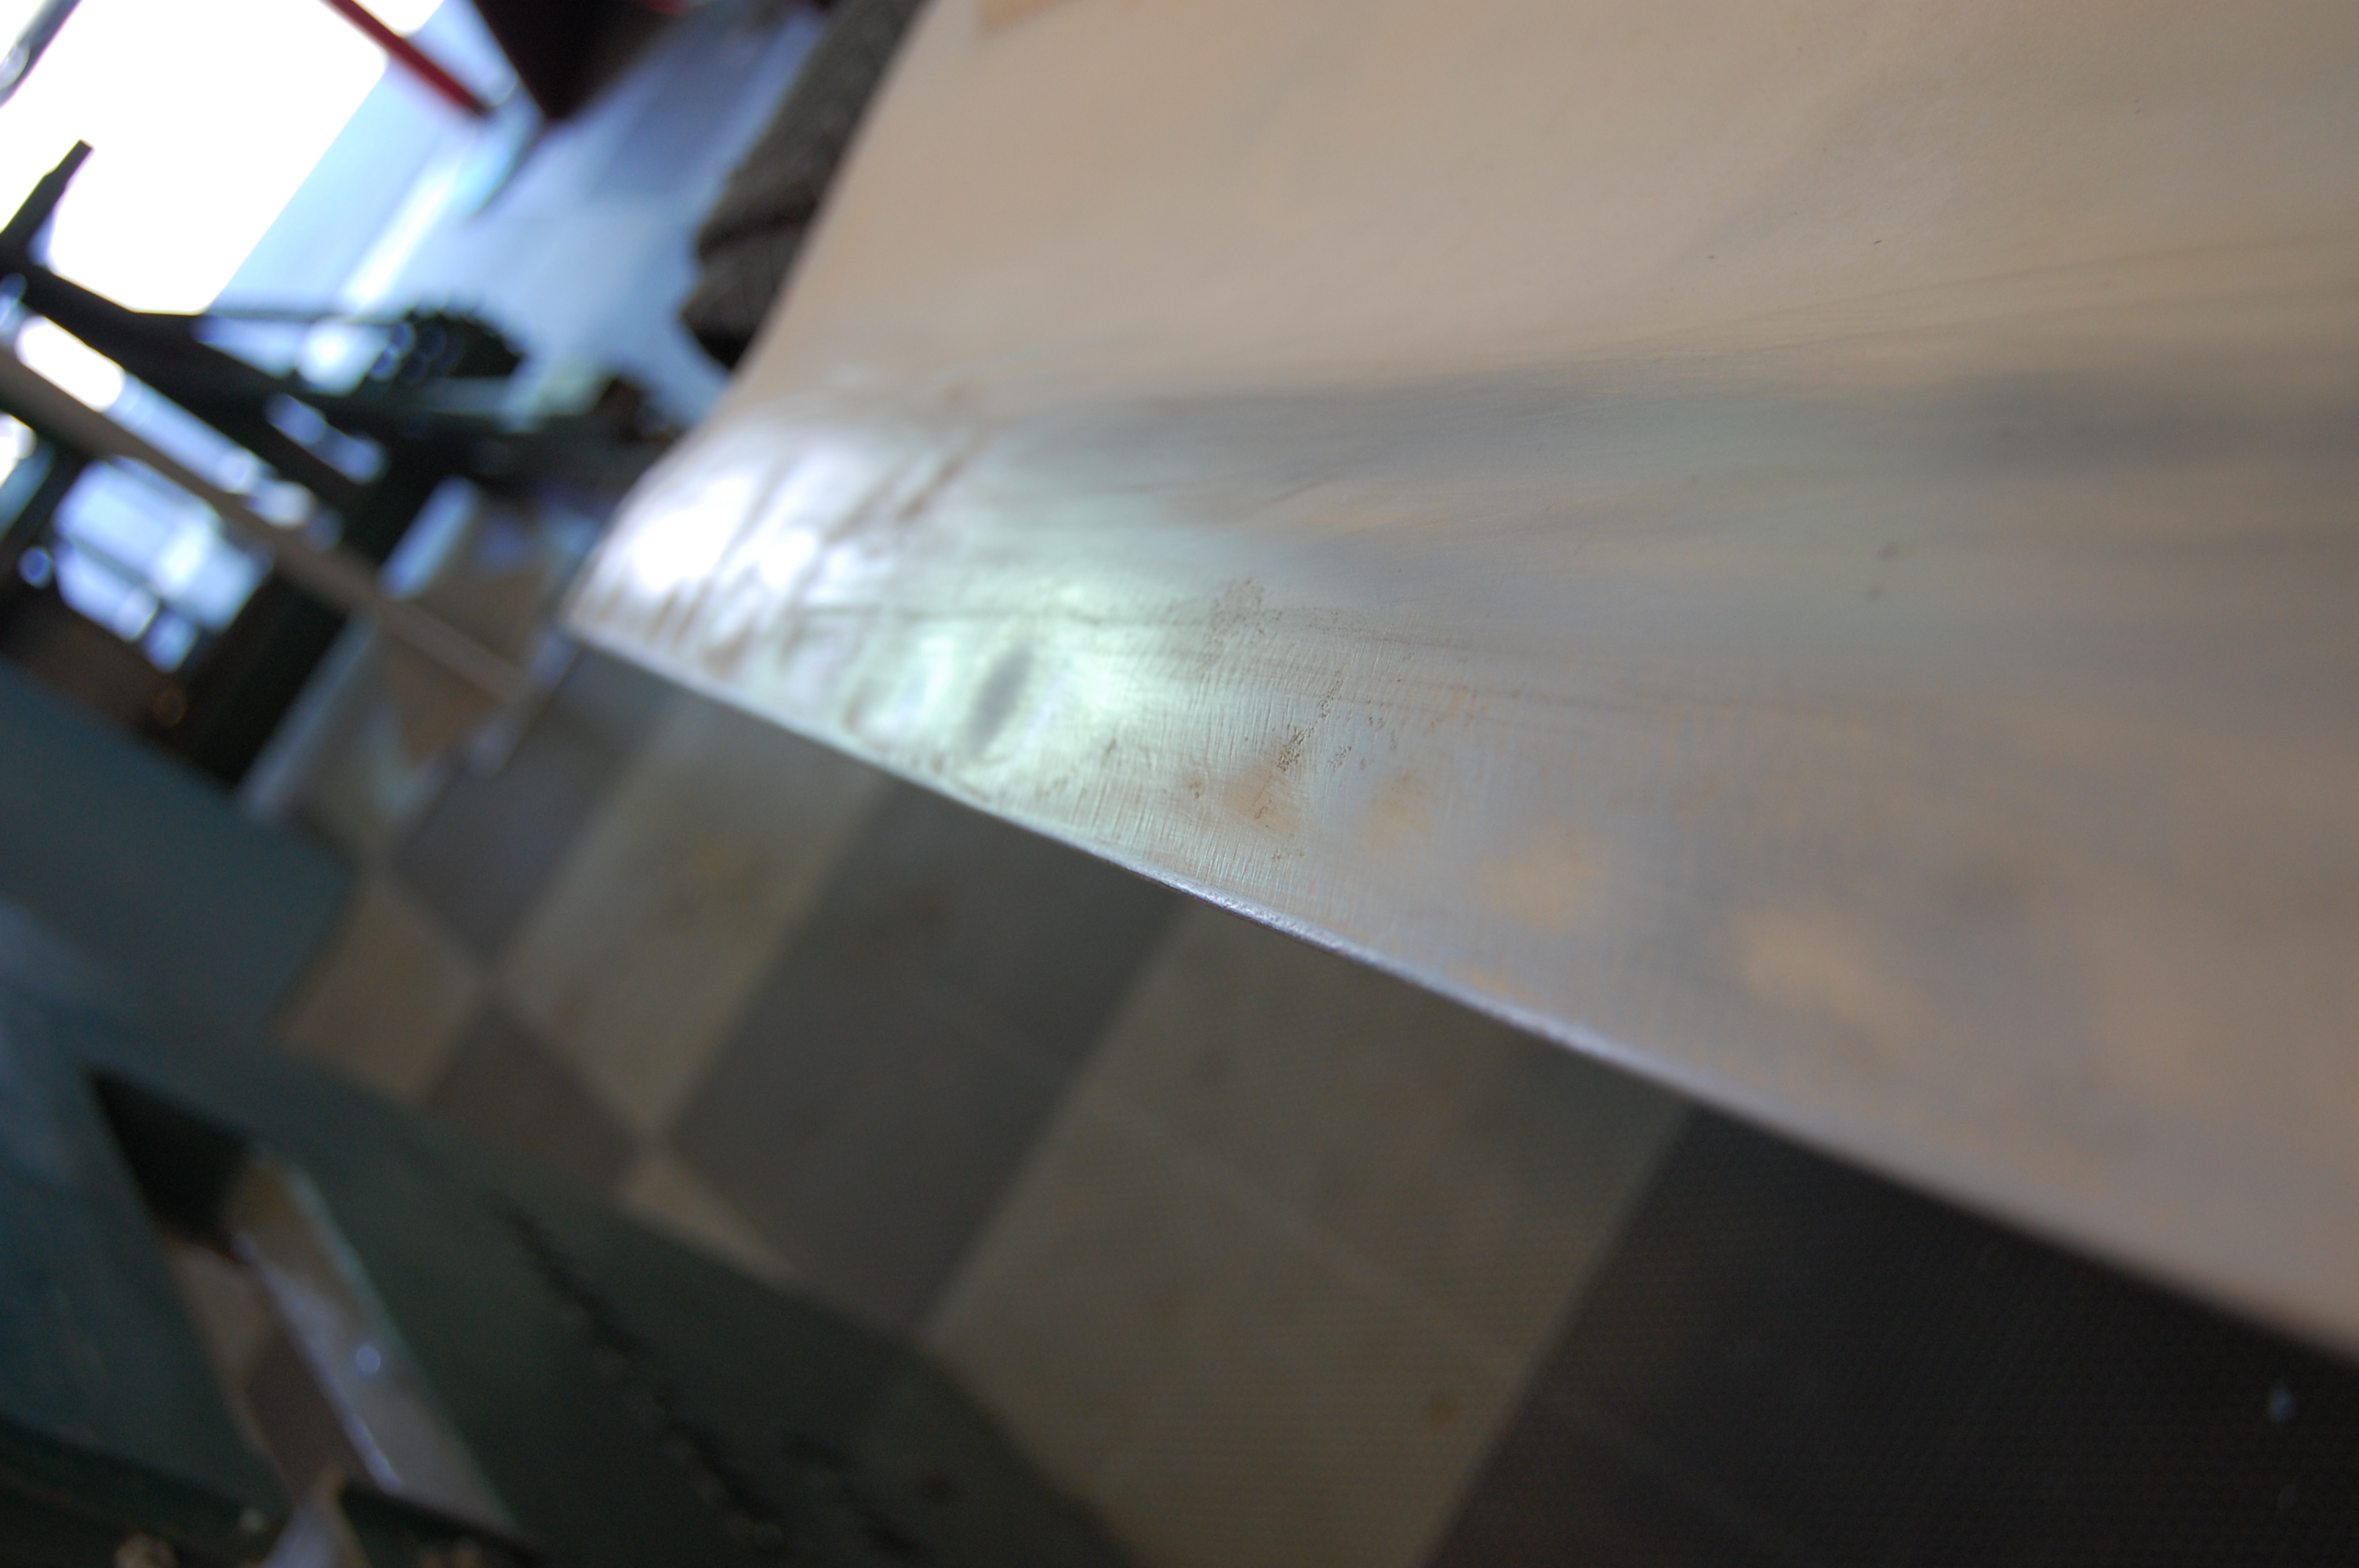
- There were lots of dents along this edge, but it was tough to capture them on film.
-

- And it’s also now tough to capture the fact that they have also been erased, but they have.
-

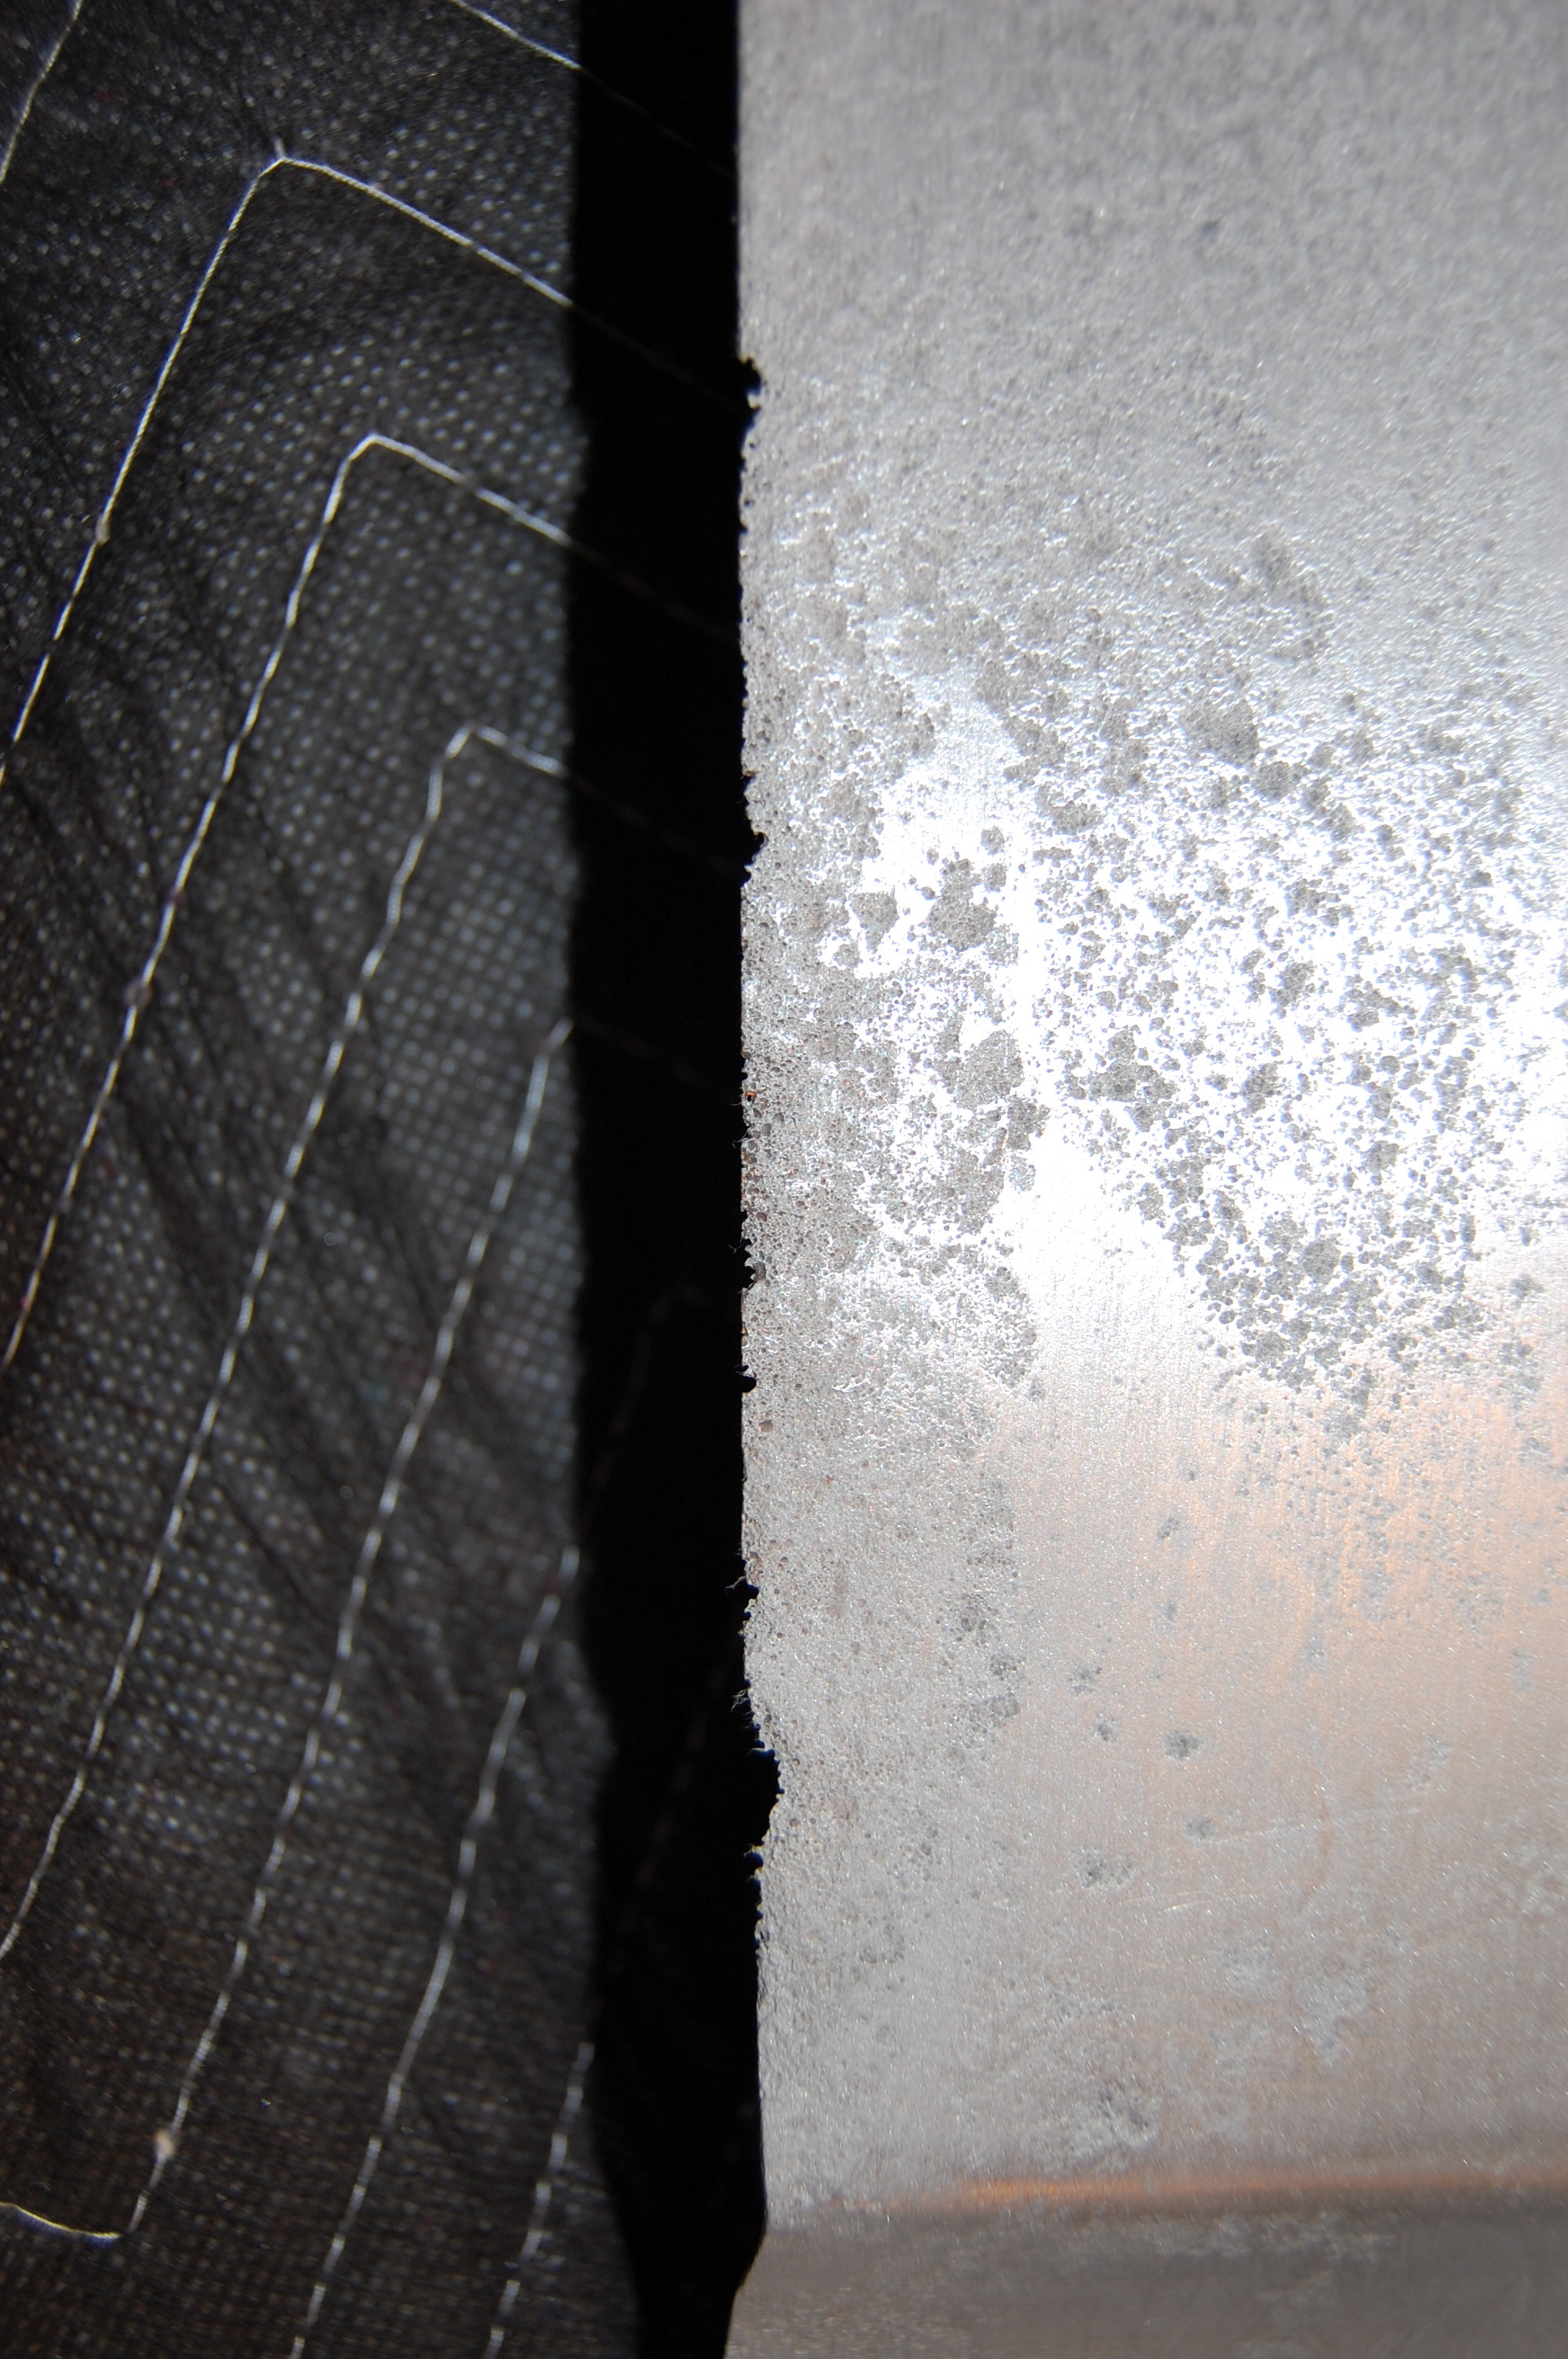
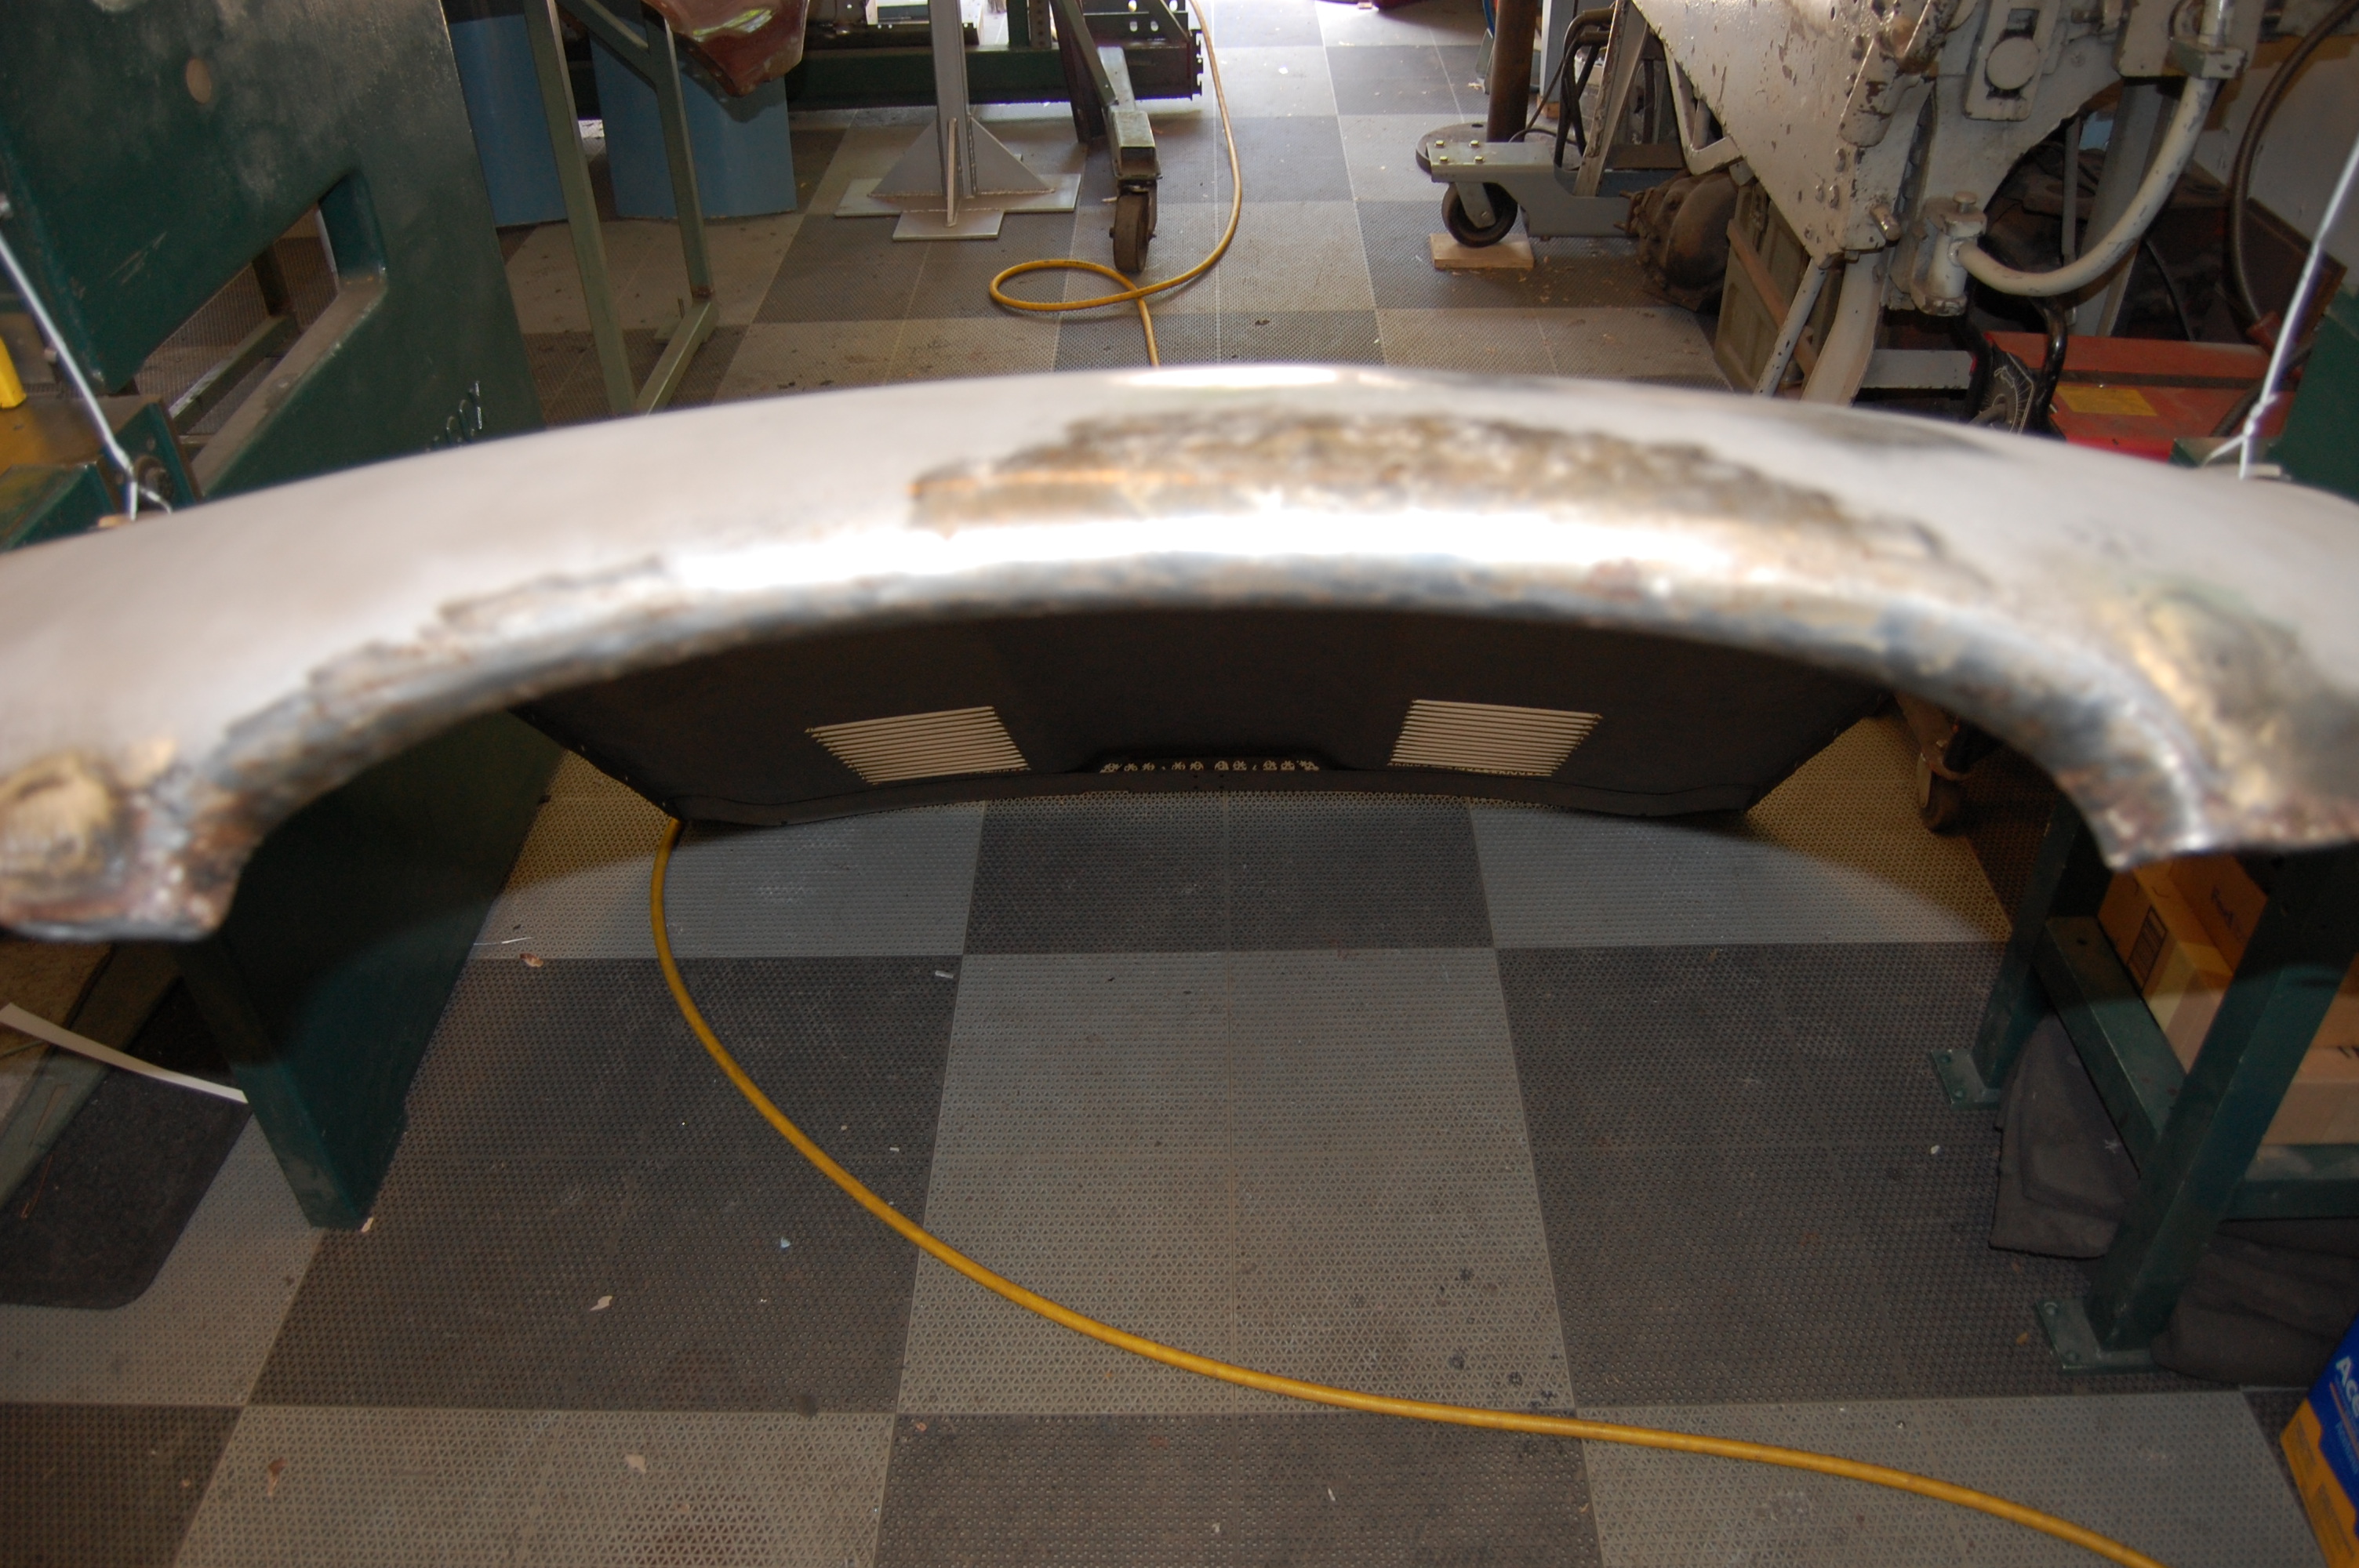
- This is a real problem. Like many E-Type bonnets, this one obviously sat upright on its rear edge for a long time, and heavy corrosion has eaten away at this edge. Rather than start in on a patch here – which is tricky to do seamlessly, I am going to leave this alone for now and hopefully be able to shim the bonnet rearward and then slice this jagged edge off in the final trimming step.
-
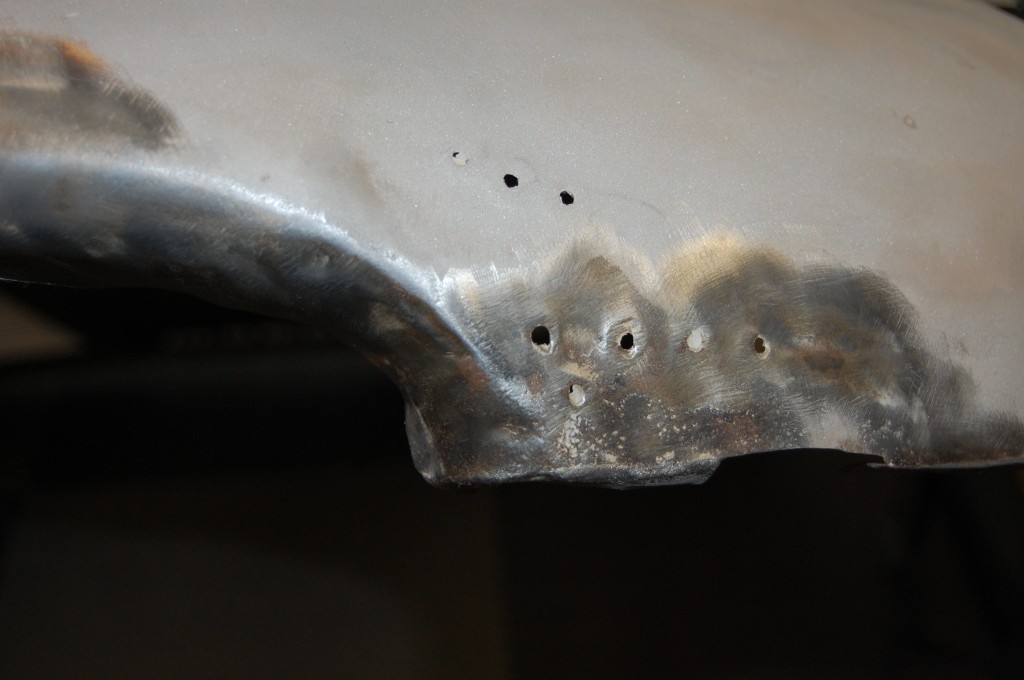
- Another E-Type falls victim to the infamous dent puller.

-
- On both sides – of course. This is from the car running into something and hitting on the over-riders, which then push into the corners of the mouth.
-

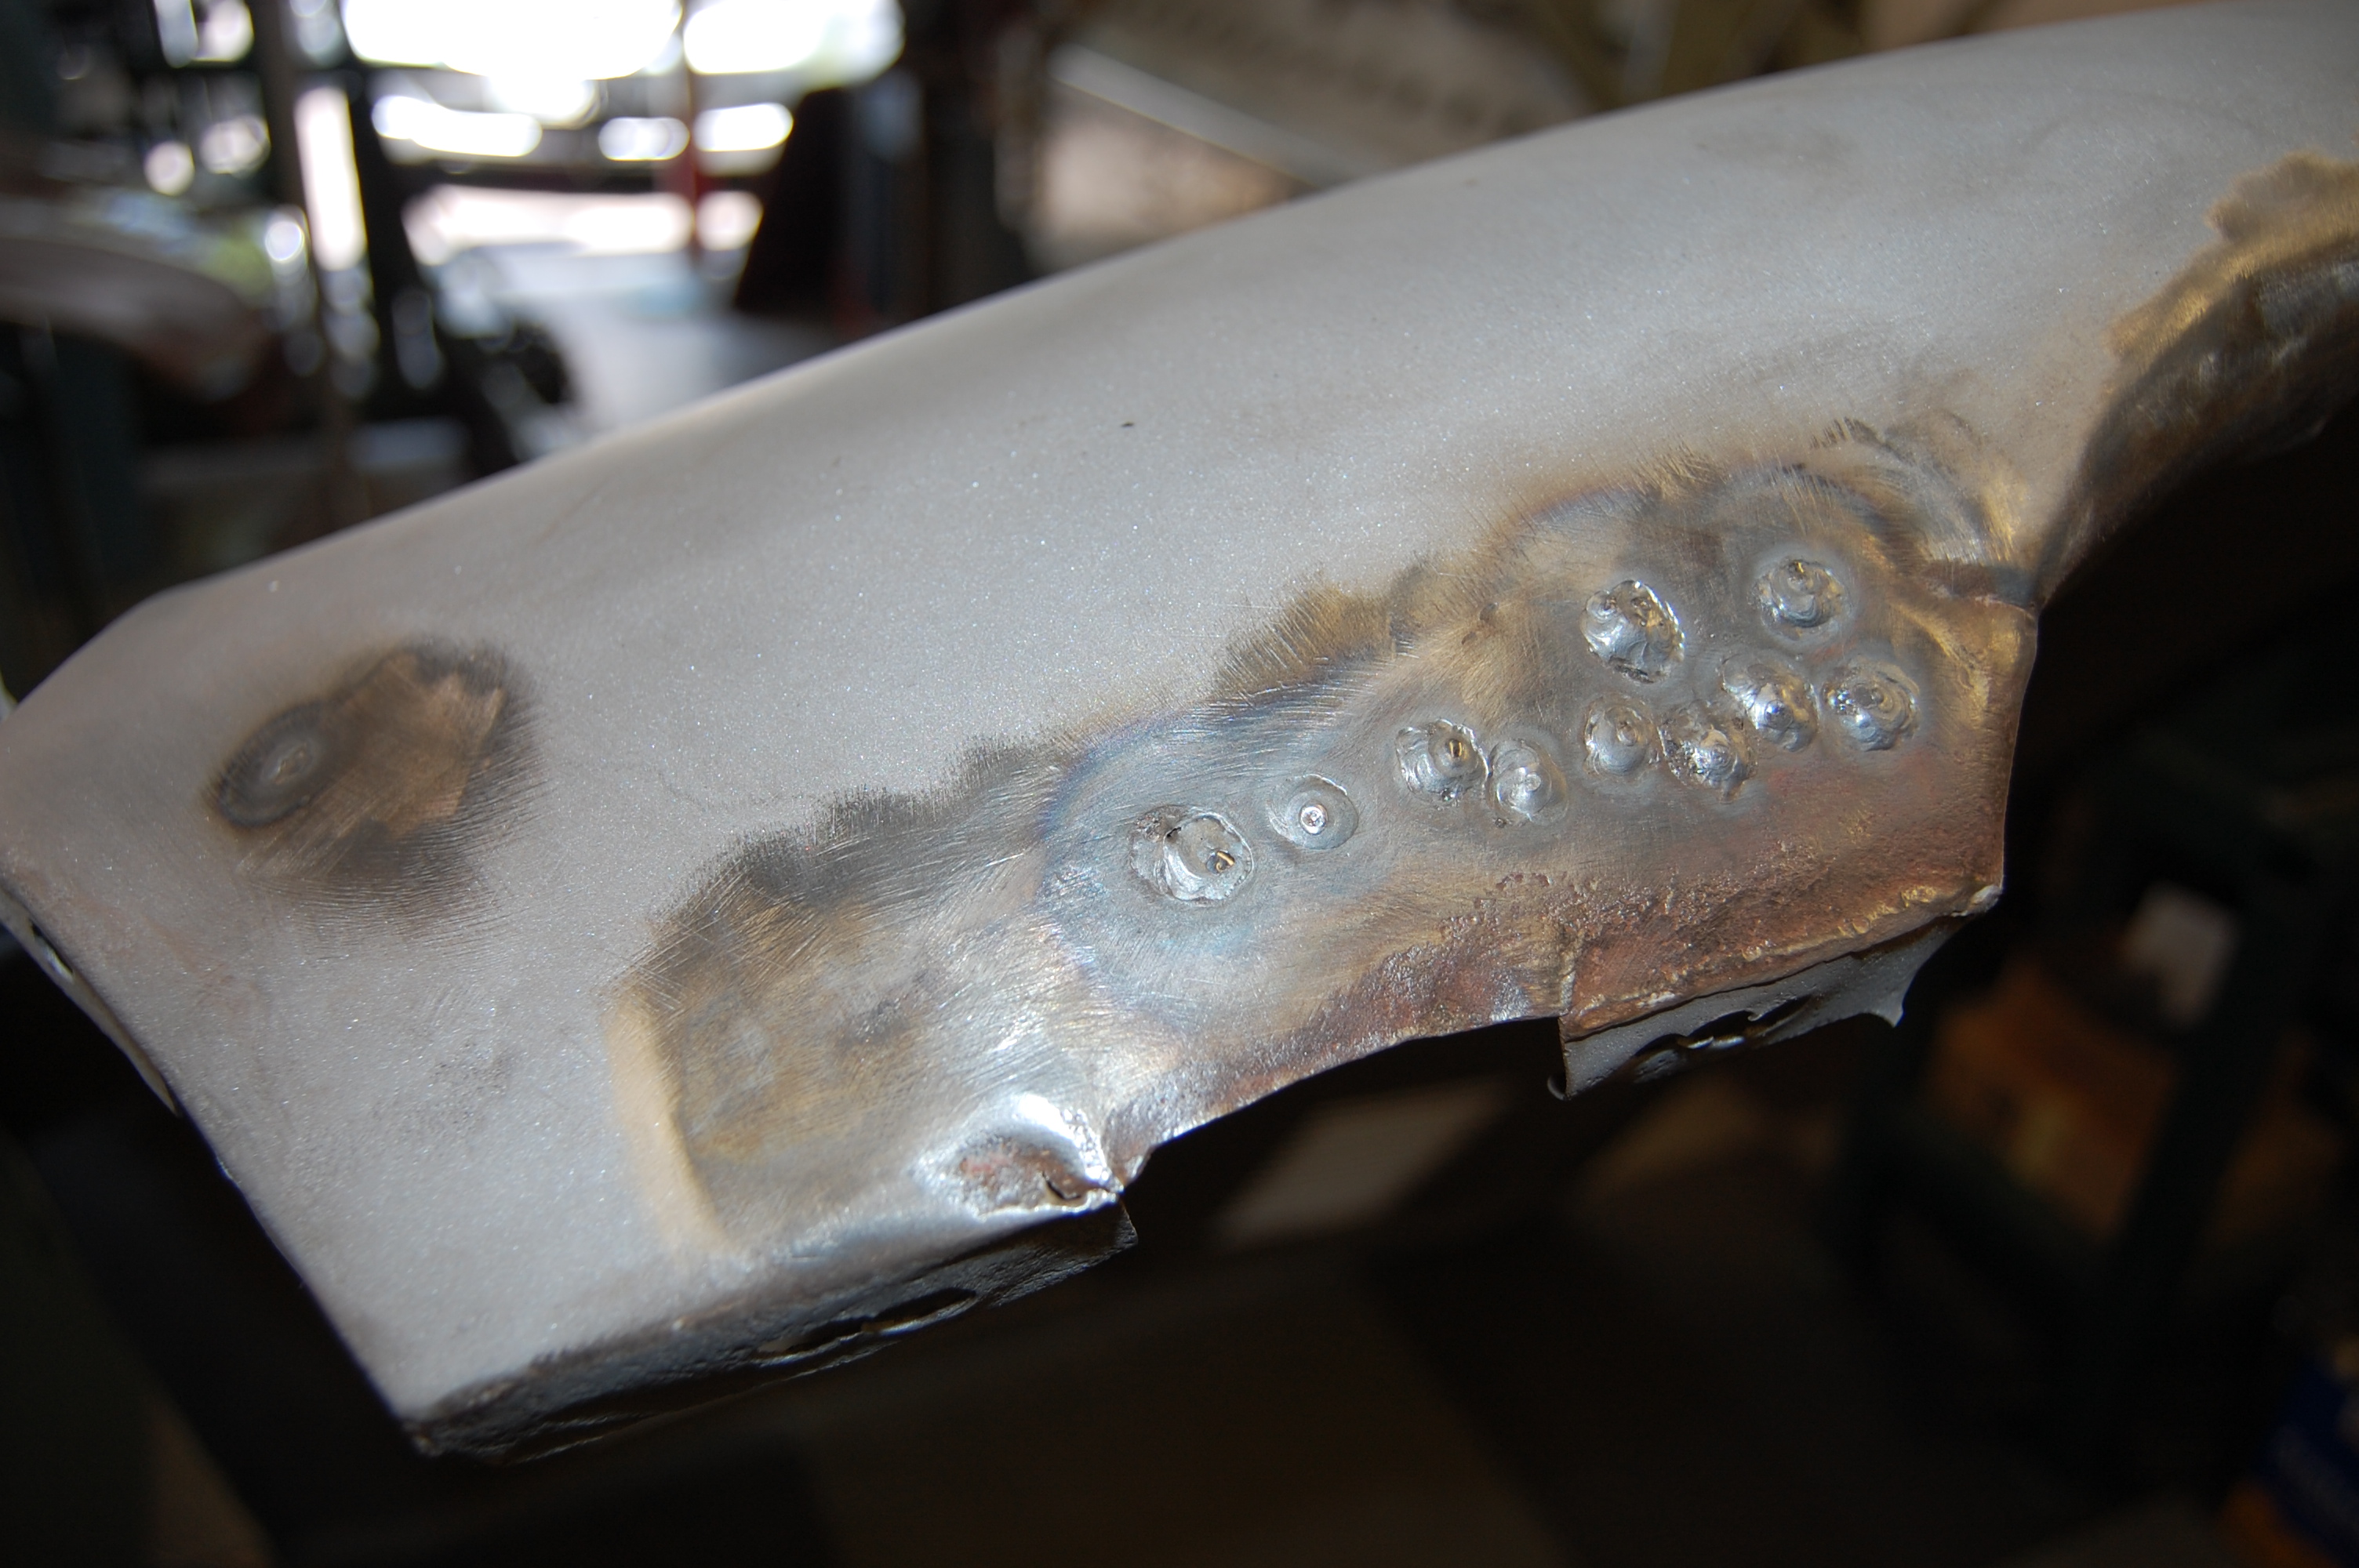
- A little patience with the TIG and some filler rod, and these holes are sealed up.
-
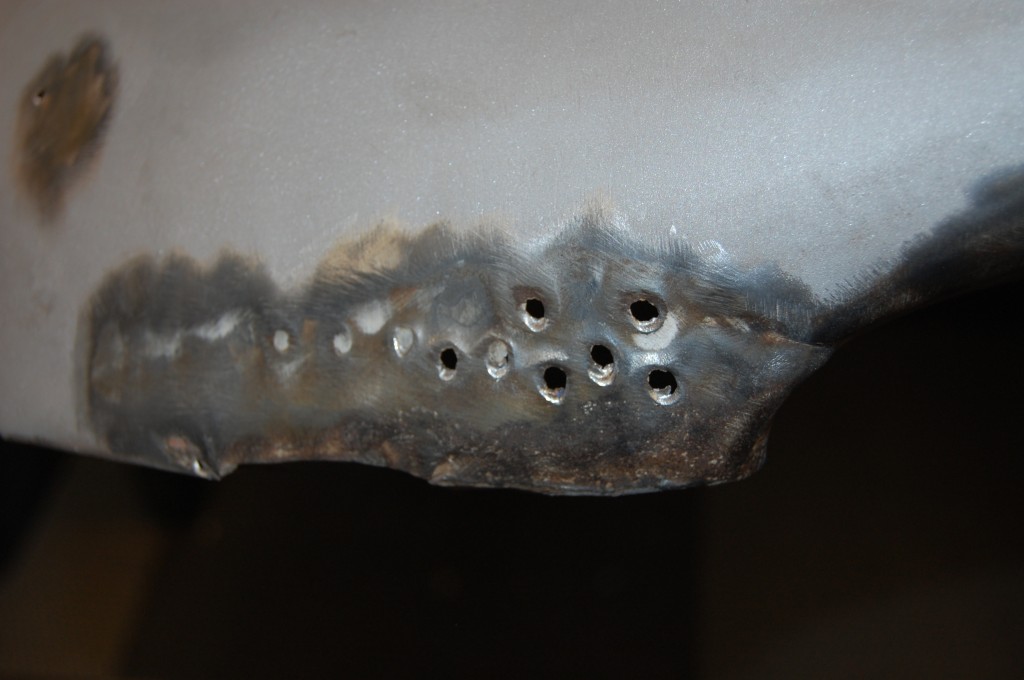
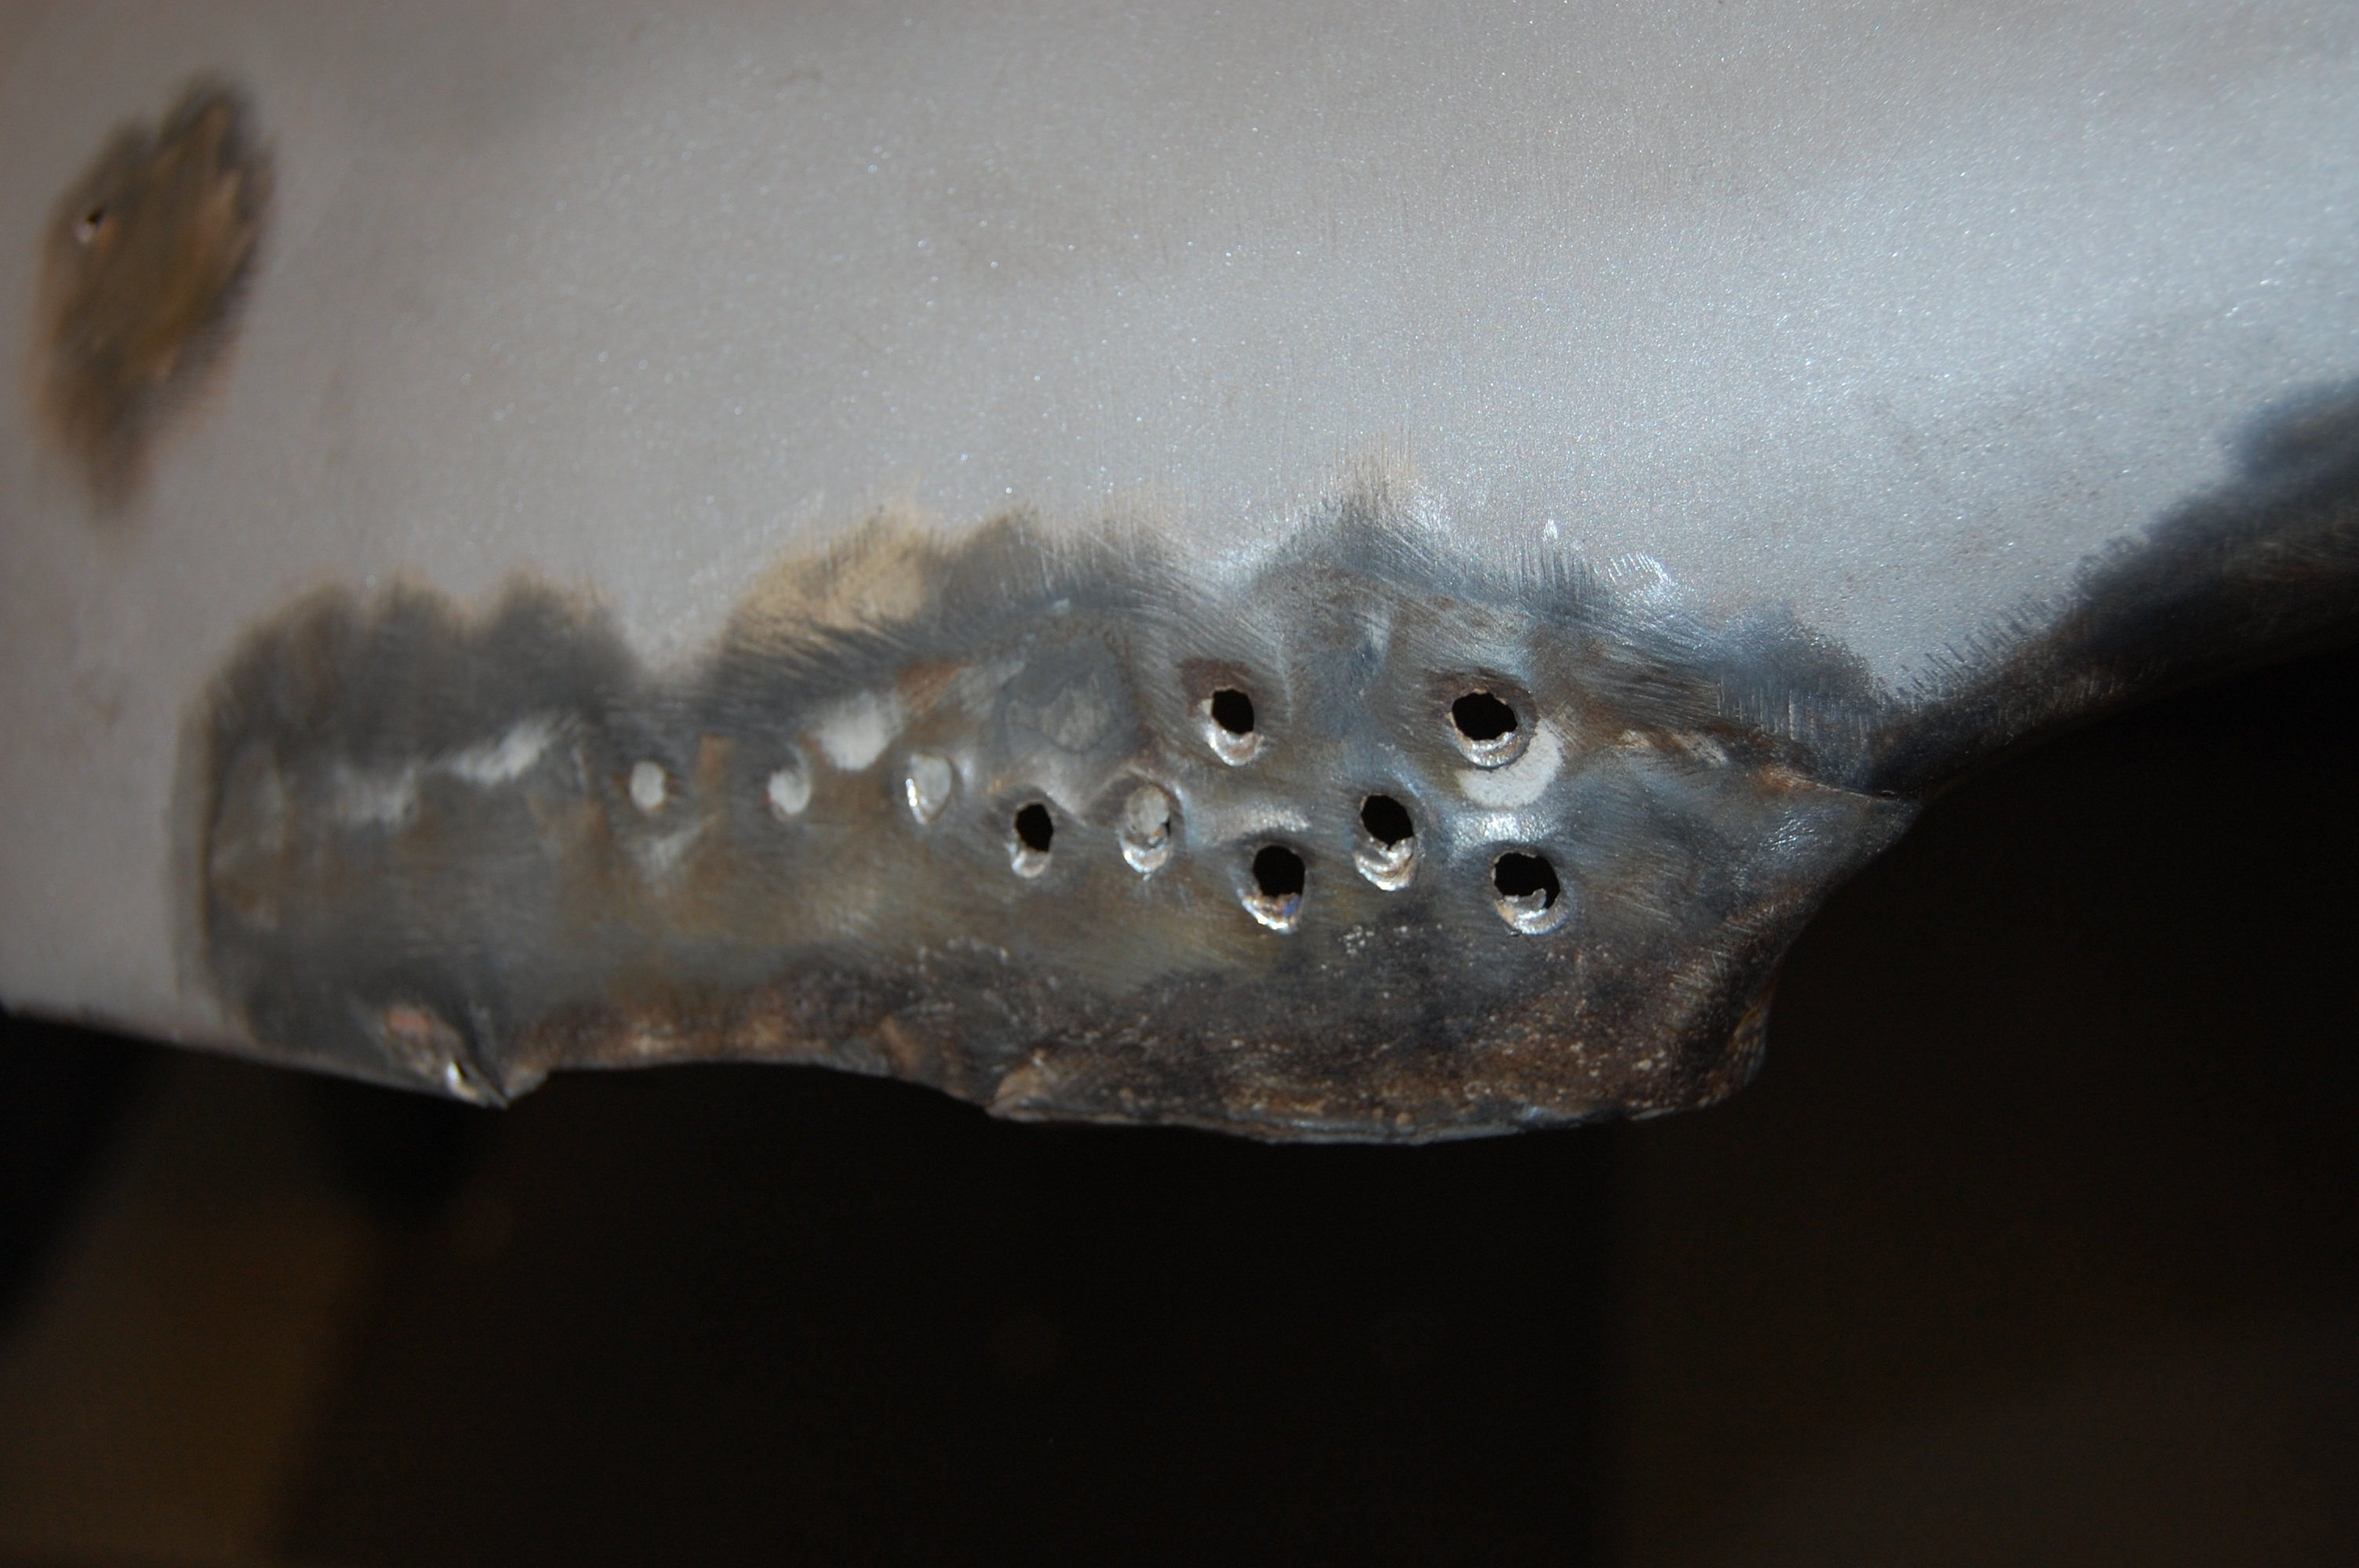
- The other side was a little trickier – the body shop gorilla’s often grind the hell out of the area after the dent puller is used, and it makes the areas around the holes very thin…

-
- This is a typical example of a body man sanding down the copious filler, finding a high spot, and then just whacking it down with a pick hammer before smearing more filler in… We will smooth this out with the slapper and dolly and then shrink the area until the metal surface is perfect again – requiring NO filler.
-

- Next, it’s time to use the dollies, hammers, slappers, etc. to reshape the mough based on our contour gauges and bucks.
-

- nues until the mouth is perfect.
-
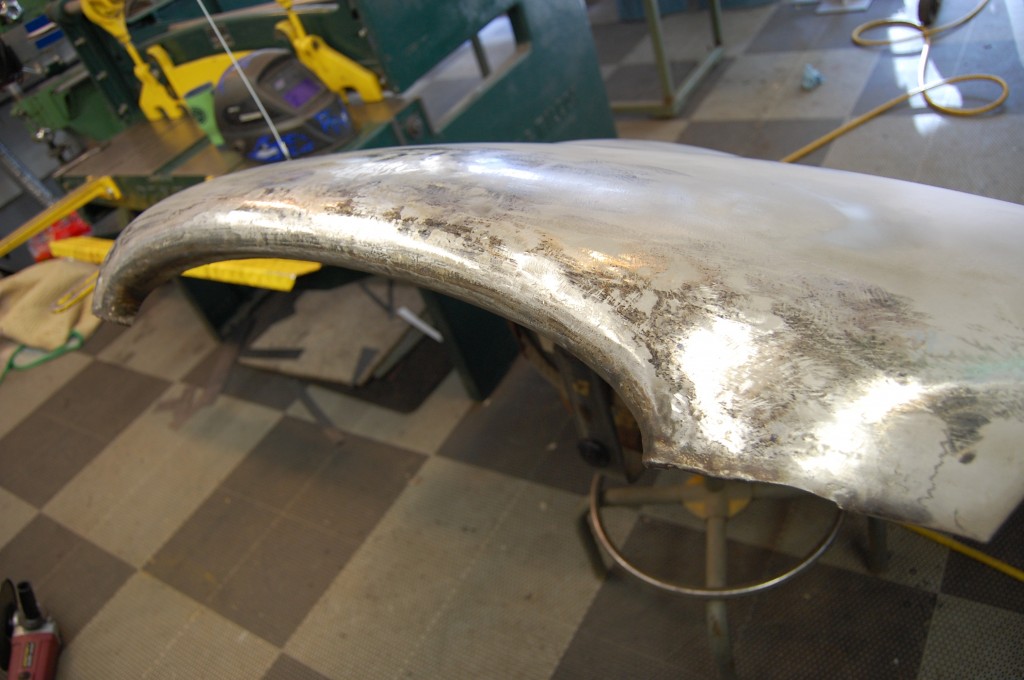
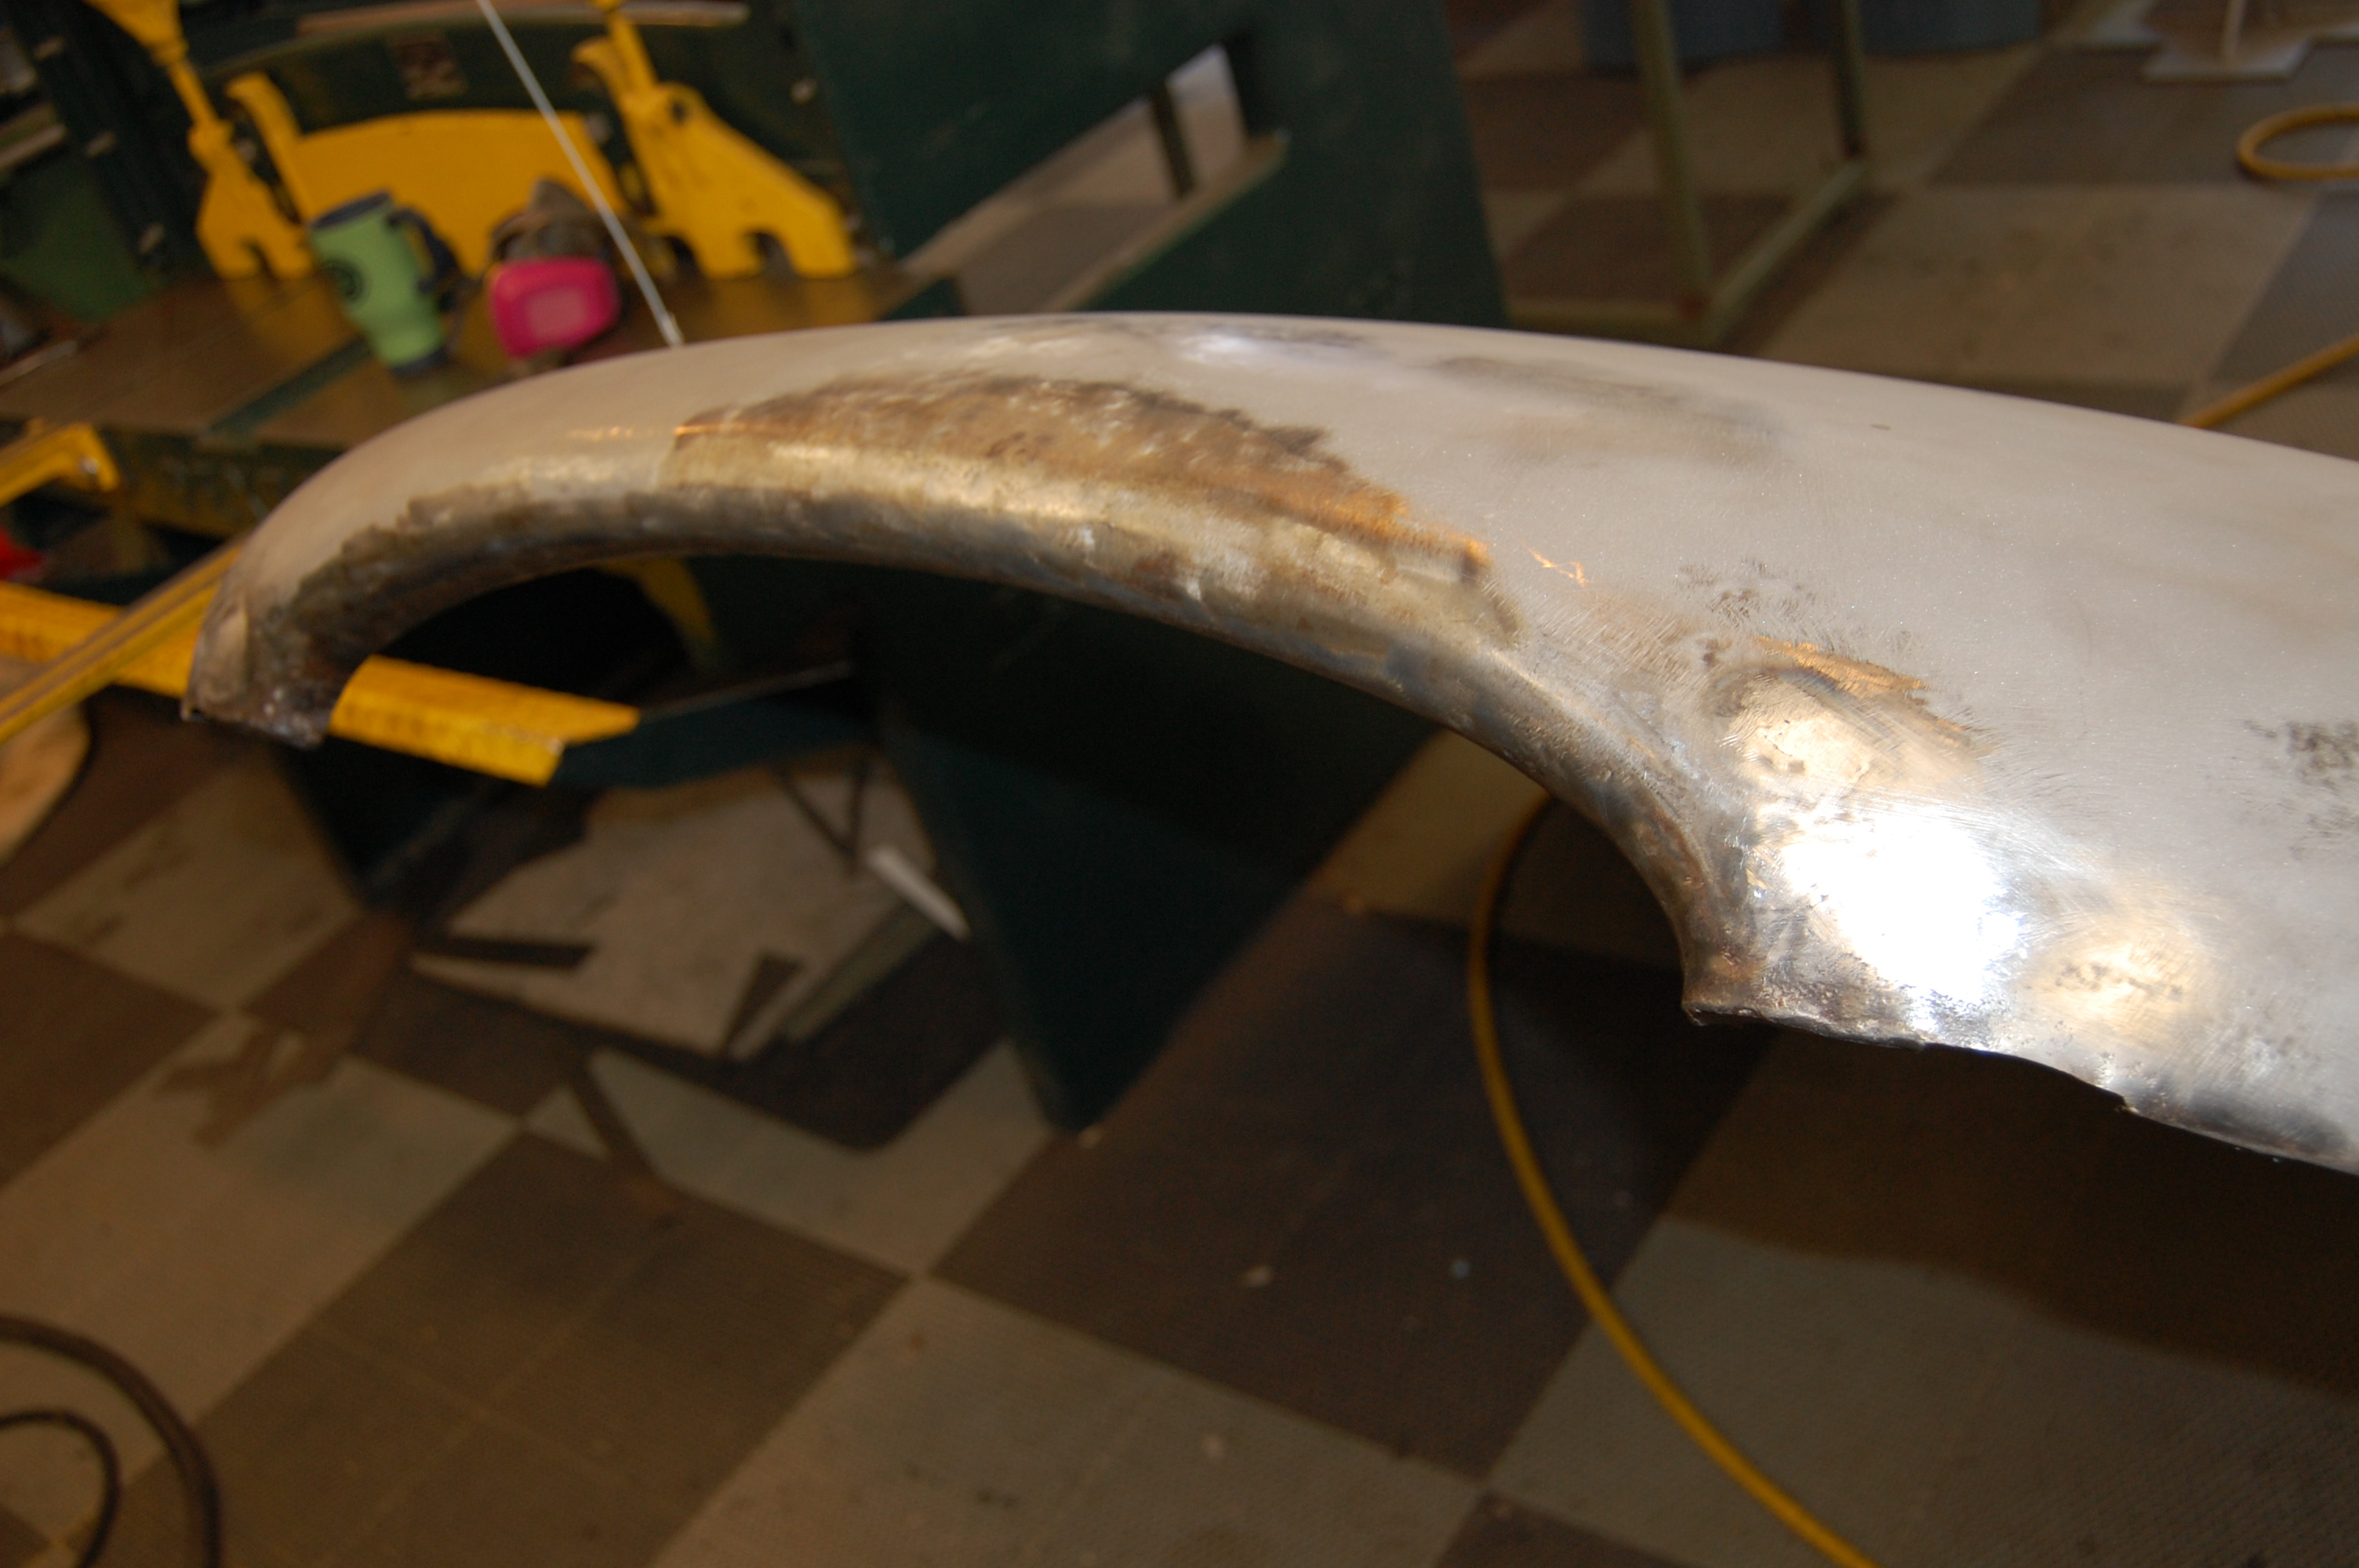
- Here you can see the burnished surface left by the shrinking process – this center section is now back in shape!

-
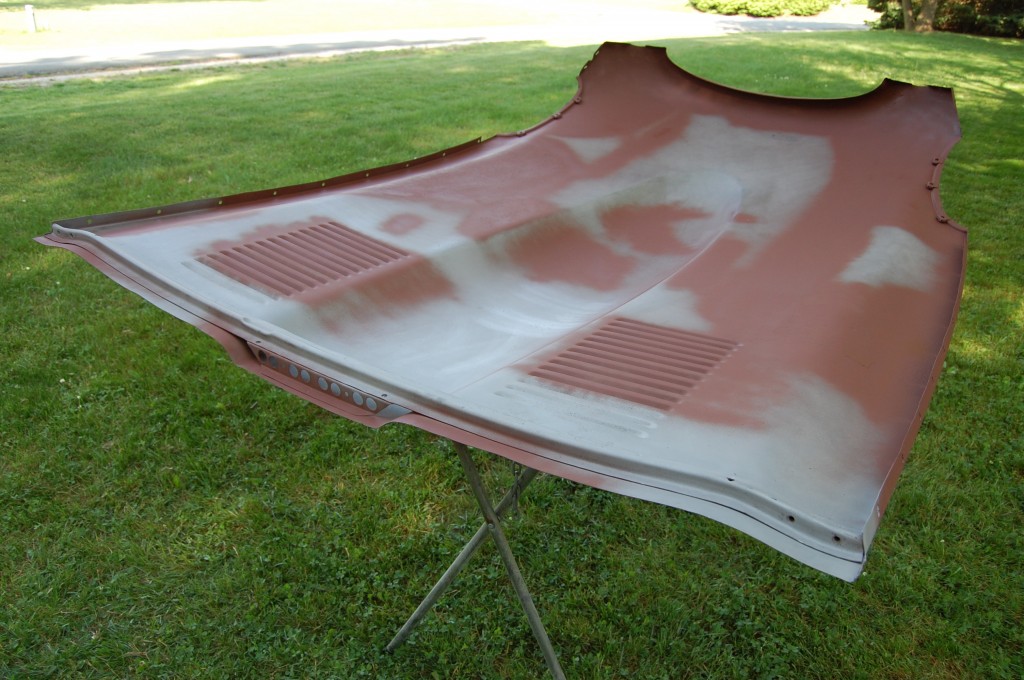
- Red oxide is used on the pitted areas, which we feel is the best coating for that, but anywhere without pits gets the self-etching primer.

-
- Voila! Restored and coated in a thin coat of self-etching primer. This looks perfect here, but a gloss paint job would reveal surface imperfections. From this point, the paint shop will apply coats of block-sanded high build primer – very little or no filler should be necessary.

-
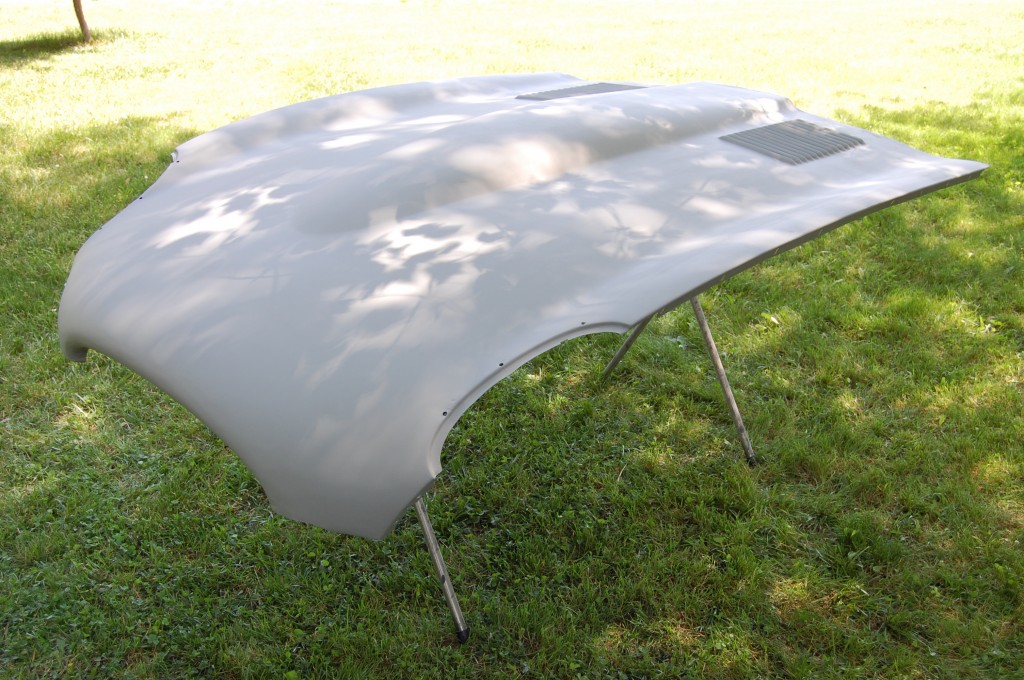
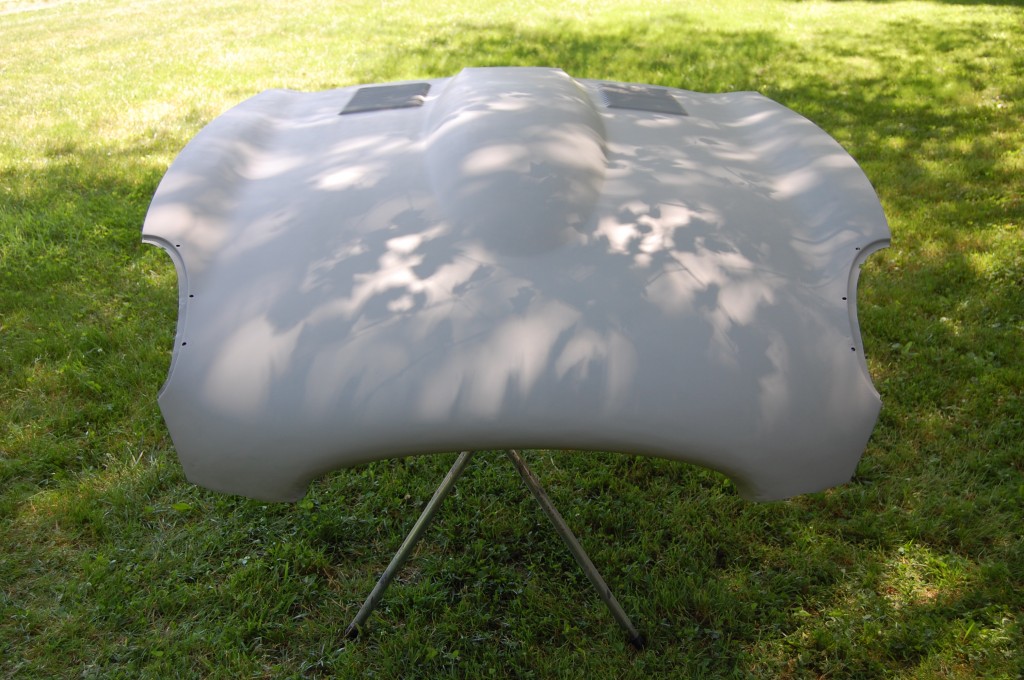
- Another shot of the restored panel.

-
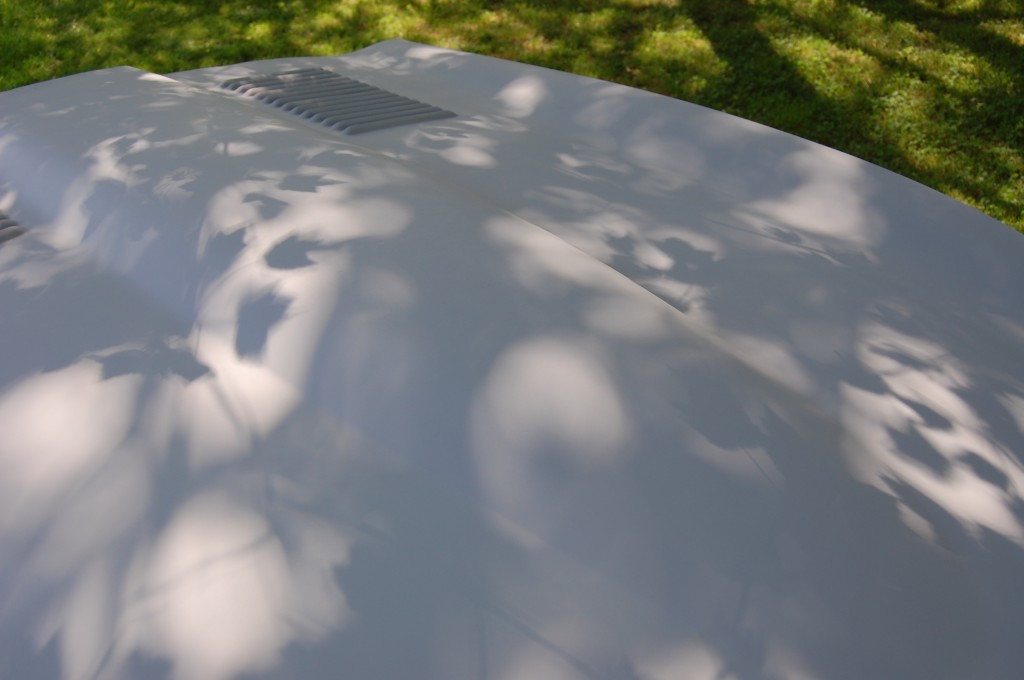
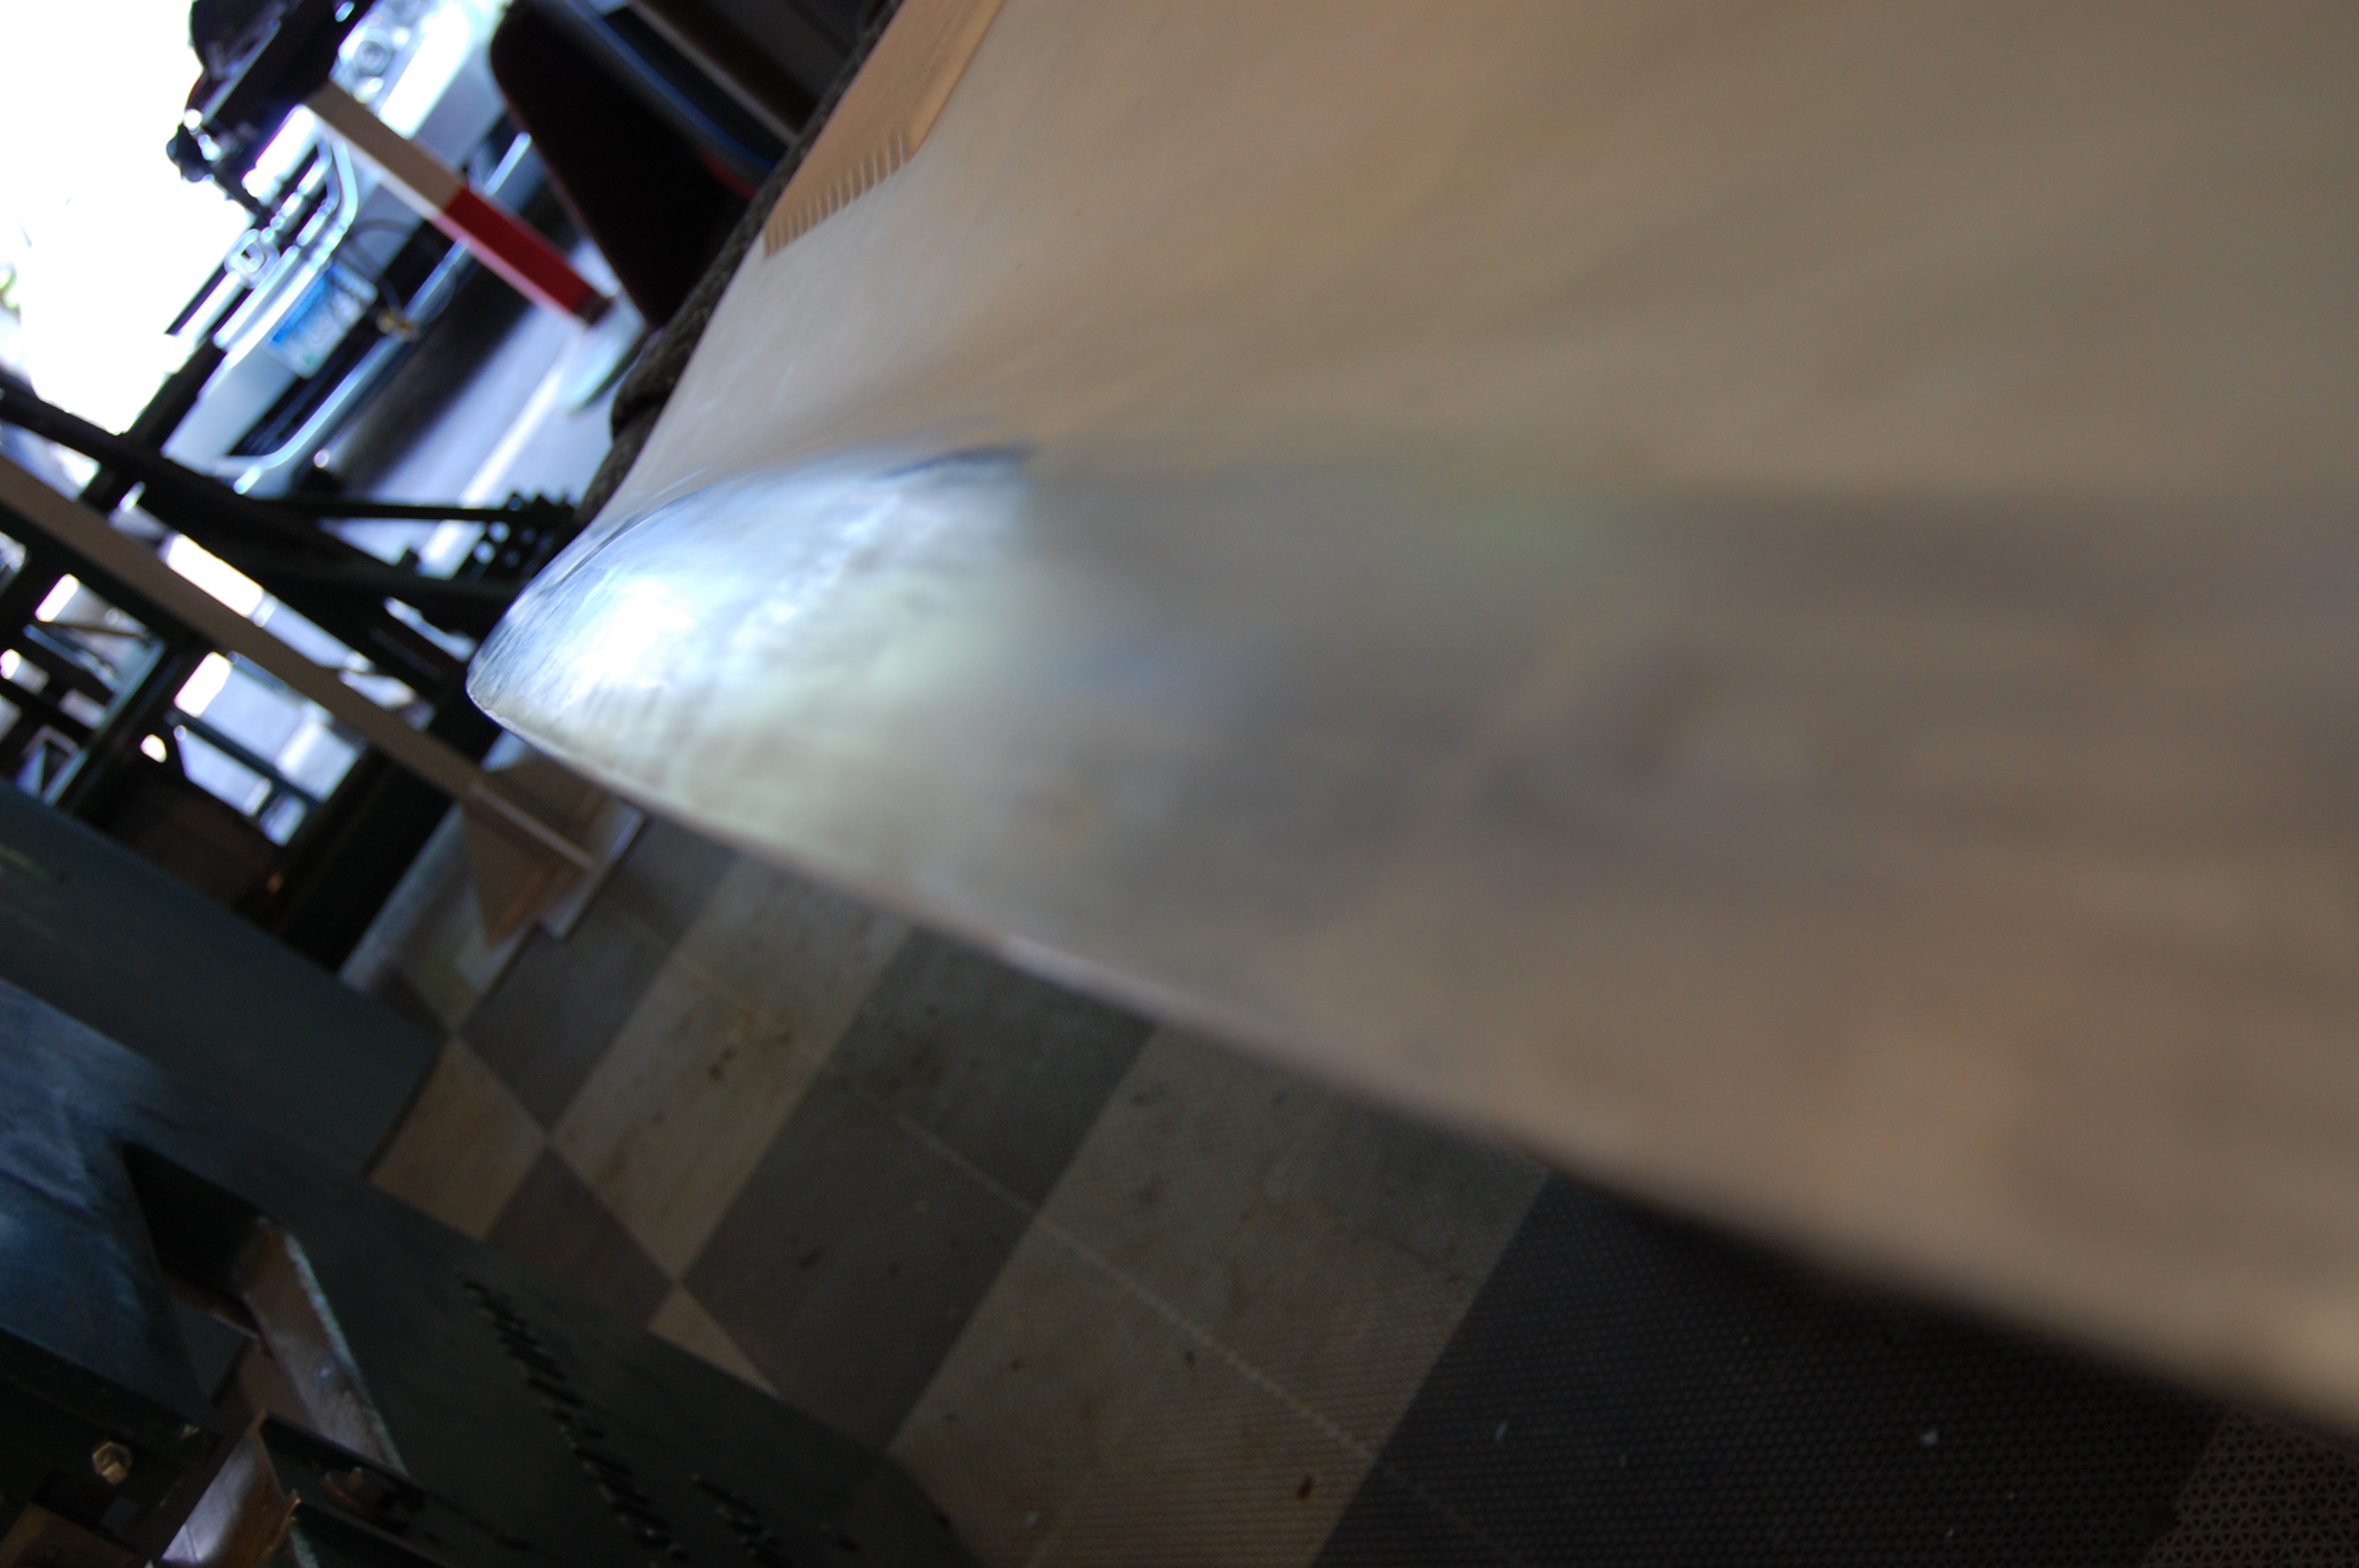
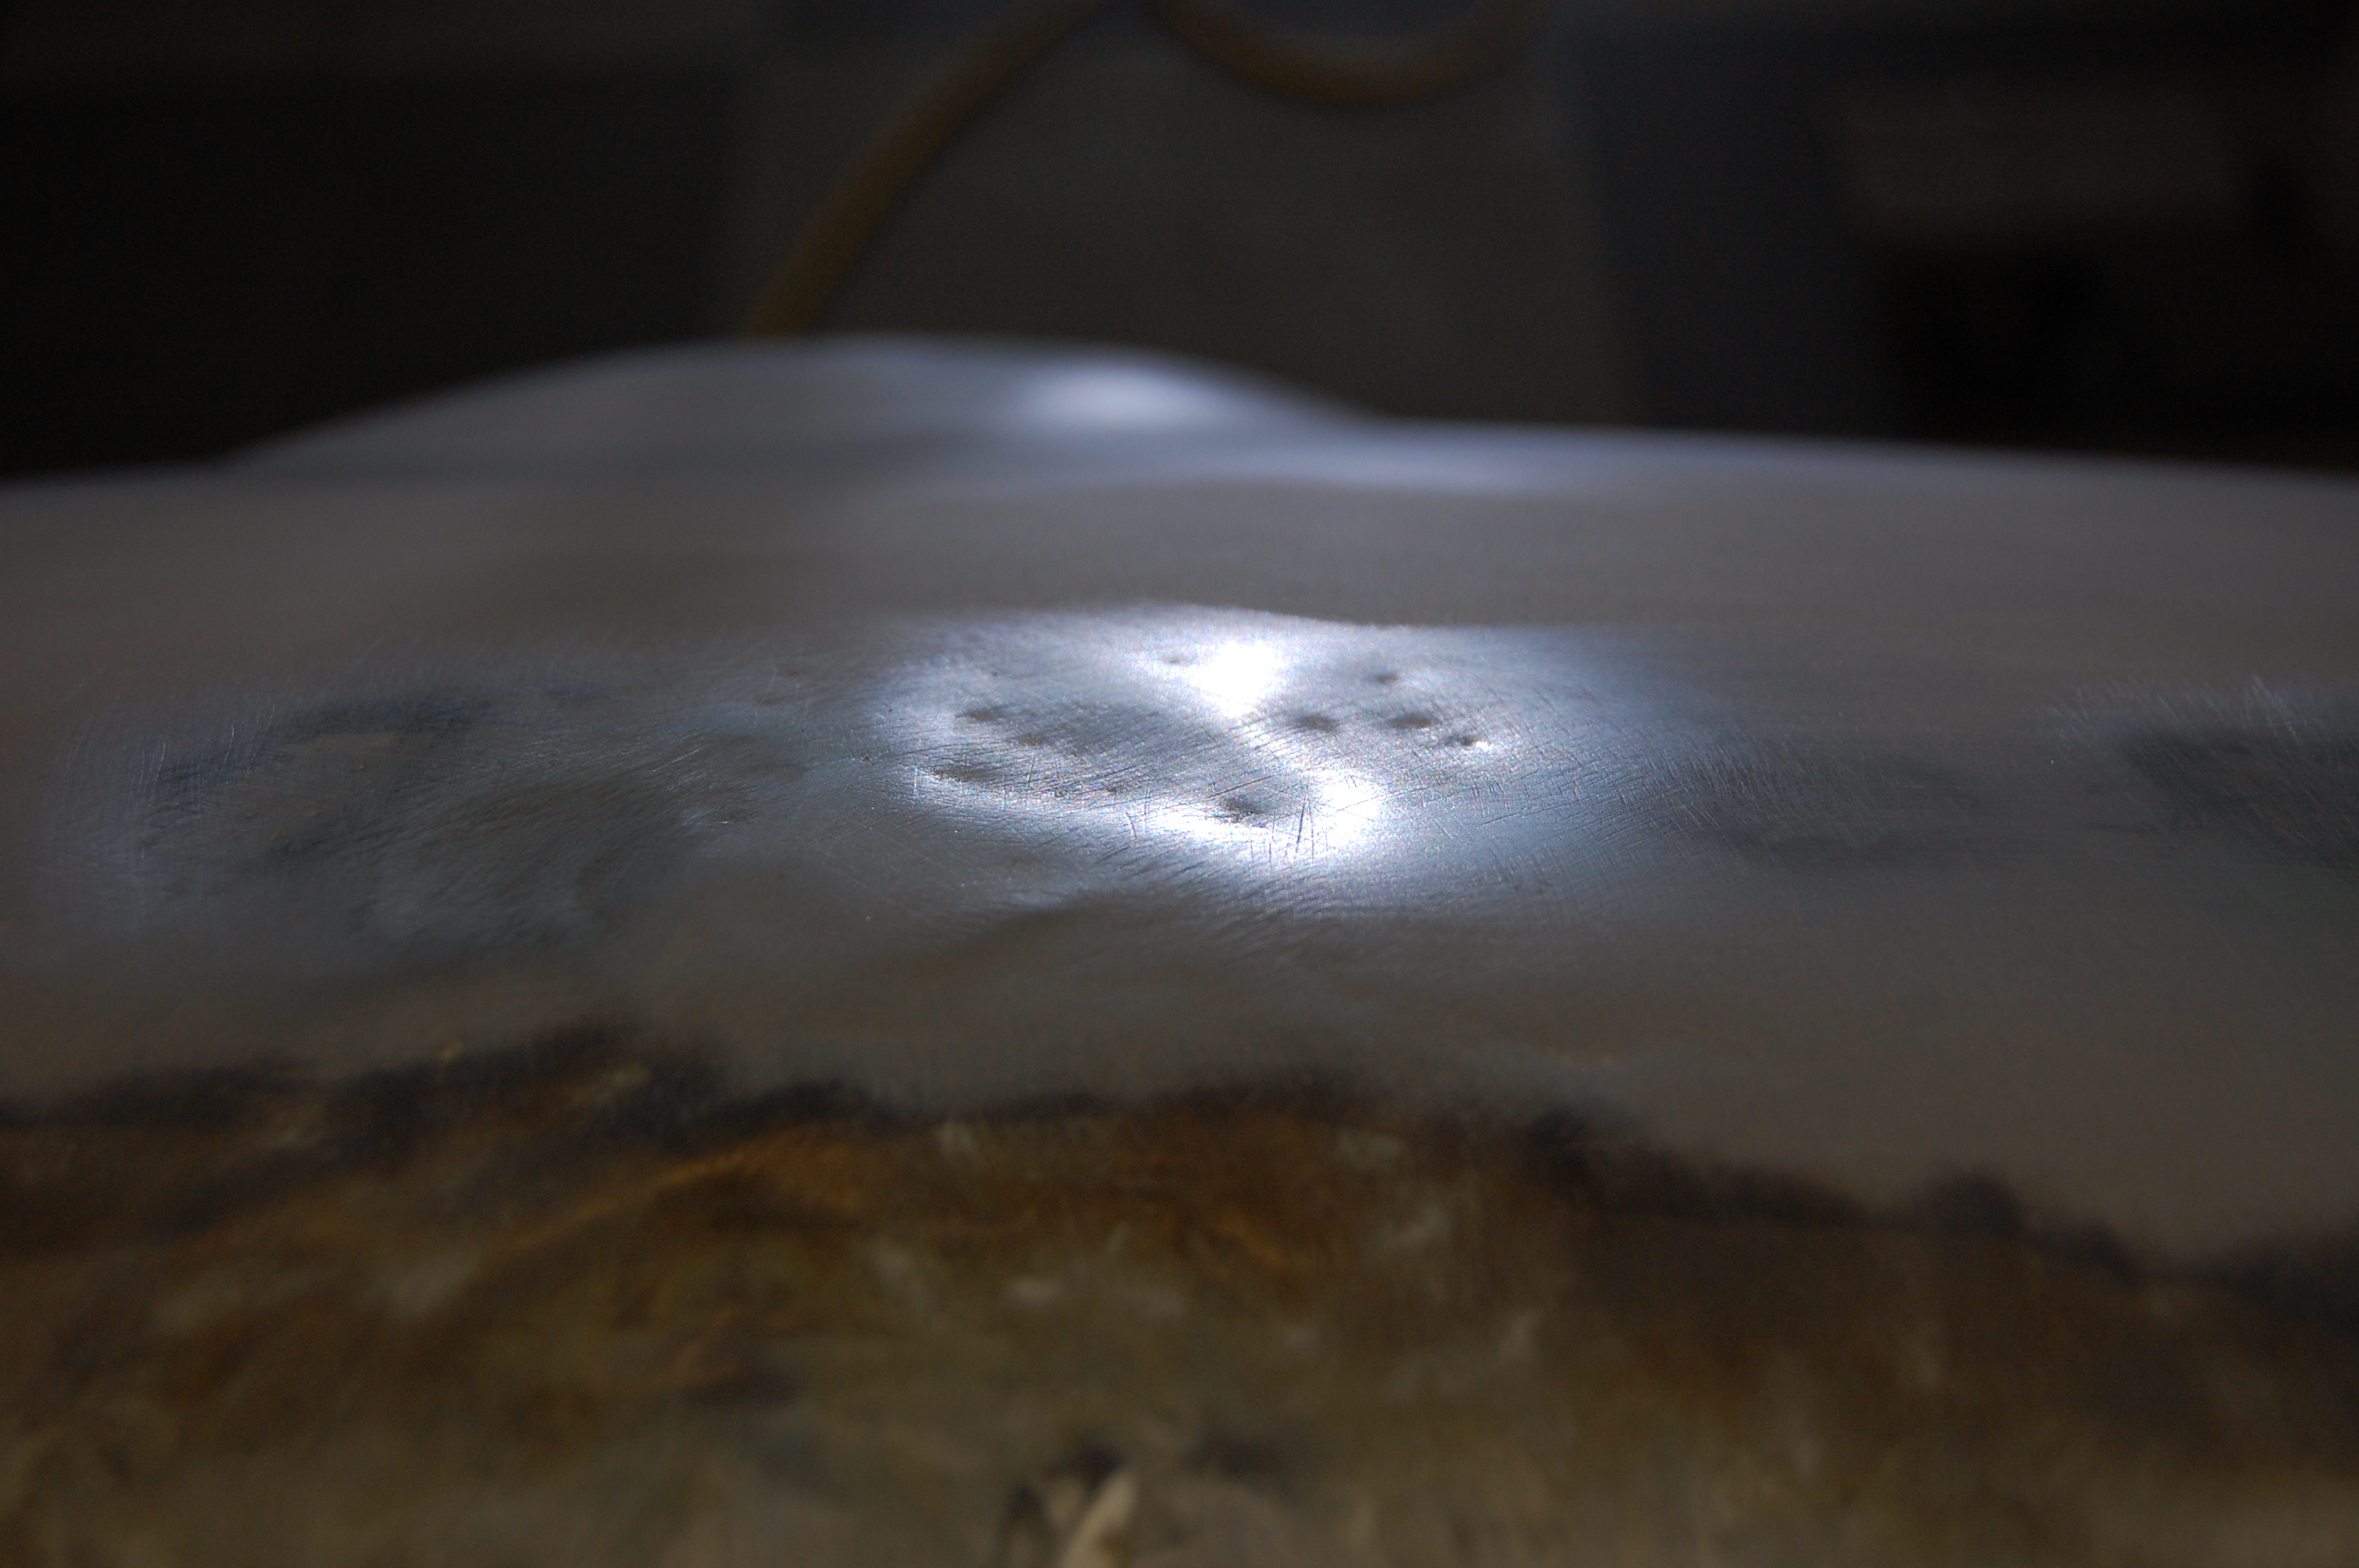
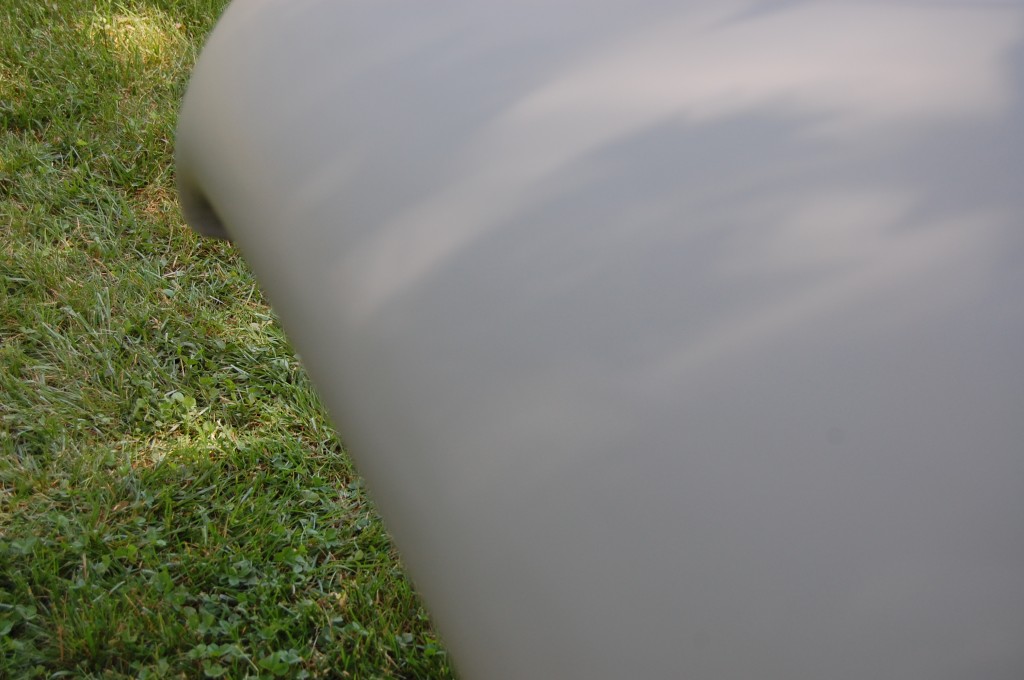
- The shadows make it tough to see, but the power bulge is as smooth as glass!

-
- Remember those dents put in with the pick hammer? As promised, they are erased as well! This is going to be a very good bonnet – can’t wait for assembly!