In our last blog for this project, we repaired the forward sections of these wings where cancerous rust had eaten through the skin above the forward bonded flanges. next, we had to replace the lower metal in the rear section of the wing, and replace the wired edge as well. Follow along as we continue to resurrect this pair of “junkyard wings” that actually came out of a junkyard in New Jersey.
-
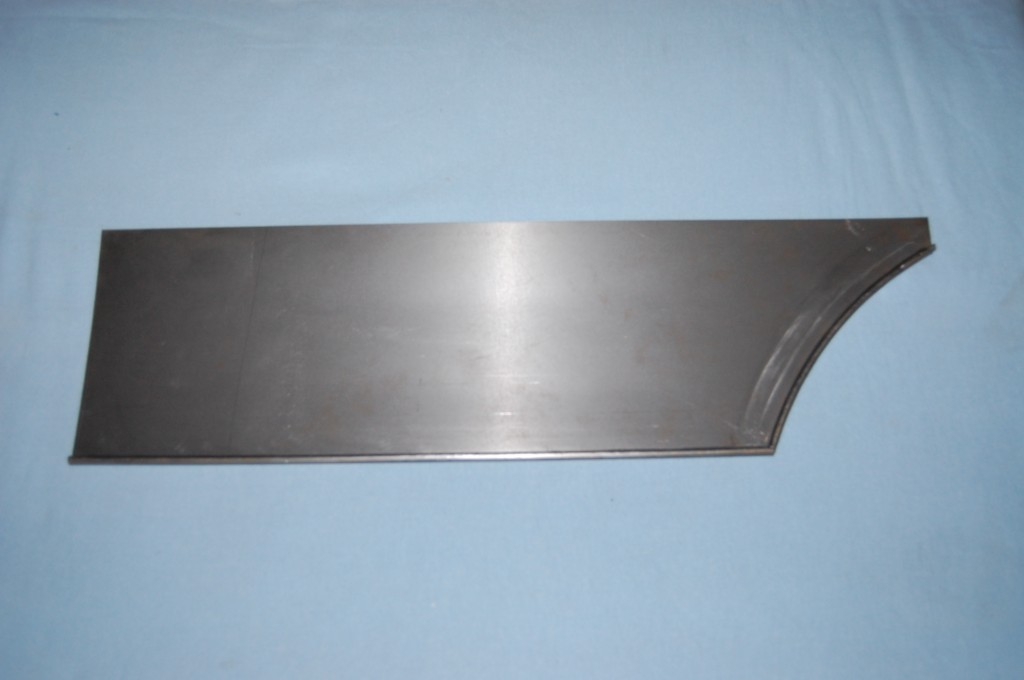
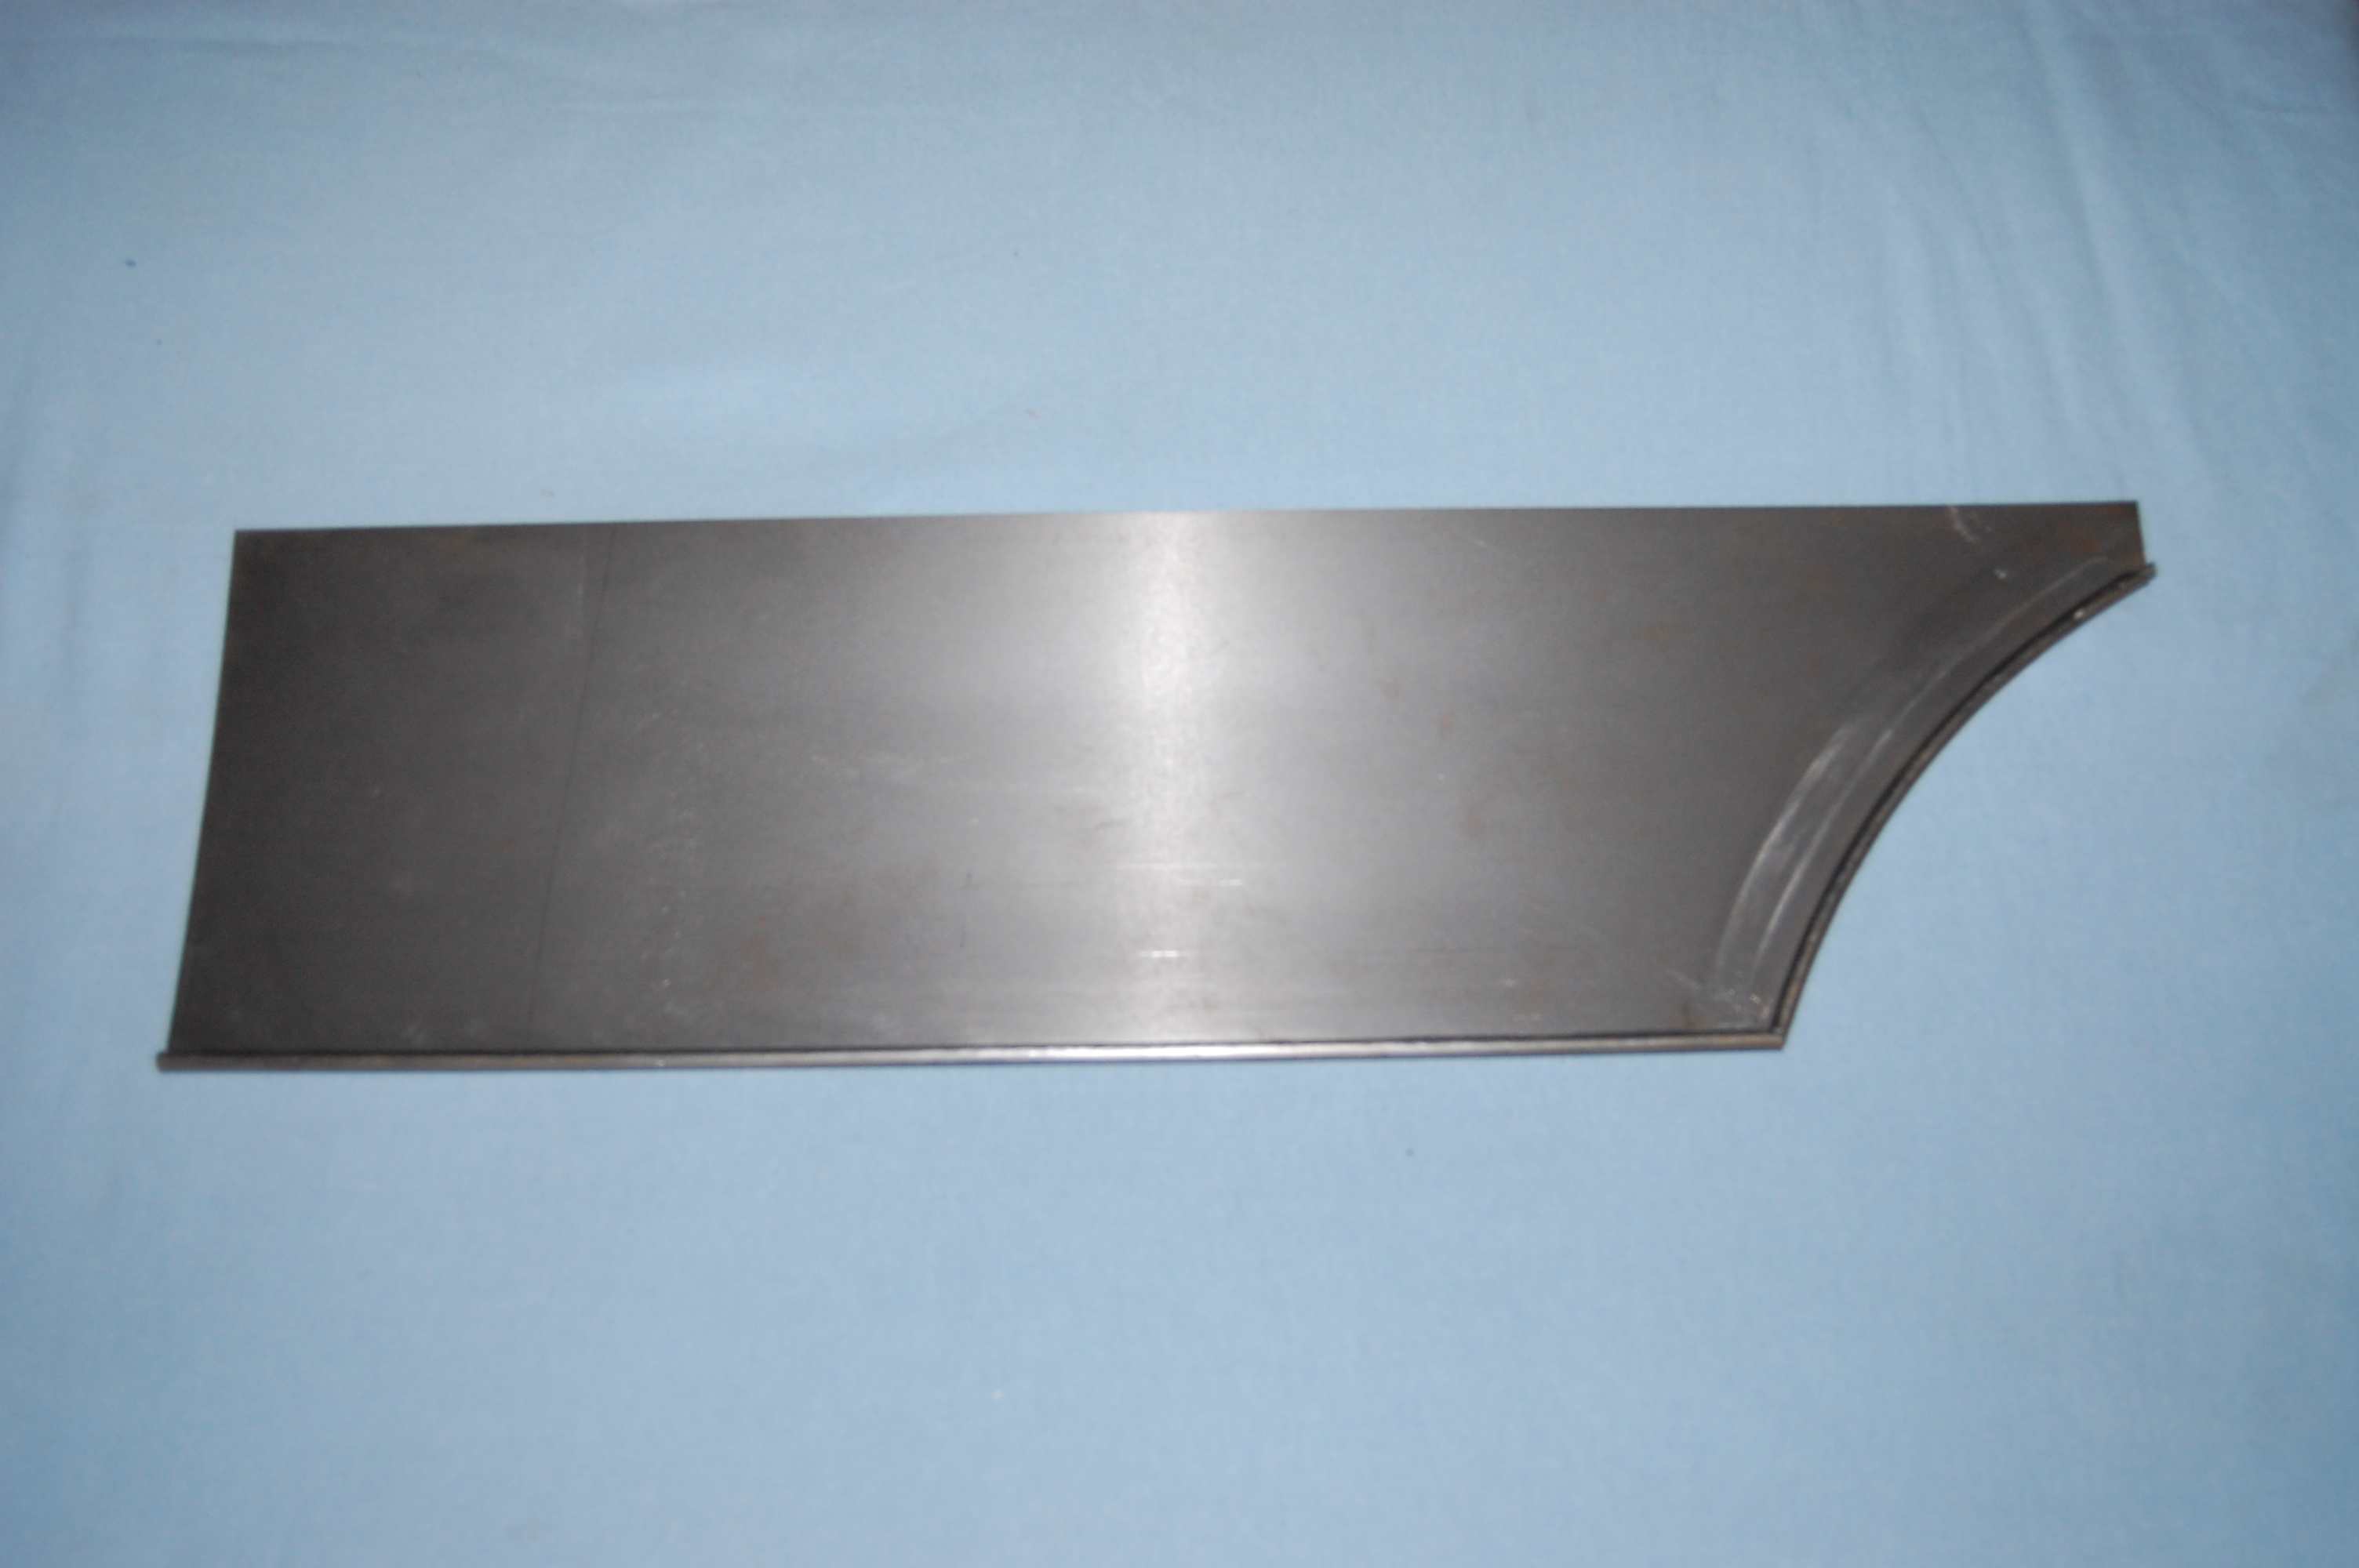
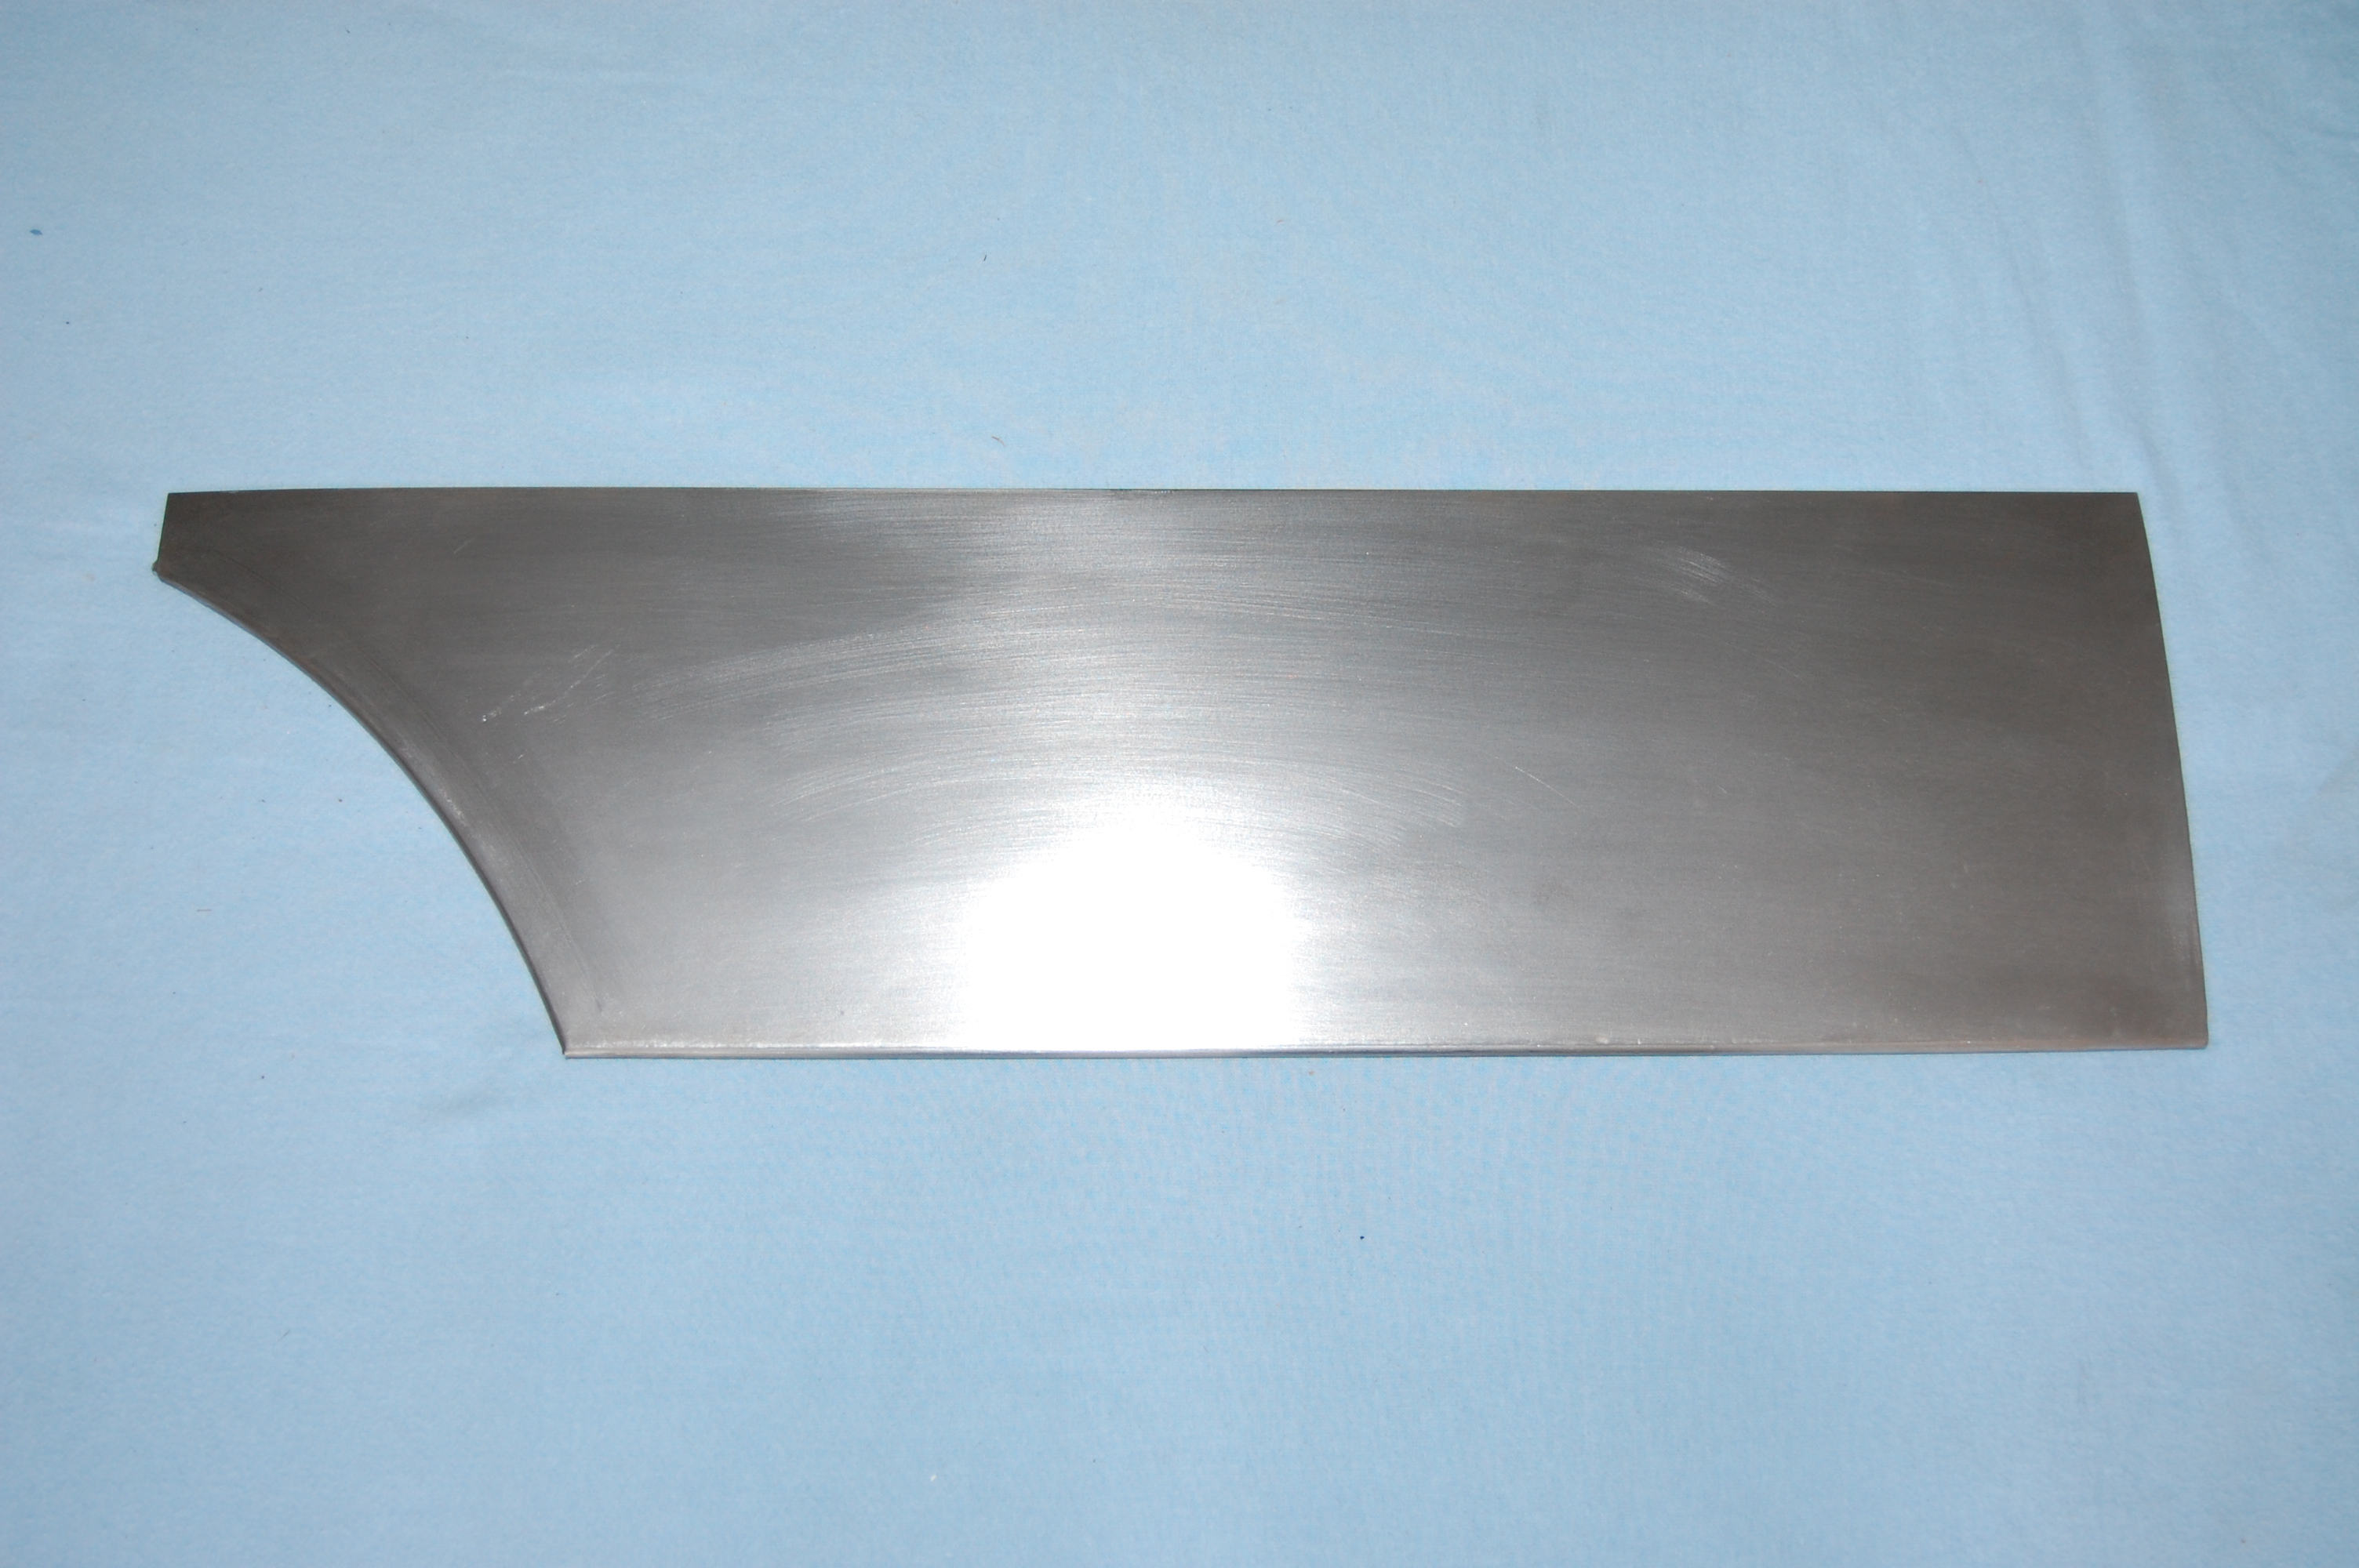
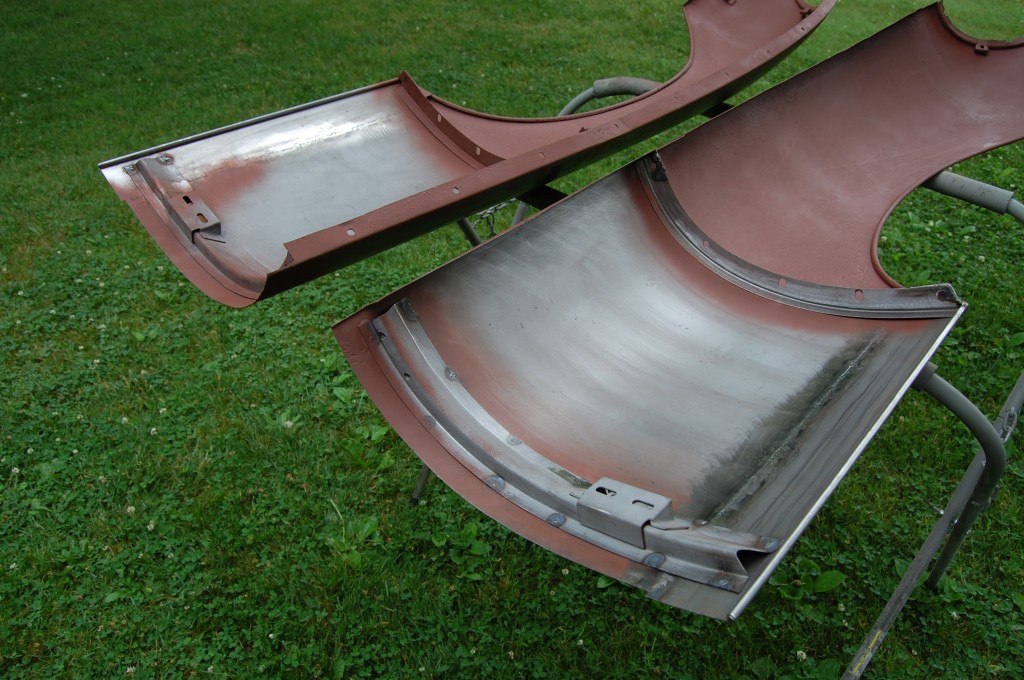
- This is a panel that we form up in our fabrication shop and have available if you have this same cancer in your wings – which is very common.
-
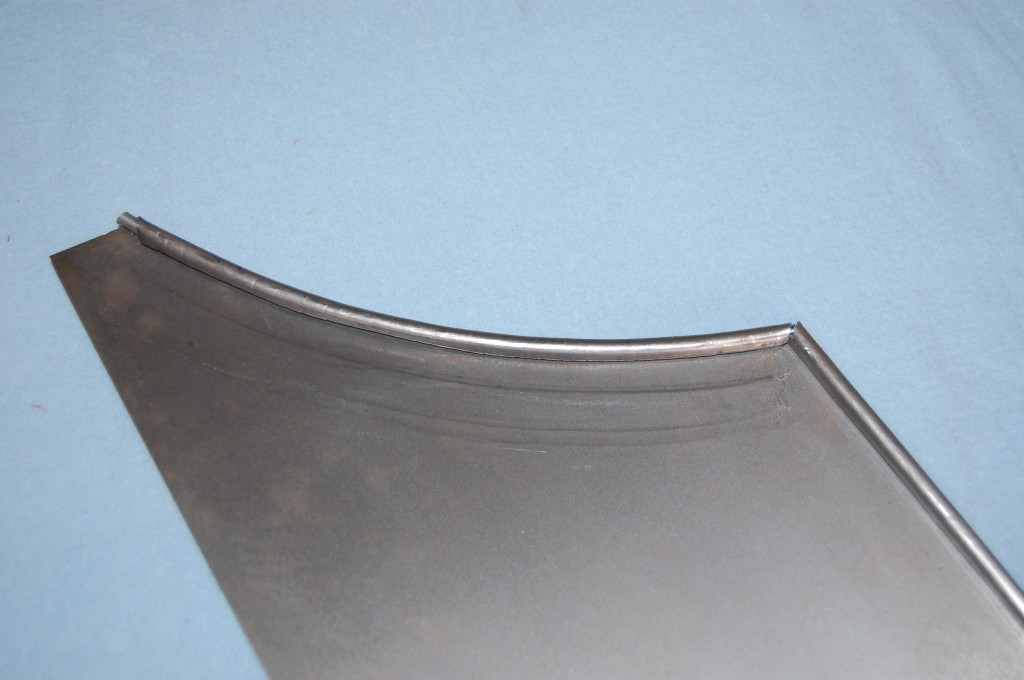
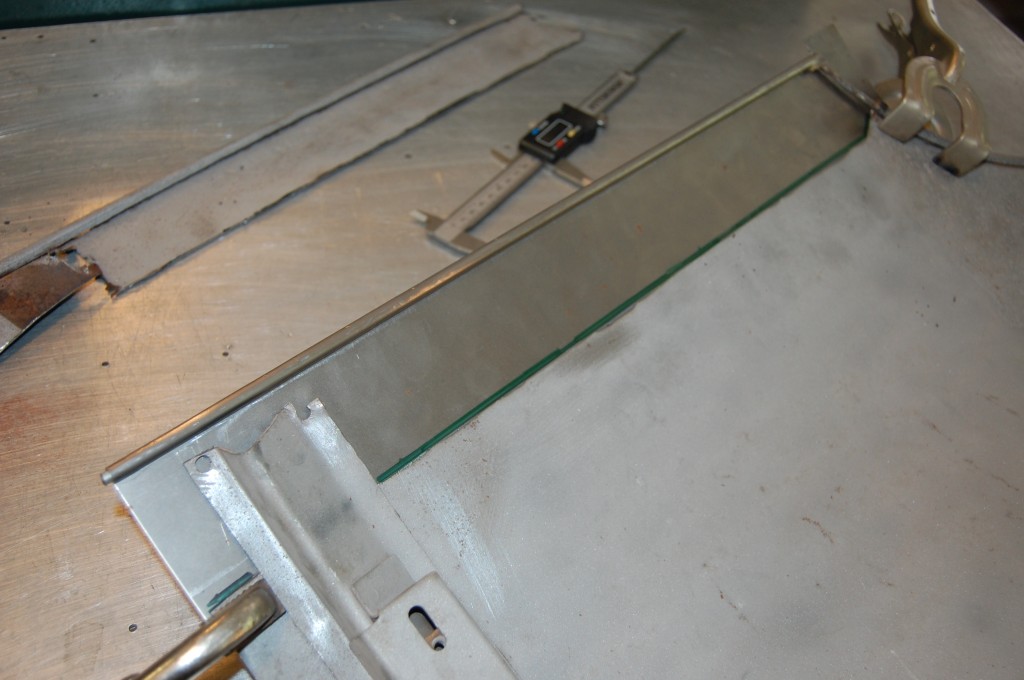
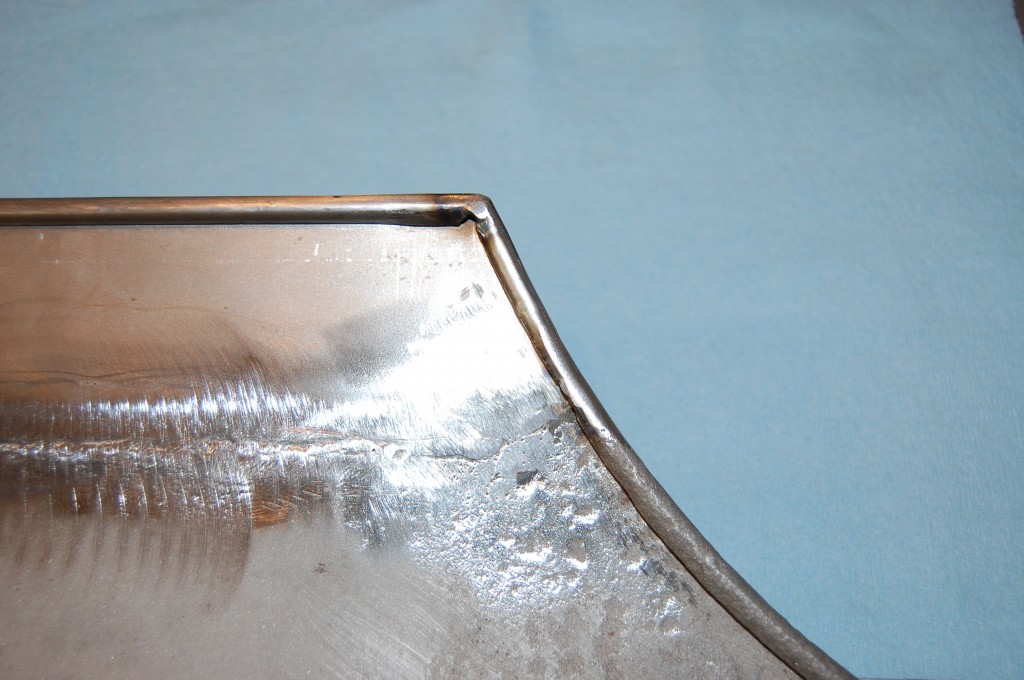
- We take great care in rolling the wired edge, and the dimensions are all spot-on.

-

- Here is the outer side.
-
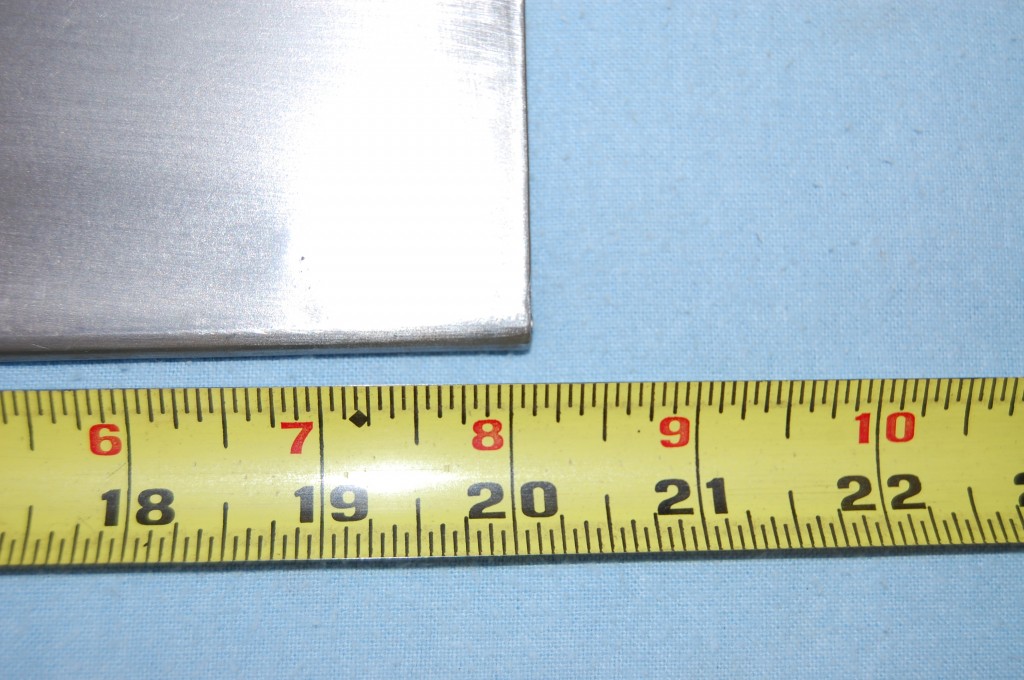
- E-Type fenders are usually anywhere from 19+1/4″ to 19+1/2″ in this demension. We make these extra lon so that there is no doubt they will fit your wings.

-
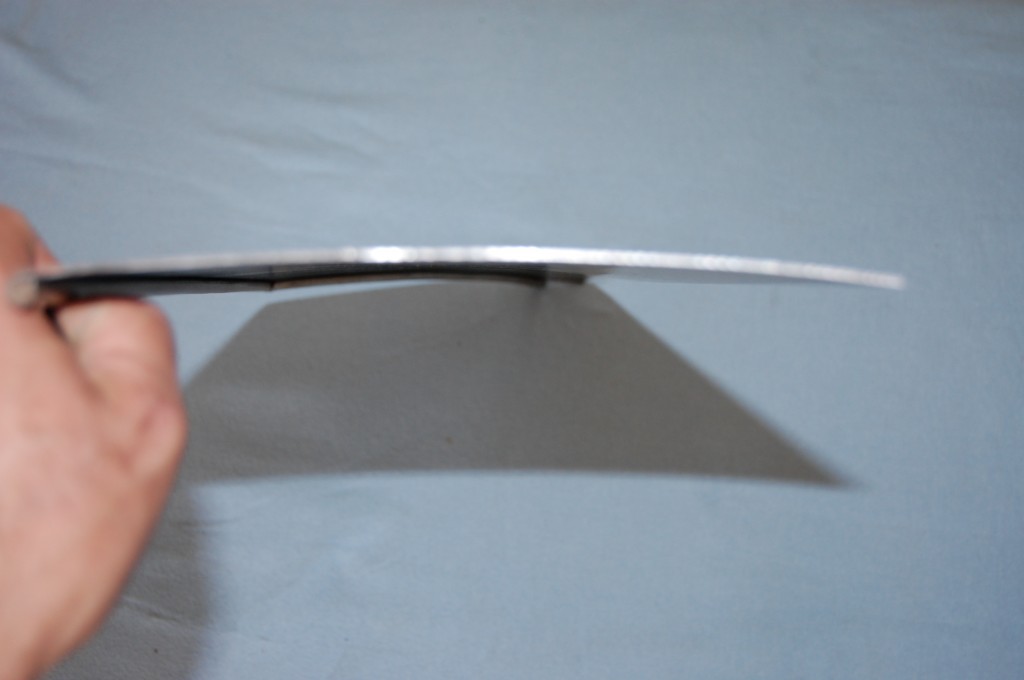
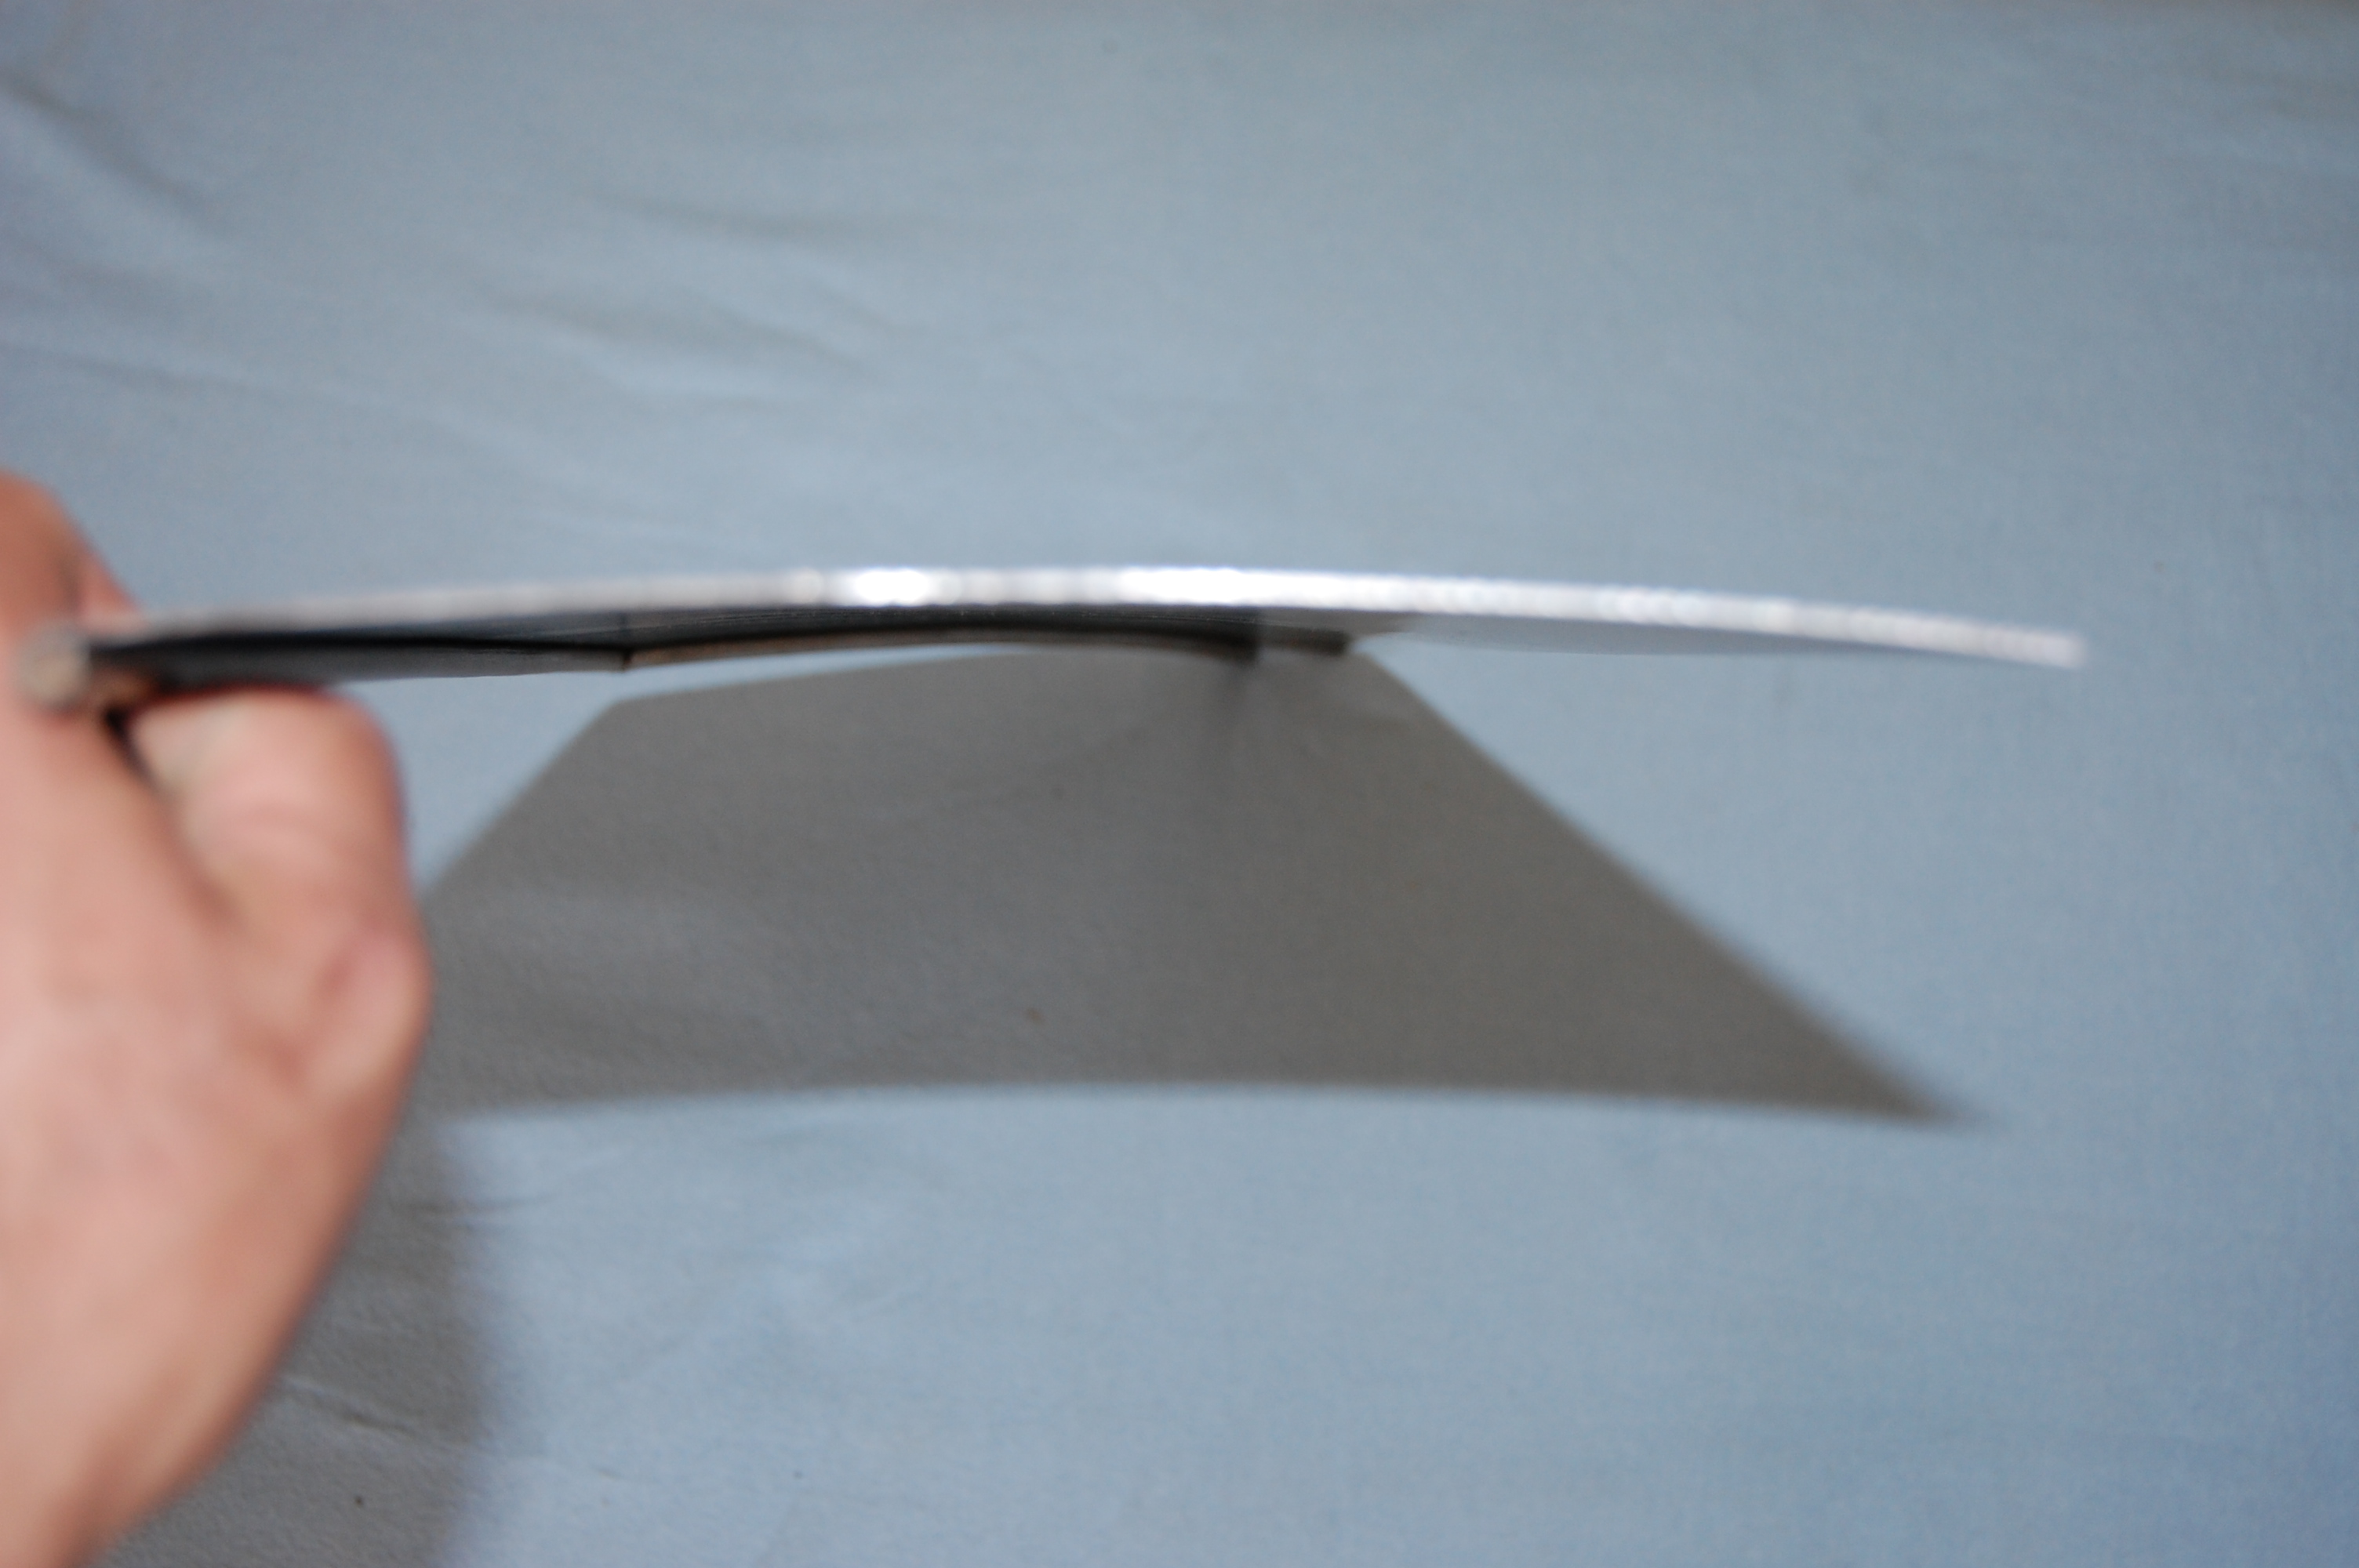
- There is not much curvature at this bottom protion of the wing, but there is some, and without it, you’r be forming the curve with filler – not optimal…
-
- Let’s recap what we started with on these wings.
-
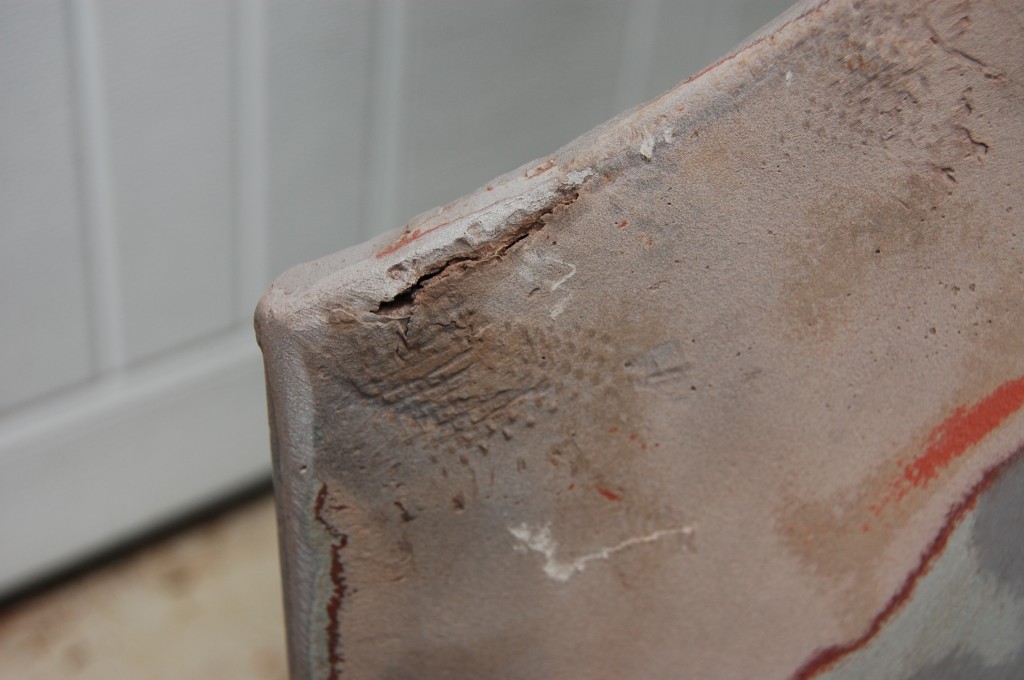
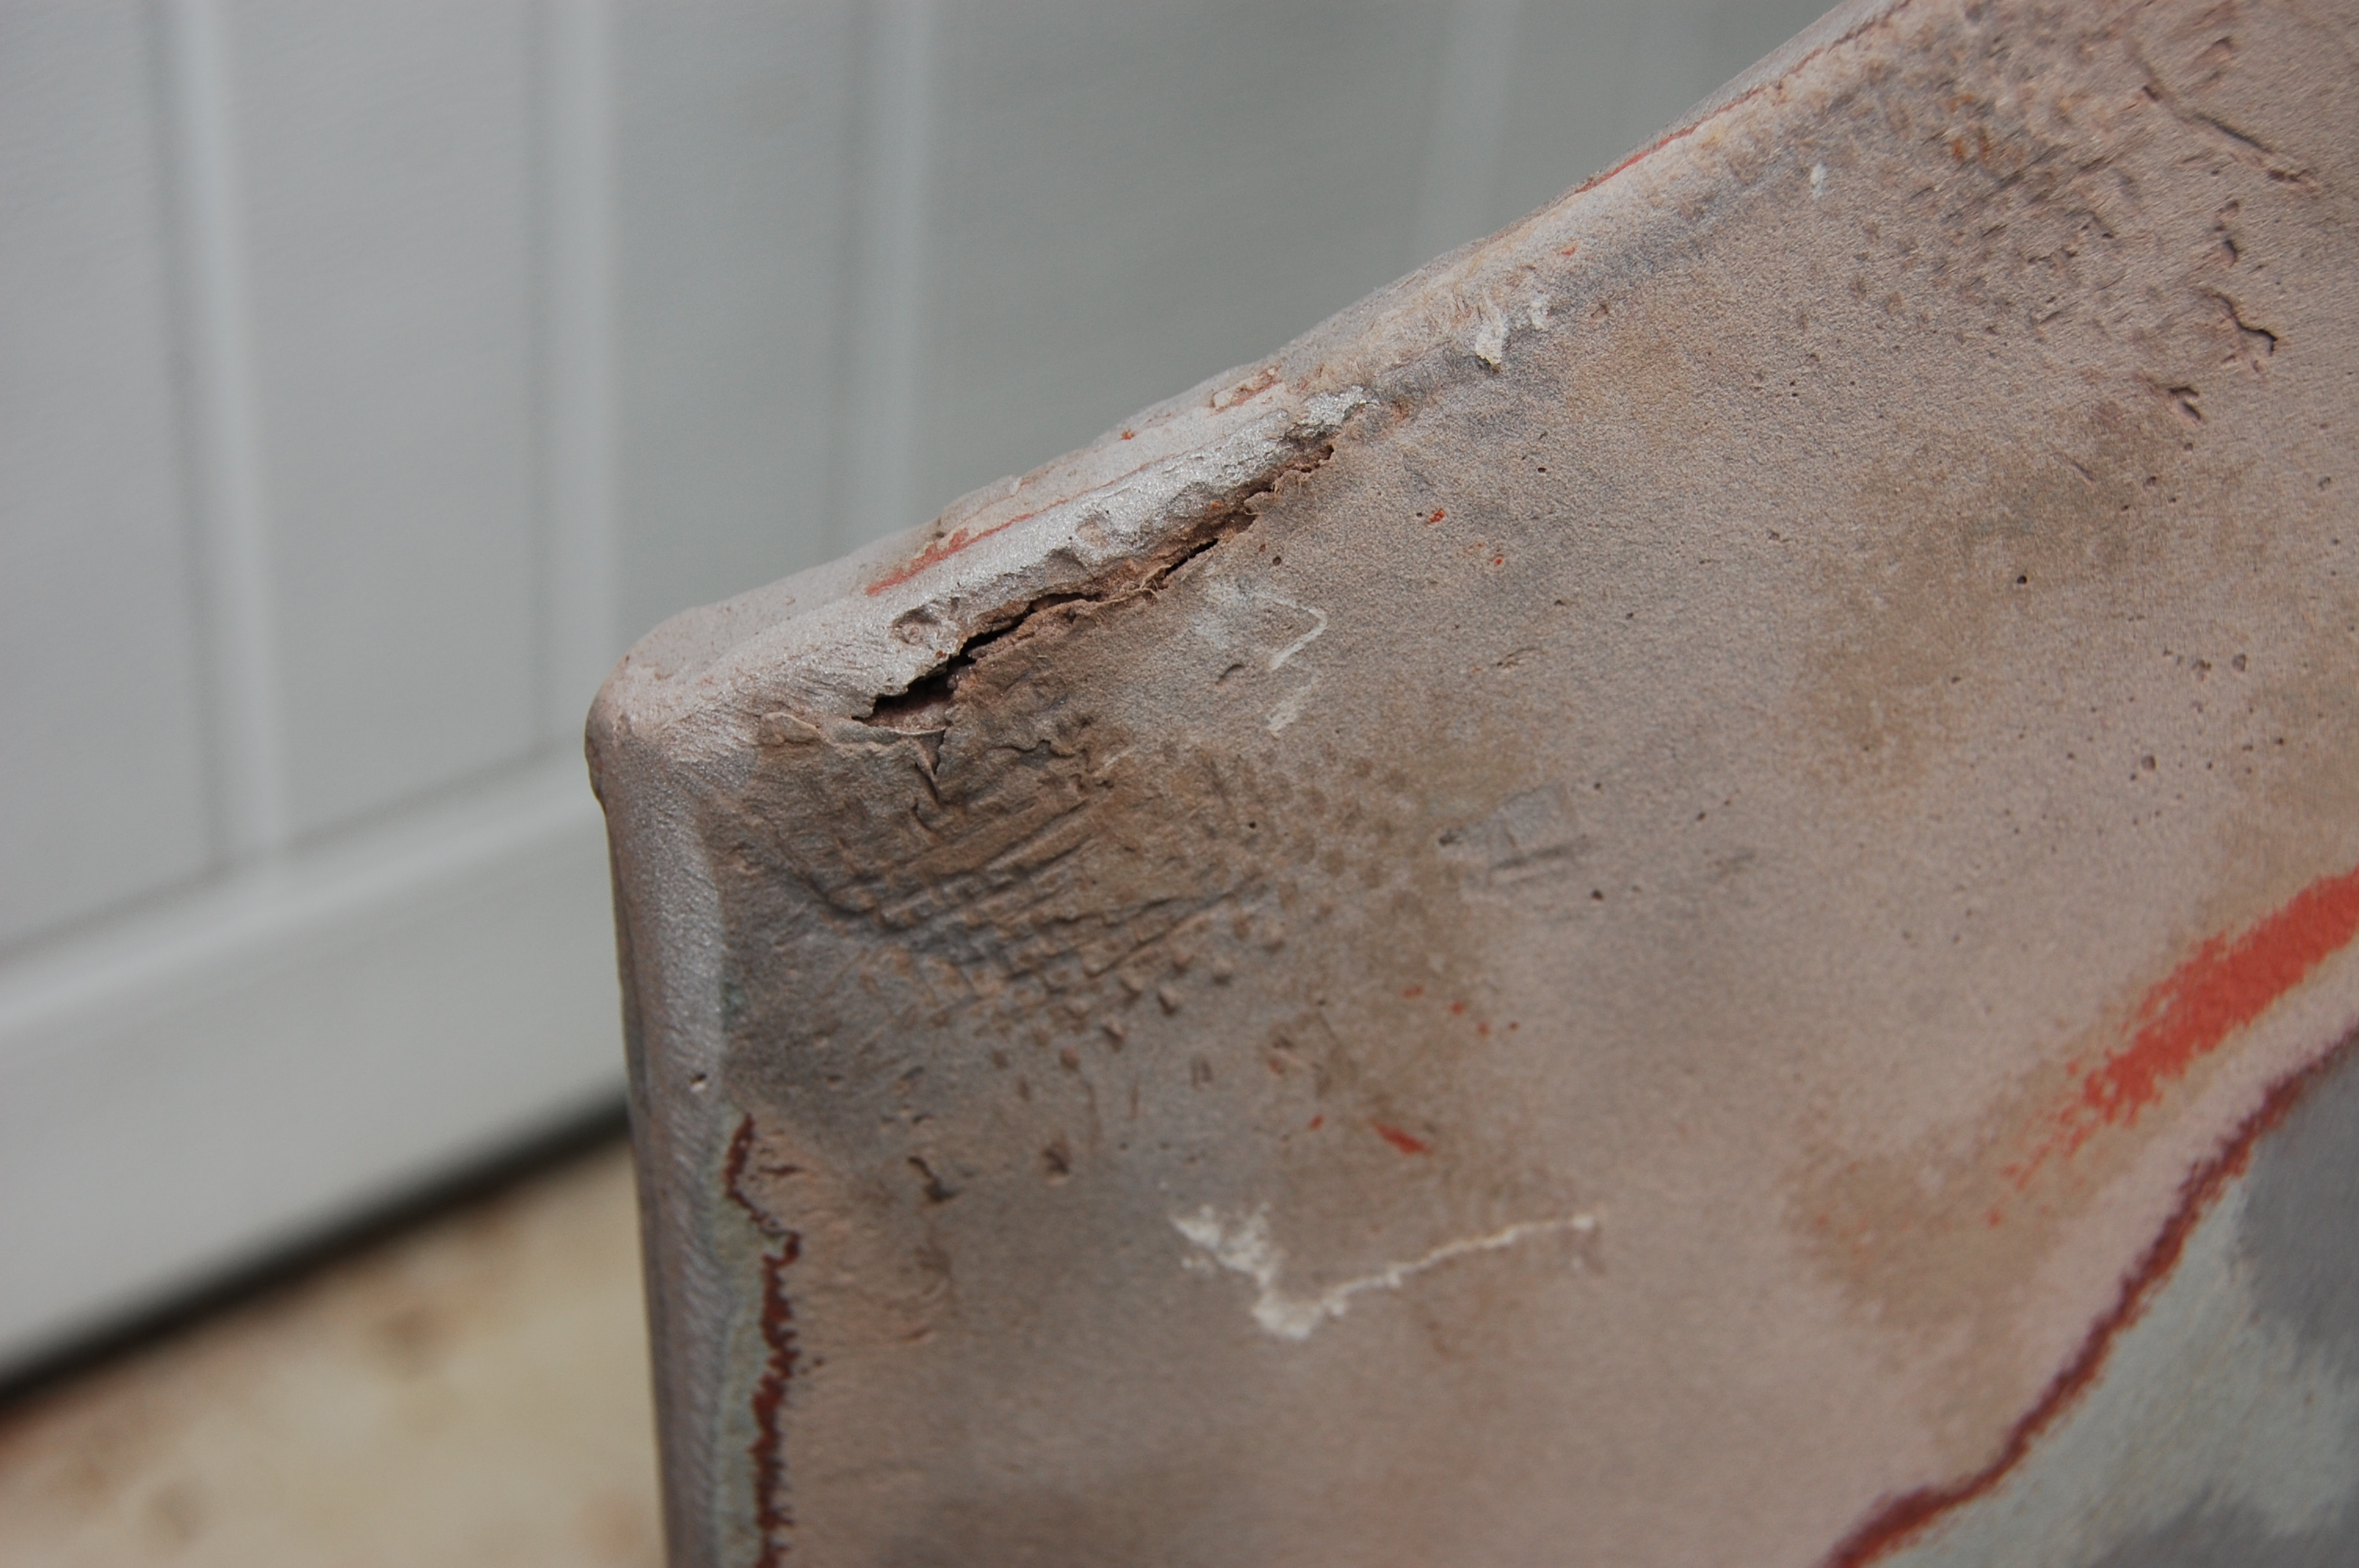
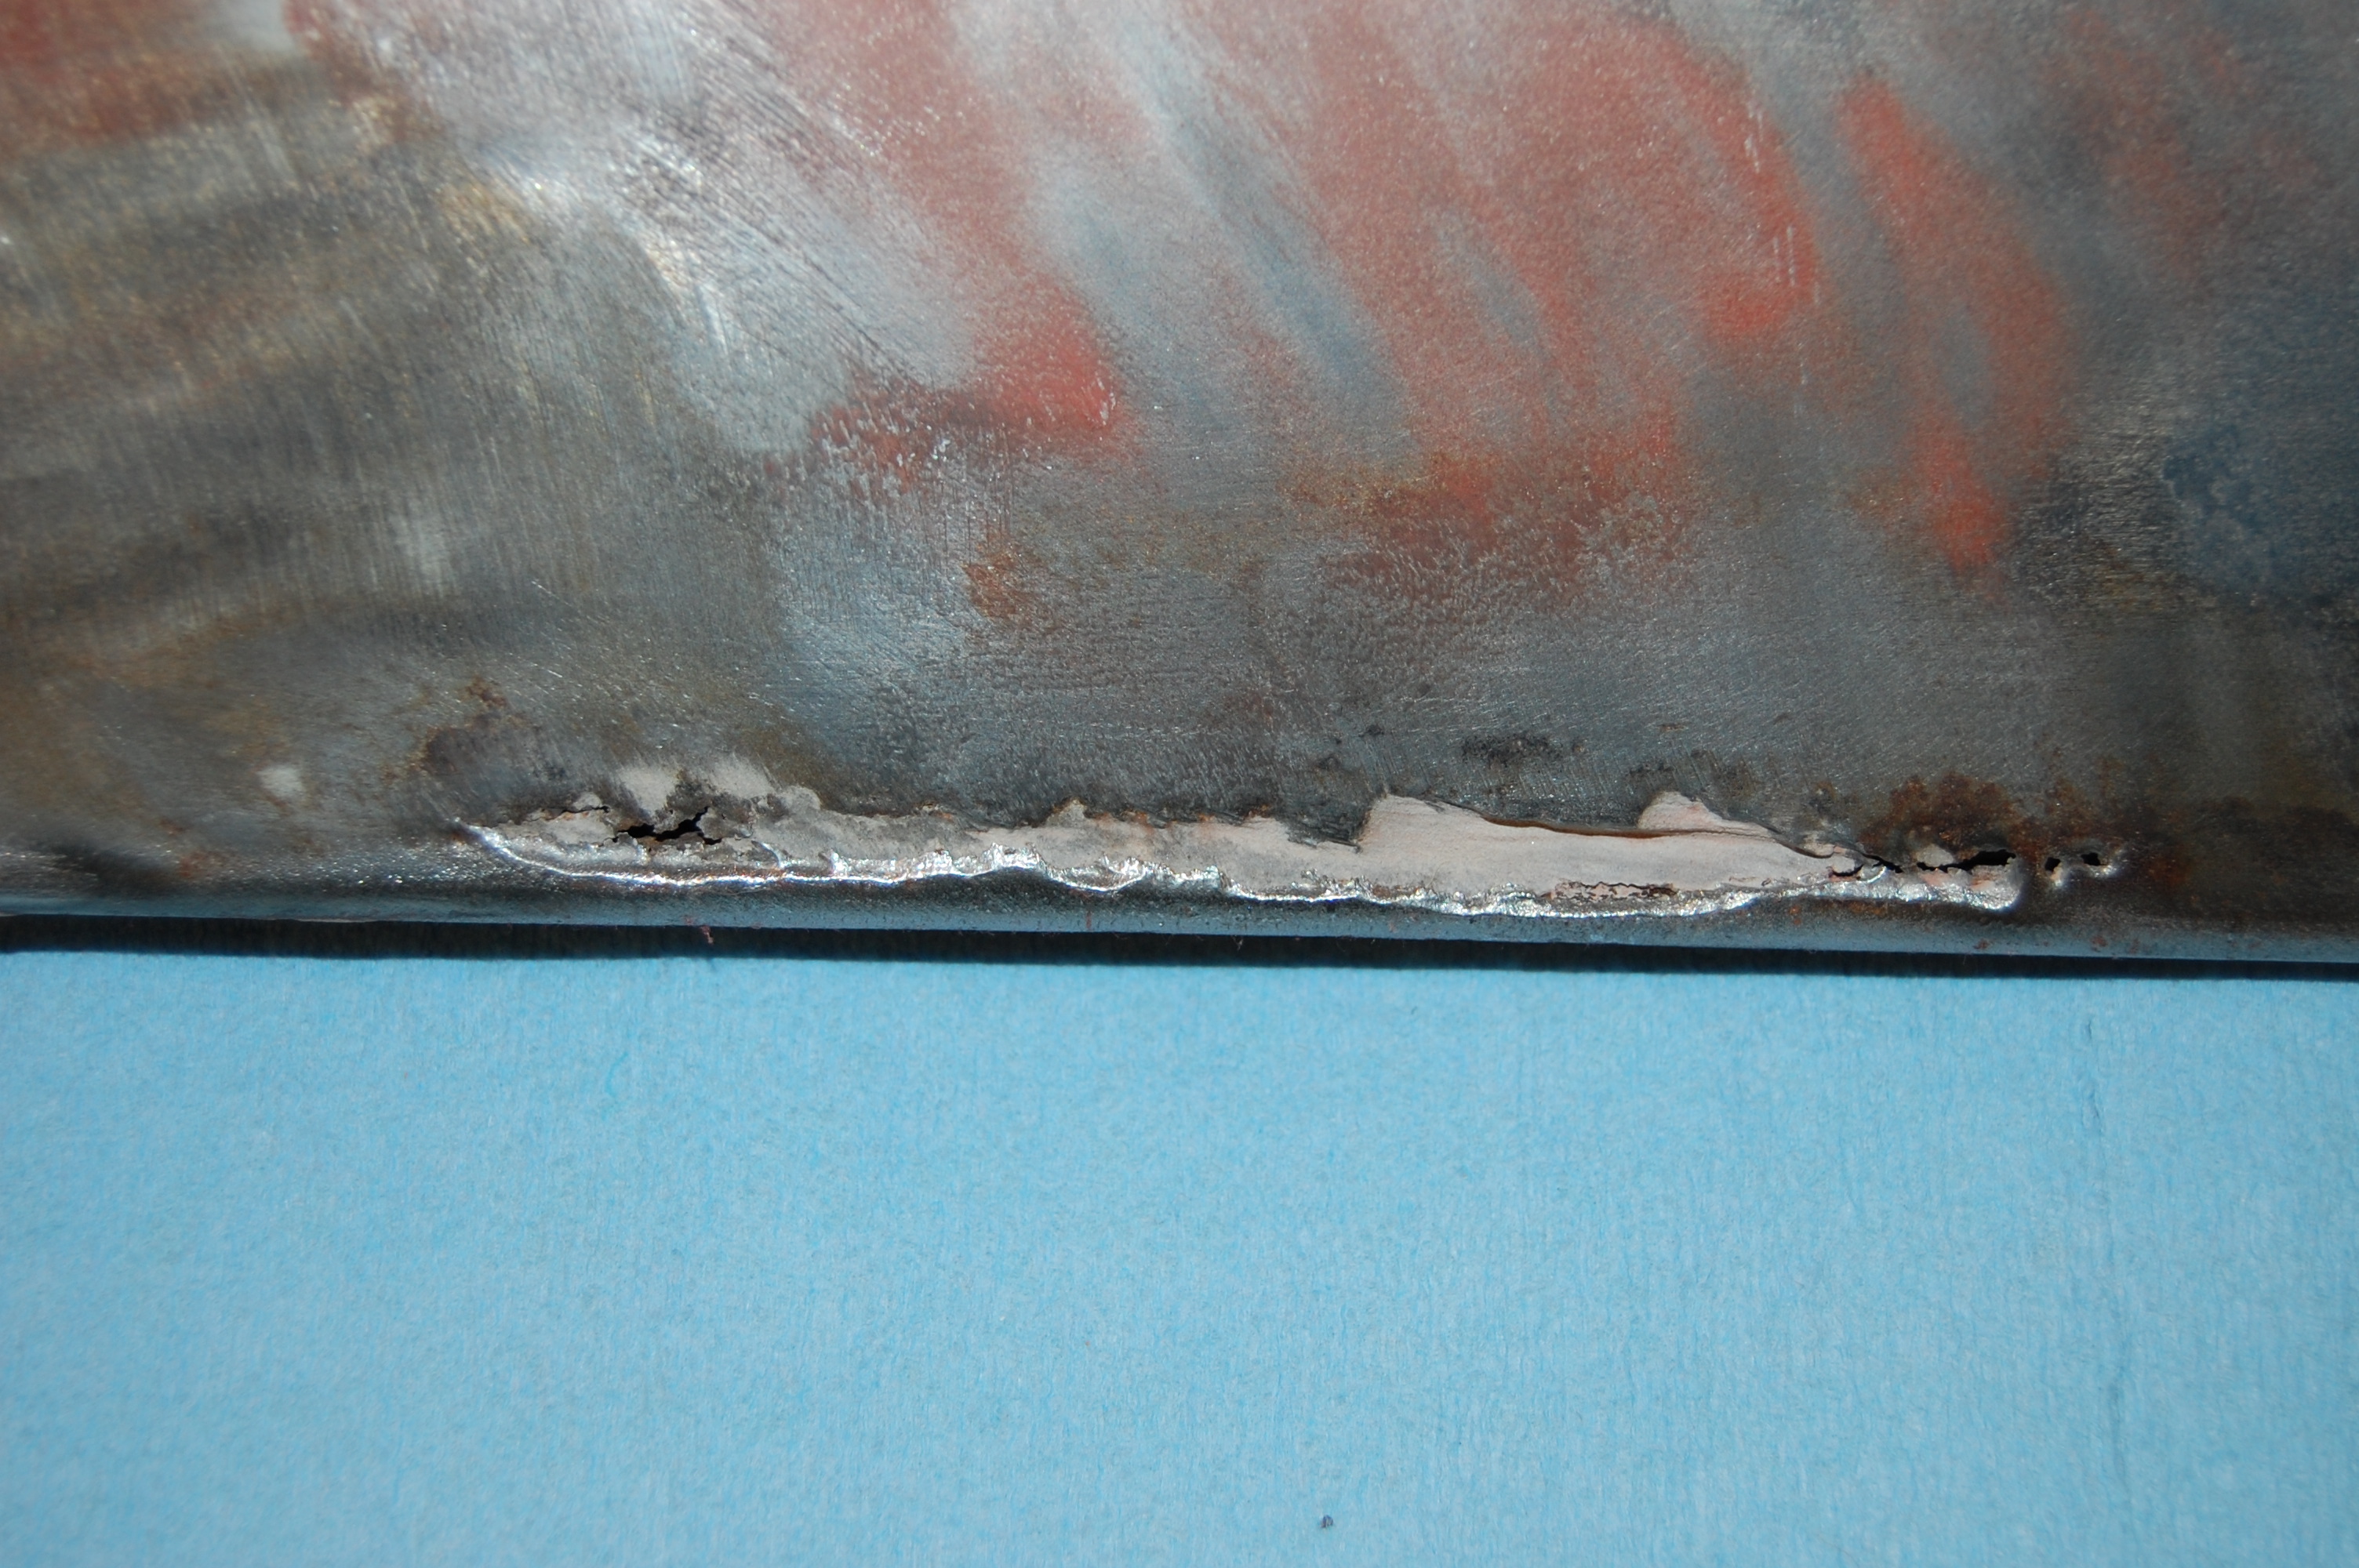
- Massive amounts of bondo just stuffed into this rusty corner… Actually, this is more of a “steel-lead-bondo-primer-paint-a little fiberglas mat-more bondo” sandwich!
-
- Same thing on the other side.

-

- We start by grinding out the filler with a wire wheel.
-
- Next we determine where we are going to cut the wing, taking care to make sure that the cut is DEAD straight.
-
- Next we fit and file the replacement panel so that it is a flush fit for as smooth of a seam as possible. When we repair wings in the shop, we replace as little of the wing as possible, but do make sure that we get ALL of the problem areas.

-
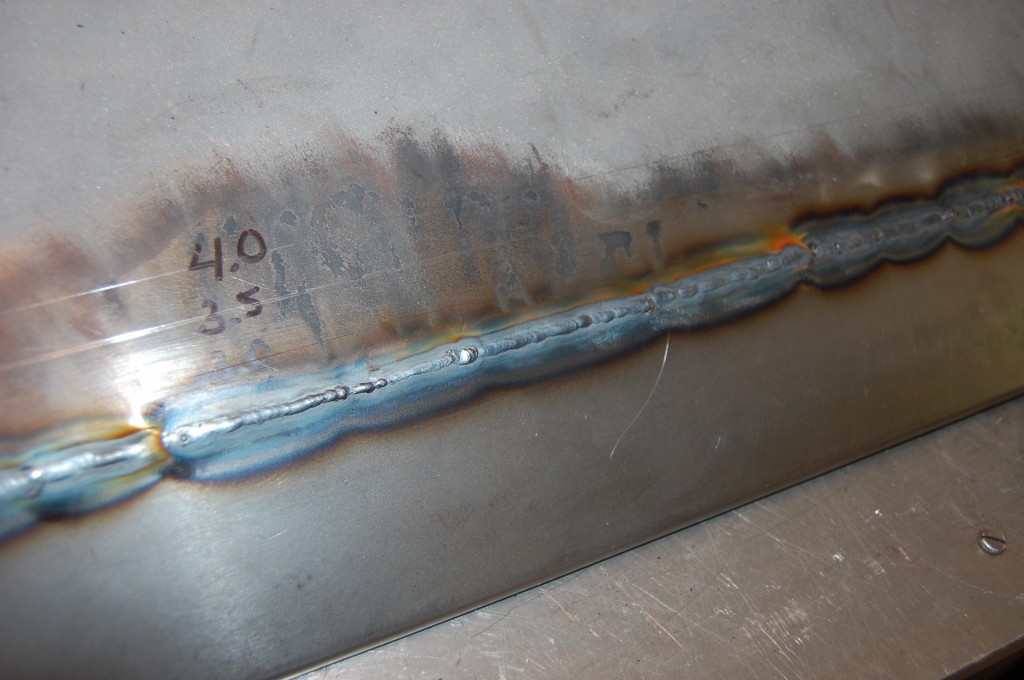
- After tacking the piece in place with the MIG, we carefully weld the seam with a fine TIG torch and as little filler rod as possible.

-
- On this wing, we salvaged the internal wire around the wheel opening, and then carefully hammered the new panel around that.

-

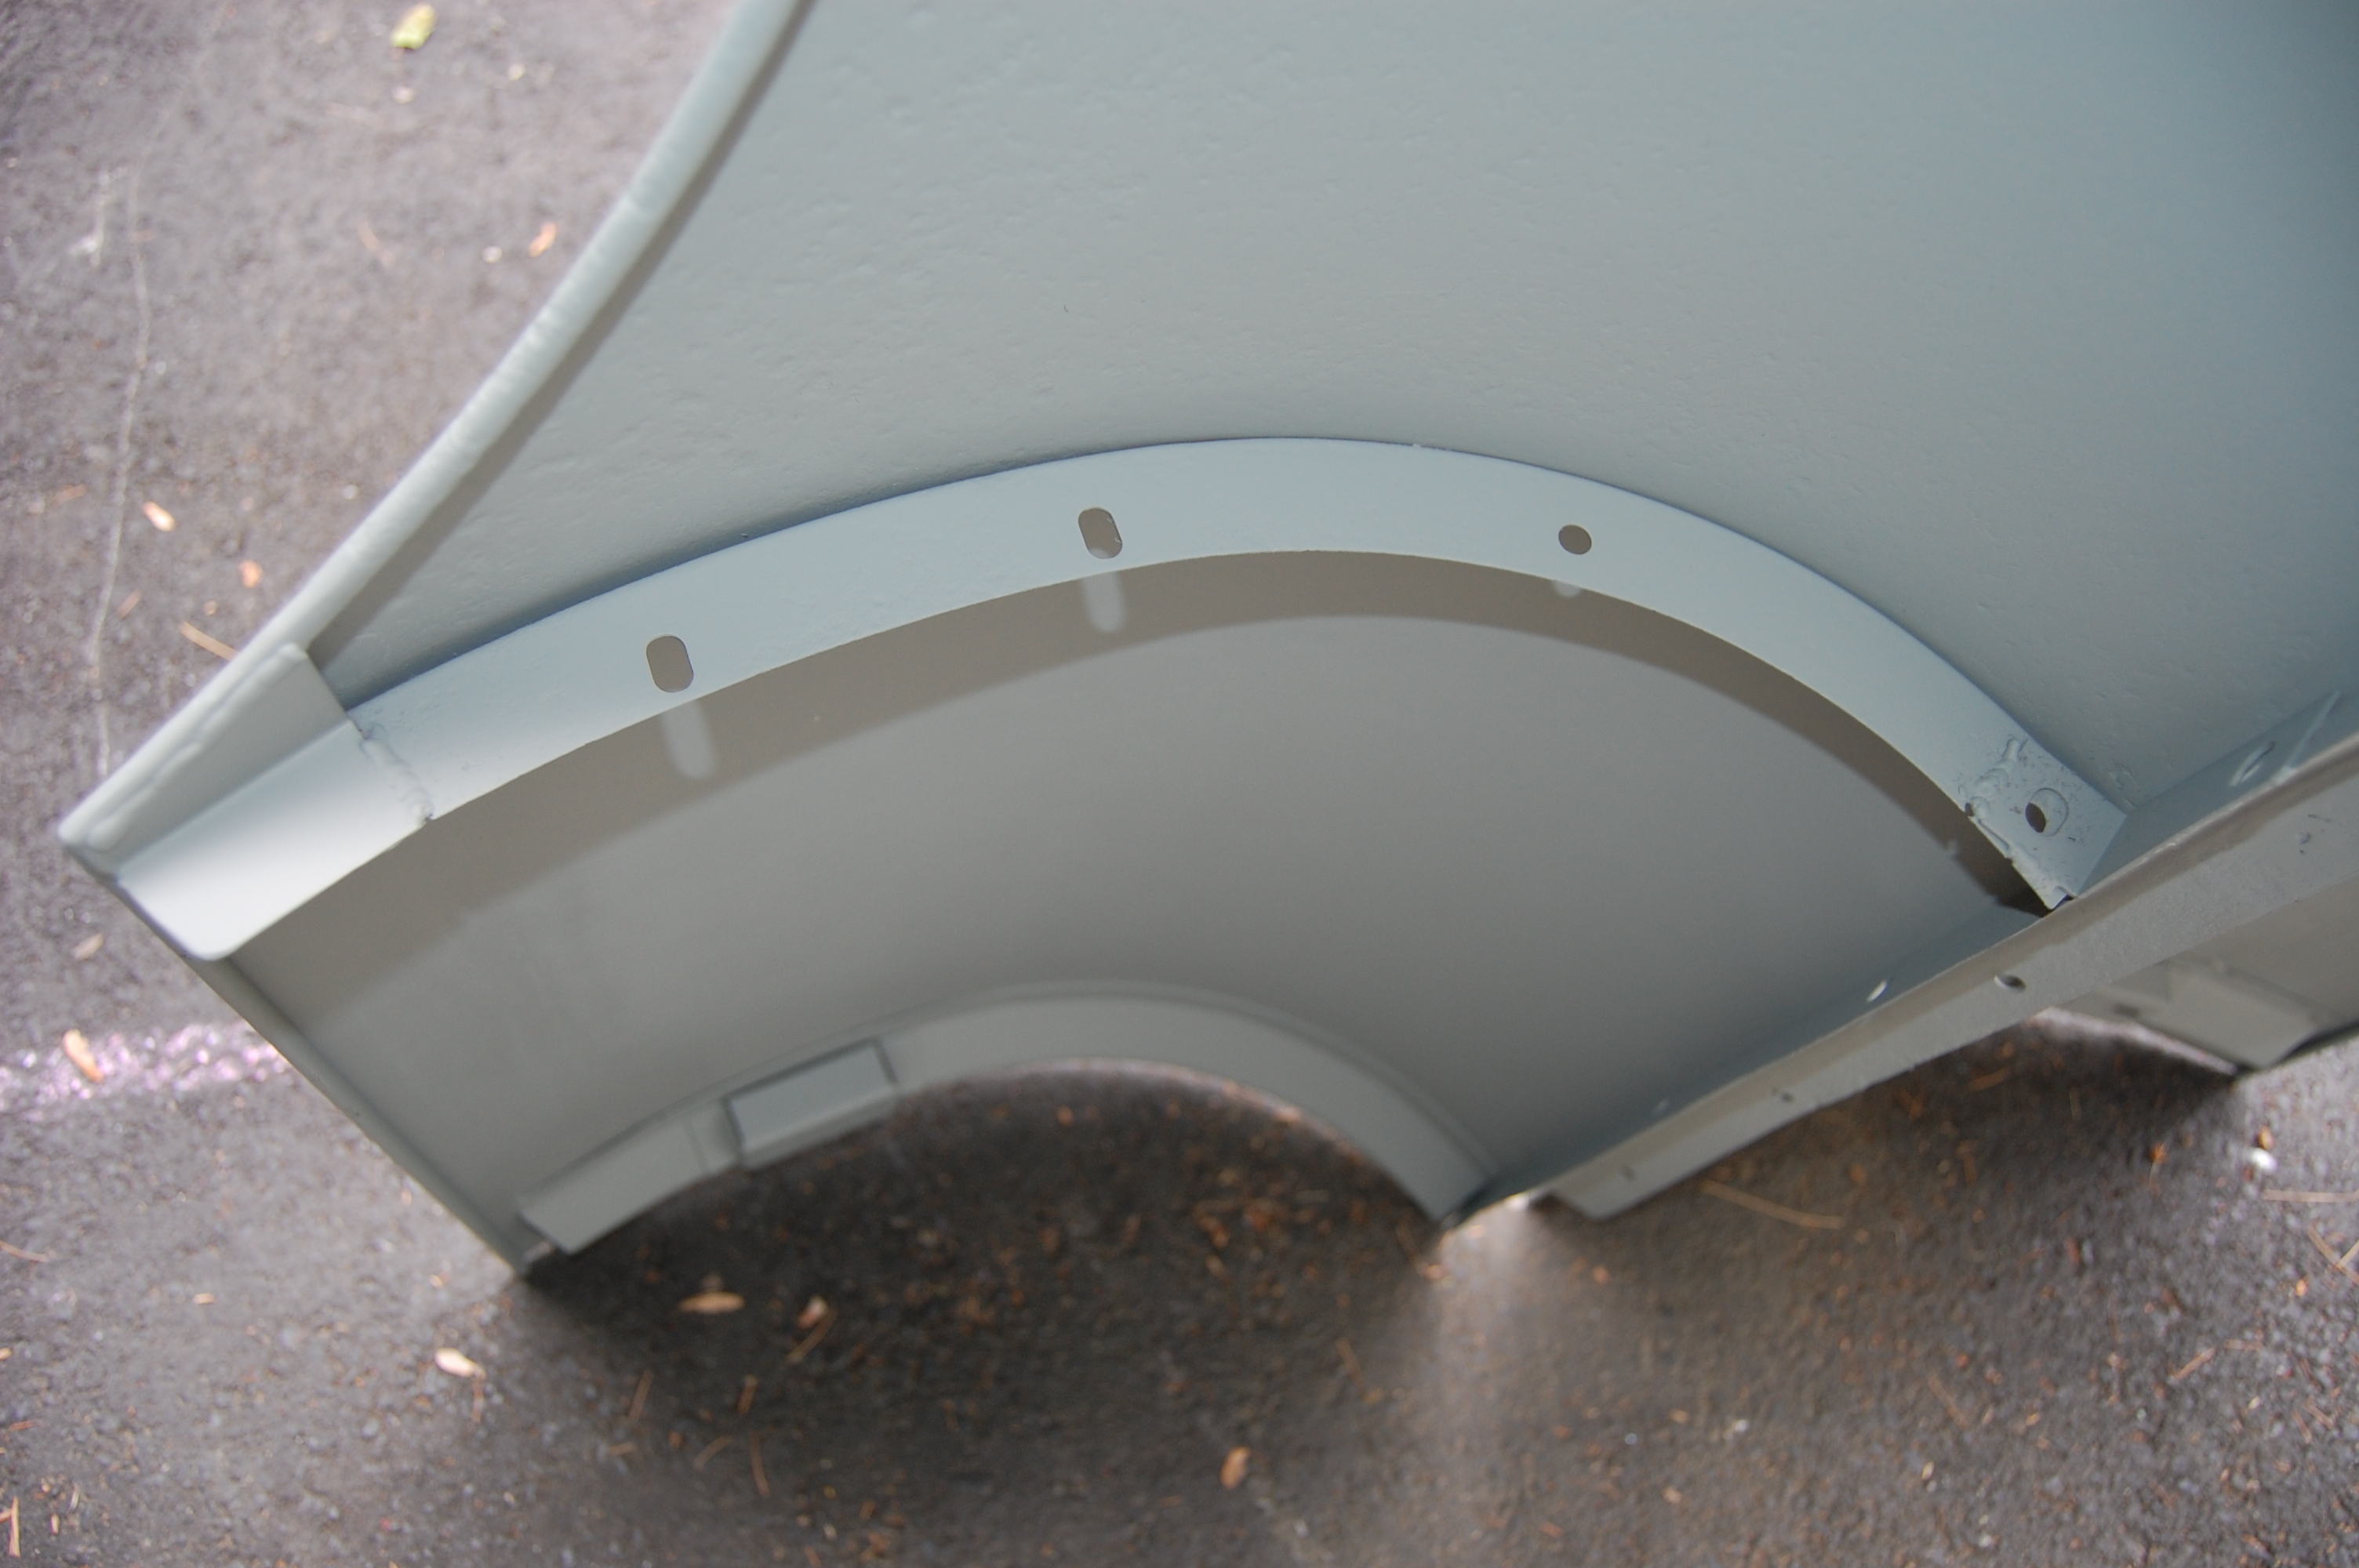
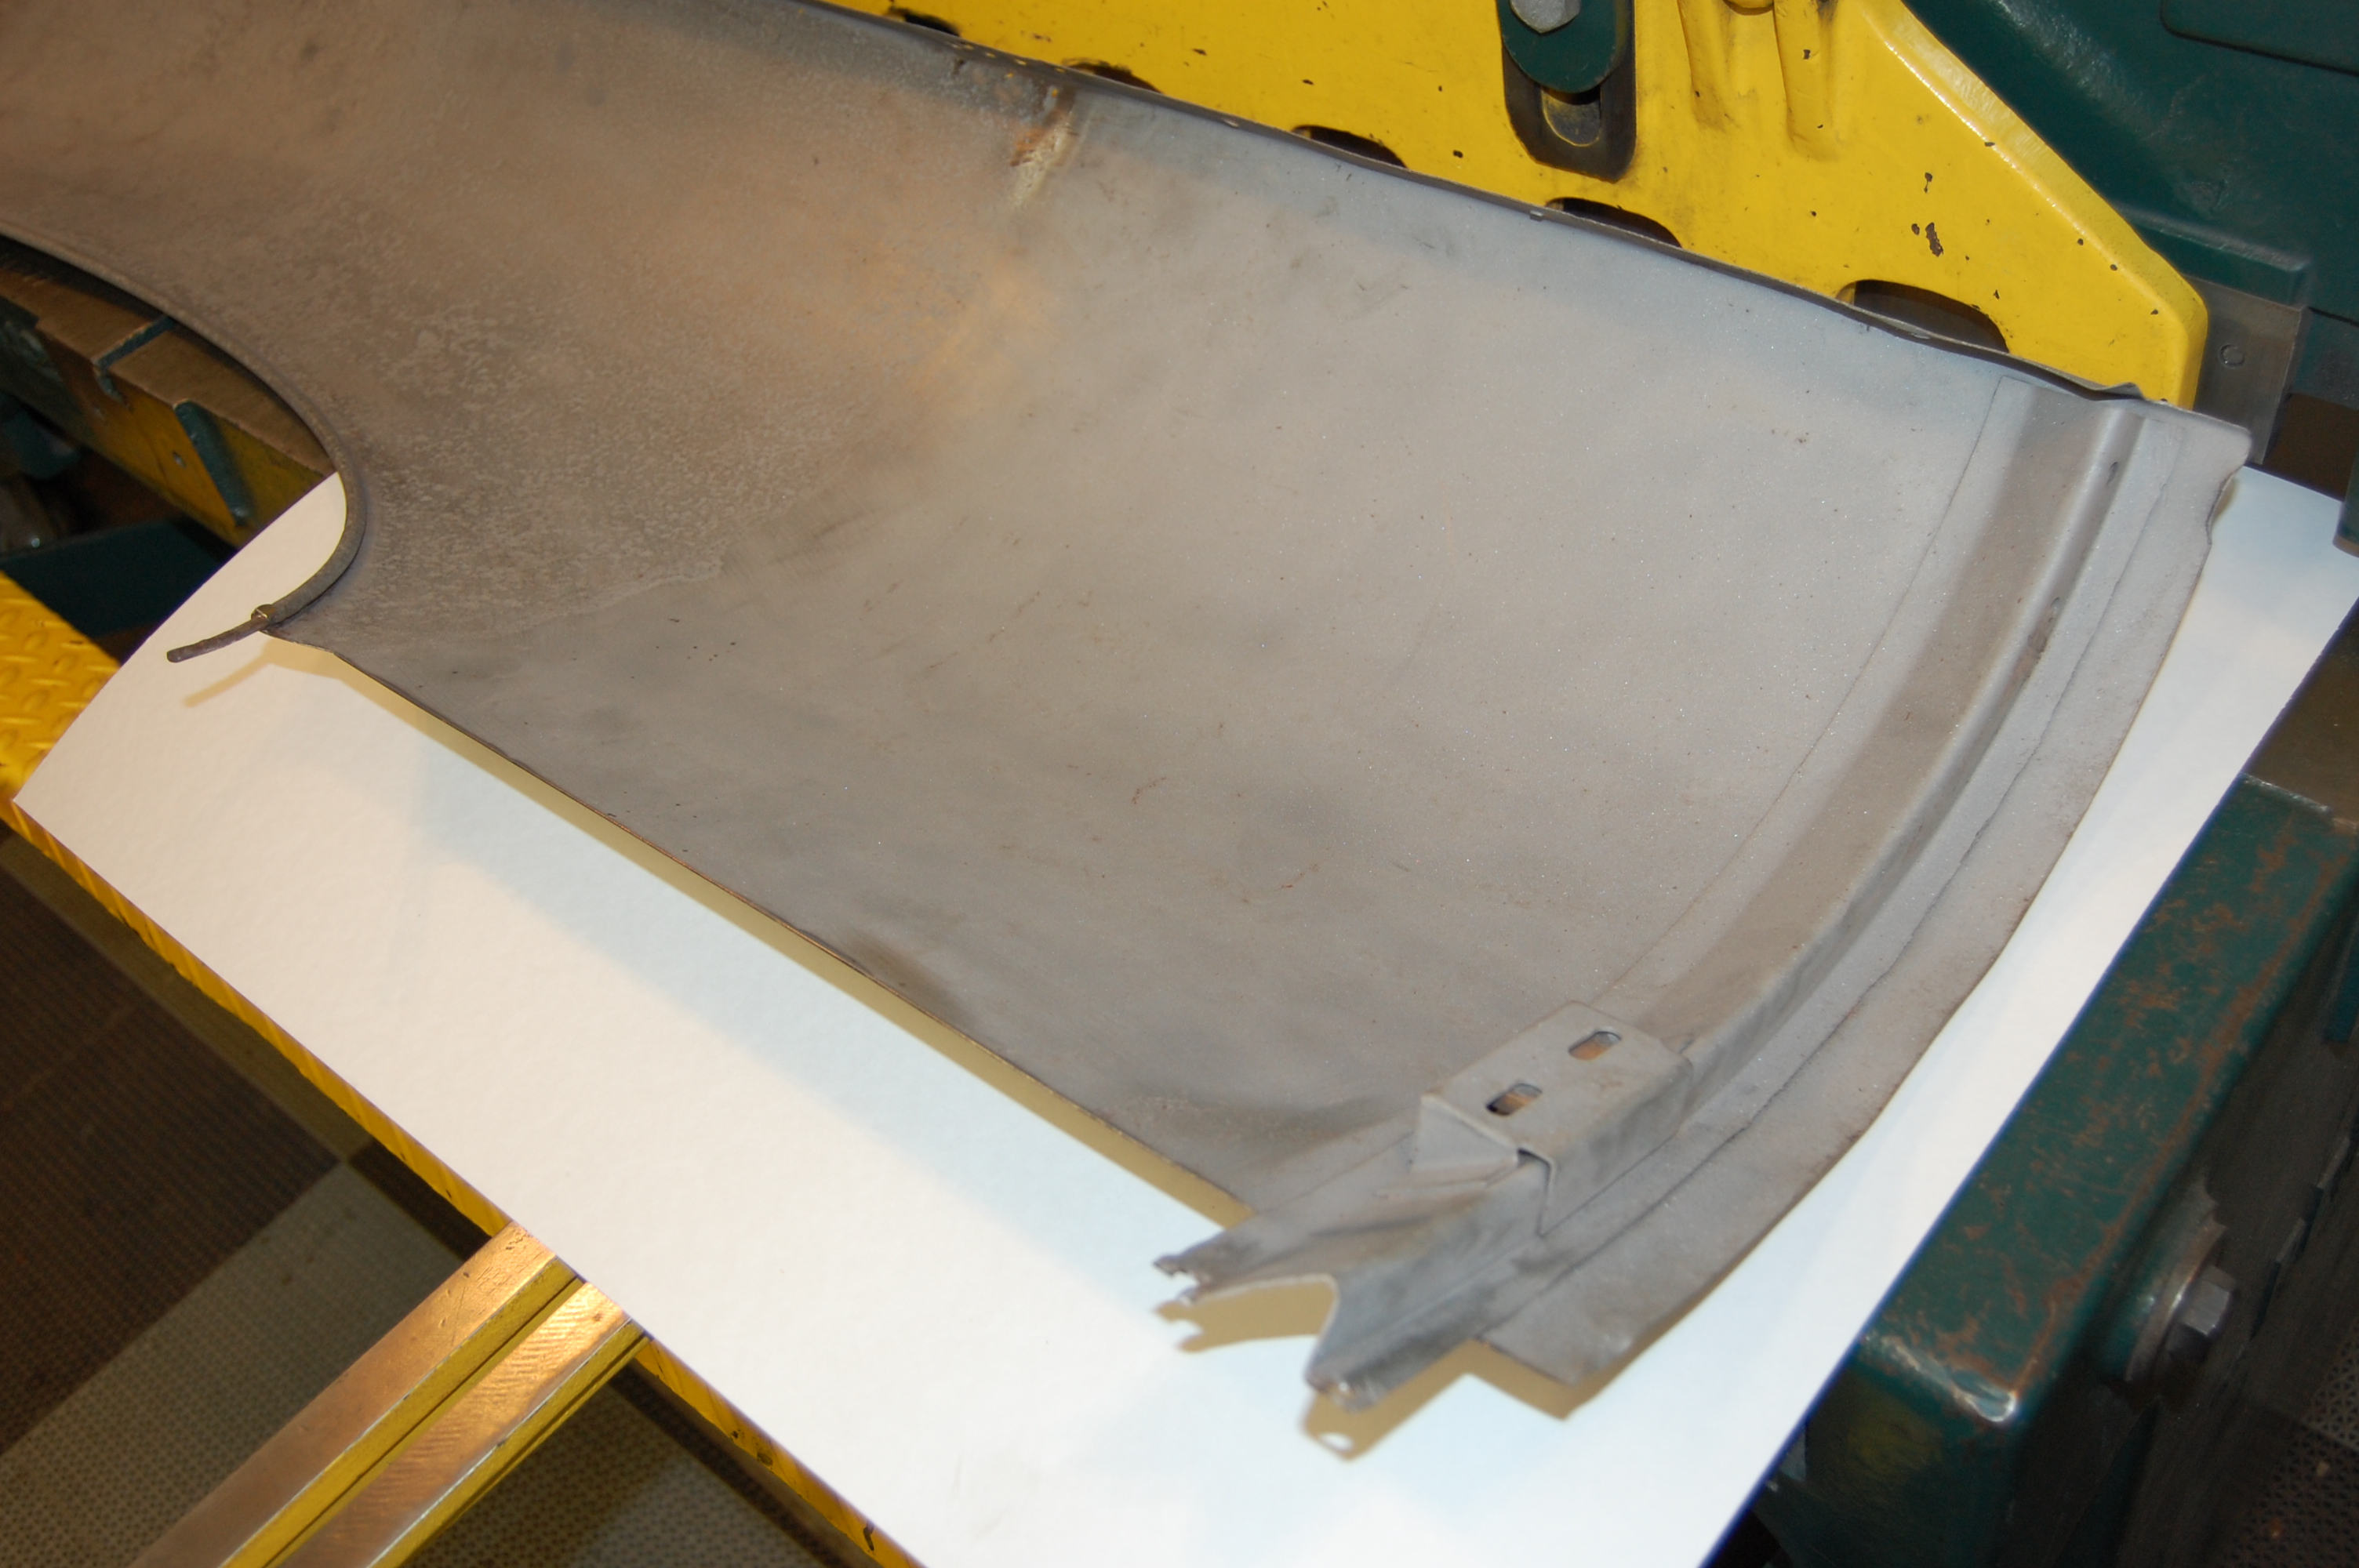
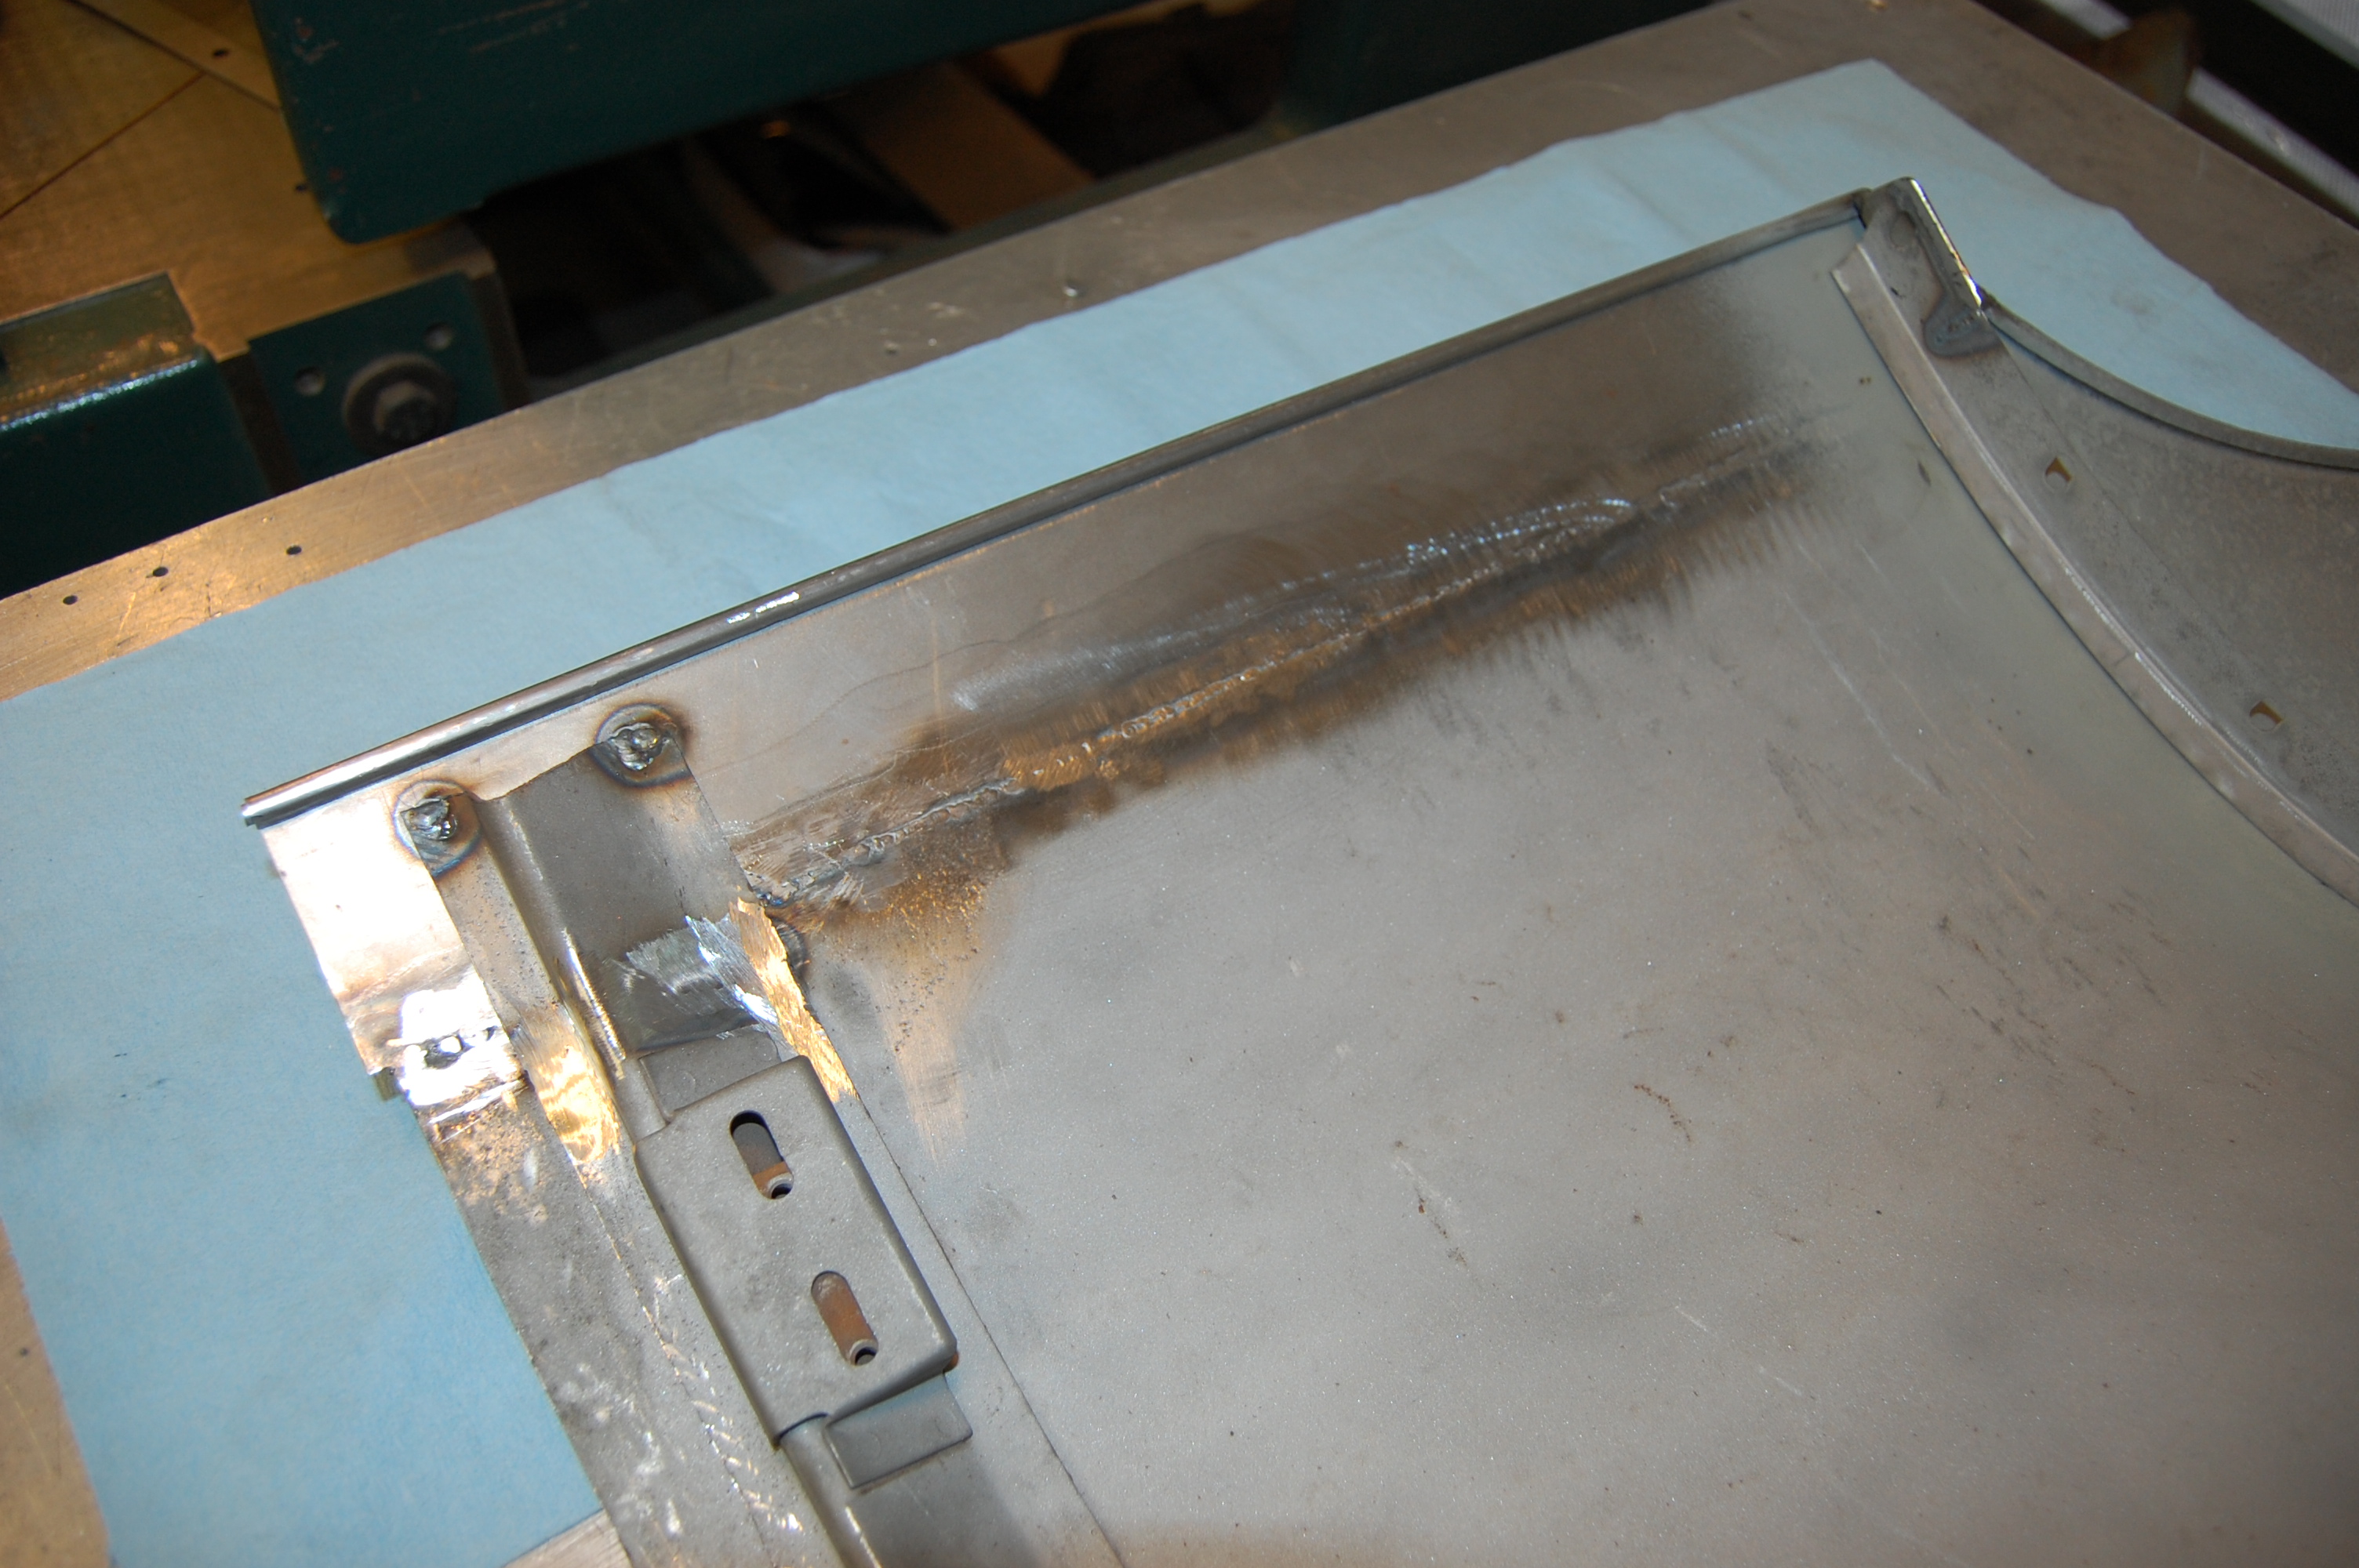
- Here is an internal shot of the completed RH wing.
-
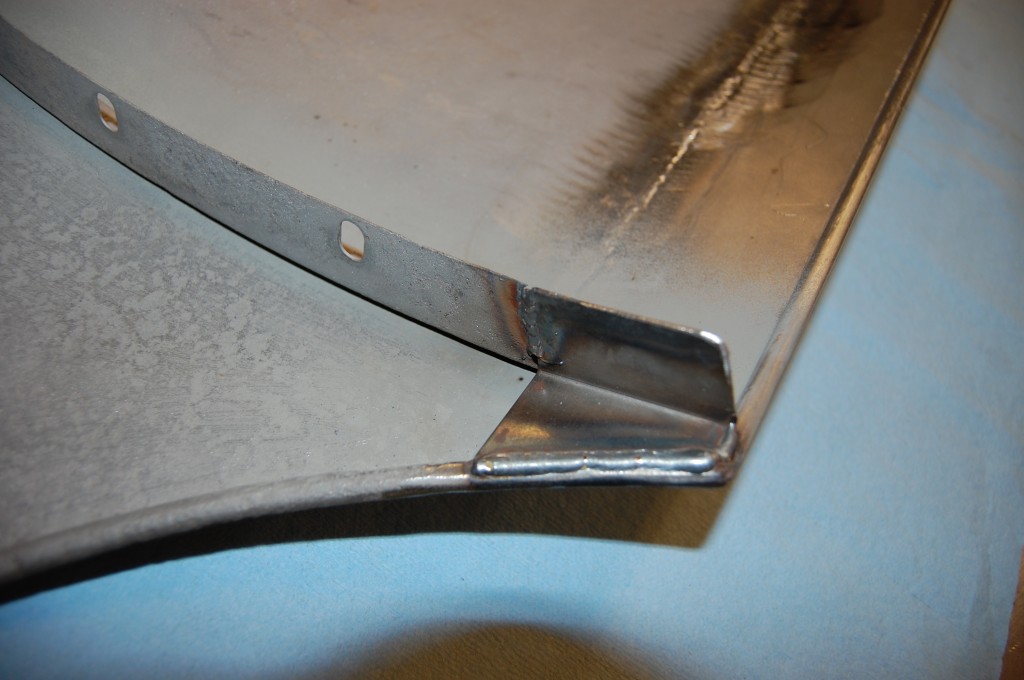
- Close up of the corner, where we have added in the small re-inforcing bracket. This is late-3.8 on, but we always add this in for drivers and anything that is not a full-on Pebble Beach show car. Without this piece, the sin of the wing eventually seperates from the bonded flange and hangs out the side of the car.

-

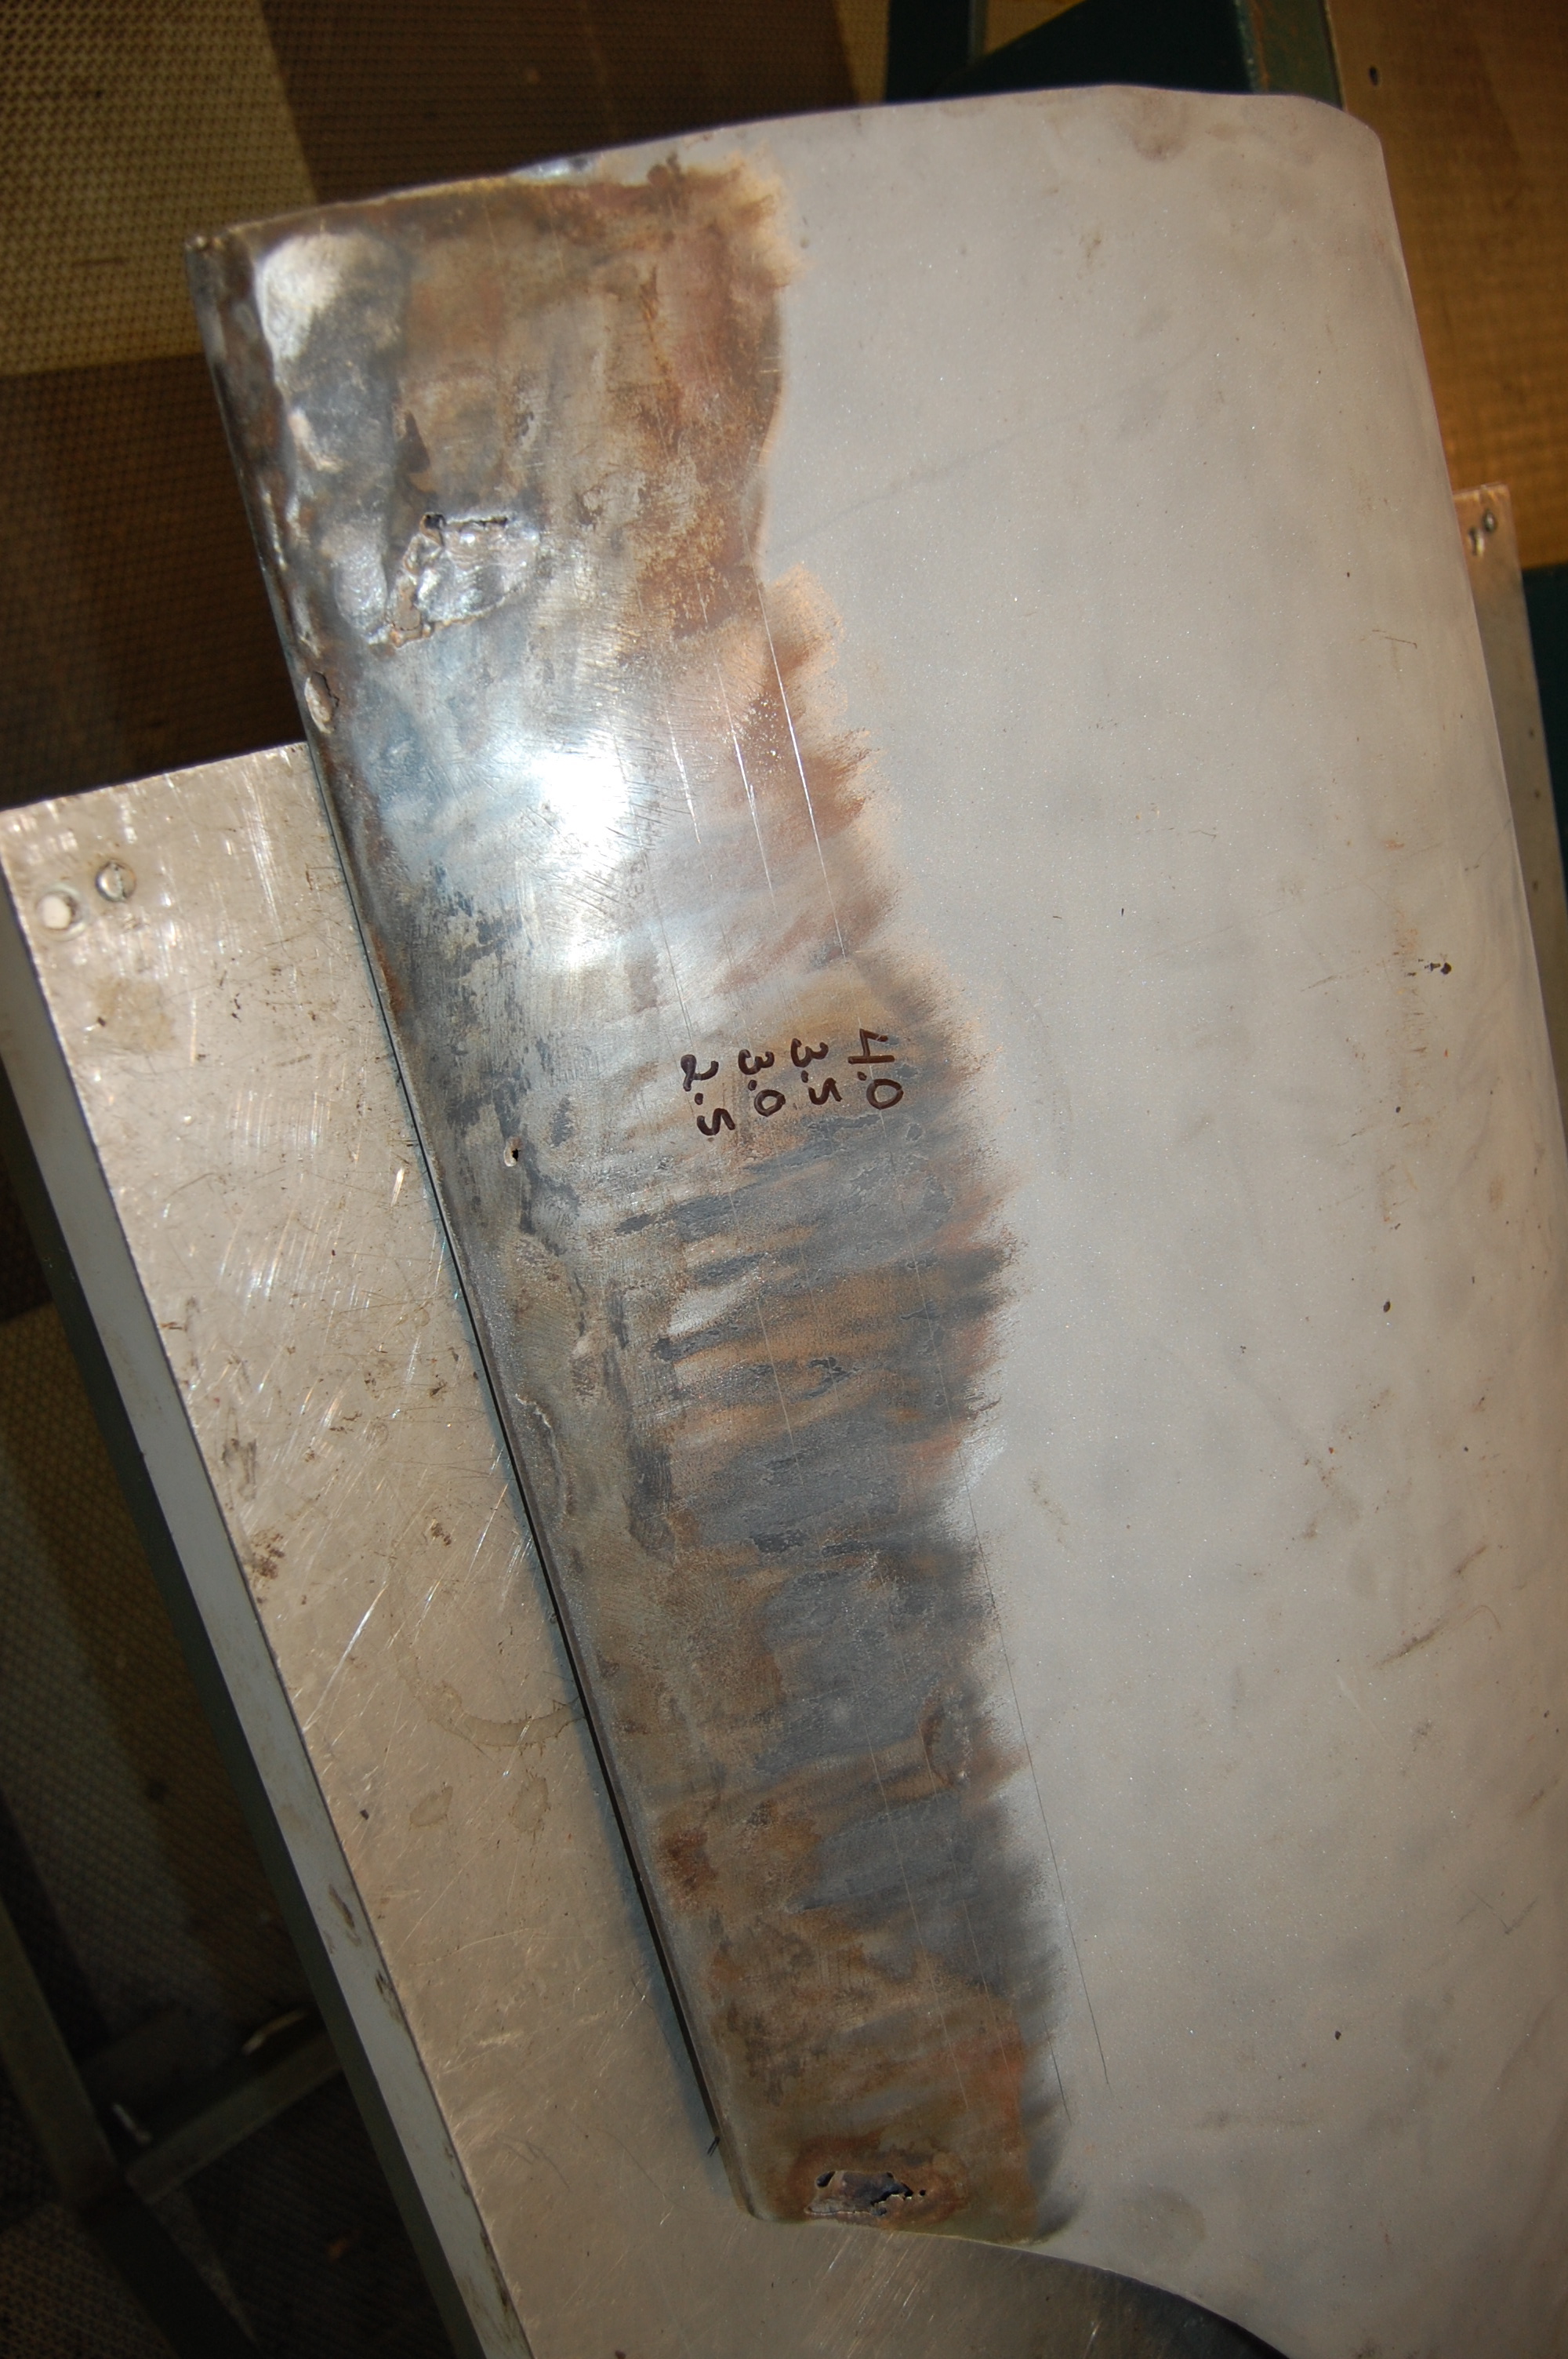
- Here is the starting point on the LH wing. Unlike the previous “restorer” of these wings, we will replace this section instead of just cramming it full of bondo…
-
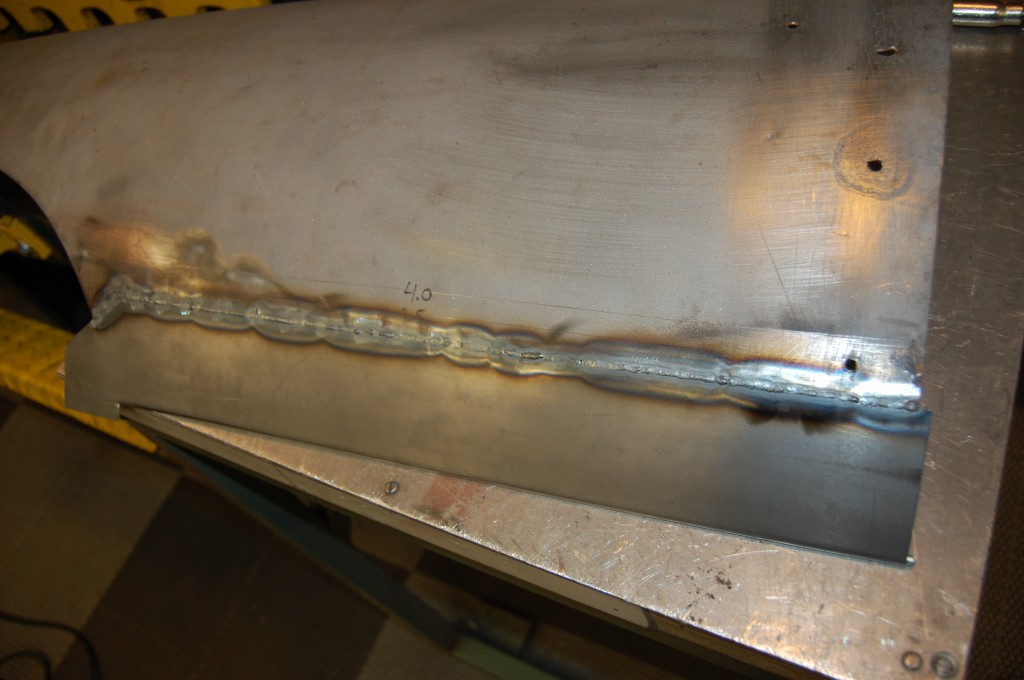
- TIG welded patch is on, and again we are wrapping it around the original wheel opening wire.

-
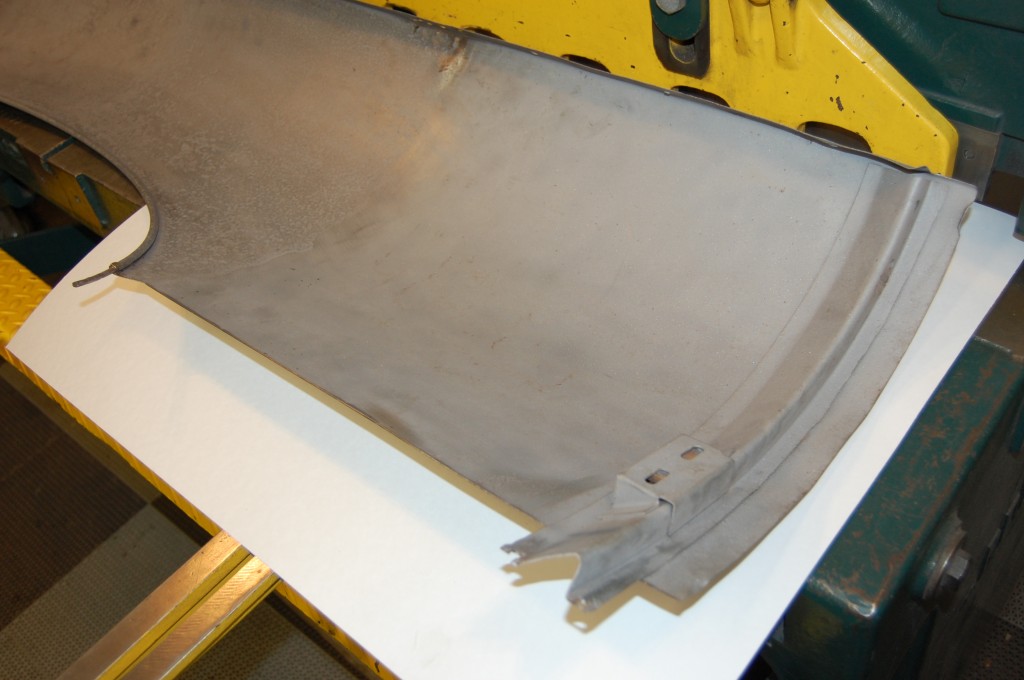
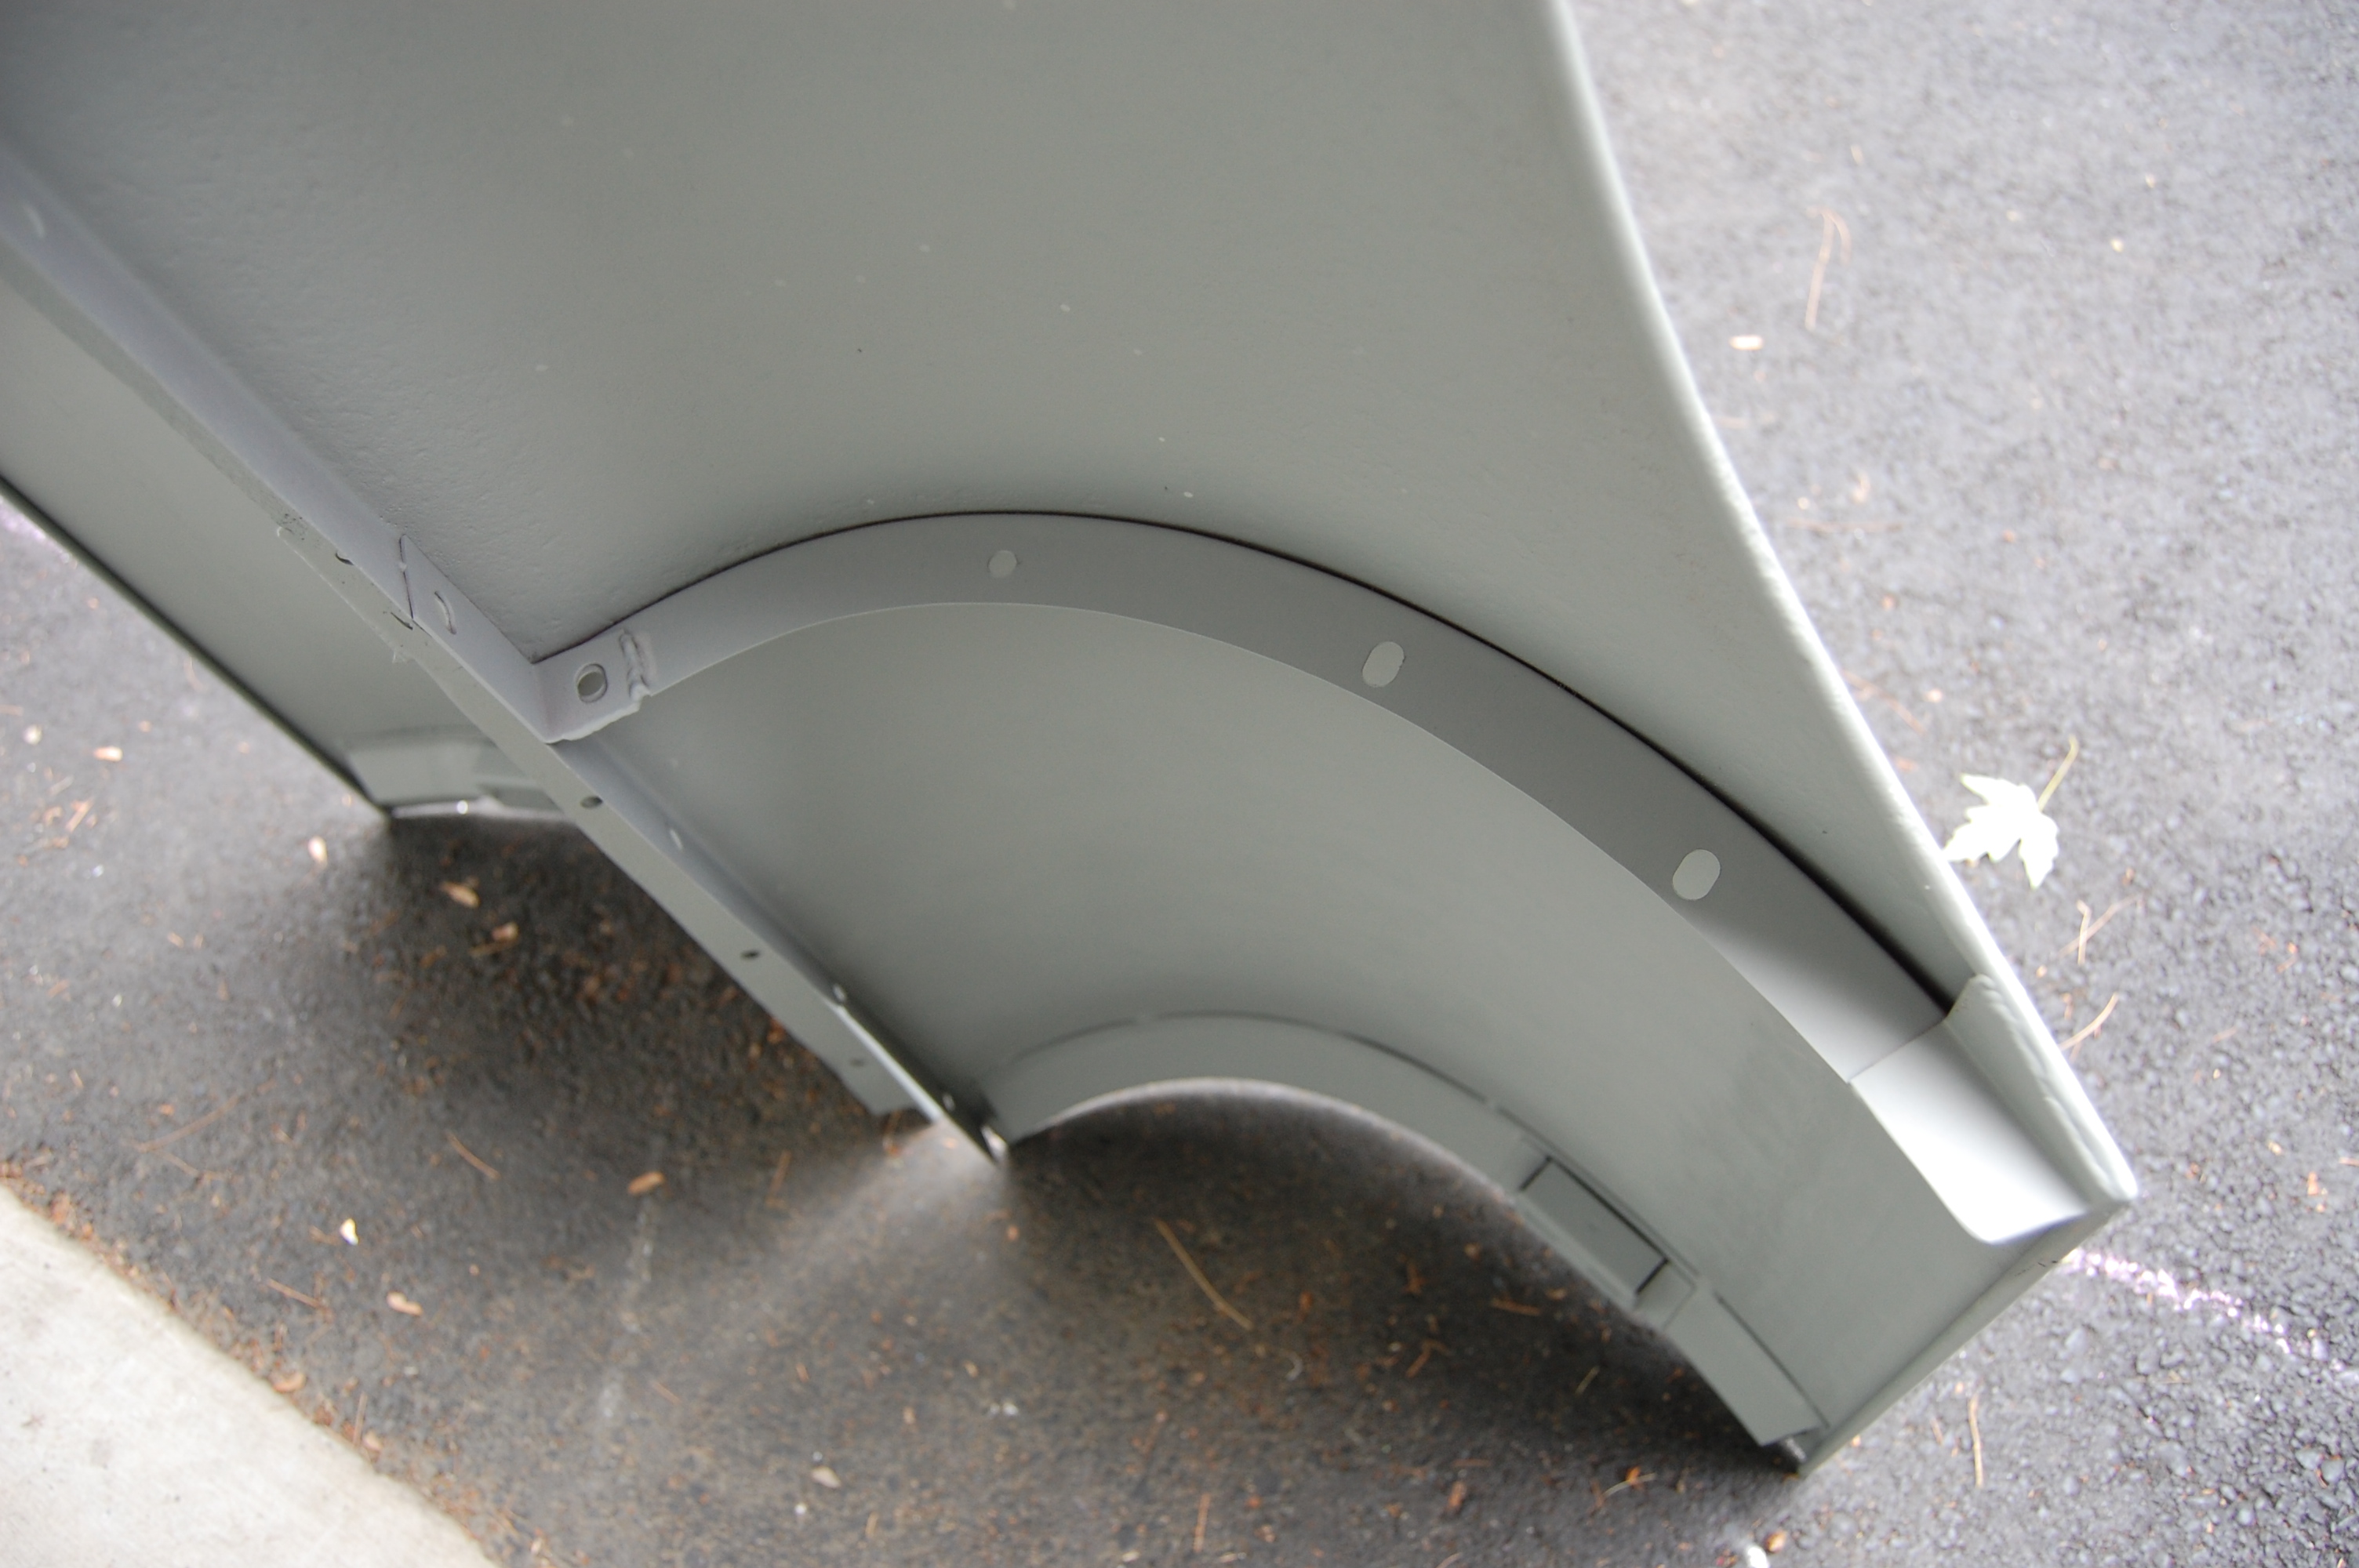
- The metalwork is now complete on both wings and the heavily pitted areas have been hit with red oxide. On the LH wing, we ultimately pulled the entire rear strengthener out and re-welded it into place after out patch was in.

-
- These seams will need just a slight smear of light cream filler to fill any imperfections in the seam itself, but otherwise this repair is smooth and will be virtually undetectable in the grey etch primer.

-
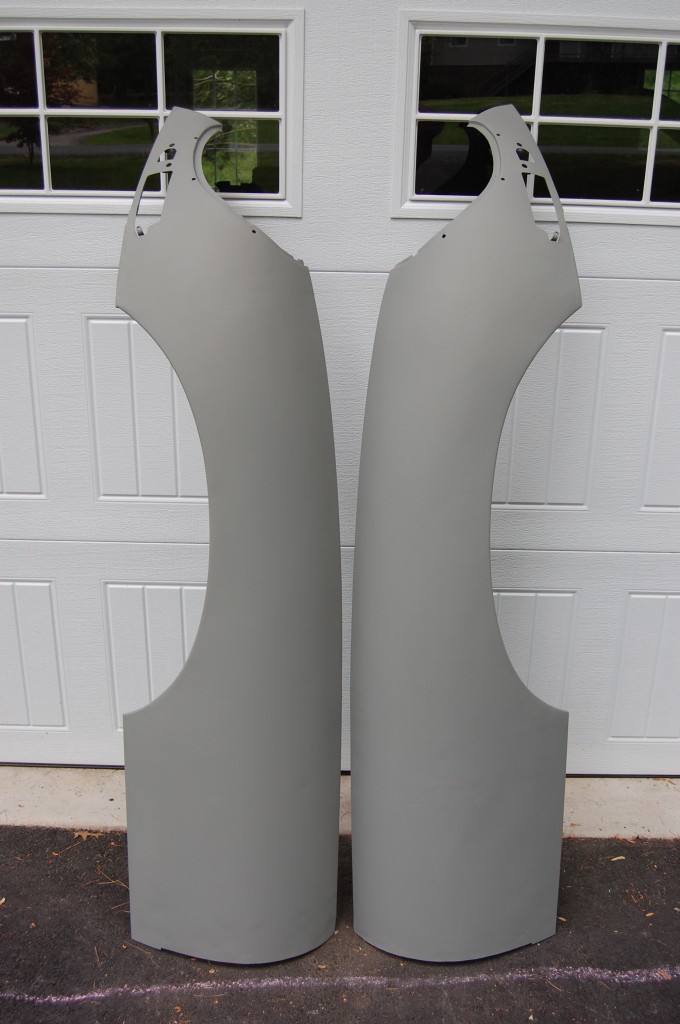
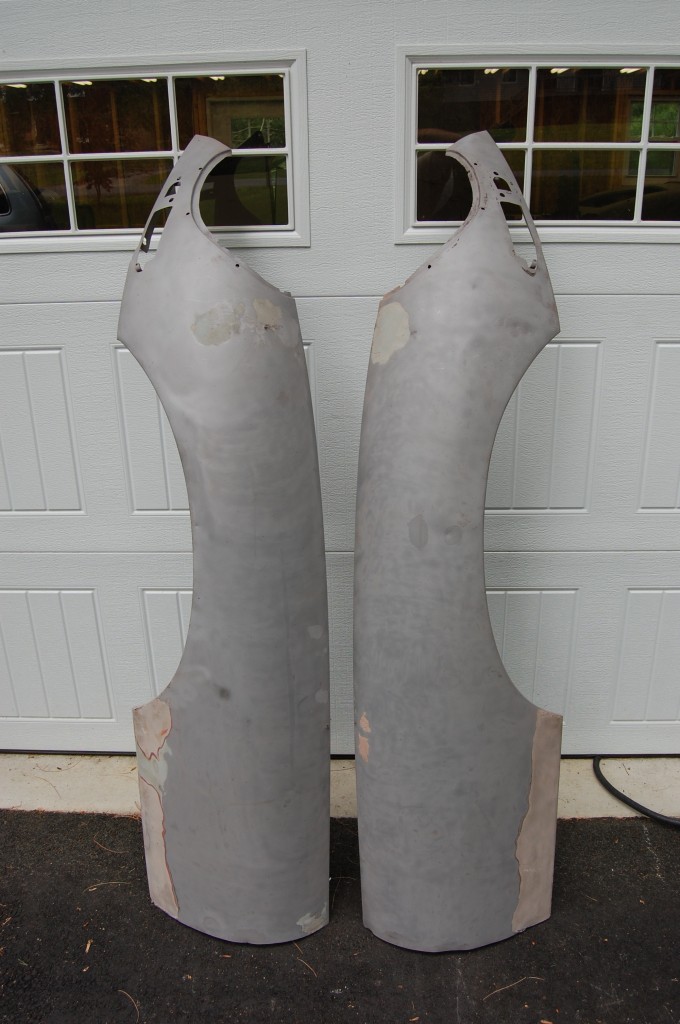
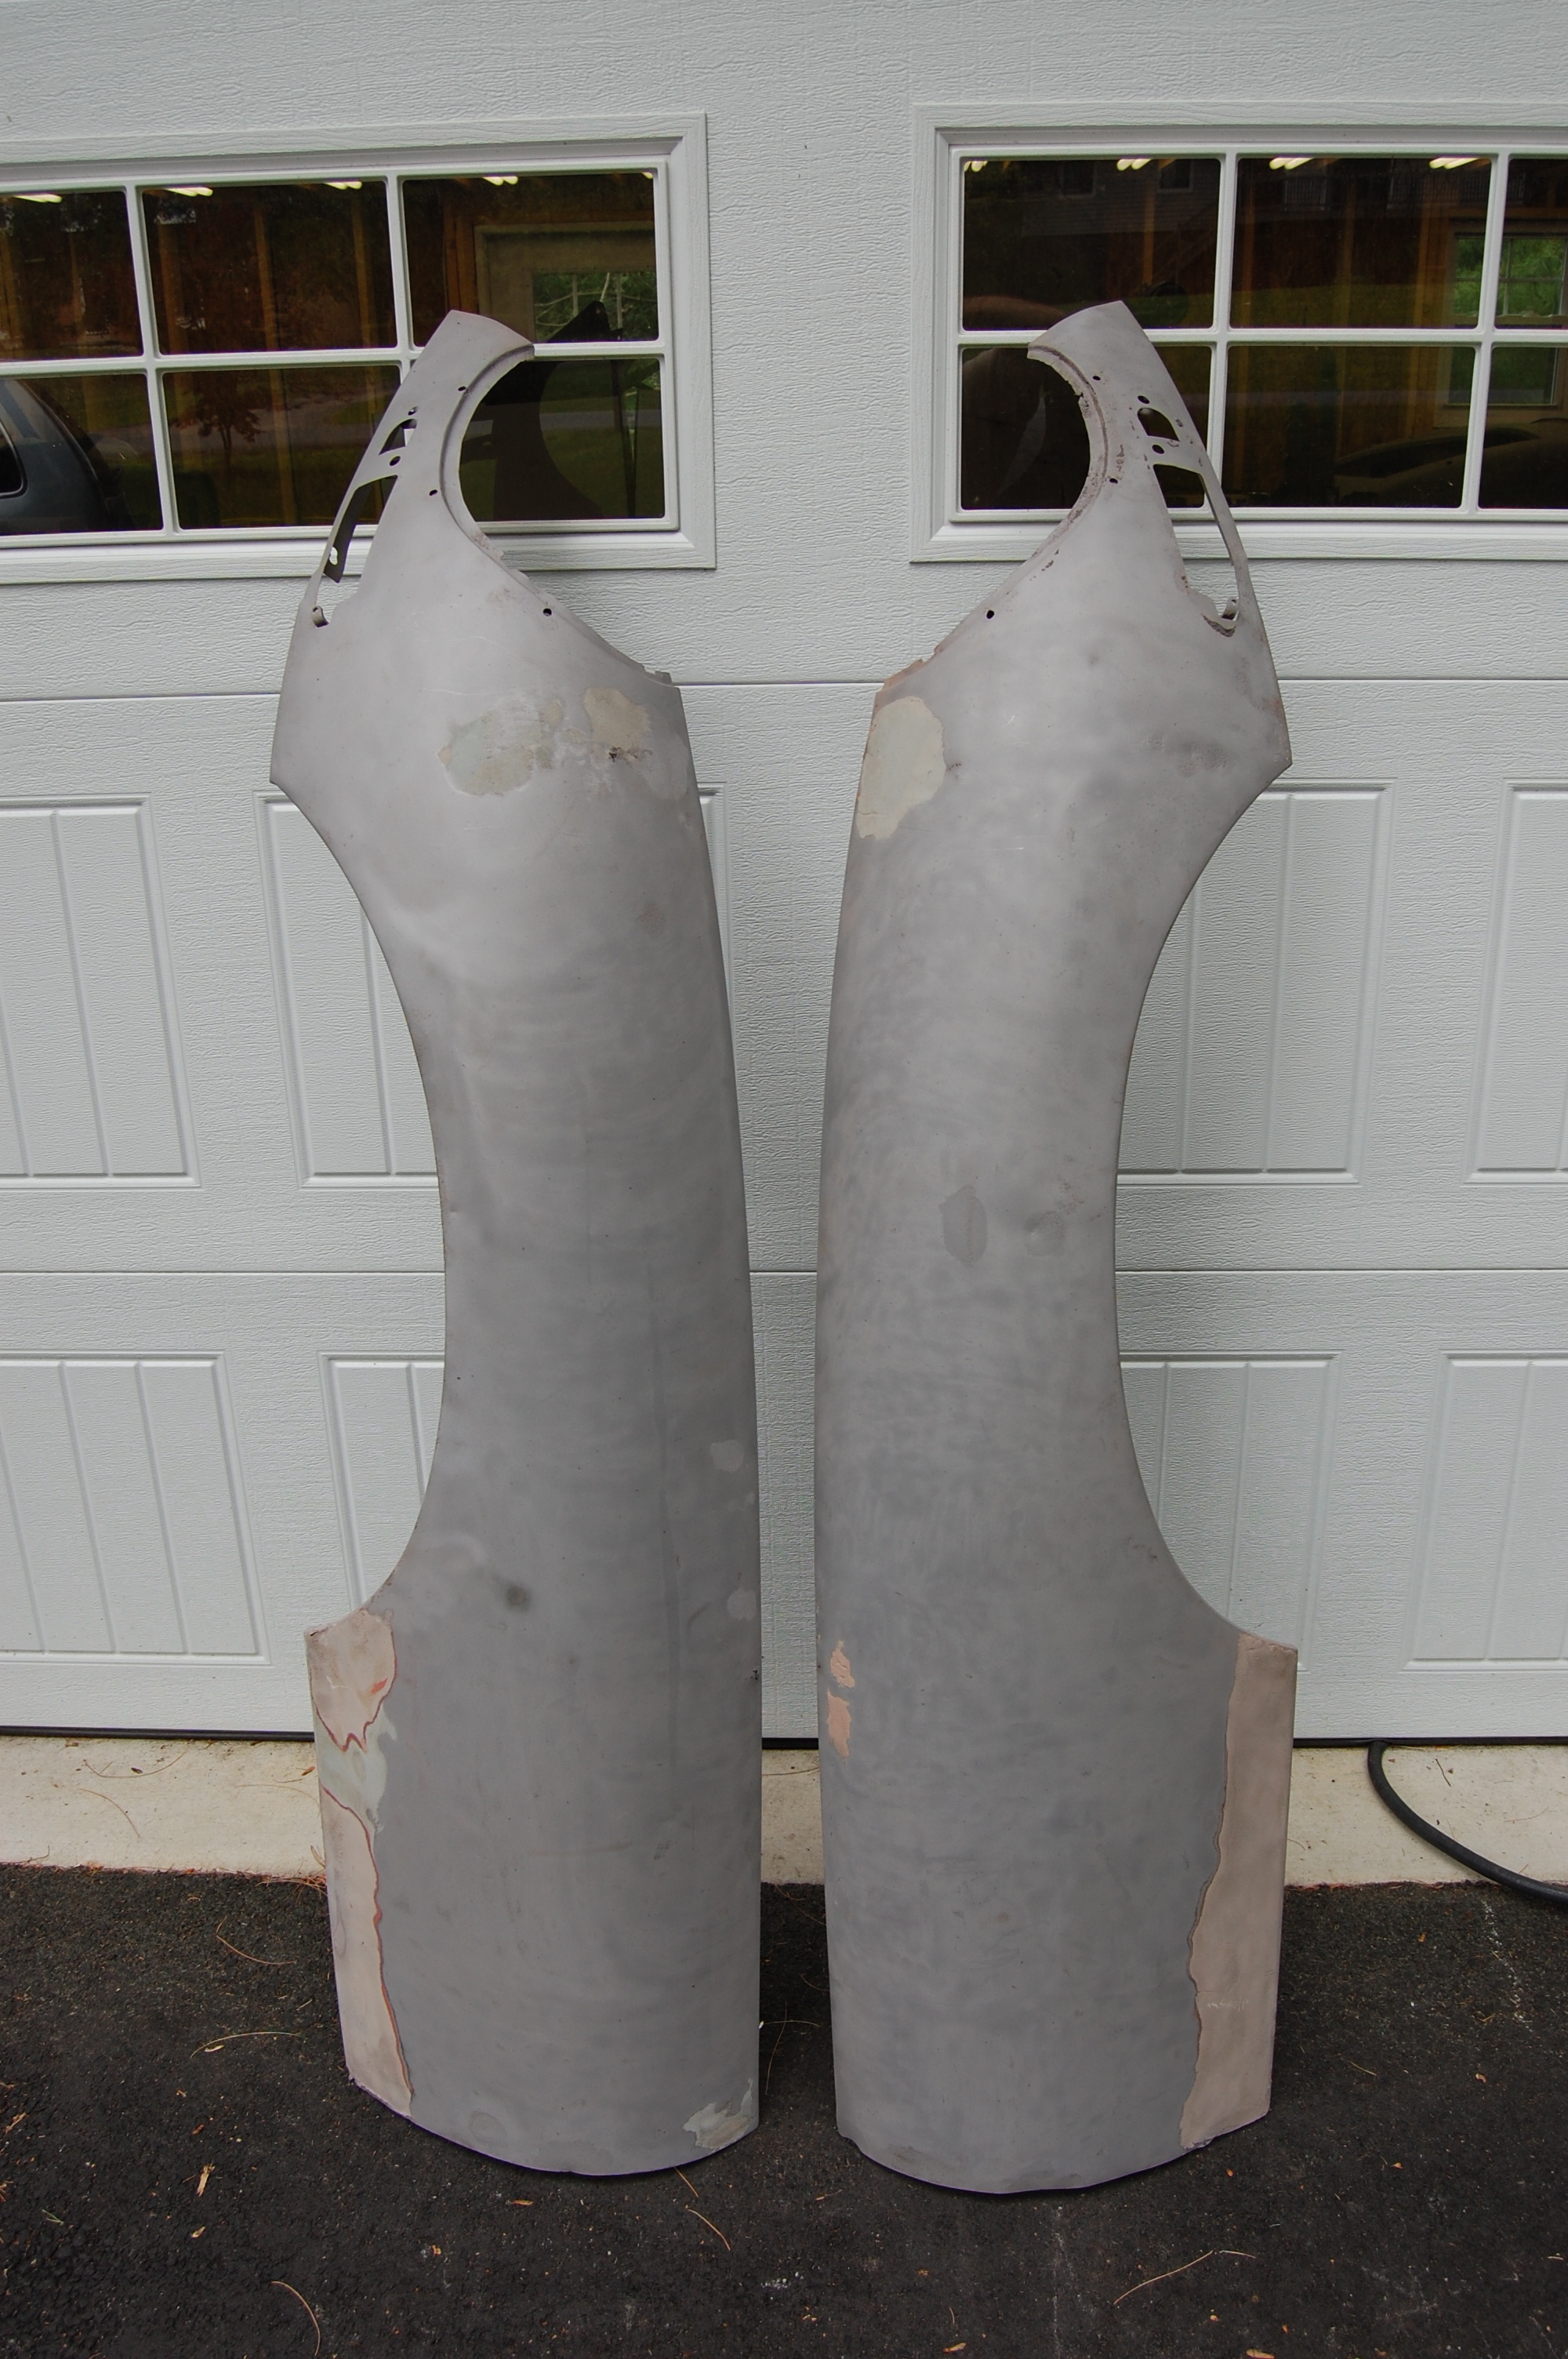
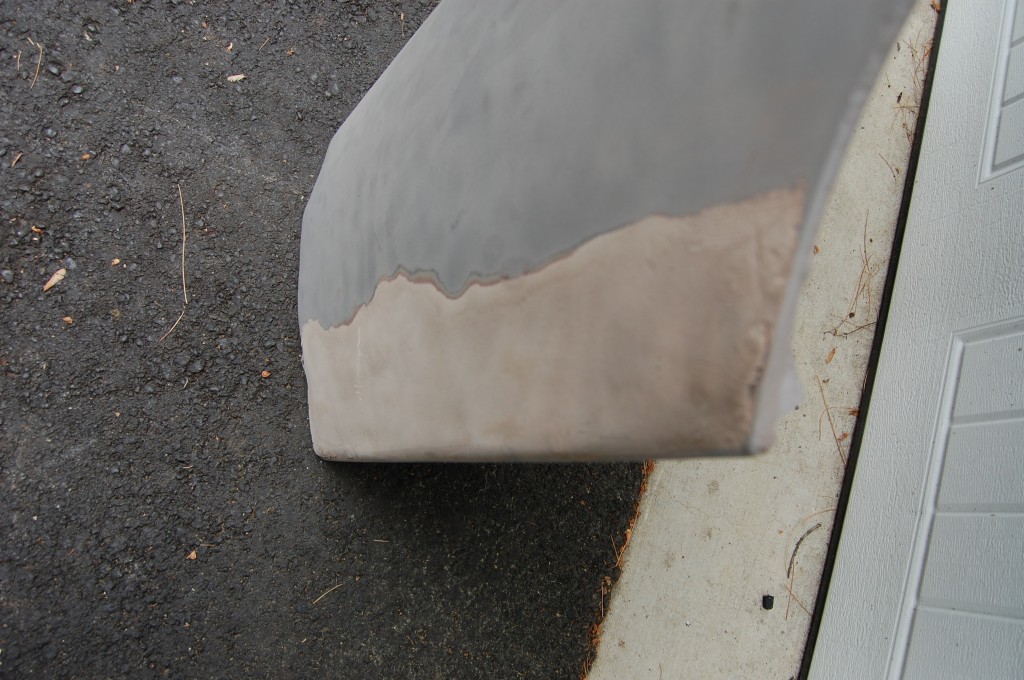
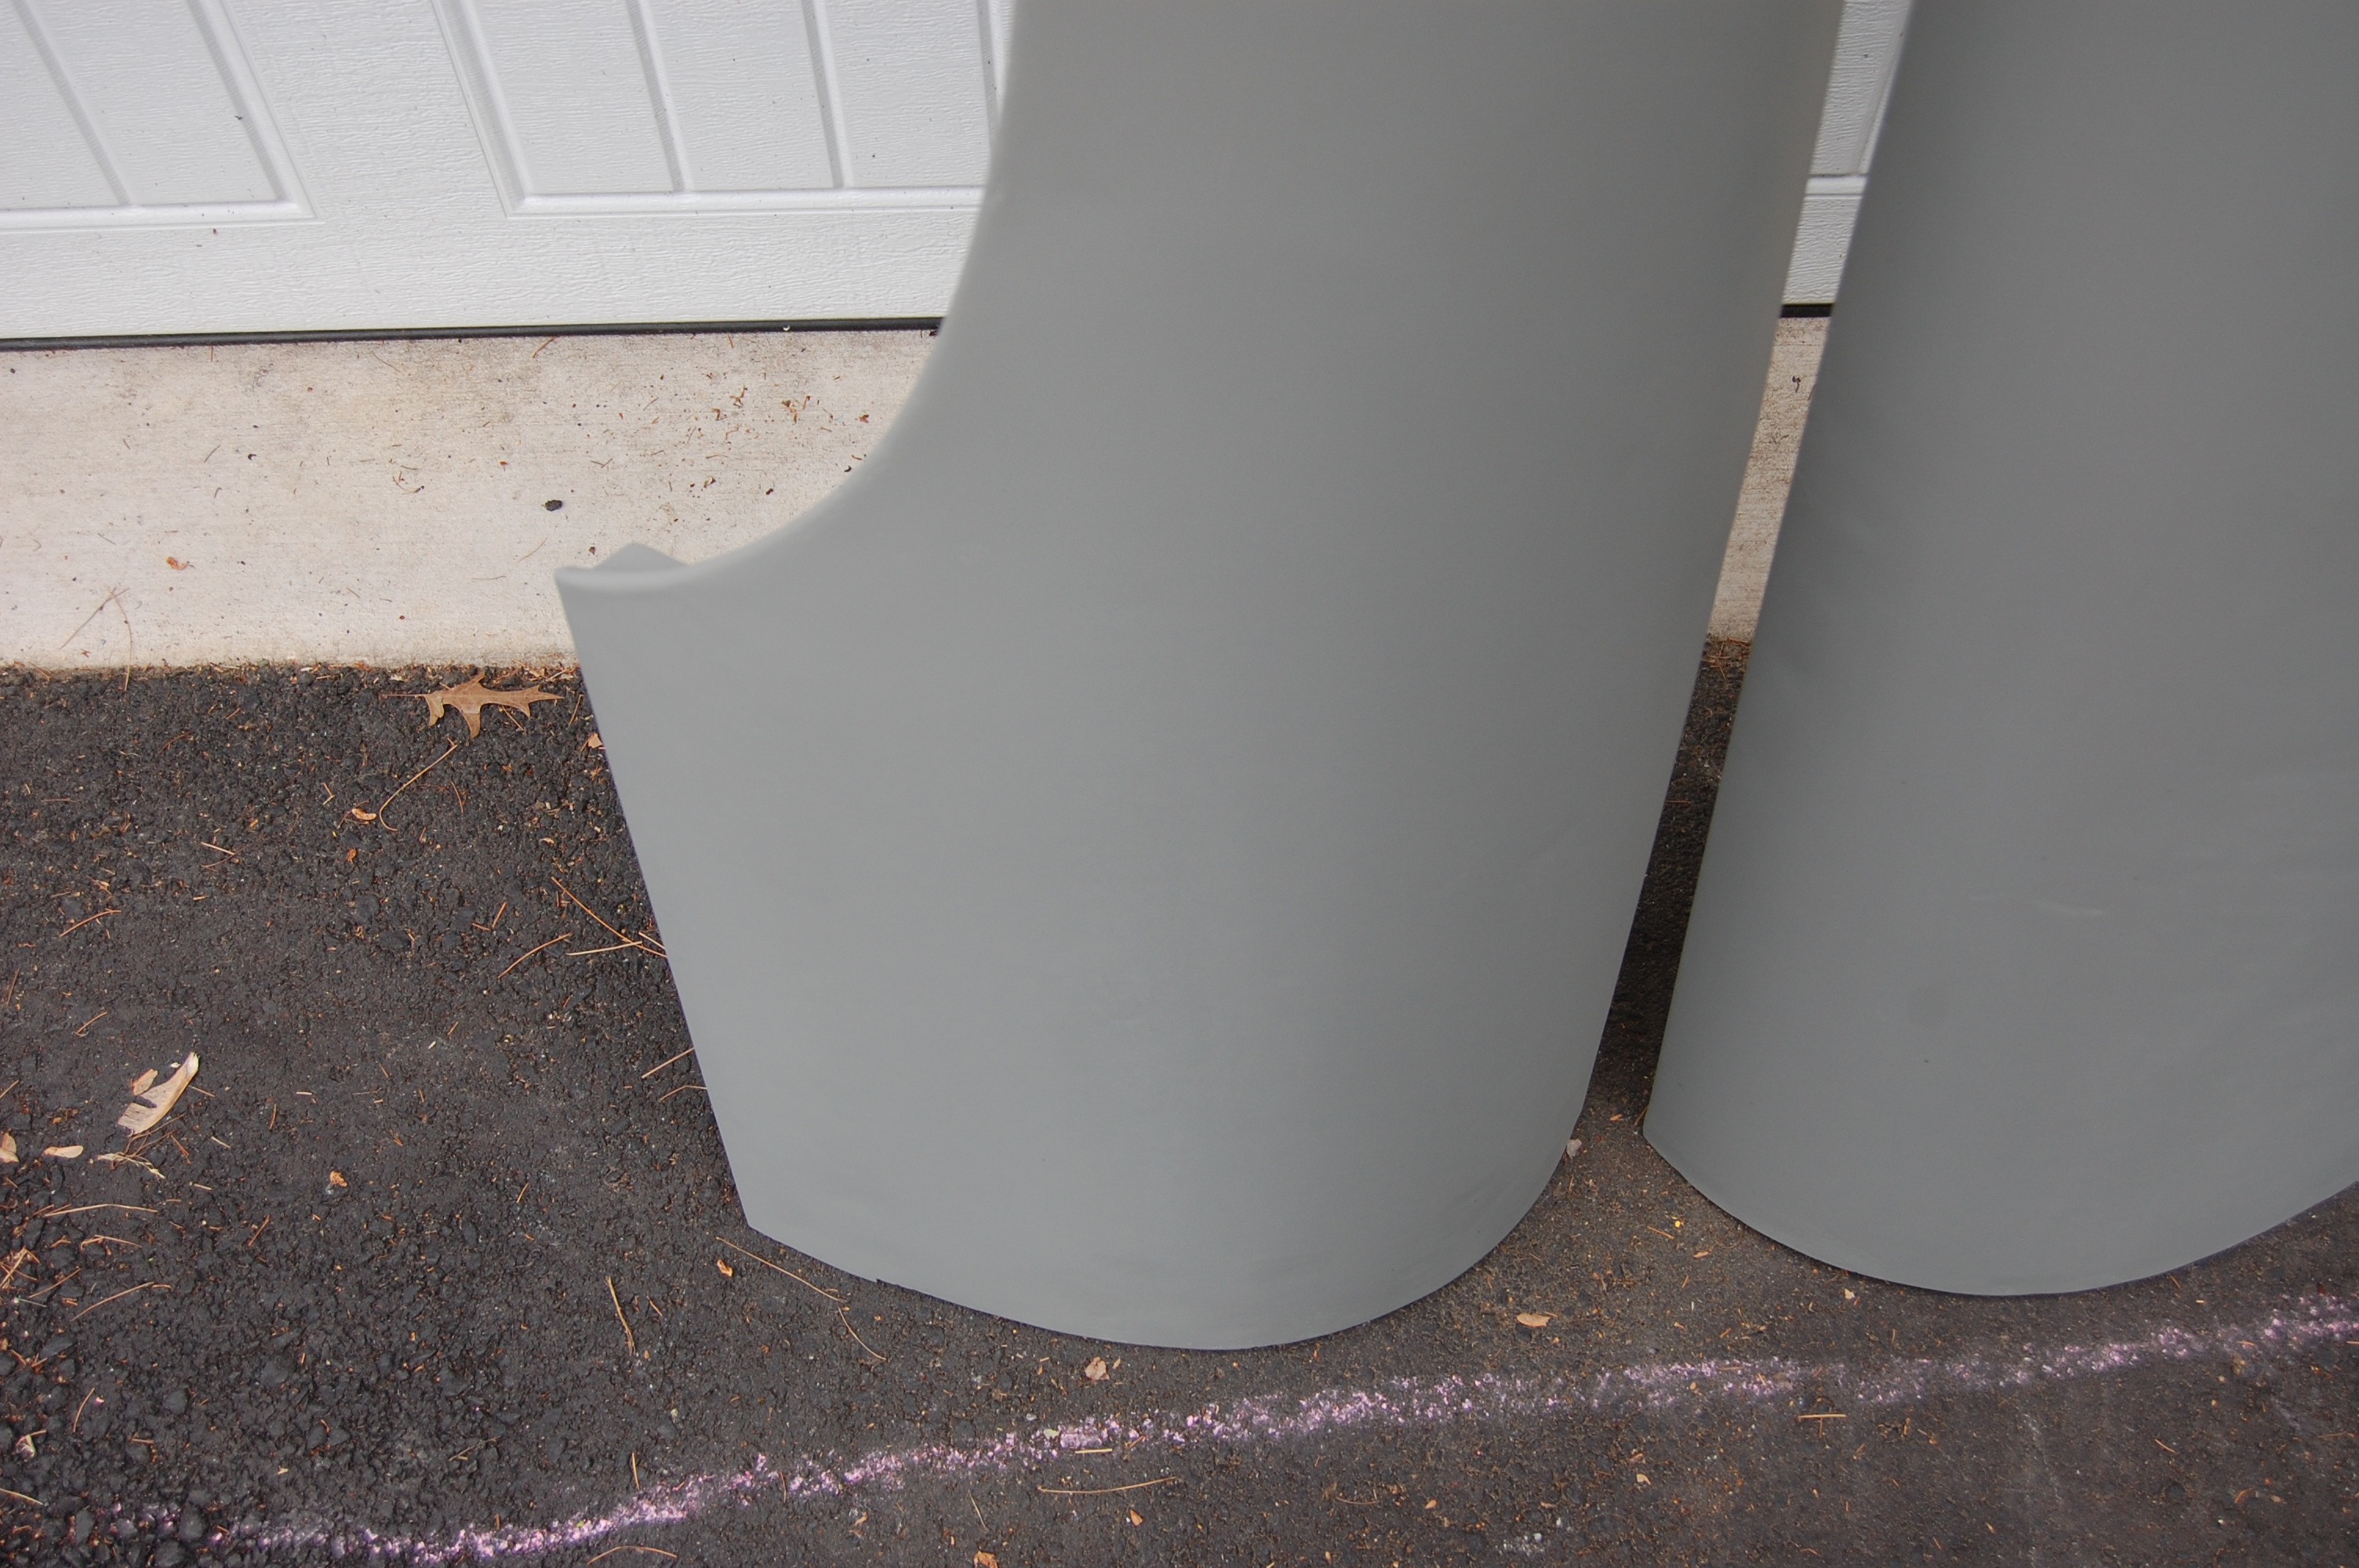
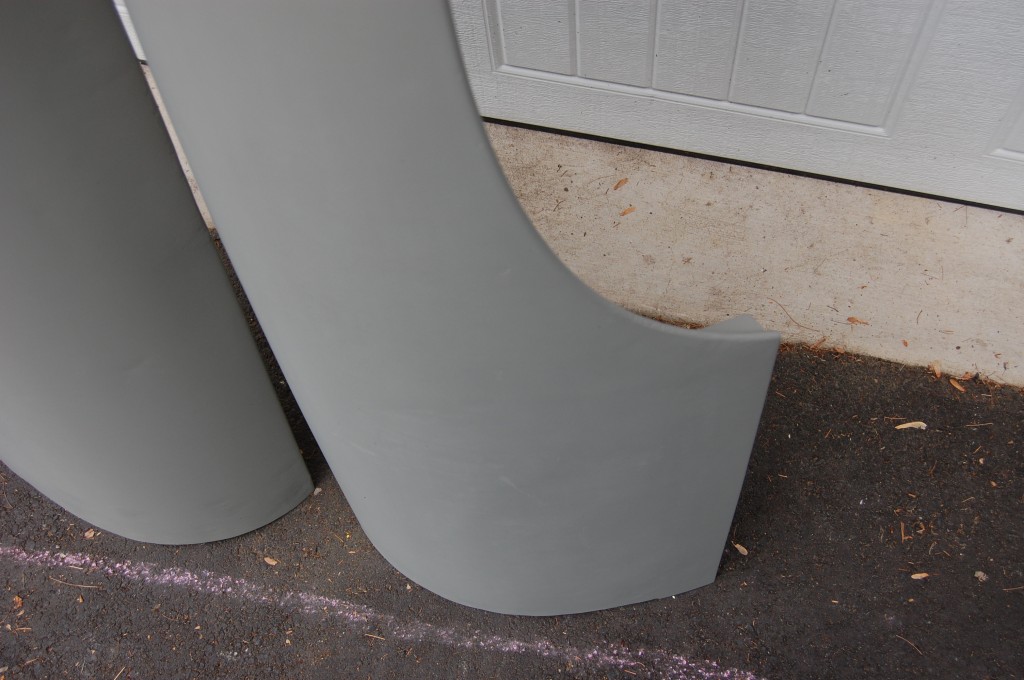
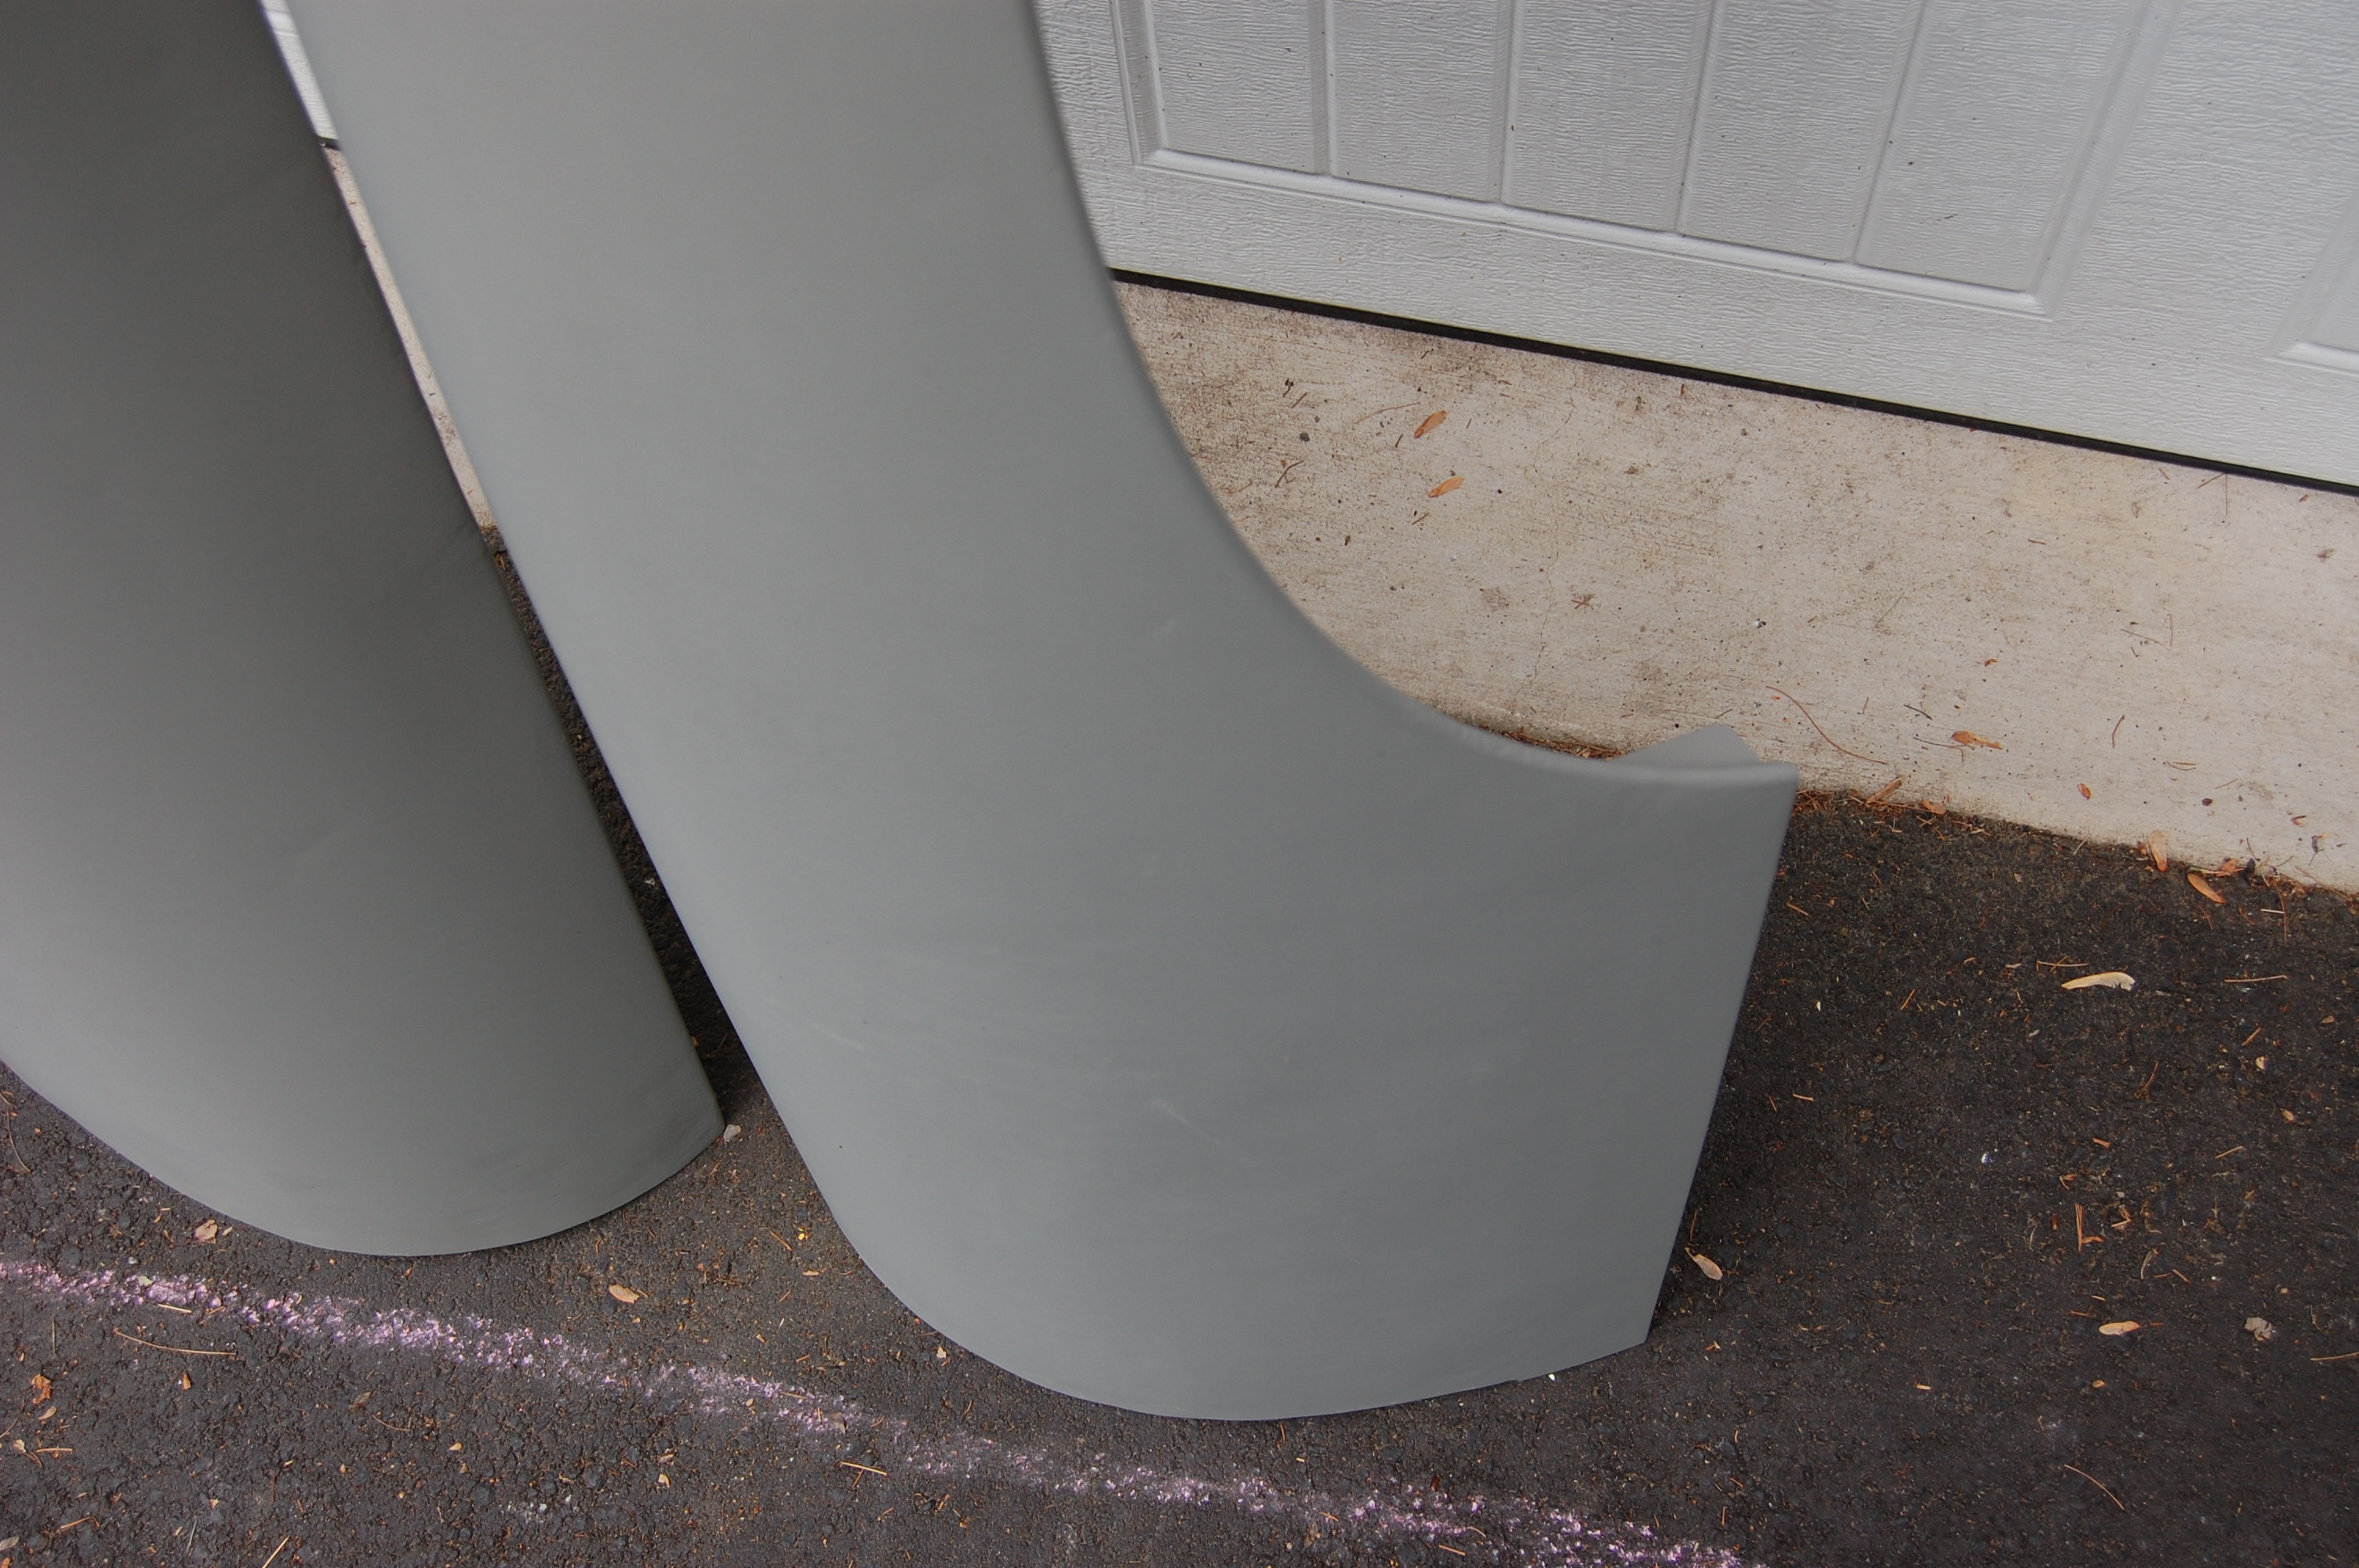
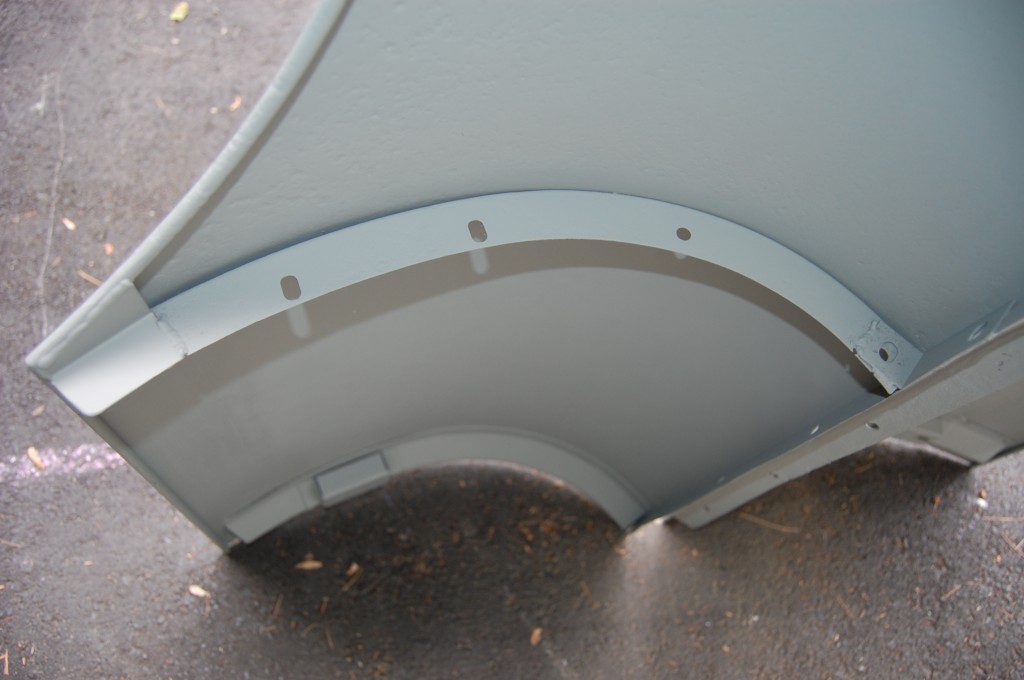
- Finished! Because of the need to use some minimal filler around our patches and seams, and the rust pits on the inner surface, these wings are not “as good as new” – but they’re DAMN CLOSE!
-
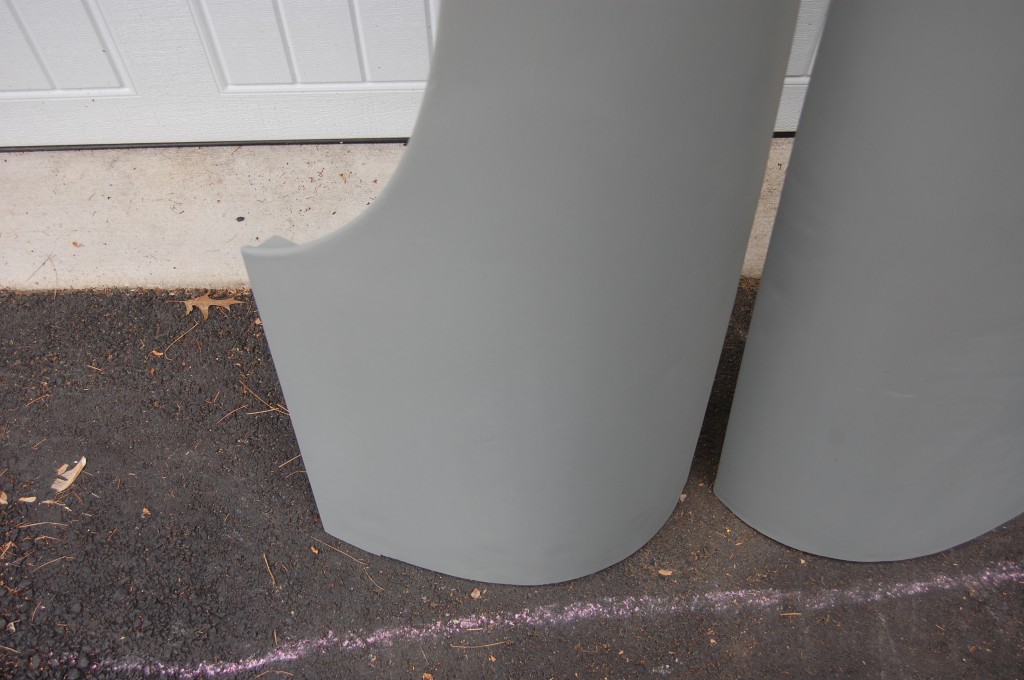
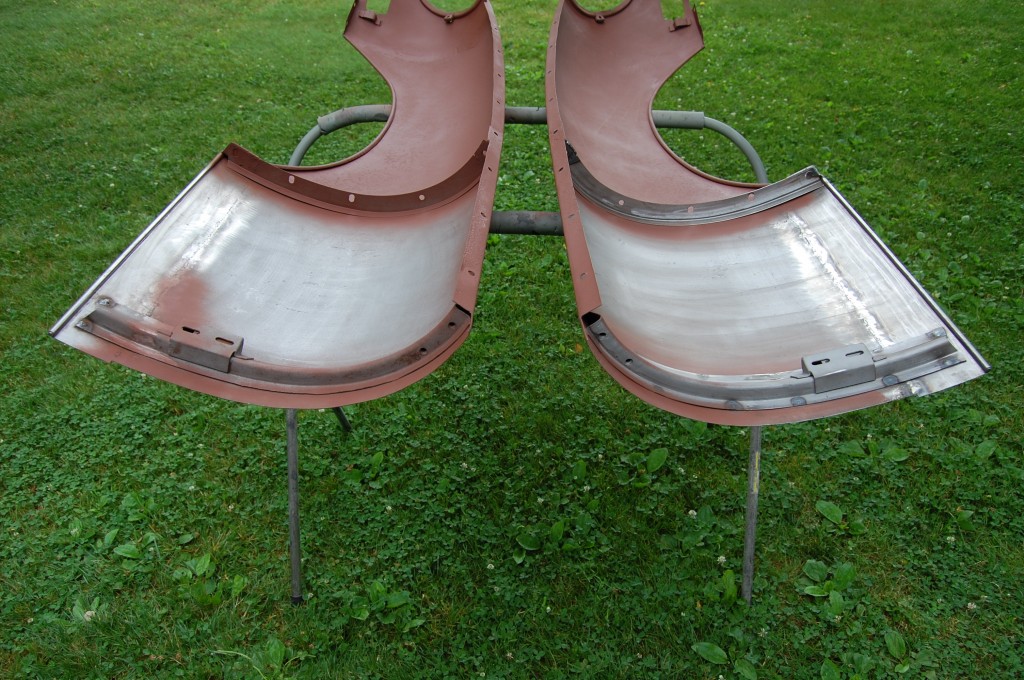
- The patches in the lower rear section are undetectable from this distance – except if you note that we have left them longer than the rear edge of the wing. These wings will probably be trimmed to match the shell while fitting the bonnet, so there is no sense in trimming anything off at this point.
-
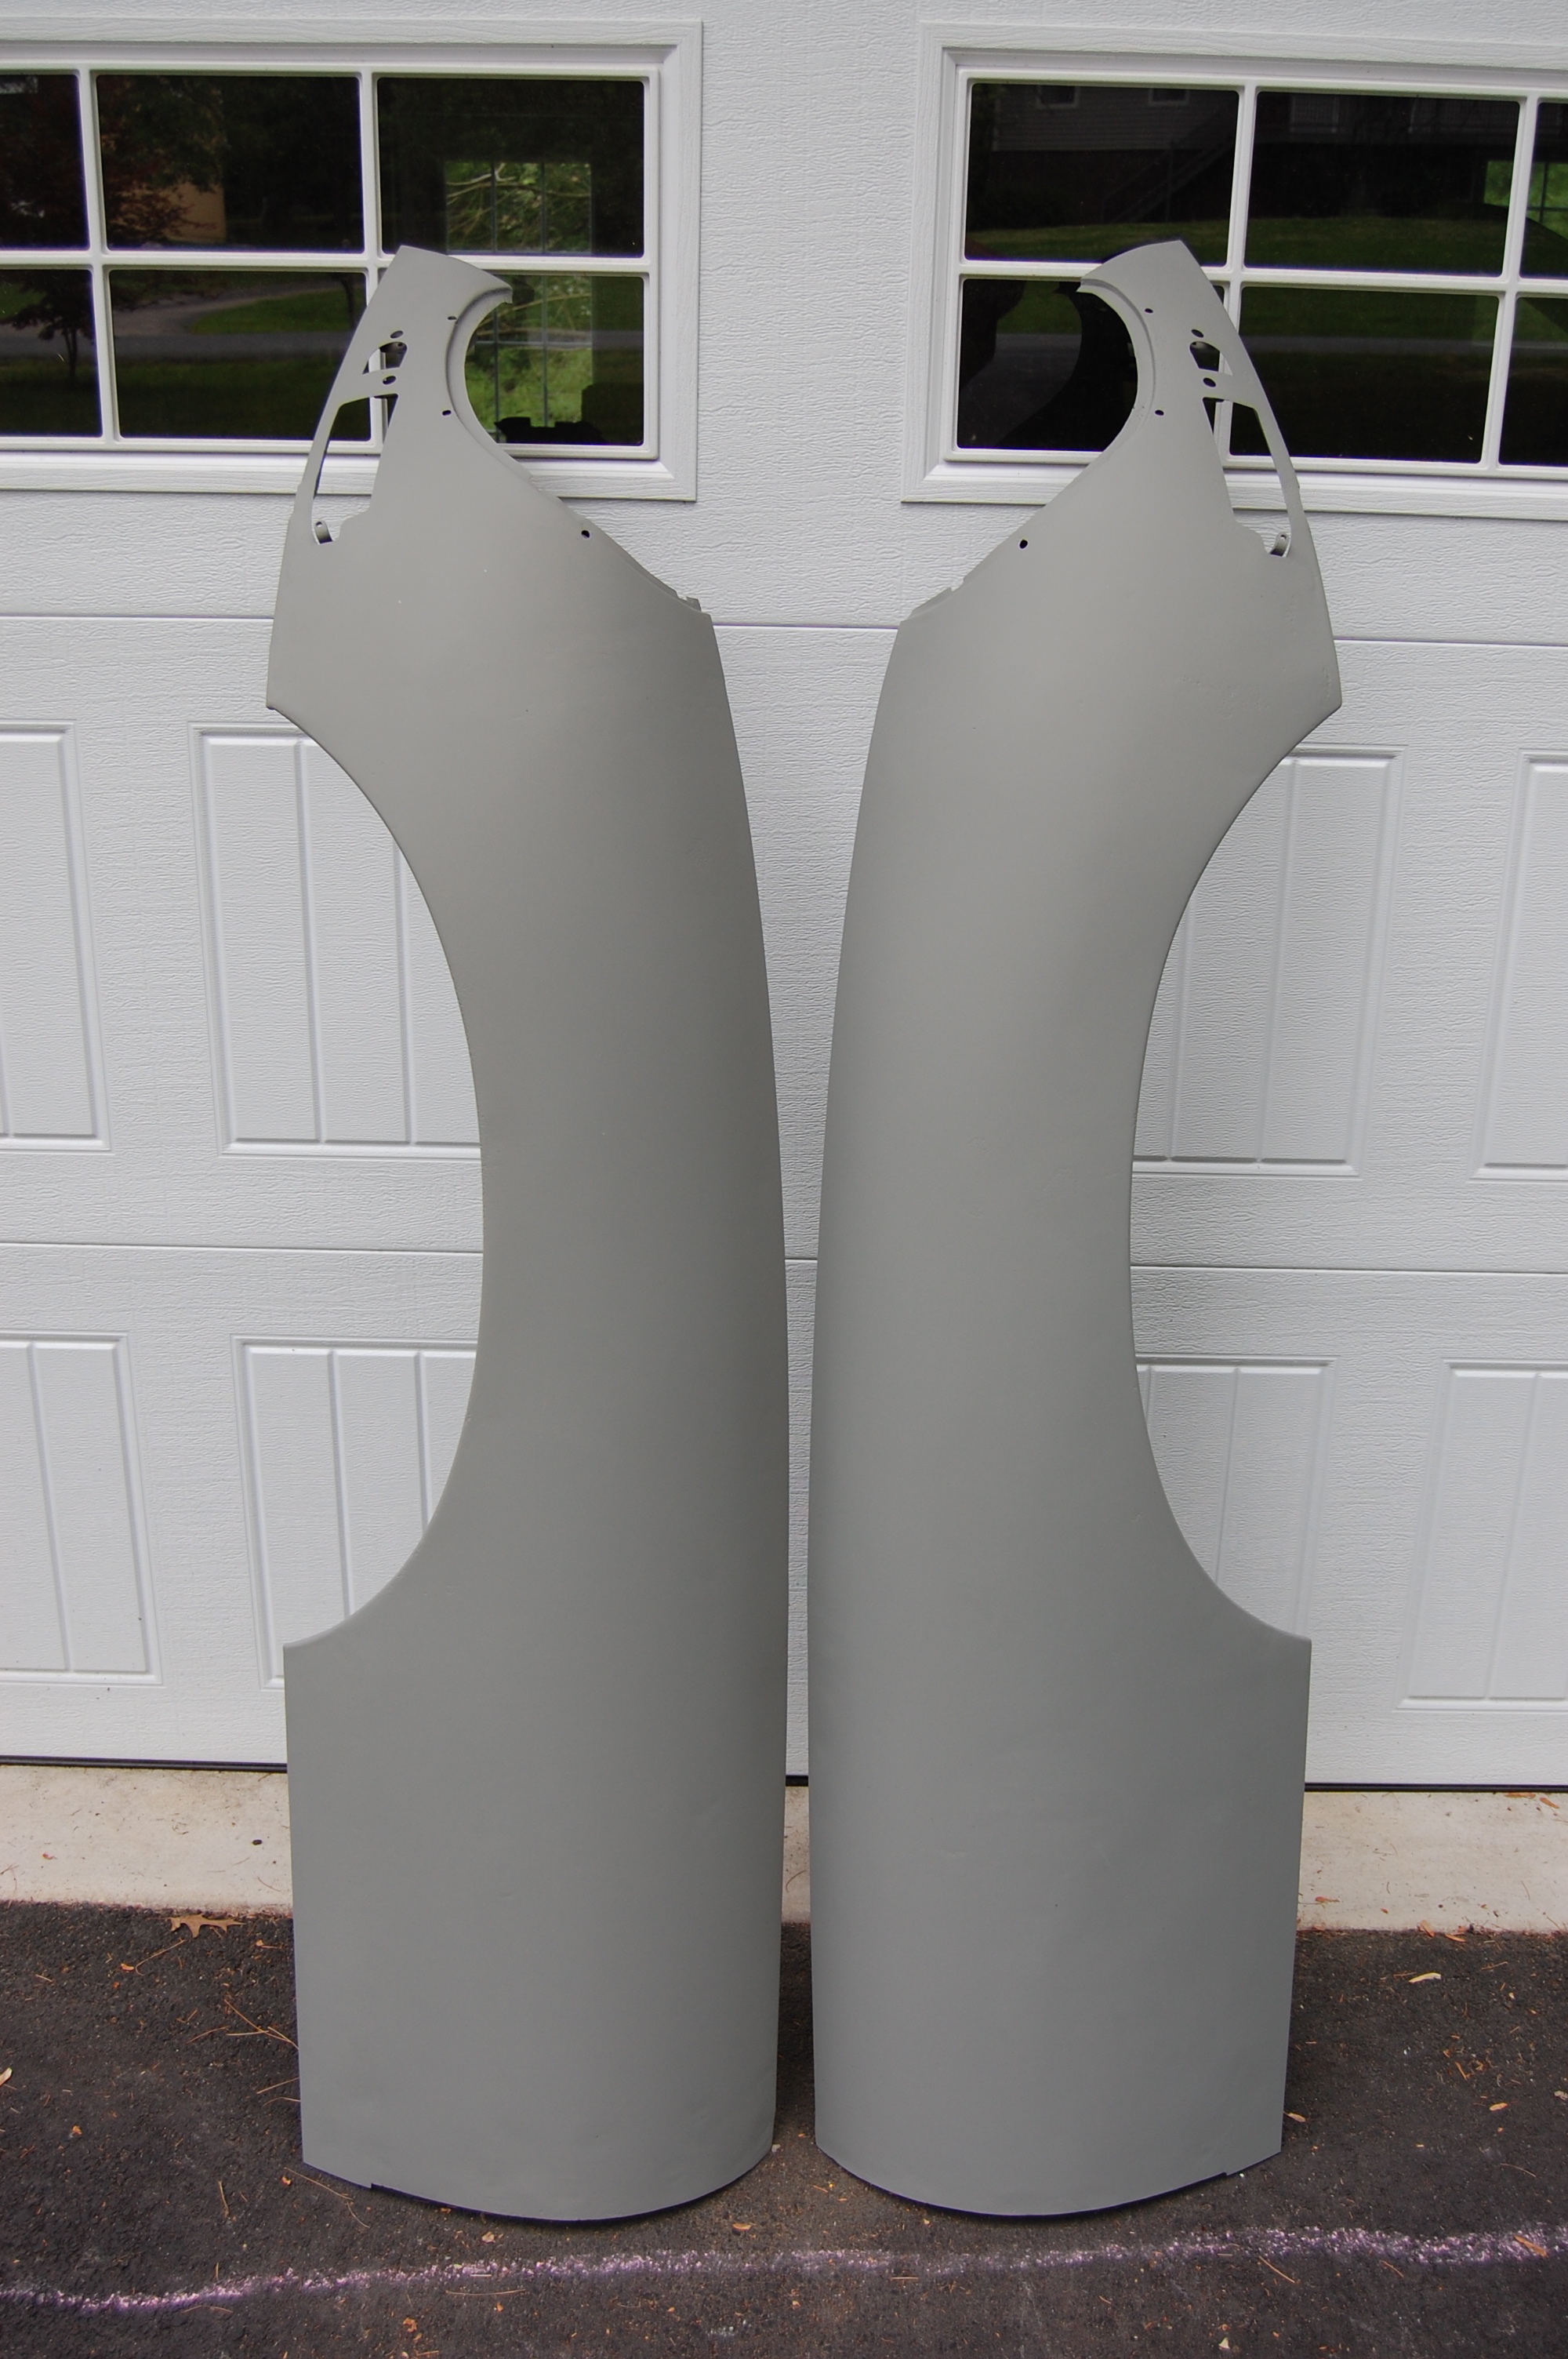
- Both sides are solid and correctly shaped. If you do this repair, you better make ABSOLUTELY sure you are not raising or lowering this wired edge. If it is not EXACTLY where it should be, there is going to be BIG TROUBLE when fitting the bonnet!
-
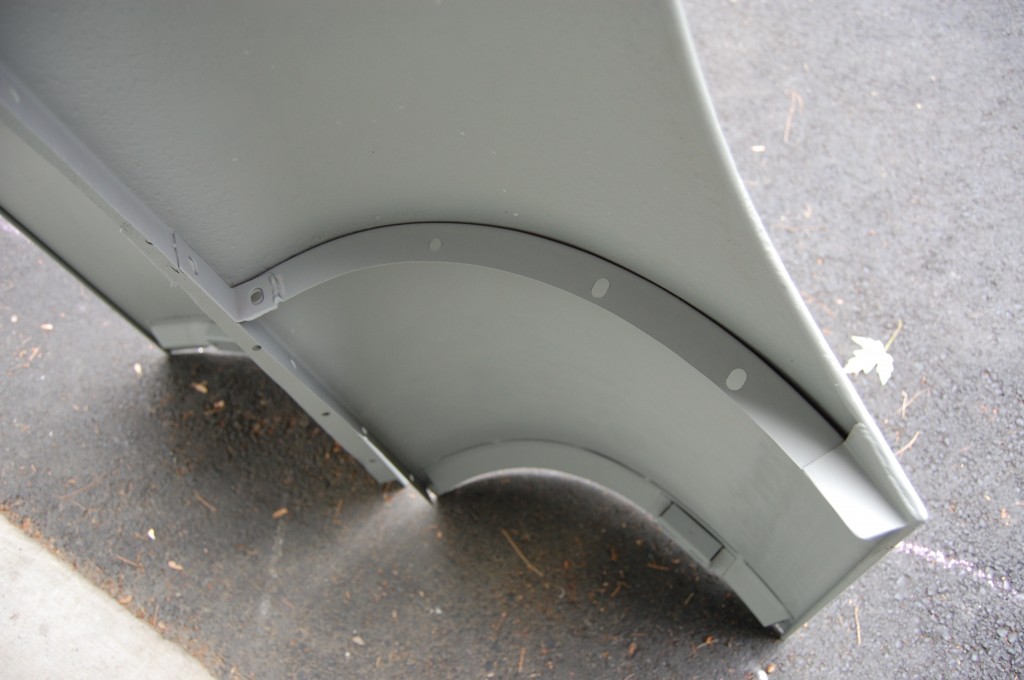
- Looks just as good inside.
-
- What a great finish to these junkyard wings! It will be very fulfilling to see these make their way back to a road-going E-Type!