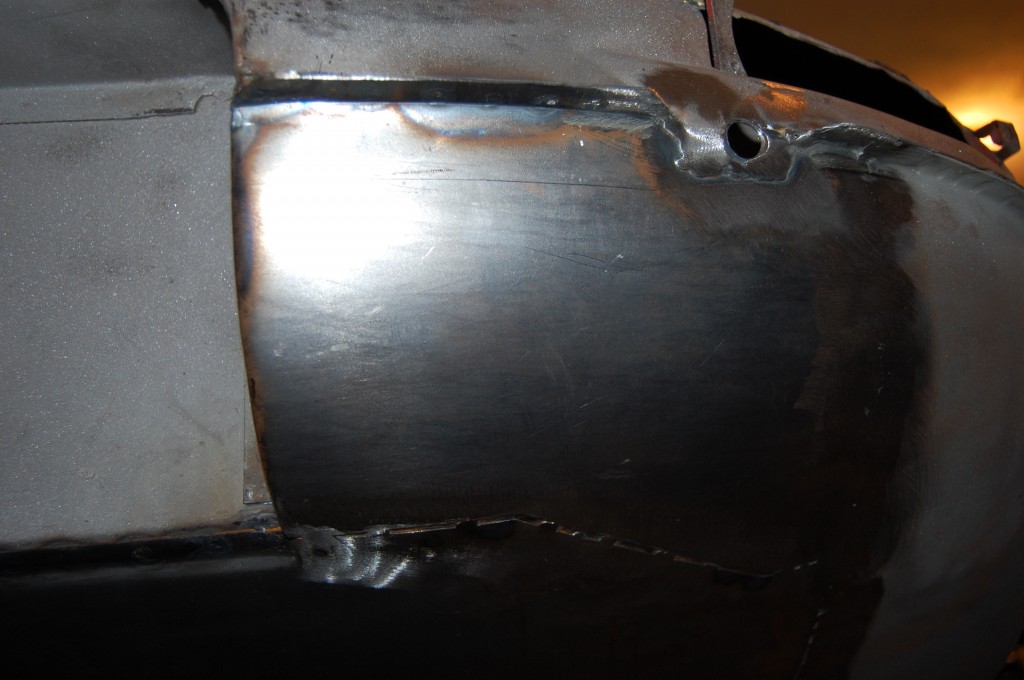
One of the last areas to take care of on this shell was the boot floor. Before the shell was blasted, I was thinking we’d be able to get away with NOT replacing the filler panels as well, but after getting a good look at the bare metal, there was no chance – they had to come out.
These filler panels are different between coupes and roadsters – the coupes simply wrap around the license lamp panels with a 1/2″ flange, and then those panels are smoothed out with copious amounts of lead filler.
On the roadsters, these panels have a 1/4″ step on the edge that is spoit-welded to a matching edge on the license panel, then the license area has a chrome strip covering this seam.
The “usual supplier” makes these panels, but they are WAY off – they are one of the panels that are never right… So we wheeled up a couple of panels and fitted them to this shell specifically – which is how we handle these fillers on all E-Types.
- Here is the RH filler panel – you can see the leaded factory seams.
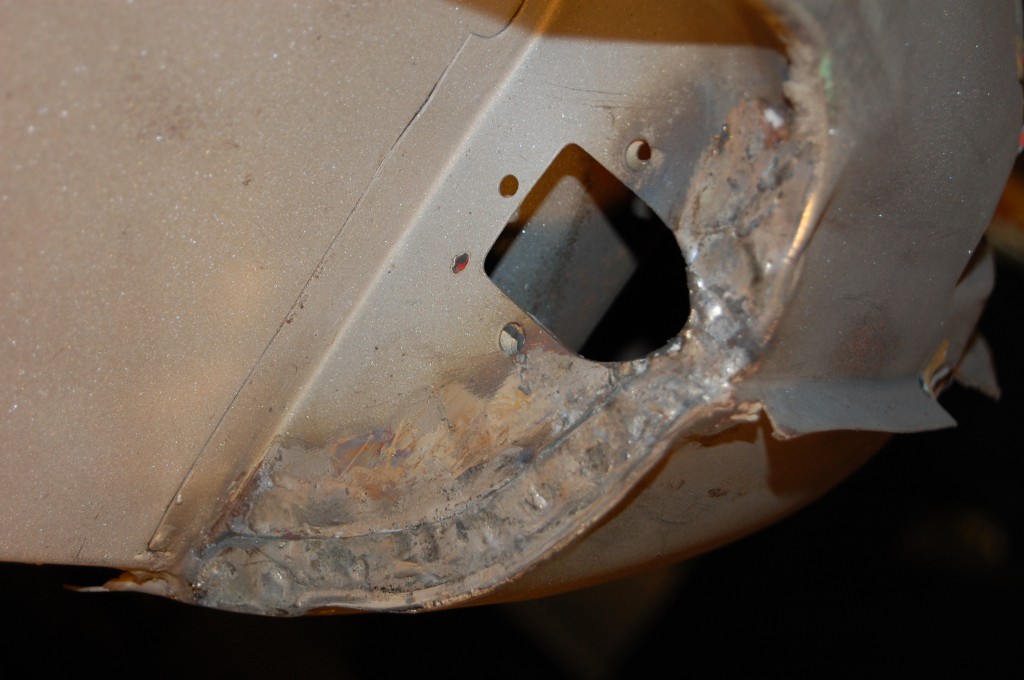
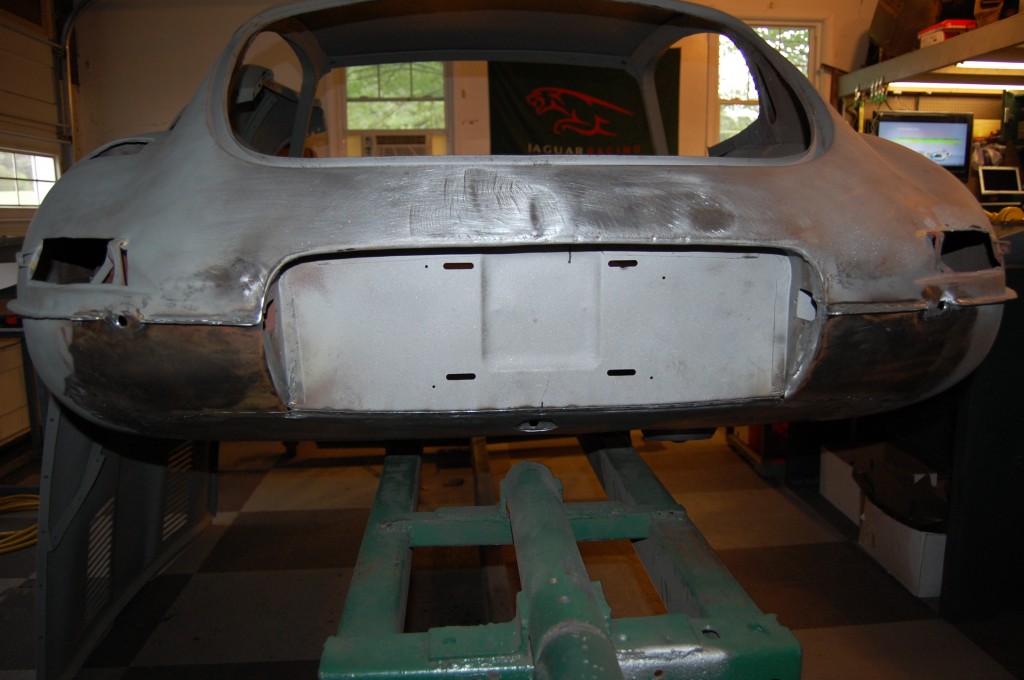
- LH side – in addition to some rust problems in the lower corners, these were battered from the bumeprs getting pushed into the shell in minor collisions.
- This shot shows the lead used to smooth out the license light panel.
- RH side before removal of the lead.
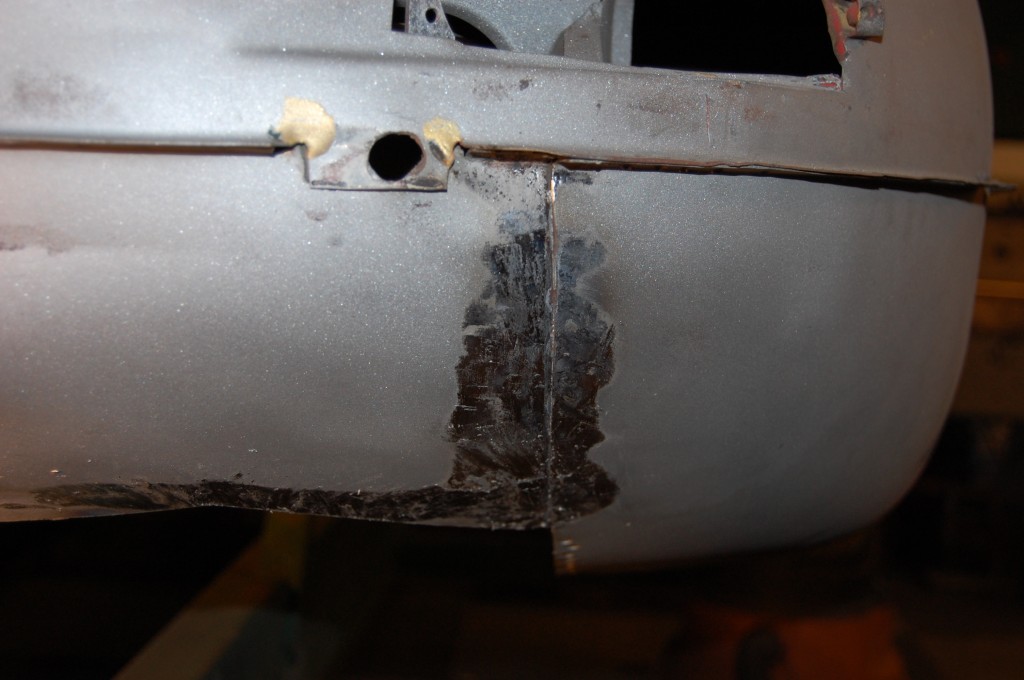
- After the lead is melted out, you can see the flange.
- The lead should also be removed from here as well – never cut through the lead – always melt it out before working on the seam.
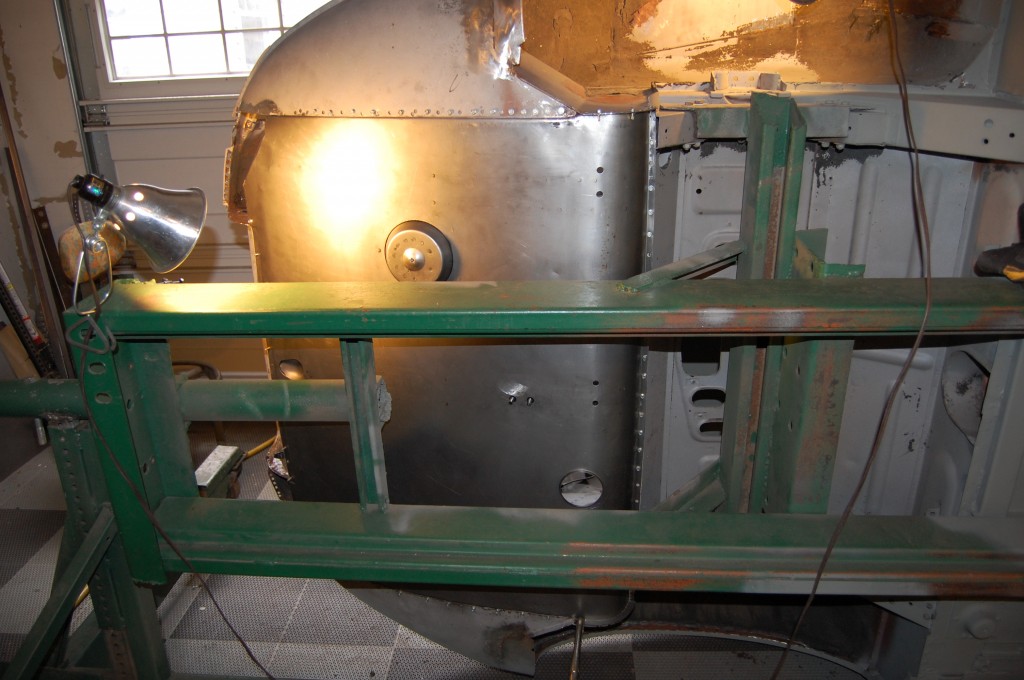
- New boot floor has been fitted into place.
- Here is the RH side partially formed up.
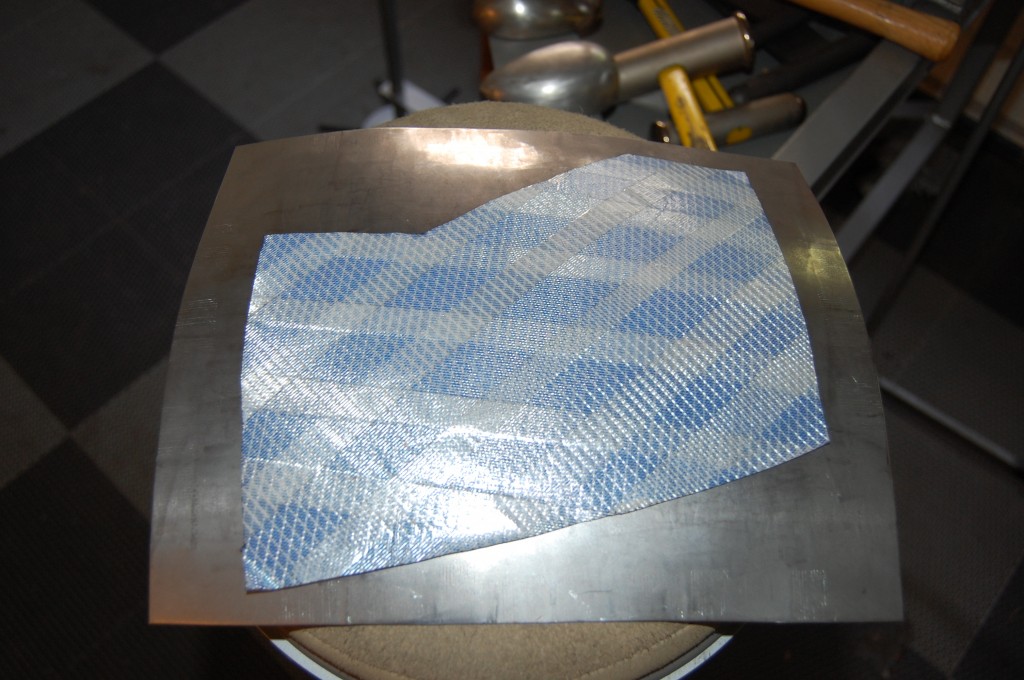
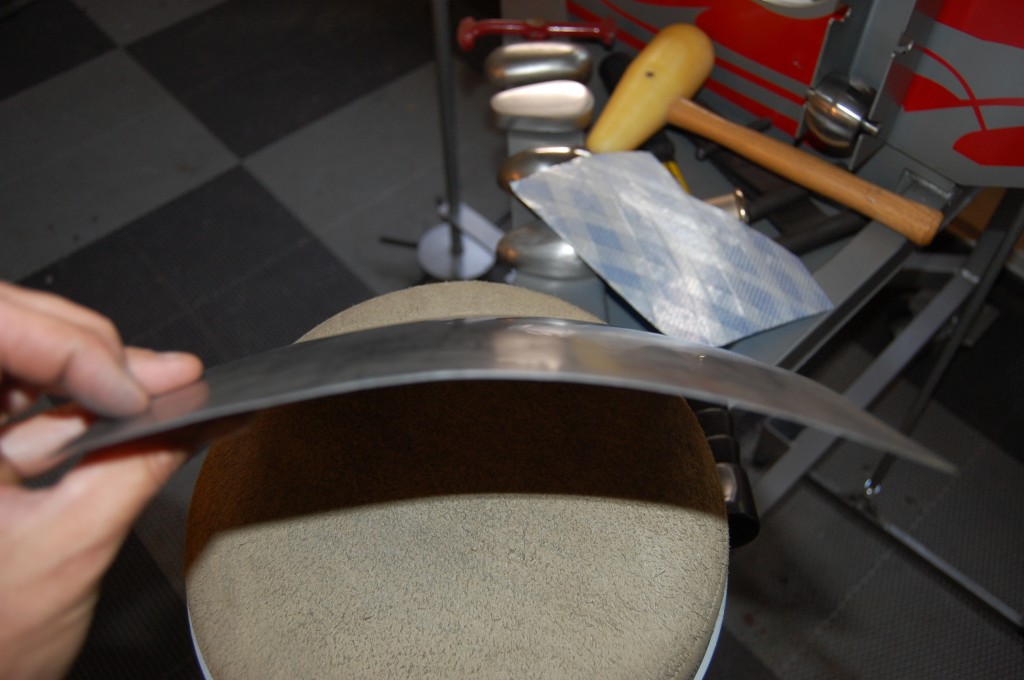
- Let’s back up a couple of steps on the LH side – this is the panel being wheeled up to match the flexible shape pattern that tells us how much curvature is in the piece.
- This shot shows the panel curving in both directions – compound curve.
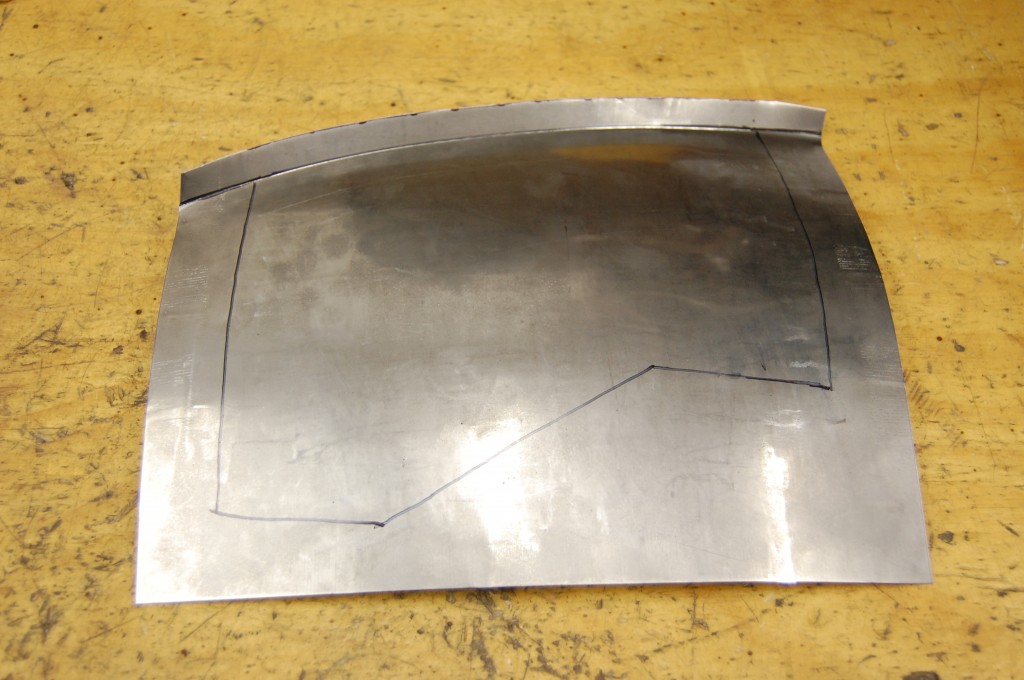
- After the shape is put into the panel, we fold the first edge over – the seam along the midline that is under the rear bumpers. We also trace the shape pattern just to get us into the ballpark…
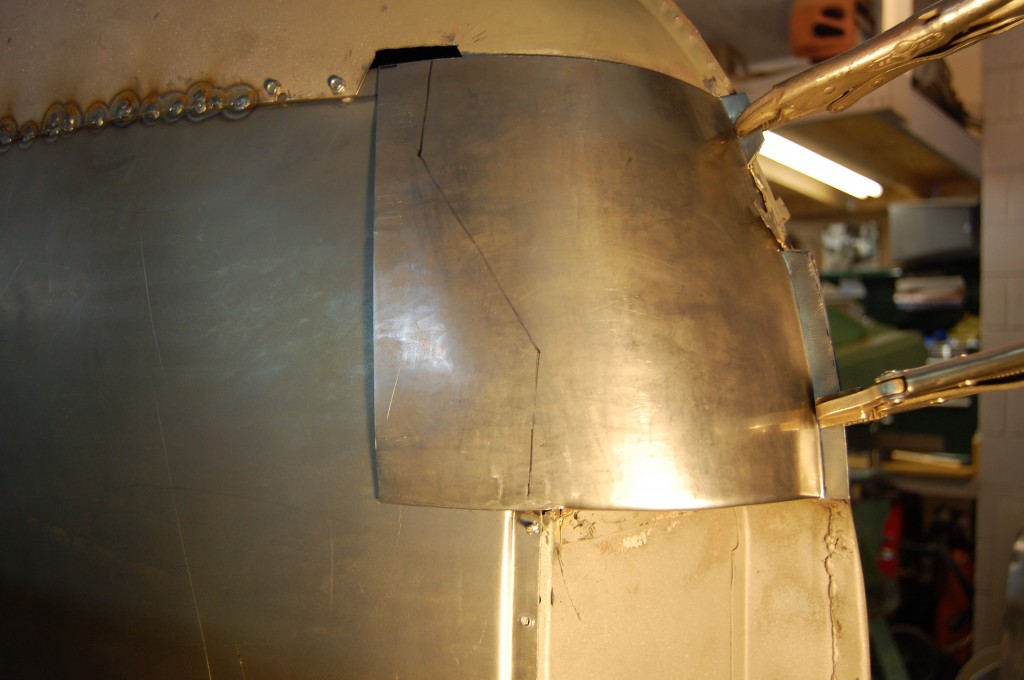
- Here we are fitting the panel into place, adjusting and adding the necessary curvature.
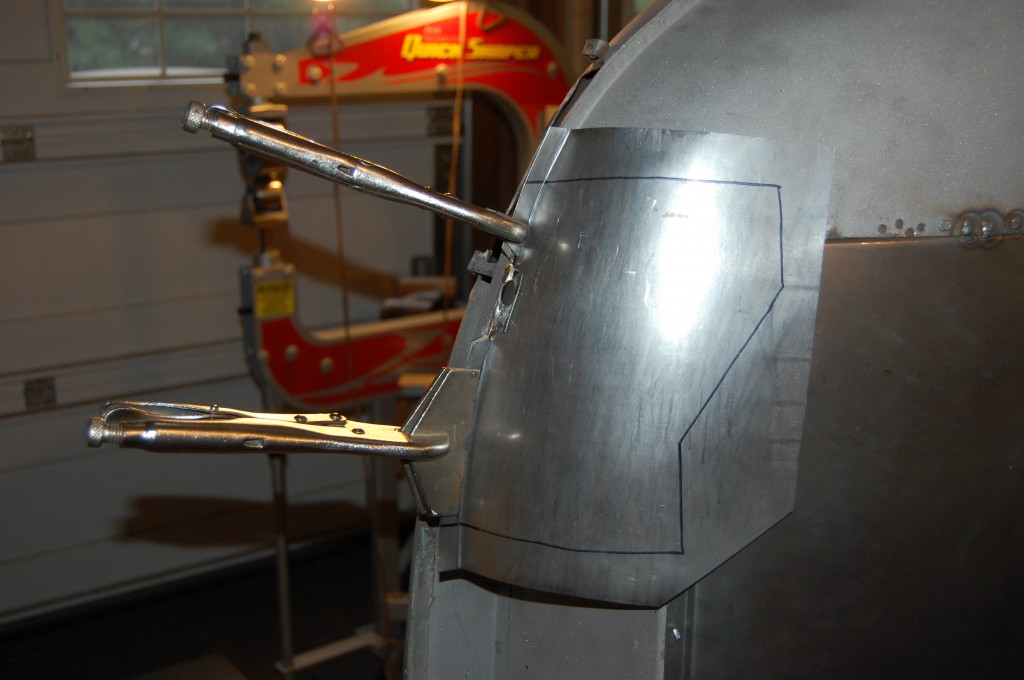
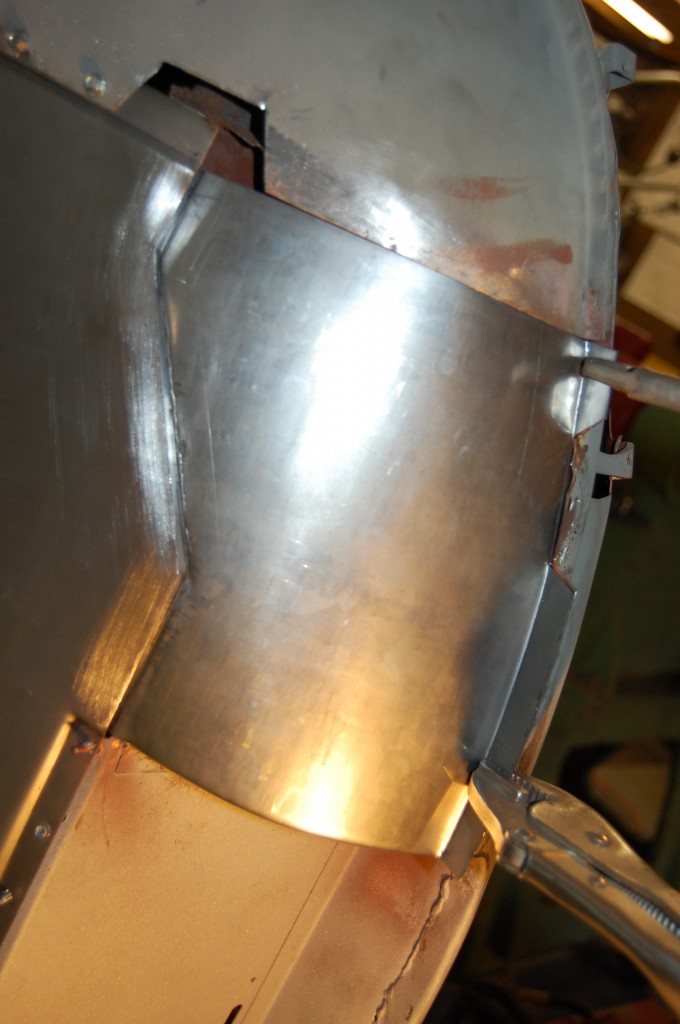
- Here’s another shot after folding the edge along the license panel and flanging the lower edge to fit under the new boot floor. The small trapezoid is an area of cancerour rust that we cut out and will replace with new metal welded in seamlessly.
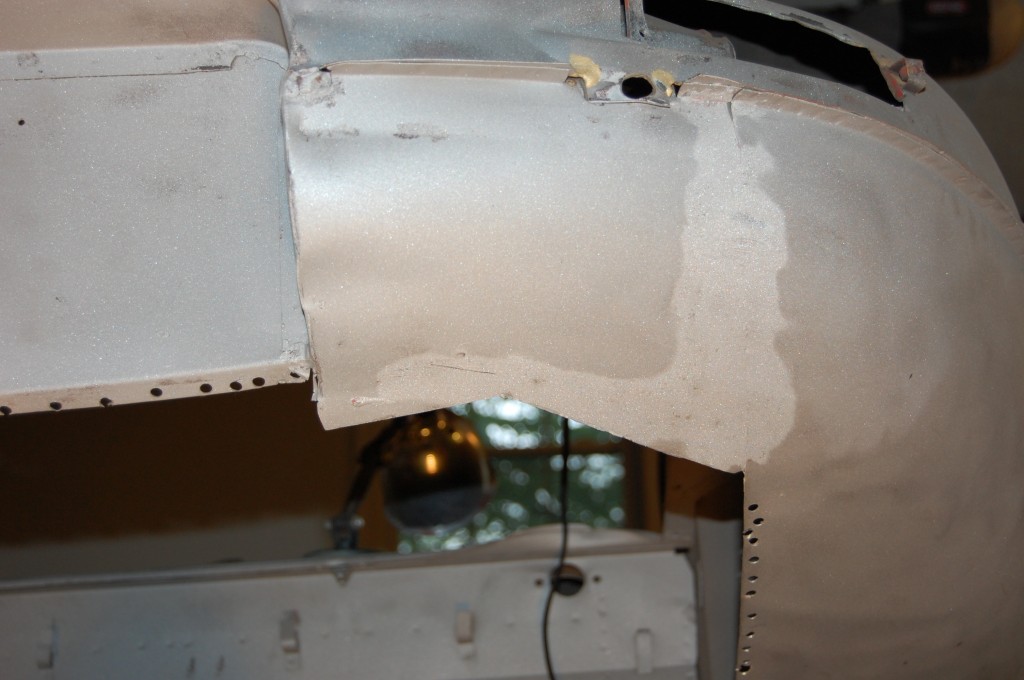
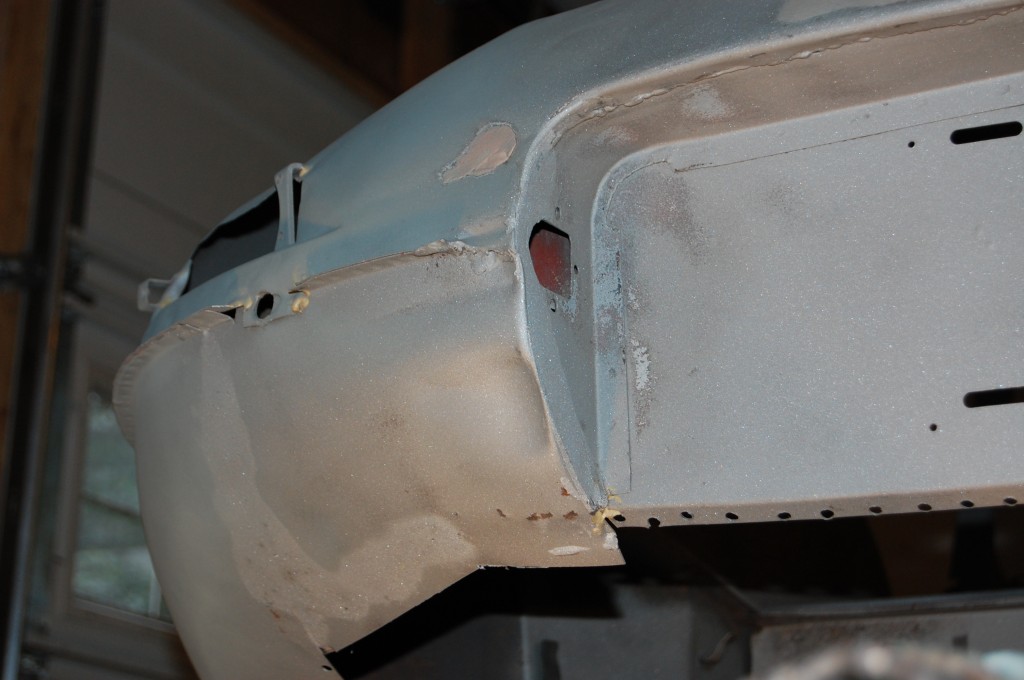
- All finished up! While the filler panels were off, we worked the dents just above the bumper line out to minimize the use of filler there. We also coated all of the internal areas with multiple coats of red oxide.
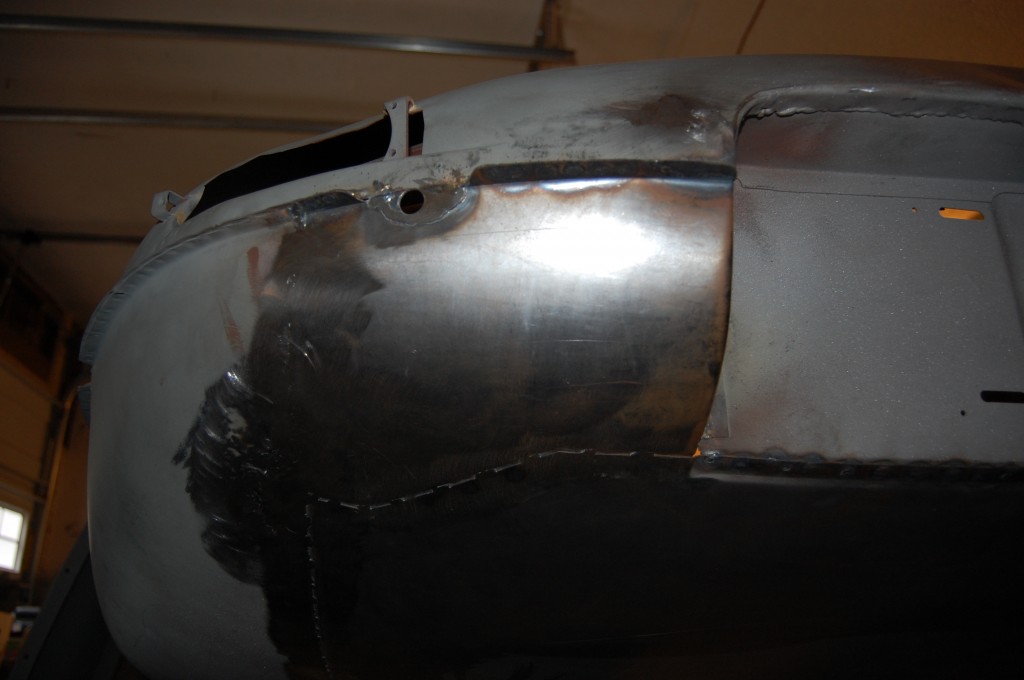
- The lighting is bad here – sorry. This is the completed LH filler.
- Our edge is smoother than the factory, and should require minmial filler to smooth into the license panel – approx. 0.050″ at most – just a smidge more than the thickness of our filler flange.
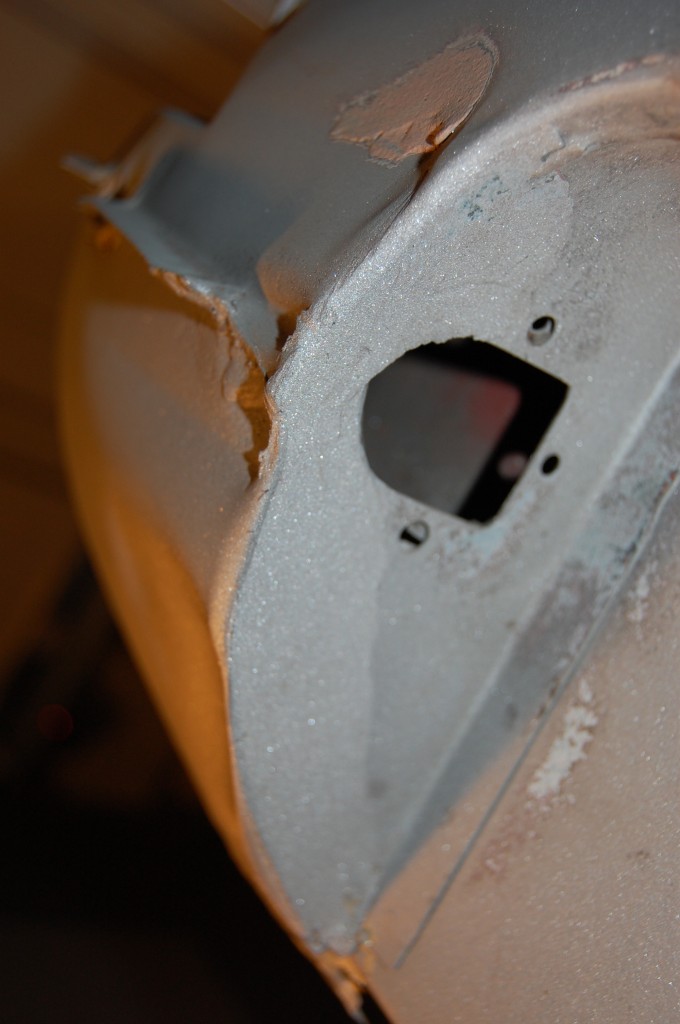
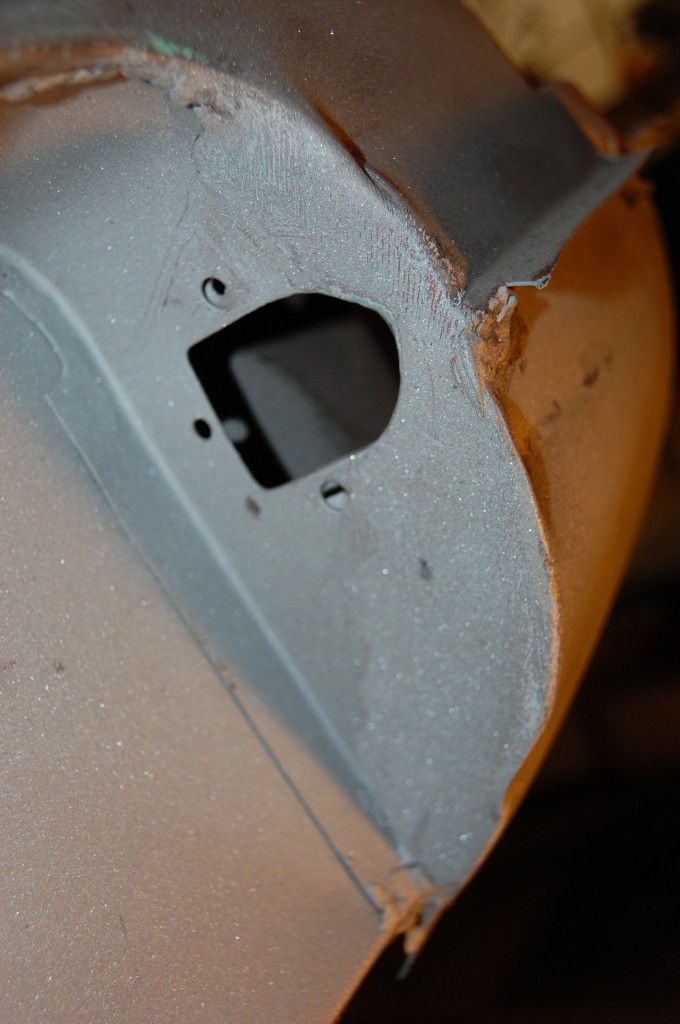
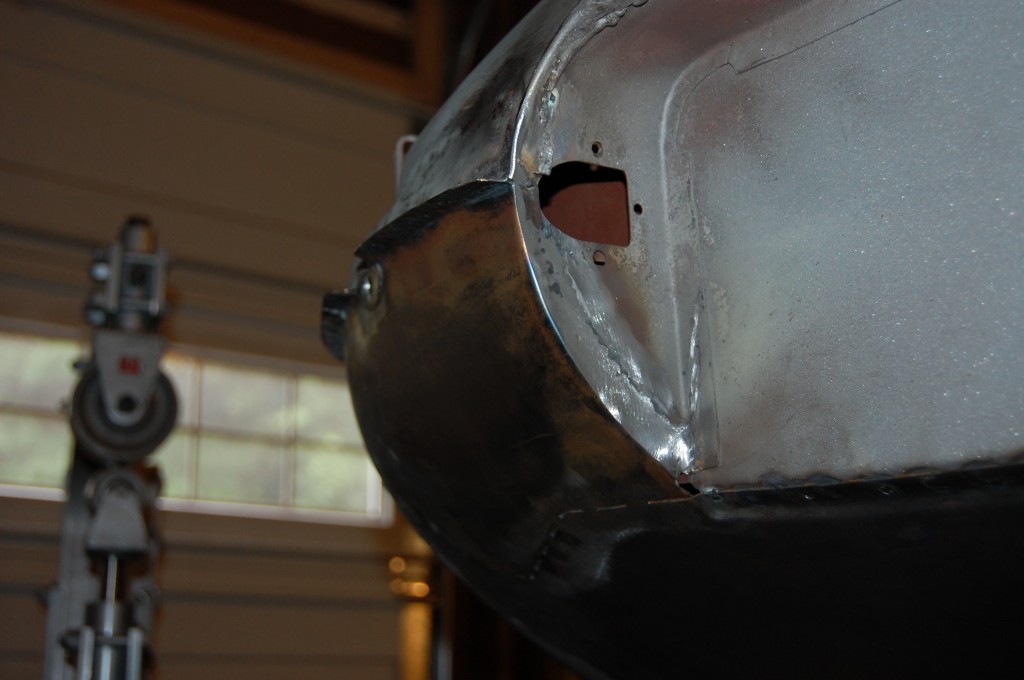
- The completed RH filler – don’t forget the bumper bolt tab and take great care when you locate the bumper mounting hole.

