OK – get ready for some ugliness! Most of the blog postings show all of the really pretty things we can do with E-Type panels, and even the ones with ugly stuff in them have a happy ending.
This story will too – it’s just going to be a longer story. So, in this blog, we’ll show you some photos of the disassembly of the coupe donor car, and then the dissection of the shell in preparation for sandblasting and eventual reconstruction!
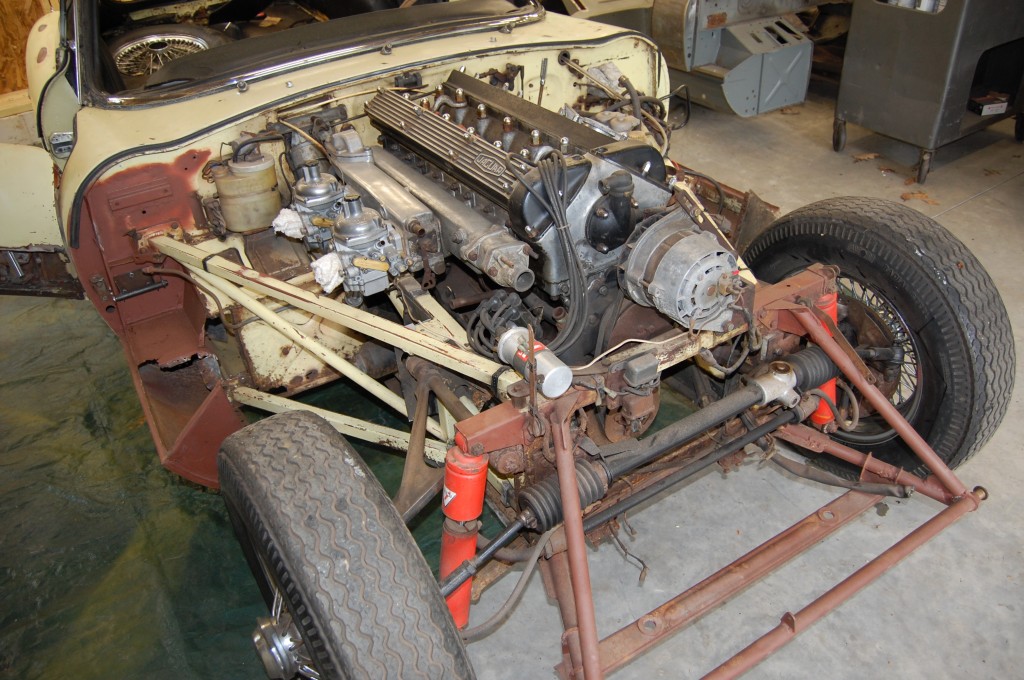
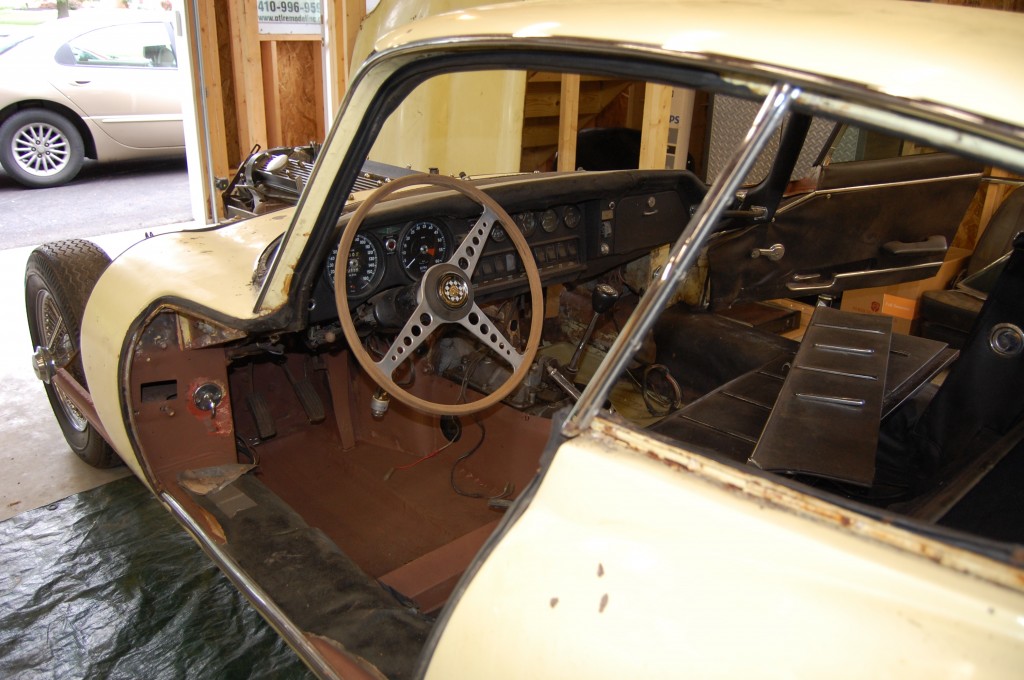
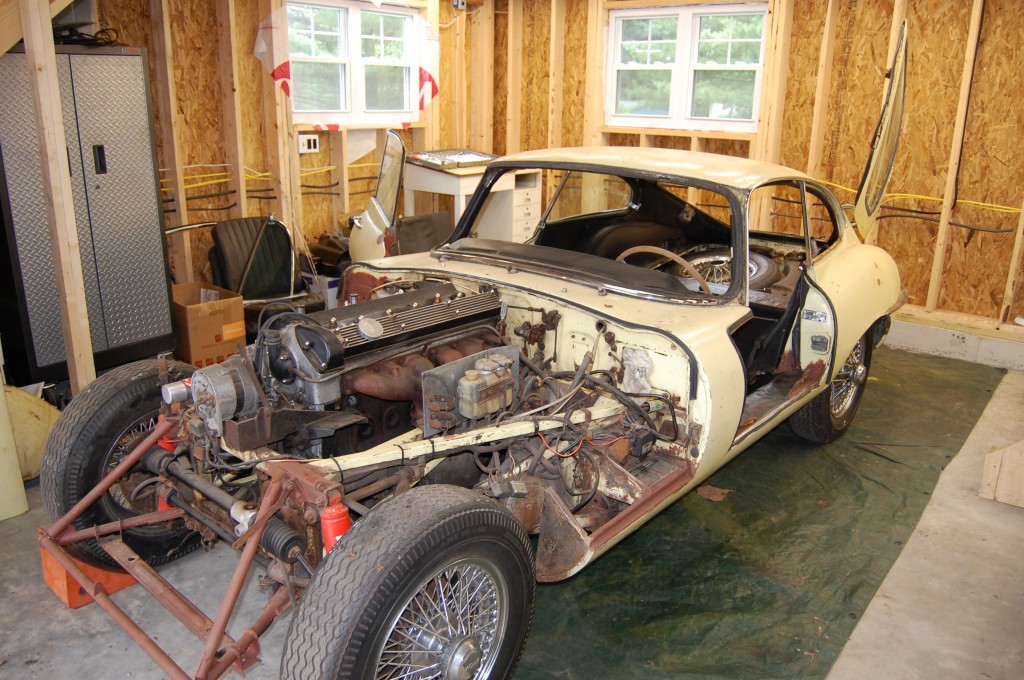
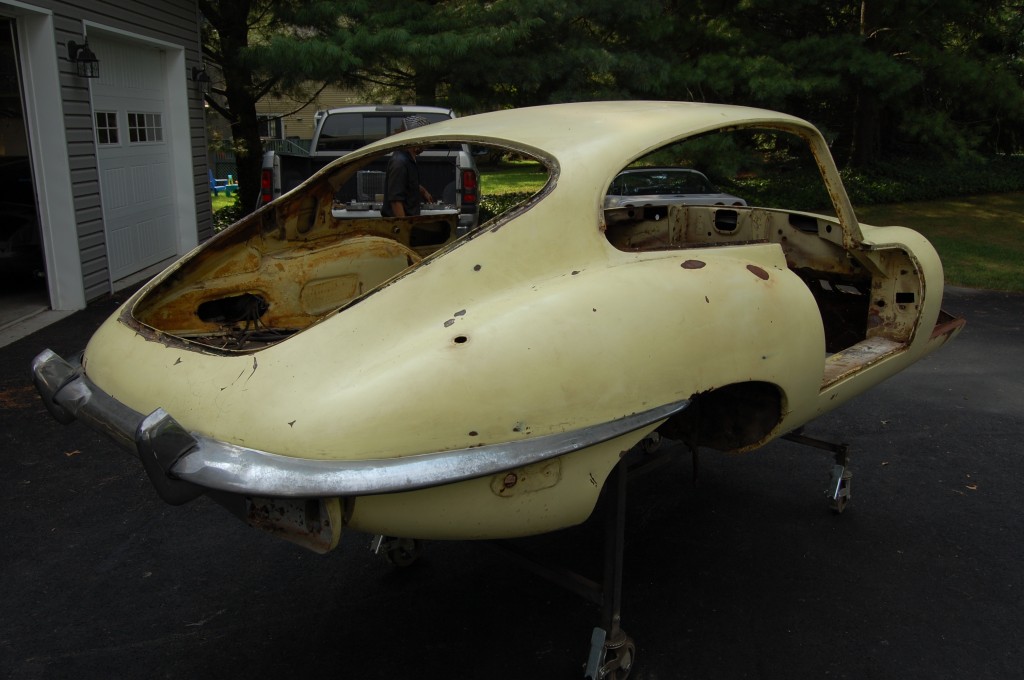
- Here she is – as received.
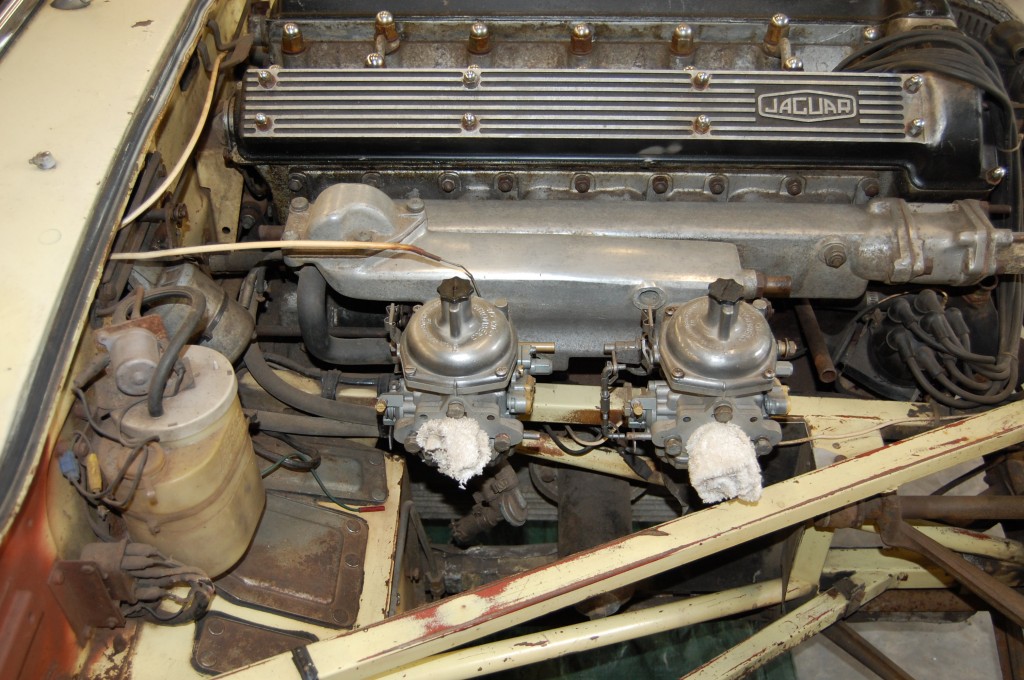
- The engine actually does run.
- This car was originally an Air-conditioned car. The alternator bracket is still there, but that’s about it – someone obviously used this car as a donor for adding AC to their E-Type, because they took EVERYTHING!
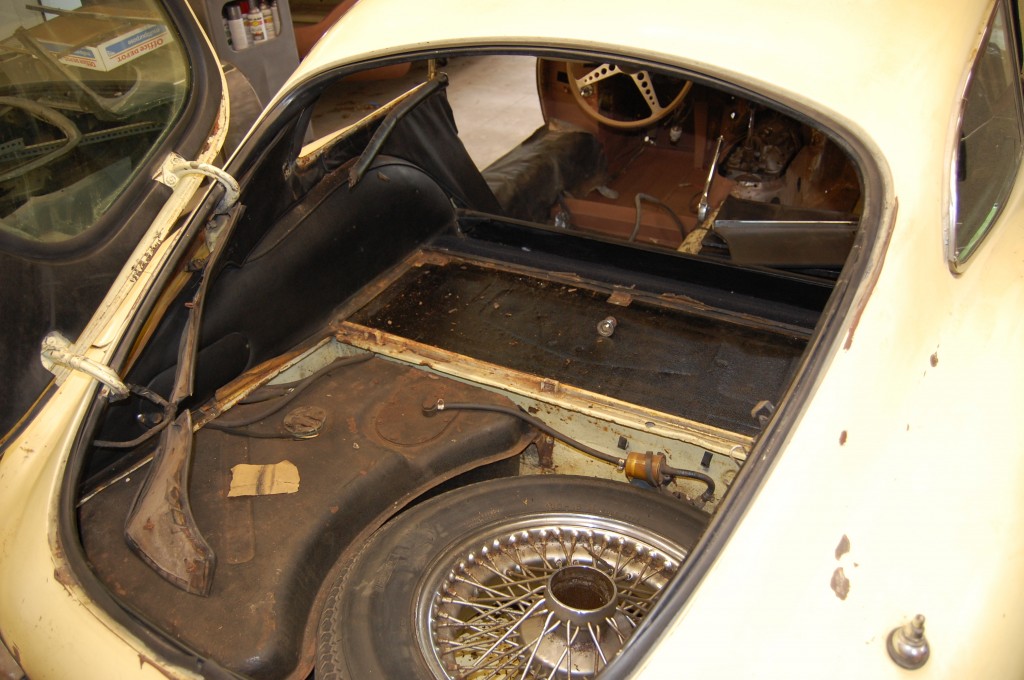
- The car is relatively complete otherwise – it even had a spare!
- Lots of good stuff here…
- I like this car – I need to figure out what to do with it. Granted, it doesn;’t have a body shell anymore, but otherwise, it is a complete, matching numbers Series 2 coupe. I think I have a line on another shell for it – OR, we do have a Series 2 roadster shell on the shelf we could assemble it into. Hmmmmm…
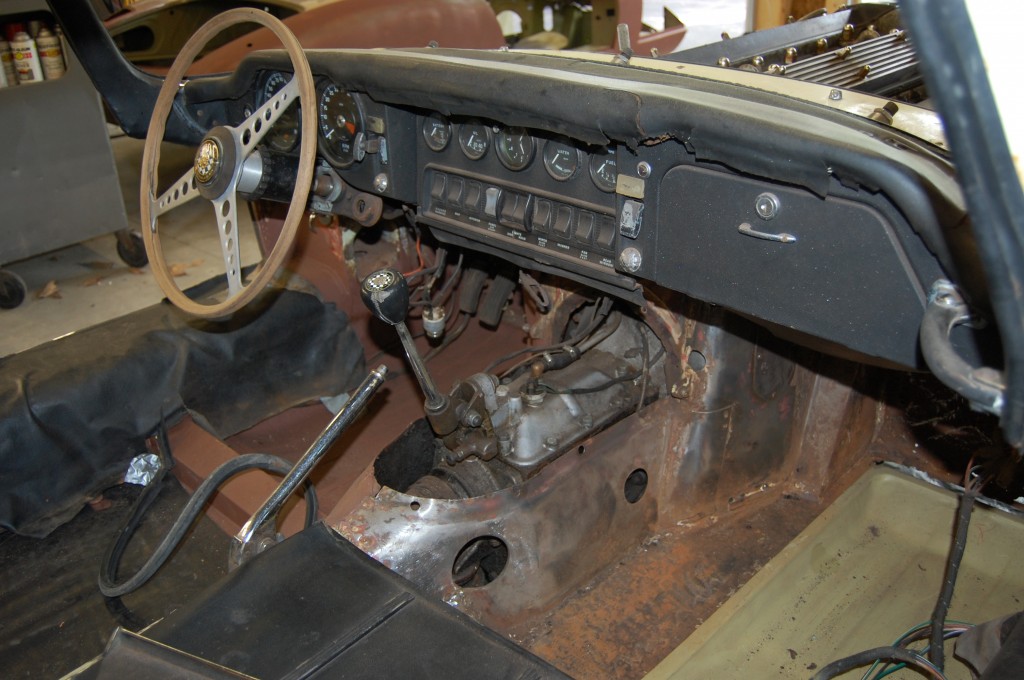
- We spent the first day just pulling out most of the interior, etc. Next, we set to seperating the engine and front subframe from the shell.
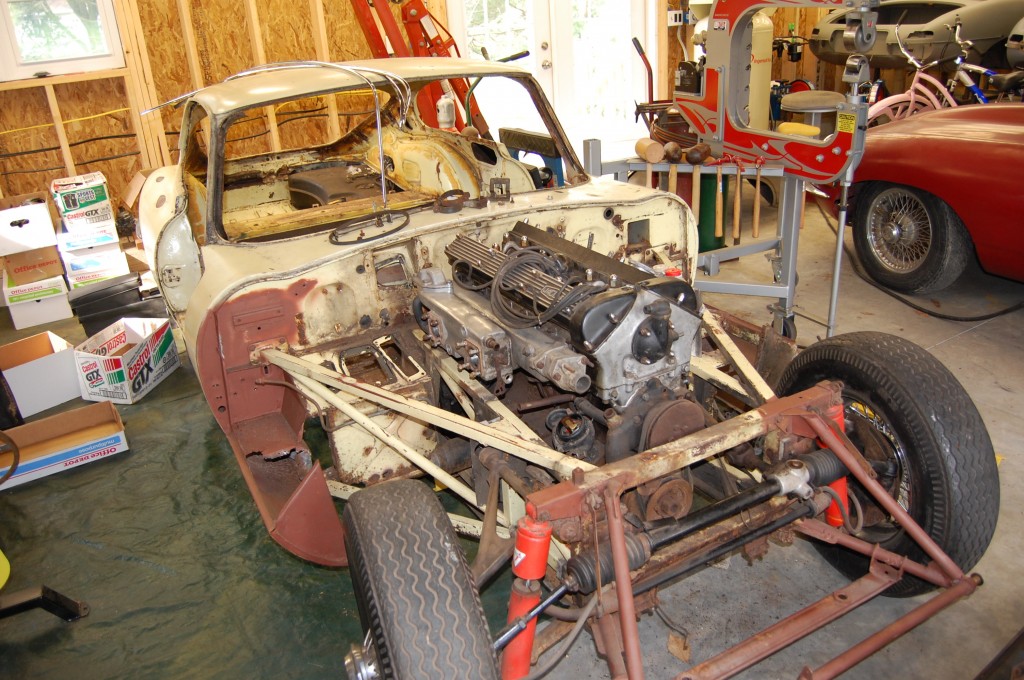
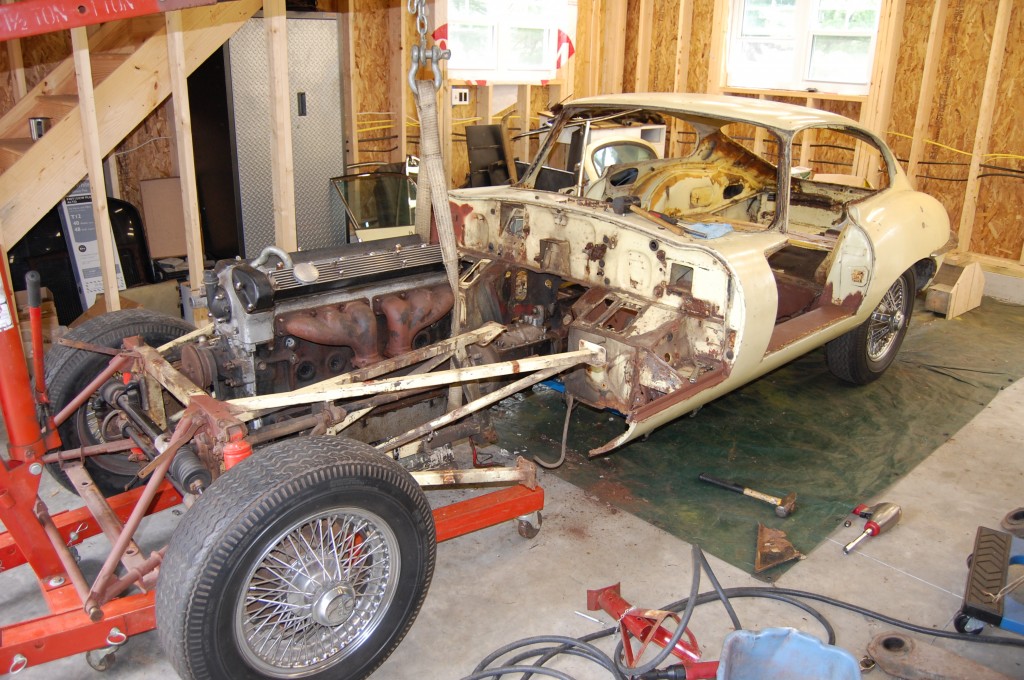
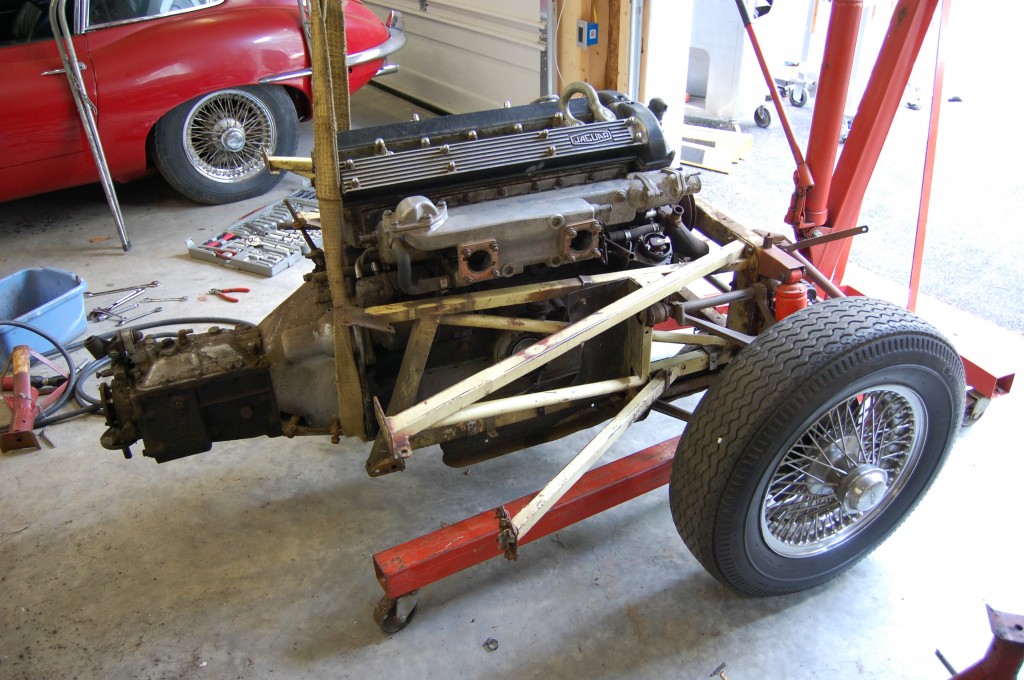
- This is actually how the cars were assembled originally, although I think they stopped doing it this way by the Series 2 cars. There are two little knobs on the rear of the oil pan that allow it to nestle right into the reaction plate. This worked great for pulling things apart, but I’m not sure how well it would work to put things together – it would be tough not to scrape up the newly painted stuff this way… But it was nice to just wheel this whole unit over into the corner! Of course, it doesn’t do much for the neverending space issue around here…
- Looks kind of like a D-Type, huh?
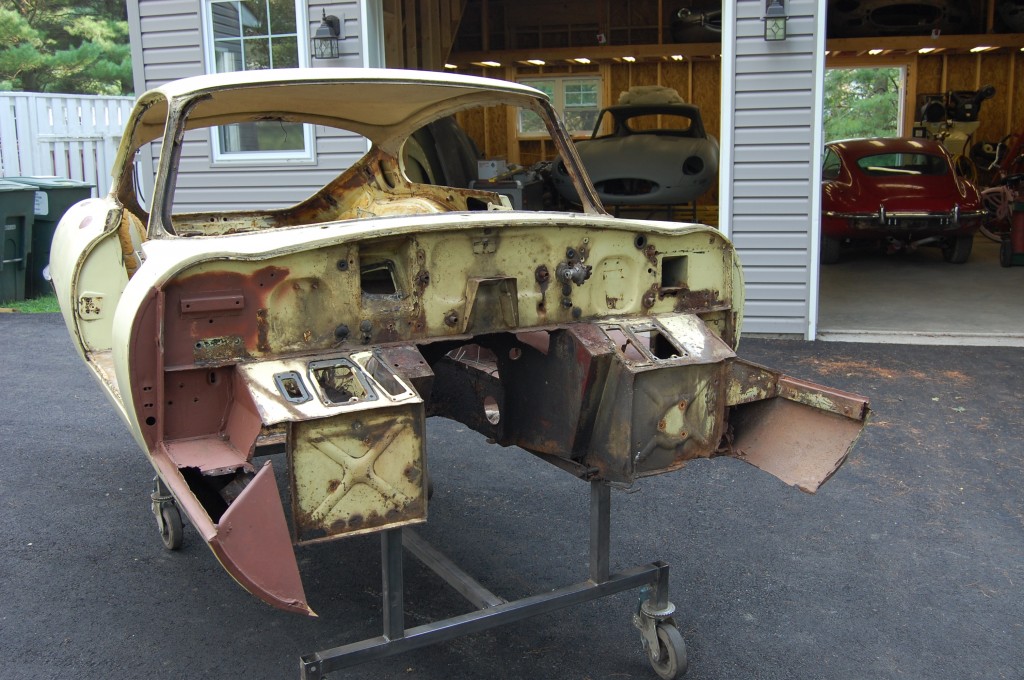
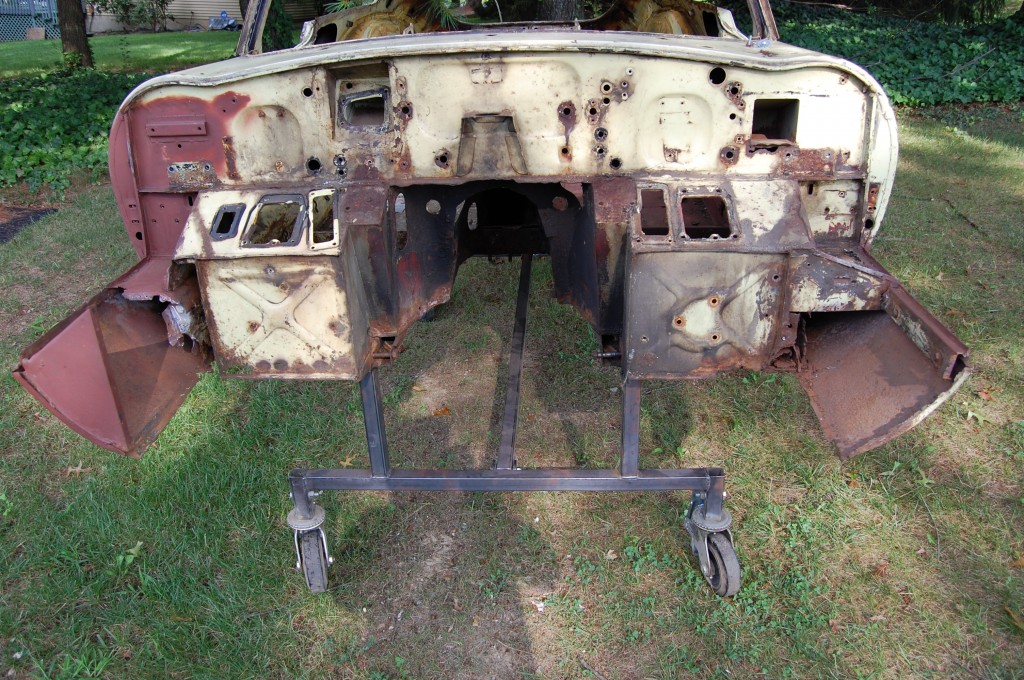
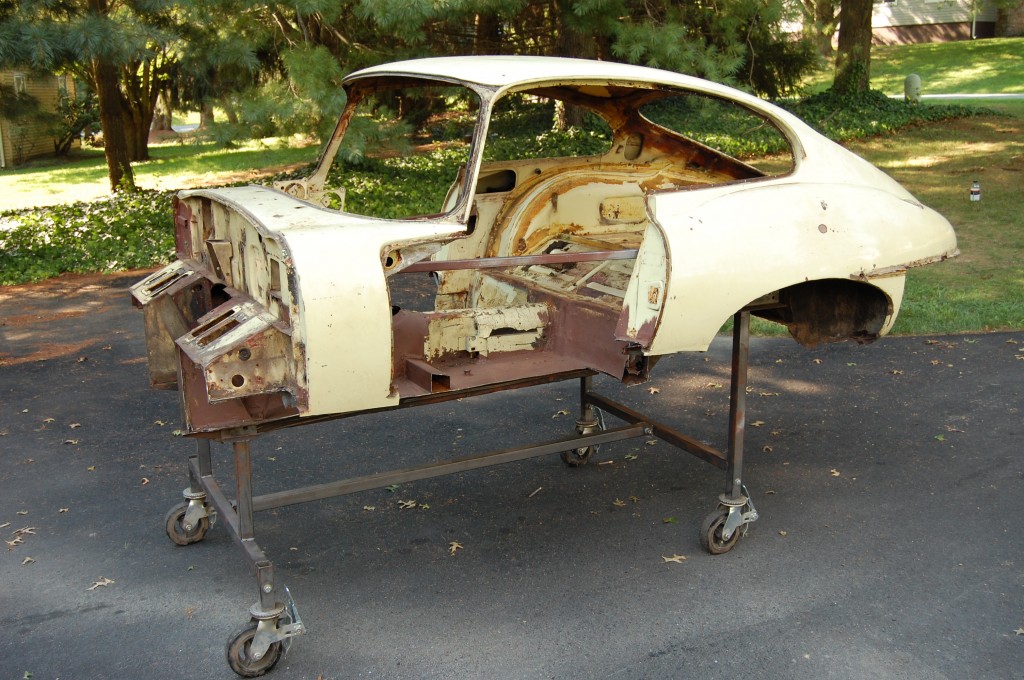
- OK, she’s MOSTLY apart – and mounted into the cart – so we’re getting there!
- It’s been a while since I took an E-Type apart – I usually make the customer do it on their end!
- There’s ALOT of work to do before the metalwork can start! Next we need to finish disassembly, and then scrape out the sound deadening, pull out the headliner, etc.
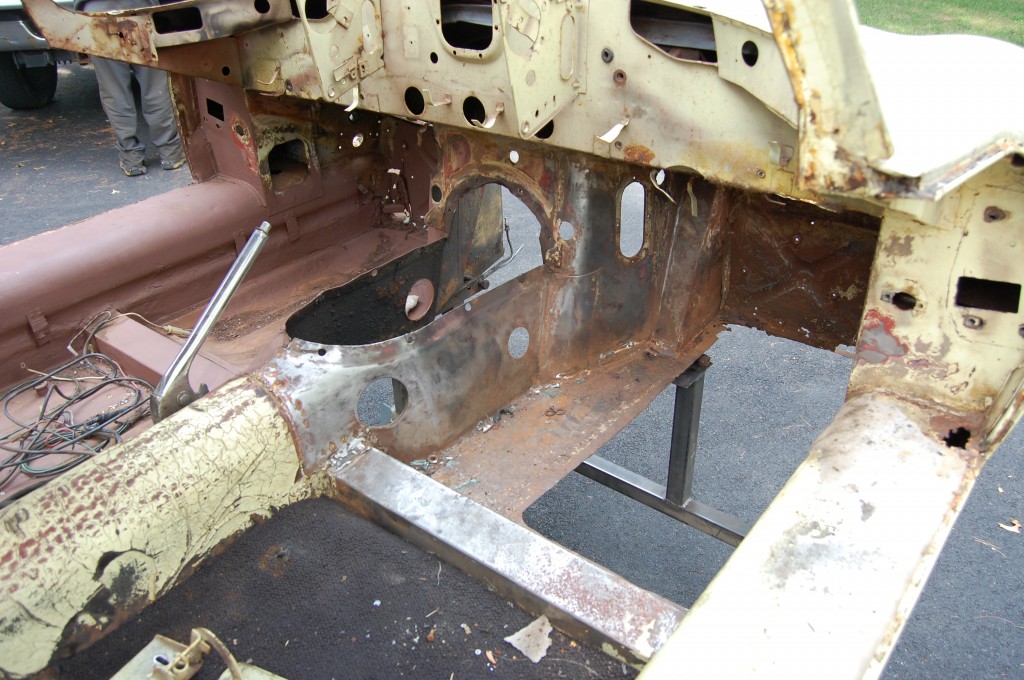
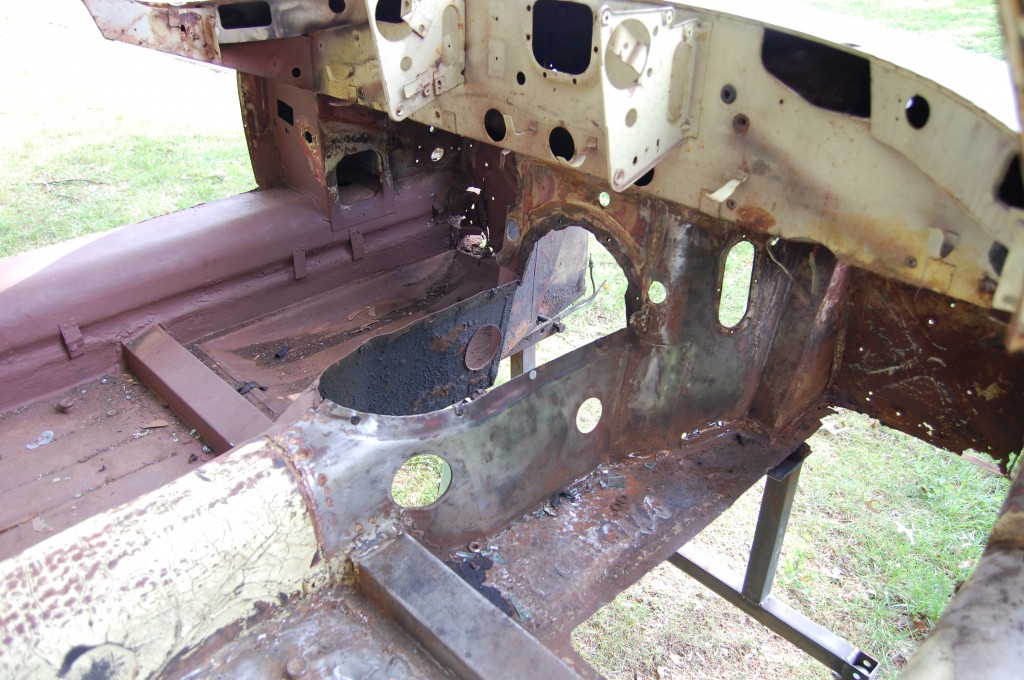
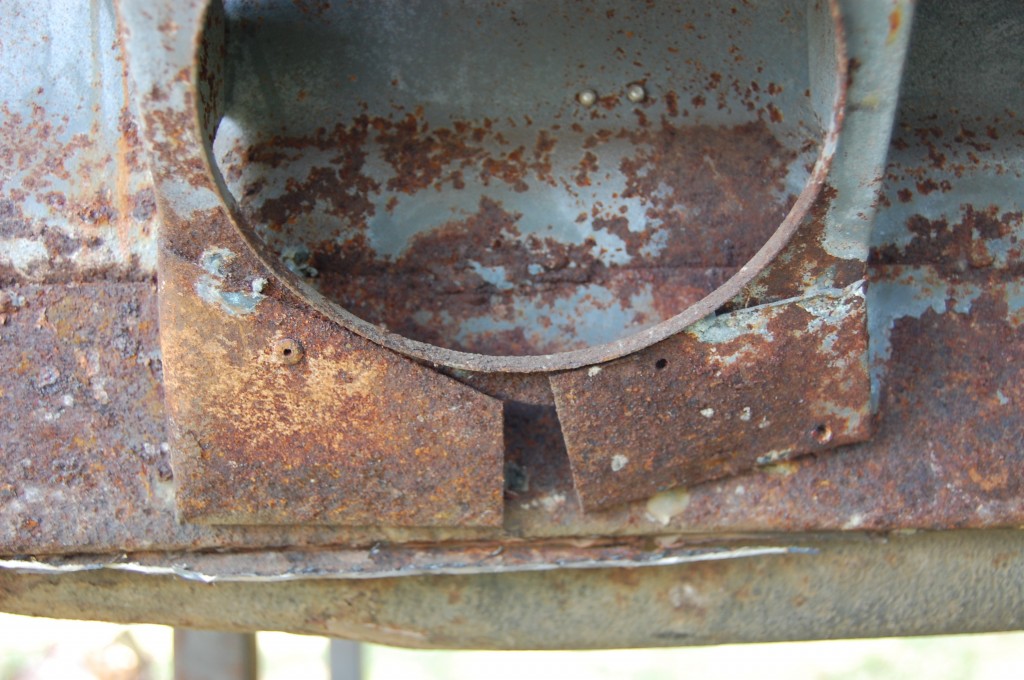
- Another shot. Aside from a little cancer under the heater entry duct, the bulkhead looks real good.
- Another day starting in this photo – time to cut!
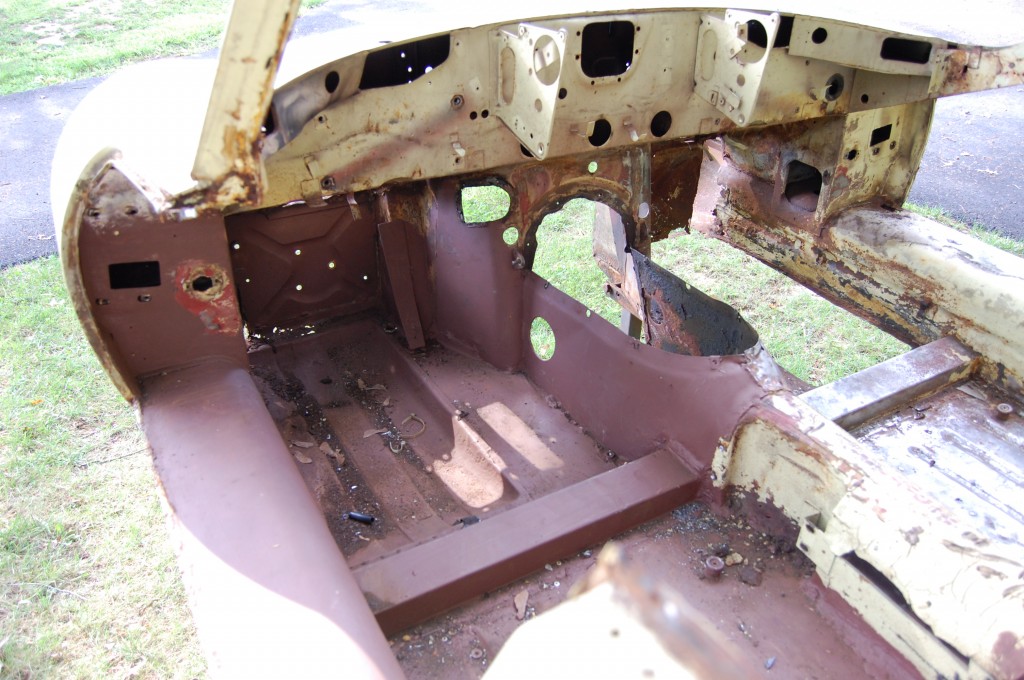
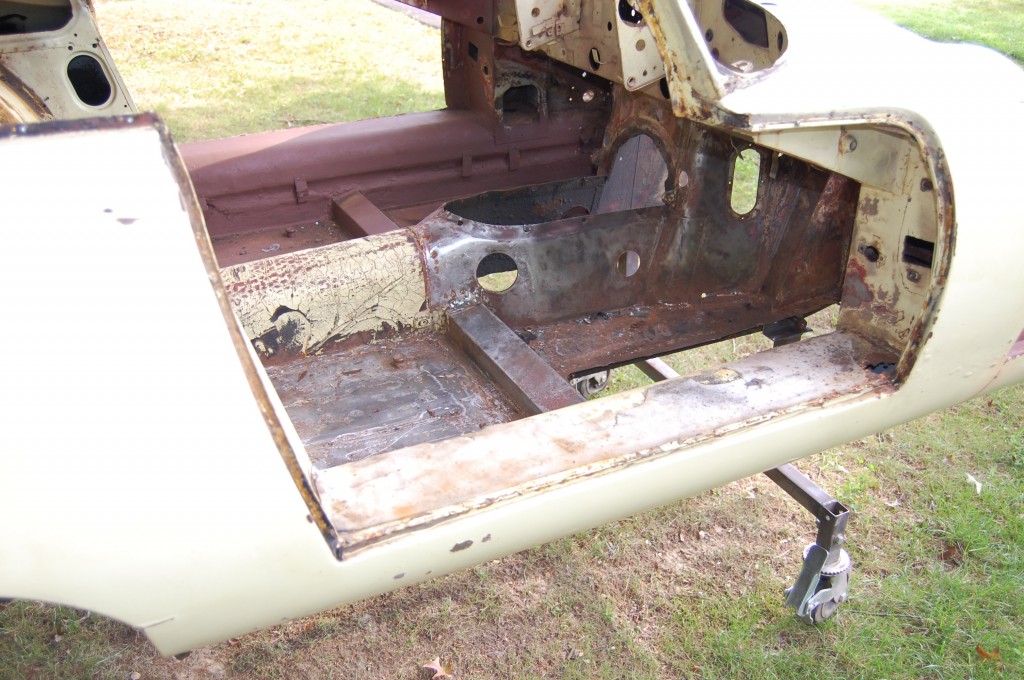
- Someone had already done some work here in the past – new footwell, new outer sill, etc.
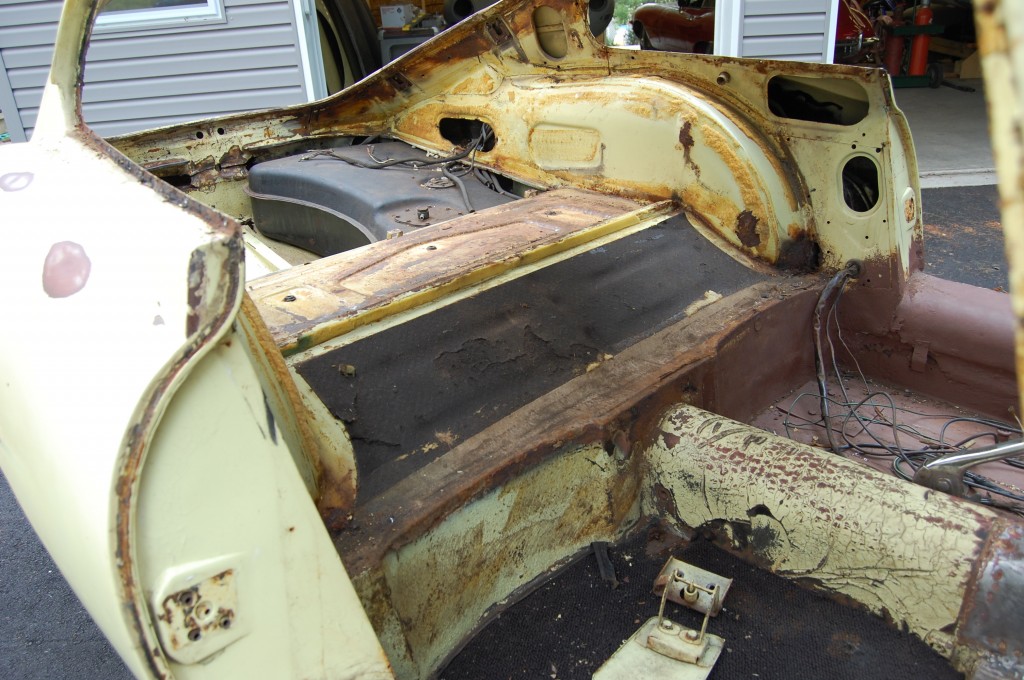
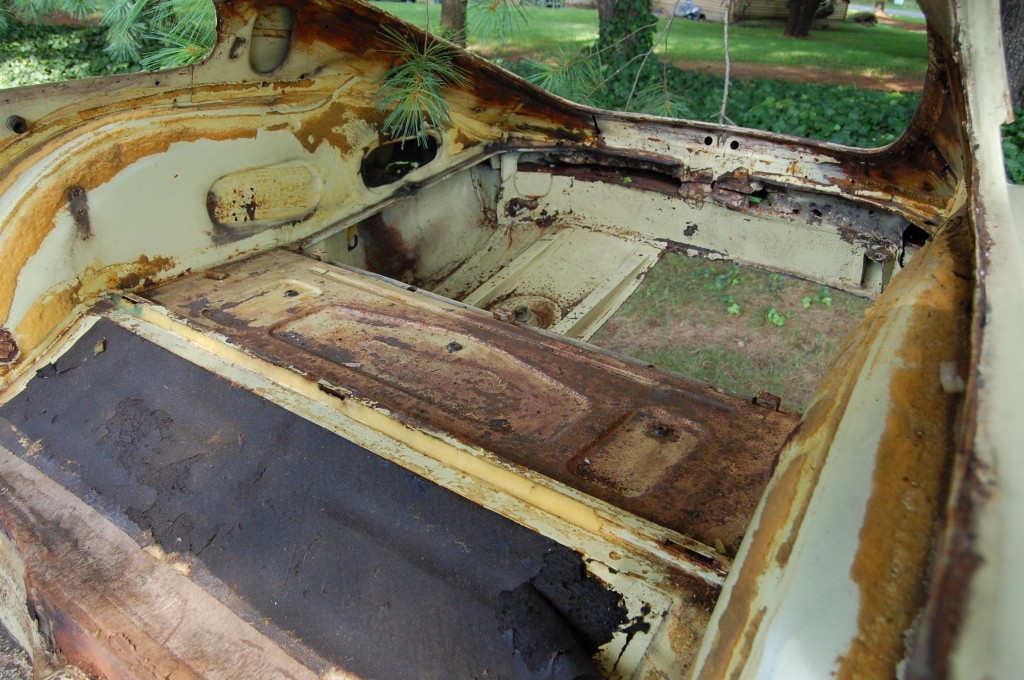
- Moisture between the fuel tank and the boot floor had turned it into Swiss cheese, so we took the easy way out on removing it…
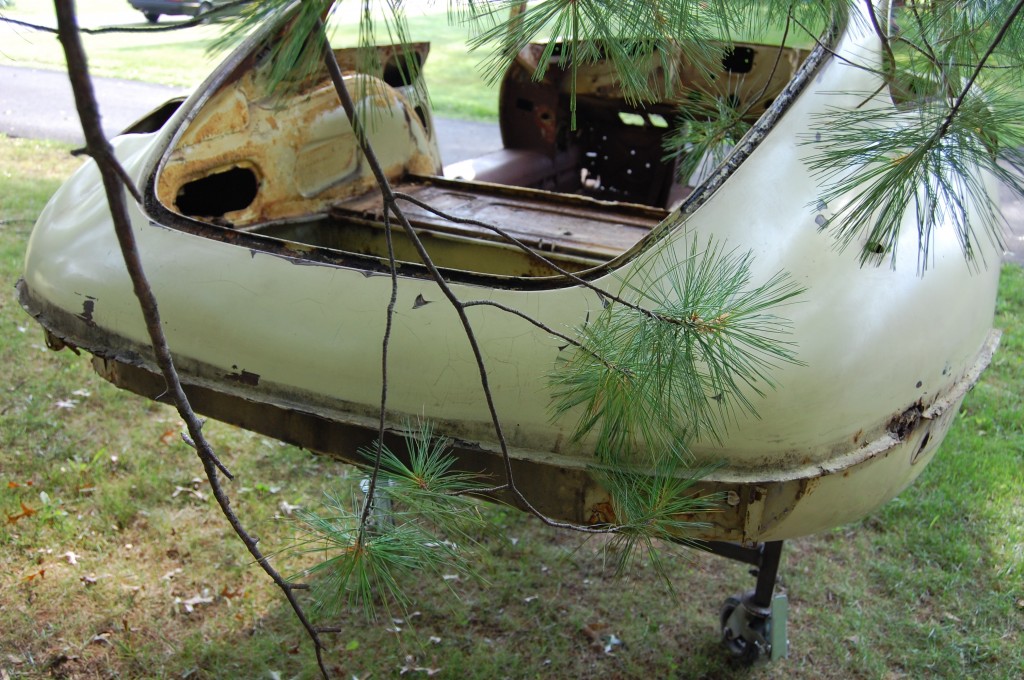
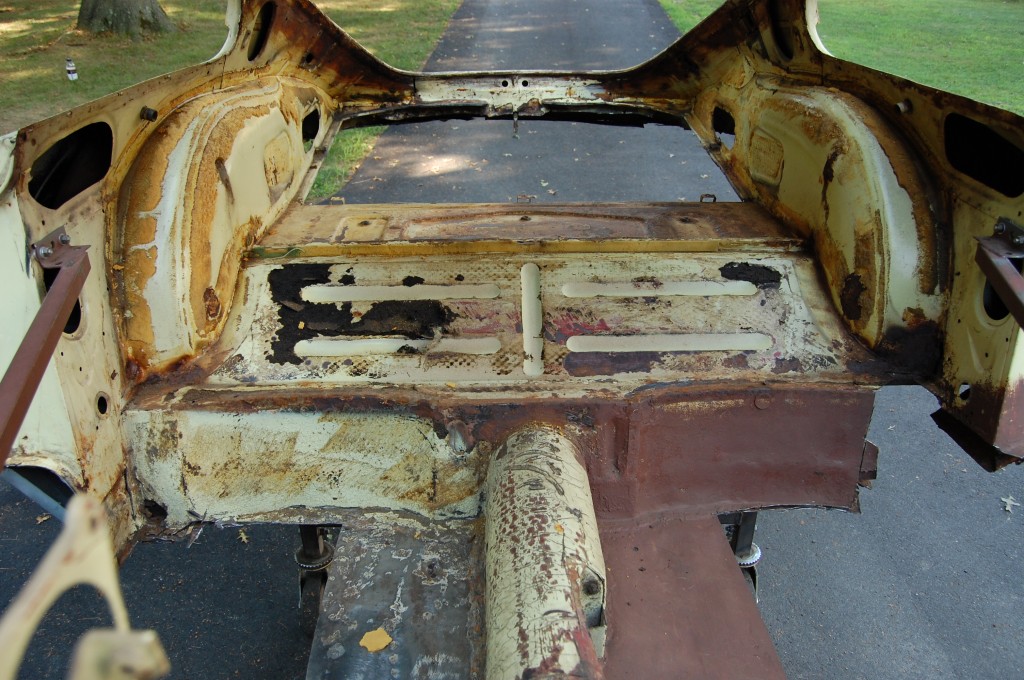
- Take a good look at this angle – she won’t look like this back here too much longer!
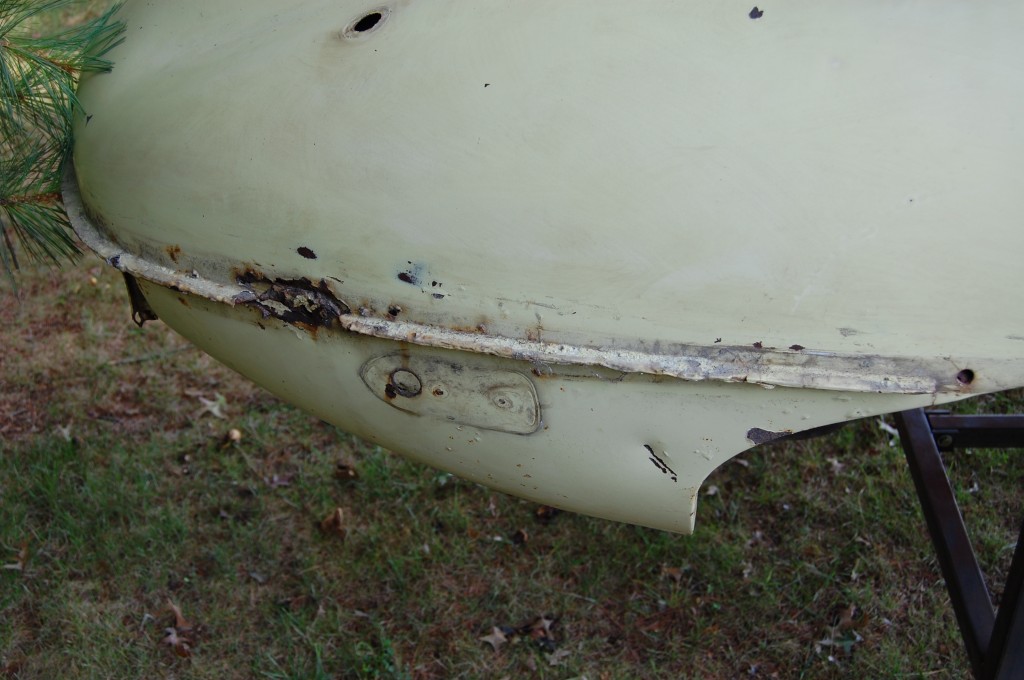
- It turns out that the entire boot floor including the rear lower valances had been replaced. It was a VERY poor job, and here’s a cautionary tale – the new metal was so badly prepped that it had rusted away again FASTER than the original metal surrounding it! AND – the cancer it started also worked it’s way over into the wings themselves, so we will make some small repairs along this seam.
- Another shot of the interior before cutting.
- And another…
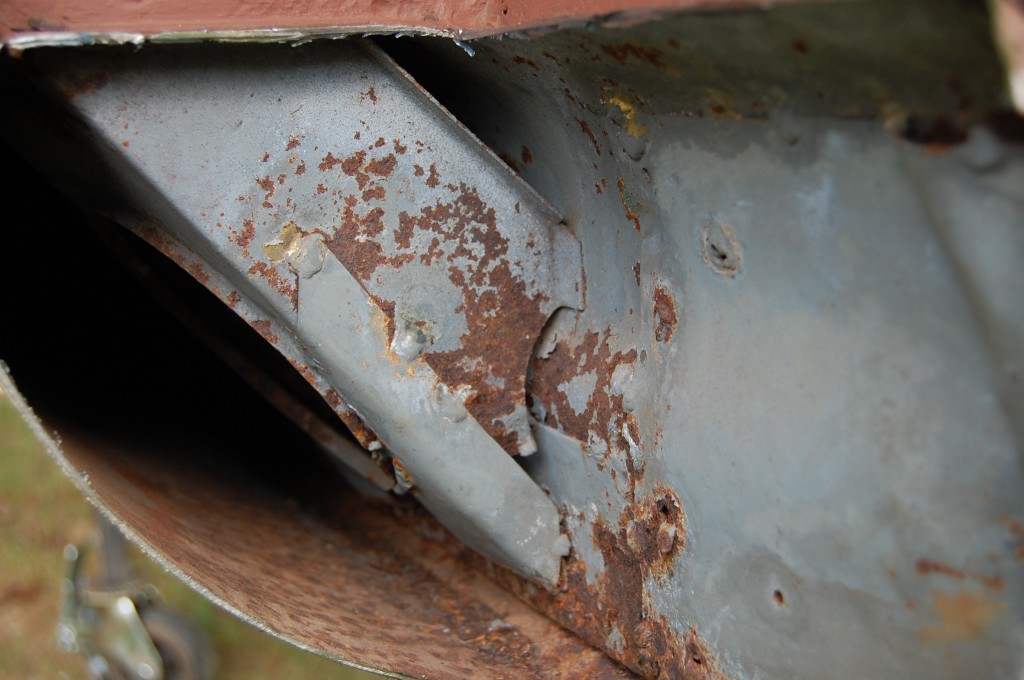
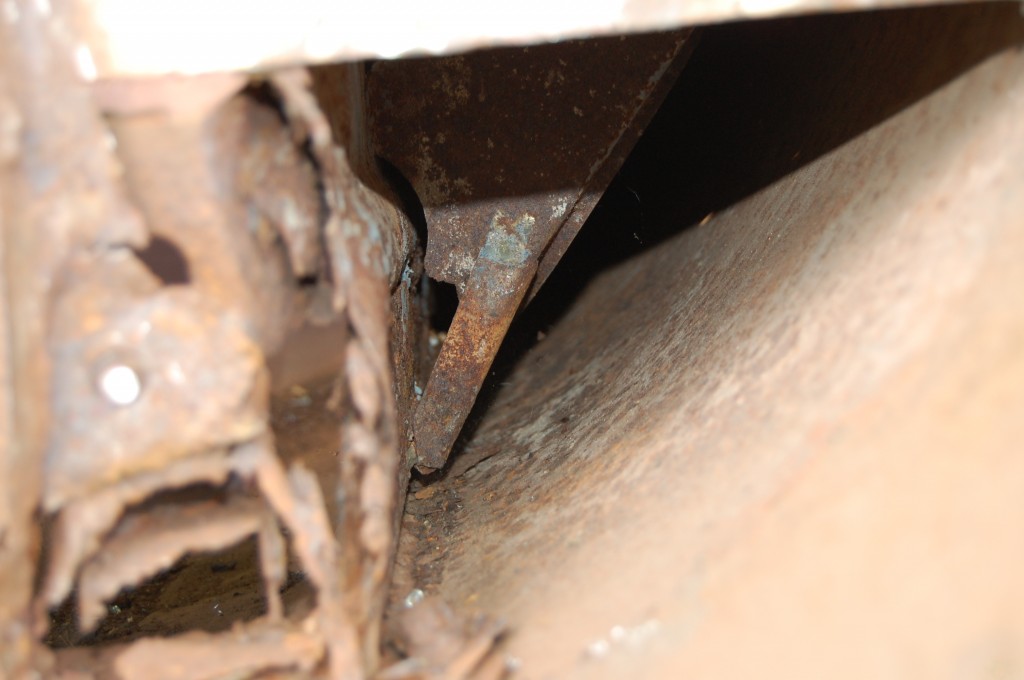
- OK – we’ve started cutting – and have also started the detective work. Both sills have been replaced, because both have this type of nonsense on the inner gussets. What a mess…
- Here is a shot down into the other (LH) side.
- WOW! What can you say about this?…
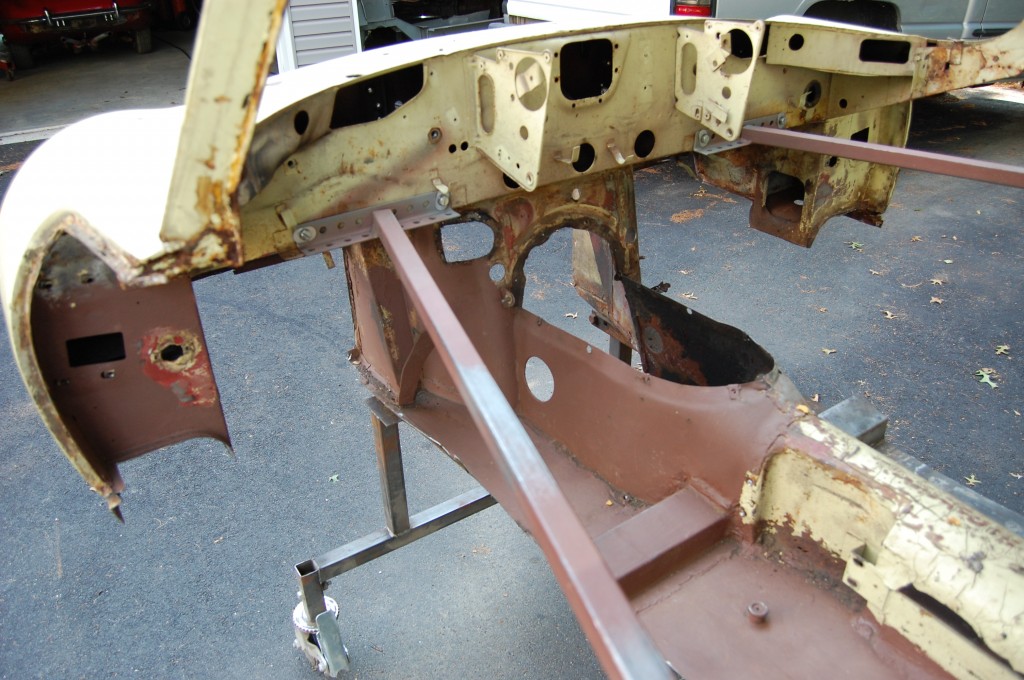
- OK – she’s just about ready for the blaster now.
- The whole tunnel is going to be rpleaced as well, but we left it in for now for stability, and for something to bolt the cart to!
- Ouch – there’s not much left of this shell that isn’t rusted. But have no fear – like I told the customer, “That just means there’s going to be that much more new, solid metal in the rebuilt shell!

