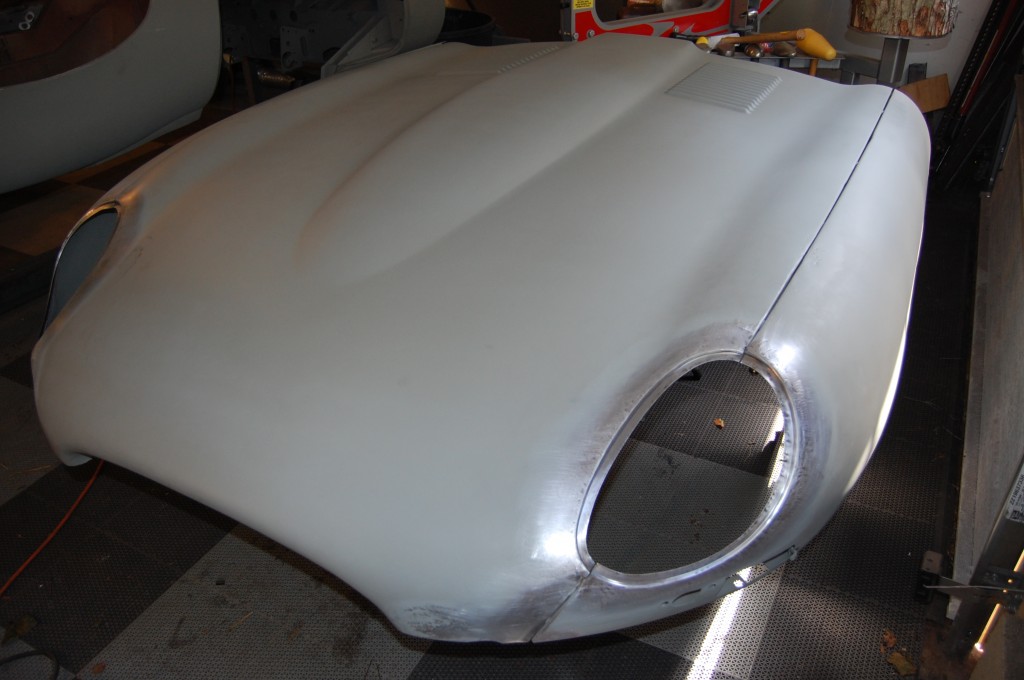
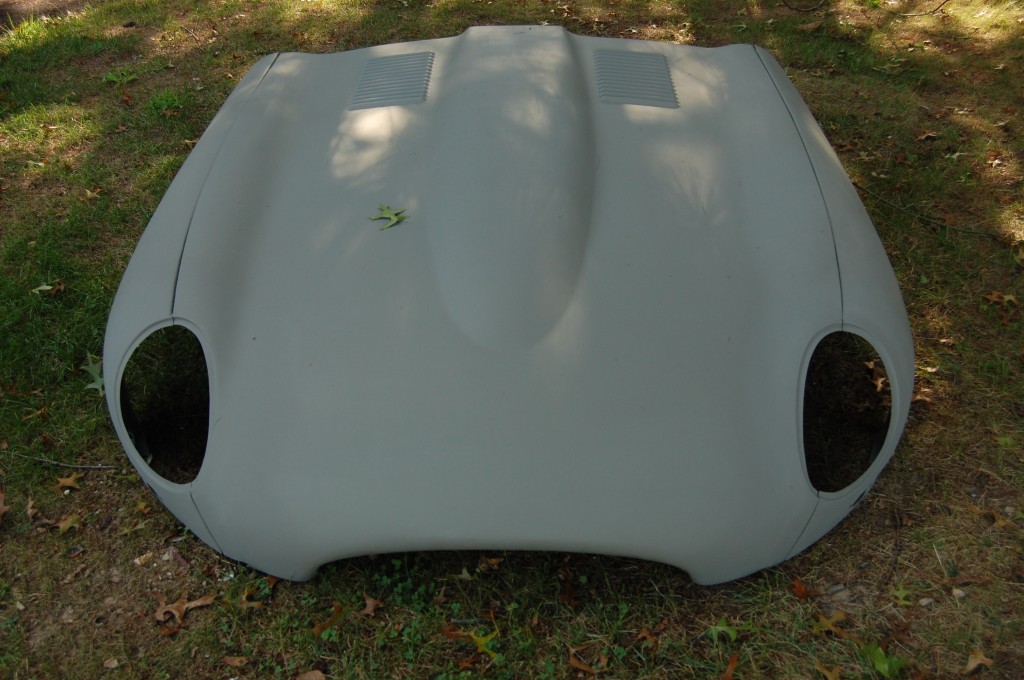
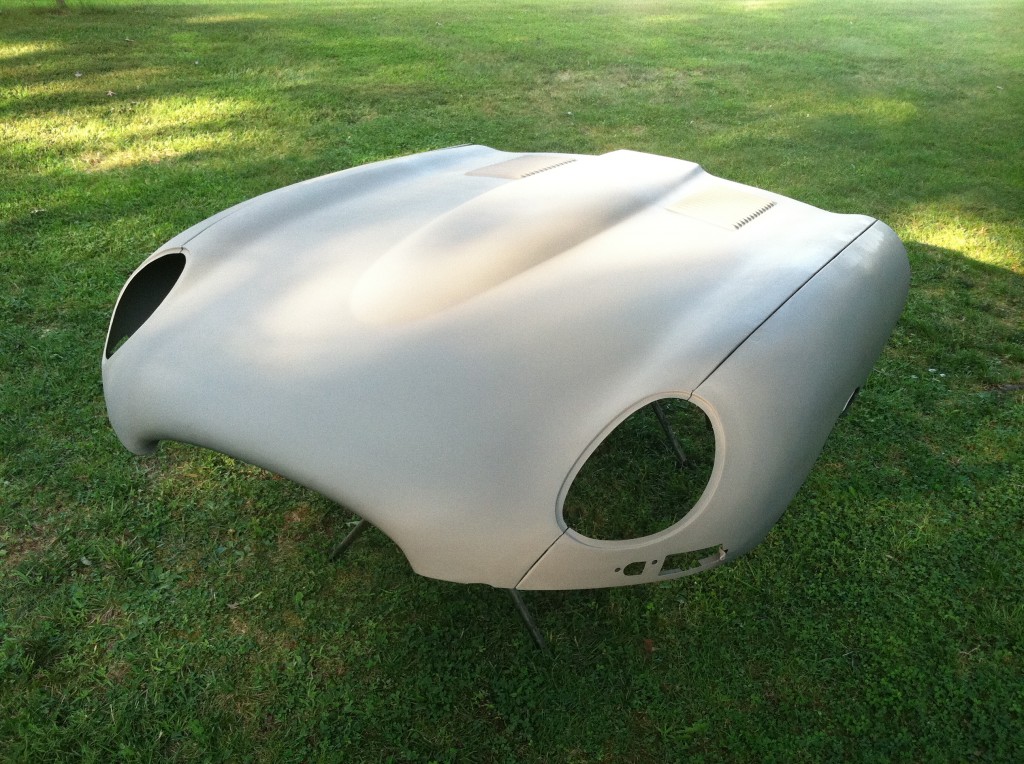
It’s been a while since we did a set of these in the shop – now we have no less than 4 bonnets backed up for this service!
We sell alot of these flanges to restoration shops and customers who are planning to do the conversion themselves – it seems that everyone with a Series 1.5 wants to get back to covered headlamps, and if that’s the case, I believe that the only way to go is to make the necessary changes to make it a Series 1 – 100%.
Forget the aftermarket “kits” that put plexiglass covers over Series 1.5, 2, and 3 factory lights – THIS is how it’s done…
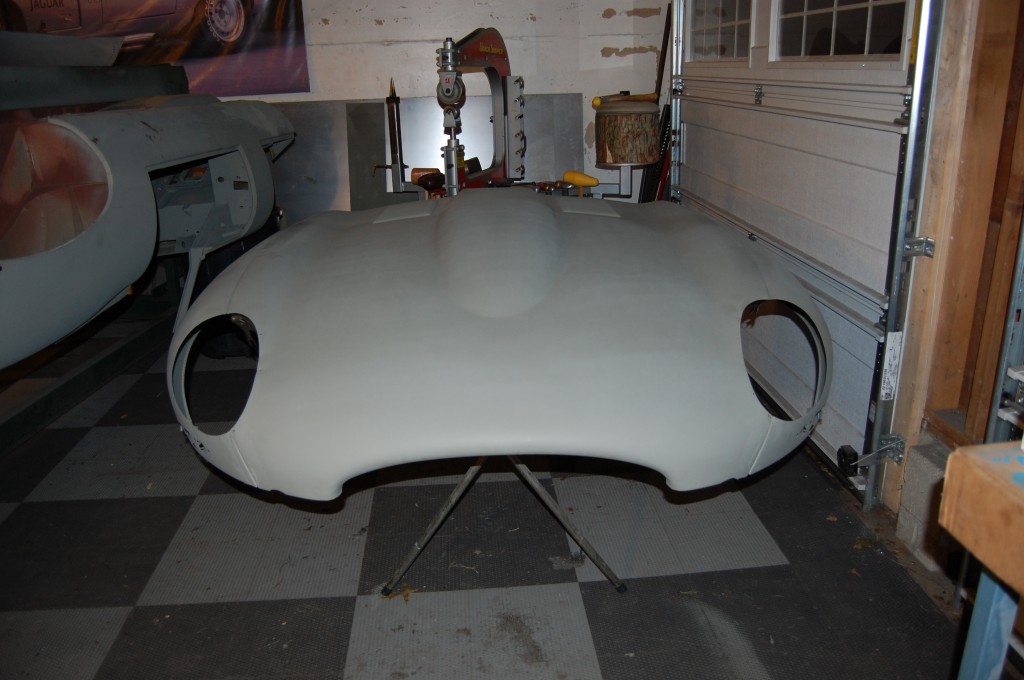
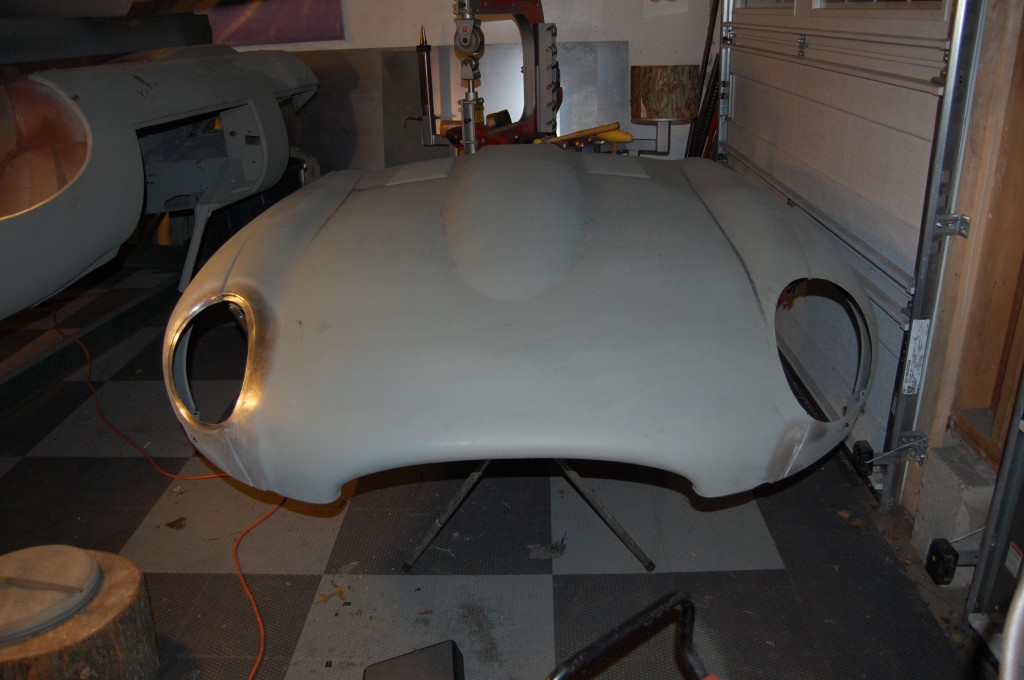
- Here is the starting point – a beautiful set of Series 1.5 panels that we restored last week.
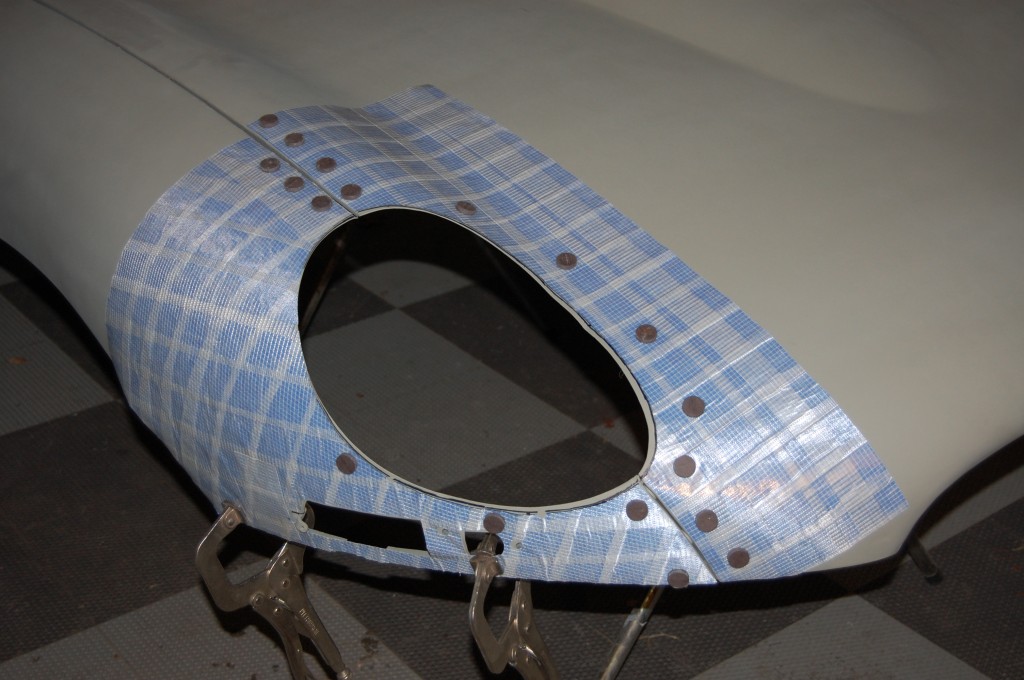
- Step 1 is to fit up our patterns taken from an original Series 1 bonnet. These are “flexible shape patterns” that are usually used for wheeling up or shaping panels. Here, we carefully lay them over the panels to mark out the position of the covered headlamp flanges. These are cut to mark the panels exactly 1/4″ BACK from the flange location. The factory holes in a typical Series 1.5 bonnet are ALL OVER the place – I think that they may have continued to use the Series 1 stamps and just cut the flanges out by hand – seriously.
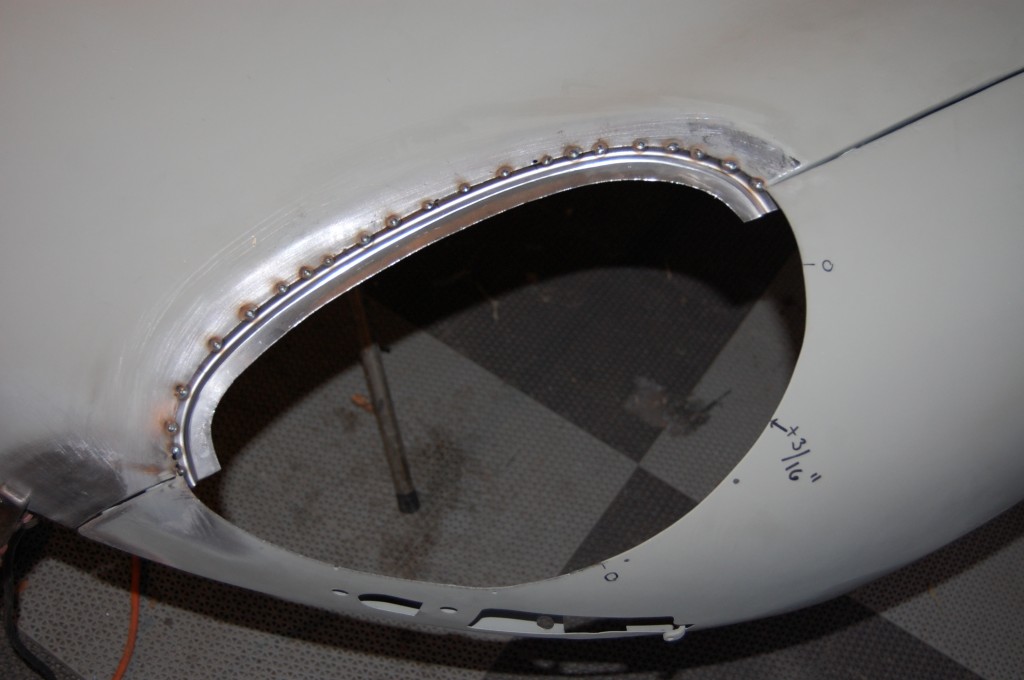
- The marking and cutting of the conversion flanges is SUPER time-consuming! After we get them fitting up perfectly, we start tacking them in with the MIG.
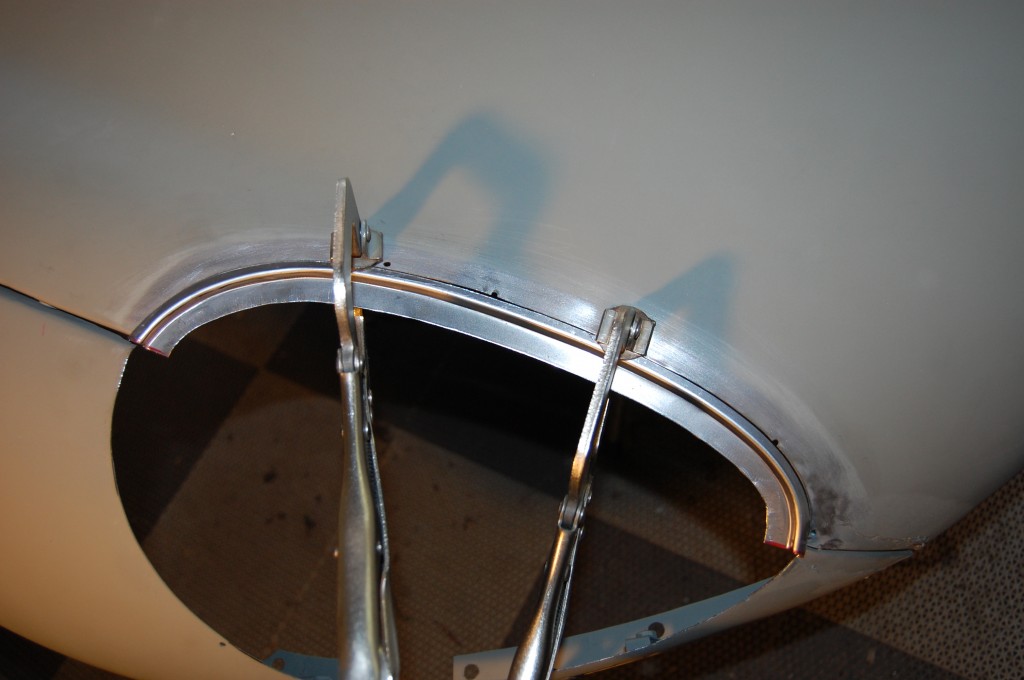
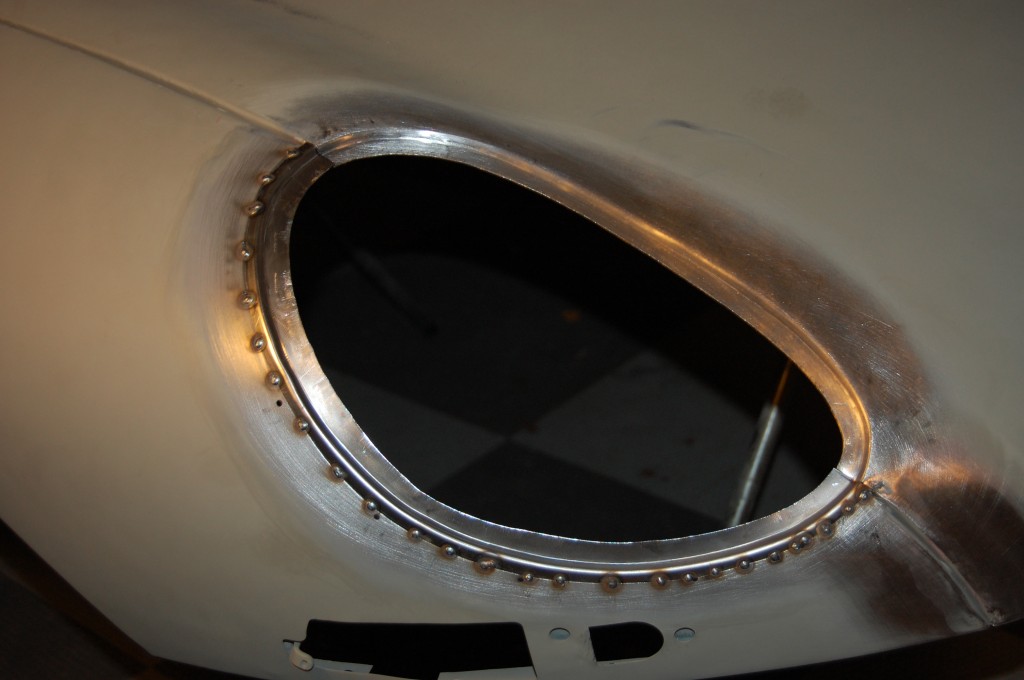
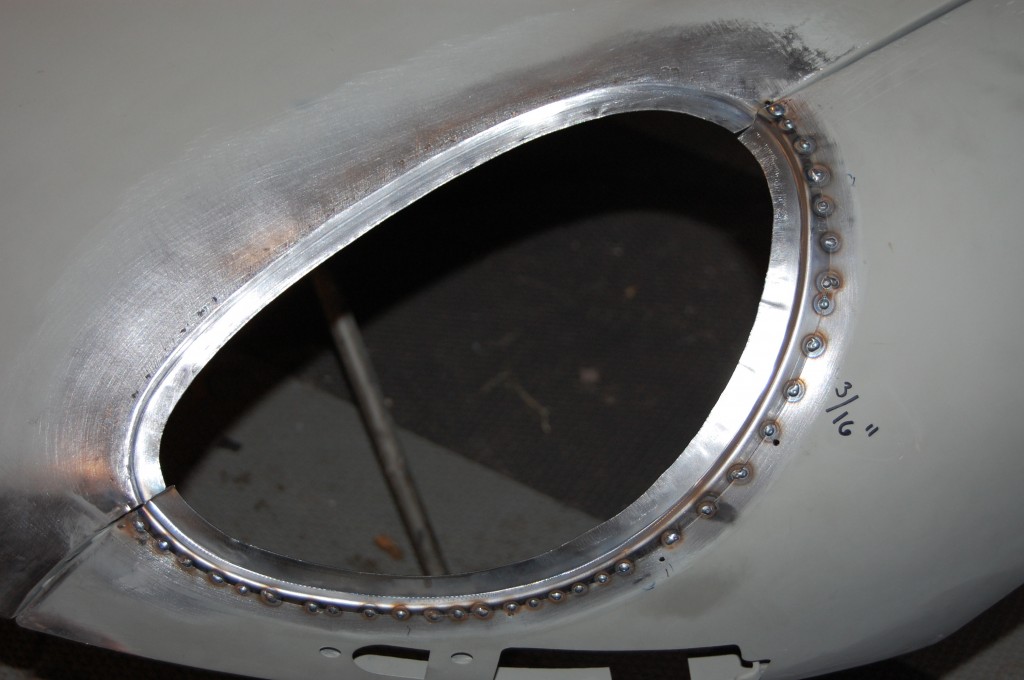
- Here, we’re tacked in tight and flush – that’s very important for the quality of the TIG weld that comes next.
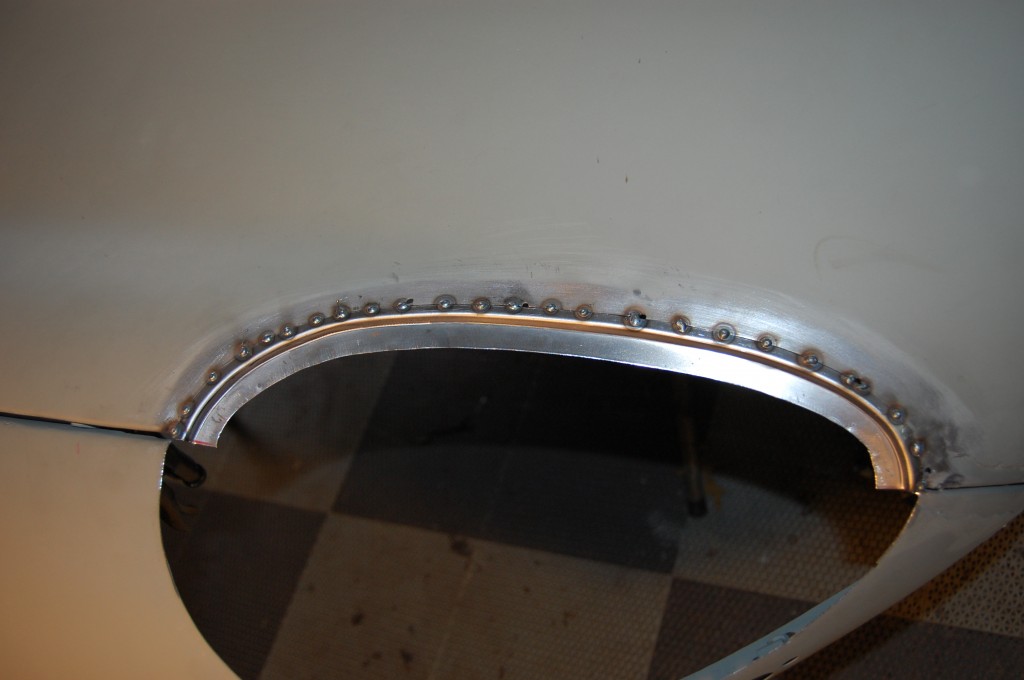
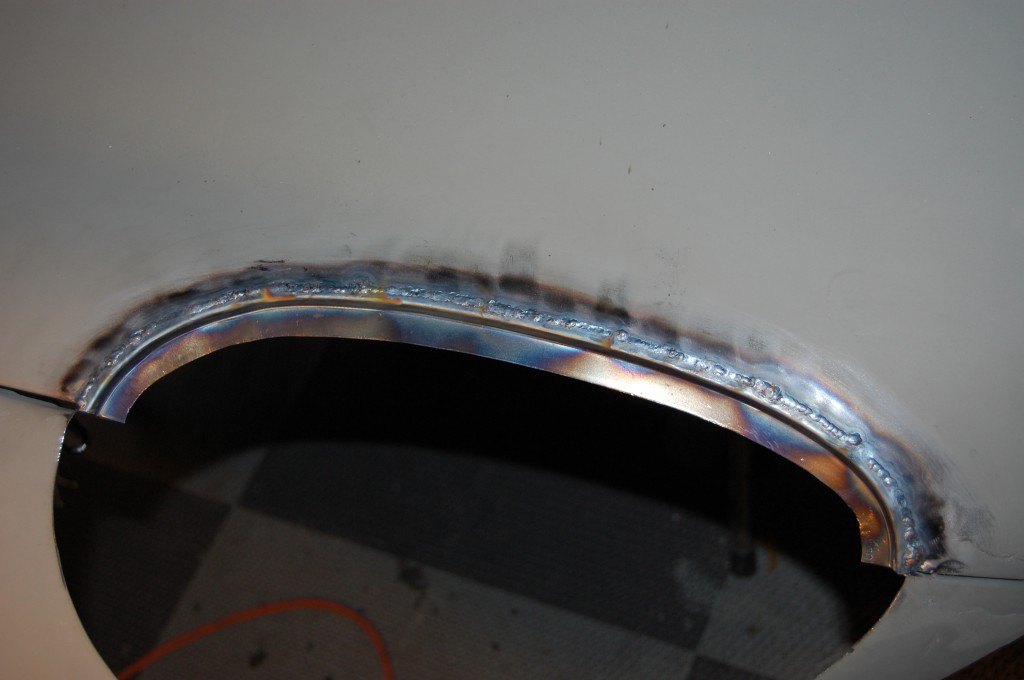
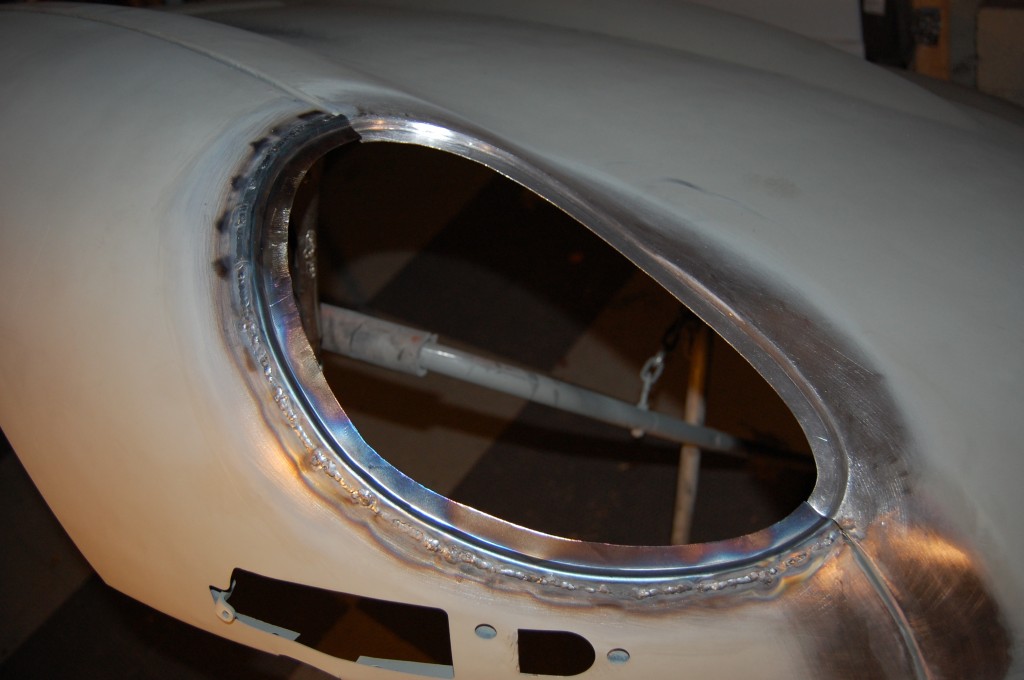
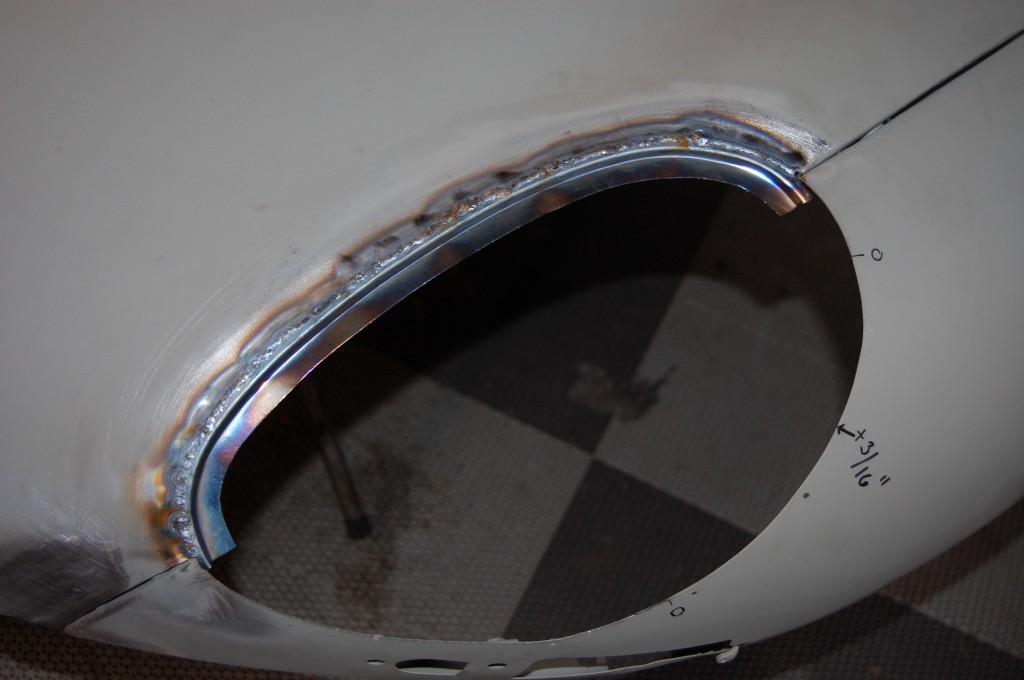
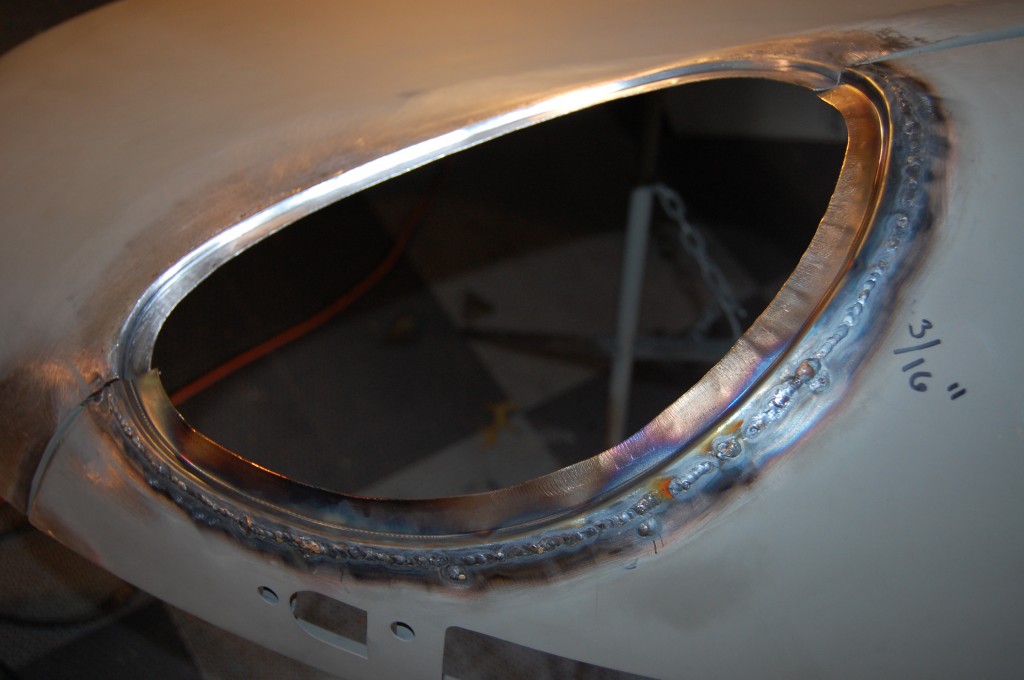
- Now we’re TIG welded in, using as little heat as possible but making sure we have full penetration.
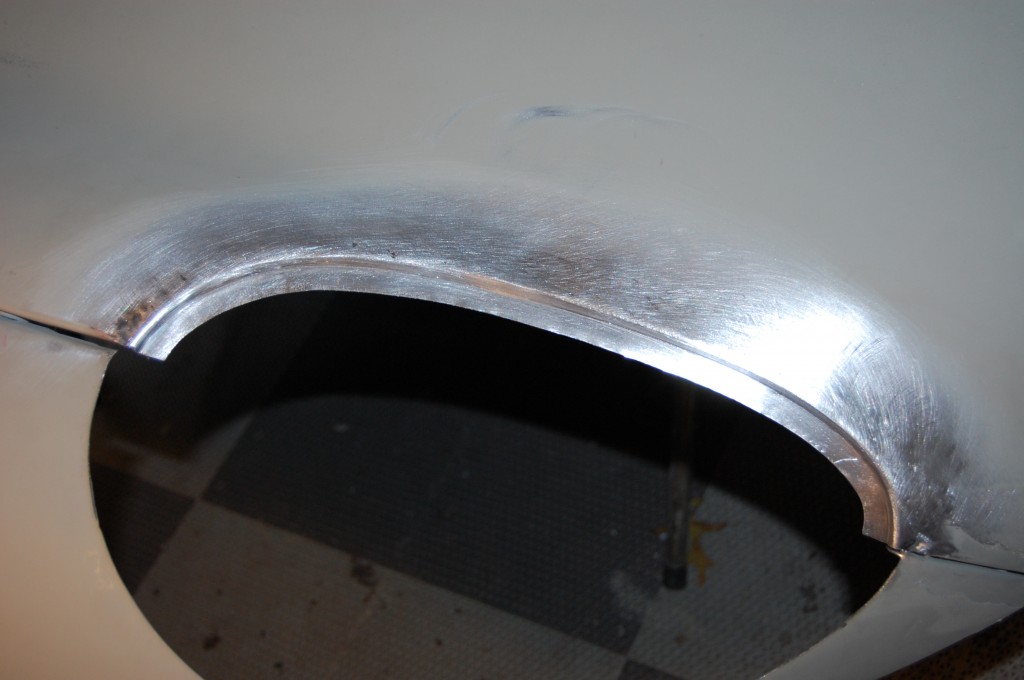
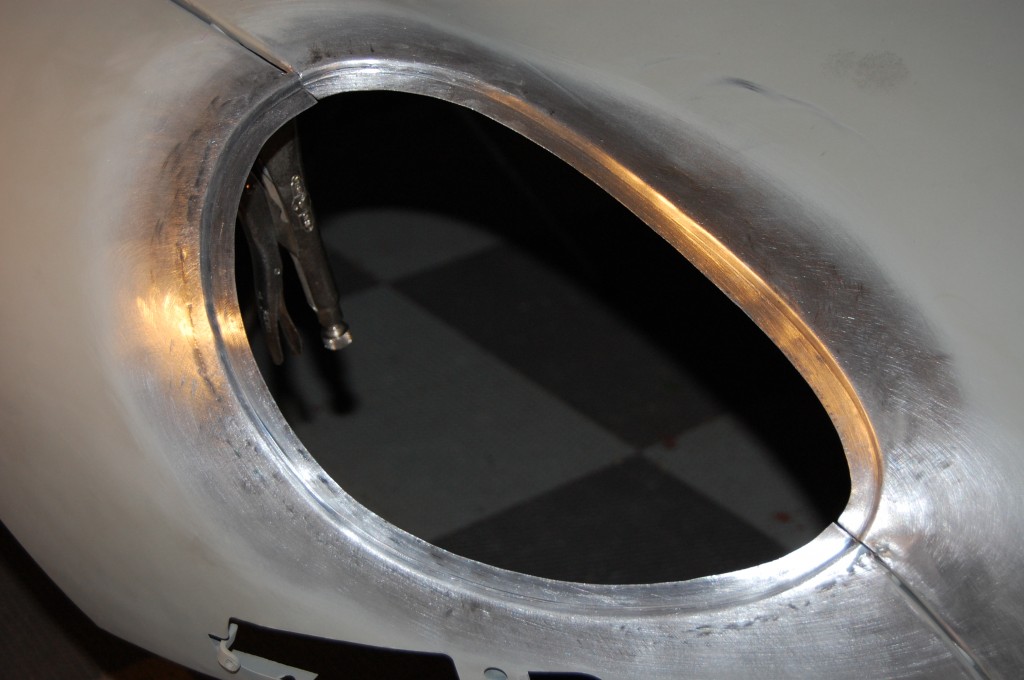
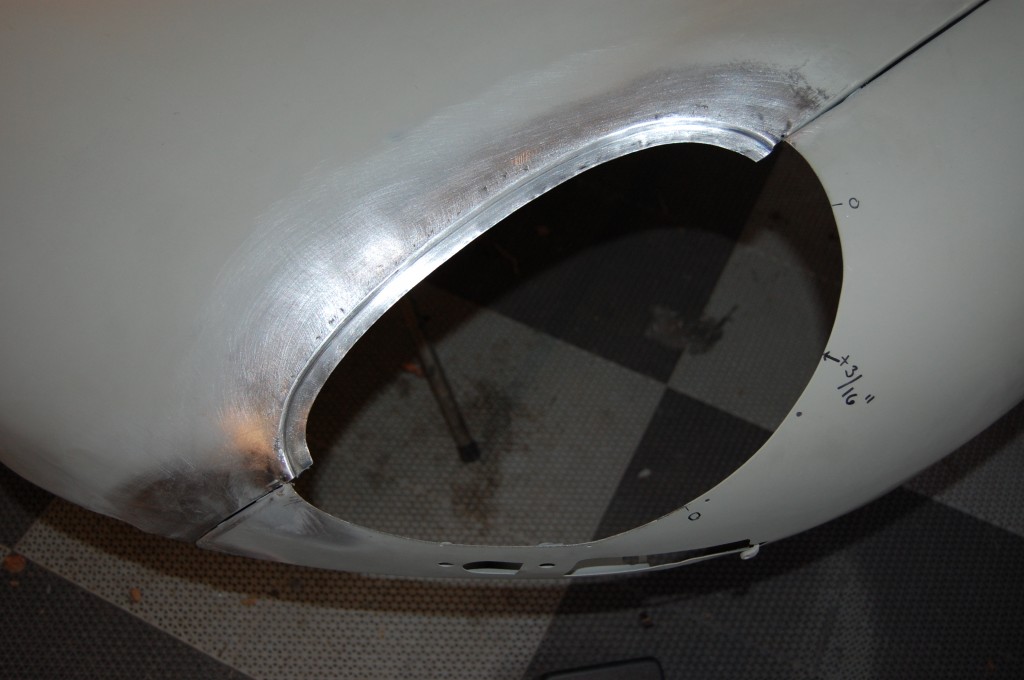
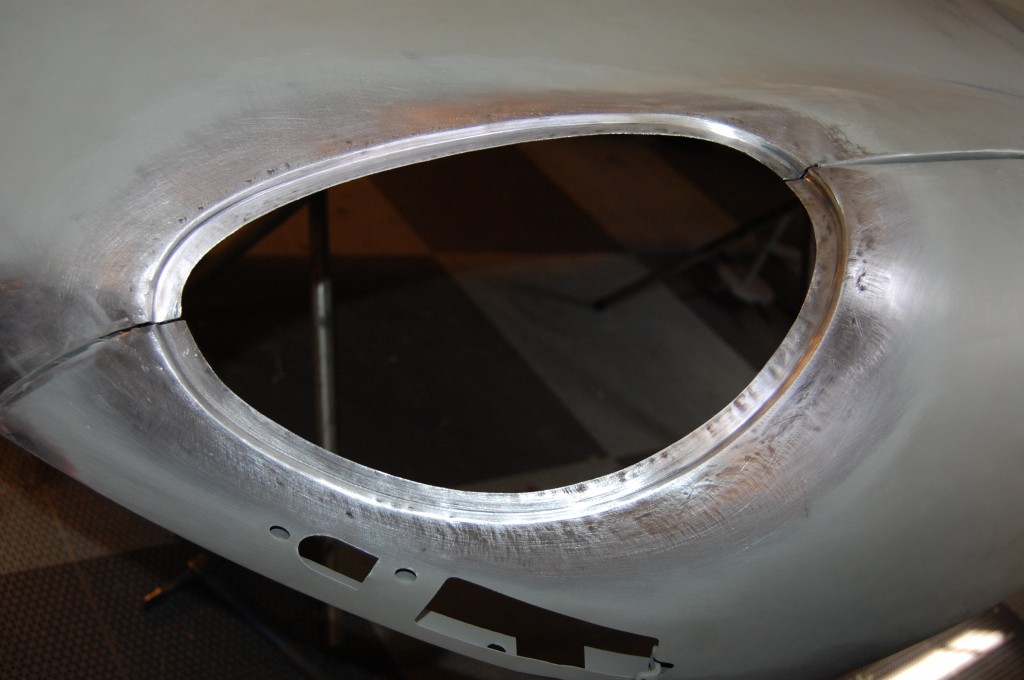
- Last step is to gring and file down the weld and scuff the panel smooth. This flange came out GREAT! One down, three to go!
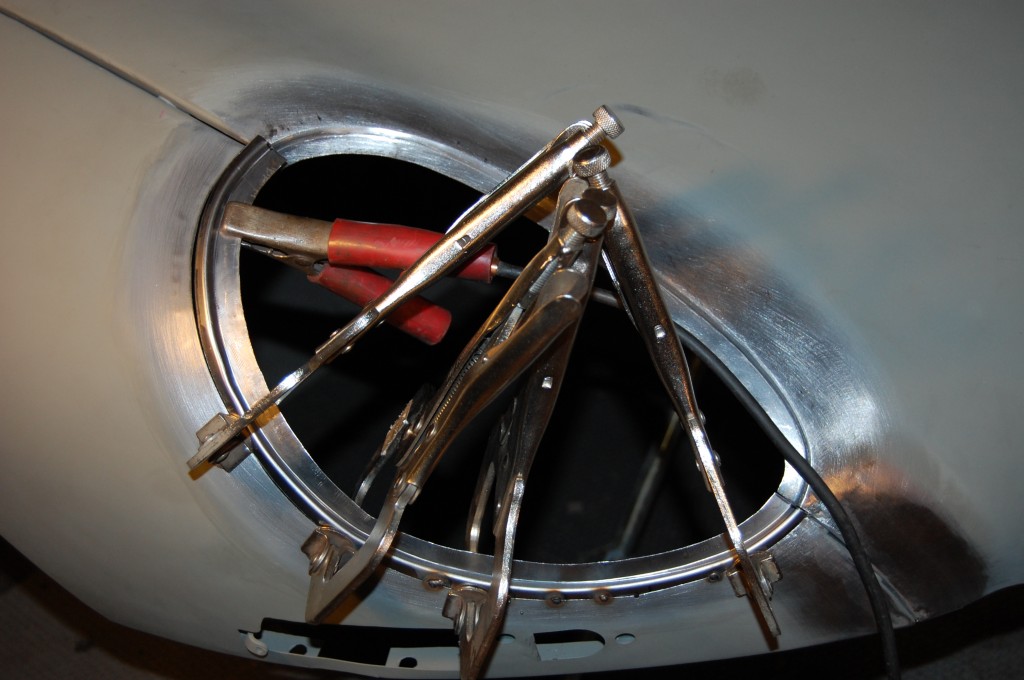
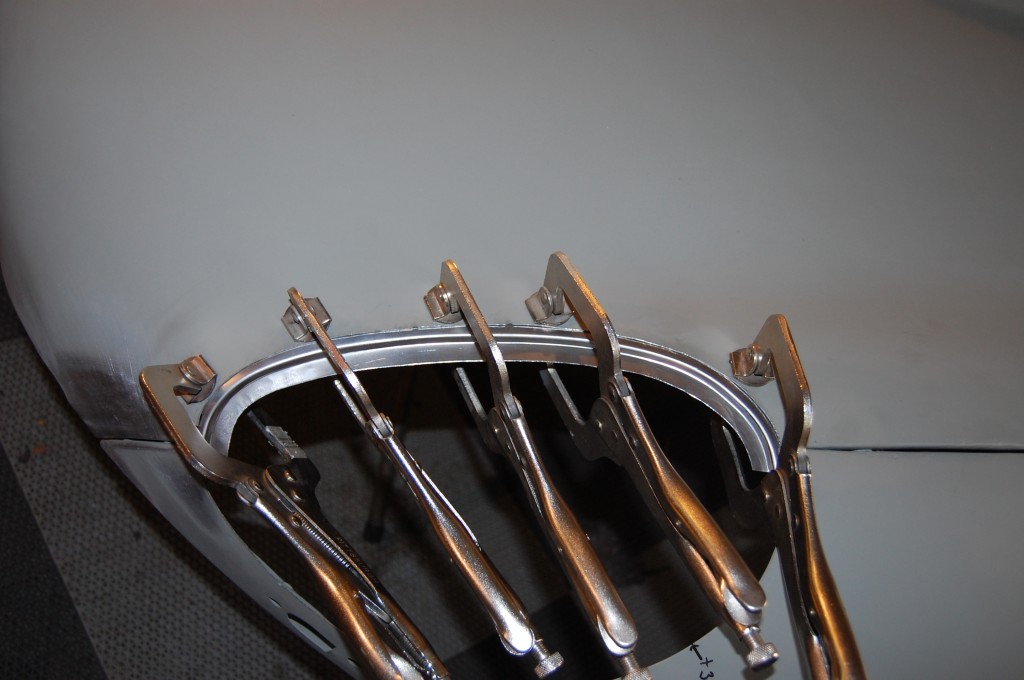
- Things can get cramped in the fitting phase. Here, the conversion flange is still full width, and being carefully fitted to give us back that 1/4″. Many of our customers just weld in the flange at this phase with a MIG welder. IT’s not optimal, and does not give that perfect factory SEries 1 panel, but it gets the job done, and it’s a MUCH better option than attempting the butt weld with a MIG welder – that won’t work, trust me.
- Only use the MIG to tack the flange into position.
- TIG weld if you are doing a butt-weld on sheet steel this thin!
- Two down – halfway home!
- Here is the difference. Keep in mind that the LH hole has been cut out 1/4″ oversize. We set the weld back 1/4″ as a good compromise between giving us enough room to work and get in there with a planishing hammer if we need to for stretching any shrinkage, but it is also still close enough to the flange so that the weld itself is under the chrome trim. Not that it matters – we grind the weld smooth anyway.
- Fitting the other side of the center section. You can never have too many vice grips!
- Tacked.
- TIG-ed.
- Ground smooth.
- Tacked. Note that we had to swing wider than 1/4″ on this flange. The factory hole in the wing was hogged out oversize in that area. When we lay the pattern on, we usually have to trim off a little metal here and ther – it’s not a uniform amount, but it is usually within the hole in the pattern. In this case, the hole in the wing swung out, and we just made that up by leaving more metal on the conversion flange.
- TIG-ed. In this shot you can tell that the inner step of the flange is also left wide. After these are welded in, we score a line around this, giving us the correct factory width, and making sure it is uniform around the whole length.
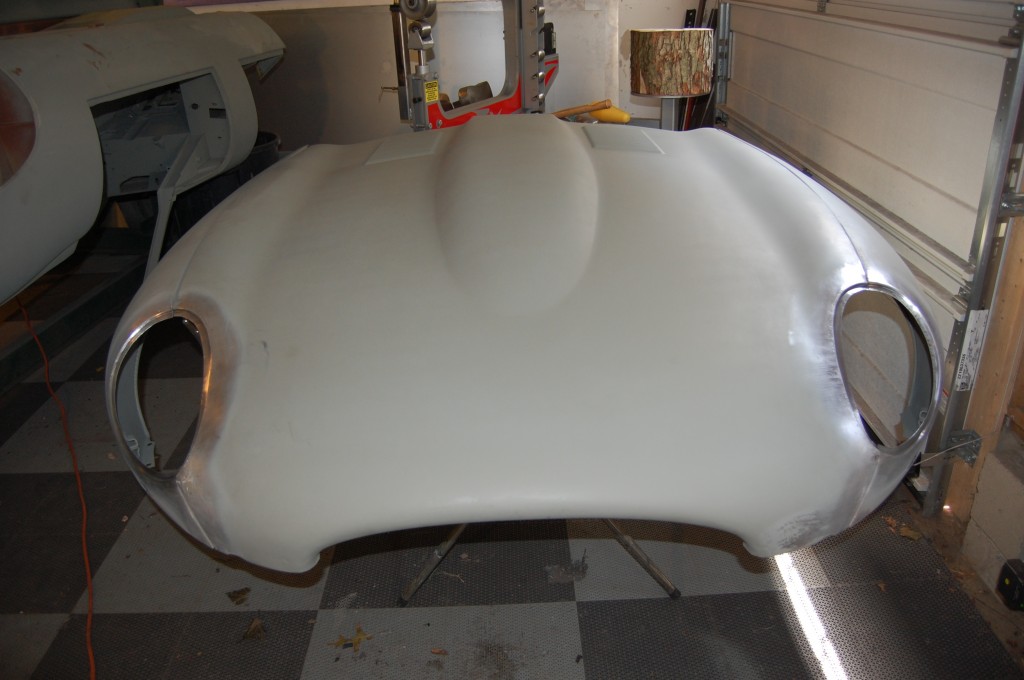
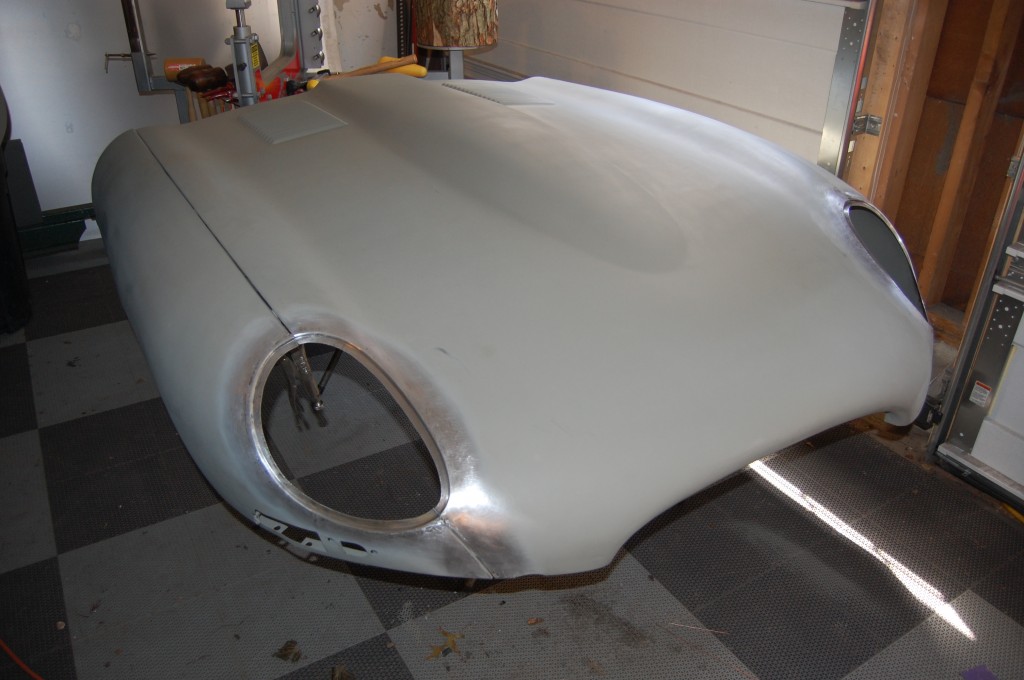
- Ground smooth. All four flanges finished – we’re done!
- Now it’s a Series 1 with covered headlights! Malcolm Sayer would be proud!
- Instead of adding the factory holes with the little caged 10/32 nuts, we instead use stainless steel, Phillips, pan head sheetmetal screws. These work great here – actually, BETTER than the factory setup, I think, and to be honest, alot of E-Types have screws like this in them anyway in order to get things lined up.
- We make these flanges in our fabrication shop for Series 1.5, 2 and 3. We can help you get any of these models converted over to the Series 1 factory specs. Call us to order a set of flanges, or to arrange to have the flanges installed into your bonnet – seamlessly!
- Here’s a shot from this morning after the work area was resprayed. Looks like a Series 1 to me!
- There’s more where these came from – call us if you need some!

