
The main panels of this bonnet were pretty rough – and were from 2 different bonnets, so I was a little concerned about how all this was going to come together in the end. Let’s take a look:
-
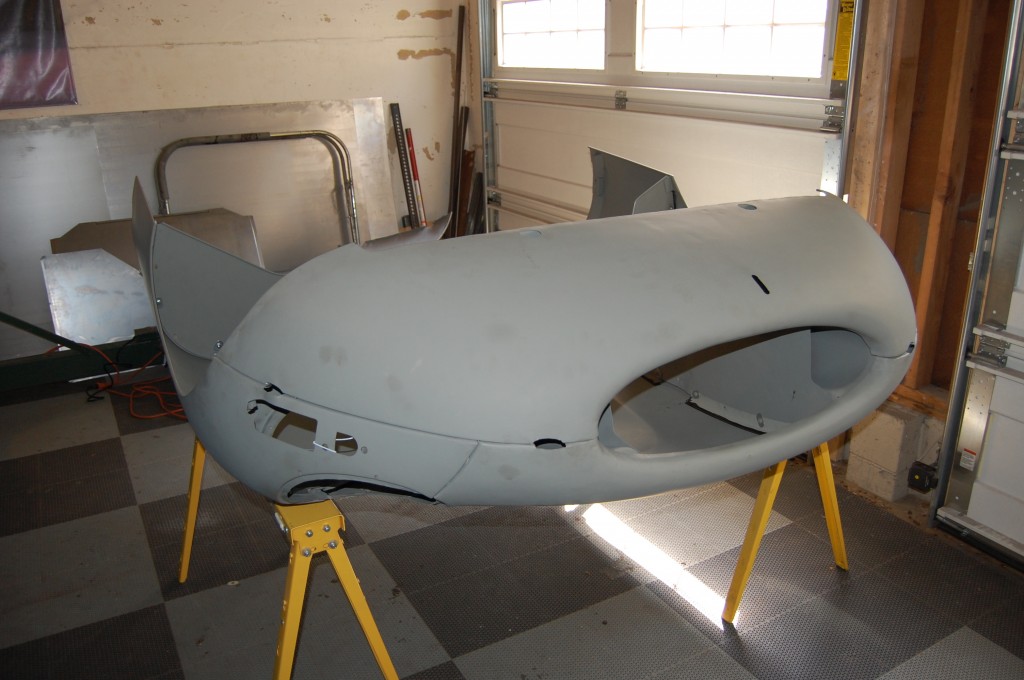
- This was another one of those days when I was not on the ball with the camera, so there are only a few photos of the bonnet test assembly. Here she is all assembled and everything has been adjusted and I’m very happy with the fit!

-
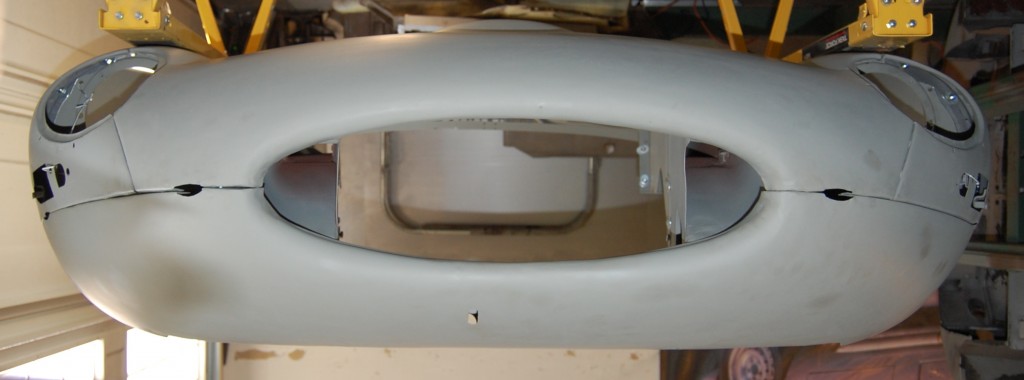
- This is the famous updside down shot – the test assembly is complete and the flanges have been bonded, so the bonnet needs to sit still for a few days. But I can never wait to examine the mouth area, so I take photos and then flip them over like this. The mouth looks GREAT considering all of the work done on it – this is going to be a nice one!

-
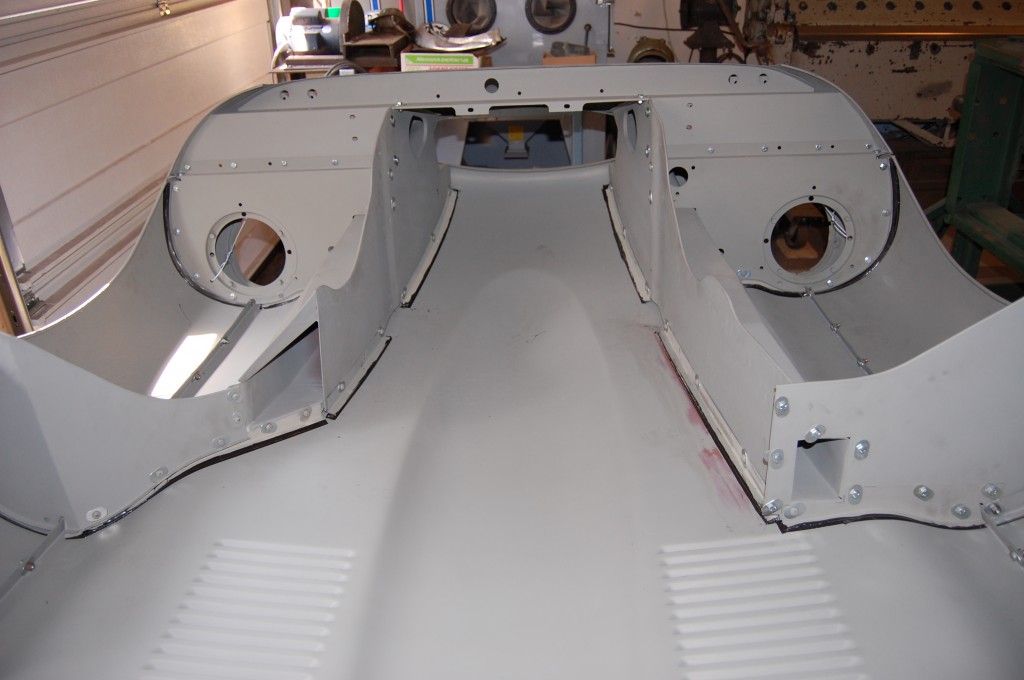
- The bonding agent is now dry and it is time to take things back apart, clean up any excess bonding, and prime the flanges and adjustments made during assembly.

-
- New headlamp diaphragms were fitted to this bonnet – the originals were just too far gone.

-

- We also formed up new forward flanges for the wings and custom fit them to this bonnet.

-
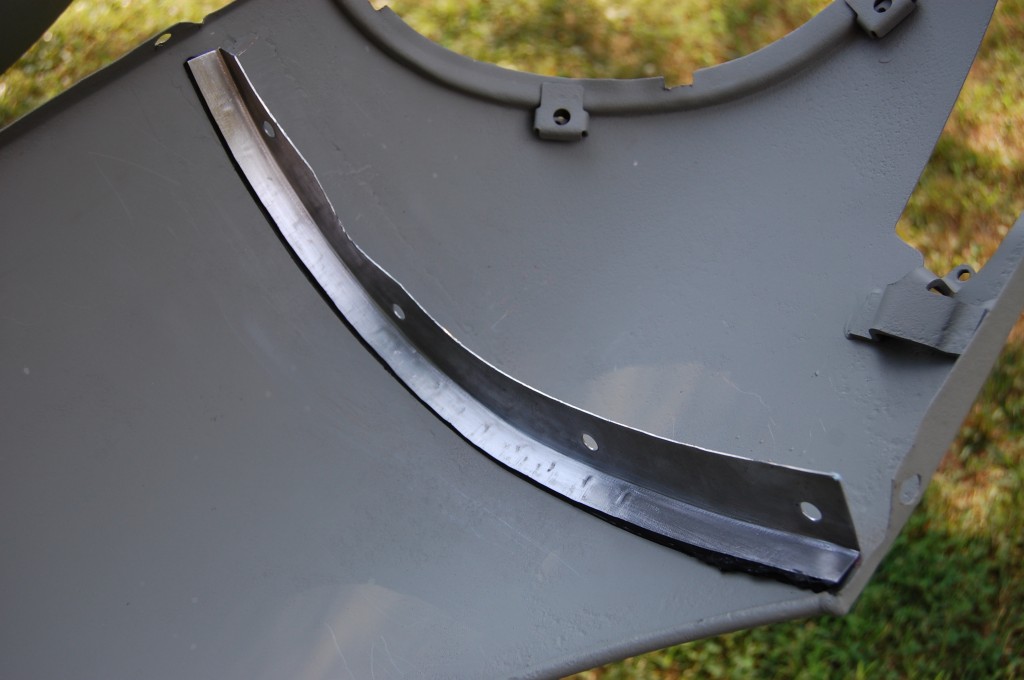
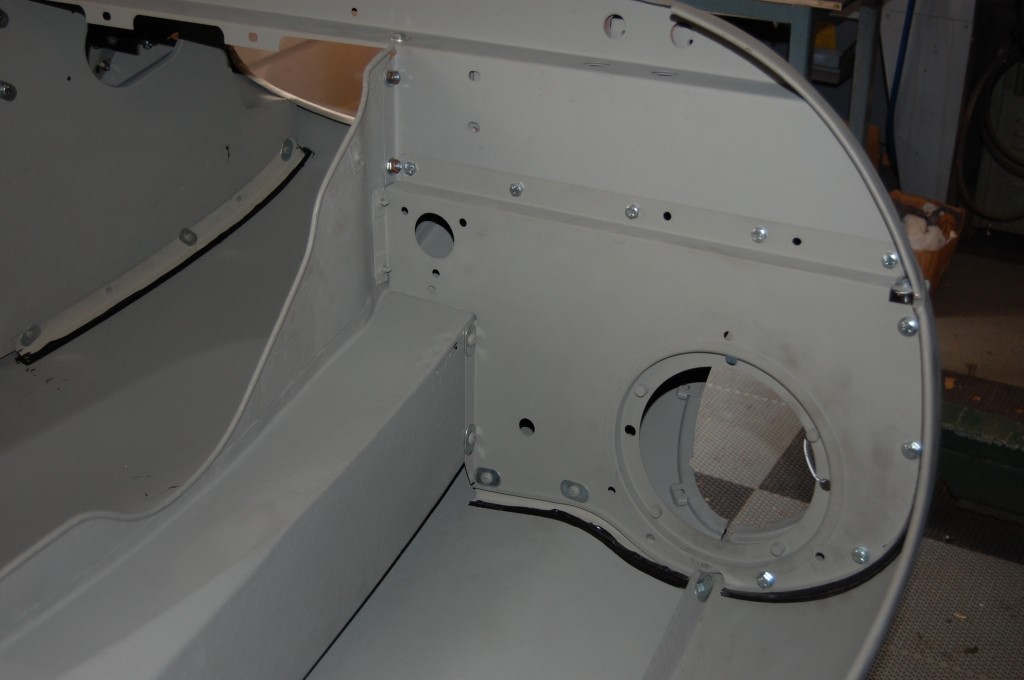
- This will get primed and then re-assembled. HOWEVER… a bad thing happened here and we had to do these over on this bonnet – these came unglued! What happened here was a combination of issues. First, we smoothed these flanges extensively in the power hammer, so the edge was planished to a mirror finish. Next, in the assembly phase, these fenders were arched tight and then this was glued. finally, after these were primed, they were put into the parts attic for a few days, and I think that the combination of the heat, the smooth surface of the bare metal, and the tension on the skin of the wing all worked together to pop these loose. Of course, they couldn’t come totally off – about a thiird of the bonding in the center was holding great, and I had to cut the glue off and re-bond them during final assembly – AFTER sandblasting the flanges to rough them up, and priming them with etch. That will teach me to deviate from the tried and true process we usually use!

-
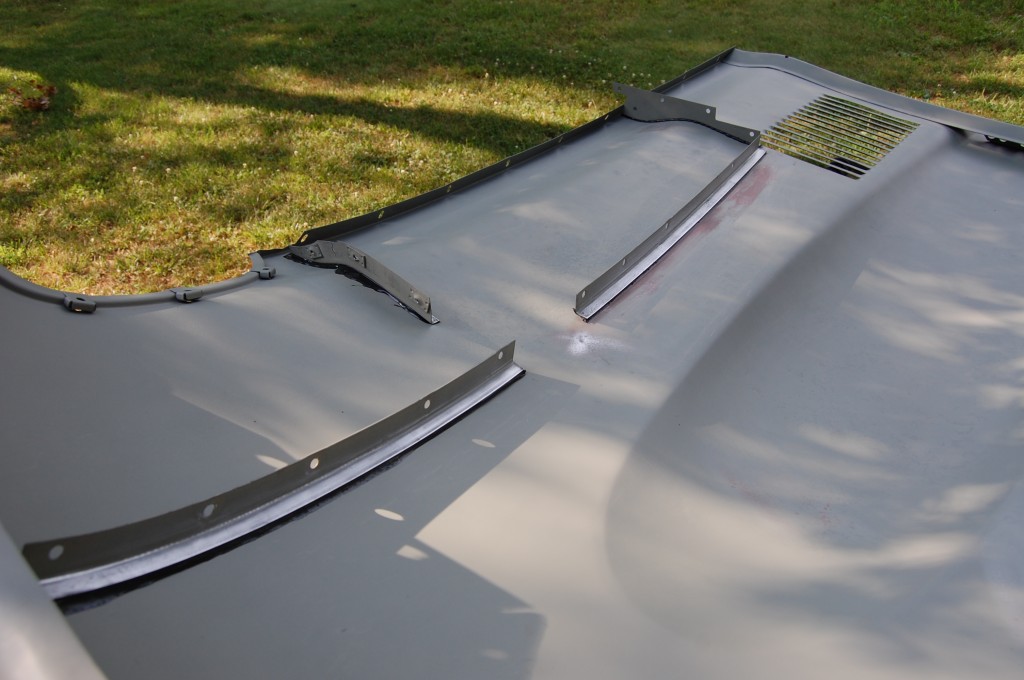
- These were all primed flanges bonded to primed skin – all rougher in their surface, and this stuff is on there for good!


