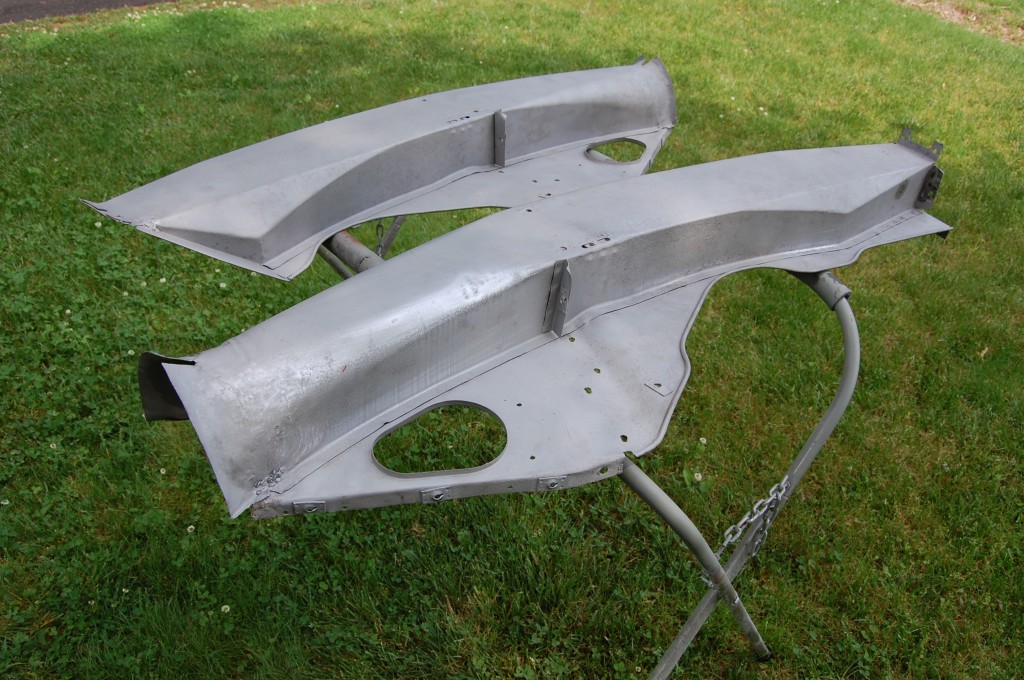
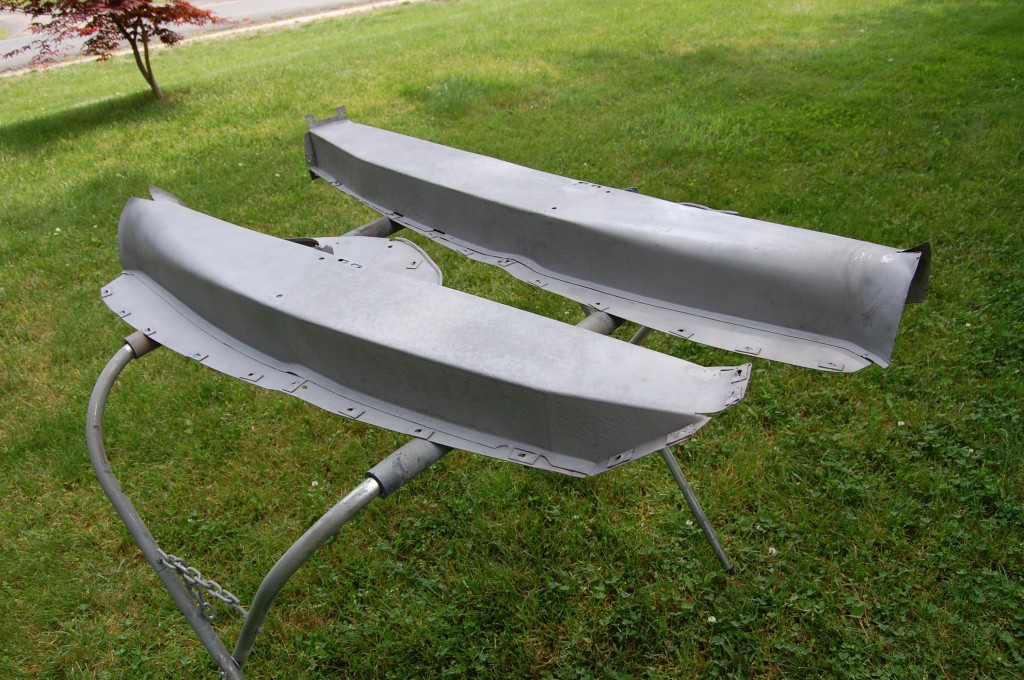
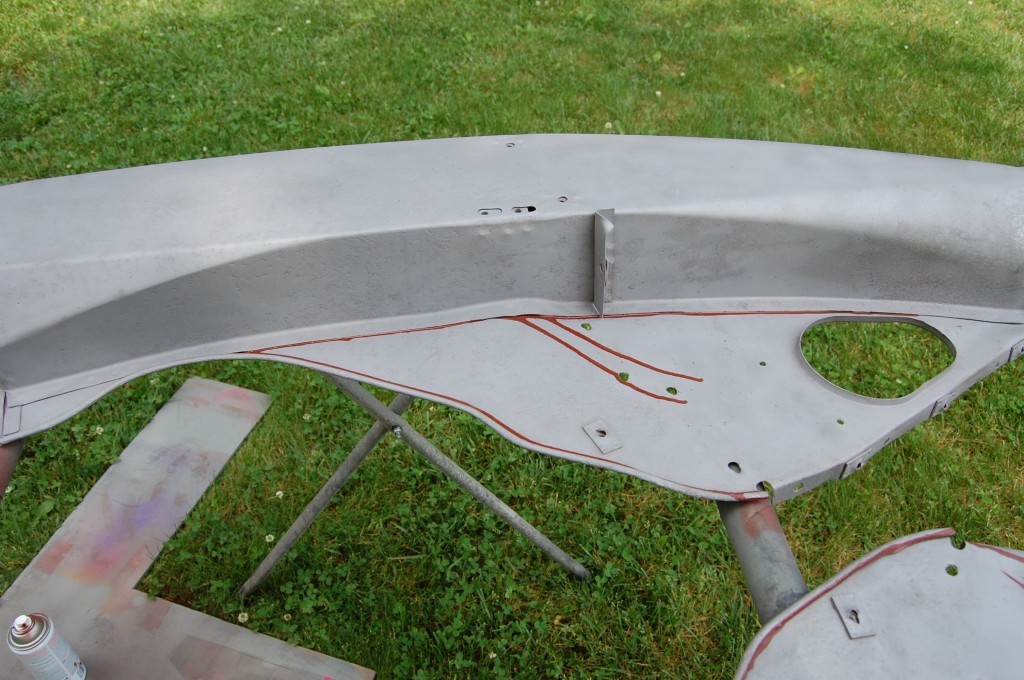
Next, we blasted the inner valances and gave them some much needed TLC.
One unfortunate feature of these, as well as the rest of this bonnet, was extremely heavy surface rust on the inner surface – mostly inside the wheel wells. Luckily, while the pitting was VERY deep, there were only one or two minor areas where the pits broke through, even after blasting. So while the pieces are generally straight, they are badly pitted inside.
As I mentioned, though, the pitting is all inside the wheel wells, so a good coat of a modern gravel guard or black undercoating should hide the pits nicely. Anywhere outside of the wheel wells will need to be smoothed with glaze and sanded – a time consuming task – especially on the inside of a bonnet where there are alot of strangely shaped panels…
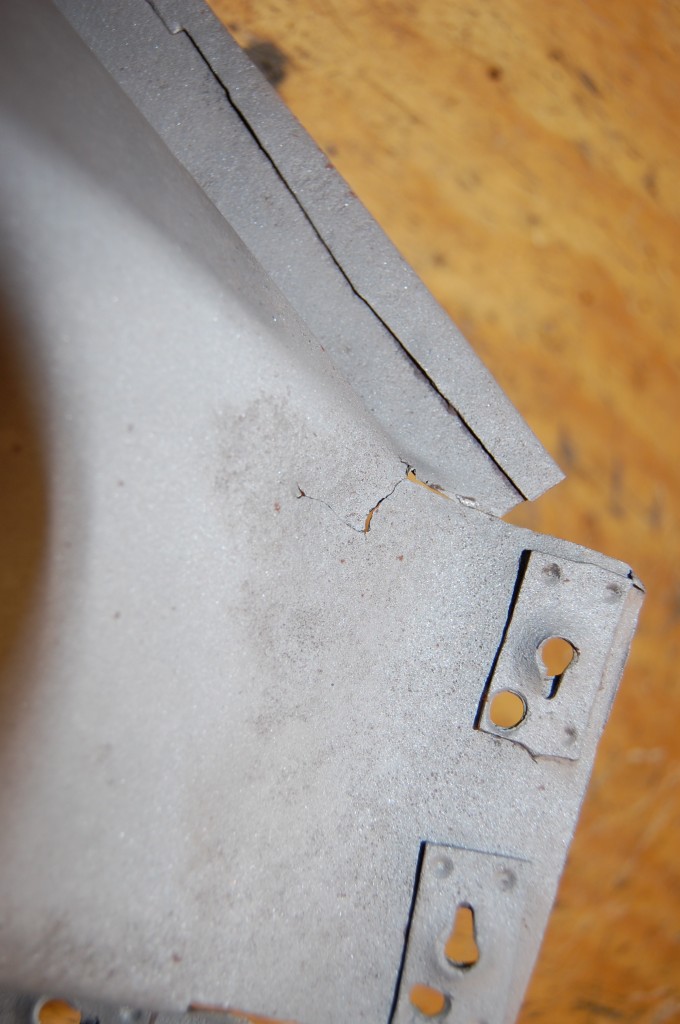
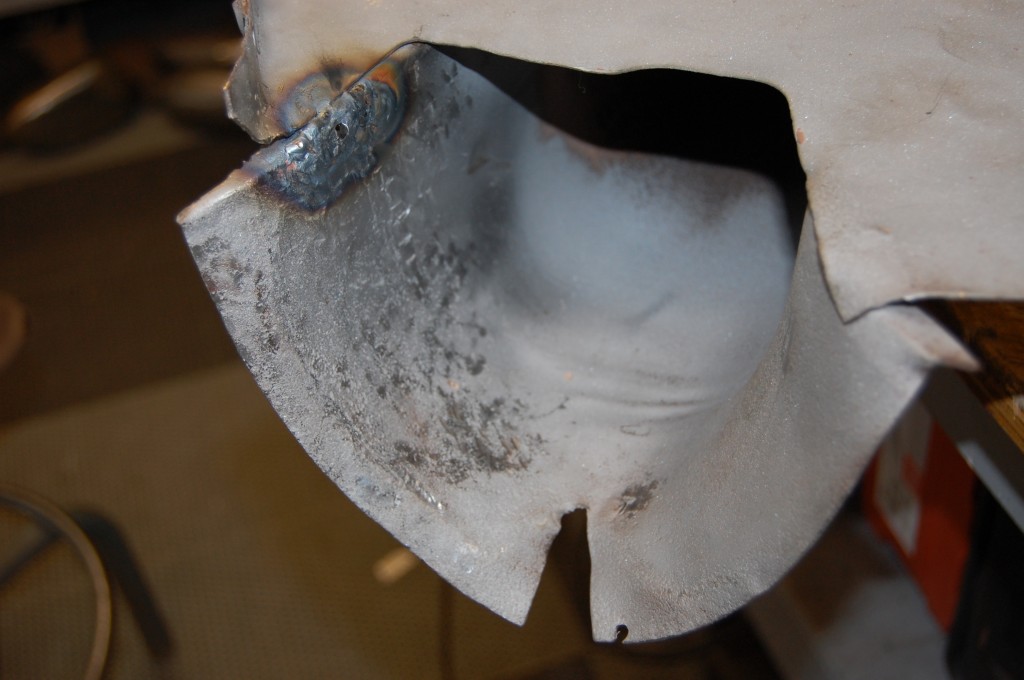
- As usual (really, as ALWAYS…), the rear edge of the RH inner valance is torn. This one is not very bad, and we TIG-ed it up and re-inforced the area with a tick bead of weld on the backside so that this tear will not re-appear after the bonnet is painted. We also welded up the extra holes drilled in the “speed nuts” – You should NEVER need extra holes like this when assembling a bonnet – if you do, something is WAY out of whack…
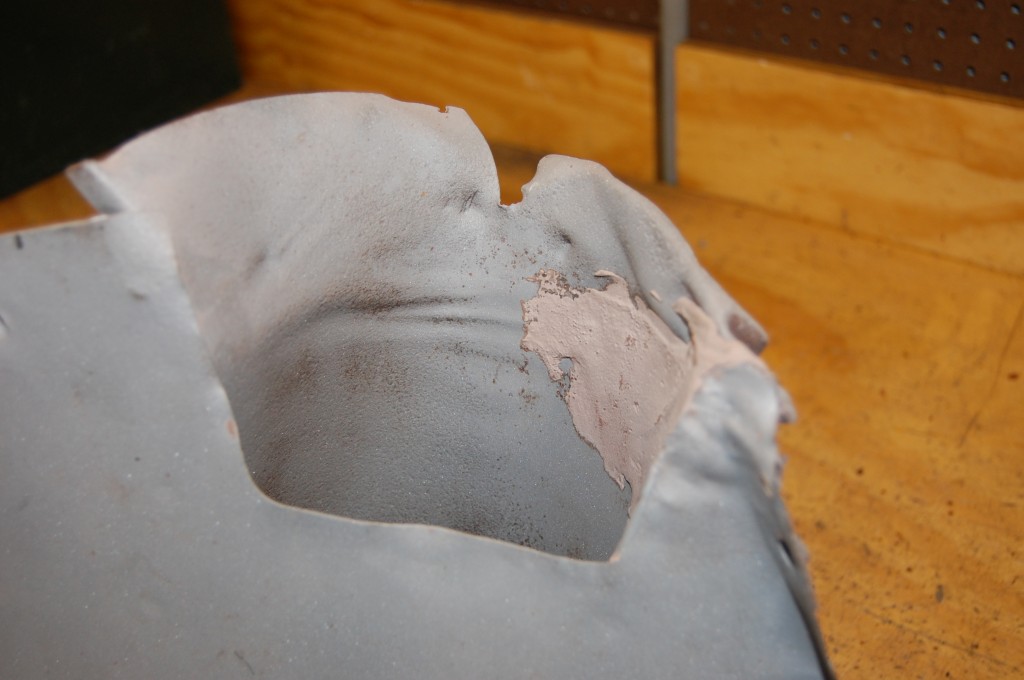
- We see this alot too – filler INSIDE the air ducts to smooth out crash damage.
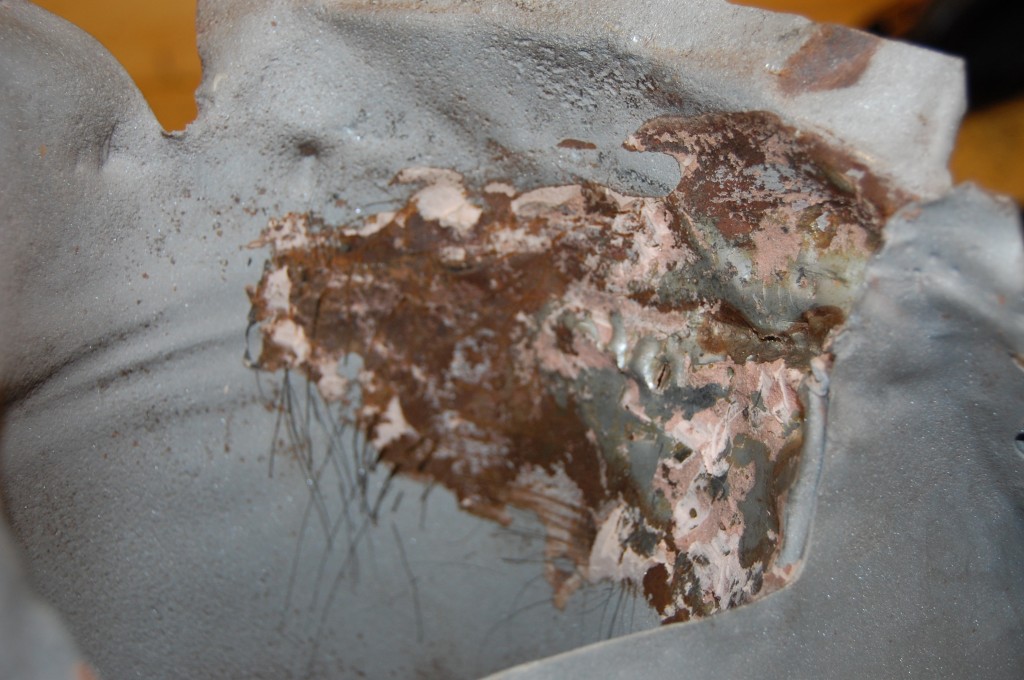
- Here is what that looks like on the other side – OUCH!
- A few strategicaly placed hits with a hammer popped most of the bondo right out – of course, having it initially smeared in over paint and rust helps!
- Here is the same area after the reshaping. There’s no need to get this “perfect”, but smooth and presentable is nice, and of course, it needs to fit the mouth of the reshaped center section and lower valance.
- Compare this shot of the snout of the LH valance to the shot 3 photos up!
- Bare and straight, ready to be primed.
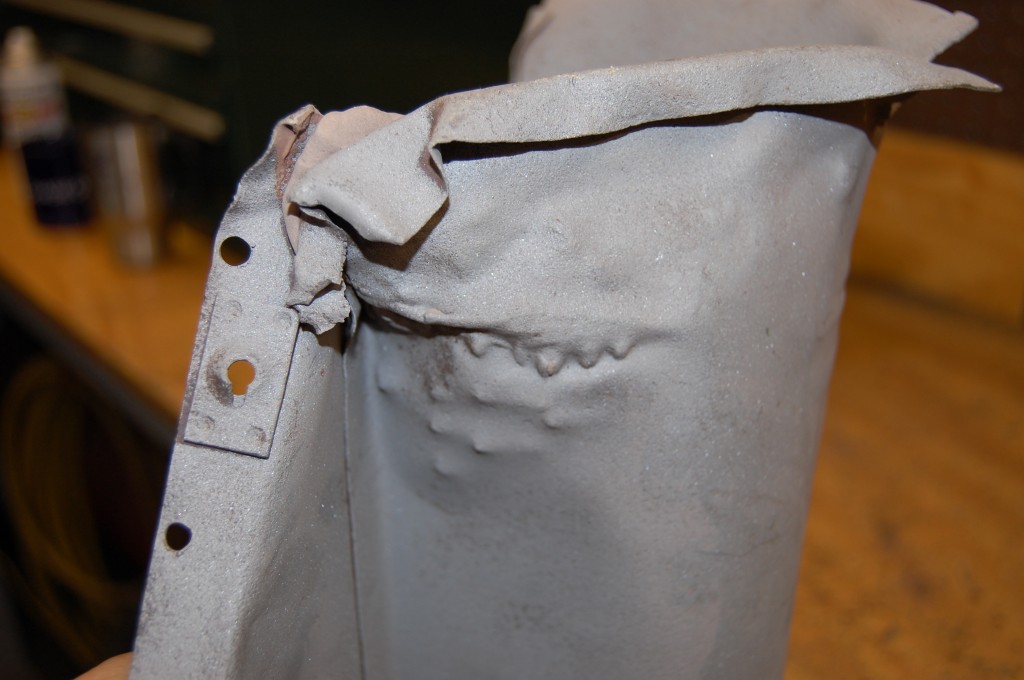
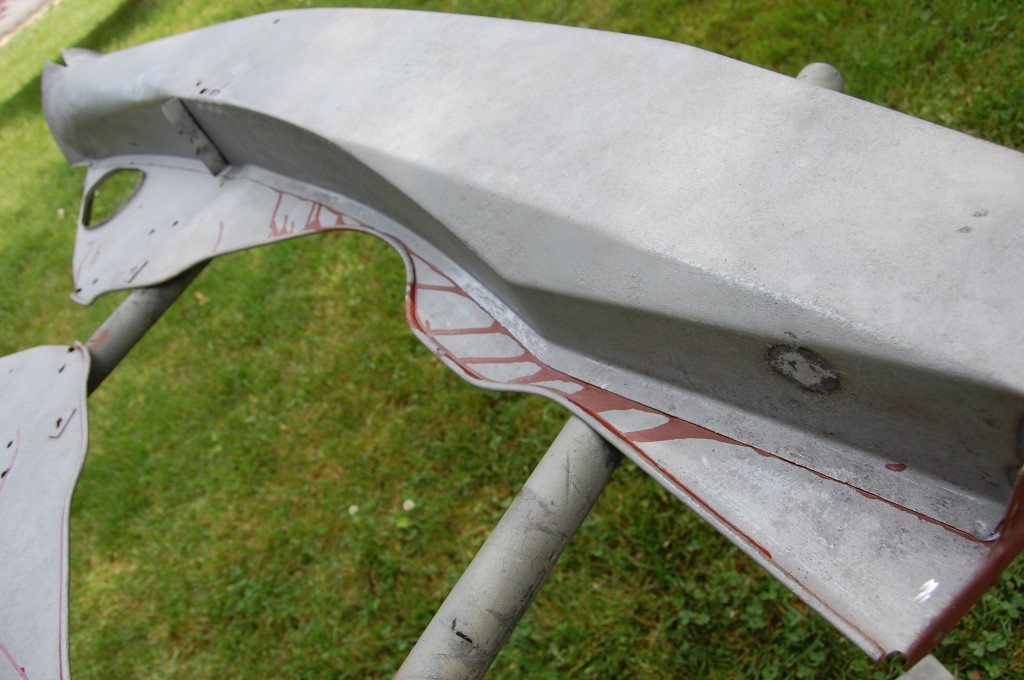
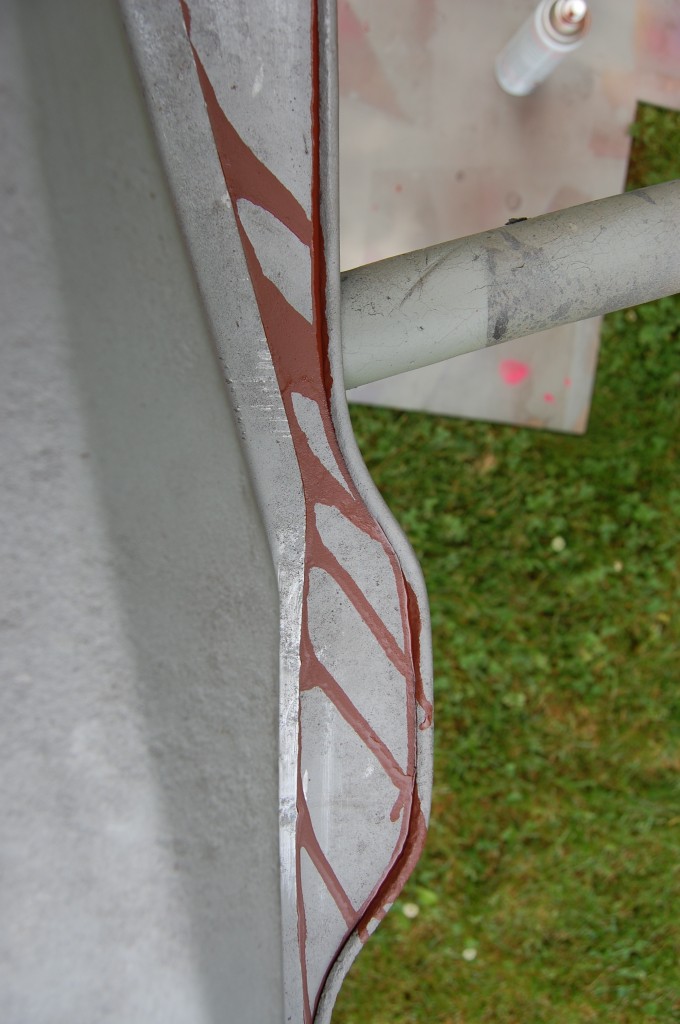
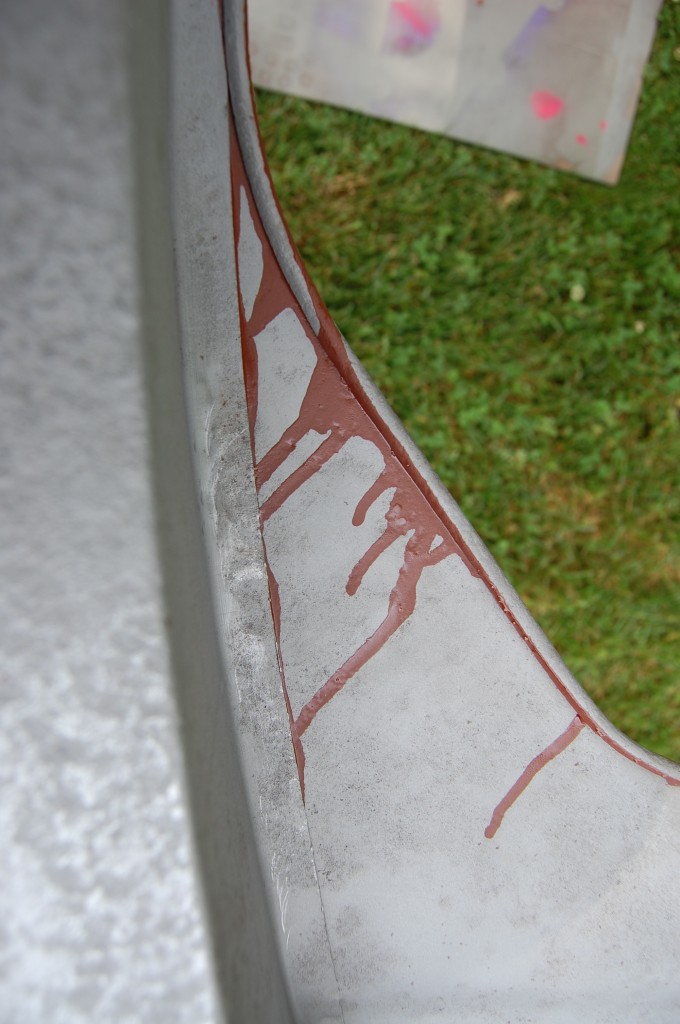
- This seam was intact – no rust through on either side, but it was CLOSE! The seam was bulging along the spot welds and that means LOTS of rust inside the seam – so we had to get a little creative here… First, I hammered the hell out of the seam by hand and in the power hammer where I could fit it in there, essentially pounding the rust flakes out of it while smoothing and flattening the seam. That worked well. Next, I went berserk with red oxide inside the tube, putting so much in that it ran through this seam and coated the inside. This also worked great and I think we have averted any futrure issues with rust.
- I didn’t get bashful – evenj let it run into the wired edge because you know there’s rust down in there too…
- Note the HEAVY pitting on the air tube itself…
- After the red oxide dried, we sanded down the runs and primed both valances in self-etching primer.

