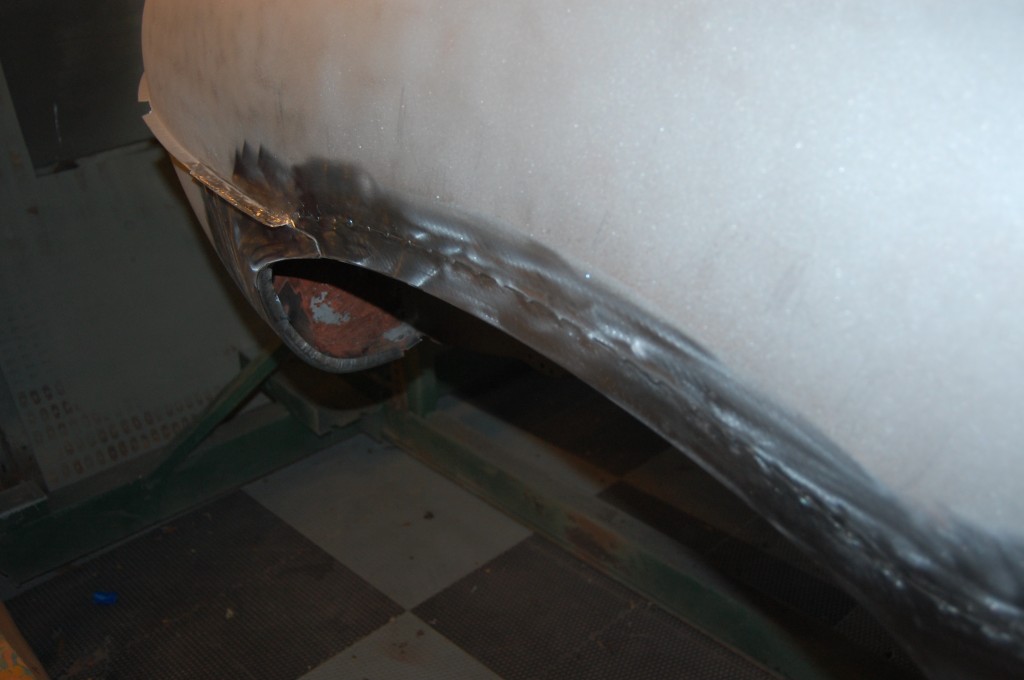
This one has to be the most nerve-wracking repair out there – the rusted out wheel arch on a Coupe or 2+2’s rear wing…
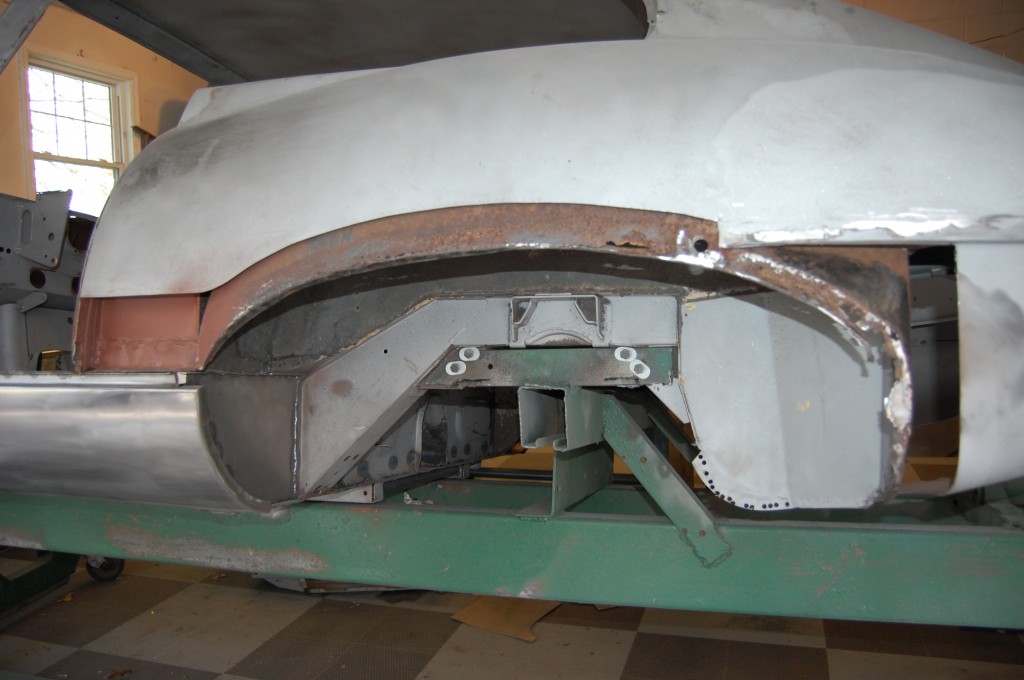
Roadsters don’t have any inner panel in the rear wheel well – if you stick your hand up in there, you are touching the same piece of metal you can see on the outside. But on coupes and 2+2’s, there is an inner wheel well that eventually comes down and meets the wing, and is spot-welded along the edge of the wheel well. These two wings – inner and outer, are touching each other at the bottom, and then get farther and farther away from each other as they go up. So, that lower inch, where they are only about 1/8″ or so apart, is a rust trap, and wings frequently rust out here.
A rusted out, but virgin wing is best. By this, I mean that OK, it’s rusted, and that’s a mess, but at least no-one else has gotten in there and made things worse – which is VERY common – and here’s why…
For years, Martin Robey (and some of the other panel suppliers that have come and gone) have made a patch for this area, and the patch is about 5 inches wide, even though the WORST rust I ever see here is 2 inches MAX. What I believe they intended was to provide plenty of material, and have the installer cut the panel down to what they needed. Unfortunately, what I see over and over is that the WHOLE thing is installed, sometimes right over the old wing, and then they just bondo the hell out of the whole wing…
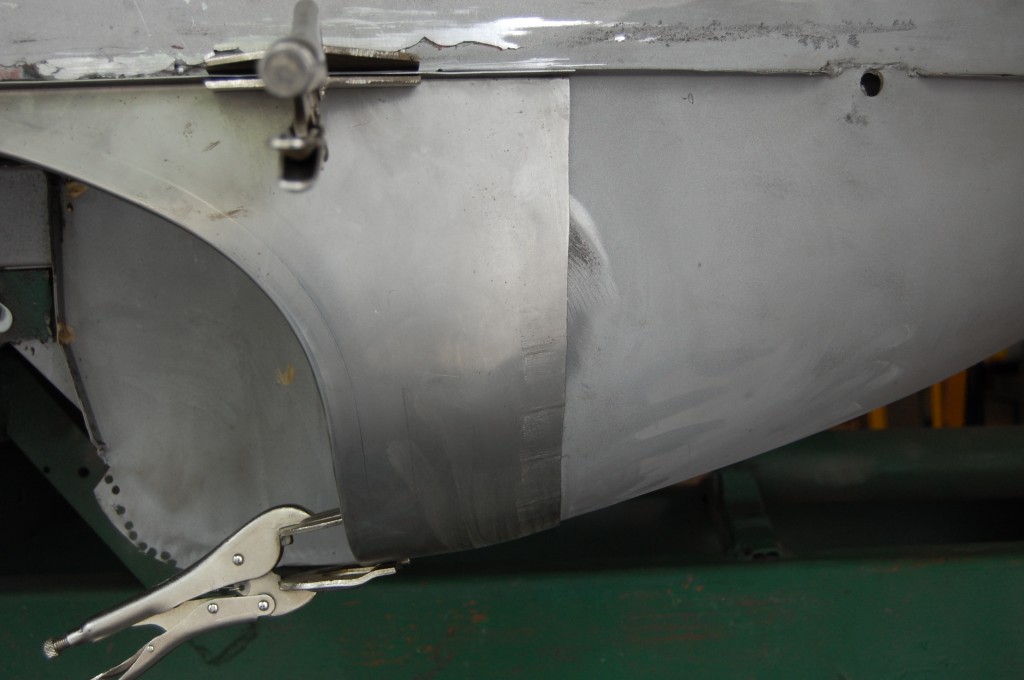
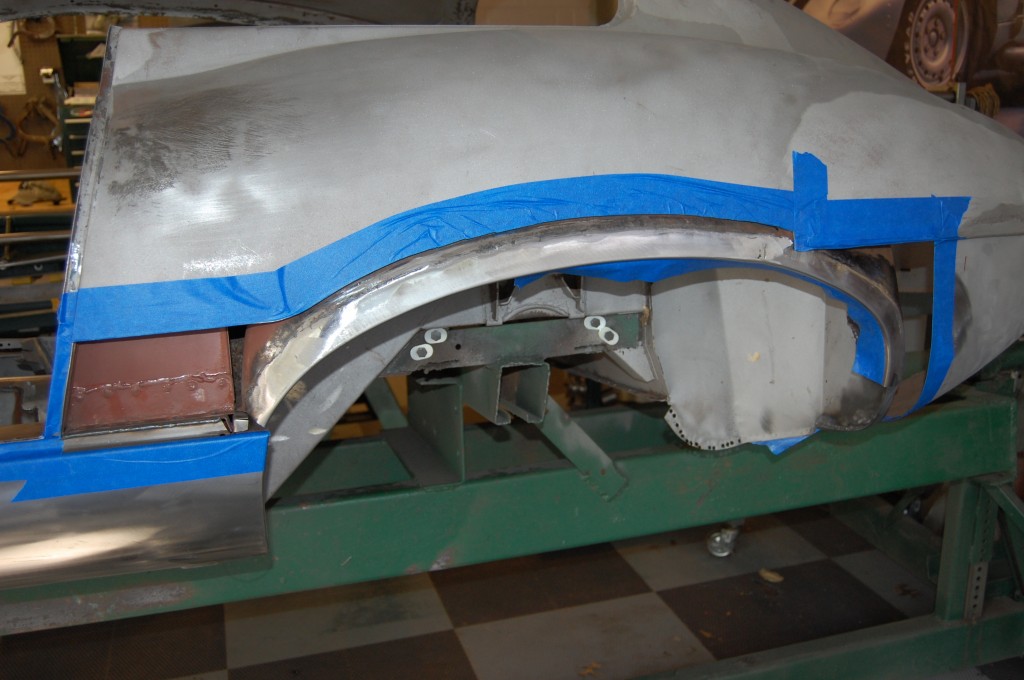
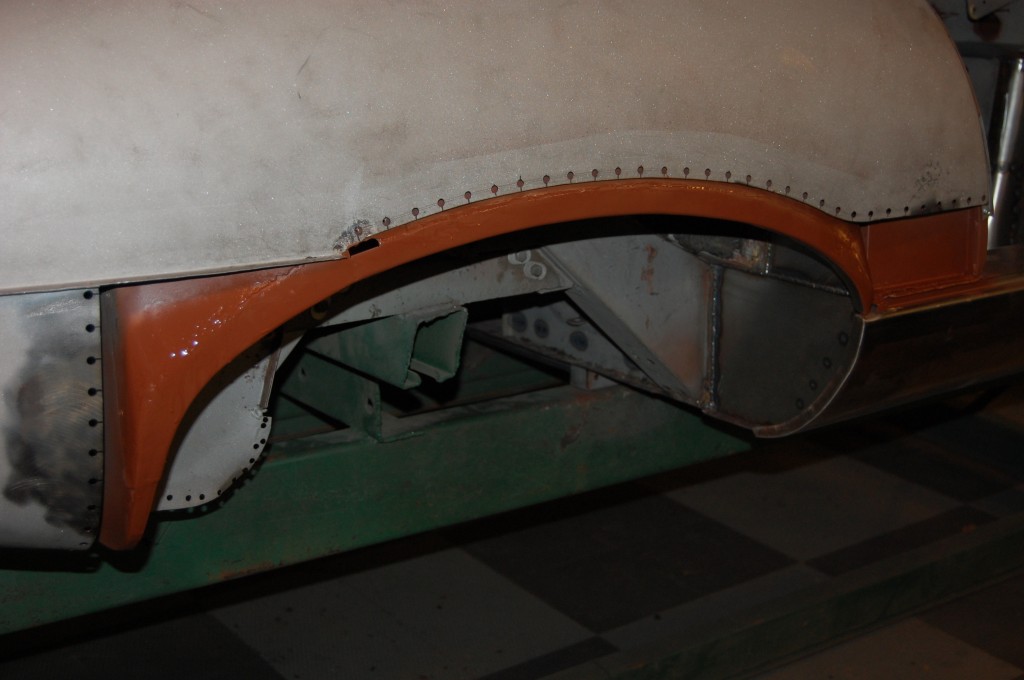
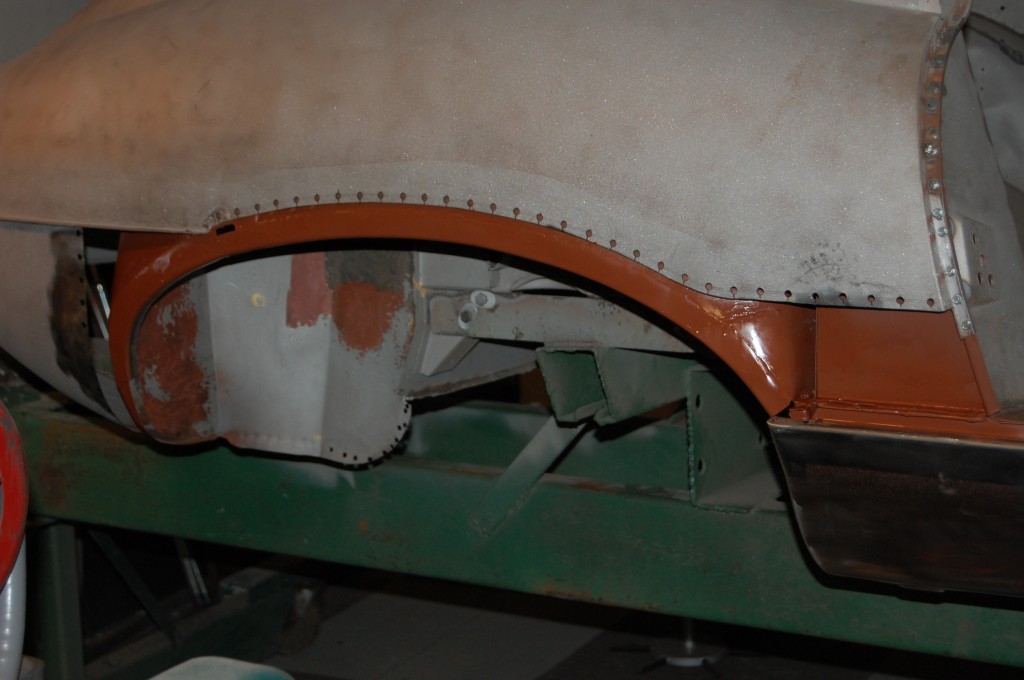
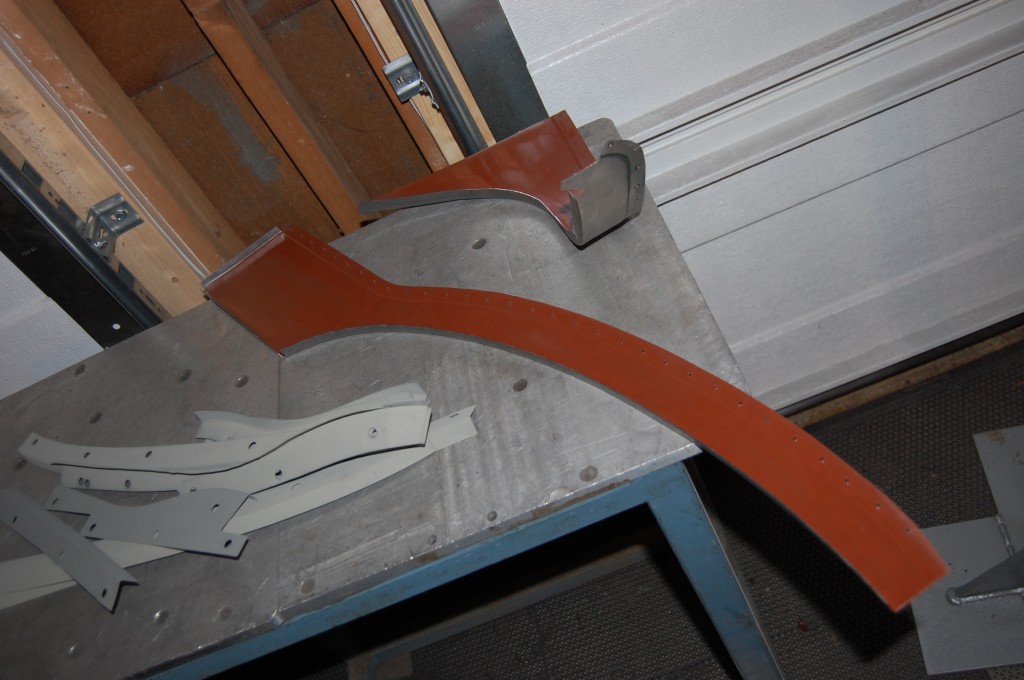
What I like to do here is make a repair piece that just covers the damaged area, keeping the seam as close to the wheel opening as possible, and minimizing the amount of bodywork to be done later.
I hate this repair for a couple of reasons:
1) If the outer wing is rusted out, the inner wing usually is as well, and that also needs to be patched – essentially doubling the work. And, that inner fender bends in alot of different directions, so the repair panel is even trickier to make than the outer one!
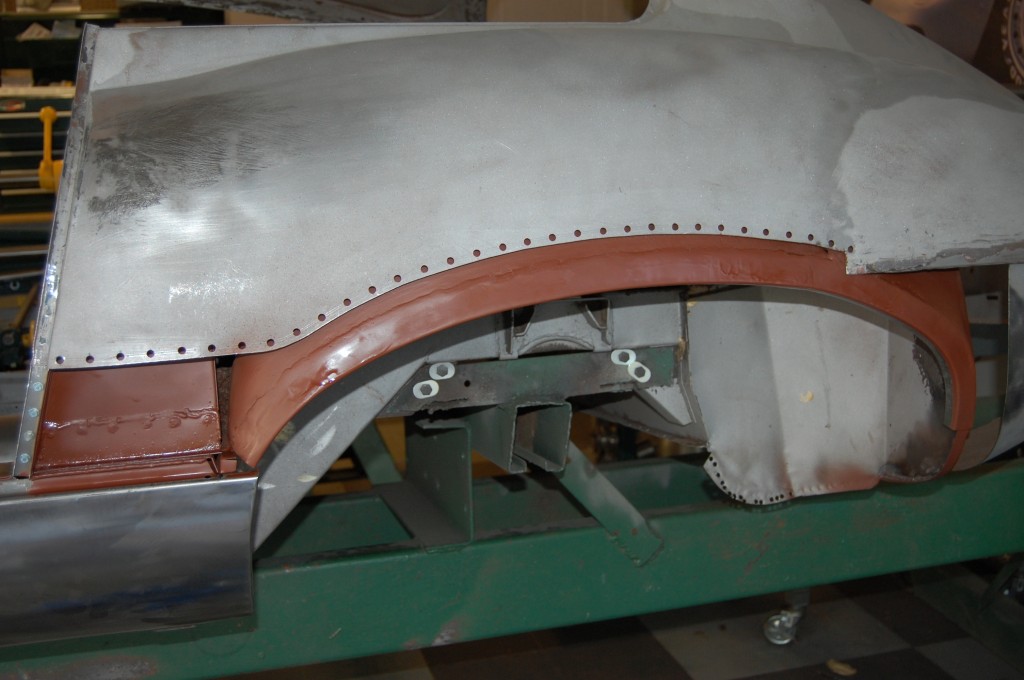
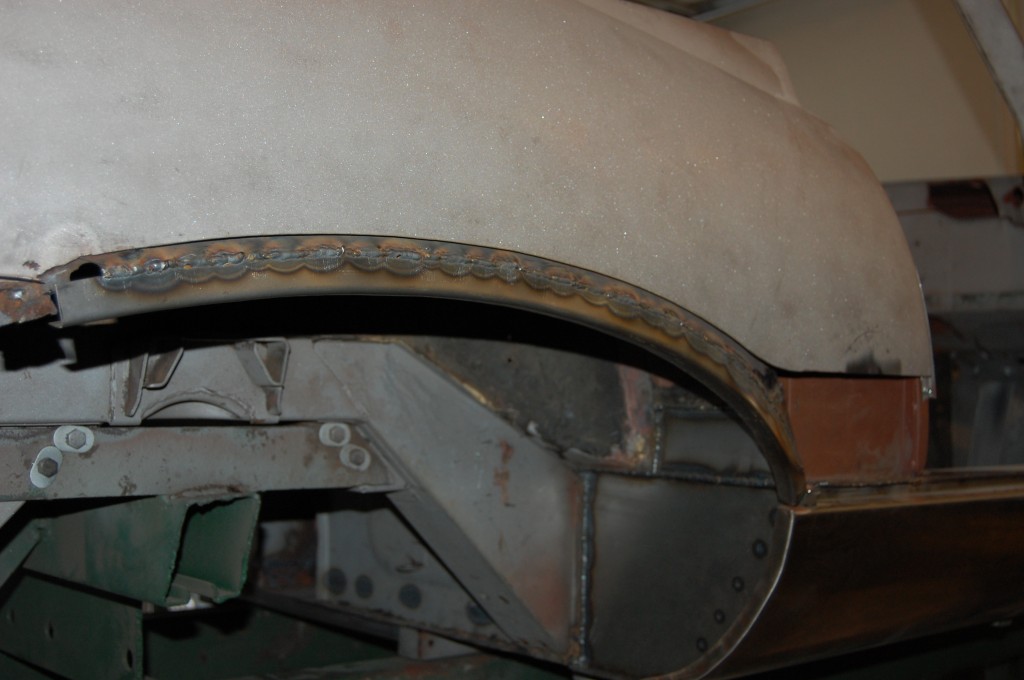
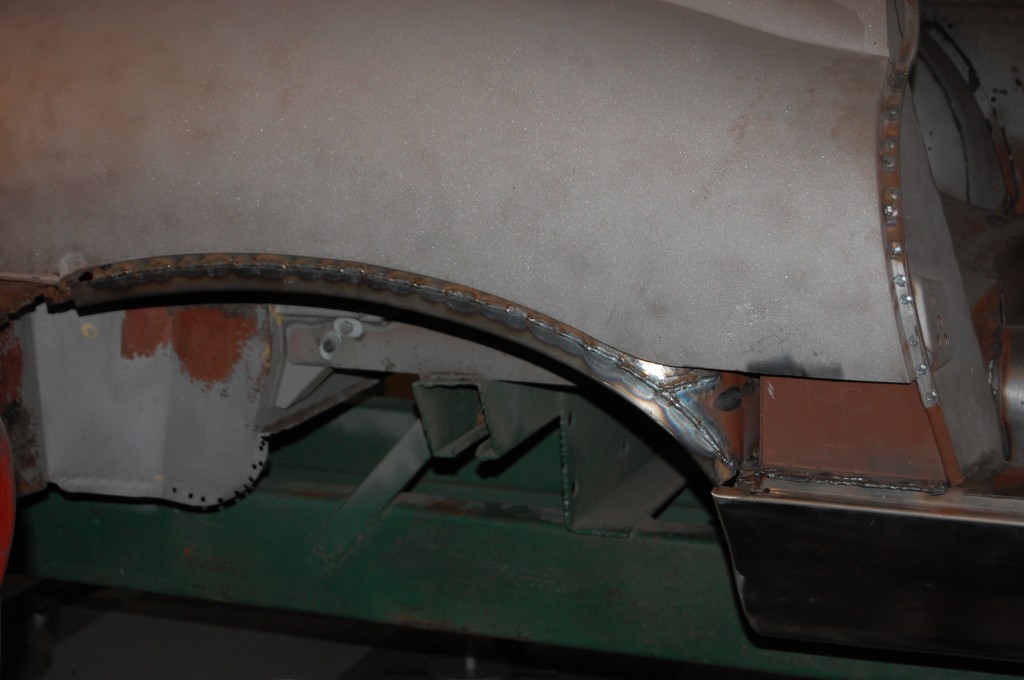
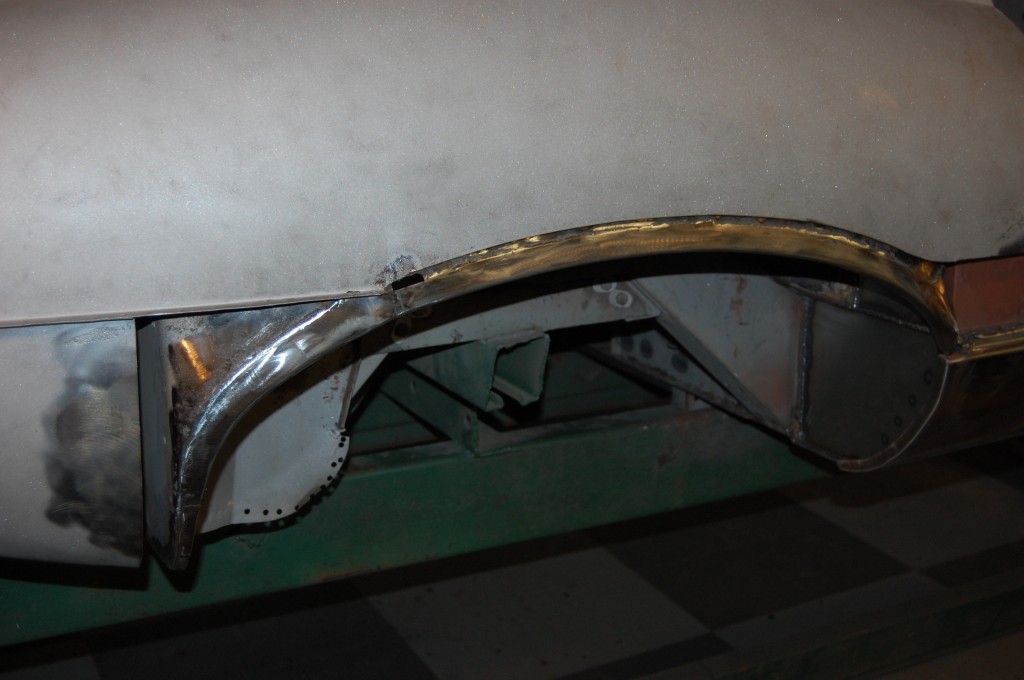
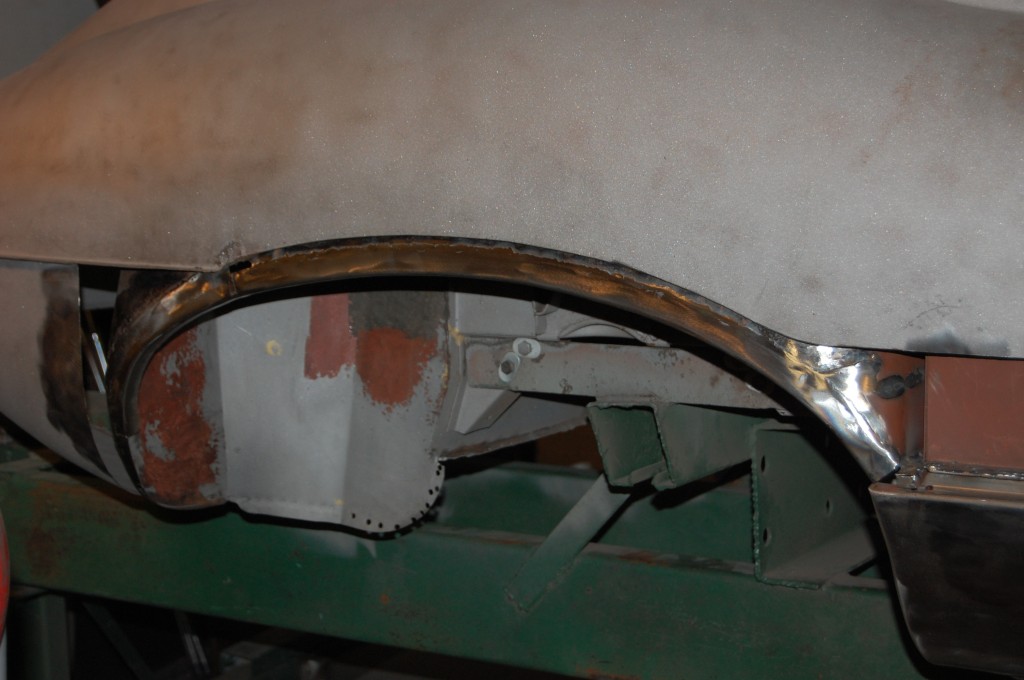
2) You are welding a patch into a close area, meaning that you cannot access the backside once it is in there. This is a real problem, as a TIG-welded butt weld needs to be planished afterwards, and you can’t get behind there to do it. So I instead do flange the repair panel and overlap and plug-weld it in – which I’m not wild about, but it works out better because it minimizes distortion, and it is also a very strong seam that is not going to flex under the filler and crack the paint.
I have seen other shops TIG these patches in and then just grind the welds down and prime them grey and they look great, but trust me, there is NO WAY these wings are not distorted – that just doesn’t show up in the dull grey primer…
So this is how I do it. I believe it is the best compromise for strength, appearance, and minimizing distortion. But it’s still time consuming and my least favorite repair…
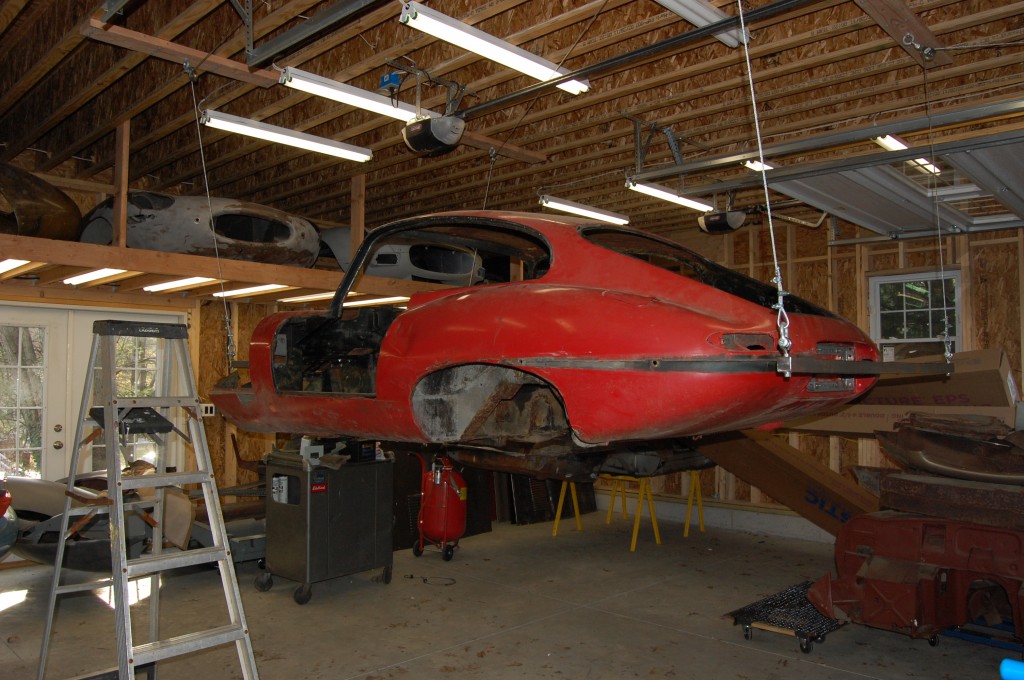
- This is a shot of the LH rear wing area as the shell was being lowered onto the rotisserrie, The red paint is hiding a multitude of sins…
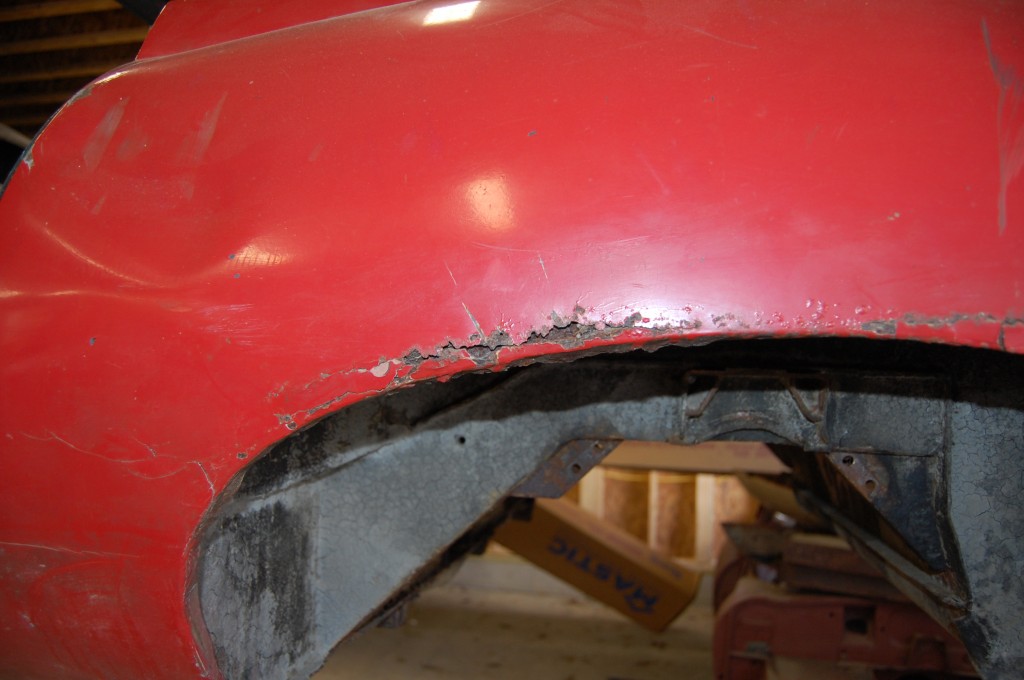
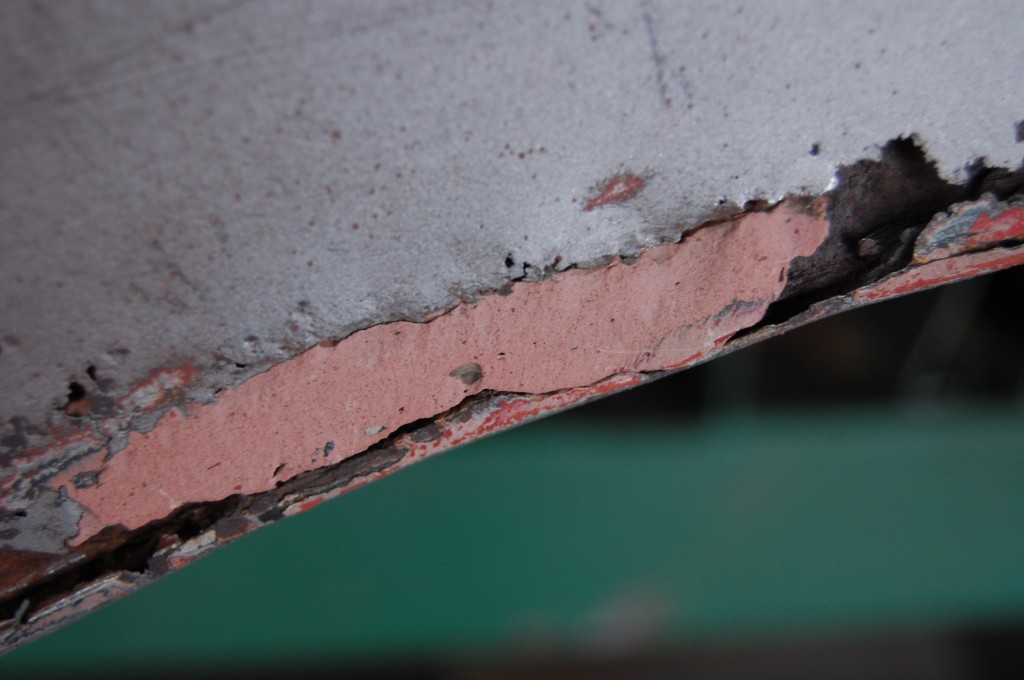
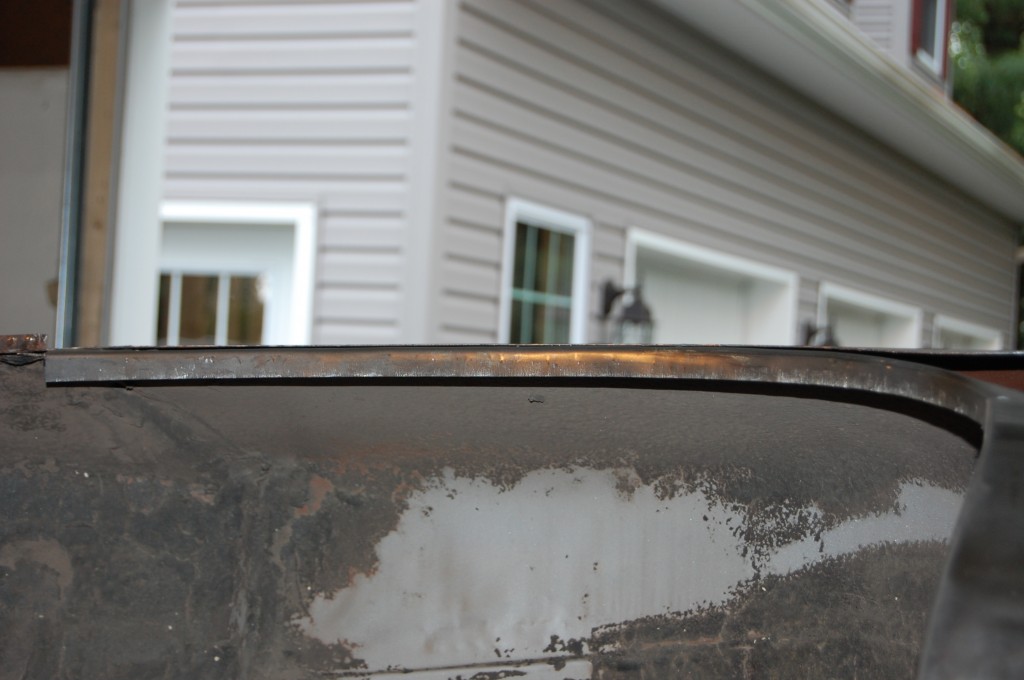
- Here is a close-up of the RH side – the damage looks minimal, but after blasting, major surgery was shown to be necessary.
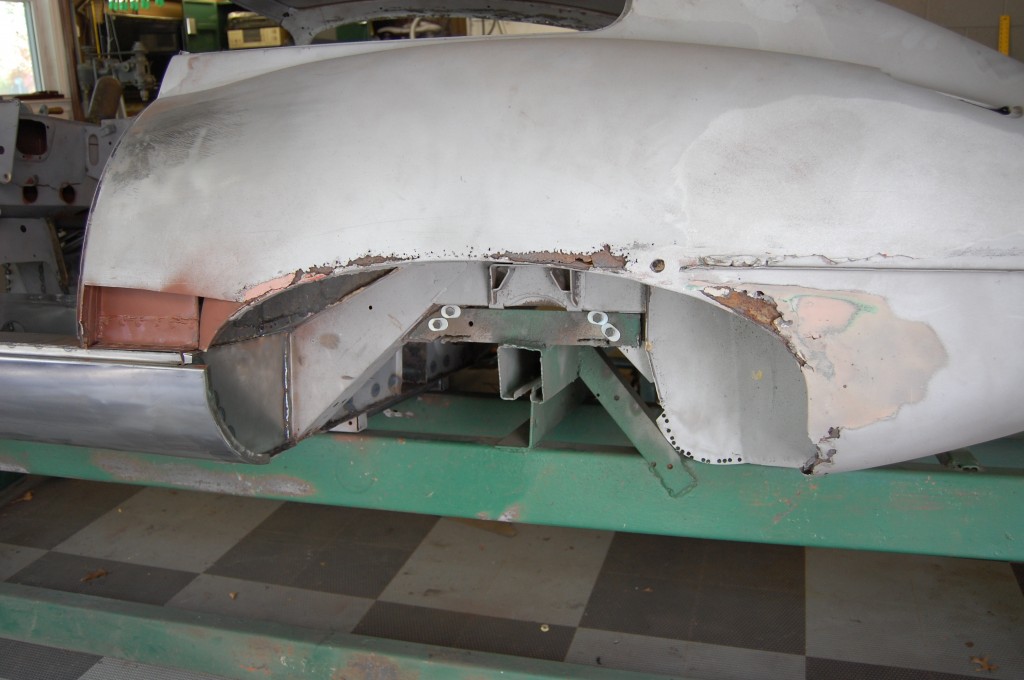
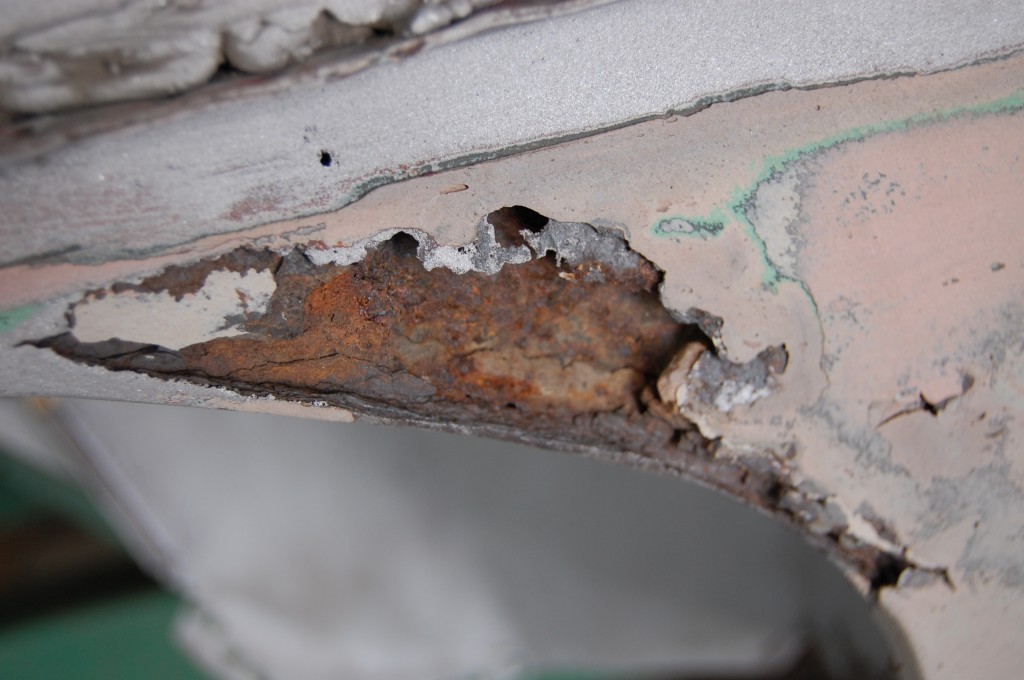
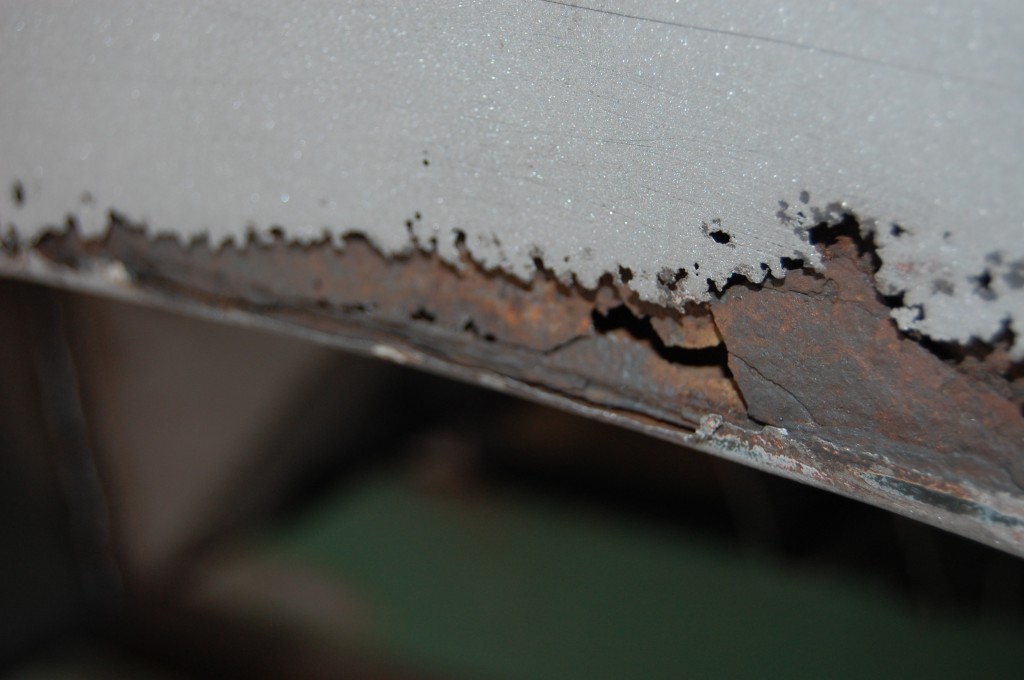
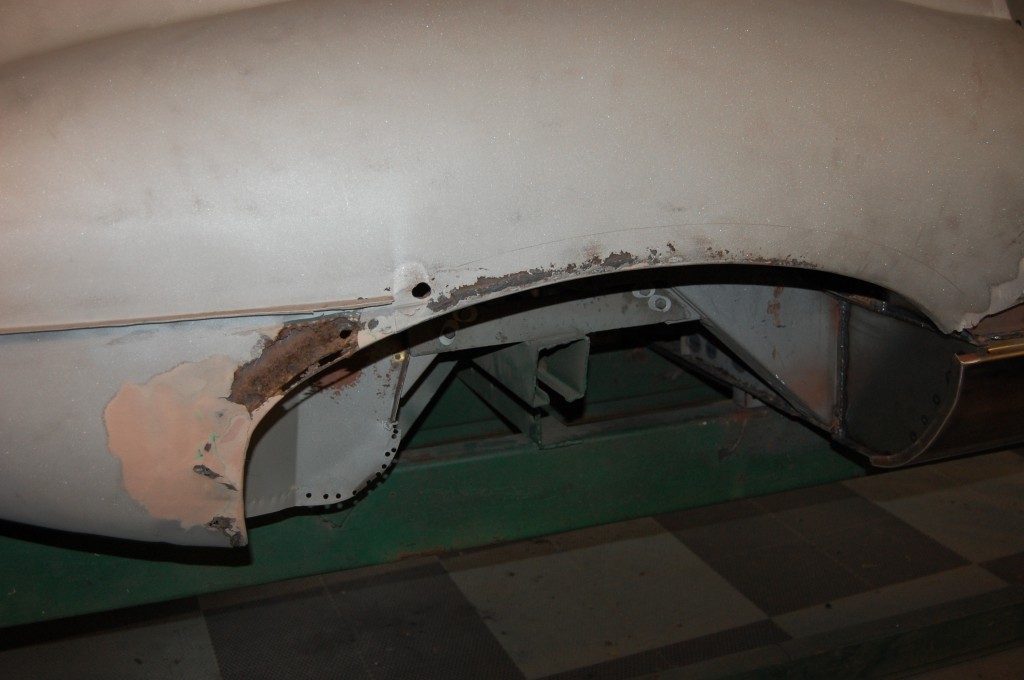
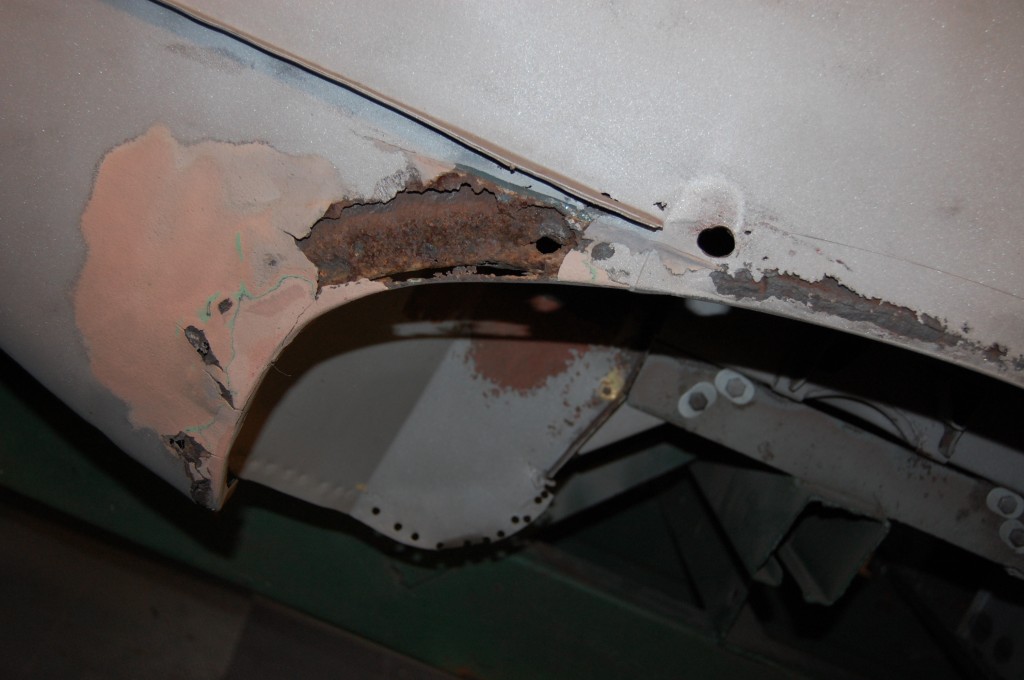
- Here’s the starting point – cancerous rust packed with mutiple layers of filler…
- What a mess!
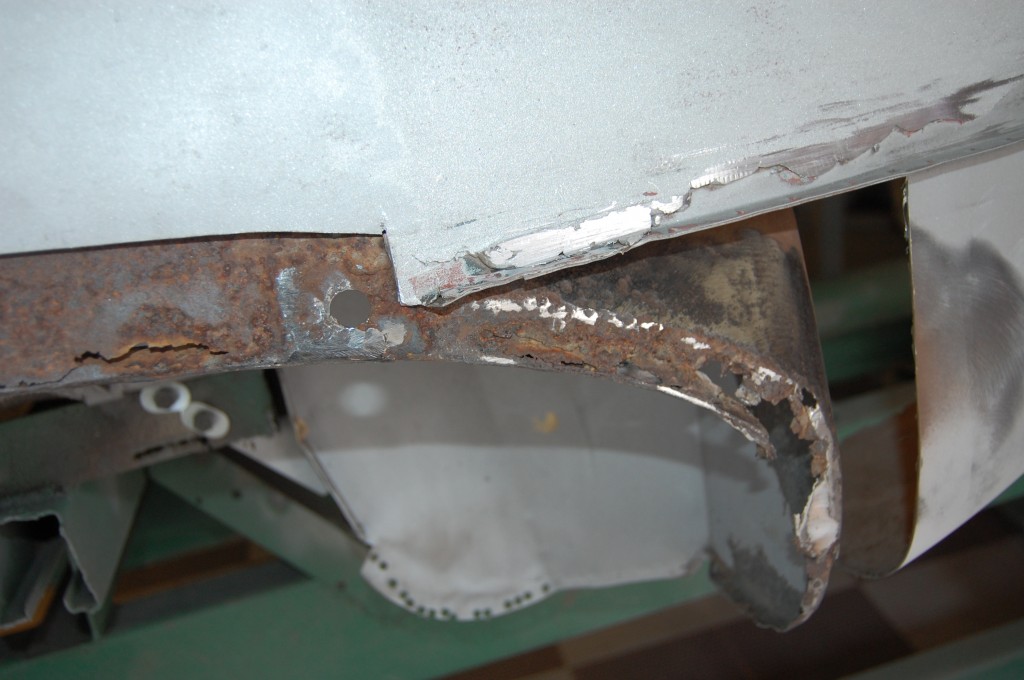
- Another shot of the horror…
- And, as usual, the inner panel is rusted away as well.
- Step A is to decide how high up the wing we have to go, then remove the section of the wing to be replaced. We also will replace the leading edge of the rear lower valance, which I prefer to replacing the whole thing if it can be avoided. It localizes the repair, and keeps the many leaded seams in the tail end intact. We make and sell alot of these panels to ther shops who also agree with this approach.
- A cllose-up of the dissected area, showing the major issues with the inner panels.
- Trial fitting the new pnel made in our fabrication shop. Another reason we make these here and do it this way is that the other ones available out there are HORRIBLE – they don’t fit at all, and the wheel-well edge is all wrong (see a blog entry from last Summer for the lead sled on that problem…)
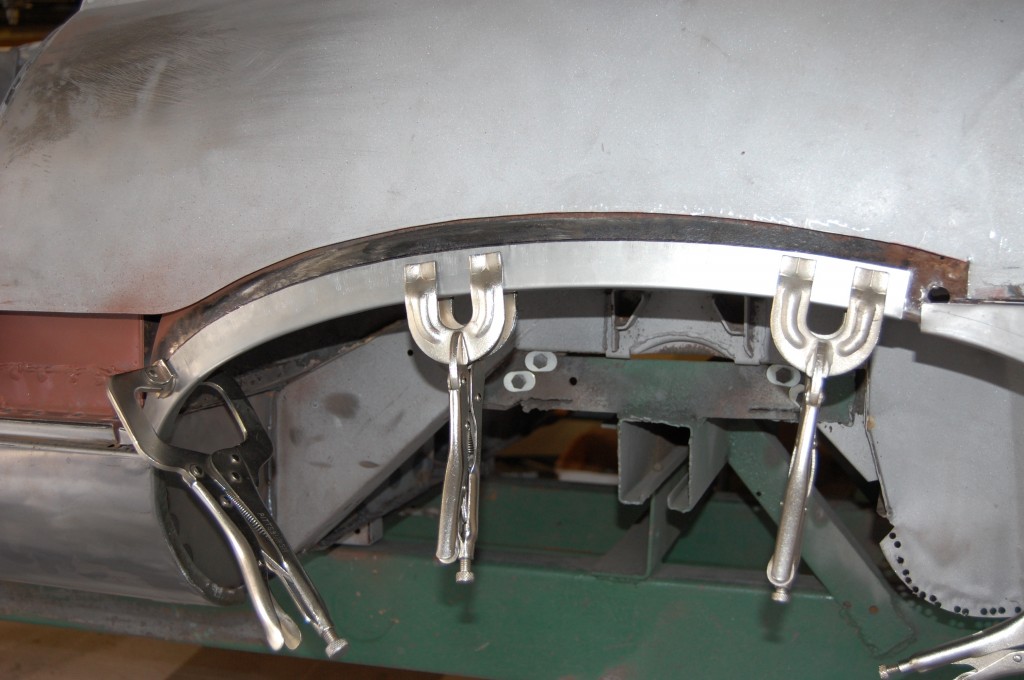
- Here, a patch is being fitted for the inner panel. This piece looks simple enough, but the three-dimensional curvature of it is a real bear to get right!
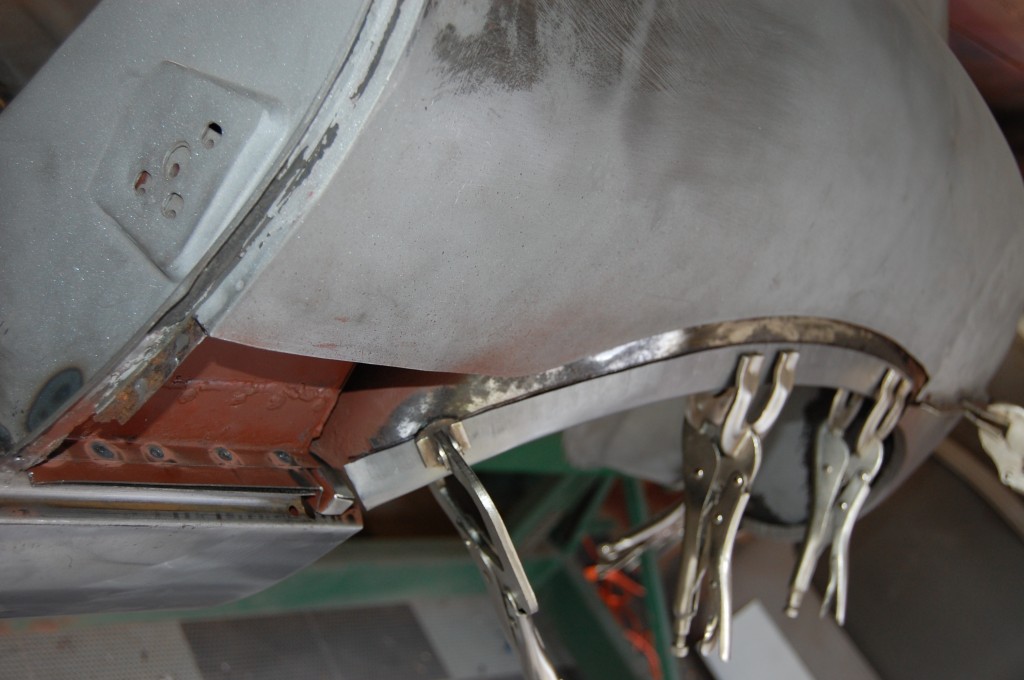
- The forward sectiuon shown here is where the fit is real tricky. That little patch panel at the bottom section of the inner B-post support is not the prettiest in the world, I’ll admit. That is because it is totally hidden and overlapped, plug welded, AND welded along the edge for strength. Anything prettier would have required much further dissection of the LH B-post, whcih we did not think was necessary or a wise way to spend the customer’s money…
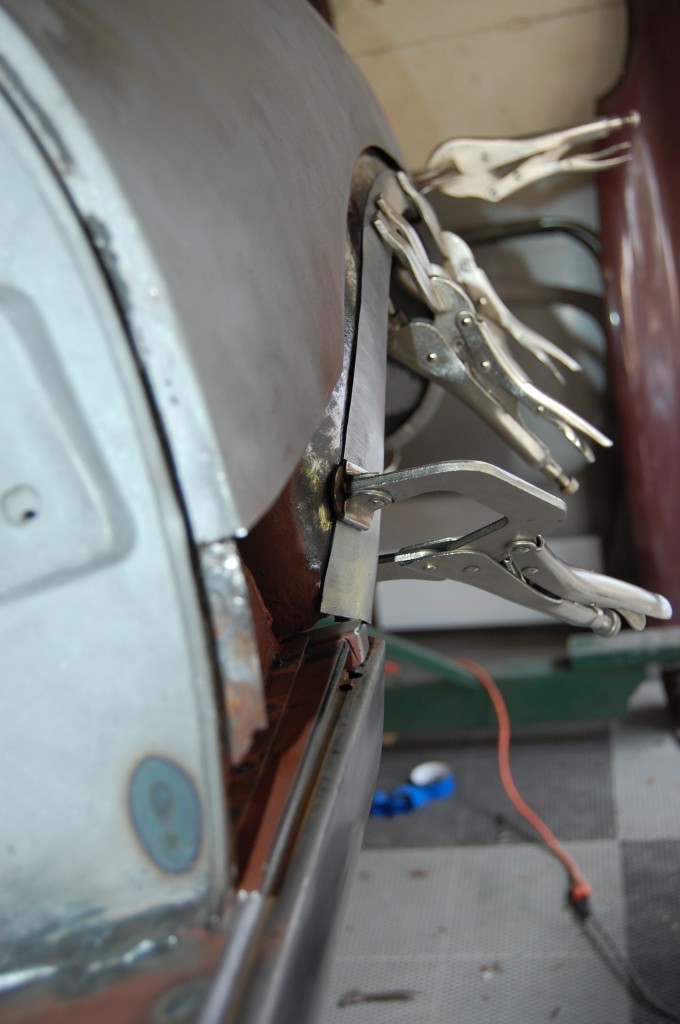
- It has to work in every dimension – including this one. Any errors here will cause fitment problems with the tires.
- All of the inner areas have been repaired and are ready for red oxide.
- Next, we drill the wing for the plug-welding holes.
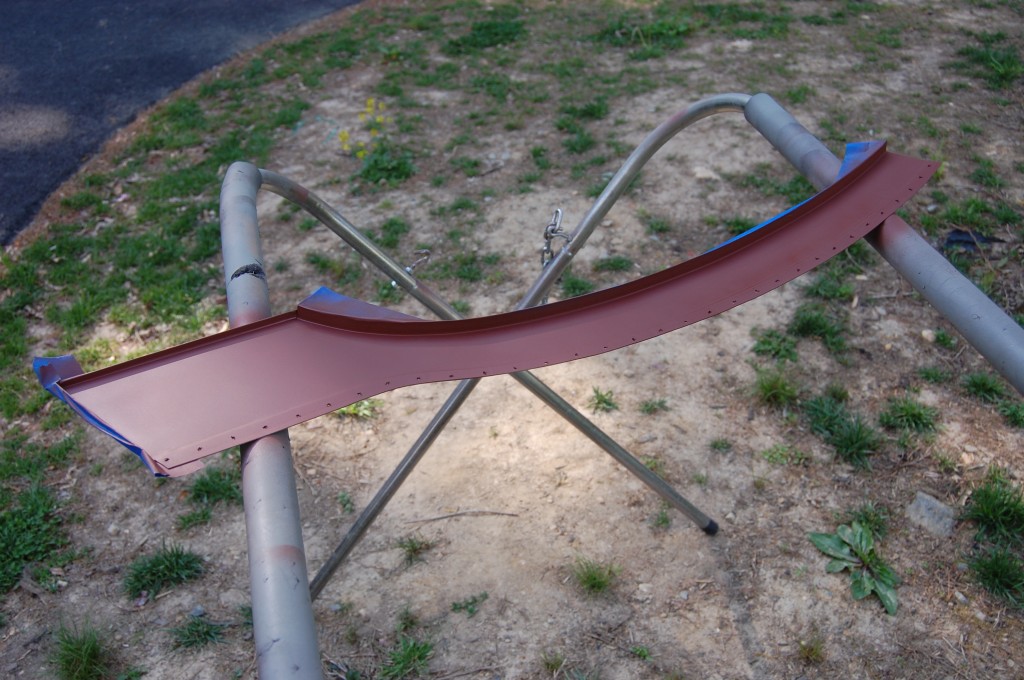
- Here is the patch – fitted and flanged, and coated with red oxide internally as well.
- The pieces are fitted up here, but not welded in yet.
- Here’s the other side – more of the same.
- Bondo just smushed right into the cancer – barbarians…
- Here, the new inner wheel-well is in place.
- Another shot of the new inner piece.
- And another…
- And another…
- This shot shows the piece being continued down into the lower portion of the rear of the wheelhouse.
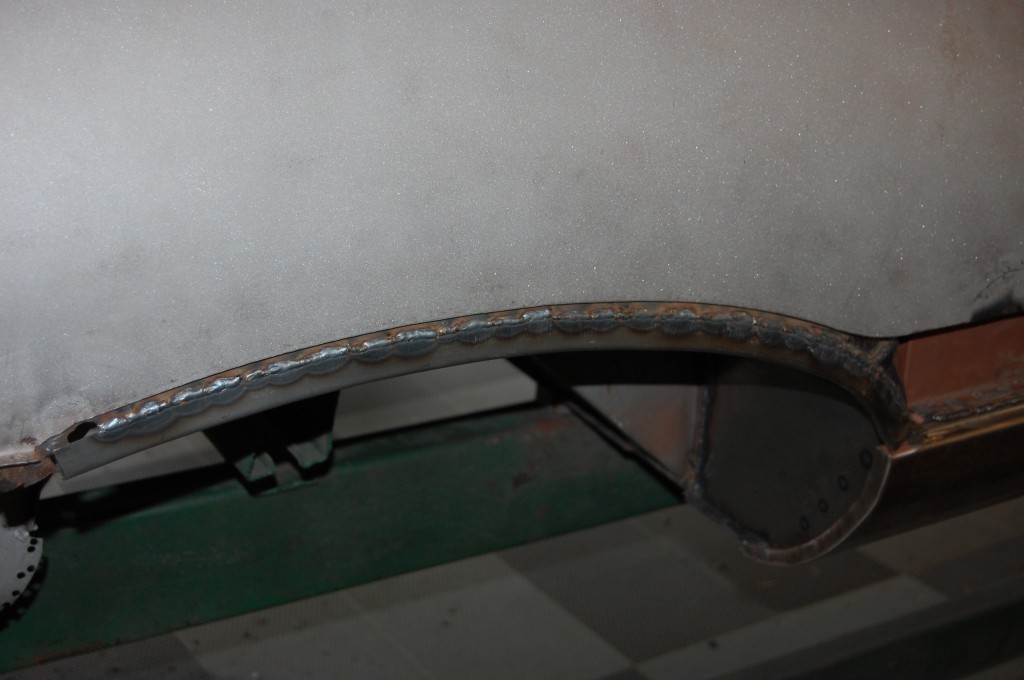
- The inner repair is finished now and the welds have been ground smooth. The weld is continuos so that the seam can be made waterproof when the car is completed – hopefully eliminating this problem in the future.
- Internally primed with red oxide. On this ide, we were able to make the repair panel for the wind very thin – minimizing the area to be filled and smoothed in the body shop.
- The new inner panels are in the perfect locations and the perfect shape – getting this right with all of those curves is VERY time consuming…
- The outer panels are also coated before being welded into the shell.
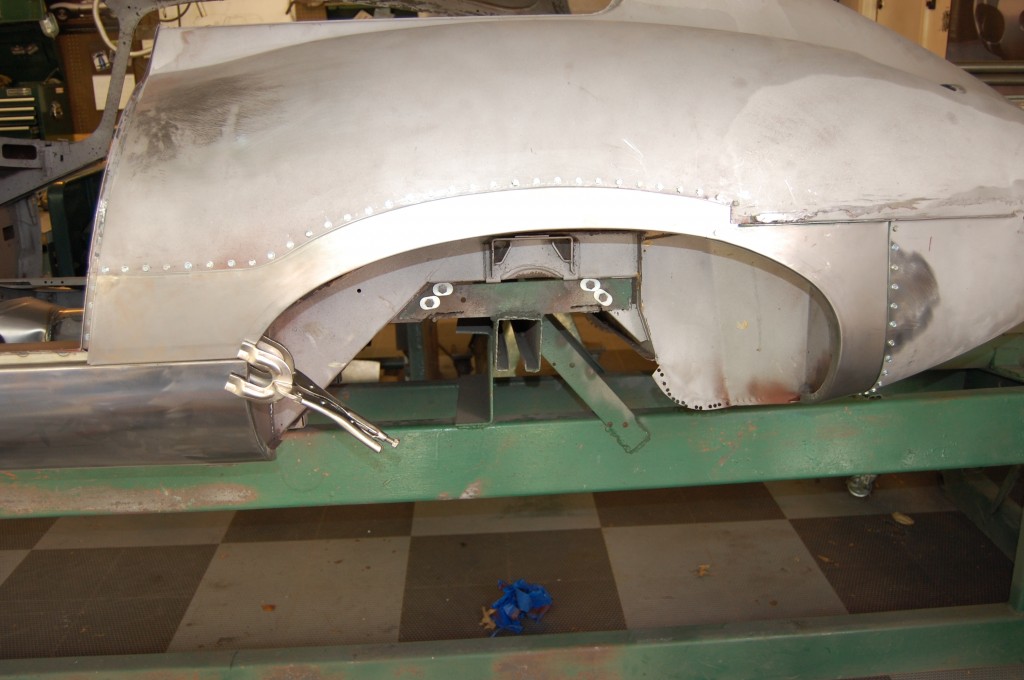
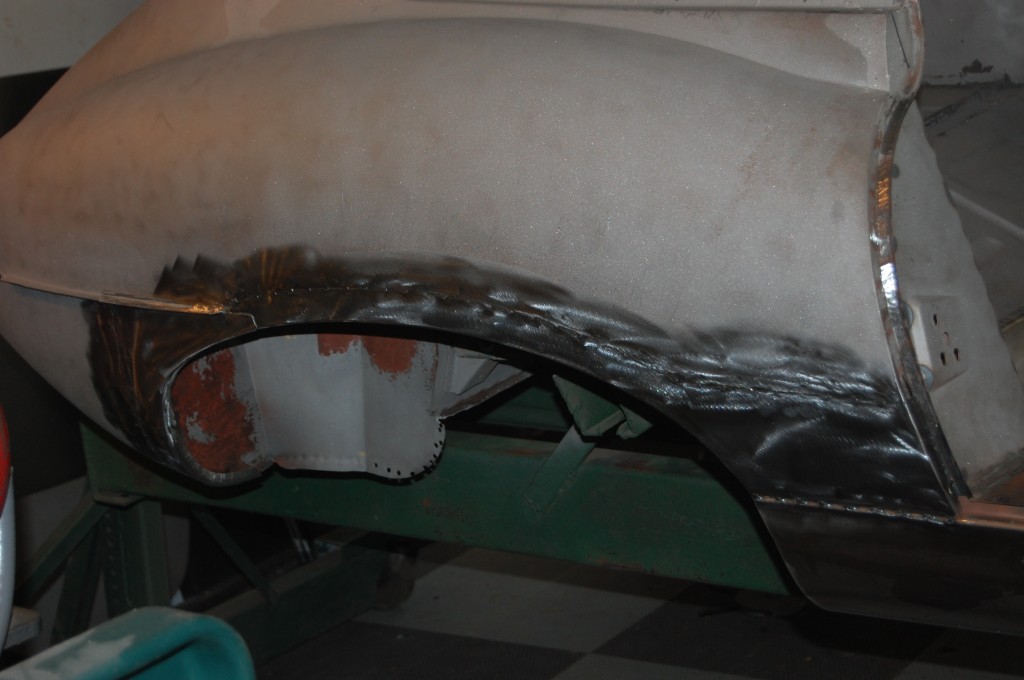
- The repair panels have now been welded into place and the welds ground smooth. Some minimal filler will be necessary here, but the flanged and plug-welded seam is extremely strong, and will not crack in the years to come. I have my doubts about a butt-welded seam here – especially the ones I see other shops grinding smooth – they are removing alot of metal to get that weld smooth and I really think it will cause issues down the line on an E-Type that is driven hard.
- Another shot – for all the pain and suffering, it is a solid repair that has allowed us to avoid the costly replacement of the entire wing – on both sides! As you can see in the photo above – 95% of the wing is original and un-molested with this approach.

