The ’63 coupe came in with 2 complete bonnets, 2 pairs of doors, and two rear hatches. The owner was able to find the extra bonnet and doors inside of a box truck in a junkyard near their home, along with some other pieces like the console, etc. They purchased the whole 9 yards and added it to their project pile – knowing that their existing bonnet was pretty bad. What saddens me about that story is that the pile of parts was obviously what remained of a parted out E-Type, and though I asked, they said the shell was no-where to be found…
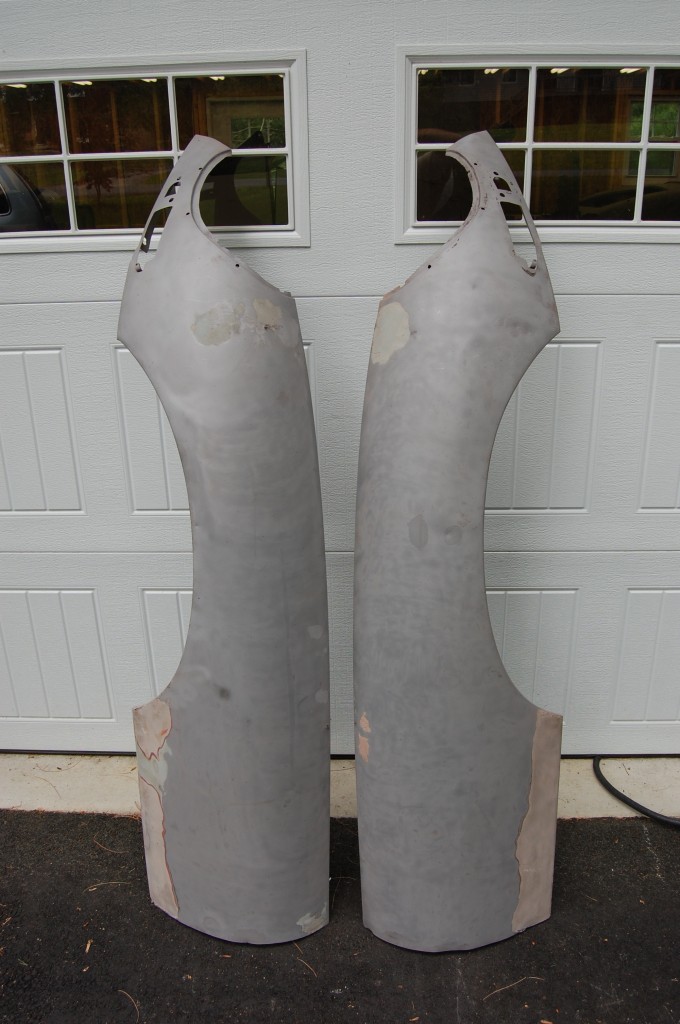
So while we had two of everything to build this bonnet, all 4 wings were really hurting. I finally decided what I thought were the best two – the two wings from the gold bonnet, and had them blasted down bare inside and out. After looking at them bare, I stuck them upstairs for a month before diving in – these are rough!
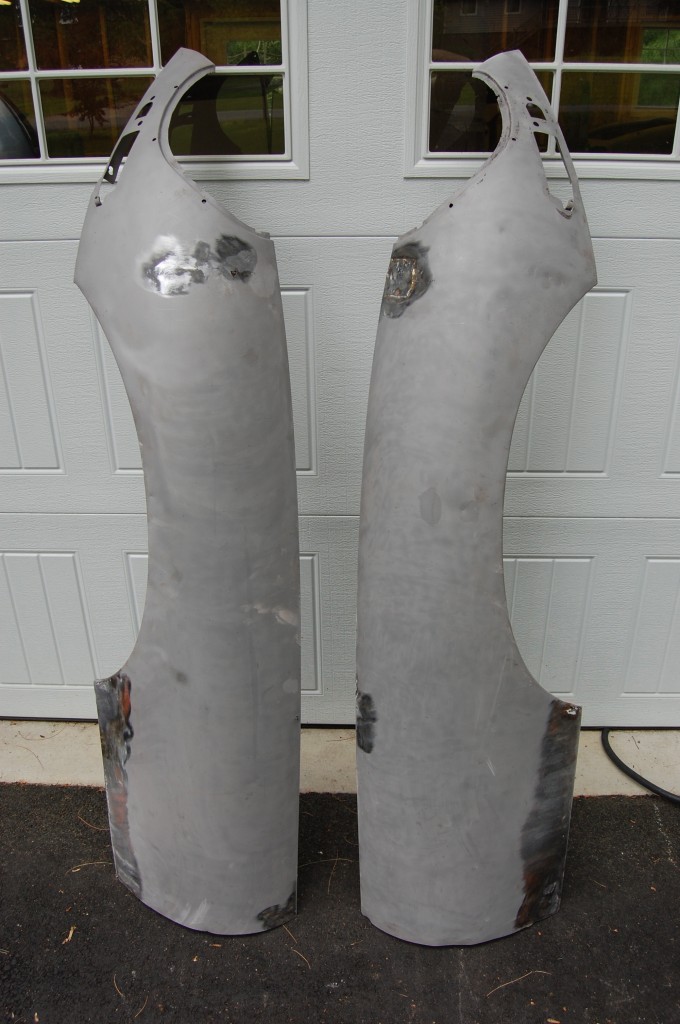
The trick with something this bad is not whether we can fix it as much as HOW LONG will that take? We can fix just about anything, but sometimes the amount of hours gets so high that it really makes more sense to replace the panel. In this case, after consulting with the customer, we decided to just go for it. Here are some shots of the initial repairs in the forward areas. I started with the worst areas in order to make sure I could make something out of that area before putting any more time into the wings.
It turned out well, and we will move forward.
- These wings are straight, but rust has taken it’s toll, and worse, so has a previous “bodger”…
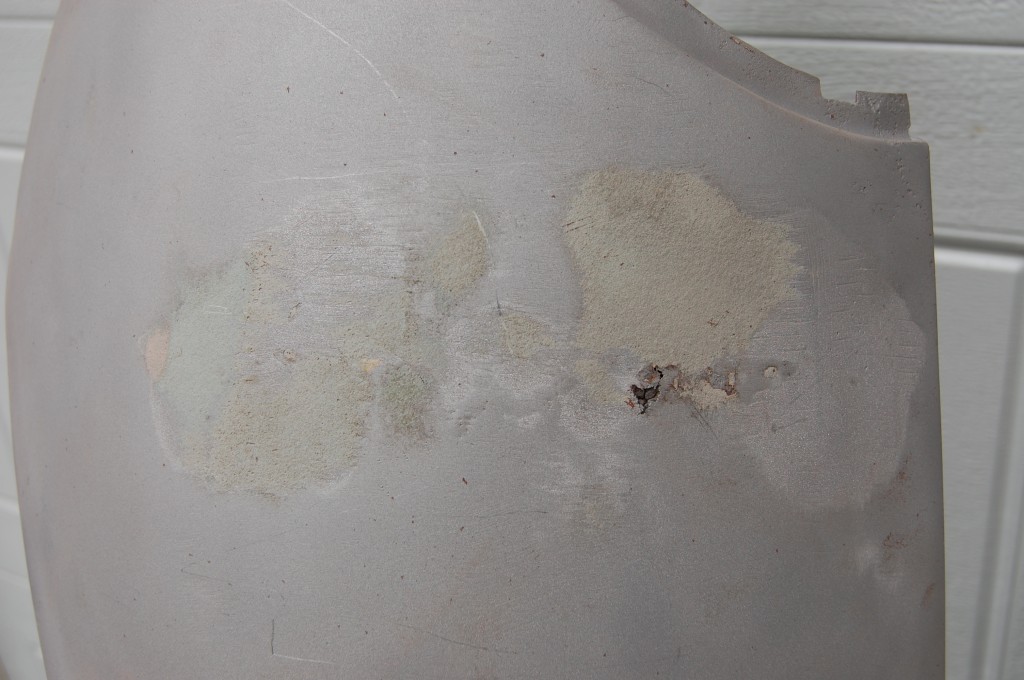
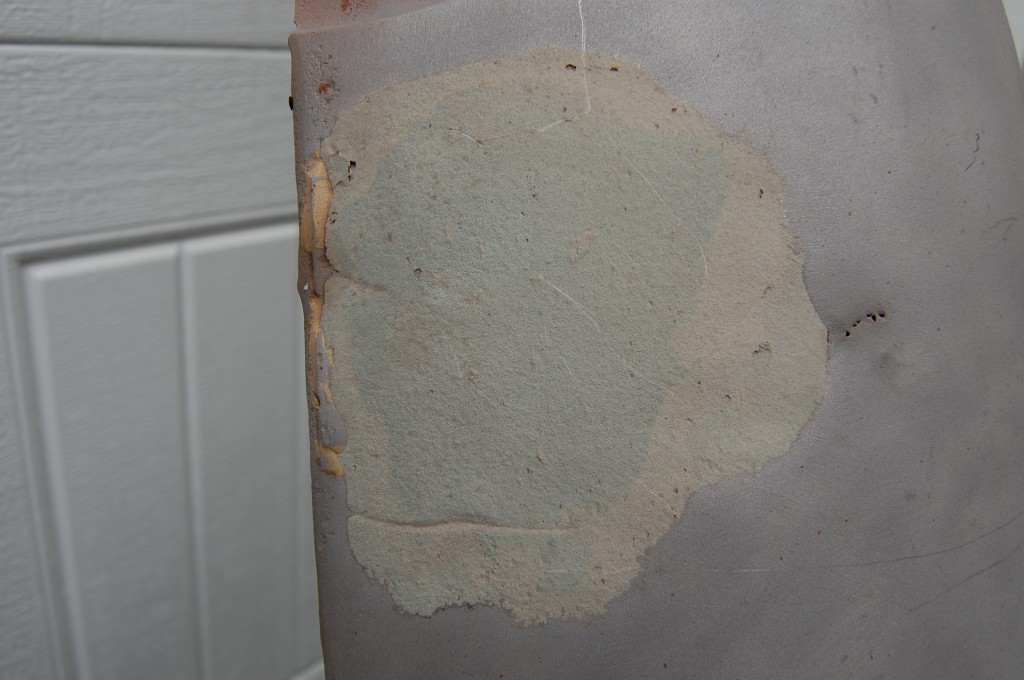
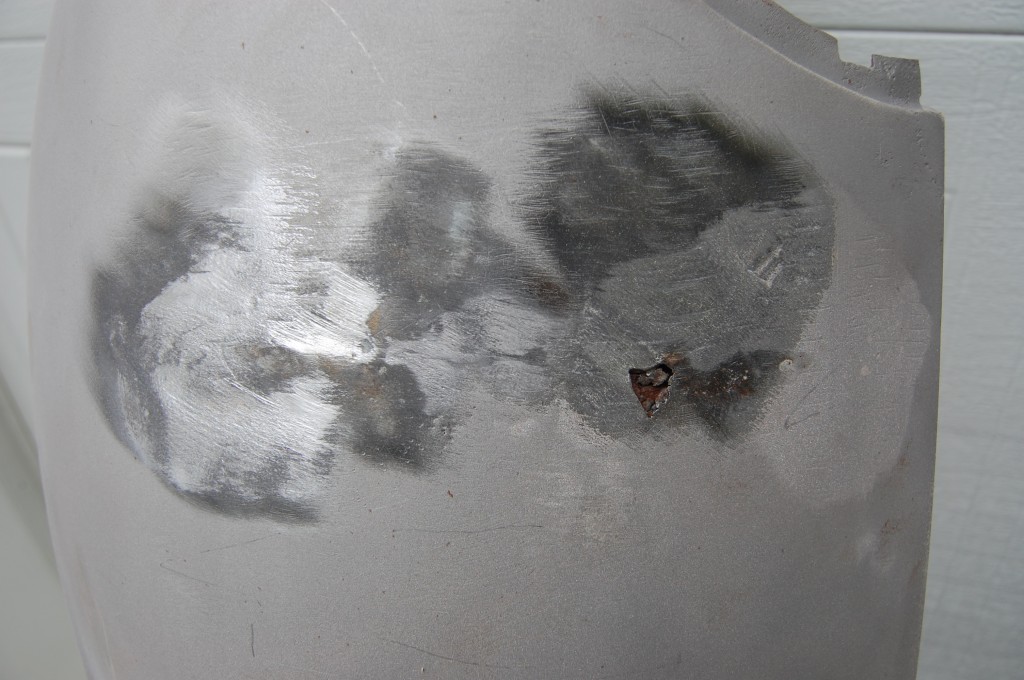
- Bondo, Lead, and Rust – oh my…
- Is that brazing peeking out from under this ancient bondo? Lovely…
- We stripped out the p[lastic filler first.
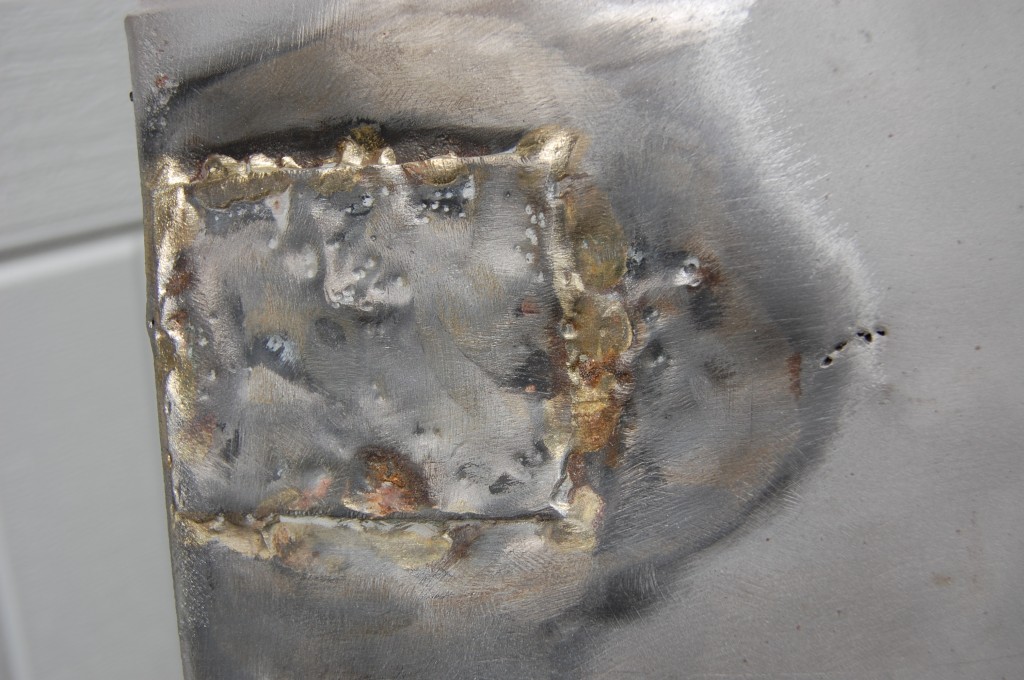
- Here is the one side – the use of lead just compounds the problem as we will need to melt and scrape ALL of that out so it does not interfere with the welding.
- AAAAGGGGHHHHHH!!!!!!!!!!!!!!!!!!
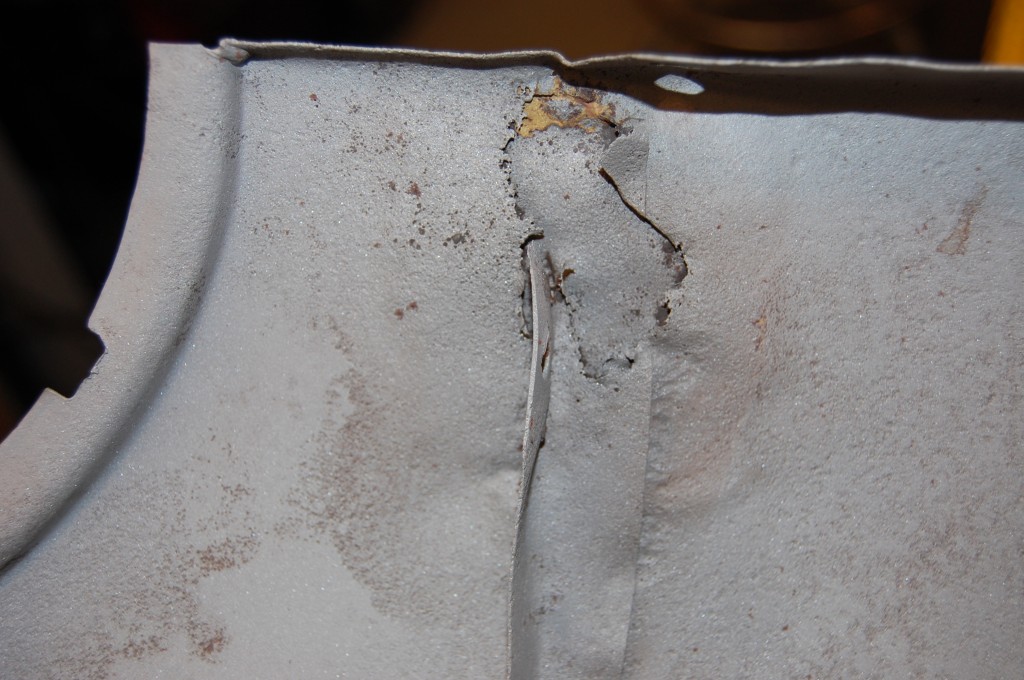
- The backside of the photo above. AAAAAAGGGGHHHHHH!!!!!!!!!!
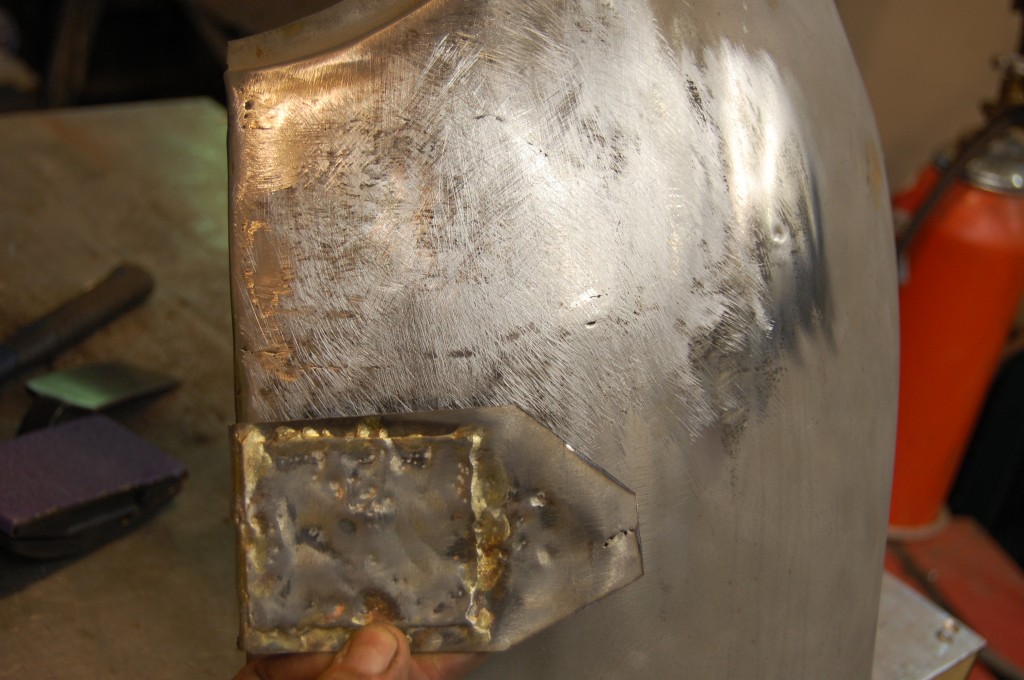
- First we wheeled up a piece in the English Wheel to match the compound curvature of this area.
- This shot attempts to show some of that curvature.
- The piece was them marked and cut, the edge folded over, and then tacked into place.
- Next we TIG in the piece, always trying to keep heat to a minimum.
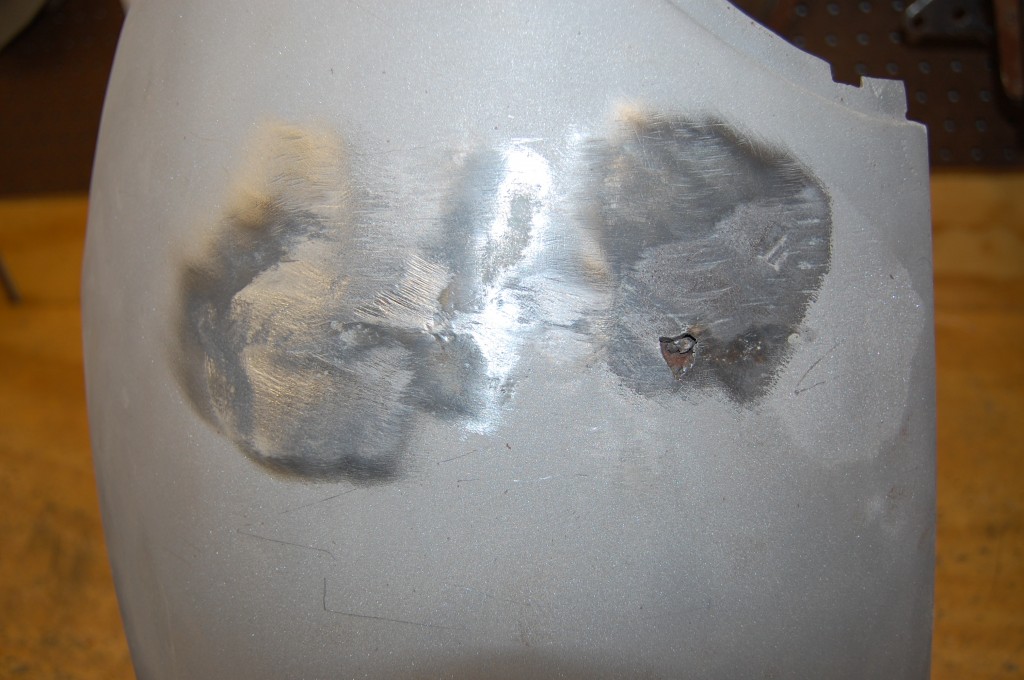
- Skip a few steps and here is the finished repair – virtually seamless, and needing only minimal if any filling with block-sanded primer.
- I’d say that is a marked improvement!
- Time to tackle the other side.
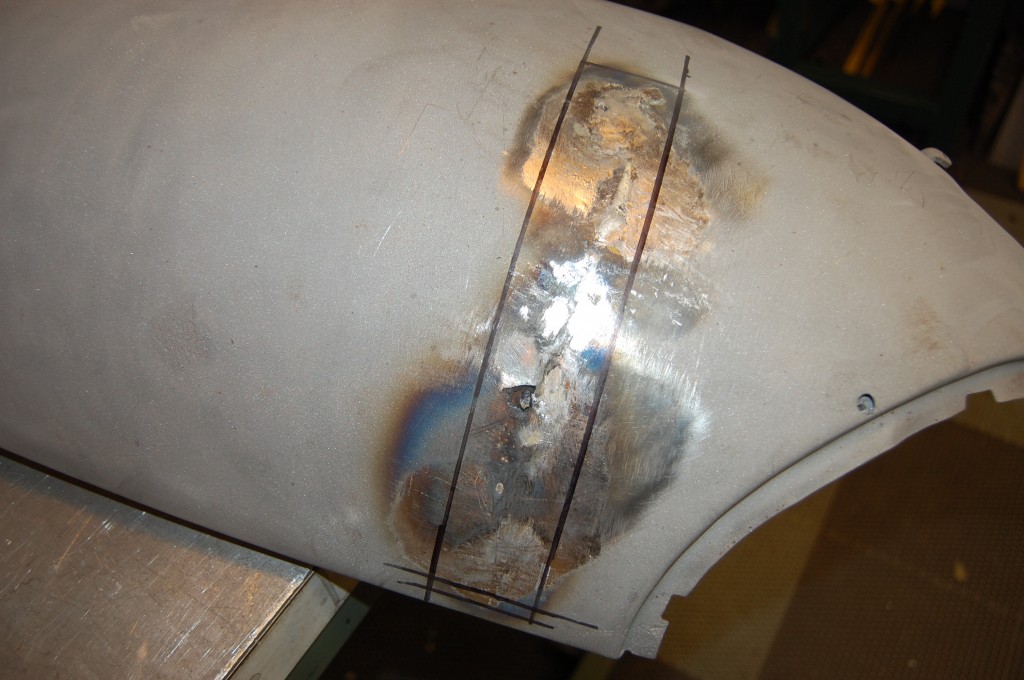
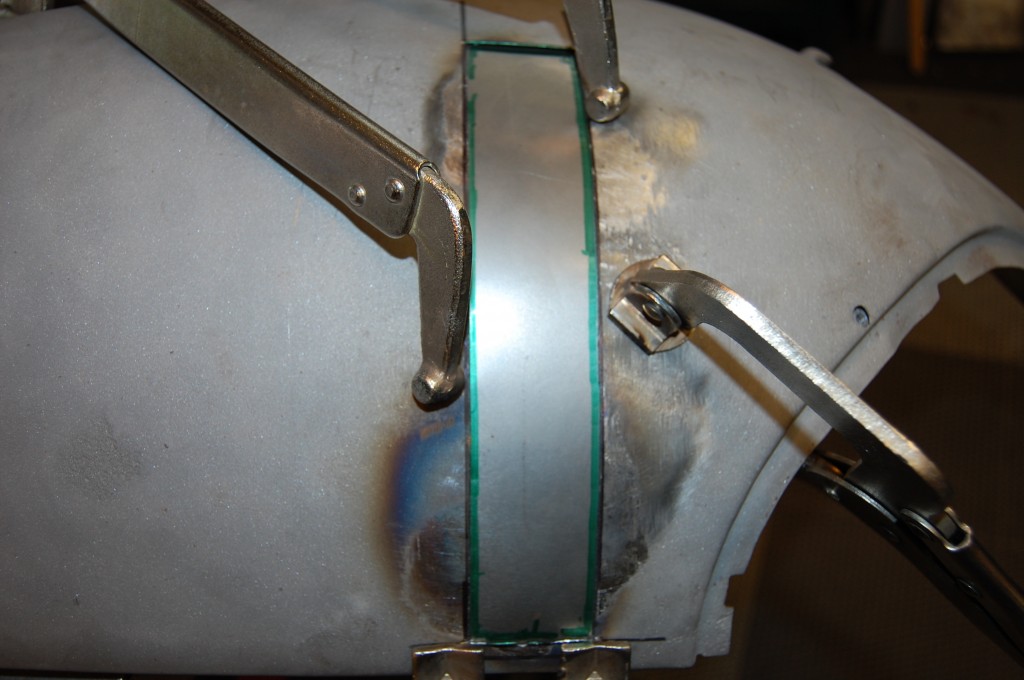
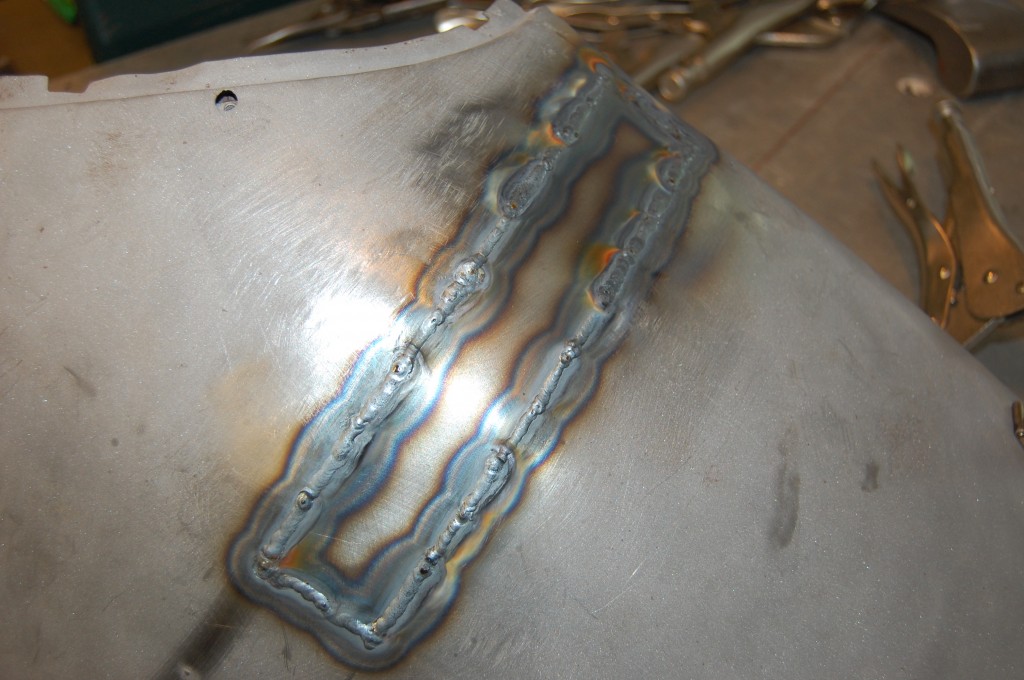
- First we mark out a patch of destruction – this shape and location will allow us to use a flat strip for the repair and then planish in any minimal curvature in the end.
- This shot shows how the patch follows a different path than the inner flange, which keeps the patch in a flatter area – although there was still some curve, but following the flange was going to be alot more…
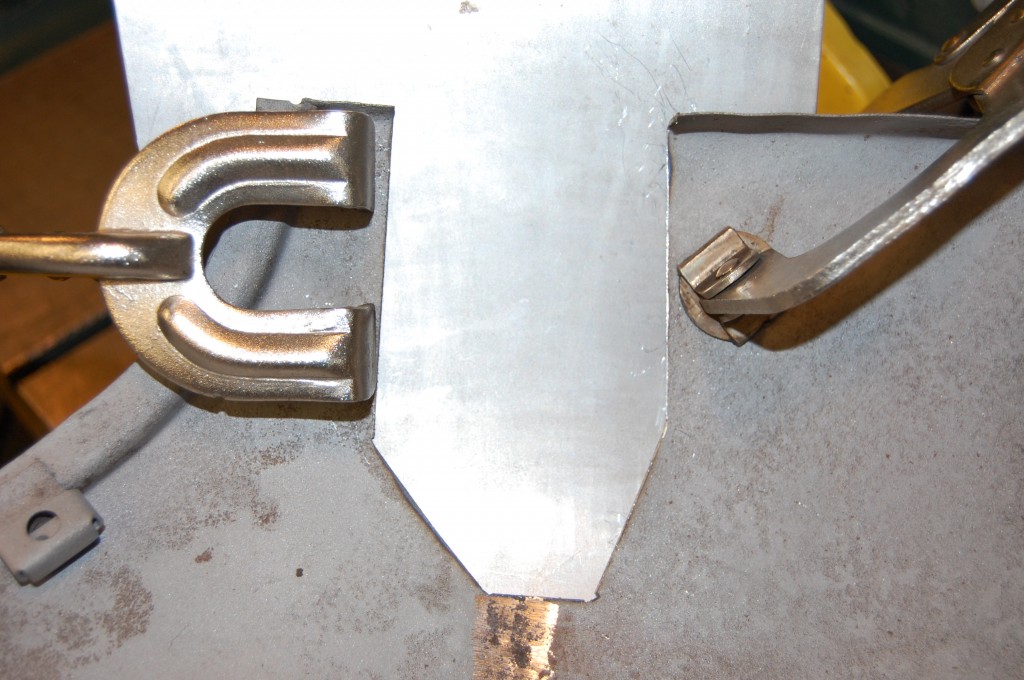
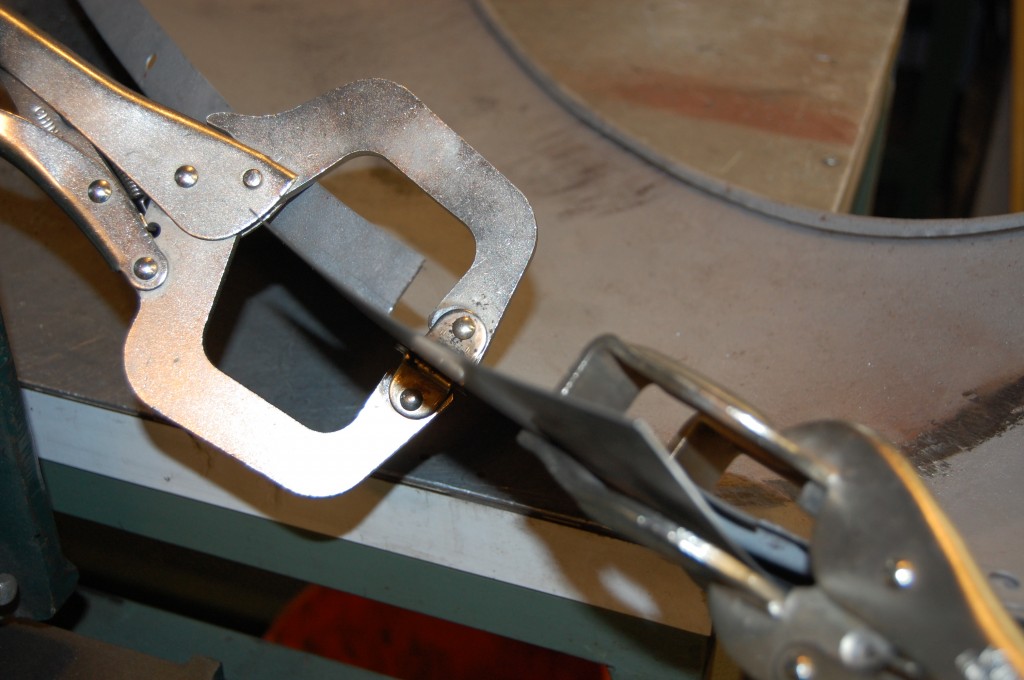
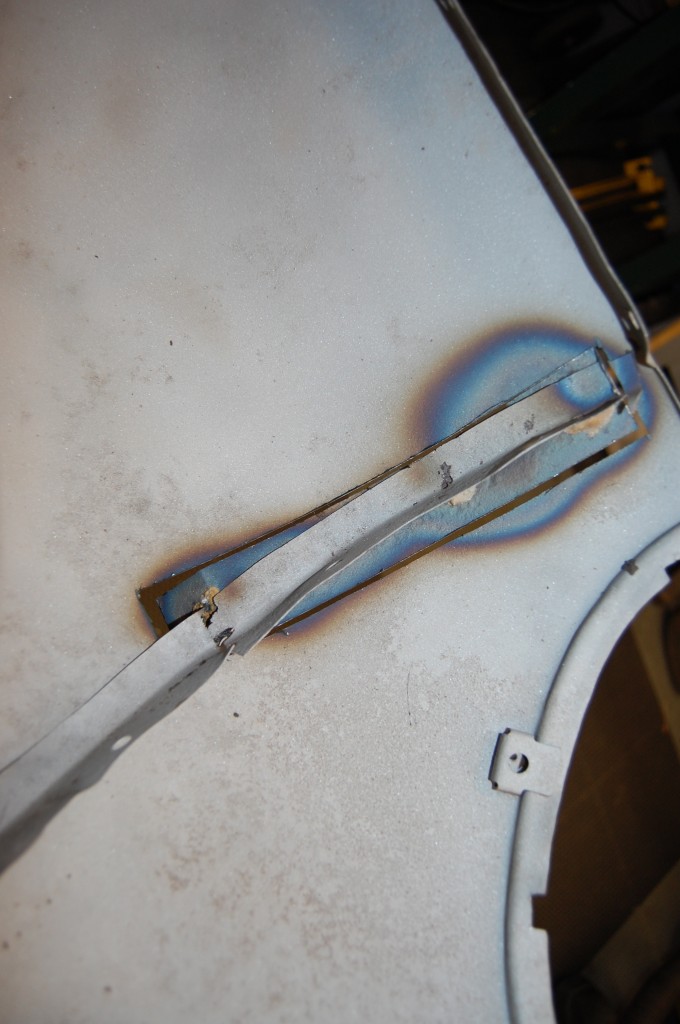
- Next we lay a strip in underneath and then mark it for trimming.
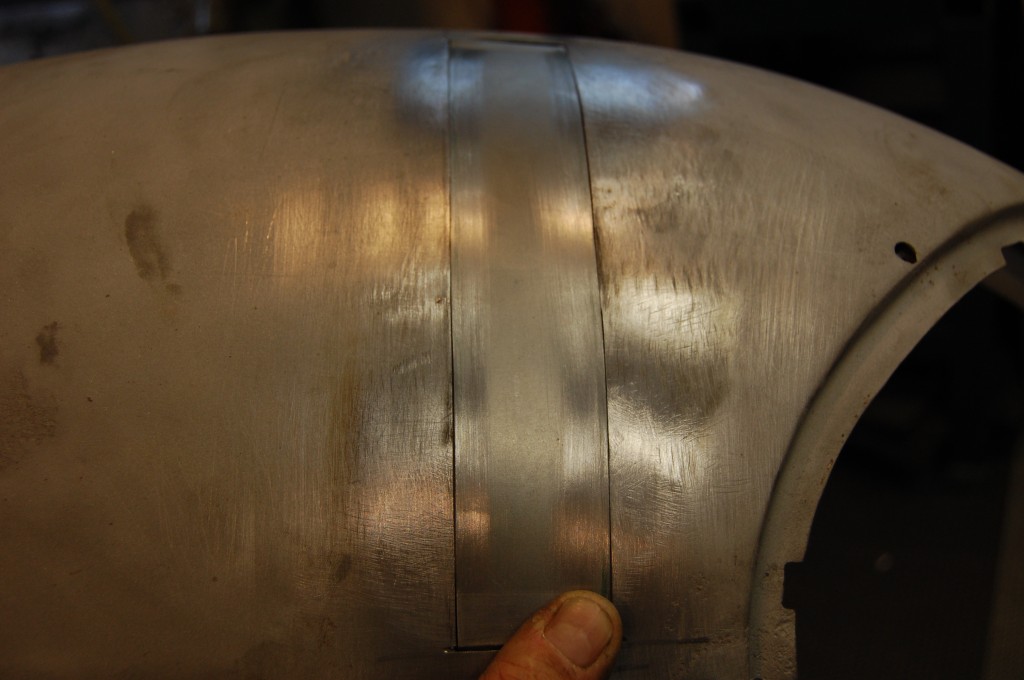
- Fit is KEY to making this work. You can’t spend enough time in this phase – it needs to be dead-on or you are going to get into big trouble in the welding phase.
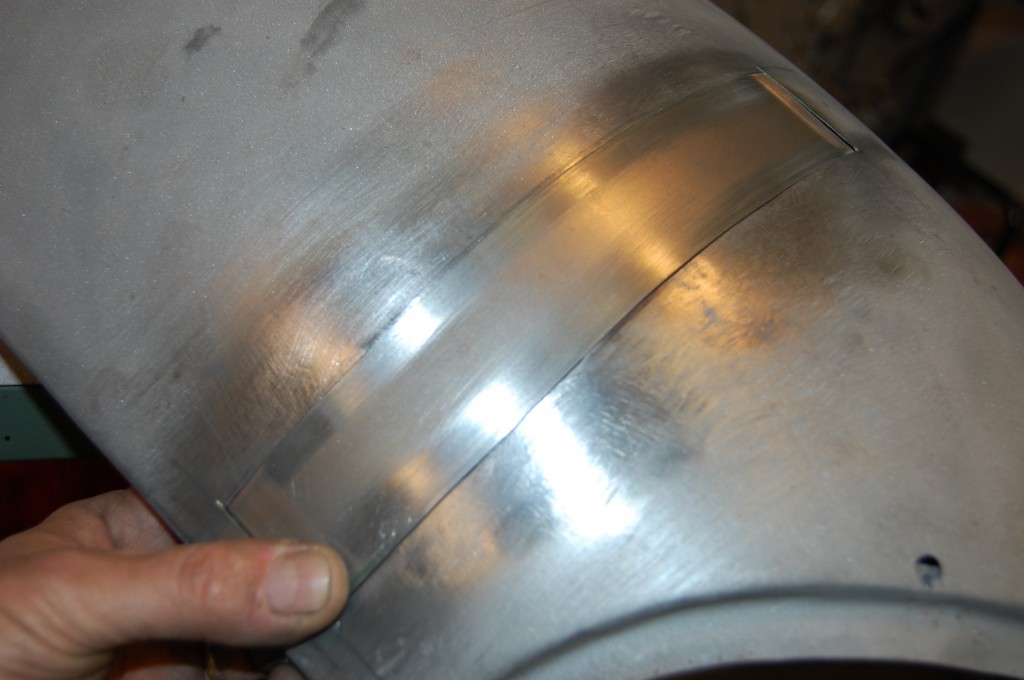
- The piece should fit PERFECTLY without being forced into place. You can see that this one does because I am holding it with just the one hand – the other hand is holding the camera!
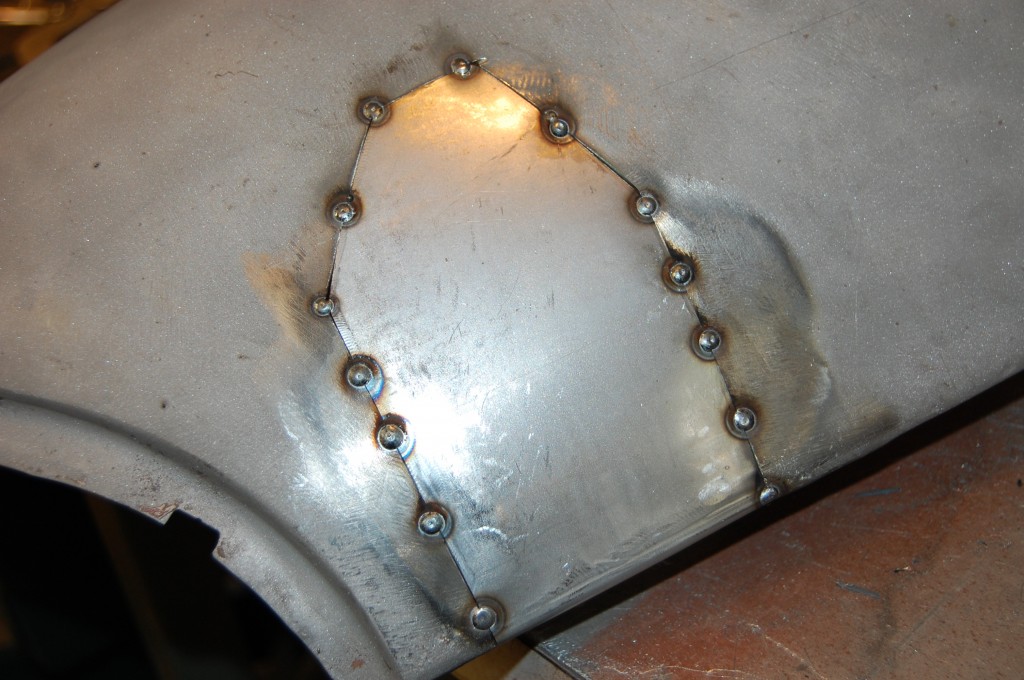
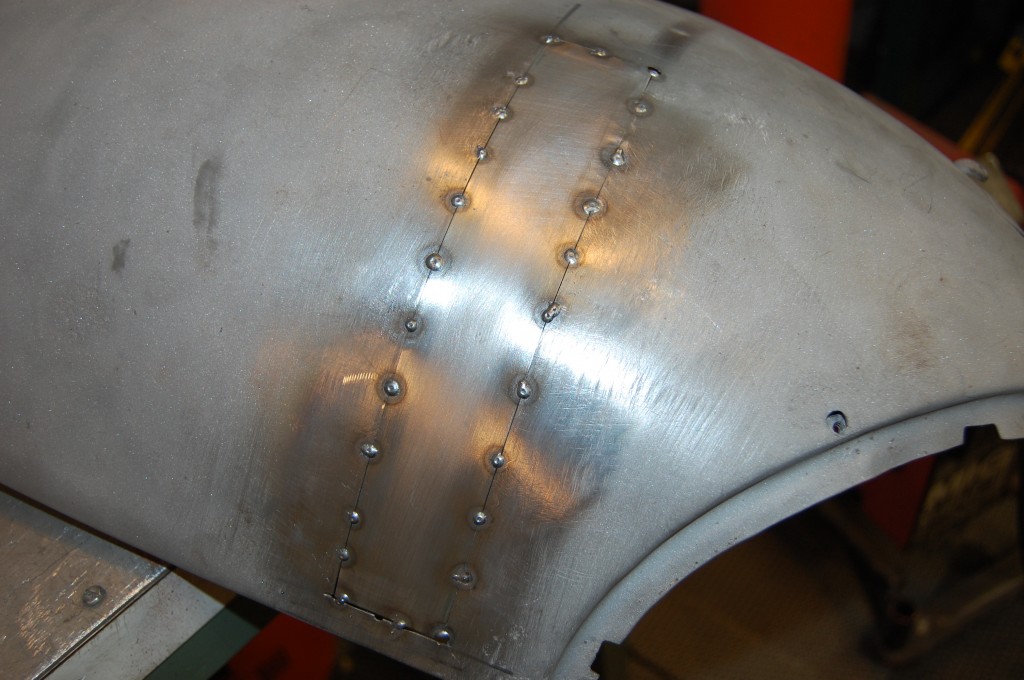
- Now it is tacked into place. This is actually the toughest step – as you tack, the piece gets pushed and pulled and you have to go about this carefully and methodically to keep the piece aligned.
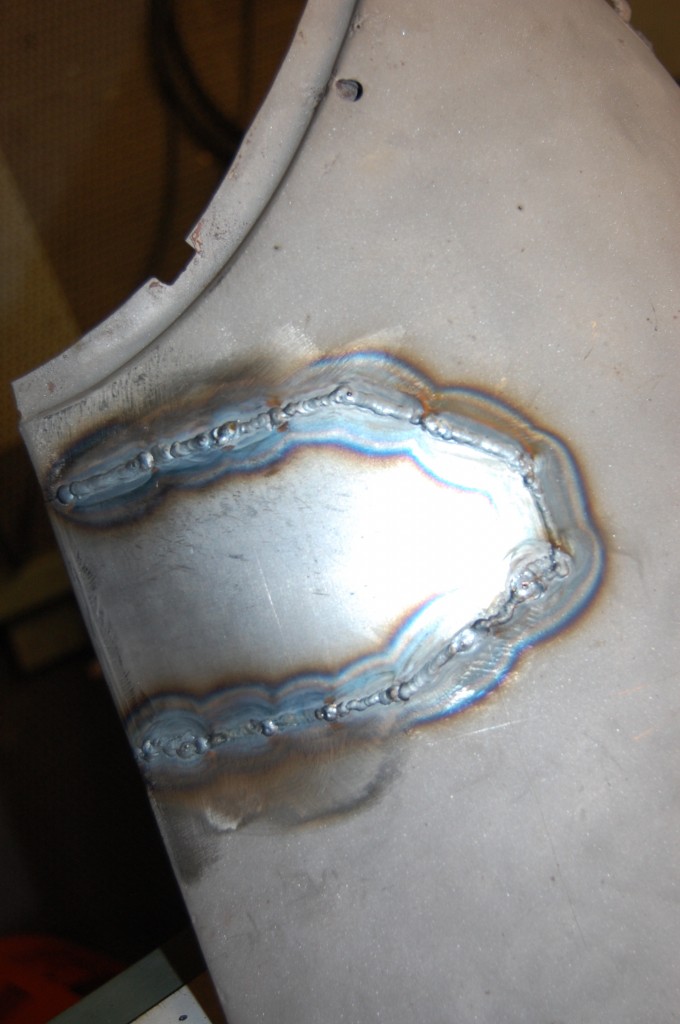
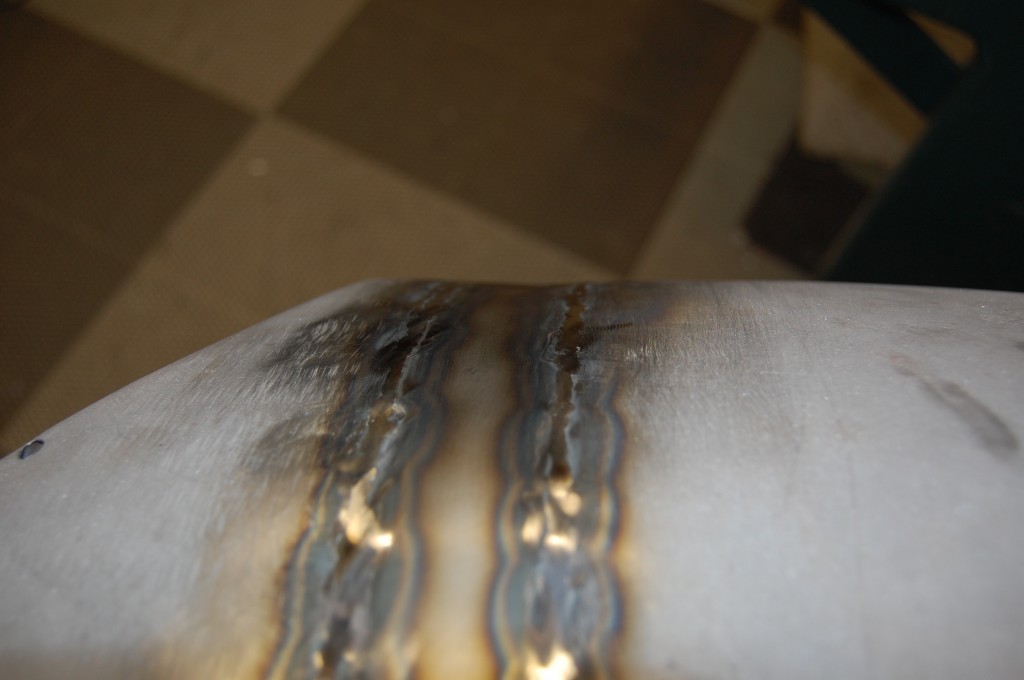
- Next, TIG the entire seam with as little amperage and filler rod as possible.
- Even then, the welding will shrink and warp the metal – there is no way around that. This is where good metal-shaping and planishing skills come in.
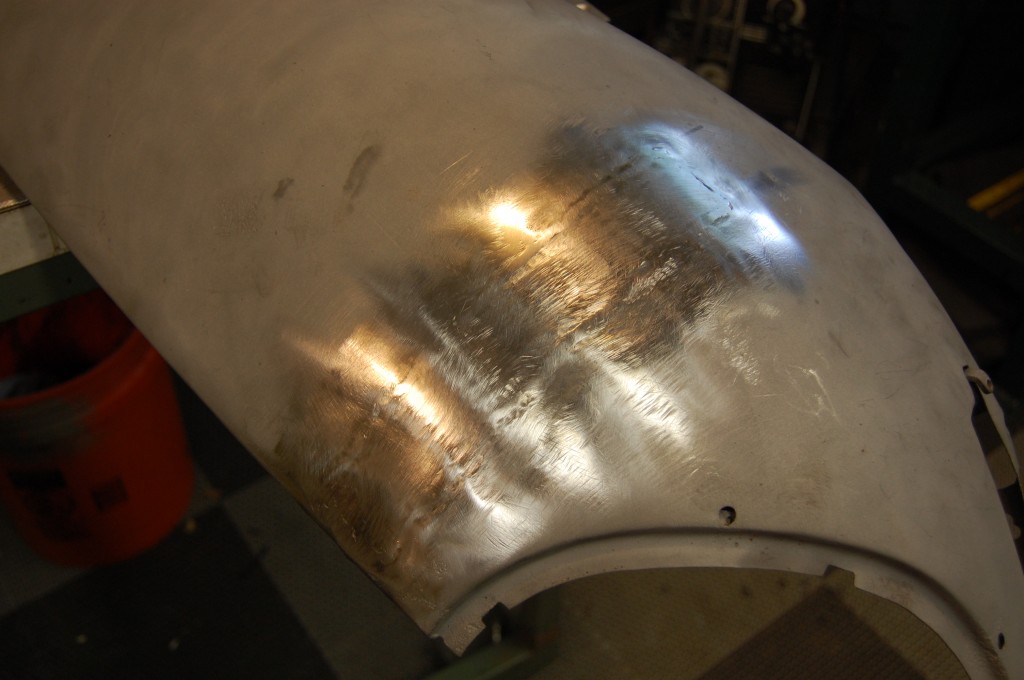
- Next the area is stretched back, shaped, slapped, etc. until the factory shape is back.
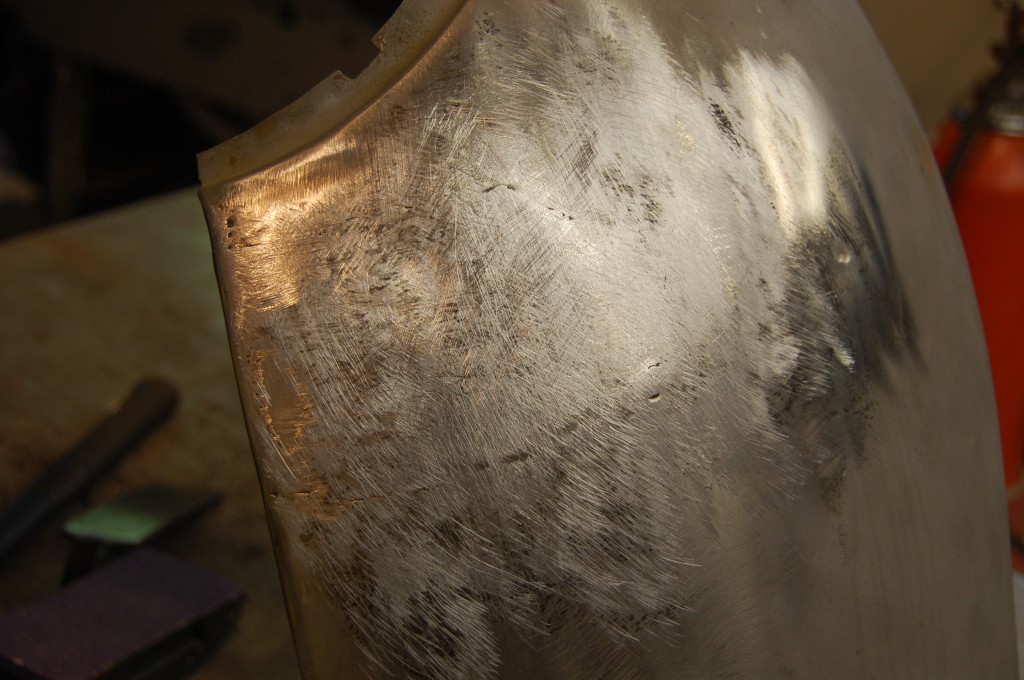
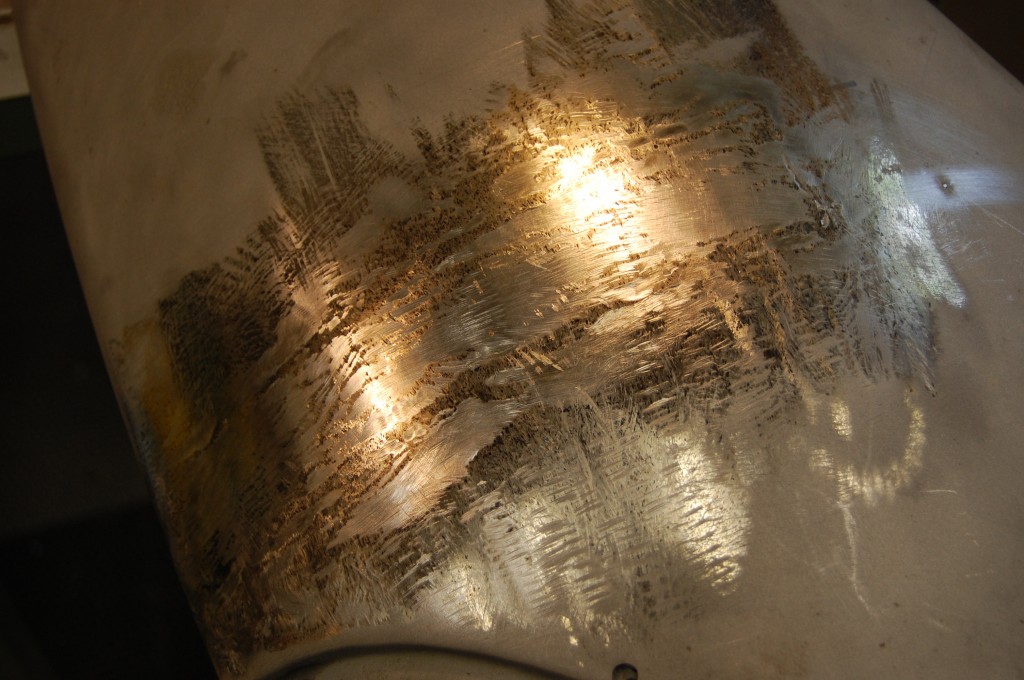
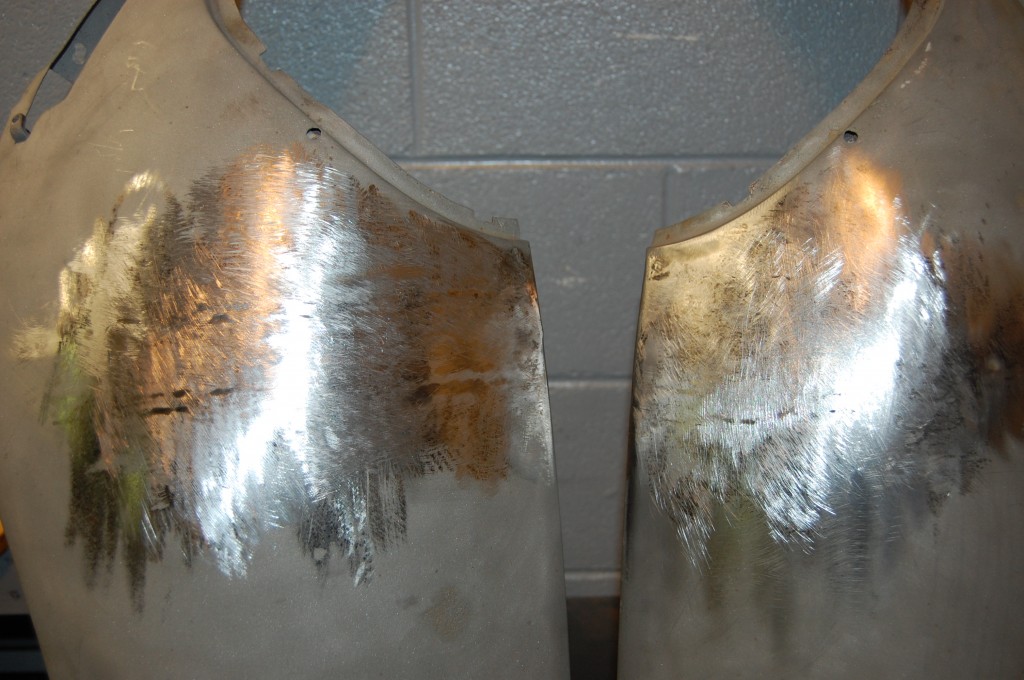
- Then the shrinking process smoothes the surface. This shot shows the “ghost images” of the weld seam and repaired areas, but as you can see from the reflection of the overhead lights, the surface is smooth.
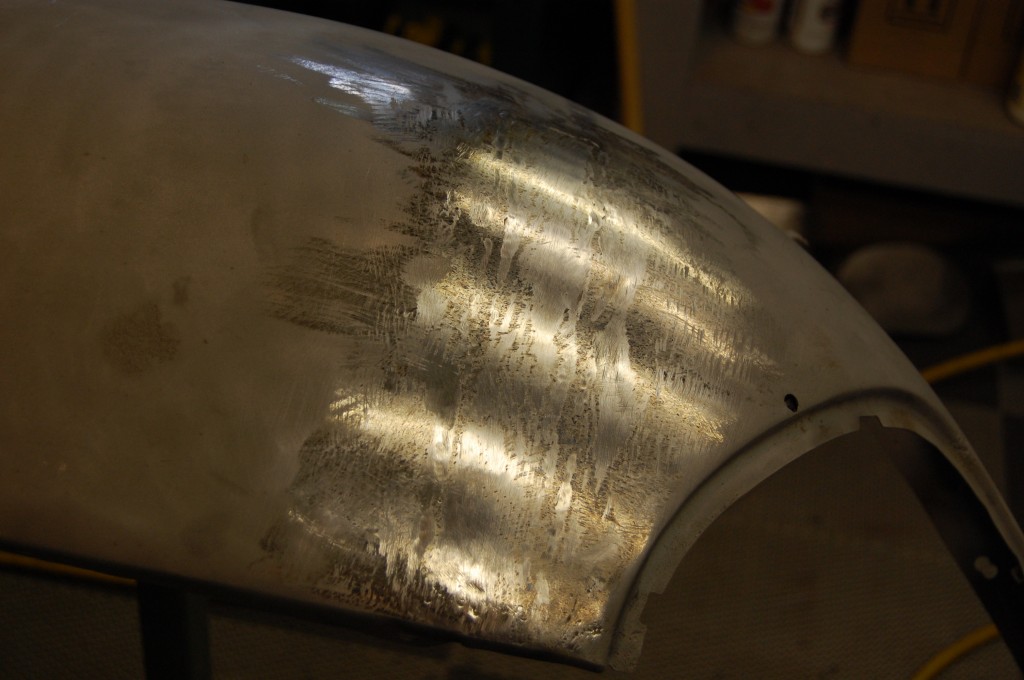
- Another shot of the “ghost images” – there are imperfections here, but they are single thousandths of an inch, and the primer layers will handle them. When this repair is primed, you won’t even be able to see it with your eyes. One thing I want to point out here is that by hitting this with a 50 or 60-grit disc on a DA sander, we can make this area look PERFECT in these photos, and other shops do just that. That REMOVES METAL – plain and simple, and creates thin areas that can come back to haunt you later – I don’t do it and I don’t reccomend it…
- Well, the two worst areas on these wings are now as good as new, so we will proceed to the problems in the rear of the wings, and soon these “junkyard wings” will be back on a road-going E-Type!

