We do ALOT of these, and have it down to a real science.
This is the one for the ’63 coupe currently in the rotisserie. The car came in with two bonnets – neither of which was original to the car. There was a red 3.8 bonnet that was on the car, that was originally white instead of the car’s original color of British Racing Green (actually Opalescent Dark Green, which I personally think is a BAD choice for BRG – I do not believe BRG should be metallic…). The other bonnet was a gold 3.8 bonnet that the customer had purchased at a locak junkyard along with two gold doors and a gold hatch.
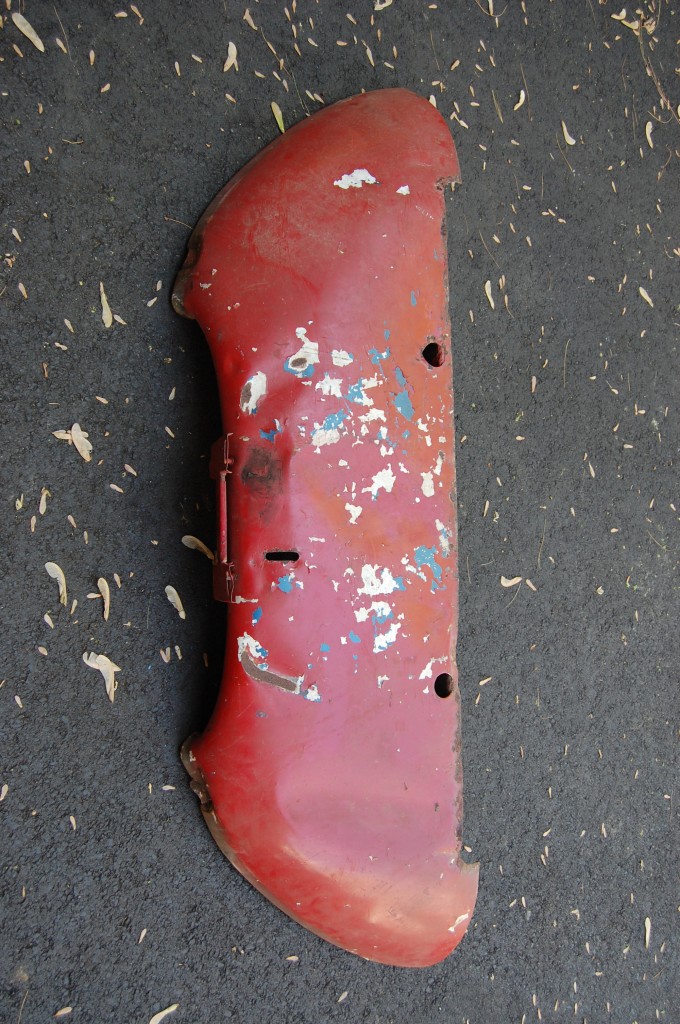
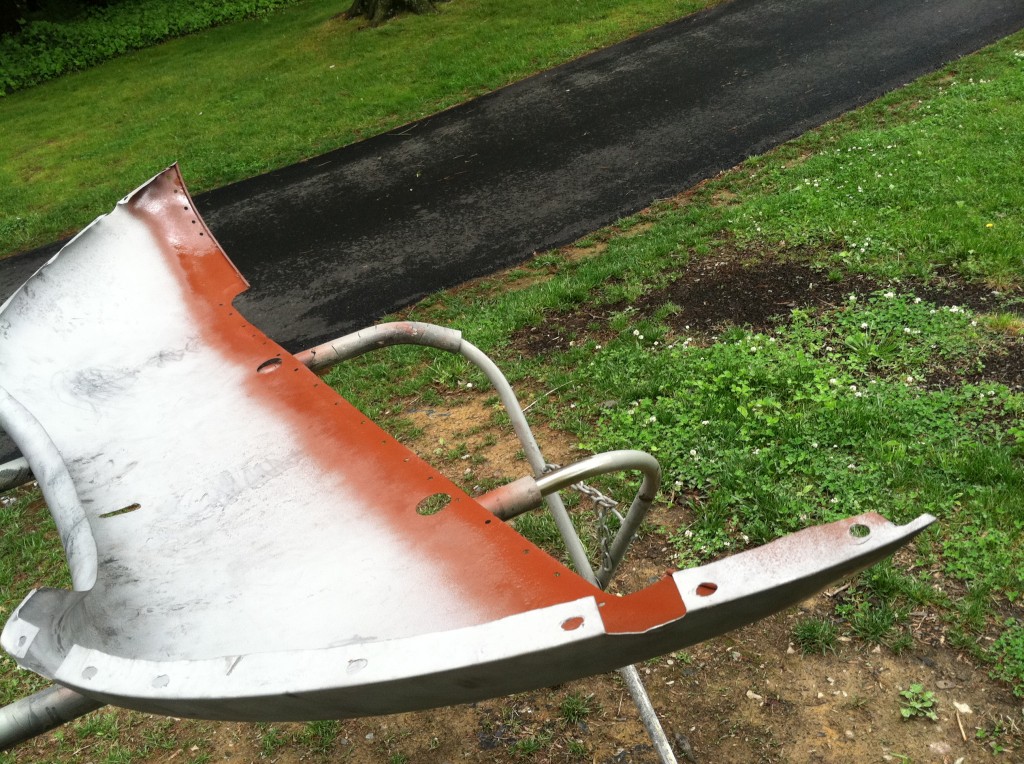
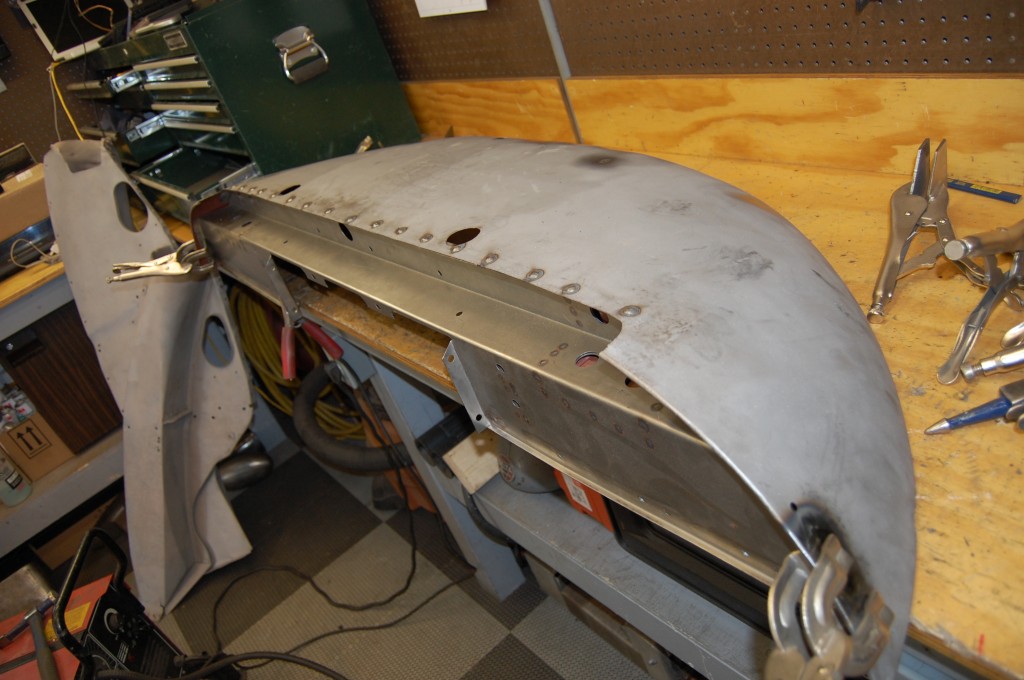
The red bonnet was really bad, and in every case the pieces of the gold bonnet were better (although not by much…), but strangely, the one piece that was better on the red bonnet was the lower valance. Here it is being restored and fitted with one of our new support members.
- Red, White, and Blue…
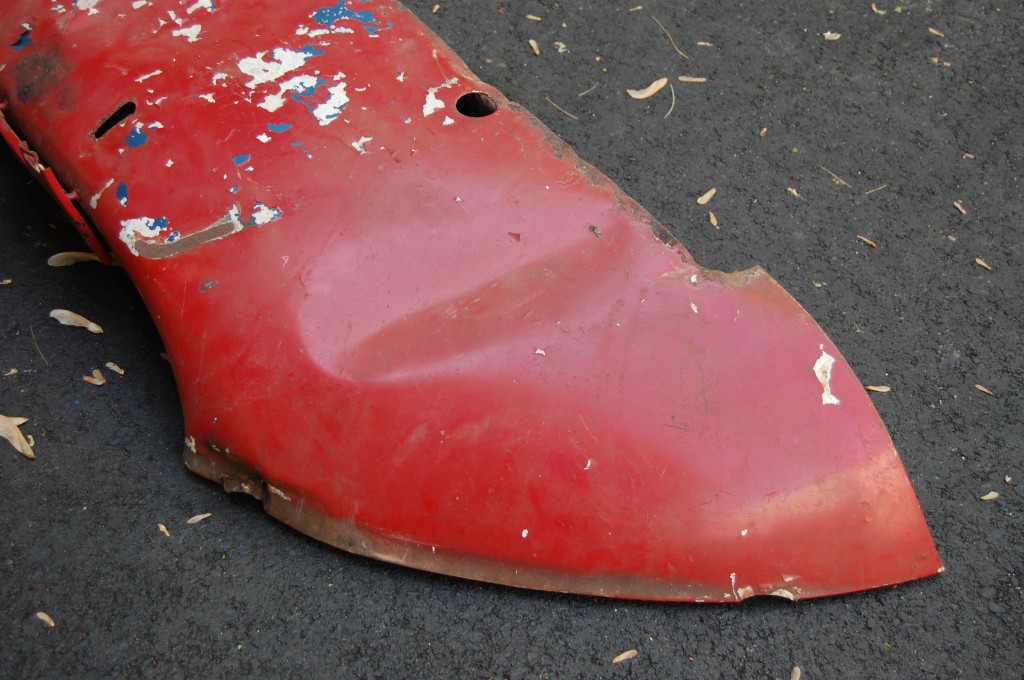
- That’s a big one, and it looks like it was “post-mortem” – after the car was off the road – as there are no scrtaches in the paint to match a parking block – the lower valance’s usual nemesis…
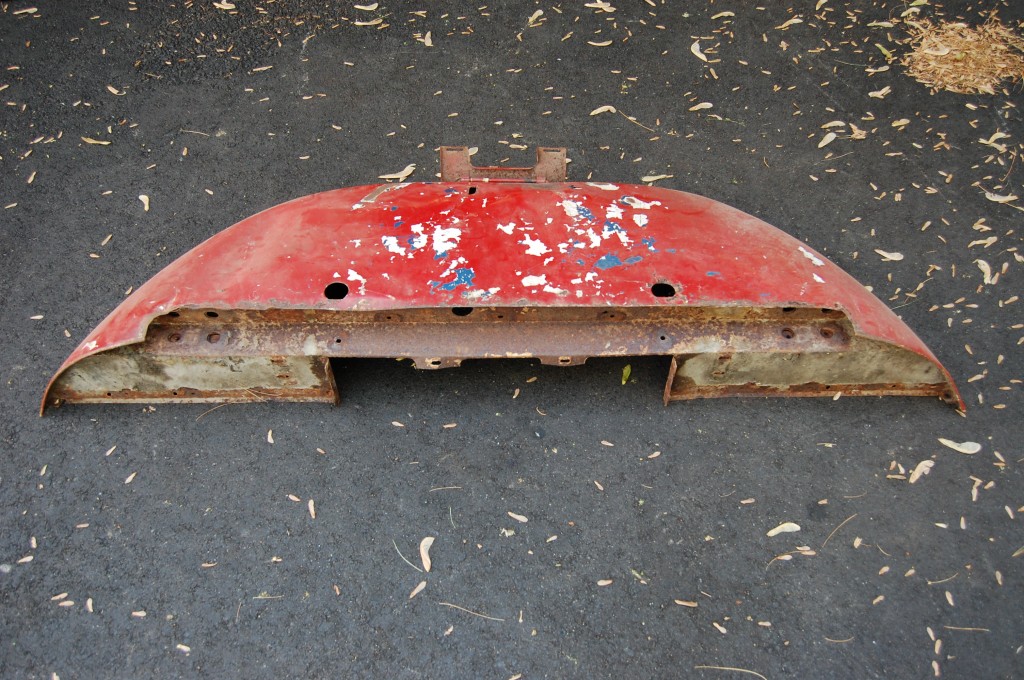
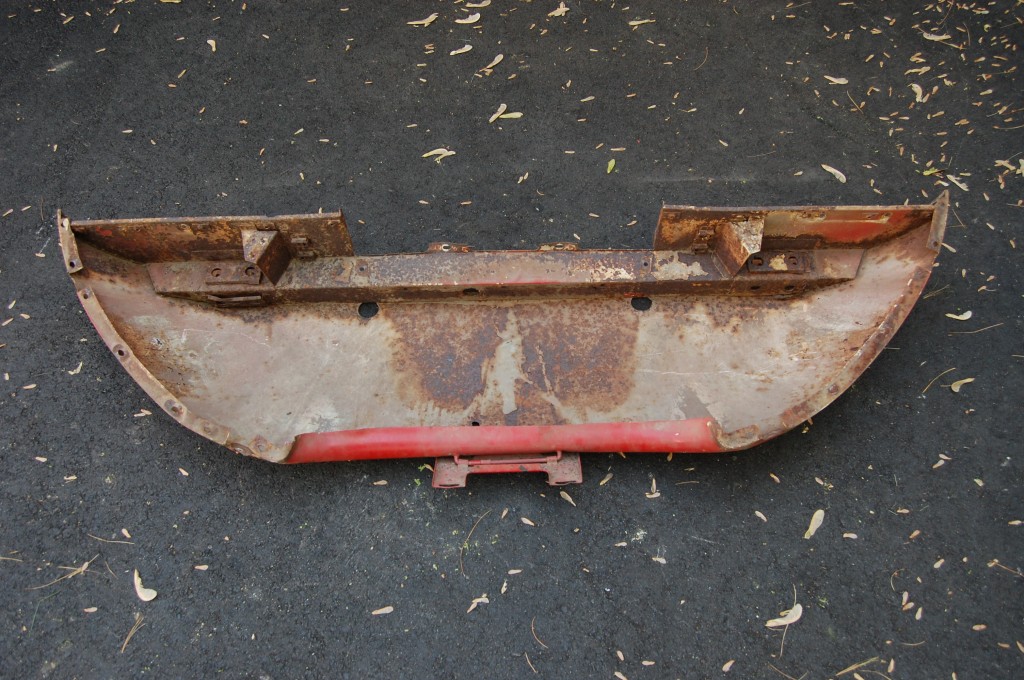
- The support member and caged plates are toast.
- And lots of scaly surface rust on the inside.
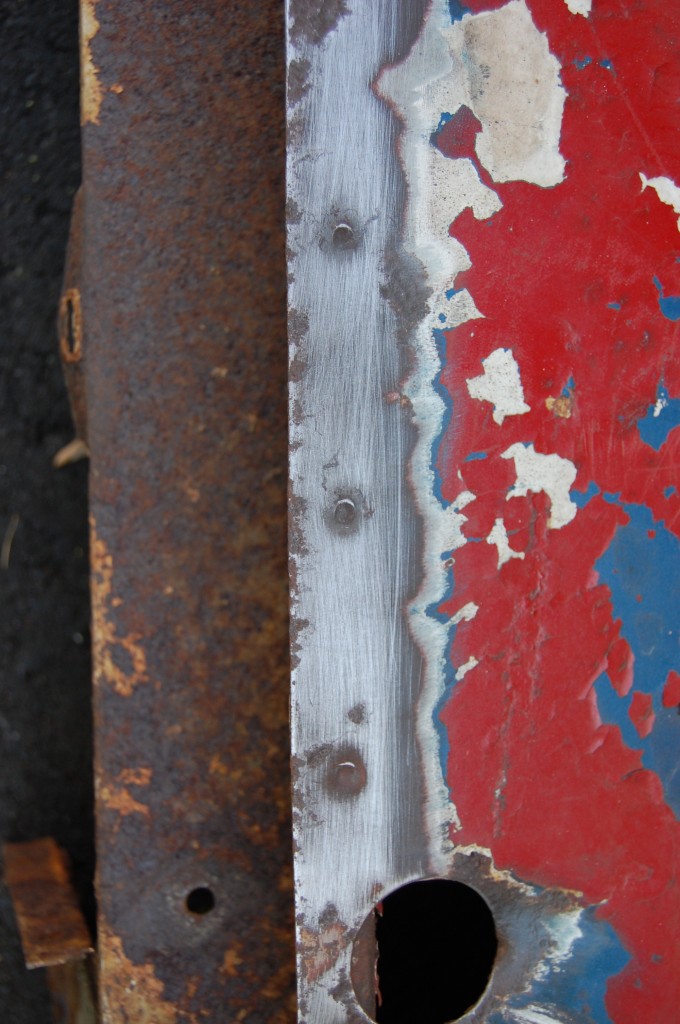
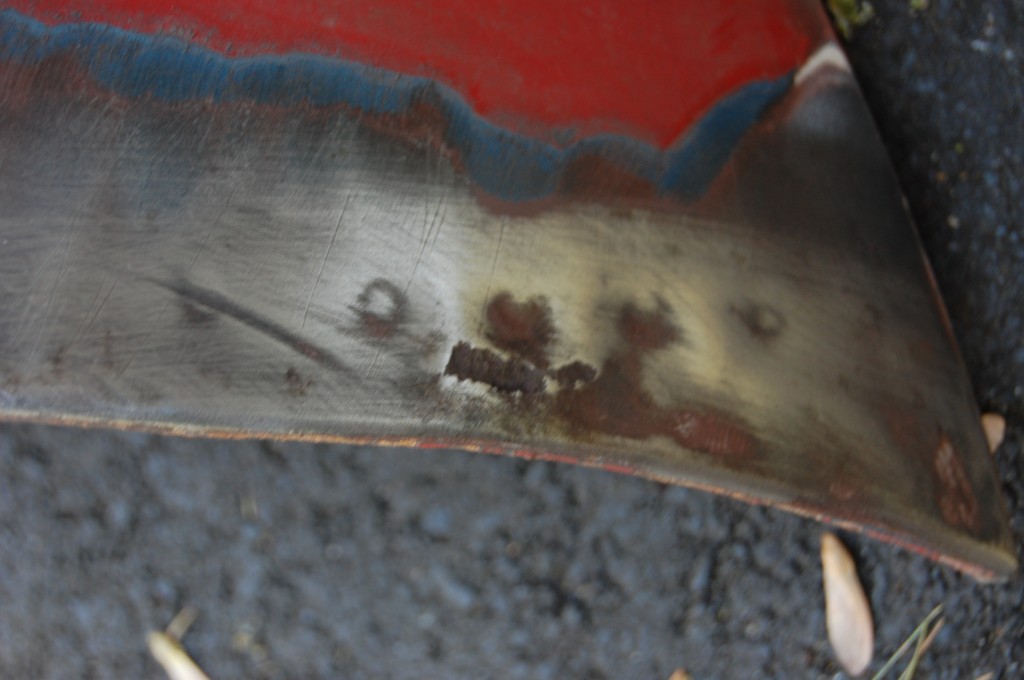
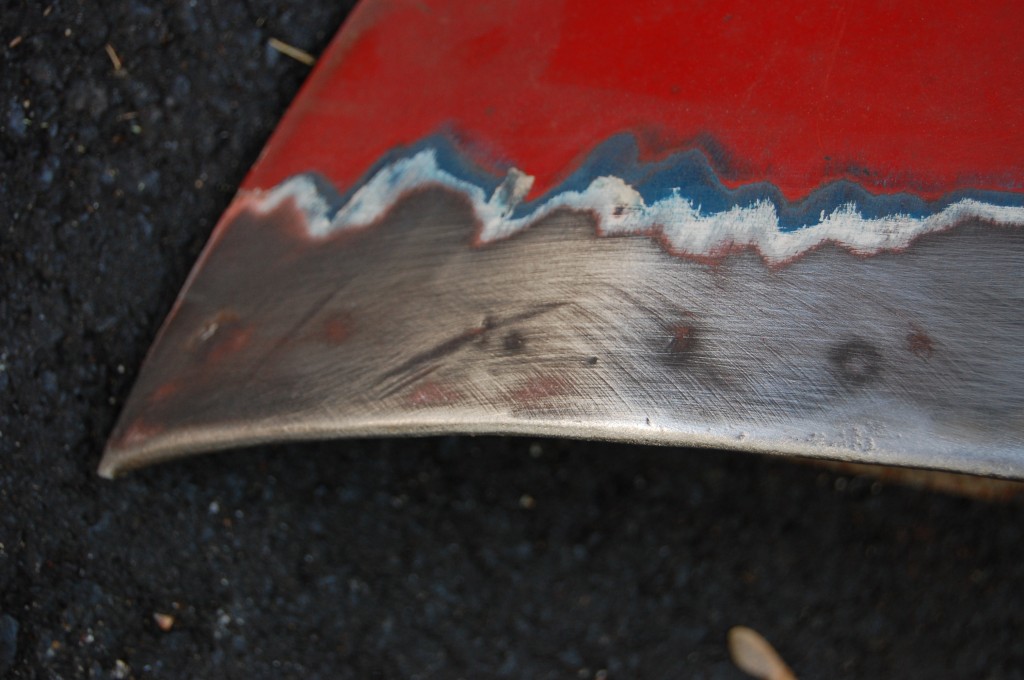
- Step A is to remove the paint to expose the spot-welds.
- We’ll need a small patch here.
- More spot welds in the other side. These will all be drilled straight through both pieces, leaving a row of holes to be used to plug-weld the new support member into place.
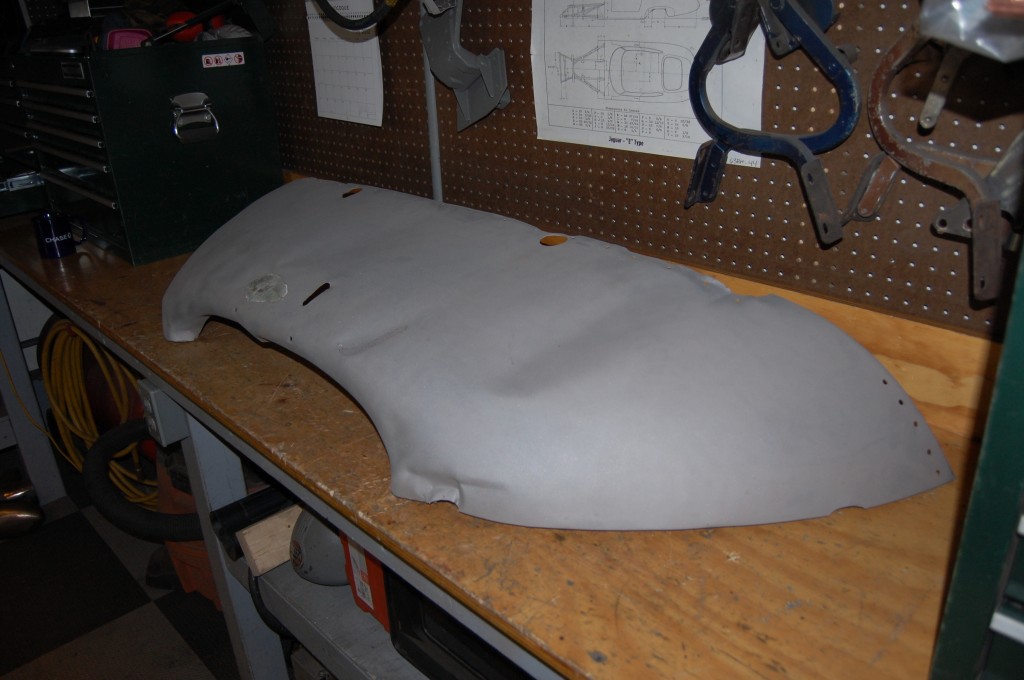
- Here is the outer skin, blasted bare inside and out.
- Another shot in dim lighting without the flash that shows the dents better… The blaster has left a small patch of filler in the nose, because we don’t force any issues in the blasting booth – this will be removed with a wire wheel.
- After some initial shaping that is little more than just pushing the dents out roughly, we prime the strip that will be covered with the support member.
- Here the support member is in place and we’re ready to shape and smooth the outer skin. I don’t see any more pictures of this – not sure where they went. It was finished off and primed – and came out really great. Sorry there are no more photos, but you will see it in a future blog when the bonnet is assembled – soon!

