I should just put “I’m sorry for being so behind on the blog” at the top of every blog posting…
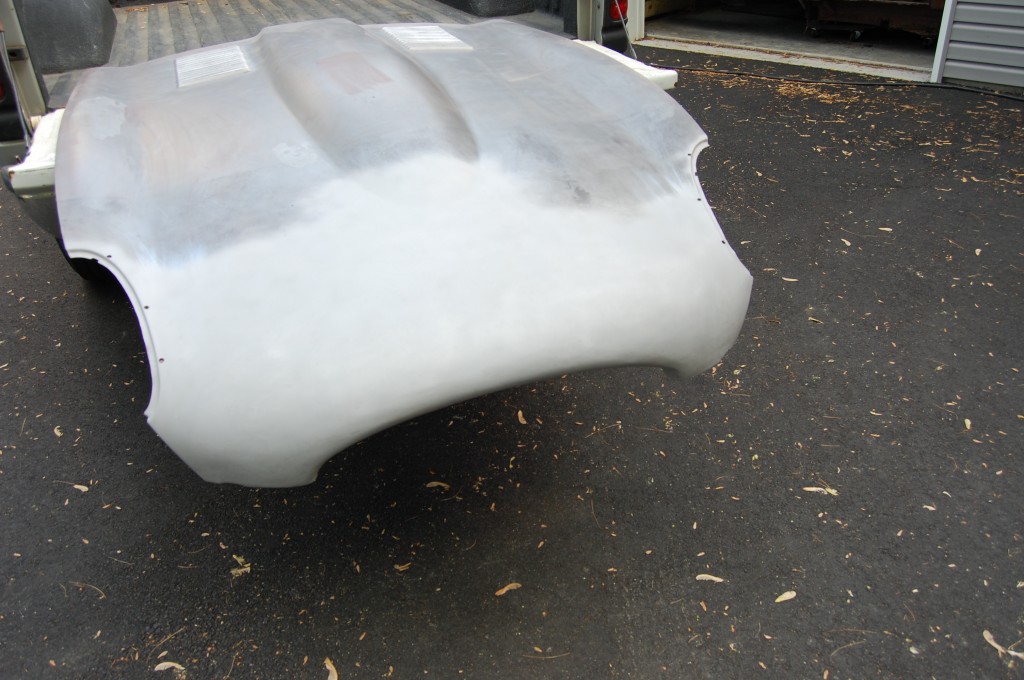
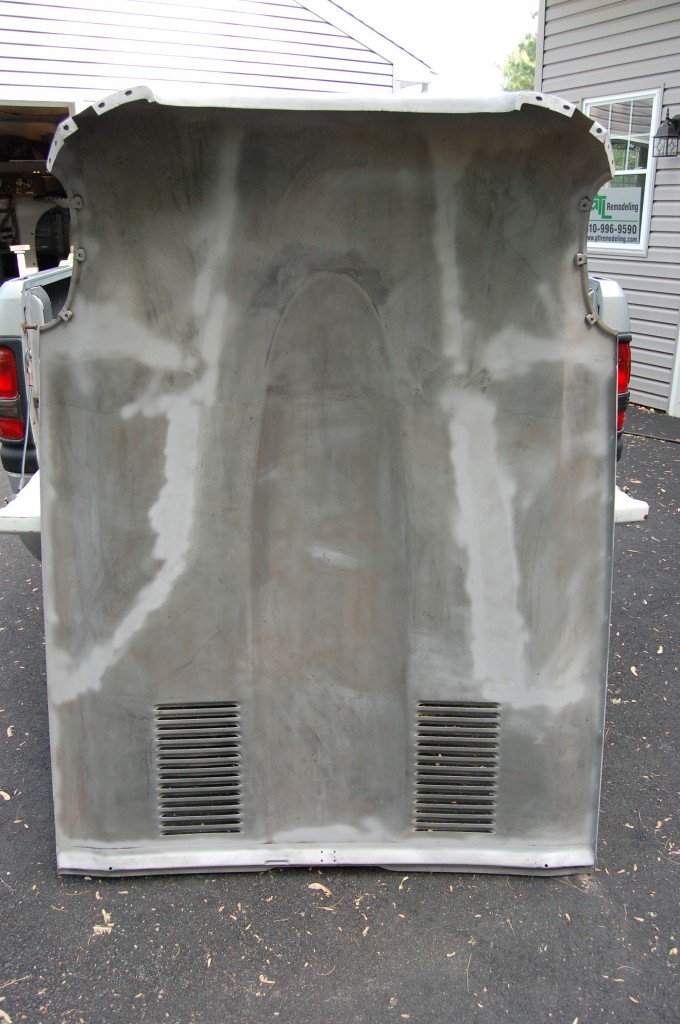
The Louisiana bonnet was finished up a few weeks ago and is sitting happily up on the shelf, waiting to be picked up and returned to the shell of the ’66 coupe it came from. Here are some photos of the restoration of the center section, and the assembly of the bonnet – it came out great and will need just a thin smear of filler in the nose to smooth out some surface imperfections, then block sanded primer will handle the rest.
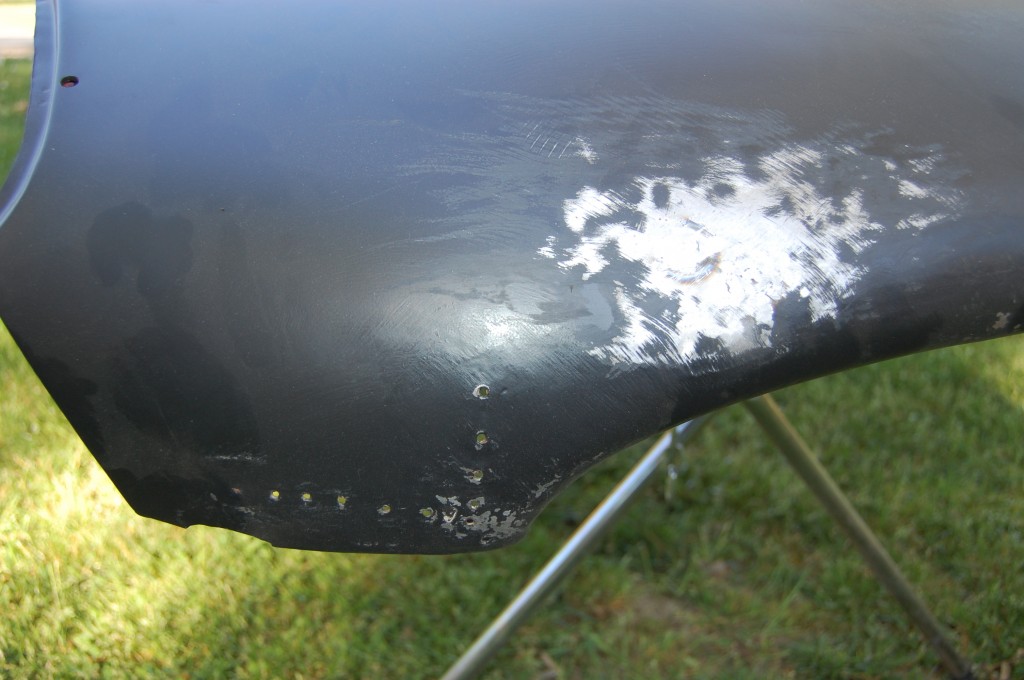
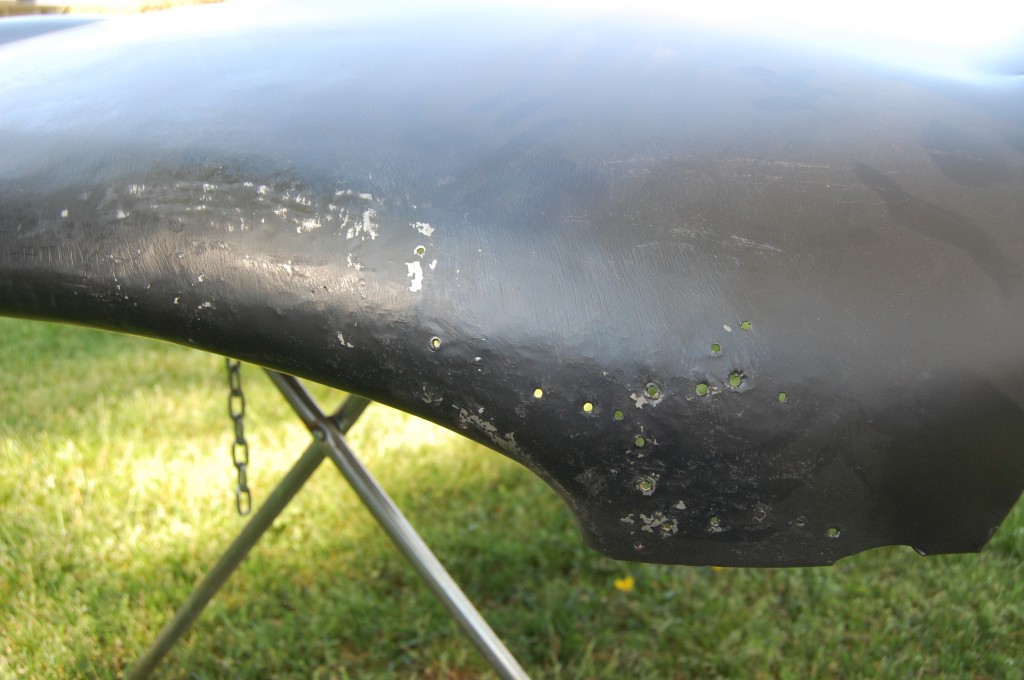
- Starting point – dent puller holes, and a squashed nose…
- Patch of bare metal is where the owner started to attempt the repair themselves and then decided to bring it up here instead.
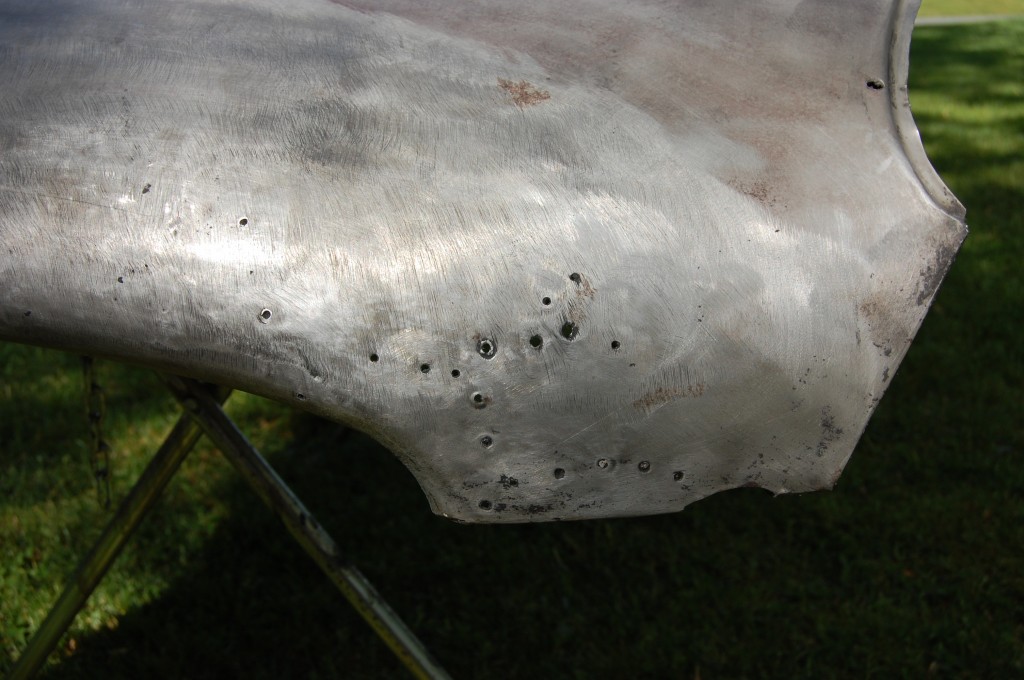
- Dent puller use here is very common – the Over-riders push into the bonnet at the corners of the mouth, and without taking the bonnet apart, you can’t get behind this area. Look at the grinder marks – some of those are deep – YIKES!
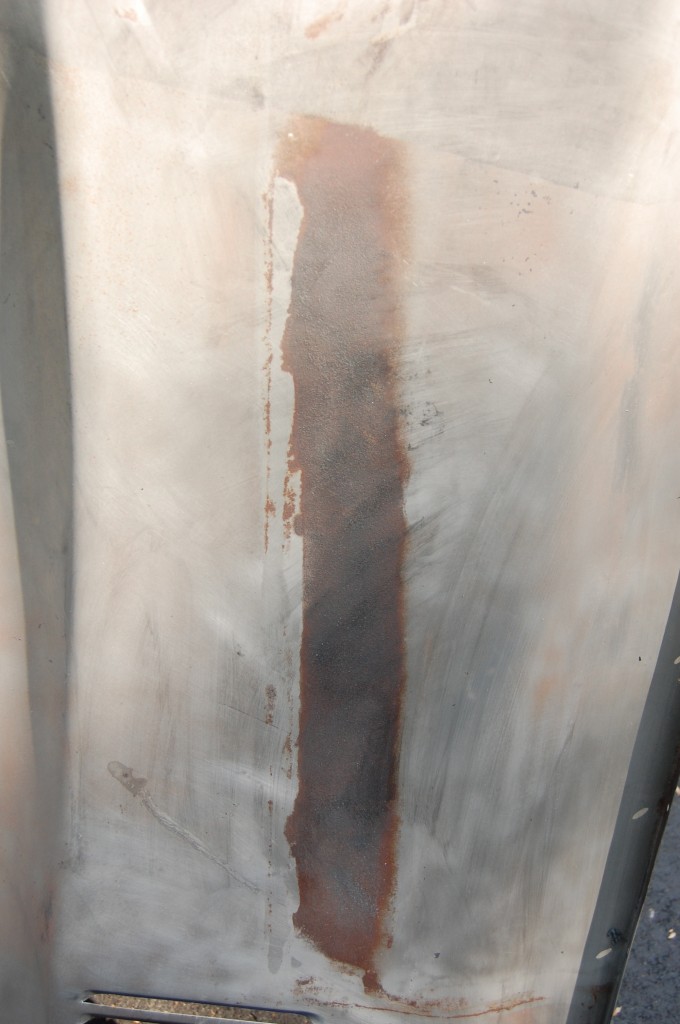
- First we stripped off the black primer.
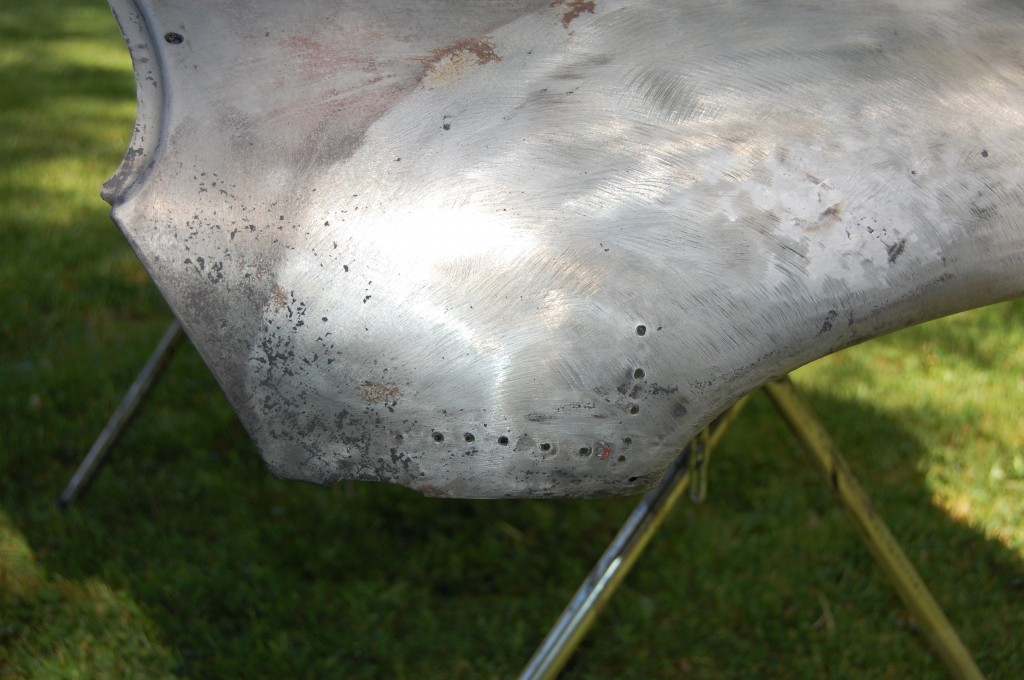
- There were some patches of rust under the primer – not good. But worse than that is the excessive grinding of the surface in an attempt to smooth it.
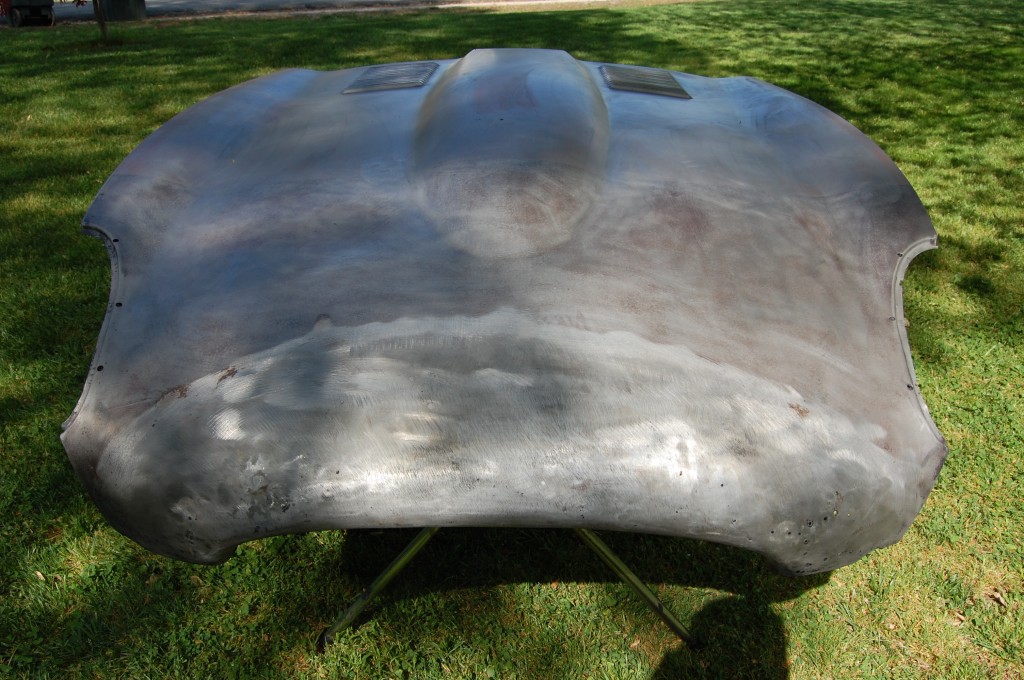
- Here is what this area looks like bare.
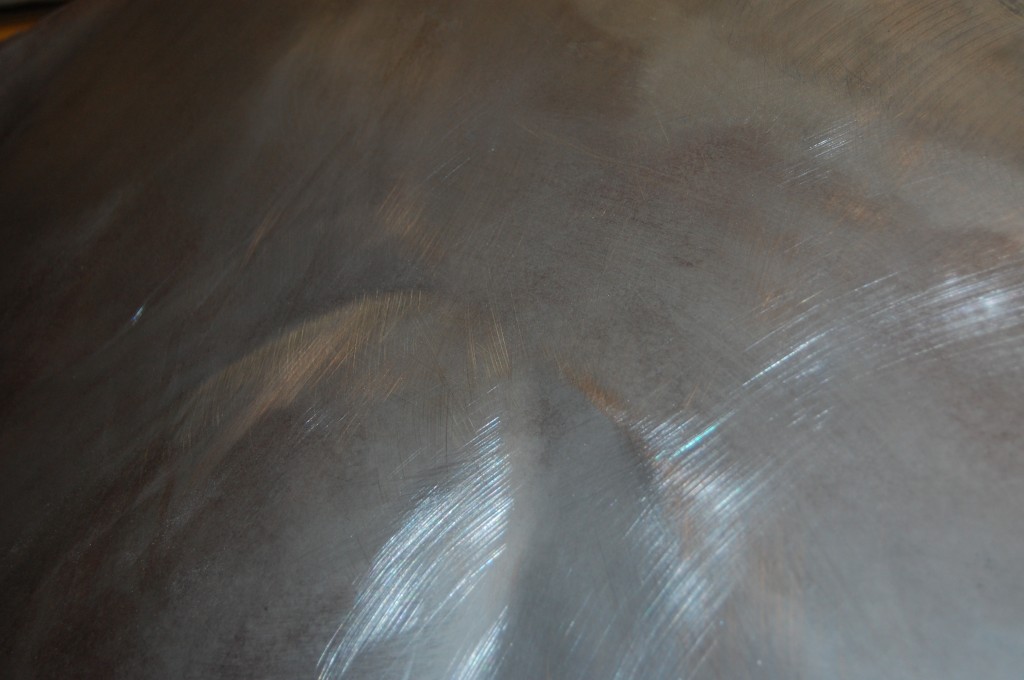
- One of the concerns was a crease put into the area immediately forward of the tip of the power bulge when the center section fell onto a crate or something at the customer’s home. This is a VERY tough area to work with, but we should be able to get these out.
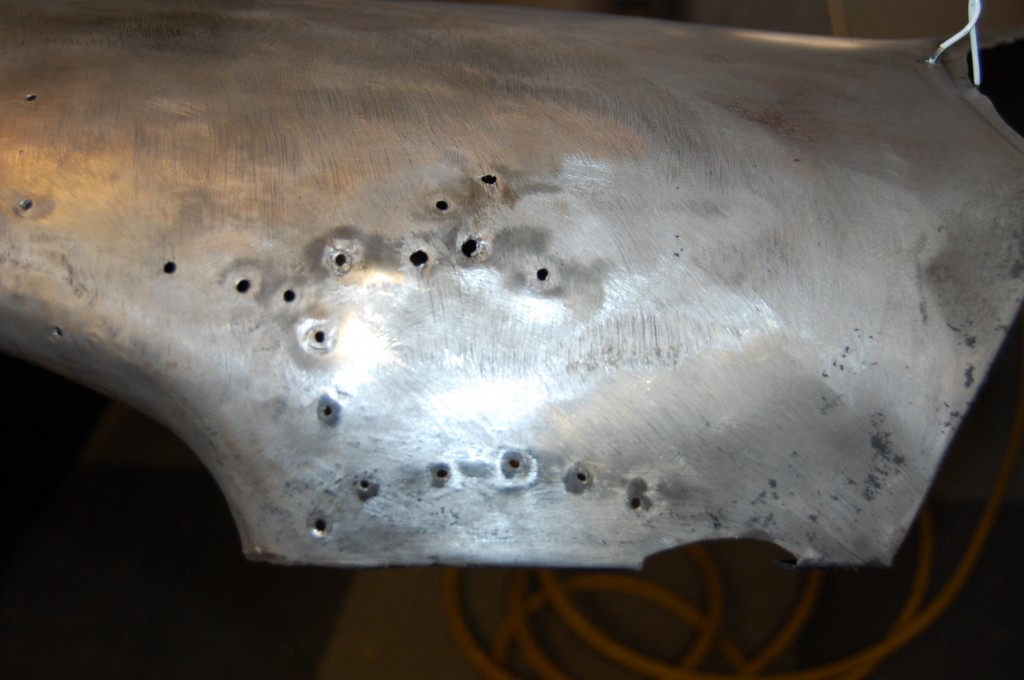
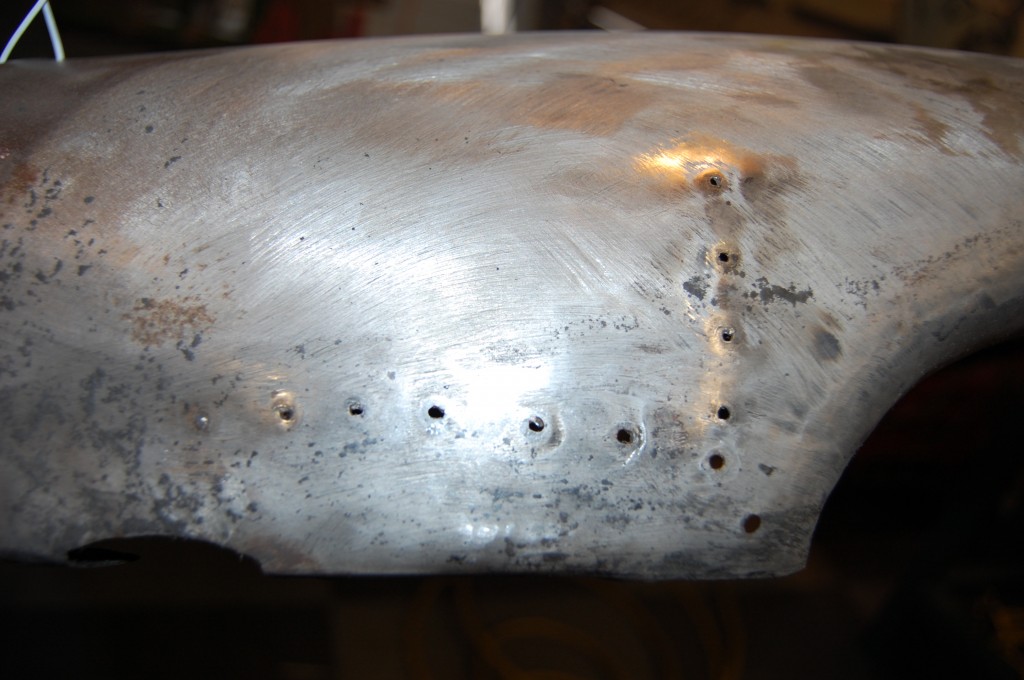
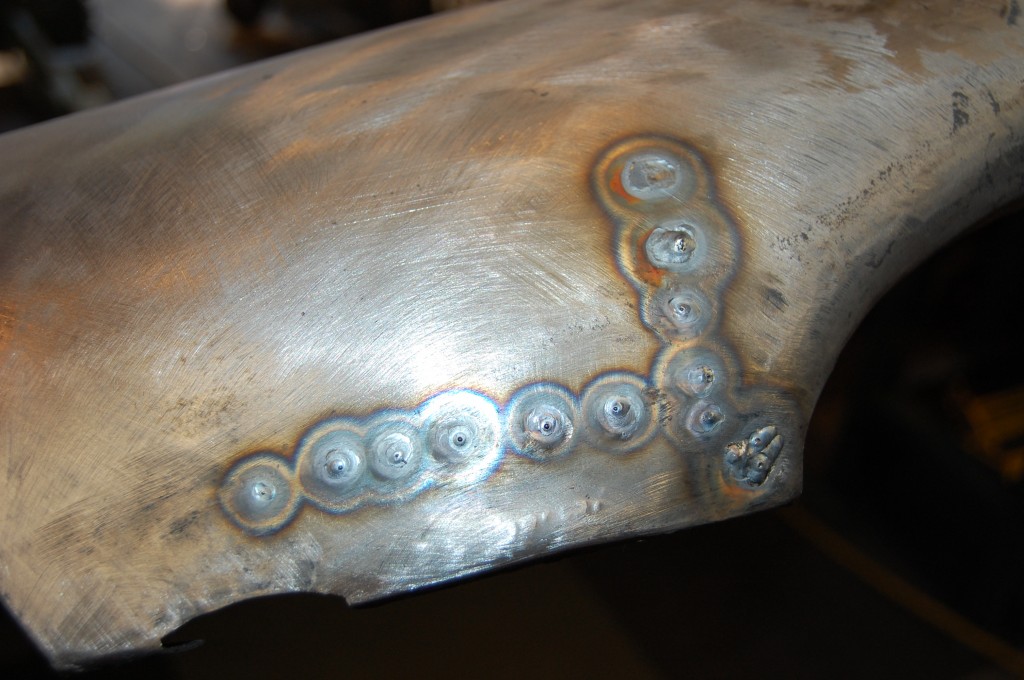
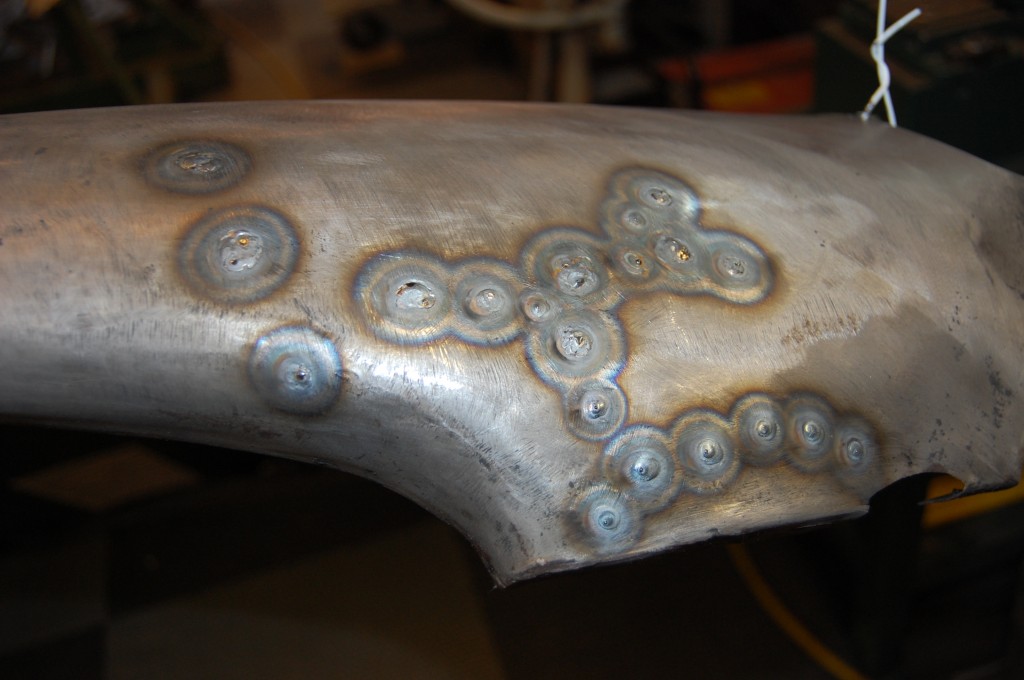
- First we planish these areas smooth. This is about the limit of what we’ll weld up without just removing this section and putting a patch in.
- Other side is also planished before welding.
- Next, the holes are carefully filled with the TIG.
- Same here…
- Here is another shot of that crease.
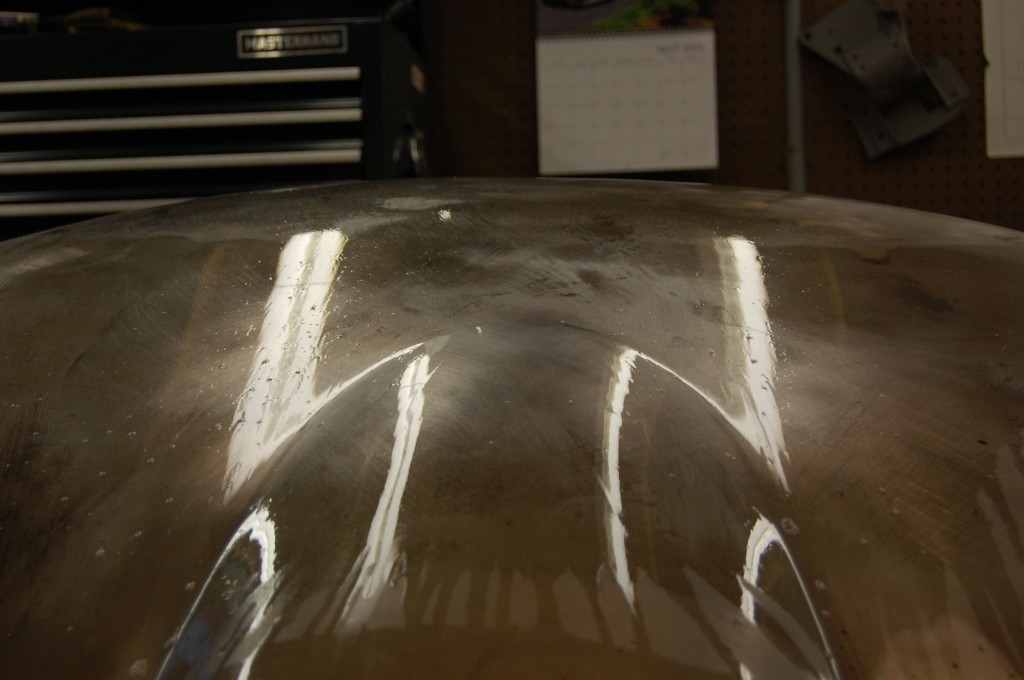
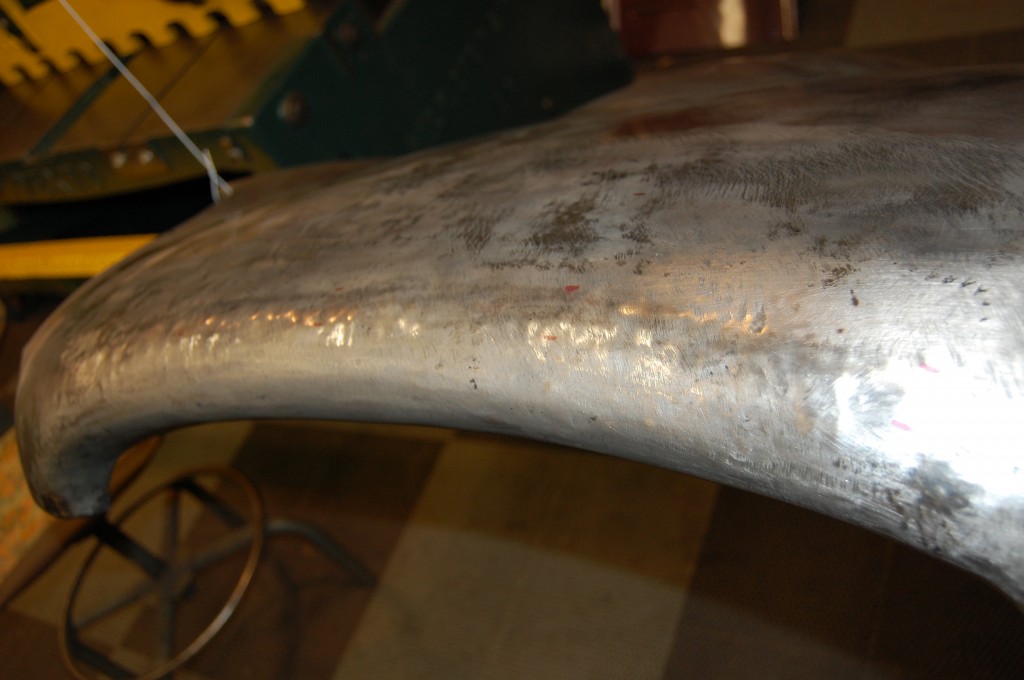
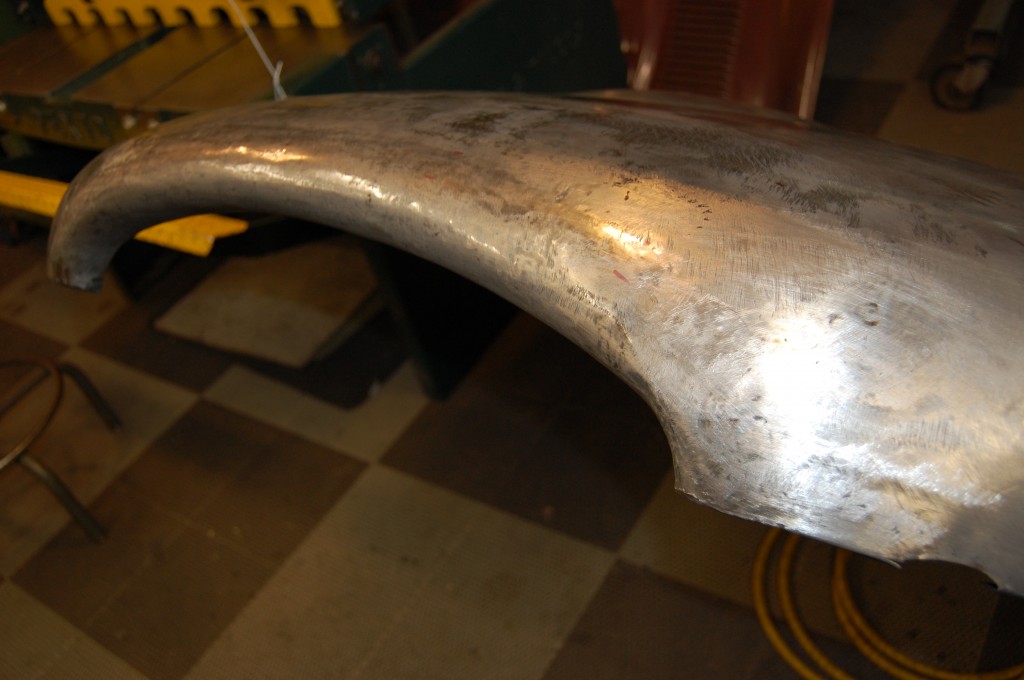
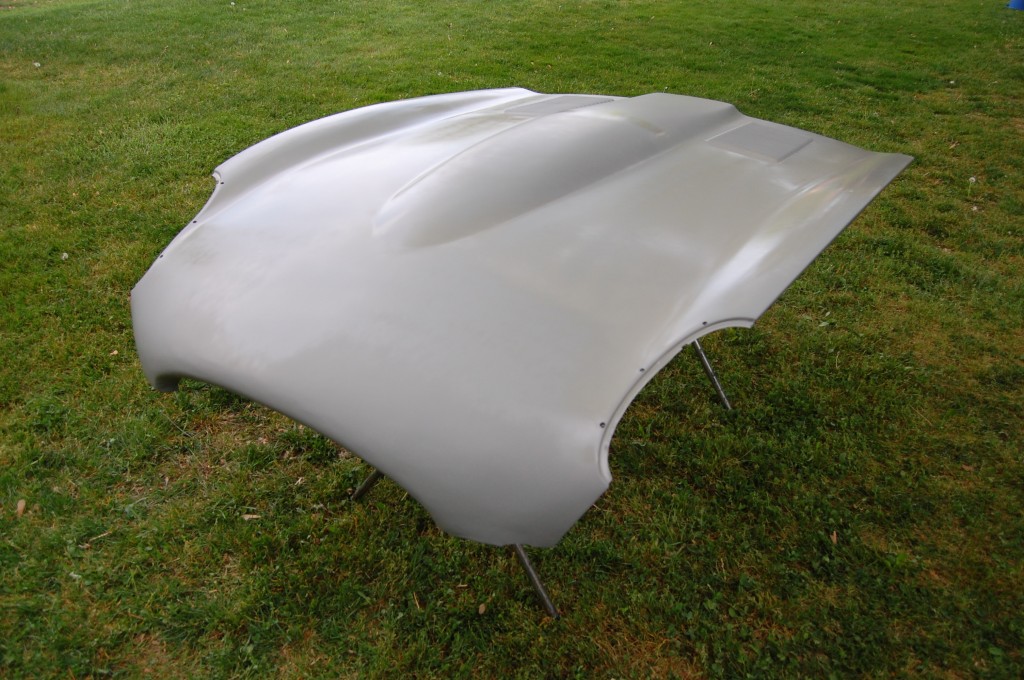
- This is the tip of the power bulge after removal of the crease just forward of the tip. The metal is wet here after being quenched, and the reflection of the overhead lights in the glossy surface shows that everything is back where it should be.
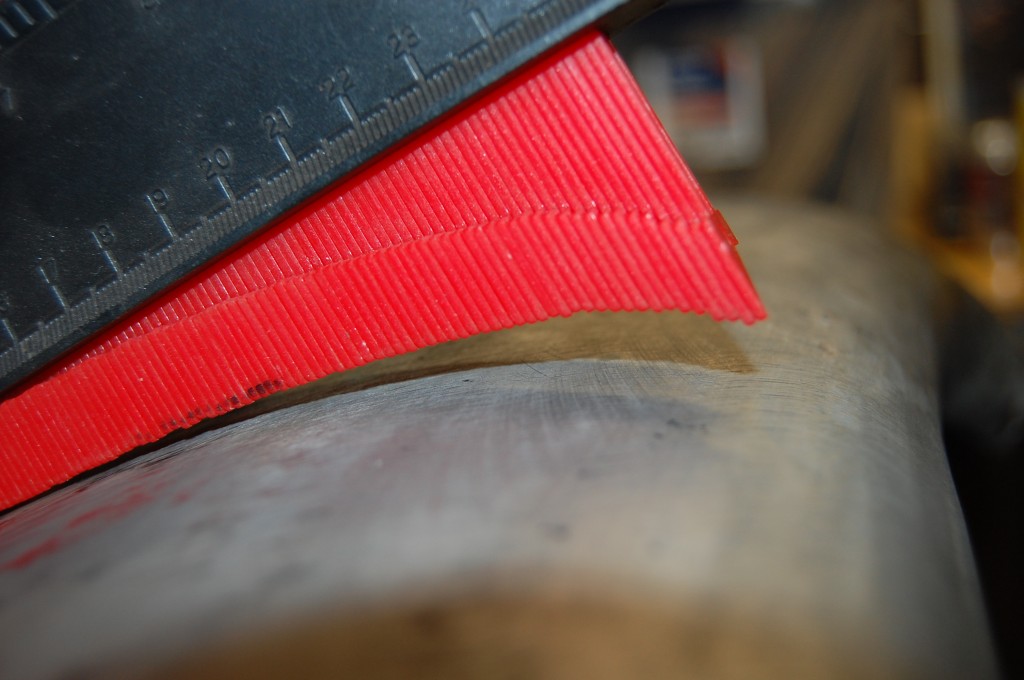
- After smoothing everything out, the tip of the nose is curled down too far – uh-oh…
- There’s really only one wat to fix that and that is to pound the shape back in with mallets and then re-smooth. The intermediate steps of metal shaping aren’t always pretty…
- That’s better.
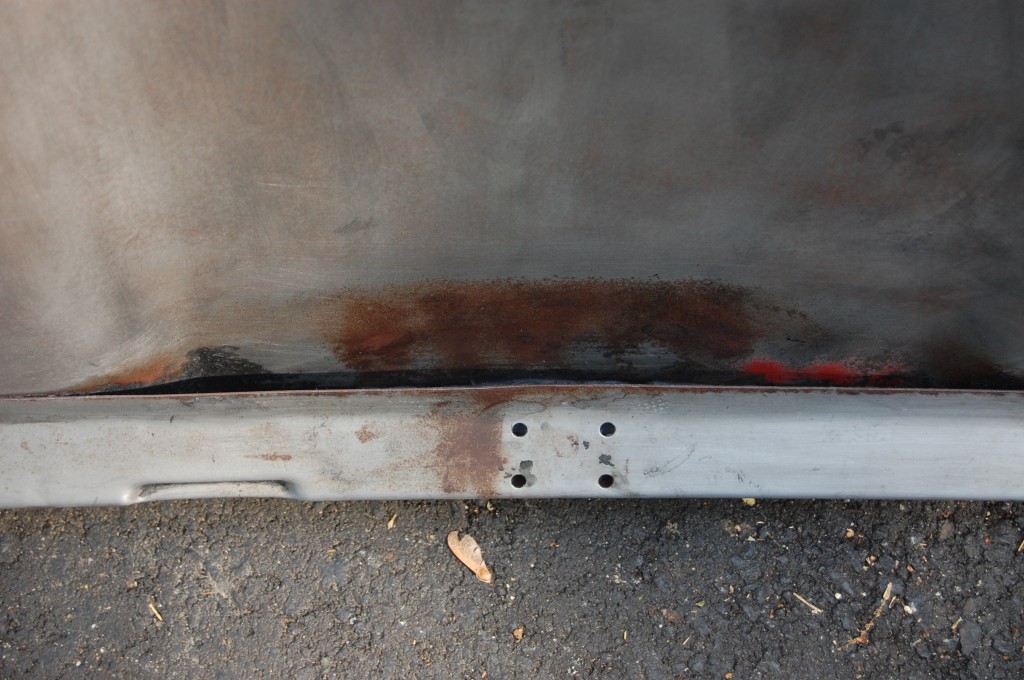
- Shaping is complete, but stripping the black primer off with chemicals revealed these typical patches of surface rust that were painted over!
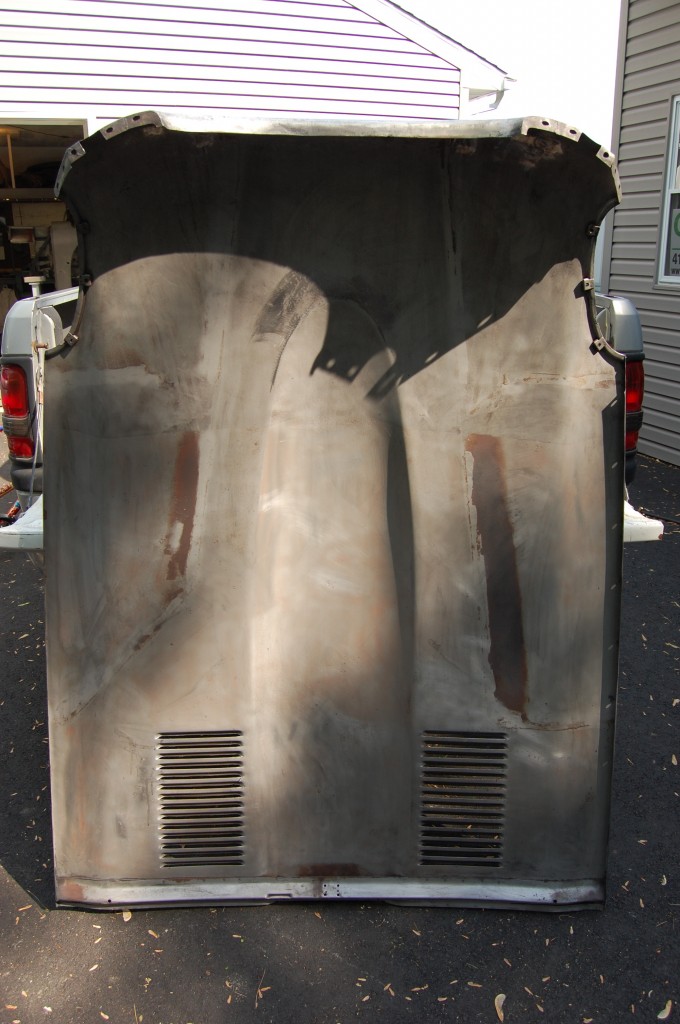
- This is the area above the LH inner valance air duct that frequently received no paint at the factory.
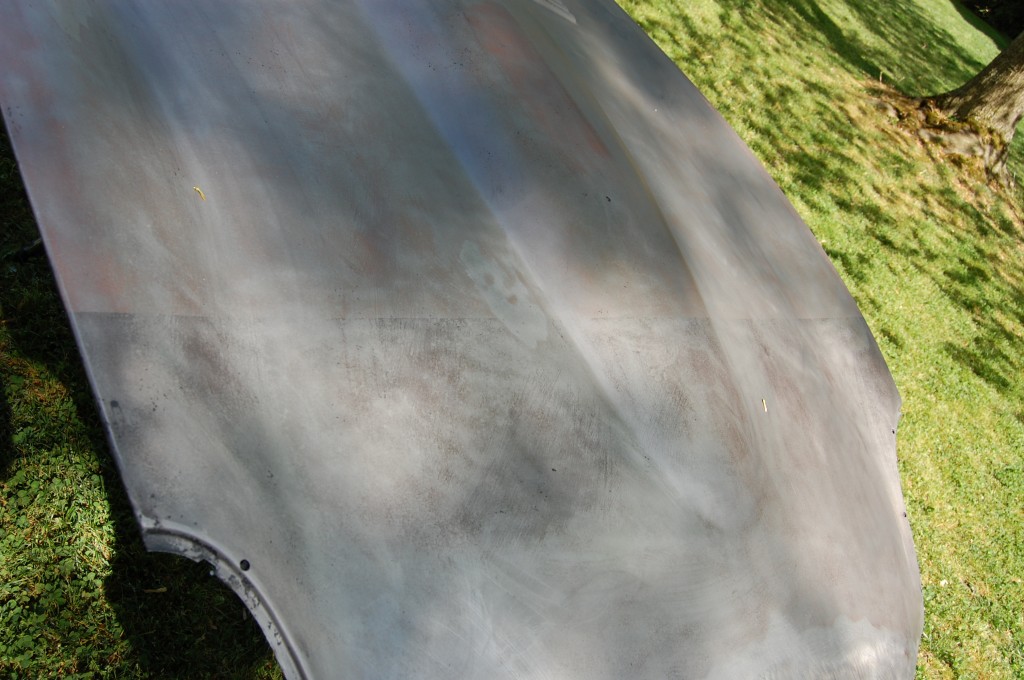
- Little patches all over the place… This bonnet was stripped with plastic media – that’s a good thing for the safety of the panels, but it does not remove surface rust, as you can see…
- So the panel went back into the blast booth, and while it was in there, we blasted off the burnishing left by the shrinking process.
- And of course removed all of that rust as well. Nothing leaves here with any rust on it – none.
- Wet self-etching primer.
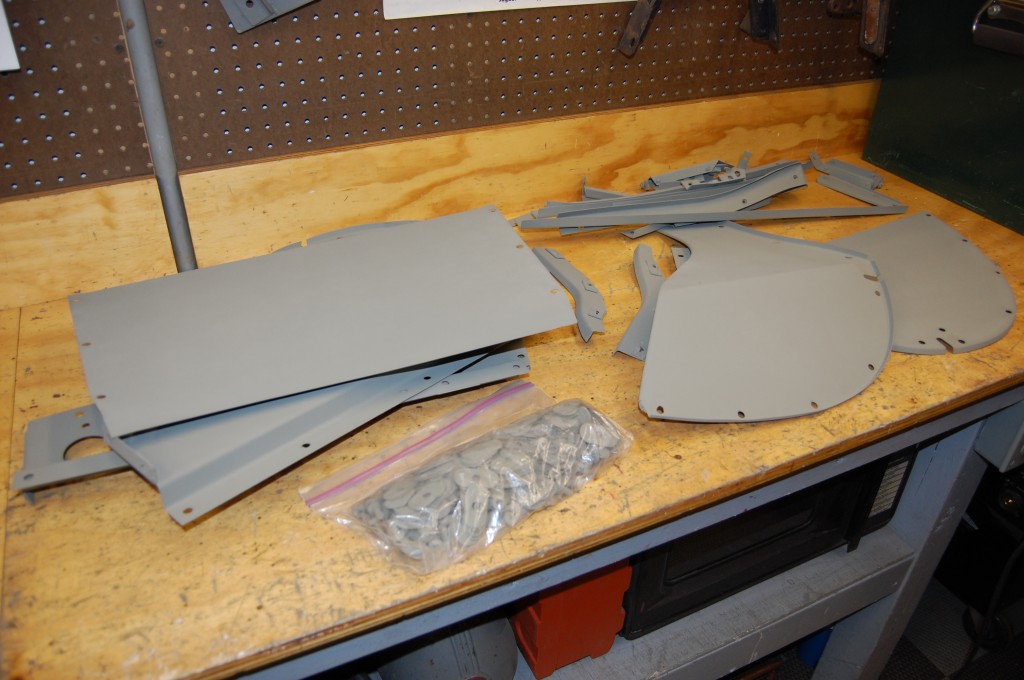
- Here is a pile of bonnet goodies that were also all stripped, blasted bare, and primed with 2 coats of etch.
- Test assembly is complete and the nose looks real good.
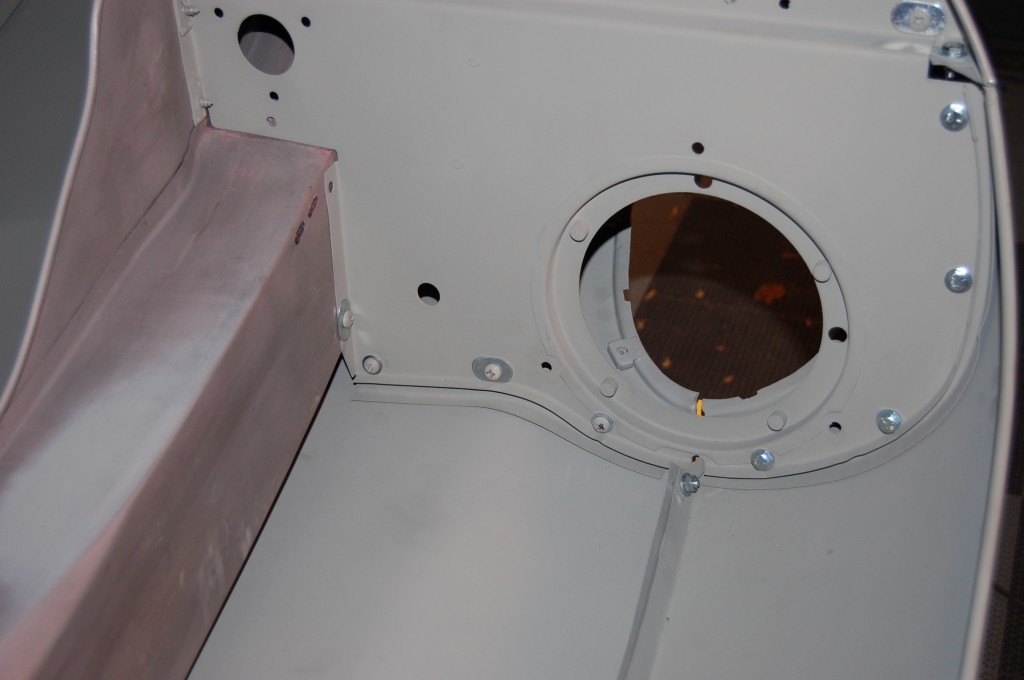
- We ran out of etch, so the inner valances were test asembled bare still. The funny reddish color is the previous primer etched into the metal a bit since these were stripped with chemicals and not blasted.
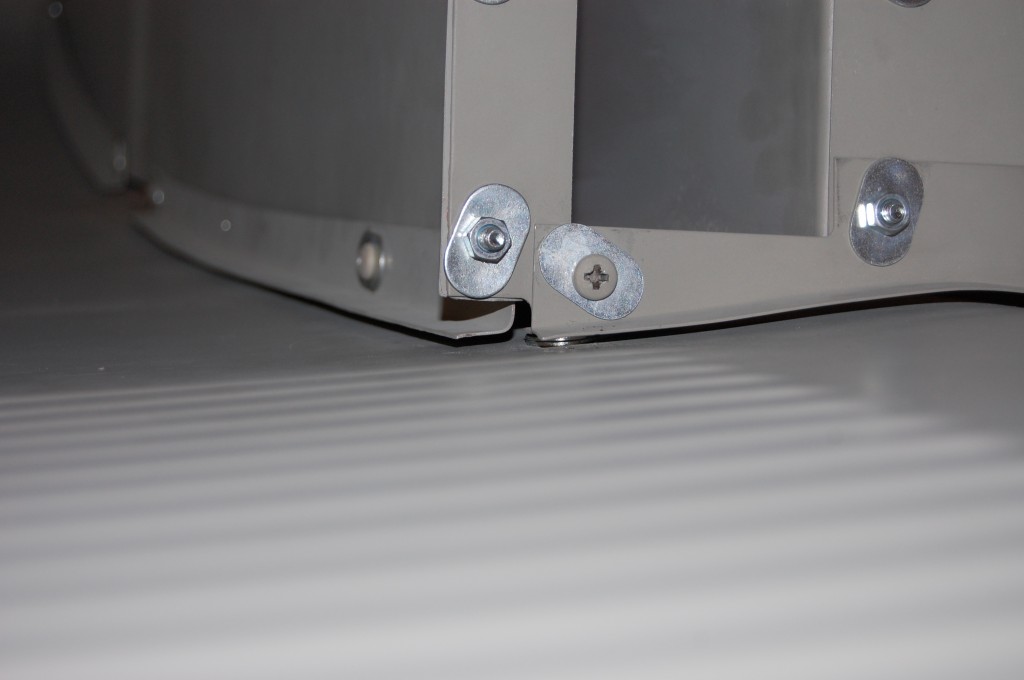
- This bonnet was being uncooperative in this area. Usually, the gap is large in this area, but here, the mudshield wanted to touch the skin and that is NOT AN OPTION! Keep all panels up off the skin so that only the rubber adhesive comes into contact with the skin. Here, we used a stack of washers to make sure that would be the case after it was all glued and assembled.
- We will go in and ann adhesive to older factory seams if we need to to dress them up. Lately, we’ve ben pulling alot of these out, but these were very nice and stayed in.
- The bonding process is a HUGE mess – even for us. This one was one of the messiest for some reason – drips and smears of adhesive were EVERYWHERE!
- Bonding is completed and we’re back a few days later to disassemble.
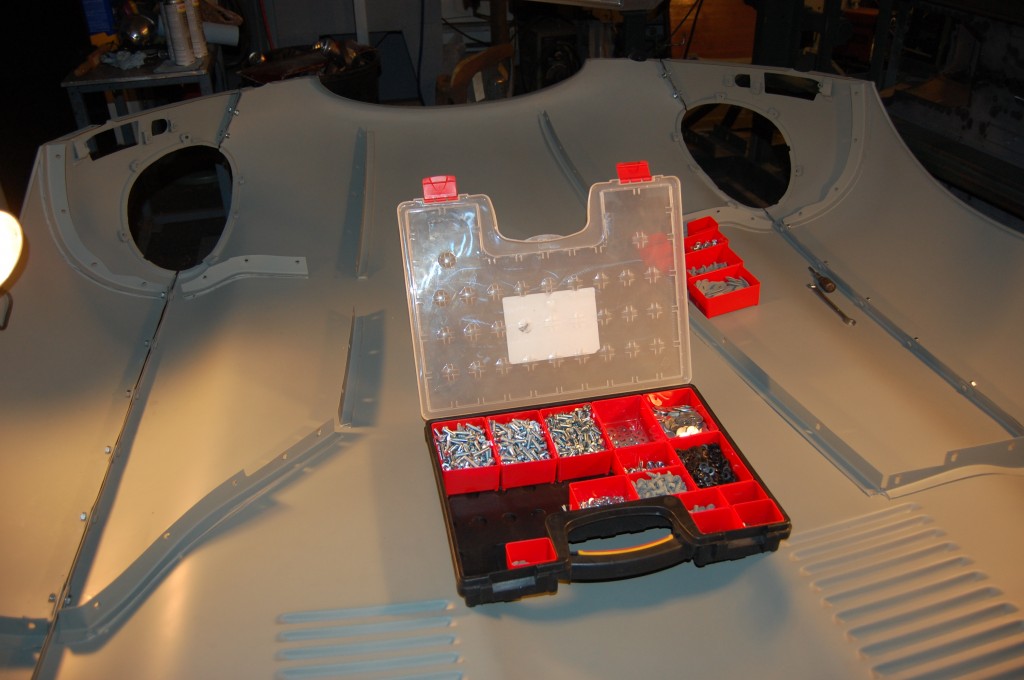
- Bonding has been trimmed and primed, and the bonnet is being assembled for the final time with restored original hardware. This is a 4.2 bonnet so it has “Rubery Owen” bolts. SOme are full script, while others are just “RO” on the heads. The full script looks nicer, and so we just mixed the original hardware from this bonnet in with our stock, and assembled the entire bonnet with all “Rubery Owen” script bolt heads.
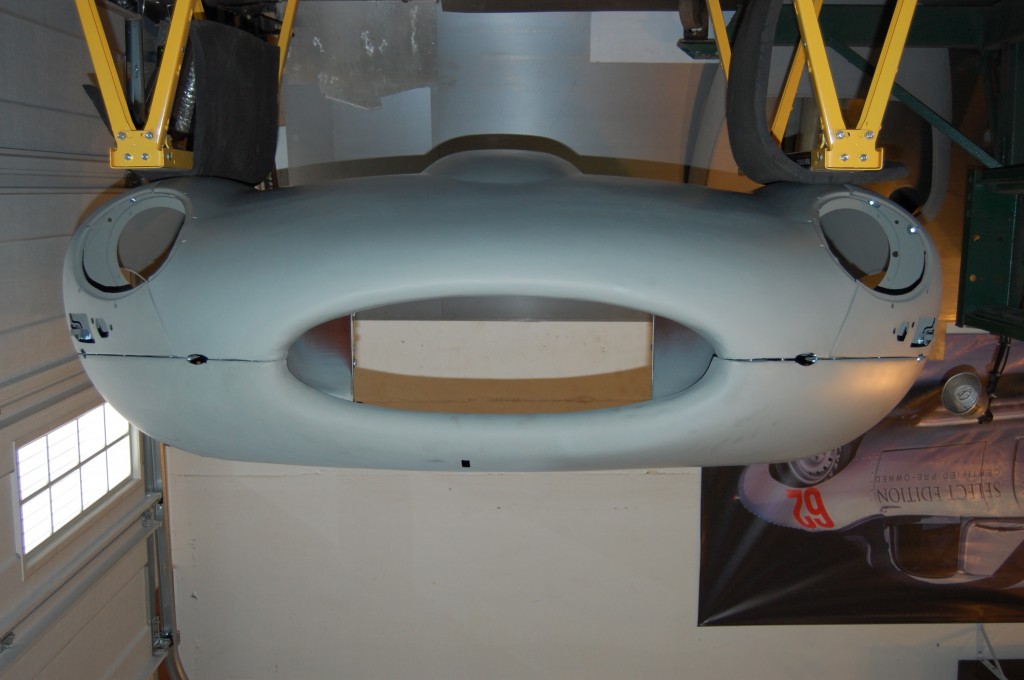
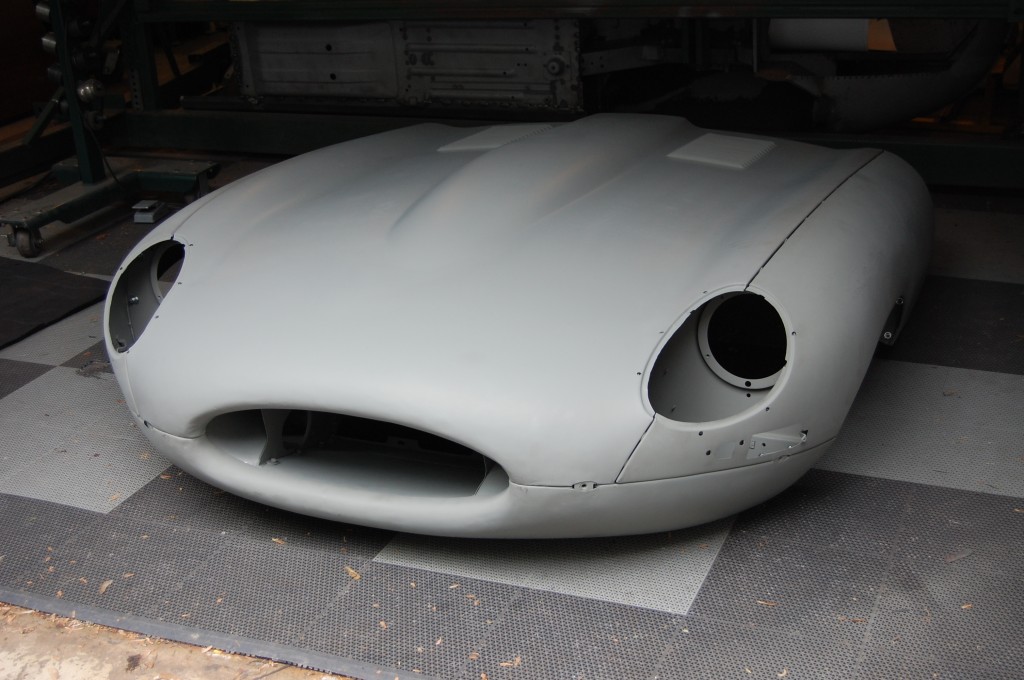
- The finished product is perfectly shaped, and properly sealed.
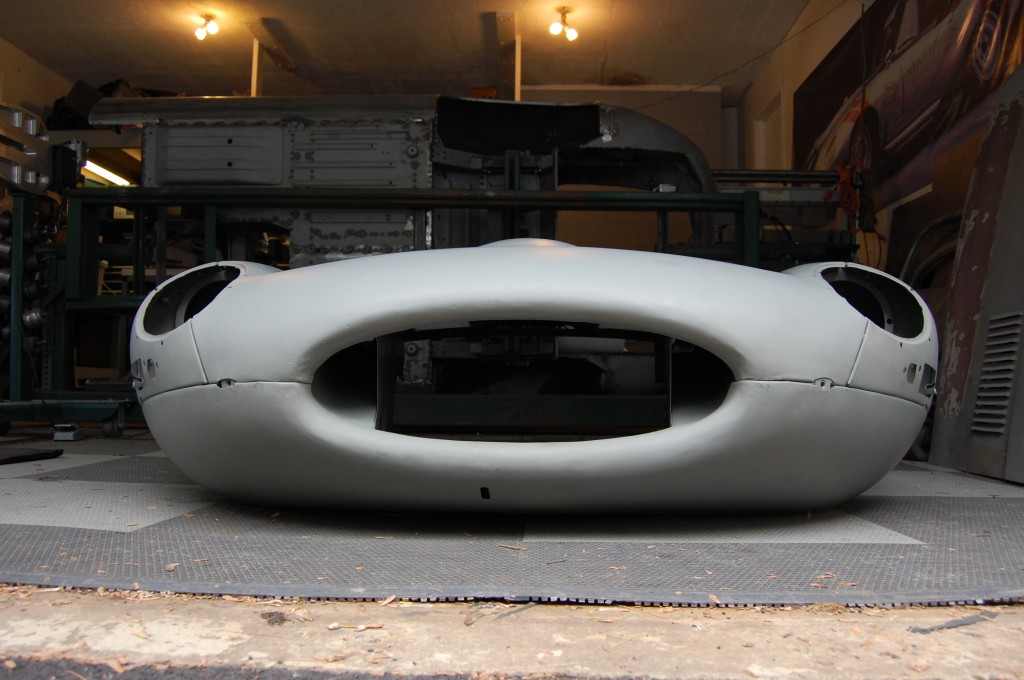
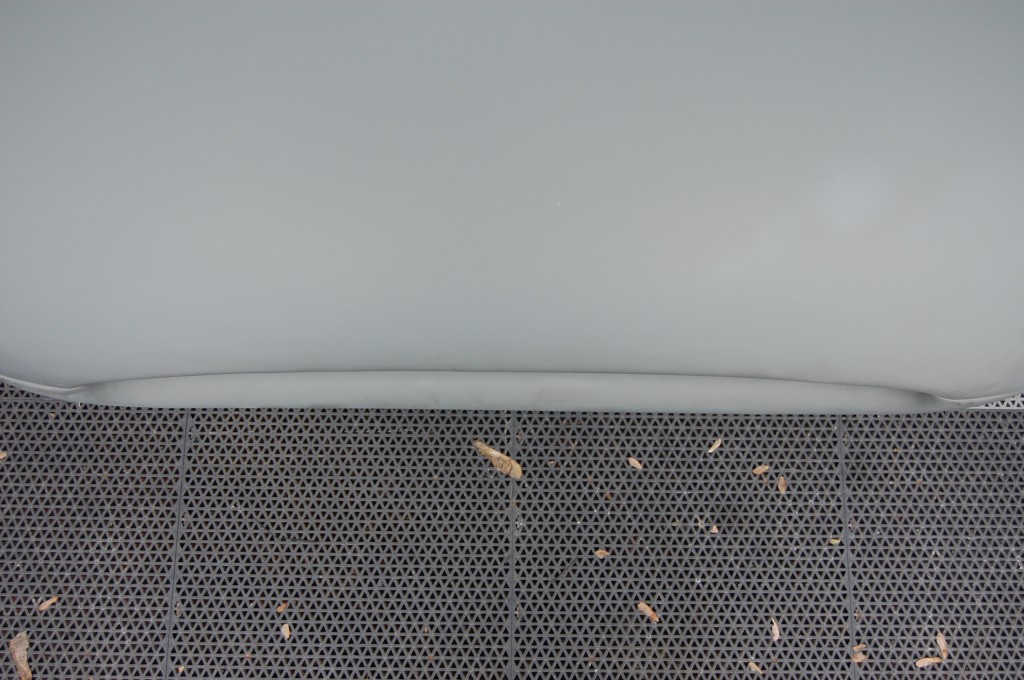
- The mouth looks oversize from the camera zoom I guess – it’s kind of cool. If you look carefully in this photo, you can see the surface imperfections in the leading edge that will need to be filled and smoothed. If you take this photo from a different angle in different lighting, this would look perfect – keep that in mind when you see photos of work or panels for sale in dull primers… This surface could be made better – almost perfect – if we were the first ones to touch the damage, but we weren’t… Also, it can be tempting to grind this all smooth in metal – other shops do it all the time – DON’T! It creates thin areas of metal that will give you problems down the road – especially if your E-Type is a driver. Look closely at the shadows around the nose – this bonnet is shaped perfectly.
- Everything is in proper alignment, and ready for minimal finish work at a reputable body shop.


