She’s an evil temptress – the eBay bonnet… There she is on eBay, up for grabs to the highest bidder, with a low starting point, GREAT looking photros, and a description that promises that this is the nicest E-Type bonnet you have ever seen! But don’t be fooled, the next morning, when the spell wears off and all the lights are on, she is UGLY!!!
I recently ignored my own rule about never buying bonnets on eBay for a few reasons:
- I needed a Series 3 V-12 center section and underpanel for an order.
- It was cheap.
- I could see enough from the photos to know that the V-12 wing flares were virgin and good.
- I had spoken with a customer of mine who had actually seen this bonnet in person, and told me enough about it to let me know I would get what I needed, and that I’d do OK on it for the price.
- It was located about 90 minutes from the shop and right around the corner from our sister restoration shop, so I knew I’d be down there eventually with an empty trailer.
So I took the plunge, and overall, I’m satisfied, because as I said before, I was after this bonnet for those two pieces, and I figured I’d just throw the rest up in the attic for future projects. We have the luxury here of purchasing a whole bonnet for a couple of pieces, but as an owner-restorer, you’d be expecting to get a complete restorable bonnet out of a purchase like this, and as you’ll see, that’s rarely the case.
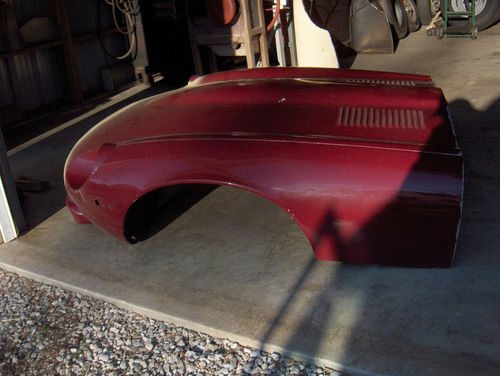
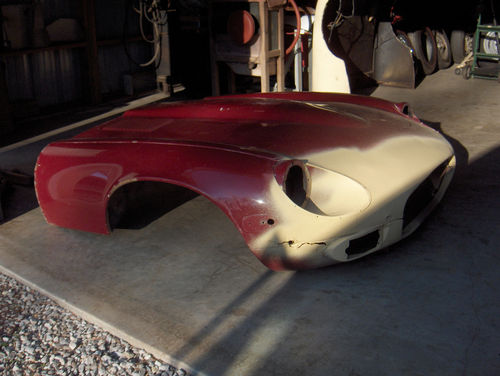
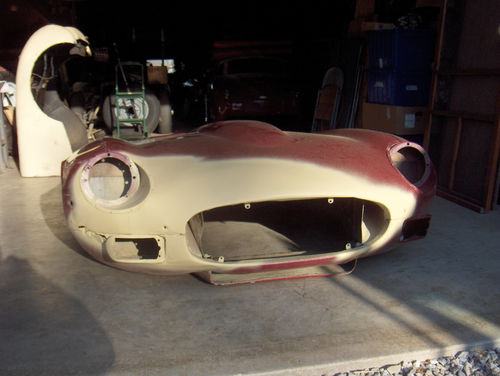
The photos below will start with the three photos from eBay, and then finish with photos of the bonnet as it was disassembled and stripped here. Here is the eBay description:
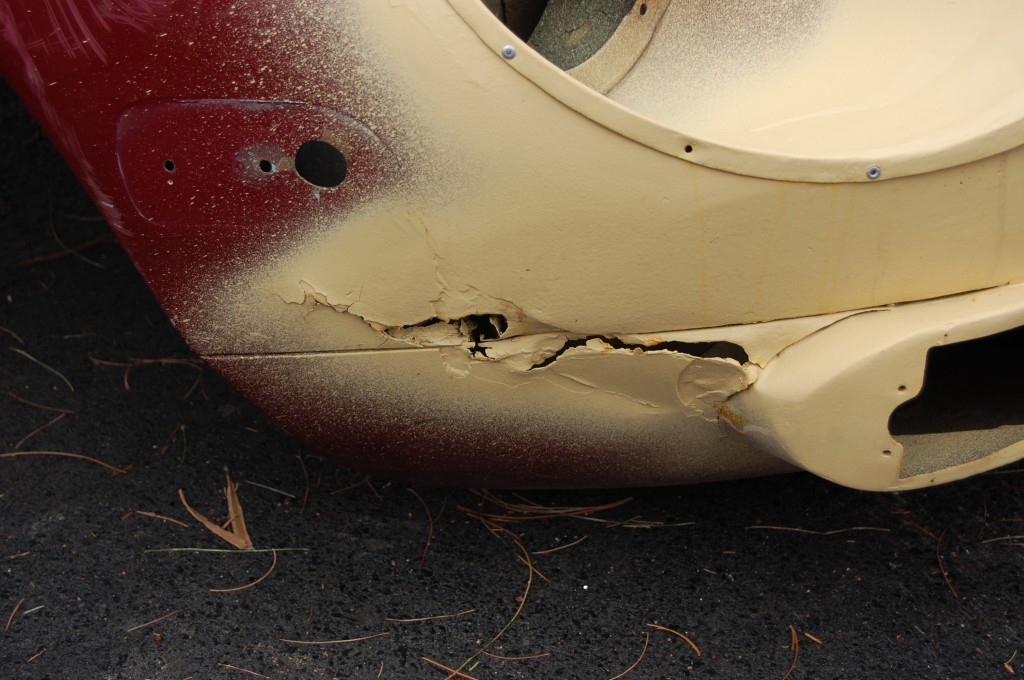
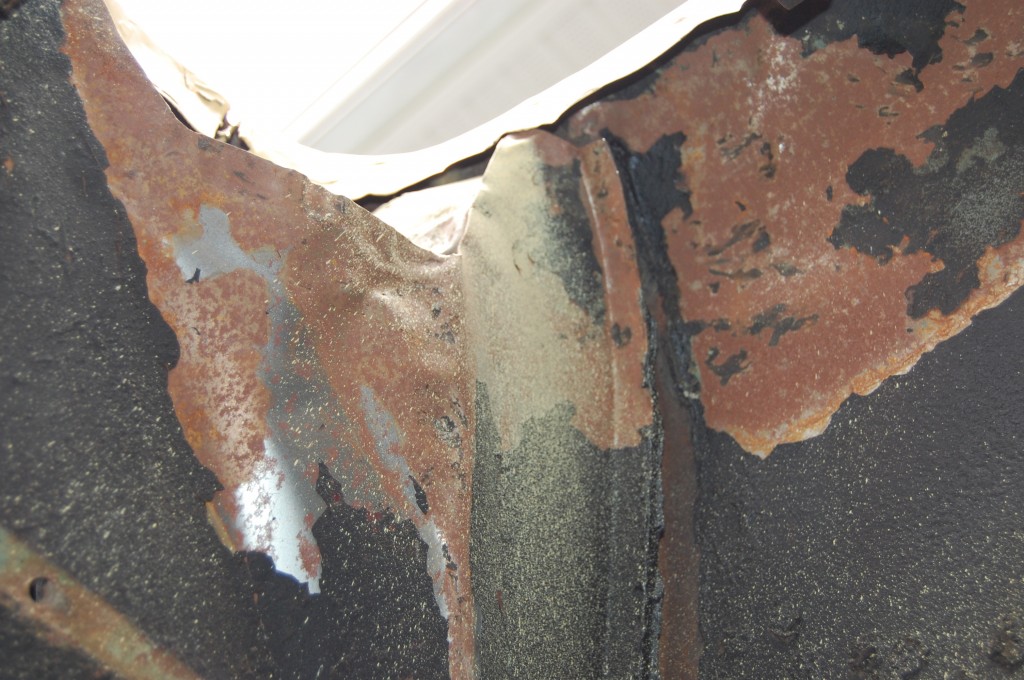
“Good used 1974 XKE bonnet with repaired minor right front corner damage, but no structural damage. Has some bondo in lower air scoop area and a four inch tear in metal area near right side light. Hinge areas are good.”
The moral to this story – DO NOT buy a bonnet from eBAY! Follow along in future blog entries as we salvage what we can from this mess, and use it to build a show-winning V-12 bonnet.
- eBay Photo #1 – in this shot, I’m pretty sure everything I can see here is accident damage free, since everything looks laser straight in this glossy maroon paint. The all-important V-12 wing flare looks good – since it’s almost impossible to get this reverse curve looking this good again with filler…
- eBay Photo #2 – Here we can see the area of accident damage mentioned in the description – I know we’ll find filler in here, but I’m pretty sure we can handle the metalwork necessary. We can also see the tear in the underpanel – not sure what we’ll run into there, but how bad can it be?…
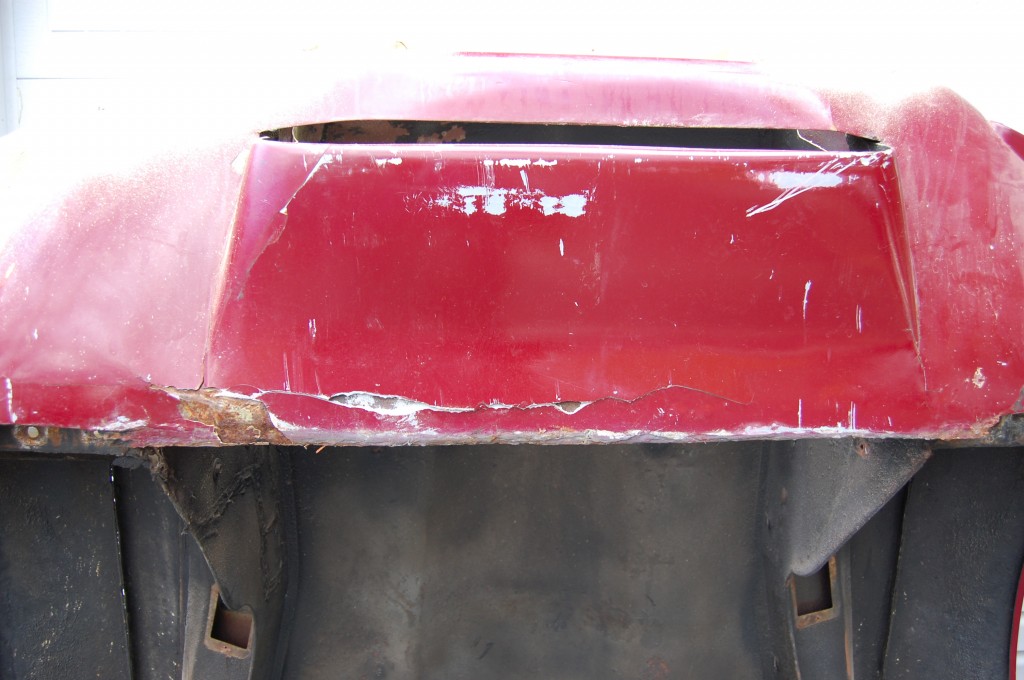
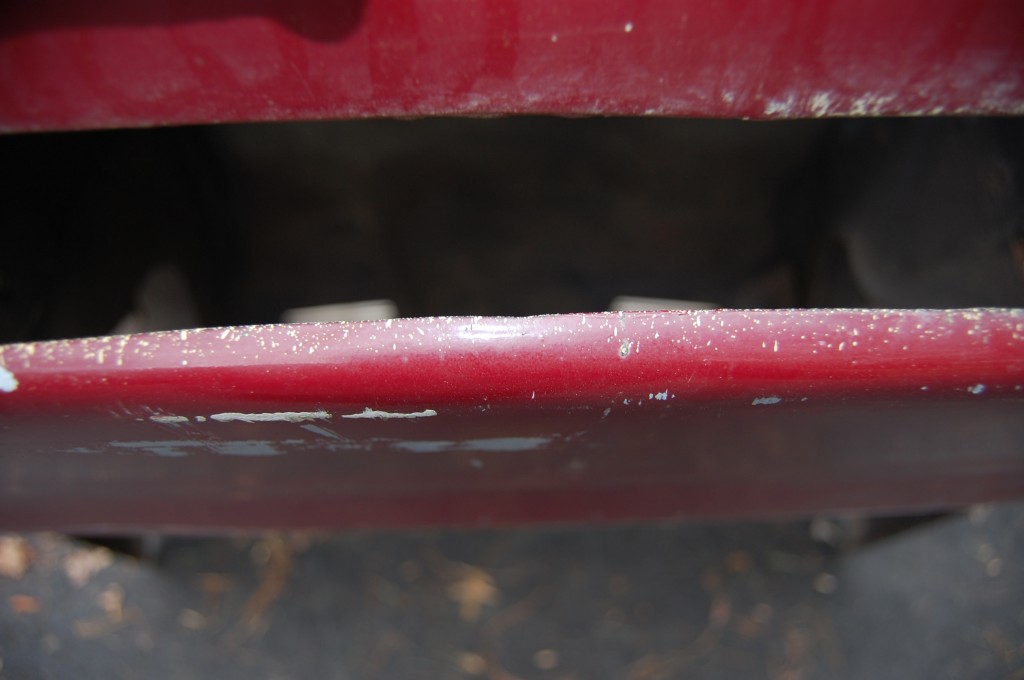
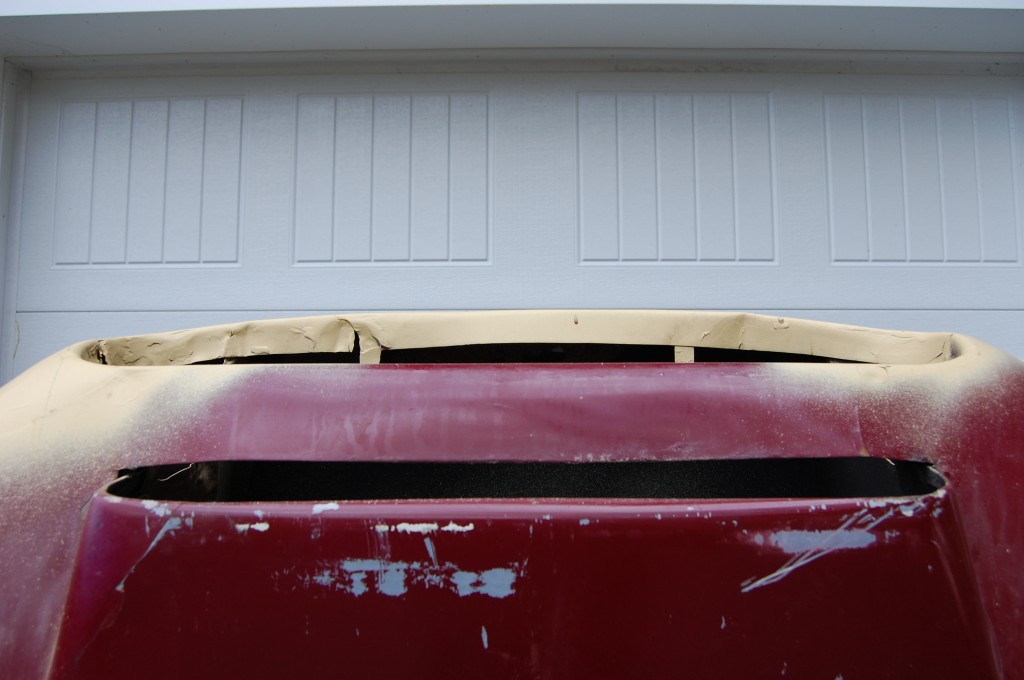
- eBay Photo #3 – the entire mouth is obviously going to have filler, but the overall shape looks pretty good, so I am gambling that the filler is minimal enough to allow us to reshape the metal back to it’s factory original shape.
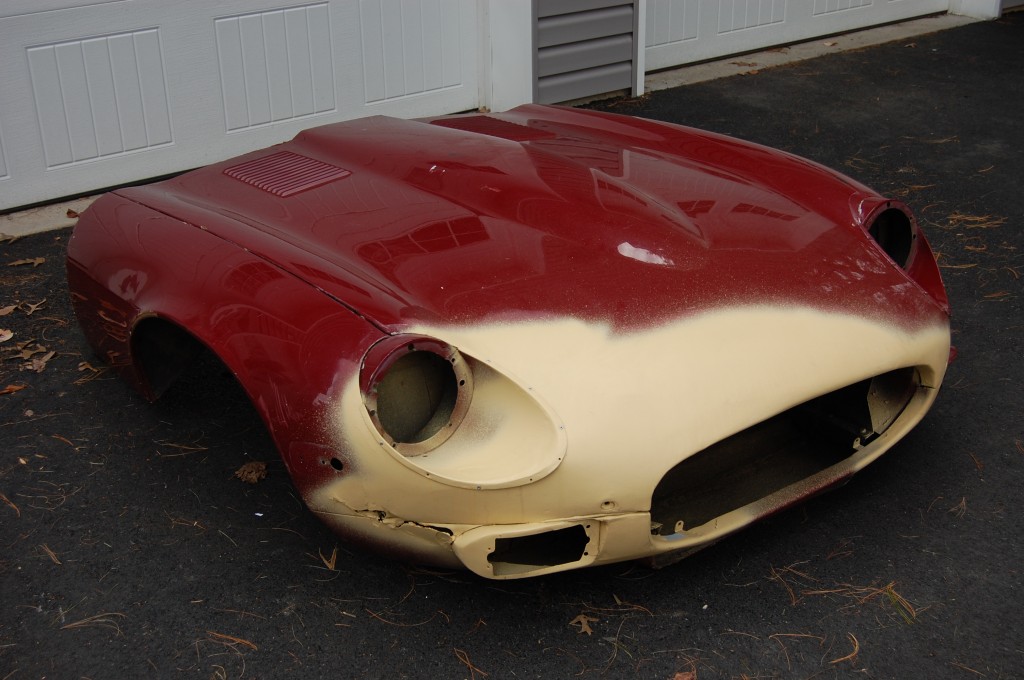
- Back at the shop – time to see what we’ve REALLY got here…
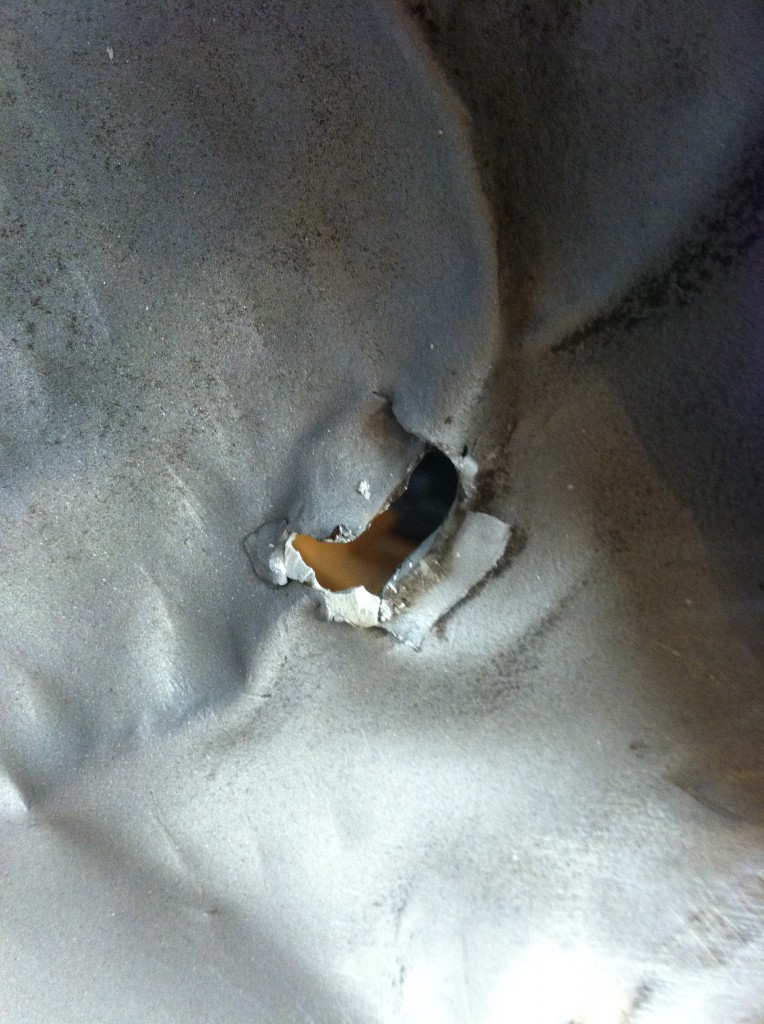
- The tear looks much worse close up in high resolution – of course…
- The air scoop is FILLED with bondo…
- …and I MEAN IT! 1/2″ thick everywhere!
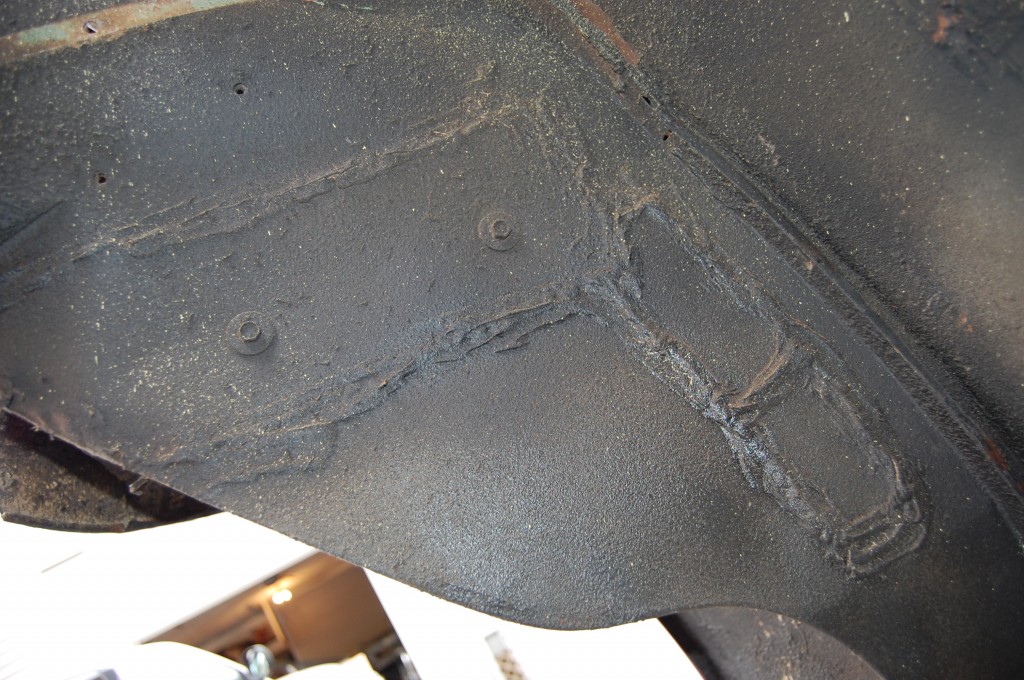
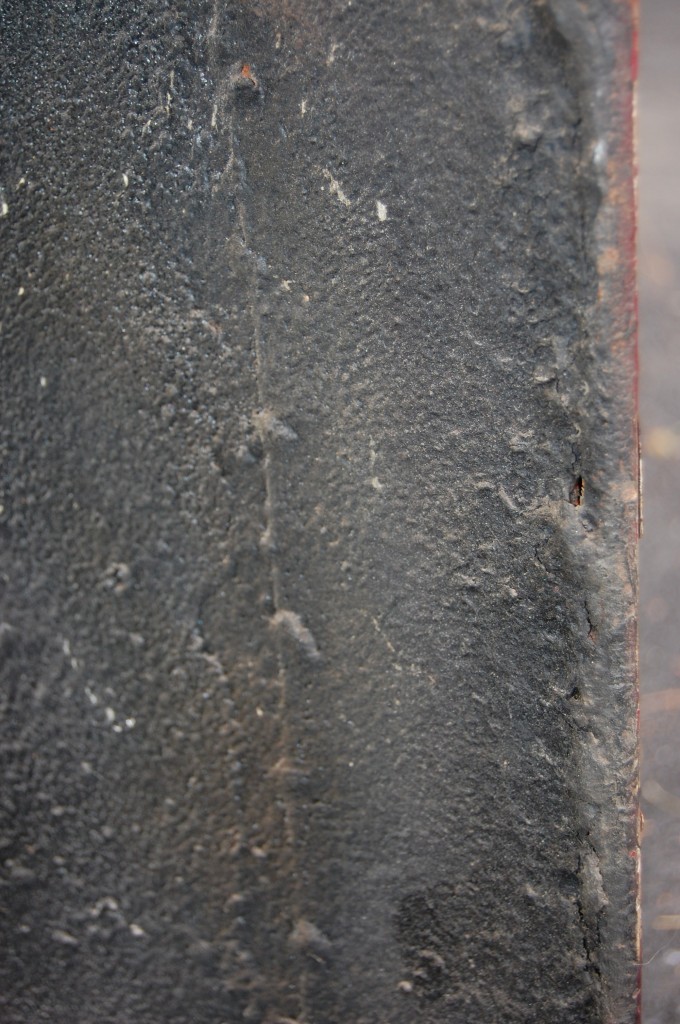
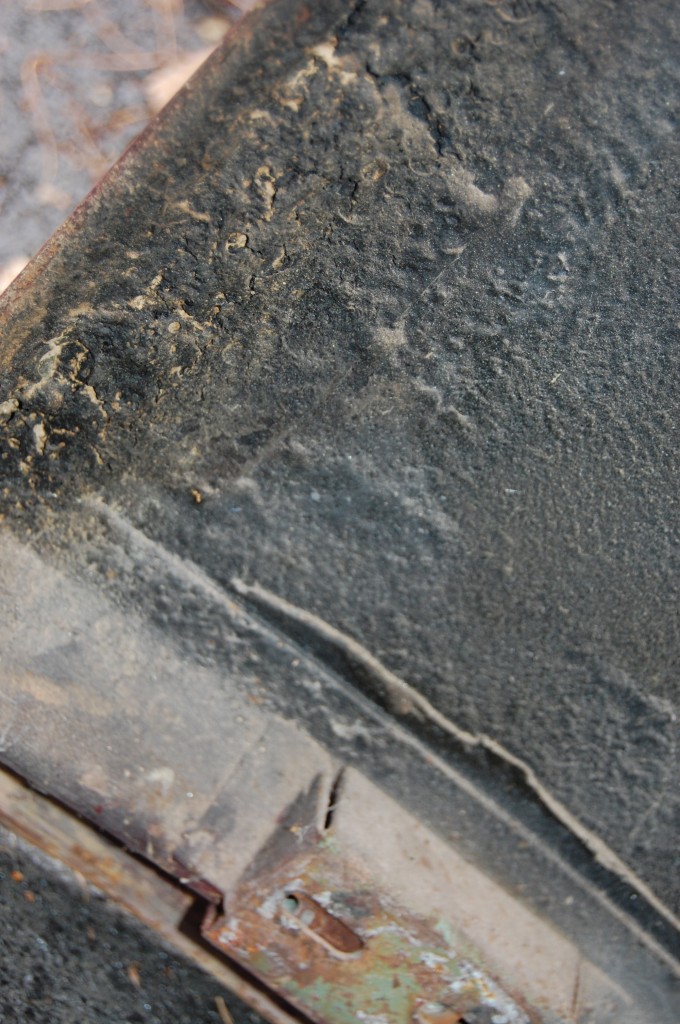
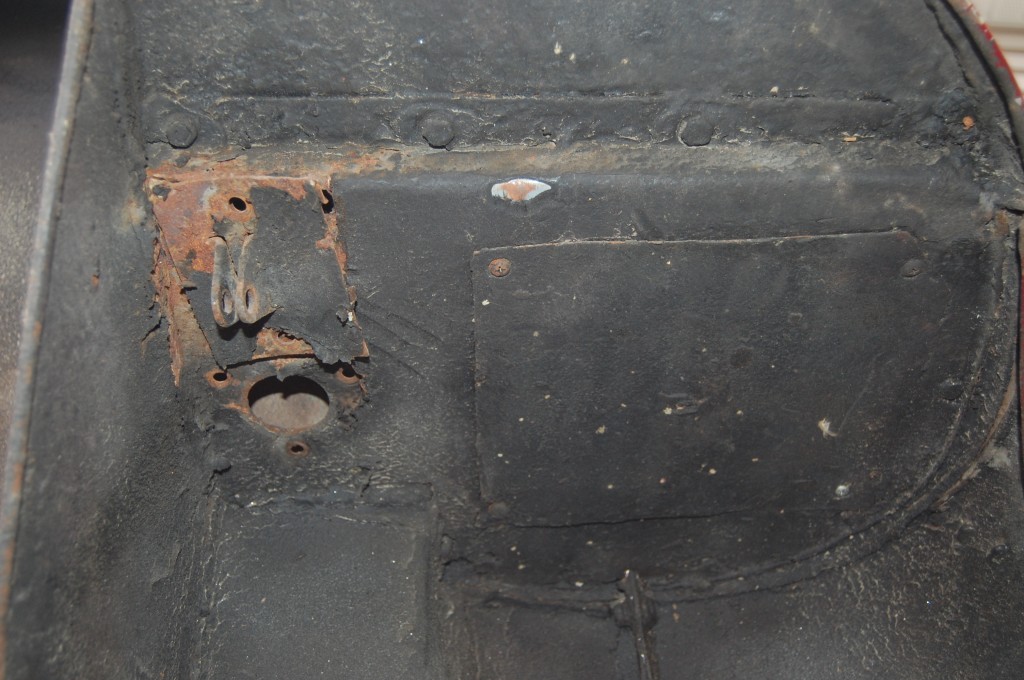
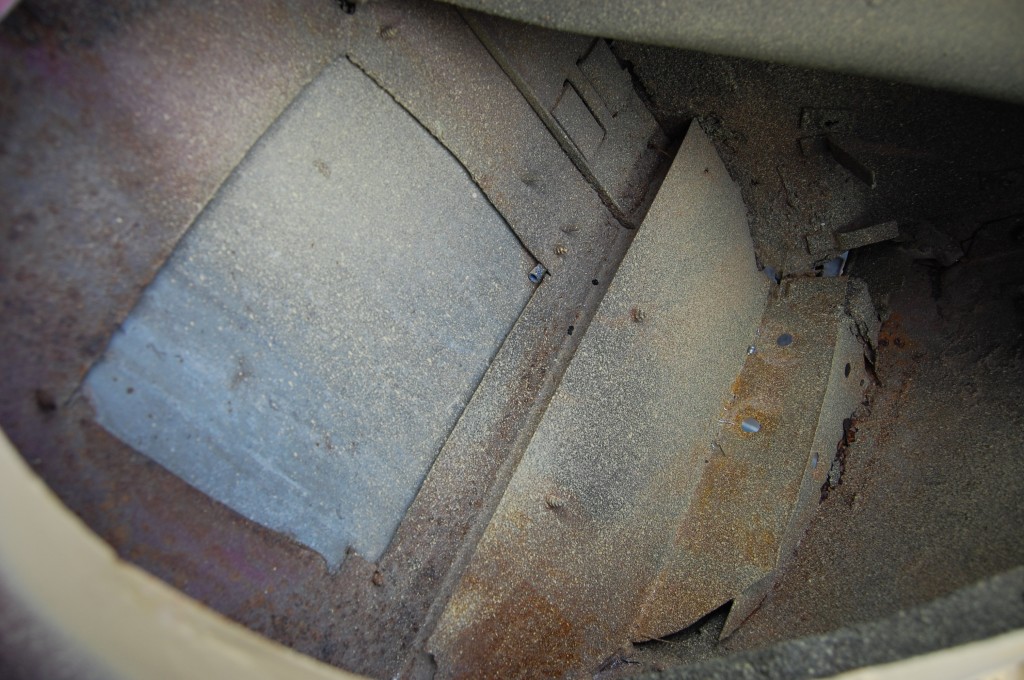
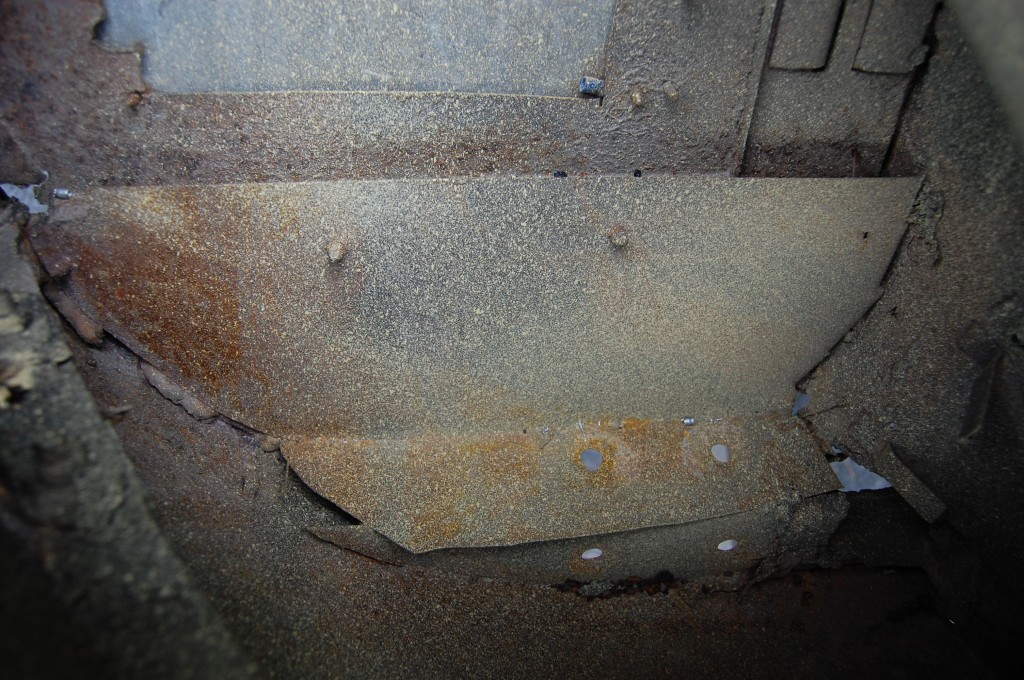
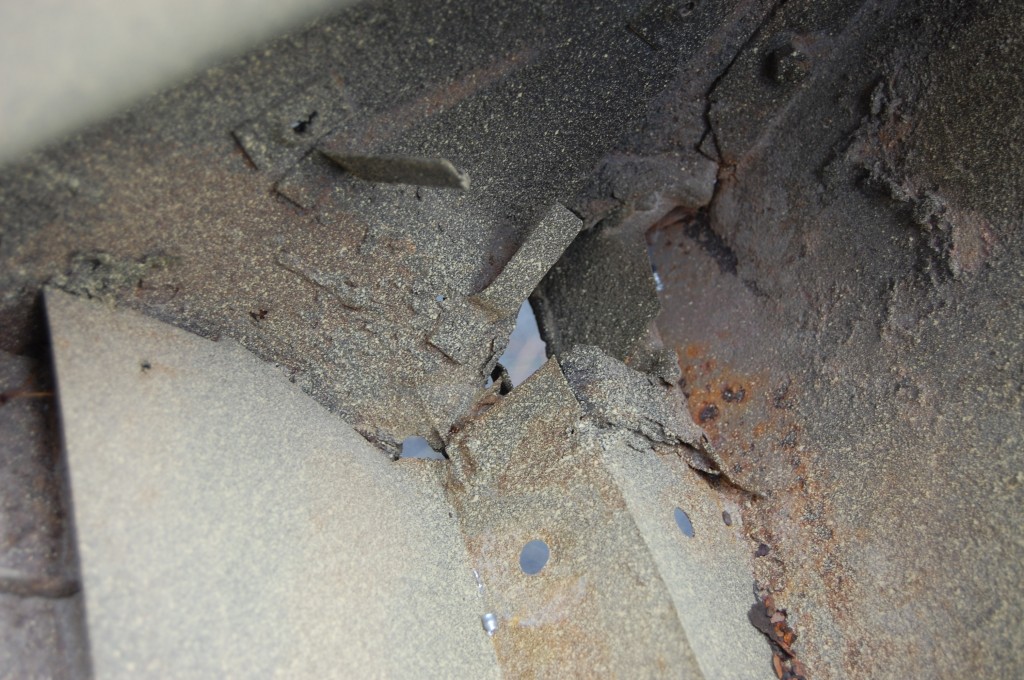
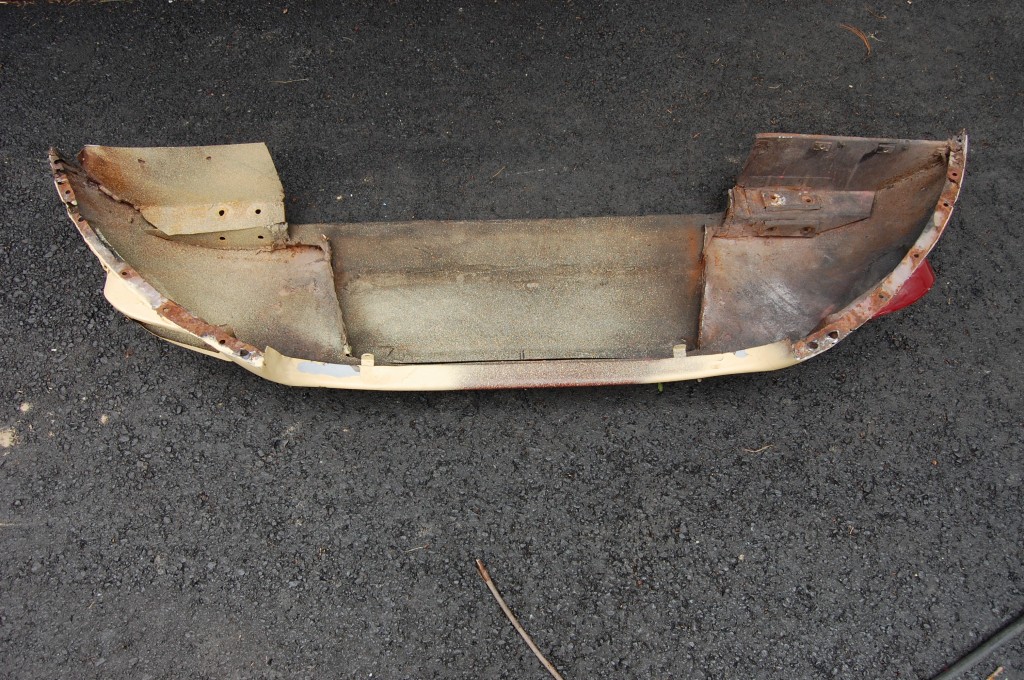
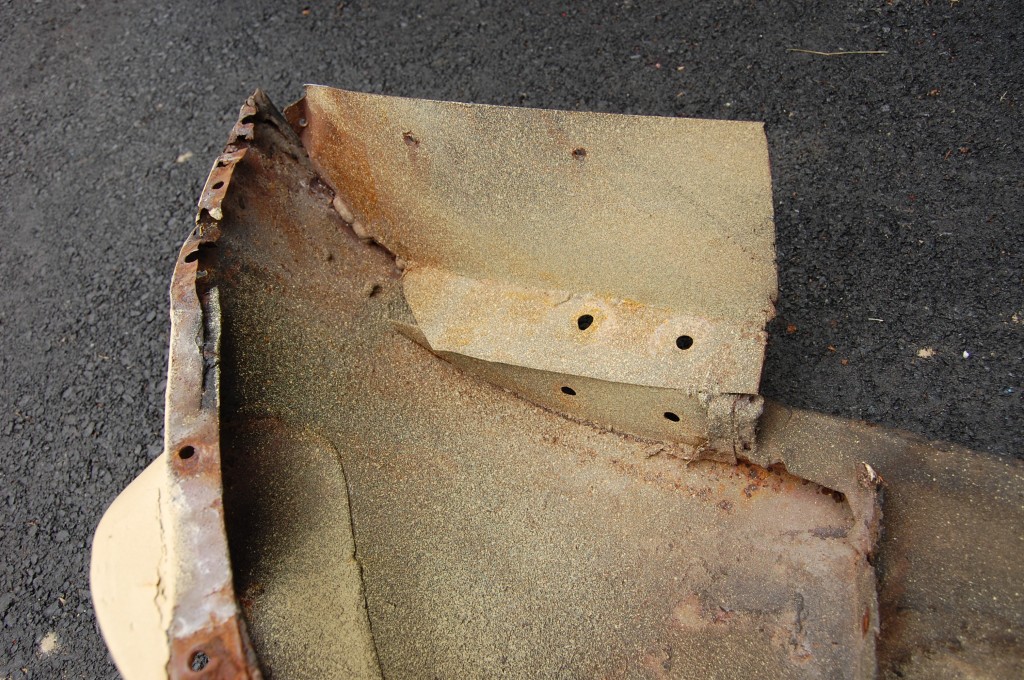
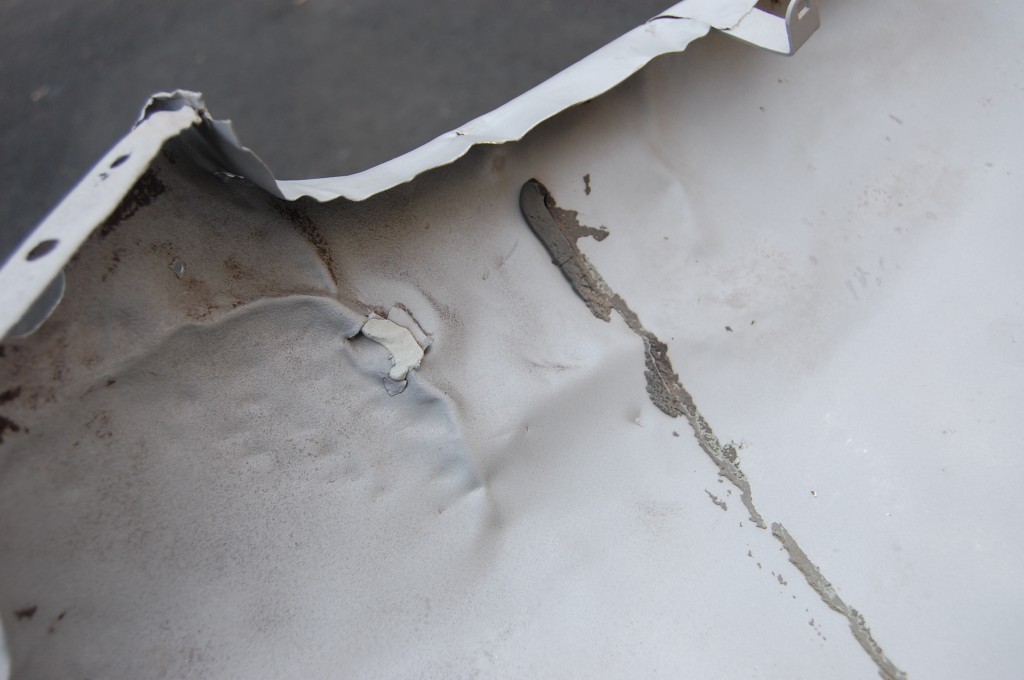
- This is the inner wall of the RH valance – a tough to find part for Series 3 bonnets. I was hoping these would be good and we’d be adding to our stock of good used bonnet pieces. No such luck – these patches covered in undercoating are the typical butchery you see on used bonnets.
- Here is our first pek at what we’ll be seeing in the center section once we get it stripped – the filler looks DEEP!
- Crude patch in the bottom of both wings – so even though the wheel flares ARE good, the rear of the fenders have been butchered already.
- Same story on the other side – crude patch covered with bondo on the outside and undercoating on the inside.
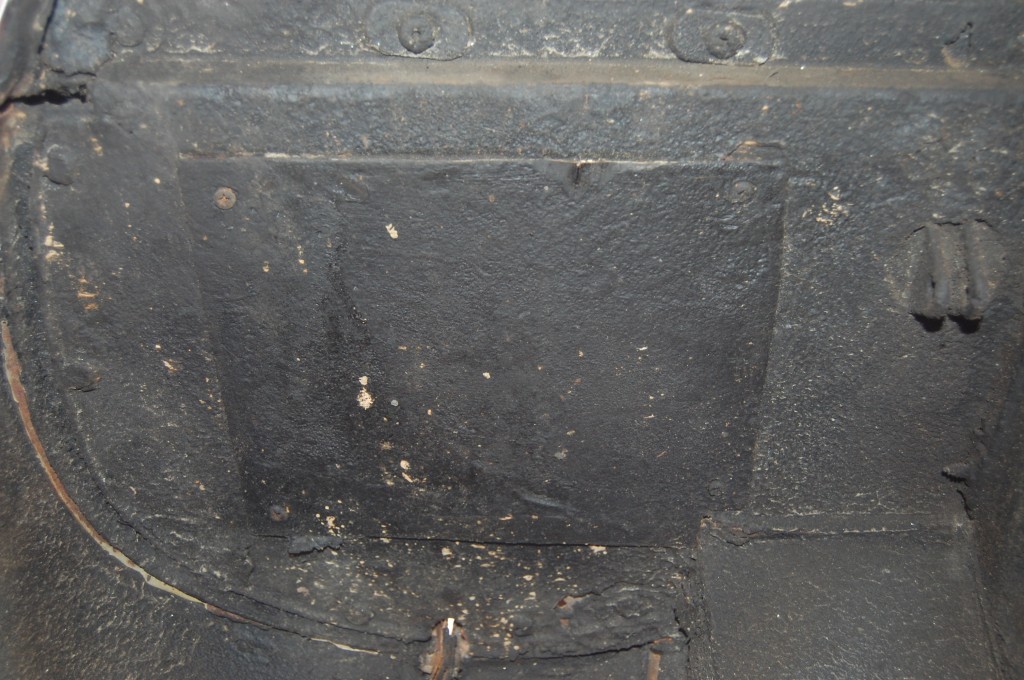
- Both headlamp diaphragm panels were cut and then patched with crude pop-riveted squares. Which is really ridiculous because this was obviously a lazy attempt to get at the headlights from the back, which you can’t anyway!
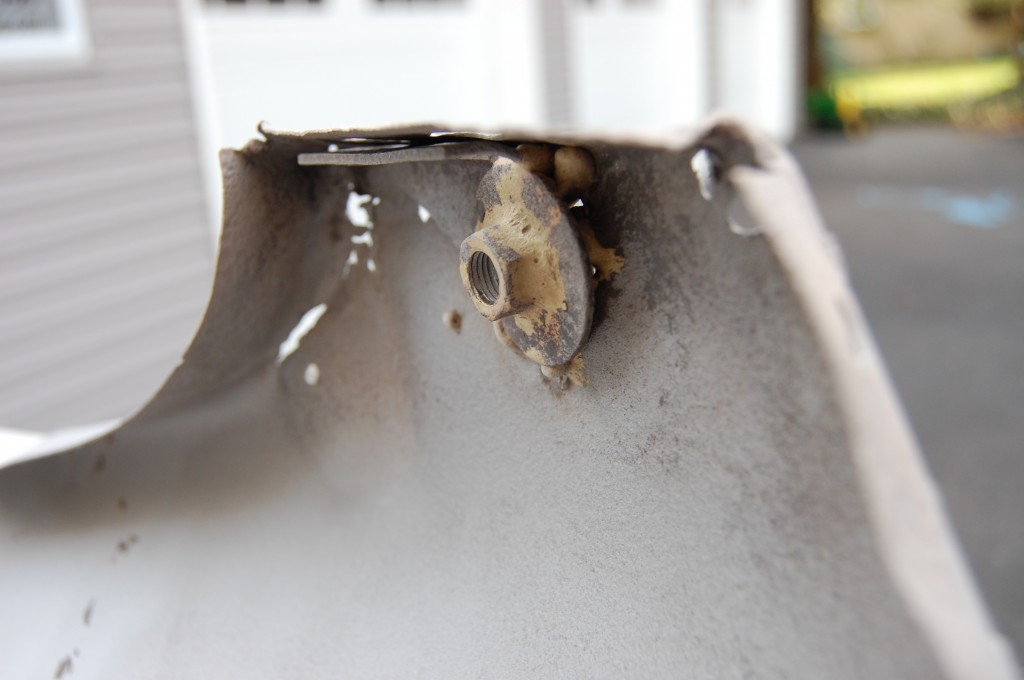
- Other side… Something else really crazy here are the extra mounting ears for another gas-strut on the other side of the bonnet. This is almost certainly an attempt to double up on tired gas struts to keep the bonnet open. This just sems like SO much more work and expense than just buying a new gas strut. I guess this person’s time was really cheap. Come to think oo it – if it’s the same person that made the other “repairs” on this bonnet, I’d say their time was worthless!
- This doesn’t look good – something is amiss here – beyond the fact that the caged plates are gone.
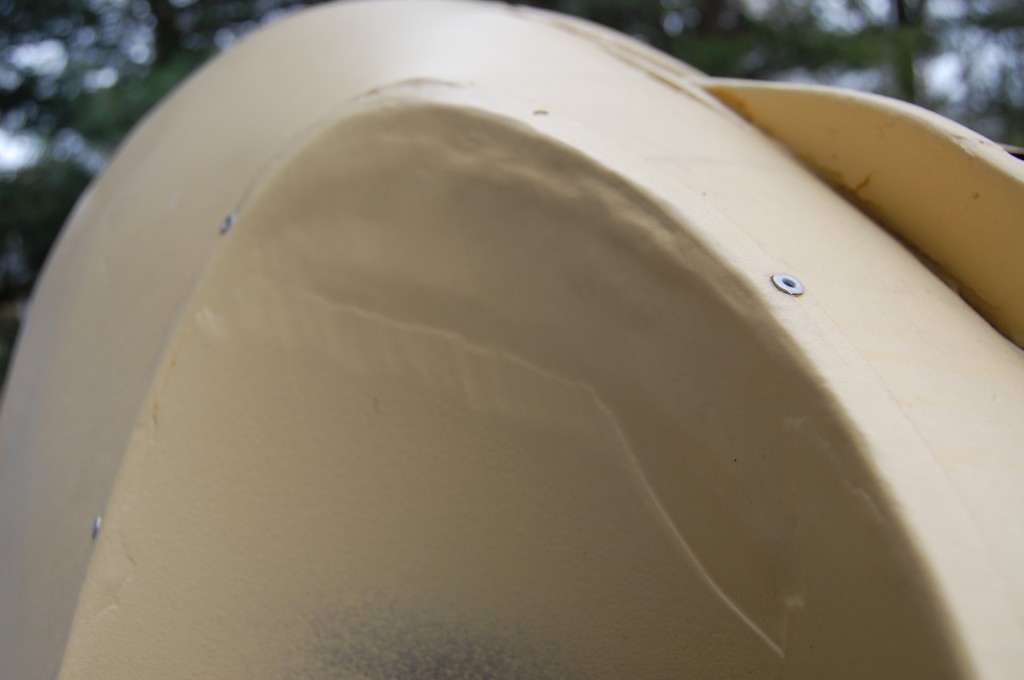
- Sugar scoops are badly wrinkled. On these, though, we have machined some tooling for the power hammer that reshapes these as smooth as glass in bare metal.
- All kinds of kinks and tearing in the leading edge of the nose.
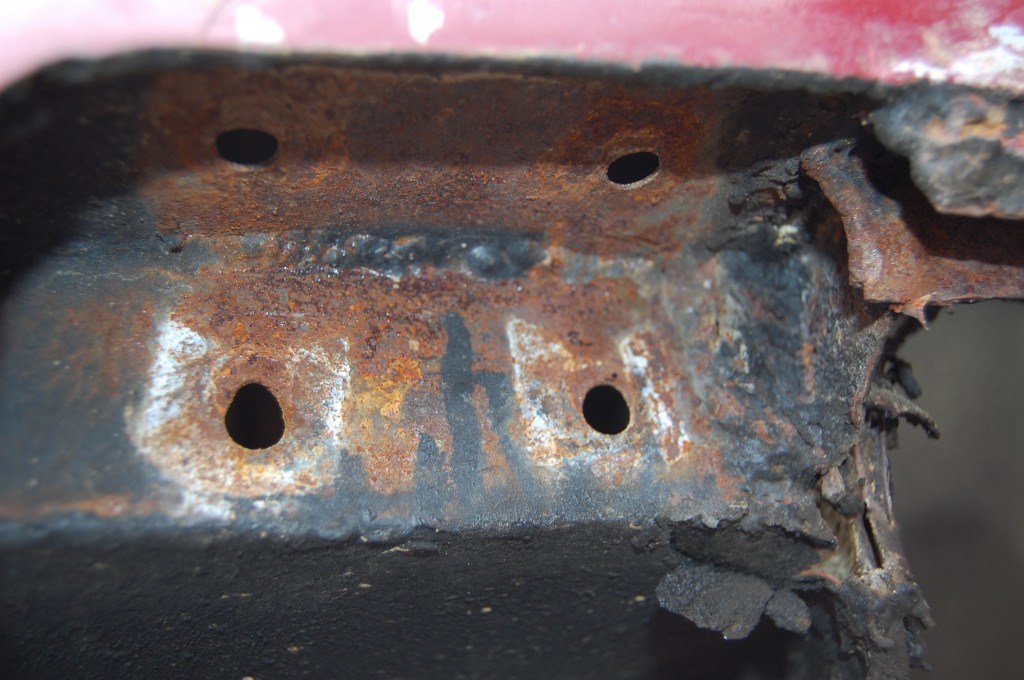
- An internal shot of the crude patch in the headlamp diaphragm, and our first look at the thin sheetmetal patch for the hinge mounts – it was a joke.
- “Hinge areas are good” – yeah right…
- More photos of the “good” hinge area…
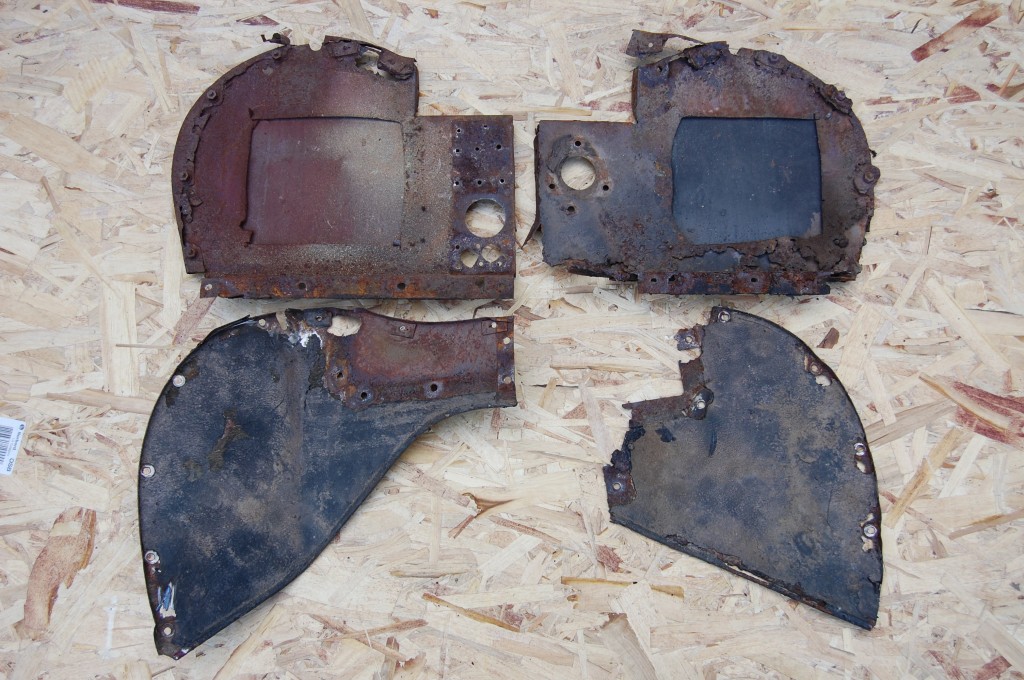
- All 4 of these internal panels are totally shot.
- Here is the lower valance off the bonnet. It is almost a total write-off.
- “Hinge areas are good”…
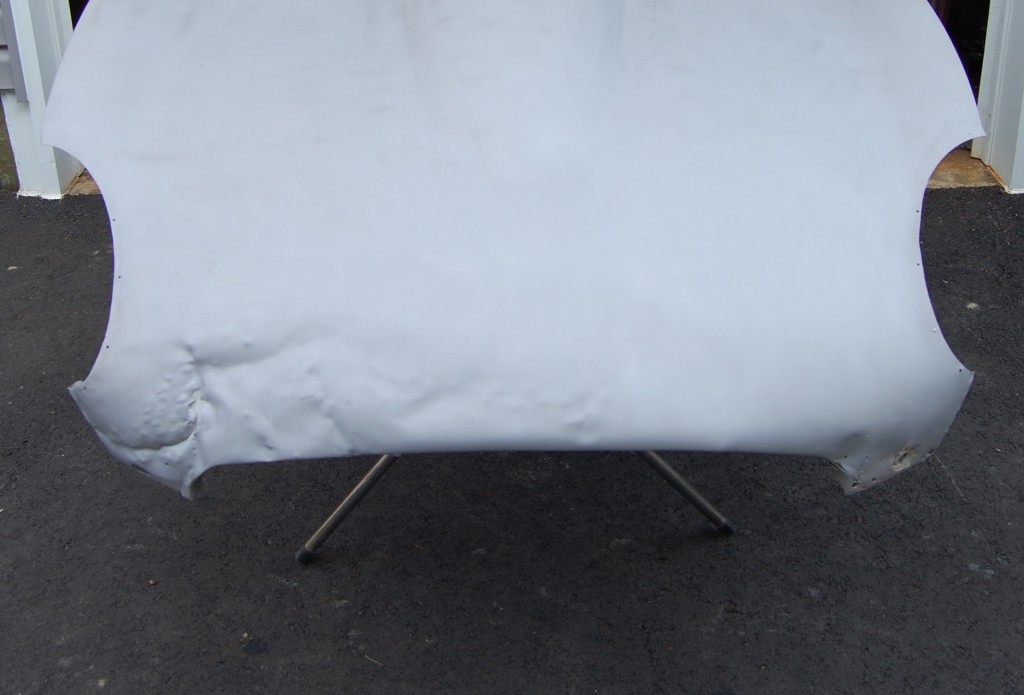
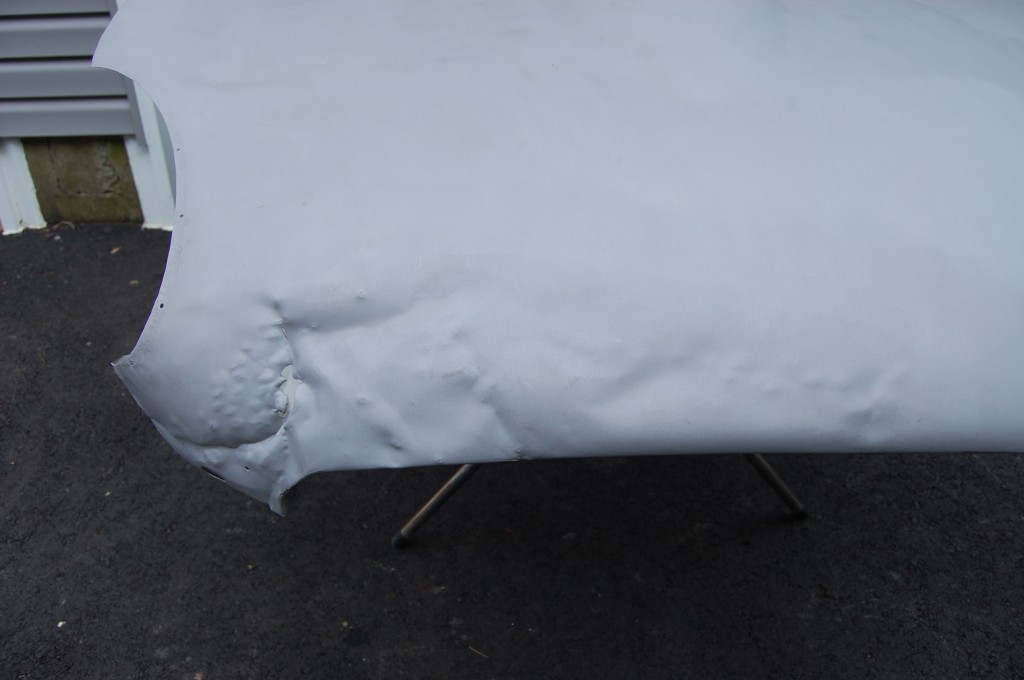
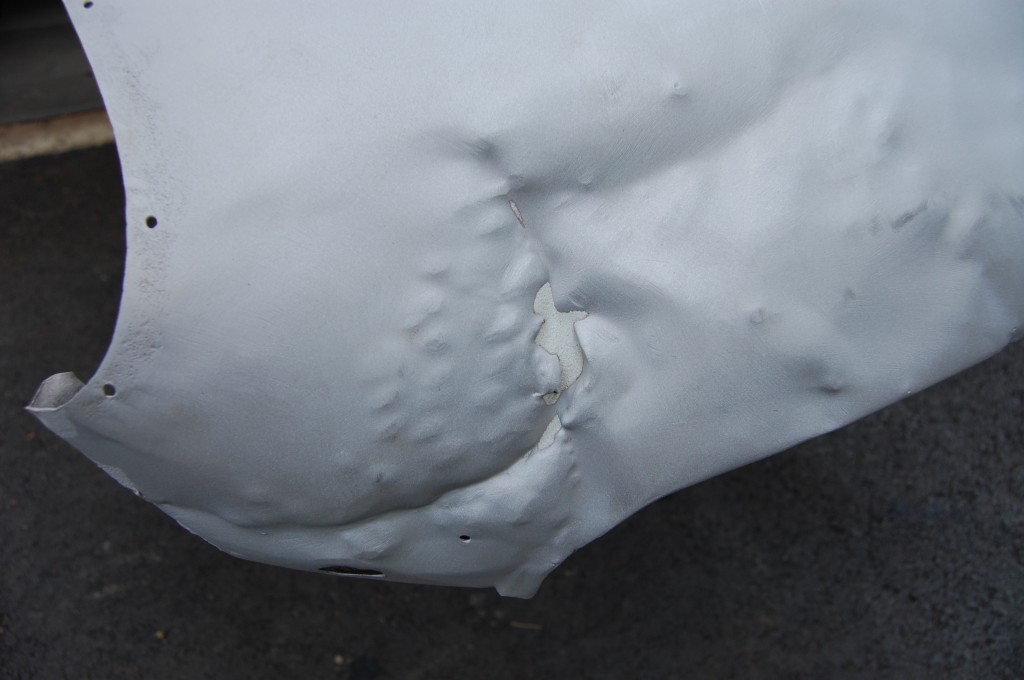
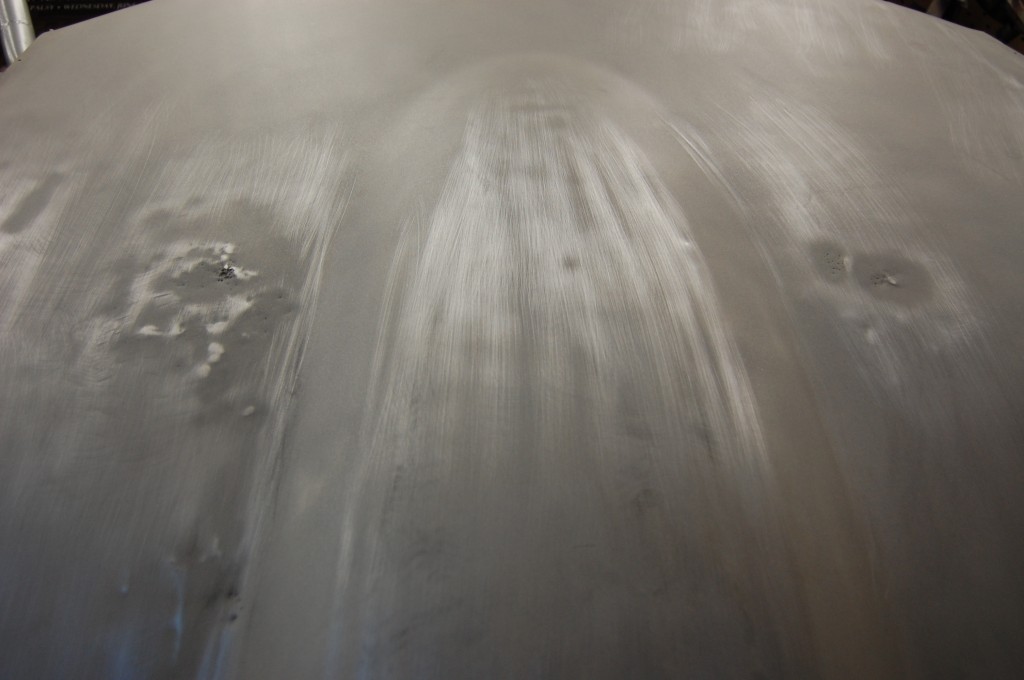
- Here is what the center section looks like naked – not too much of a surprise to me, and re-shapeable, but not what YOU would be expecting to get if YOU purchased this bonnet.
- Another close-up of the damage…
- …and another.
- Here are some “repairs” on the other side.
- What that looks like underneath.
- Nice…
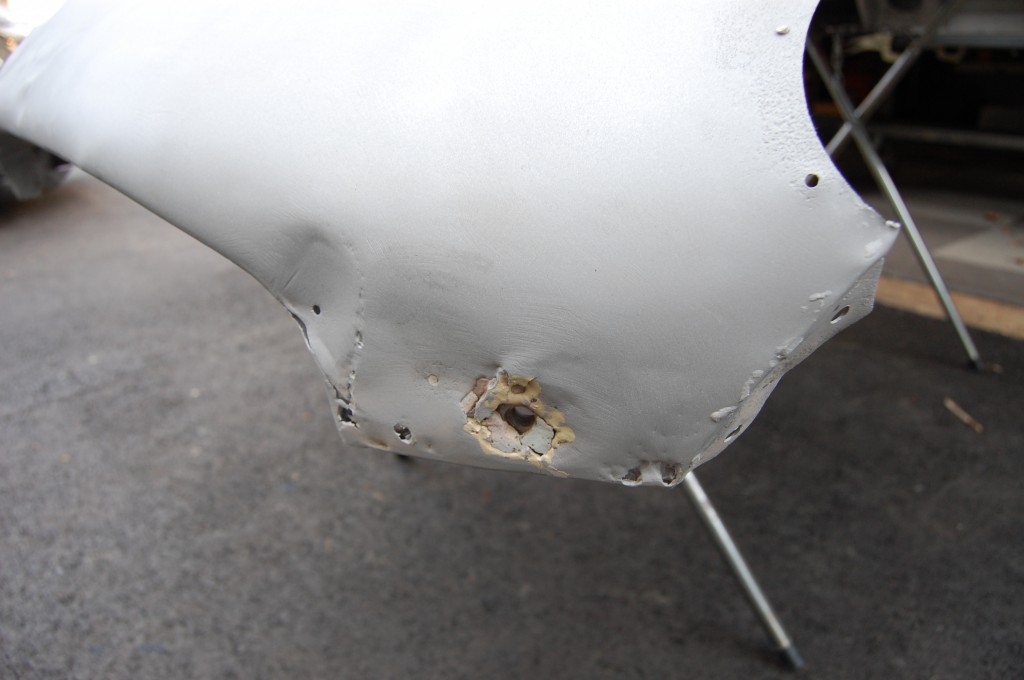
- This center section was coated in MASSIVE amounts of that maroon paint and high-build primer, so to add insult to injury it had to be chemically stripped before it caould be blasted. When all was revealed, there was also some poorly hammered out damage where the radiator had been pushed up into the bonnet at some point.
- Here is the focal point of the damage in the center section – a large hole that was just packed full of bondo. Follow along in future blog entries to see how we erased this damage completely.

