
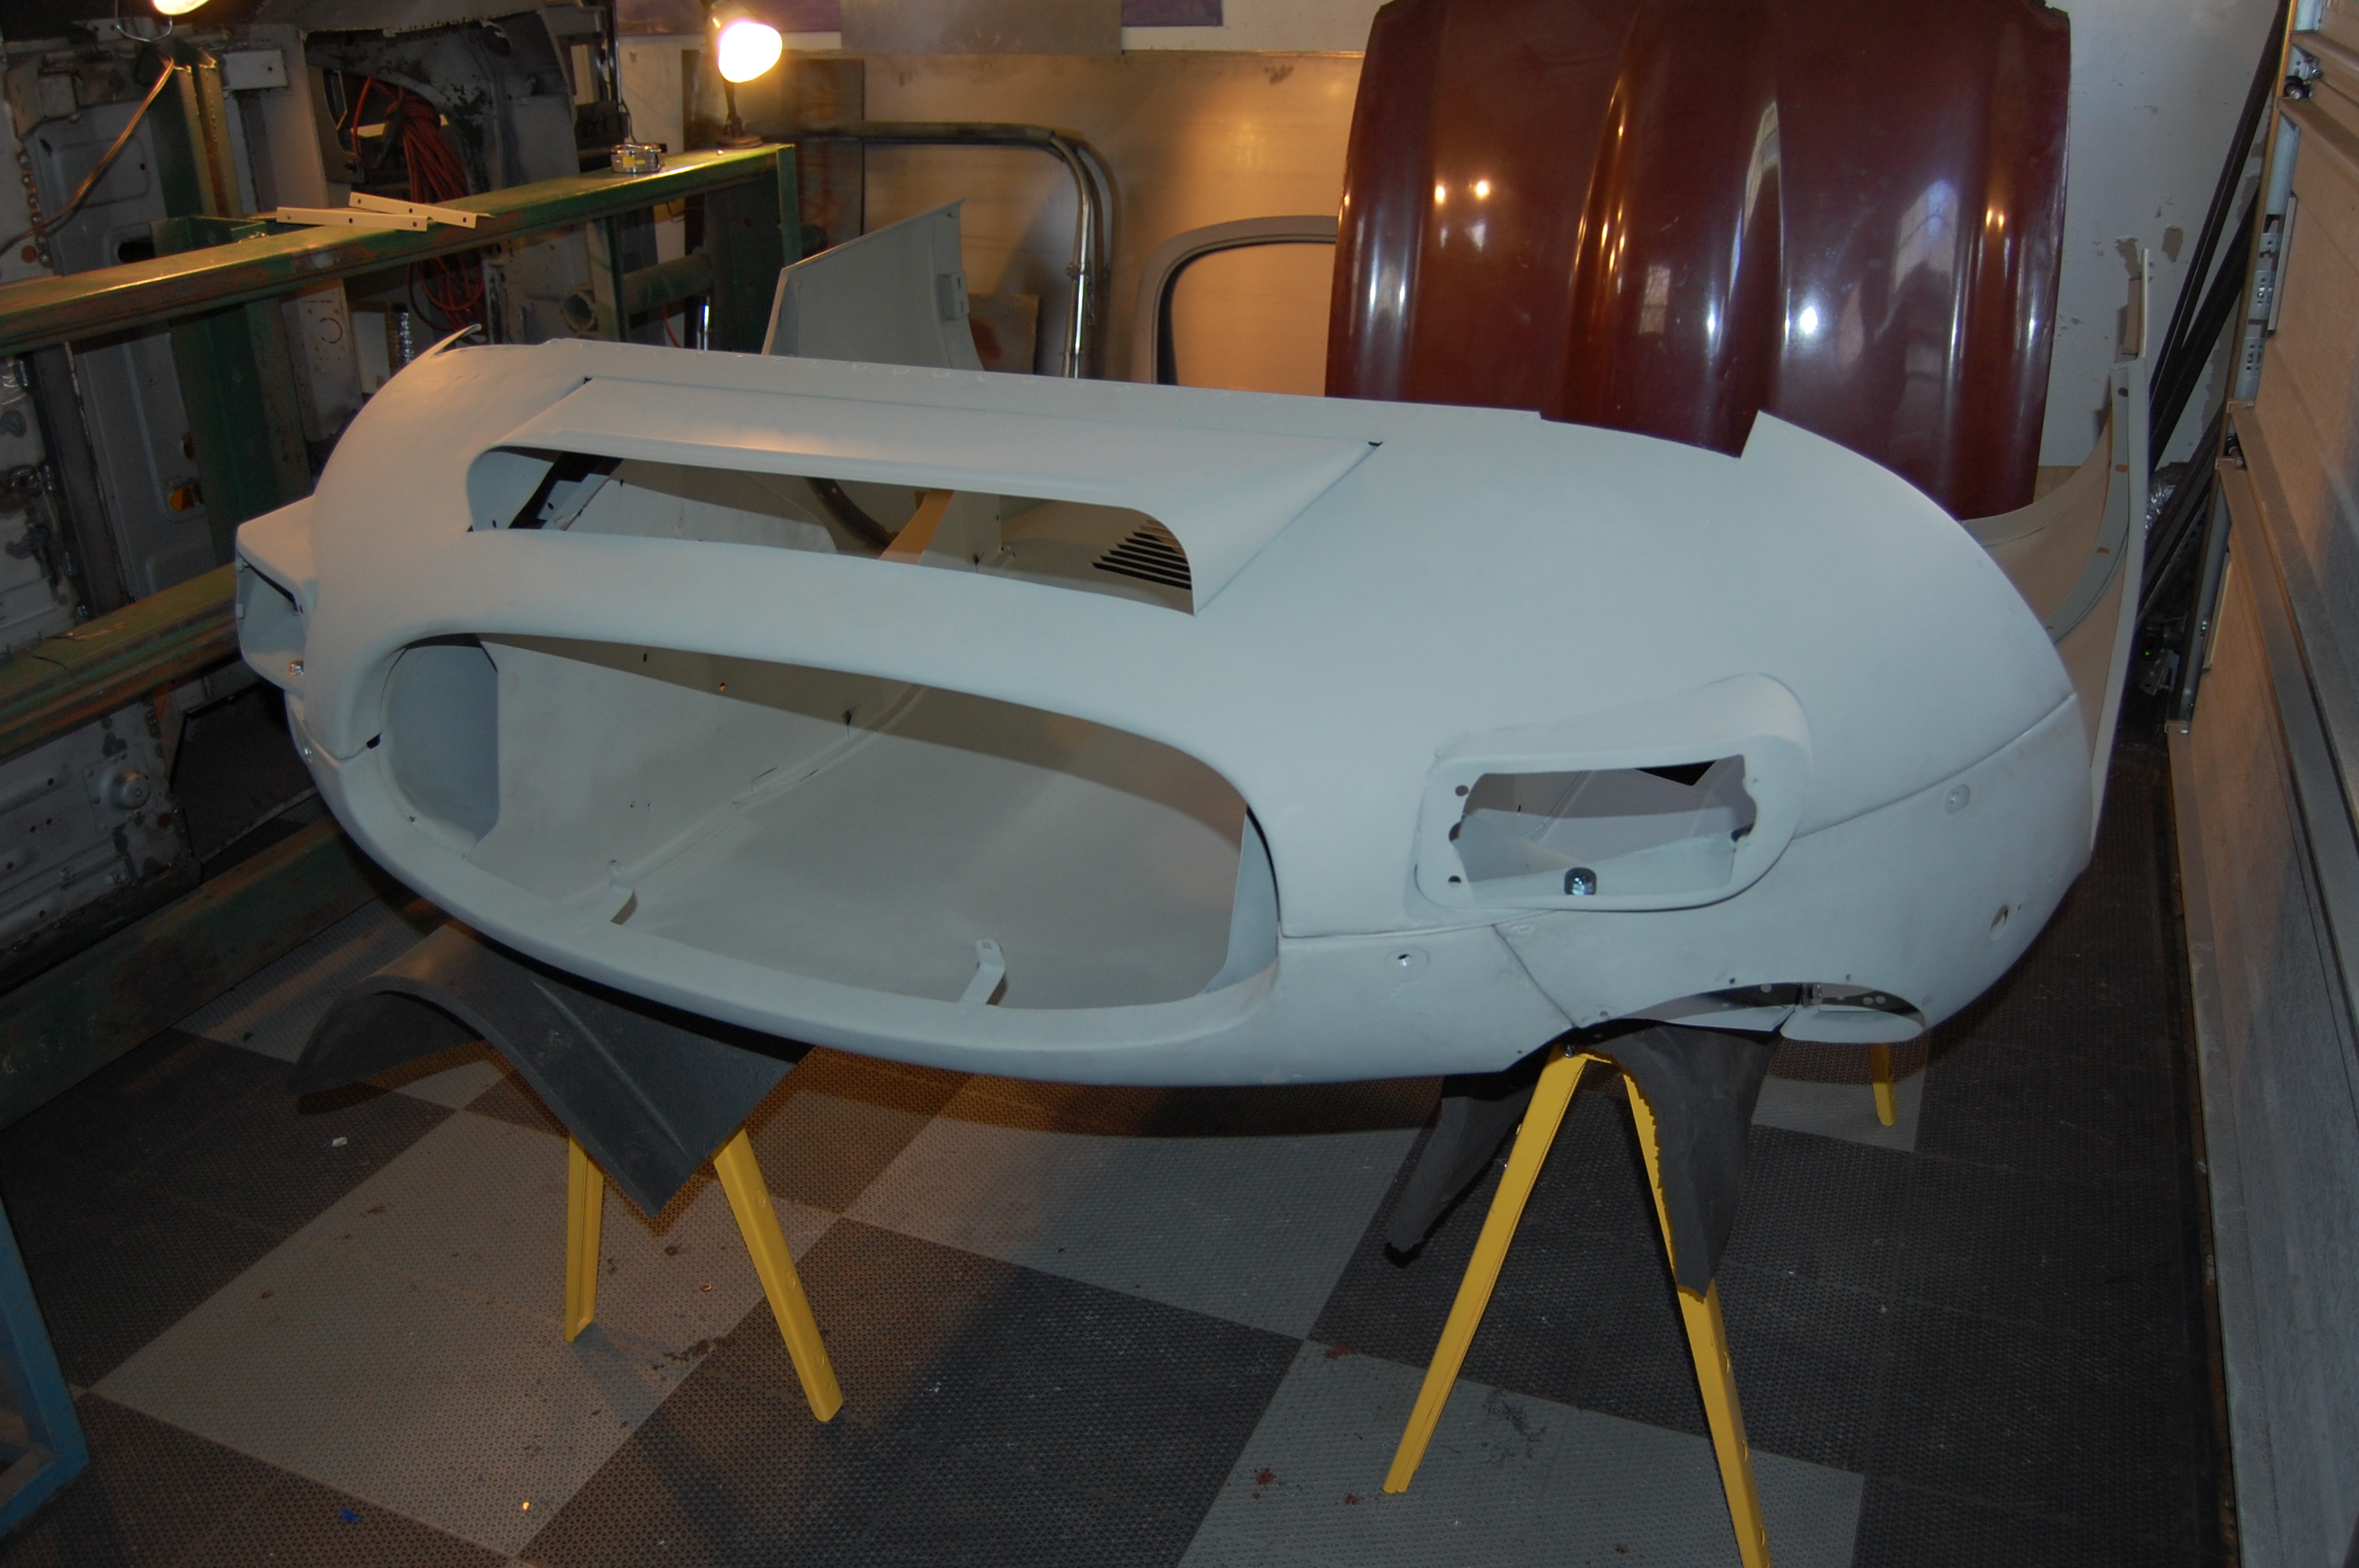
All pieces have either been restored or fabricated now, and we’re ready for assembly – finally!
-

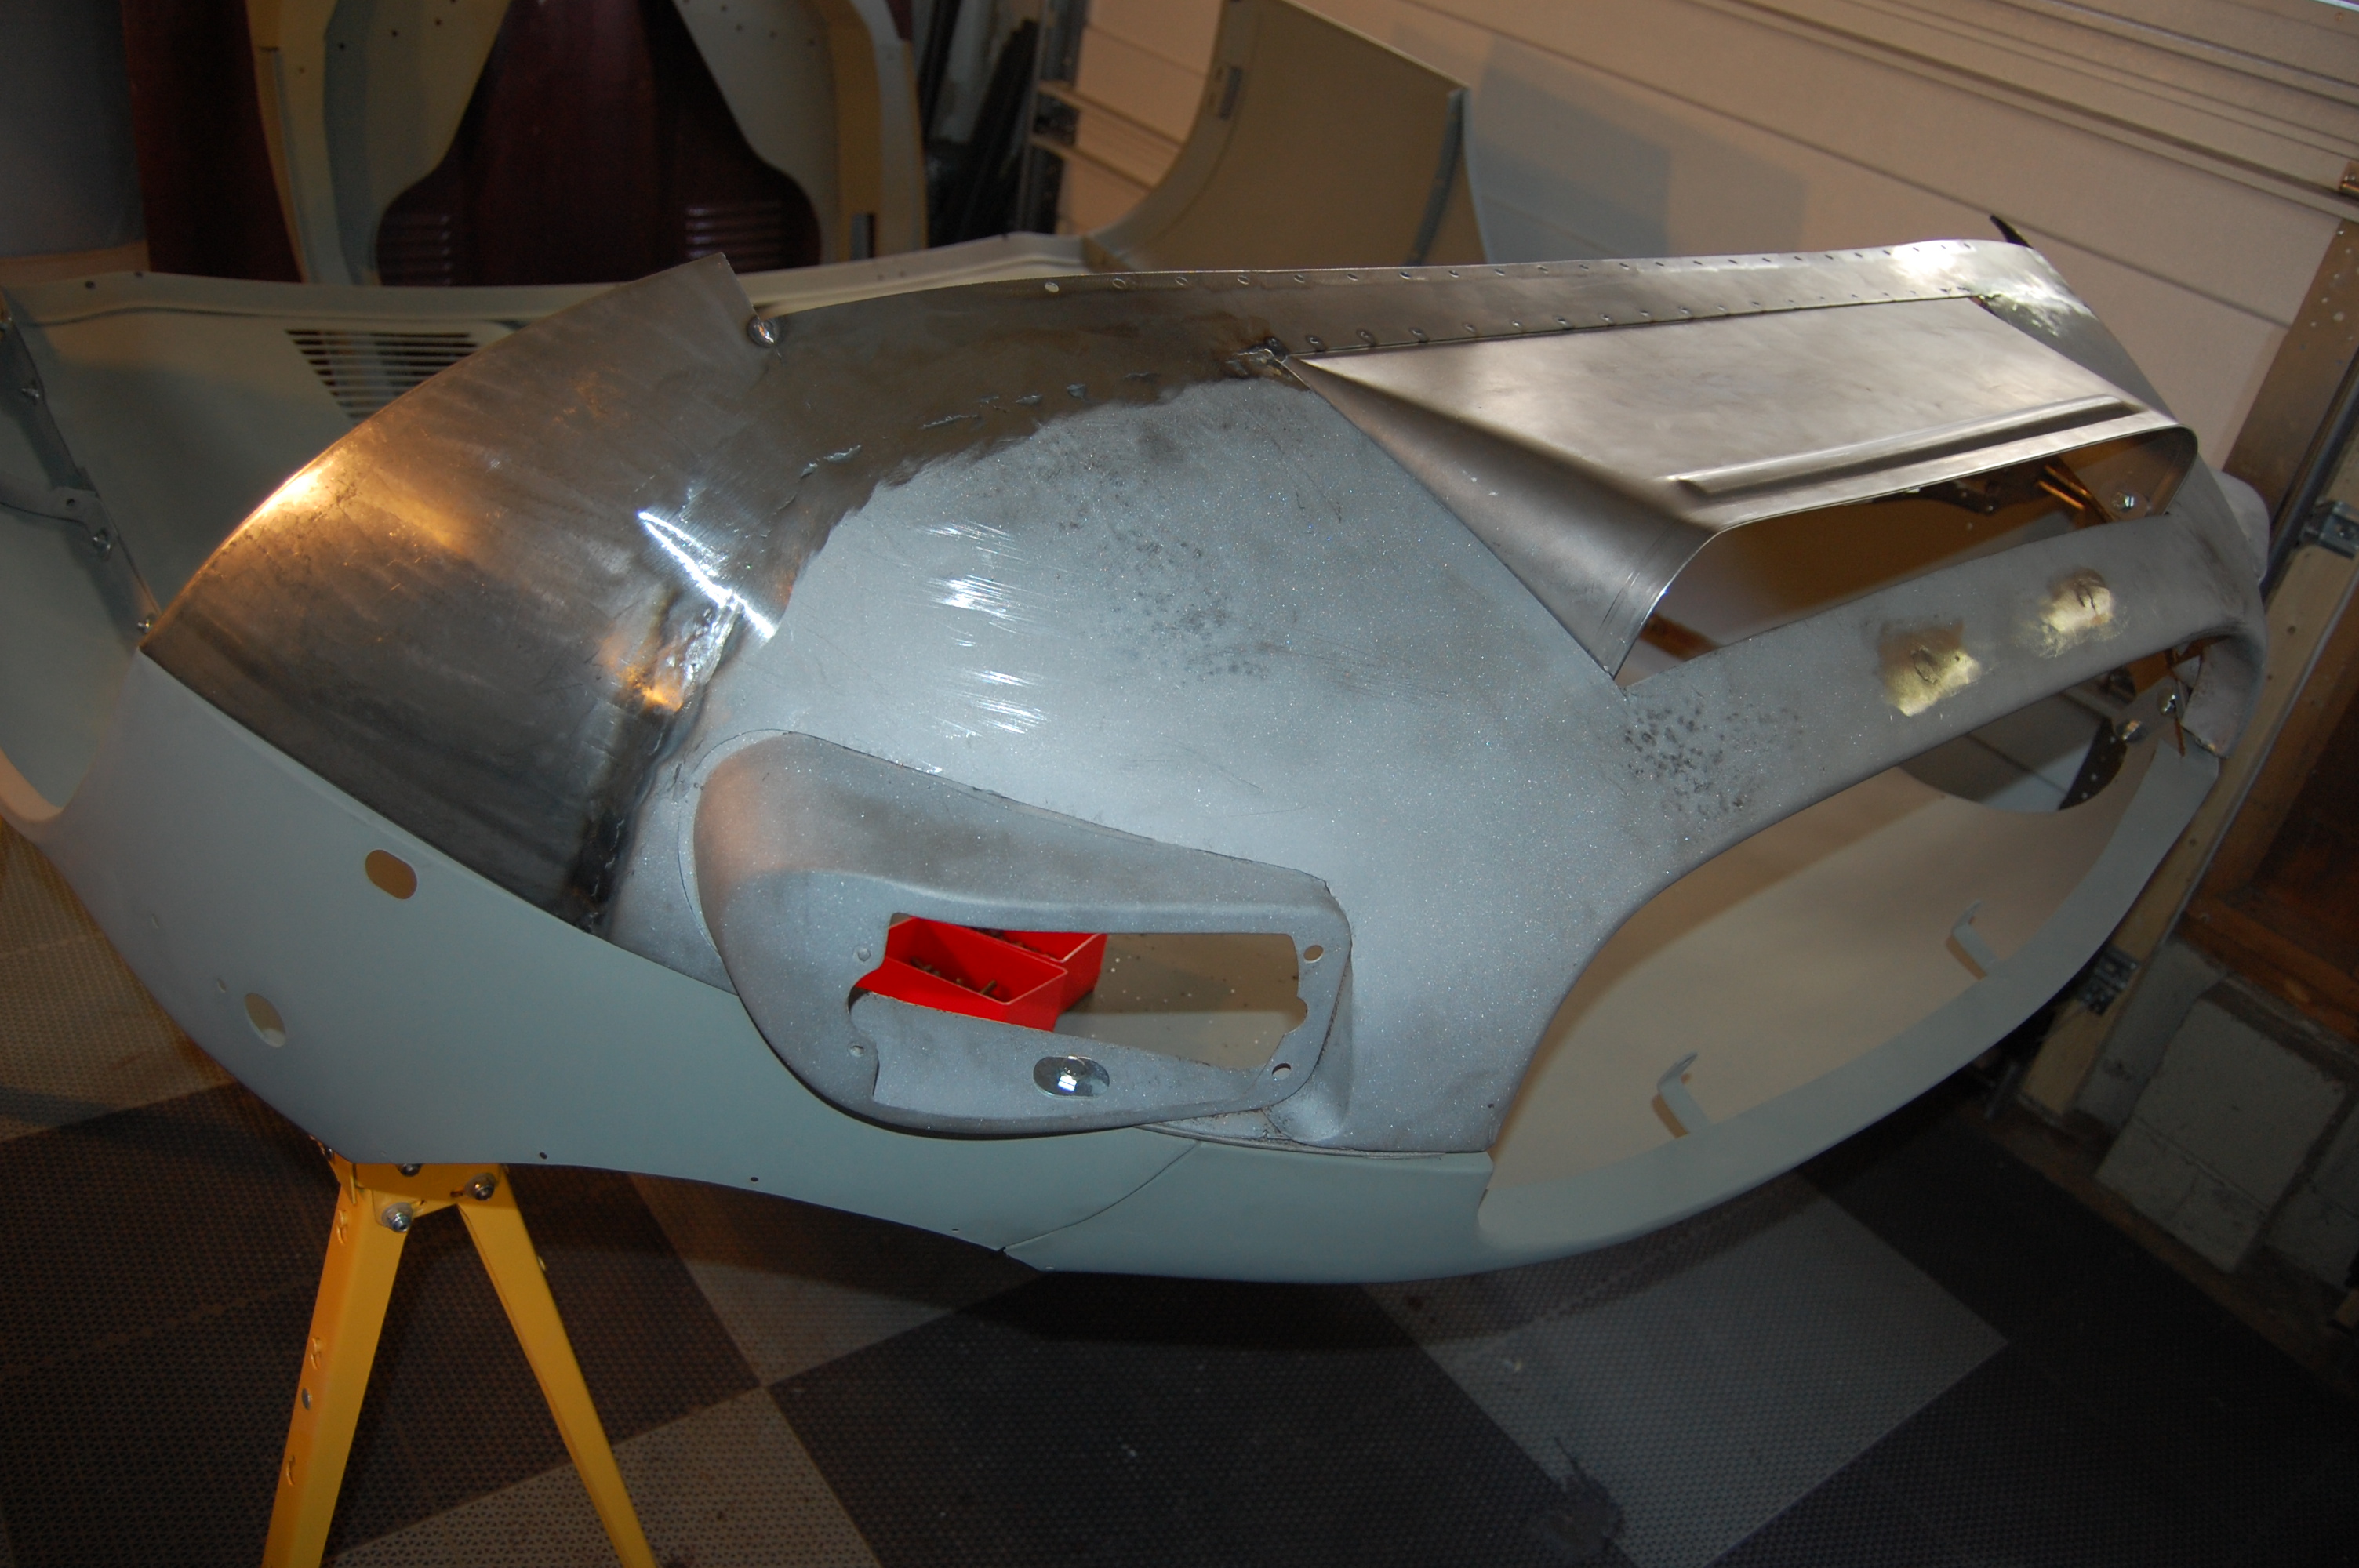
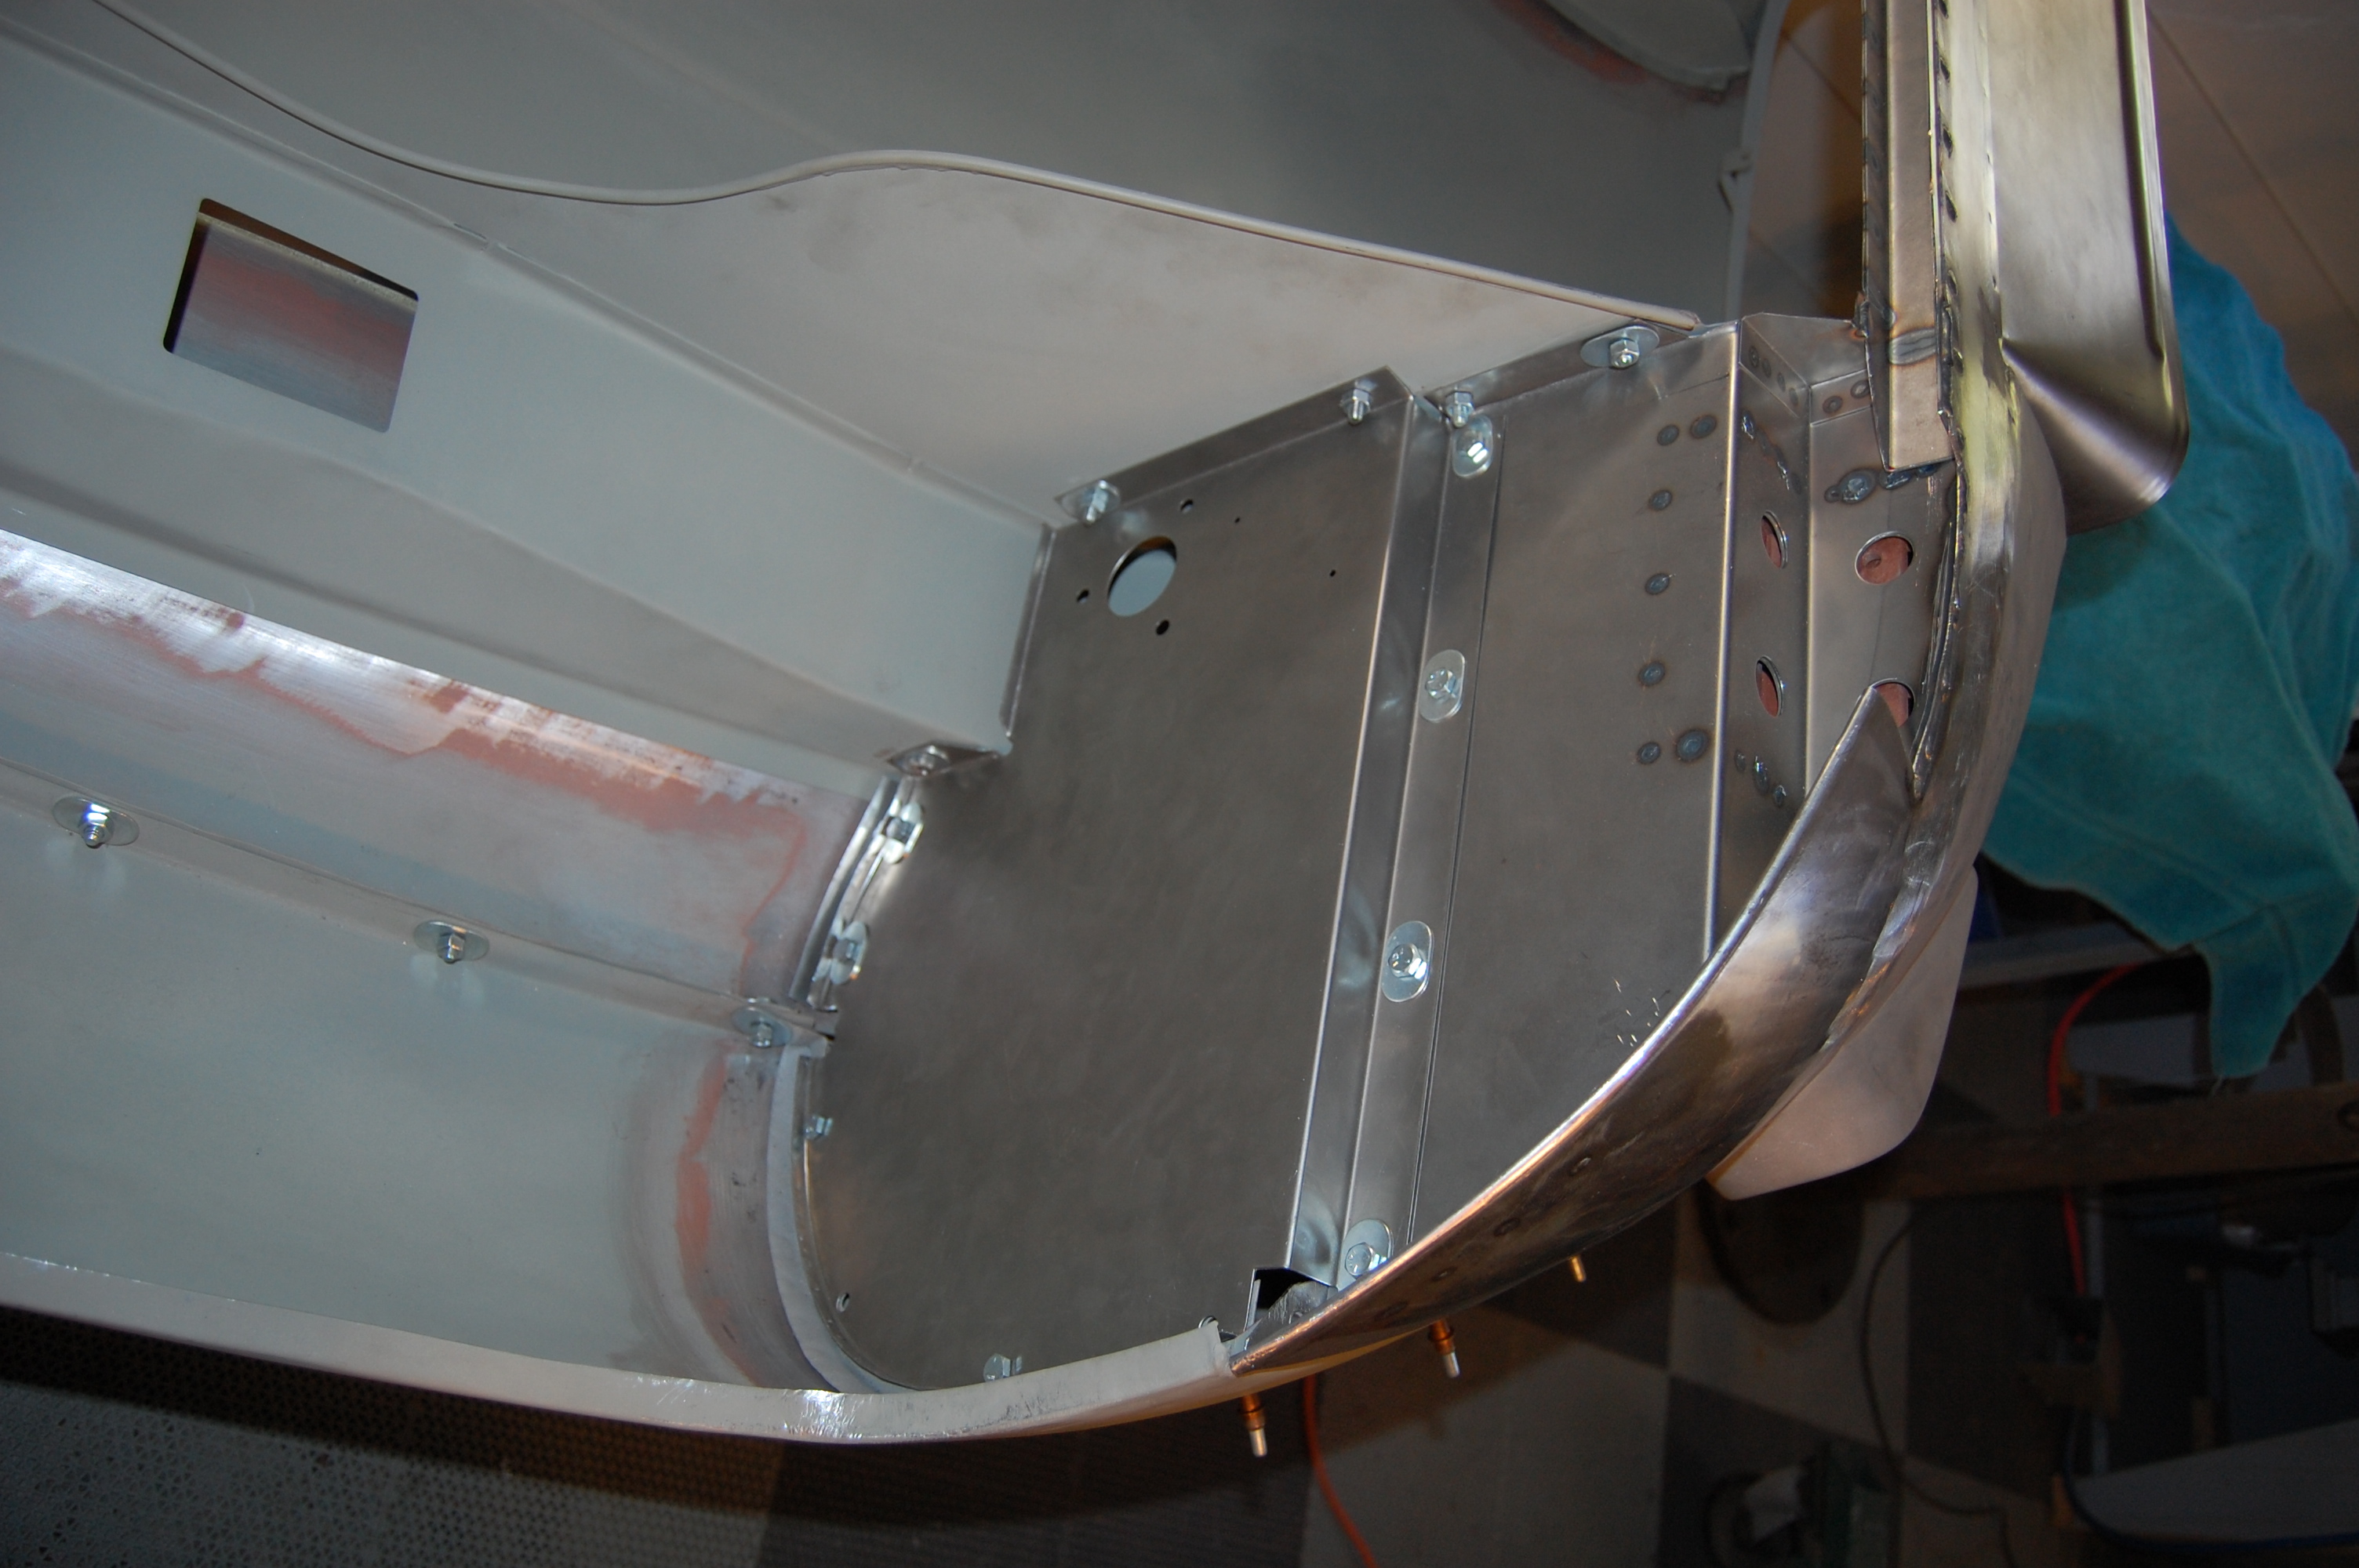
- Test assembly begins – this is where we make final adjustments to each panel and then final bond the bonnet flanges.
-

- Another shot of the test assembly.

-
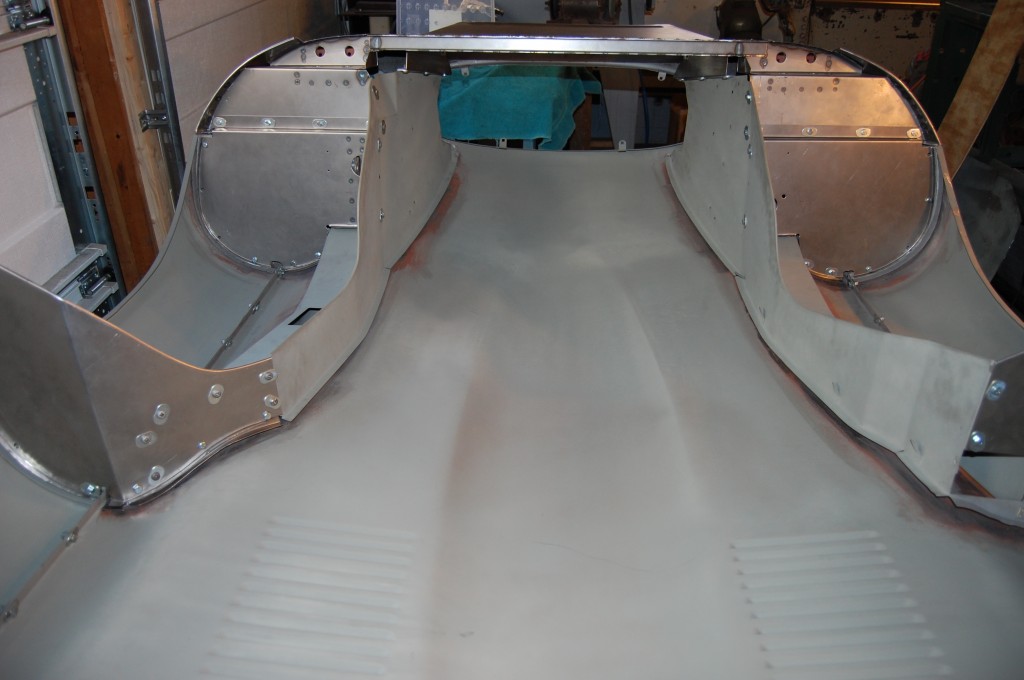
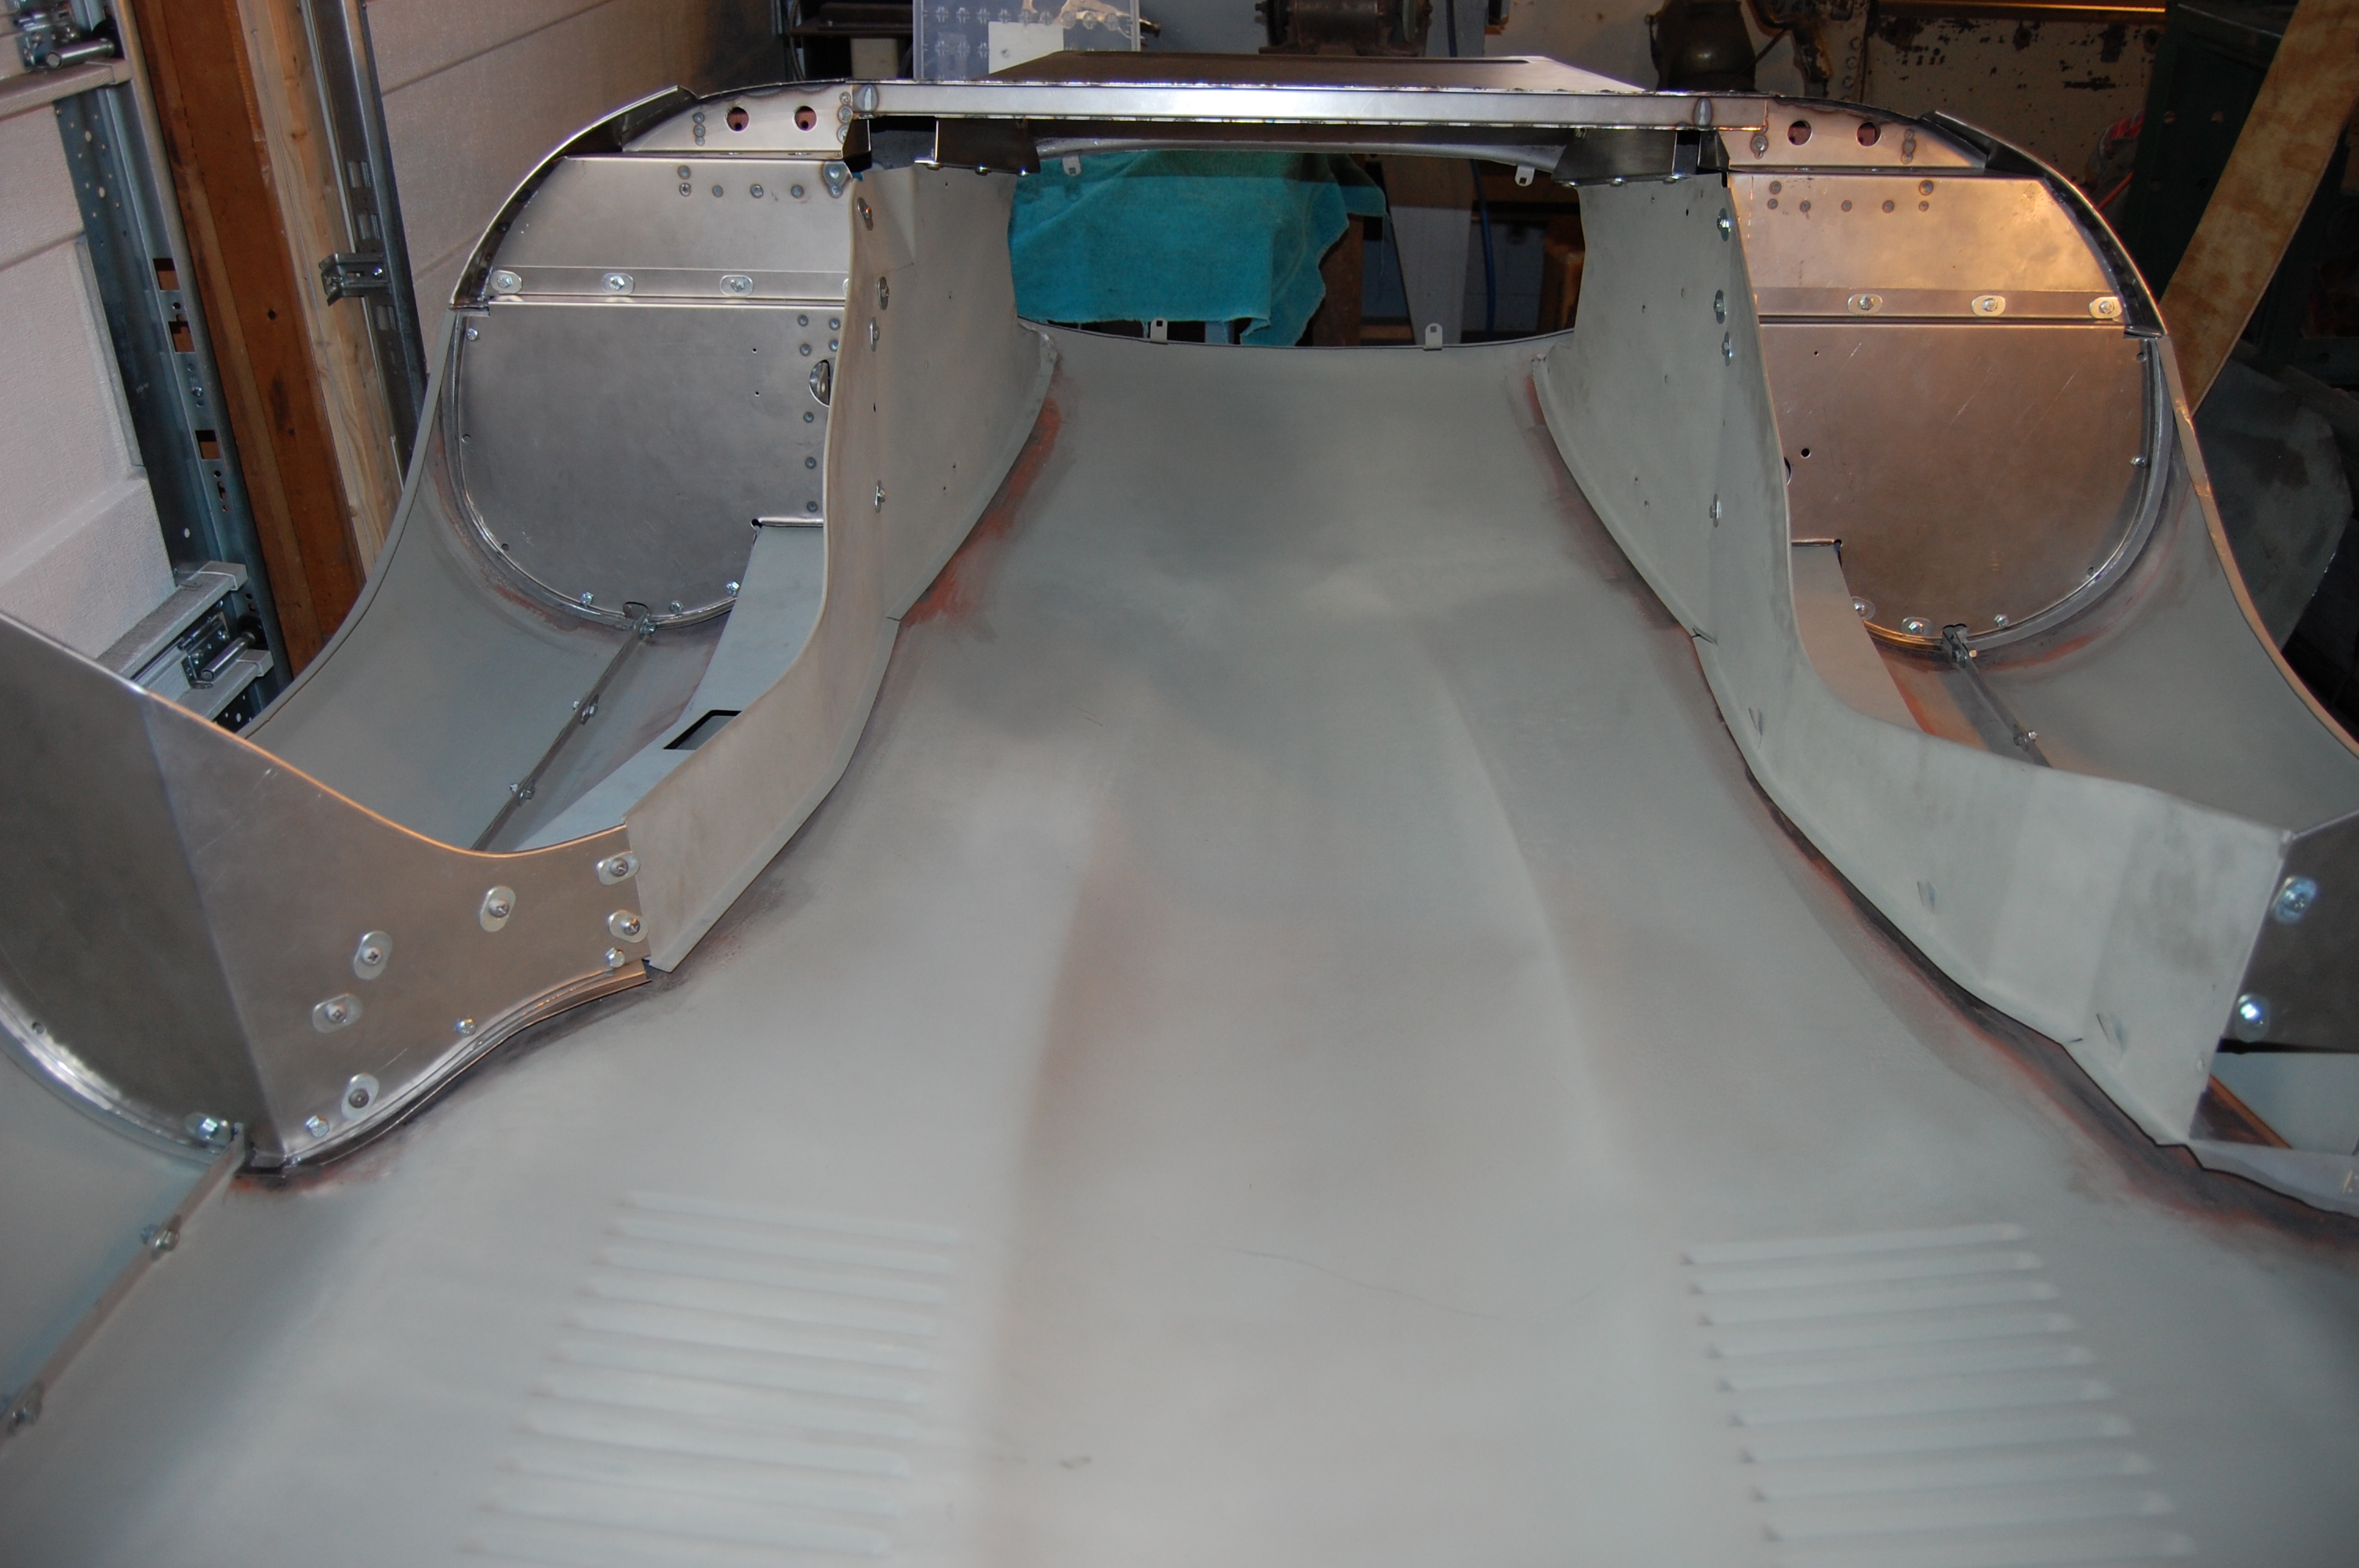
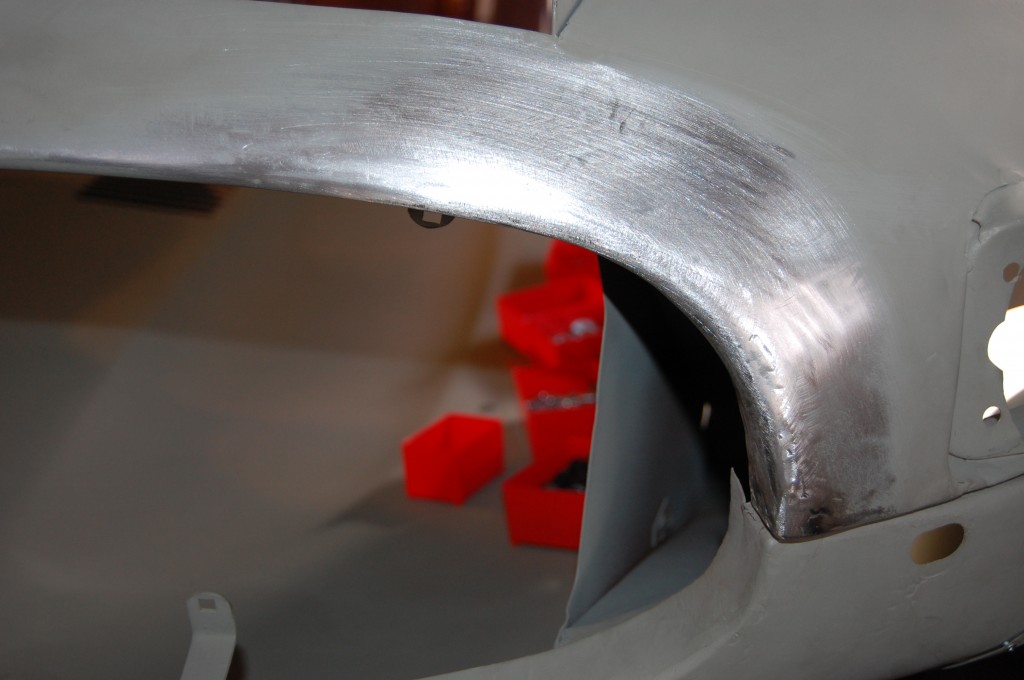
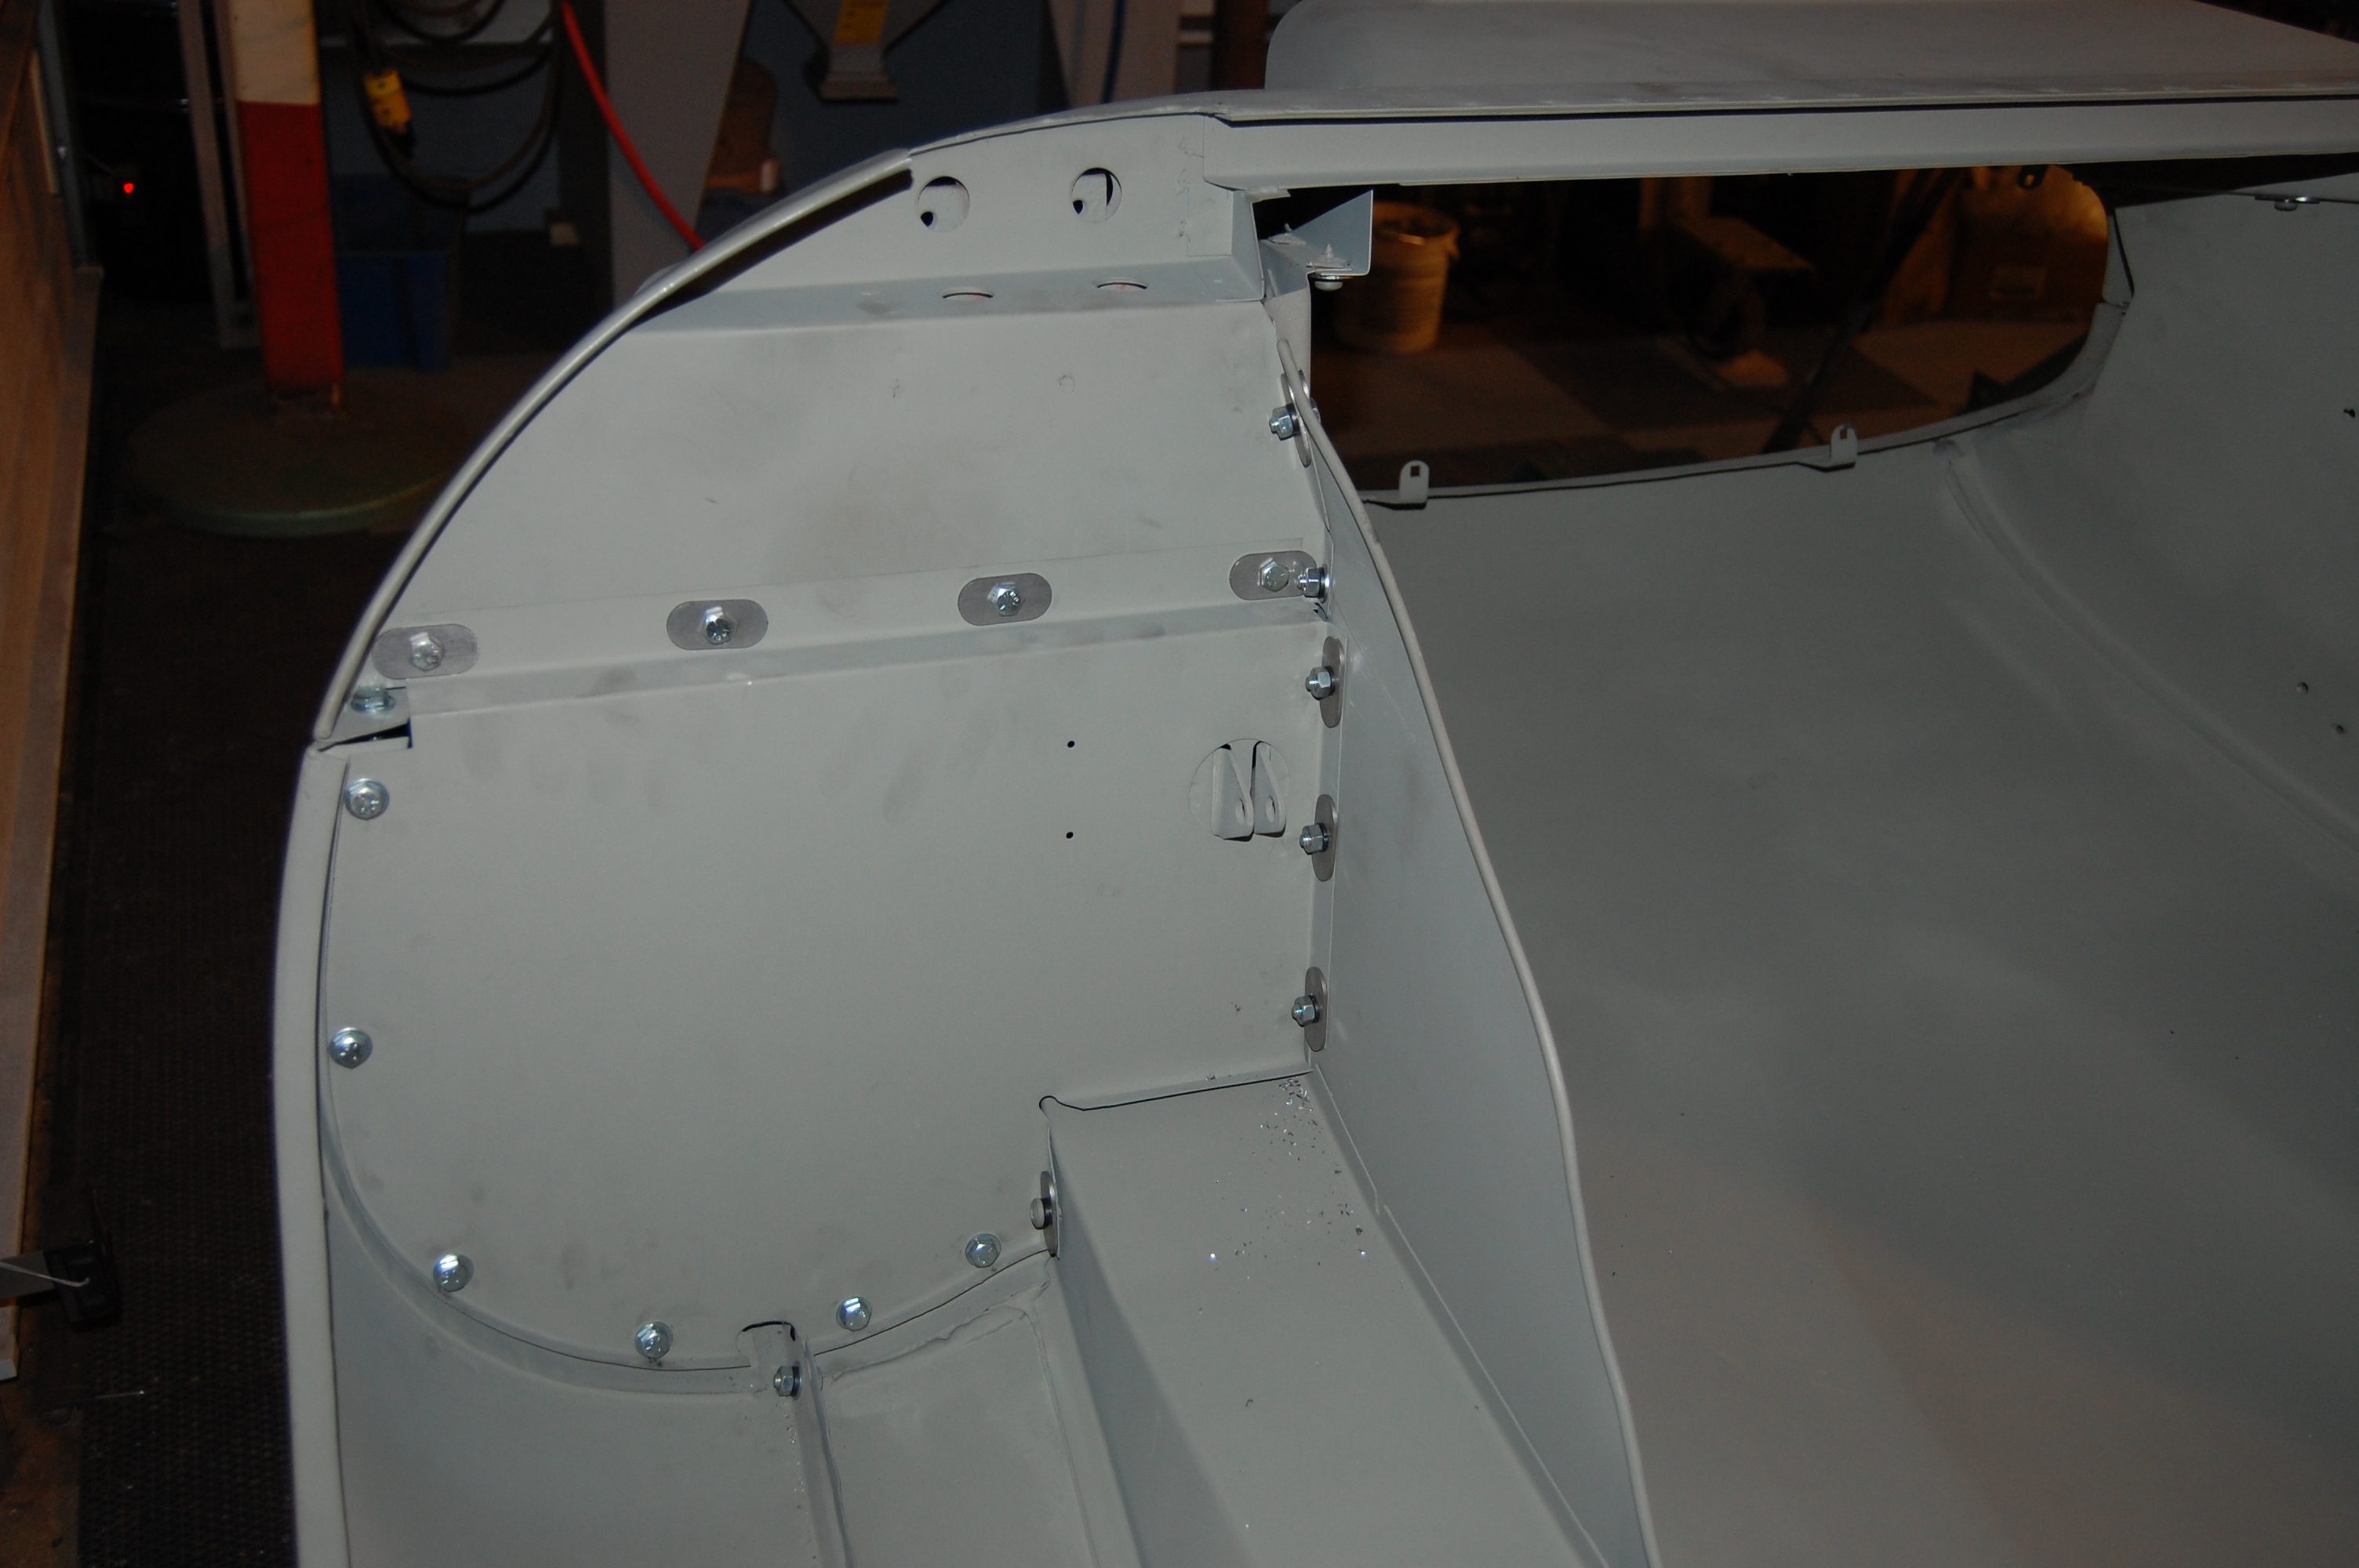
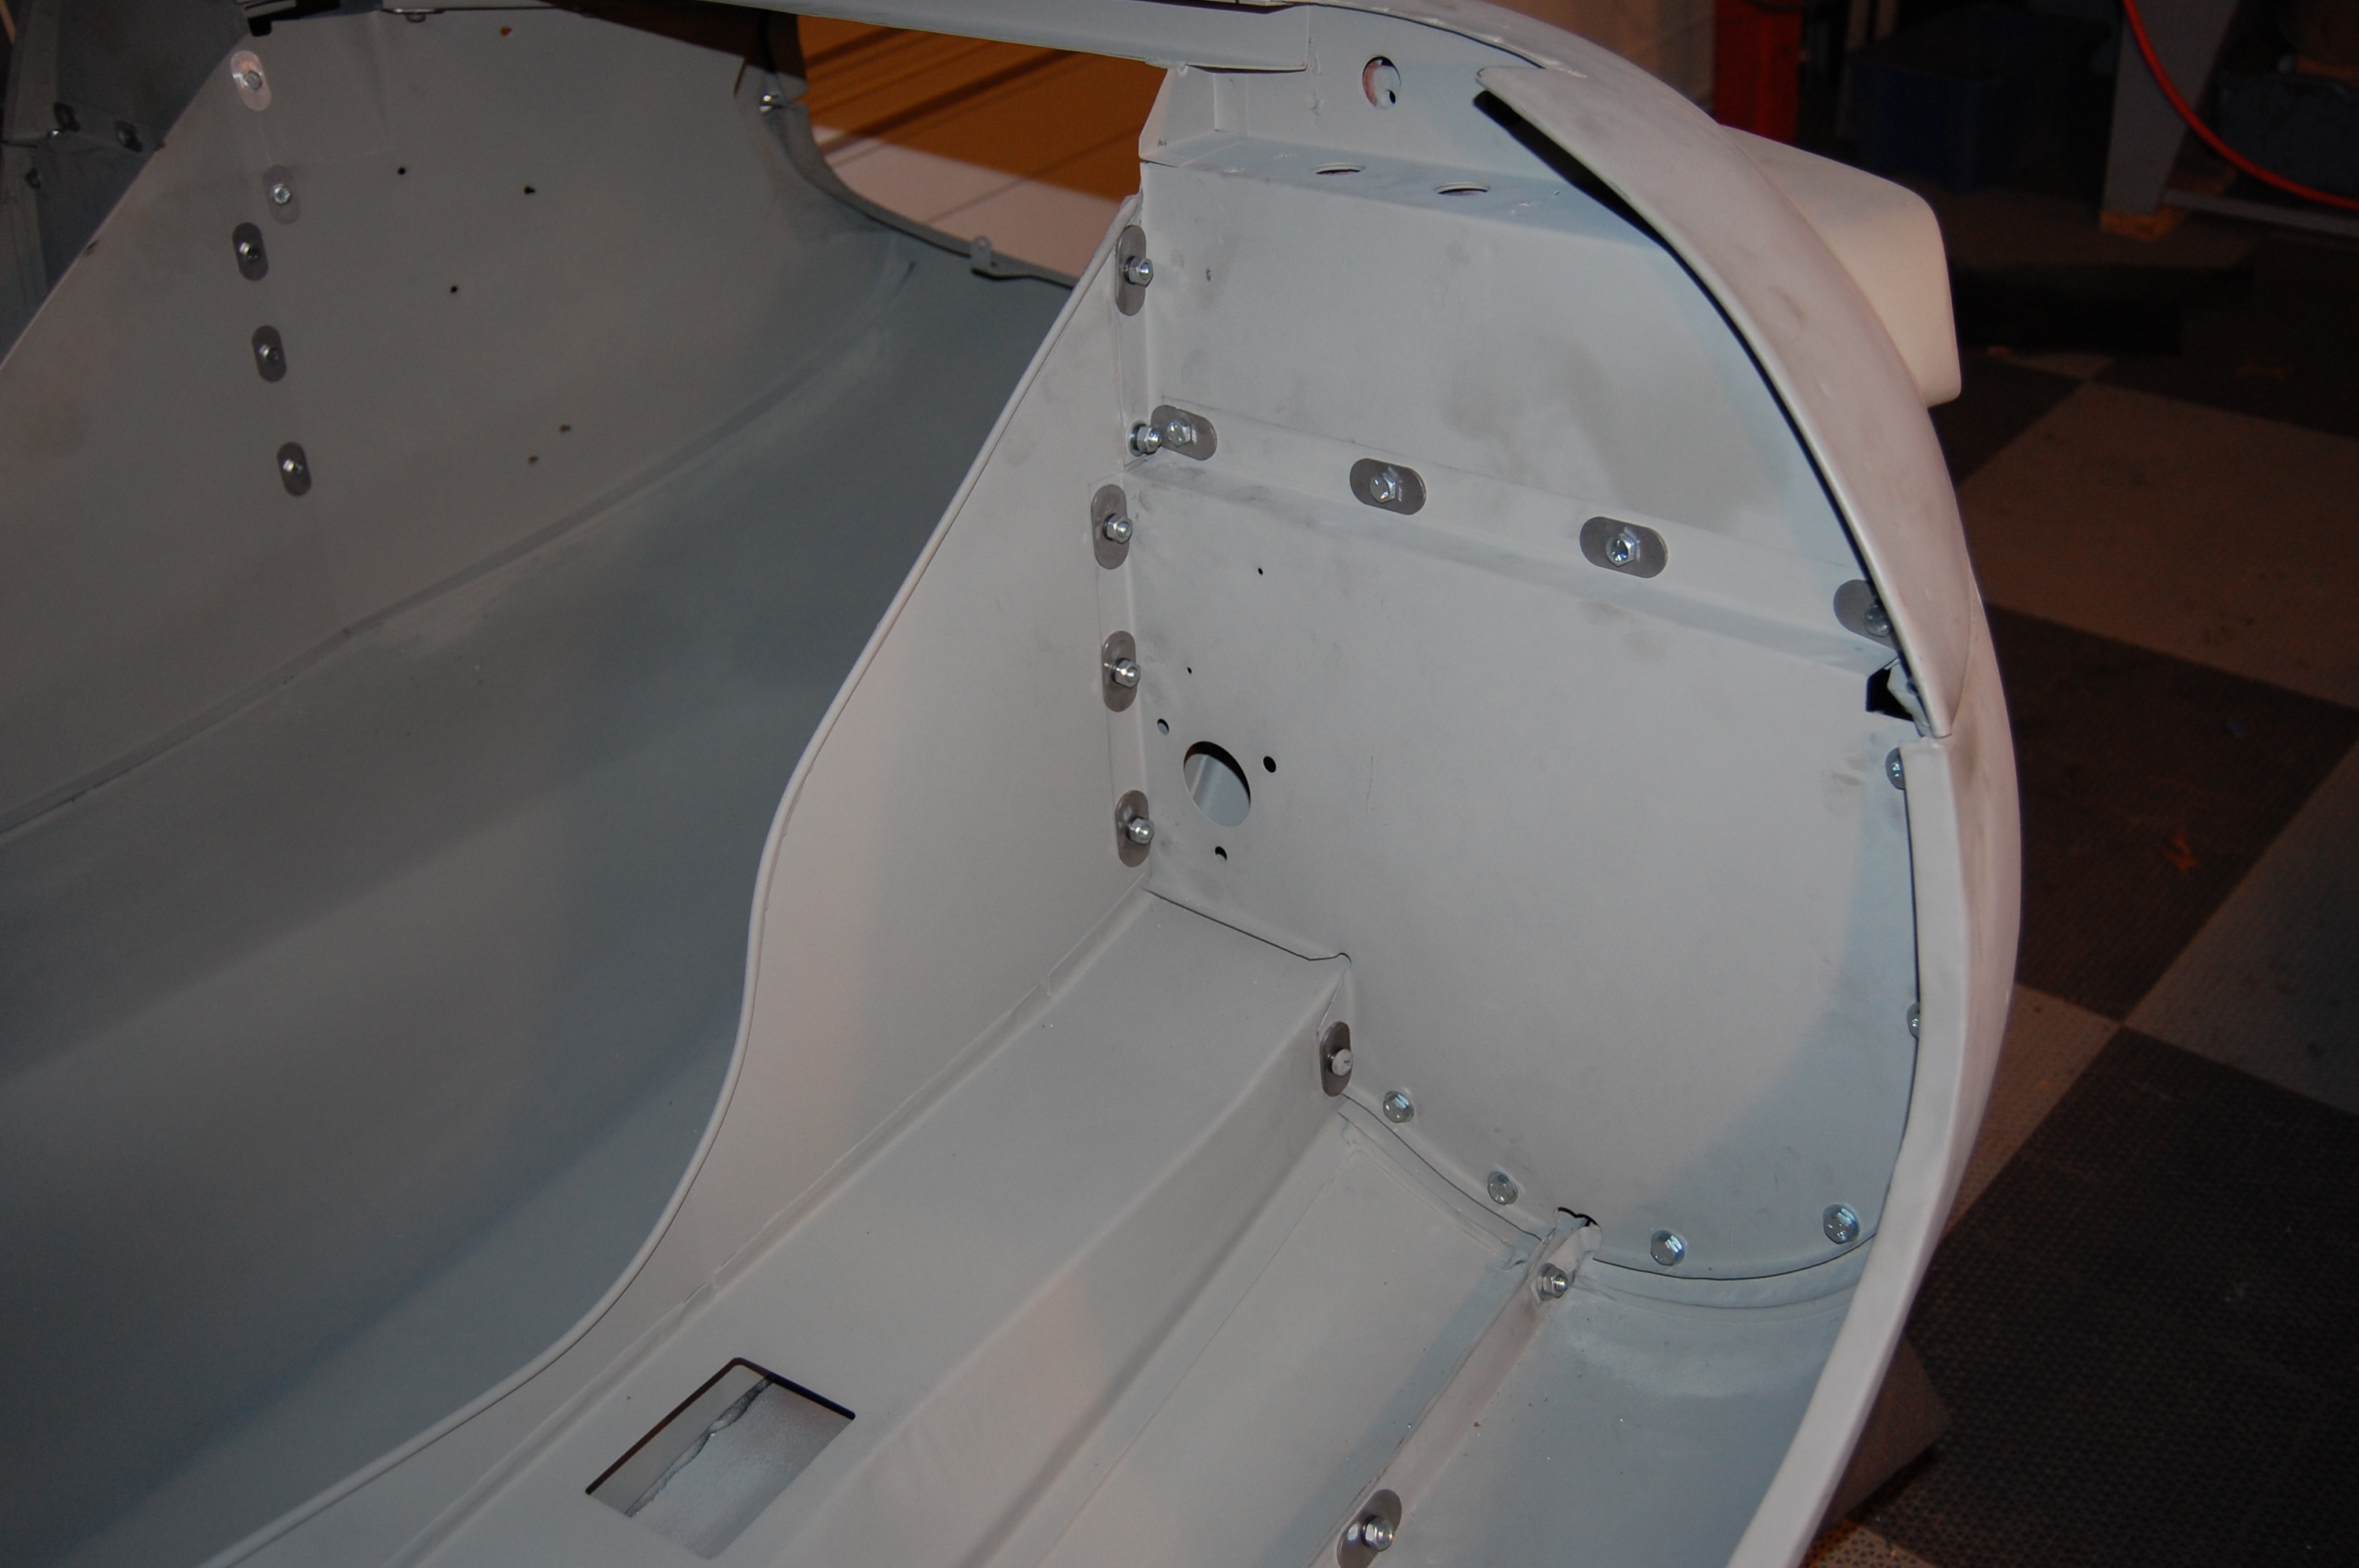
- Everything is lined up now and the inner valances are ready to be bonded to the center section. V-12s are MUCH harder to align at this stage, because the inner valance do not bolt to seperate flanges, but instead are bonded directly to the center section. And so these pictures are deciving in that you as the reader don’t realize that it took almost 8 hours to get to this point!
-

- Getting the gap the correct distance from the center section and getting it even along it’s length is the tricky part, and making adjustmenst usually requires massive disassembly and adjustment – multiple times…
-

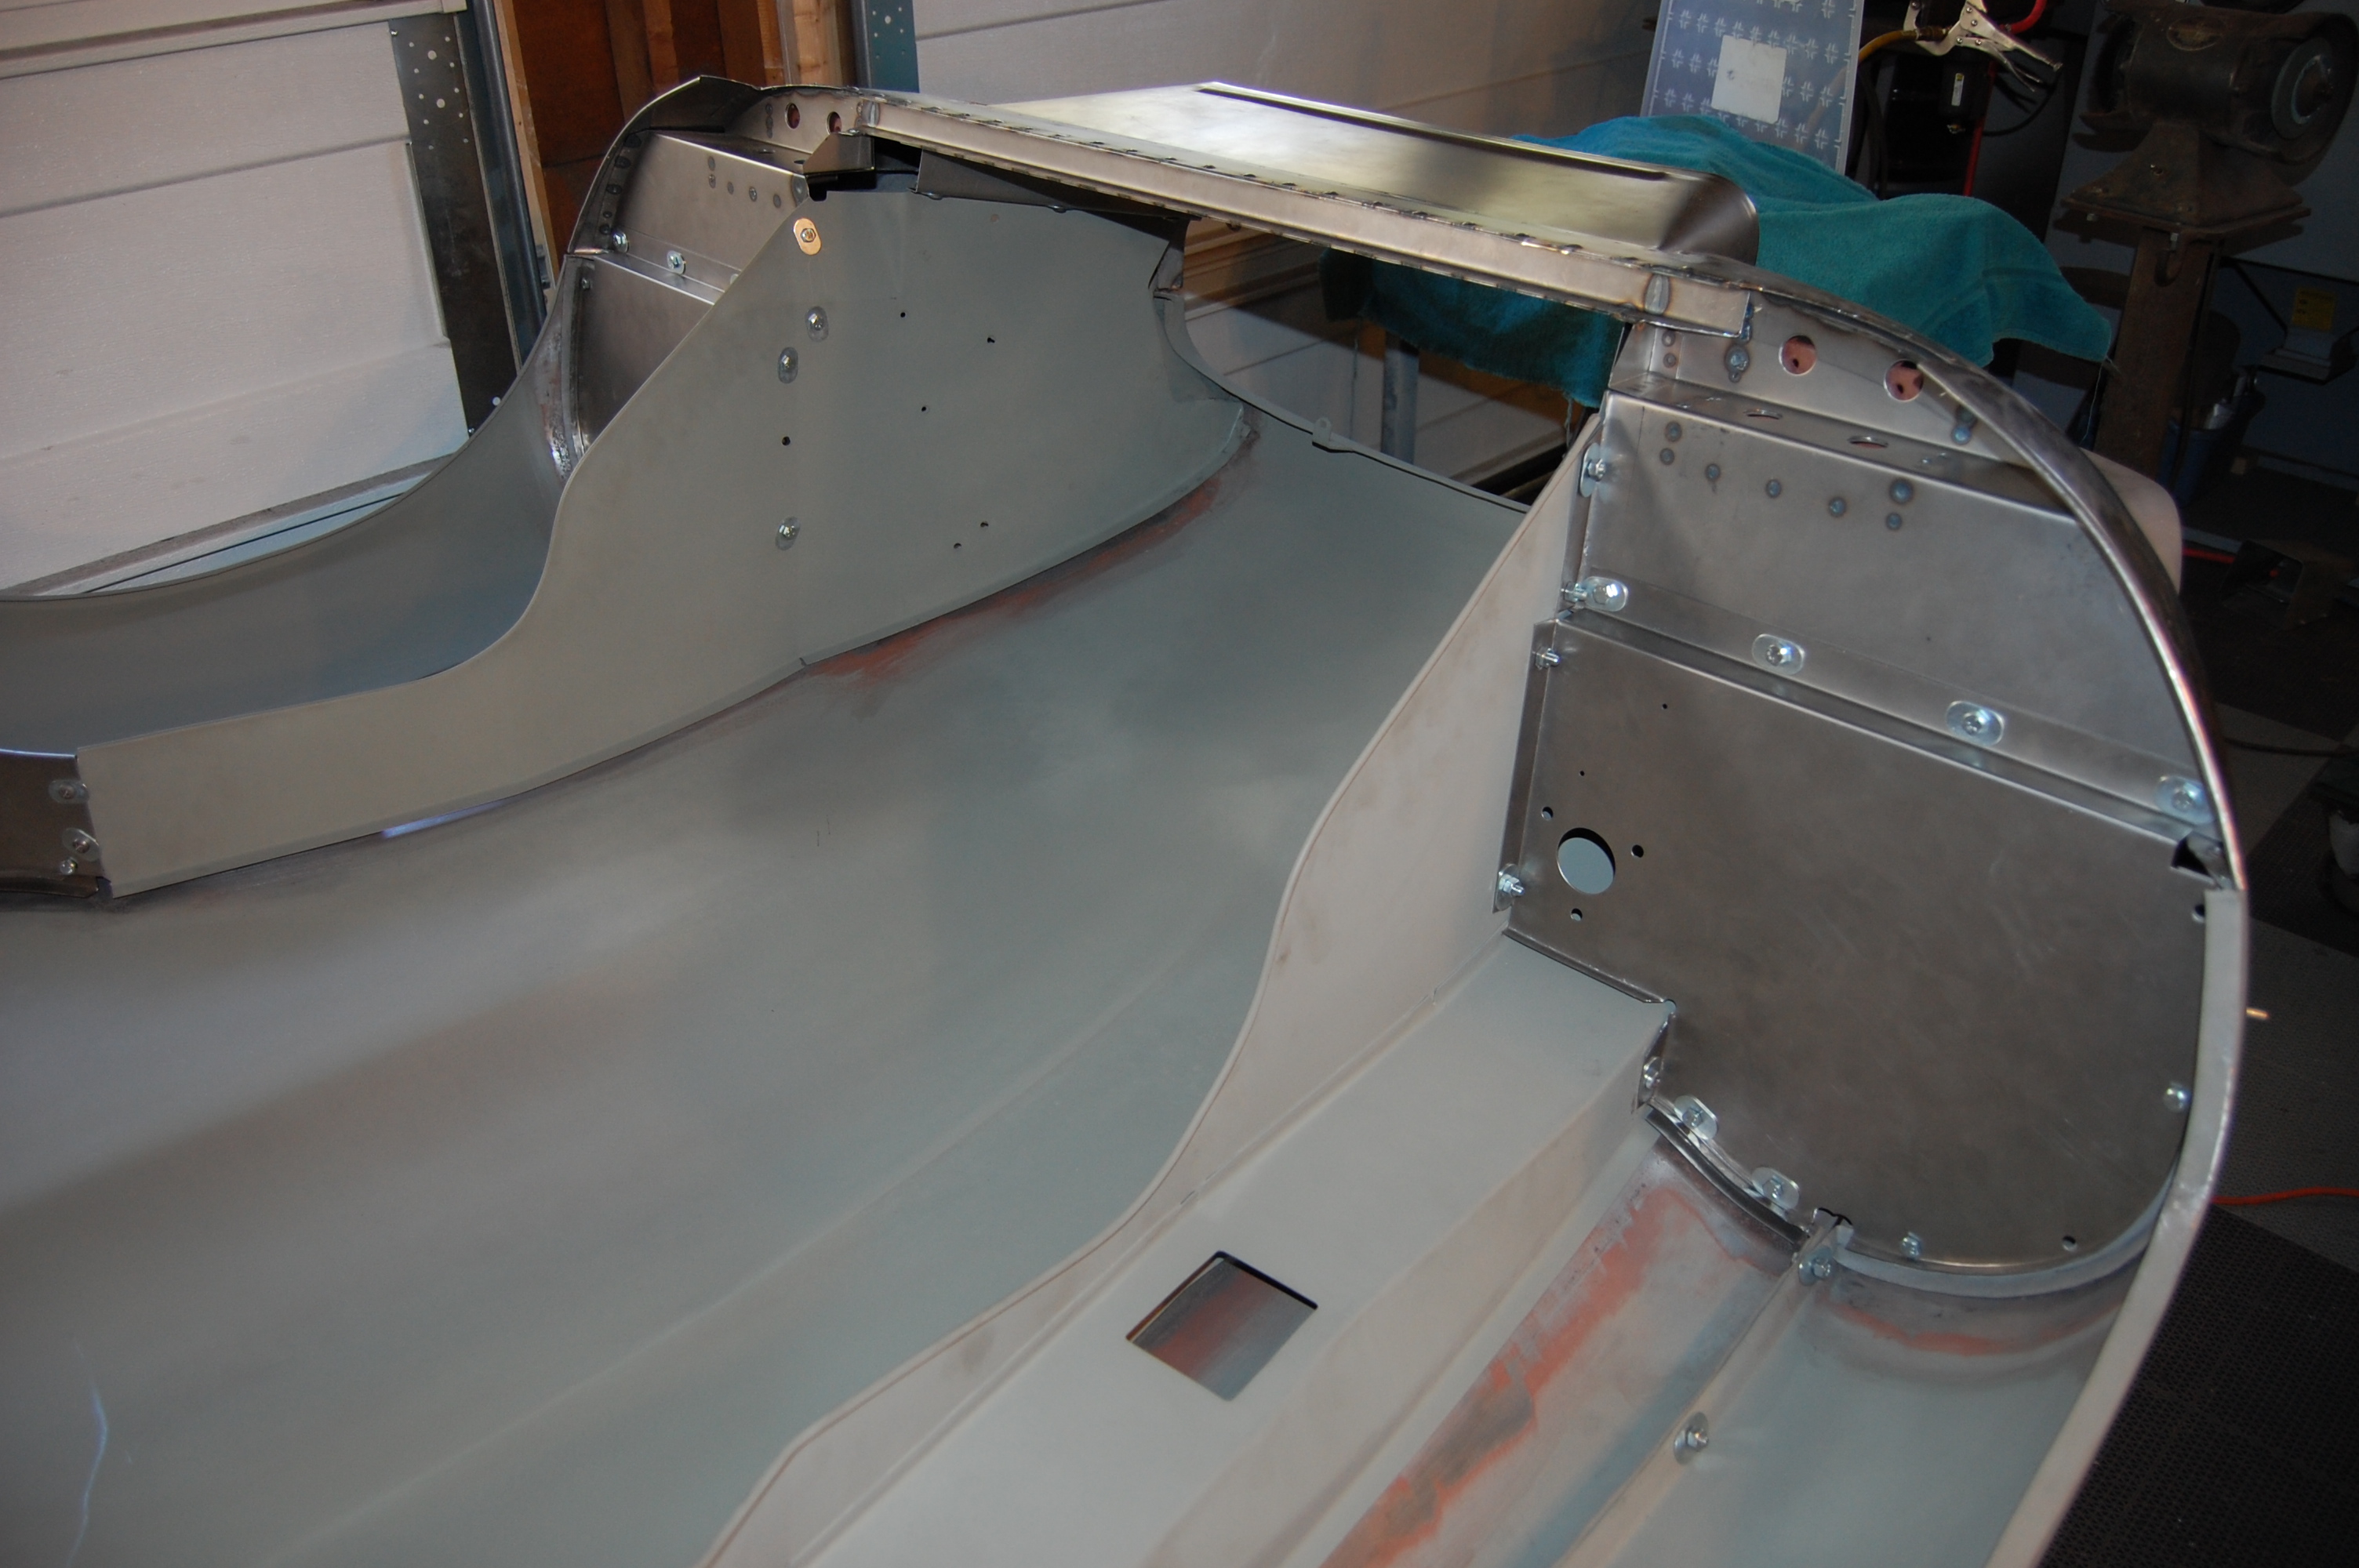
- all mating surfaces are sanded down to ensure that the bonding agent adheres well, but I think we are going to stop doing this – as we have discovered that the bonding agent sticks very well to the etch primed steel – maybe even better than bare steel!
-
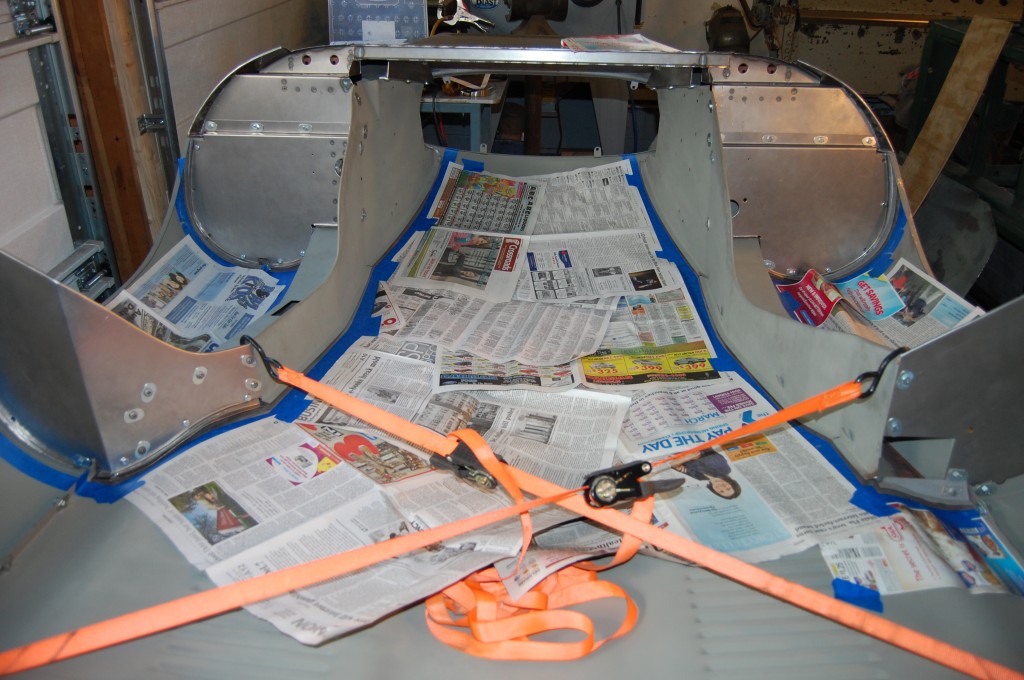
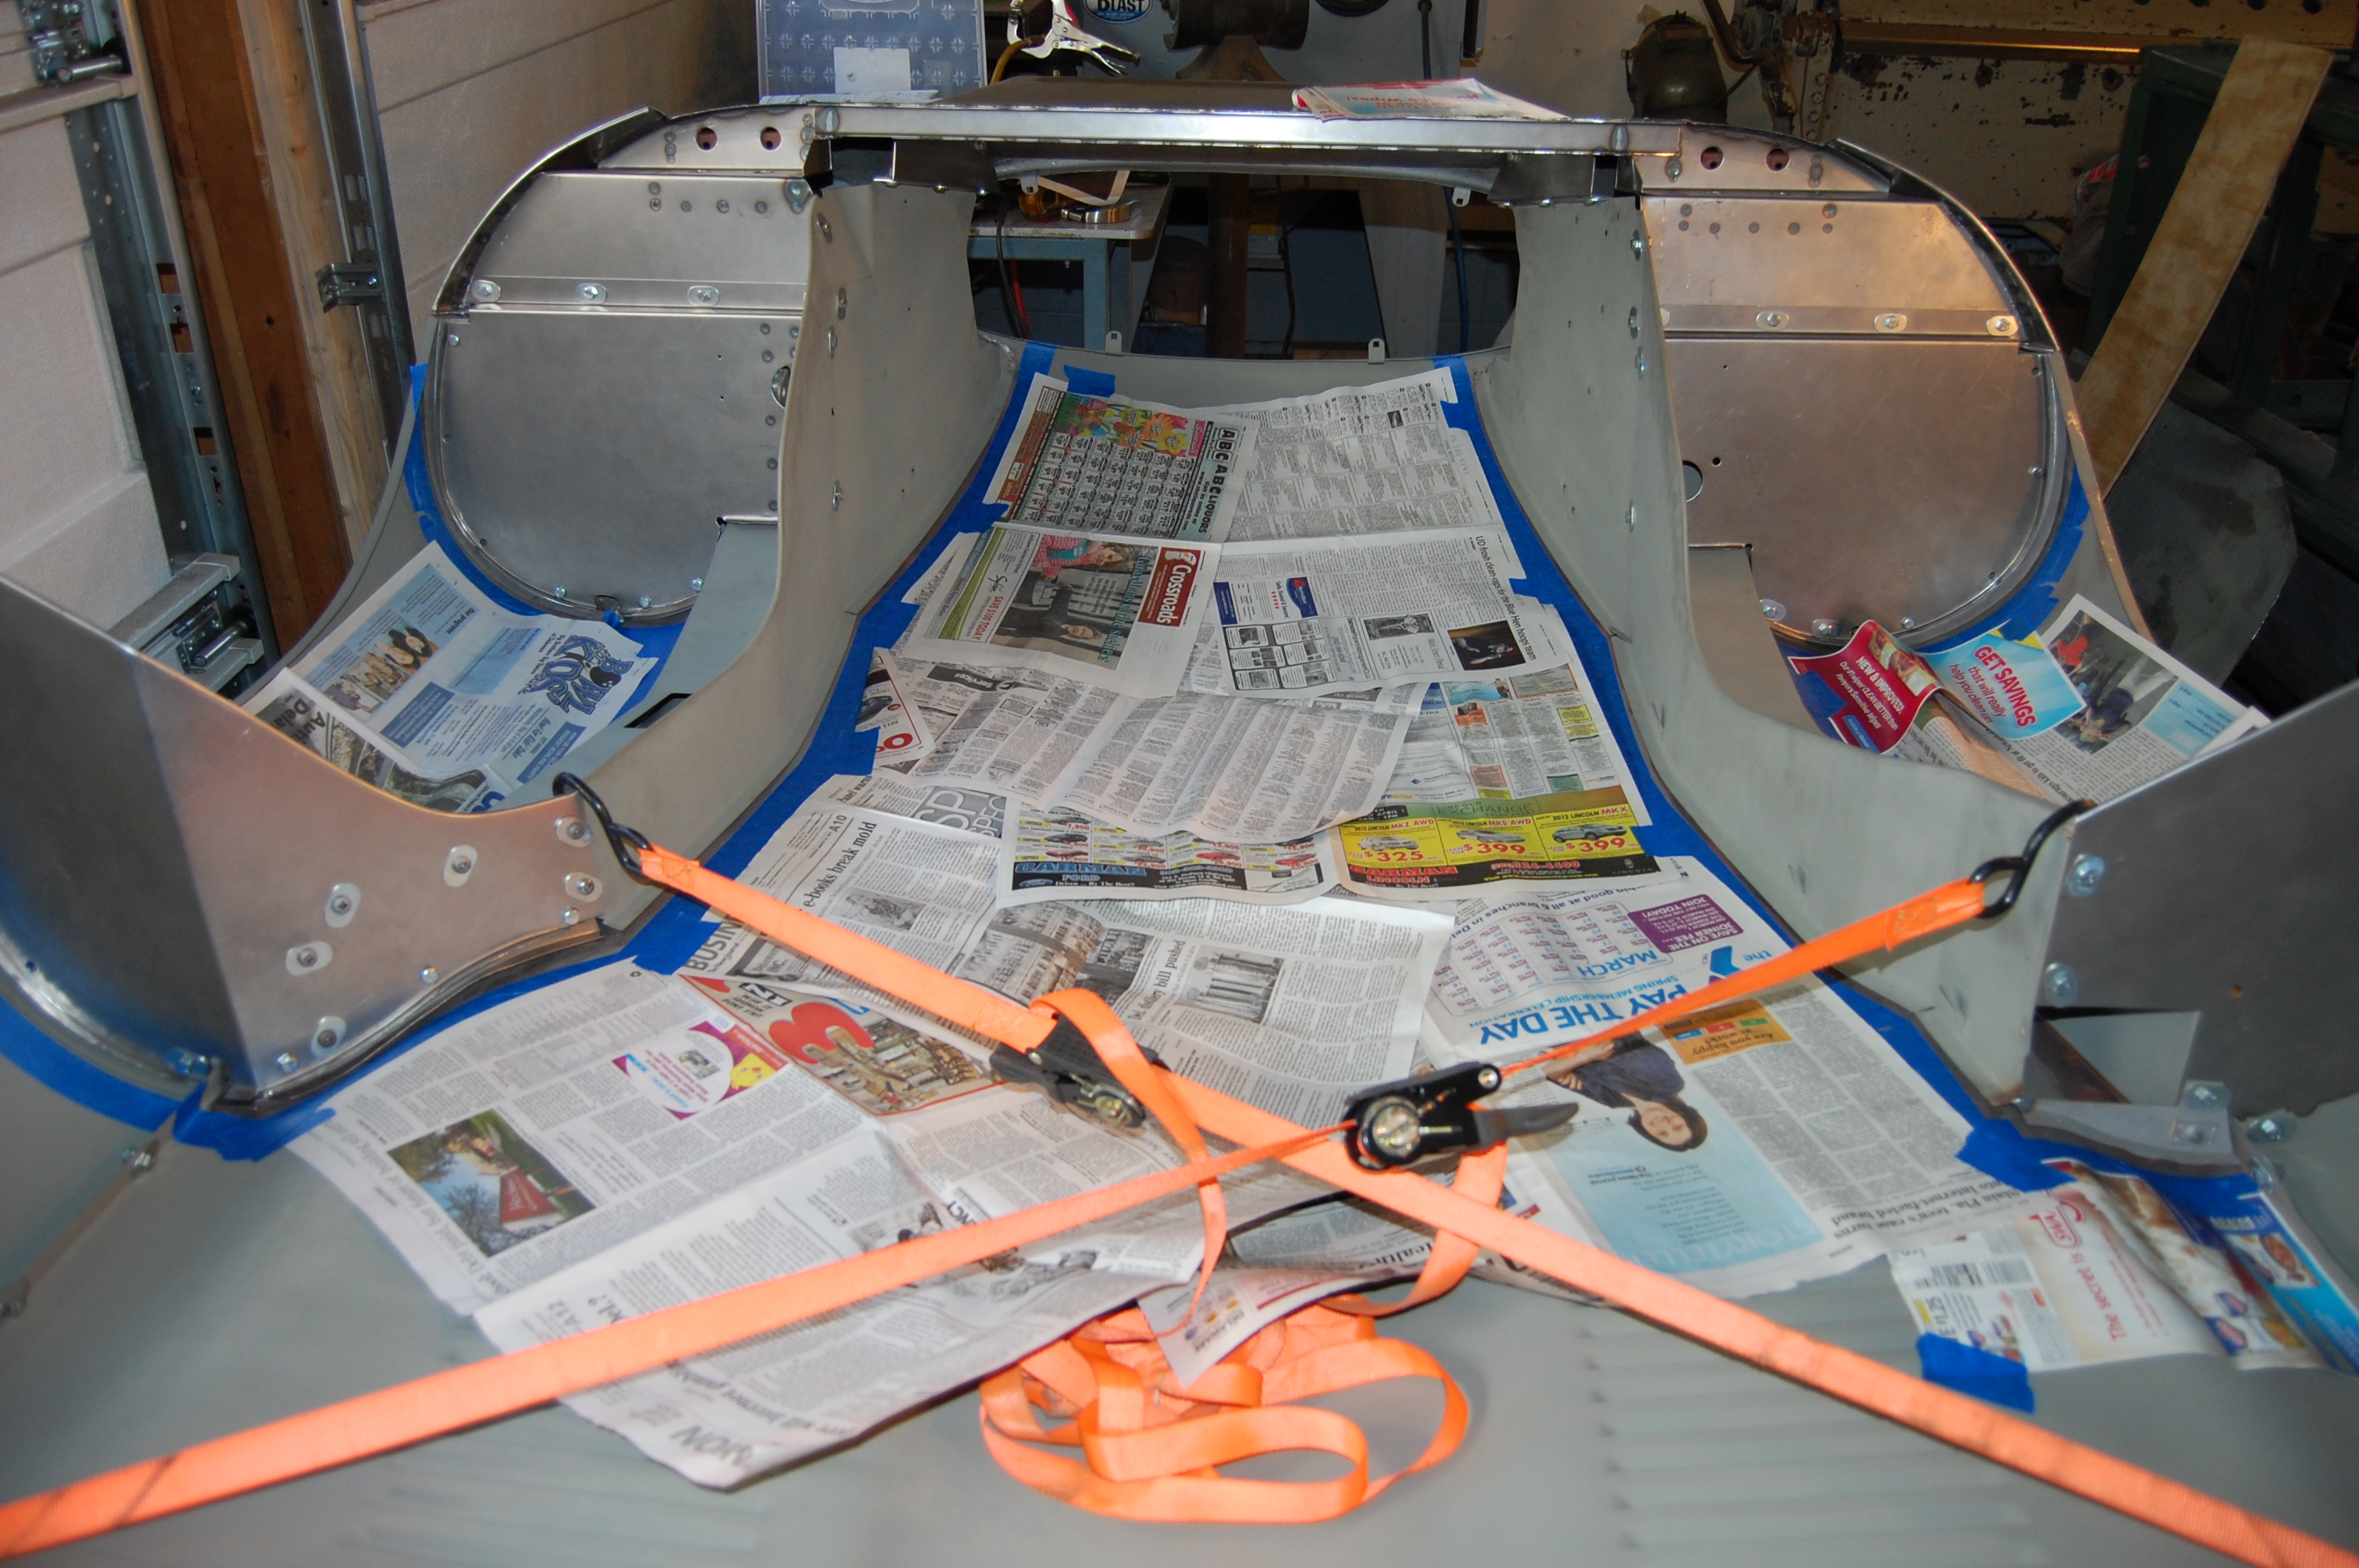
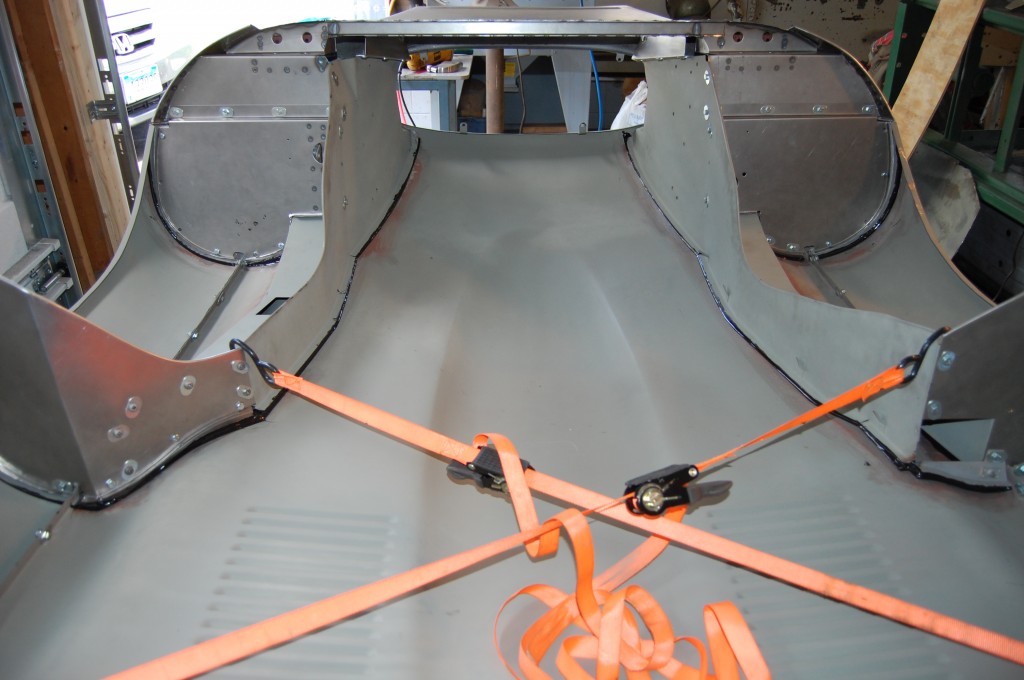
- DON’T DO THIS AT HOME!!! This is a MAJOR NO-NO – I shouldn’t even be putting these pictures in here… NEVER, NEVER, NEVER use sraps like this, or weights, or anything else to hold your bonnet components into position while you bond the bonnet. Doing so will mean that once the bonding is cured, it will literally pull the center section down when the tension is released and it will be a disaster. I am doing it in this case on this bonnet because she just needed a little push in the very rear of the inner valances. I was able to put these straps in and pull that rear edge down some, but never really put any tension into the structure. This was a gamble, even with little to no tension, but it worked out fine. But you should do as I say, not as I do – DON’T DO IT – you’ll be sorry! Spend whatever time it takes to get things lined up without needing this. It’s all MUCH easier on the 6 cyl. bonnets anyway – the inner valance to ceneter section is not nearly as critical since there is alot of adjustment in the flanges.
-
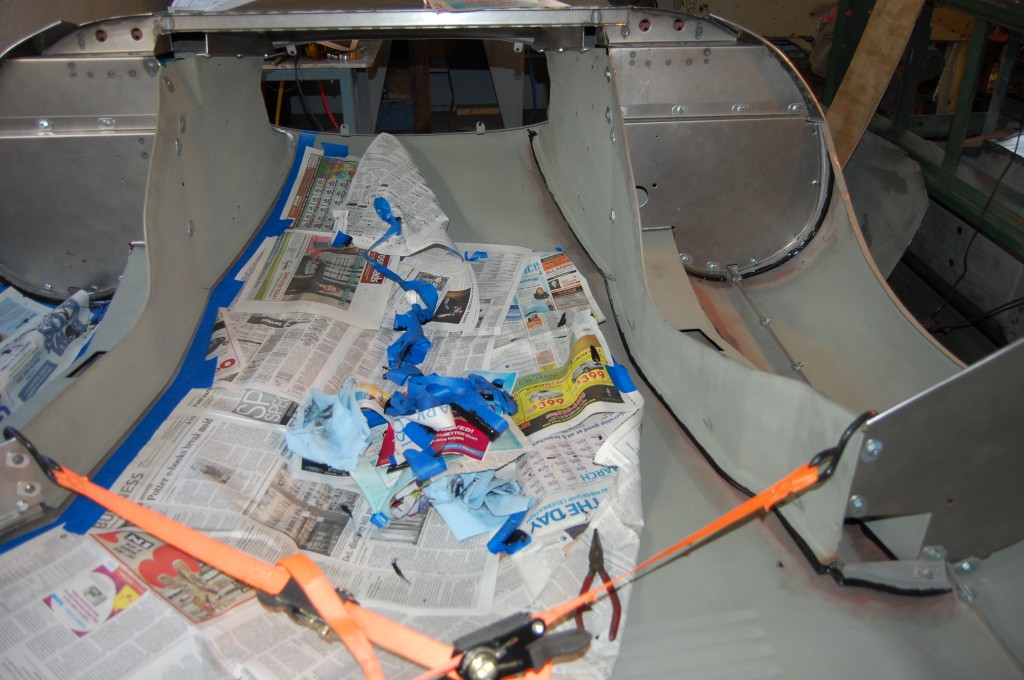
- The bonding has been applied, and the tape is coming off now – do that carefully, before the bonding starts to set.

-
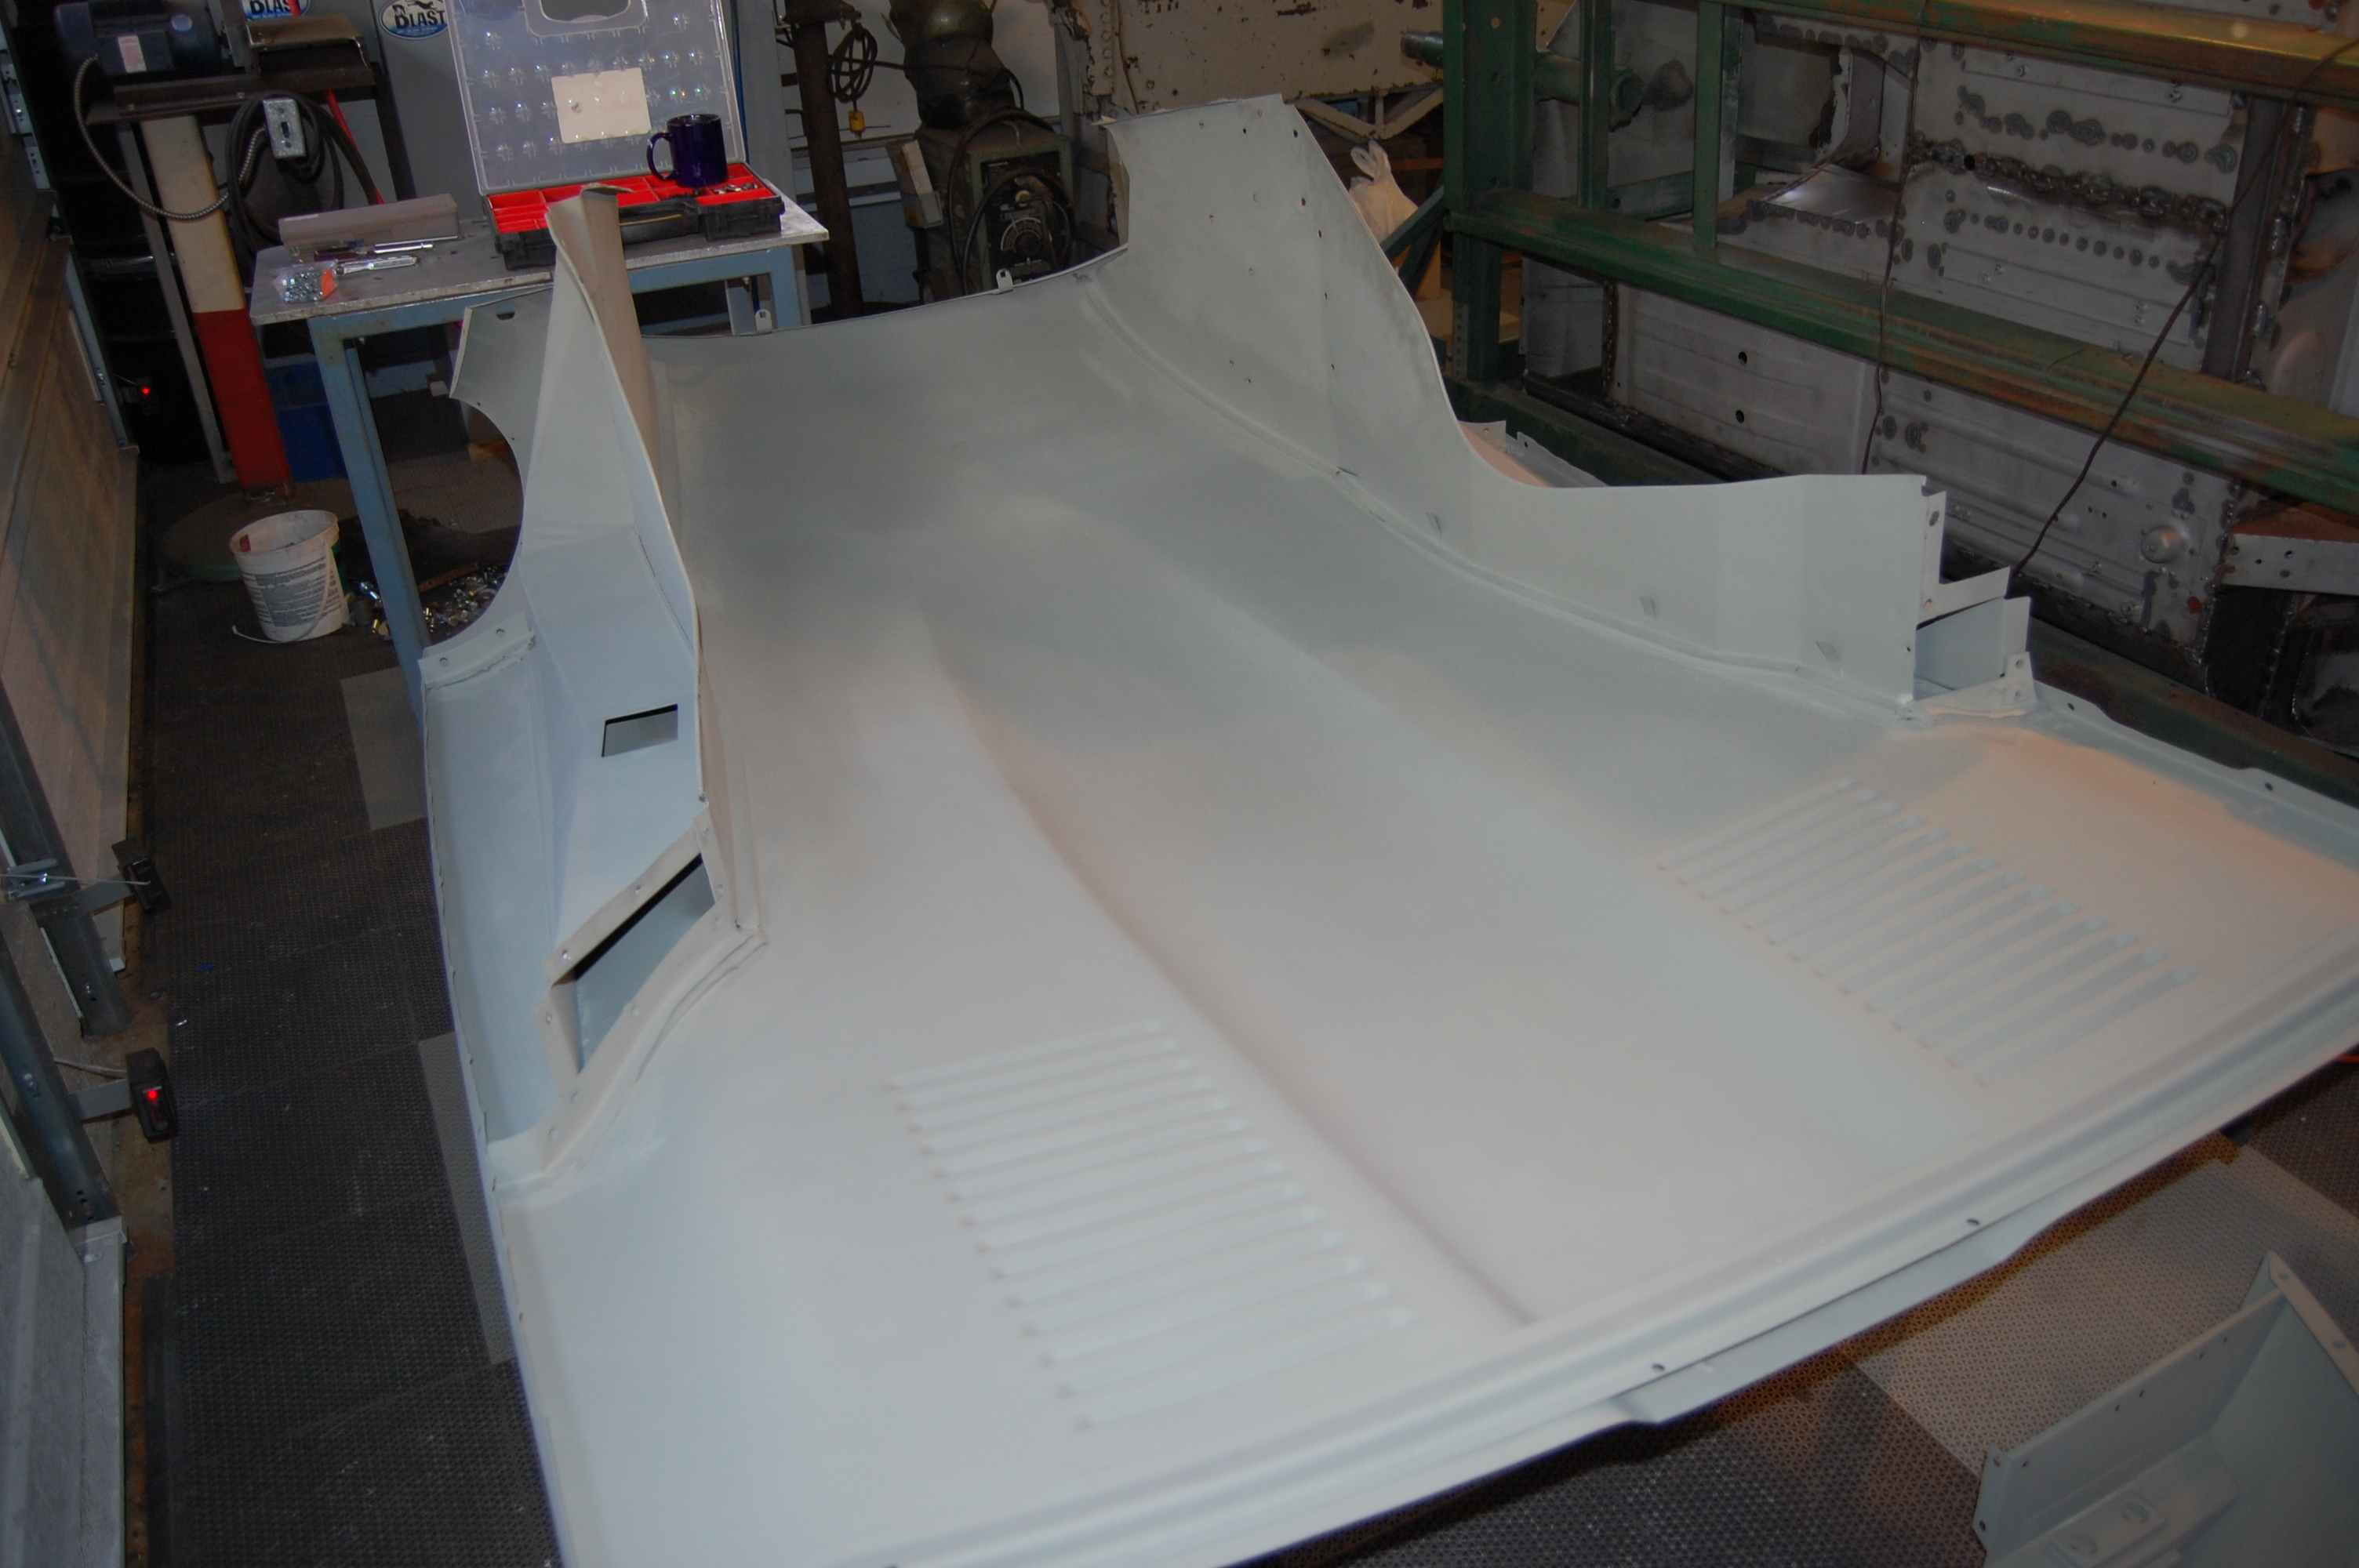
- Tape is all off, and the bonnet will now sit undisturbed for AT LEAST 48 HOURS!!!

-
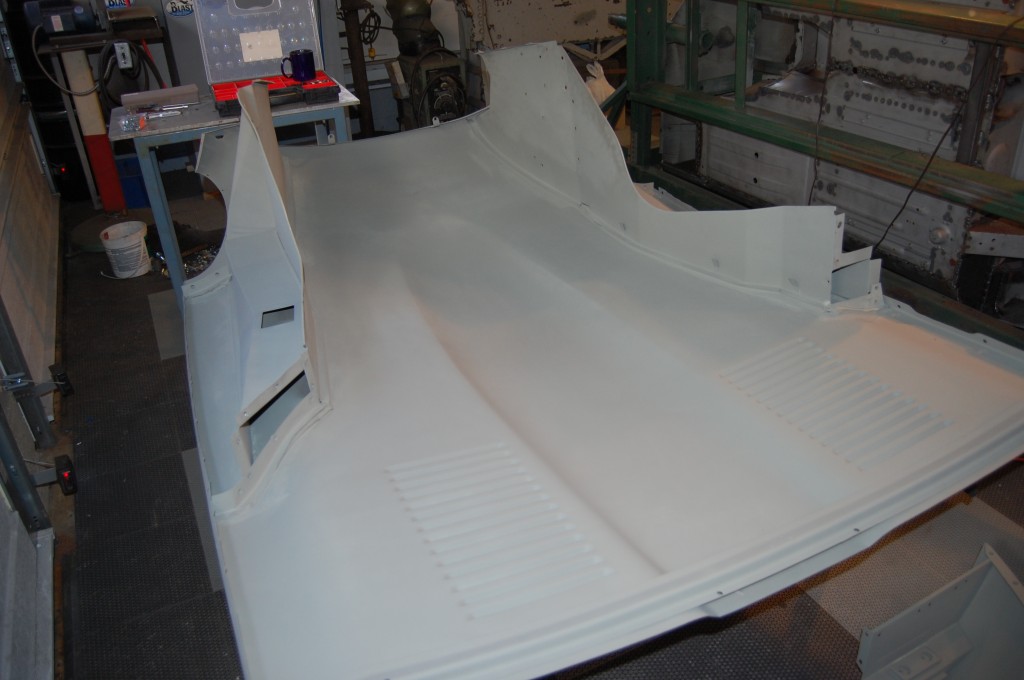
- Then it all somes back apart, the bonding agent is primed, and eveything starts to go back together for the final assembly.
-
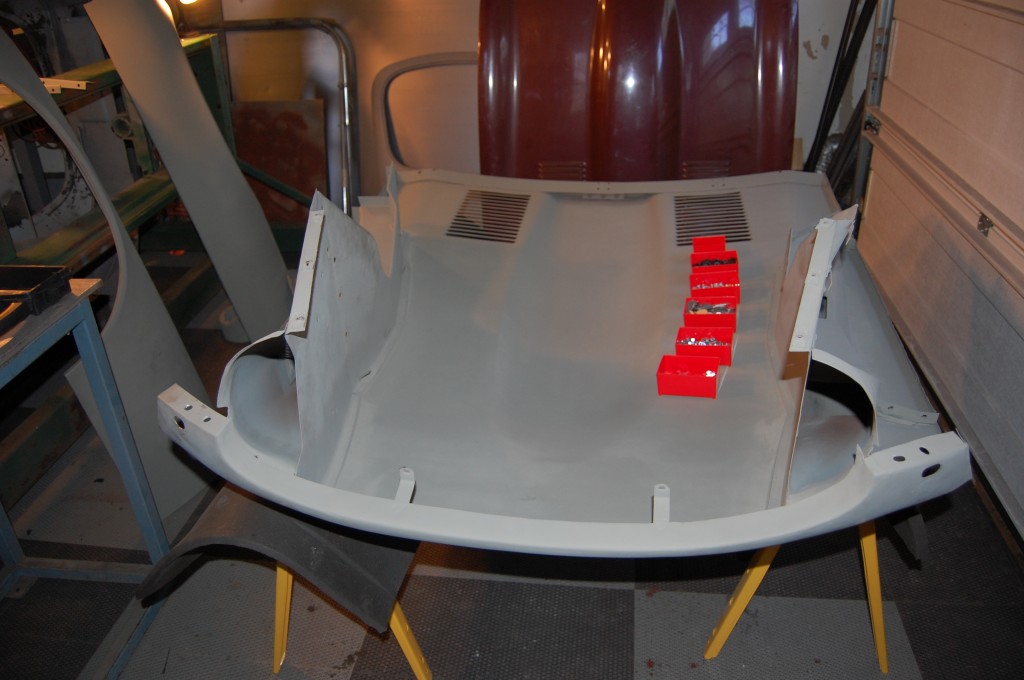
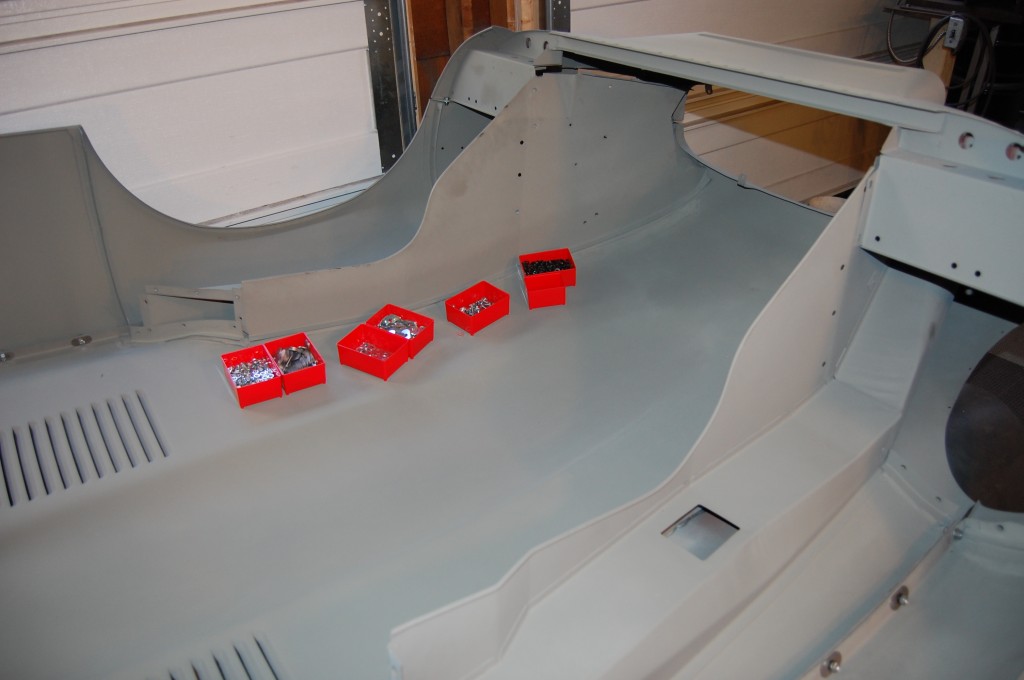
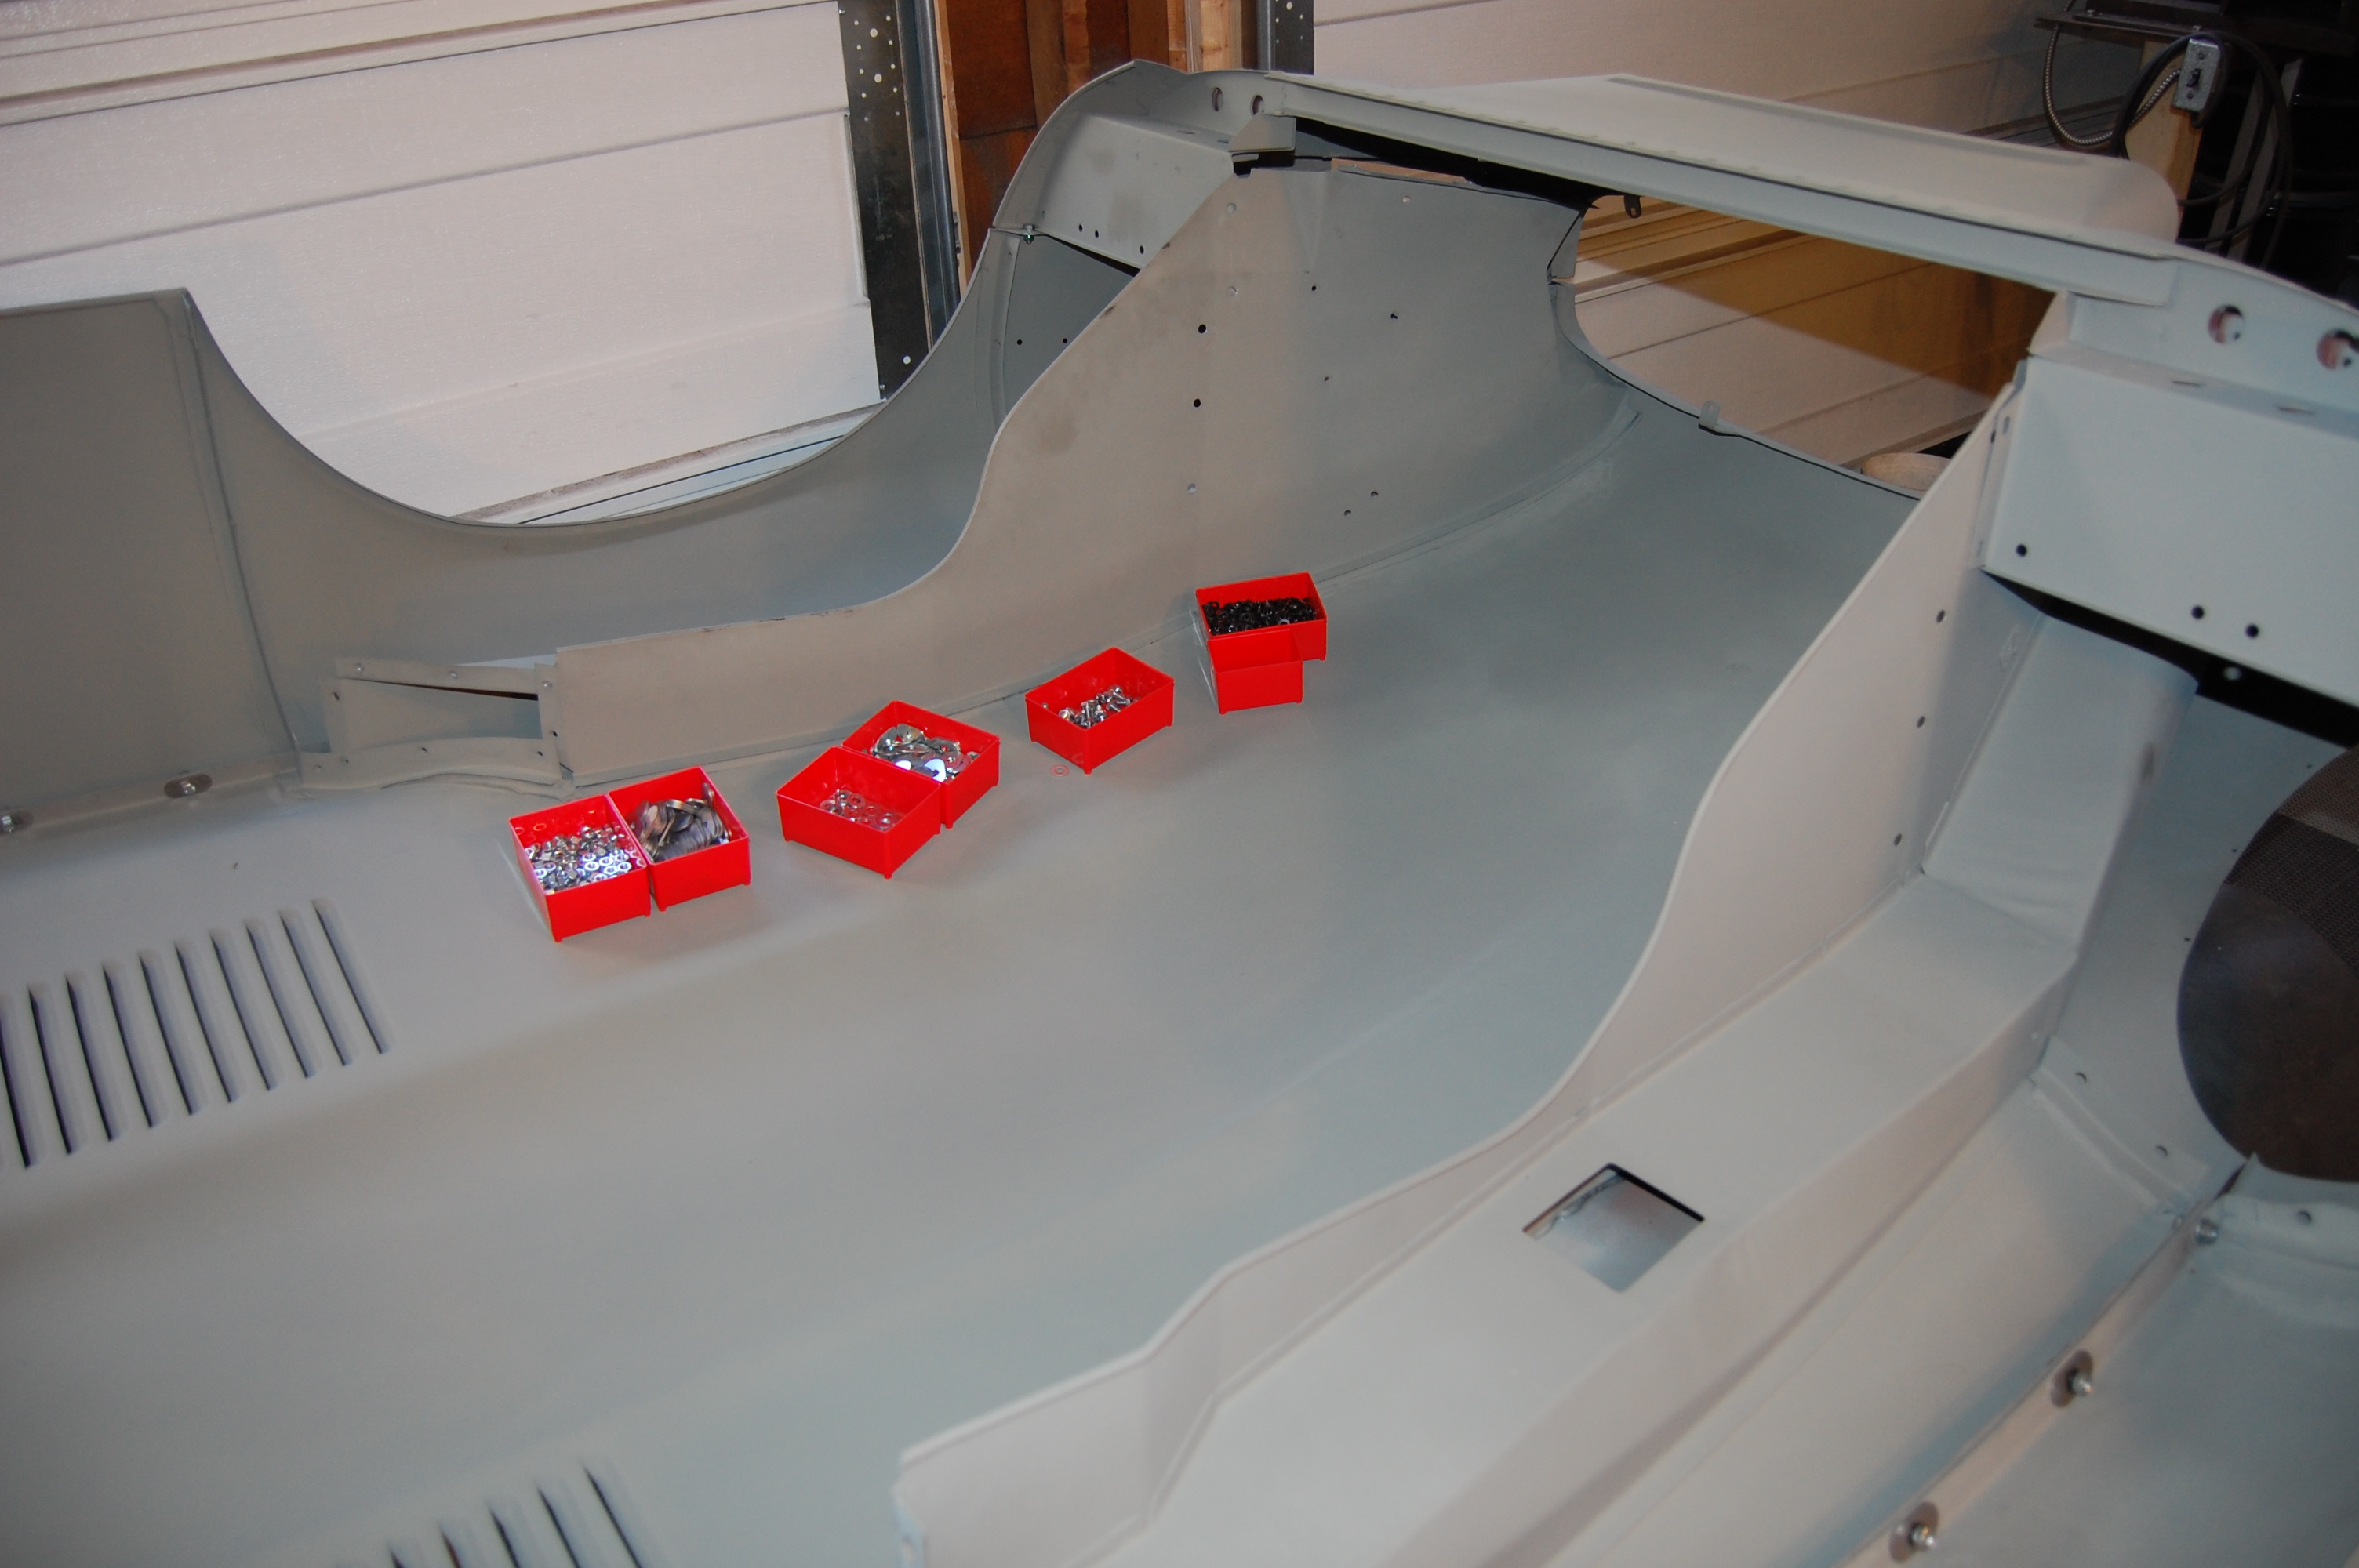
- All of the hardware we’ll be using is sorted and laid out.

-

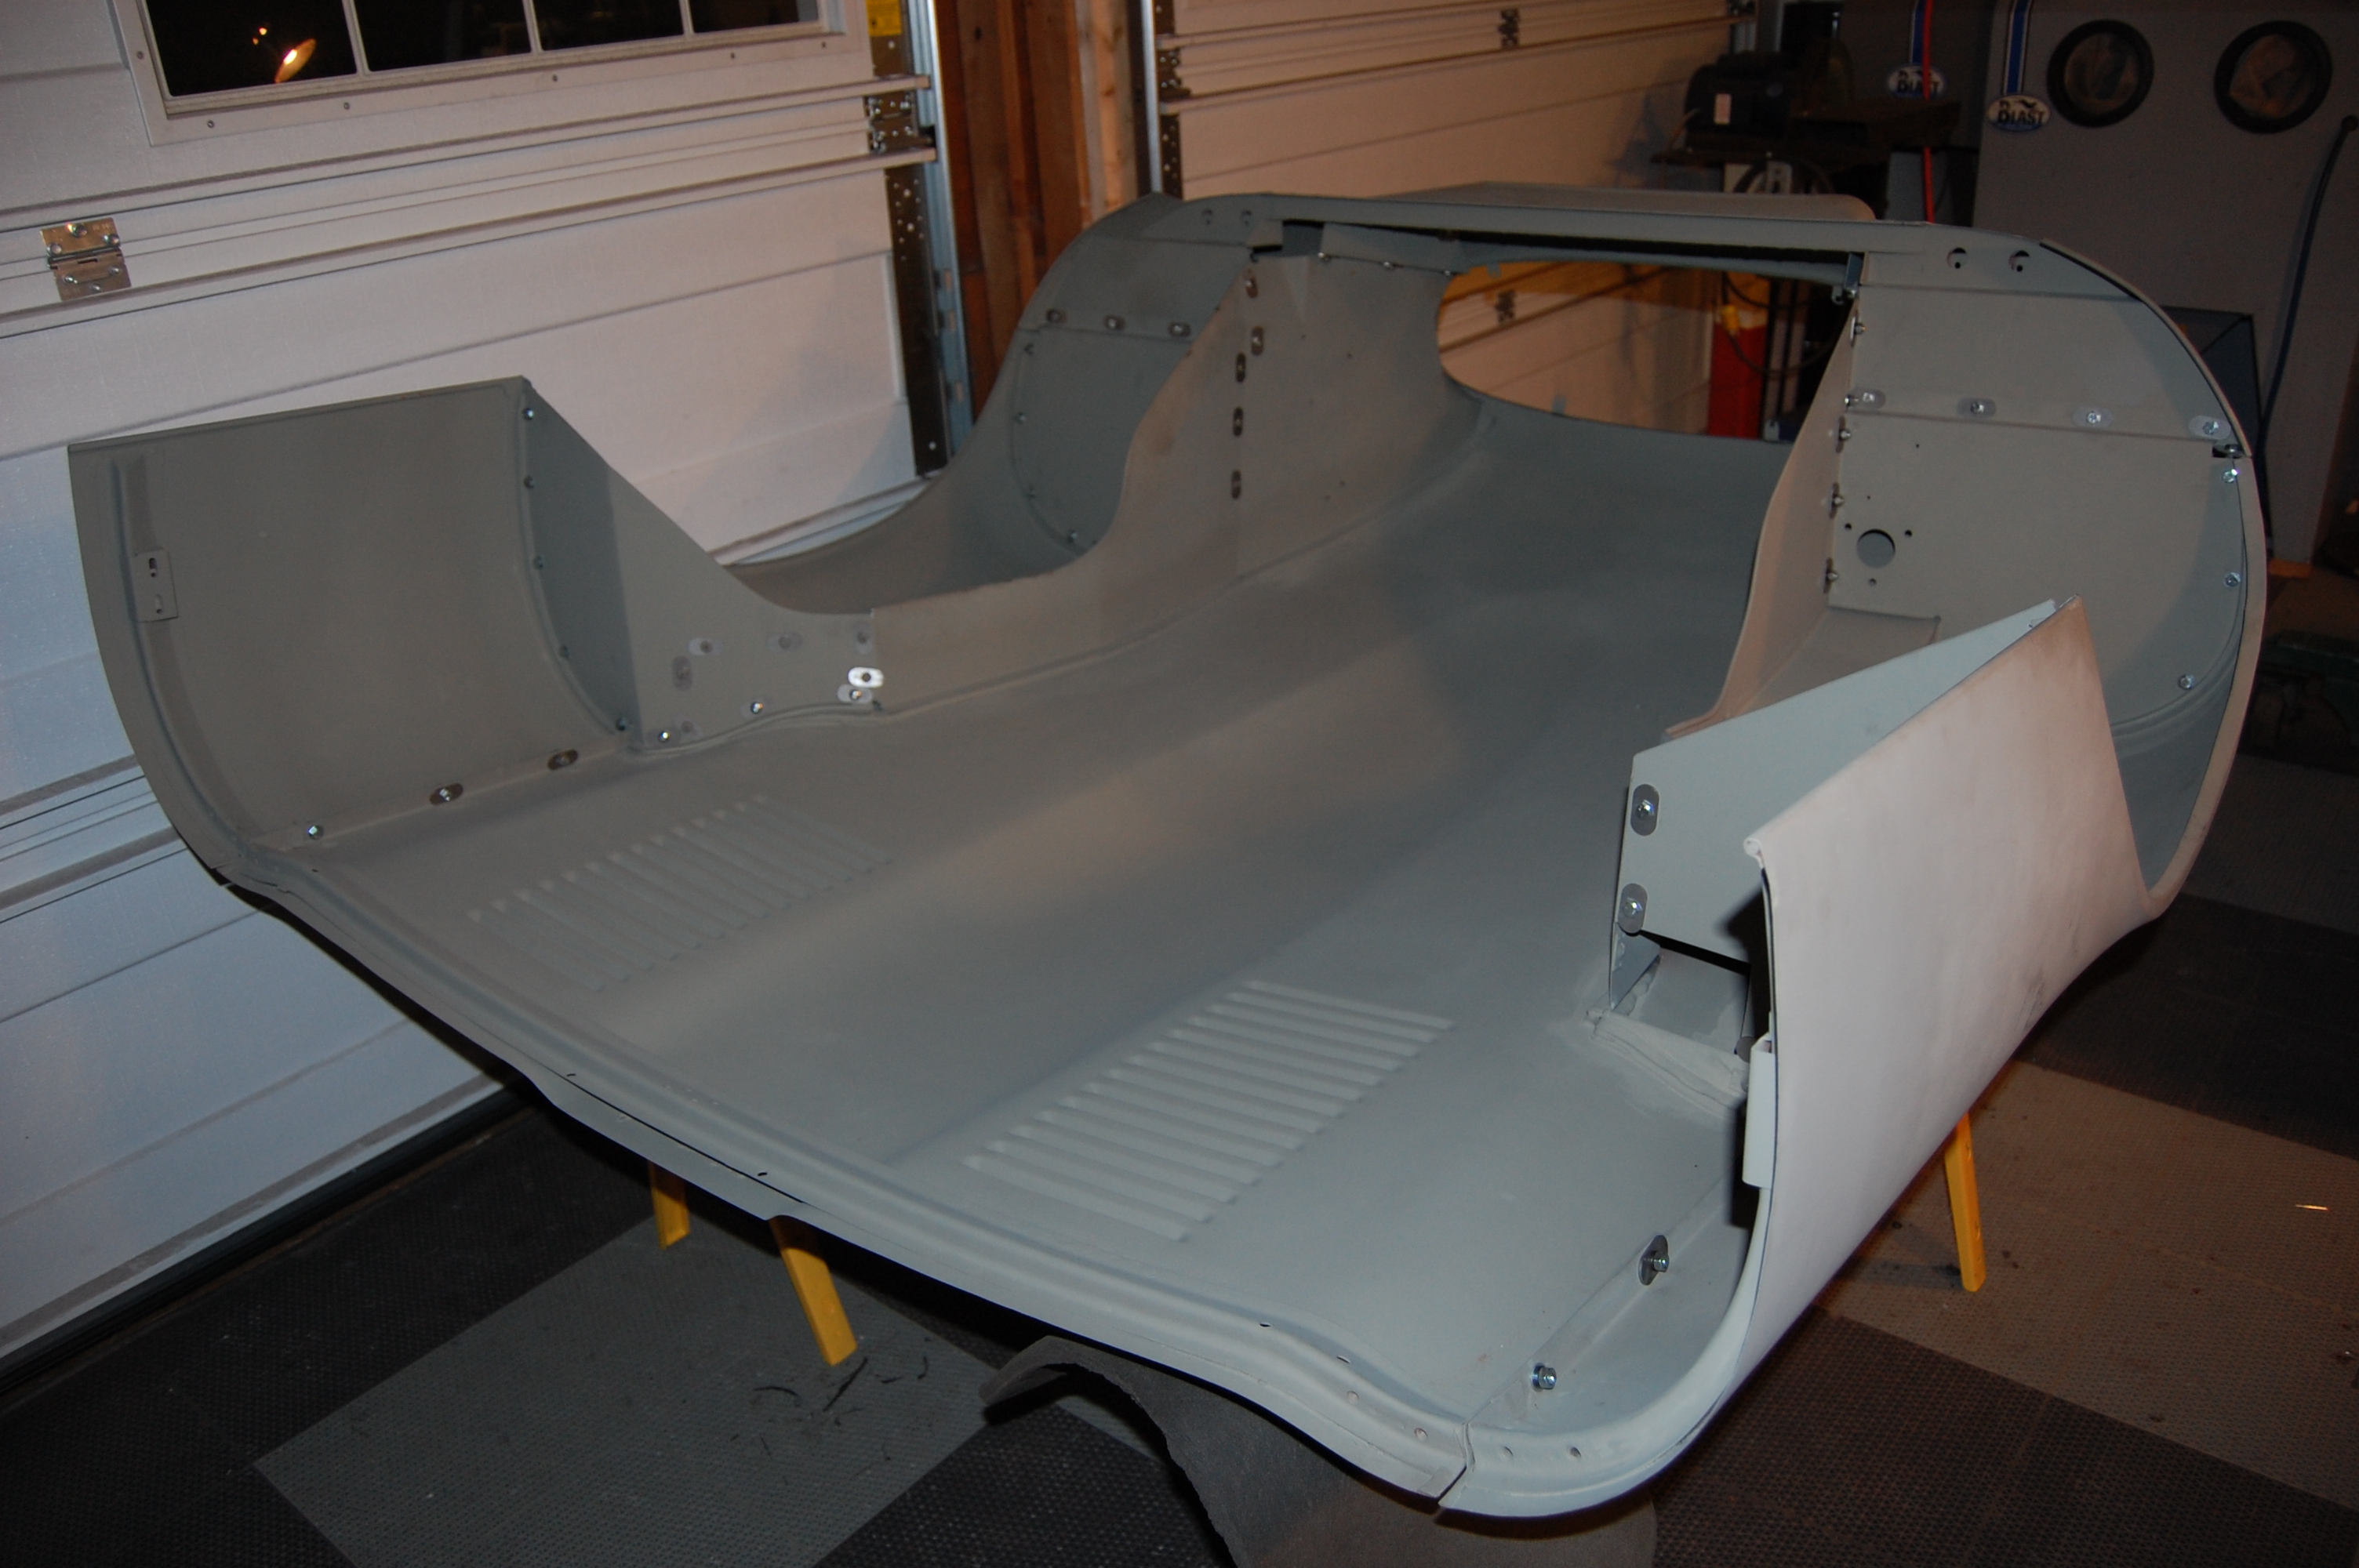
- The underpanel has been bolted on – a difficulkt job on Series 2 and 3 bonnets because of the tight confines of the forward bolt holes. BUT – there’s a problem…
-
- Just a random shot of final assembly.
-
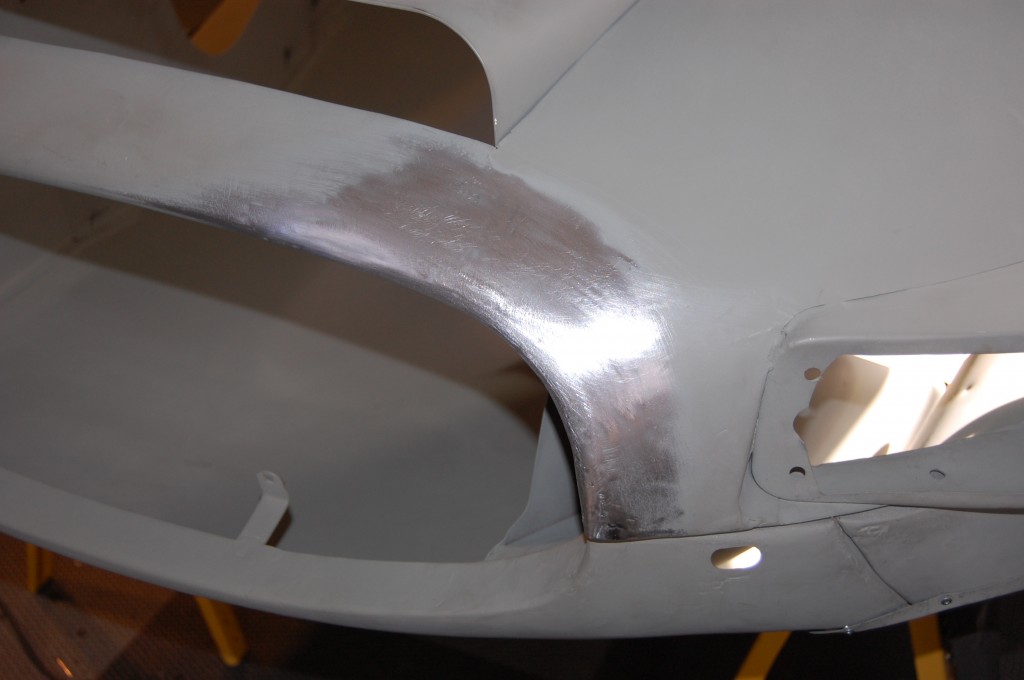
- This corner of the lower valance was slightly off, and I knew that. But it was close, and I figured with the fact that the V-12 grill hides a multitude of sins up here, it would be close enough.

-
- But I couldn’t handle it – this is the price of being a perfectionist… I pulled the underpanel back off, completely reshaped this corner, and put it back on – no less than a 4 hour setback – and all off the clock…

-
- NOW I’m happy with it. Before, this slight incorrectness of that corner gave it a little snear – like Clint Eastwood… It was off by about 3/16″, but I could see it…
-

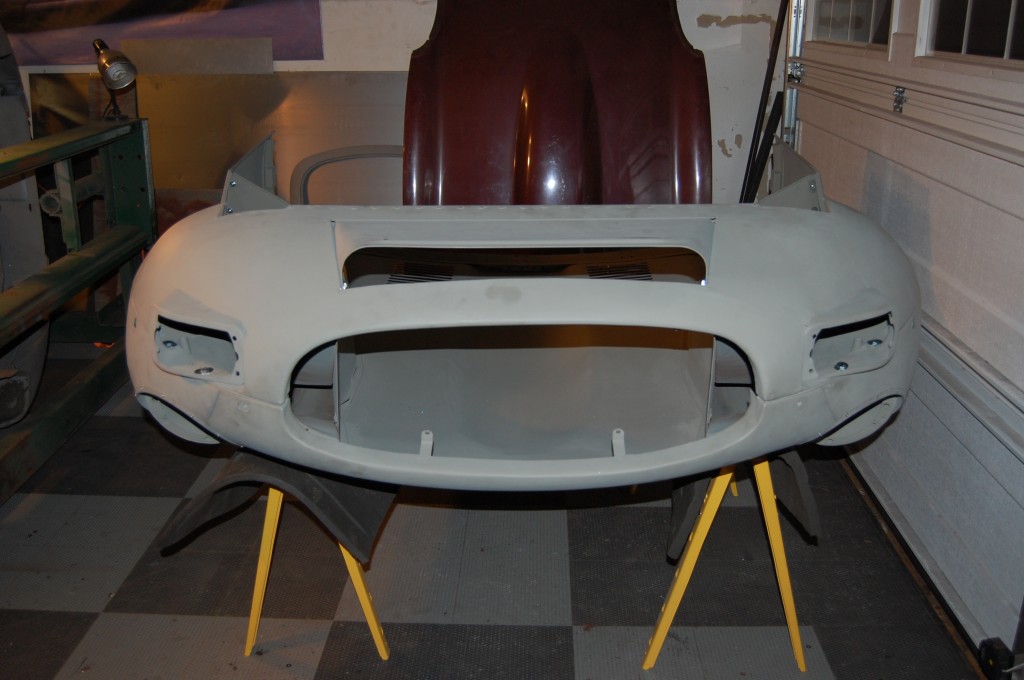
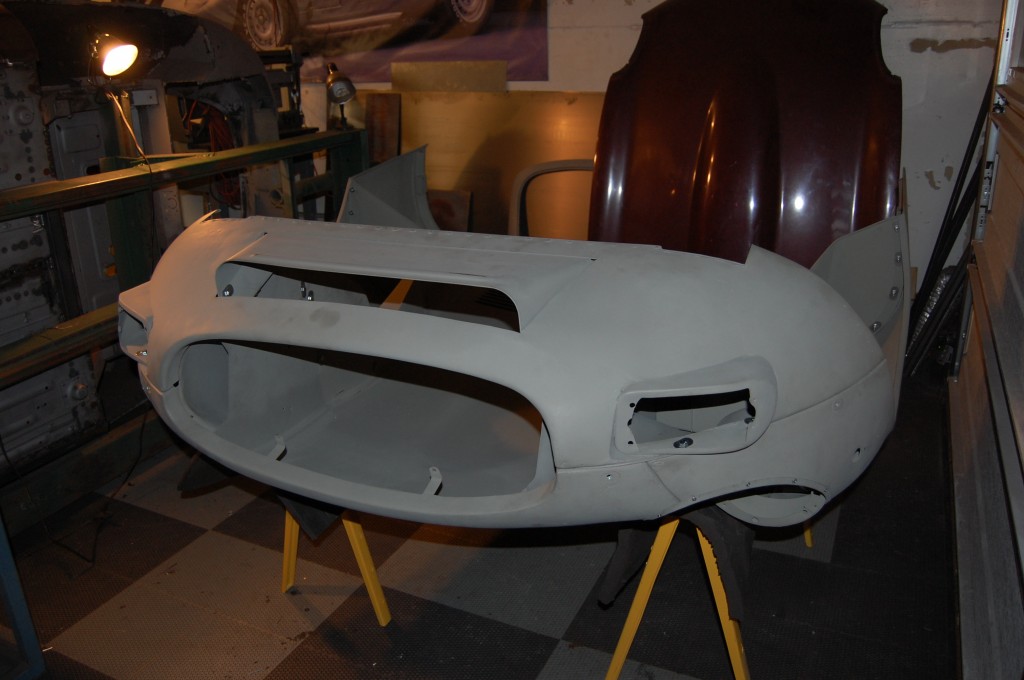
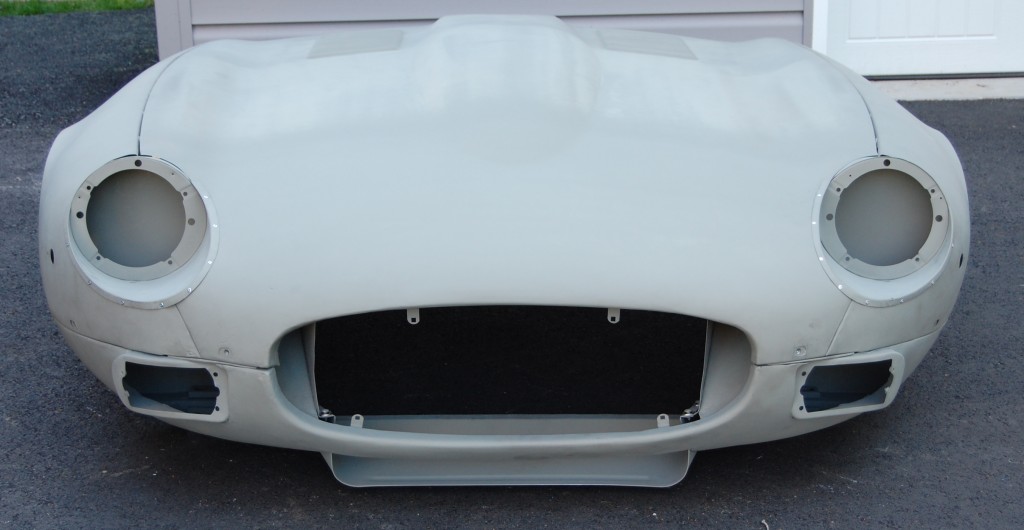
- Finished!
-

- You’d never know that much of what is seen in this photo is NOT original Jaguar steel.
-

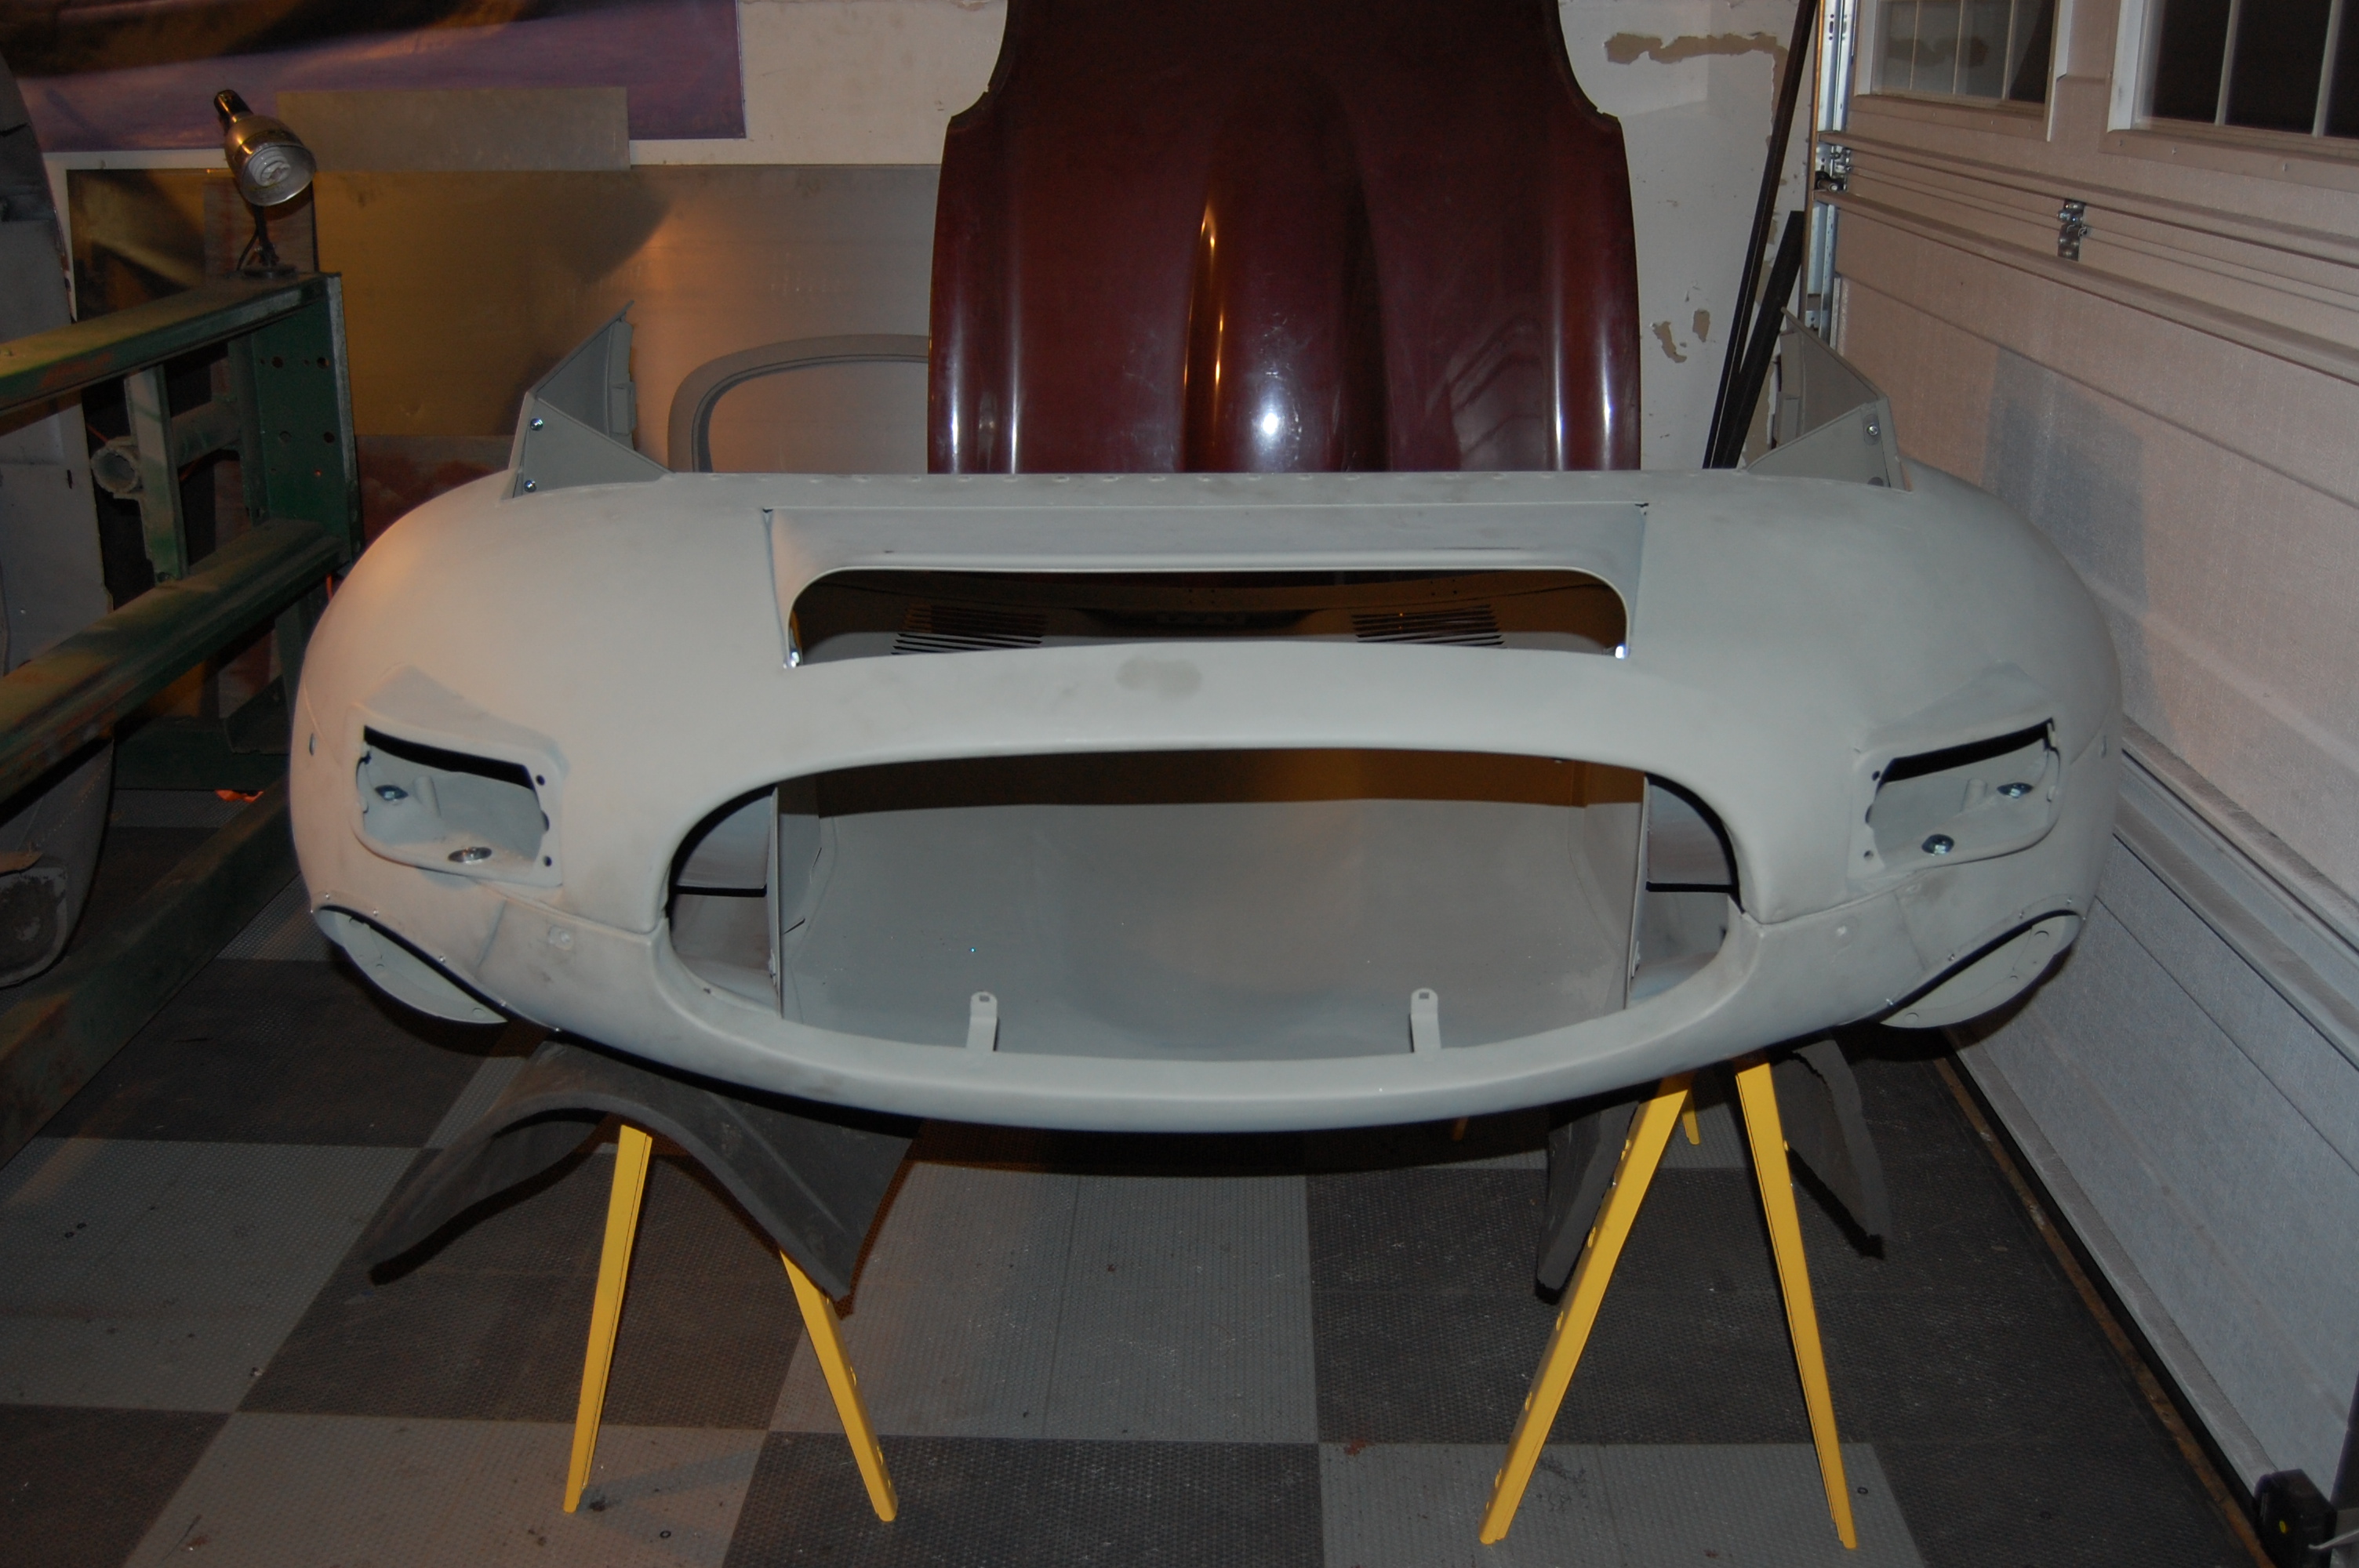
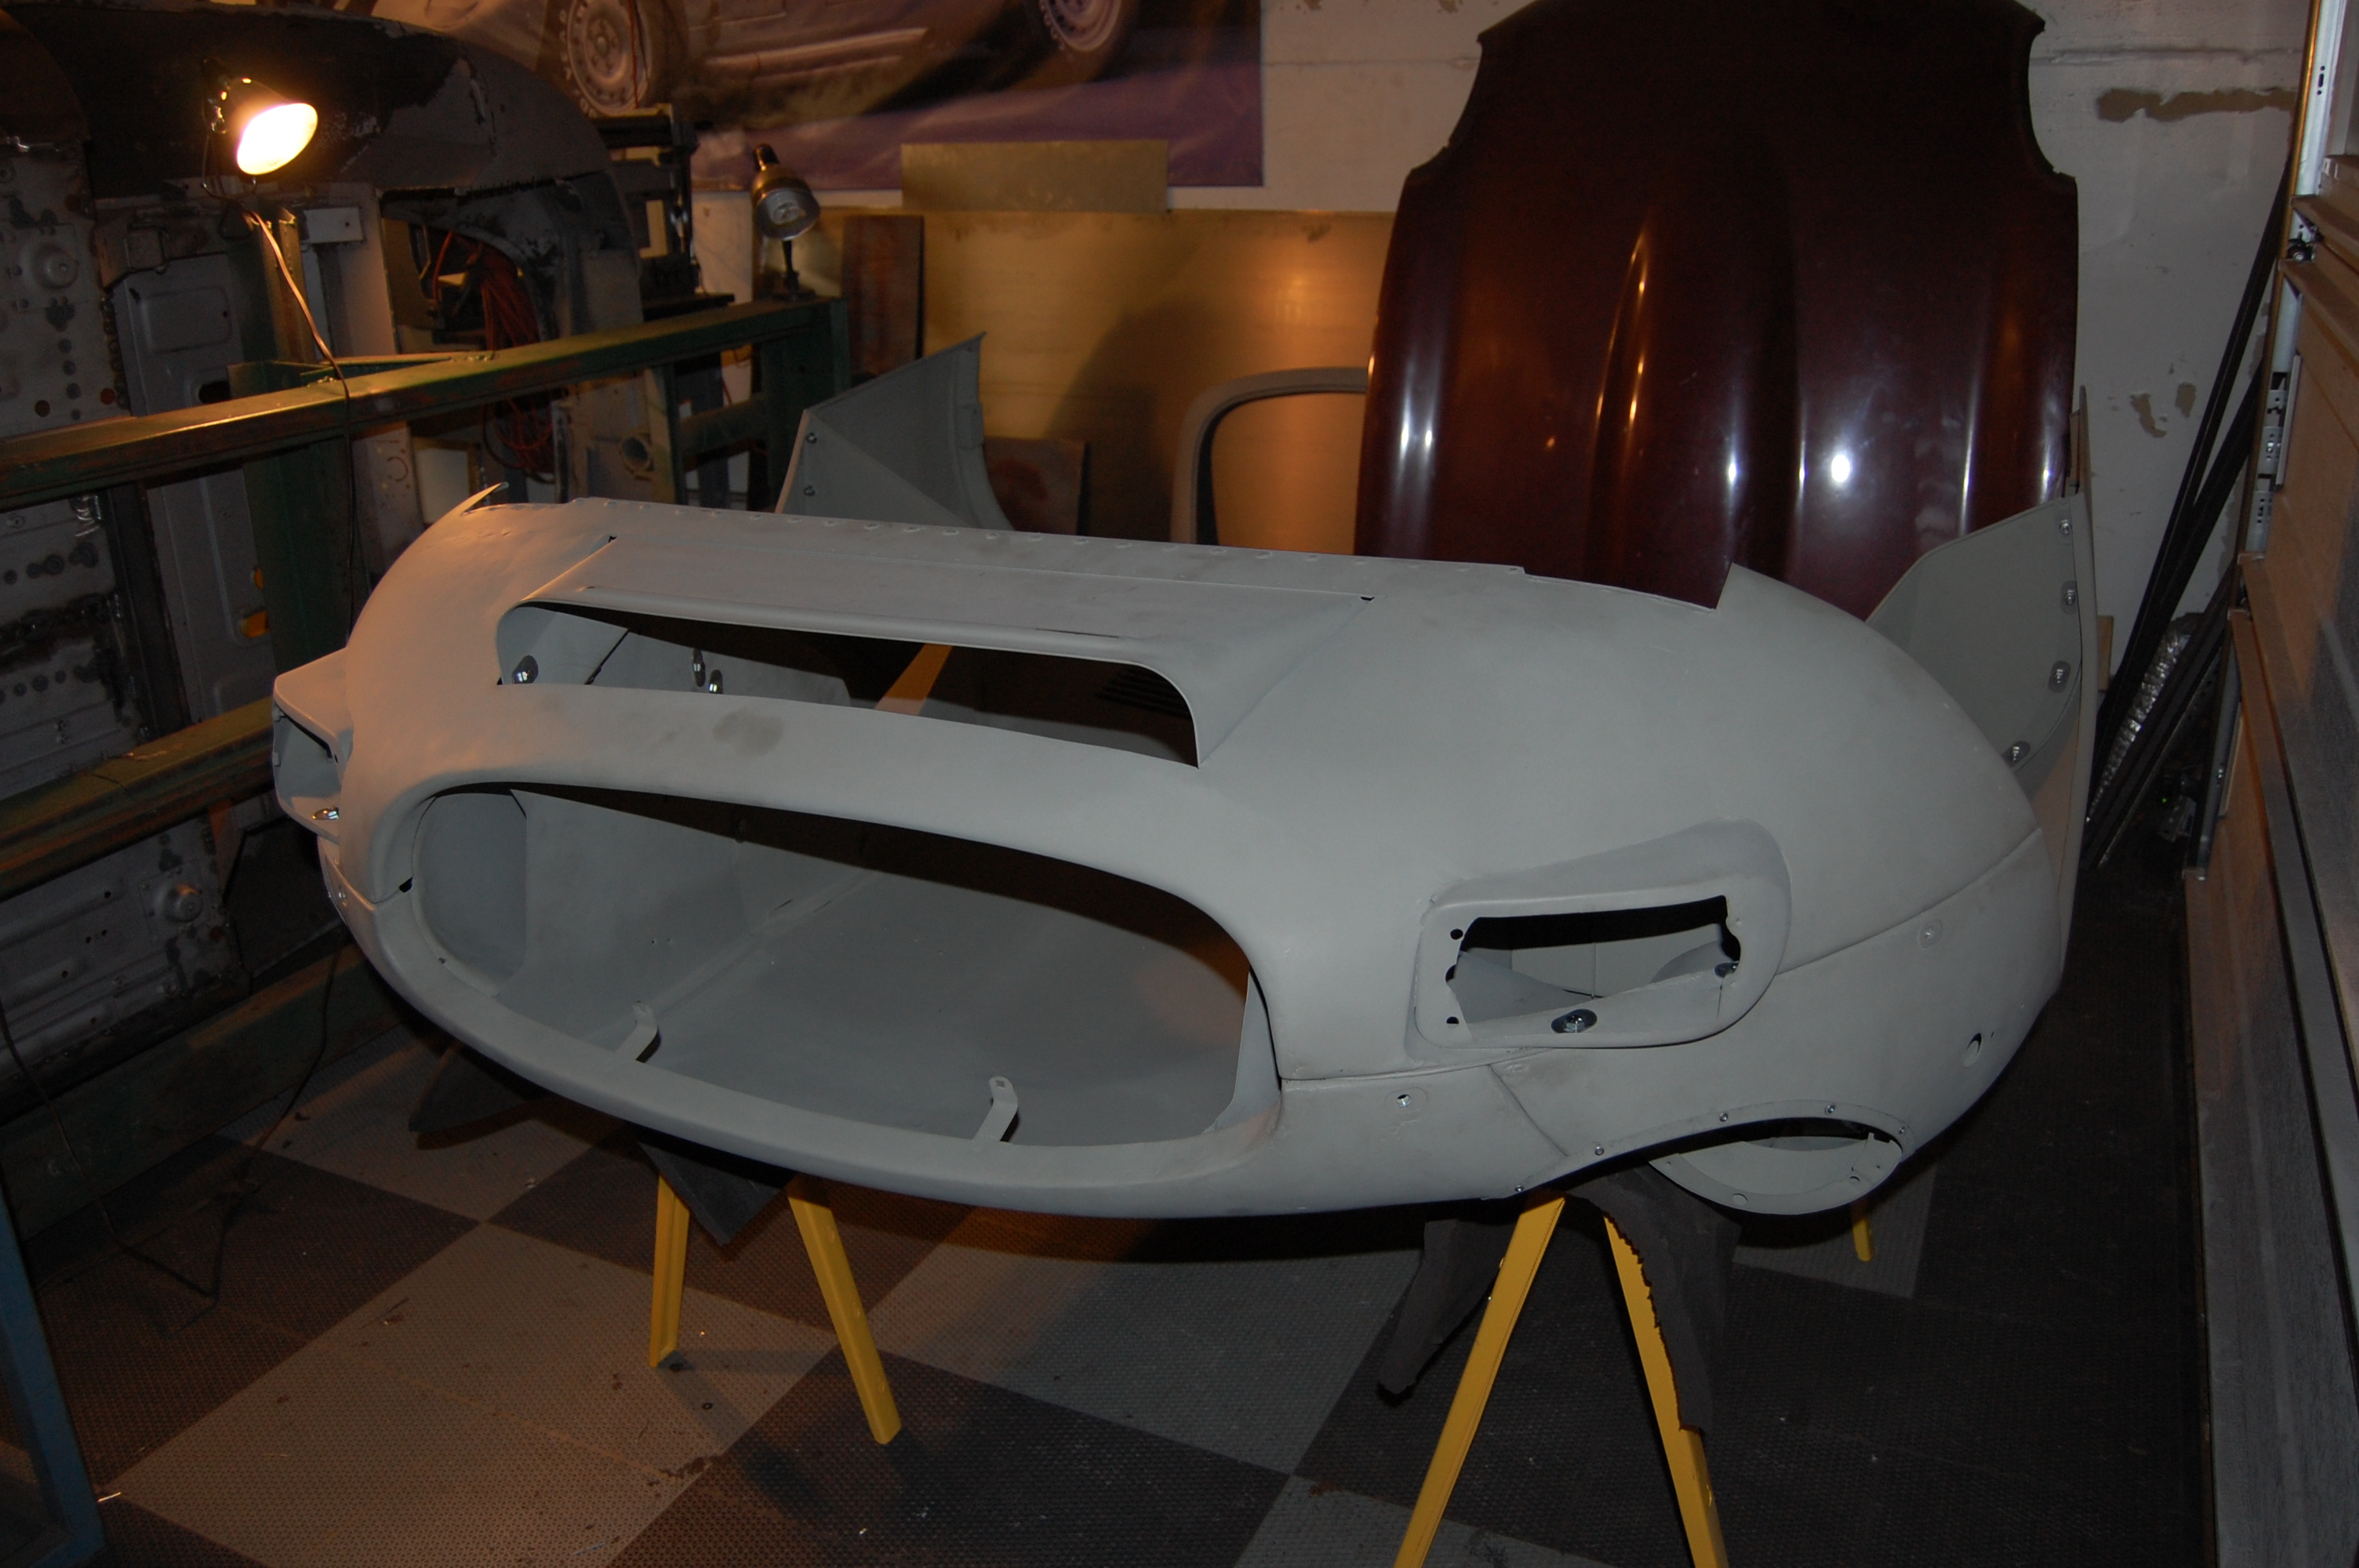
- This side is all new as well.
-
- This bonnet was a MASSIVE amount of work, but will pay dividends down the line, as we now finally have the Series 3 bonnets fully patterned, and are now officially V-12 assembly experts too.
-
- As always, there is nothing in this photo but rock-solid steel and a microscopically thin coat of self-etching primer. Another bonnet perfectly restored by Monocoque Metalworks!


