I usually put the center section off until last, because it is usually the piece that needs the most work. That way, once I finally do finish it, everything else is ready to go and assembly can move forward.
On this project, however, the lower valance was a real mess, and the support pieces for the Series 3 V-12 bonnet are panels that we had not yet patterned and fabricated, so I knew the lower valance was going to be the toughest part of this project, and it was…
Read on for photos and captions that show you just how far we have to go sometimes to bring a piece back to life!
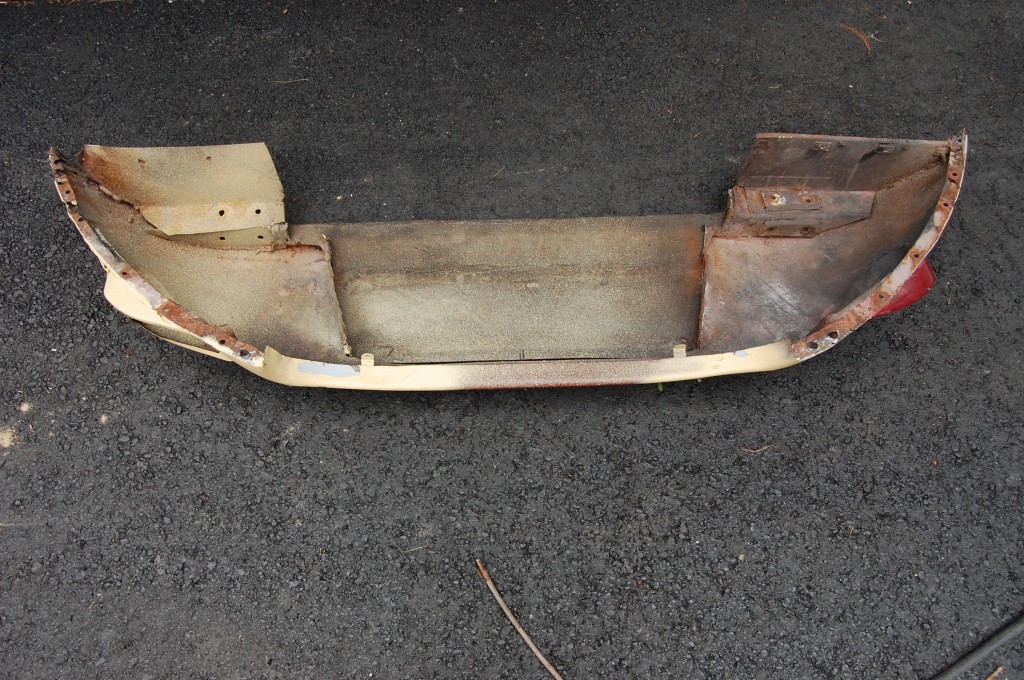
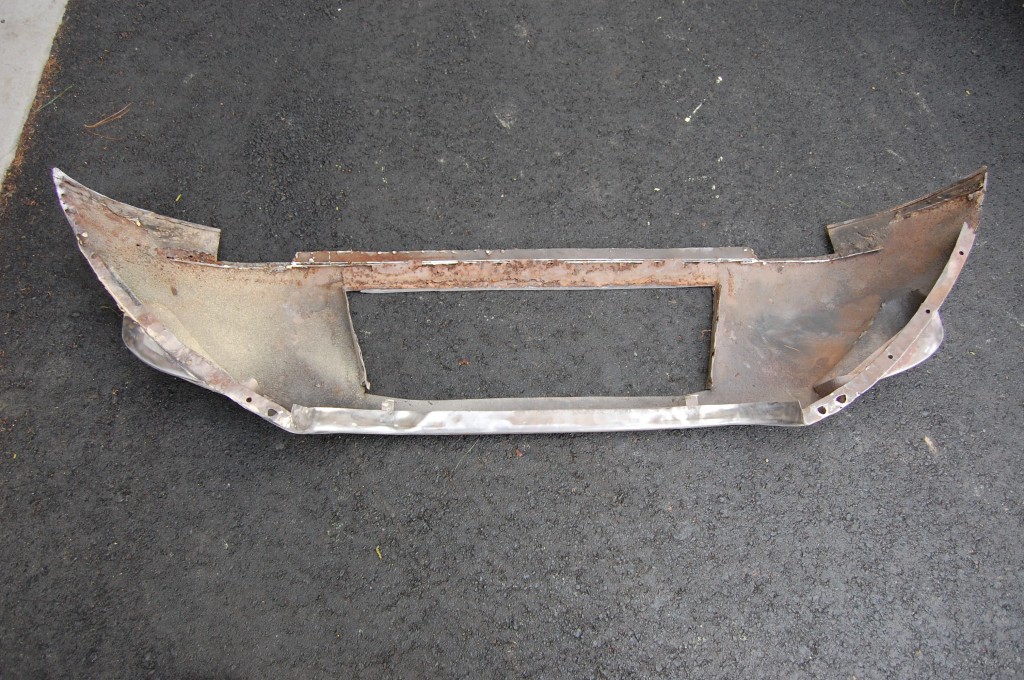
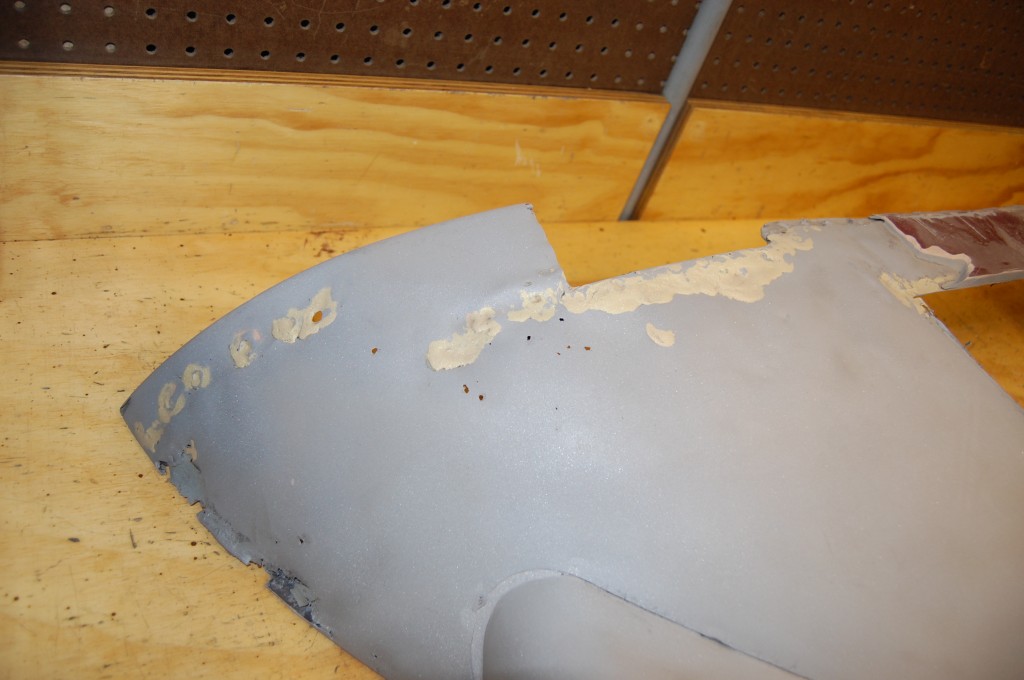
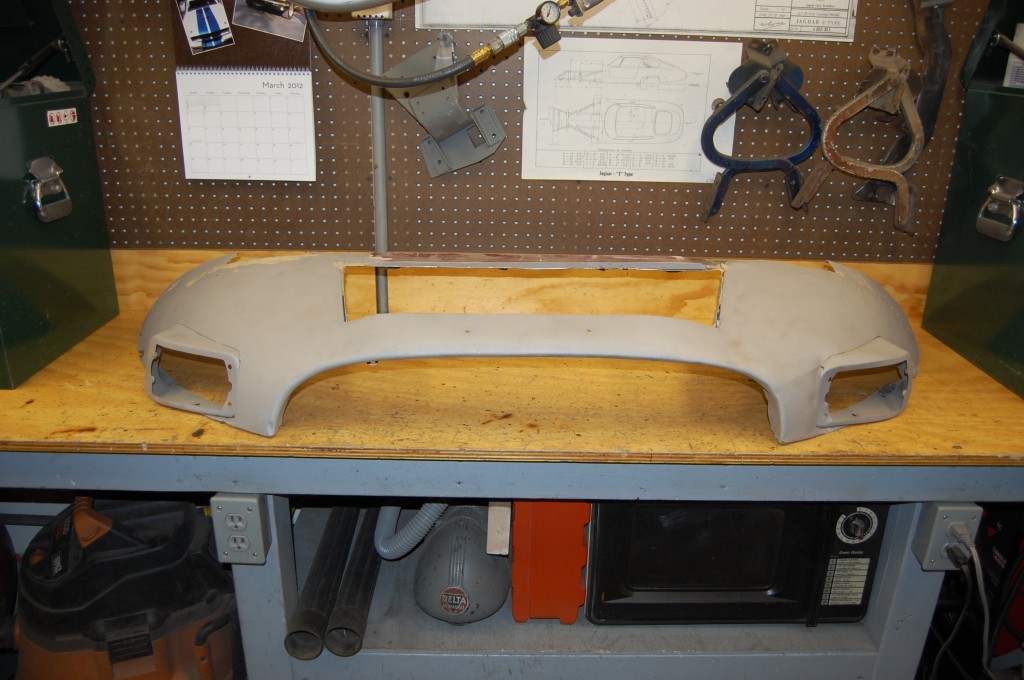
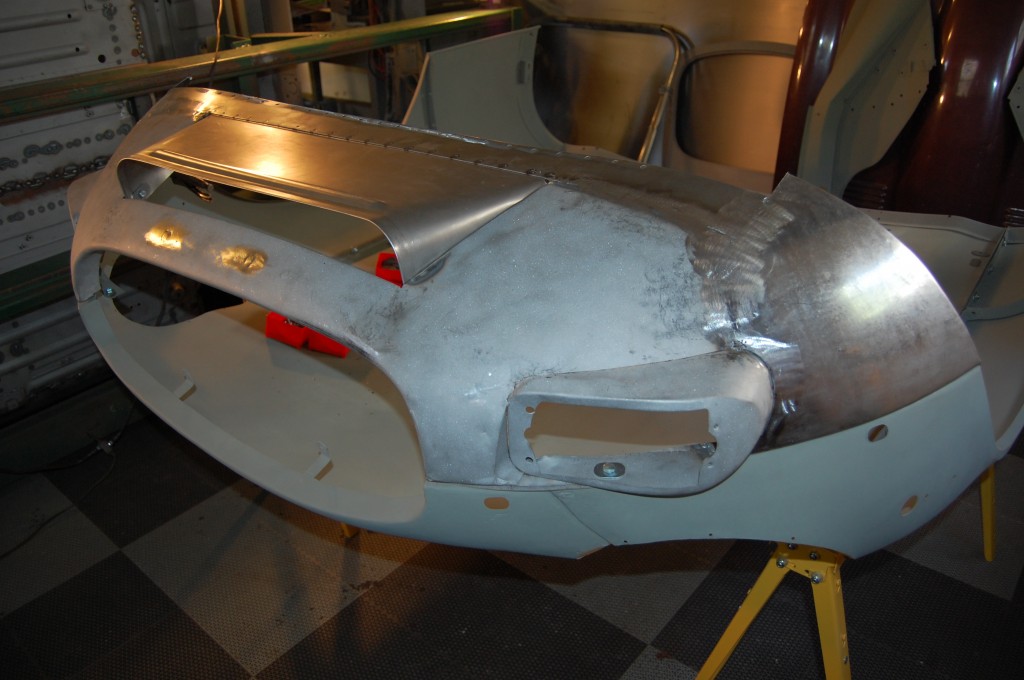
- Our starting point – essentially scrap metal…
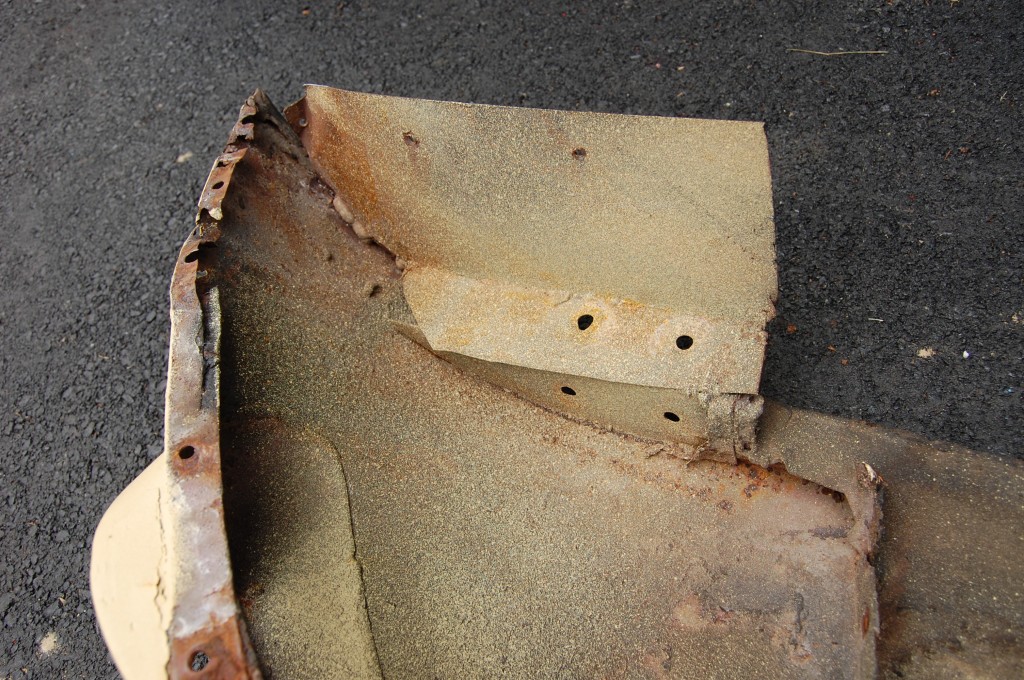
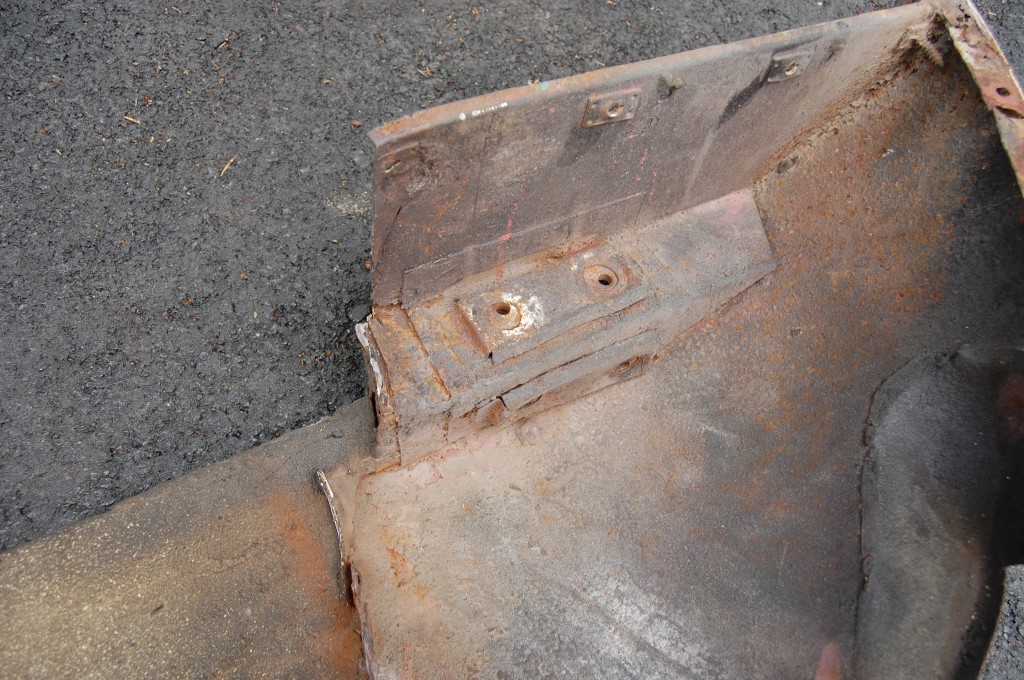
- The most ridiculous excuse for a repair to the hinge mounts I have ever seen.
- The other side is still original, but wiped out.
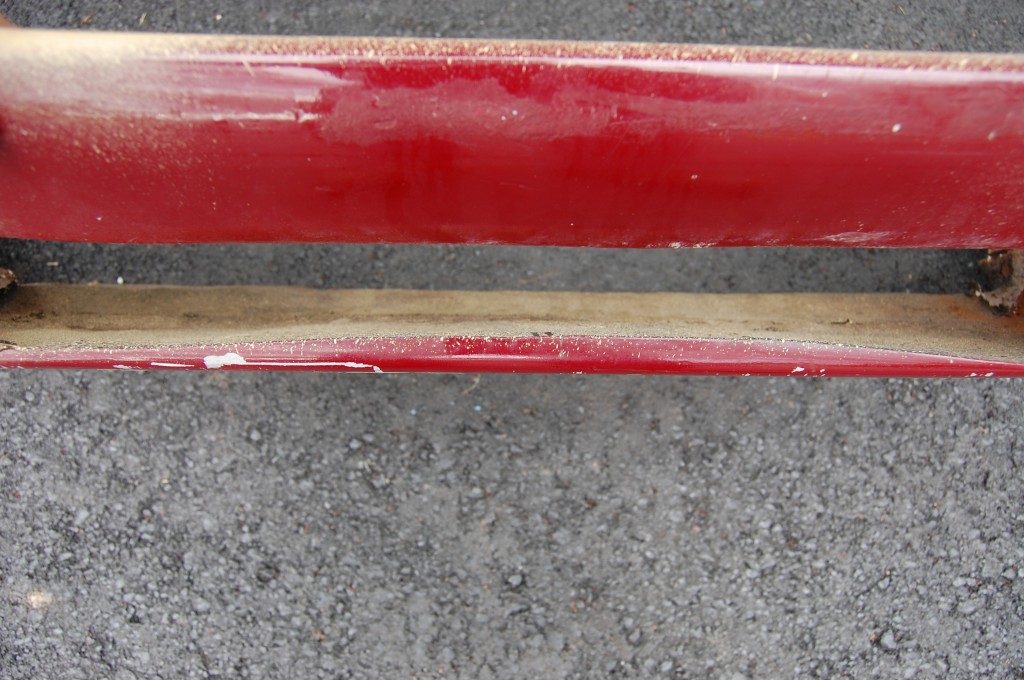
- And the scoop is a mangled up mess filled with 1/2″ of bondo.
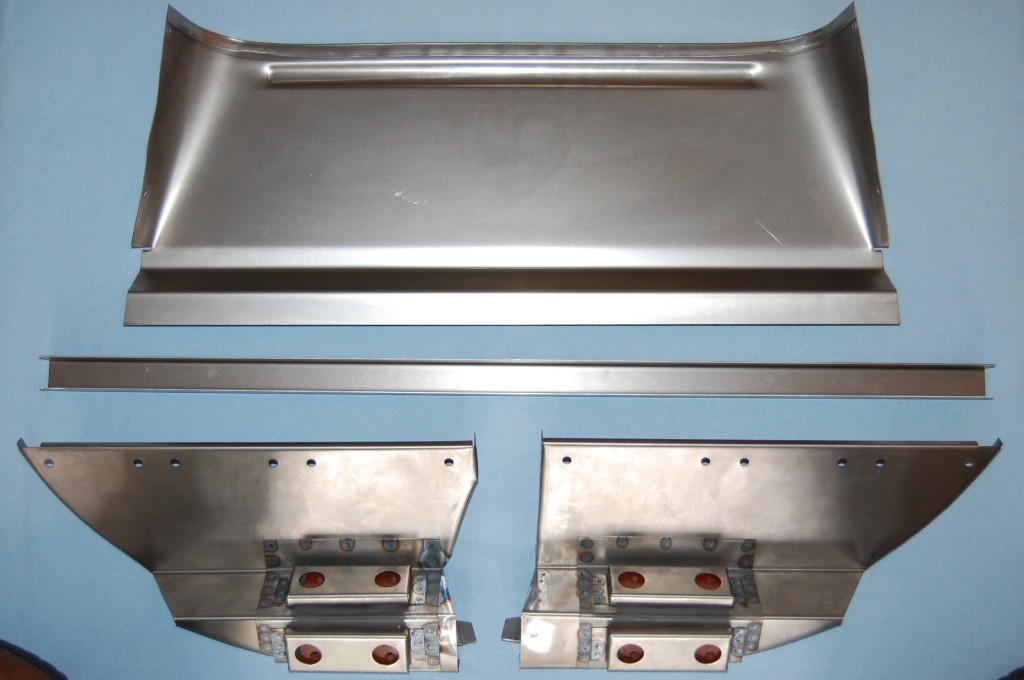
- So the first order of business was to pattern and fabricate new bonnet support pieces and a new scoop. On a Series 3 bonnet, these pieces are smaller and only take up the very corners of the lower valance since the V-12 requires a much larger radiator and air intake area. These two pieces are then tied together with a long piece of 16-gauge steel fromed into a C-channel. Finally, the C-channel is braced by the upper lip on the rear of the air scoop – you’ll see how ingenious that is in a later photo.
- Next step is to cut everything out so we are left with just the outer skin.
- But even large sections of the outer skin are a disaster and will need replacement.
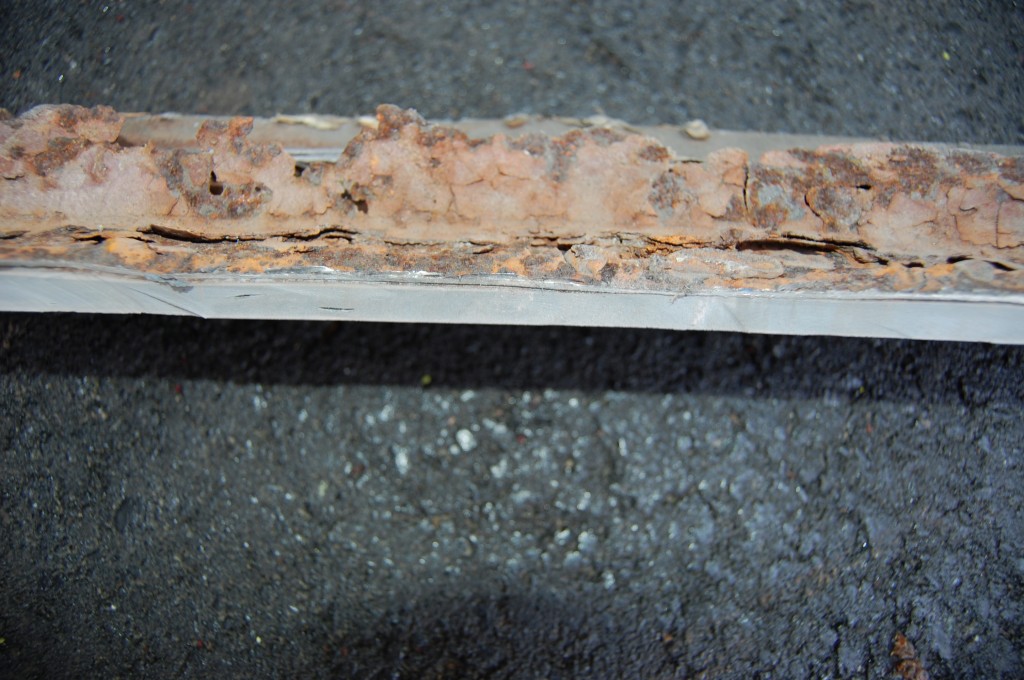
- It just gets worse and worse…
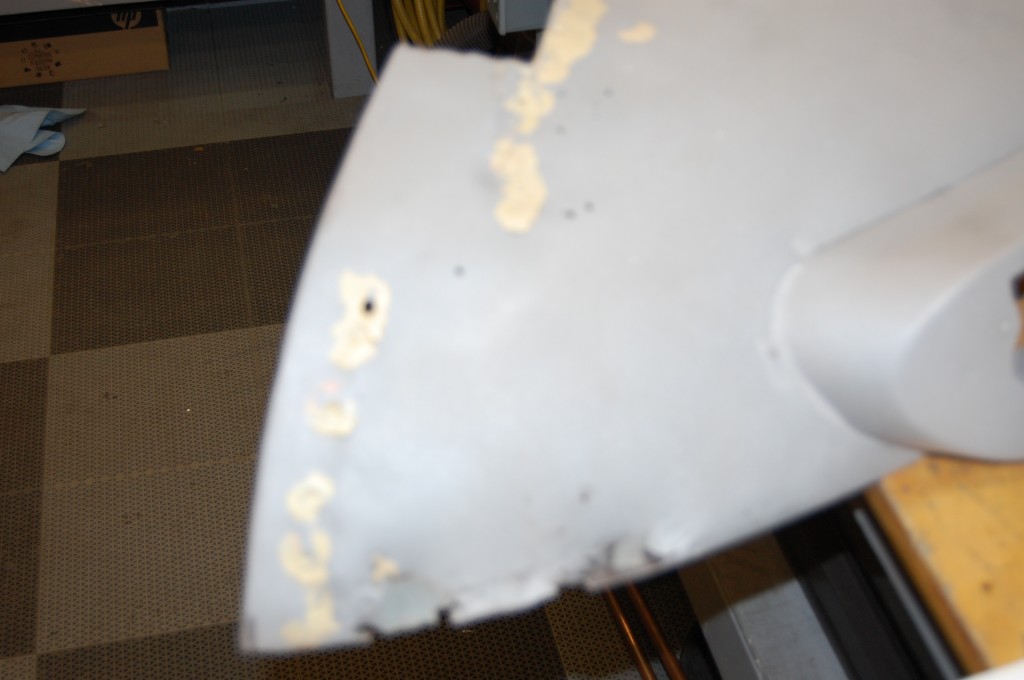
- …and worse – this is after the filler has all been stripped out with a wire wheel. Now we are seeing cancer in the skin and brazed repairs.
- What a mess!
- But we soldiered on – blasting the piece bare inside and out.
- Oh yeah – there are dents and wrinkles to deal with too…
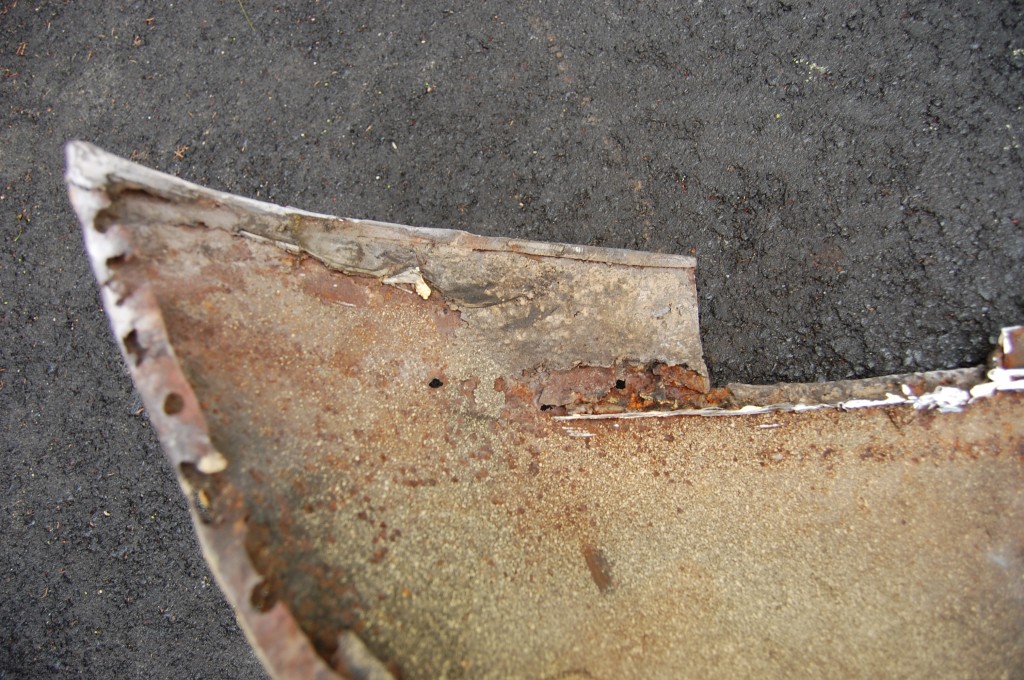
- That’s alot of braze – this area is going to need a patch – UGH!
- Oh well – that’s why we’re here – to make messes like this perfect again – so let’s dig in!
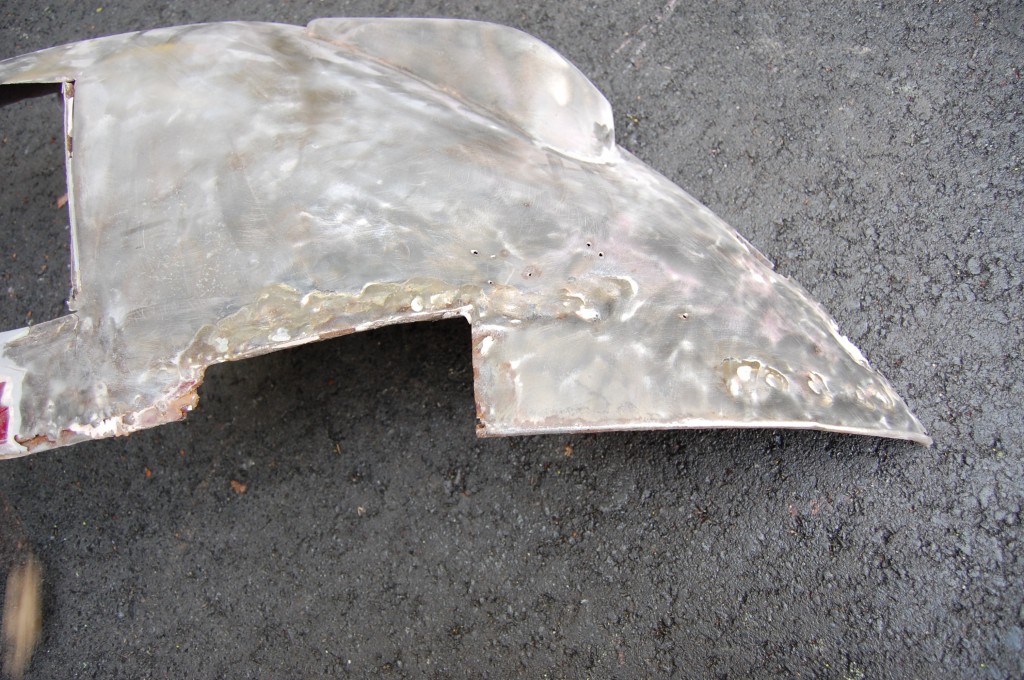
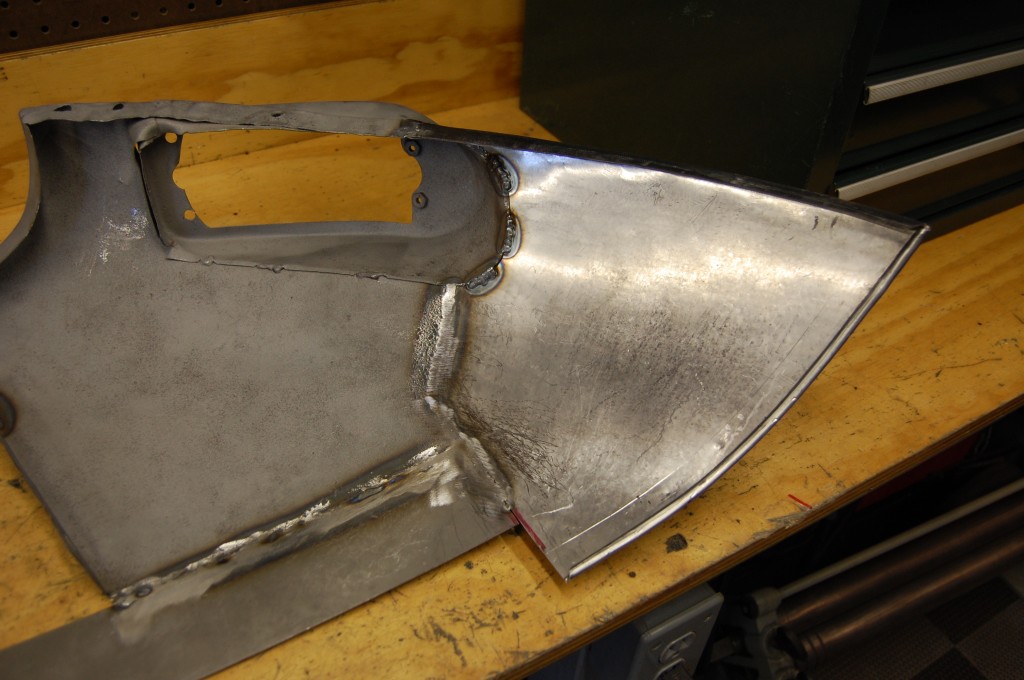
- First order of business is to remove and replace this corner of the outer skin.
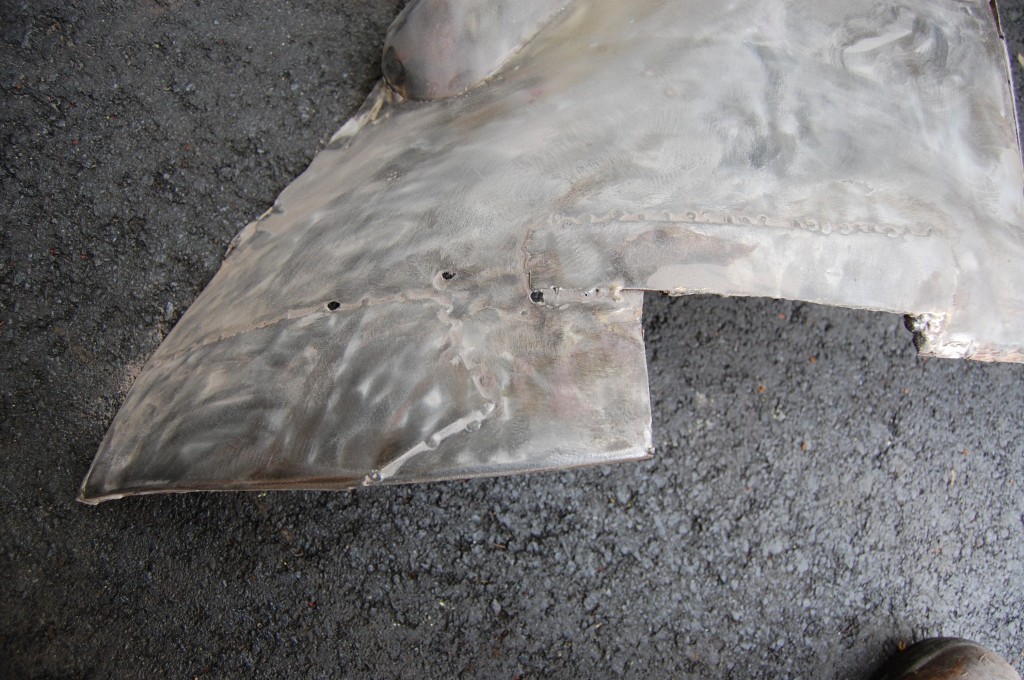
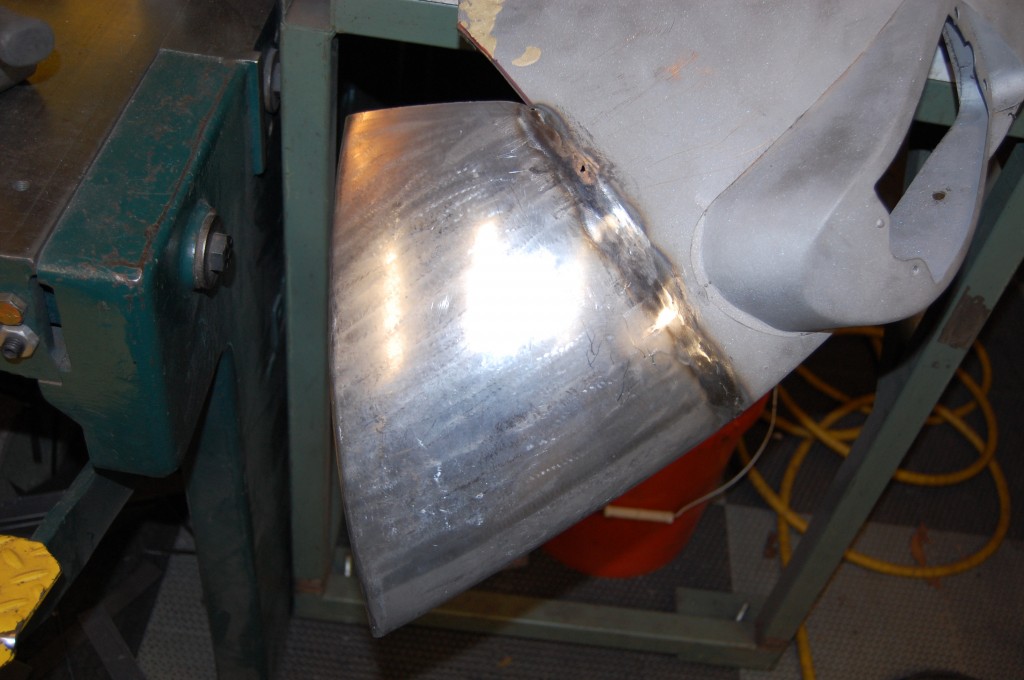
- Here is a piece we formed up from 18-gauge cold rolled steel and then butt-welded into place. We have made sure the flange that mates to the wing is in the proper place and proper width, and done the same with the wired edge in the lower forward portion of the wheel opening.
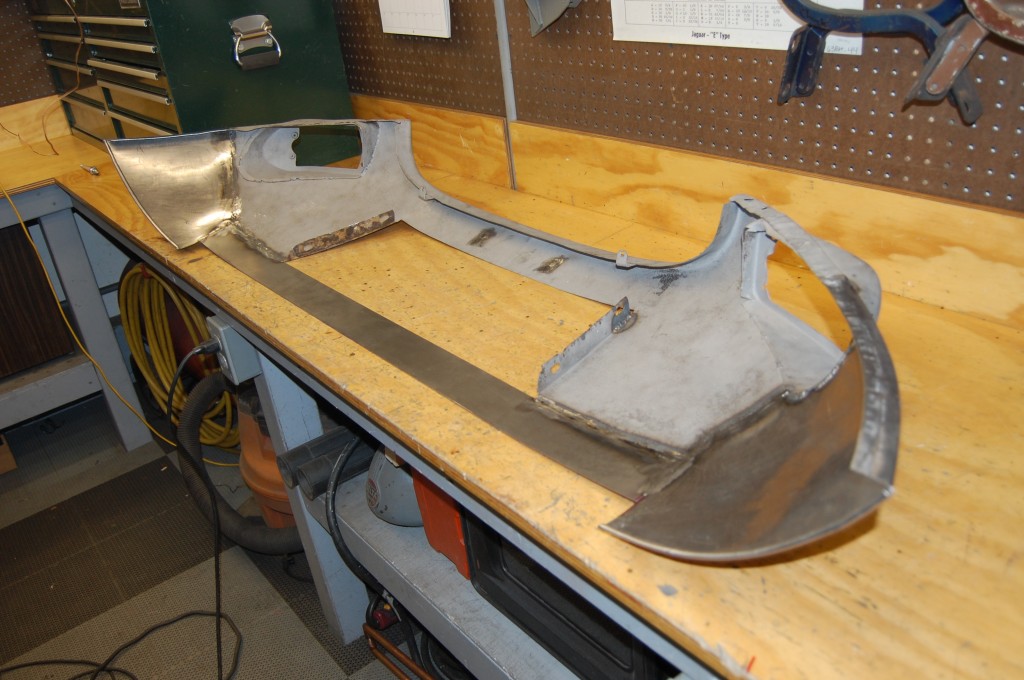
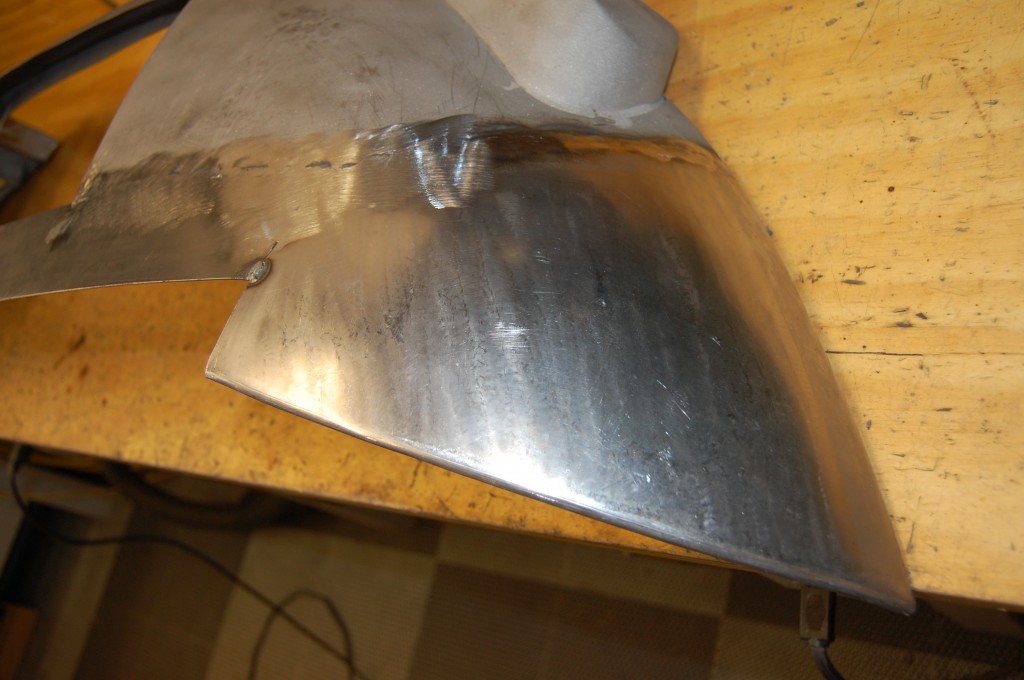
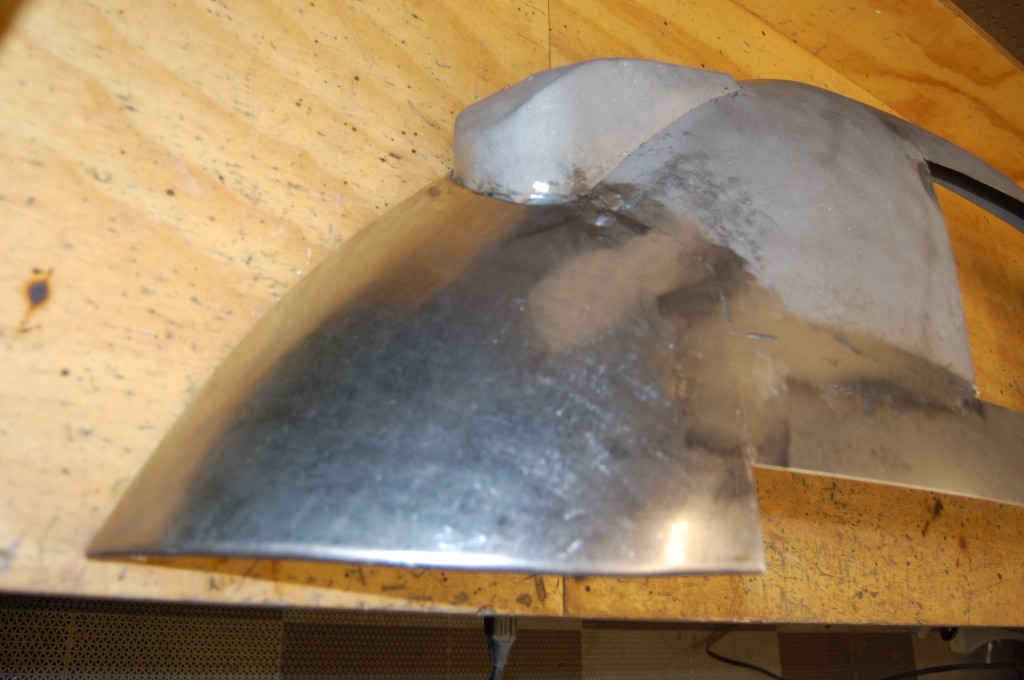
- This was an intense work session with alot of stress to get the curves right and the welds done smoothly, then planish the welds and shape everything properly. SO – this is the next phot that was taken, where you can see that both lower corners and the entire rear strip have been replaced. This shot shows better than any other just how little of the original lower valance is left – NOT MUCH!
- Here is an inner shot of the patch on the other side – it was even bigger than the first patch, but both turned out very well.
- The LH new side of the outer skin.
- The new RH side of the outer skin.
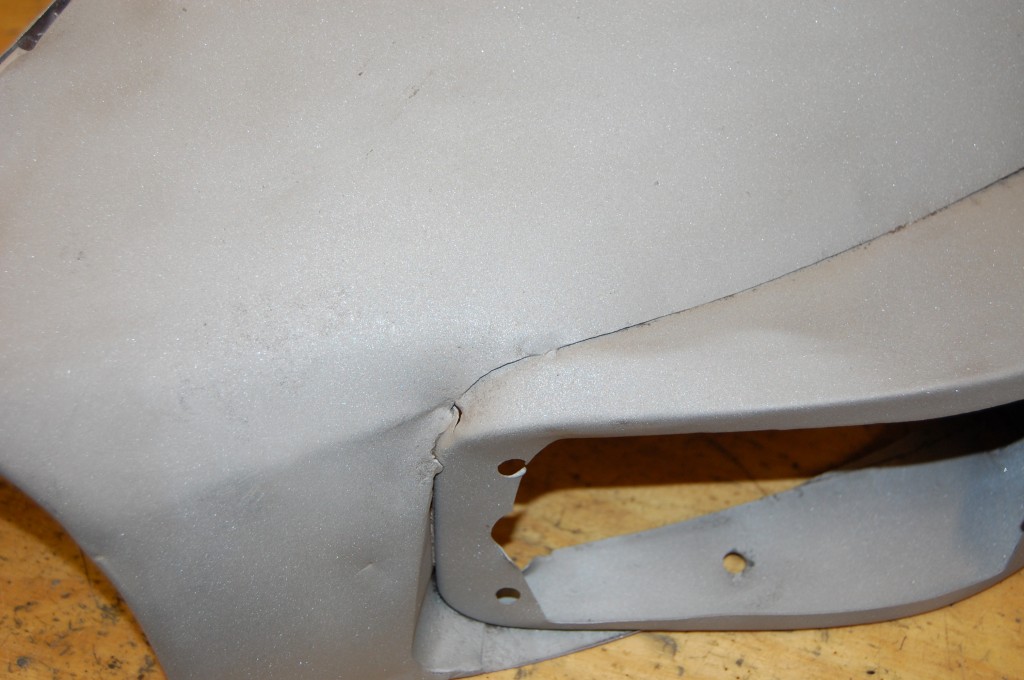
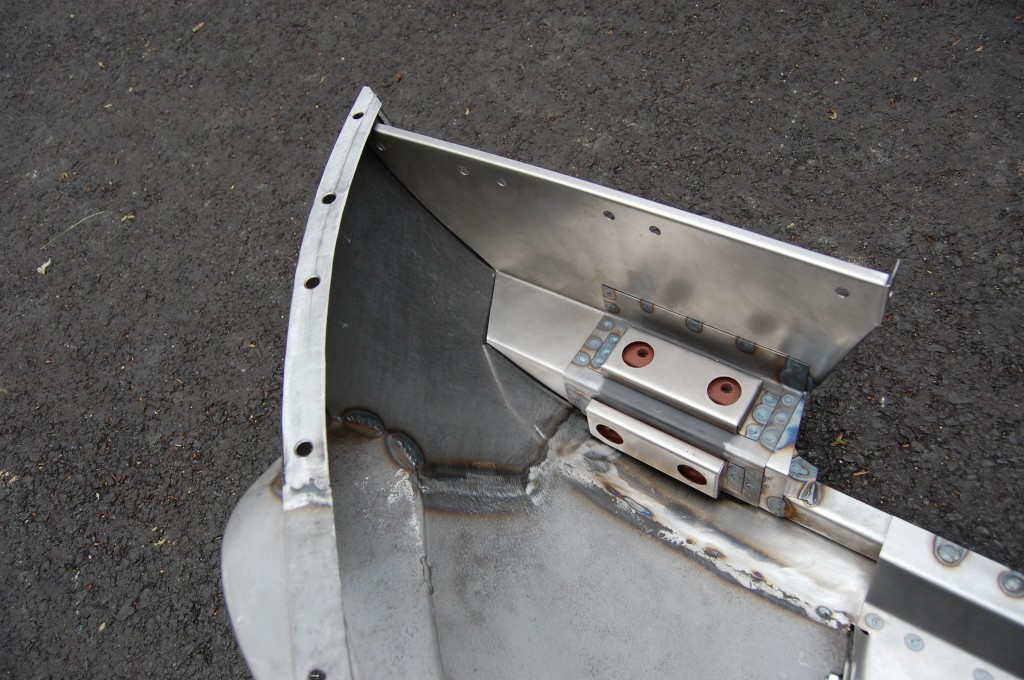
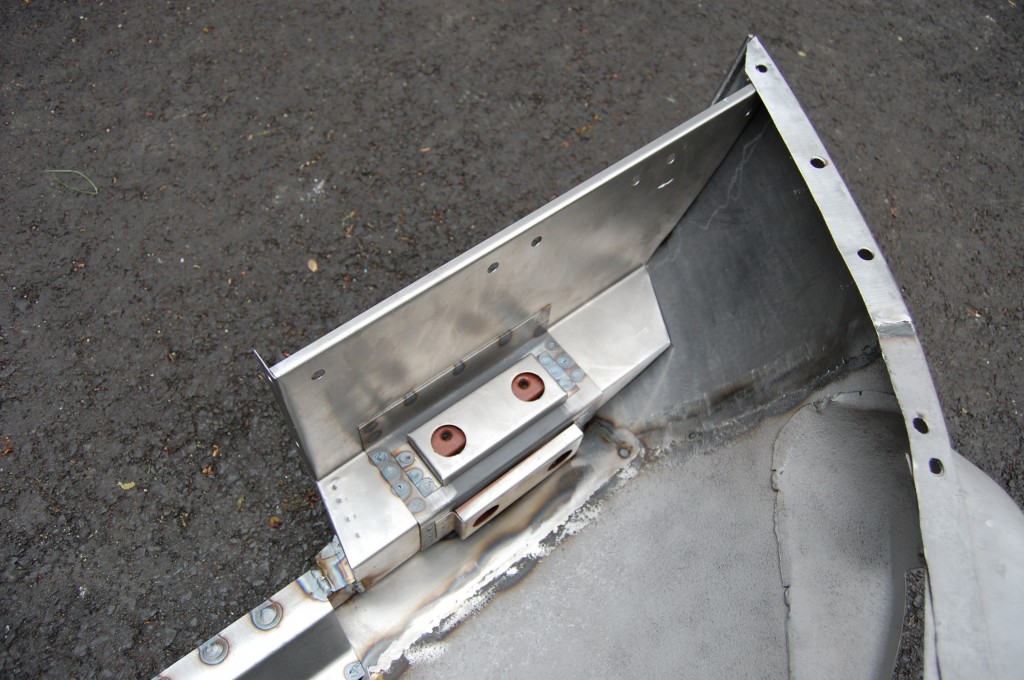
- Next, it’s time to fit the new support members that house the caged hinge plates.
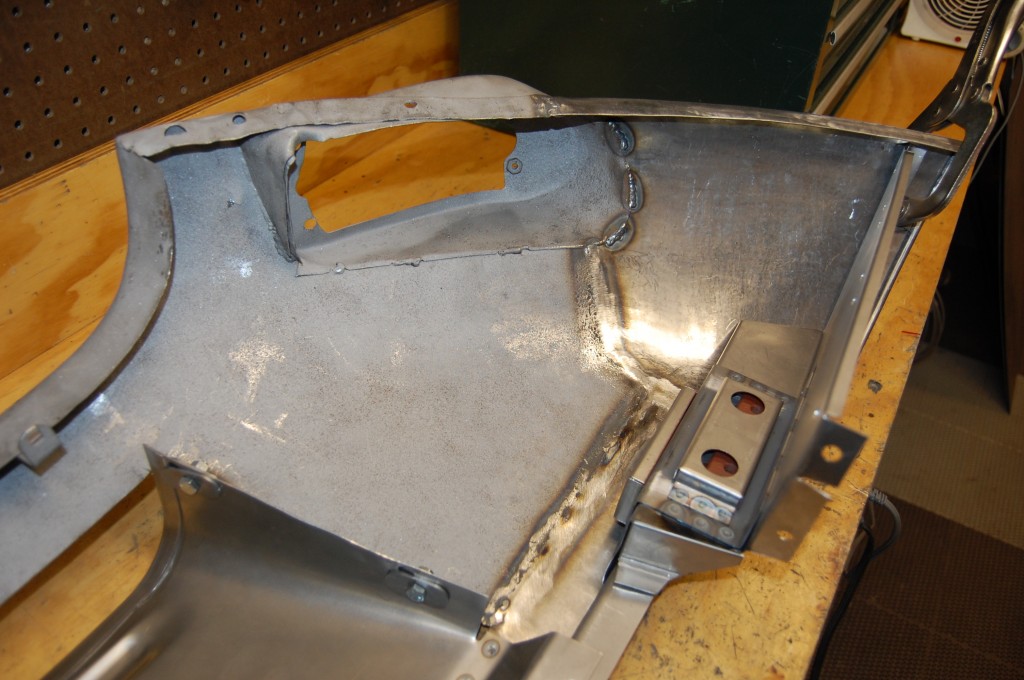
- Close-up of RH side.
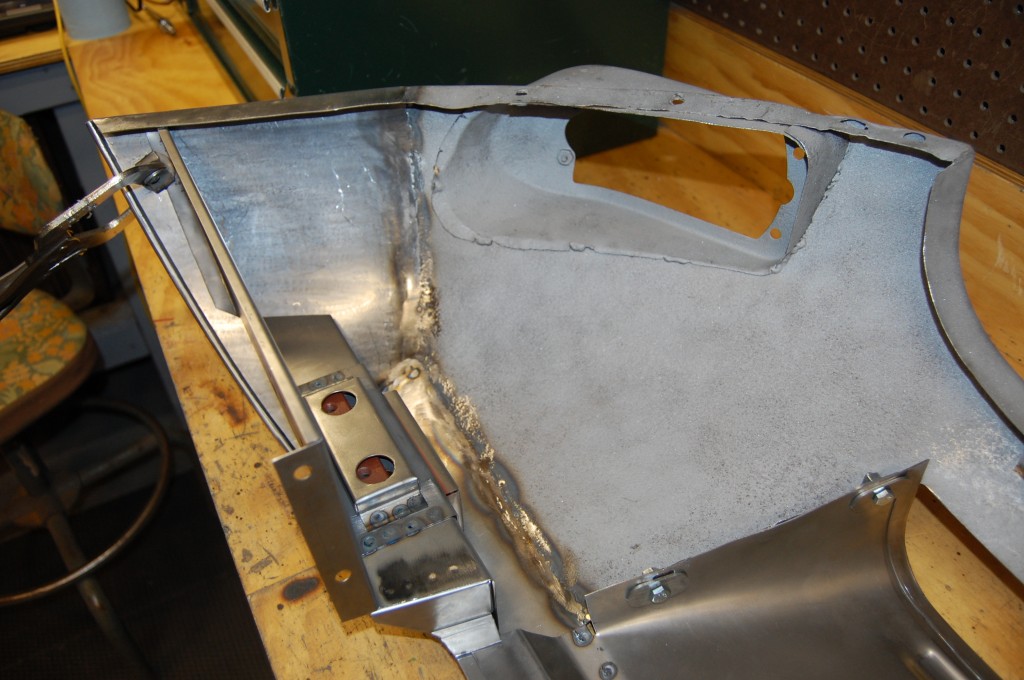
- Close-up of LH side.
- The support member pieces are now welded into place, weldd to each other, and the scoop is being fitted.
- The piece is now welded up and being fitted to the rest of the bonnet to make sure the curvature along the seams where the bumpers mount is correct.
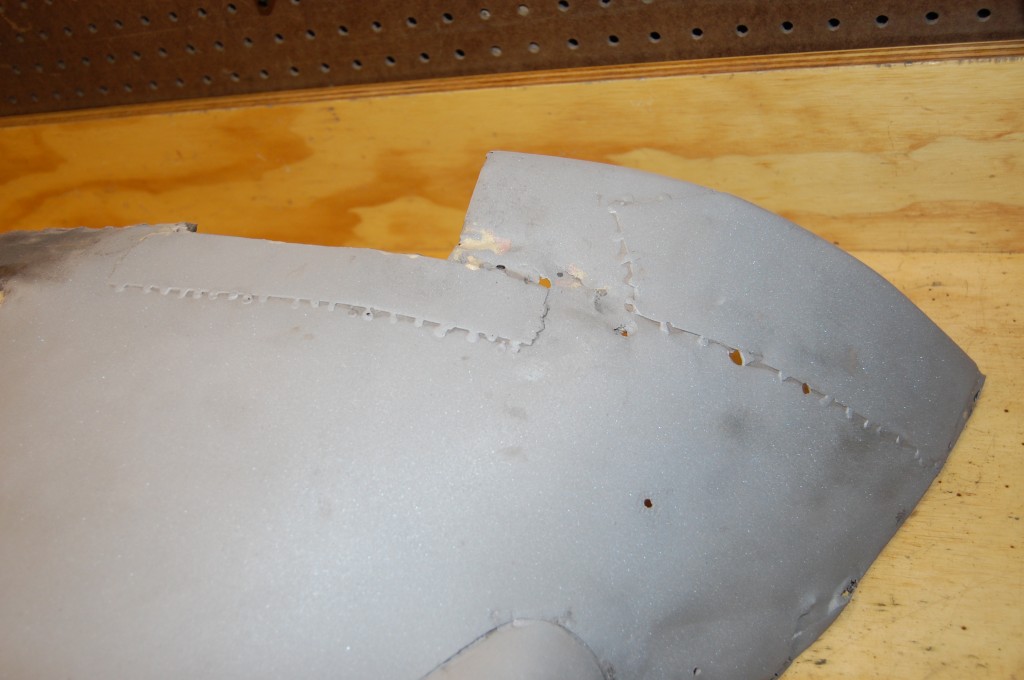
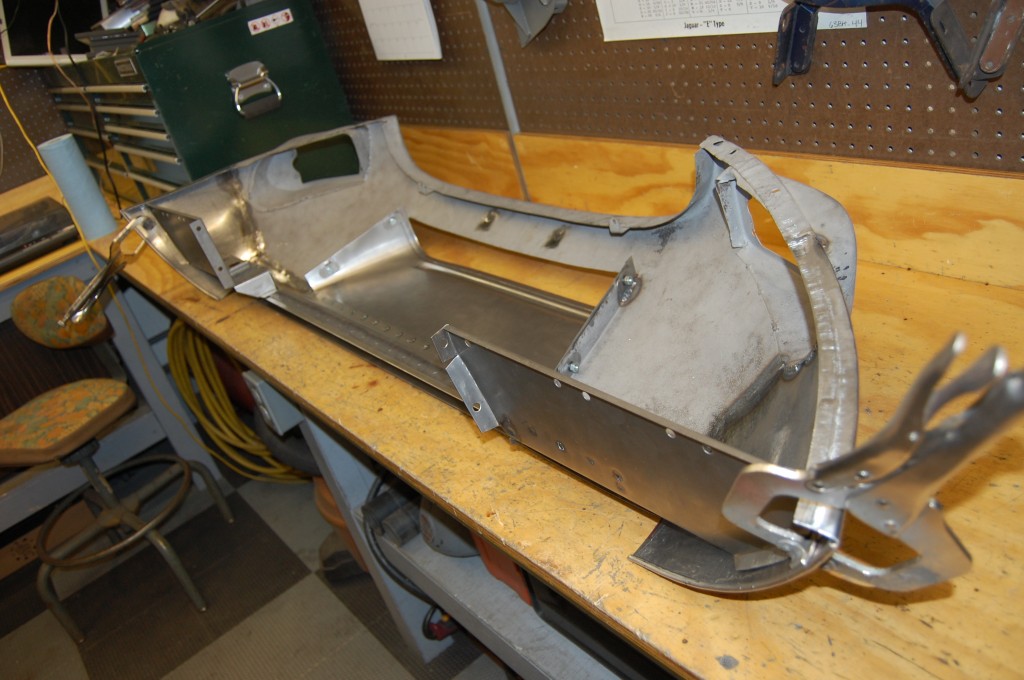
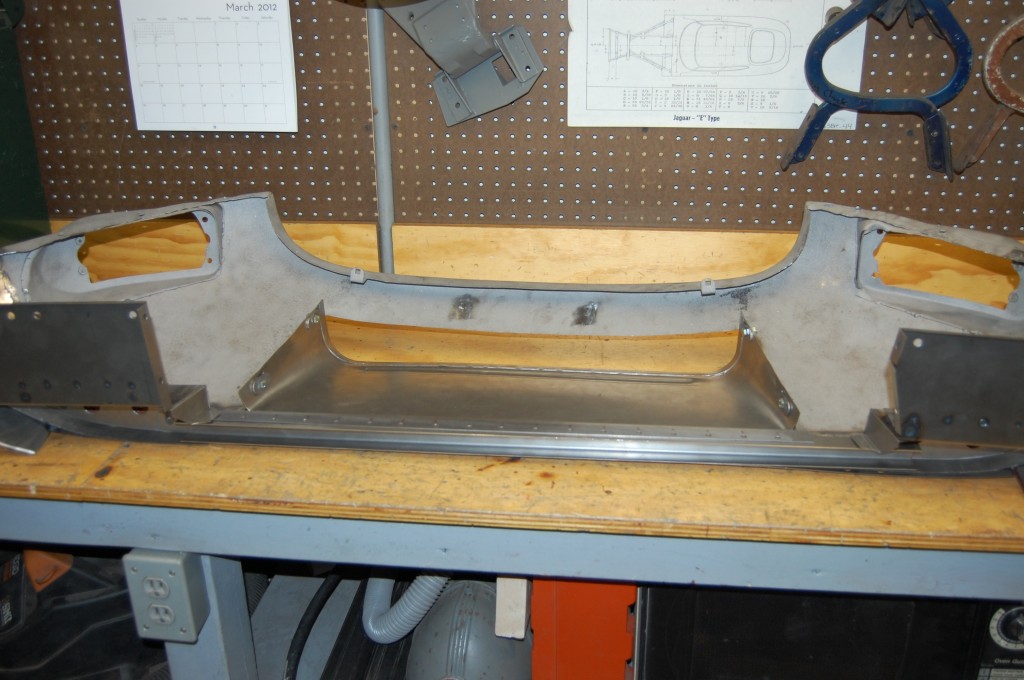
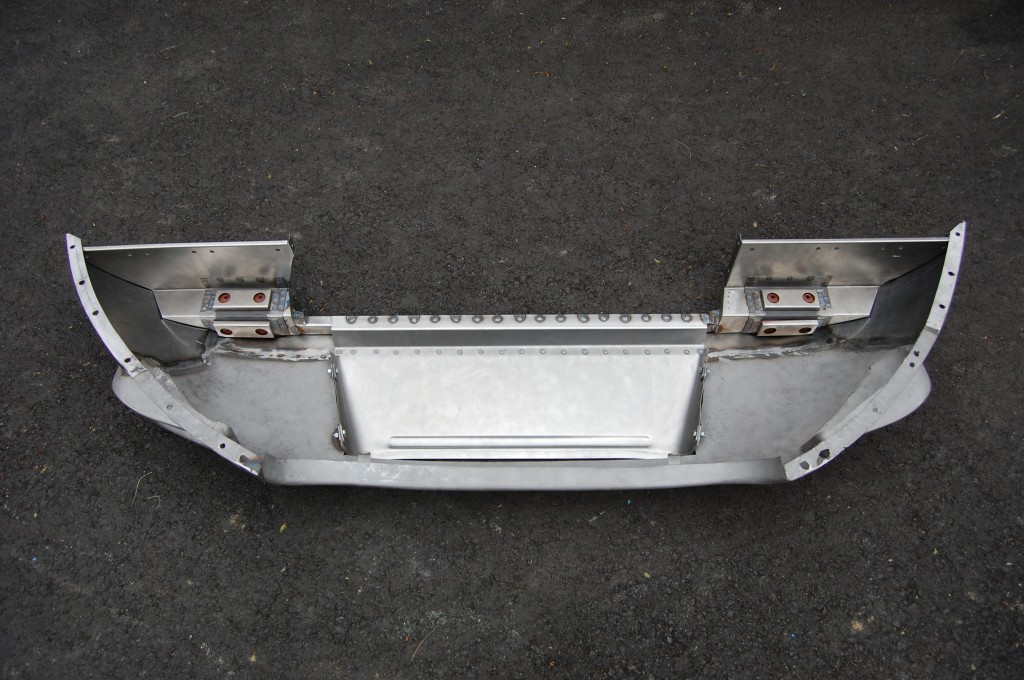
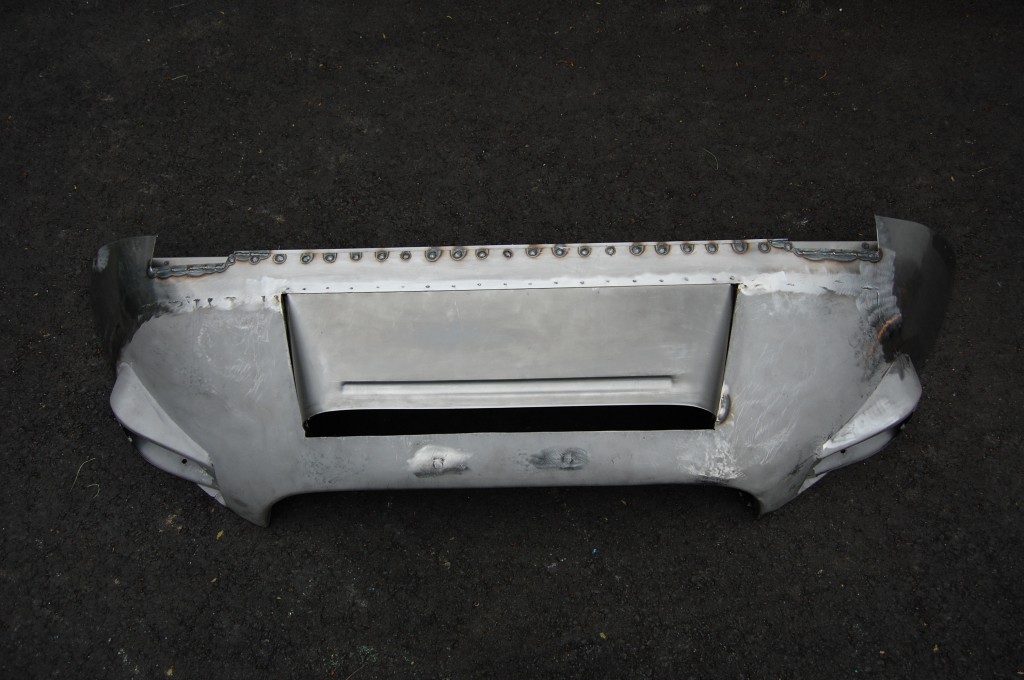
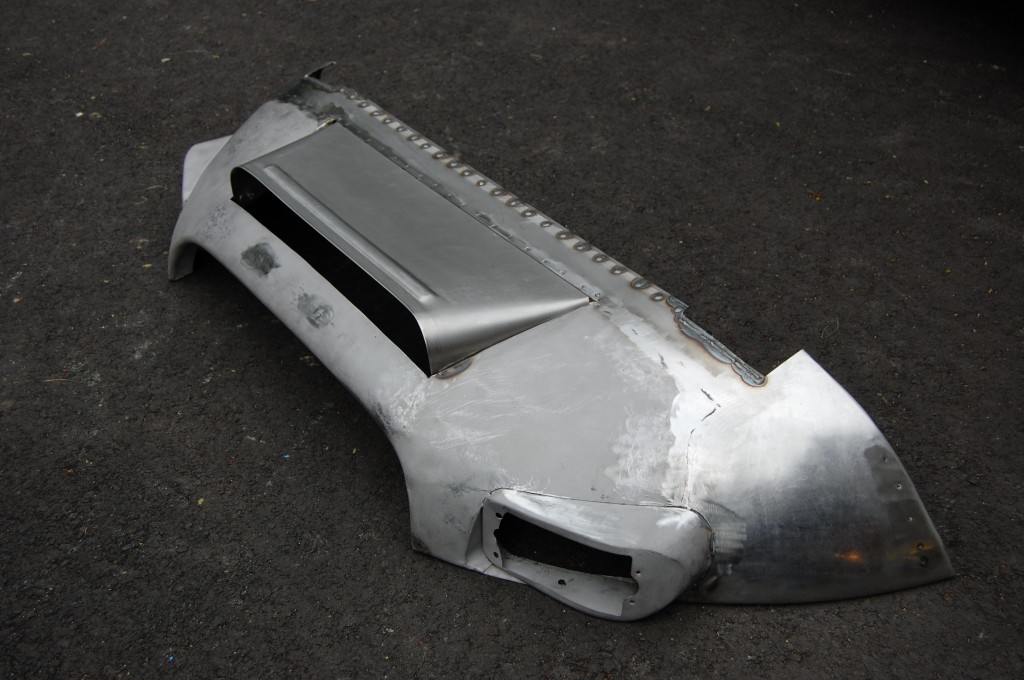
- Here is an overhead shot of the restored lower valance – again, showing how little of the original panel remains. Everything shiny is new metal, formed in Monocoque Metalworks’ fabrication shop.
- Compare this to the photo at the top of this blog entry!
- This one too!
- The center C-channel is plug-welded to the outer skin because we do not have spot-weld tongs that we could get in there – we need to get some. The plug welding is stronger, and I’m more comfortable with that strength in this important are anyway. The rear edge of the scoop is then also plug-welded to the other side of that C-channel, then slopes down and forward, and is spot-welded to the other skin. It serves as a triangular brace for the C-channel, and the final result is a piece that looks weaker than the 6 cyl. version, but is actually much more rigid.
- When compared to our starting point of virtual scrap metal, this finished product was a piece we could really be proud of. You can rest assured that we will get your E-Type back to where it started – BETTER even – no matter what it takes. 🙂

