All E-Type bonnets are comprised of:
- 4 large outer panels – center section, wings, and lower valance
- 2 large inner panels – RH and LH inner valances (sometimes called air tubes…)
- 5 smaller inner panels – RH and LH rear mudshields, RH and LH headlamp diaphragms, and some form of lower mouth tray or in this case, scoop
- a complete set of flanges
When we restore bonnets here, we systematically restore or fabricate panels until we have a complete kit of the items above that can then be assembled into a complete bonnet. Our next step for this particular bonnet was the smaller inner panels – of which we had none in stock.
So, it was literally “back to the drawing board”, and we patterned and fabricated all of the internal panels for V-12 E-Type bonnets – now available in our website and eBay stores.
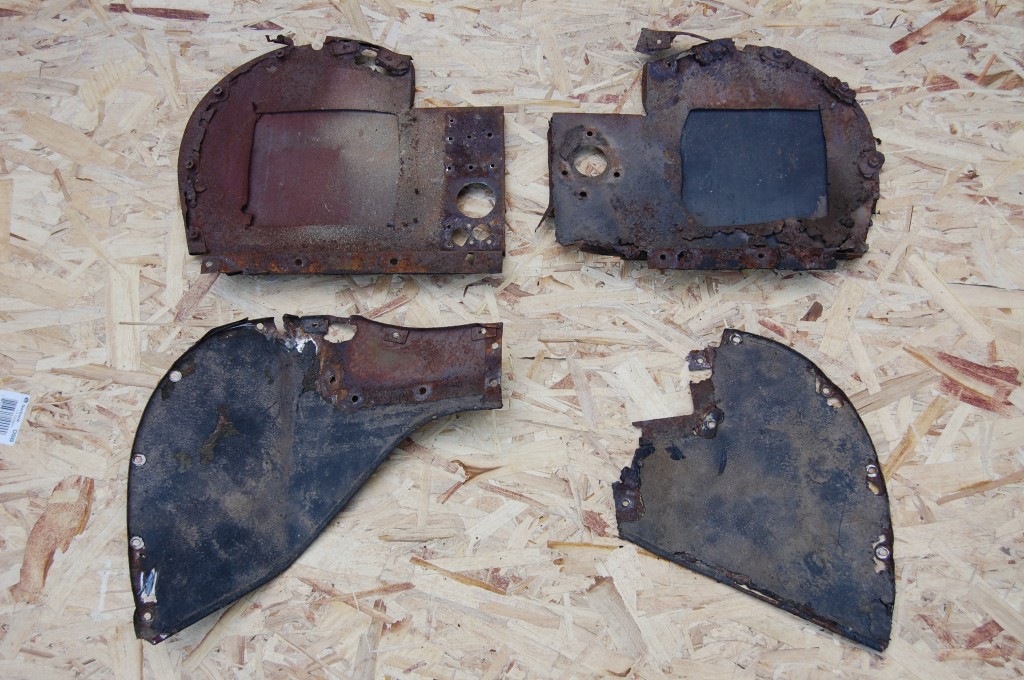
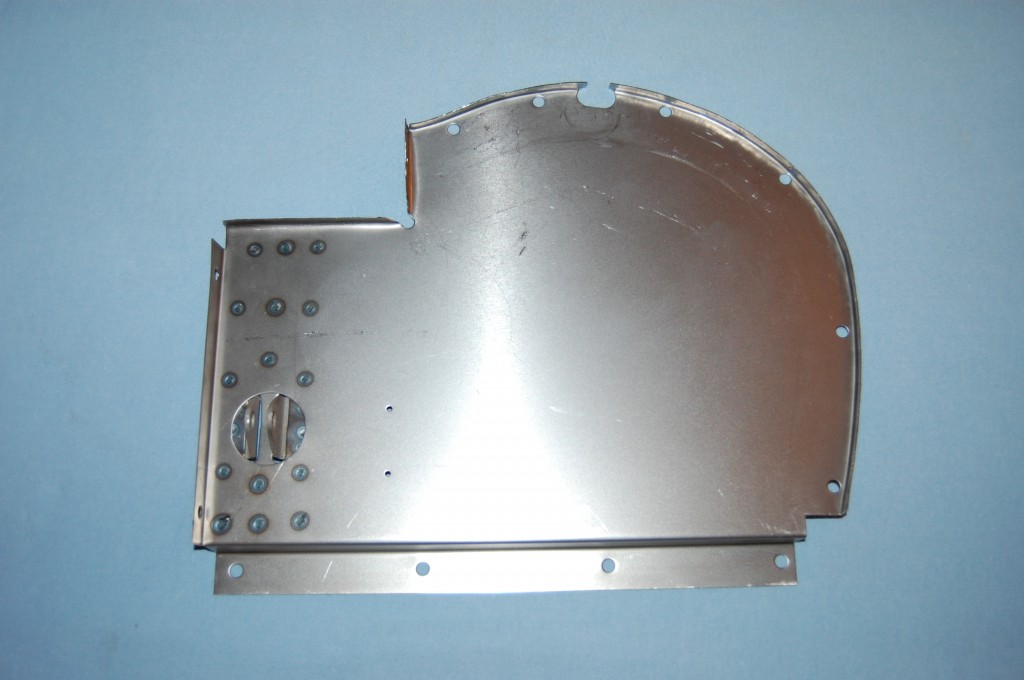
- Here are the inner panels that came out of the donor bonnet that provided the center section and lower valance for this project. These are absolute junk, but will make good patterns for these pieces.
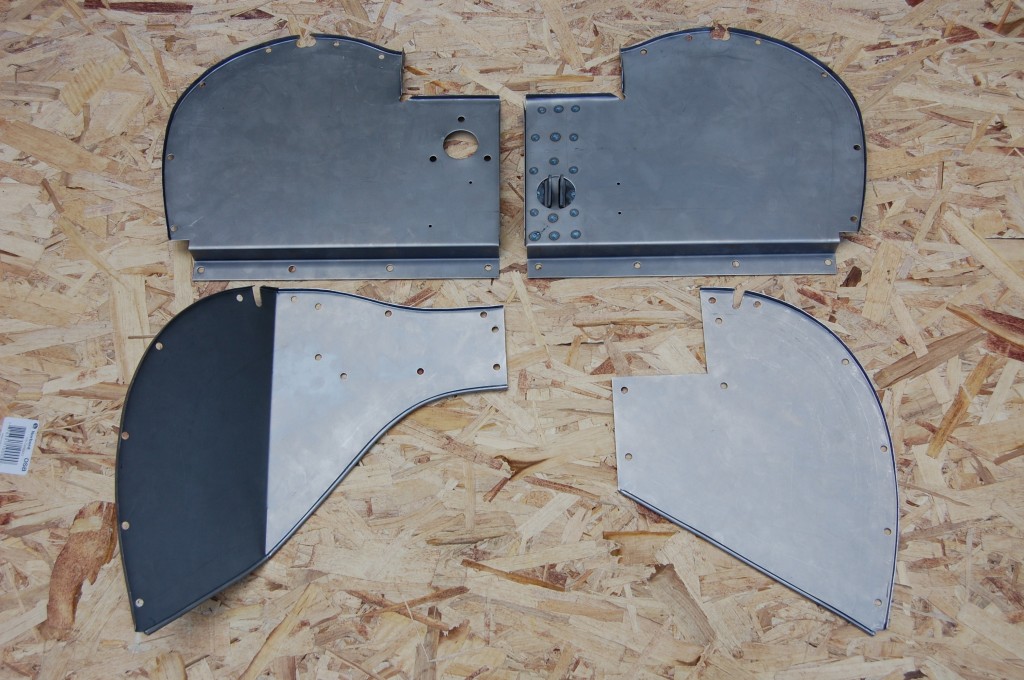
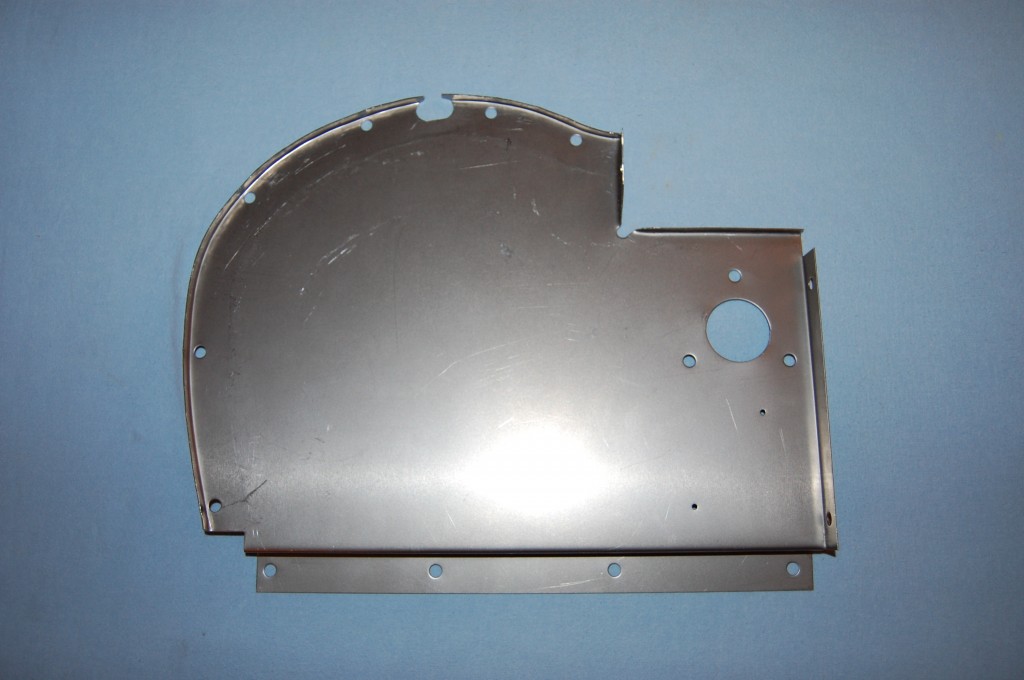
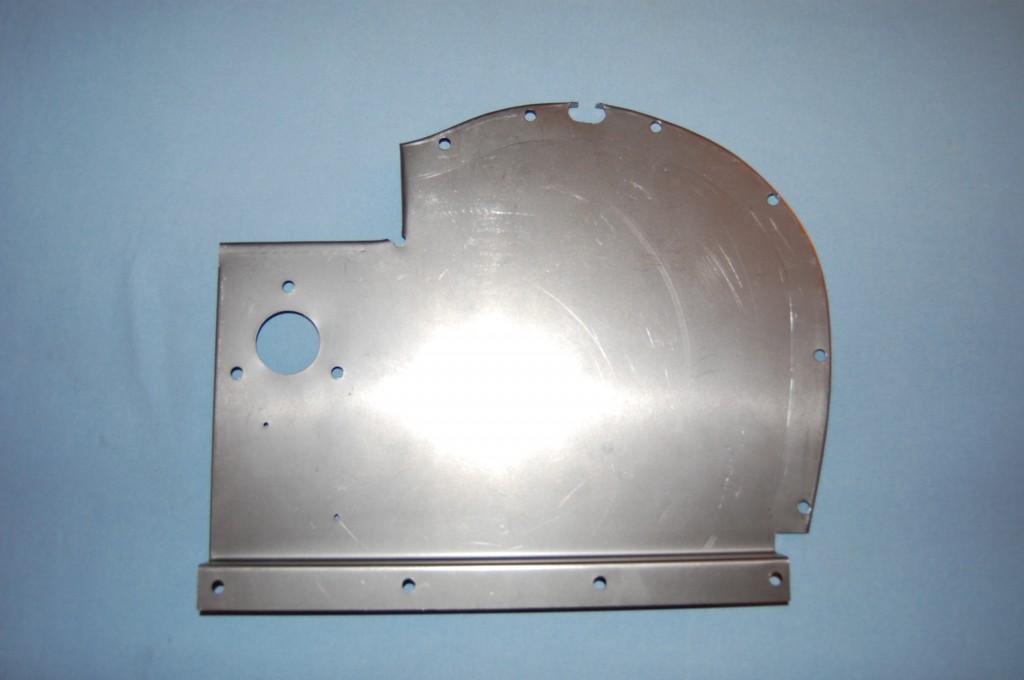
- After a great deal of time spent tracing, measuring, patterning, and prototyping, here is our solution to the photo above – all new panels!
- This is the RH rear mudshield – it looks exactly like the 6 cyl. version, but it isn’t – it’s a little shorter and the curve is a little different. The hole placement is very critical as well, as this piece mates to the rear of the RH inner valance and holds the shape for the entire rear section of the bonnet when assembled.
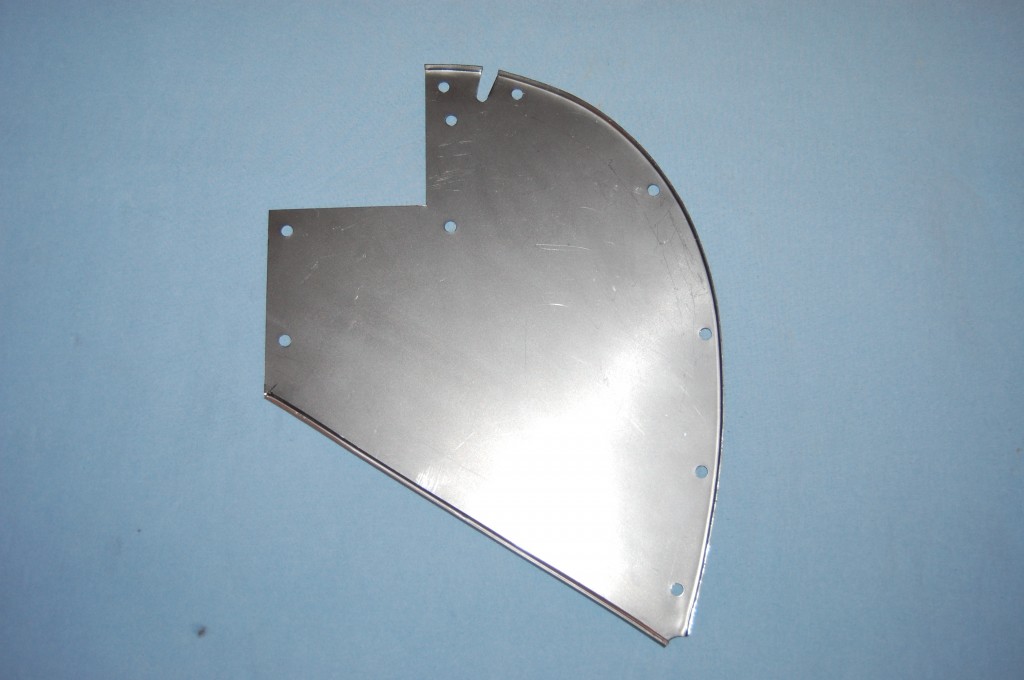
- This is the LH rear mudshield – not a super complicated piece, but all of the dimensions are critical if the final assembled bonnet is to have the correct shape. The lower edge is wire-edged, as per the original.
- Here is the RH headlamp diaphragm, complete with the mounting tabs for the gas strut that supports the bonnet when open.
- Here is a shot of the backside, showing the tabs and reinforcement plate. This is all EXACTLY like the original in every dimension.
- The LH headlamp diaphragm – containing the bonnet plug mounting holes.
- and that one from the backside as well, although it’s not as exciting as the other side…
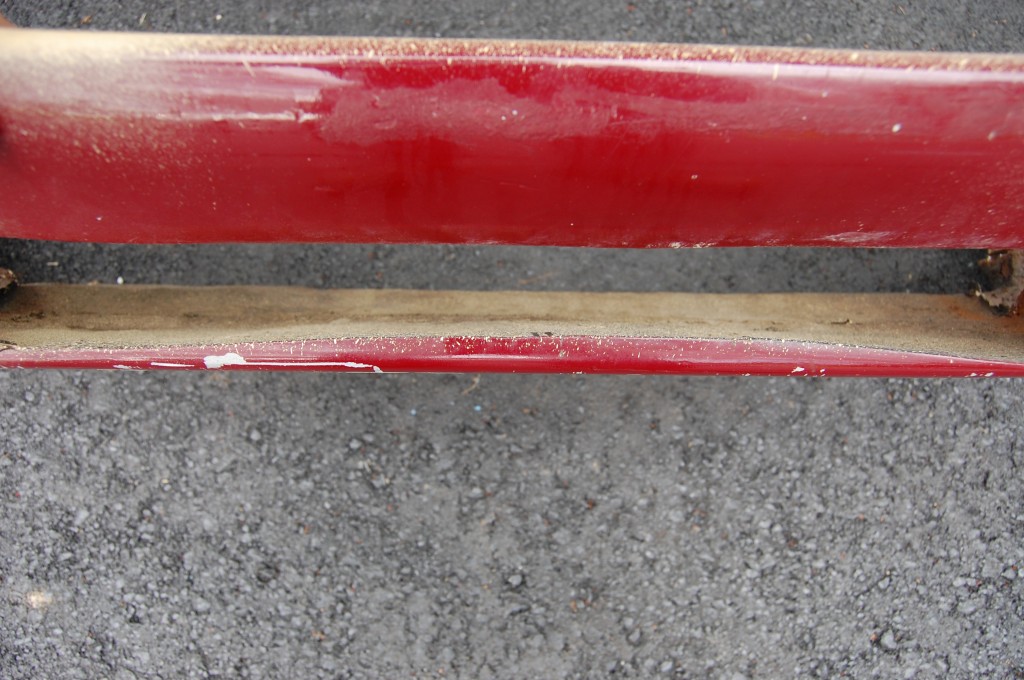
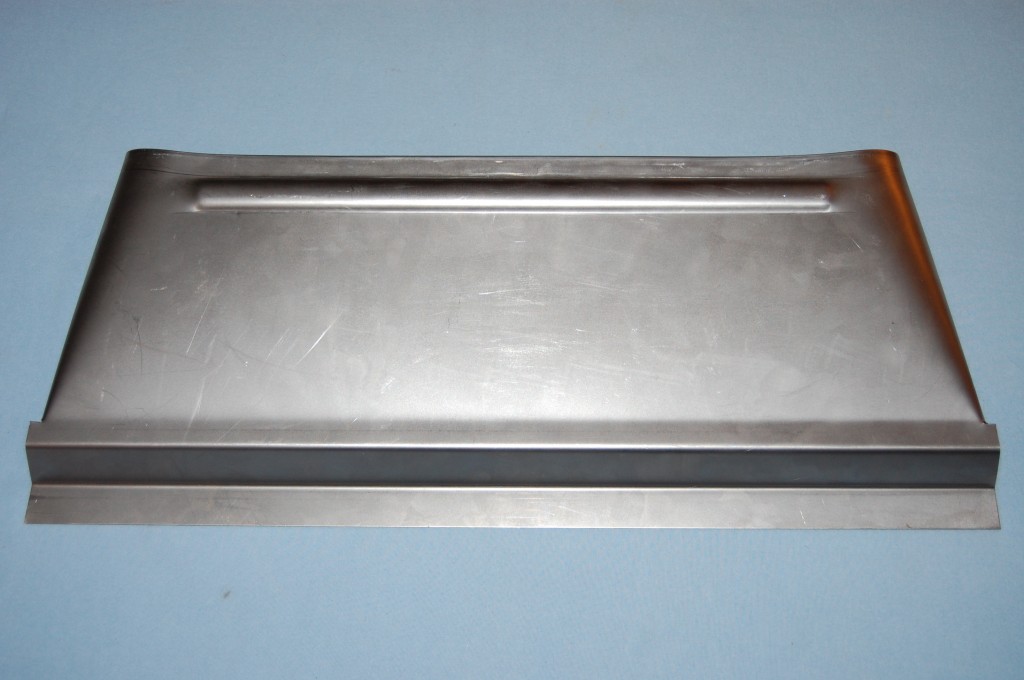
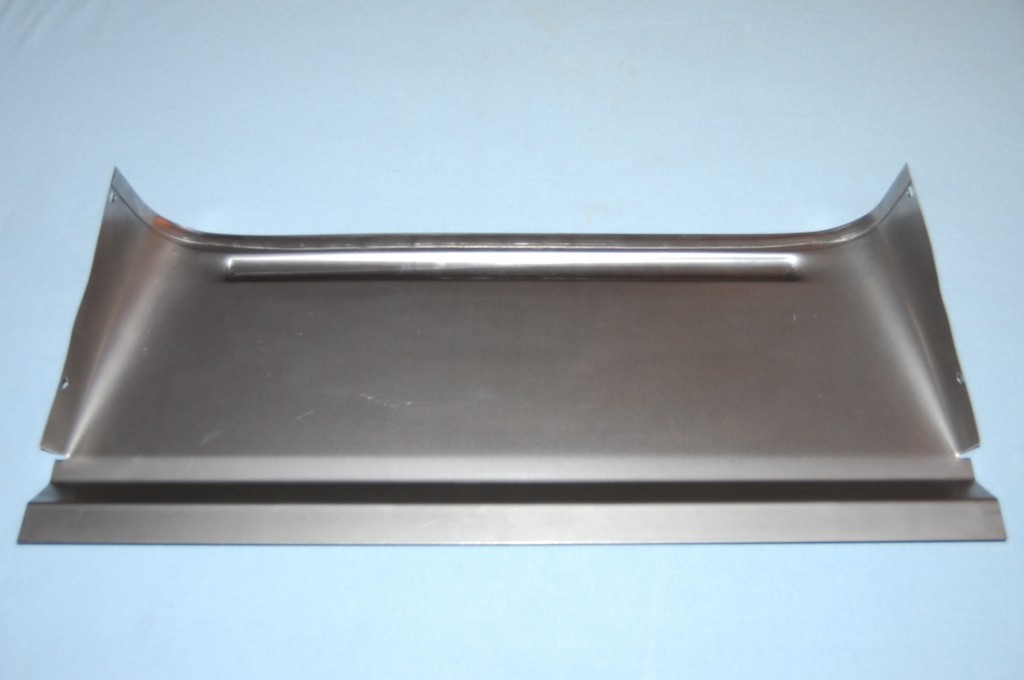
- With this much filler in the lower air scoop, we’ll definitely be needing a new one – but you always do with a V-12 anyway.
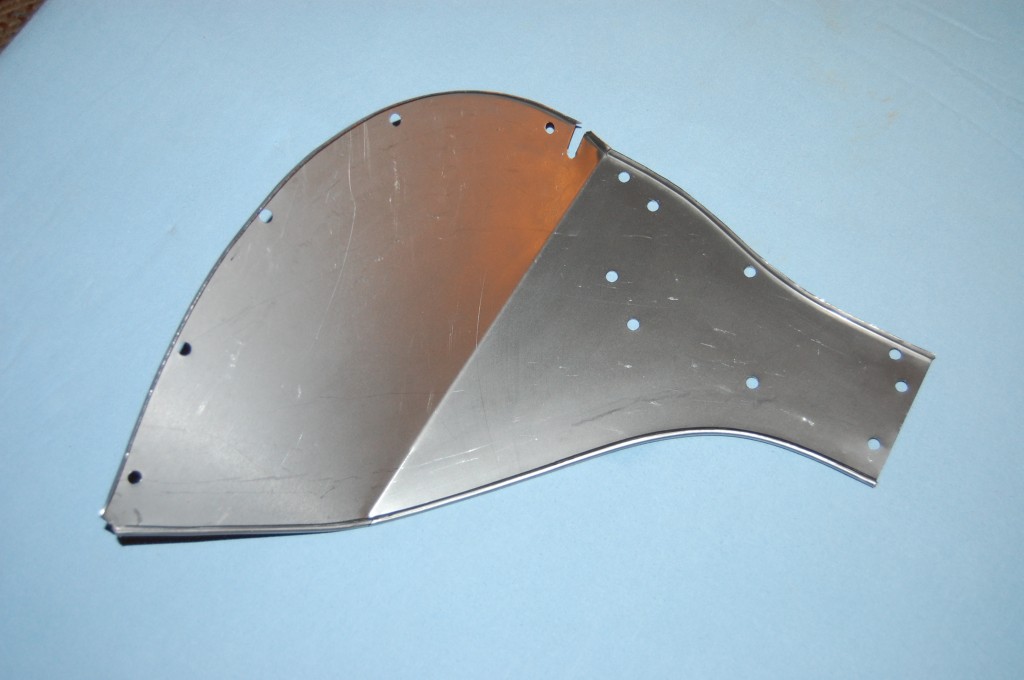
- This was a VERY tricky patterning job! The flat patternd doesn’t look anything like what you think it would, and all of those bends at the bottom of the photo need to be just right, as this piece is actually an important structural part of the entire bonnet support built into the lower valance, which you’ll see detailed in the next blog entry.
- Here is the topside of the air scoop – I was very happy with the way this turned out – including the hemmed leading edge, and the bead rolled into the bottom – all exactly like the original, of course. 🙂

