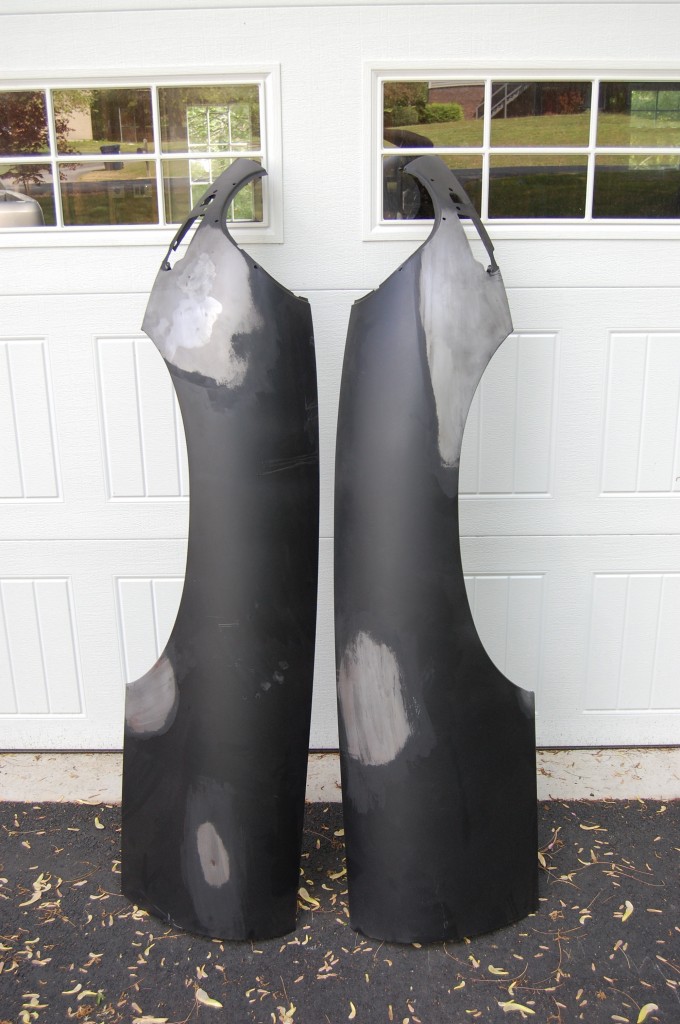
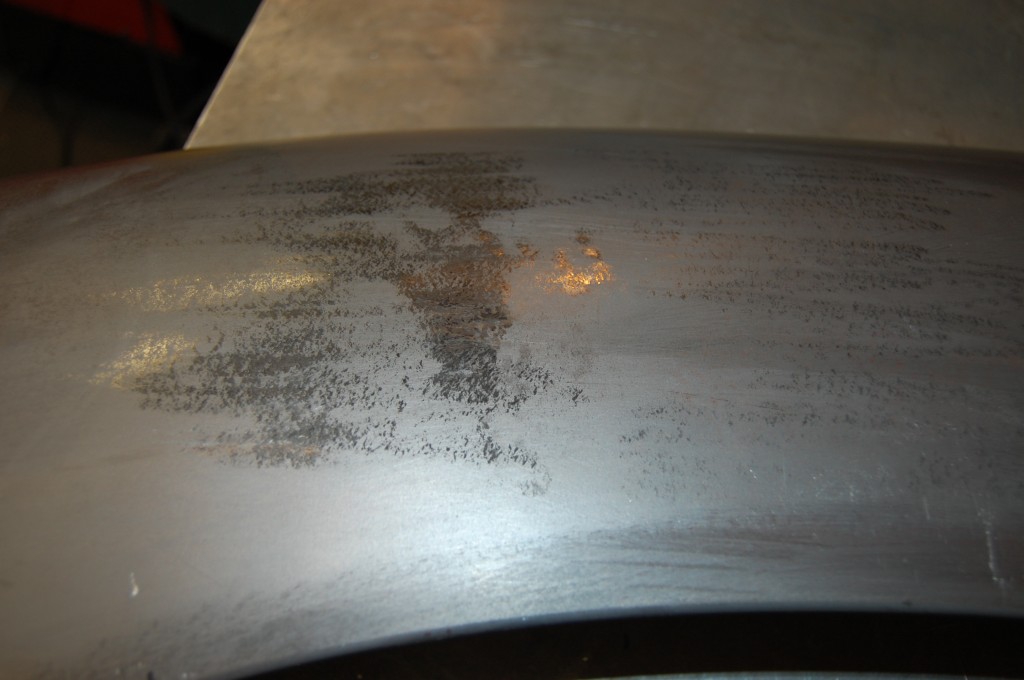
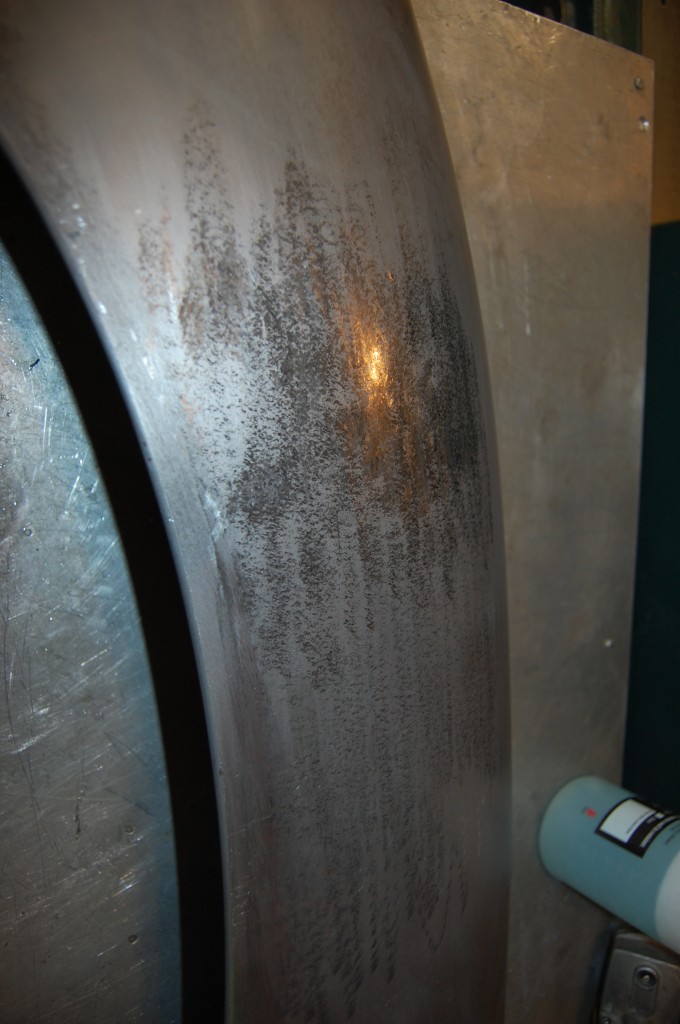
Late last year, a customer brought in a bonnet to be restored for his ’66 coupe, and when he started unloading it, the pieces looked like they were brand new! All pieces had been plastic media blasted, and then sprayed in epoxy primer.
There were some minor crash issues, and he had started to attempt to smooth these areas, but decided he’d better let the pros handle it because he wanted this bonnet to be PERFECT in bare metal – which is why he took the time and trouble to drive it up here from Louisiana.
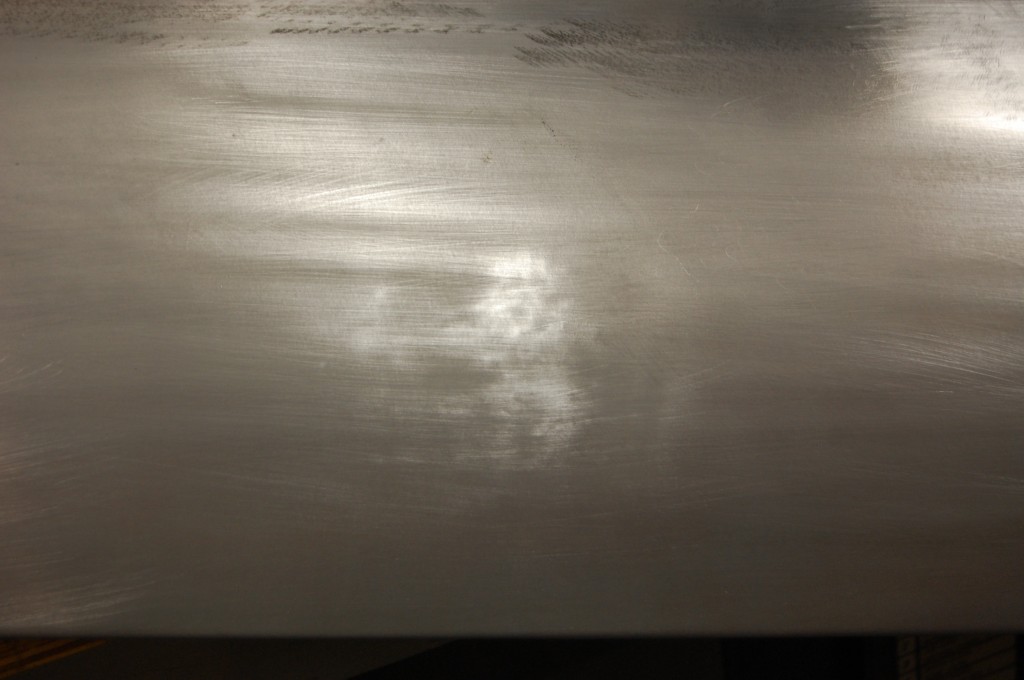
That’s a pretty tall order… The wrecked bonnets that we reshape are not DEAD SMOOTH like they look in the grey primer in the photos. Don’t get me wrong – they are DAMN CLOSE, and I usually tell customers, “If you lay a wing on the floor in the grey etch-primer, and stand right over it, it will look factory perfect. But if you close your eyes and run your hands over it, you will feel minor surface imperfections that will need to be filled – usually a good block-sanded coat of high-build primer will do the trick.” Many customers can’t feel it at all – I guess I have highly trained hands….
Our metalwork is usually within thousandths of an inch – often single digits. I don’t usually go nuts getting the surface “perfect” on the big wrecks (like the crushed V-12 bonnet from January), because they are going to need some minimal filler to smooth things out anyway…
This bonnet, though, was close – it was like I heard this little voice saying, “OK – those other bonnets could never be perfect again in bare metal and you got them as close as anyone could, but this one CAN BE – are you man enough?…” And I knew that is what the customer was looking for too, so I dove right in! – NOT – It sat upstairs for several months while I worked up the nerve!
Finally, it was time to pull her down and have a go at it. Another reason I was hesitant to start on this one was the black epoxy primer. That stuff is HARD to get back off, and in my opinion really should not go onto the car until well into the bodywork stage. It’s great stuff, but having it on around here while we are trying to do metalwork is just a pain. I really wasn’t sure how I was going to work around it – but that problem soon worked itself out too…
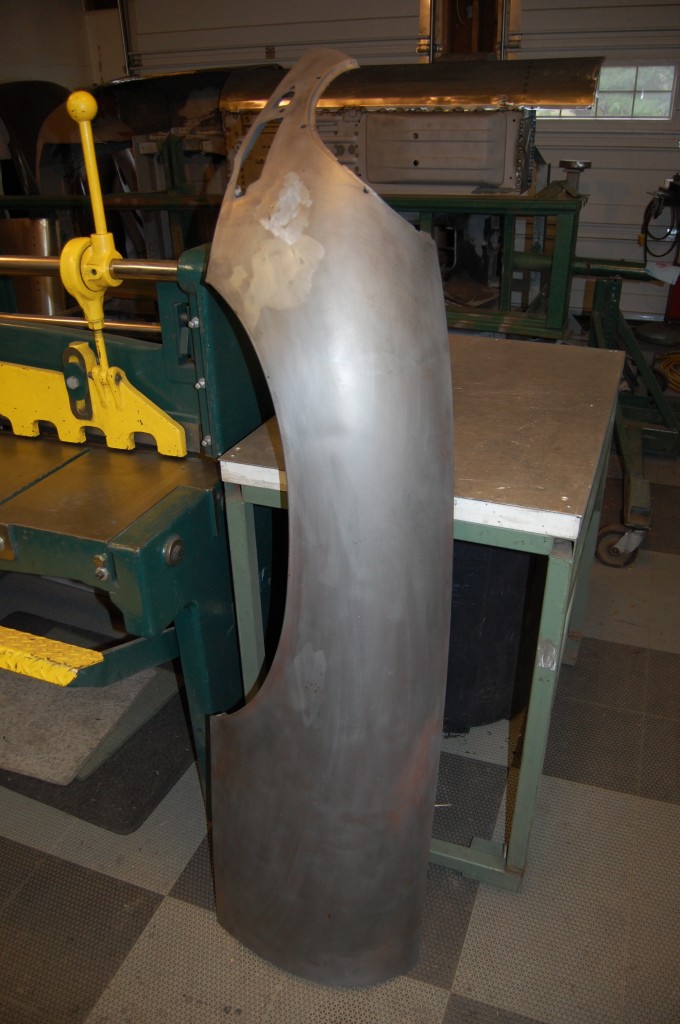
Here is a look at the restoration of the wings. In their black primer up in the “attic/parts department”, they looked BRAND NEW, and a half-dozen people must have said, “Are those new fenders” in the past few months… The lower valance and center section do have issues that were much more obvious, and we will cover those in a later post…
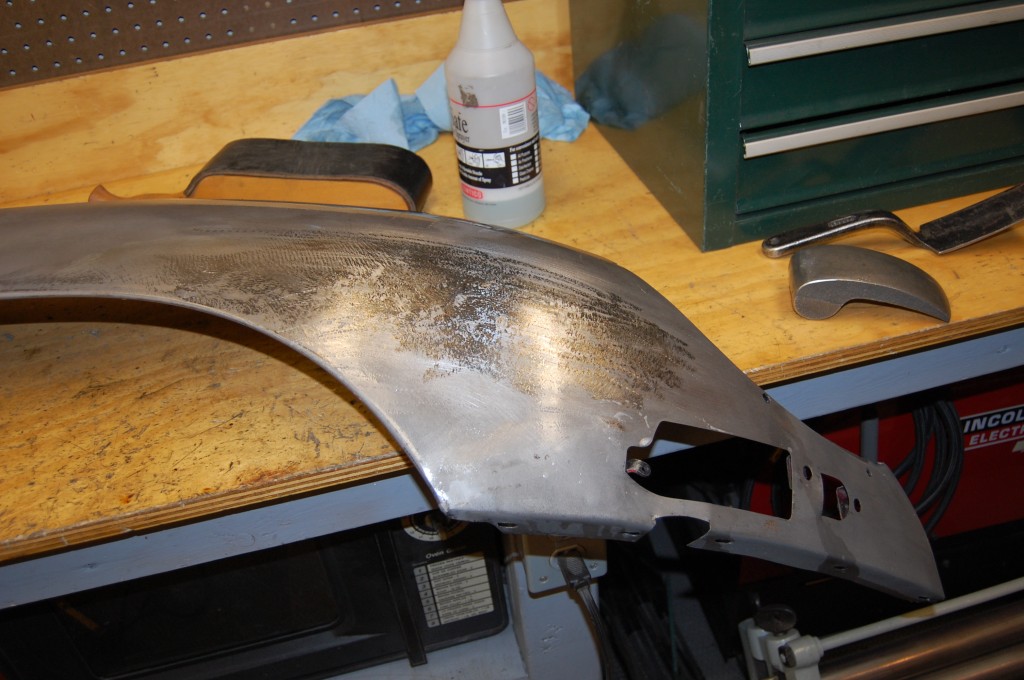
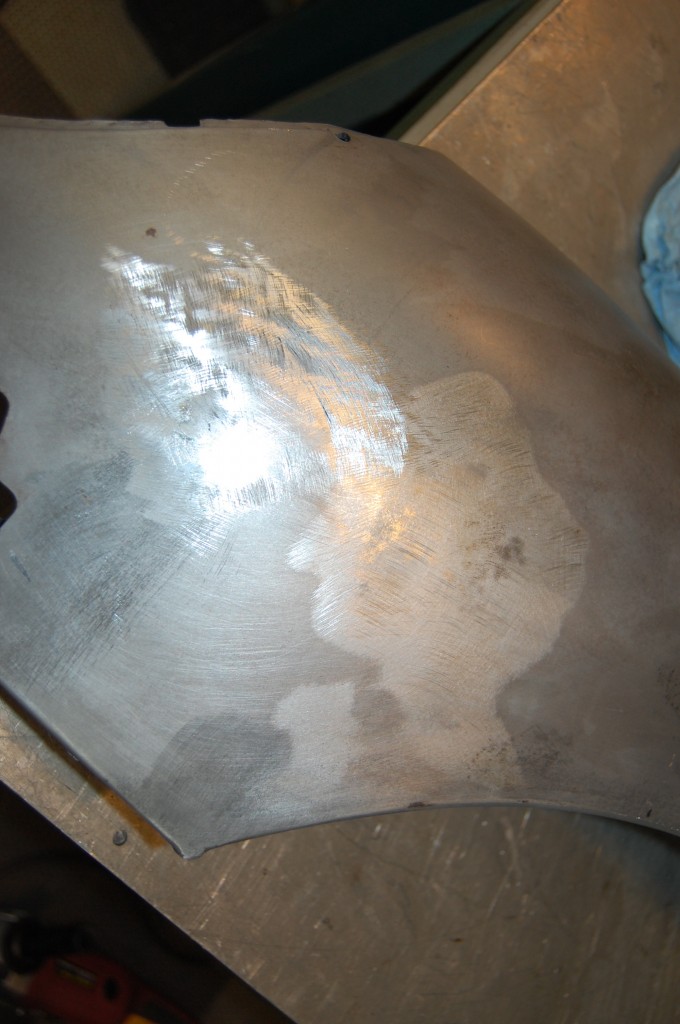
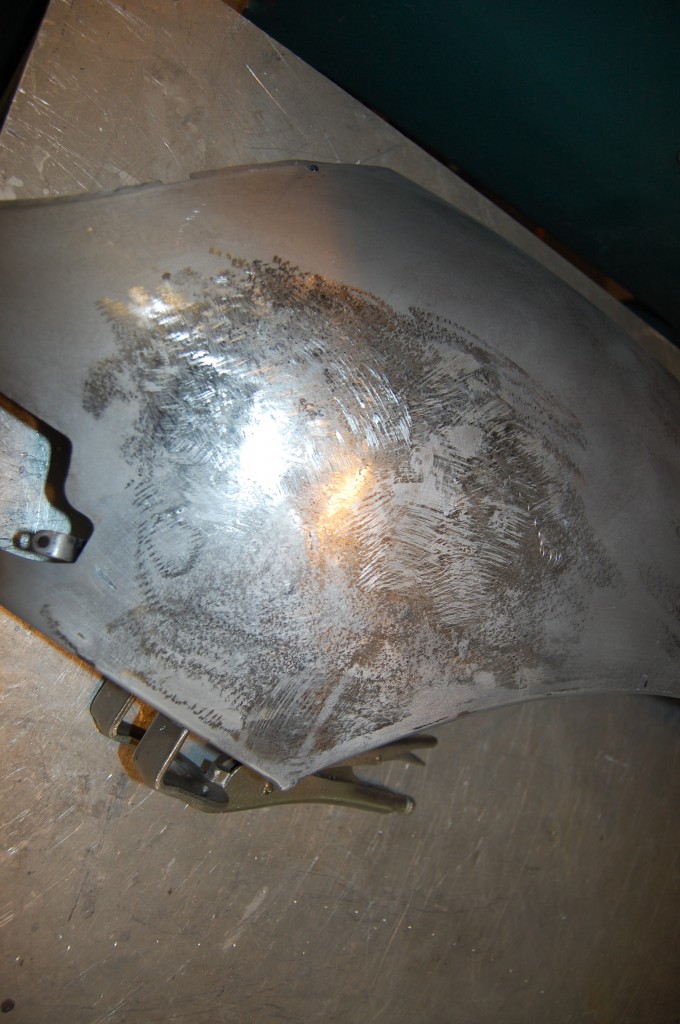
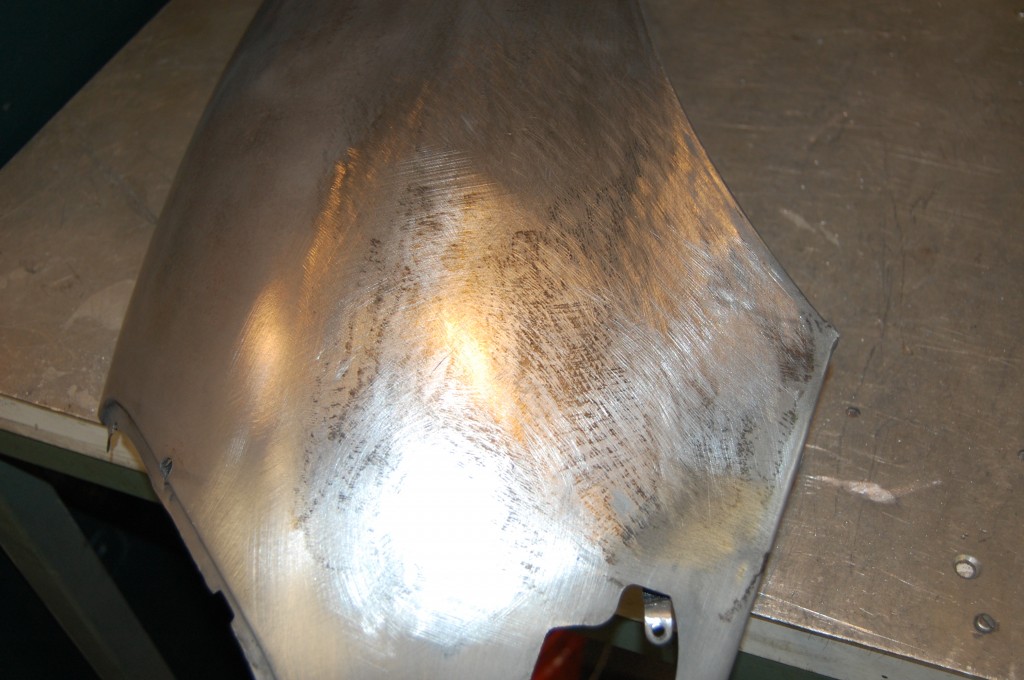
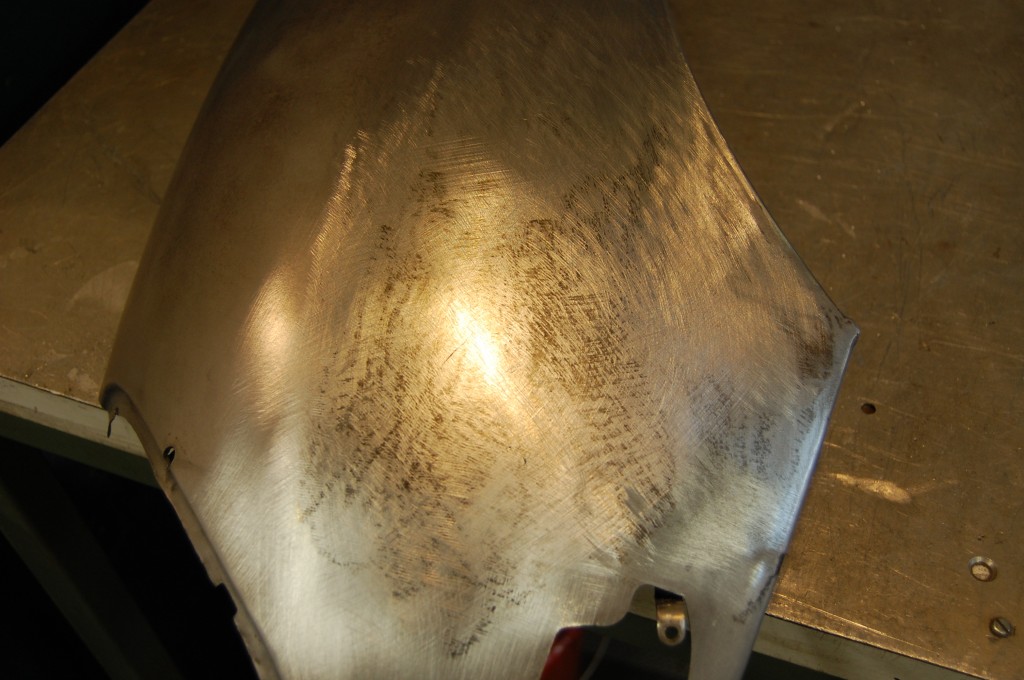
- The epoxy primer turned out to be something else… It LOOKED like black PPG DP-40 2-part epoxy, but after removing a mudflap from the LH inner valance, I went to wipe off some glue with an Acetone soaked rag, and the primer just wiped right off. It wouldn’t have made a mark in DP-40… So started to just wipe off the areas I would be working on, but after a little bit of that, I realized that was not really going to work and to do this bonnet right, we needed to get back to bare metal and start over…
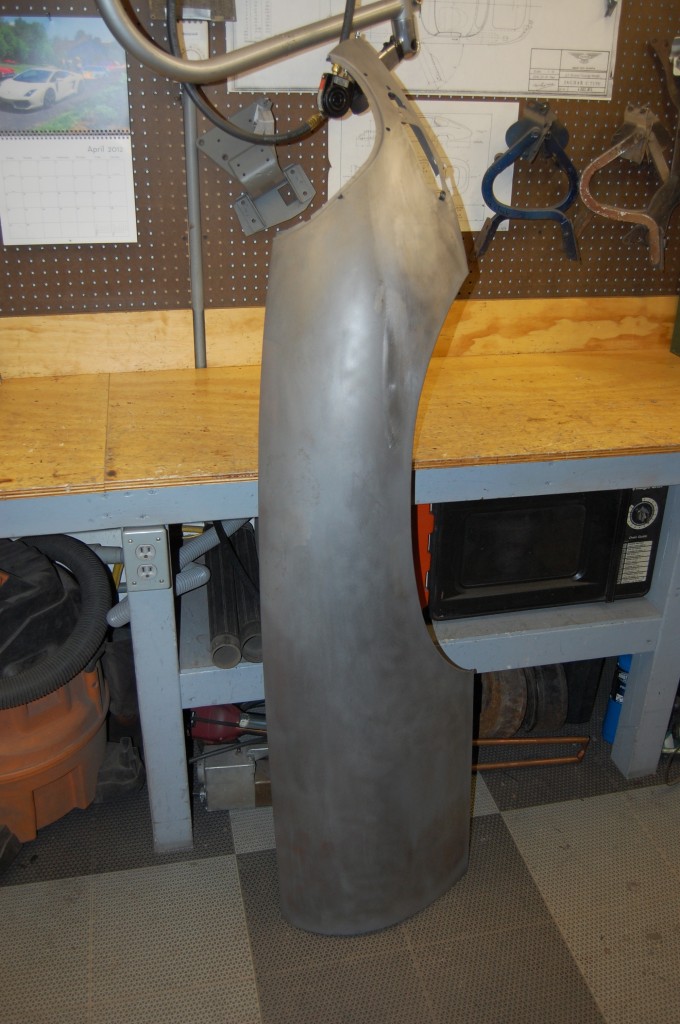
- So we did – all of the panels were stripped by hand with chemicals – a painstaking process, but the bare metal panels will allow me to work them in my normal fashion.
- First we smoothed a crease here that had been VERY well removed by the customer! The panel was a little lumpy, but WAY better than anything else that comes in here – nothing like the ball peen hammer marks we usually see. We dressed it up with some slapping and then the shrinking stage made this area perfect.
- Having the primer off is key to being able to see everything – blcok sanding of the surface picked up this past repair that we also smoothed.
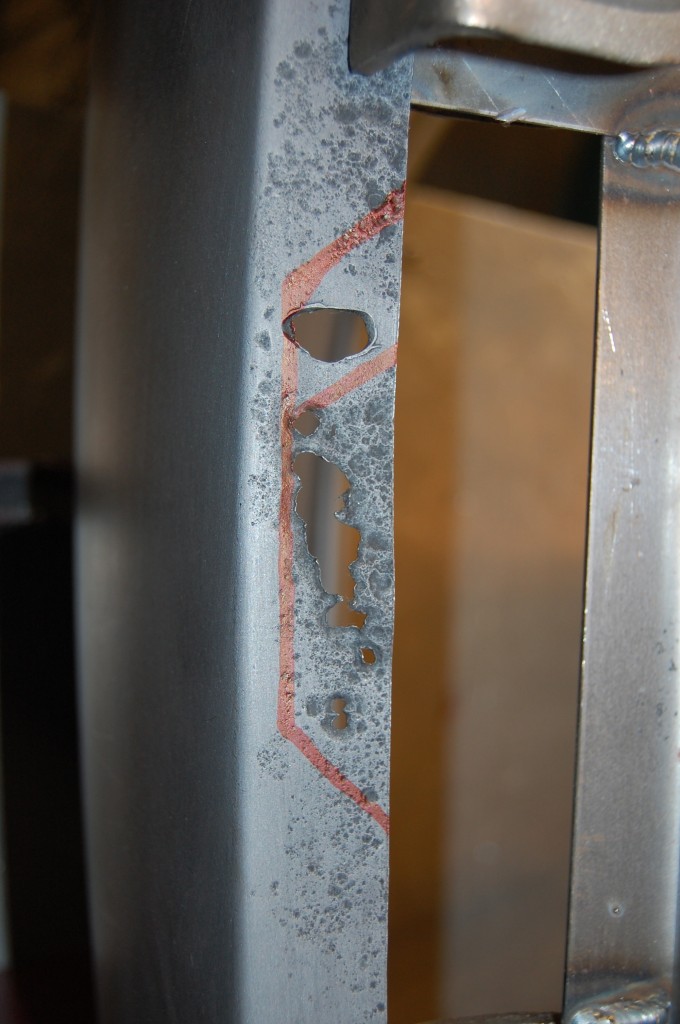
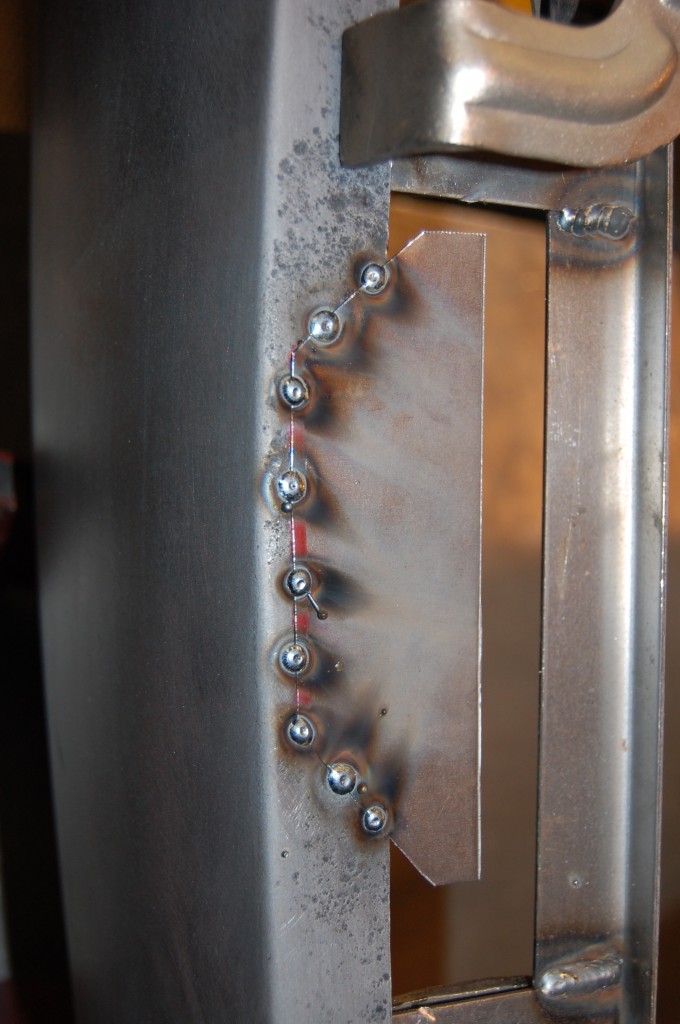
- This wing had one small area of cancer in the side flange. So we clamped a brace on and went about replacing that area.
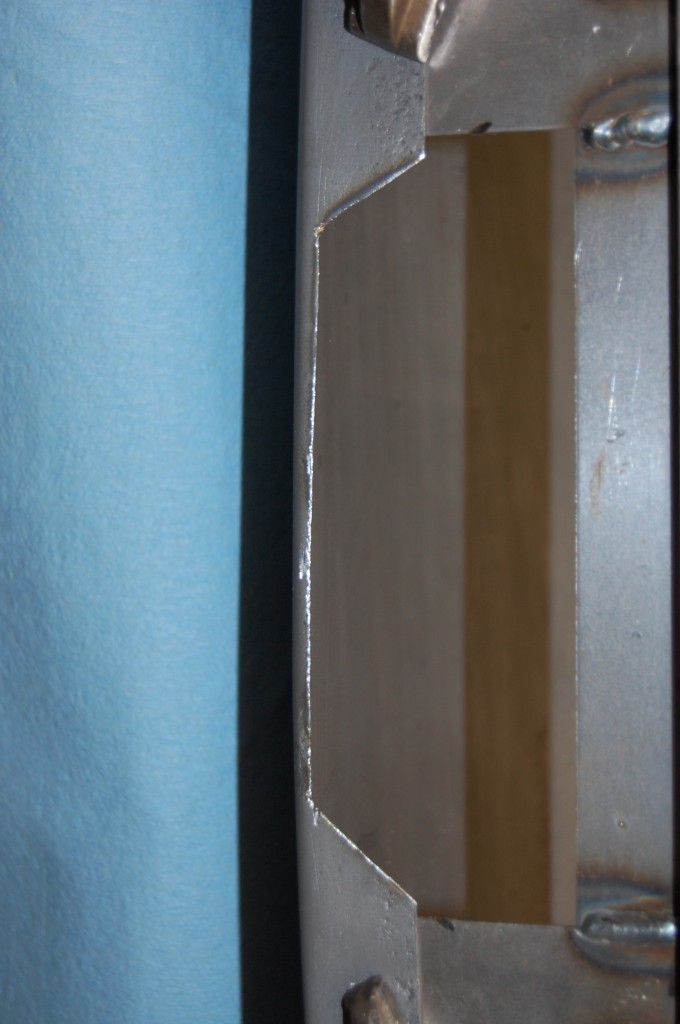
- Bad metal has ben removed – angled sides help with shrinake in the welding phase.
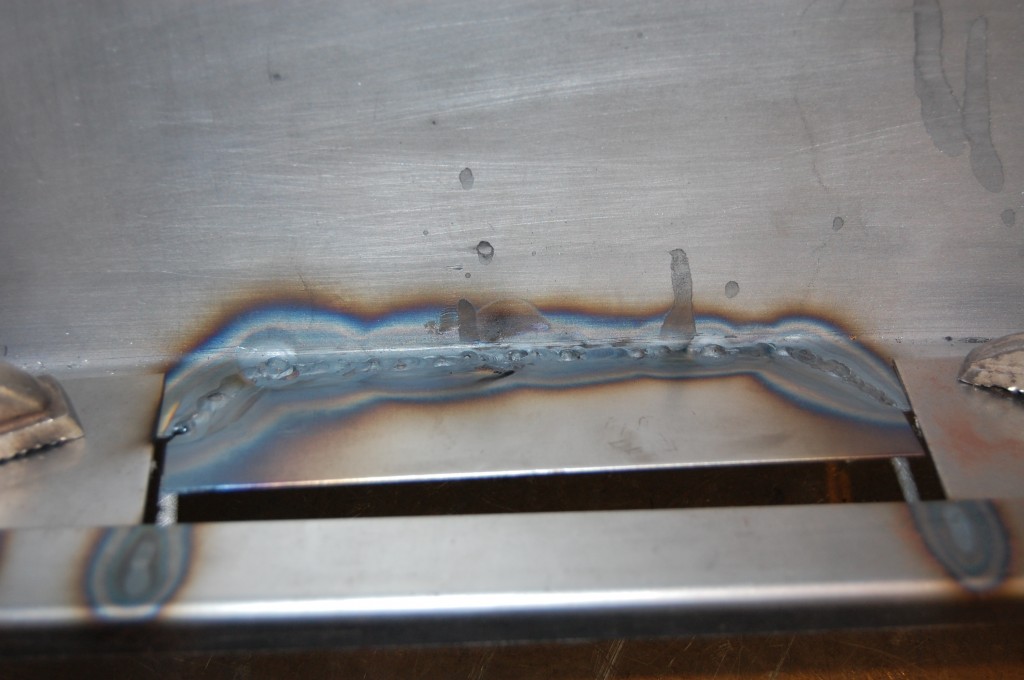
- Tacked with the MIG.
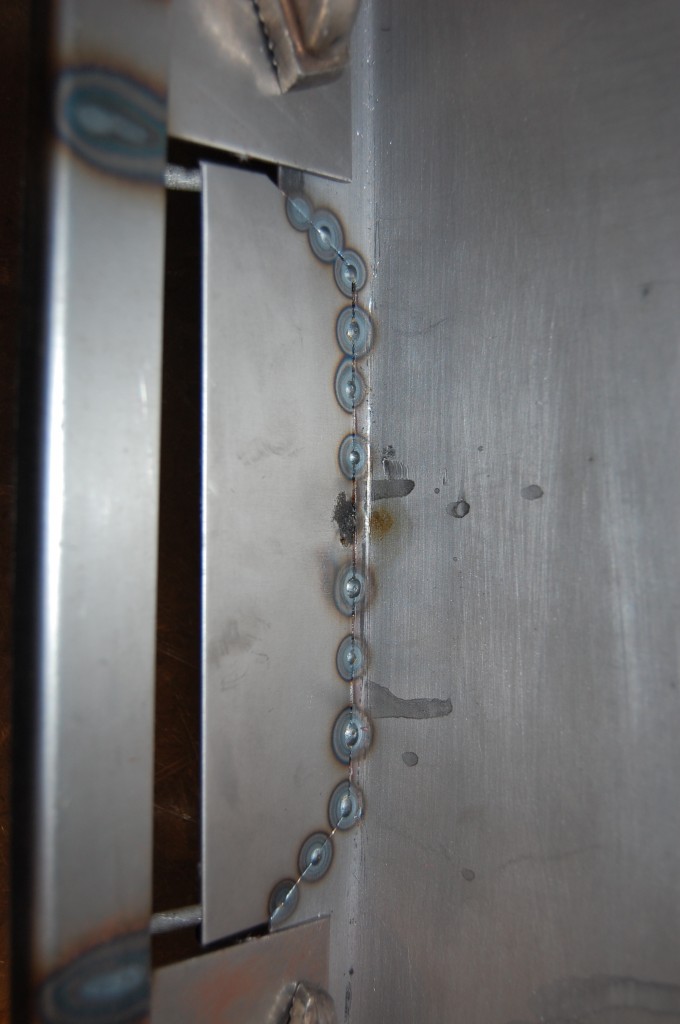
- Finished with the TIG – we’re essentially “fusing” the metal here, and using very little filler rod. This is the inside of the flange – the side that shows.
- Looks like there aren’t nay more photos of that wing, so let’s move on to the next one.
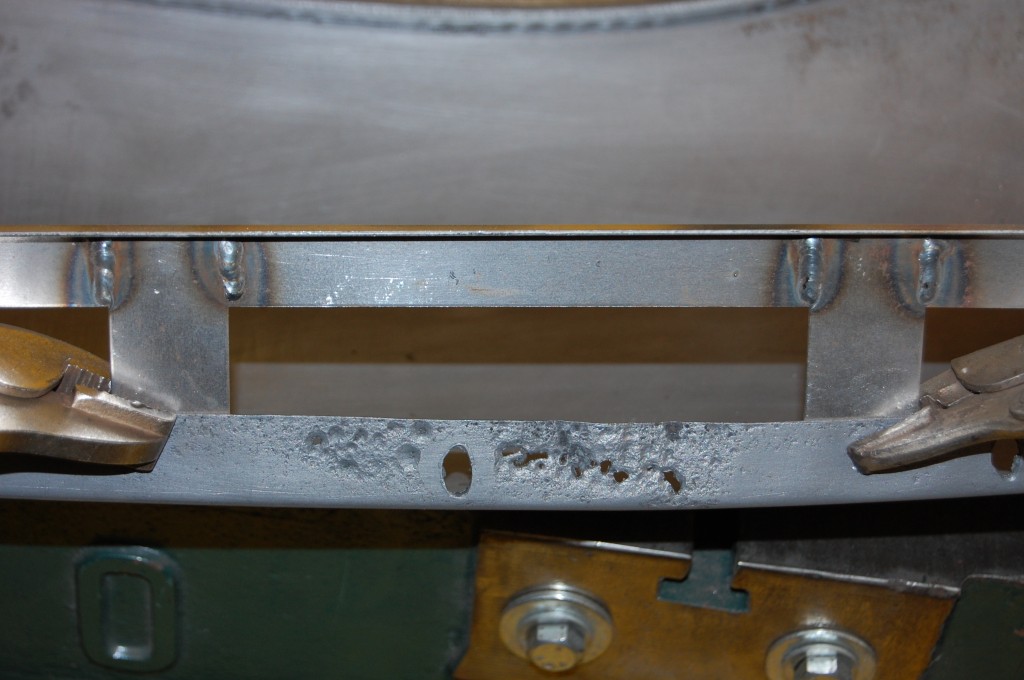
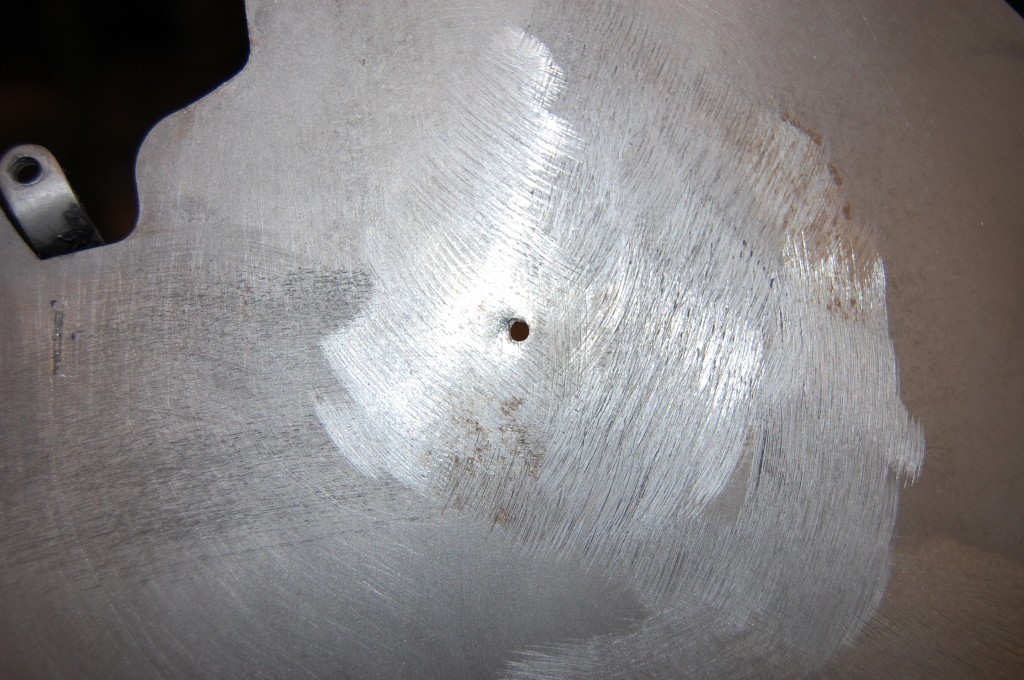
- This one is a little worse – this is a dent-puller hole and some previous grinding – hopefully it is not too deep.
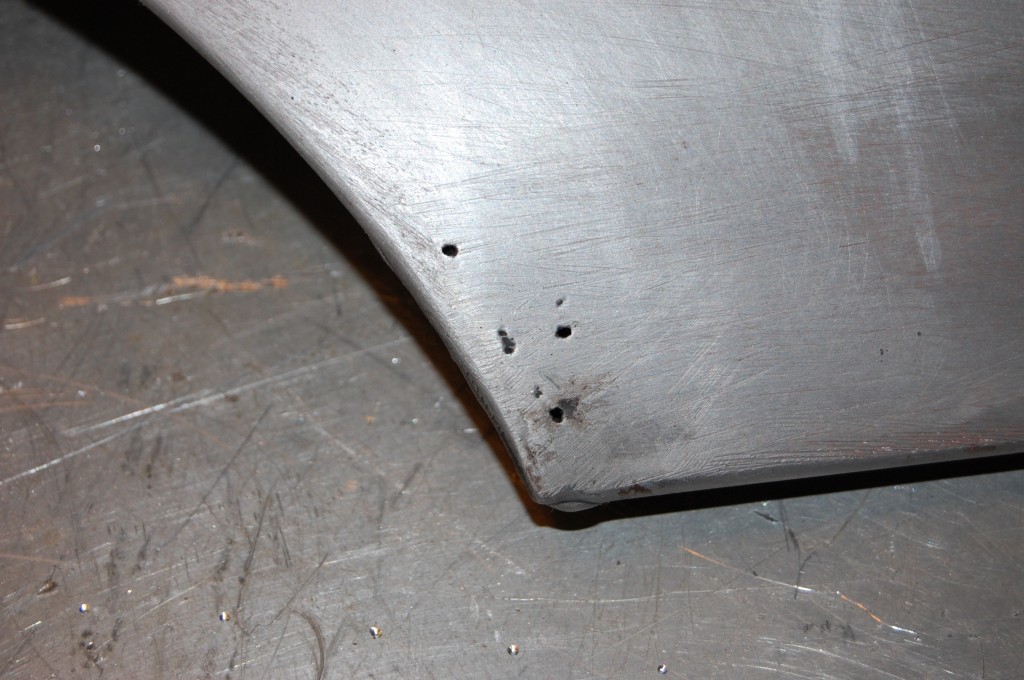
- Minor pits that I think we can just weld up versus a patch. Note the little lump of weld hanging down on the forward part of the lower beaded edge – that’s factory…
- This wing also has some cancer – at first I was going to save the hole but that would not have worked in the welding phase…
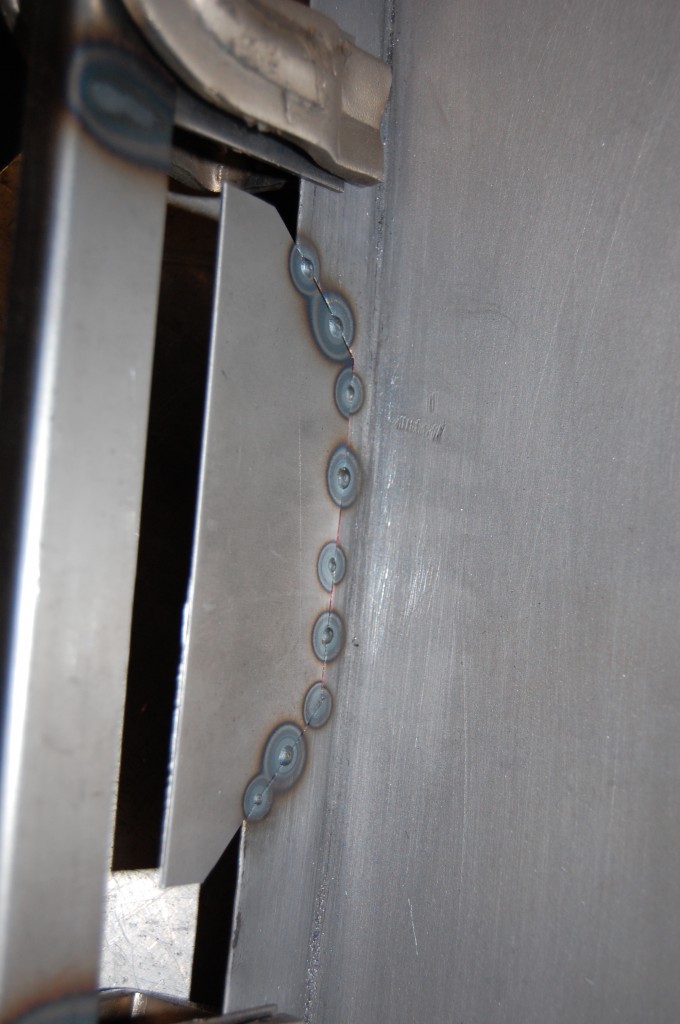
- Patch is tacked in with the MIG.
- Here is the inside – good side.
- Finished with the TIG.
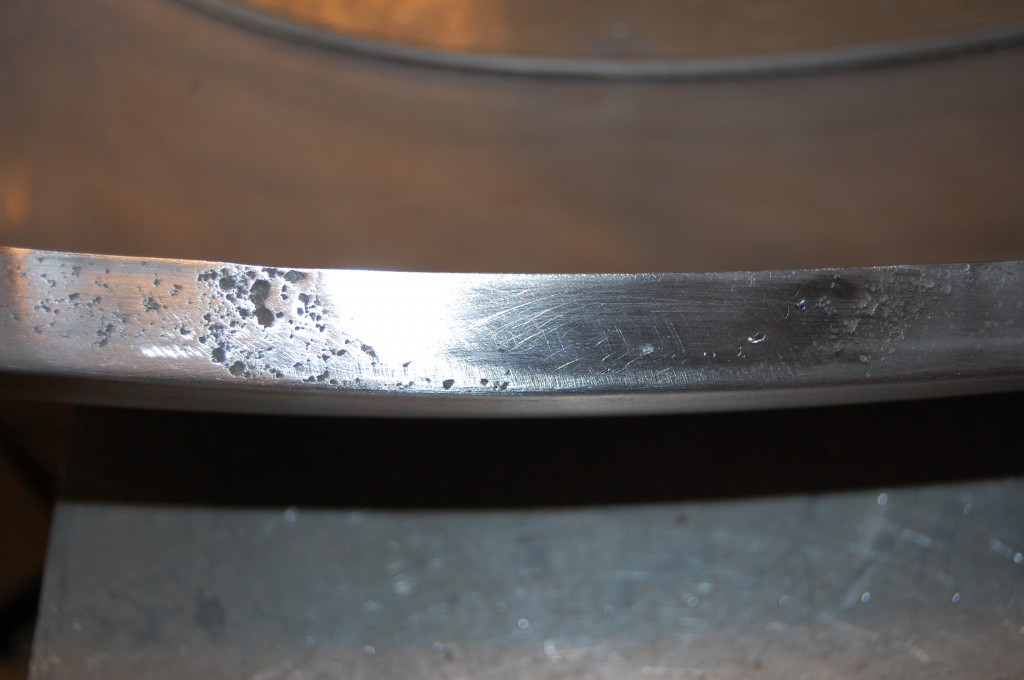
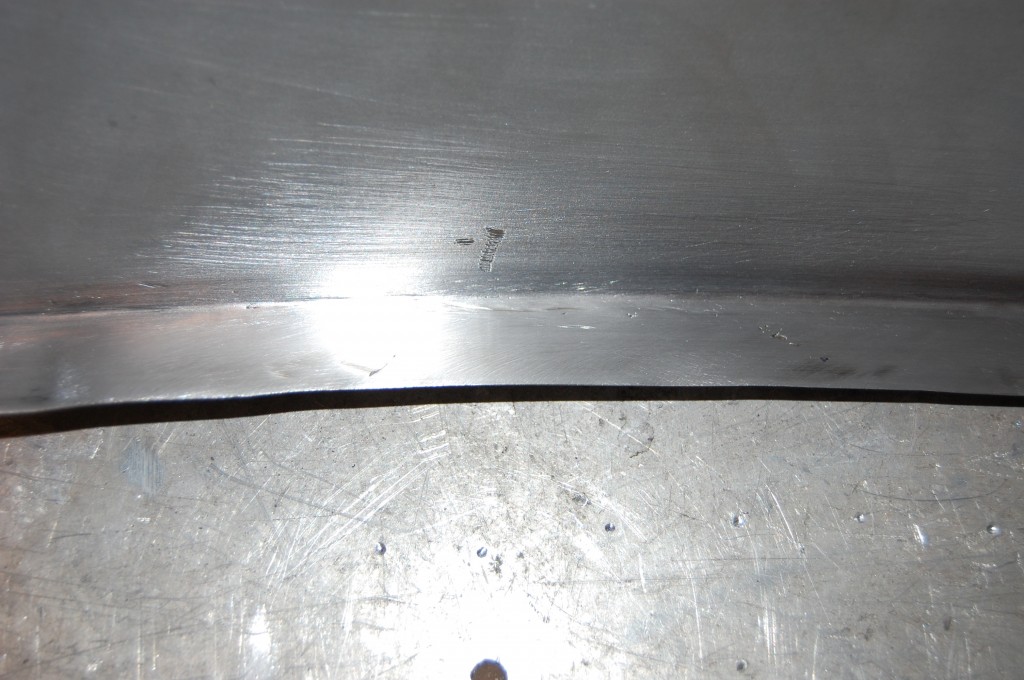
- Ground down smooth – there is still a little pitting, but this is again the side that goes up against the center section.
- THIS is the side that is seen when the bonnet is assembled…
- After the flange repair, we need to check the arch of the wing and re-arch if necessary – w can get slight distortion from the repair – even with the TIG welding. Then we slap and smooth things out. There was also a dent here, so it looks like we’ve come way down on the wing with finishing that flange repair – but there was actually almost nothinng to do up there – the flange repairs oin these wings were pretty tame…
- This area is now perfect as well.
- Here, we’ve welded that dent-puller hole shut and done some initial planishing and filing of the area immediately surrounding it.
- Shrinking…
- Light filing and sanding…
- Perfect.
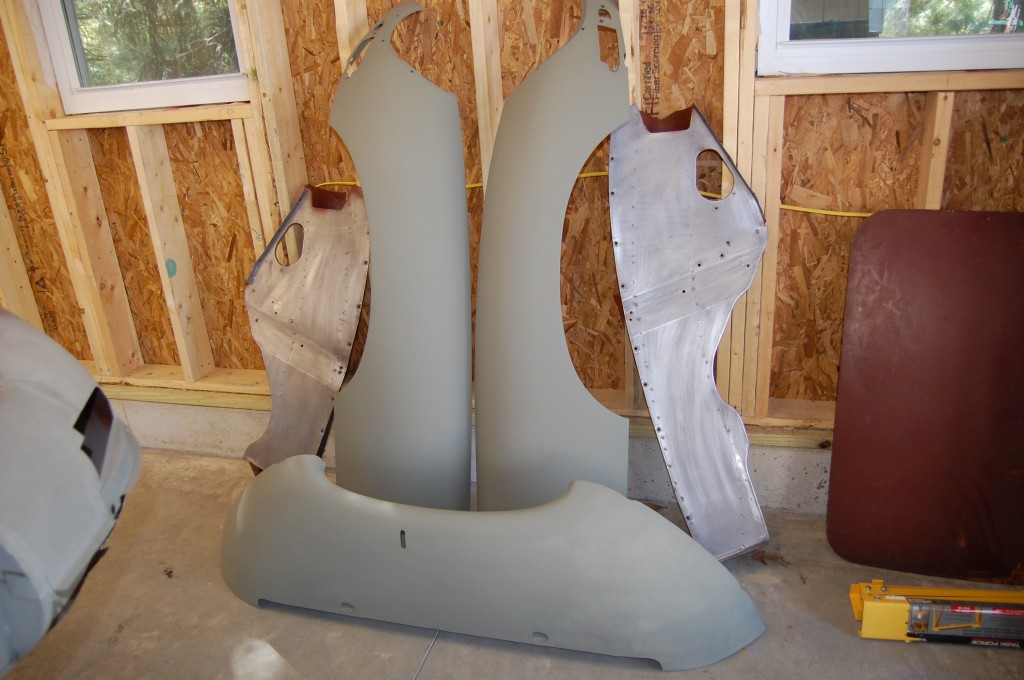
- Here are all of the bonnet pieces, completed – except for the center section. I ran out of etch primer so the RH side of the underpanel is light in this photo, and the inner valances have not been primed yet – although the inside of the tubes have received a solid coat of red oxide for any surface rust that remains in there. IN this shot, the lower valance is restored – you can see that work in the next blog posting.
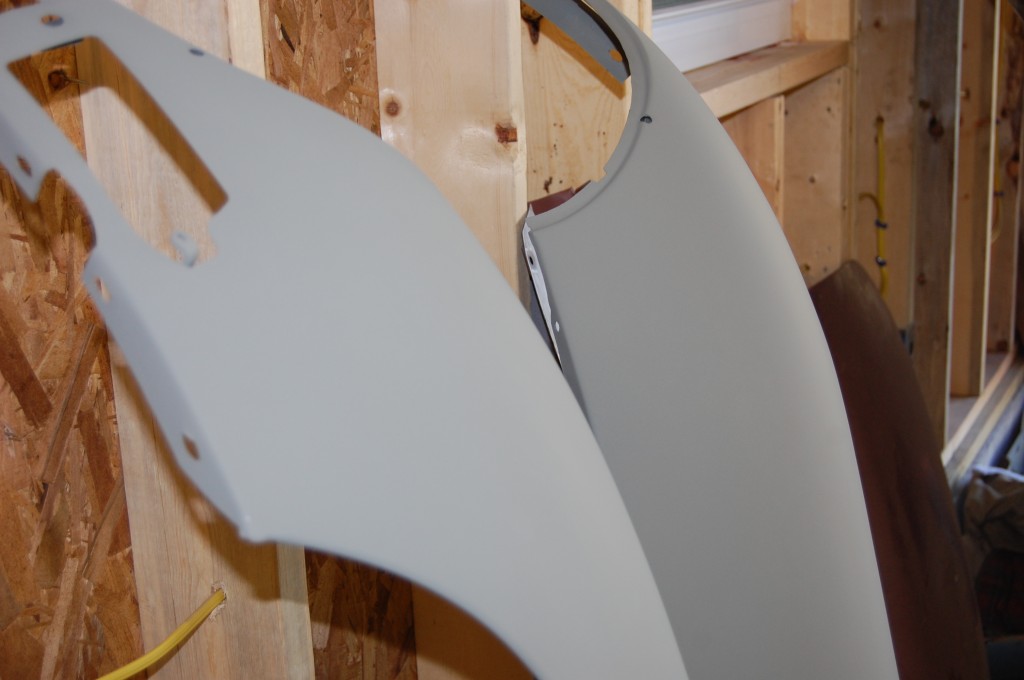
- This is a close-up of the area with the dent puller holes, dents, and grinder marks. It looks perfect in this grey primer and essentially, it is. But it would not look good if it were just sprayed right from here in gloss black. This area should be sprayed with a high-build primer – not tons, just a good solid coat, and then block sanded. You really should/have to do that on E-Types and really any antique car anyway. By the time we get them, they have usually seen alot of abuse from DA sanders in body shops, and so the whole skin is covered with scratches/gouges anyway that need to be filled… Some shops use “Slick Sand”, some “Glasurit”, etc. Just make sure they don’t go berserk in laying it on and then do minimal sanding – that is the lazy way. We have had shells and bonnets come in here with more than 1/16″ of this stuff on the whole car!

