
It’s now time to start in on bringing this shell back from the dead. We started with the floors and sills, but did have to make some B-post repairs first…
-
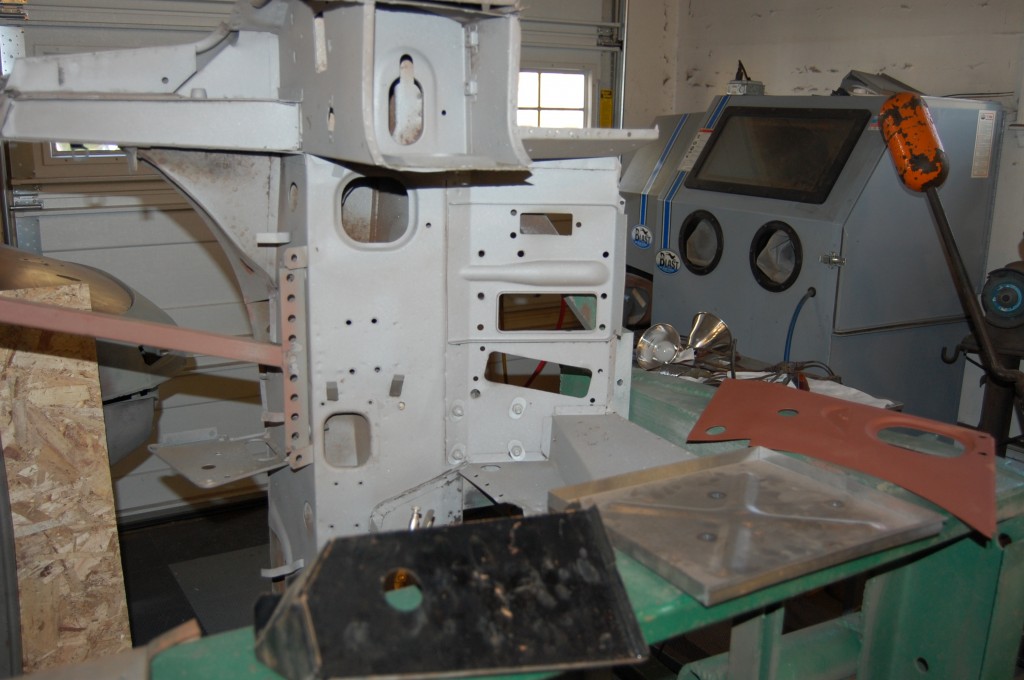
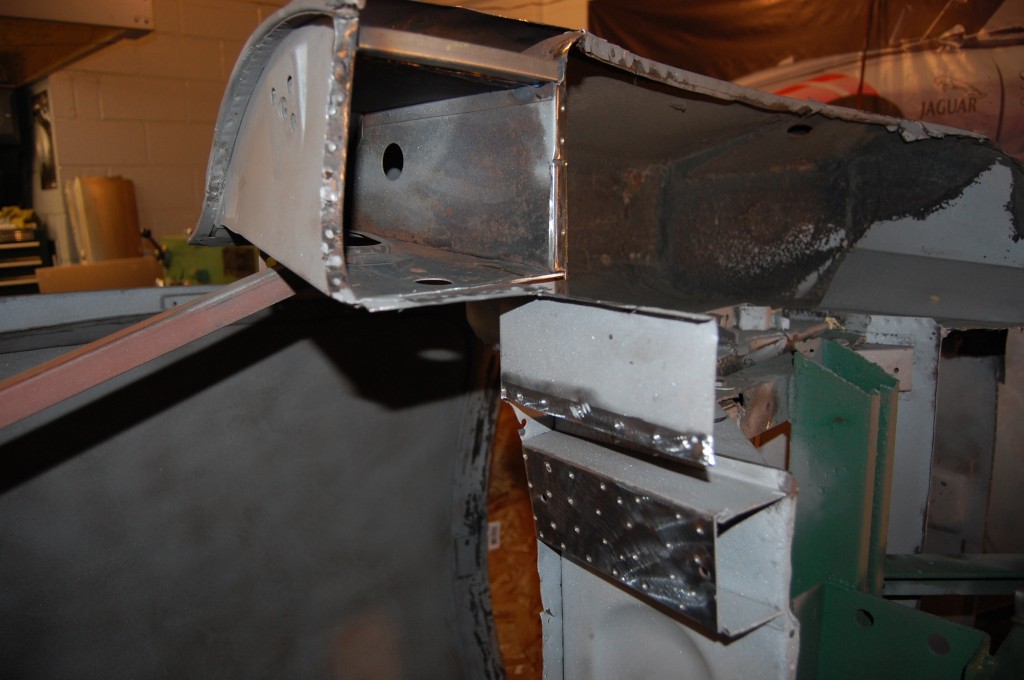
- We’re using panels from our stock of aftermarket and NOS Jaguar panels, so they all start out with various types and colors of priumer, but are all stripped bare before we use them to be coated with a modern etch-primer when assembled. Note the cleanliness of the inernal box sections of the forward bulkhead – this can only be achieved by sandblasting the car after it is dissected.

-
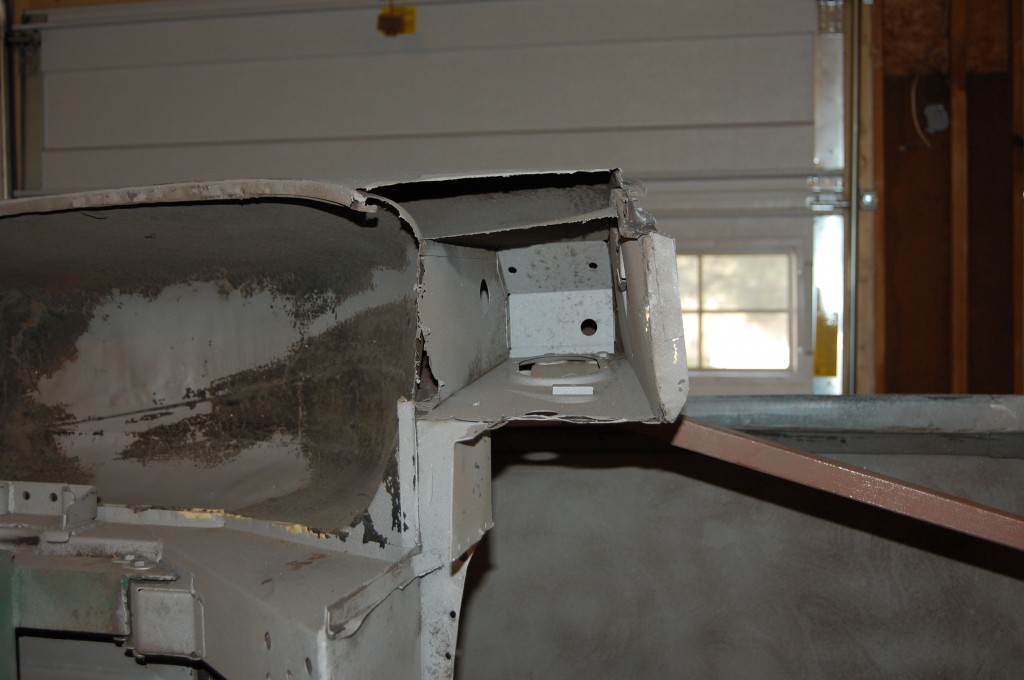
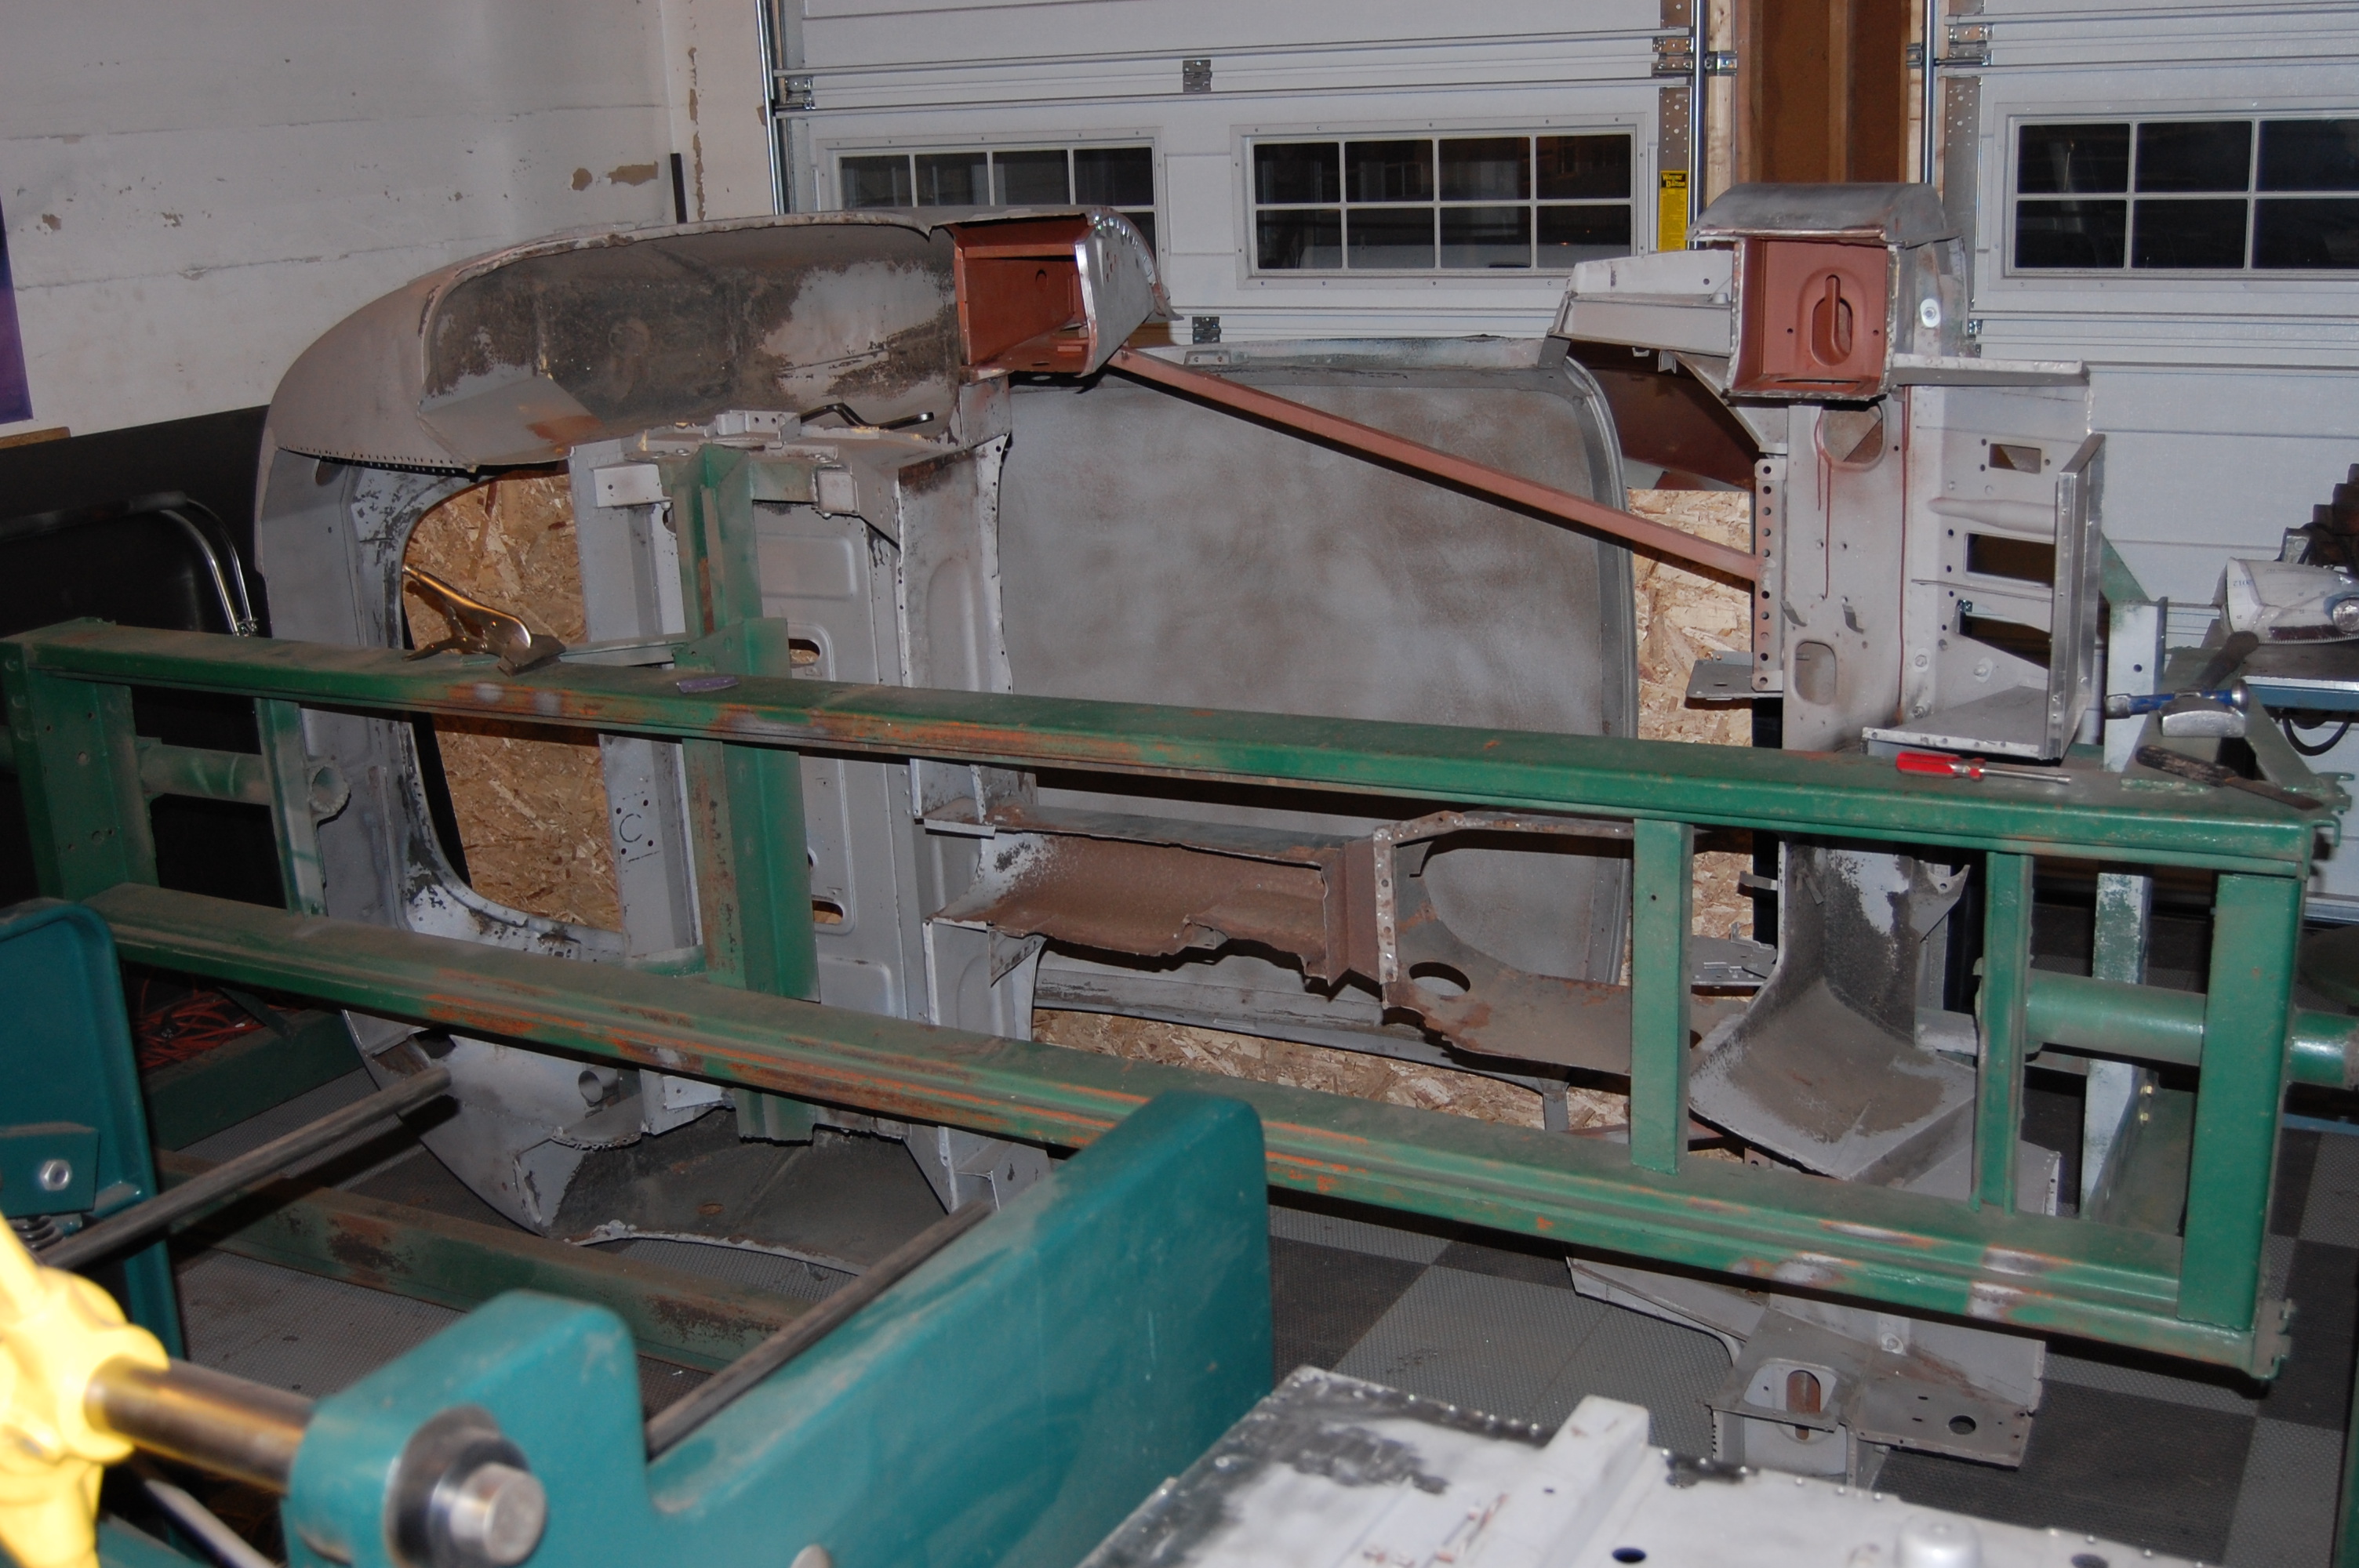
- The RH B-Post was a real mess, and we will need to replace nearly all of this – including the shut face panel.
-

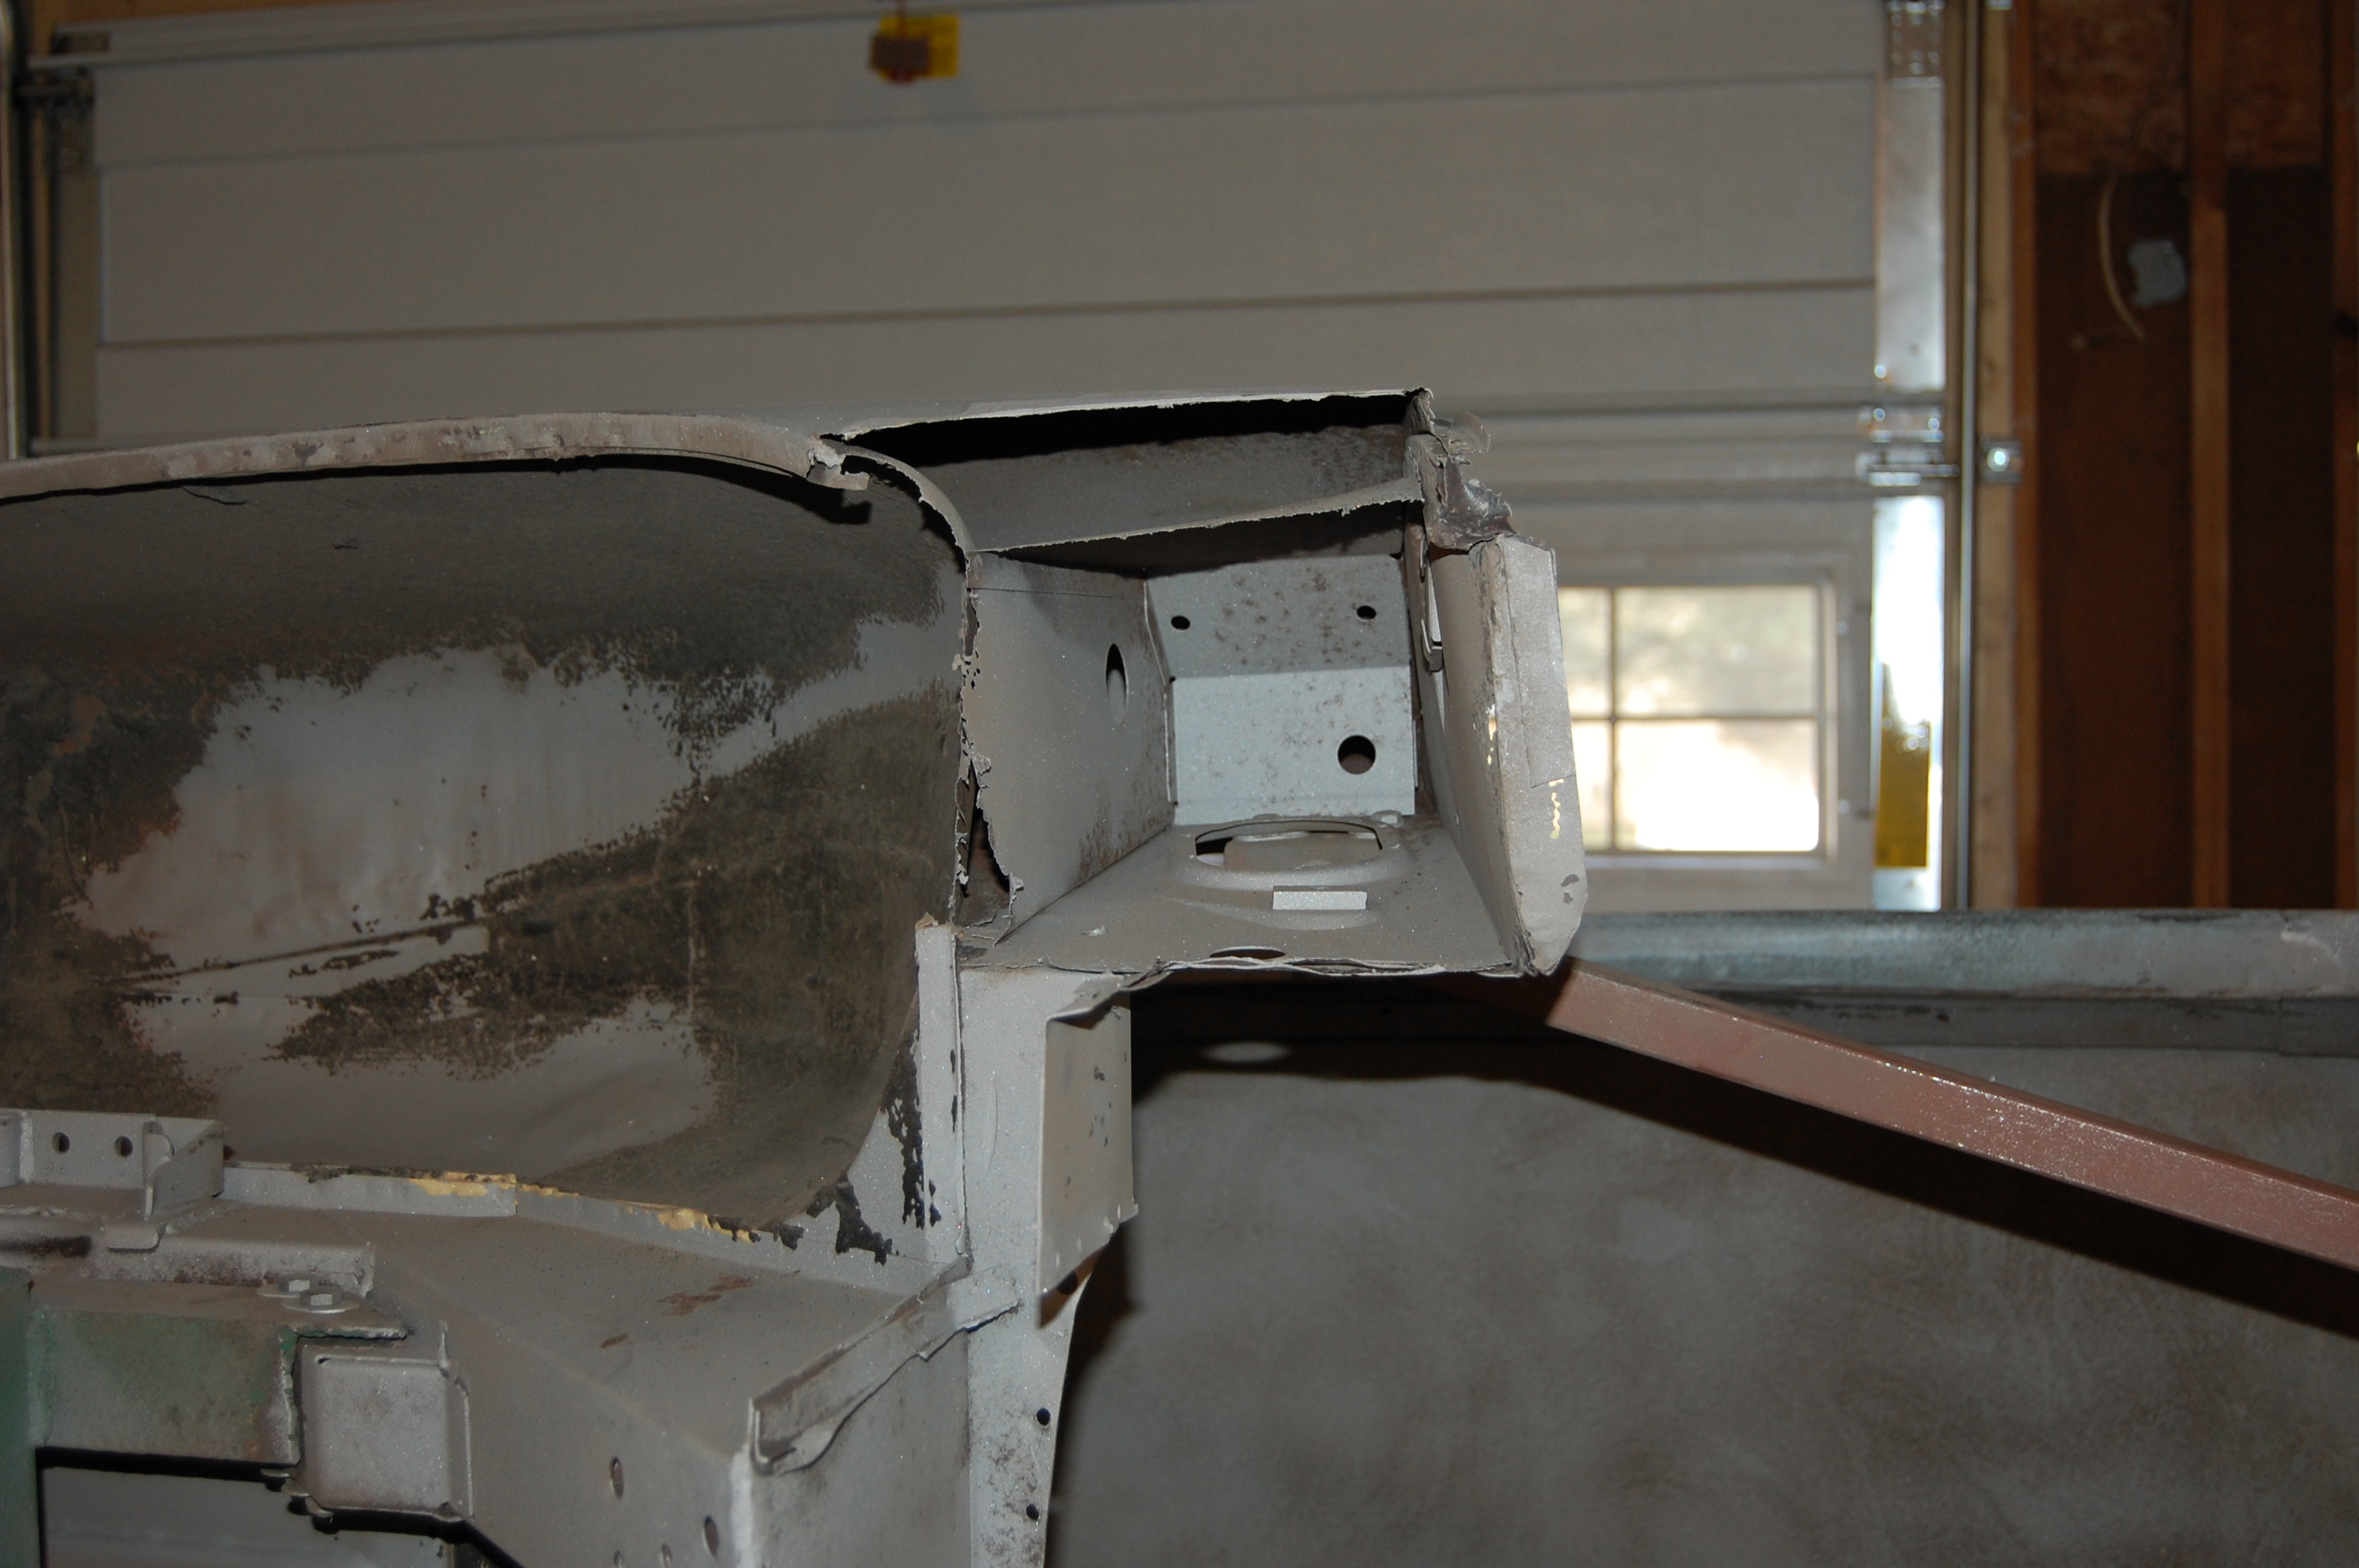
- Here, we have carefully removed the shut face panel and the internal stiffener.
-

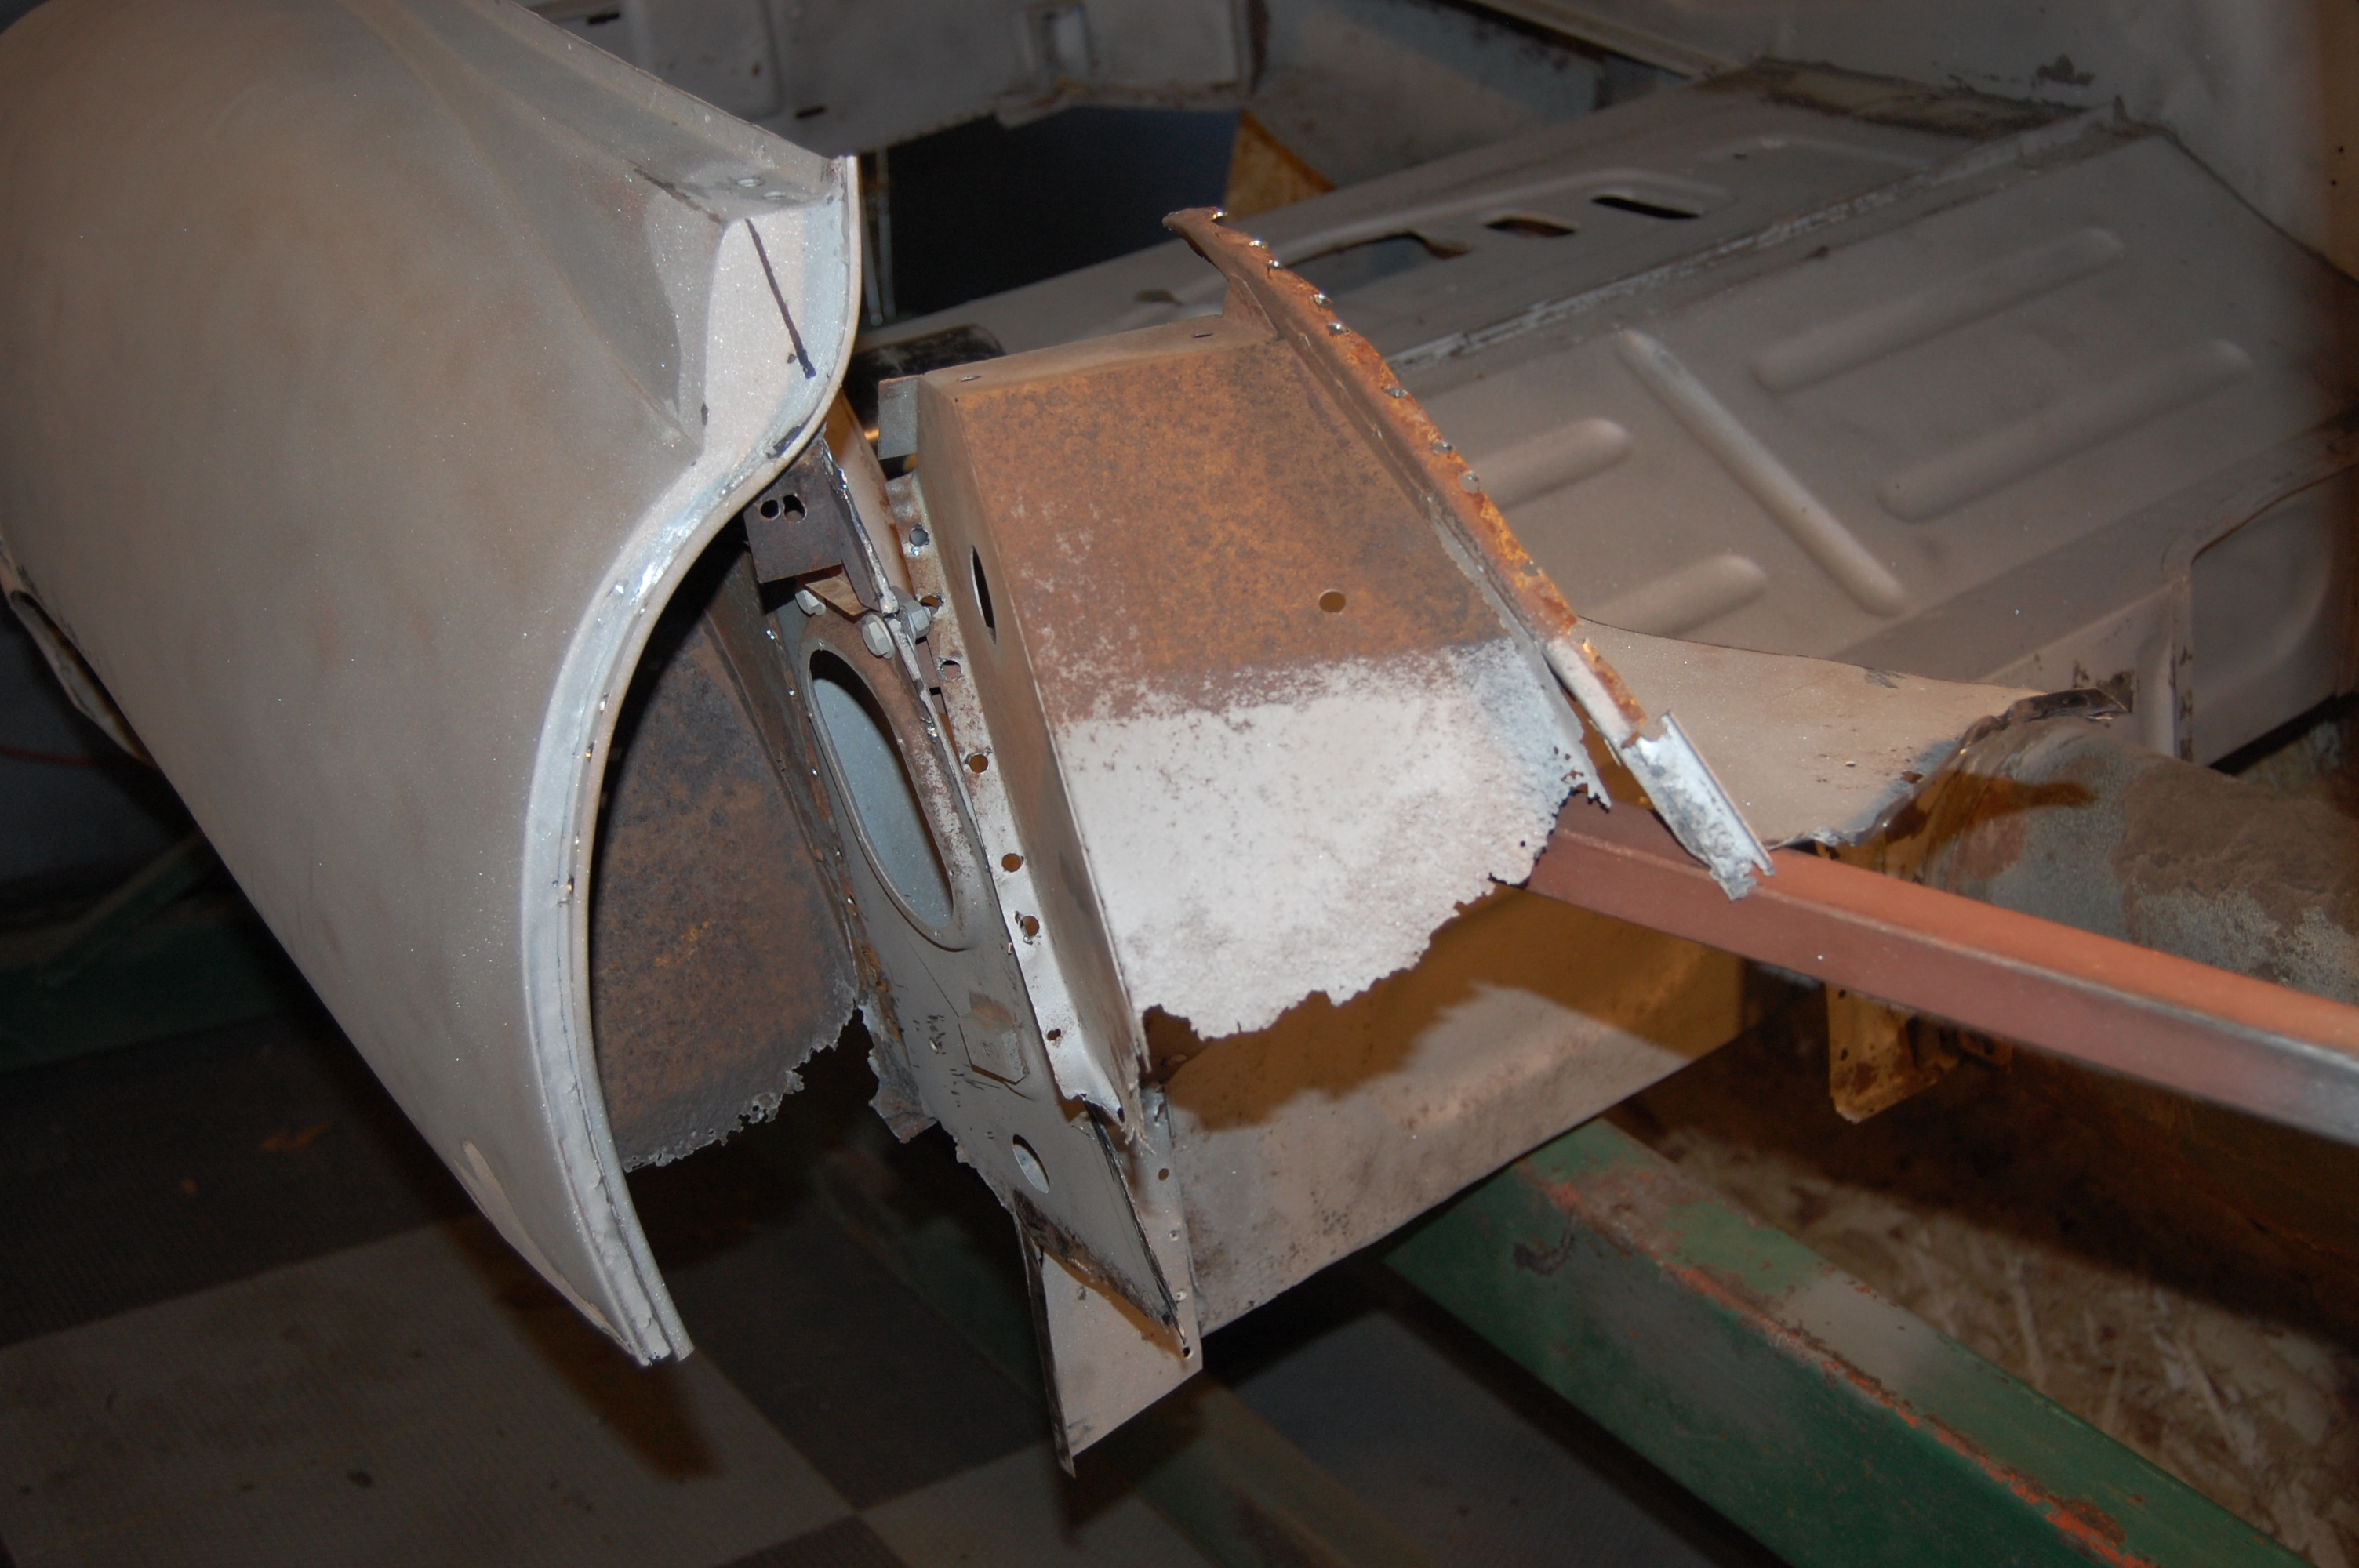
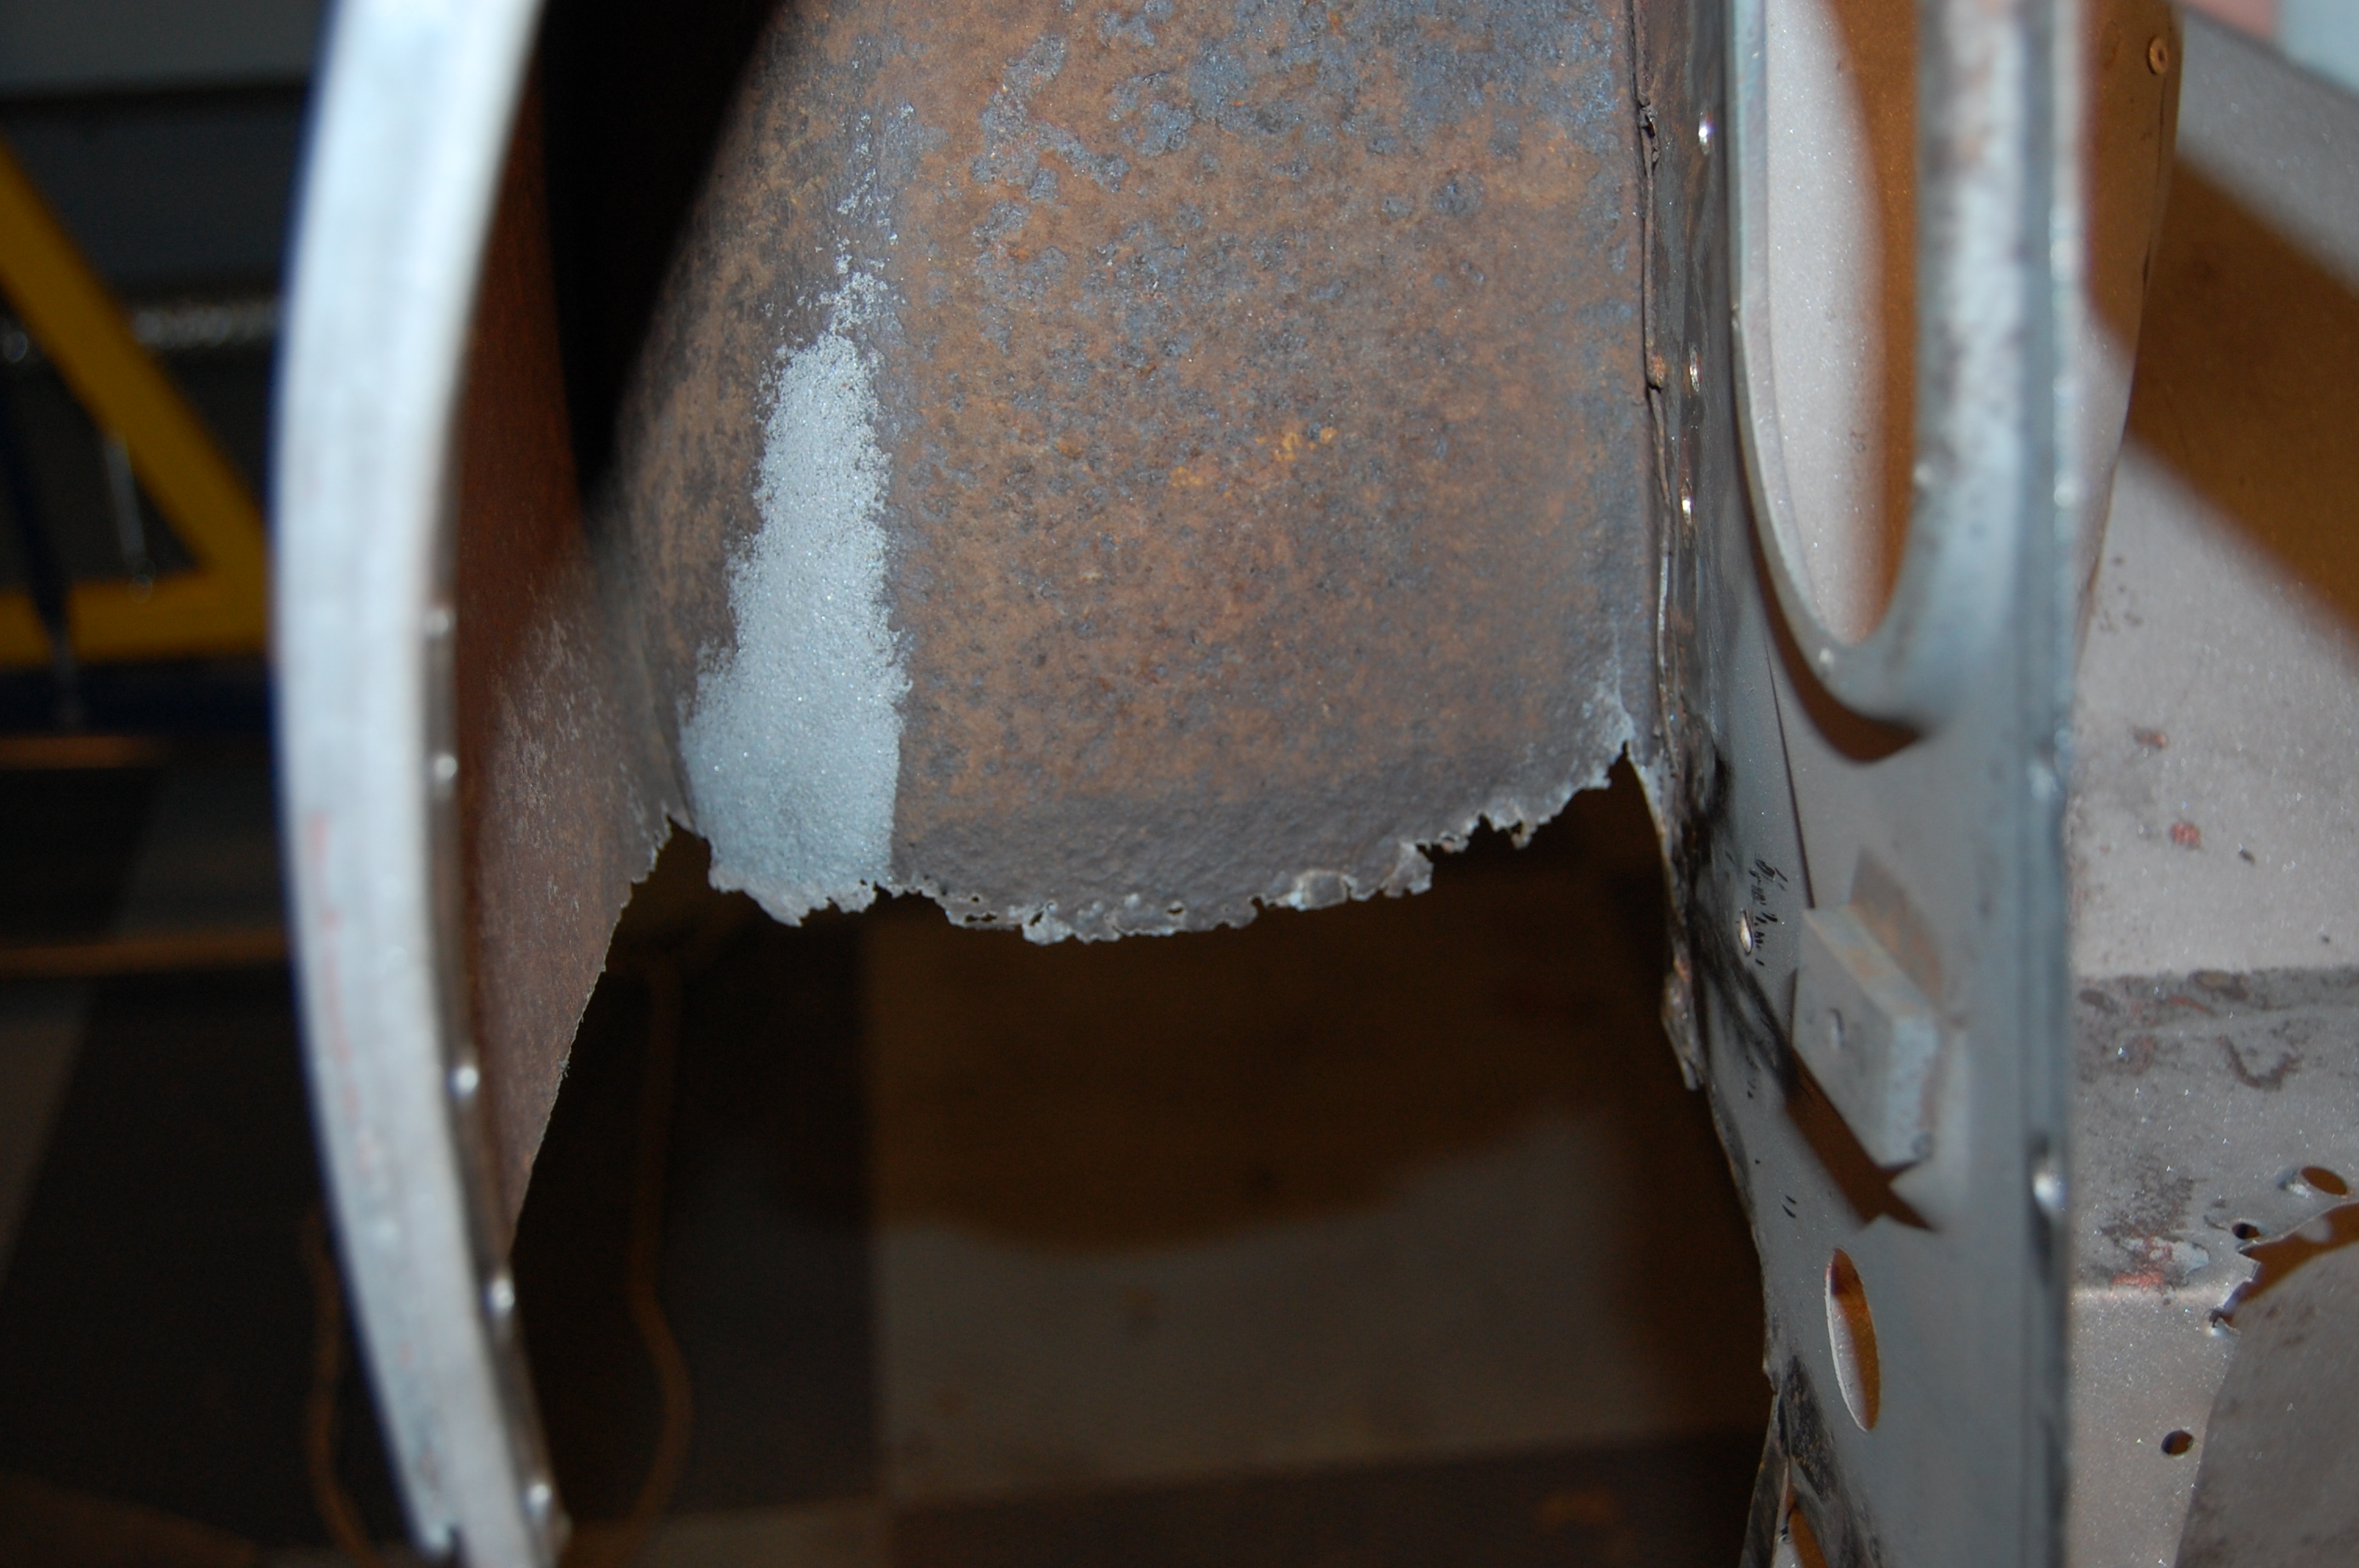
- the lower portion of the inner wheel well was also badly rusted and needed to be patched.
-

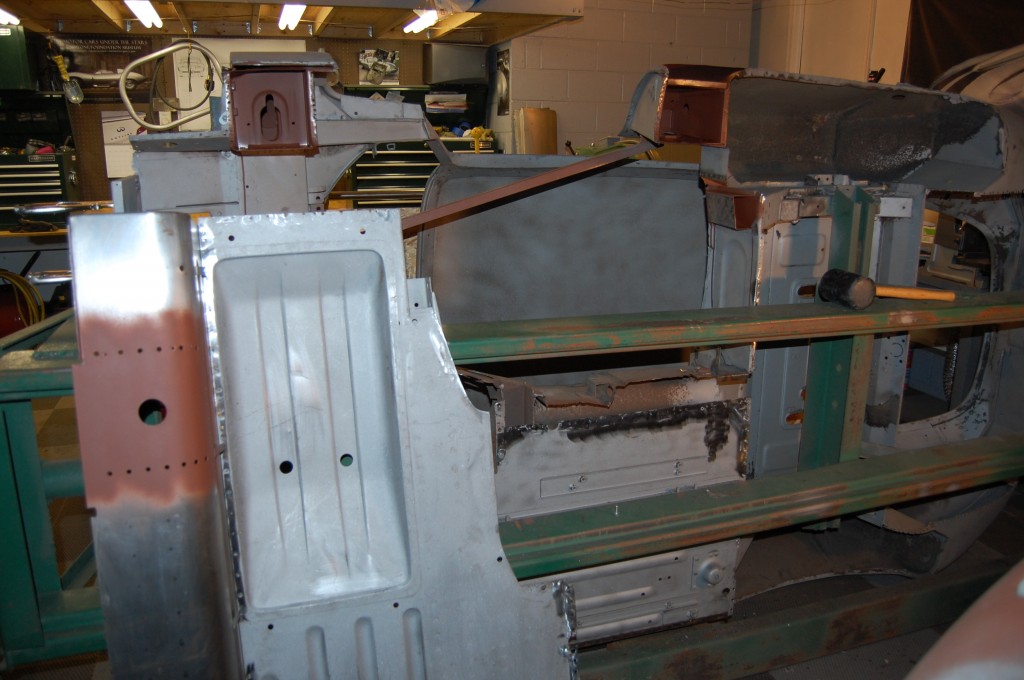
- I did not do a great job of photo taking over the days this work took place – here you can see that the B-post area has ben repaired, and it and the bulkhead have been well coated internally with red oxide before they are closed in by the new inner sill.
-
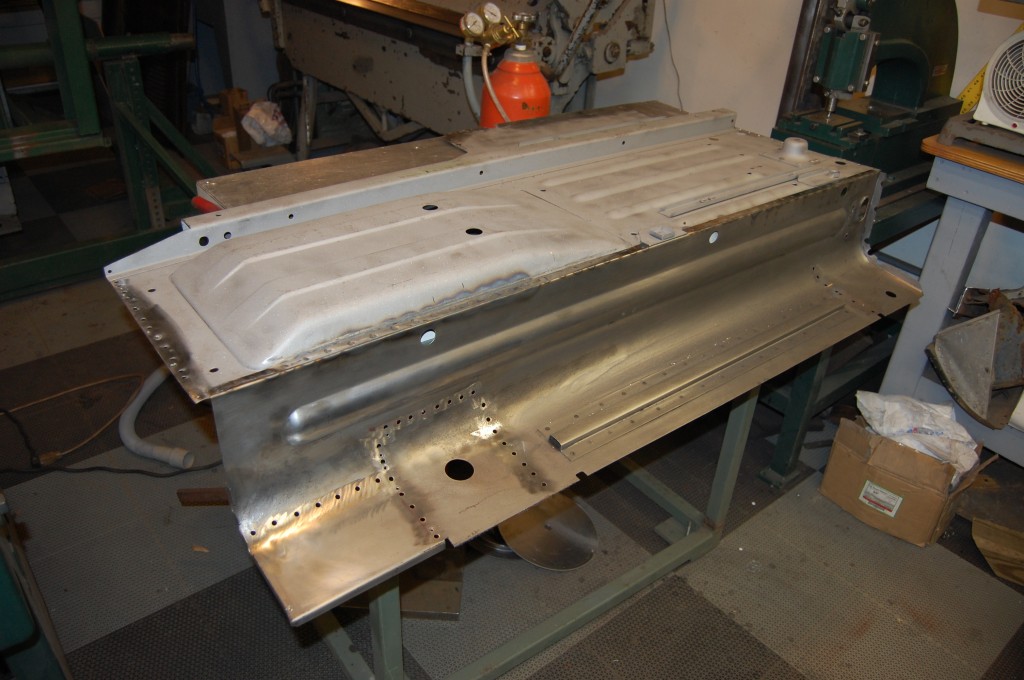
- Here, the inner sill is being welded to the floor panel after fitting, and is being prepped for plug-welding to the bulkhead and B-post.

-
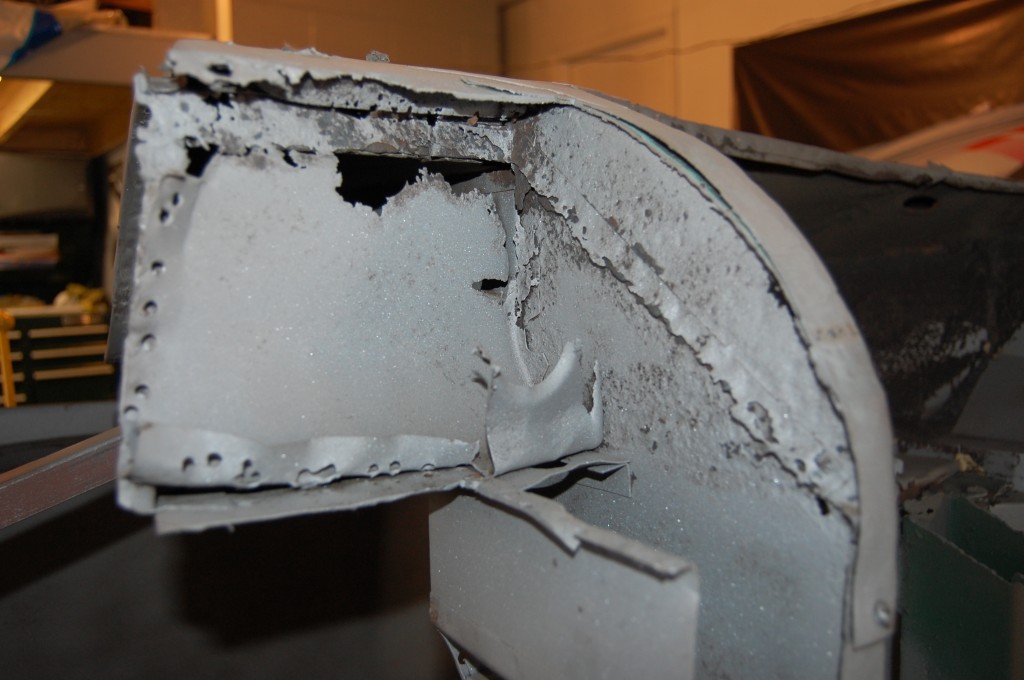
- It came time to blast this car before we were entirely finished with the dissection, so this LH B-Post did not get blasted internally… This photo shows what a mess things were, though!

-
- Here that dissection has beeen completed, and a patch has been made to the internal stiffener.

-
- The inner surfaces of the B-post were then hand-sanded, and coated with red oxide. The LH floor and inner sill are now also ready to be attached. The next blog entry will show the installation of a “hidden subframe” – stay tuned!


