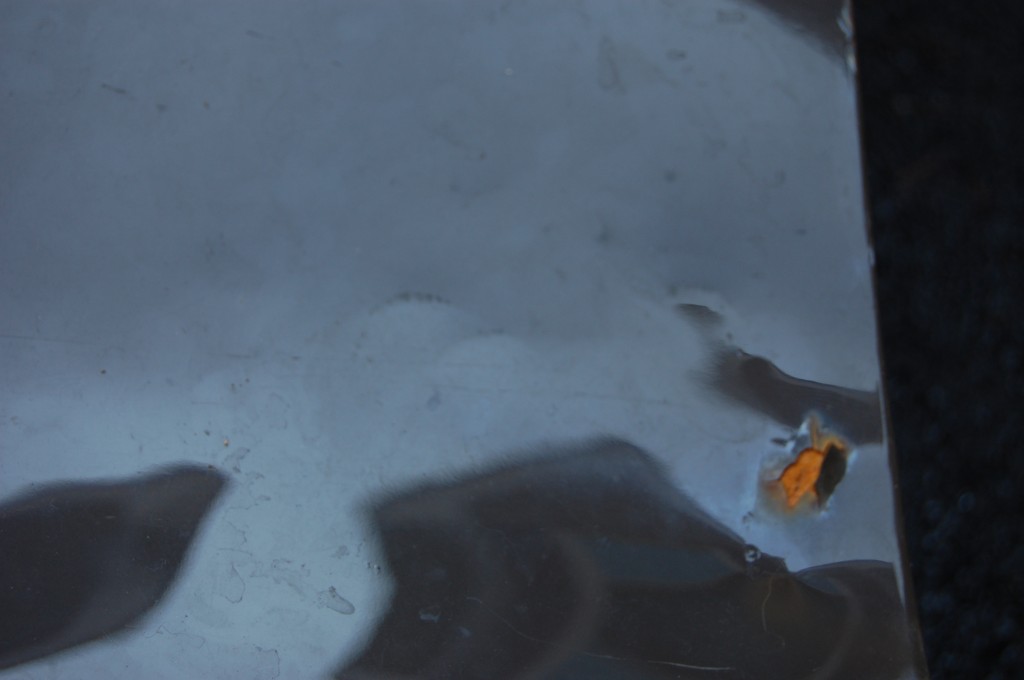
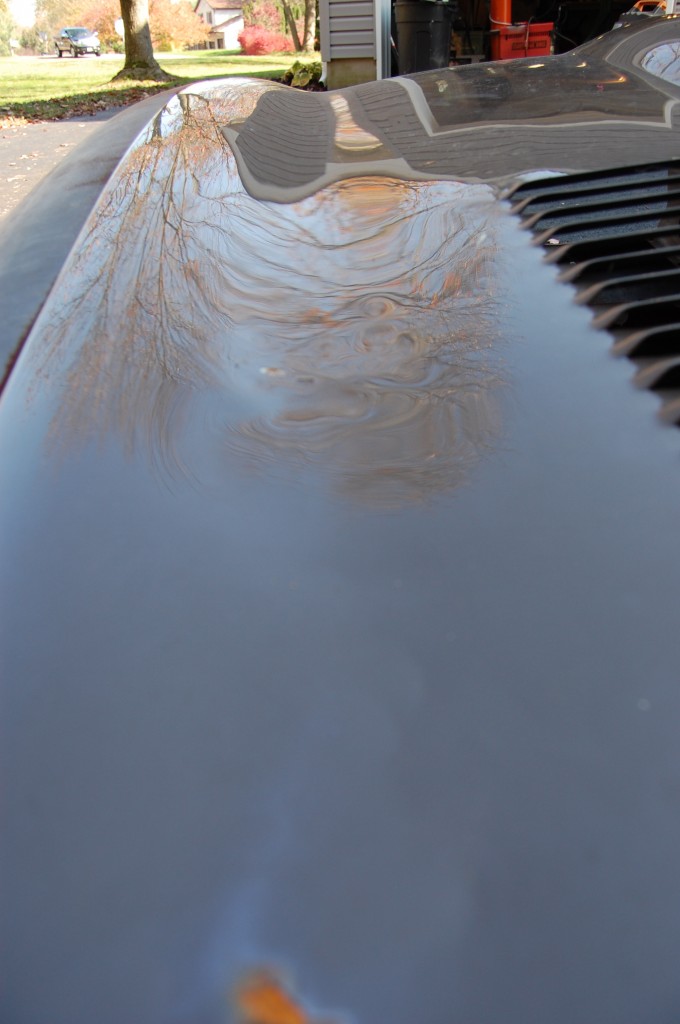
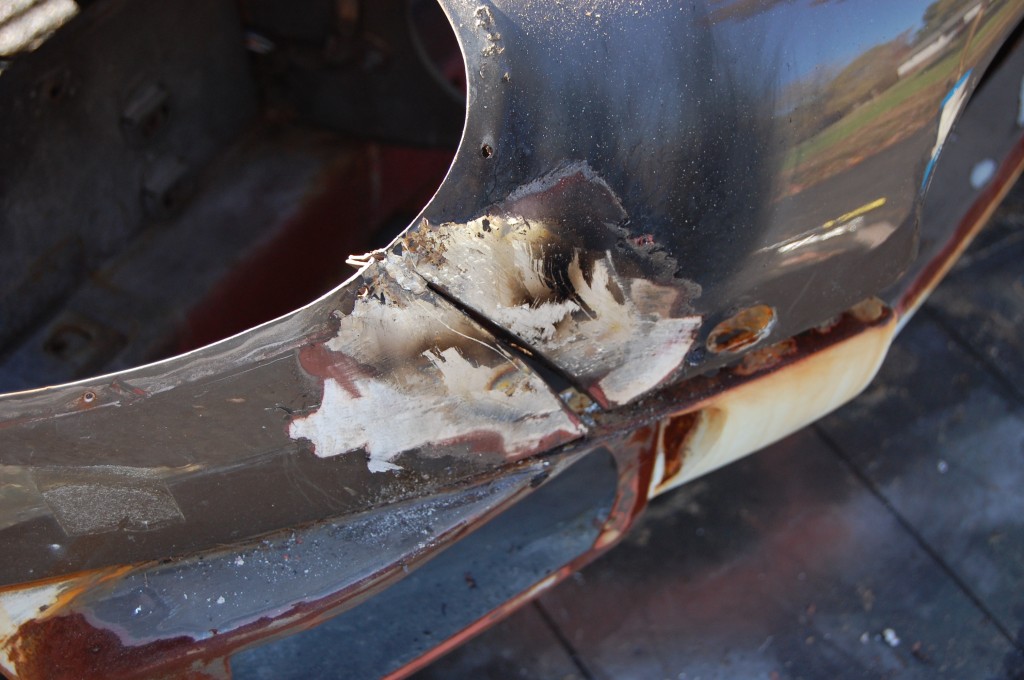
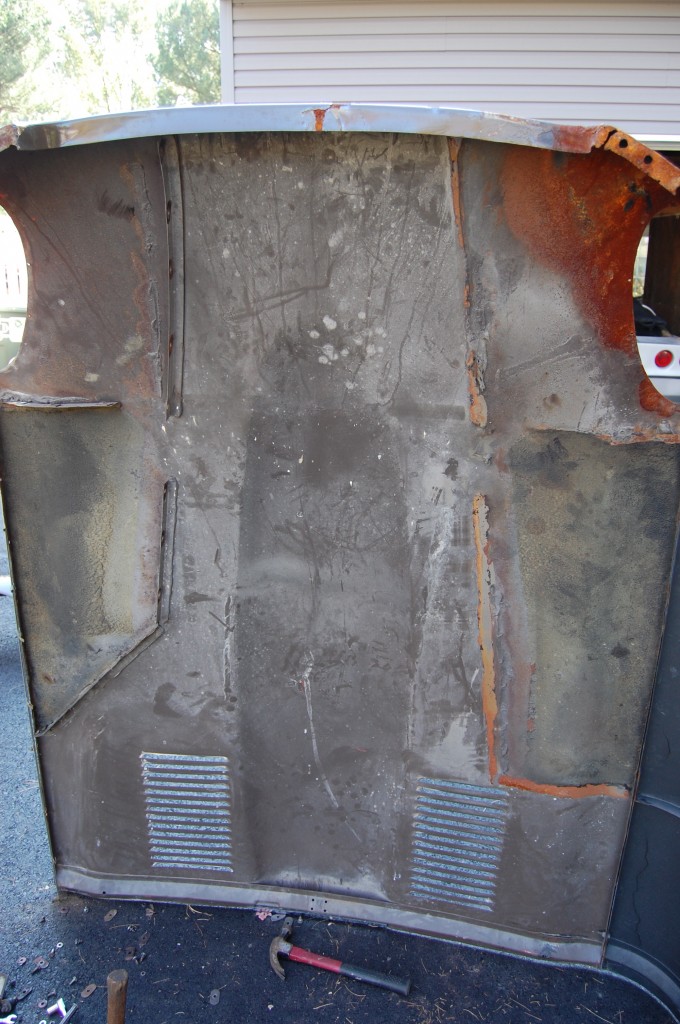
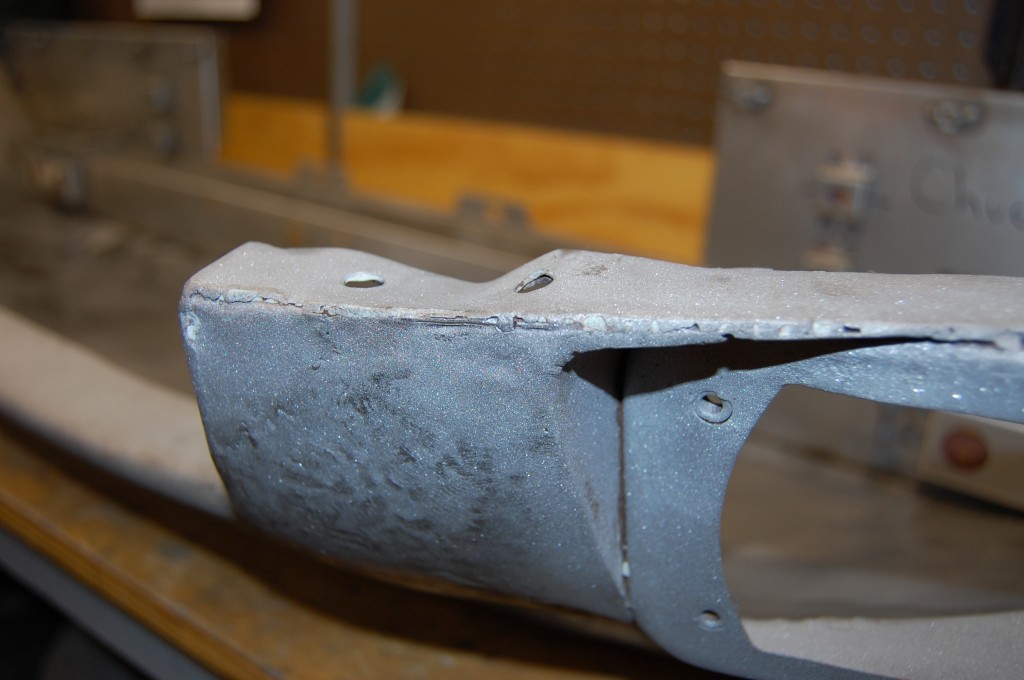
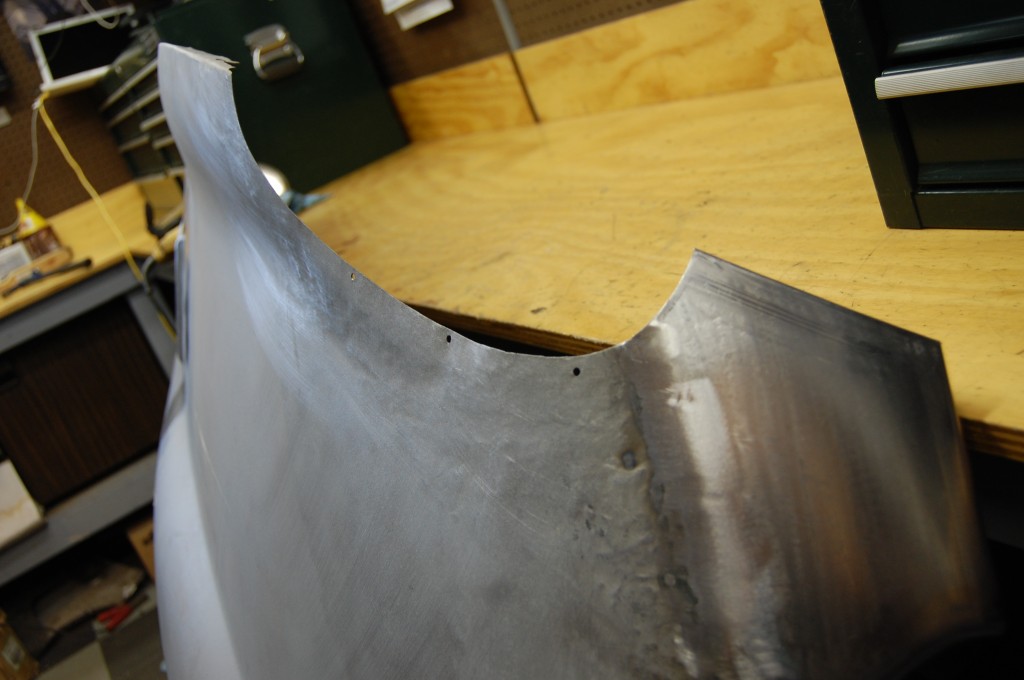
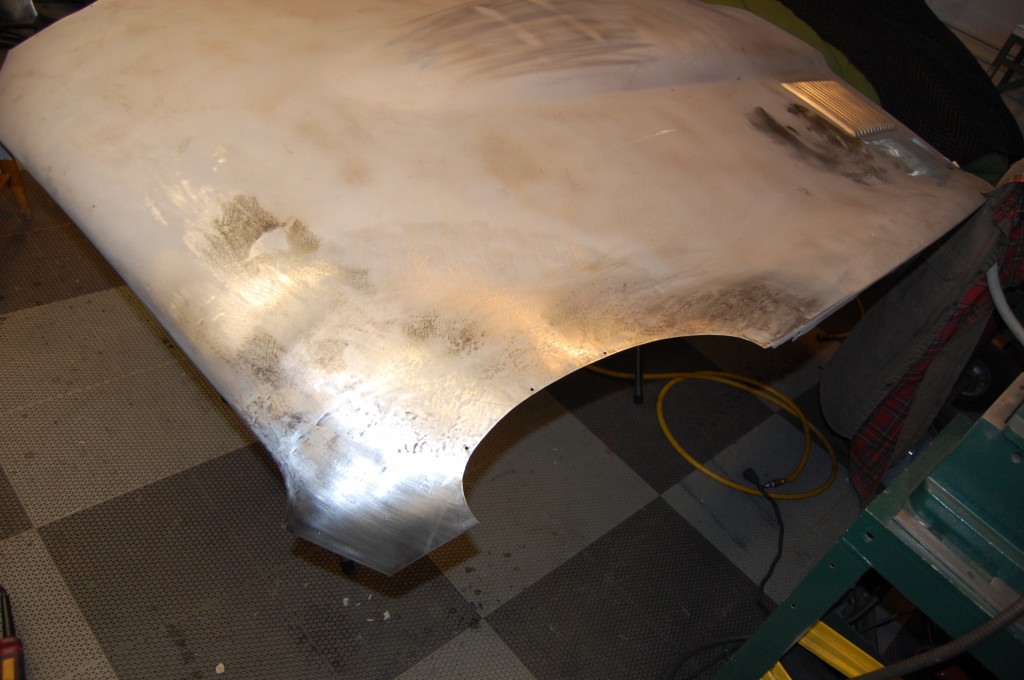
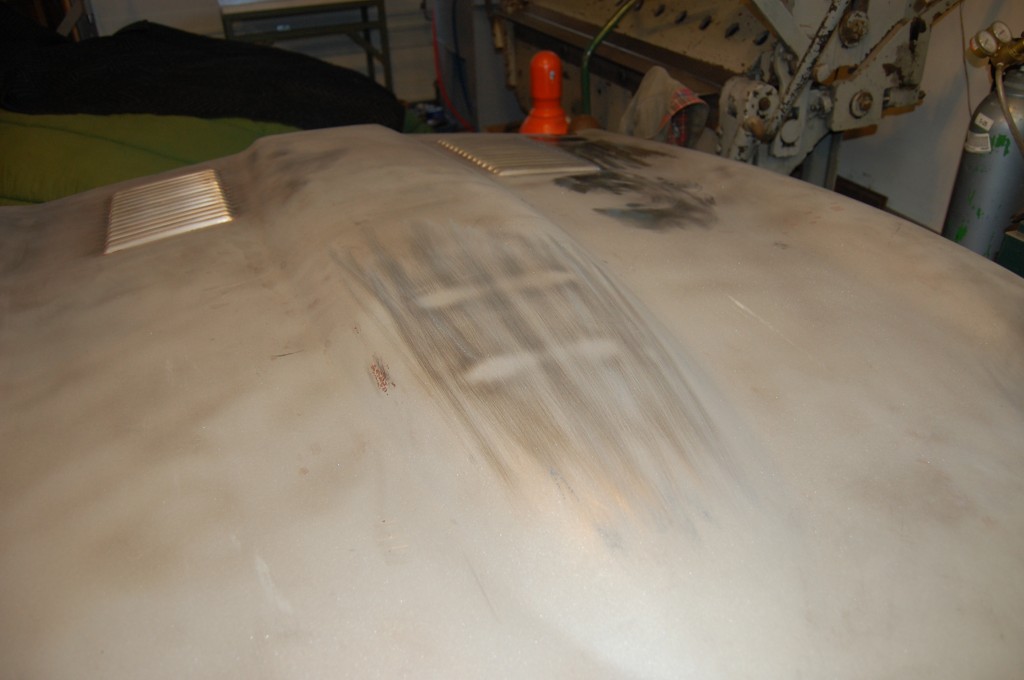
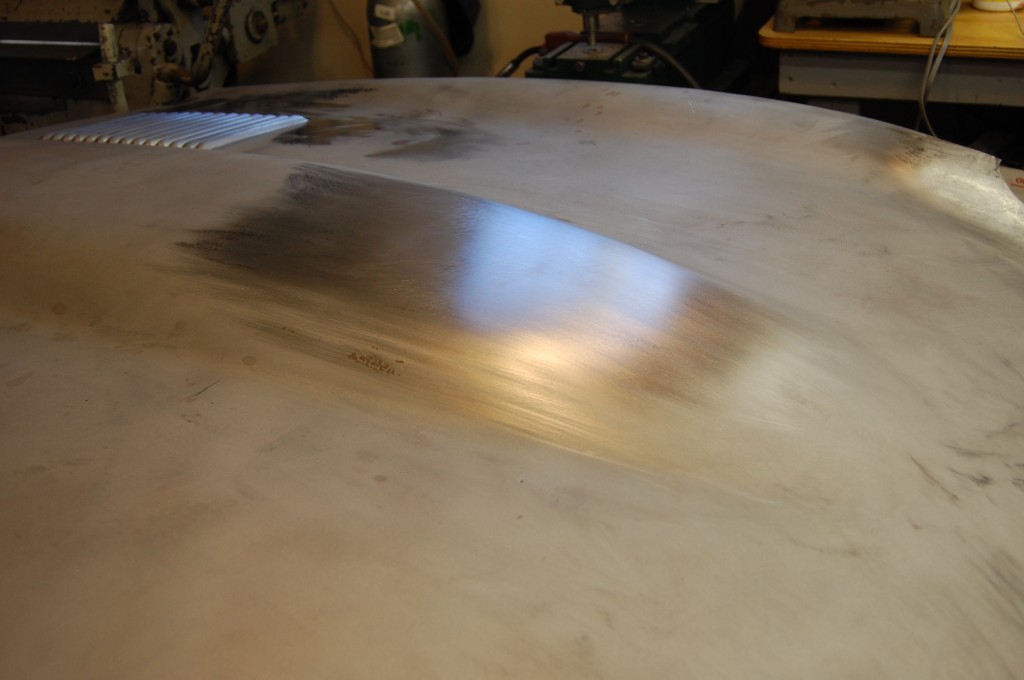
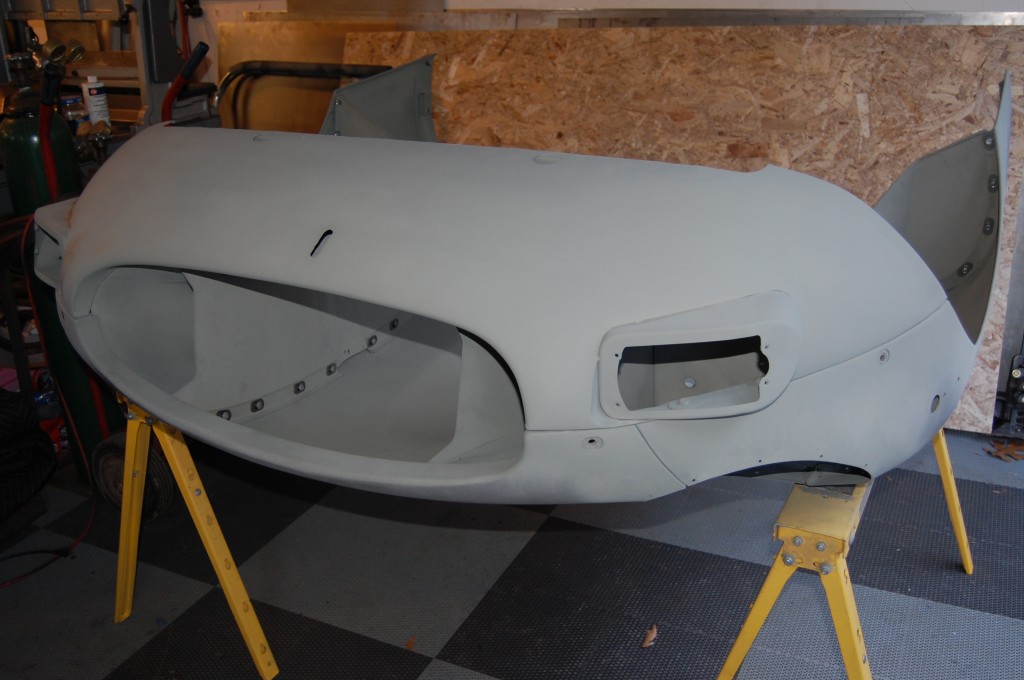
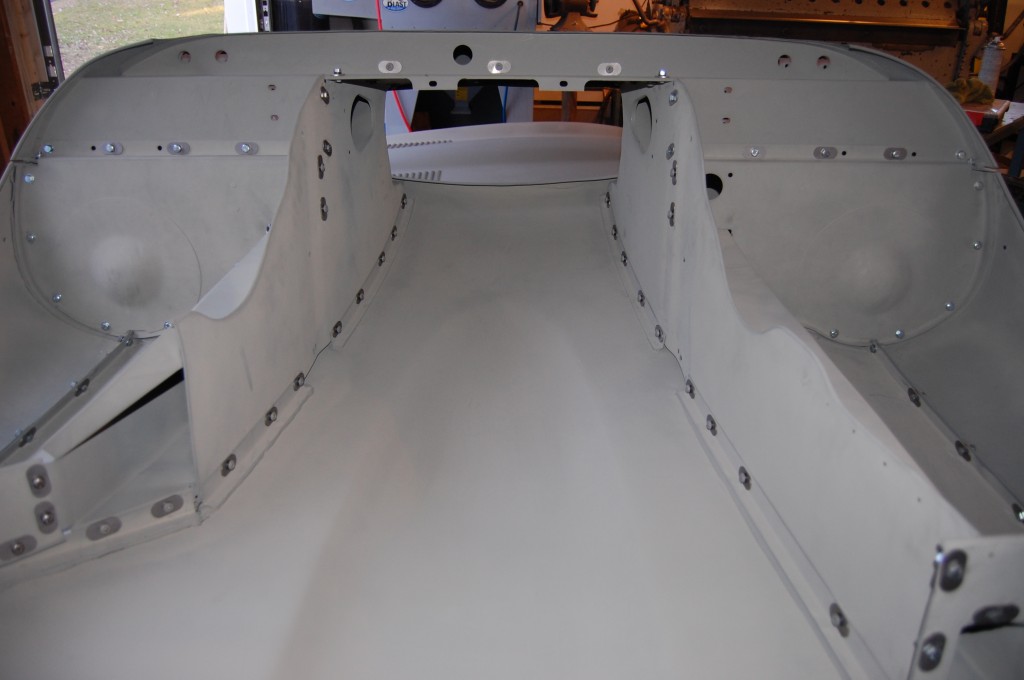
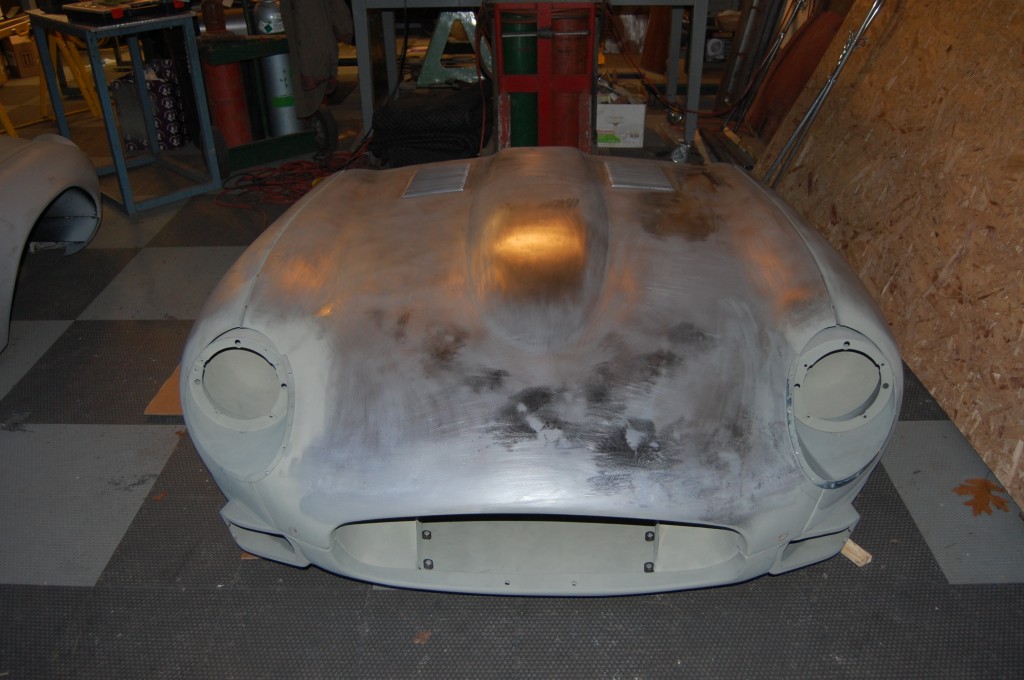
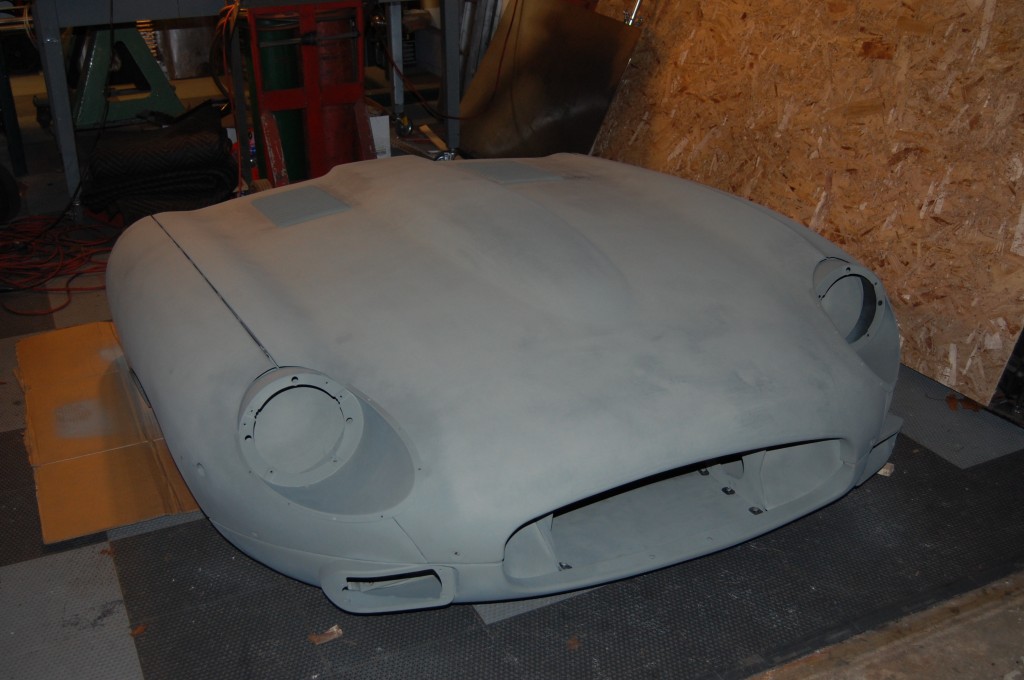
The Series 3 bonnet that the building caved in on actually came in on the same truck as this project – a wrecked Series 2 bonnet. Someone had attempted to repair this bonnet with a new fender, but threw in the towel I guess, and from the looks of the way things were going, that was a good idea…
The owner asked me to make this right, so we stripped it down, fixed all of the issues, and carefully re-assembled it – always a challenge once there has been a collision and new panels are being mixed in…
Take a look:
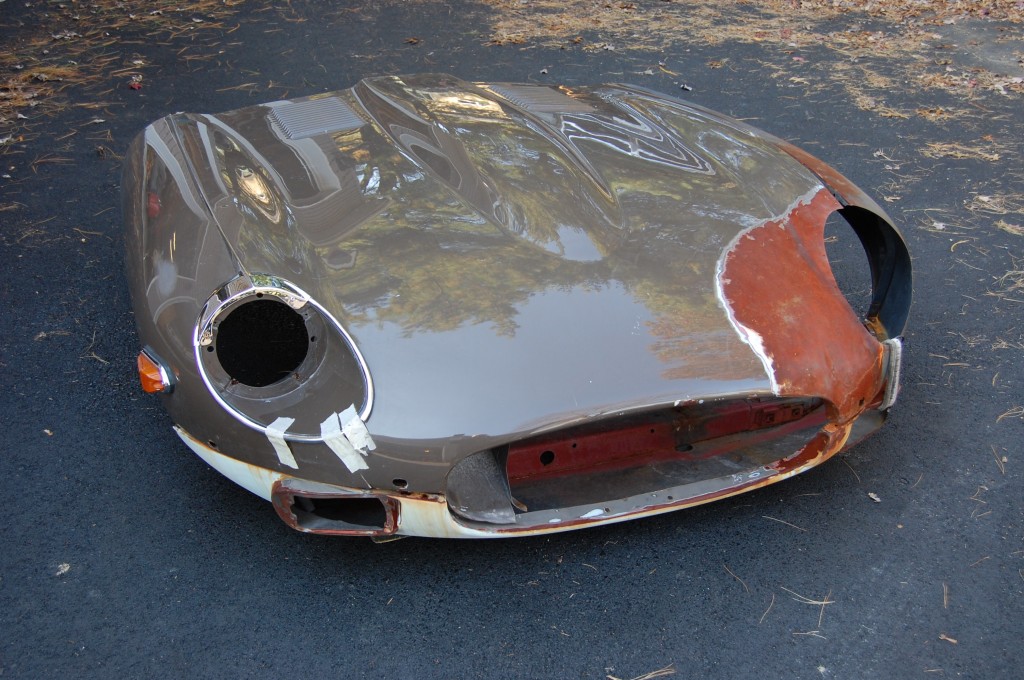
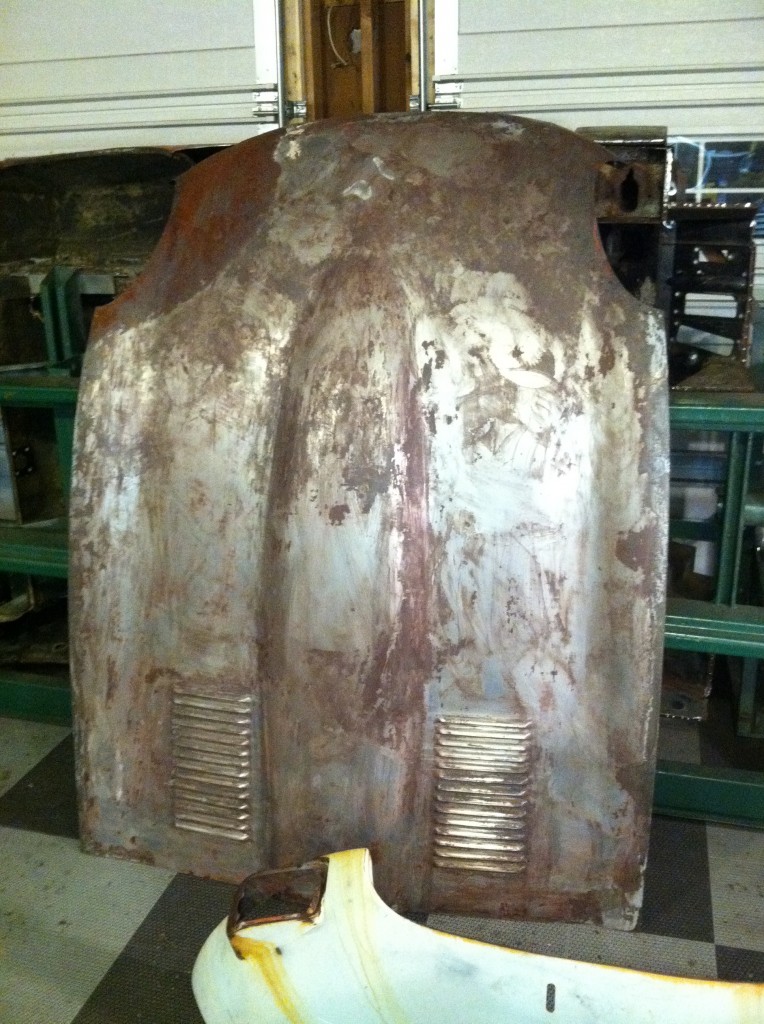
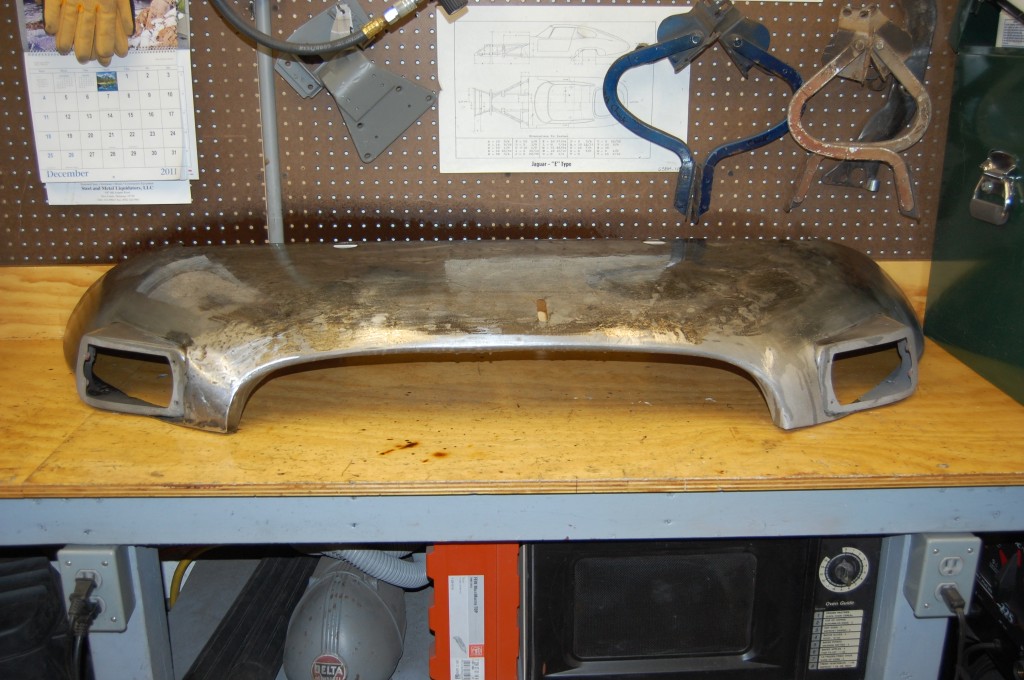
- Here is our starting point.
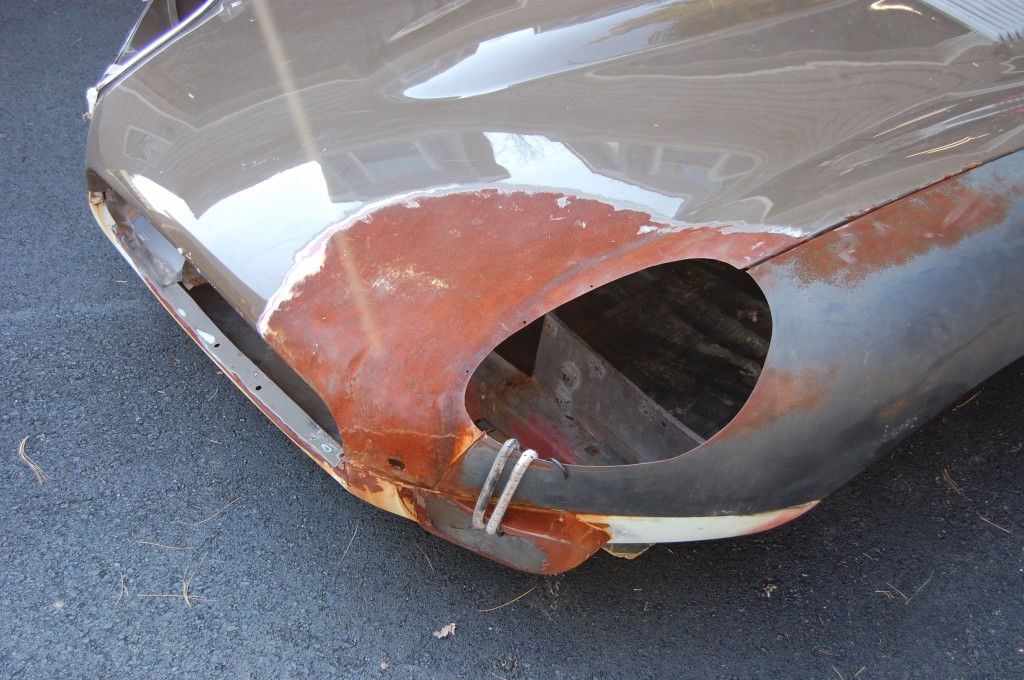
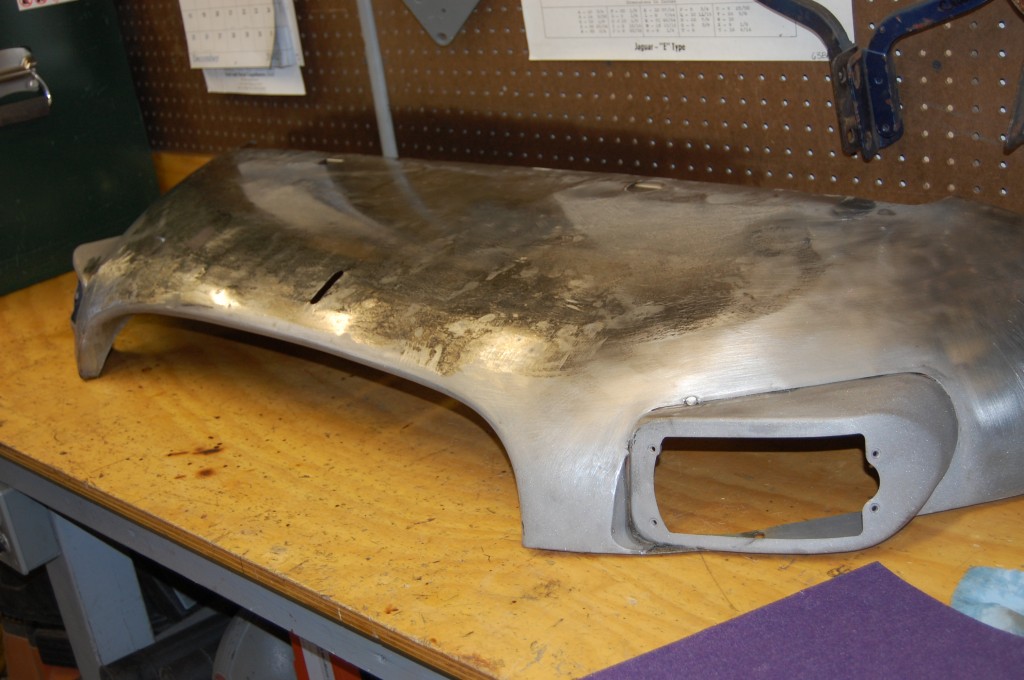
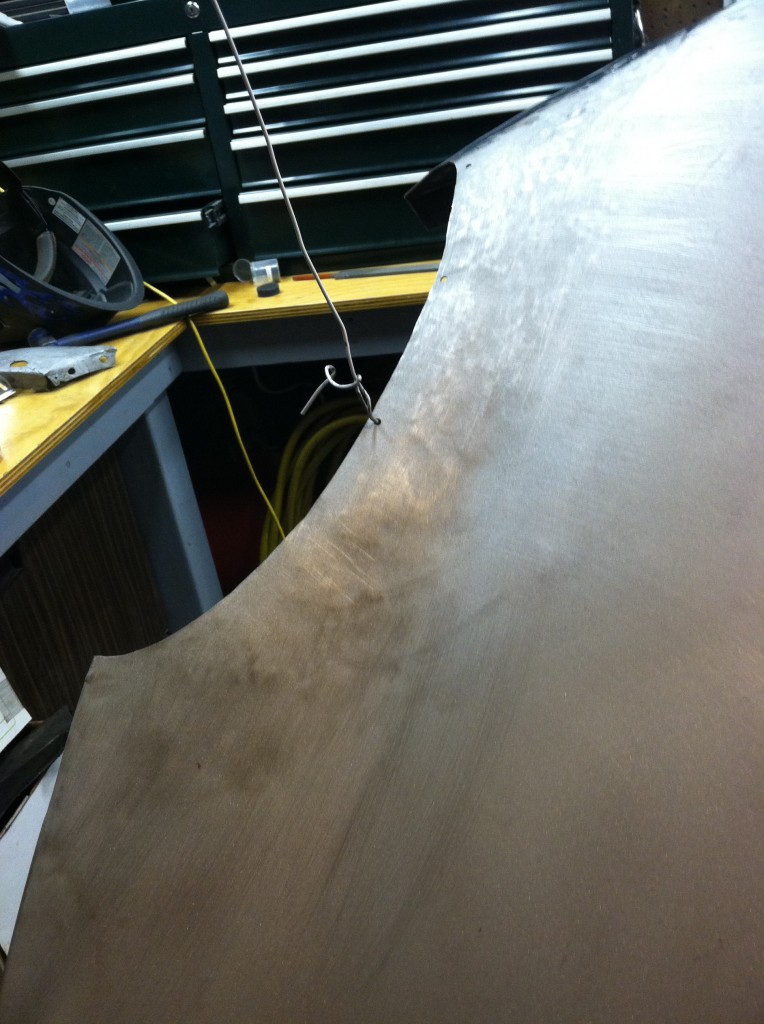
- Ouch. The body shop has ground back the center section and crudely hammered it out, then simply bolted on a replacement fender, then left the whole thing out in the rain I guess…
- Not sure what we’ll end up doing here.
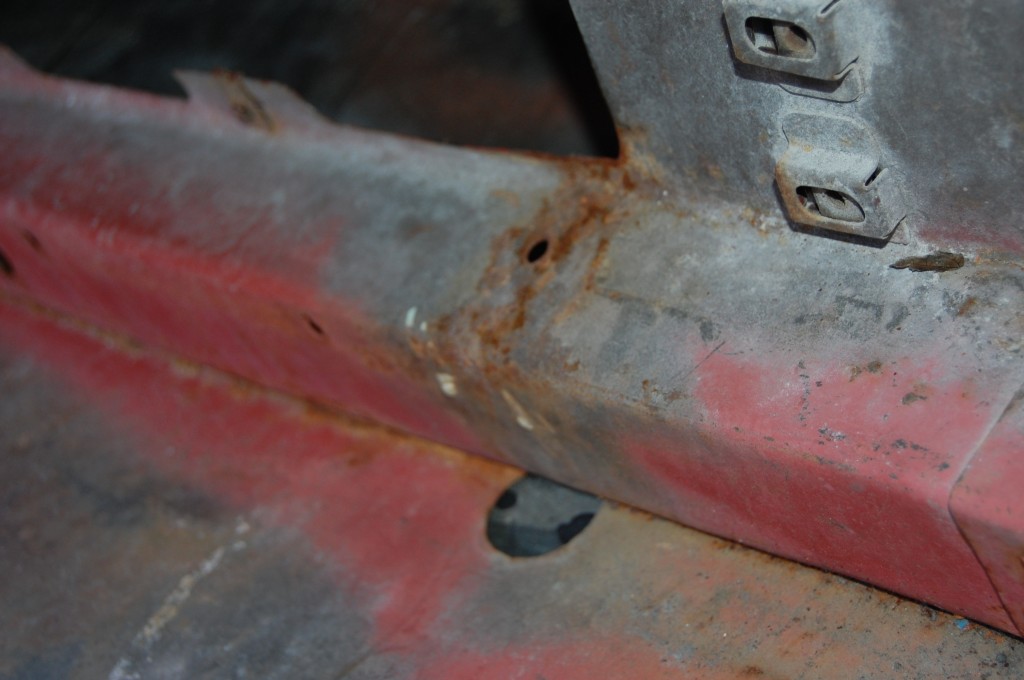
- The underpanel had also been mangled and somewhat straightened.
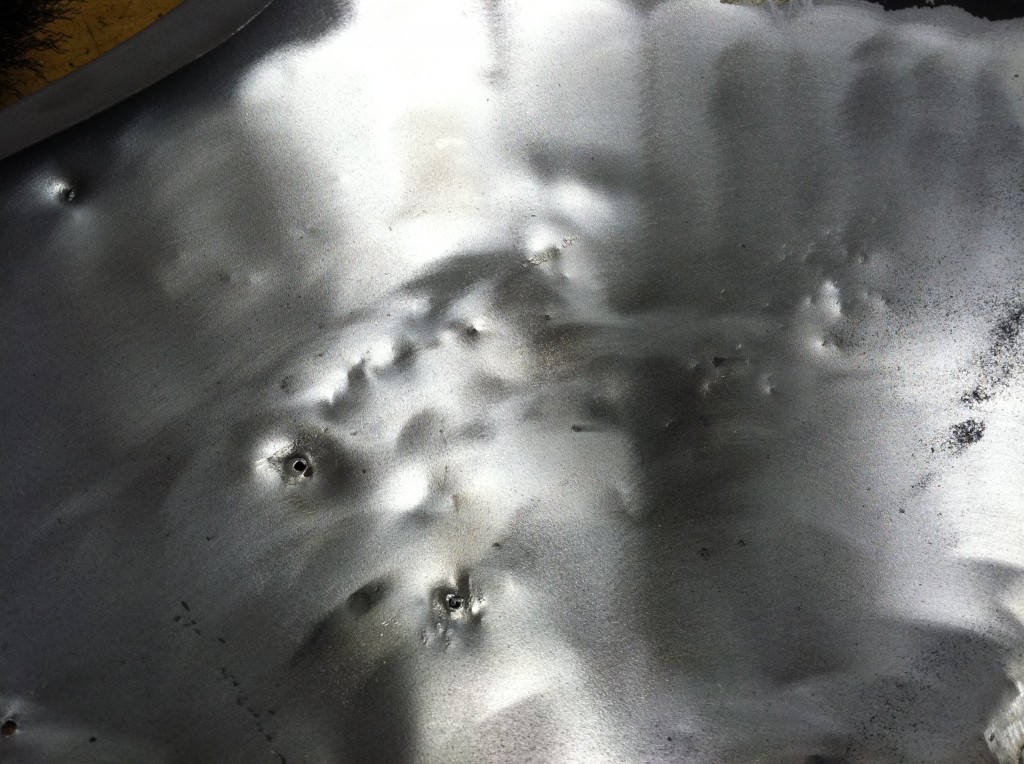
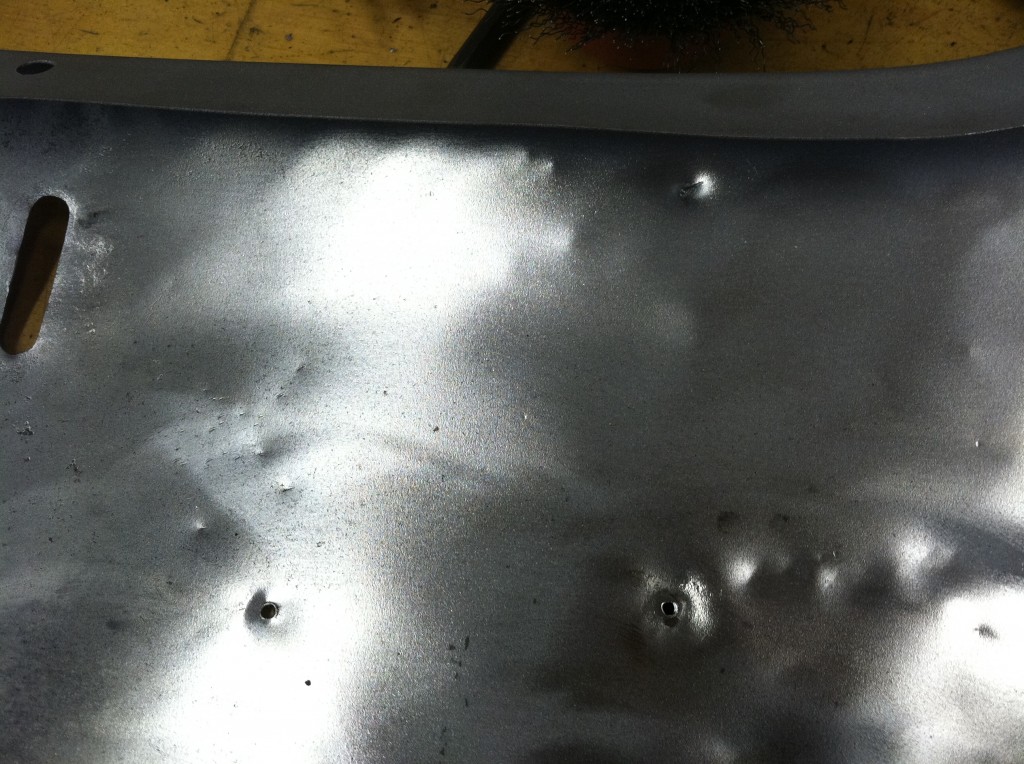
- And all over the bonnet were hammer whacks right on the paint and all…
- This is a shame because this is a tough area to smooth – but we’ll get it!
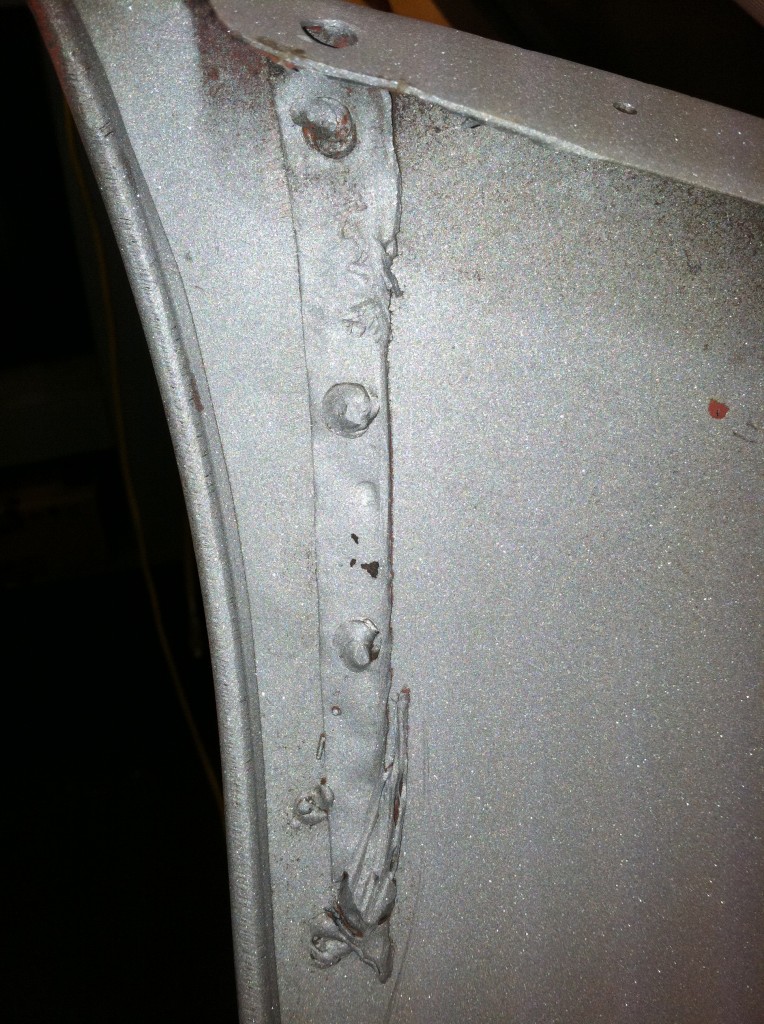
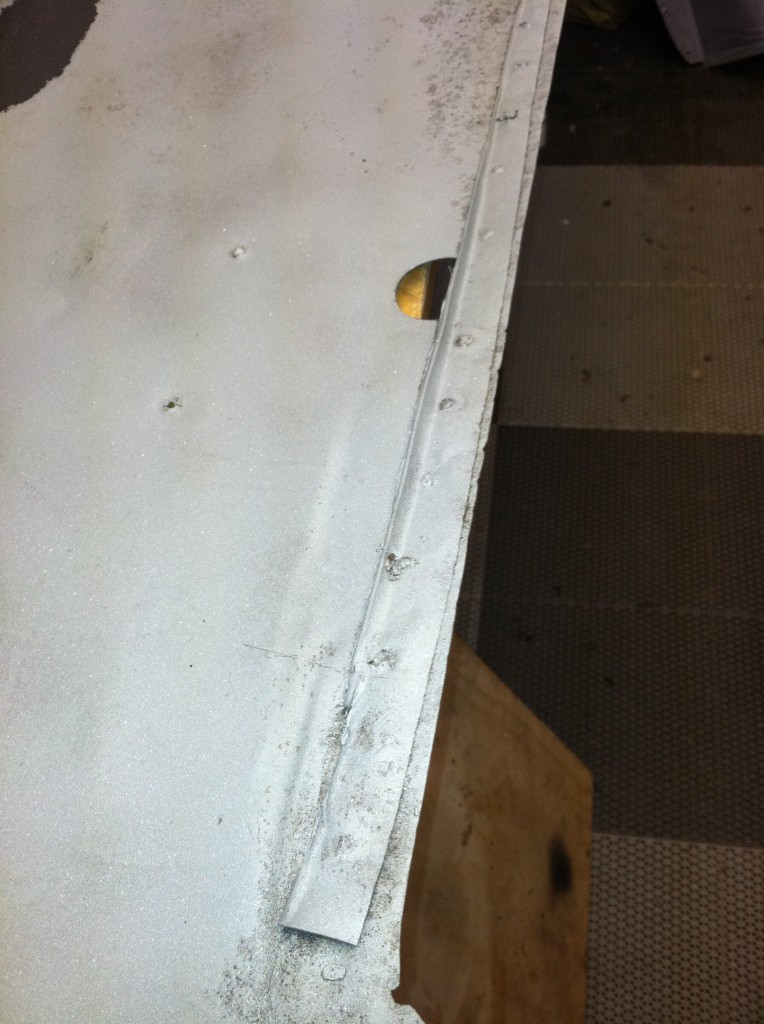
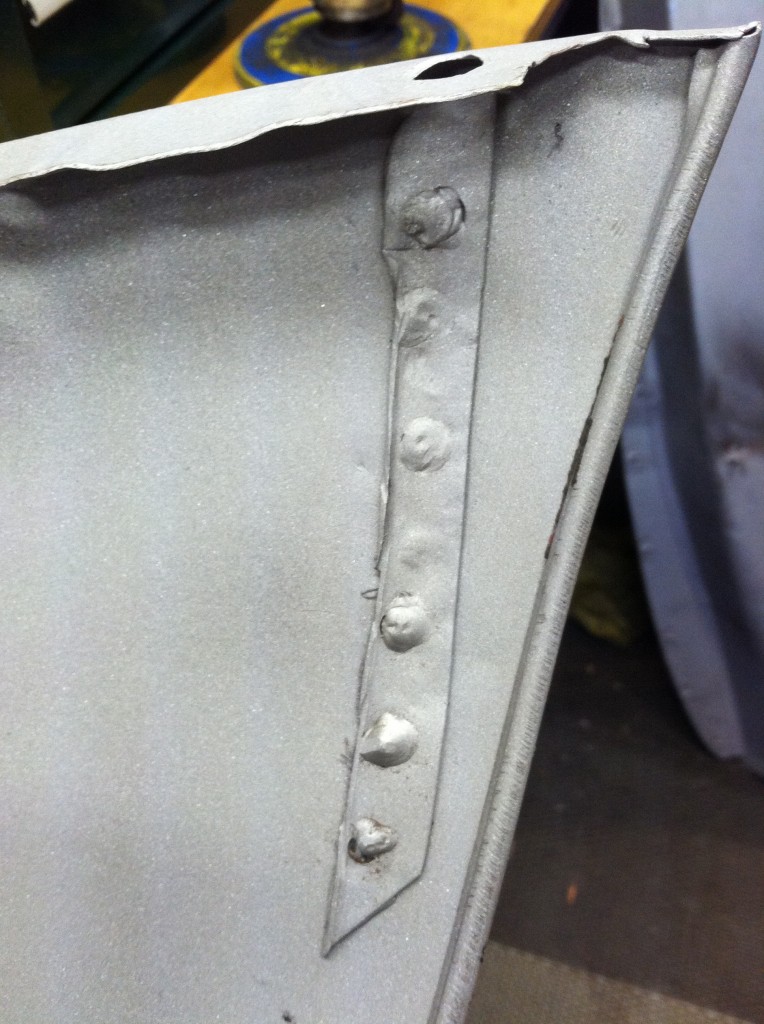
- First we melt the lead out of these seams and then carefully slice out the factory gas weld. This is factory on Series 1.5, 2, and 3.
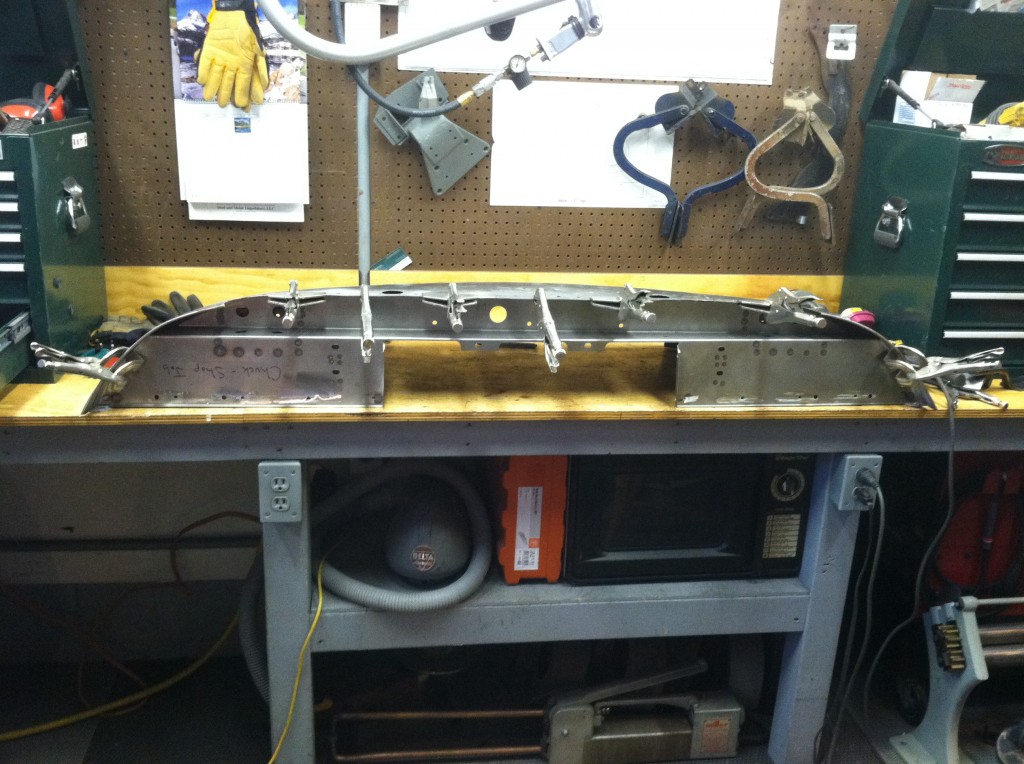
- Center section is out and can be stripped now.
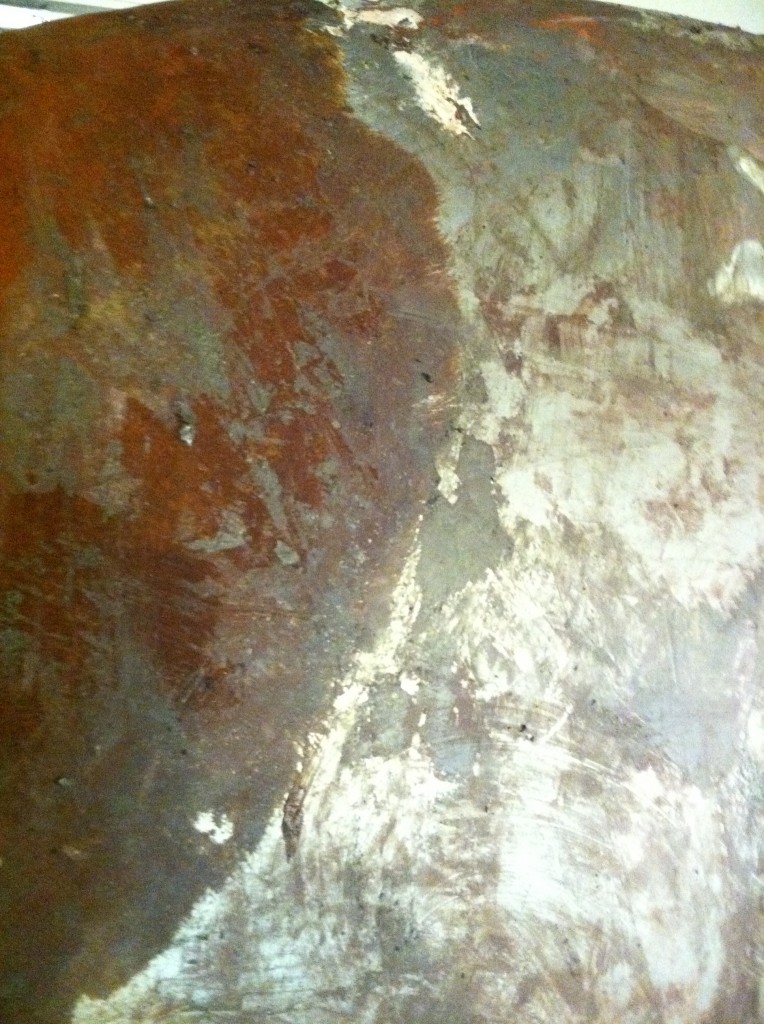
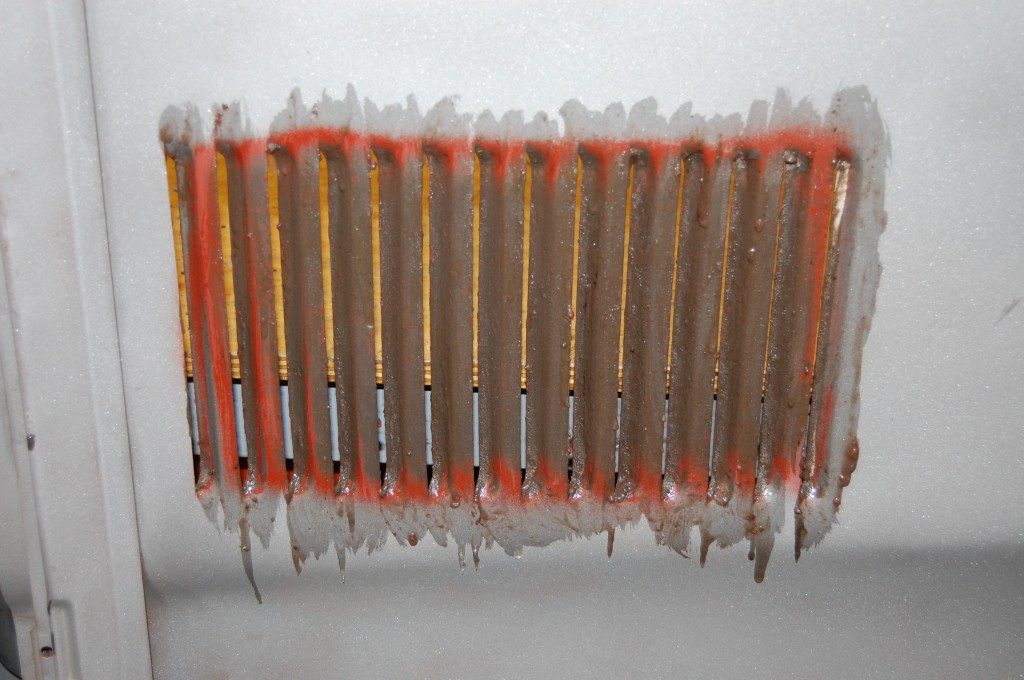
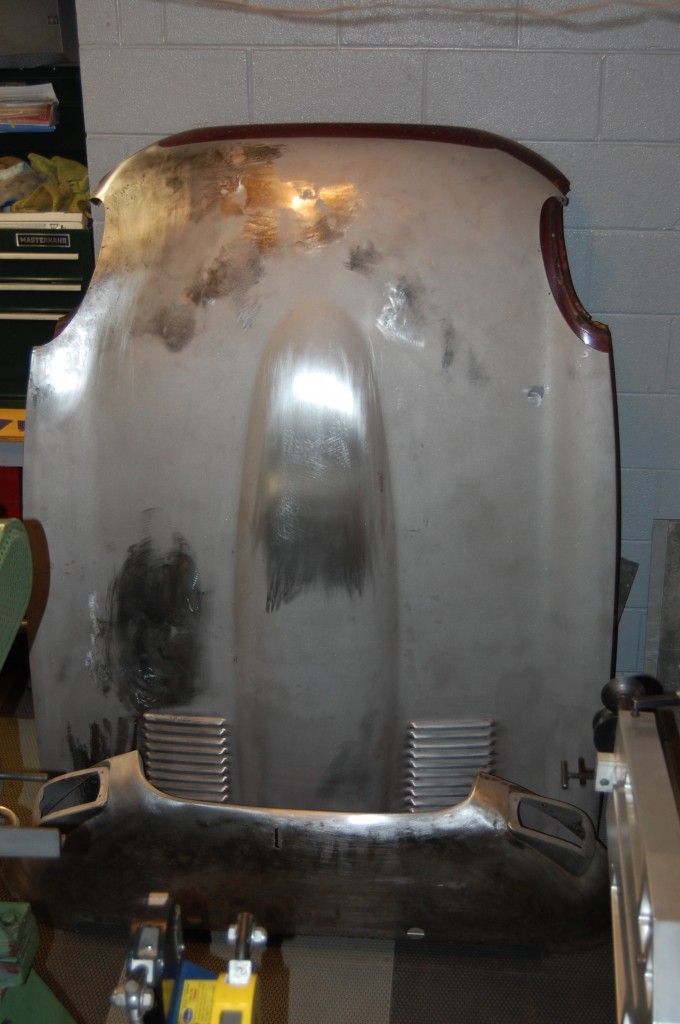
- OMG – what a NIGHTMARE! This bonnet had been painted with a paint product/process that the owner called “single stage” – it was the hardest paint I have ever dealt with in my life! We had to strip the outer layer with chemicals – trying to blast it would have warped the panels for sure!
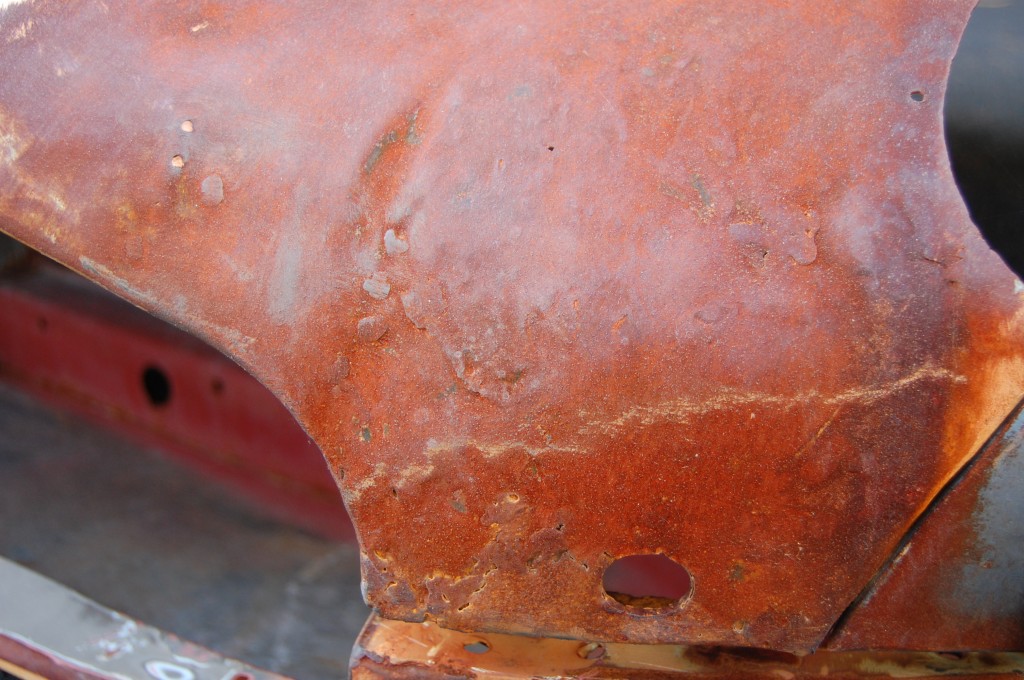
- This rust is just so unnecessary… We’ll get this clean again in the blasting room.
- Here’s the next challenge – 1/4″ of filler from front to back, end to end!
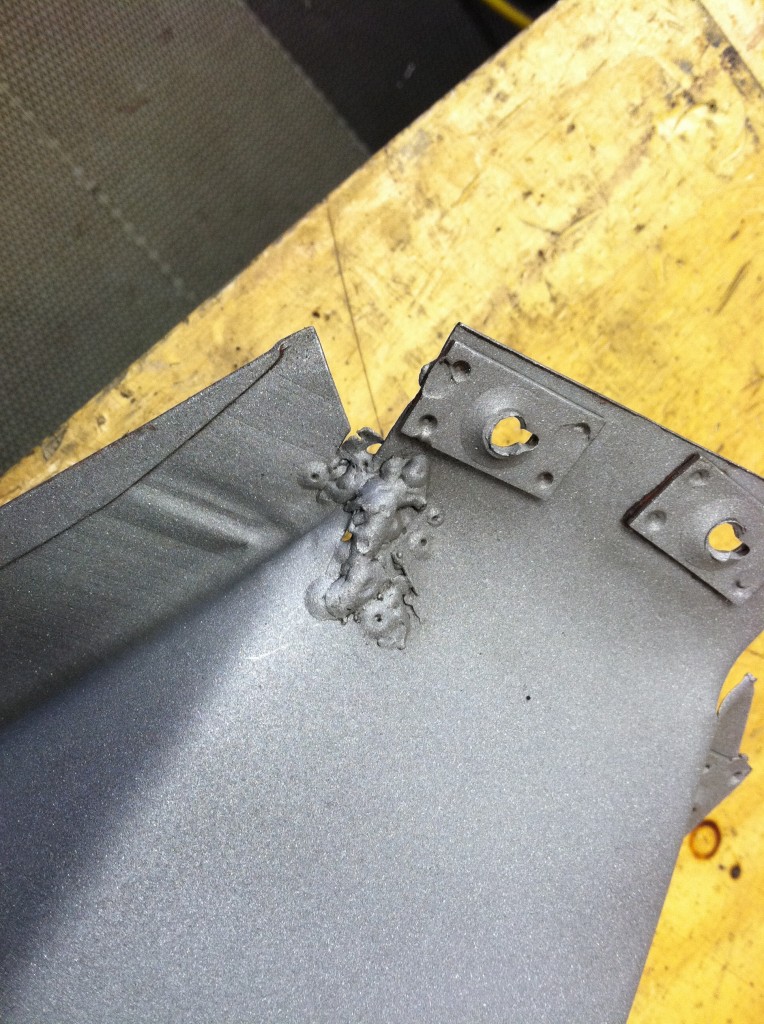
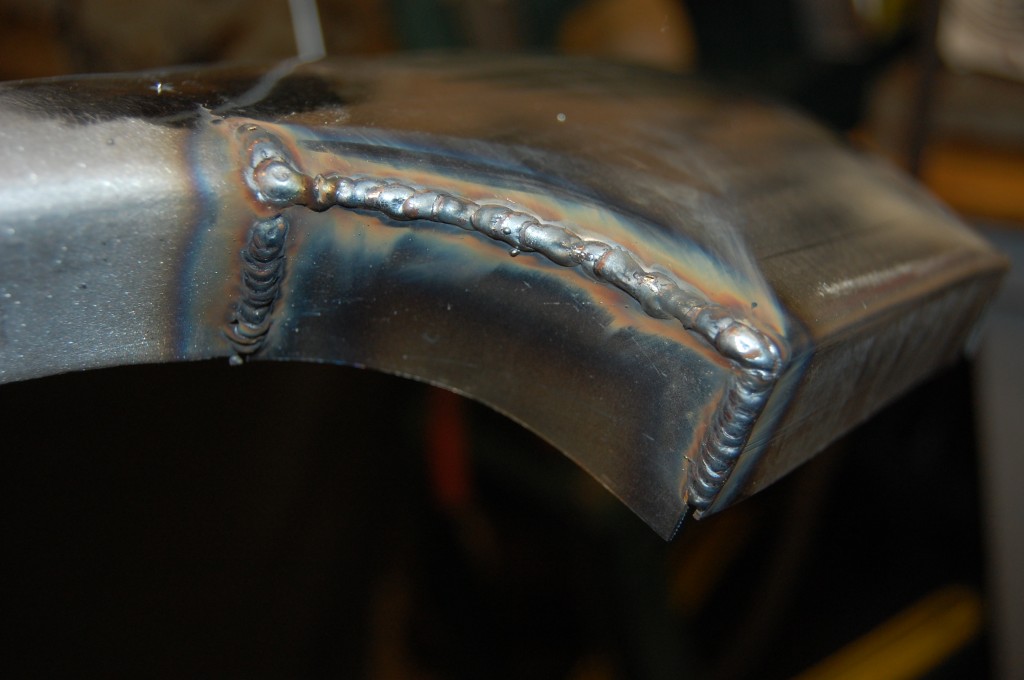
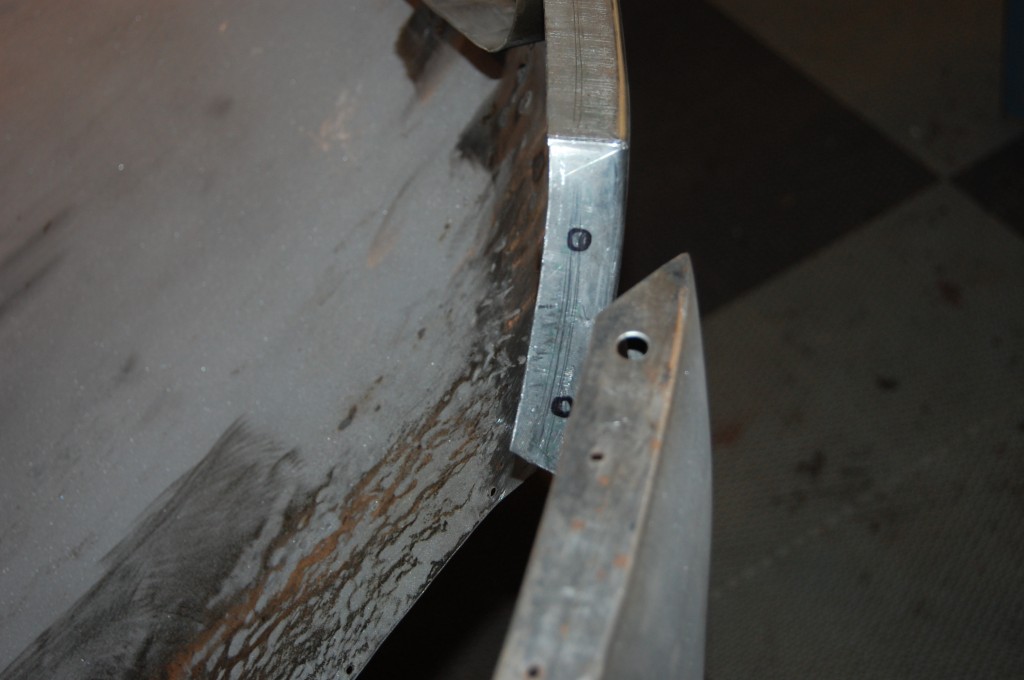
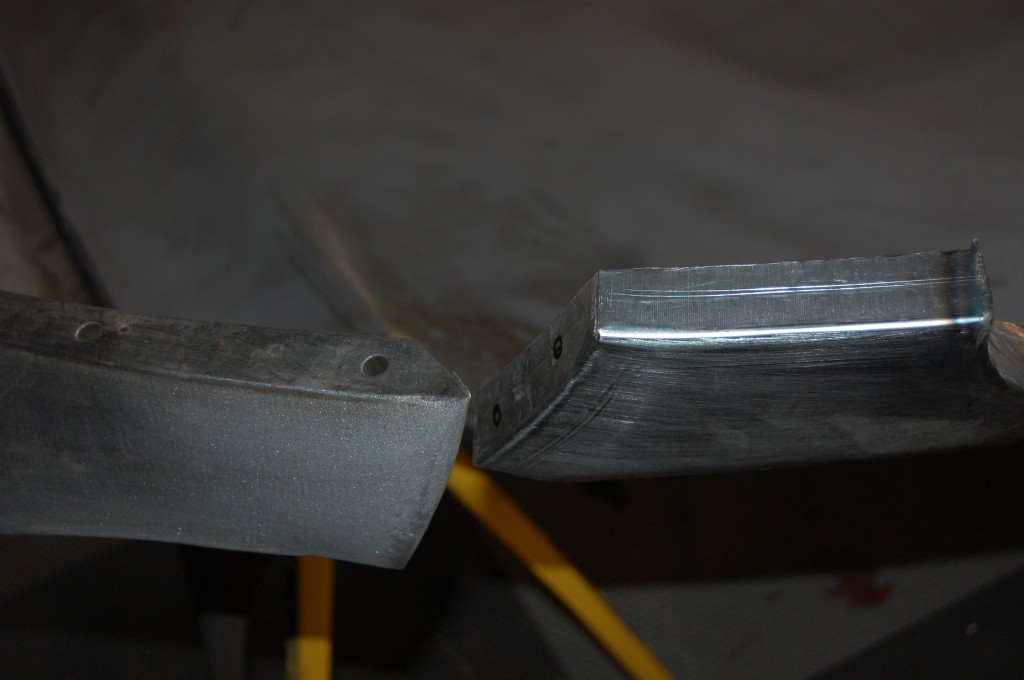
- All RH inner valances tear here, and I often see crude attempts at welding them back up. We’ll seamlessly repair this and then weld a reinforcing plate on the backside – otherwise it will just tear again. This is a design flaw in the E-Type bonnet – I have never seen a SINGLE ONE that did not have a 1″ tear here!
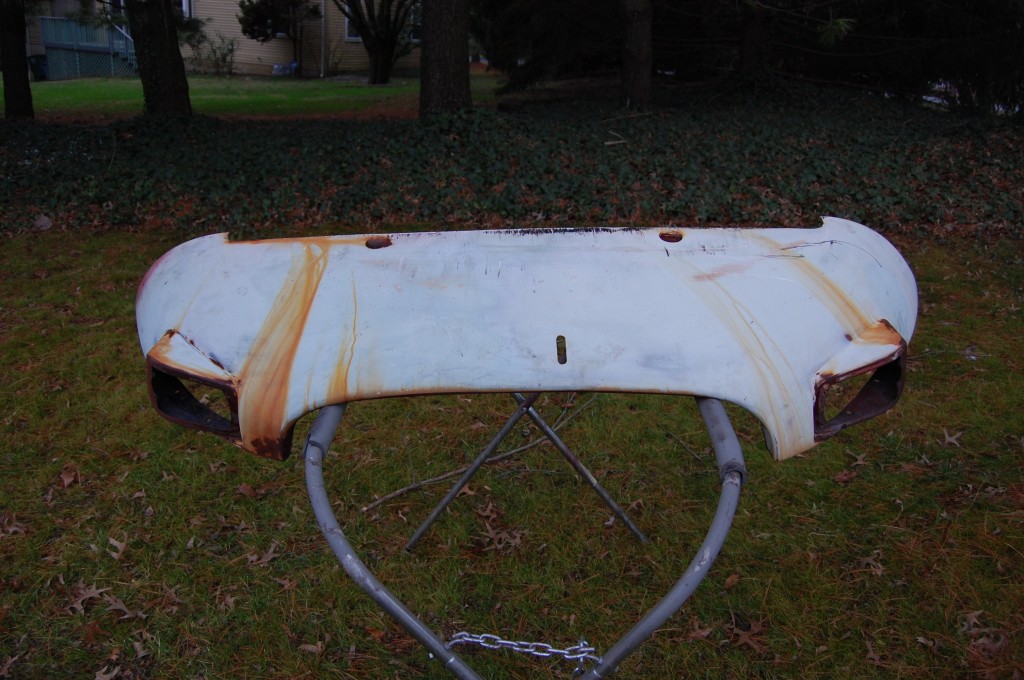
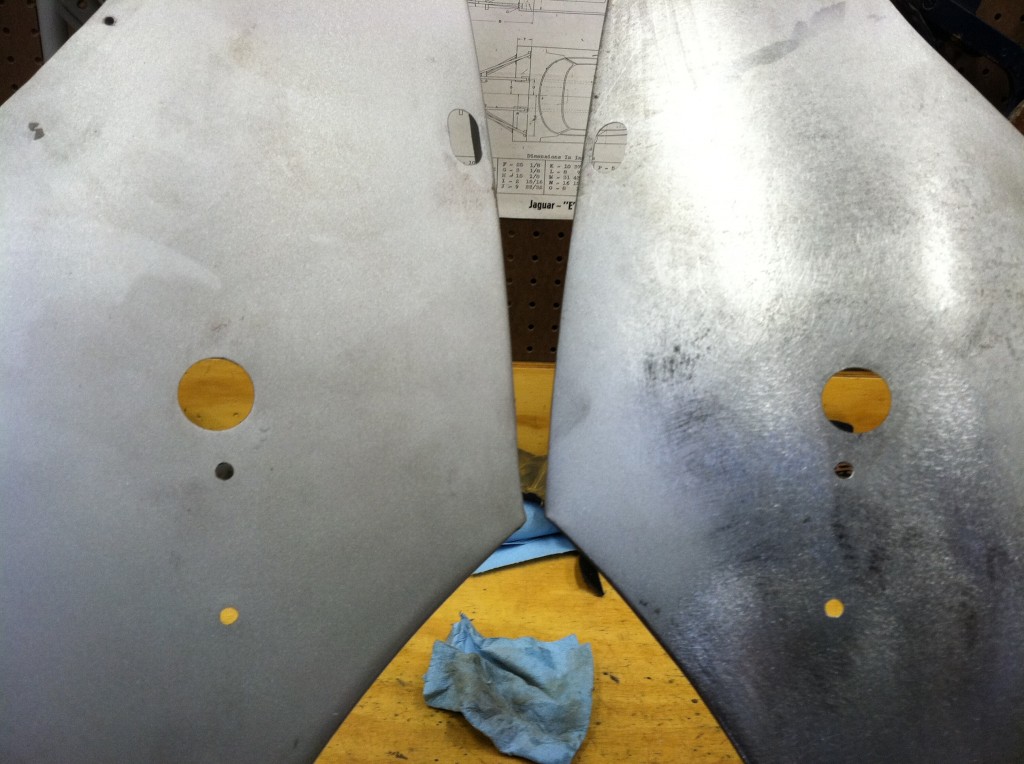
- The new fender will need to be punched for the bumper mounting hole and the side marker.
- It is now a dead match for the original fender.
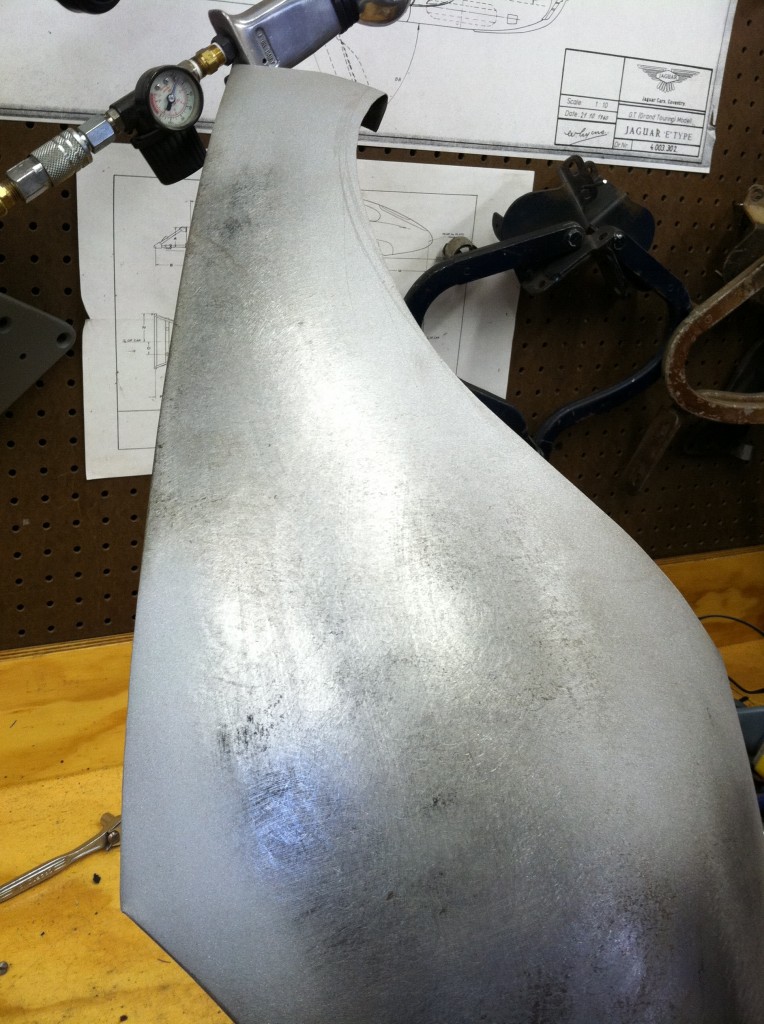
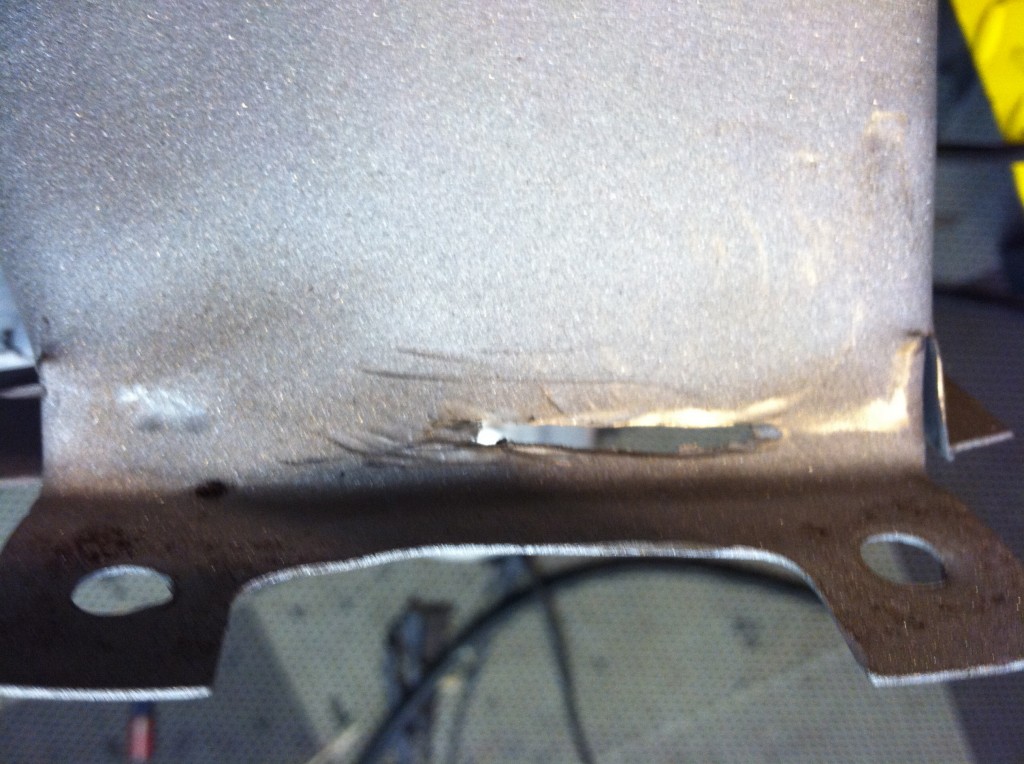
- When the wrecked fender was removed, someone sliced through the bolts here – and then just kept going!
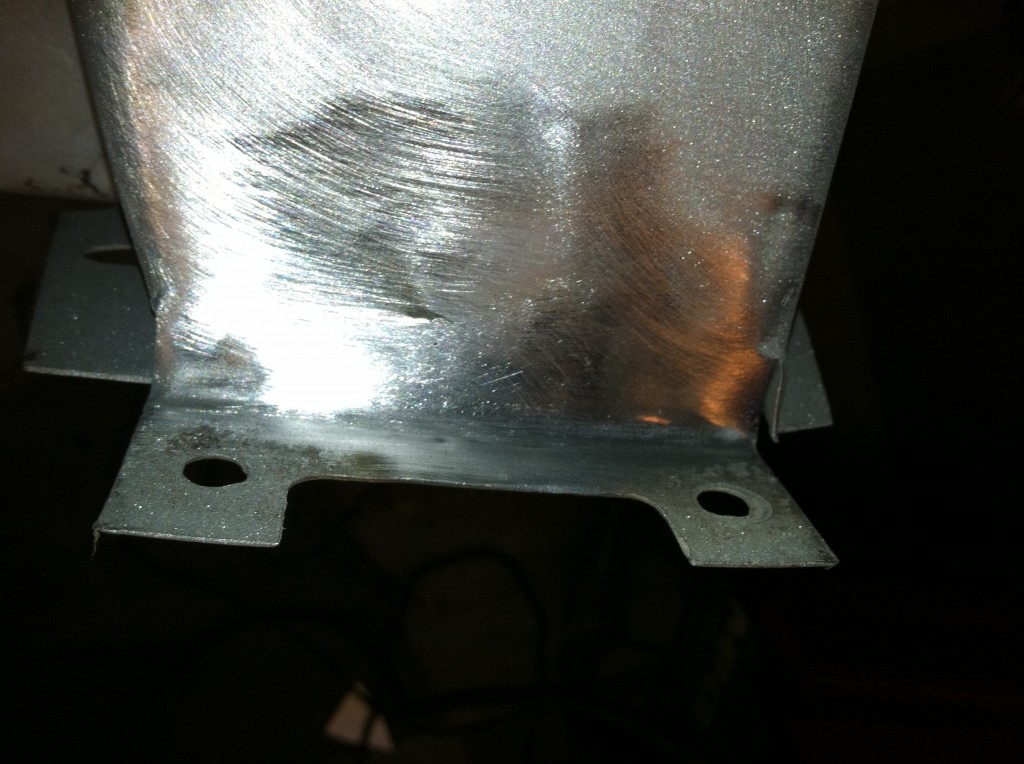
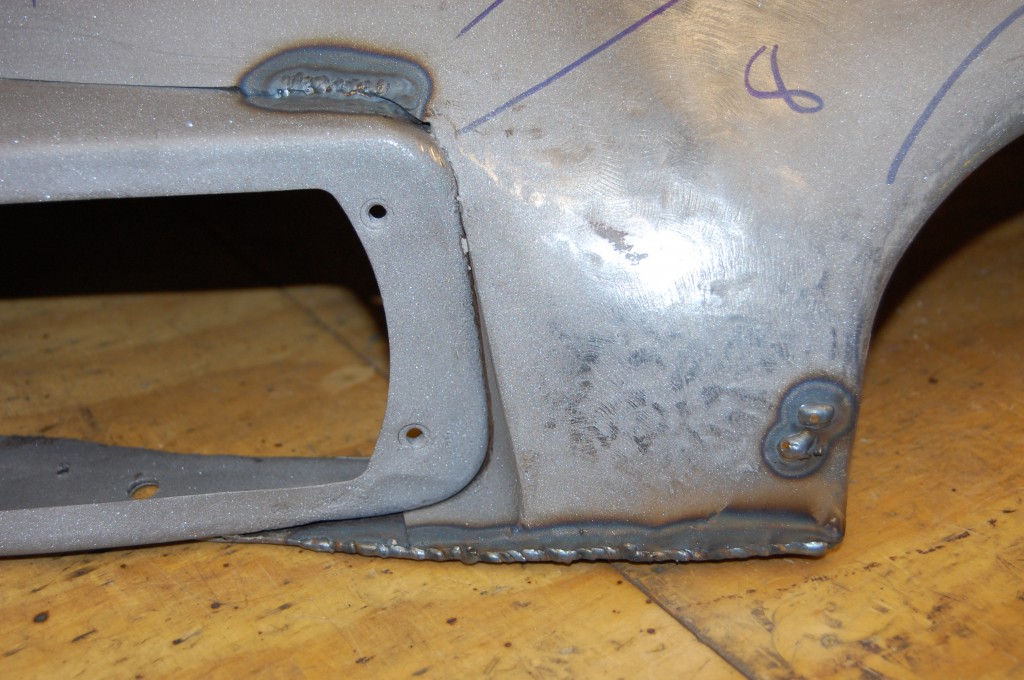
- We welded it up and ground it smooth – erasing the damage entirely.
- This was the next challenge – in the past, someone had drilled out the support member just like we do here, but then attempted to straighten the original and welded it back in. So instead of a quick drilling of the spot-welds, we had to dissect these plug welds and that was time consuming and left a rougher skin than we usually have to deal with.
- See – there’s alot of work here.
- And here… It’s not that bad of a repair, really, but they welded back in a support member that was still all twisted up!
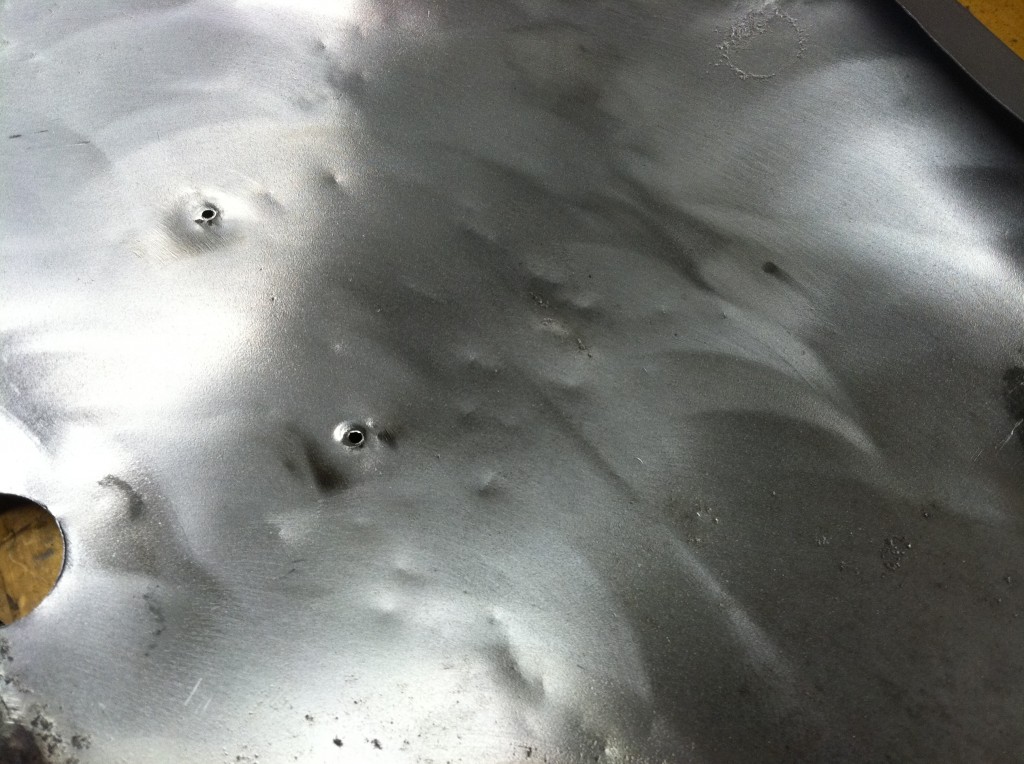
- The skin of the lower valance was crudely hammered out and then just filled with LOTS of filler. We’ll smooth these out and fill the holes.
- More rough hammering in the lower valance.
- And a little more…
- After some initial hammer and dolly work on those dents, we weld in the new support member fabricated here. Call us if you need one – they sell out quick!
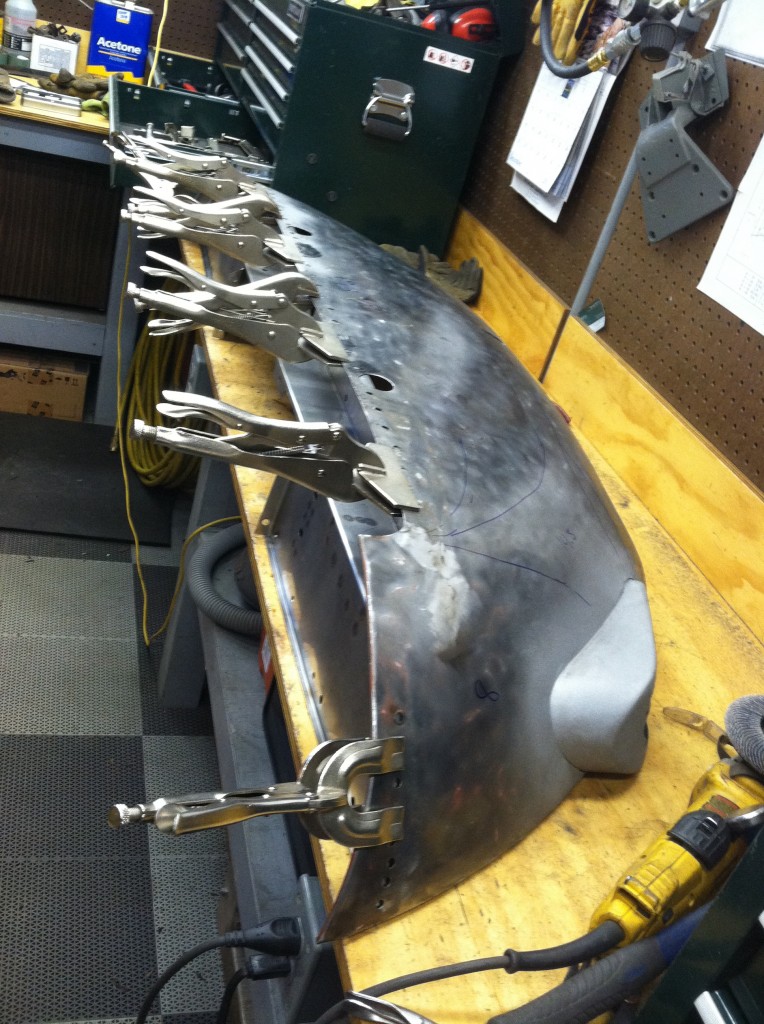
- You can never have enough vice grips…
- The lower valance was also repaired here and that was not too bad either, so we left this flange patch in there…
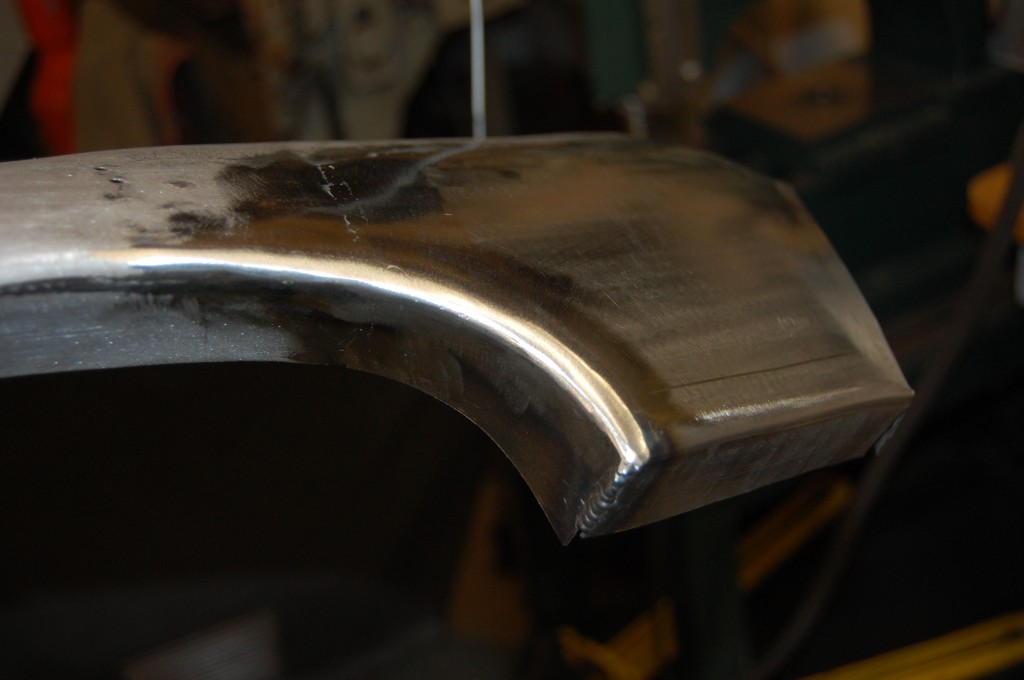
- But doctored it up with some better welds and planished the area smooth.
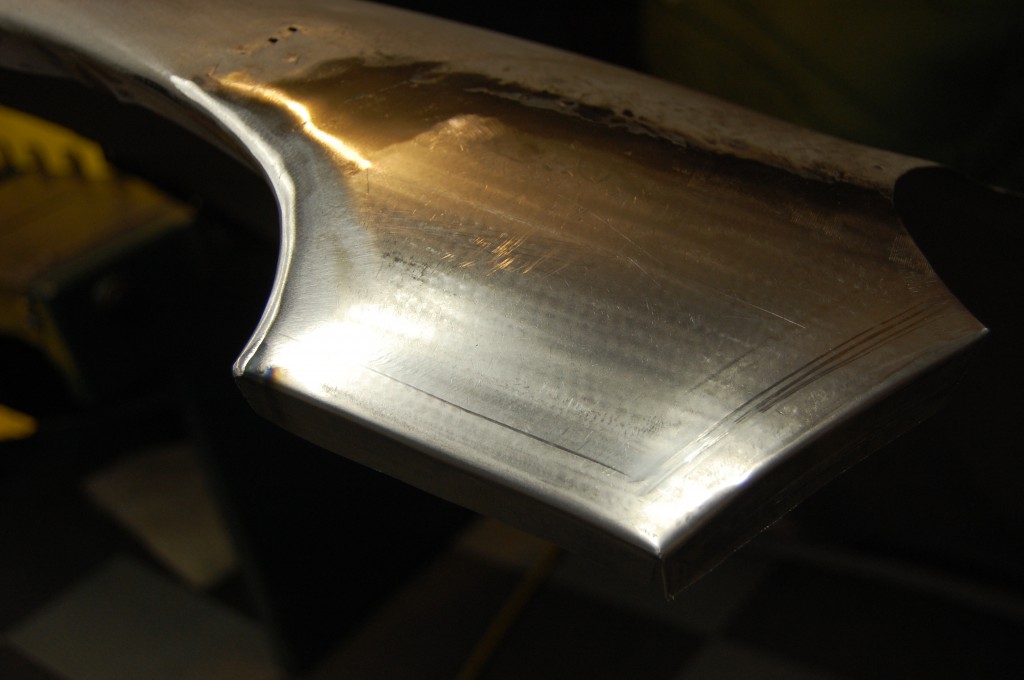
- Here is the finished lower valance after removing all of the hammer dents and shrinking the surface smooth.
- Filler will still be needed here to make it perfect, but it’s DAMN CLOSE now!
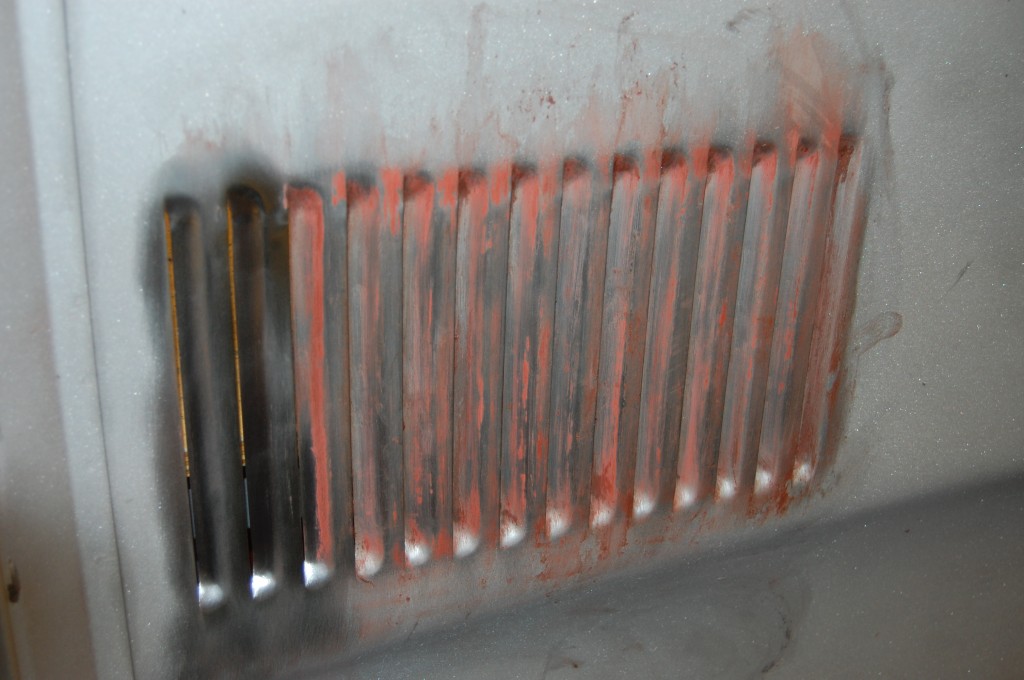
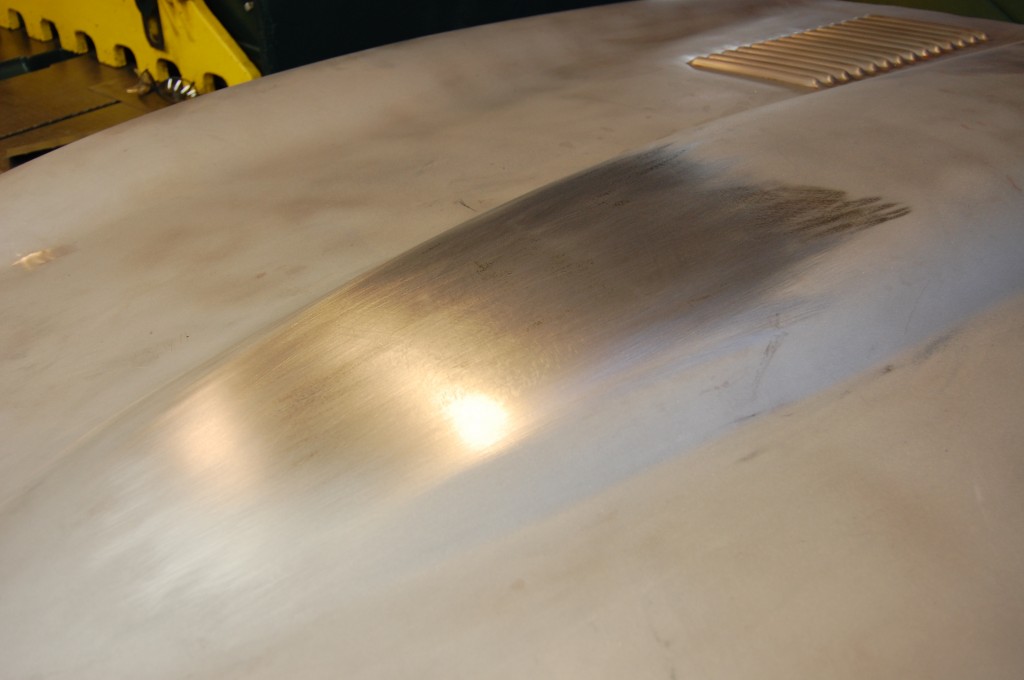
- Back to stripping that rock hard paint – it was literally as tough as powder coating! Stripping these louvers took hours…
- But we finally got there – one louver at a time!
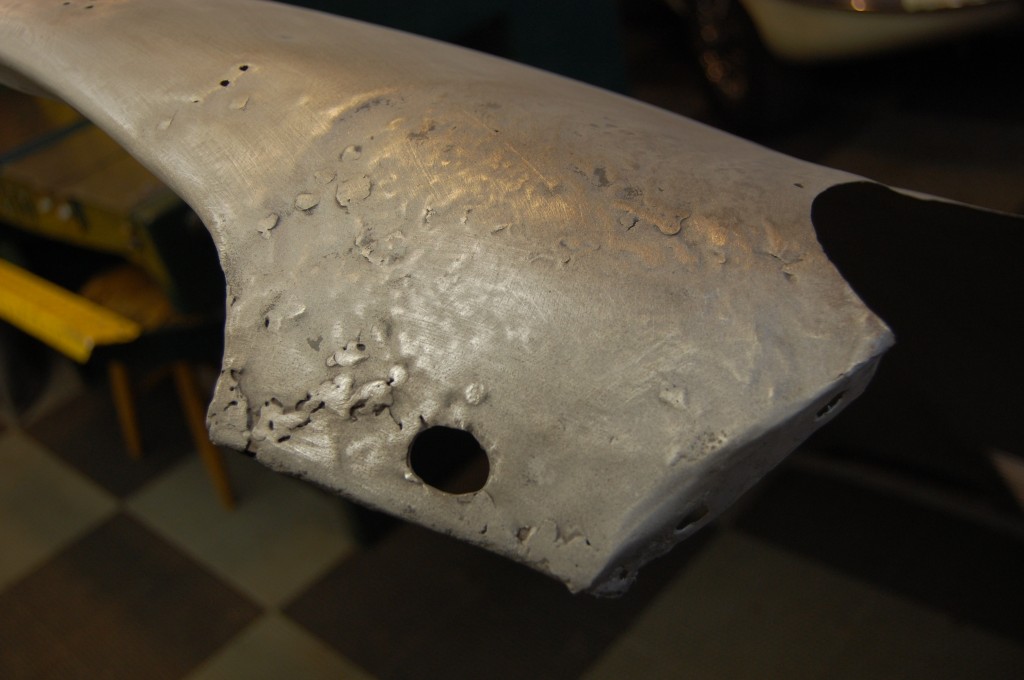
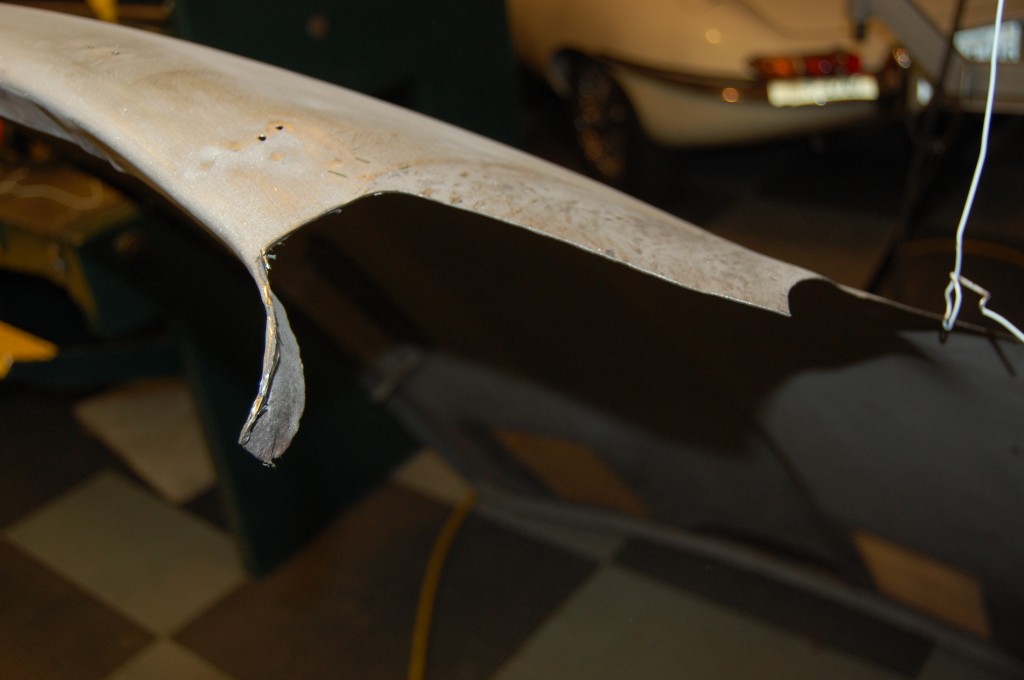
- Time to tackle this area.
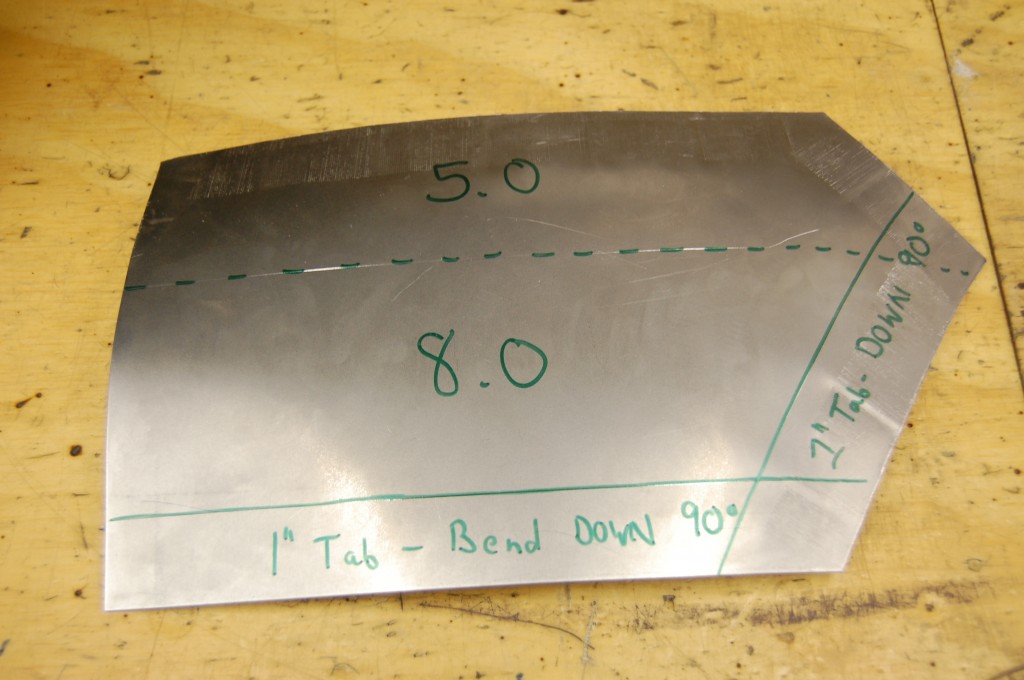
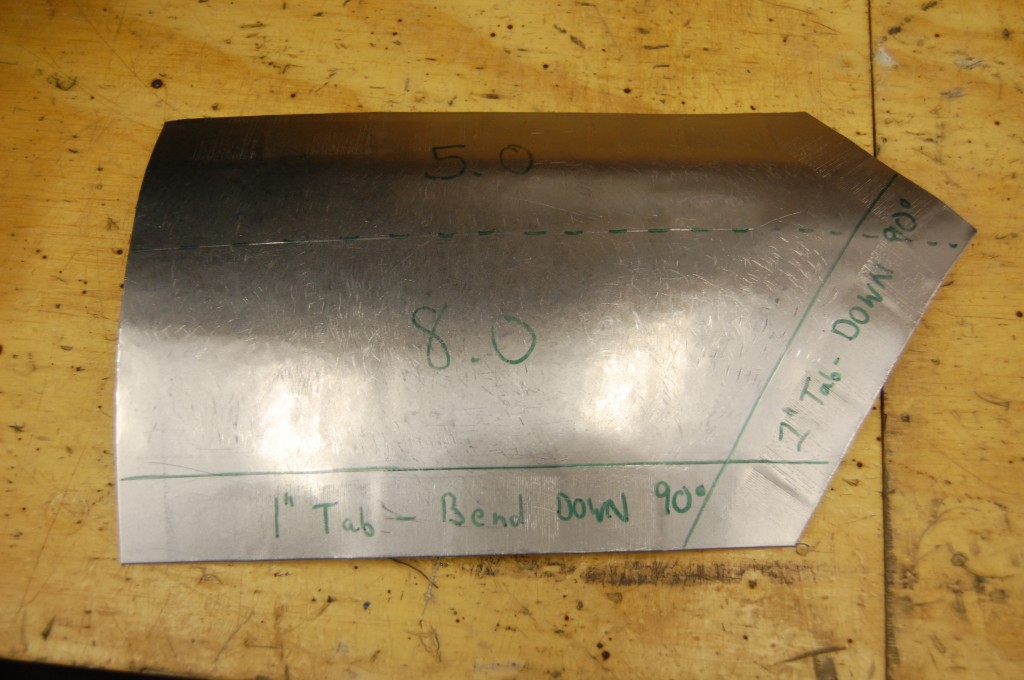
- I finally decided to just bite the bullet and replace it, and started mapping out a patch.
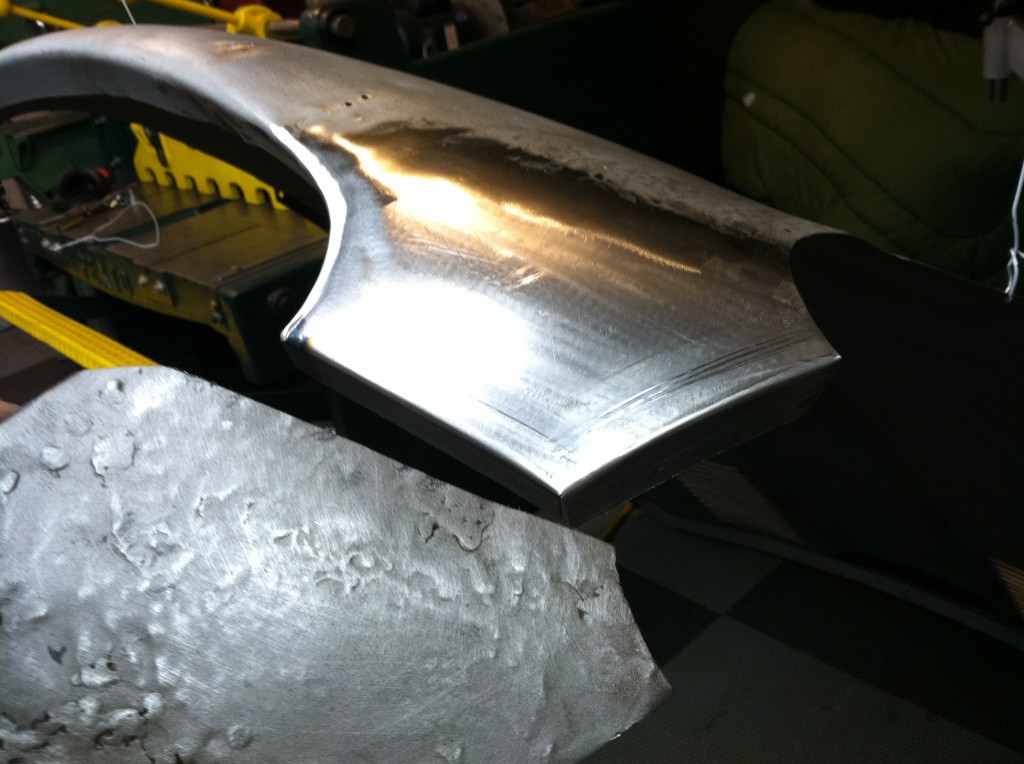
- Here we’ve started to add in the shape of the compound curve. This is a good thick piece of 18-gauge that will work nicely with the 19-gauge center section.
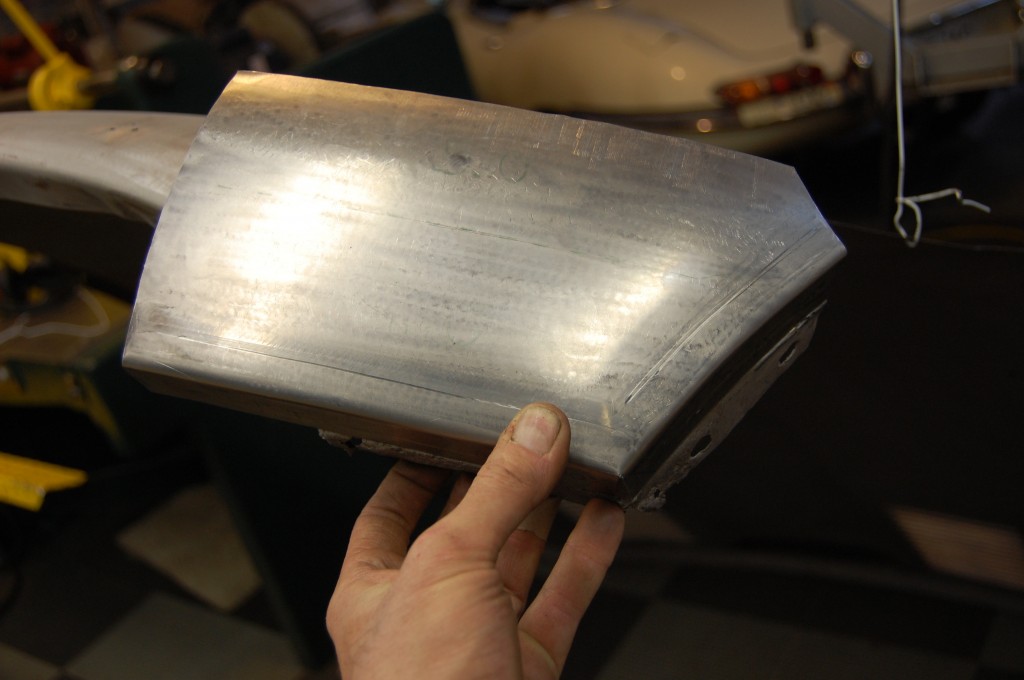
- The patch is coming together.
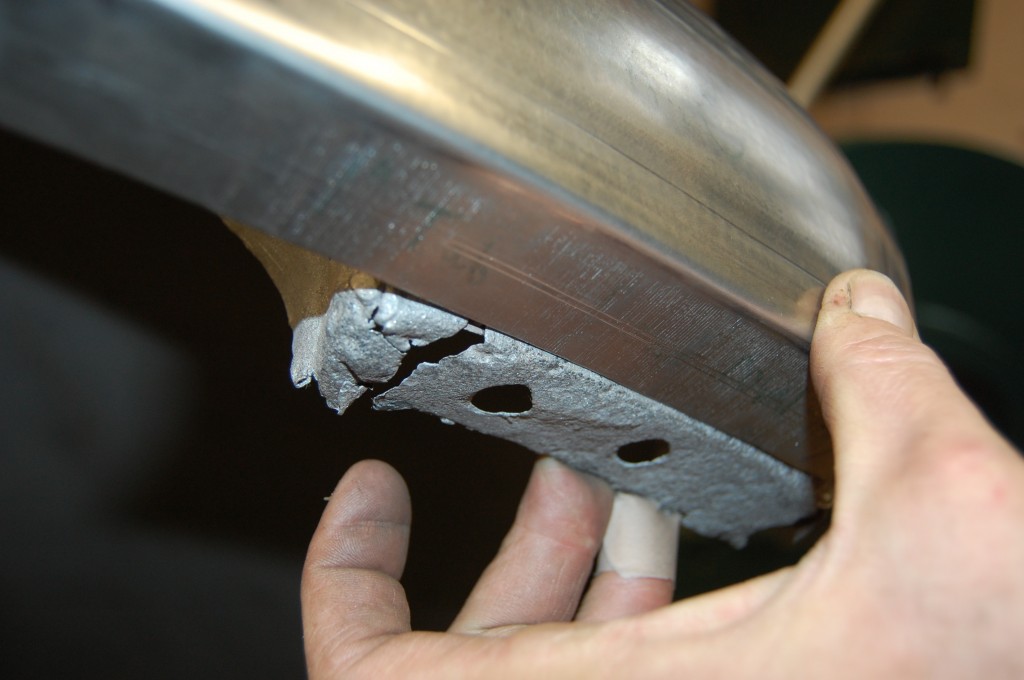
- The flanges are all bent in now as well.
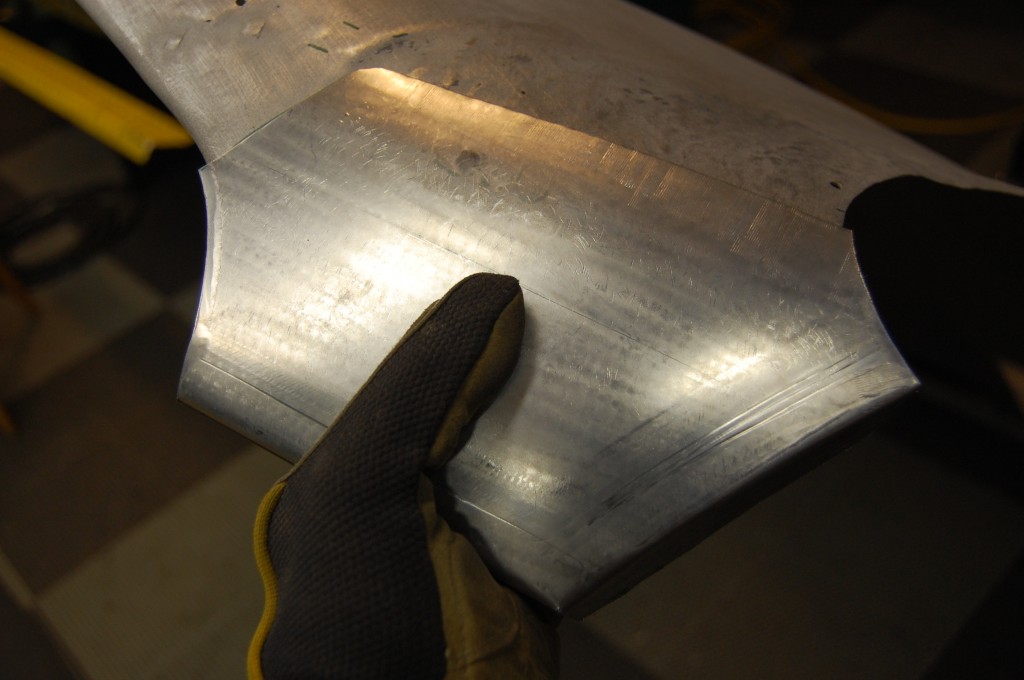
- The patch is ready – but am I?
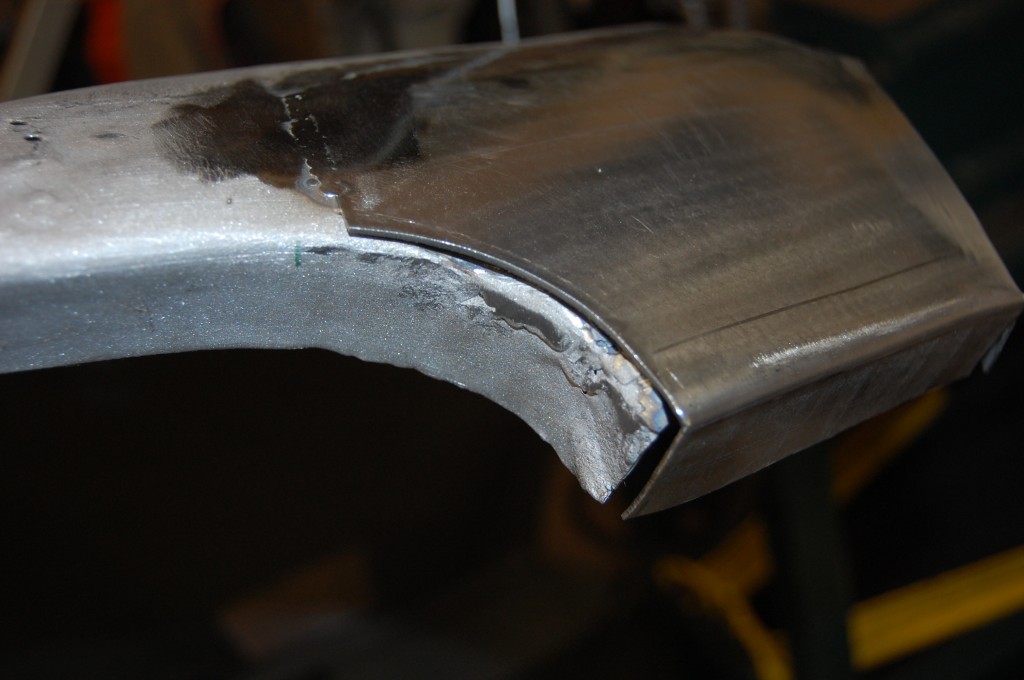
- OK – no turning back now – YIKES!
- Ahhh – now that’s better!
- We’ve left that lip edge in as a guide for the initial install, but…
- It also gets replaced with a new piece of 18-gauge.
- These bumps need work too.
- Wow – this one turned out really nice!
- Now that’s more like it!
- These dents are next – and this valley is a tough area to work in, plus the louvers being so close doesn’t help.
- The end of the valley where it hits the headlighht hole still needs work.
- Now it’s finally right up here.
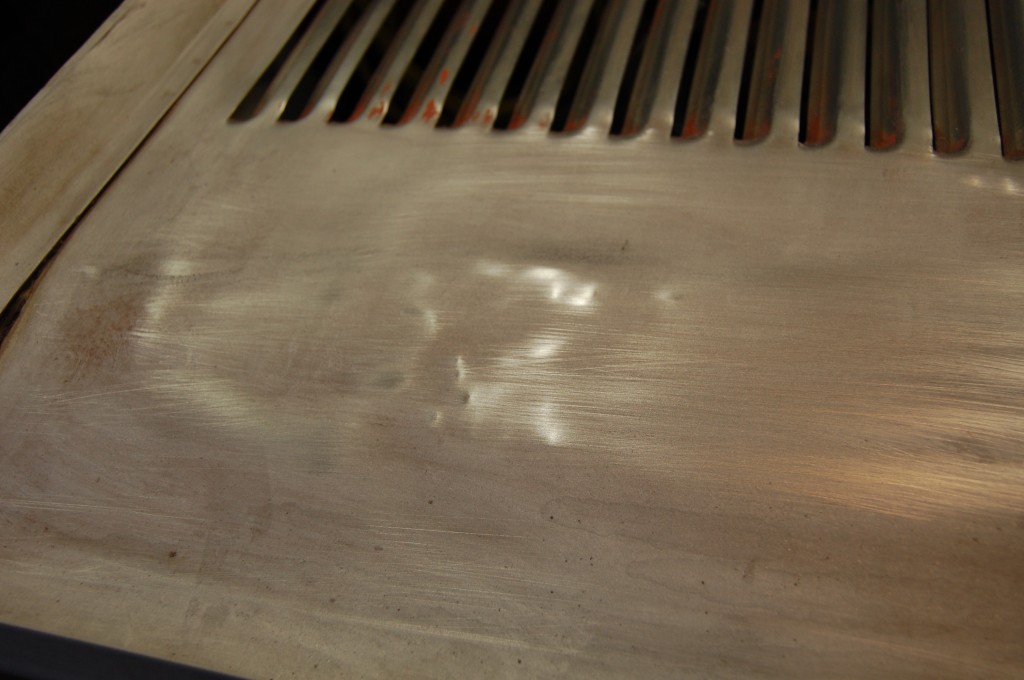
- Very common dents right across the power bulge. These may have happened somewhere along the way in transporting the bonnet – be careful with your strapping, etc.
- They’re gone now!
- And the inside looks just as good!
- Everything is ready and we can start re-assembly.
- Welcome to wrecked bonnet assembly 101… Actually, the fender was a little out of whack, not the wrecked center section – we got that back to EXACTLY where it should be with our templates and by comparing other Series 2 bonnets here.
- This was not as bad as it looks, and we were able to bolt it up without too much bossing around. You really can’t force a situation like this – it will cause problems in other areas of the bonnet.
- This is the test assembly in bare steel. Here, we’re making sure the inner valances and flanges are properly arched and spaced from the skin.
- Success! It all fits – time to glue the flanges!
- Original headlamp scoop clamped into place.
- This one is a reproduction piece, but does fit quite well.
- You need to take your time and line everything up before you glue the flanges.
- A little extra time here really pays off.
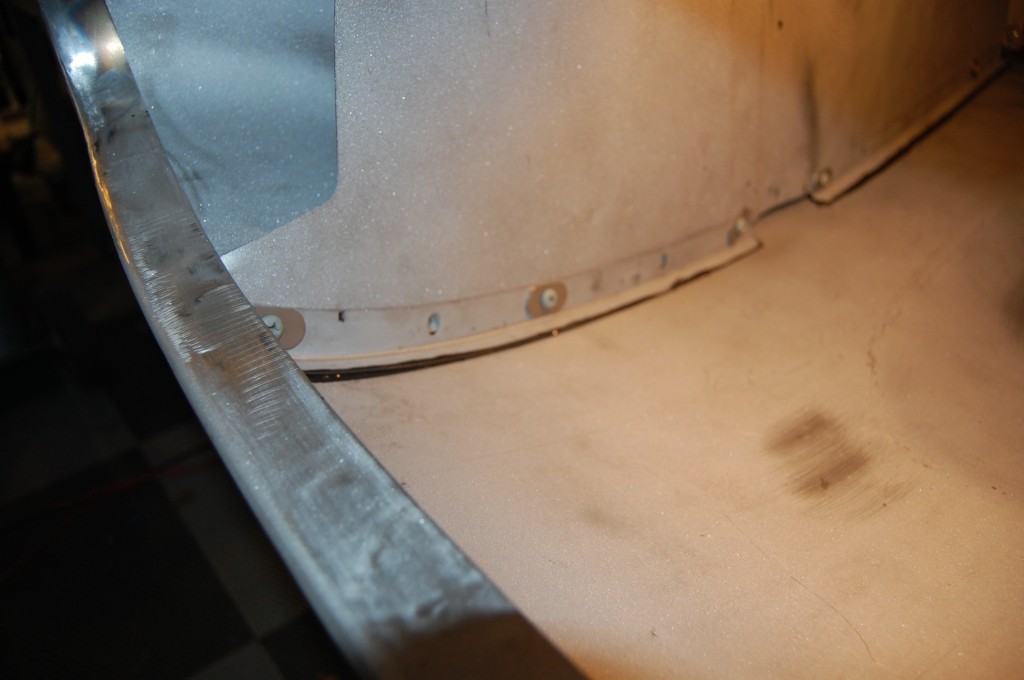
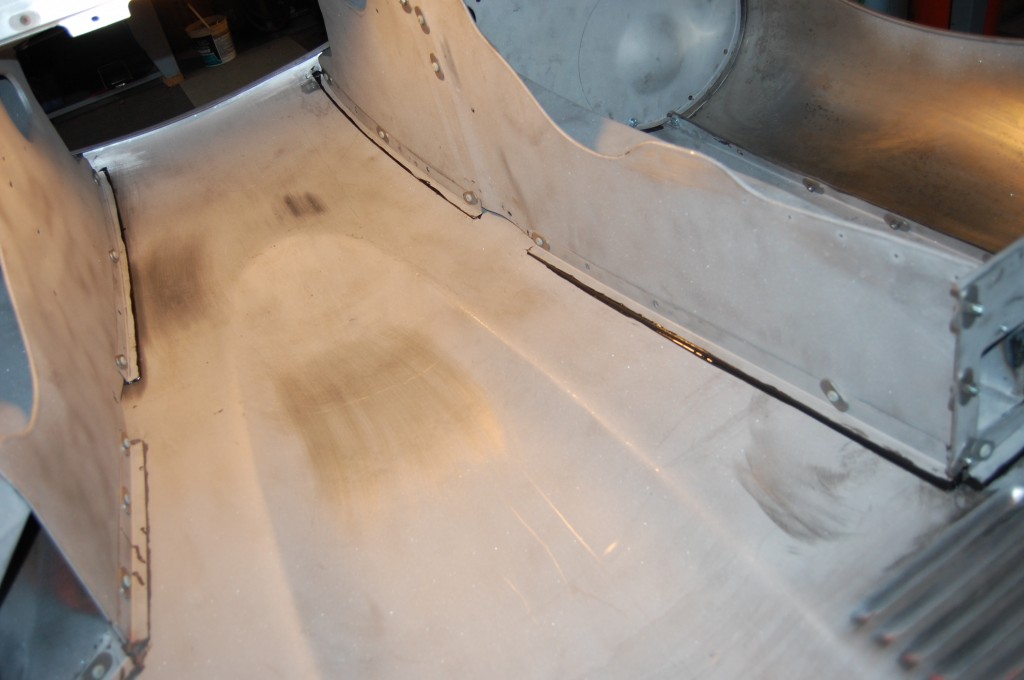
- All the flanges are mounted and properly gapped from the skin – finally time to glue!
- We always mask the area like this – it REALLY helps!
- Done!
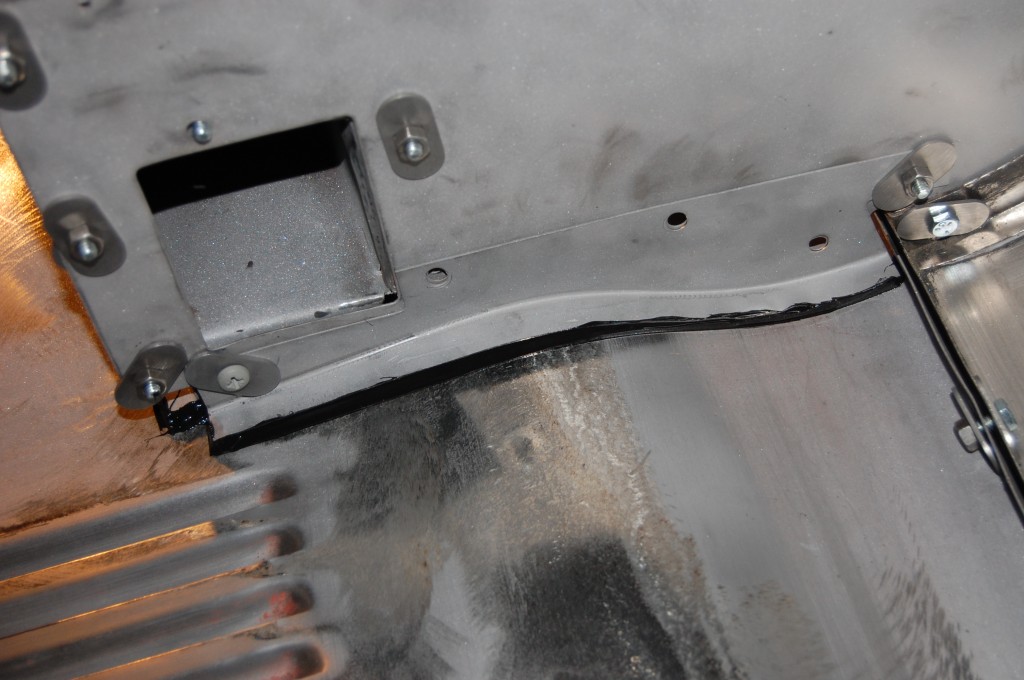
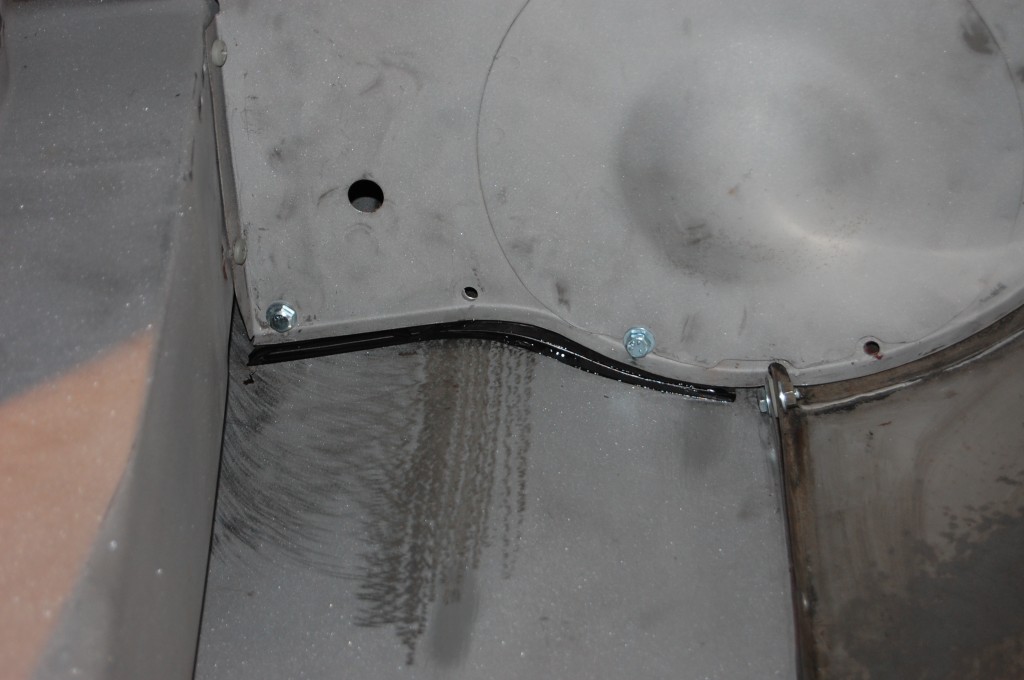
- A nice smooth seam.
- This one is usually thicker than the others – no worries.
- This one is always tricky to line up.
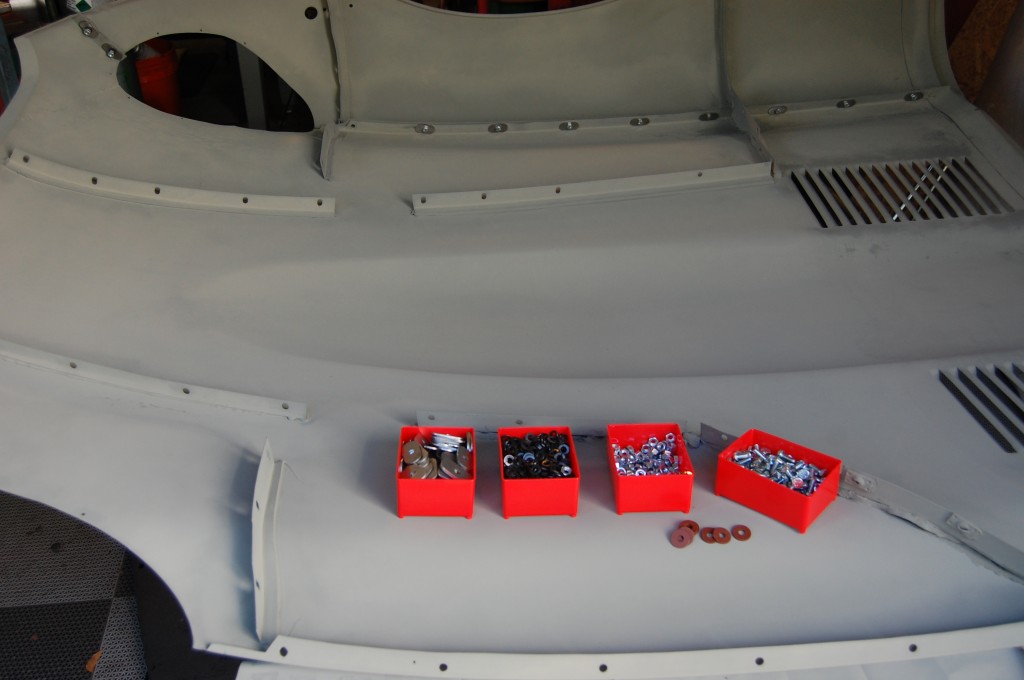
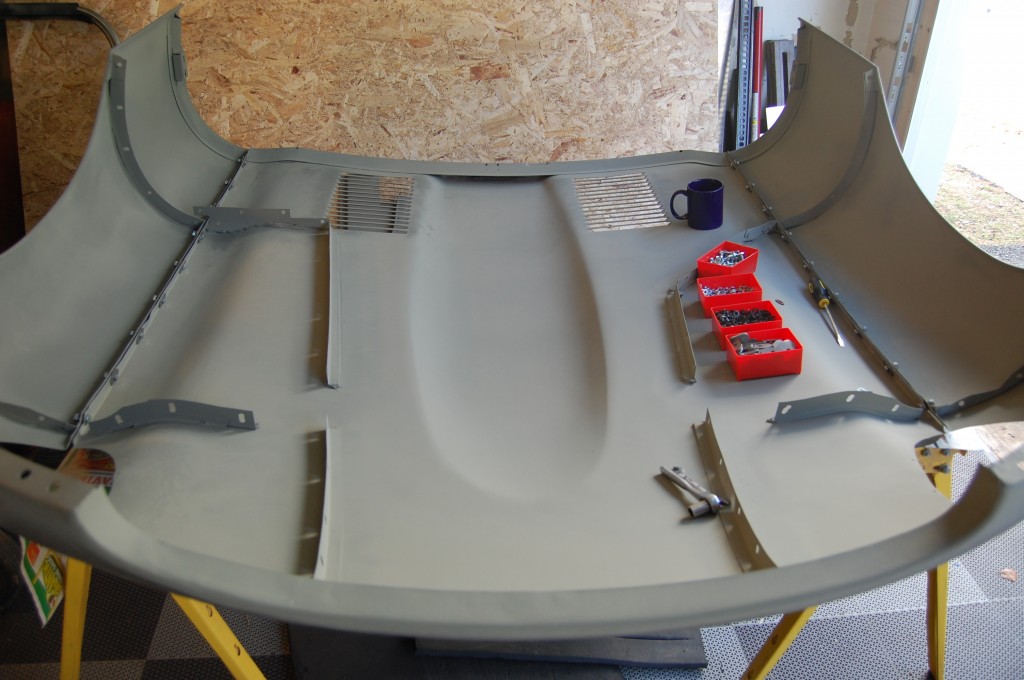
- Now we’ve disassembled the bonnet after letting the adhesive dry for AT LEAST TWO FULL DAYS, and we’ve etch-primed all pieces. We’ve got our new hardware ready and we’re putting this together for the last time.
- Coming along nicely…
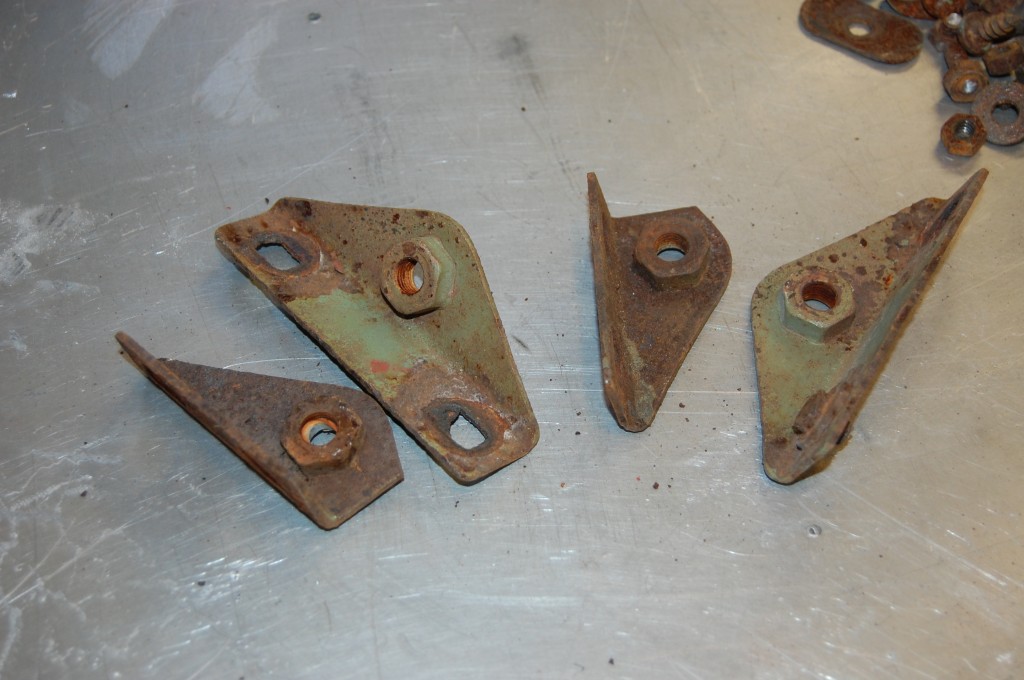
- $%@*! – we forgot about these because they were not in the original bonnet, but the spare bonnet this one came with had a full set. So we stopped, bead-blasted and primed them.
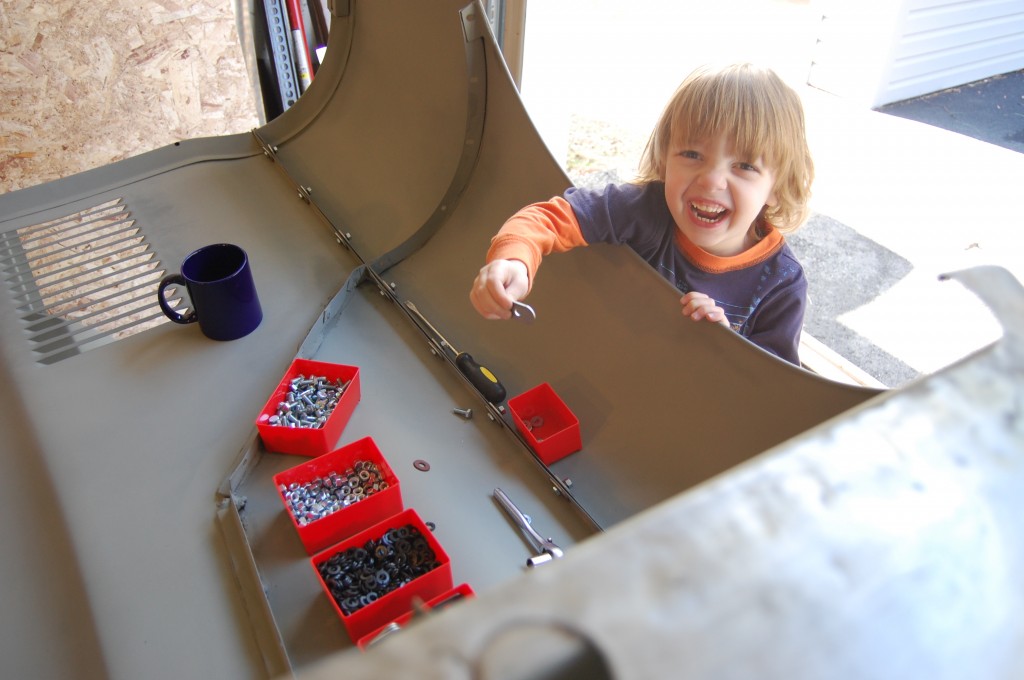
- The future chief fabricator of Monocoque Metalworks! 🙂
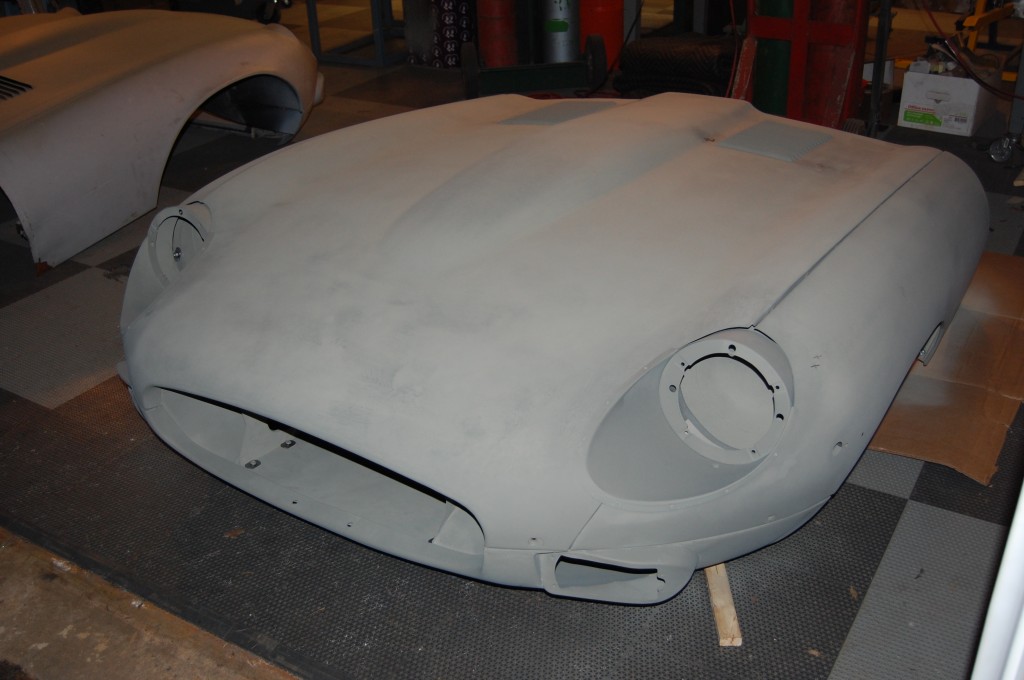
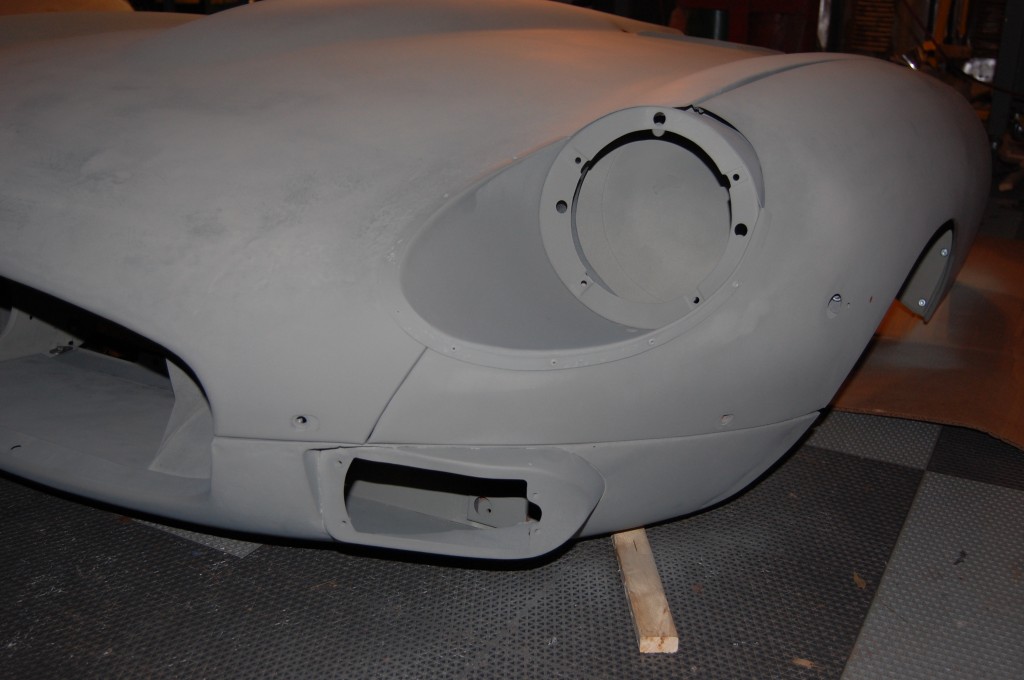
- Assembled! Check out the smoothness of that lower valance! That’s just steel and etch-primer, people!
- The owner sent in these new oval washers – 16-gauge stainless steel. They were pricey, but WOW, were they NICE!
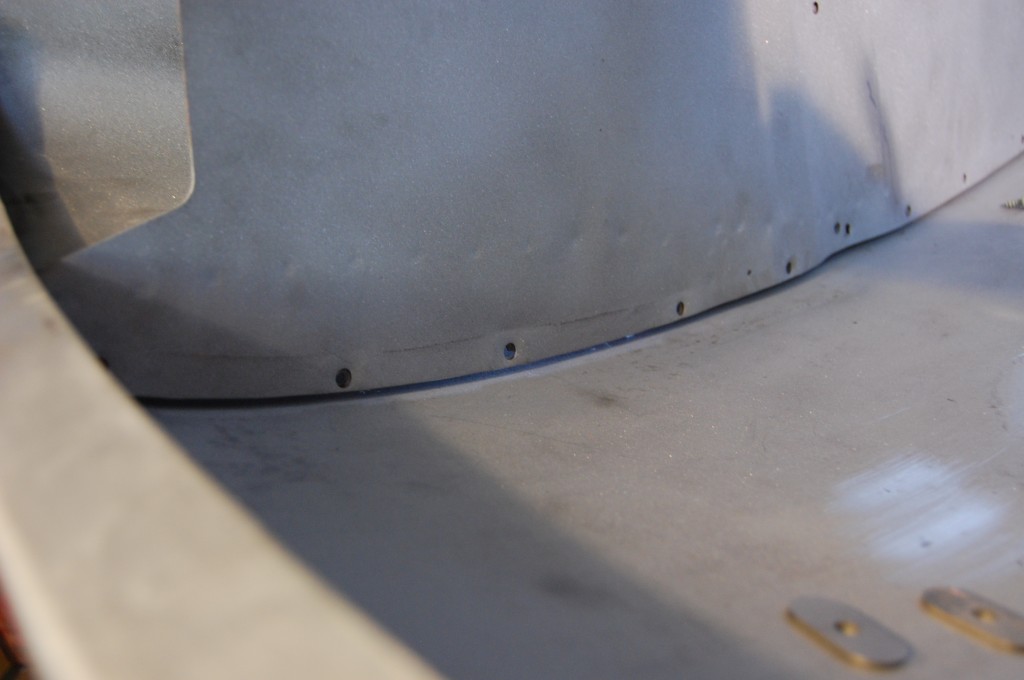
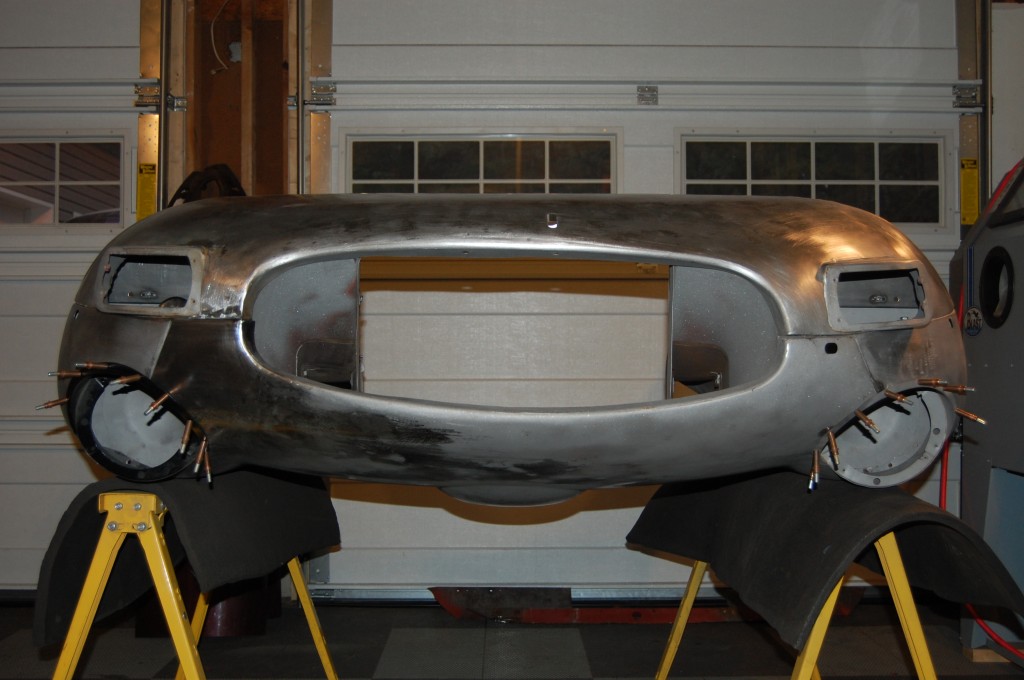
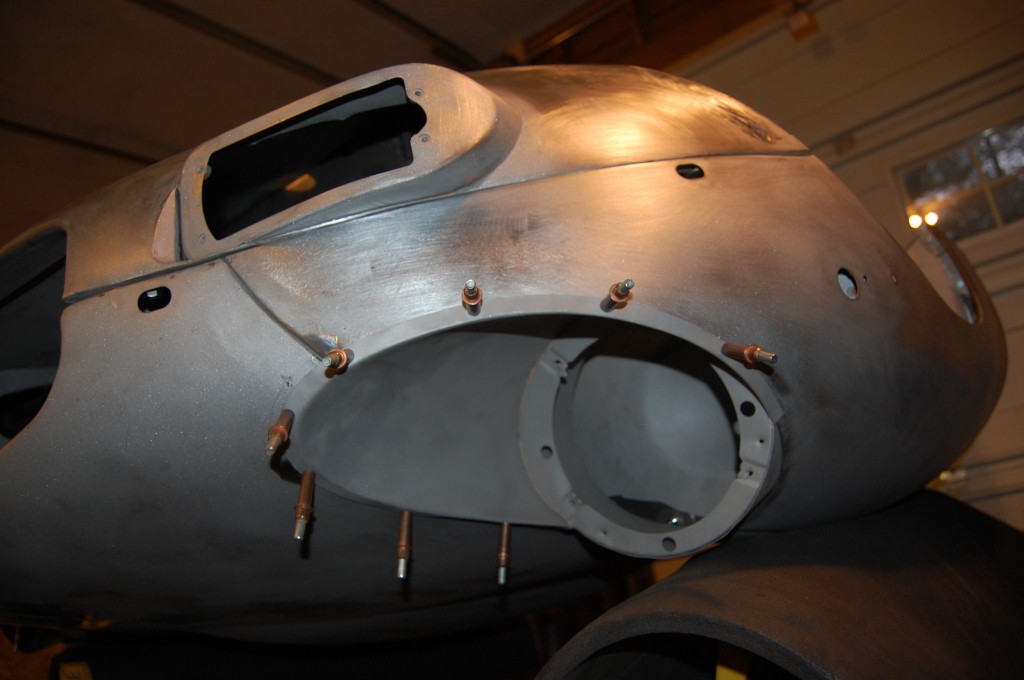
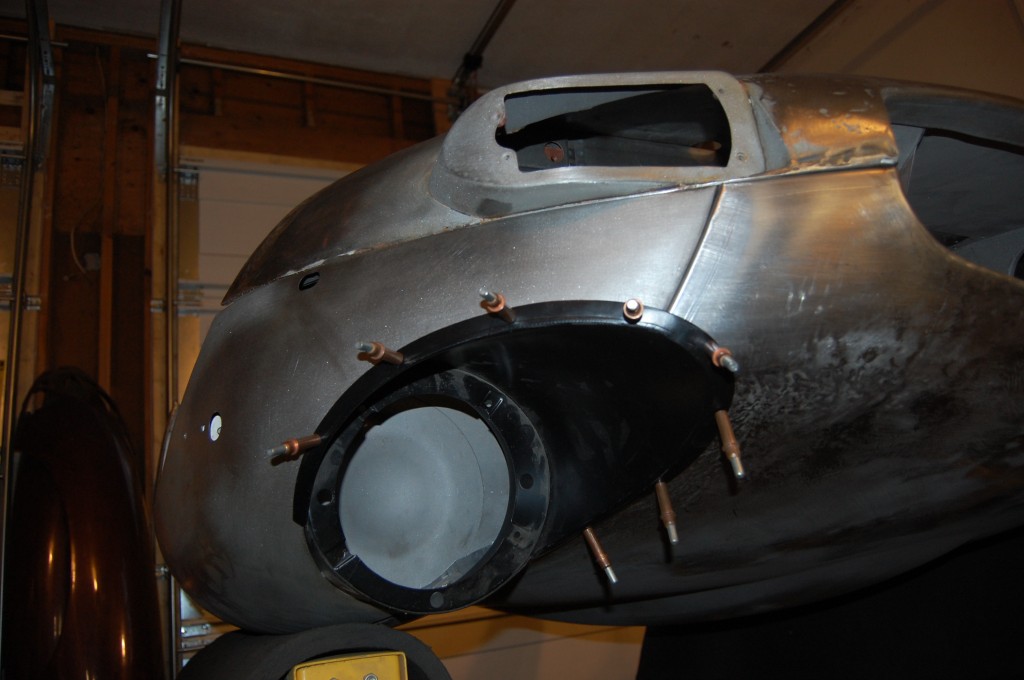
- We etch-prime the outer surface last – after we temporarily rivet in the headlamp buckets. These rivets will be removed, and replaced with the special button rivets that hold the chrome edge trim.
- Finished! The first coat of self-etching primer always looks splotchy like this – it reacts with the metal and really digs in, and various surface imperfections turn it all different colors.
- Looking good!
- Here is a close-up shot of the wrecked area – problem solved!
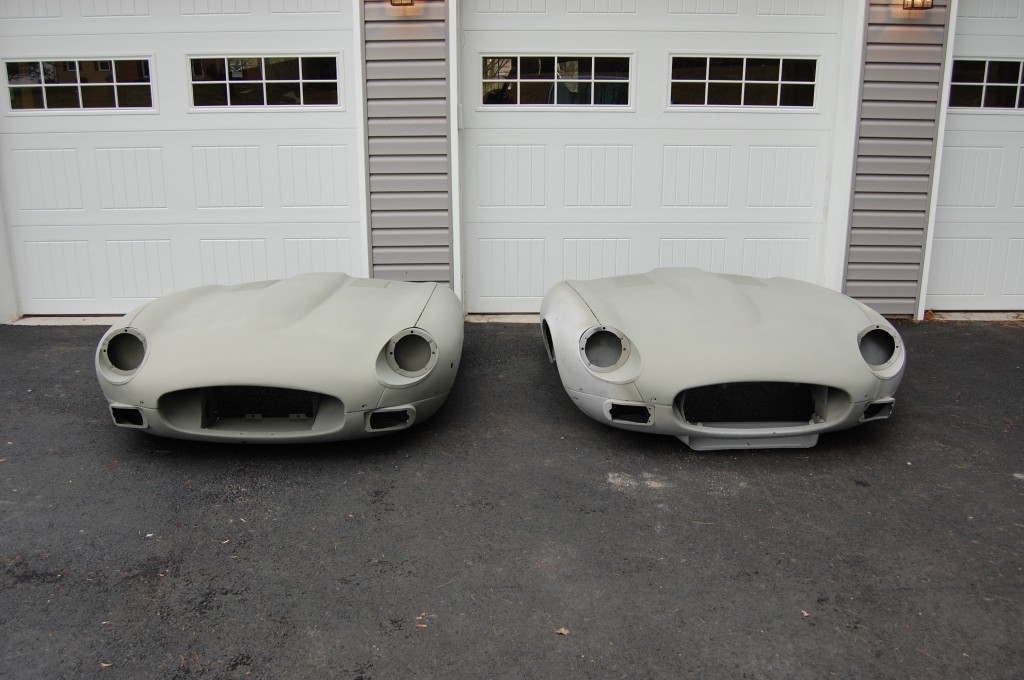
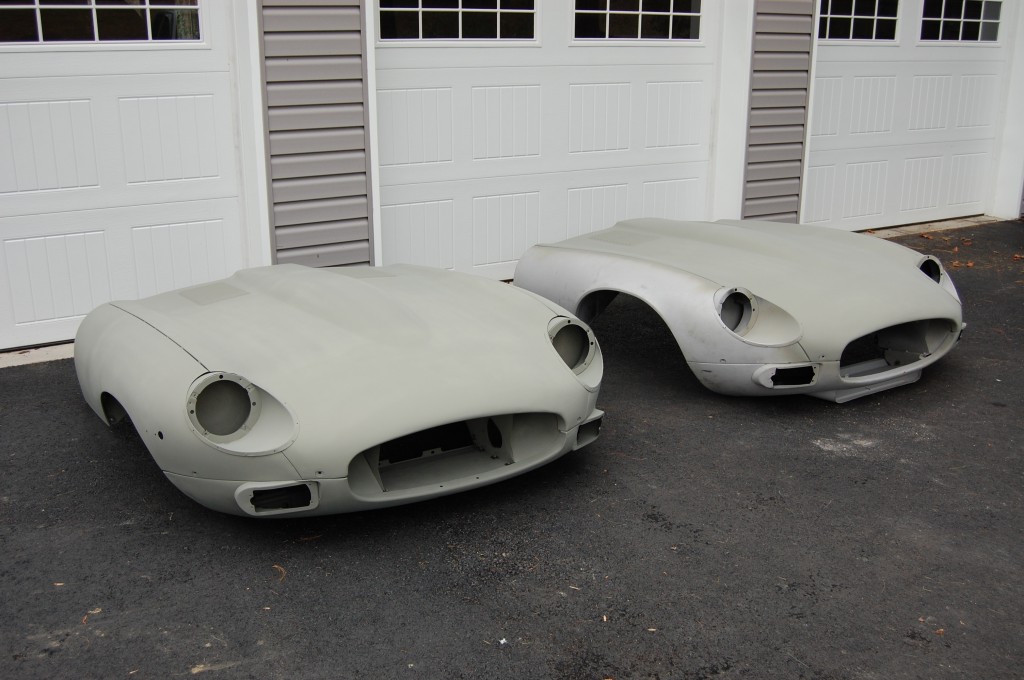
- Here she is next to her cousin – the Series 3 bonnet that the building collapsed on (see previous blog…) The owners of these bonnets were related by marriage, and the bonnets came and went together.
- Mission Accomplished! Two more wrecked E-Type bonnets made new again by Monocoque Metalworks! Call us to make your bonnet look this good – in bare steel!

