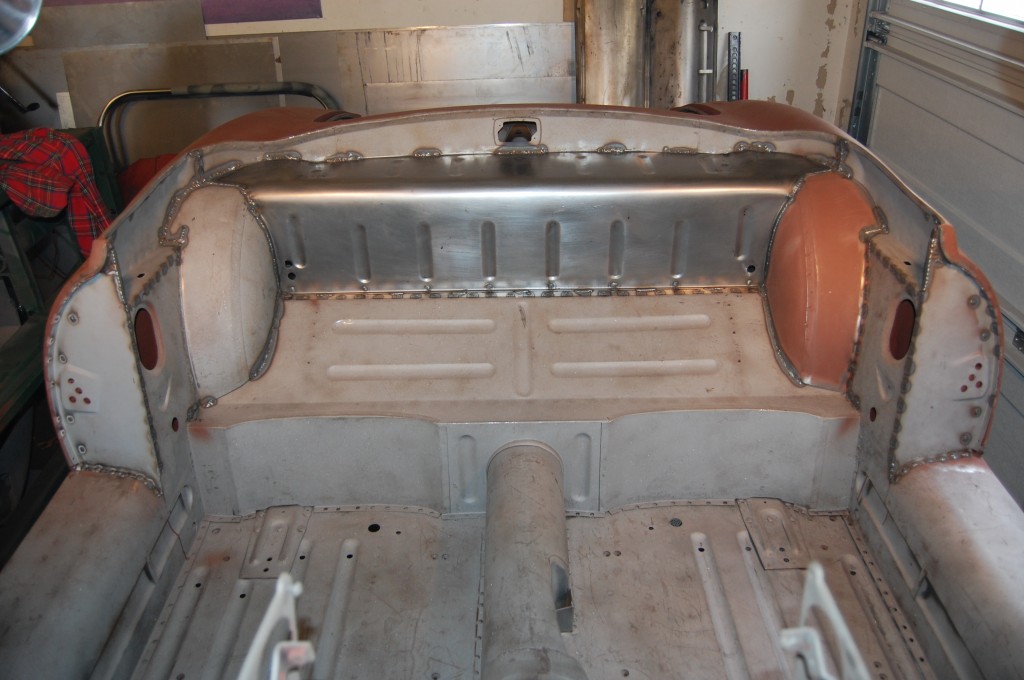
This project started as the construction of a 1967 Series 1 spec OTS shell from scratch… The plan was to use chunks of dead E-Type shells, but mostly all new pieces that we fabricated here to build a complete shell. This project started out several years ago, and was the driving force behind getting many of the E-Type panels patterned and prototyped here…
Once the ball got rolling on that, though, business picked up and the next thing you know we were buried in shell restorations, and this project just got pushed aside for a while. The customer was busy as well, and so there wasn’t any push on either end to keep things moving…
Then an opportunity came along that will speed this project up greatly, and reduce costs. One of my suppliers called me about finishing up a Series 2 OTS shell they had acquired from a customer. Their customer had worked on the shell for quite some time and had replaced a MASSIVE amount of panels before finally throwing in the towel. My supplier just wanted me to finish up the shell so they could sell it as a complete shell, but when I looked at how much work there was left to complete, I suggested another idea: “Just sell it to me for a fair price as-is – I have the perfect home for this…” And so here we have our start for the project, and that is going to fast-forward this project – ALOT!
Now – for the purists, let’s just get this out of the way now… Based on the condition of things when we started, we are saving this shell from certain death, so anything we do with it is better than the scrap heap. That being said, this Series 2 OTS shell is going to be restored, converted to Series 1 specs in the rear, and… is being fitted with a modern, lightweight, 405HP V-8 with a 6-speed transmission. The shell is going to be the new framework for a project that the customer has had since they were in college – a small-block Chevy powered, Series 2, 2+2.
Here’s the story on that: This customer is about my age and someone I have known since I was a kid at the Jag shop. Their father was a regular customer who was restoring a Series 2 OTS over a period of several years, and would often stop by for parts. There was something wrong with his engine – like he didn’t have one or it had a cracked block or something, and so he picked up a Series 2, 2+2 project that had been abandoned, but had a freshly rebuilt engine. He finished his OTS restoration with this engine, and had a complete, tired, engine-less 2+2 left over.
That’s where my customer comes in, who was 20 at the time, and was his son. His father GAVE him the whole 2+2 to do whatever he wanted with it, and that was to rebuild the chassis, and install a 350 Chevy with a T-5 5-speed, since there was no drivetrain now. He had a blast in this car all through college, and like many E-Types, it eventually just languished in his garage after marriage, kids, etc.
A few years ago he contacted me about building him an OTS shell to use instead of the now VERY RUSTY 2+2 shell. And while he’s at it, instead of rebuilding the original small-block, he has picked up an LS-7 Chevrolet V-8 from a wrecked CTS-V Cadillac – which is basically a C-5 Corvette engine. It also has Tremec 6-speed trans.
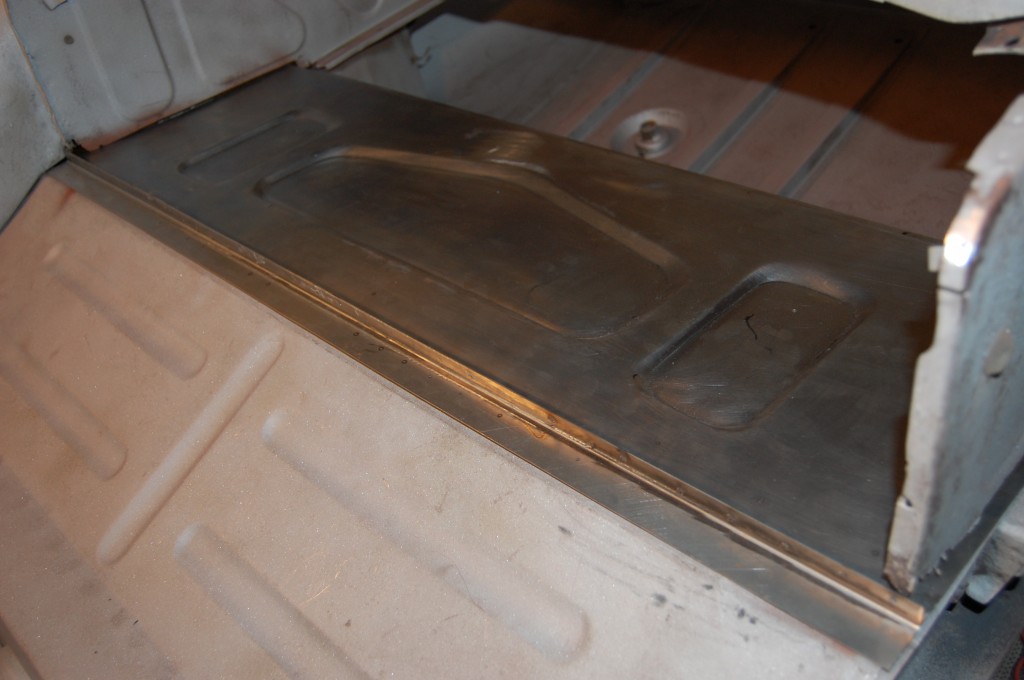
SO – this is what we are building this shell for. We will rebuild the shell, remove the MR floors already partially installed, and build a custom floor to fit the Tremec 6-speed and also build a complete sub-frame to add strength to the entire monocoque and beef up the IRS radius arm mounts. This should be a fun project where we’ll be able to use our fabrication skills to build the basis for a really hot, modern E-Type speedster!
This blog entry shows what we started with, and the reconstruction of the rear bulkhead. Enjoy!
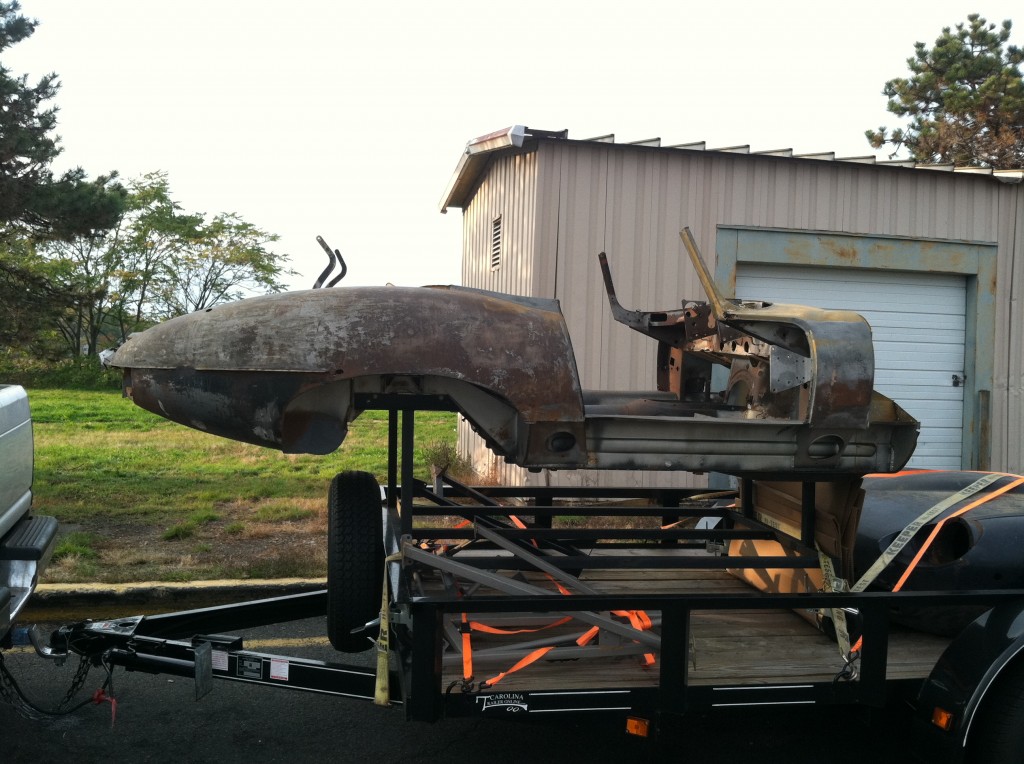
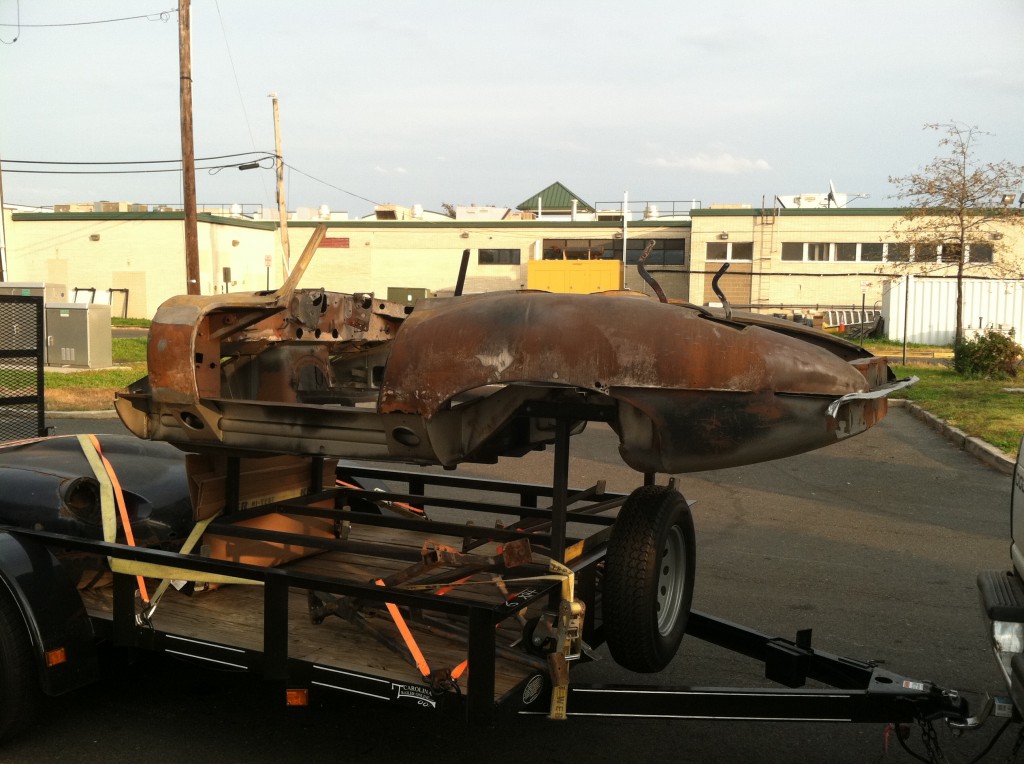
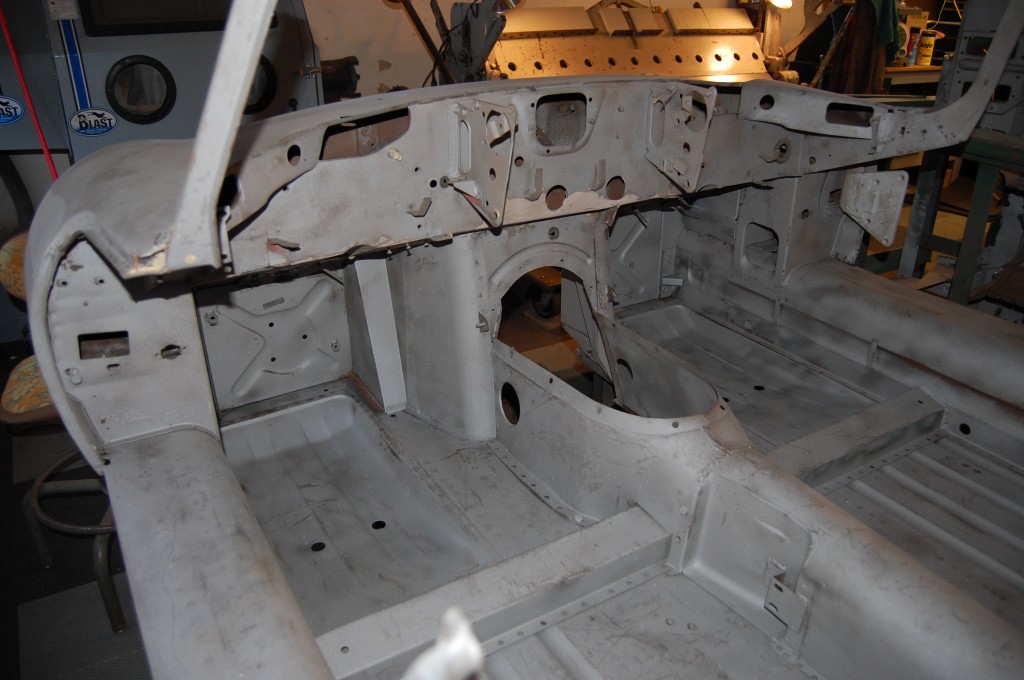
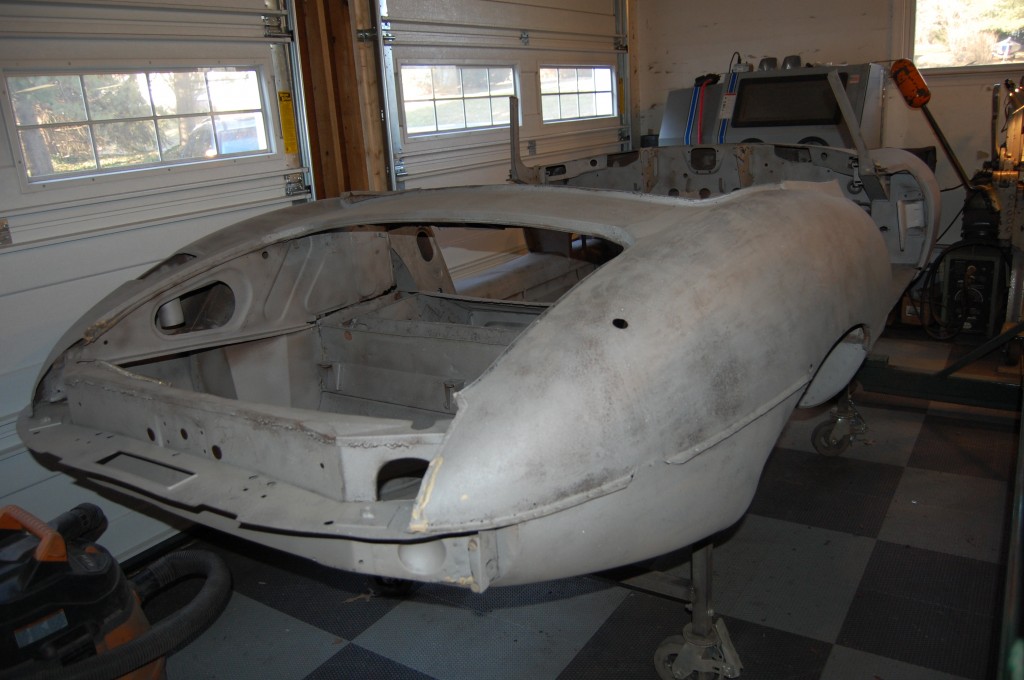
- Here she is coming home – what a mess…
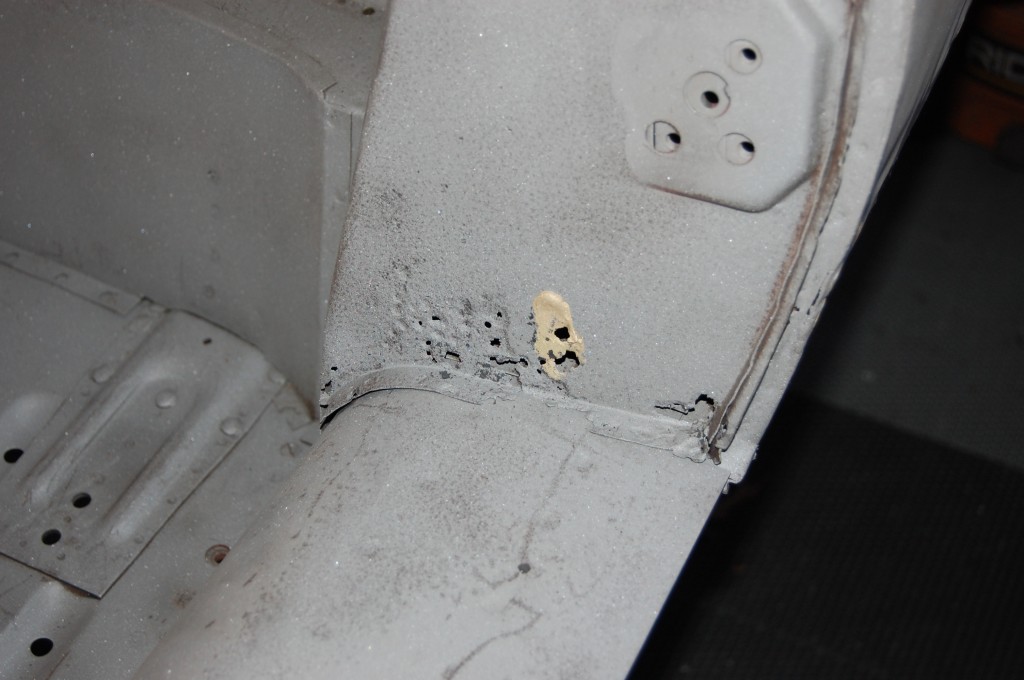
- The shell had been blasted bare, then had TONS of MR panels welded into it, but just tacked into place – a BIG plus – but was then left outside obviously, and then rusted, and then sprayed with some sort ot rust inhibitor? Who knows, but even some of the new panels were rusted with pitting – so the project has been in this state for a LONG time.
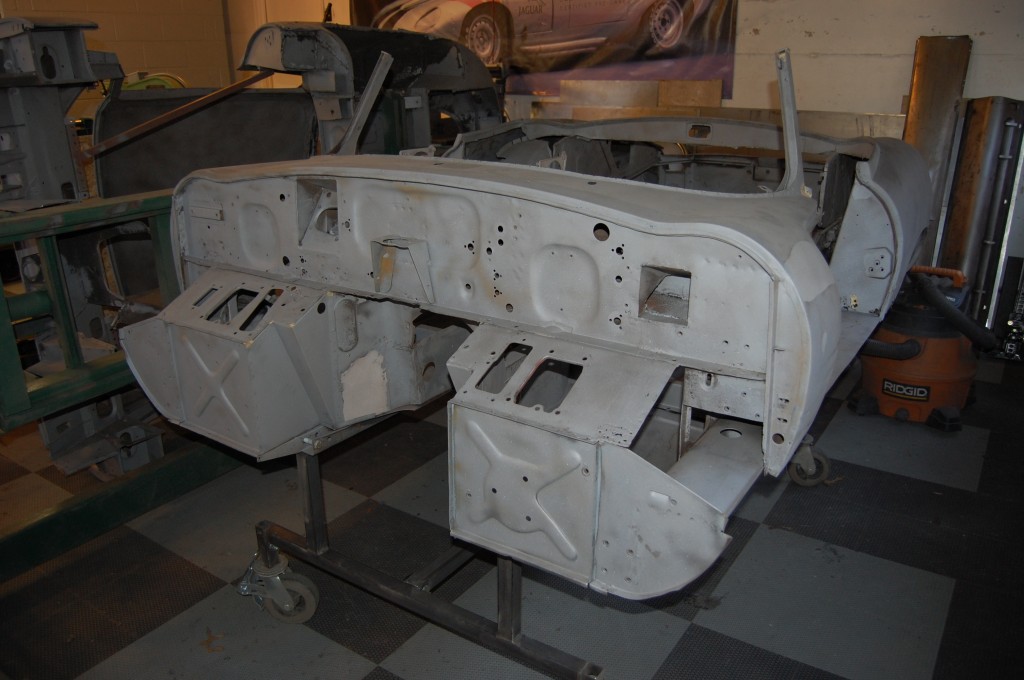
- Our first order of business was to blast everything back down to bare metal and start over.
- The shell was a strange combination of new and old panels. I think the previous restorer was doing the panels one at a time and leaving old stuff in place so they would have a “map” and not get lost along the way dimensionally…
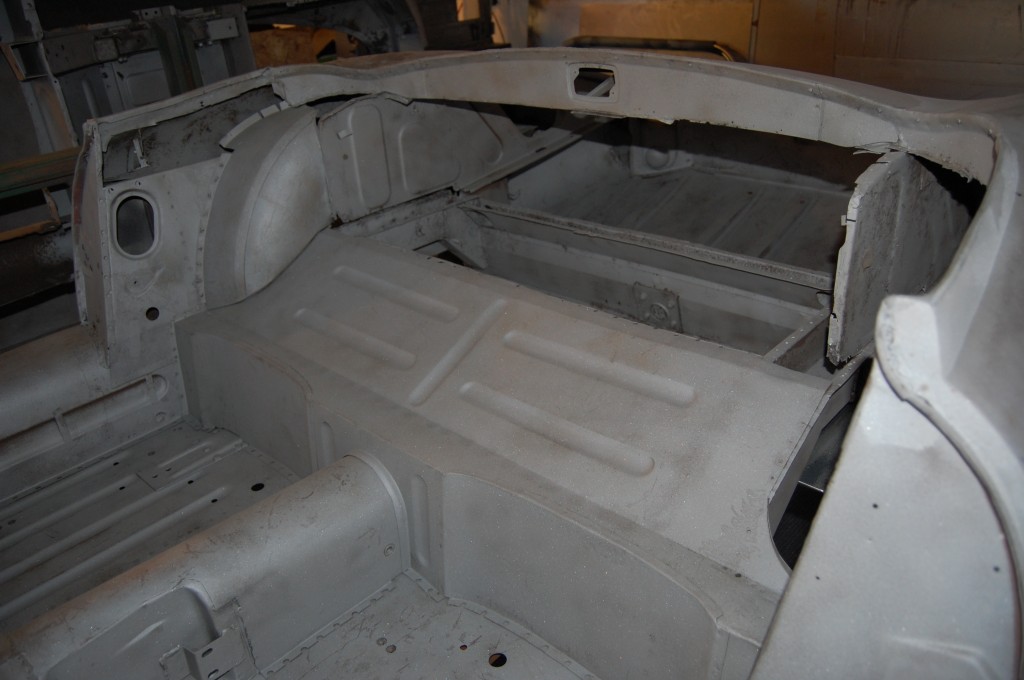
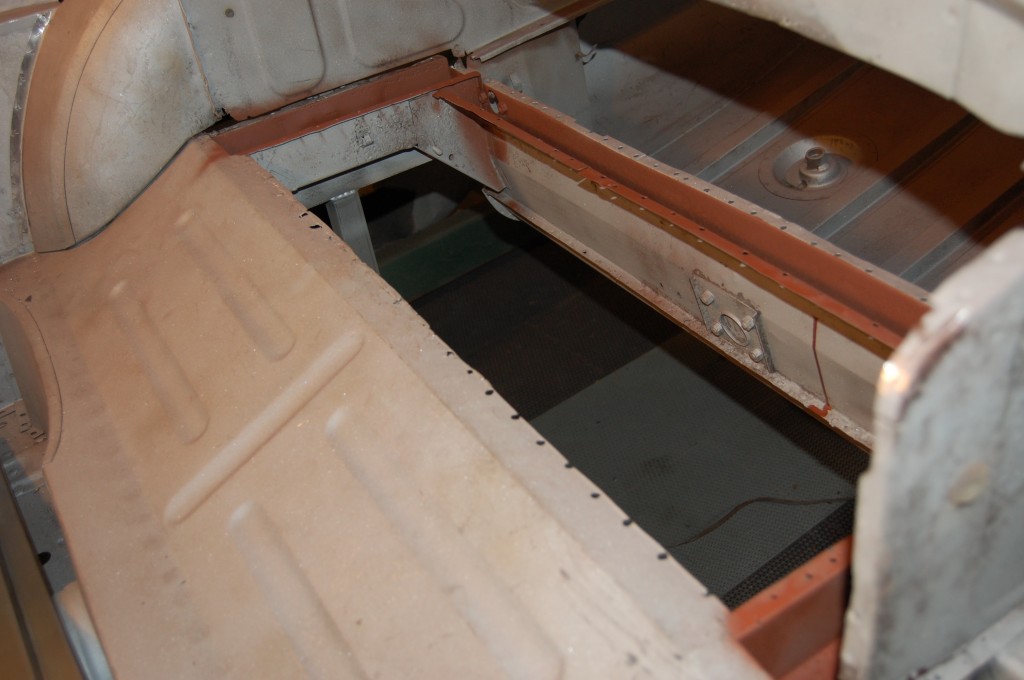
- There is a RIDICULOUS amount of new metal – full floors, sills, DS tunnel, trans sides, bulkhead x-panels – everything!
- And they were well on their way to replacing the entire rear bulkhead!
- The rear wings have a fair amount of pitting, but are otherwise straight and solid – we will use them. The work on the tail is very shoddy, but we’ll be pulling all of that out to go to Series 1 configuration anyway.
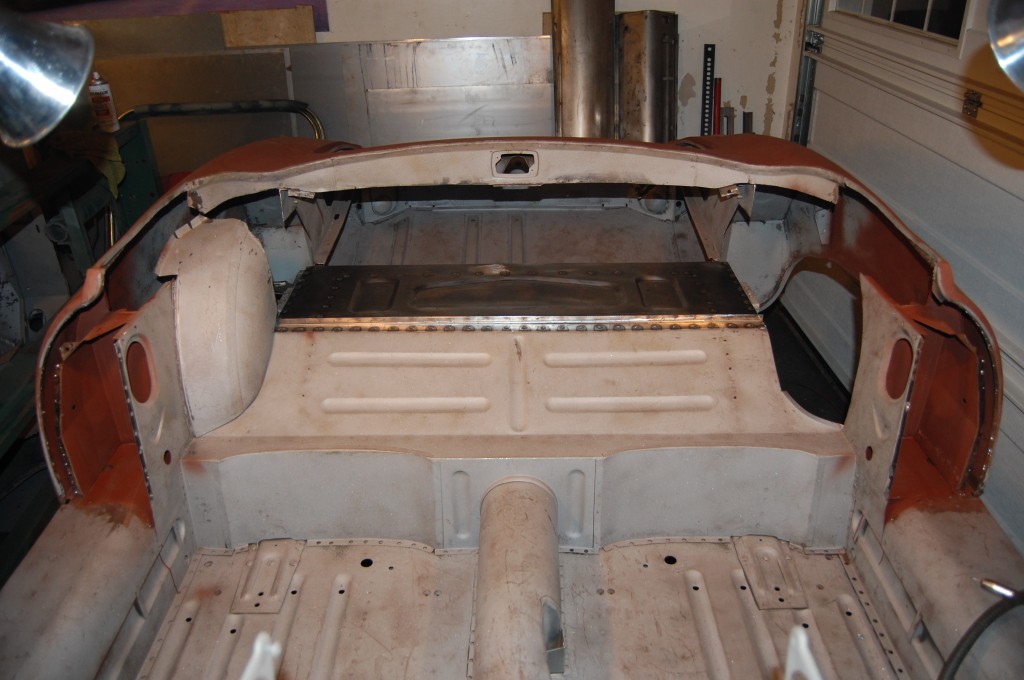
- We figured we’d start with rebuilding the rear bulkhead to give the shell some much needed stiffness. That vertical side panel is actually a new piece, and thankfully, it’s in the right place!
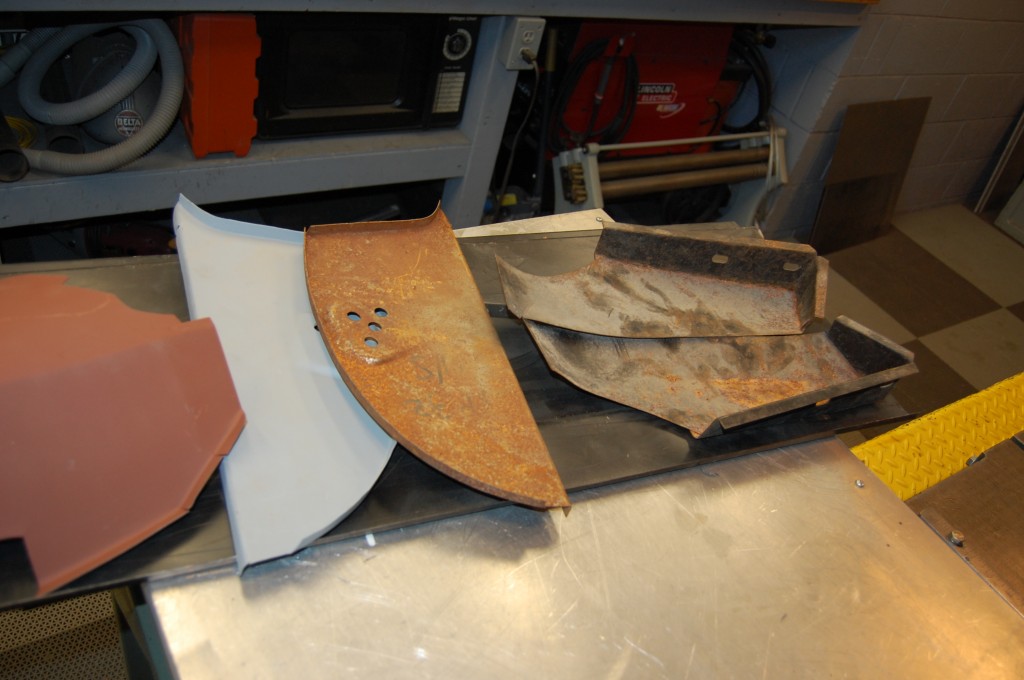
- The shell also came with a large pile of new metal not yet put into the shell – much of it was also rusty though, so everything was bead blasted first.
- There’s still some dissection and flange cleaning to do…
- Here we’ve pulled out the shut-face panel for replacement with a new piece.
- Next we started prepping the internal box sections with red oxide.
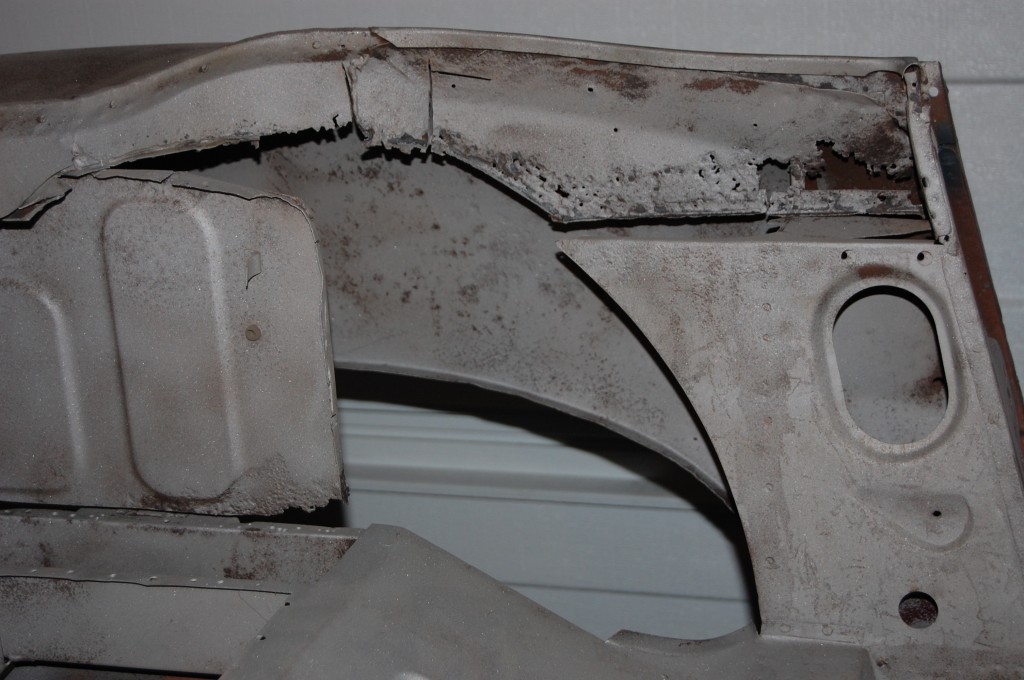
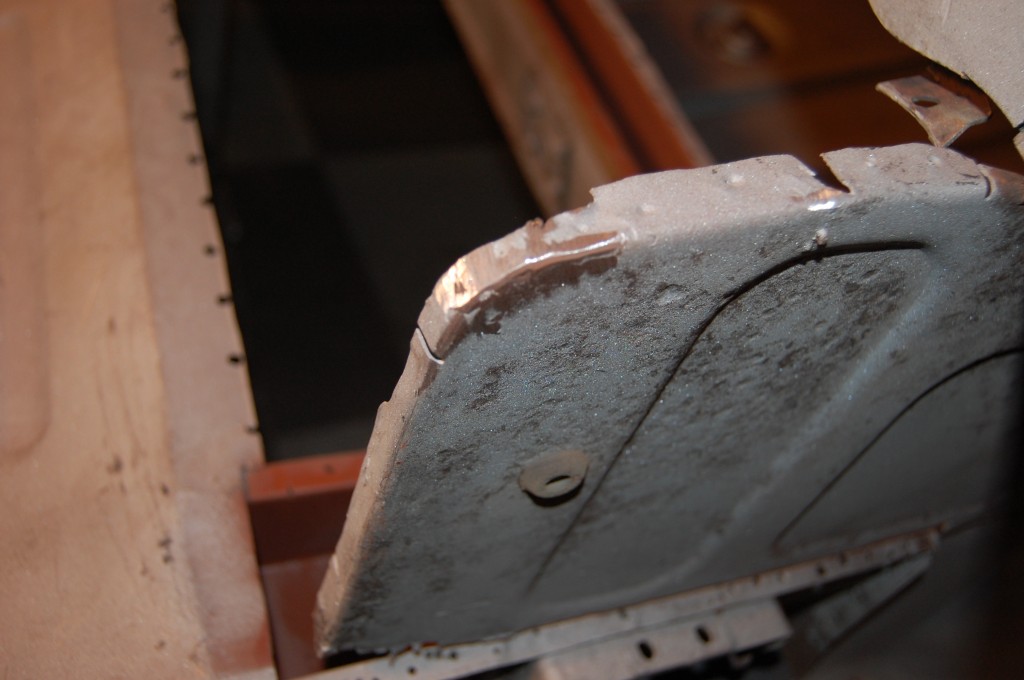
- This panel is going to be a problem – it’s blocking us from getting the upper bulkhead panel into place, and is also pretty crusty… Note that the lower rear bulkhead panel is new, and has been welded to something in the past, but no longer is… and they have also cut the vertical bend along the rear edge off so it won’t mate up with the panel that goes over the IRS, AND it has lost it’s stiffness… Hmmmmmm….
- Here’s our solution – we have trimmed the back edge, and fabricated a small piece that replicates what it used to look like. We’ve gone ahead and spot-welded that to the IRS cover panel, and we’ll plug-weld this to the lower bulkhead panel.
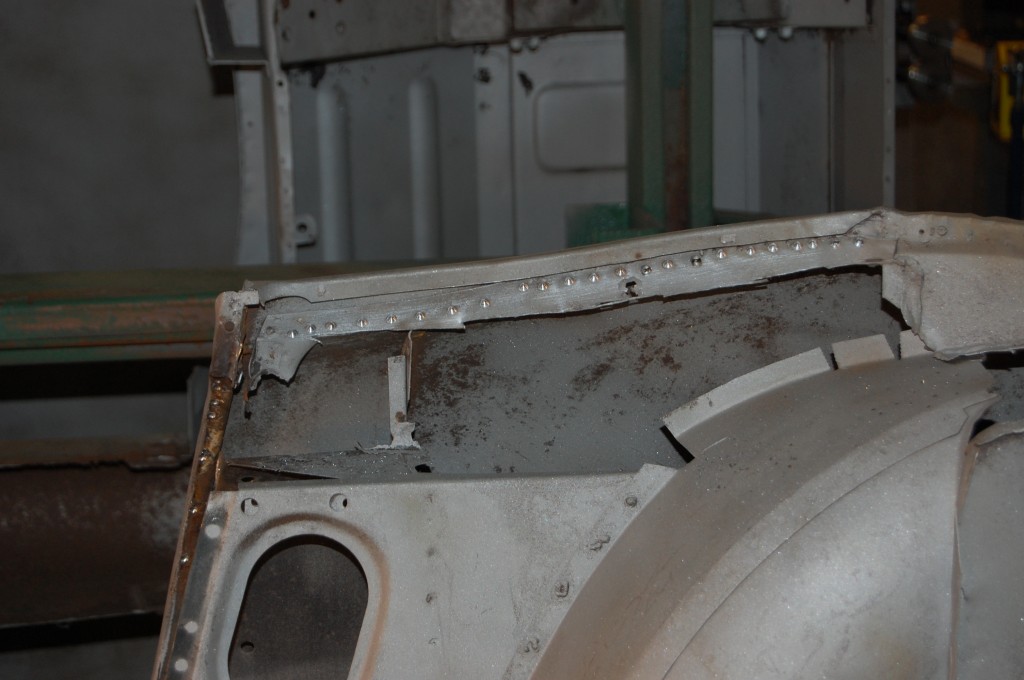
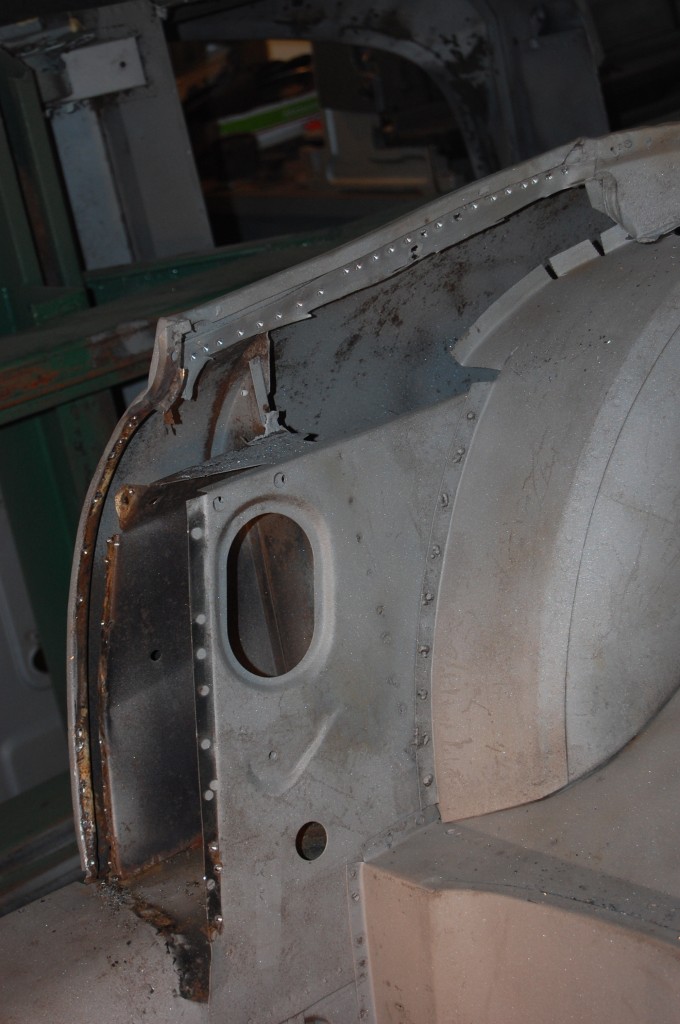
- The boot side panels were toast, so we cut them off in the forward areas and will replace that section – this is just a larger “patch” than they already needed from the bottom edges being rusted, but this also gets rid of more crusty metal, AND will allow us to get the upper rear bulkhead panel into place. You’d better be damn sure you know what you are doing when you take an E-Type shell down this far! There is ALOT of measuring, fitting, and jigging to be done before ANYTHING is welded back up!
- There’s really VERY little left of the original shell now… The previous restorer installed the side panel with the oval recess, so that’s new, and located correctly. They also put that small patch into the bottom section of the B-post siffener. The weld is pretty messy, but it was strong enough and also welded to the new inner sill, so we elected to leave that in place.
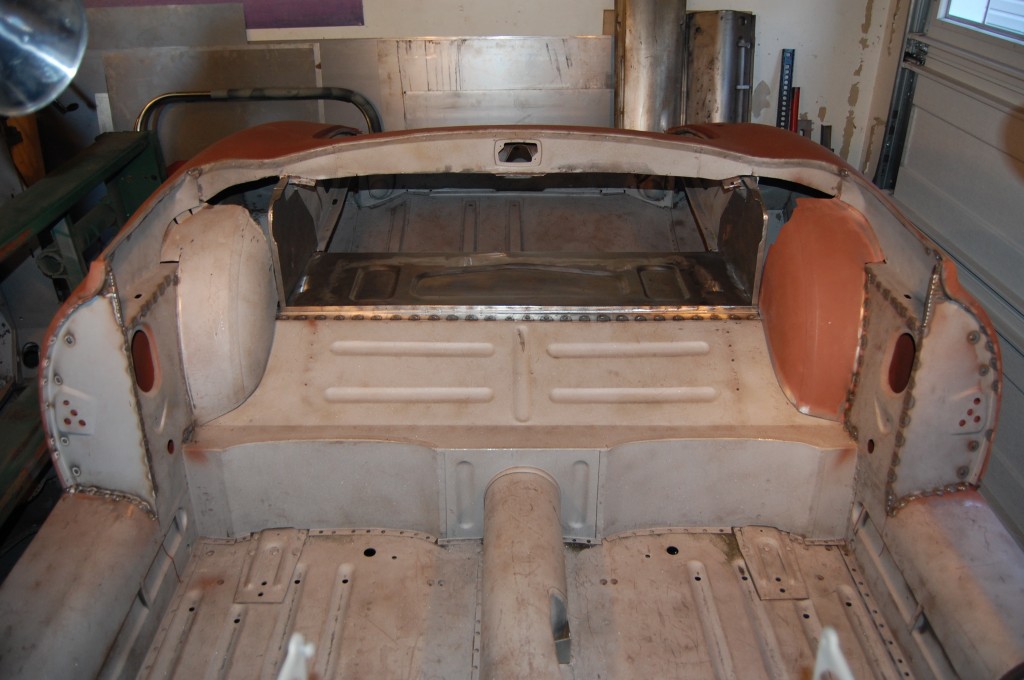
- The IRS cover panel and the reapir piece for the lower bulkhead has now been plug-welded into place.
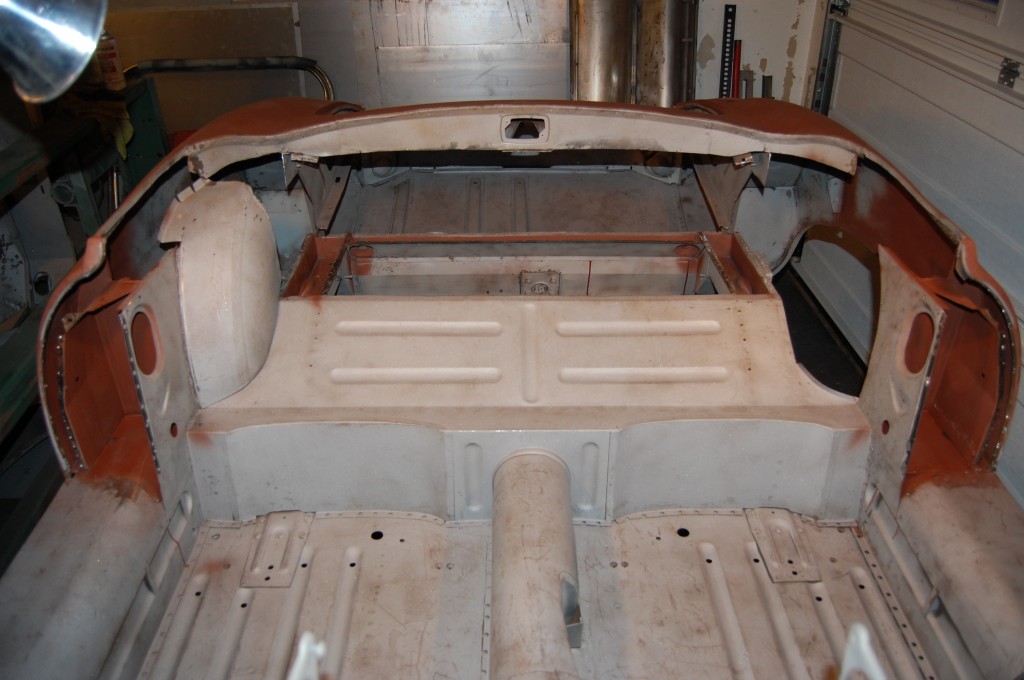
- Now we’re getting somewhere, but don’t let these photos fool you, there are DAYS of work here…
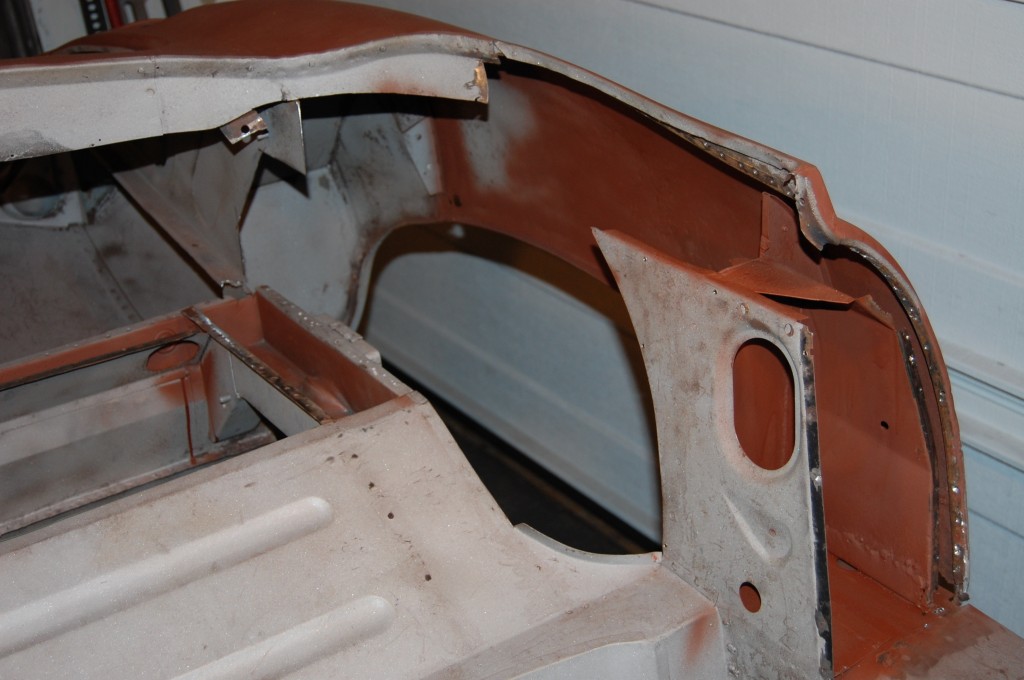
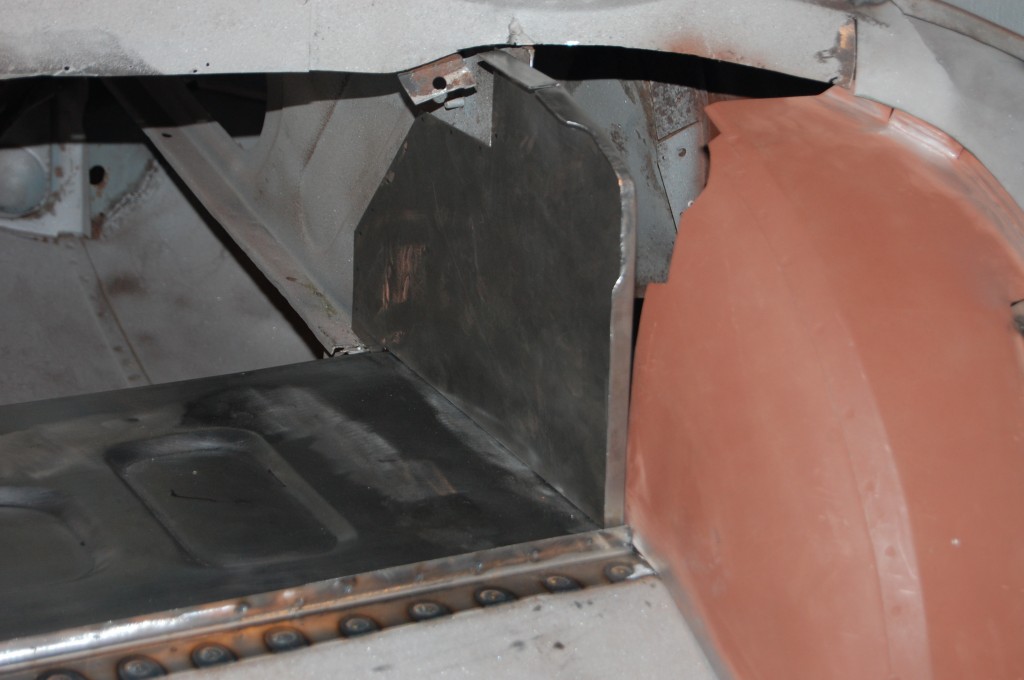
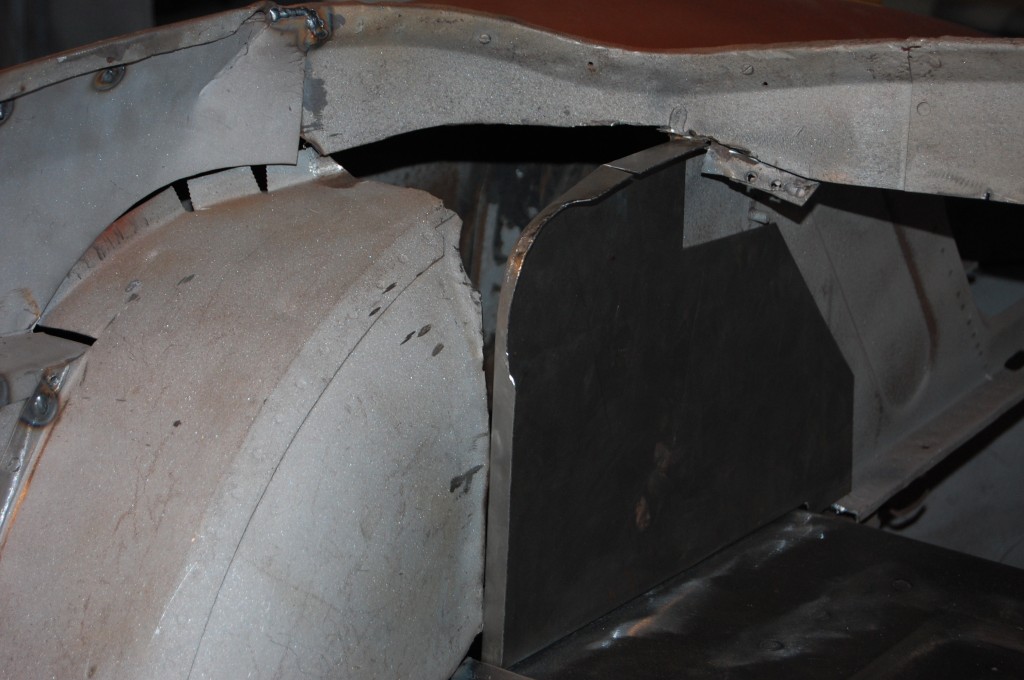
- Here are the new pieces for the forward end of the boot side panels. They do not have the factory recesses, but we have stepped up the gauge from 20 to 18 and it’s PLENTY stiff. This is not going to be a show car or even original, so we can make these type of changes on this shell.
- Here’s a shot of the other side.
- All done! Well, this section of the shell is at least!

