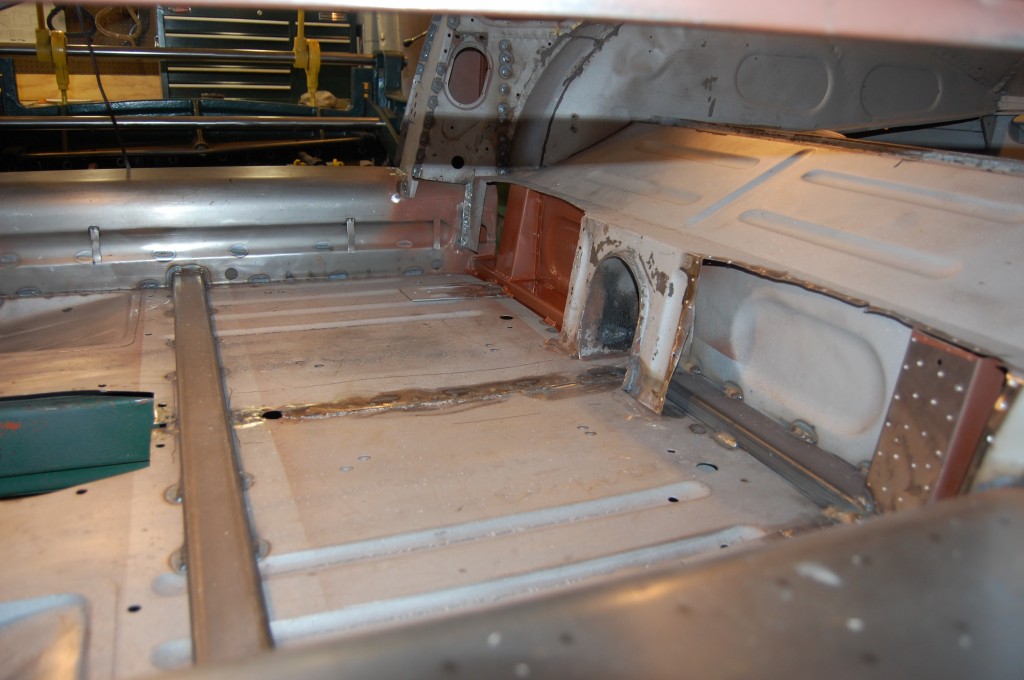
Many of the shells that we restore are treated to extra stiffening inside the sills, cross-member, and other box sections.
We call this the “hidden subframe” because once the shell repairs are complete, you can’t see any of it, and the shell looks bone stock – even in bare primer! It adds stiffness to the monocoque, additional bracing to the radius arm mounting area, ties in directly to the front frame rails, stiffens the jacking point, and helps prevent the shell from folding up in a broadside collision. It does add 32 pounds (not even that much, really…), but all of that weight is right at the floor line, and so it actually LOWERS the center of gravity.
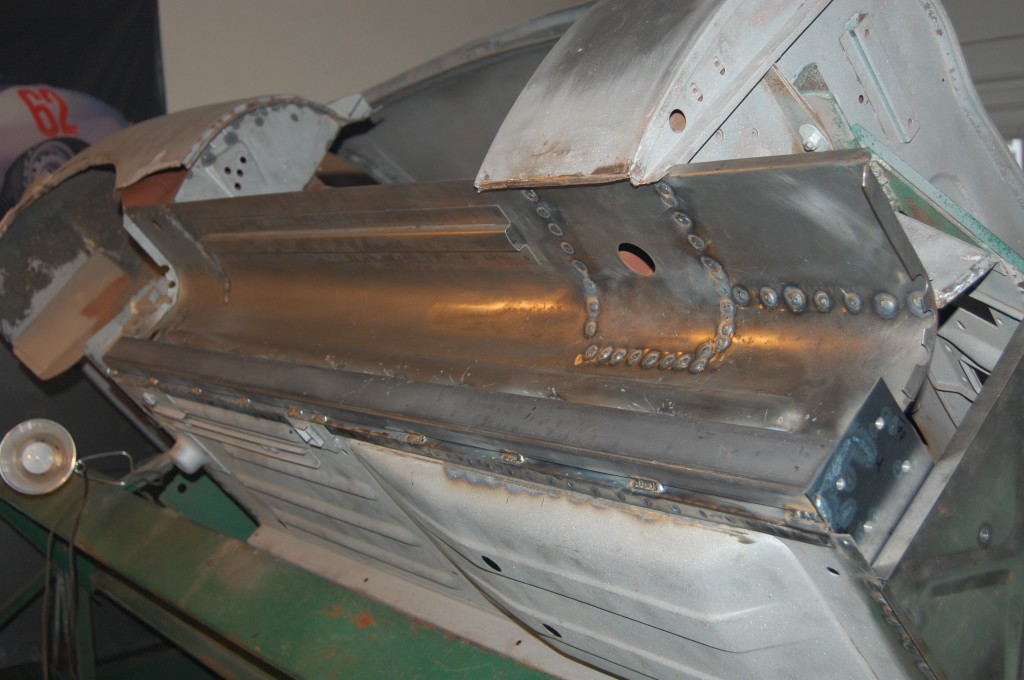
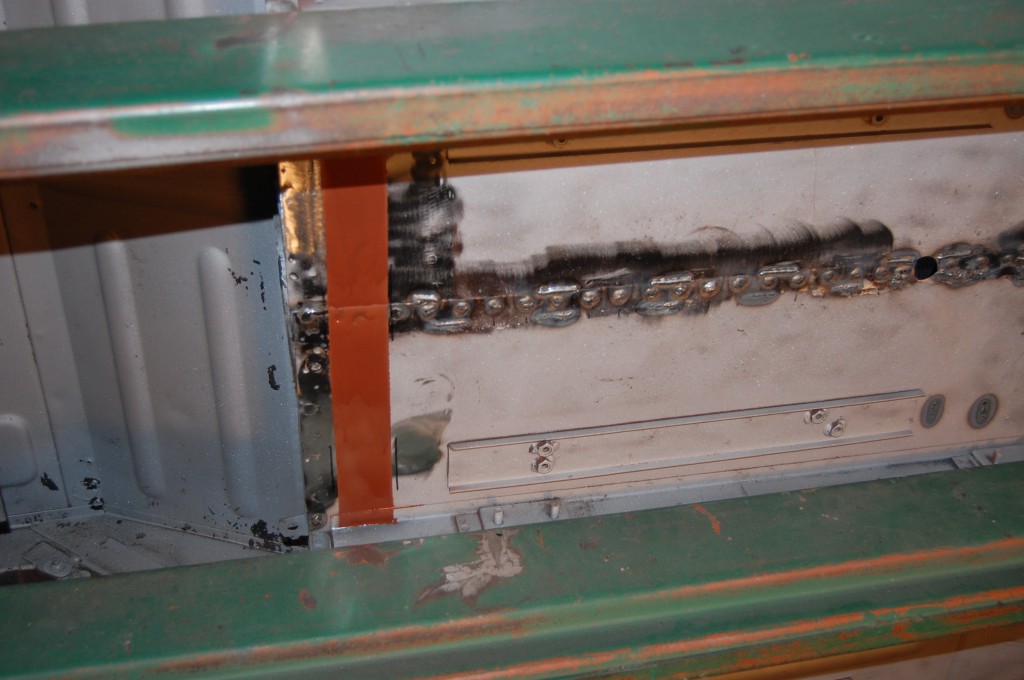
- The first tube is laid into the inner sill, and welded directly to a custom mounting plate for the frames rail’s lower, outer leg.
- This is one E-Type that will not have its sill caved in from jacking!
- The trans and driveshaft tunnel have served their purpose for helping to align the floors, and are headed for the recycling bin next… Note the cross-section of the remaining piece of the crossmember – this is the hollow section where we will hide our lateral tabe of the subframe, and it will intersect the sill tubes RIGHT at the jacking point.
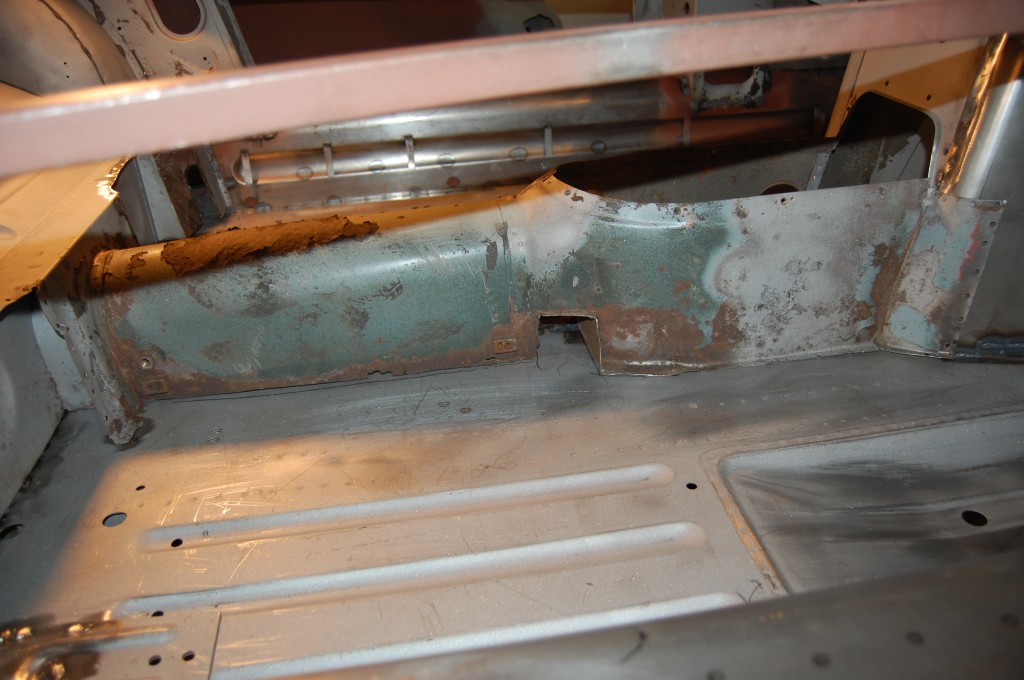
- The crusty tunnel is history, but we’ll be adding a little soimething extra to this floor before we put the new tunnel into place.
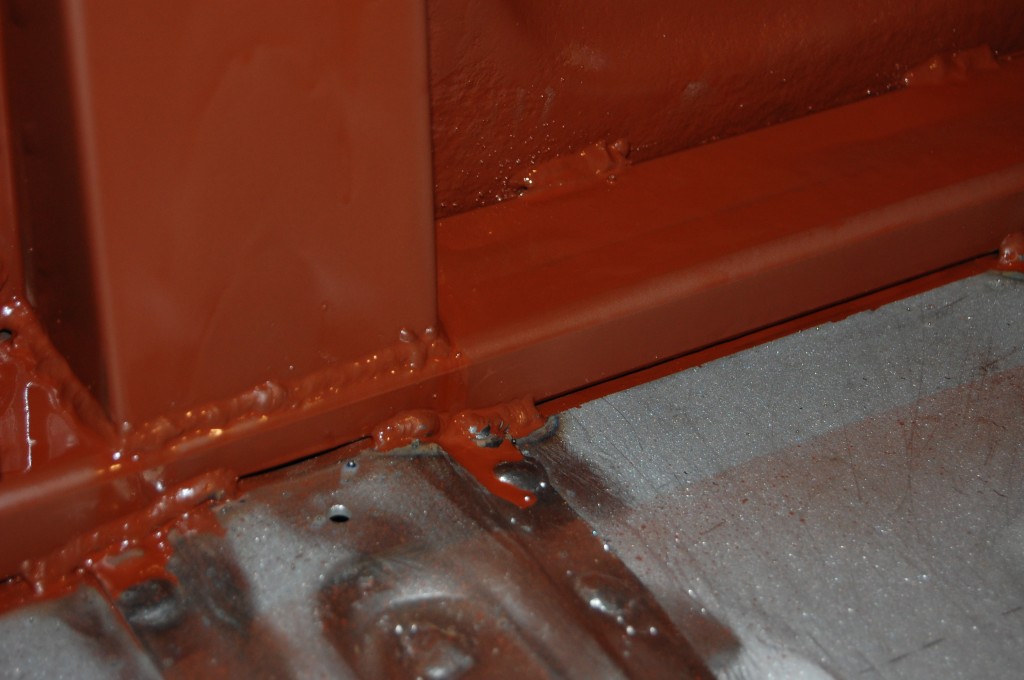
- There is one piece of the hidden subframe that is NOT hidden – we do use the same rectangular tubing underneath the floor in place of the stock tie plate. It is MUCH stronger, and adds some clearance for the exhaust, plus you never see it on the completed car anyway. This shot shows the floor panels being hit with red oxide where the tubing will go – you can never have enough rust protectiuon, and we make sure all surfaces are covered!
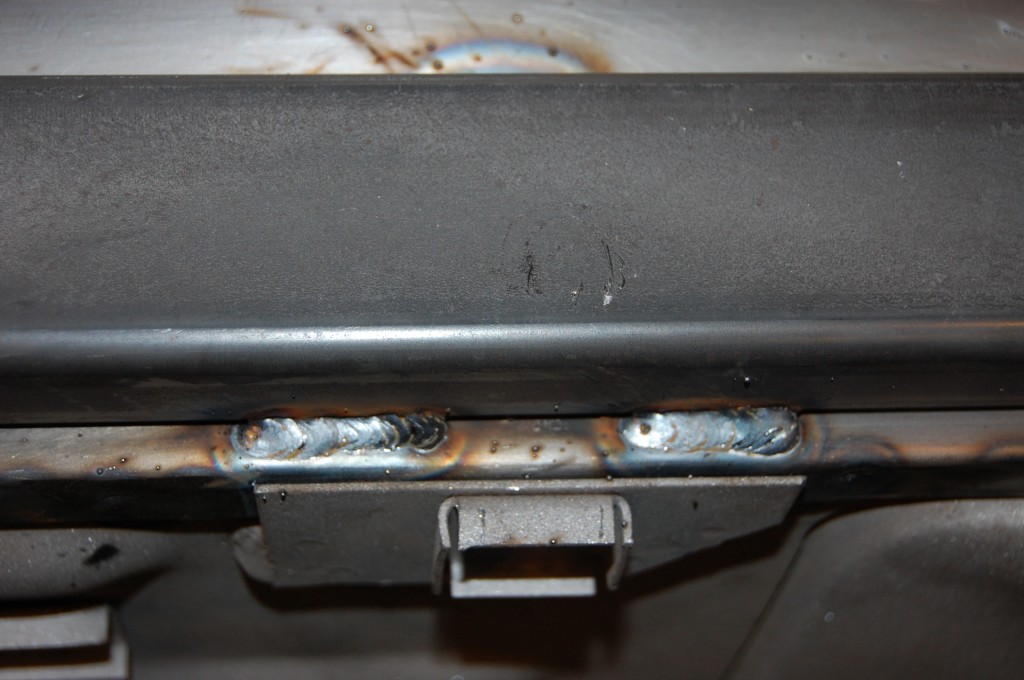
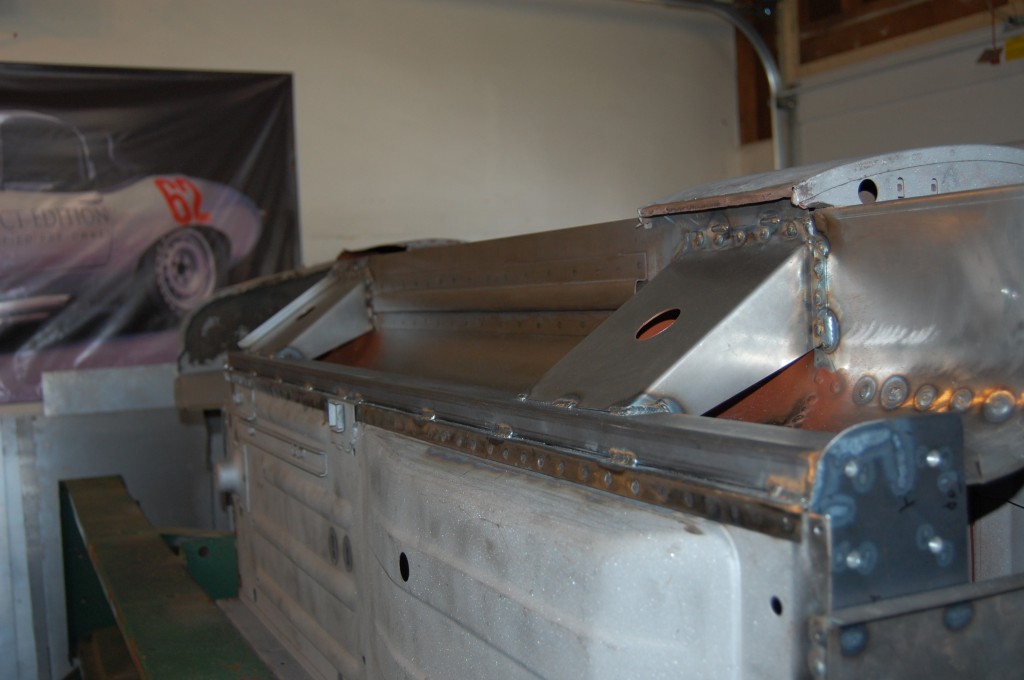
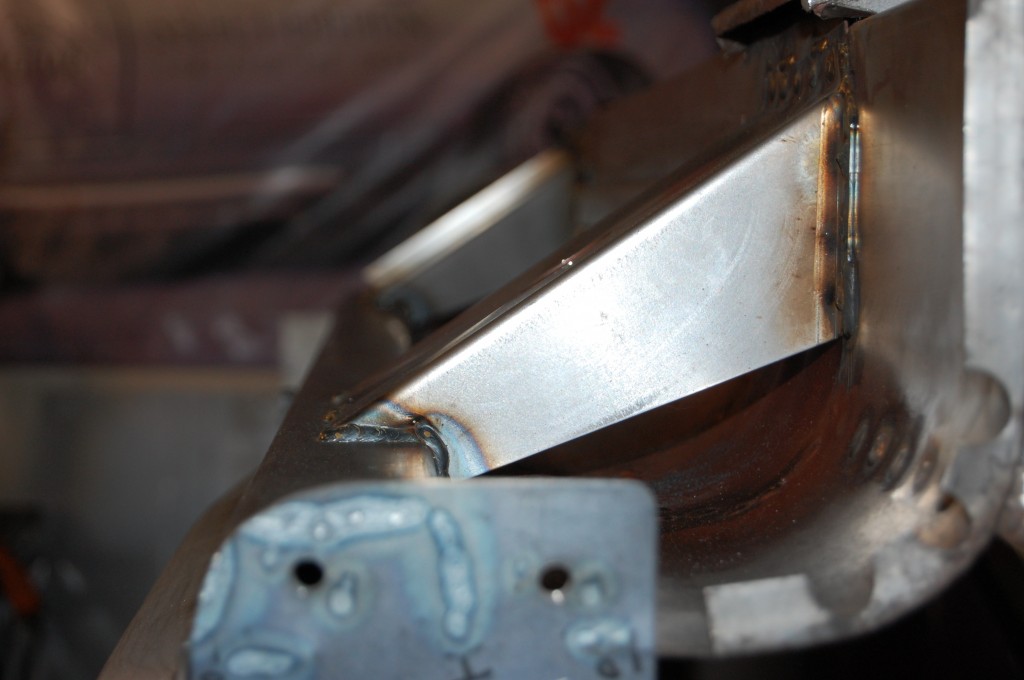
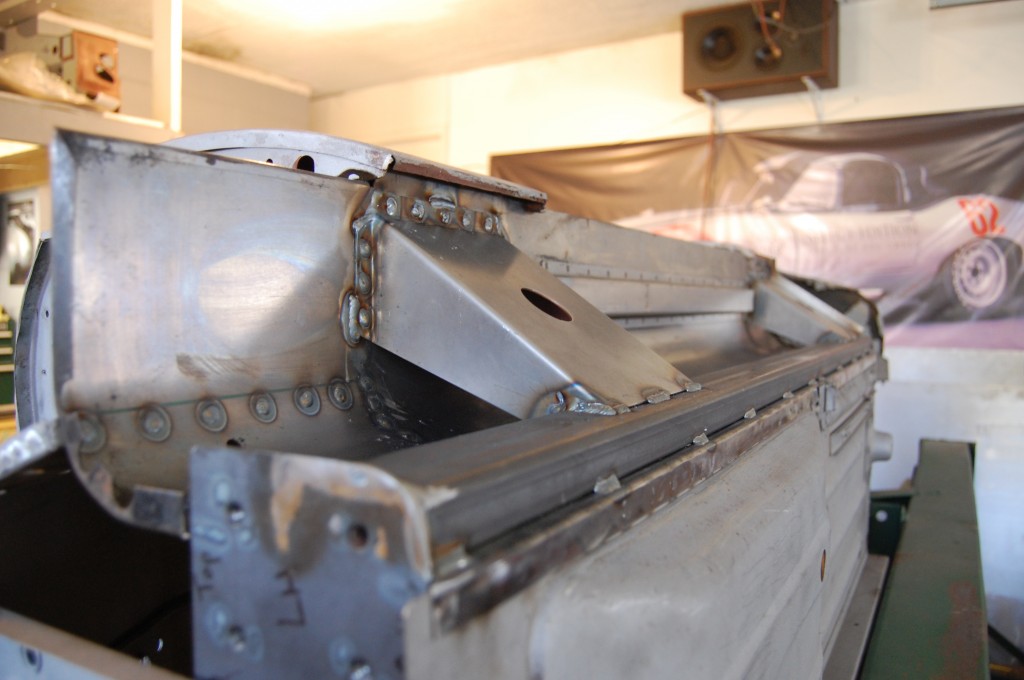
- These are special stiffeners we use with the subframe modification. Instead of the stock 20-gauge gussets with giant holes that are as flimsy as paper, we use these special 16-gauge units with a small hole that is only there for painting the seams after welding – they are SUPER stiff!
- The uprated gussets are notched into the lower tube, adding a great deal of additional strength over stock.
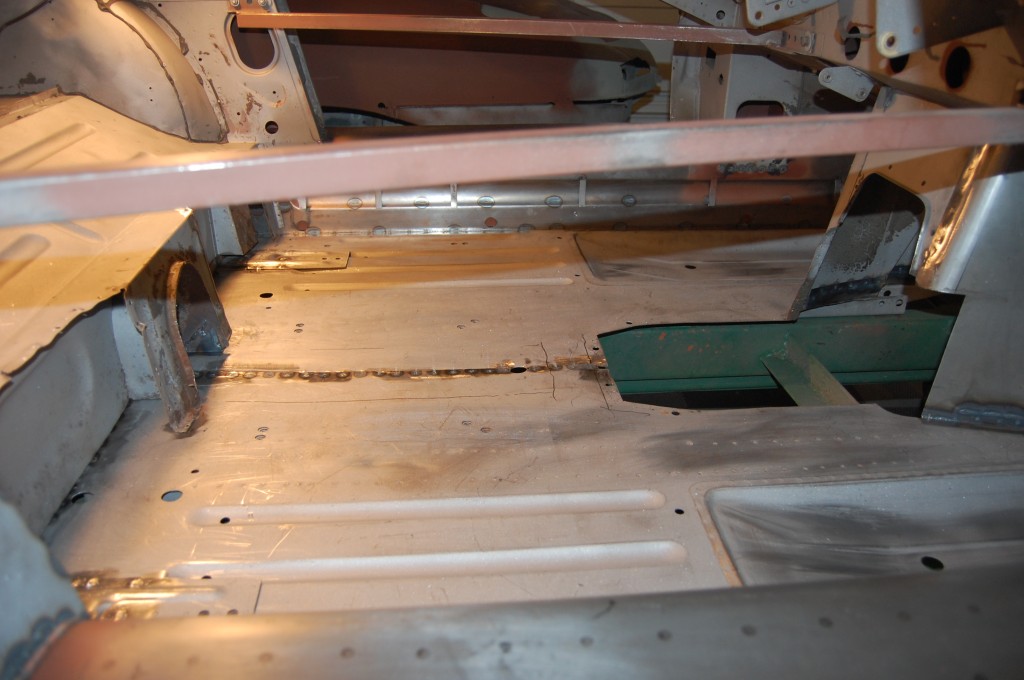
- Here’s a shot of the other side…
- rectangular tubing has been added to the floor under the crossmember, and within the lower portions of the rear bulkhead. These pieces end at the tunnel, but the piece of tubing we use in place of the tie-plate under the floor overlaps each side by about 6 inches on each side. When I was in college, I purchased a wrecked coupe shell that had been broadsided and parted out sections of it for use in other shells. That car was hiot squarely in the driver’s door, and the LH inner sill was about 6 inches from the tunnel. This is my solution to that…
- I make no apologies for the excessive use of red oxide in the box sections – the runnier, the better, and I am happiest when I see it oozing out of the seams from the other side, meaning we are coating the inside of the seams. Many E-Types eventually tear their radius cup plates out of the floor from flex and metal fatigue over time – THIS is my solution to THAT problem…

