Our next order of business in the restoration of this shell is to put the tail back together.
The previous restorer has replaced the entire boot floor and both rear lower valances with new MR panels, and as usual, the valances don’t fit. So throughout these photos, you’ll see the LH valance hanging off… What they should have done was re-form the edges of the valances to make them fit – there’s just too much metal. We will pull the LH valance and trim it down some and replace it when the car is in the rotisserie and flipped over.
For now, we’re going to remove the entire Series 2 license plate area and replace it with a combination of new Series 1 pieces from our stock of NOS panels, and also some pieces that we fabricated here.
When completed, William Lyons himself would swear this was a Series 1 shell in the rear! Have a look!
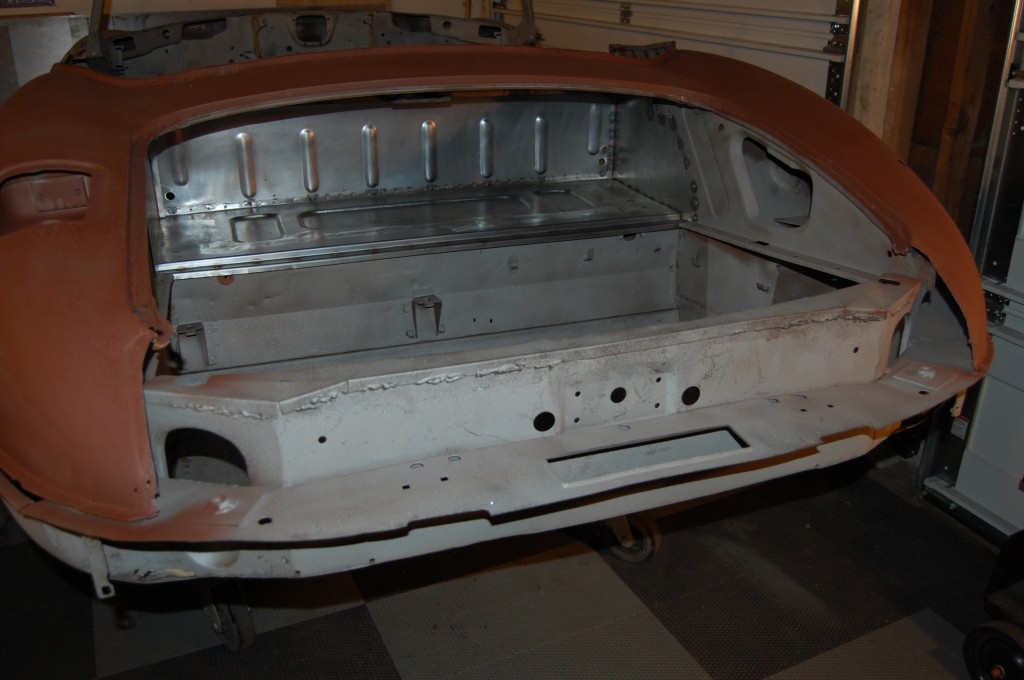
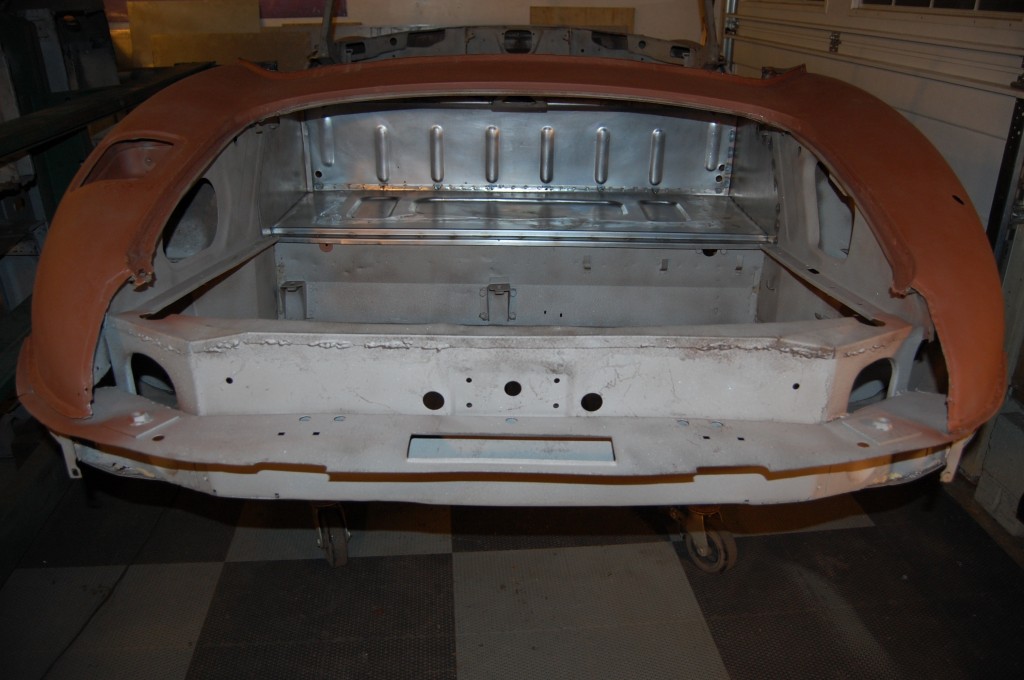
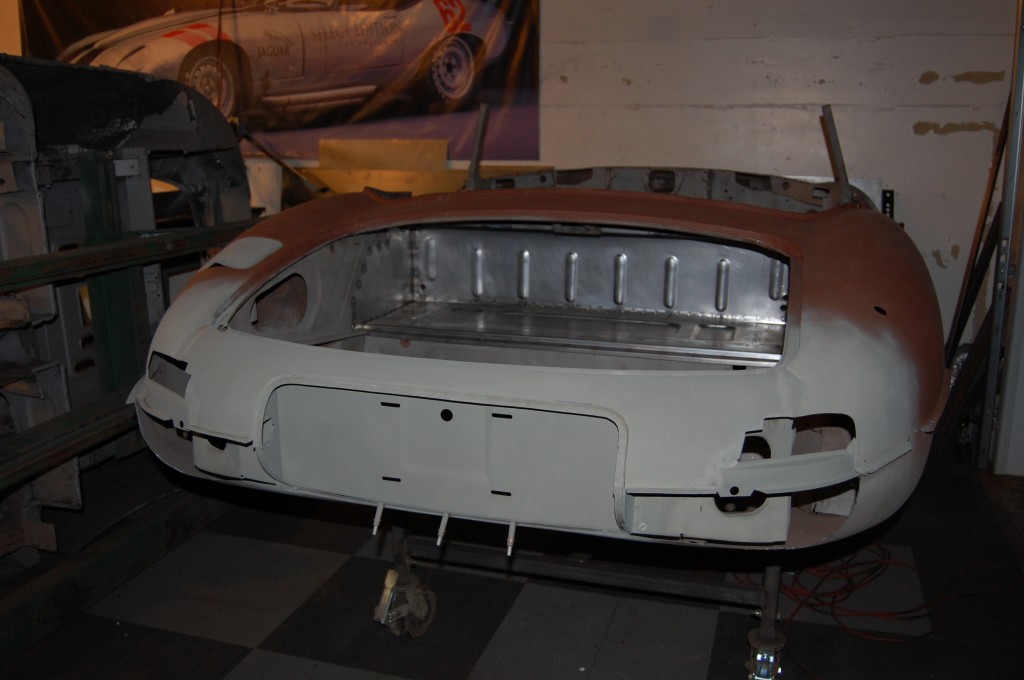
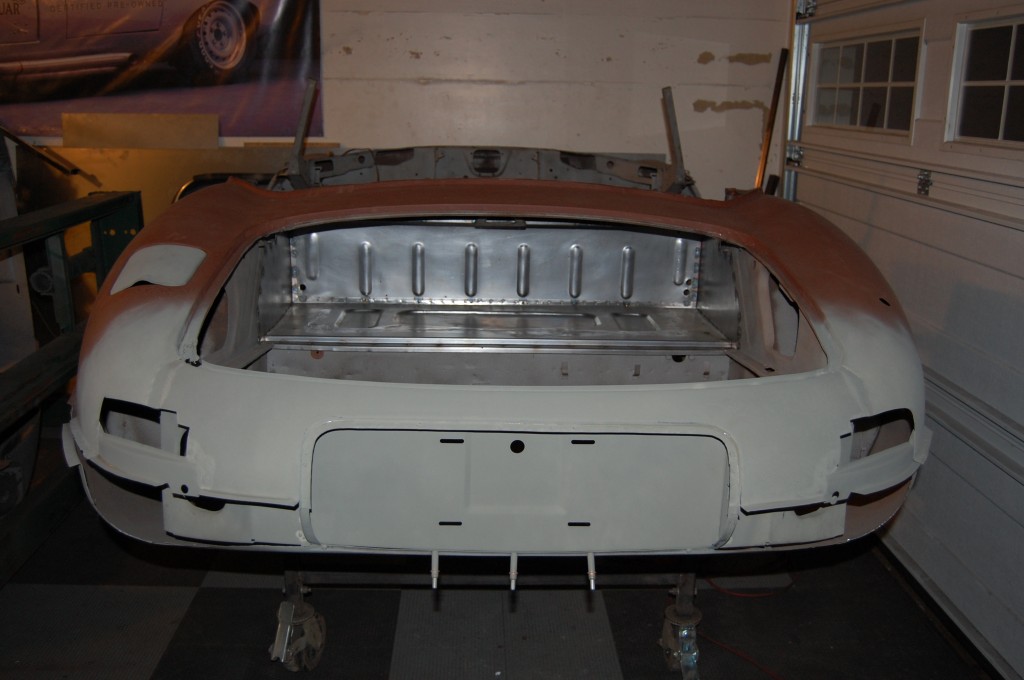
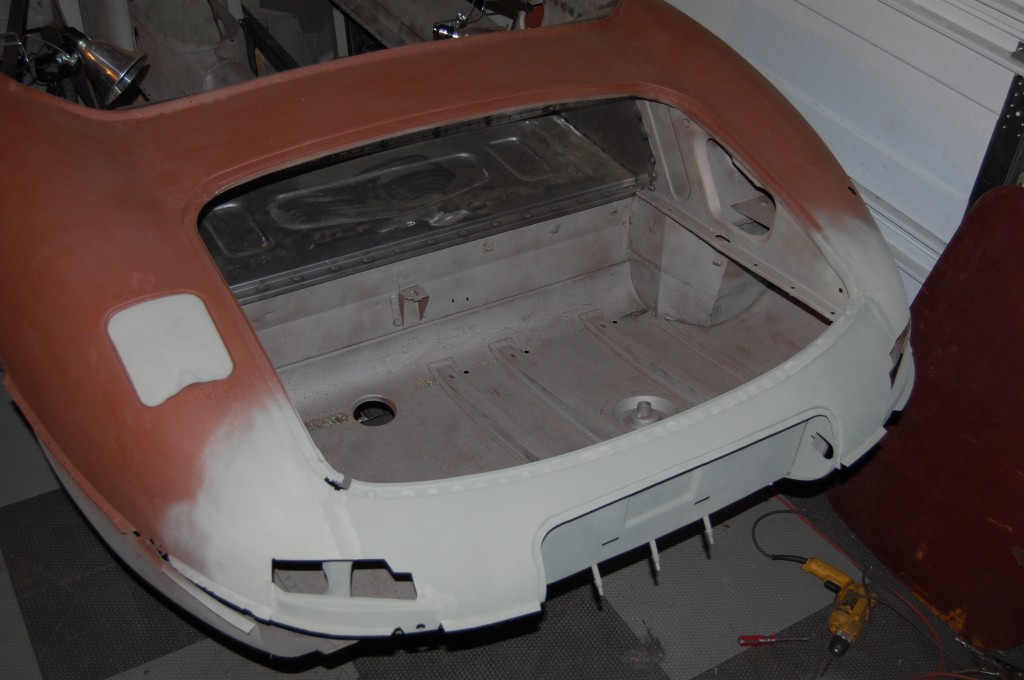
- Here’s our starting point – an incomplete Series 2 tail, though the shell did come with a new rear tonneau panel that goes above these pieces – surface rusty and lightly pitted…
- In this shot you can see the repair pieces we welded into the forward sections of the boot side panels from our rebuild of the rear bulkhead.
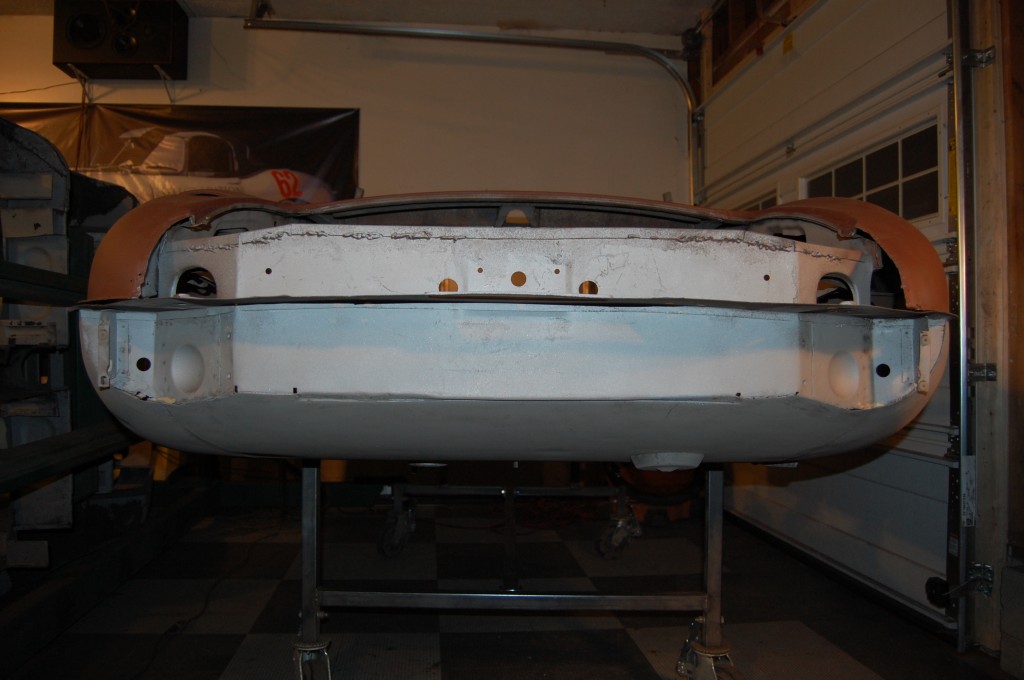
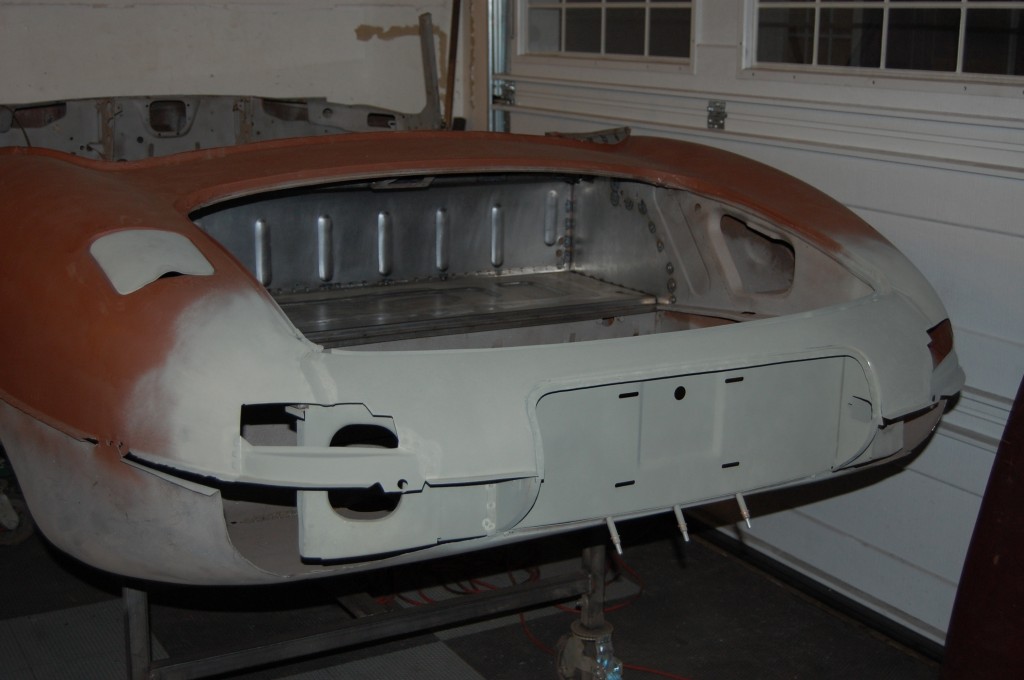
- The Series 2 tail has the same basic shape as a Series 1 on the top side, but it’s reallly all different. Note that the whole 9 yards is hanging off to the side on the LH side of the car below the rear wings. This is because the new MR lower rear valance panels are too big – we will fix that when the car is upside down.
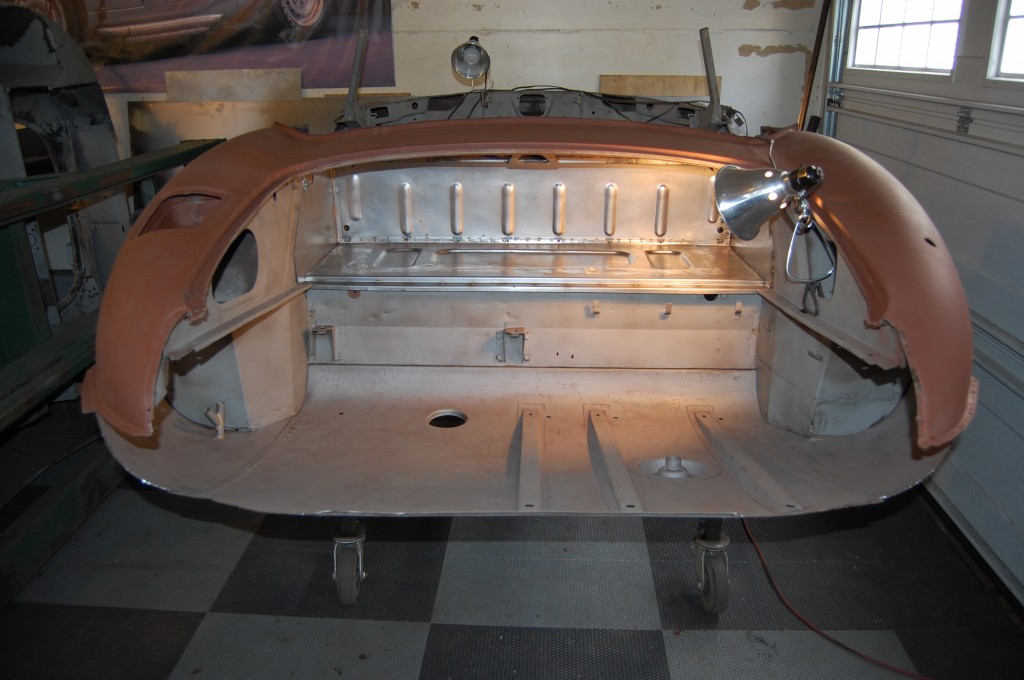
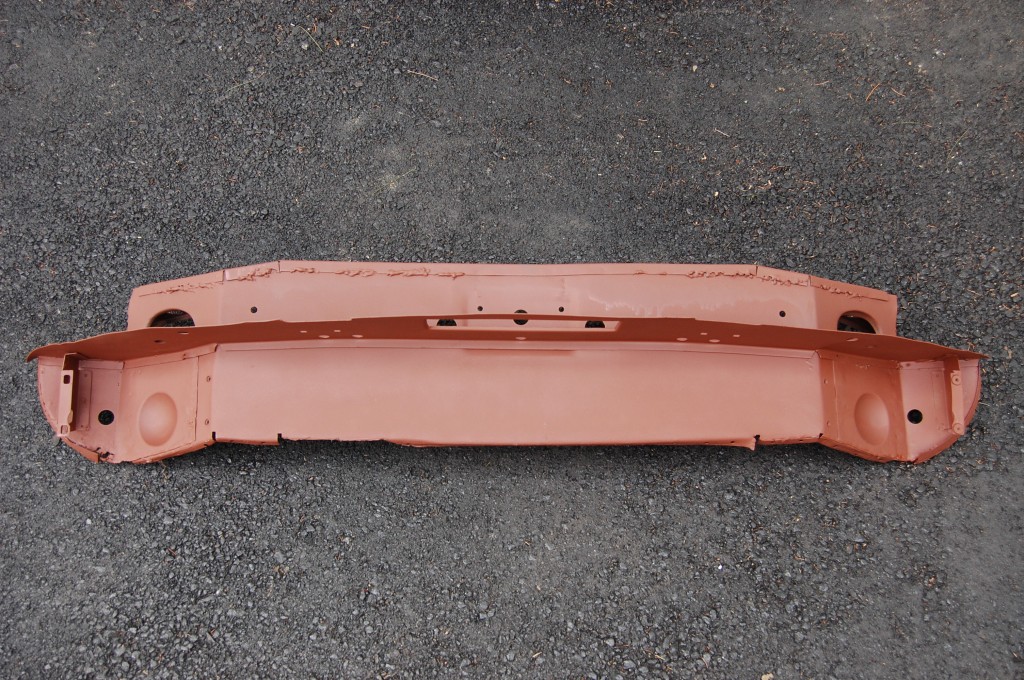
- In this shot, we’ve removed EVERYTHING that is Series 2, but salvaged the new boot floor.
- This is all NEW metal, poorly welded together by the previous restorer. We dusted this off in the blasting cabinet, and gave it a good thick coat of red oxide, before retiring it to the “panel attic” – it will be a great source of new panels for a rear-ended Series 2 of any configuration – these pieces are the same for all body styles.
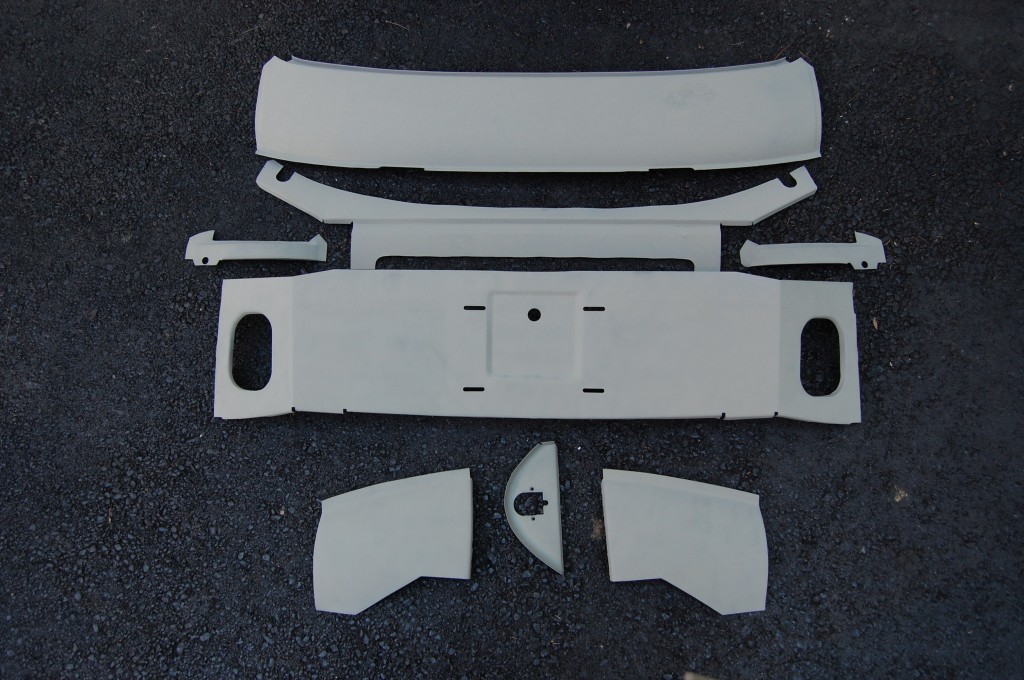
- Here are the pieces we will use to build the rear back up. missing from this photo is one license lamp panel which we will fabricate, and custom ends we’ll form up to fill in the stubby ends of the Sereies 2 rear lower valances. Also, I figured out later that these are coupe filler panels at the bottom of the photo – we’ll make OTS versions…
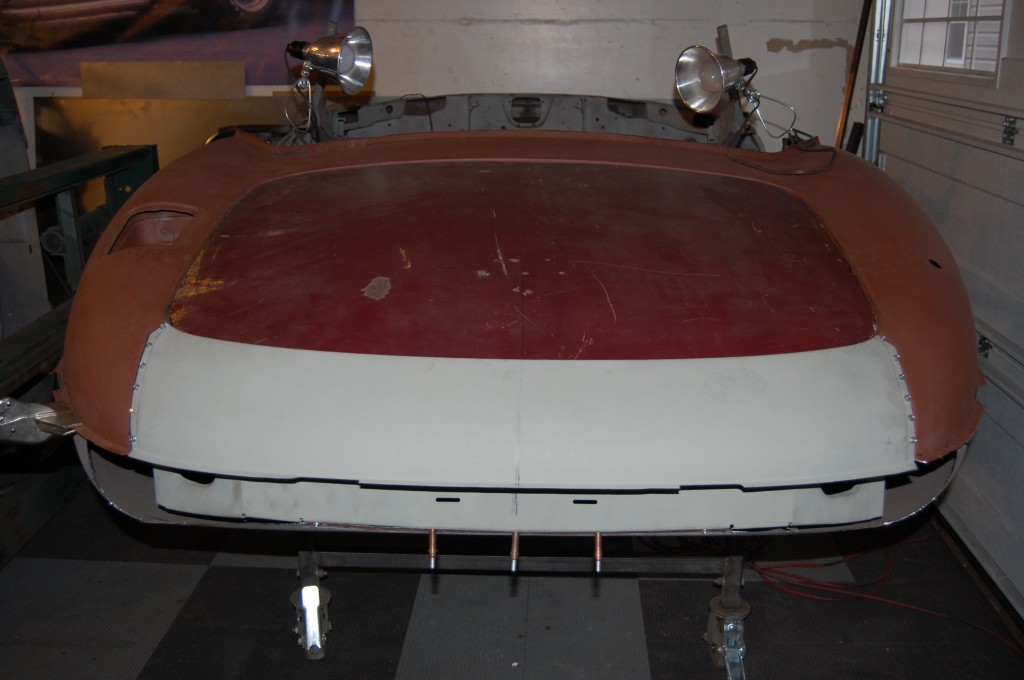
- Eveything on an E-Type is adjustable, and they are all a little different. If you want things to fit together when you build them, you have to fit EVERYTHING as you go along. This is a boot lid that the owner bought at a swap meet nearly a decade ago, just dreaming that some day he could convert his 2+2 into a roadster – we’re making that dream a reality!
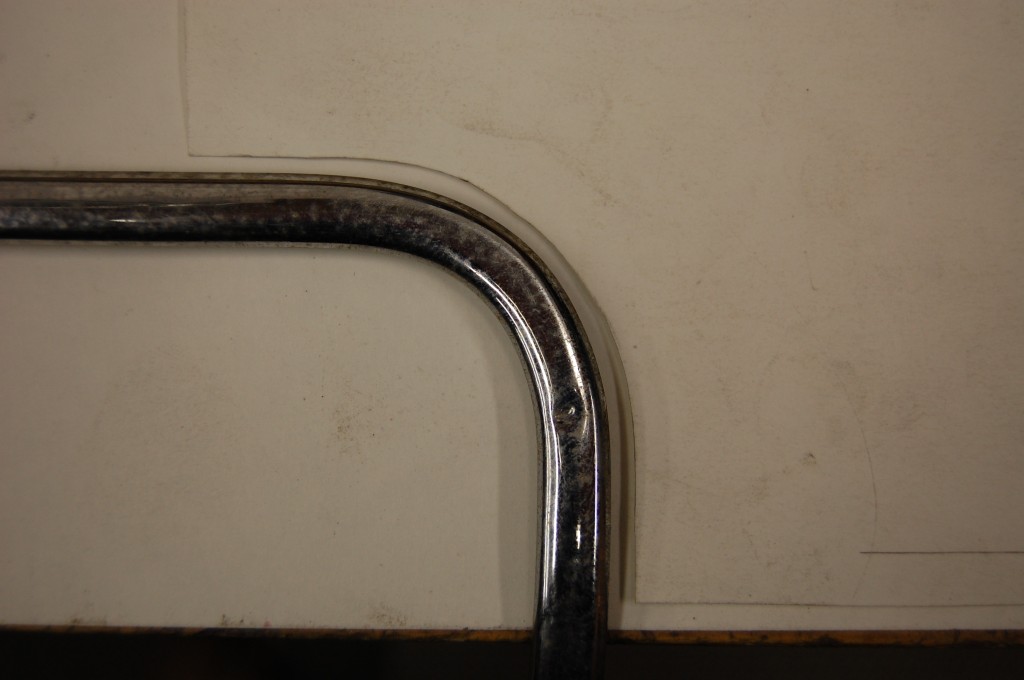
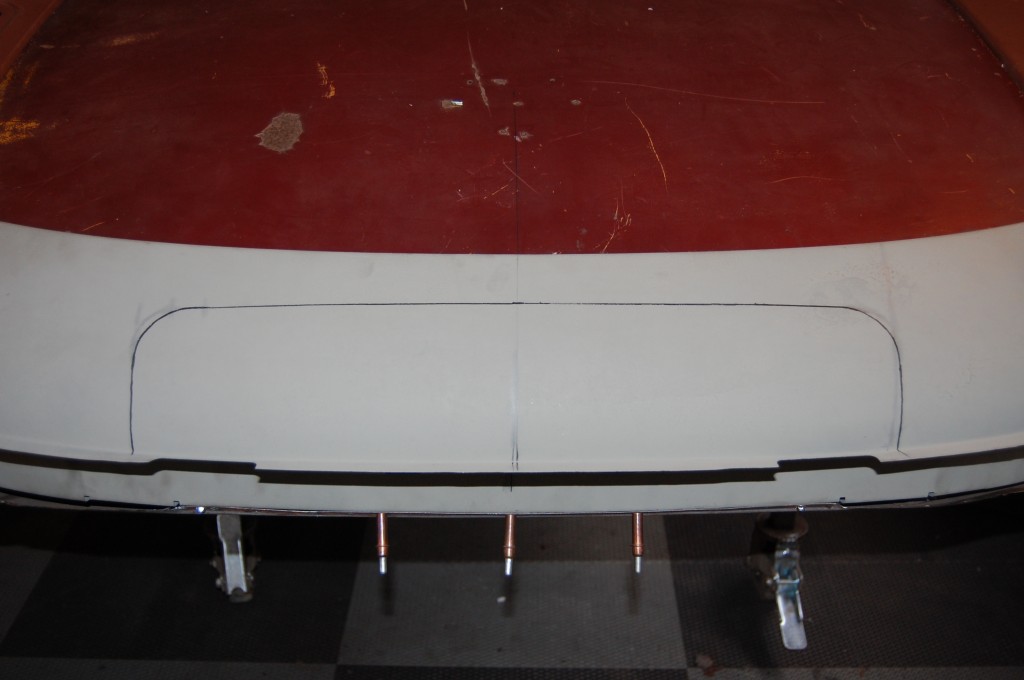
- You’ll notice in the photos above that rather than replace the lower tonneau panel with a Series 1 version, we have elected to modify the Series 2 panel. We have it, it’s the same overall shape, and the last time I had a new Series 1 panel, it was all wrong… This panel fits the boot lid VERY well, so we’ll use it by rolling in the license area edge. But we need to make sure that is EXACT, and after measuring several other Series 1 roadsters in the shop, I decided to go right to the source for this radius, and match it to the chrome trim.
- So here we have finally gotten the marking for the recess EXACTLY where we want it.
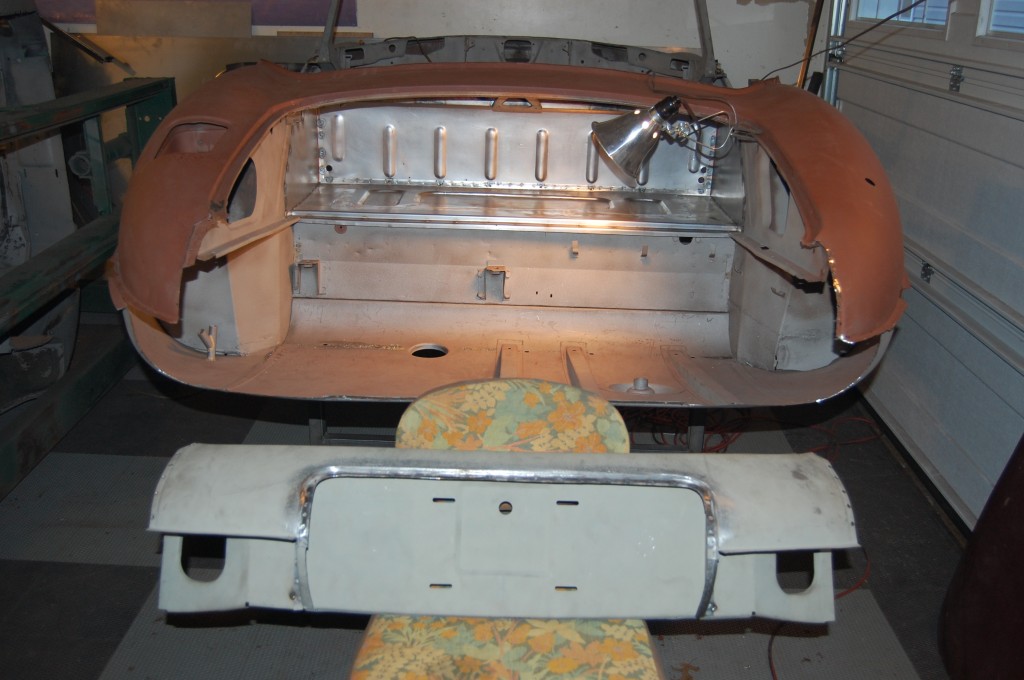
- Rolling in the edge turned out to be time-consuming and SUPER nerve-wracking, so there wasn’t alot of camera work involved… We finally got it perfect, though, and went ahead and assembled these pieces and spot-welded them on the bench. Don’t be fooled, though, we spent HOURS and HOURS lining them up and setting them in place together with clecos first! Don’t make fun of my flowered chair – I love that chair!
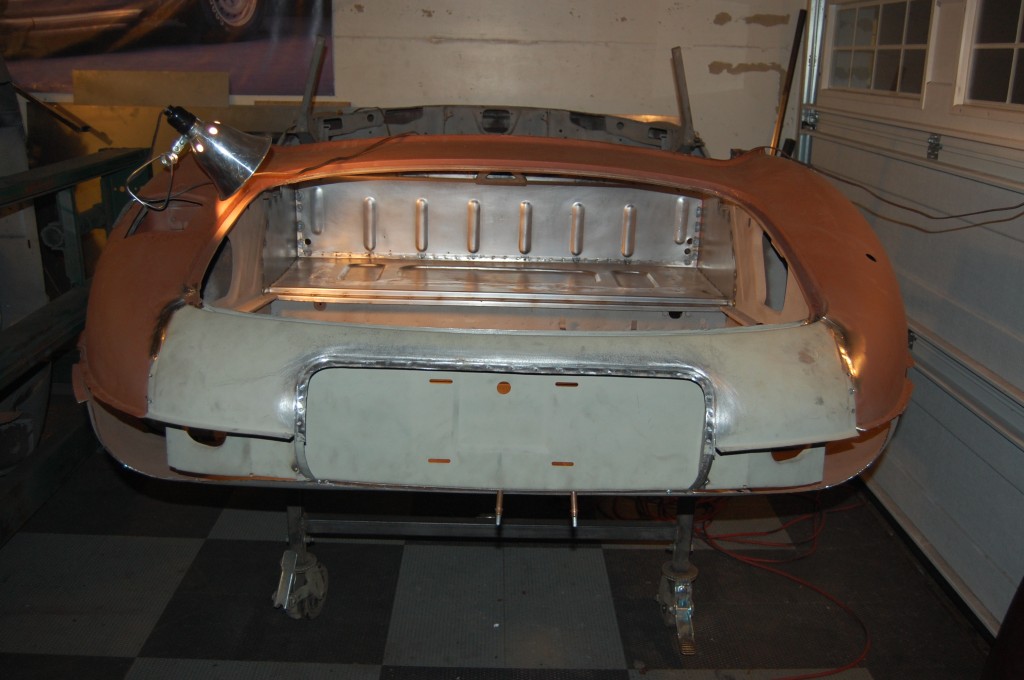
- Here is the sub-assembly welded into place with the rear wings and boot side panels. It’s starting to look like a Series 1 now, but something is not quite right – hmmmmm….
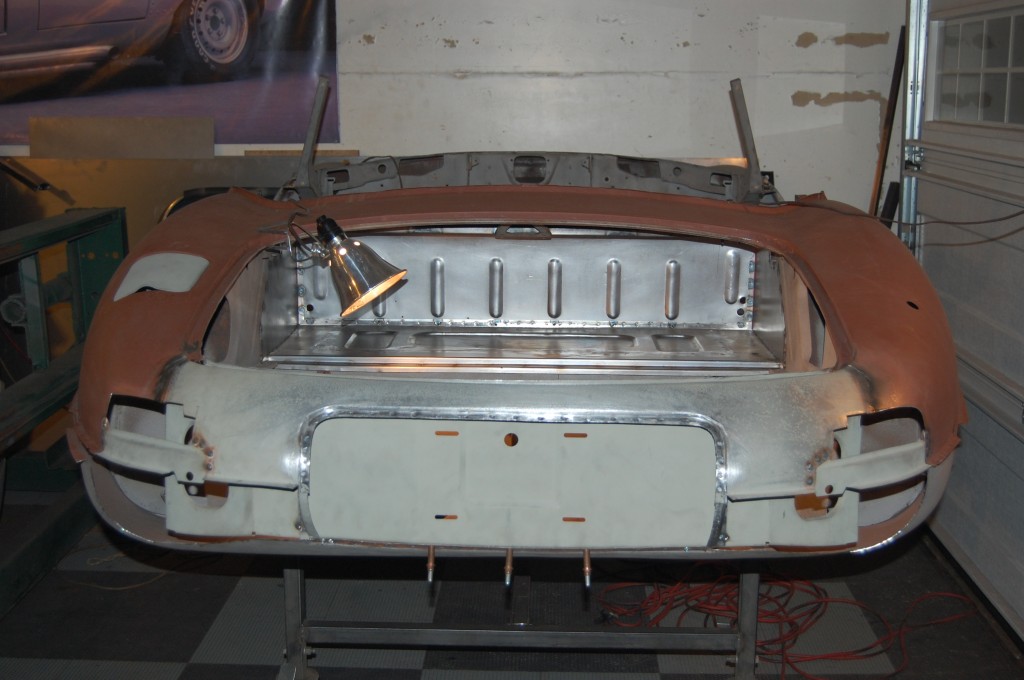
- Oh yeah – tail lights! Here we have marked the light openings, another painfully time-consuming task that you don’t want to screw up! Then we cut them and weld in the lower filler pieces that will mate with the lower valance extensions we will add in once the shell is upside-down.
- Voila! A Series 1 OTS! I’ll tell you, this shell was a train-wreck coming in, but once we cleaned up all of the new panels that came with it and got them in there where they belong, it’s starting to look pretty good!
- We’ll do the lower sections next, but the rotisserie is “occupied” – you can see it on the left with a ’63 FHC mounted up – that’s today’s project – and every day for the next few weeks!
- See how that rear lower valance is hanging out? That’s going to have to come off and be re-positioned.
- We’re getting there! This turned out GREAT – which is good, because there is a ’69 coupe coming in later this Spring for the same treatment! By the way – call me if you have any spare OTS fuel filler lids – we need some!

