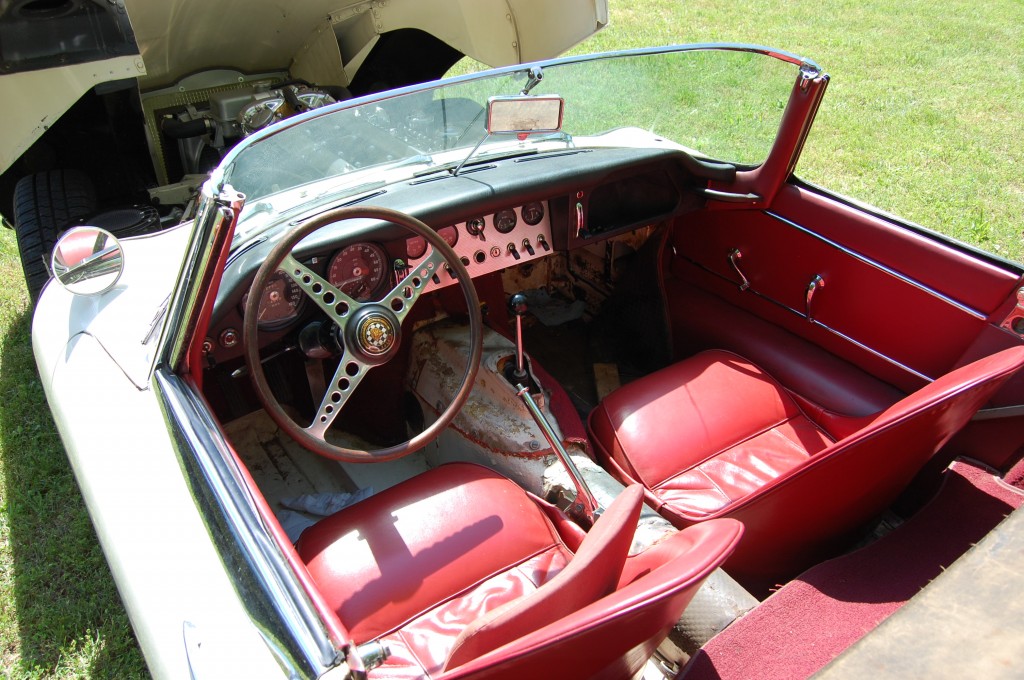
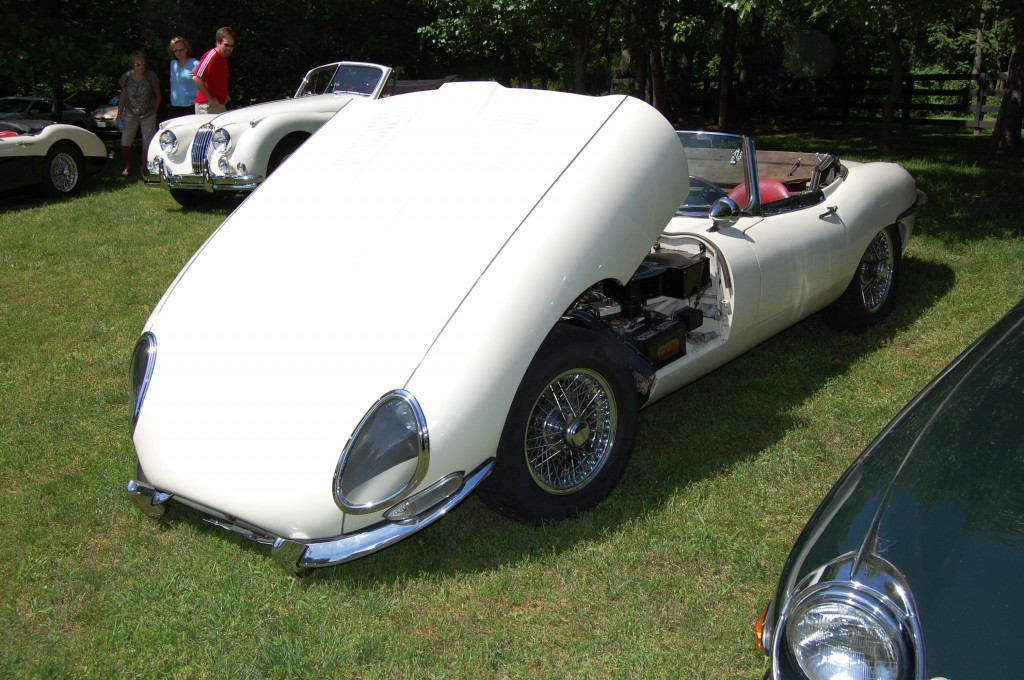
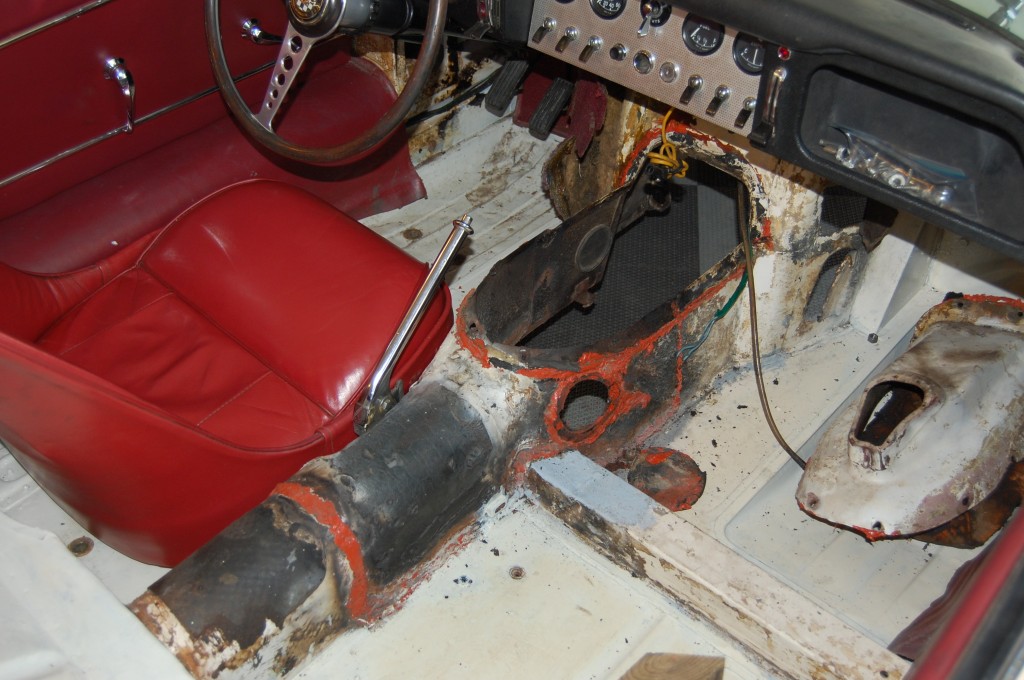
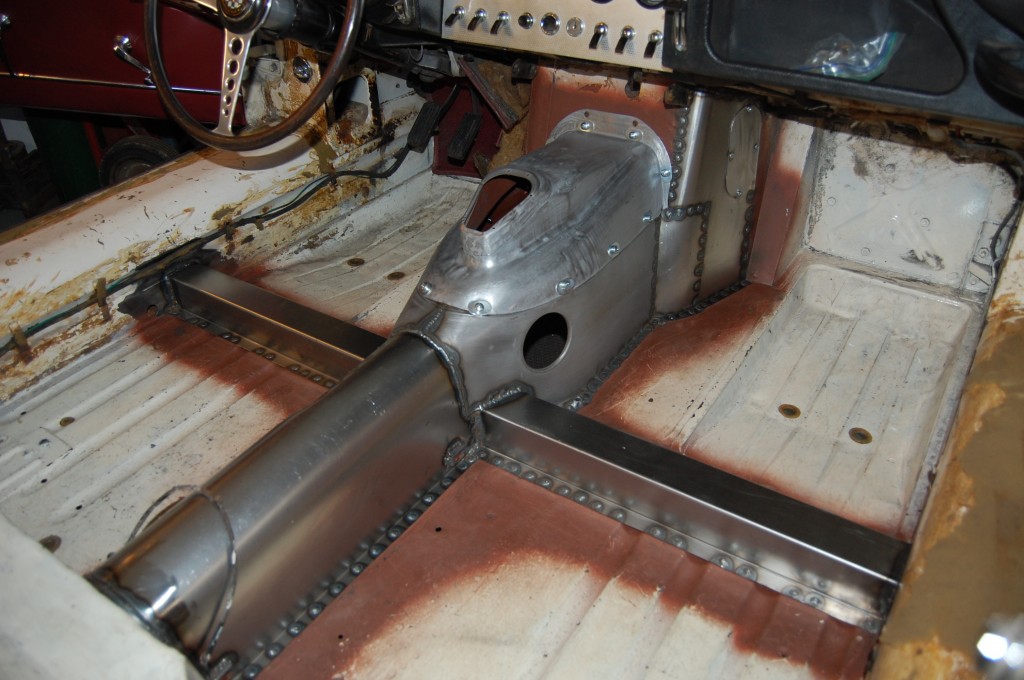
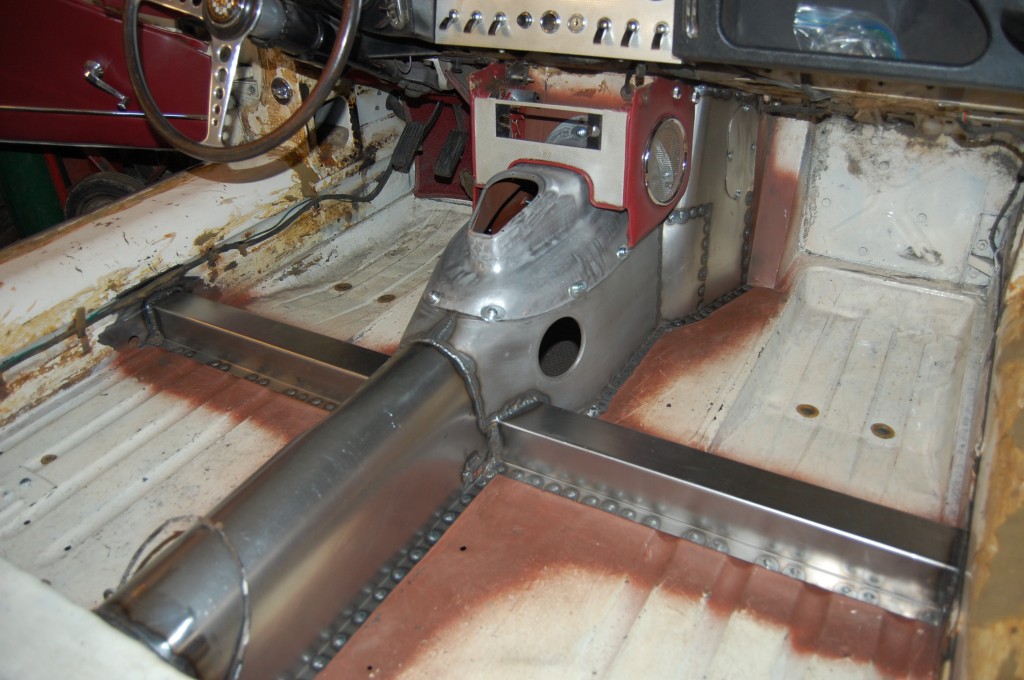
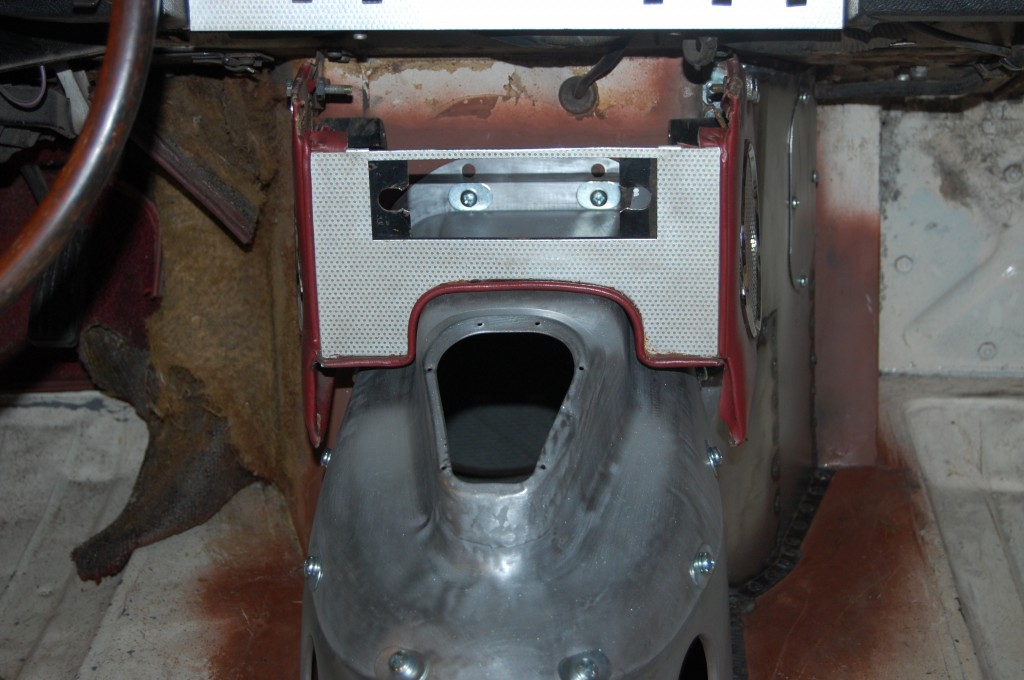
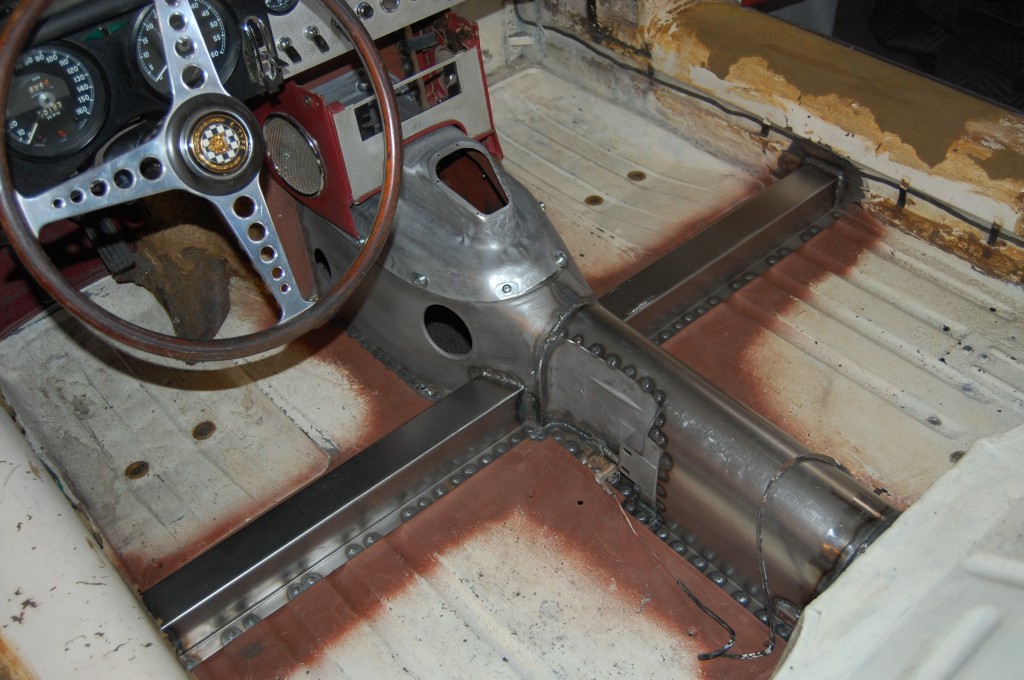
This is a 3.8 roadster with some GREAT history, and some TERRIBLE carnage performed on the trans and driveshaft tunnel in order to install a 4.2 synchro trans in the 1980’s. As usual, this butchery was performed by a “british car shop”… This car is still owned by its ORIGINAL OWNER, who FLIPPED OUT when he saw this after it was originally done, and it has bothered him ever since! When I mentioned that I could erase this damage after seeing the car at a small show this past Spring, he was all for it, and now the car is being treated to a new Interior as well.
The owner of this car was in the army and driving an XK140 when the E-Type debuted in 1961. He immediately said to himself, “I have got to get one of those!” – and despite not really being able to afford, bought one anyway, and has hung onto it and enjoyed it ever since. He even took the car with him to South Africa for a while, where the seats were recovered in the thickest leather I have ever seen – they’re pretty cool!
Follow along as we erase the carnage, and return this very solid shell back to it’s factory configuration.
- Here she is when I first saw her – the interior is apart because the radio console is always a tight fit, and with this mess, it didn’t fit at all…
- But she’s out on the road – still being driven on sunny weekends by her original owner – for the past 50 YEARS!!!
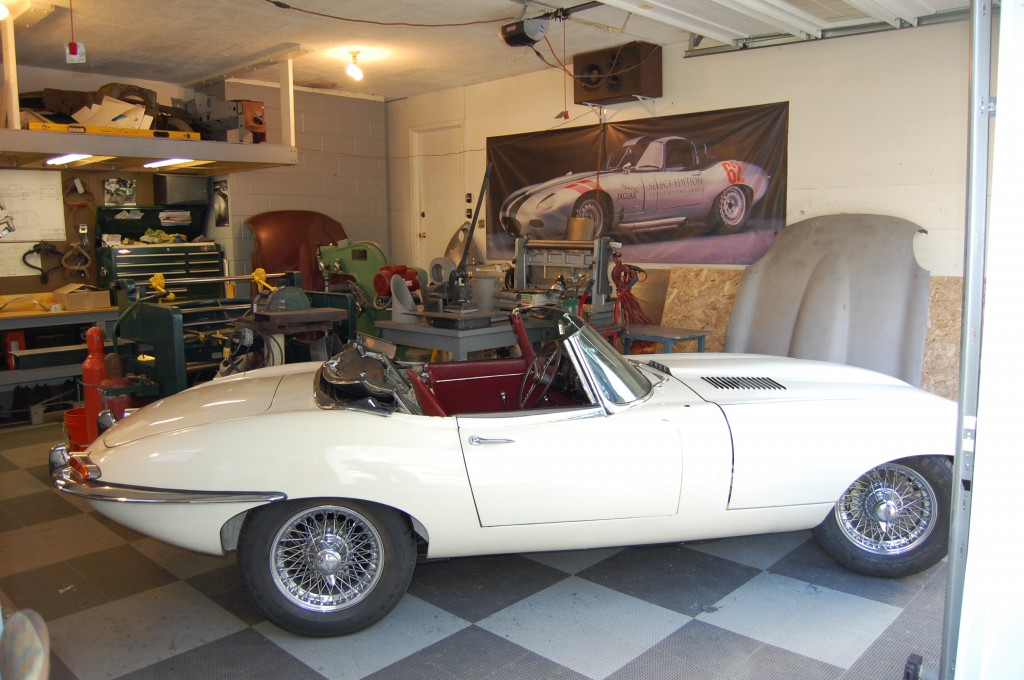
- She finally made her way up here, and we’re ready to get things straightened out. Because of the size of the job and the age of the owner, this job went straight to the top of the list for a quick turn-around!
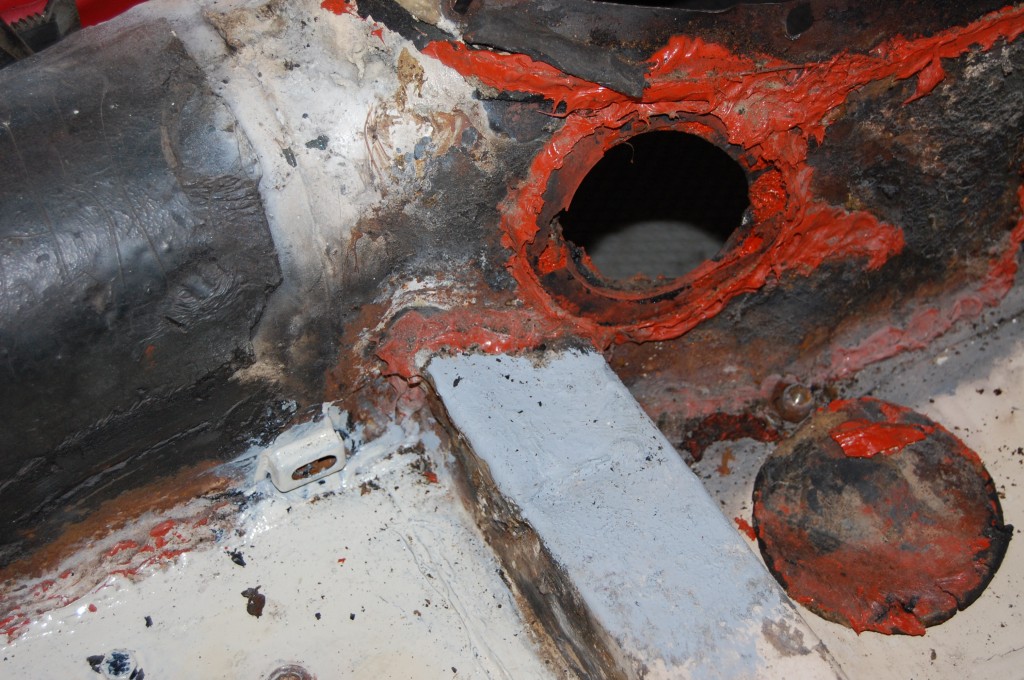
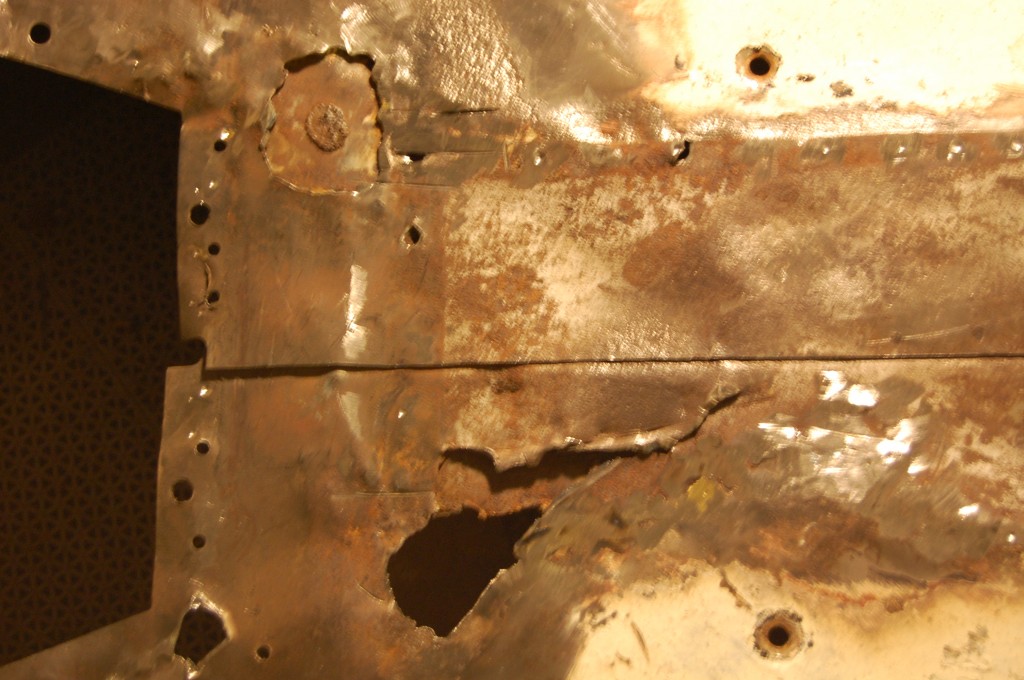
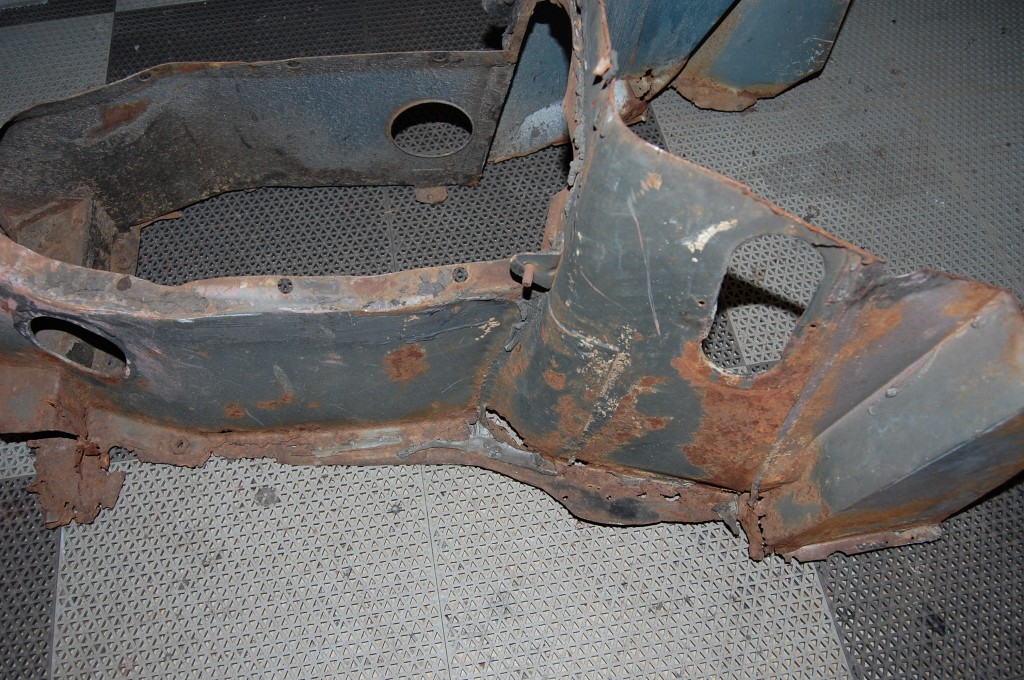
- The shop in the 80’s just used a torch and an air chisel to cut out the trans tunnel, cutting right through the cross-member. What’s even worse is the the piece they used to close it back up is from another E-Type, meaning that not one, but TWO E-Types were butchered by these guys… 🙁
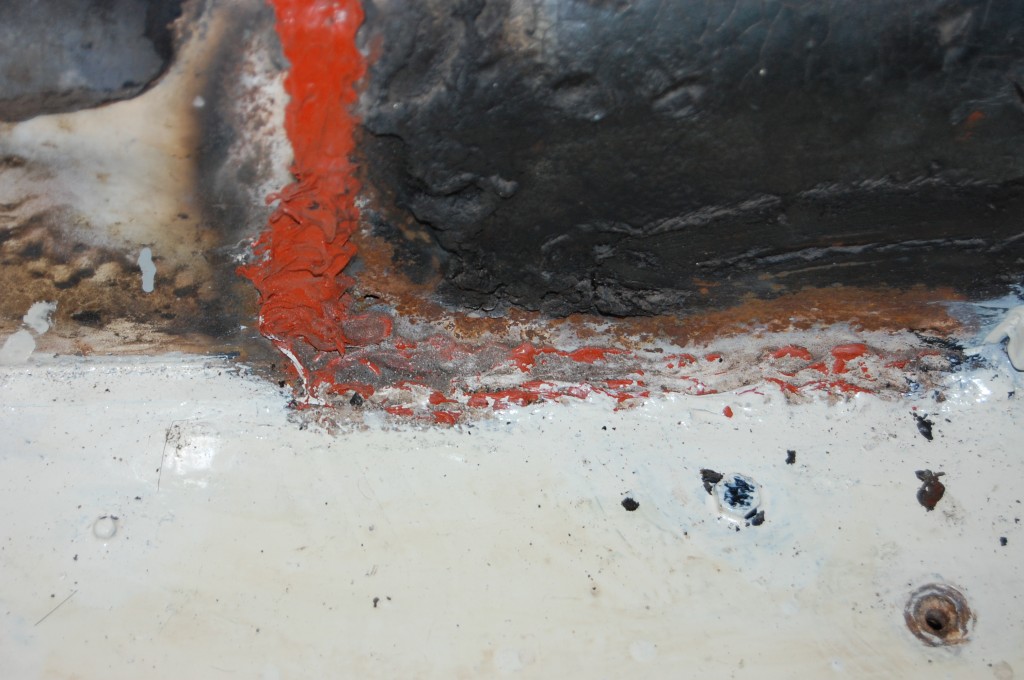
- Orange RTV to seal the shoddy welding which looked like it was done with a torch and a coat-hanger…
- Lovely…
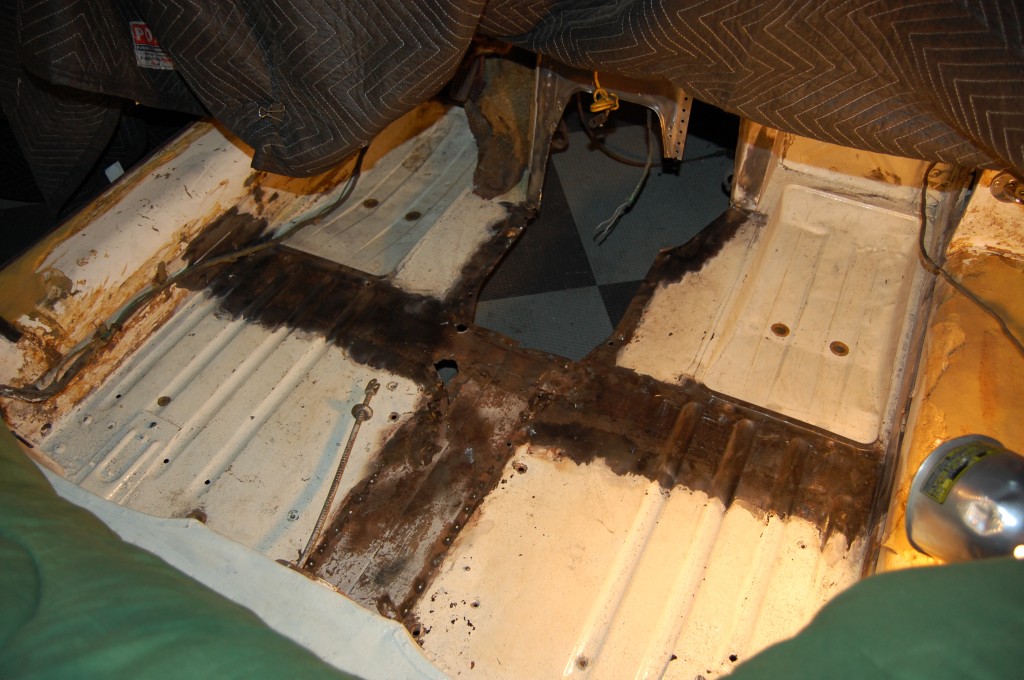
- We started cutting out all of the damaged panels in an effort to get back to “virgin floor”. Over 25 years of experience with E-Types has shown me that the tunnel can be removed from these cars without affecting the integrity of the shell’s shape – engine swappers have shown me that – they are RURTHLESS sometimes when they stuff in V-8s and automatics…
- The rough cutting is completed. The car is well supported by the main rails under the floor and the sills, although on a rusty car you would not want to do this.
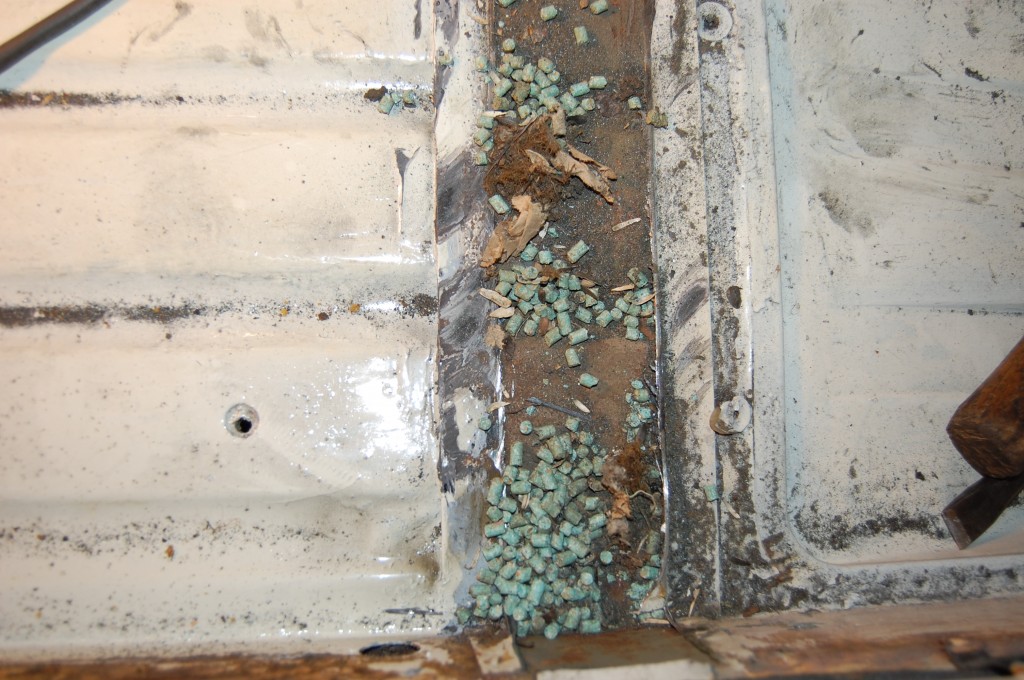
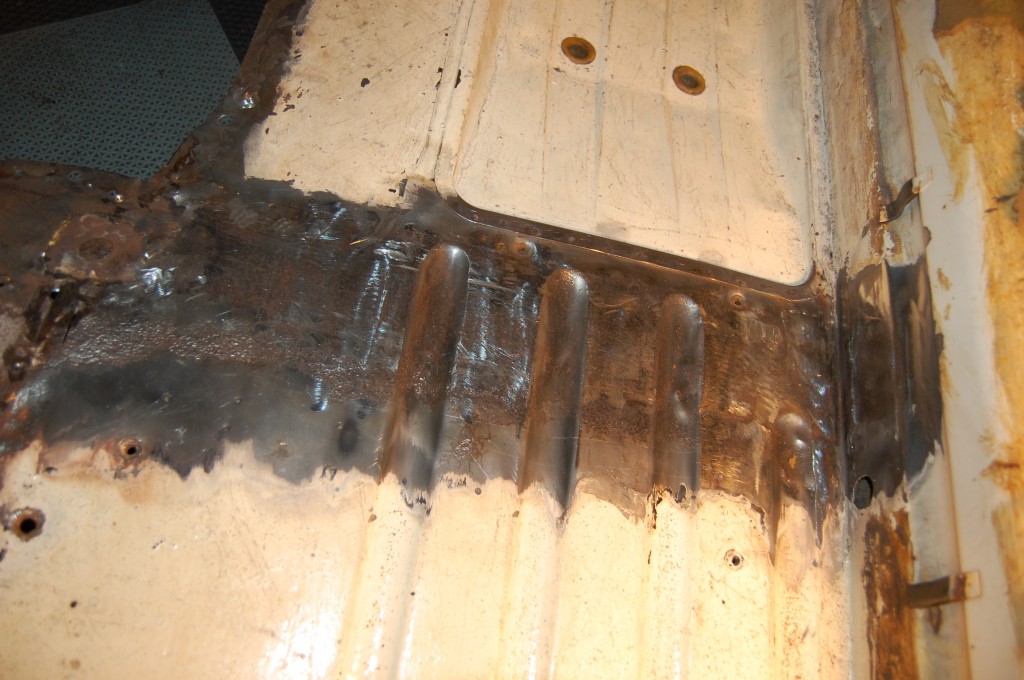
- Hmmmm – not quite the “virgin floor” I was looking for…
- THIS is what I had in mind…
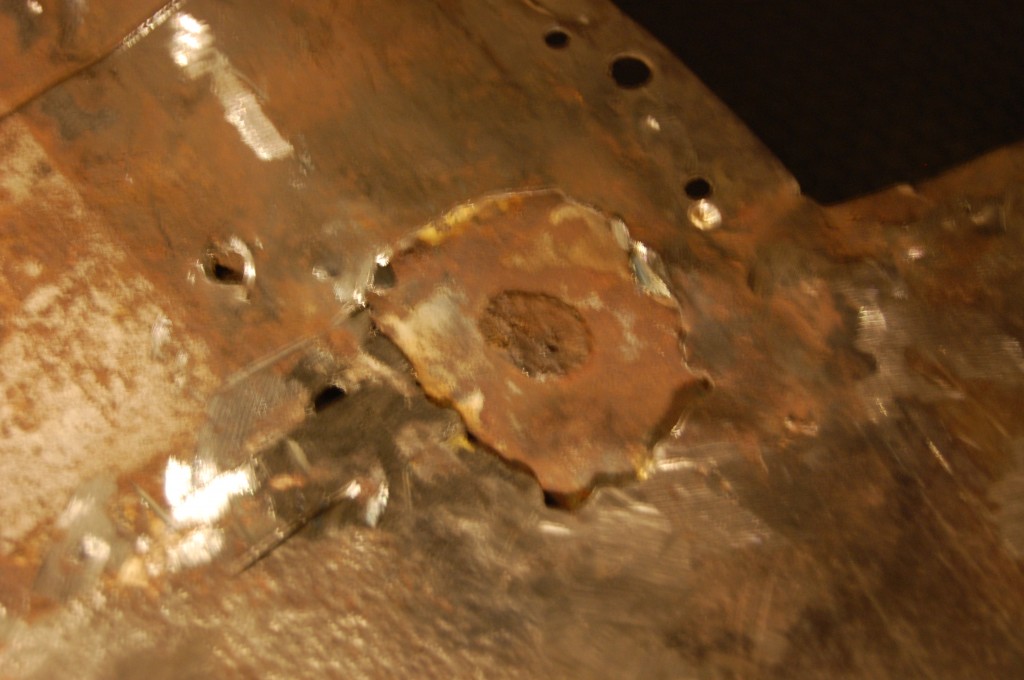
- But these crazy little patches brazed in from underneath are a problem…
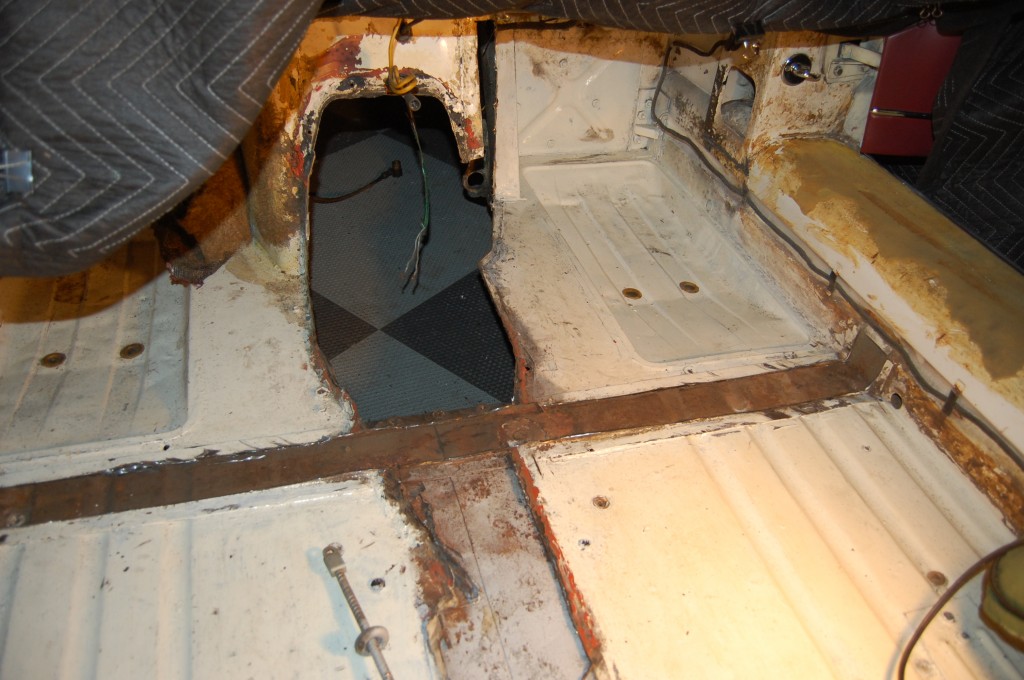
- All panels are removed but the floor is compromised – now what?
- We decided that in this case, a well-done patch was the answer.
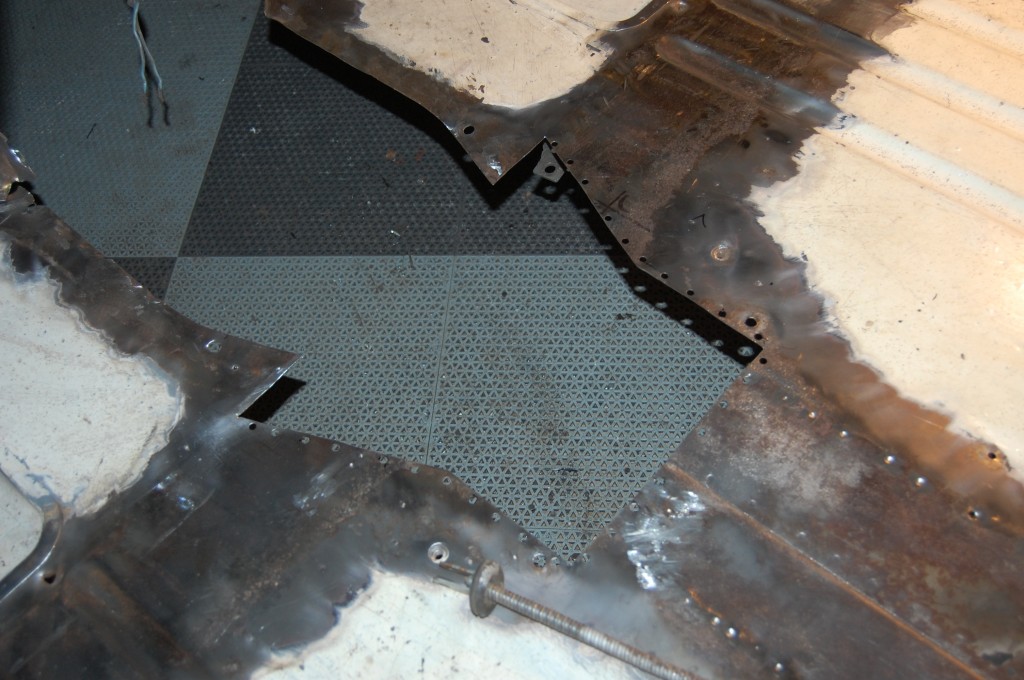
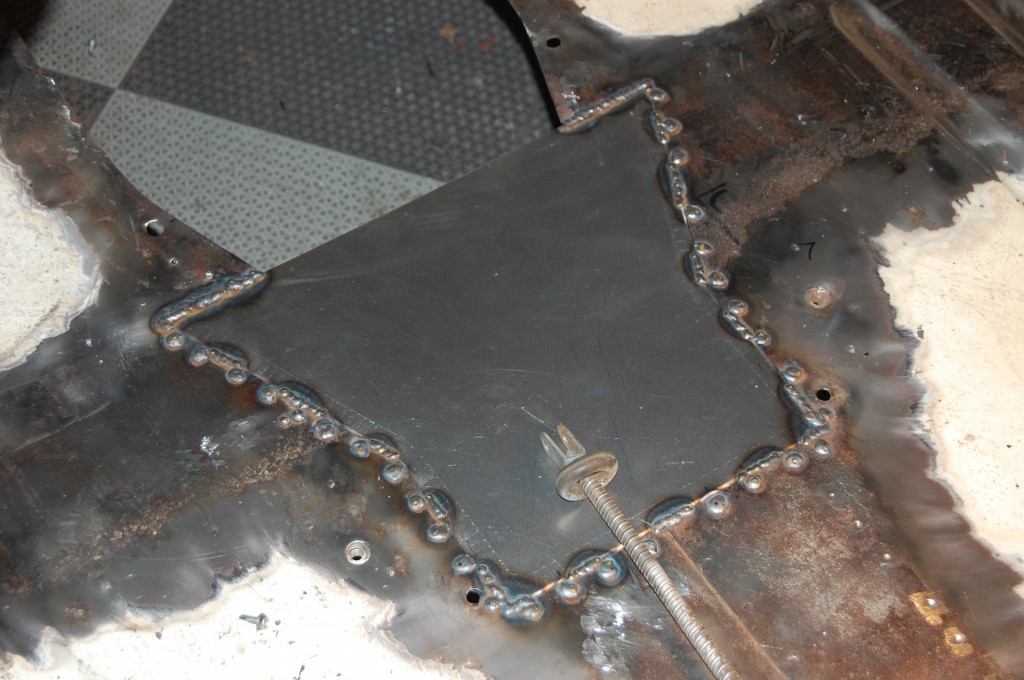
- Here, we have welded in the patch by plug welding AND welding the seam as well. We’d usually have butt-welded in this piece and sanded it smooth for a seamless repair, but here I wanted the additional strength of a flanged piece.
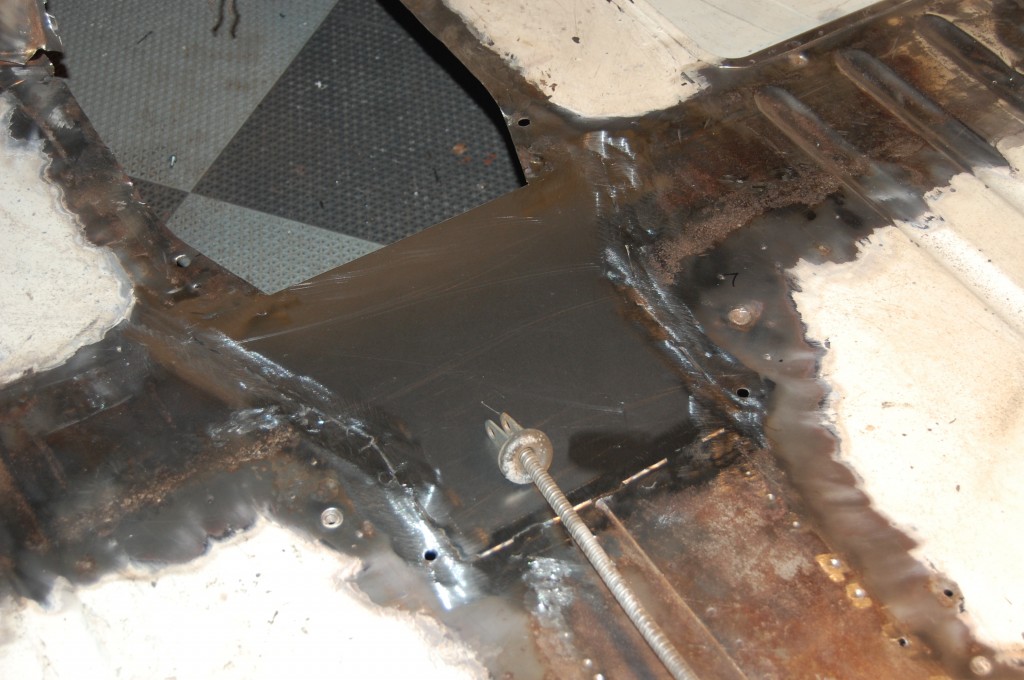
- Ground smooth.
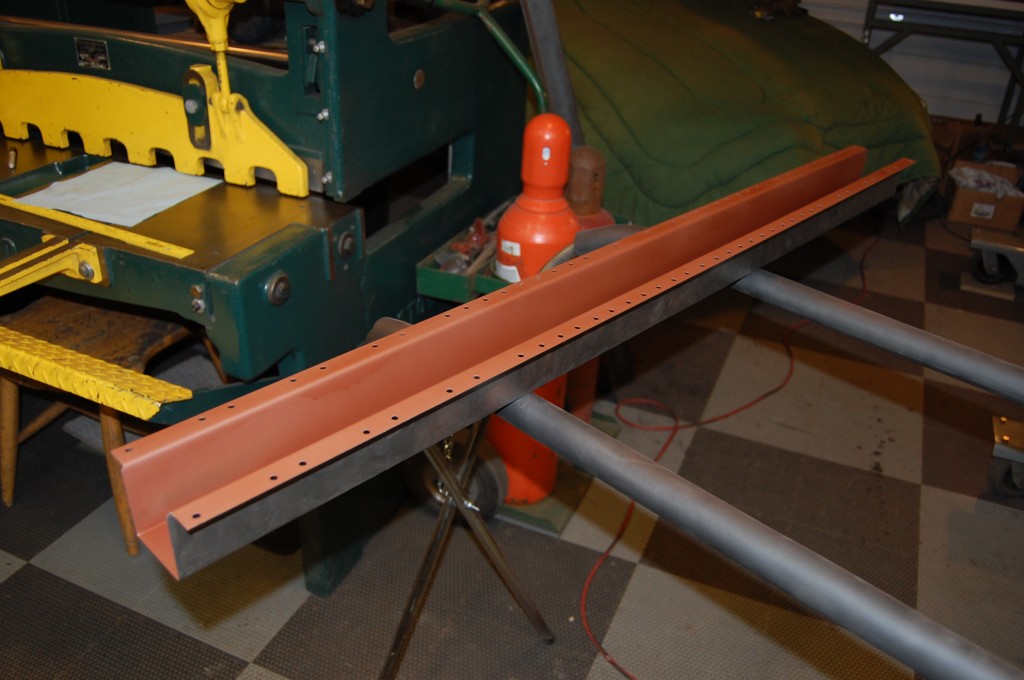
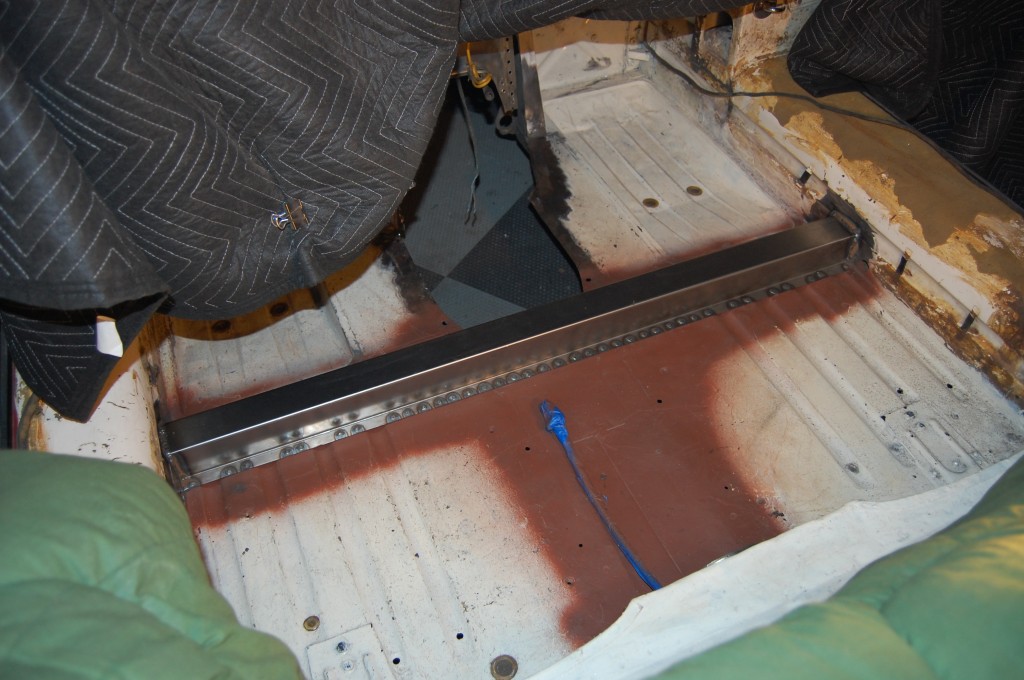
- Here is the new 18-gauge crossmember we formed up in the fabrication shop. Actually, the whole car is sitting in the fab shop… Space is getting to be a real issue around here.
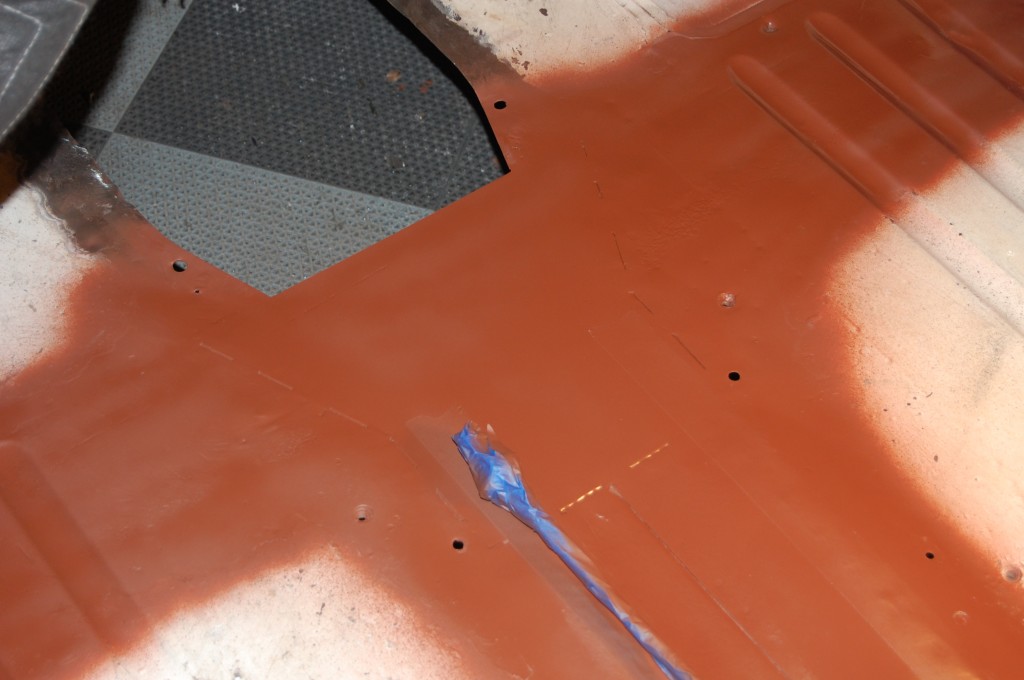
- NOW we’re back to a rock solid floor we can build up from.
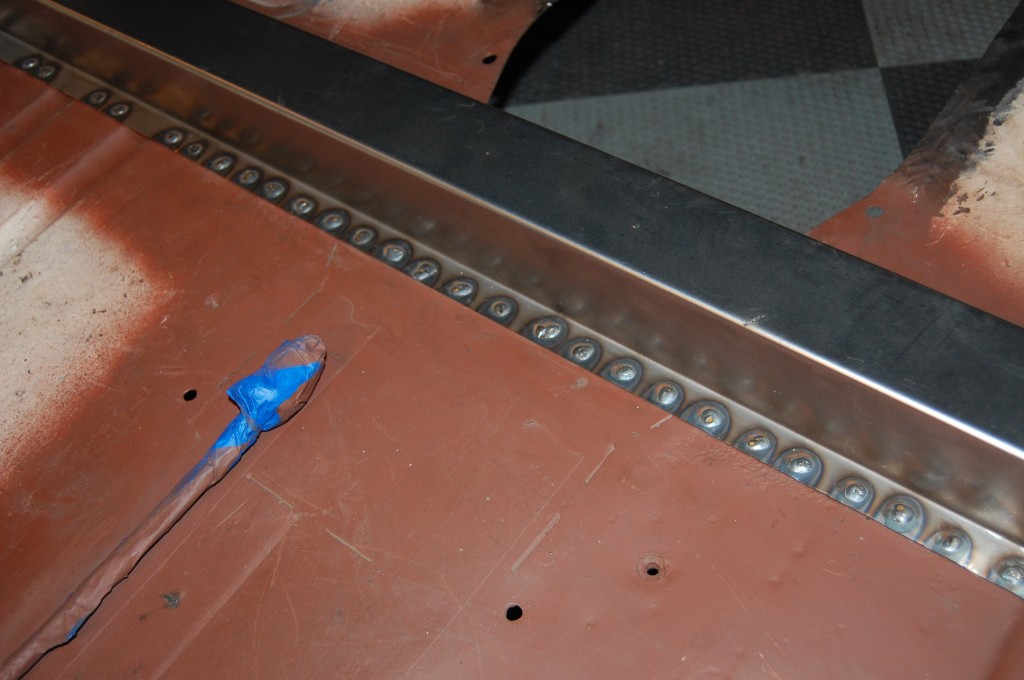
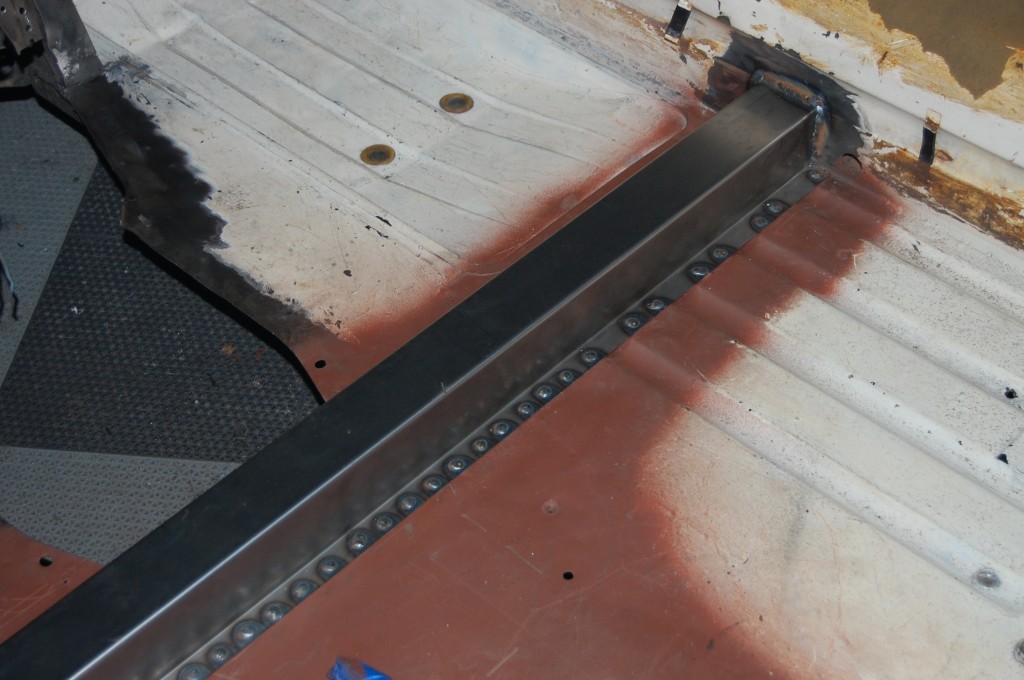
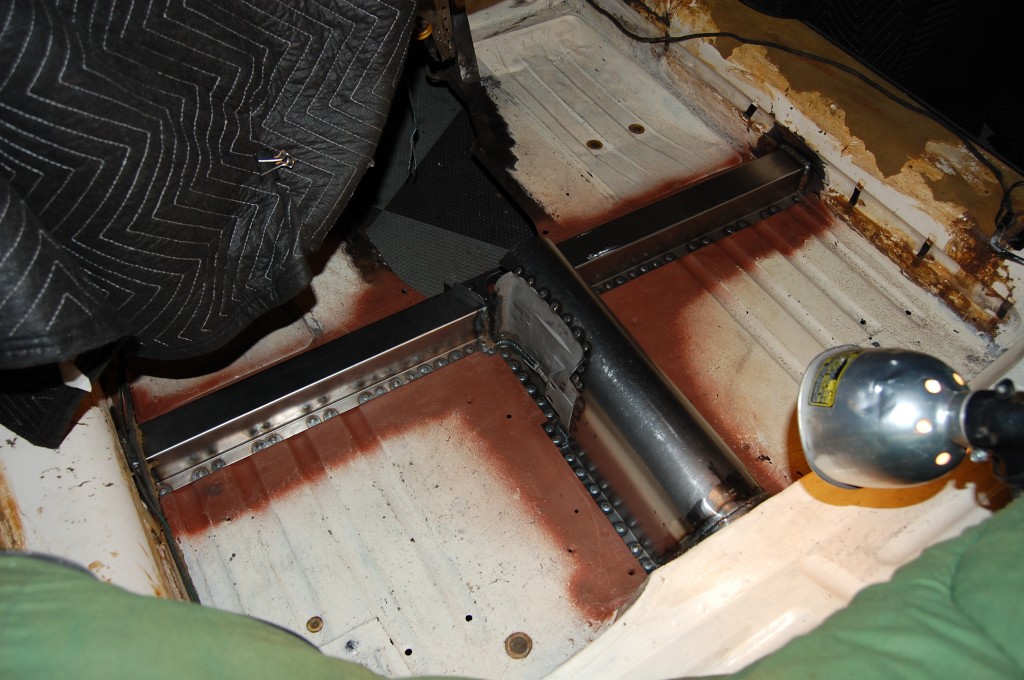
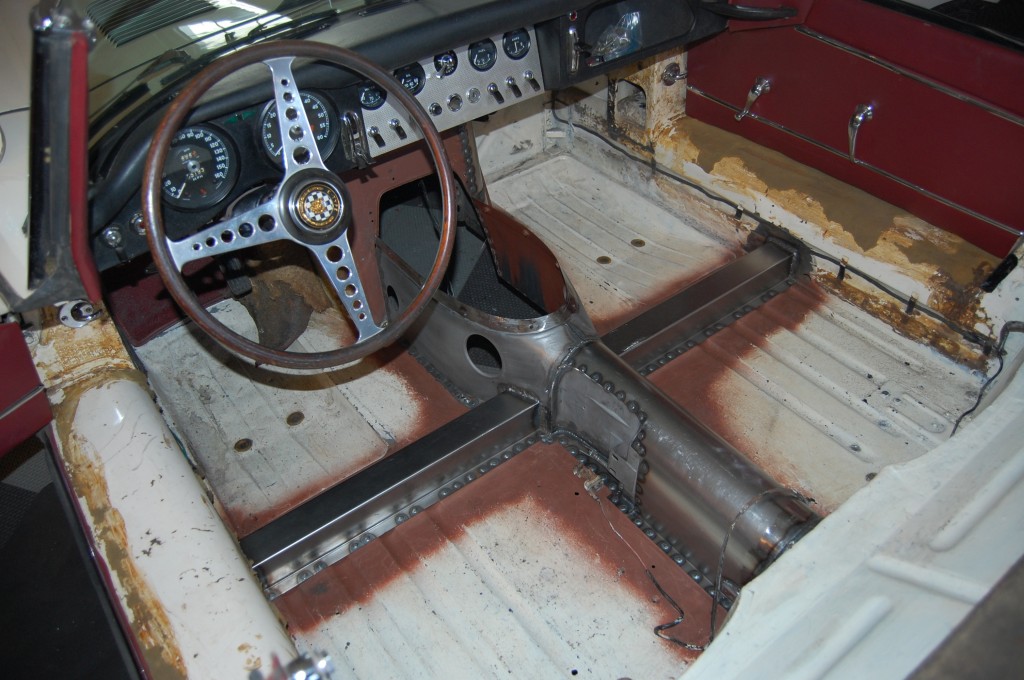
- The crossmember has been plug-welded into place. We will have to use plug-welding for this entire repair because most of the work is too far into the shell for spot-weld tongs to effectively work.
- Not too shabby!
- Here’s another shot. I have stopped using the little flanges on the outer ends of the crossmember and have begun welding the ends directly to the inner sill. It’s just better.
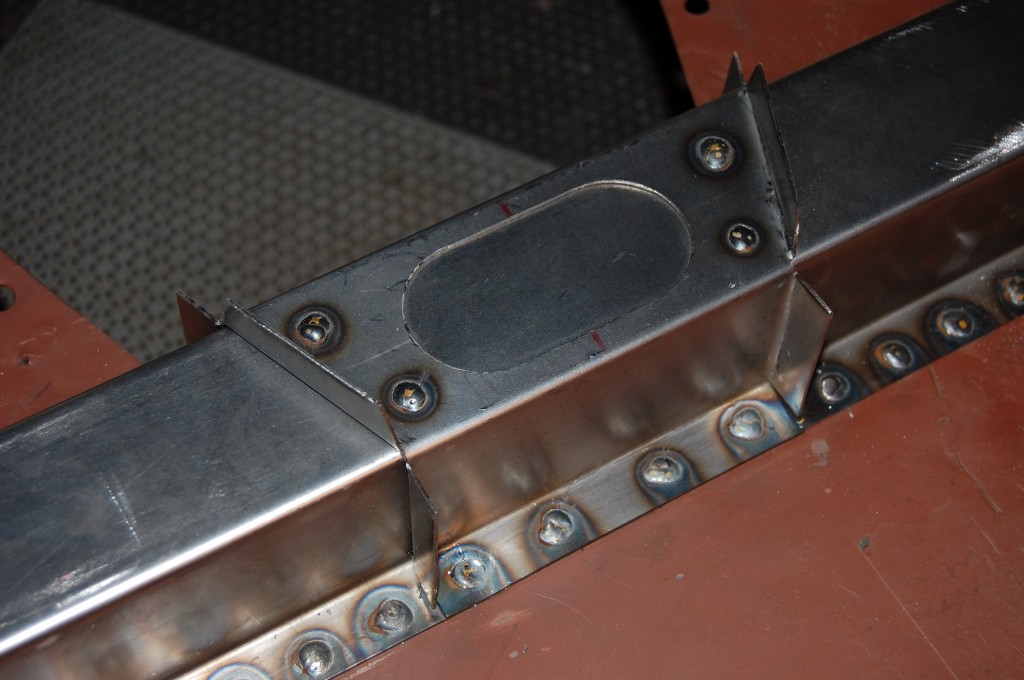
- Next we form up the additional brace for the rear transmission mount. I couldn’t resist putting in the little oval like the factory piece has…
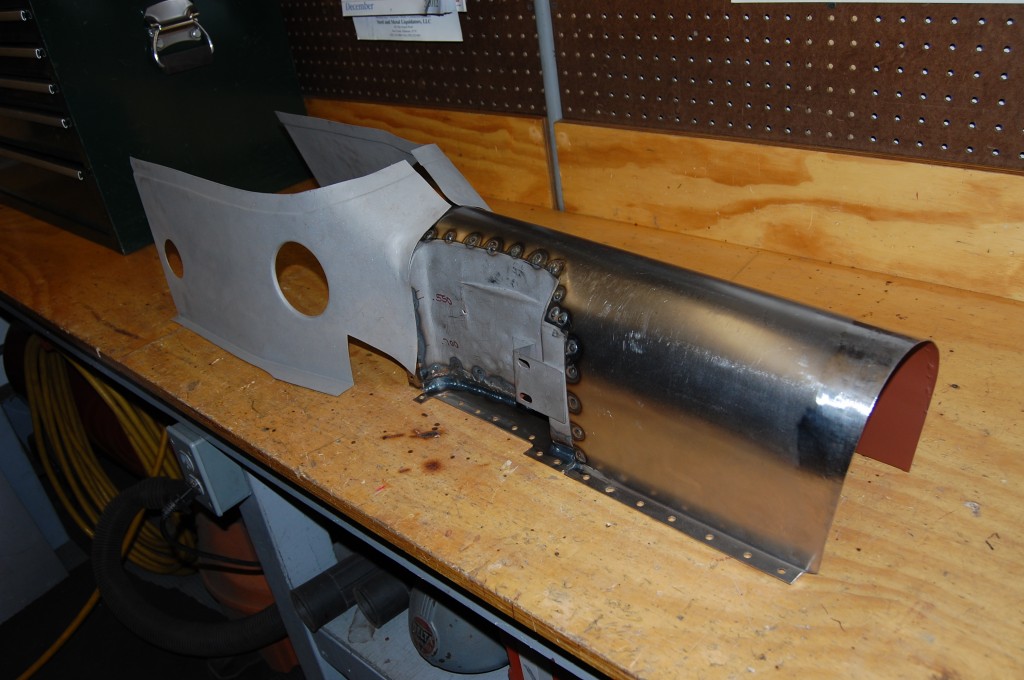
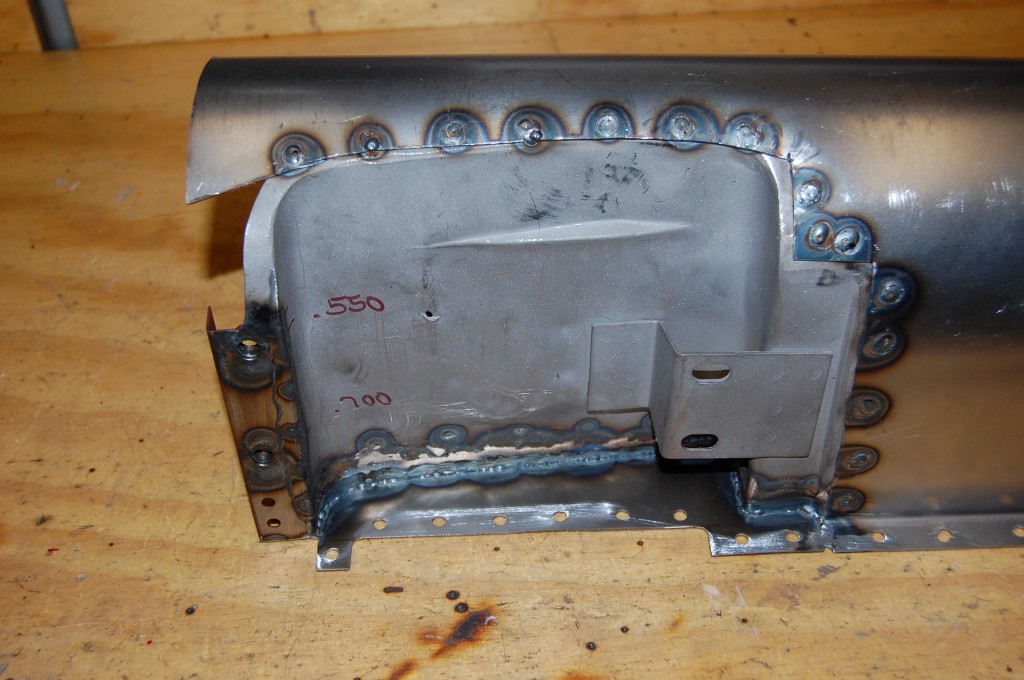
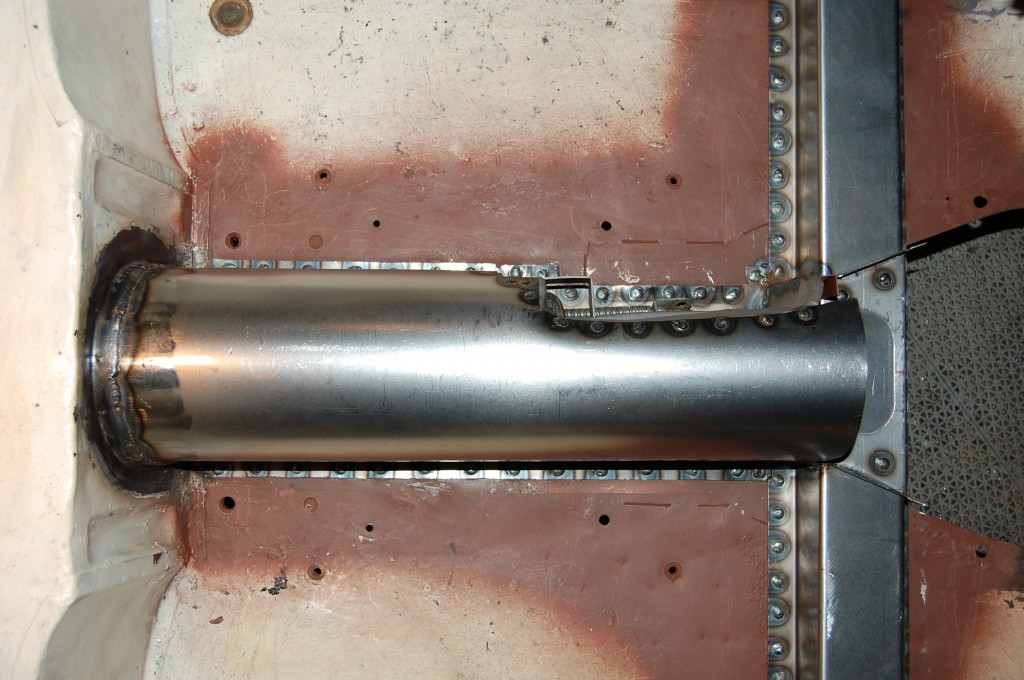
- This is the new 18-gauge driveshaft tunnel we’ve fabricated, using the original handbrake recess.
- We were able to repair and rescue this piece – fabricating it from scratch would have ben very time consuming and there are alot of dimensions here that need to be just right.
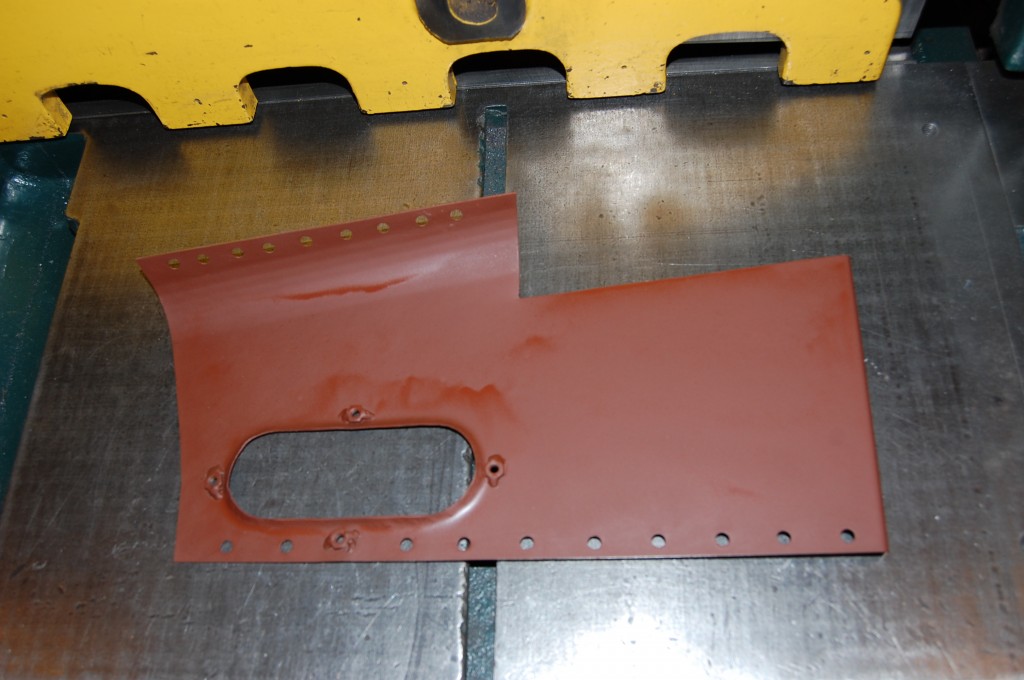
- This shows the patch piece we put on the bottom of the handbrake recess. The piece is drilled for the plug-welding, and liberally coated in red oxide internally, as always…
- Now we’re getting somewhere!
- MUCH better!
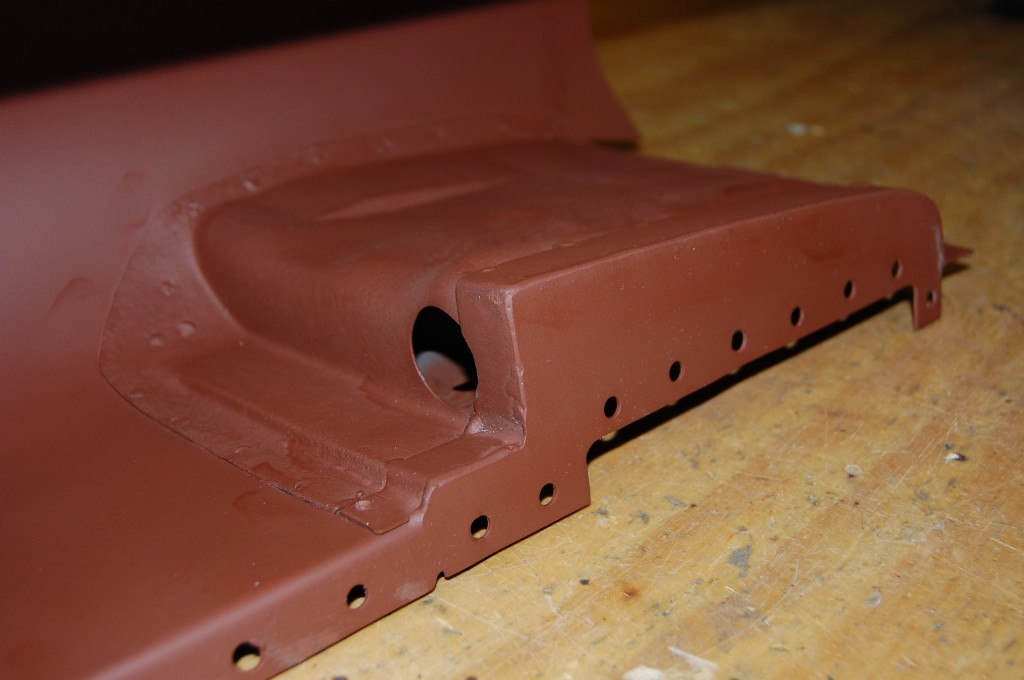
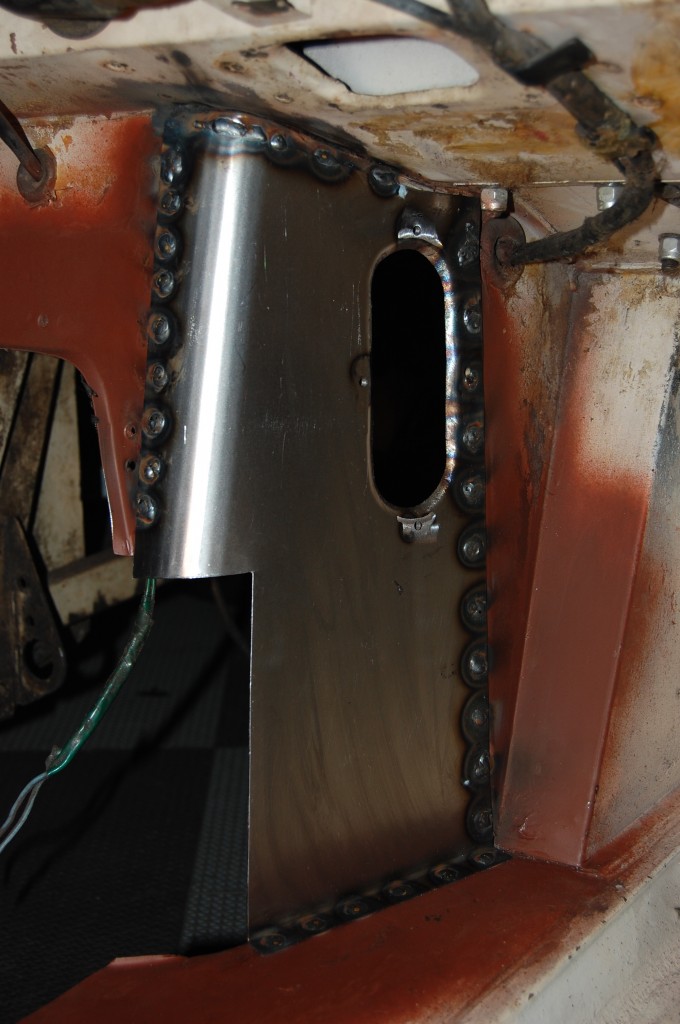
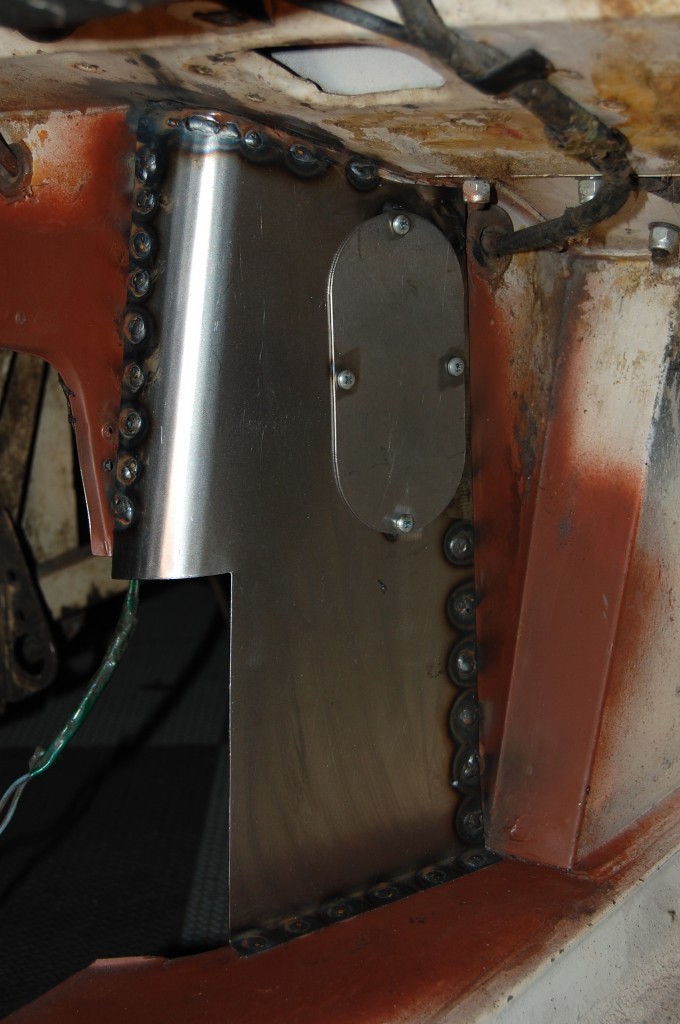
- This piece also fell victim to the air chisel, no doubt for access to the starter bolts. We decided to replace the panel with a reproduction of the 4.2 version, where this access hole is added.
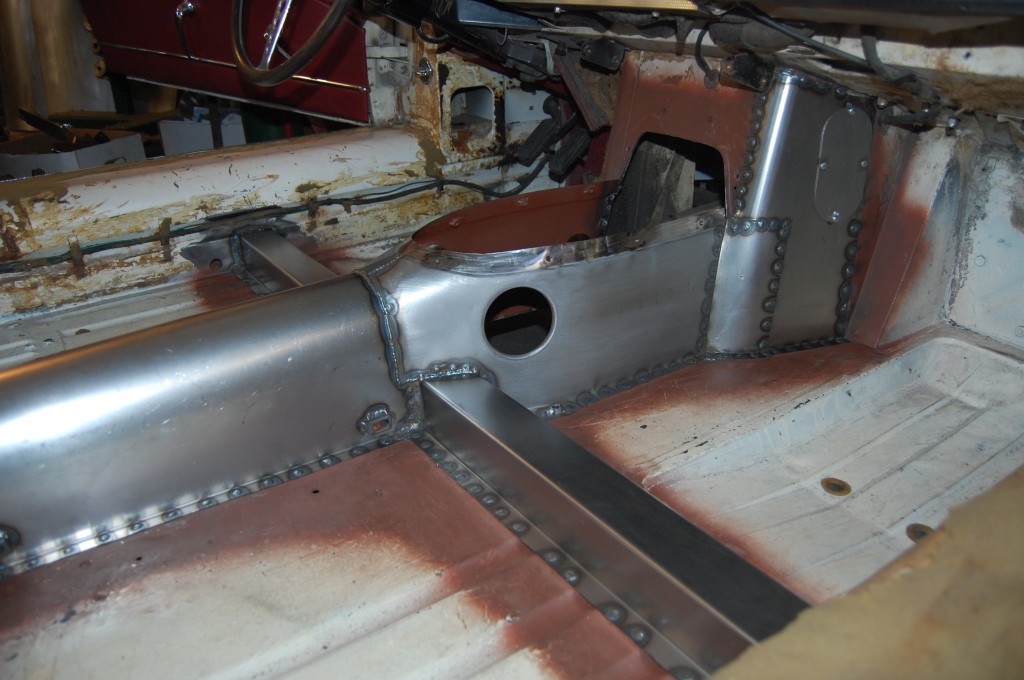
- Here it is welded into place.
- And with the cover piece – all formed from 18-gauge in our in-house fab shop from our carefully made patterns.
- Here is an example of the junk we have up in the attic just so we can pull it out an measure things carefully as we work. Of course, having 8 E-Type shells on site helps too…
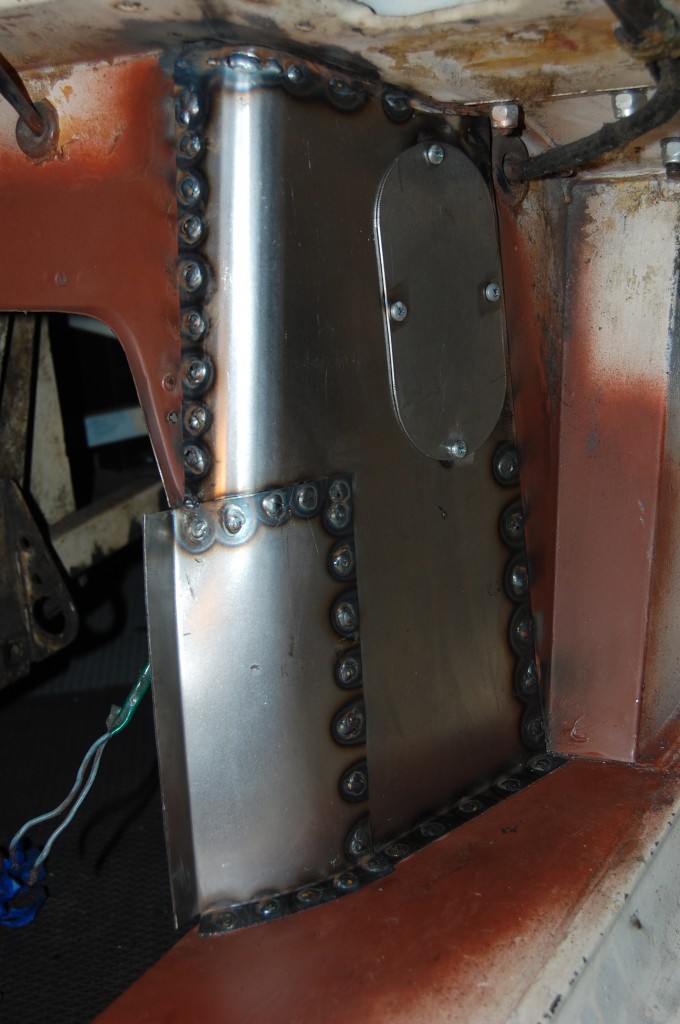
- This is the piece we call “the wedge” – all E-Types have it even though it looks like an afterthought. It is there to cut the corner, but we don’t really know why – possibly for access to the starter bolts with an extension?…
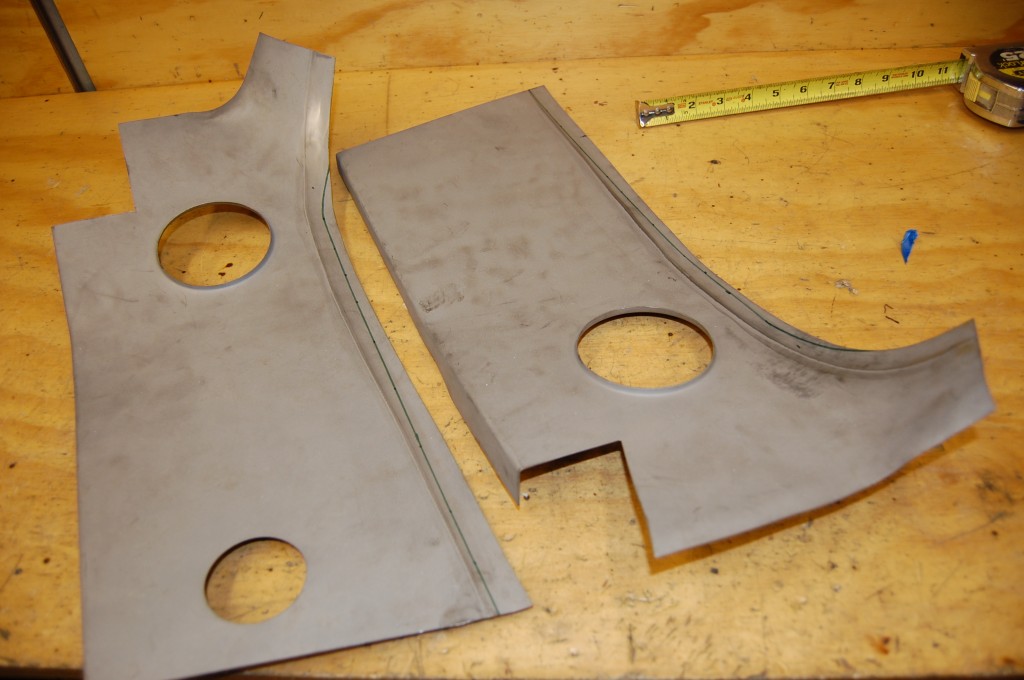
- Aftermarket side panels that are wrong, as usual… We need to cut them down lower and straighter.
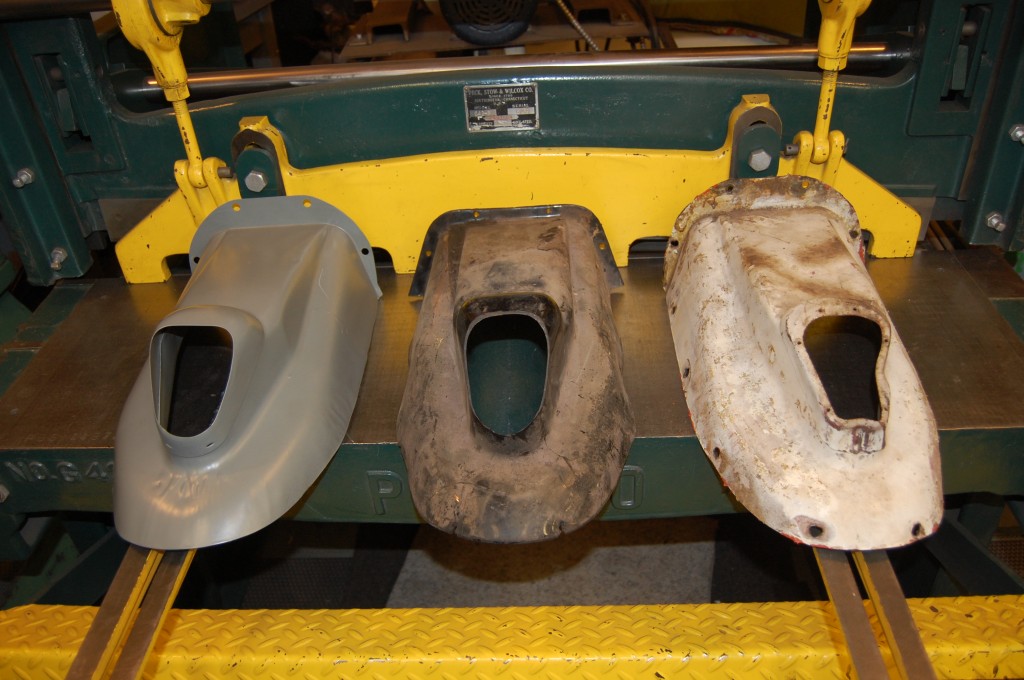
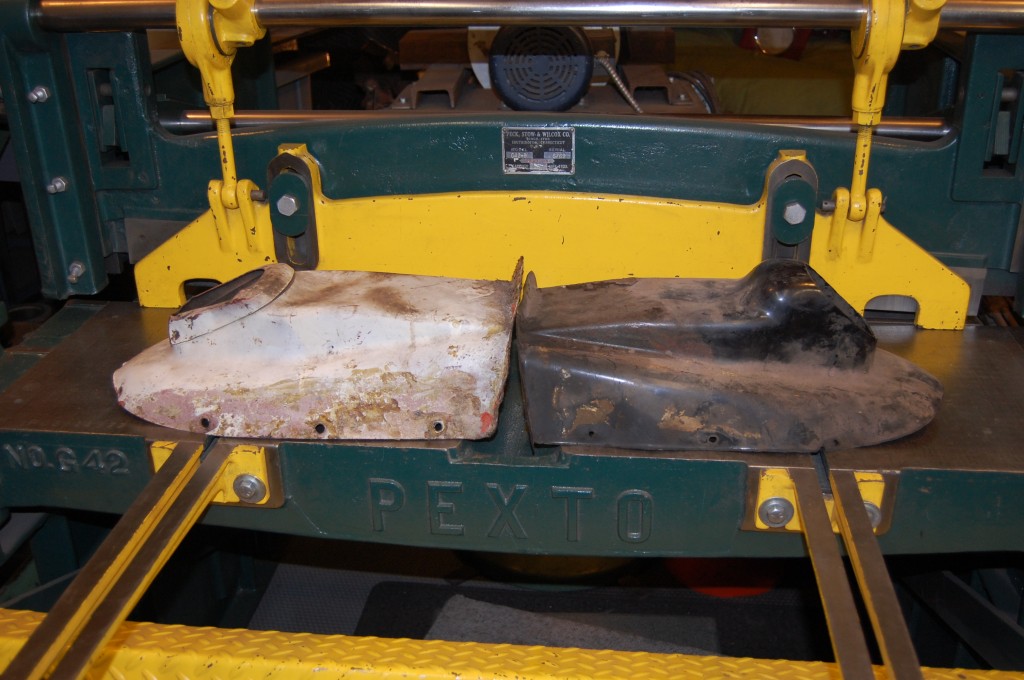
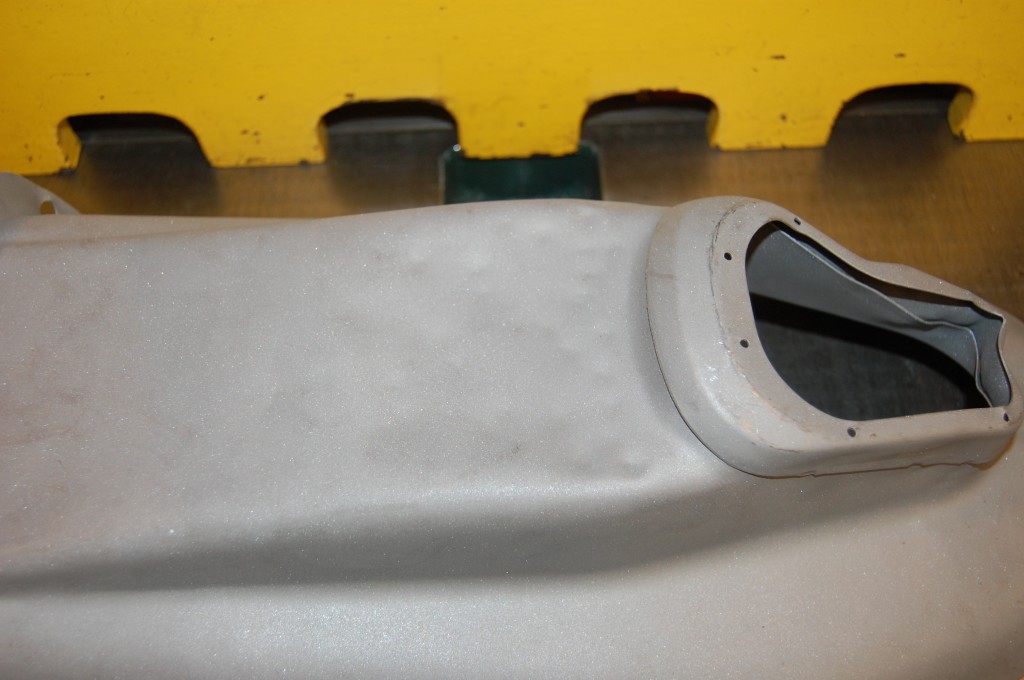
- Next was the discussion over what cover was correct and to use. The grey cover is a late 3.8 steel cover. Center is a plastic early 3.8 cover. White is the 4.2 steel cover that the car had on it.
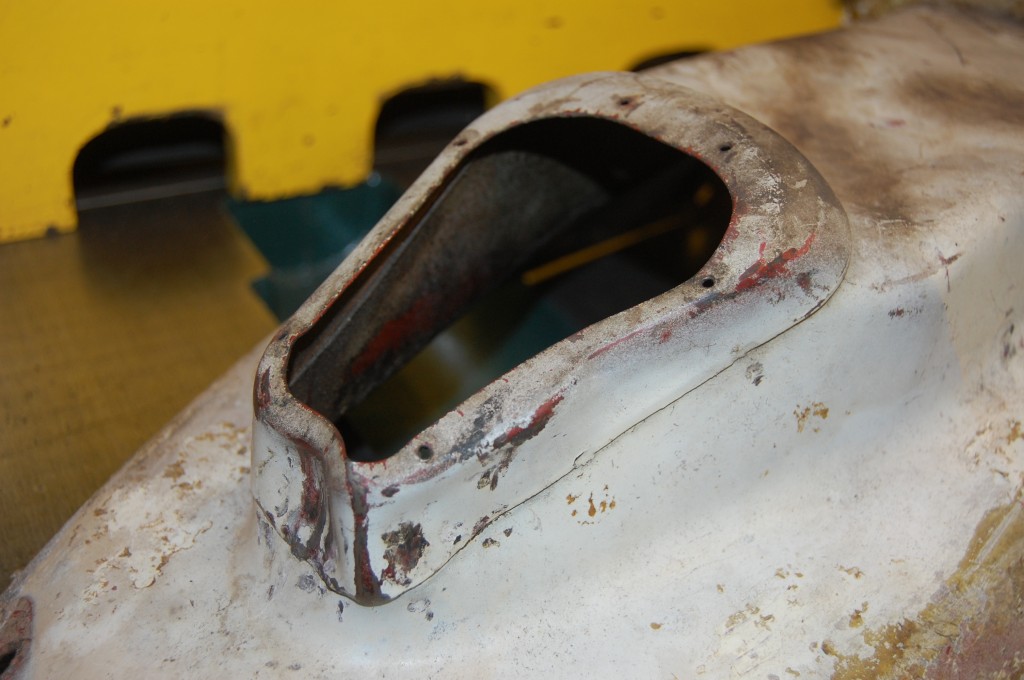
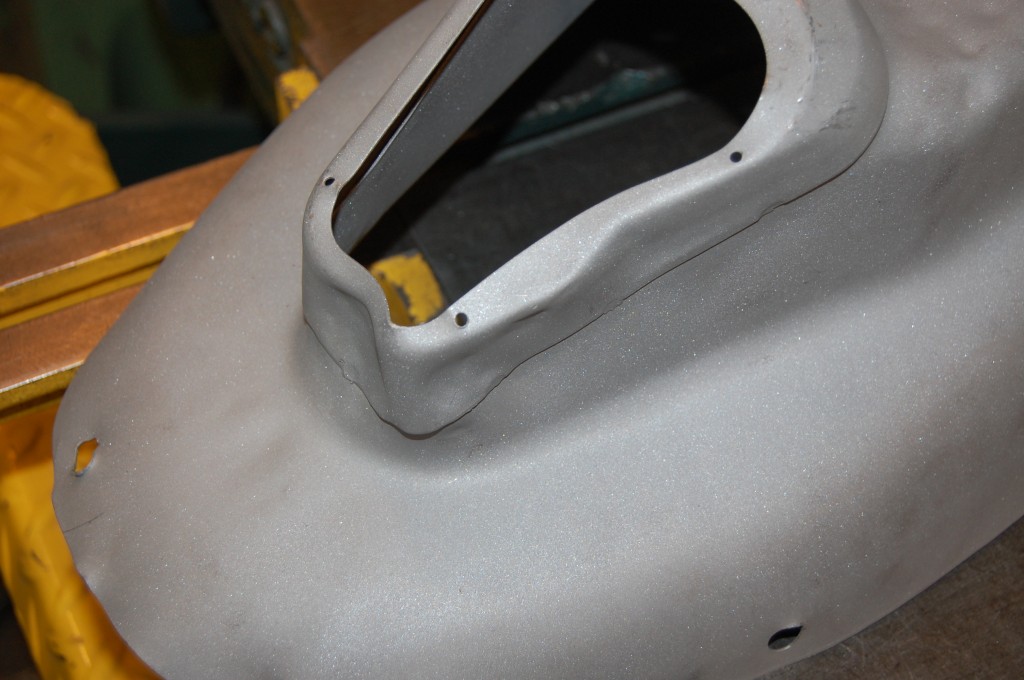
- We decided to use the 4.2 cover because the customer already had it, and it was the same basic dimension as the proper 3.8 cover, but would accept a screwed-on rubber shift boot.
- It needs a little work, though…
- An attempt at additional clearance.
- Not sure what was going on here…
- After ALOT of adjustment, the side panels are in place.
- This side shows the entire repair. We welded in 1/4-20 nuts for the top cover – I want our sister shop to be able to stuff everything in place and really bolt the cover down tight.
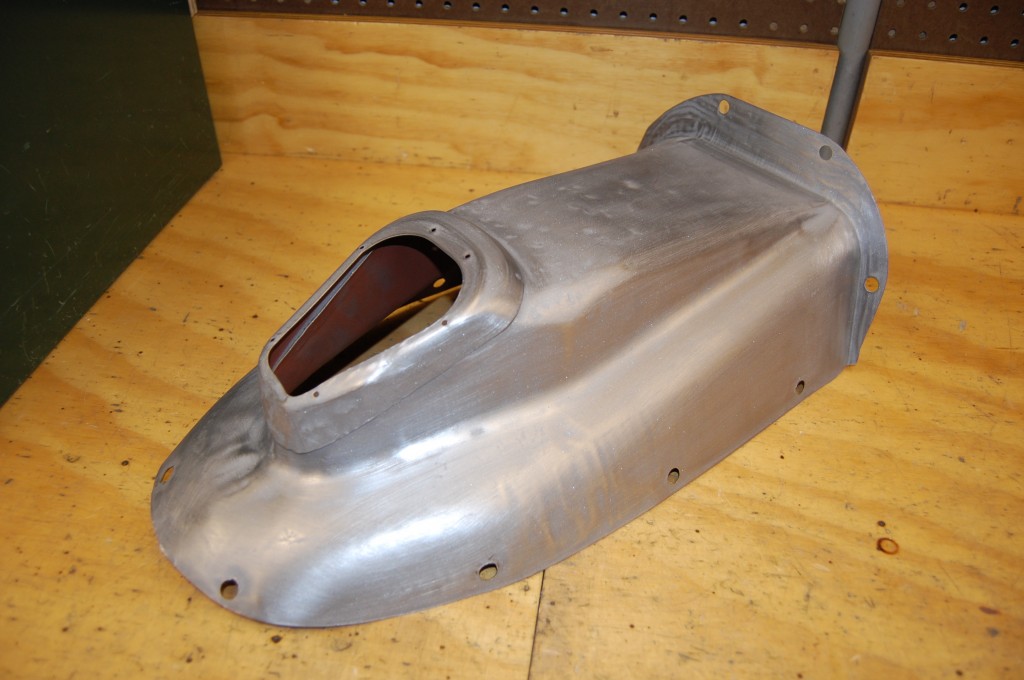
- The restored tunnel cover.
- The tunnel cover is bolted into place with good solid 1/4-20 machine screws and oval washers.
- Success!!! Everything has the EXACT dimensions as when it left the factory, and the radio console fits with room for the aluminum cover and jute padding to just fit under it.
- This is tight on all E-Types!
- I was proud of the rescue we did on this one – it almost breaks your heart to cover this with the interior! 🙂

