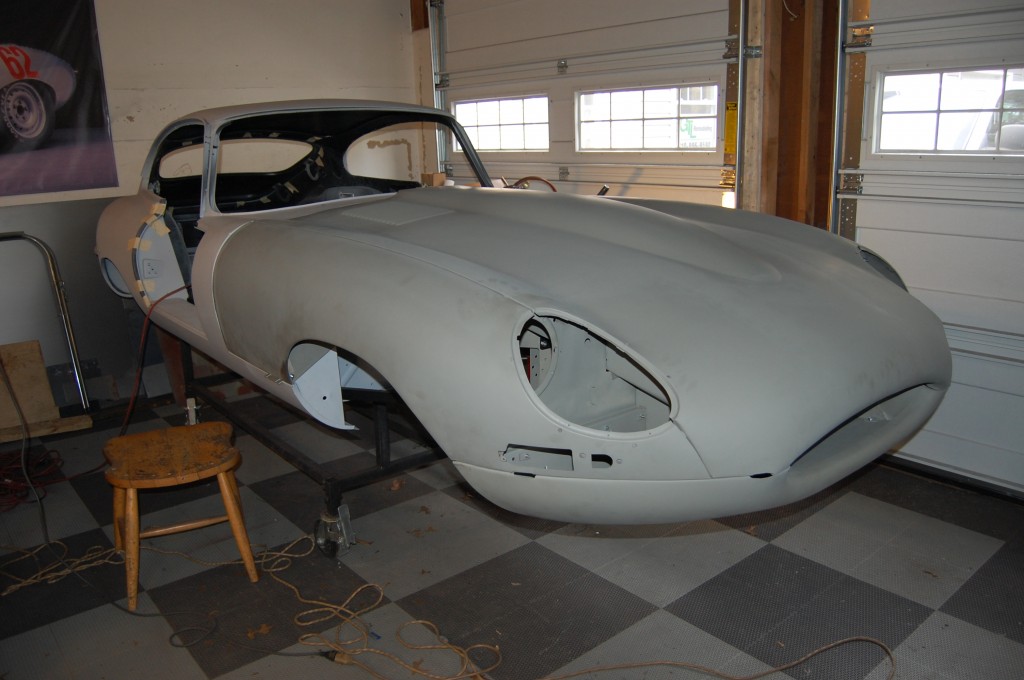
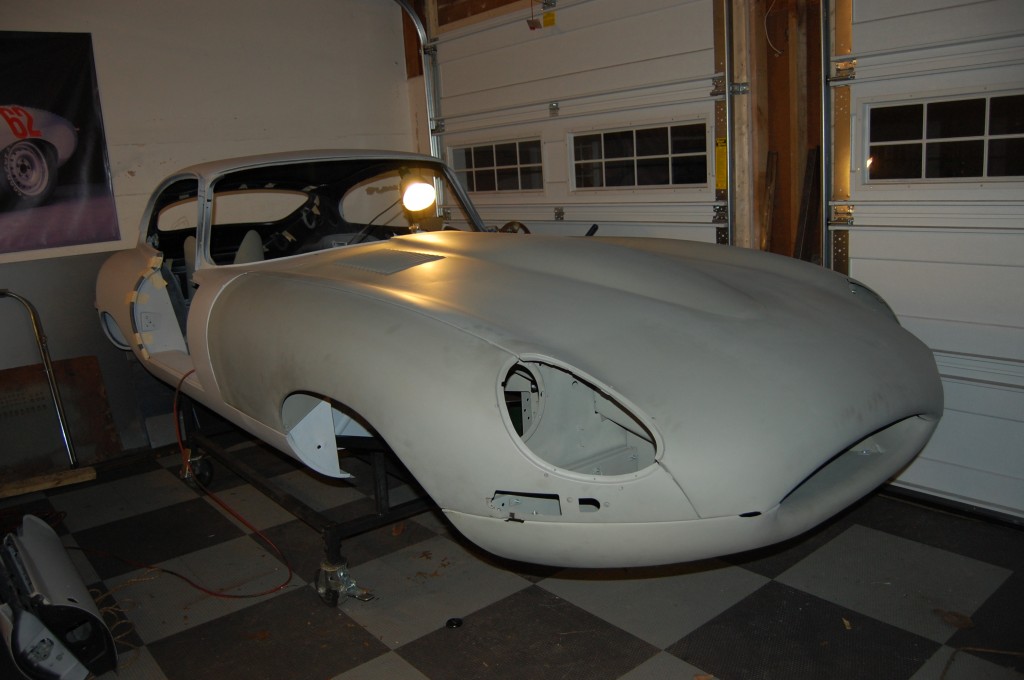
Once the frame rails were sealed, the original picture frame straightened, and the everything bolted back into place, it was time to start fitting the bonnet to the shell. We built this bonnet out of two donor bonnets – the welded-louver center section and inner valances coming from an original early bonnet, and the wings and lower valance coming from a very nice later 3.8 bonnet.
One thing we really scratched our heads on for this one was whether or not the early cars have a smaller mouth. That had been the “legend” – and I’ll admit I dismissed it as folklore when this bonnet project started. I even remember saying, “for that to be true, there would have to have been a new mold made, and there’s no way they had two different molds for Series 1 bonnets!” Well – I’m ready to flip-flop on this one – I am now 100% sure that the early welded-louver bonnets have a smaller mouth – that became REAL obvious as soon as I started working with this center section. Then we researched and I stared at hundreds of photos, and I now believe 100% that:
A) Early bonnet had a smaller mouth – same width, but shorter height, and
B) These bonnets were made in a different press, and that a new press was built for the later bonnets with pressed louvers, and at that time, they opened up the mouth on the center section.
I have the center section here, and it’s not “mashed down” as some who have been involved in this discussion suggested early on – it was dented and dinged around the mouth, but not that much. It arcs across from side to side much shallower than the later bonnets. I also know that there was a different press because the headlight flanges are MUCH deeper, and just much more precise than anything else around here – and there are 18 original bonnets here at the moment. An original headlamp glass cover in the rubber gasket fits the ’61 center section PERFECTLY, but fits all of the other bonnets kind of sloppy, actually. I assume that for the later bonnets they decided to loosen things up a bit to ease things during assembly.
Also – the distance from the bottom of the headlamp opening to the lower valance seam is slightly longer on the ’61 center section than the later wings we used. So I routed around through a pile of used wings and dug out two original welded-flange wings, and they have the EXACT same very well defined headlamp opening flange, AND their distance to the lower valance seam is the same as the center section – the are a perfect match. Furthermore, I think the ’61 bonnets were shorter in length a little bit too. At first I thought this center section had been trimmed excessively – you get that sometimes. But it didn’t really look like it – it looked like a factory edge, and the stickout length of the sills on the shell – which are original, was really short compared to most E-Types too. But the length thing is tough to prove – that’s just a theory…
SO – there WAS a different press for the 1961, welded-louver and welded-flange bonnets – and it had a smaller mouth opening. I’ll bet that blows your mind – IF you believe it – and I understand – it took me a long time to get there, but it’s true.
And the best part is, in a couple months, I can prove it. Because although we built this bonnet from original pieces for this early car that had lost its original bonnet, the car just TWO serial numbers further down the line is on its way here now for a full shell rebuild, and it’s coming with its original bonnet. 🙂
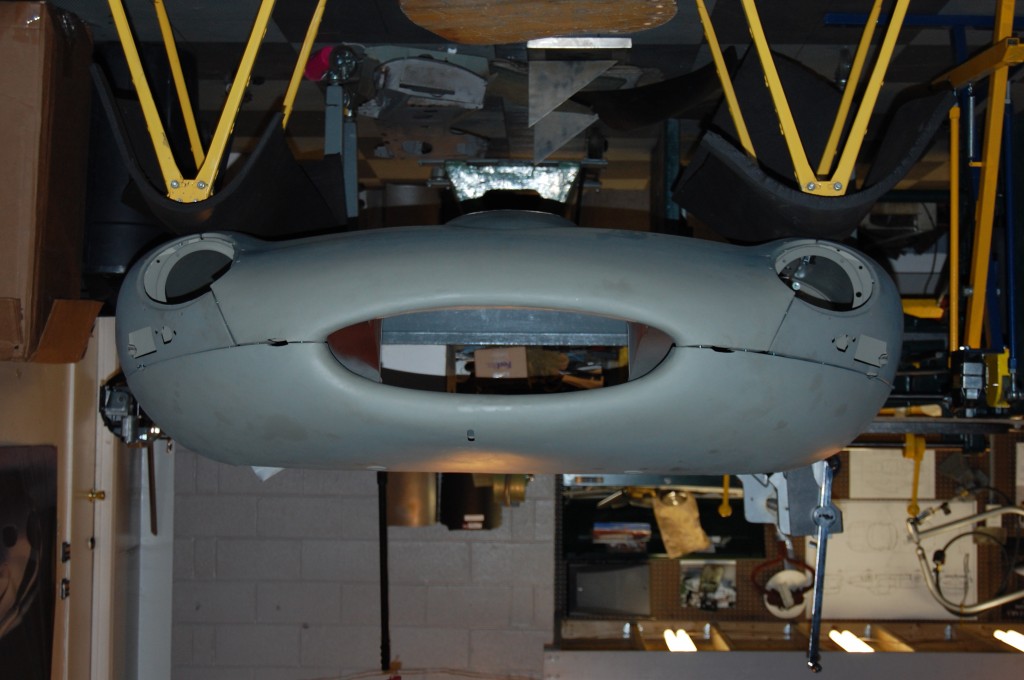
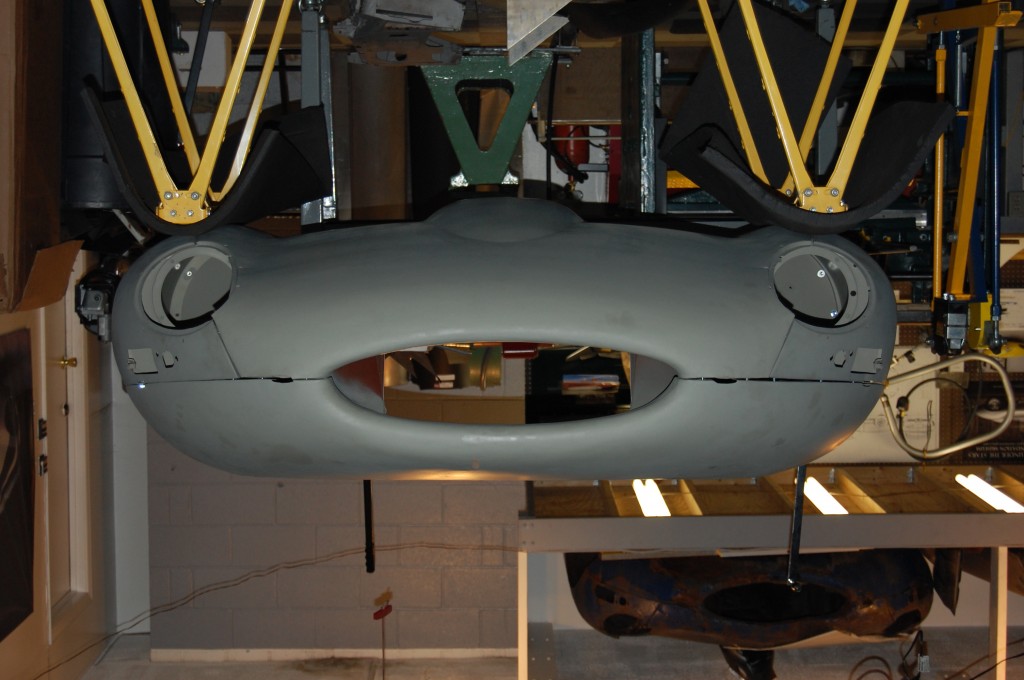
- Back to this Summer- the completed center section, showing the shallow mouth edge.
- See how the lower valance is much deeper than the top half of the mouth? Through much research, we determined that this IS the way early cars were formed.
- Another shot.
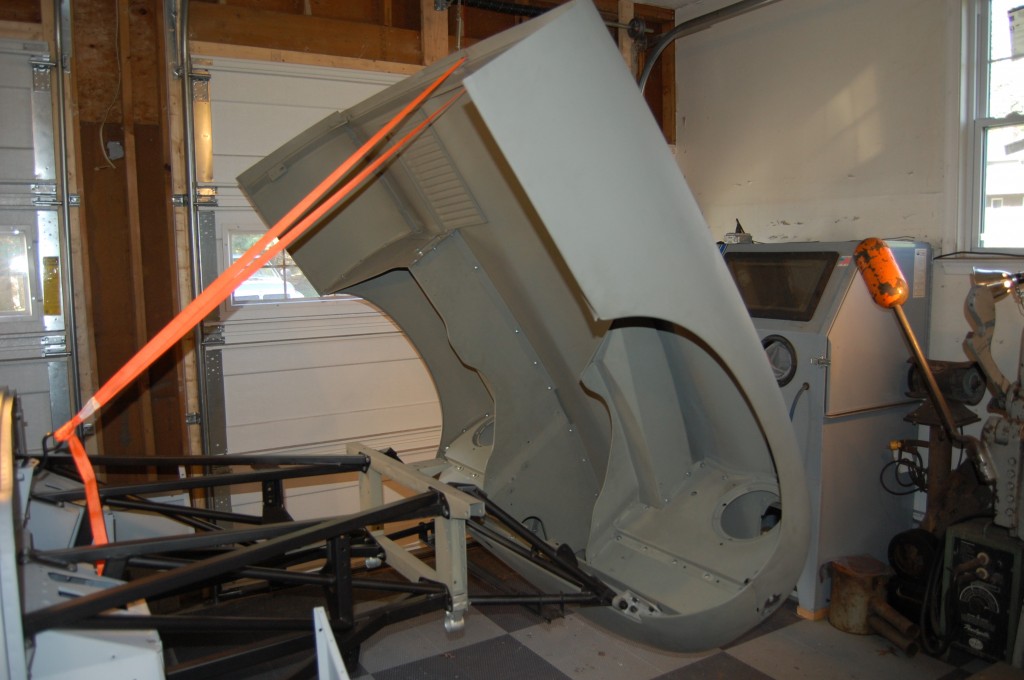
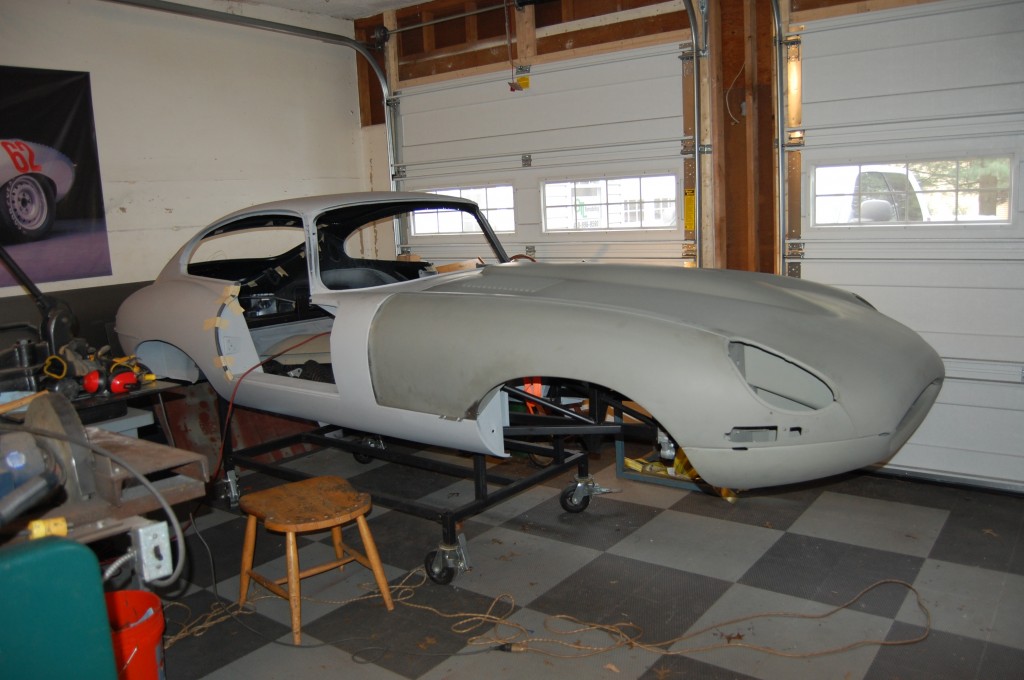
- The bonnet has been attached to the shell with enough shiums to get the wings inside the cowl edge.
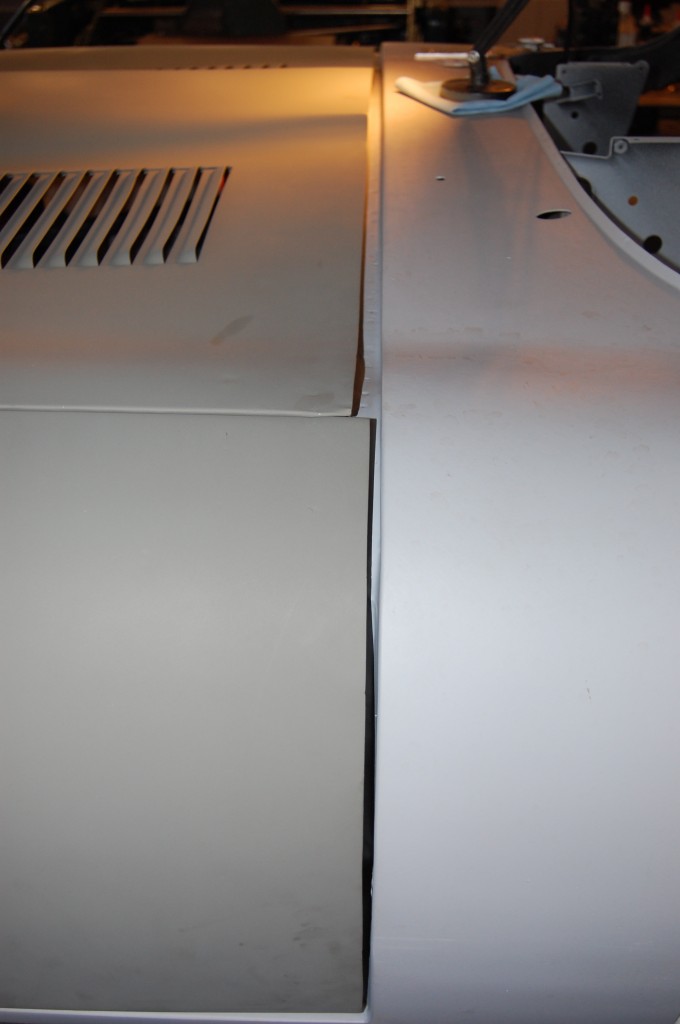
- But look at how much shorther the ’61 center section is versus the later wings. I know most of you are thinking this has just been trimmed – alot. But, for that to be true, this rear edge would be VERY close to the rear support member of the bonnet, and that was not the case – the stickout of the outer skin pas the support member was about the same as it always is…
- Here is the difference on the other side – about the same.
- Pulling out ALL of the shims still isn’t going to get us there…
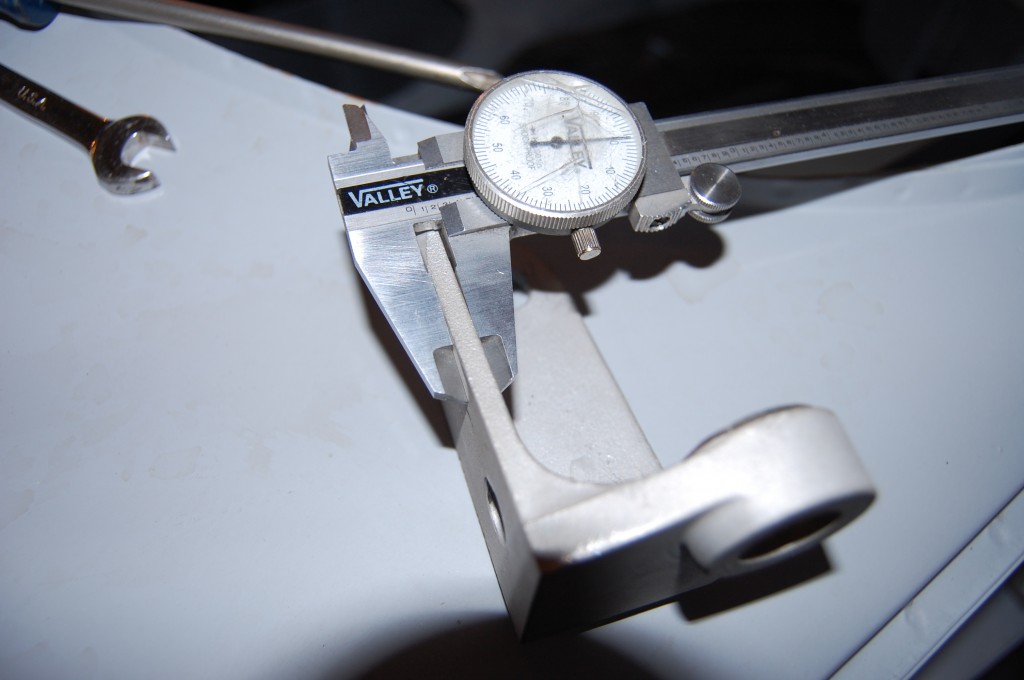
- So we started milling material off this special 1961-only hinge that is different than the later cars – because… the 1961 bonnet carrier bracket has studs sticking out of it instead of the normal little hllow pins and bolts.
- Next, we need to take a first cut on the wings just to get them down in front of the cowl’s leading edge.
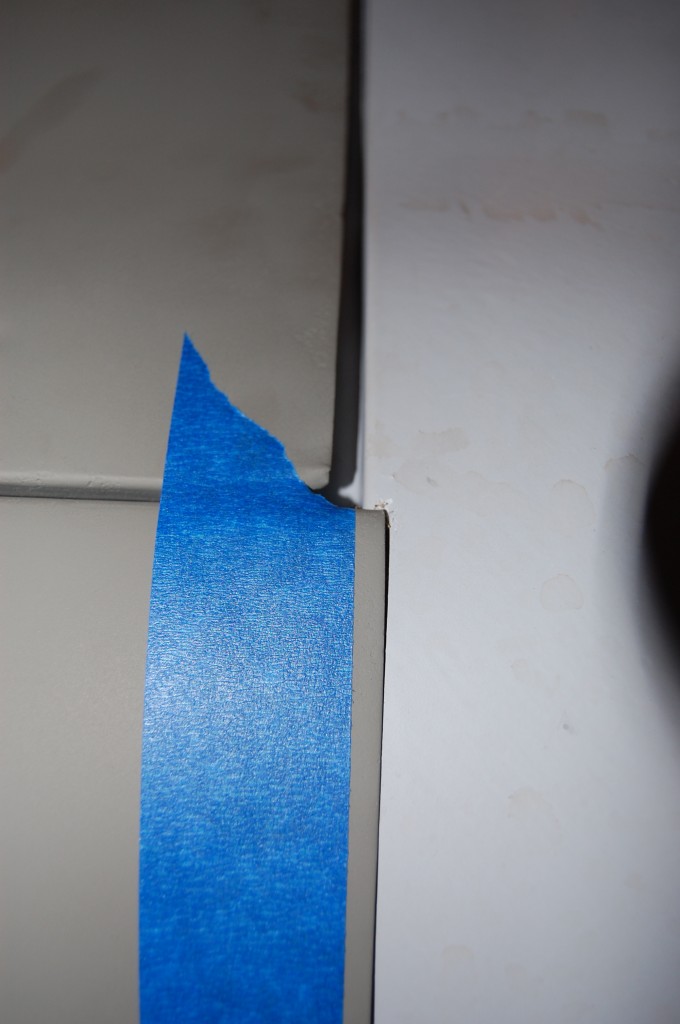
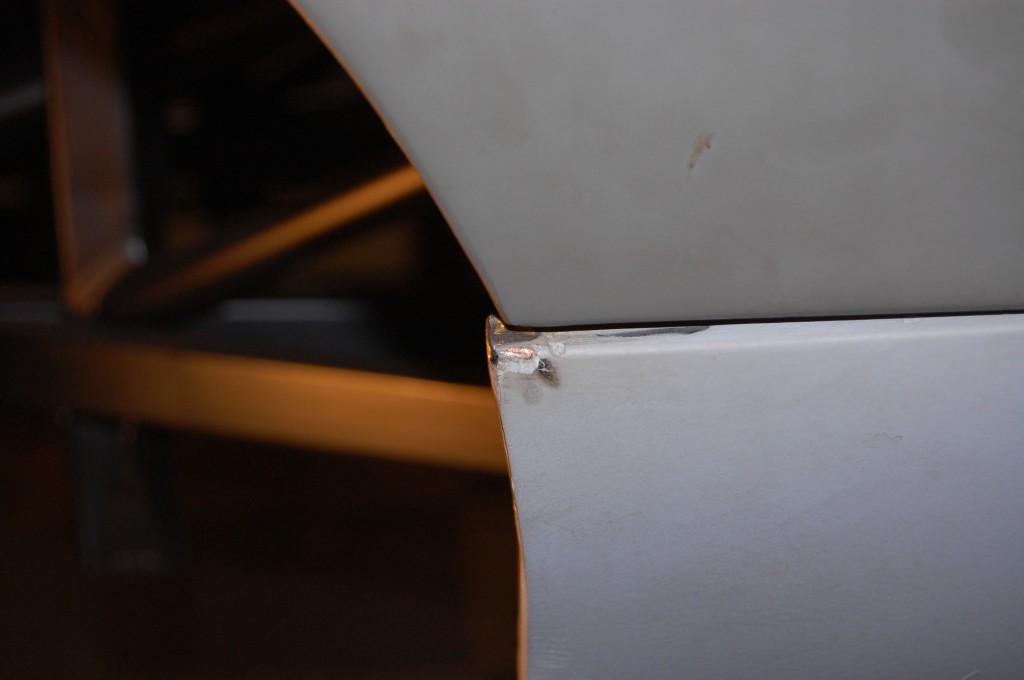
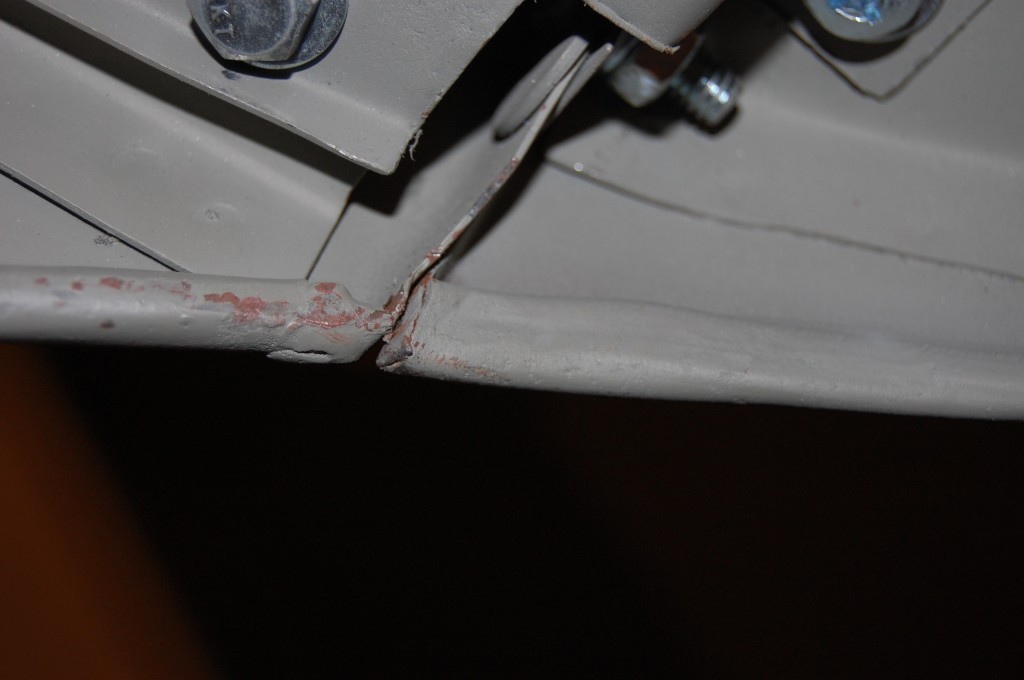
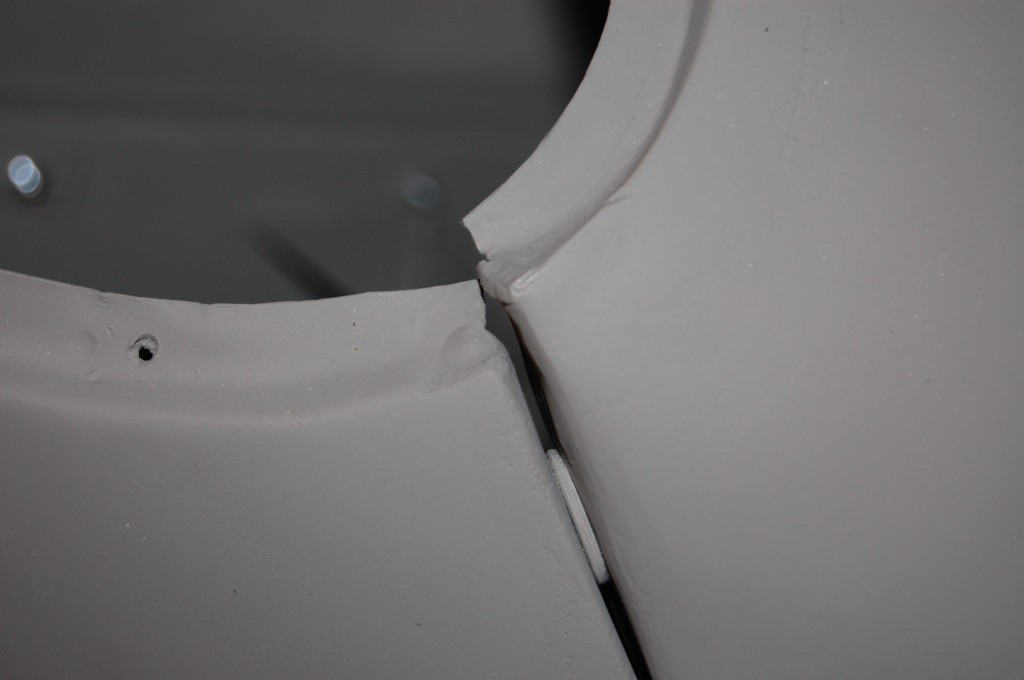
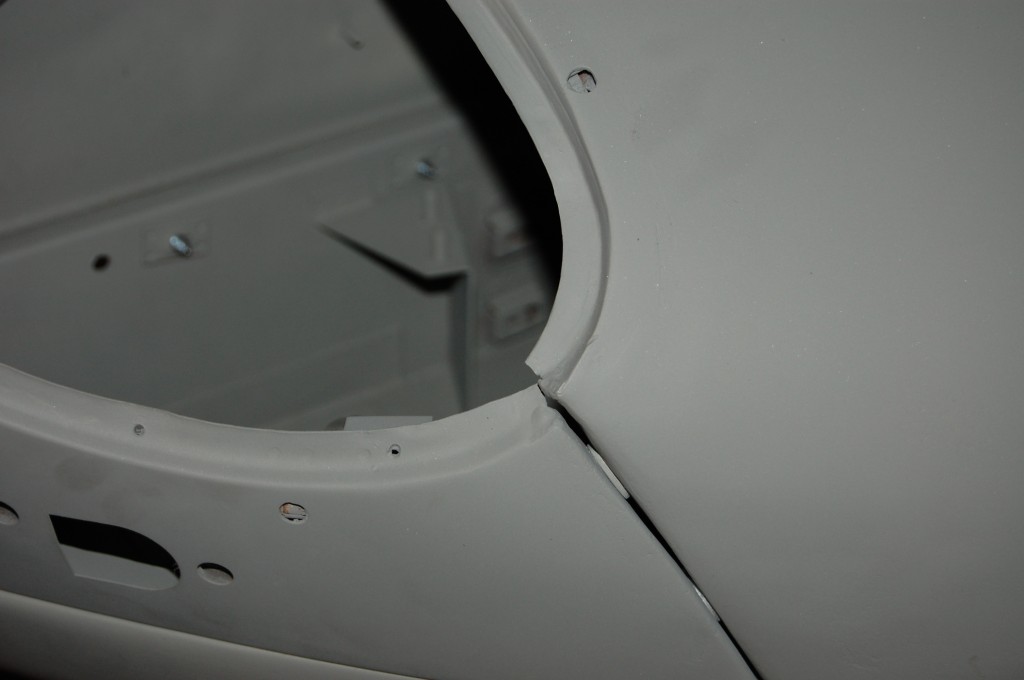
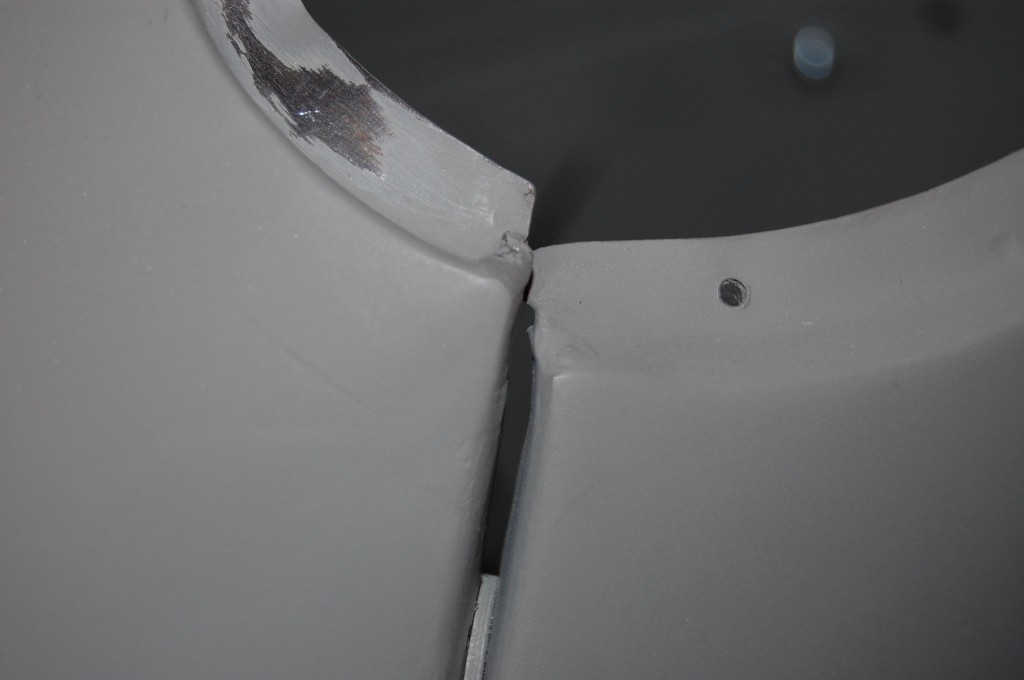
- And after pulling things back so that the center section is the correct distance from the cowl, this problem develops…
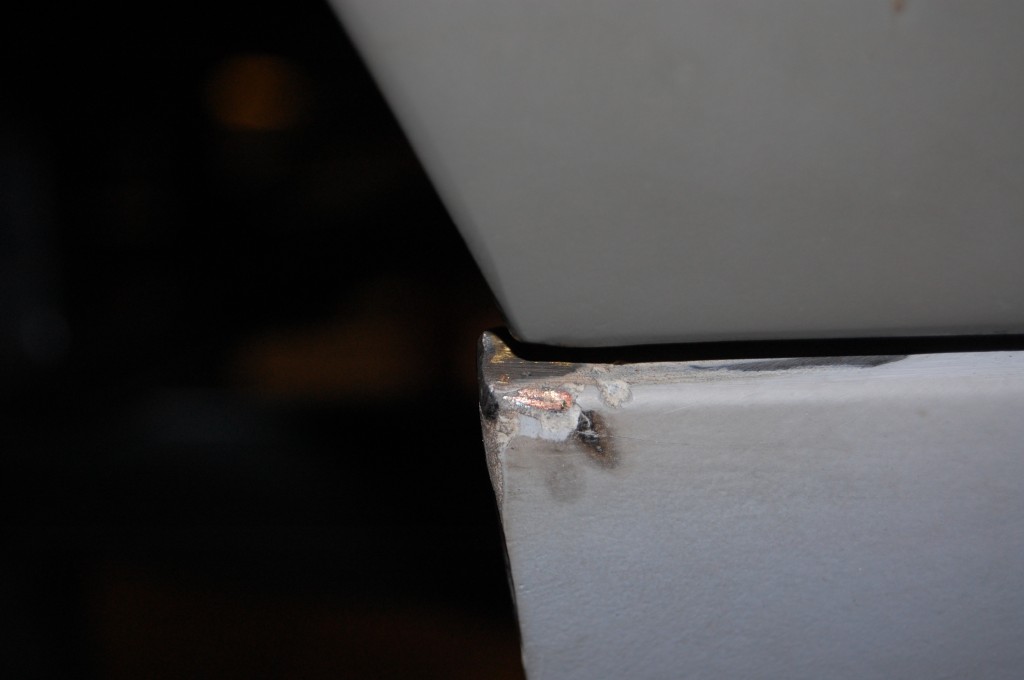
- Here’s a close-up.
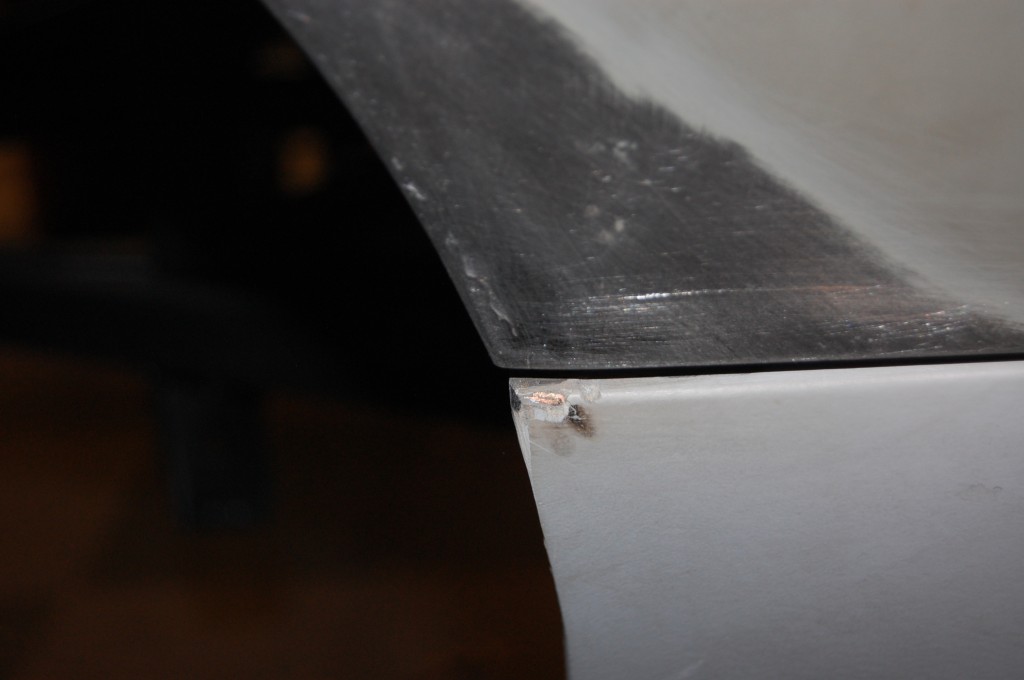
- A little welding and problem solved!
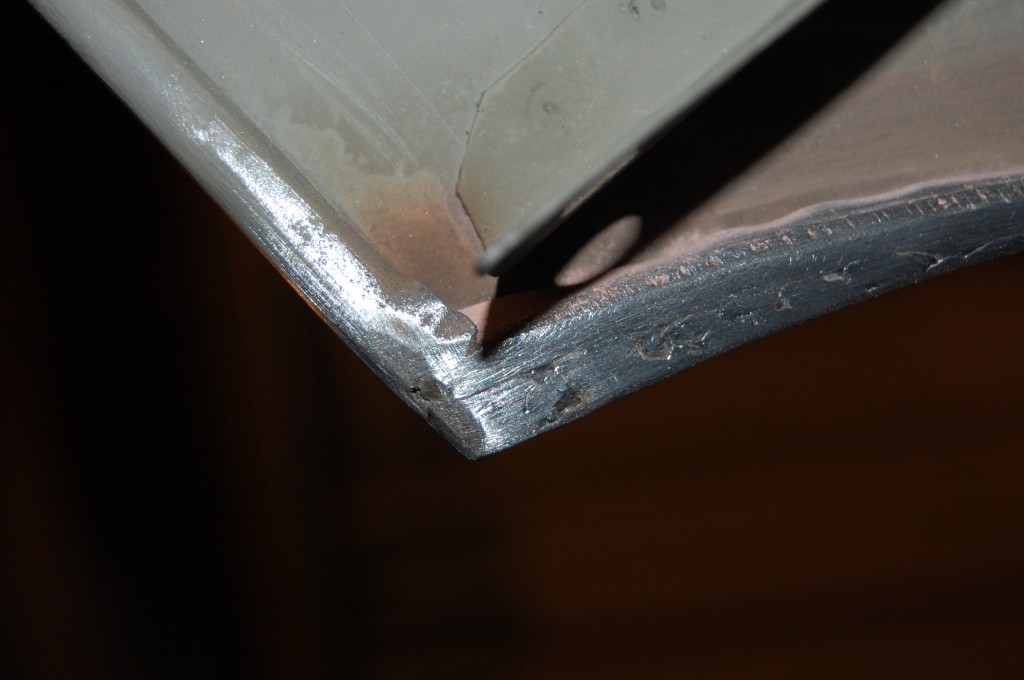
- Now this does make the beaded edge “fat” on the backside, but it’s well-hidden behind the mudshield, barely noticeable, AND…
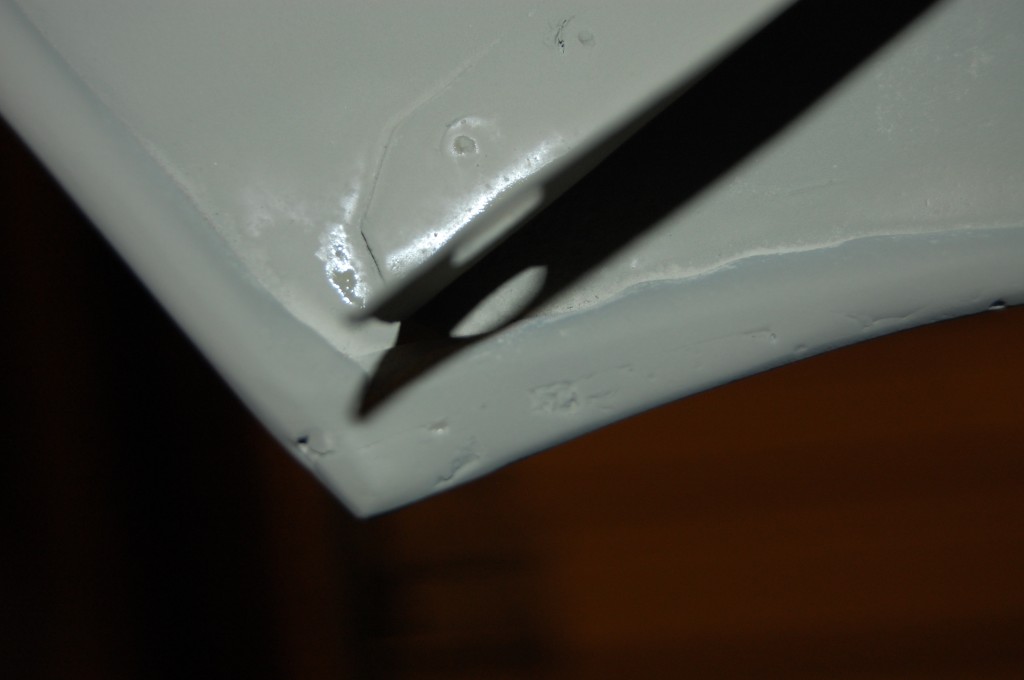
- It’s VERY common for the beaded edges of the wings and lower valance especially to be sloppy and have sort of a “double roll” anyway – and this lower valance is no exception – this is factory stuff – remember – hand built!
- After primer, this is really no issue.
- The RH side just needed a minor tweak.
- Here it is after welding and smoothing. I have seen people try this with fillers – never works in the long run…
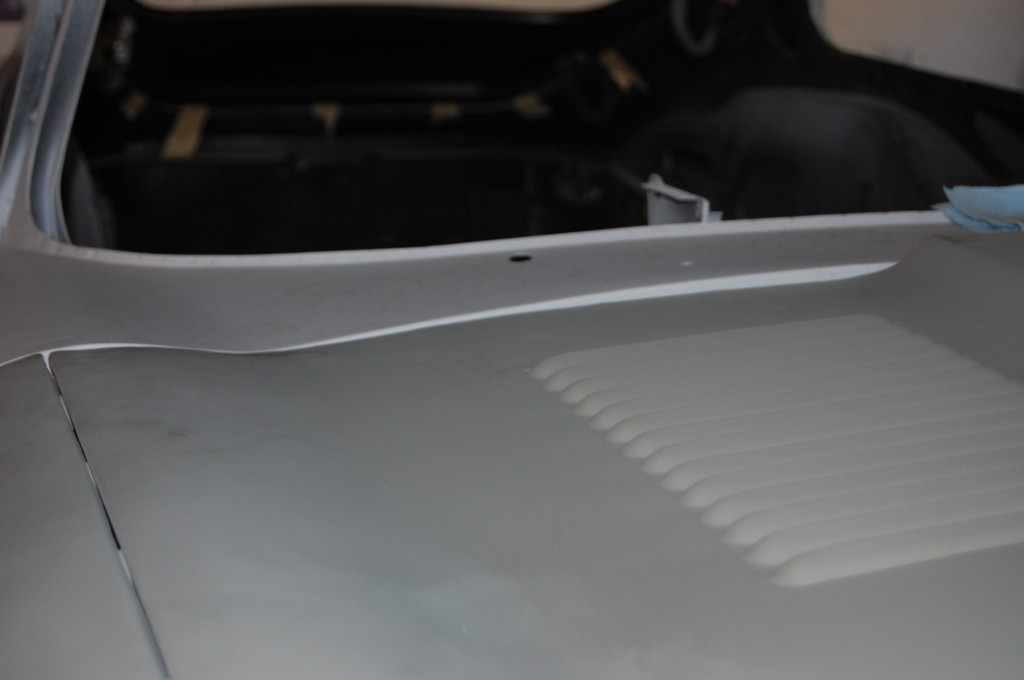
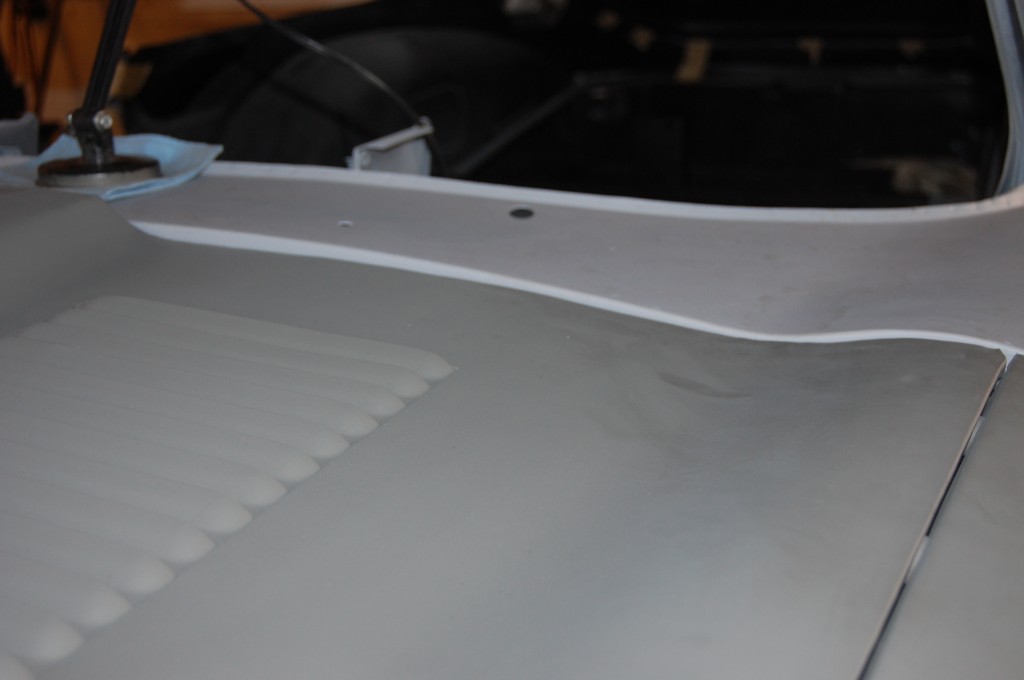
- Here was the next issue – the curvature of the center section did not match the cowl. Many lower quality restoration shops just use filler here – on the cowl and the bonnet. Now, that is almost always necessary on an E-Type, but we have to get closer than this!
- It was way off in the center – note that we are just about right at the outer edges.
- In this shot the entire center section has been re-arched – that’s a tough task and a MM secret. In this shot, we are just doing a very fine tuning to the center sections edge to straighten it – this was the only cutting we did on it.
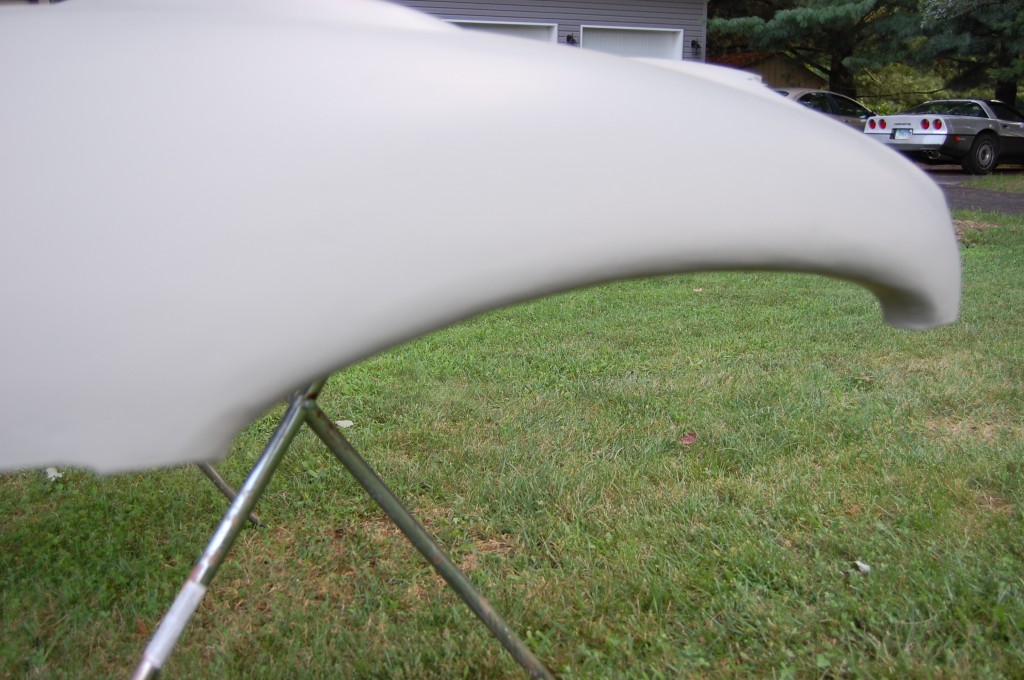
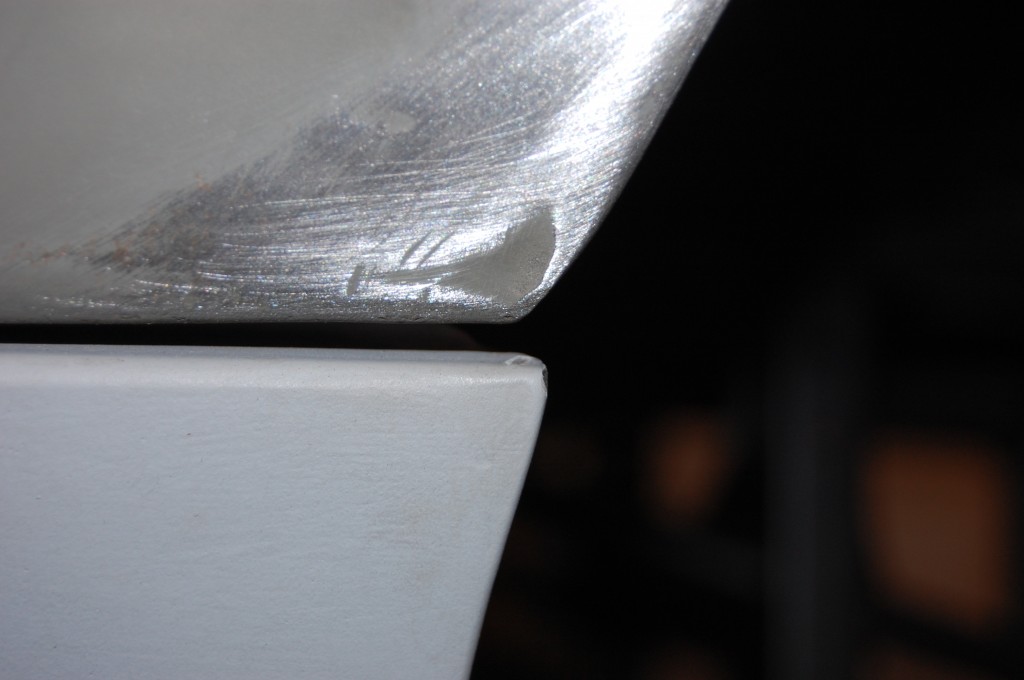
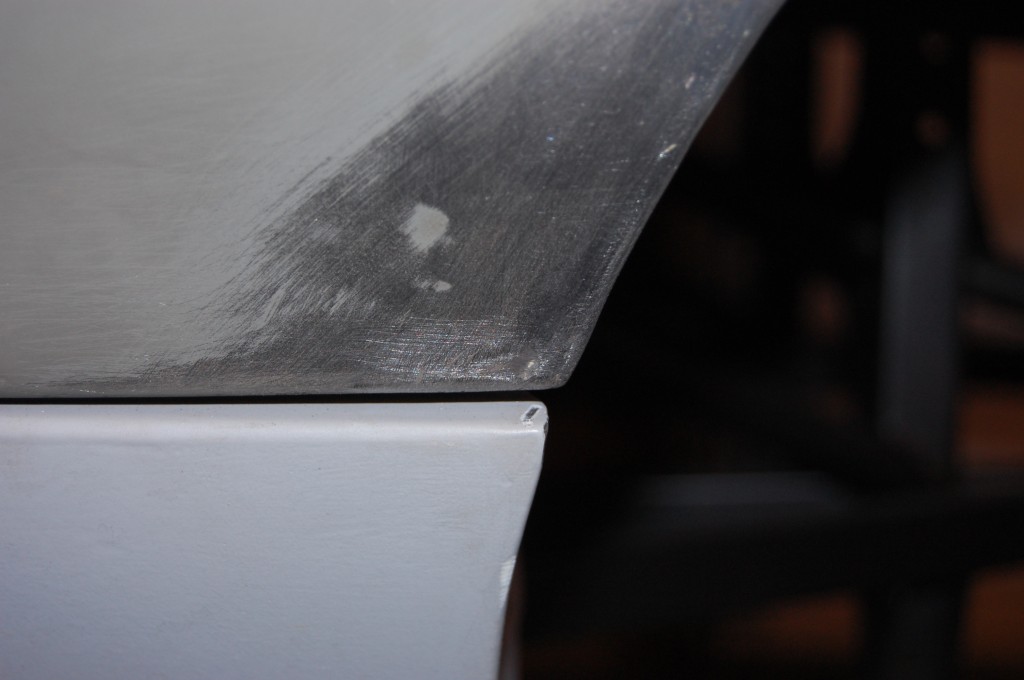
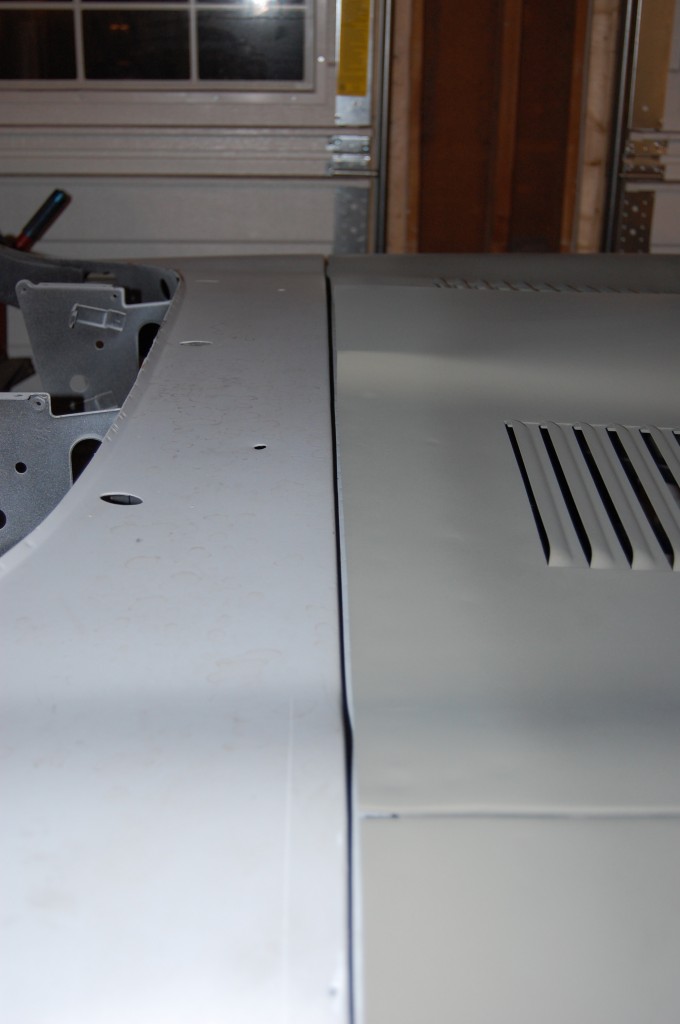
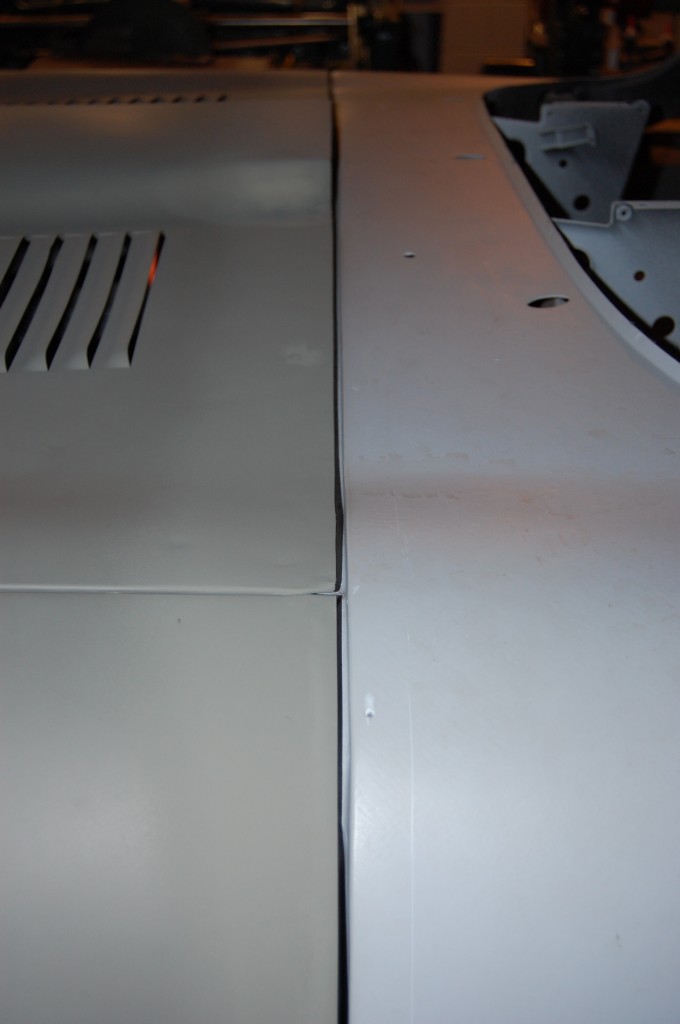
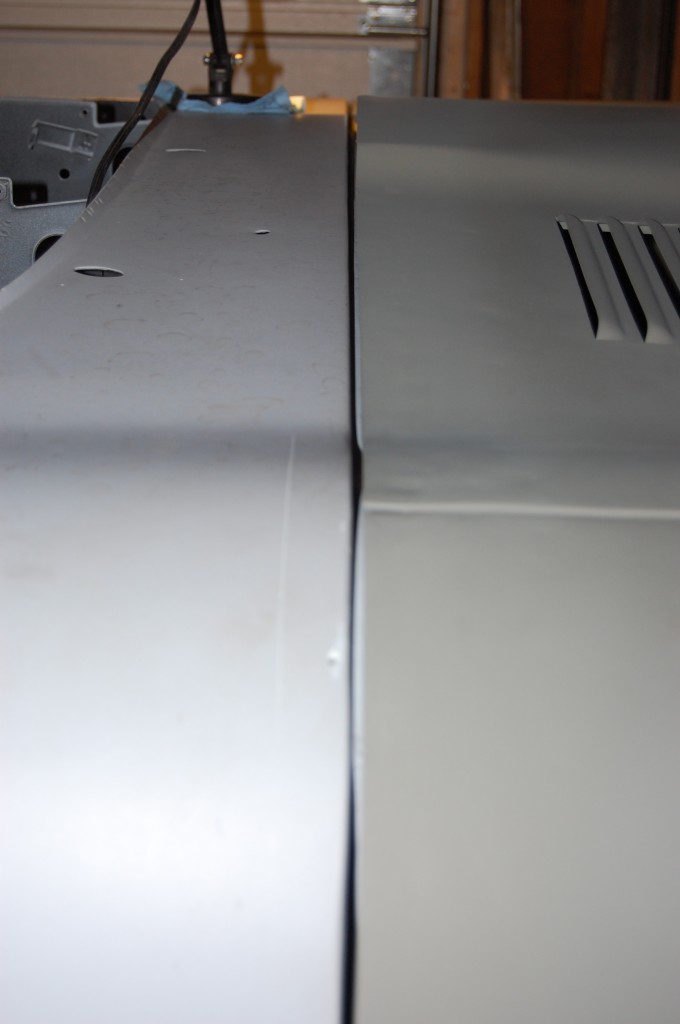
- Later wing is on the left, 61 center section on the right. Note that the 61 panel is much more accurate and crisp. It is also a little higher from the lower valance seam.
- This shot shows the accuracy of the 61 panel even better.
- Same story on the LH side – look at the soft edge of the ’63 wing versus the 61 center section. This is not a “worn out press” – this is a DIFFERENT press!
- She’s on there! This shell is happy to be reunited with a welded louver and flange bonnet like it left the factory with – one we built from restored original factory pieces!
- Here’s another shot picking up the mouth shape a bit.
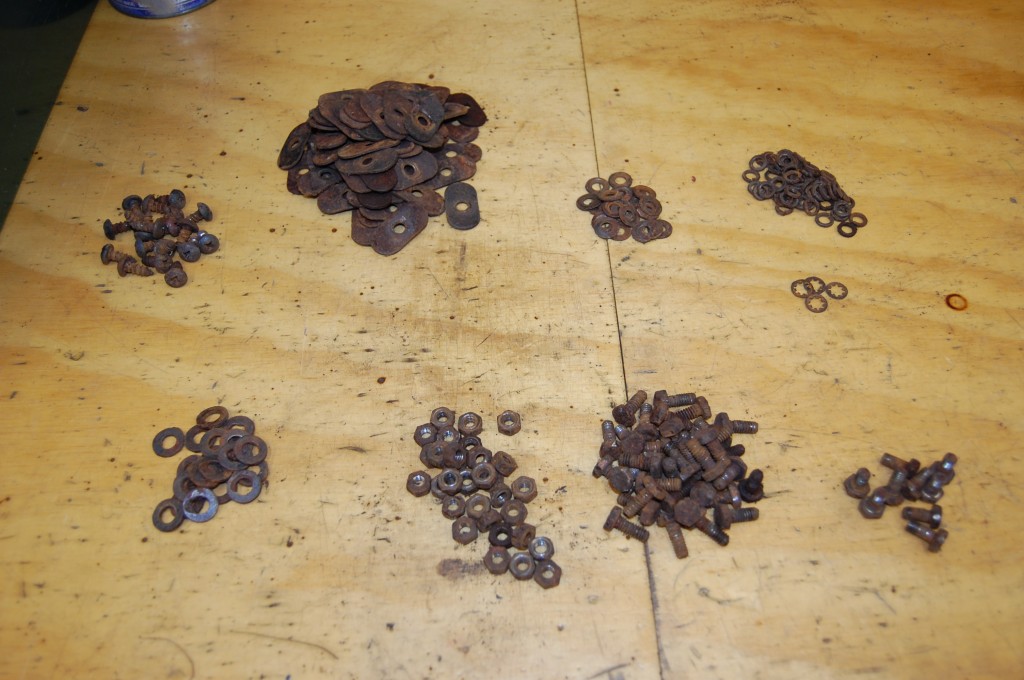
- Our completed bonnet only had about half of the original GKN hardware it should have, so this bonnet gave its life to the cause…
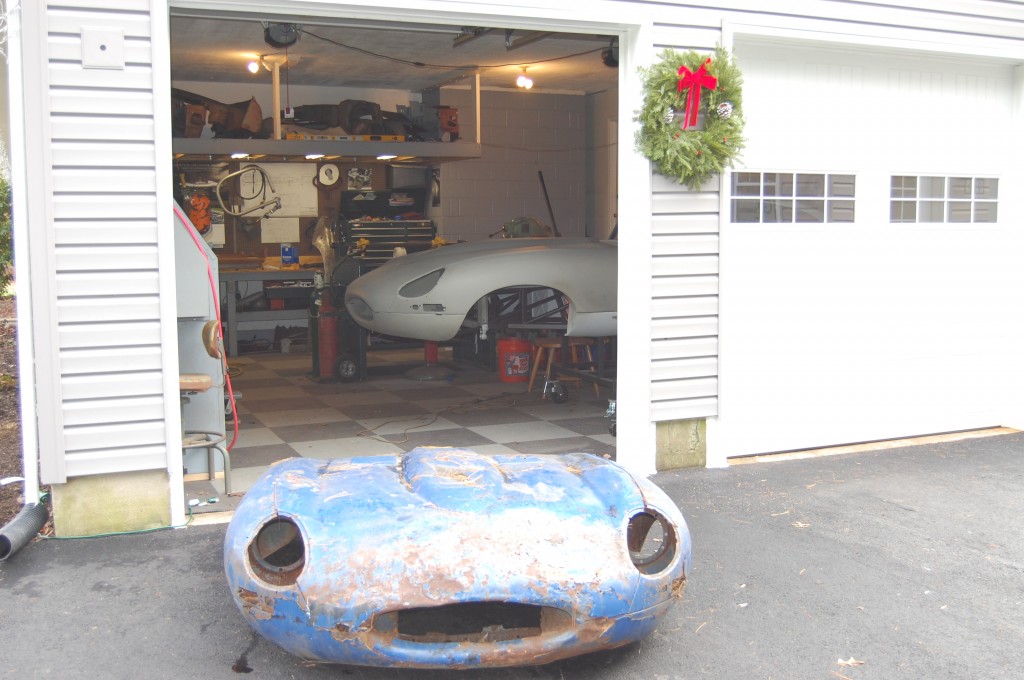
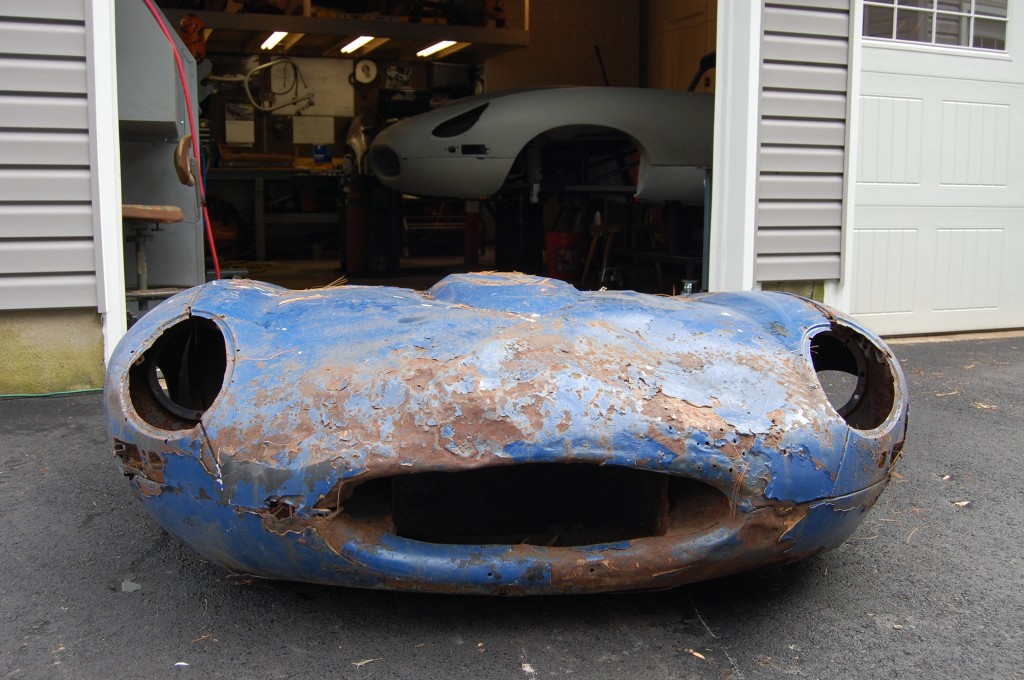
- Now THAT’s a rough bonnet! We are going to use the center section as practice for repairing a brand new Series 3 bonnet with almost the same damage – a VERY badly crushed power bulge. The story on that one is that the bonnet was mounted, the car was put into primer, put into storage, and the roof of the building collapsed on it! We’ll have photos of that job on here soon, but I’m still working up the nerve I think!
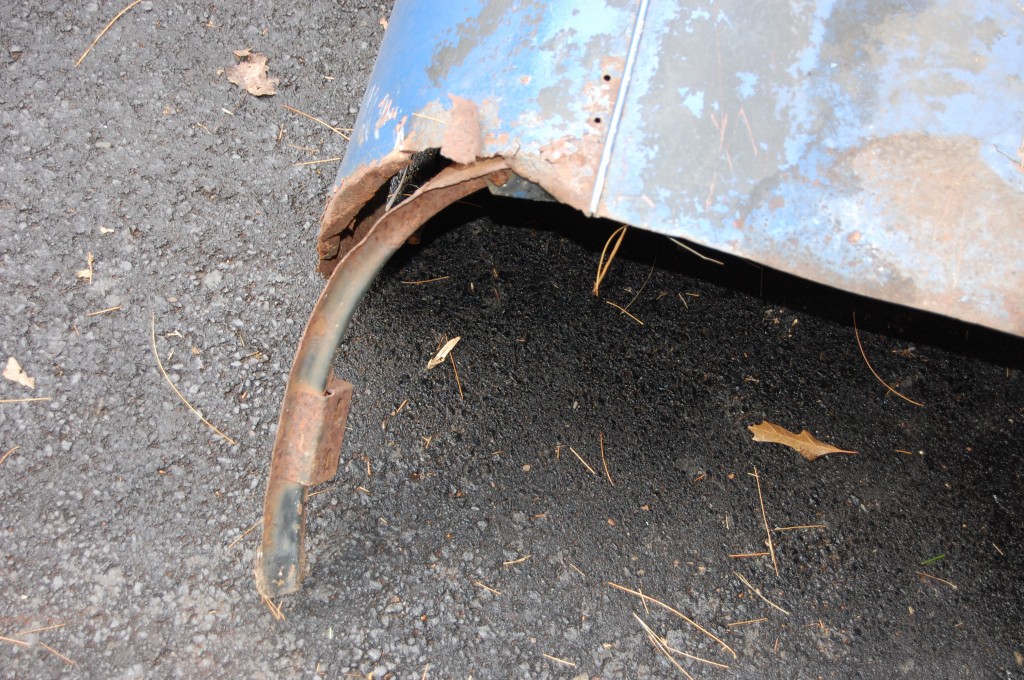
- Don’t shed any tears for this bonnet – she was finished. We salvaged the inner valances and some other odds and ends – and you can bet I saved that wing brace!
- Like panning for gold…
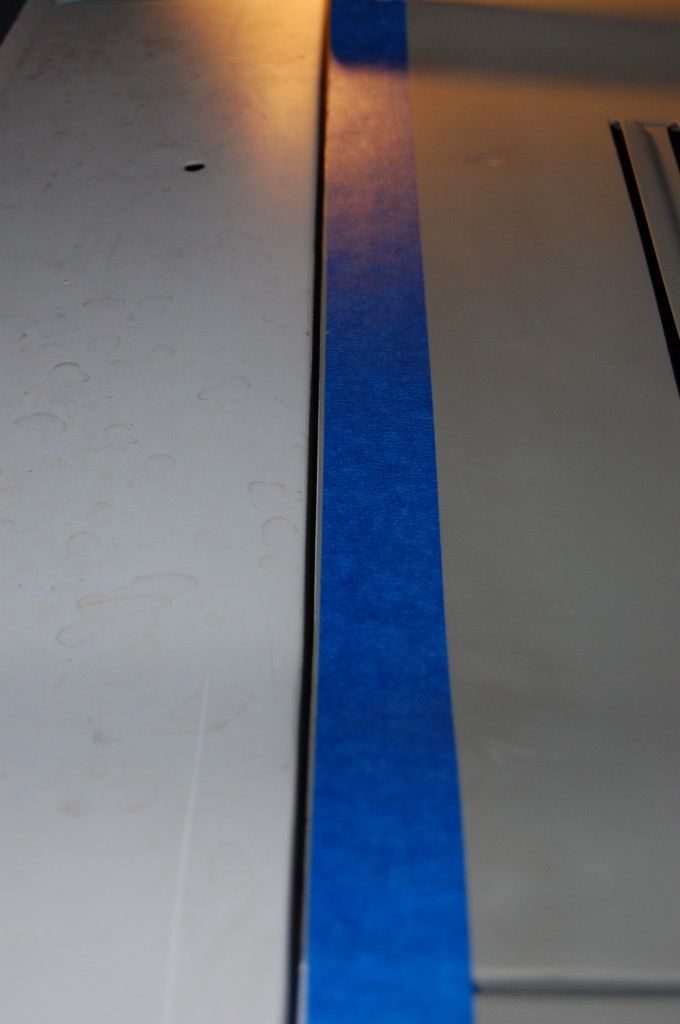
- All done – the gap is set right where we like them – a little wide so they can flex and wiggle if they want to without chipping the paint. My bonnets were never well shimmed as a kid – I just bolted them on, got the edge into the valley SOMEWHERE, adjusted the latches, and let her rip! I went through 4 in 6 years – what an idiot…
- Other side – the gap is perfect – measured along its length within .010
- Another shot of the gap – note that the curvature of the center section is also now a dead match for the cowl.
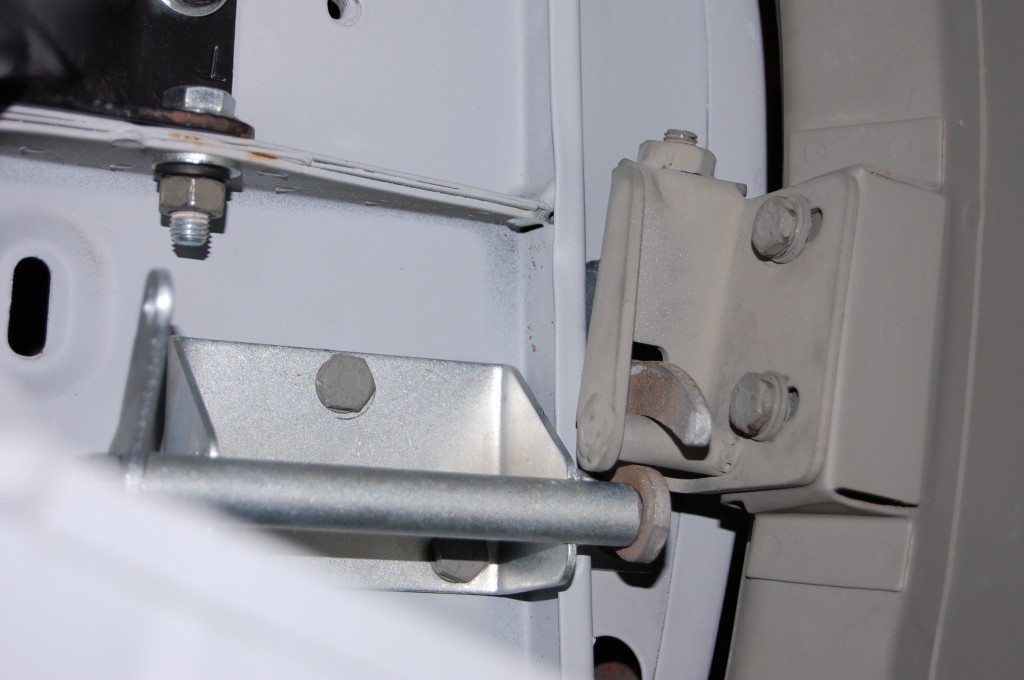
- Here is an internal shot of the latching hardware.
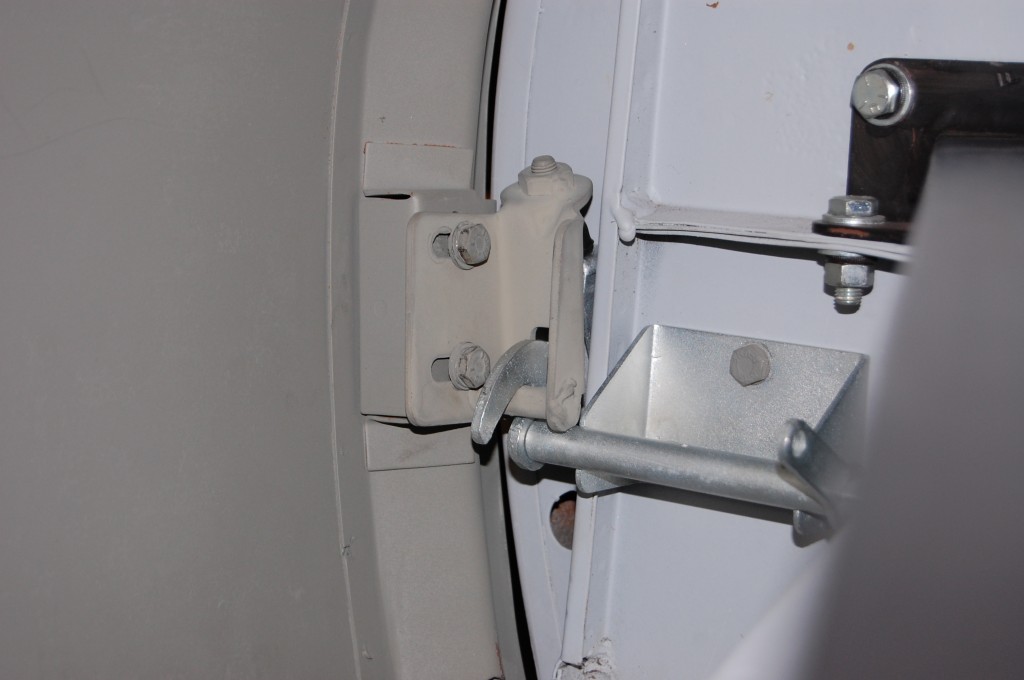
- Other side of the latching hardware – this was all original pieces – including the bolts and washers – either cad plated or etch-primed. This will all be disassembled for restoration at the next shop and plated, but it’s locked solid for transport. ALL of the fitting you saw in the photos above was completed without ANY of this installed. We fit the bonnet without any help from the pegs or latches, so that it lays perfectly with the cowl and sills BEFORE all of that is in place. If there’s one thing I hate, it’s when you pull the latches on an E-Type to open the bonnet and it goes “BOING” up and out like an inch on one side – that just means it is not properly adjusted and shimmed. (and yes, mine were always like that as a kid…)
- This is how the bonnet mudshields should fit with the forward sill closing panels. The rubbr ataches to the closing panel and when the bonnet closes, the mudshield sweeps it over the edge. This one is actually a little close, you should have about 1/4″ here. If you don’t, just grab it and bend it back by hand – that’s what the factory did.
- Here’s a cool shot!
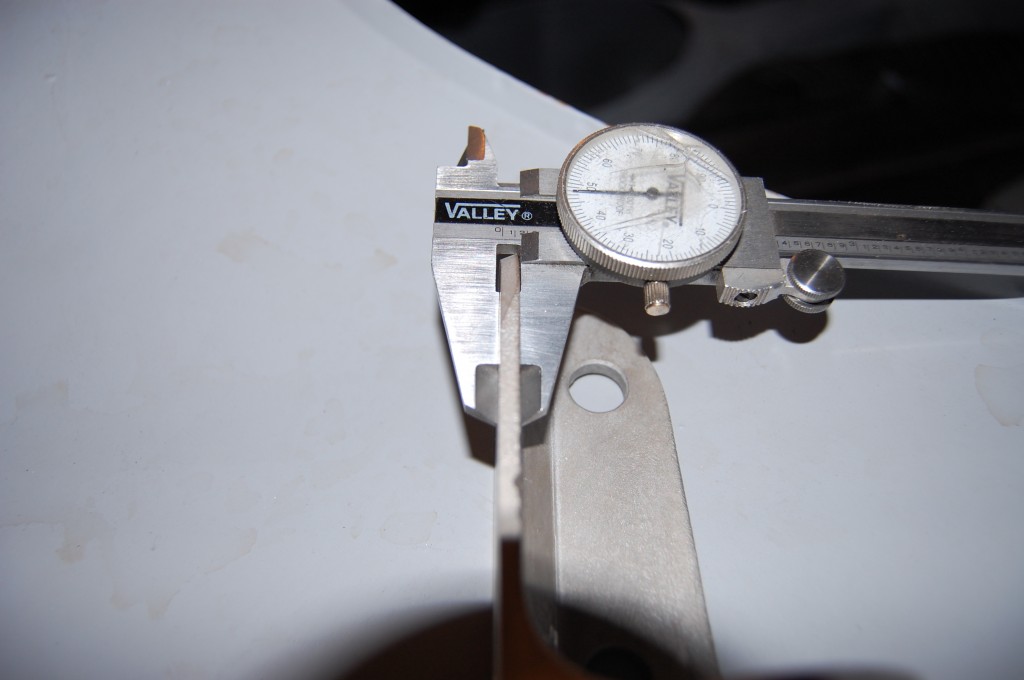
- Finished! This very early car (41st LHD coupe) now has the proper early bonnet – and every detail is EXACT – I built this bonnet with another ’61 sitting in the shop next to it, and a micrometer in one hand!

