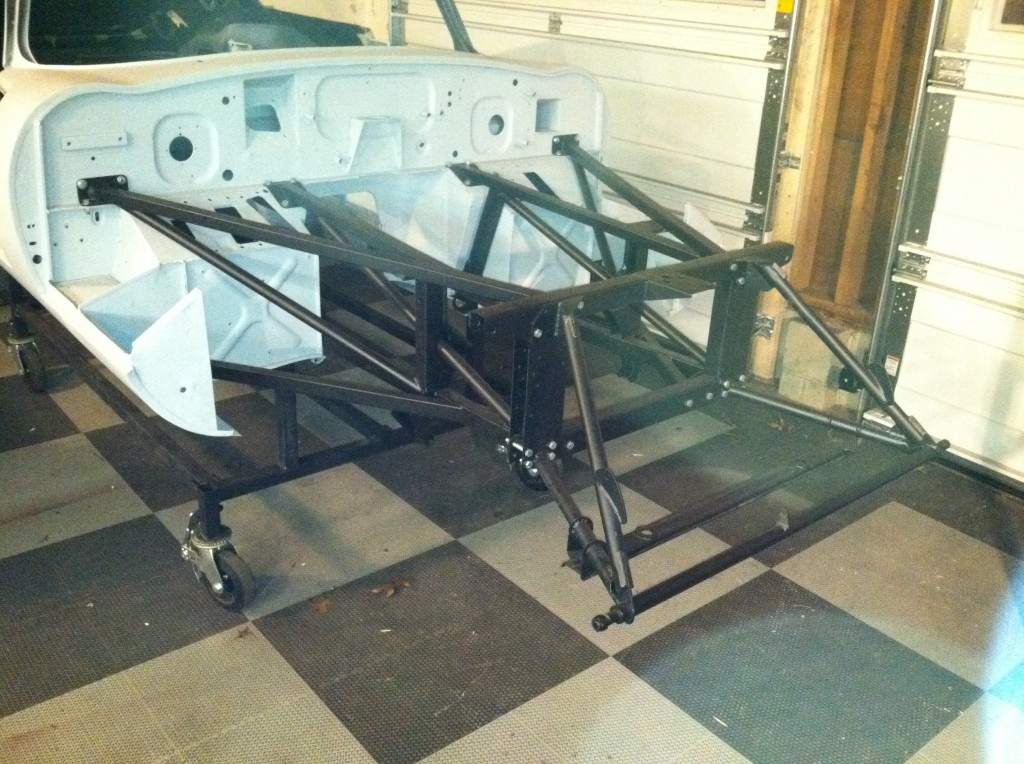
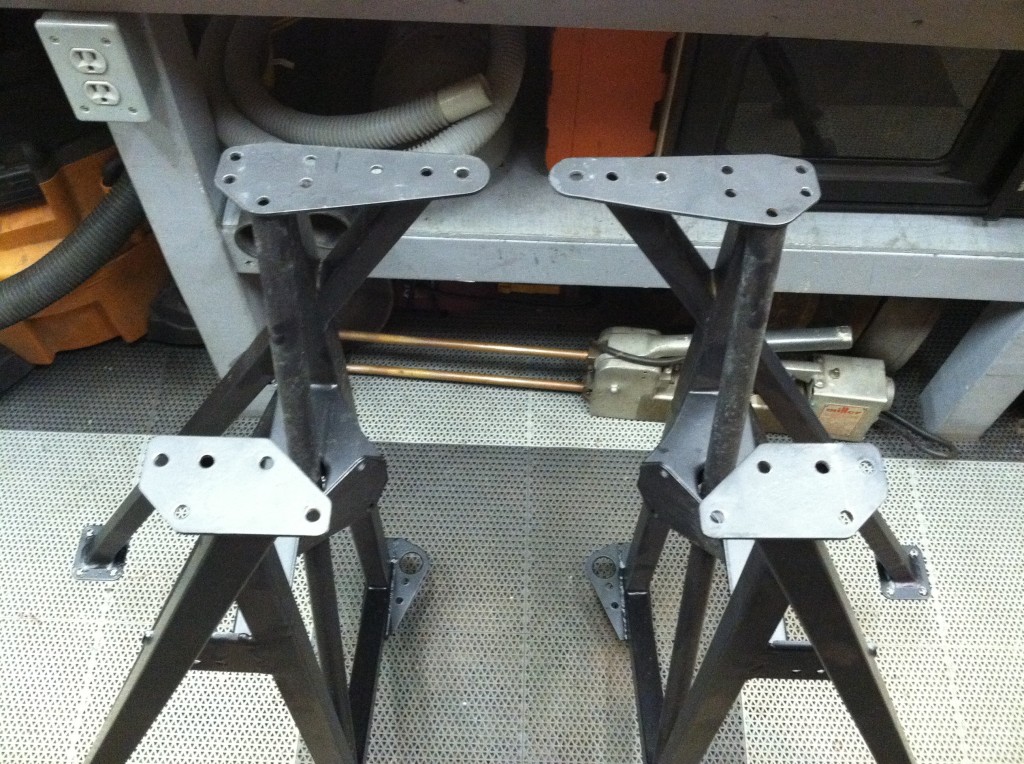
This car came into the shop with the repairs to the shell completed and a nice set of frame rails mocked up already, that included a new picture frame. But it also came with the original picture frame as well, and I wanted to get that back on the car for three reasons:
A) It’s an early car.
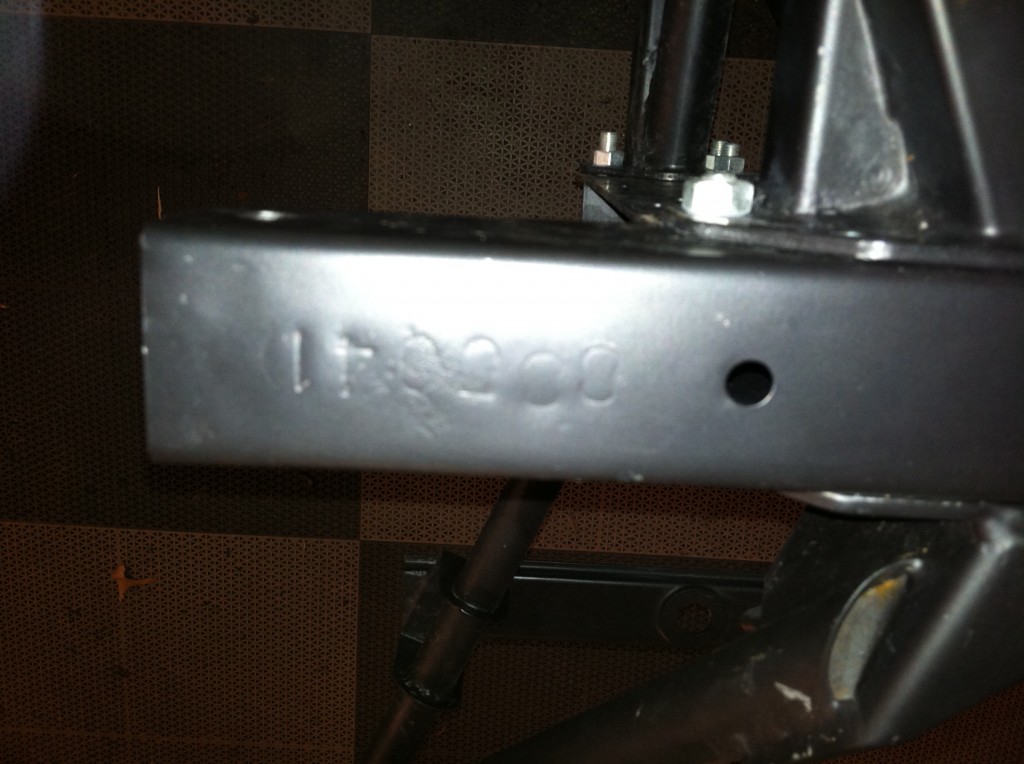
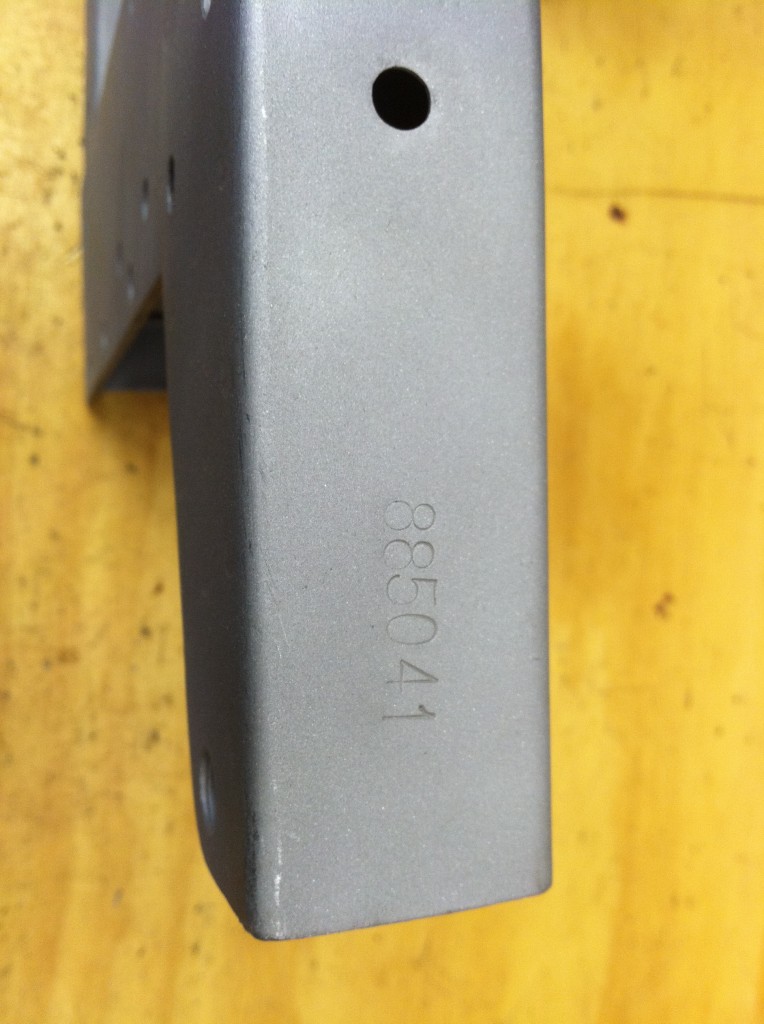
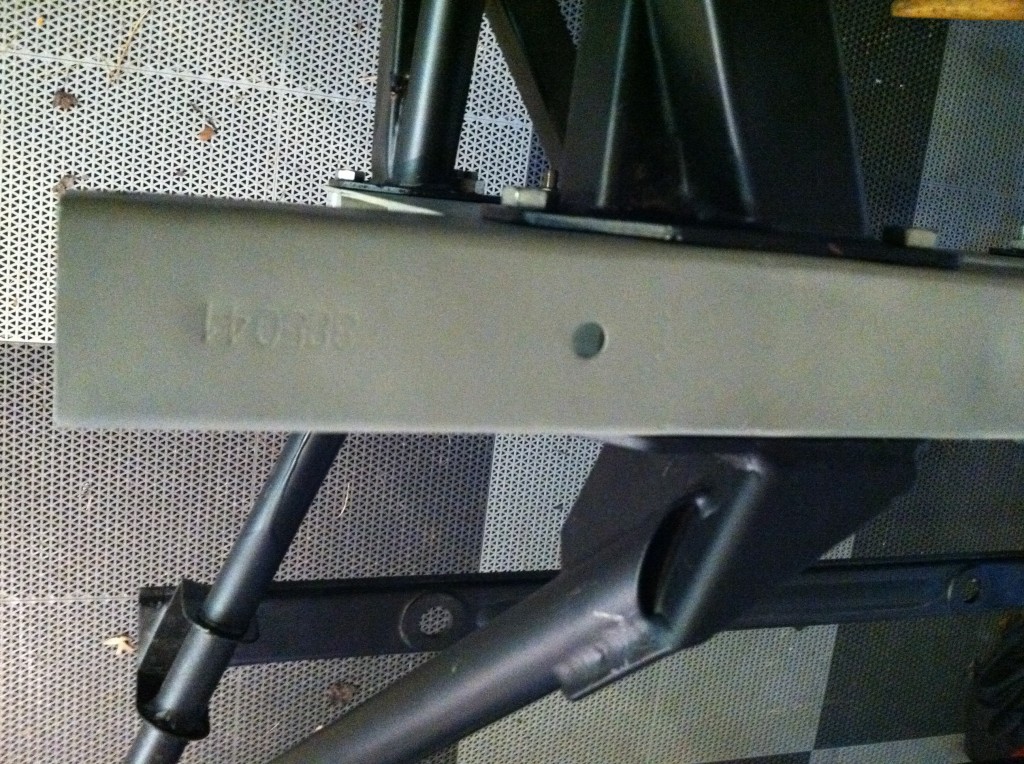
B) The replacement frame was stamped incorrectly, with HUGE numbers, and
C) I like to have the original picture frame on the car if at all possible. I think this comes form my obsession D-Types as a kid – where the picture frame is everything. I guess when there’s only 87 of something, people can and do keep better track of it. You should read through the D-Type histories sometime – there is a section for them on xkedata.com – it’s fascinating what individual cars have gone through – AND how for a few of them, there are TWO of the same car! One has the frame rails, the other has the tub, and BOTH swear up and down that they are the real thing! It’s a good way to blow a few hours on the internet if you have the time. Those days are long gone for me now – all I do now is what you see in these blogs – day and night it seems!
- This stuff looked real nice – obviously a nice original set, blasted and epoxy primed.
- This person either didn’t know how the numbers should look – or didn’t care – or both…
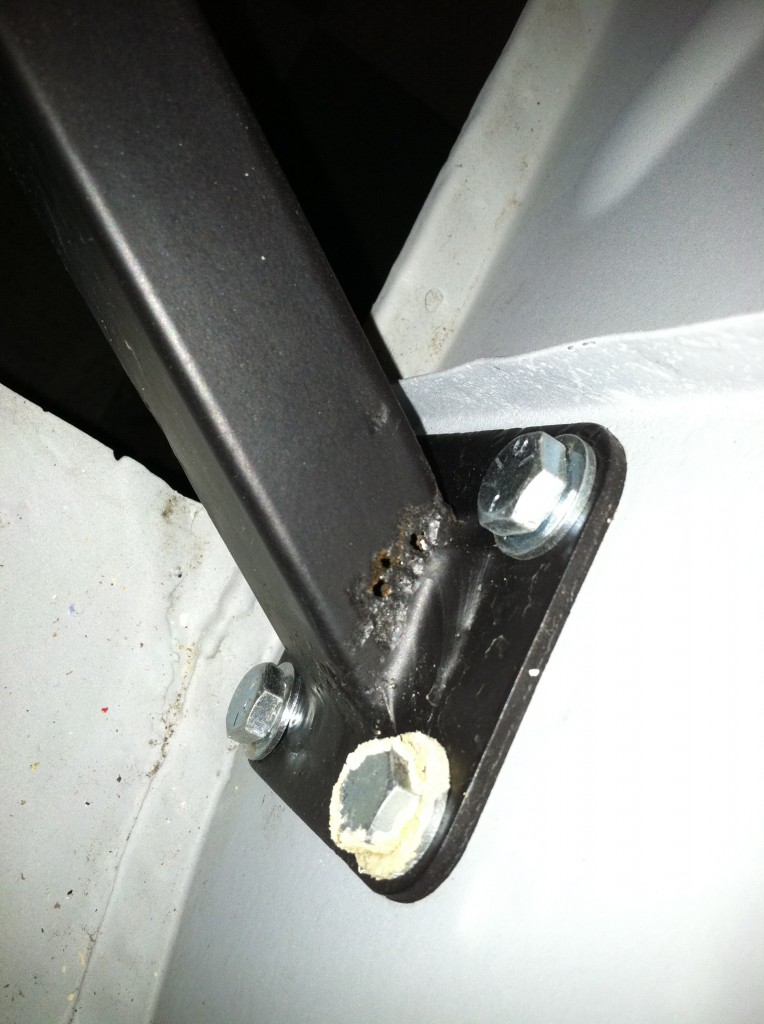
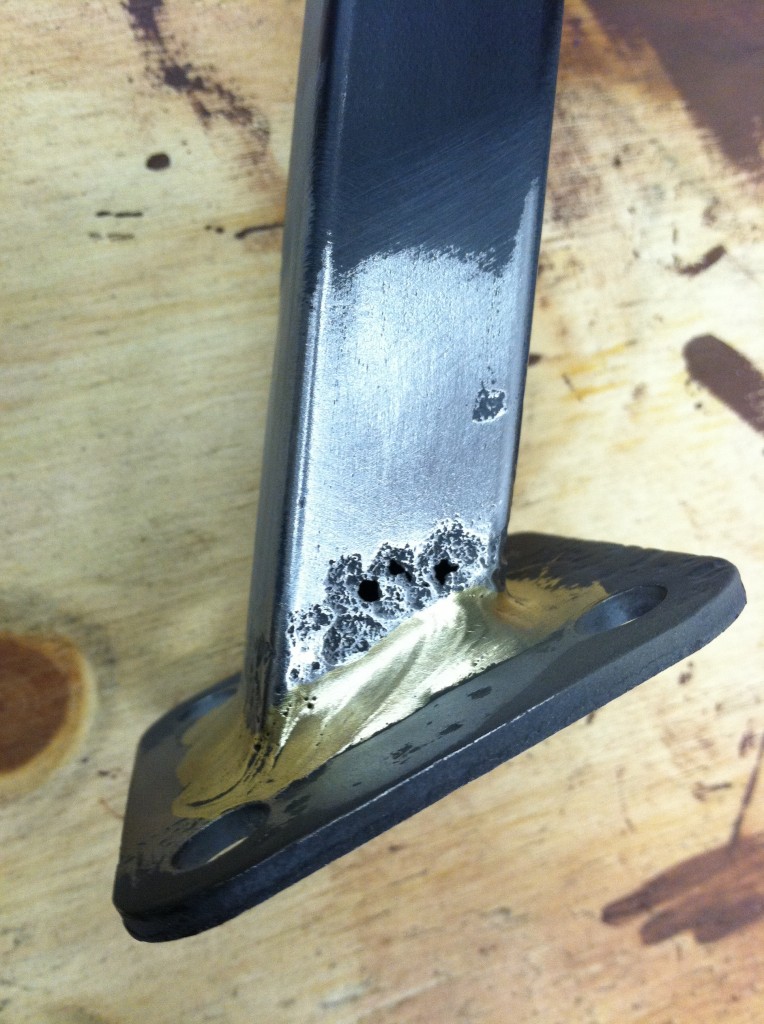
- What is going through your head when you simply paint over this? The typical battery acid corrosion – I think we can salvage this – it’s very minimal and looks sound on the other three sides of this tube..
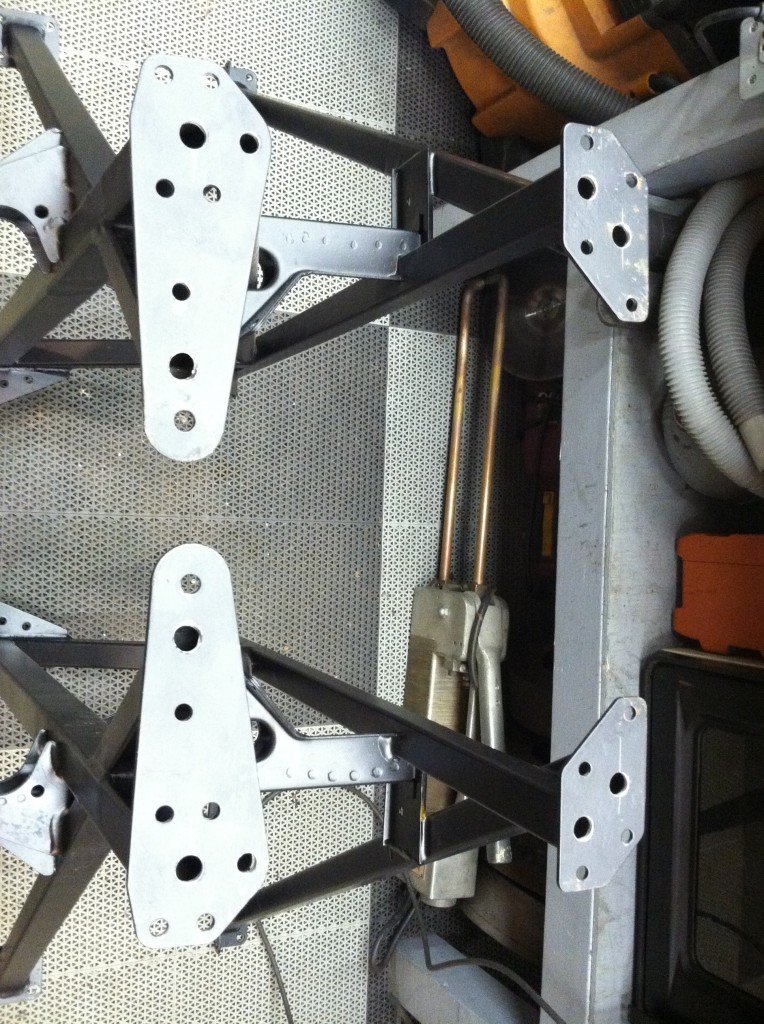
- The rail ends in their stock form.
- Drilled in MM fashion for the filling of the tubes with red oxide. These were very solid rails with minimal rust flakes inside – what mostly came out was sand…
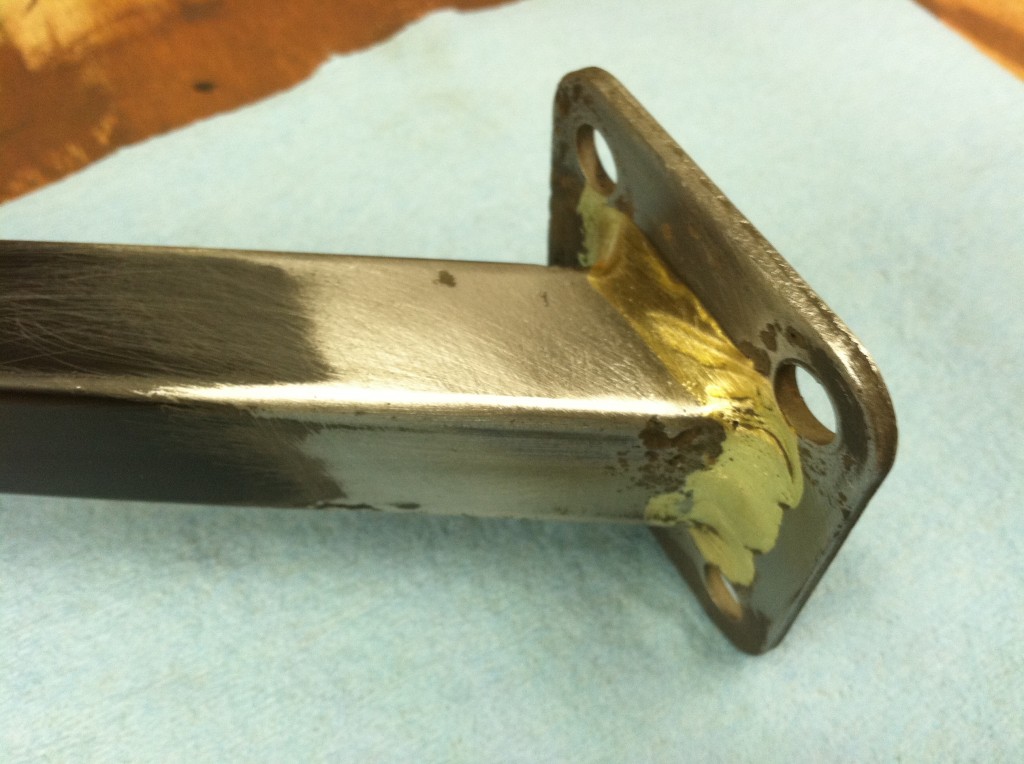
- Scuffed down for repair – it is going to take some real finesse to pull this off without disturbing the brazed joint.
- But that’s what we’re all about here – perfect!
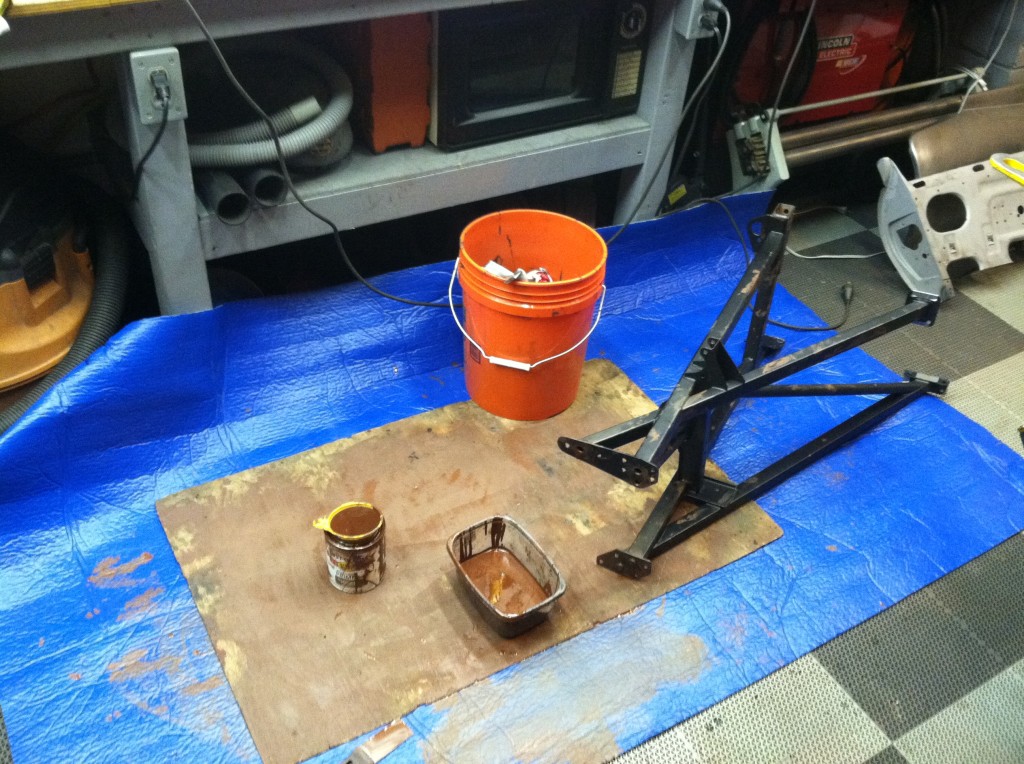
- The messiest job in the world – see our other earlier blog post for tips on how to do this to seal up your frame rails.
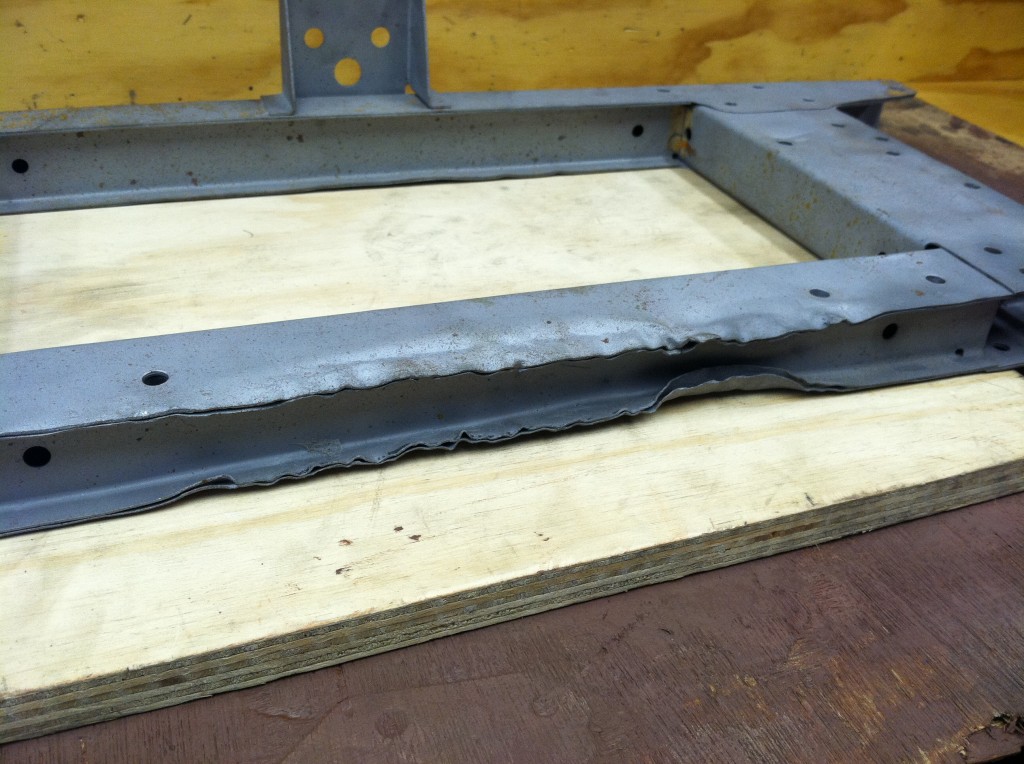
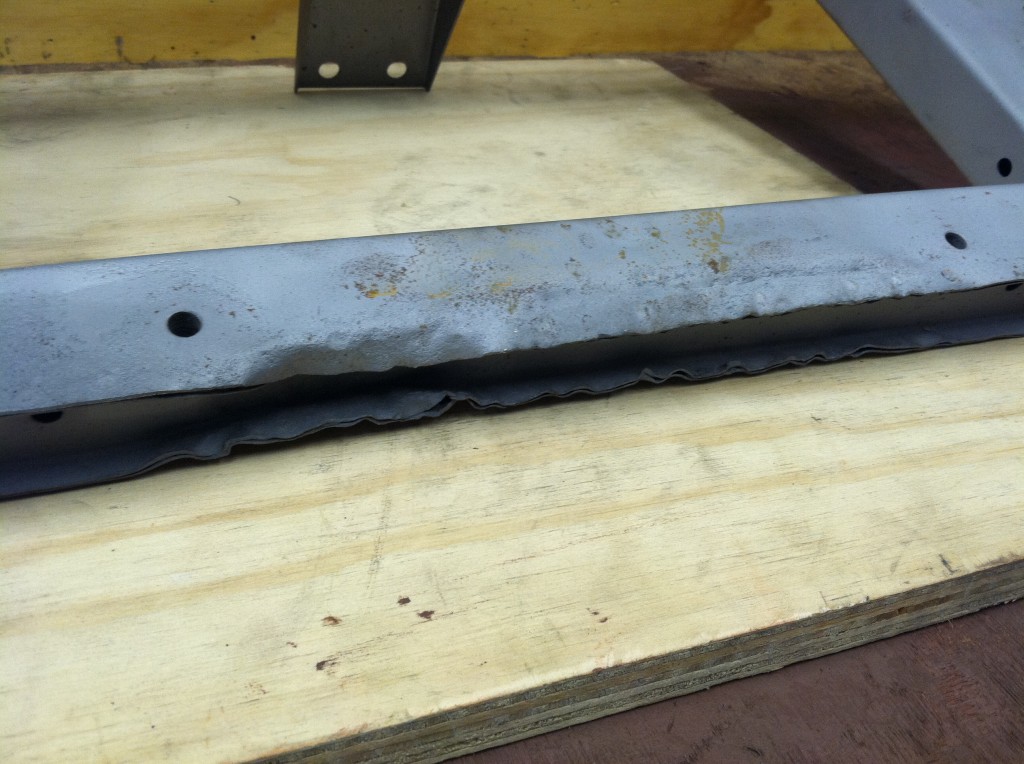
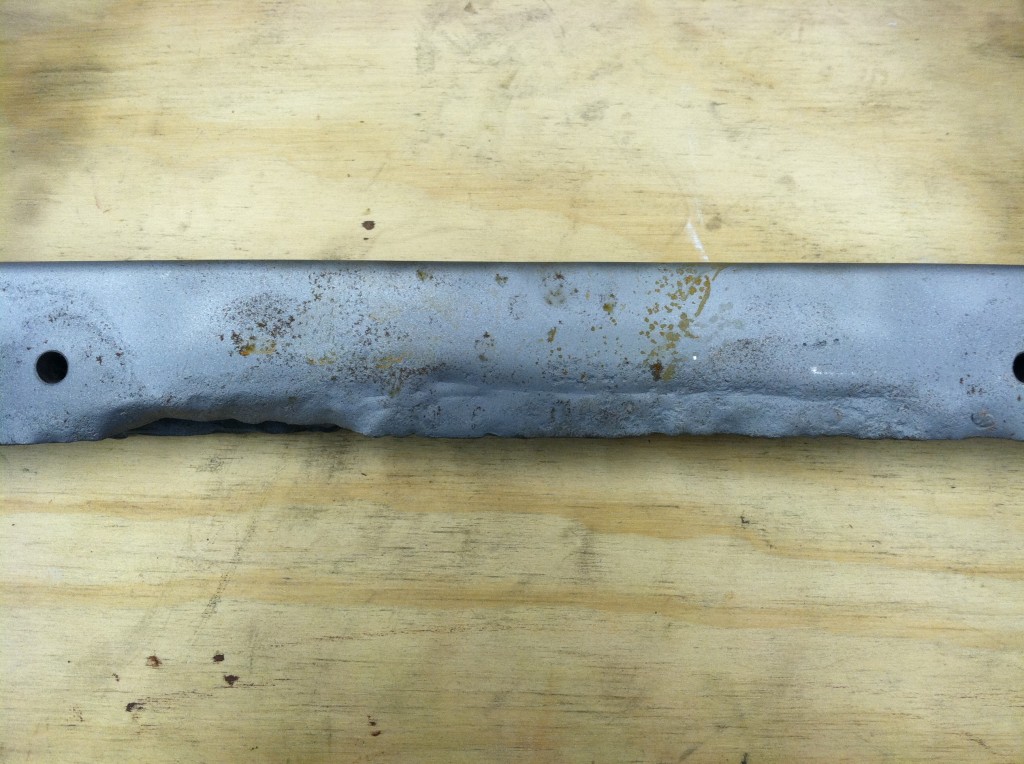
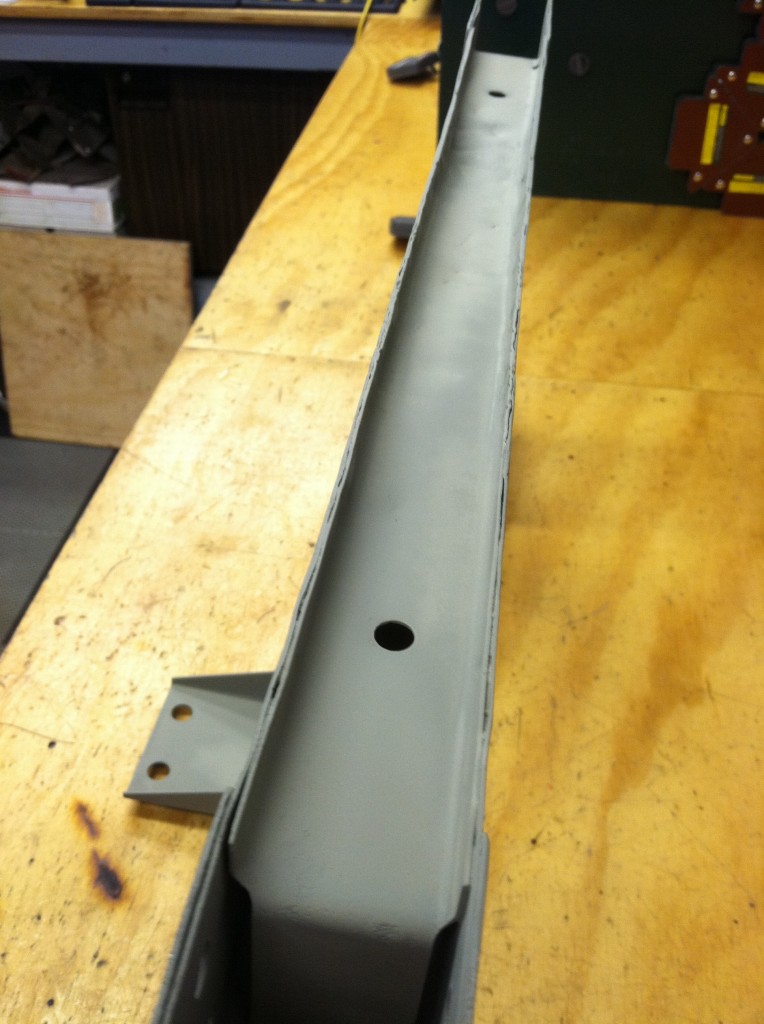
- Typical floor jack damage on the bottom of the original picture frame.
- Another angle…
- And another angle…
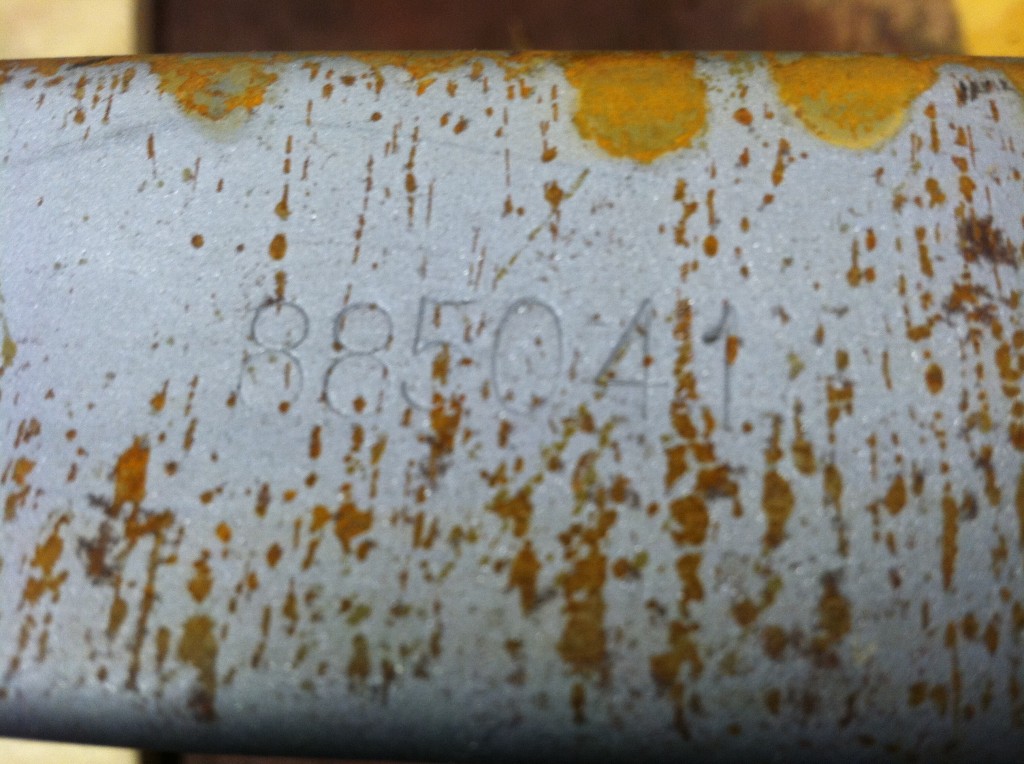
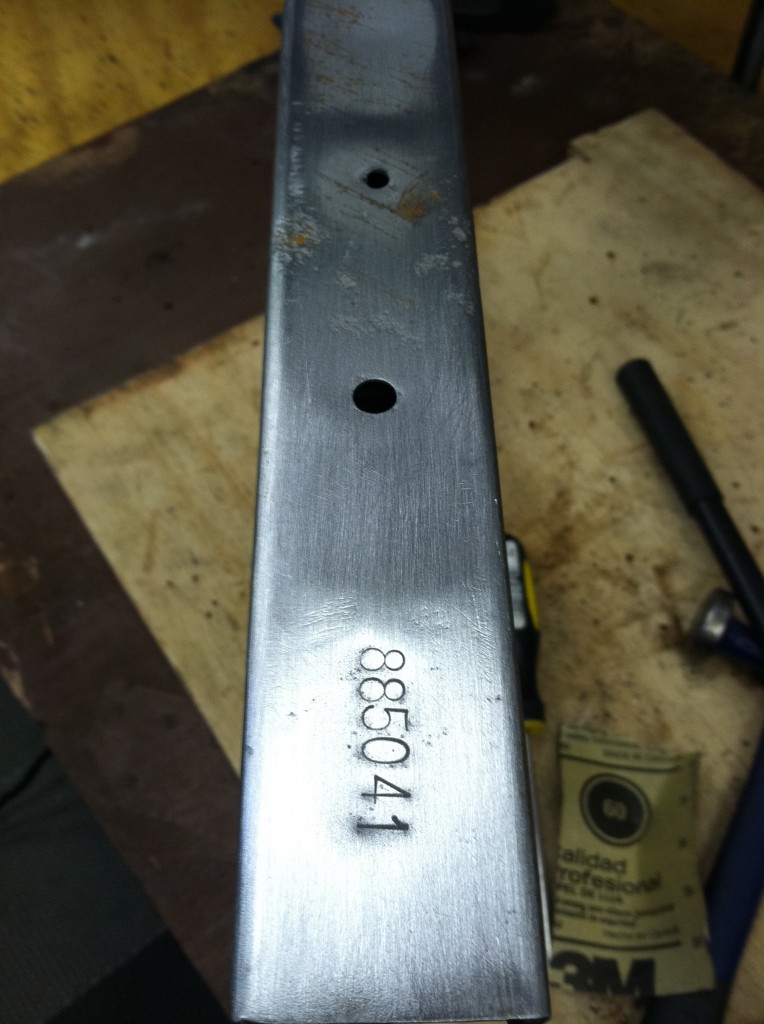
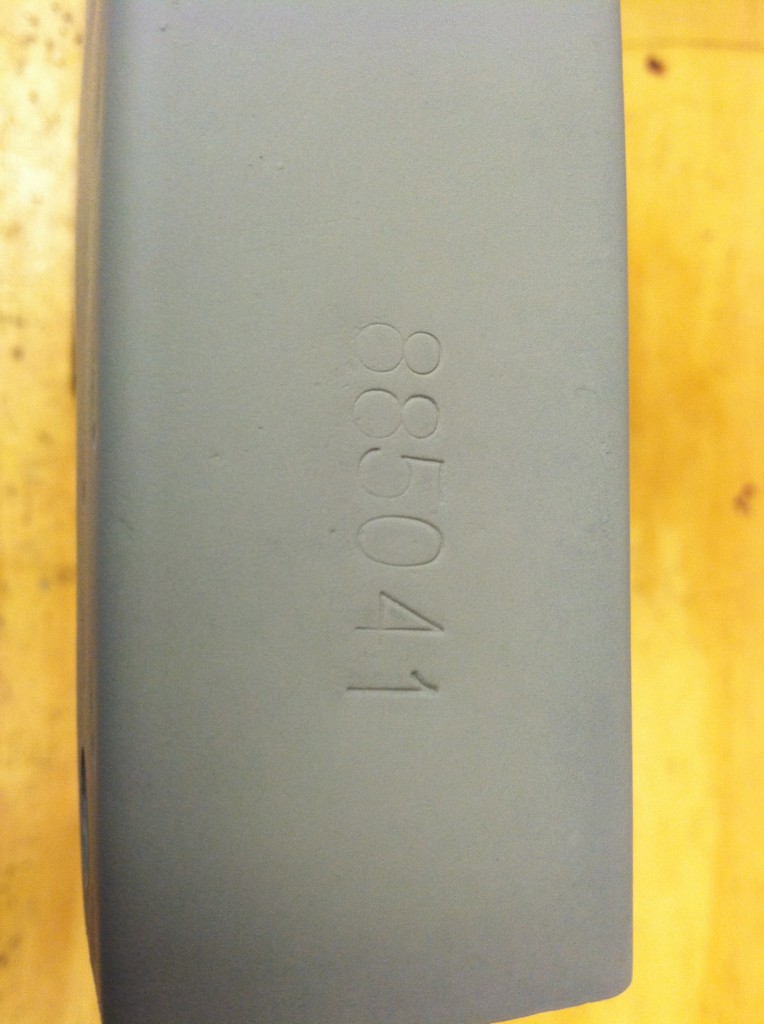
- The chassis number – in the size and shape it should be.
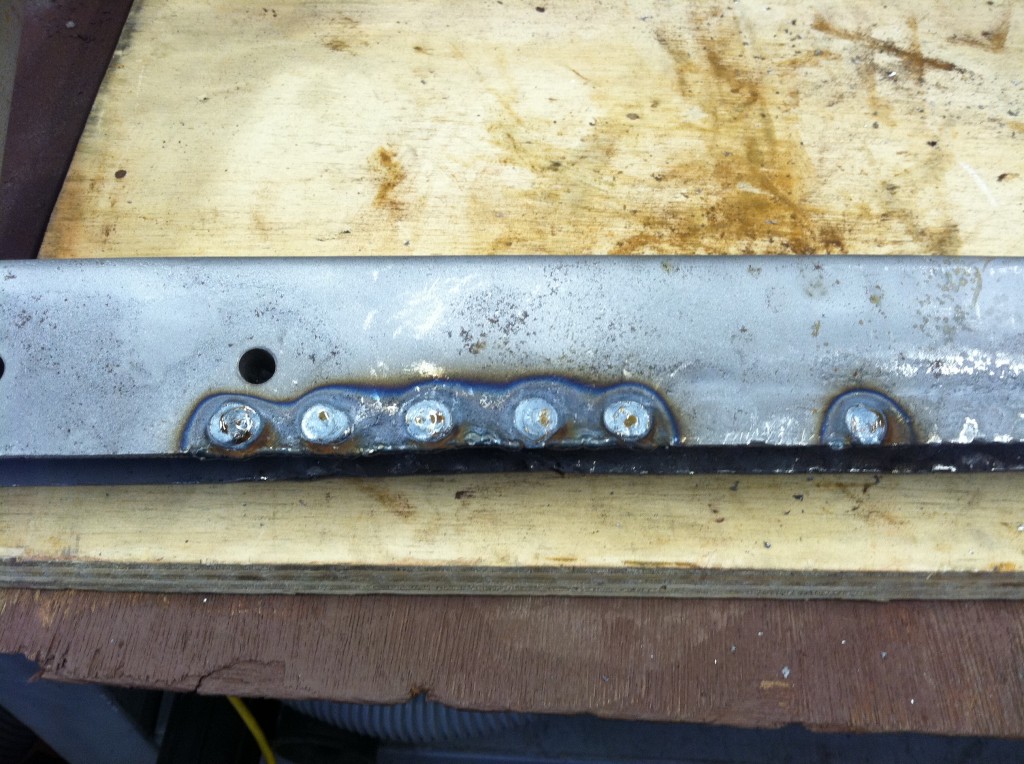
- As usual, the bending popped the spot-welds loose, so we have plug-welded the lower section back together where that has happened.
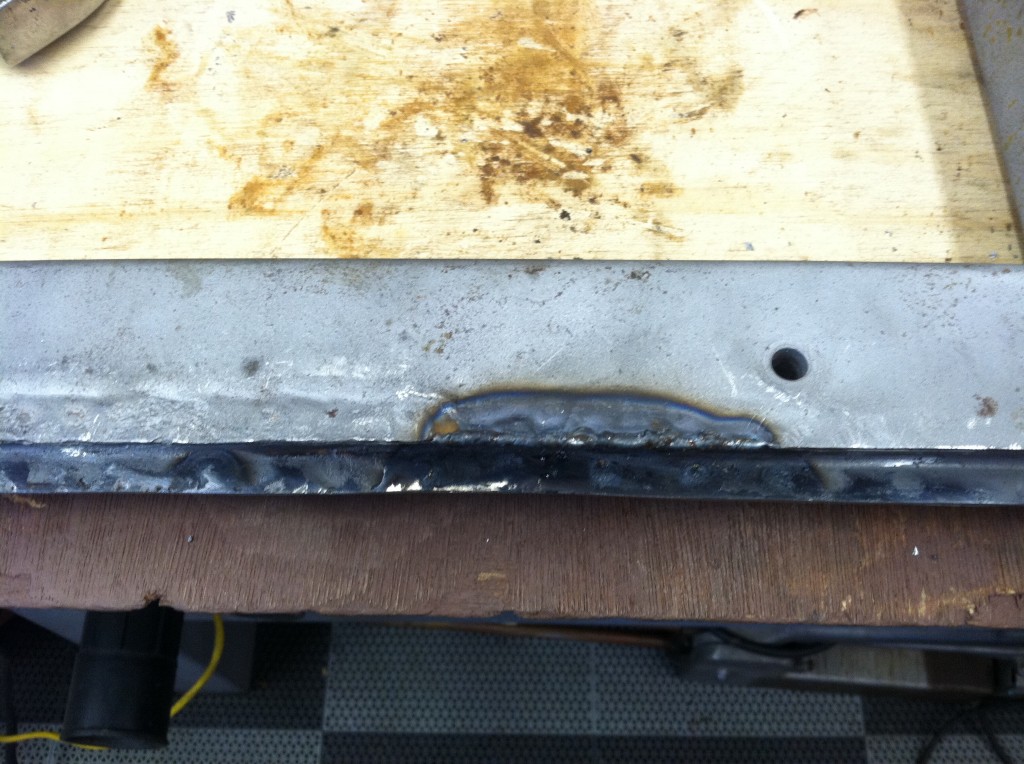
- And on the other side as well.
- A dent has been removed from very close to the numbers without disturbing them. next, we’ll remove the extra hole added by an earlier owner – it’s the top one.
- The hole is gone – all that is left are factory holes.
- Looking good when blasted.
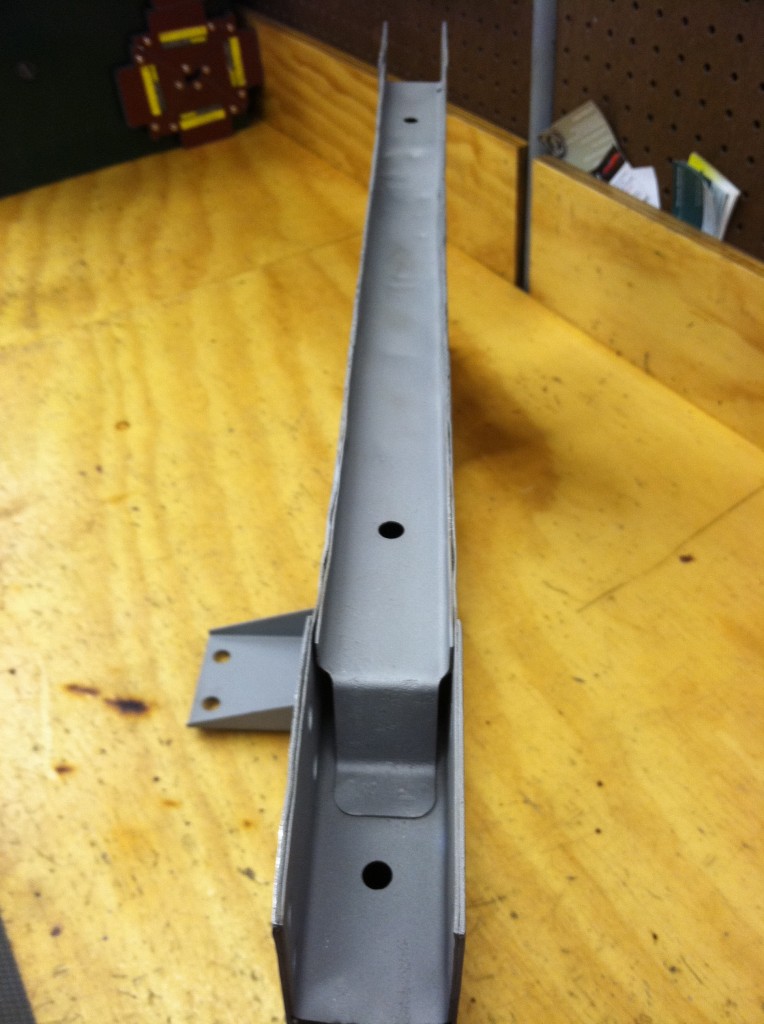
- As straight as we can get it – the piece still has some dents here and there, but it is sound and has NO cracks – very rare, actually…
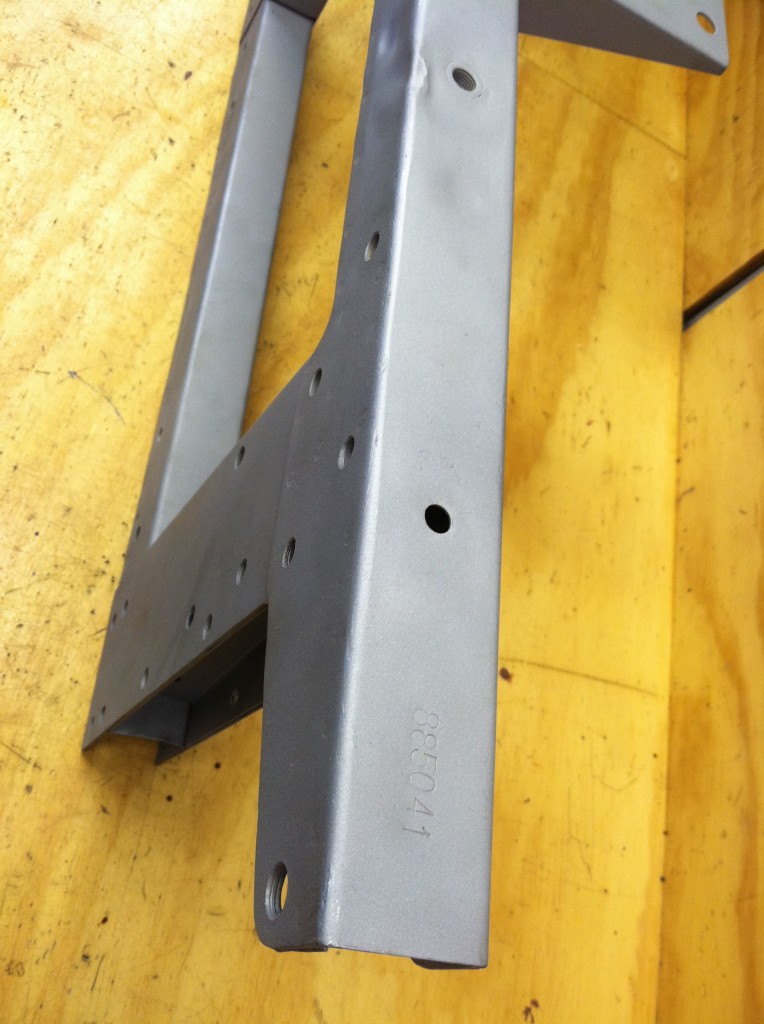
- After paint – the 88 was stamped a little light, but it’s original.
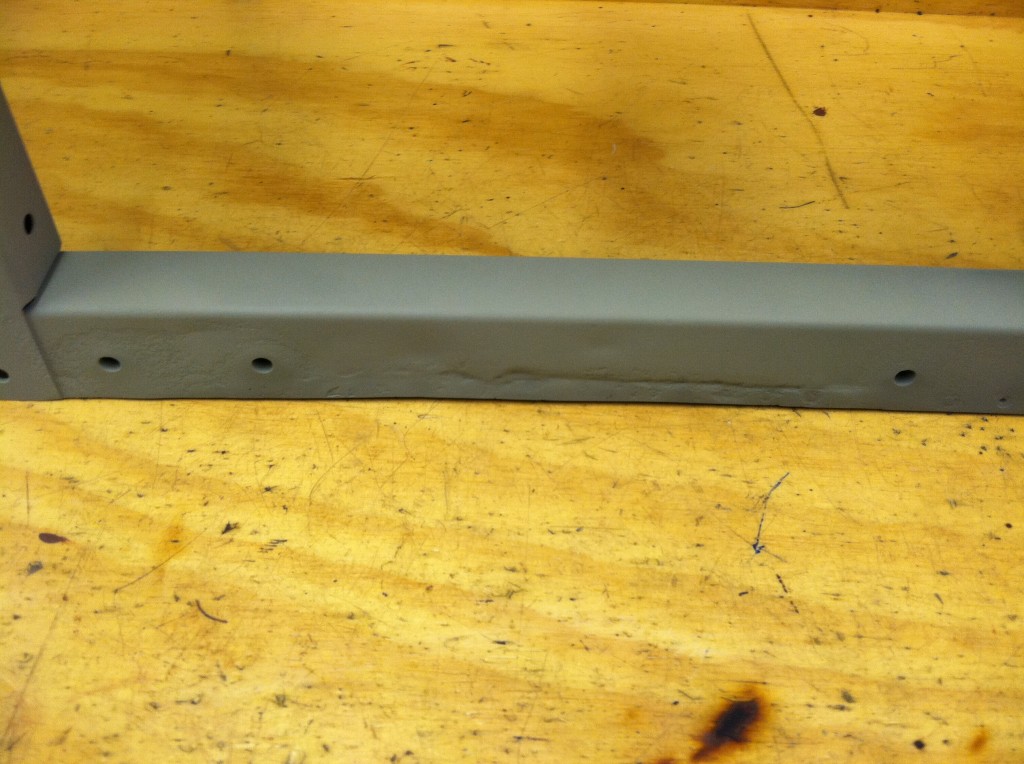
- This is the best we could do – it’s MUCH better, and sound, and can be smoothed with filler or left like this – that is up to the painter and the owner.
- After primer. You CAN jack from here, but only if you fit a piece of hardwood of just the right size into this valley that extends below these edges. Make sure that piece of wood is FULL WIDTH!!!
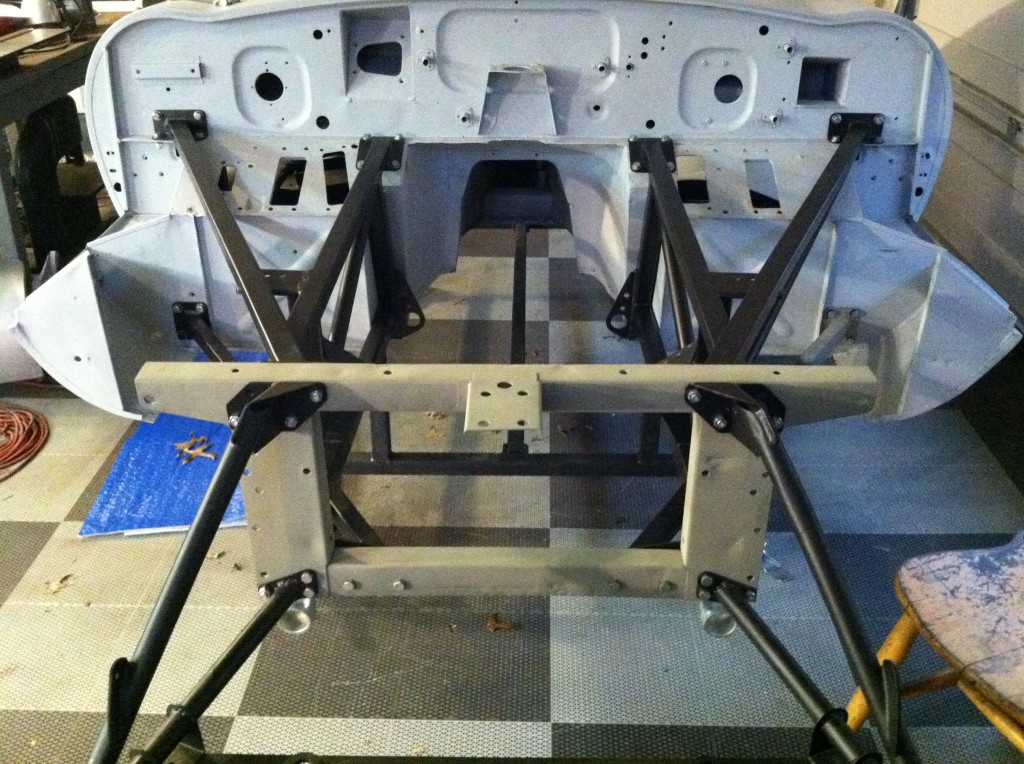
- Back where it belongs!
- NOW it’s time to mount the early bonnet with smaller mouth, welded louvers, and welded flanges. Stay tuned!

