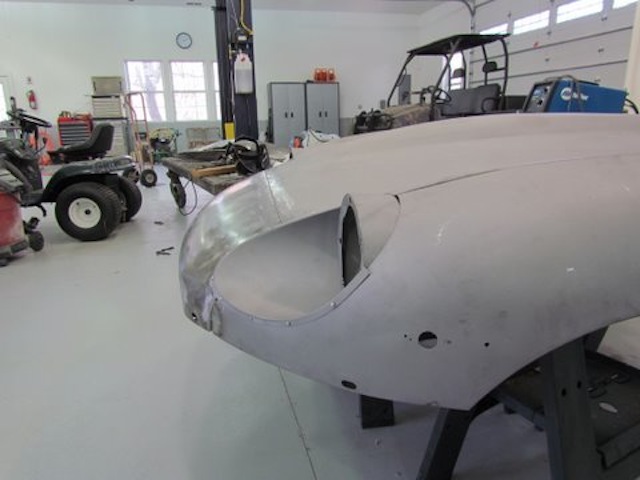
We restore shells and bonnets here, but also often help with projects far away. In this blog post, you can see some of the pieces we provided for a Series 2 roadster being restored in California.
This customer was looking for some new pieces, but also help with a badly damaged center section. I knew shipping out a good used center section that was smoothed out here was not an option, really – there just isn’t a good method for shipping it that is cost effective. But when they said, “Do you make a patch panel for the nose?” – I had an idea that involved another battered Series 2 center section with a very clean nose – take a look!
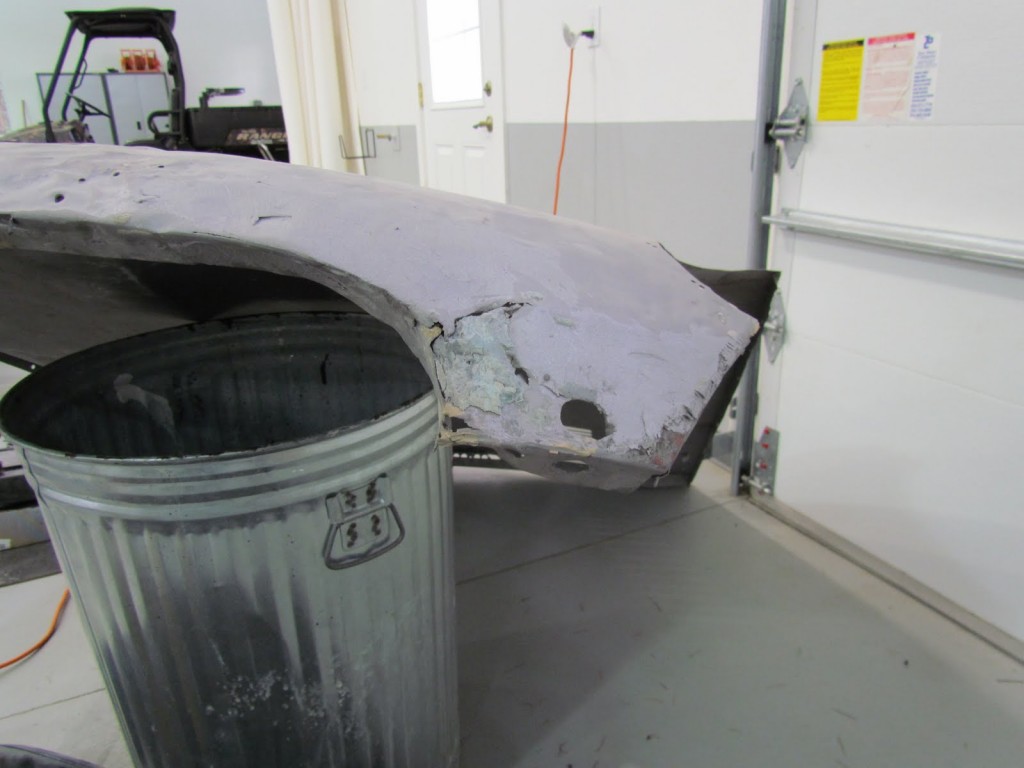
- Just this first shot shows you that the forward area of this center section has had it!
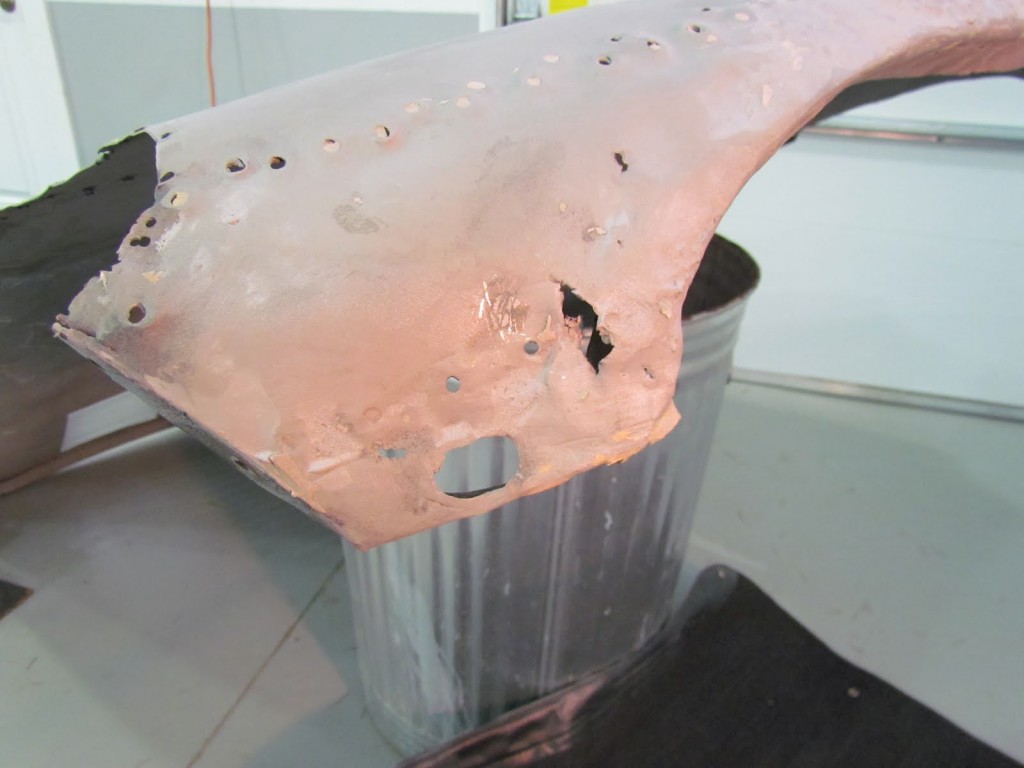
- Here is some additional damage around the RH headlight opening.
- More carnage in the lower RH section of the mouth.
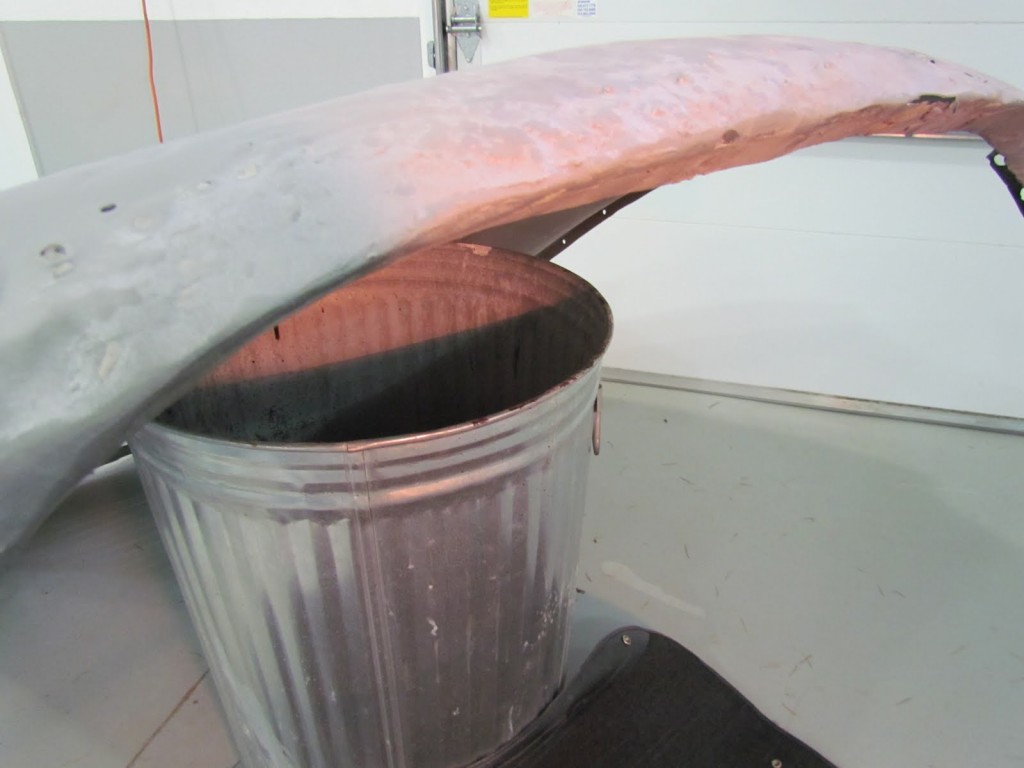
- This shows you what a mess the leading edge of the nose is, but wait…
- OUCH! This one has been in the hands of a real butcher in the past. You’d be SHOCKED how many “100 point” cars out there look like this deep under their fancy paint jobs…
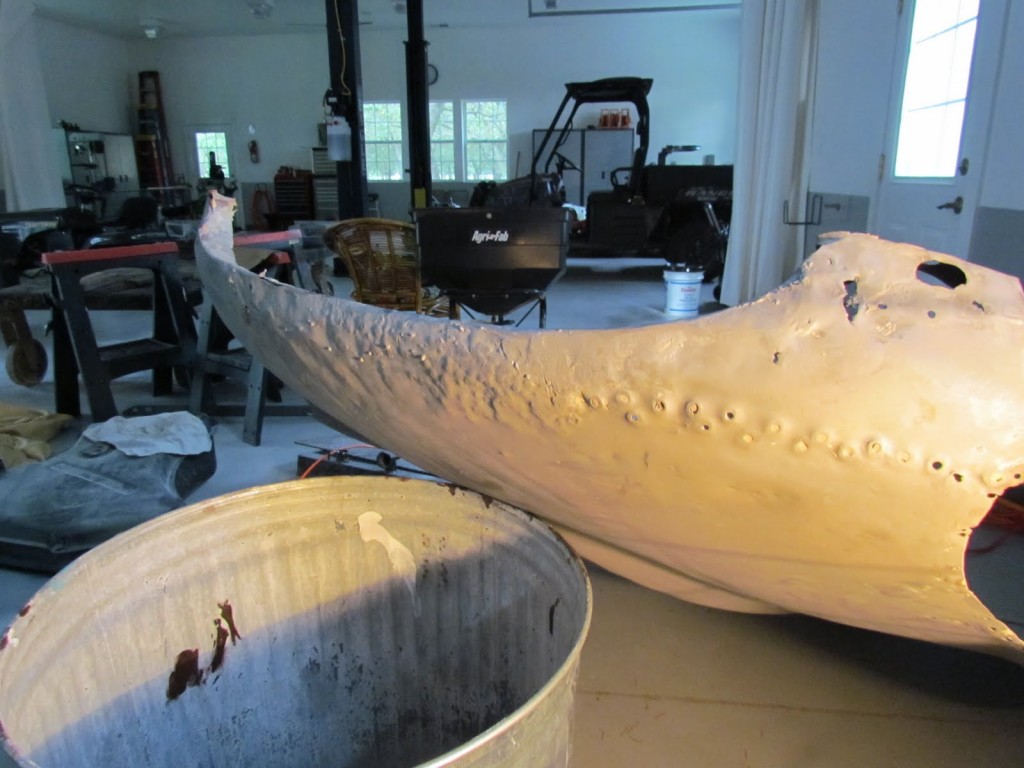
- Here’s the answer – an original Series 2 center section from our ever expanding stock of used pieces. This panel looks great at first glance, but look at the back edge – this was on a car that caught on fire inside the car, and the fire department, not knowing how to open an E-Type bonnet, simply jammed a crowbar between the bonnet and cowl and went crazy! The damage is pretty extensive, and sadly, not repairable.
- BUT WAIT! That doesn’t mean the panel can’t be used to save another E-Type – here is the “patch panel” that the customer was looking for!
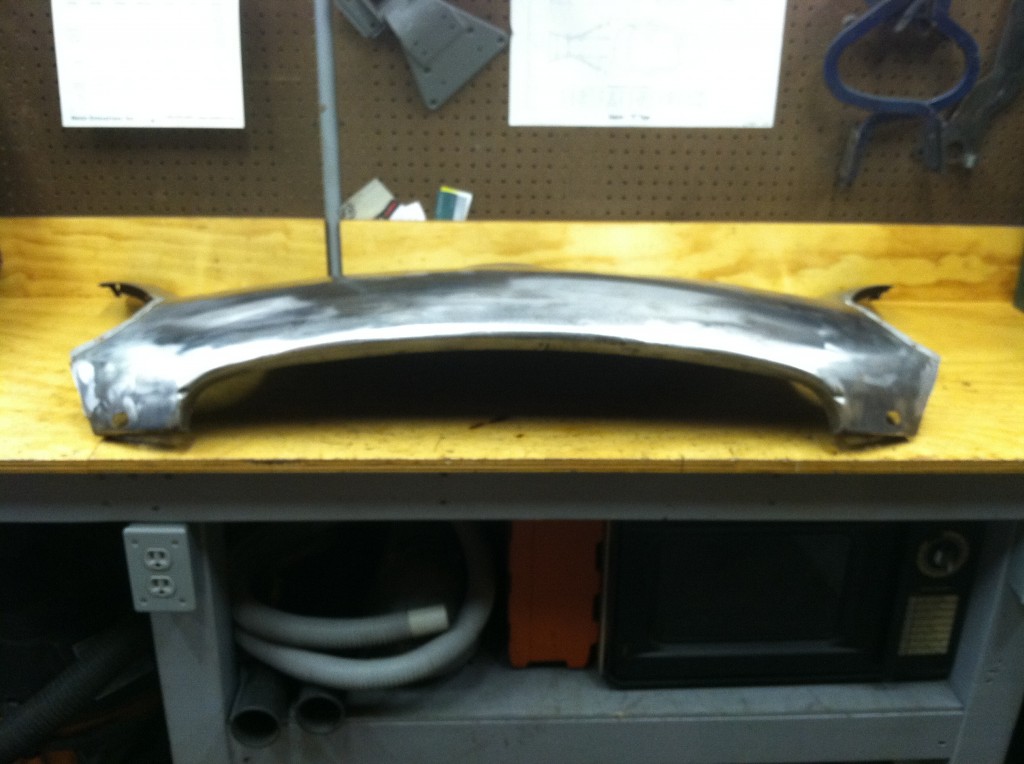
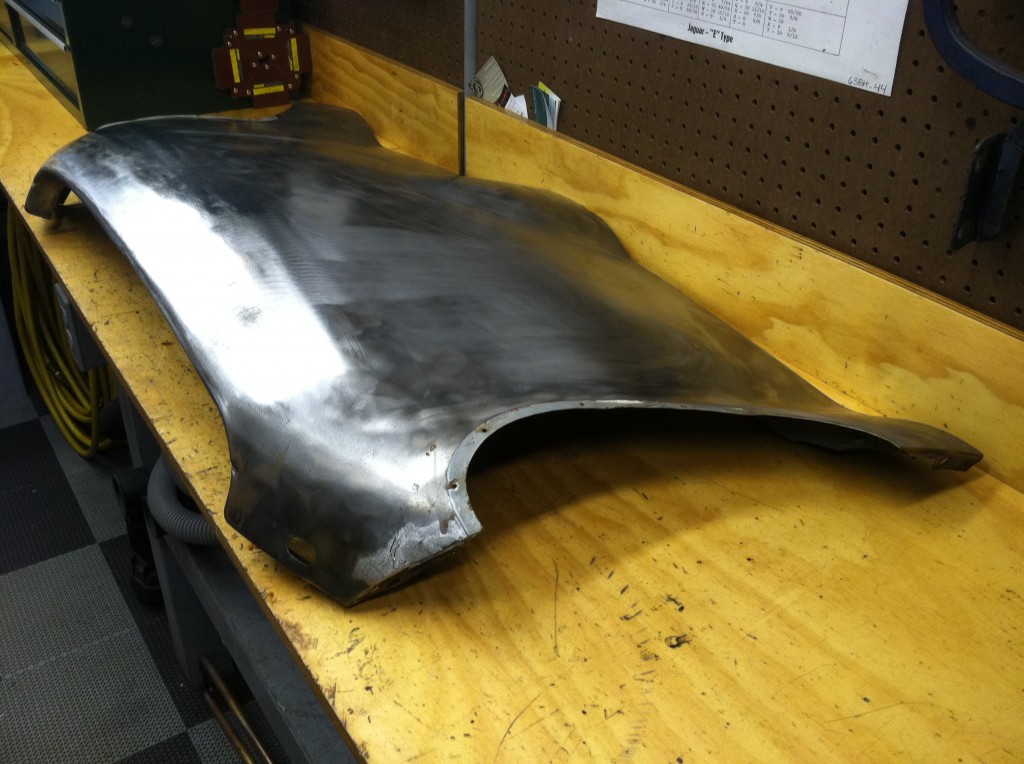
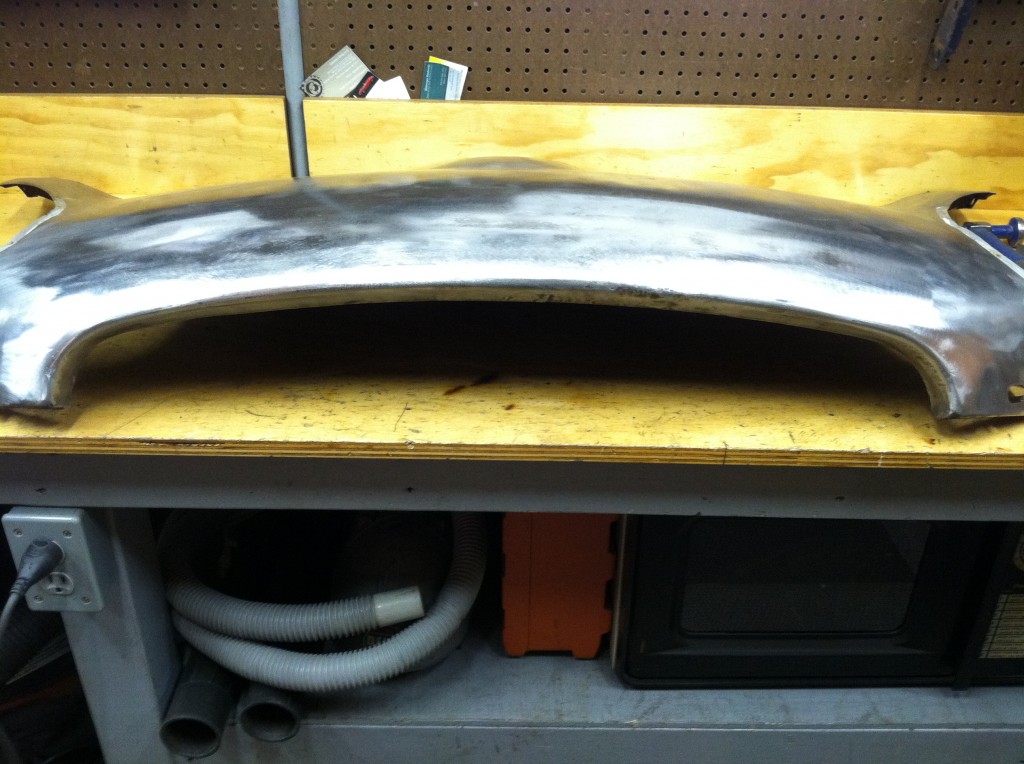
- We’ve sliced off the forward 24 inches, and the plan is for the customer to graft this in just forward of the headlight diaphragms, where the seam will be hidden. They are planning to go around the power bulge, and with some experienced welding and patience, this should graft in seamlessly.
- But the piece is not “perfect” – it has been beaten on by inexperienced hands in the past, and does have some minor flaws that we are going to erase before we ship the panel.
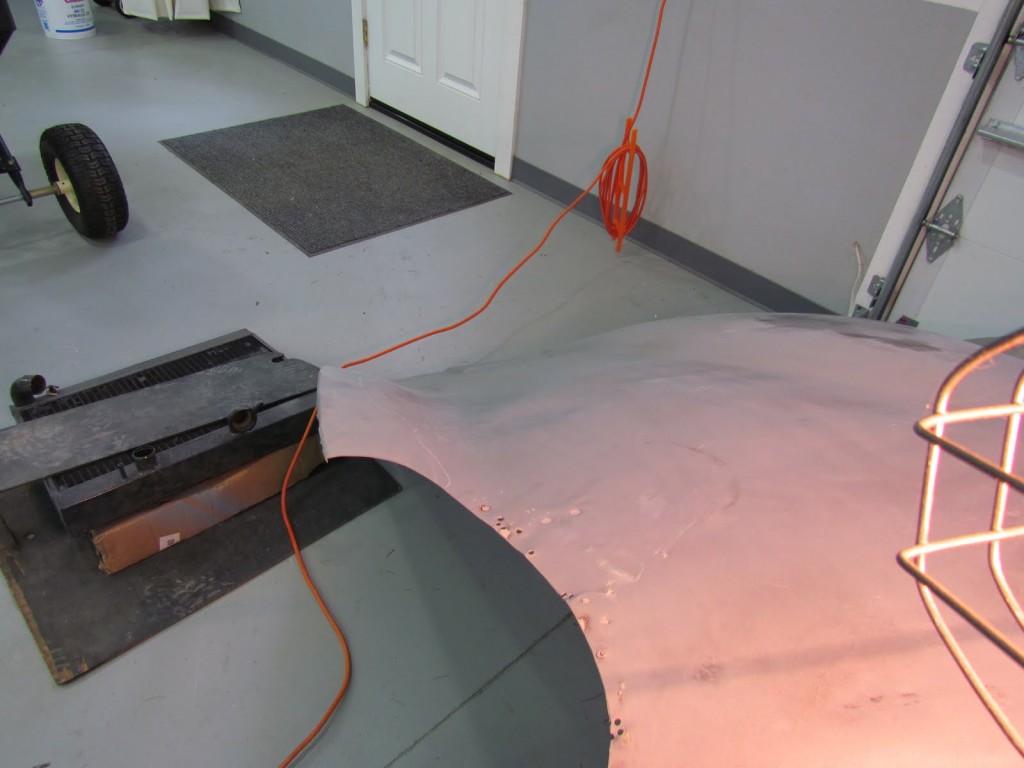
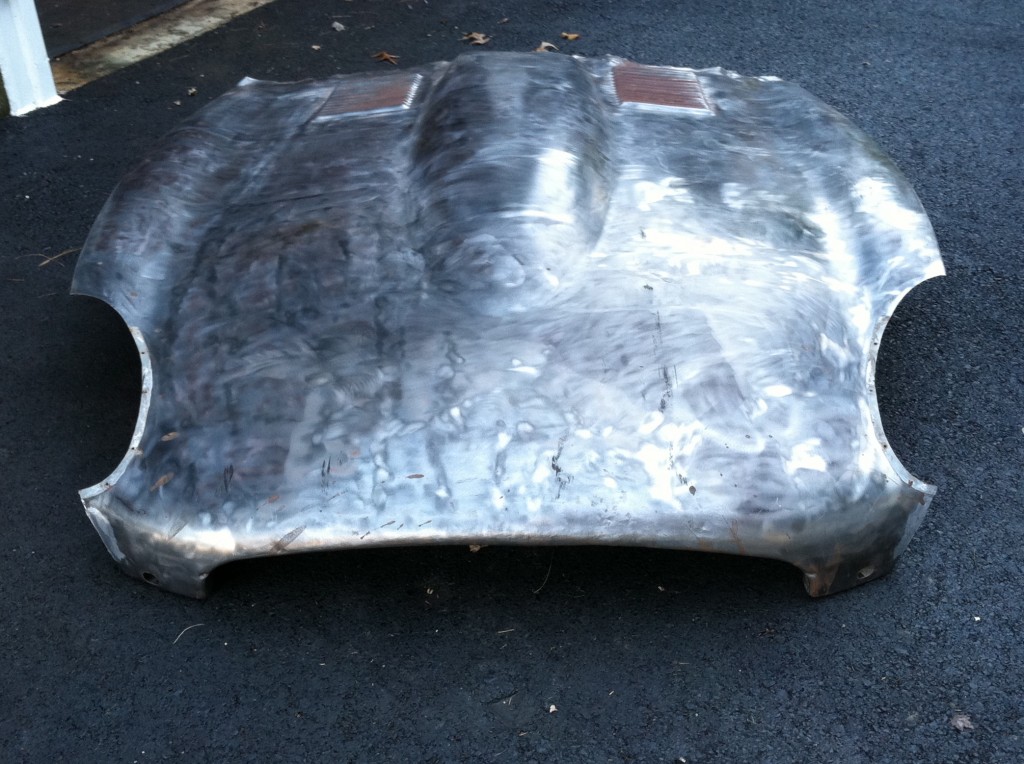
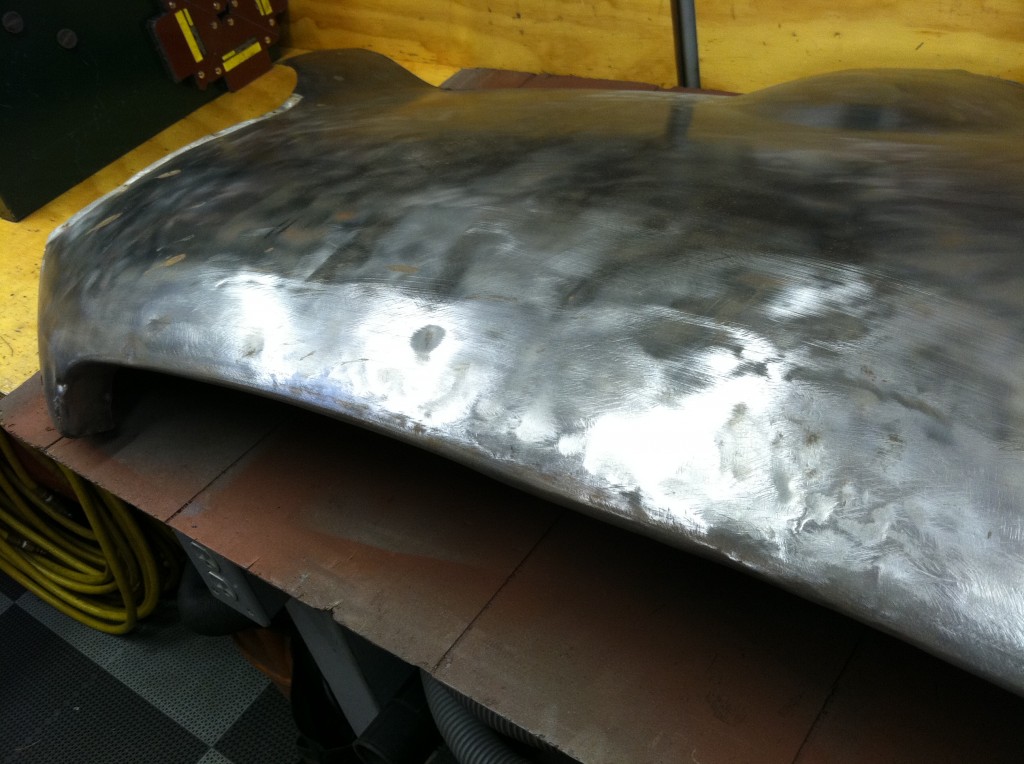
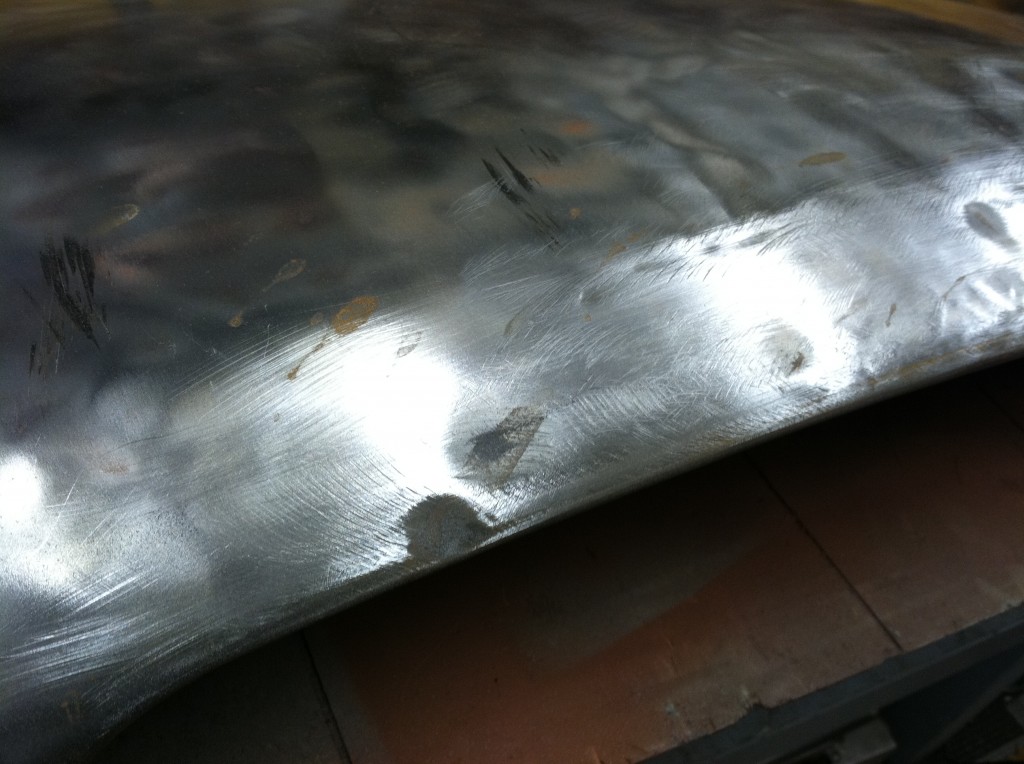
- Here we’ve sanded the piece with a block so that some of the dents and wrinkles show up better – during the repair AND in these photos!
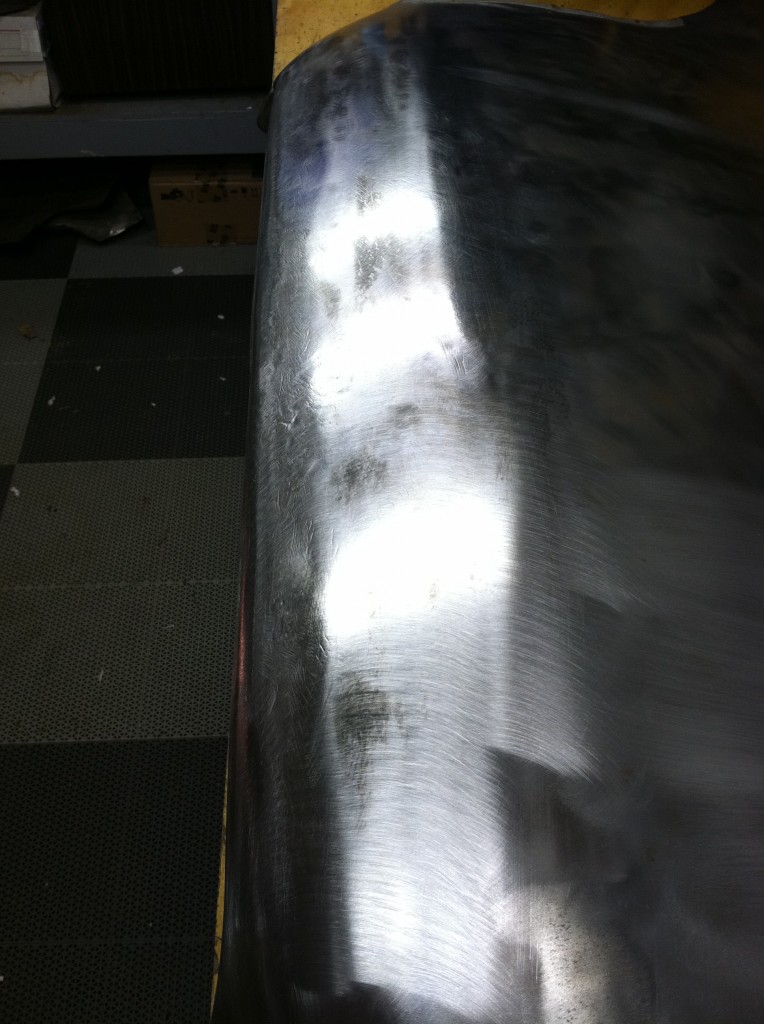
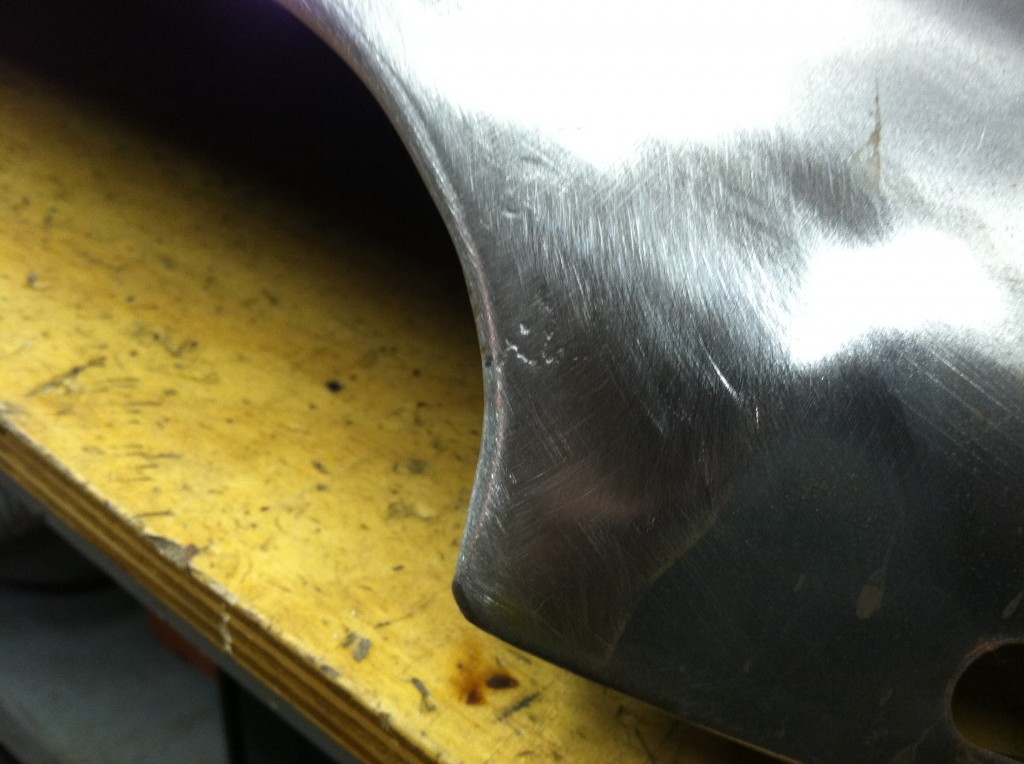
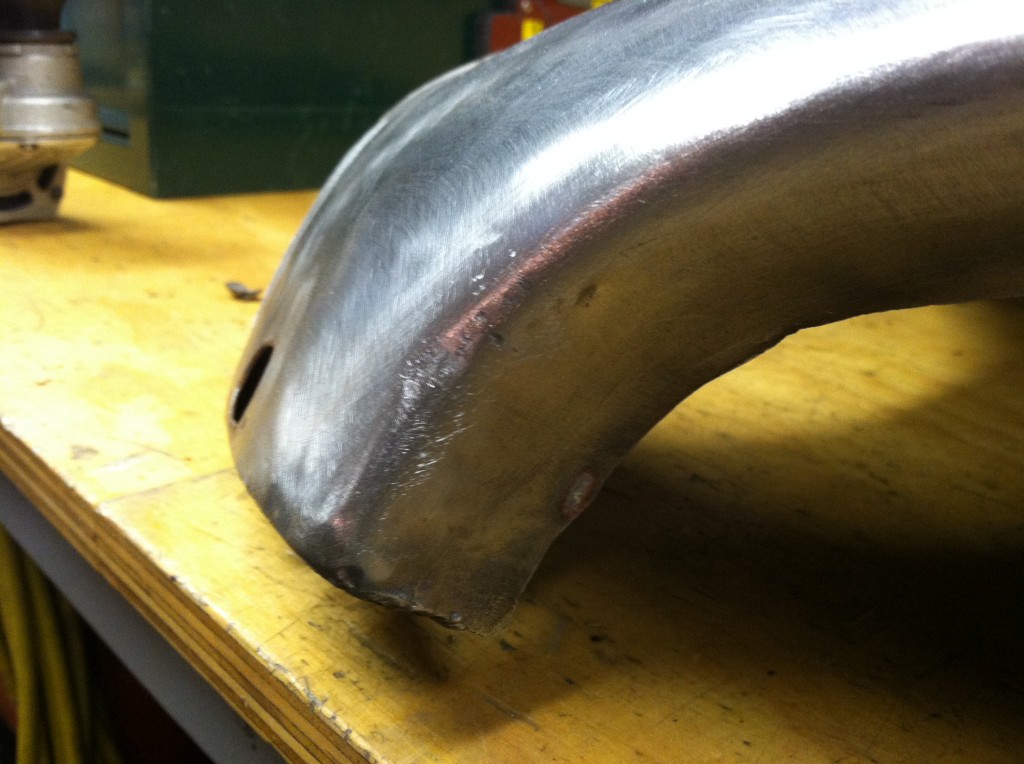
- Voila! We’re now within a few thousandths of an inch throughoput this entire piece, and a simple coat of block-sanded primer should be all the “filler” this nose sectiuon requires.
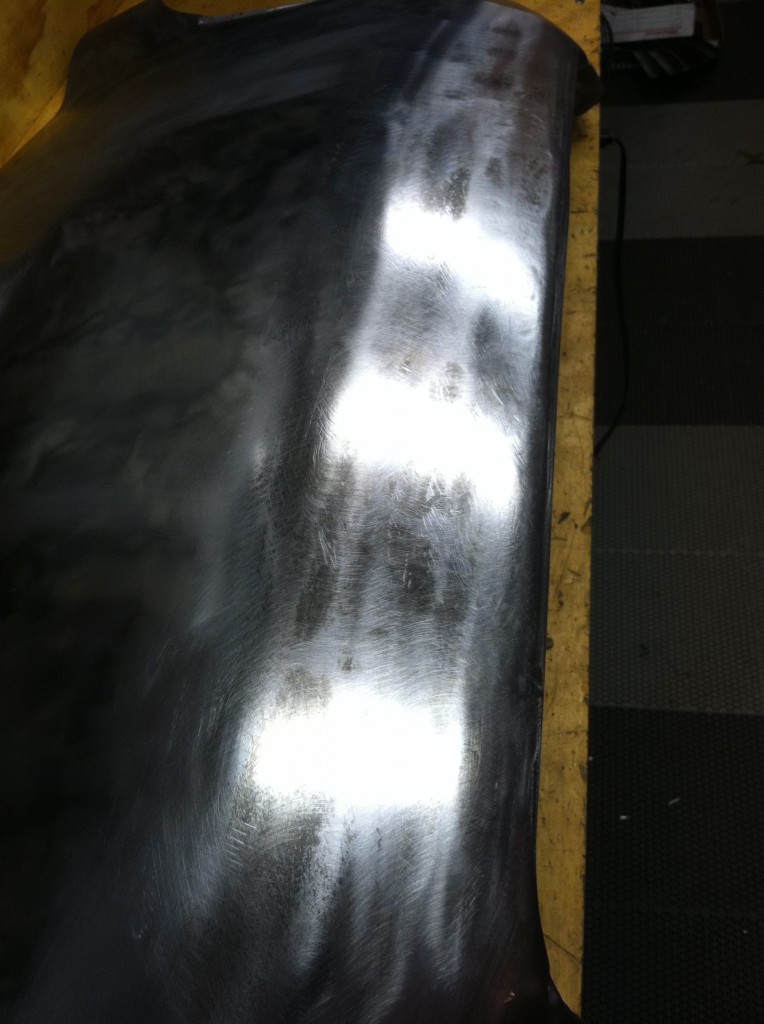
- Here’s another shot – this is all original metal, re-shaped, and now as smooth as glass. This was all done with hammers and dollies to reshape the metal, along with some shrinking and other tricks we use – NO metal has been removed! These pictures just don’t do justice to this work – the before pictures above make the piece look better than it was starting out, for example. This photo is the result of 3 hours of metalwork. To be honest, this came out so well that I started to feel guilty about not tackling the damge at the rear edge of the center section and attempting to save the whole thing… But this will be a great help to the car it is going on – and it’s ship-able in this size. And OF COURSE I saved the rest of it – at the very least we’ll use the rear support member – they often rust out and I do get calls for them.
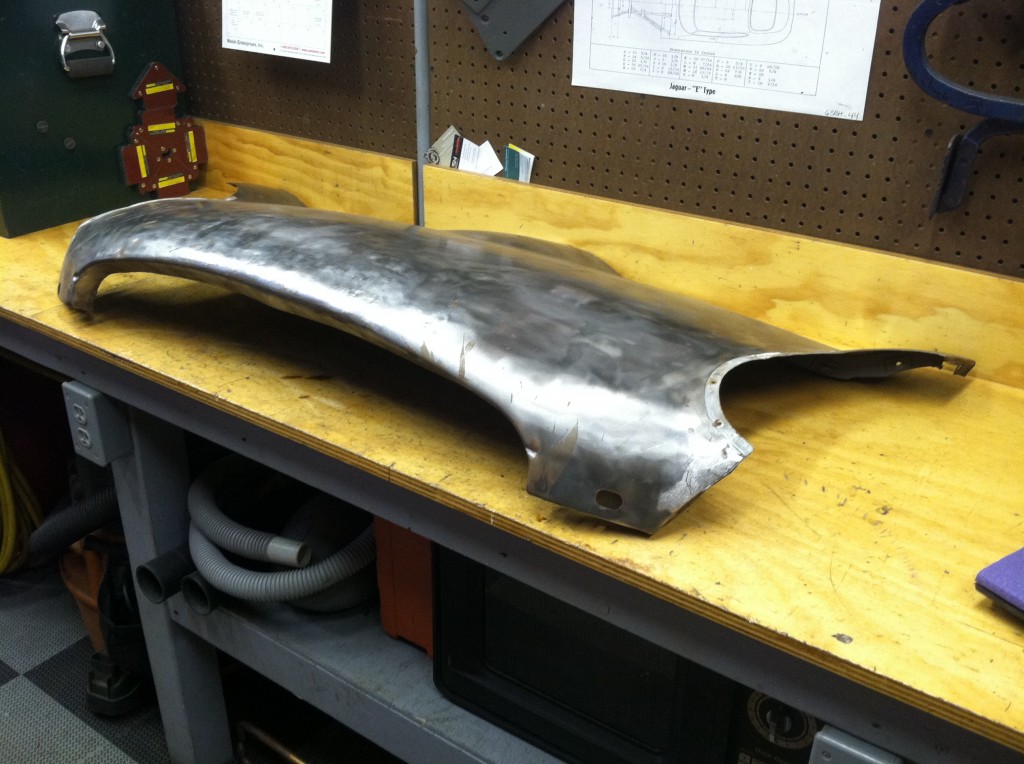
- Here’s a shot showing the overhead lights lined up in the metal surface.
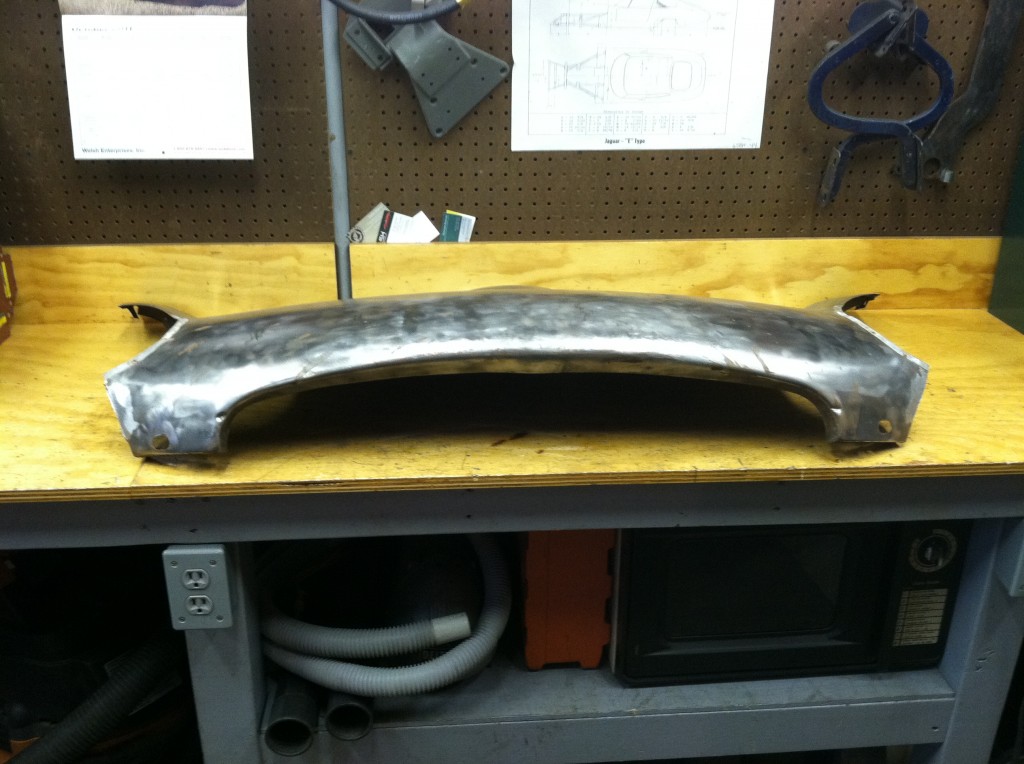
- And from the other side. Our work leaves the shop in bare metal or with only a light coat of etch primer – “what you see is what you get” – there’s never anything hidden under our primer!
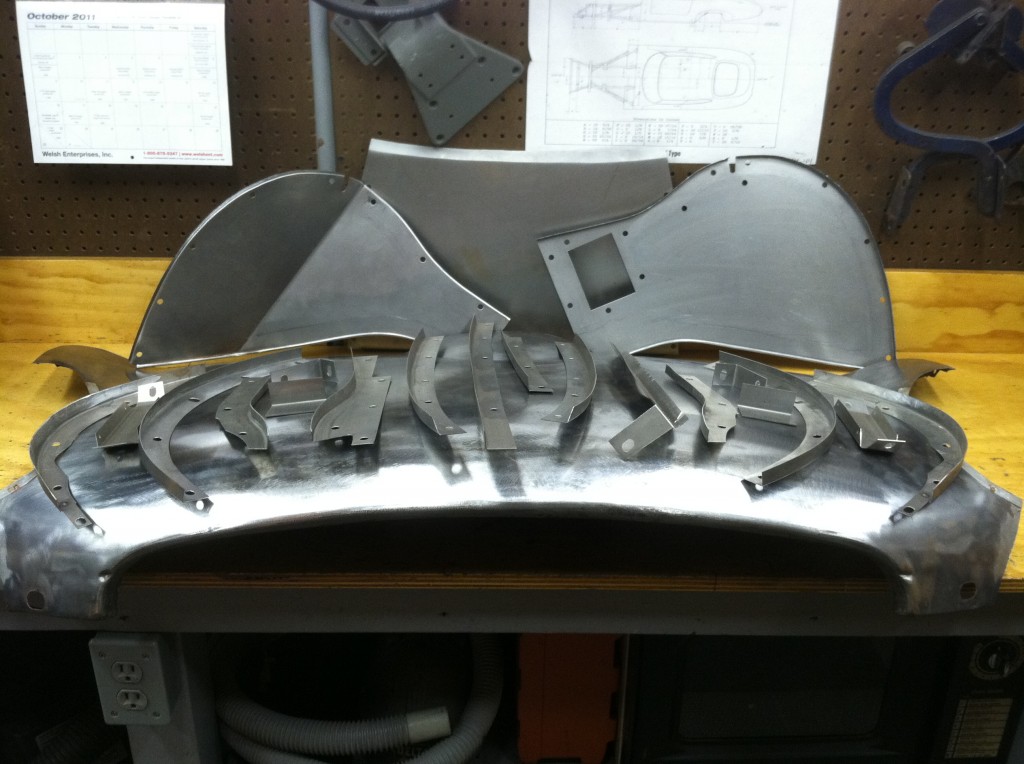
- Here is the entire order, and the “bonnet repair kit” we’ve created for this E-Type on the other side of the continent. This photo includes all panels handmade at Monocoque Metalworks, and the reshaped center section piece.
- Well, only after I took the photo above did I realize that I forgot to remove the two dimples put in on each side of the nose by parking accidents that pushed the over-riders into the skin – very common on E-Types. So I got all the hammers, dollies, slappers, picks, shrinkers etc. back out and went back to work.
- The LH side’s dimple, erased.
- And the RH dimple erased as well.
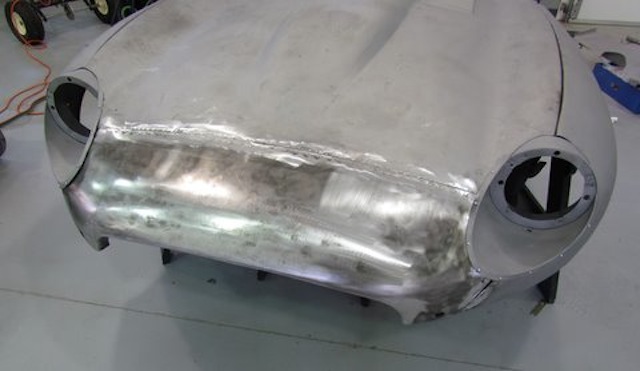
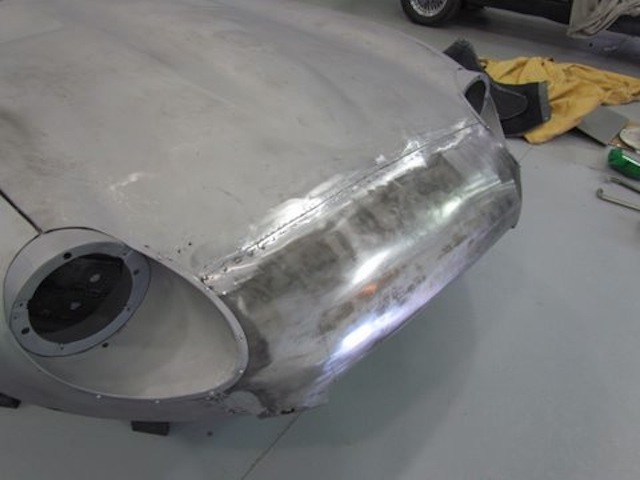
- UPDATE! – I just received these photos from the gentleman in California who purchased this piece. I’d say he didn’t a pretty damn good job grafting this in! We’re looking at ALOT less filler in the nose of this E-Type now, and the leading edge of the mouth will be the cirrect shape – not some bodyman’s idea of what tha should be. Great Job, Bob – Thanks for the photos!
- Another shot – this work was not performed here, but rather by the customer at his home. I suggested that he flange the piece for insurance against warpage, and it looks like that has worked out well!
- Looking real good! If you can’t get the car to us, we’ll get our parts and technical help out to you!

