People LOVE to say this can’t be done… Well, if a frame rail is wiped out, I don’t get involved with it, but if it’s straight and solid and just needs a little cosmetic TLC here and there, I’m happy to doctor them up.
Actually, what I repair ALOT of are picture frames and the bonnet carrier bracket. The picture frames carry the car’s chassis number, and I like to see the original picture frame on the car if at all possible. Here are some photos of the repairs we do here on these pieces.
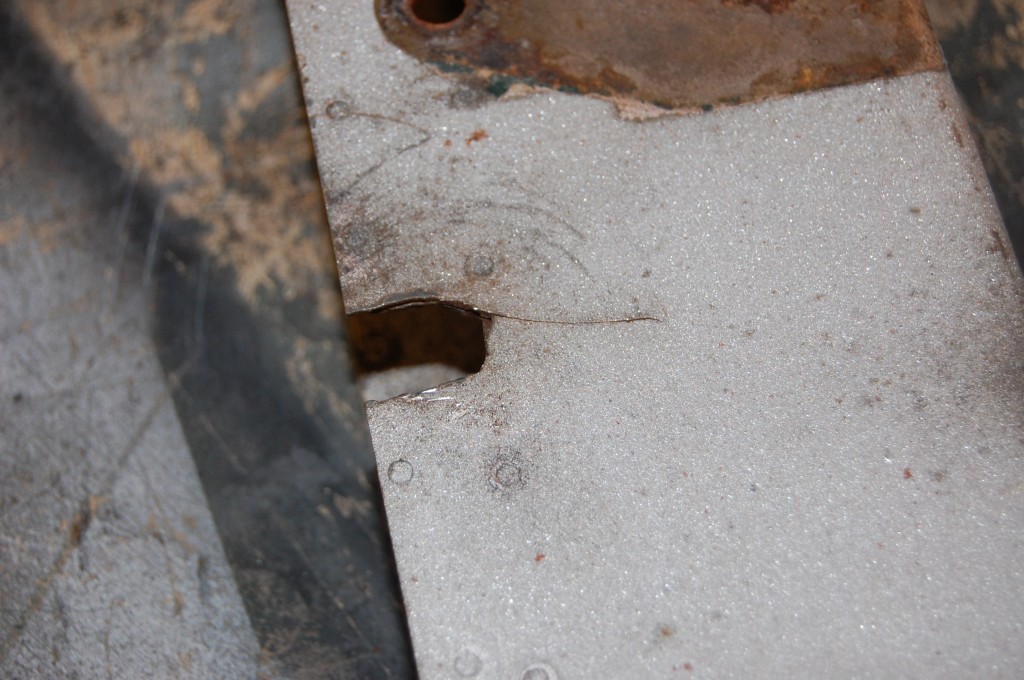
- This is a VERY common problem with picture frames – this is the upper mounting hole for the sway bar mount. This is one of the few bolts that does not go all the way through the picture frame, and as you can see, that was a design flaw…
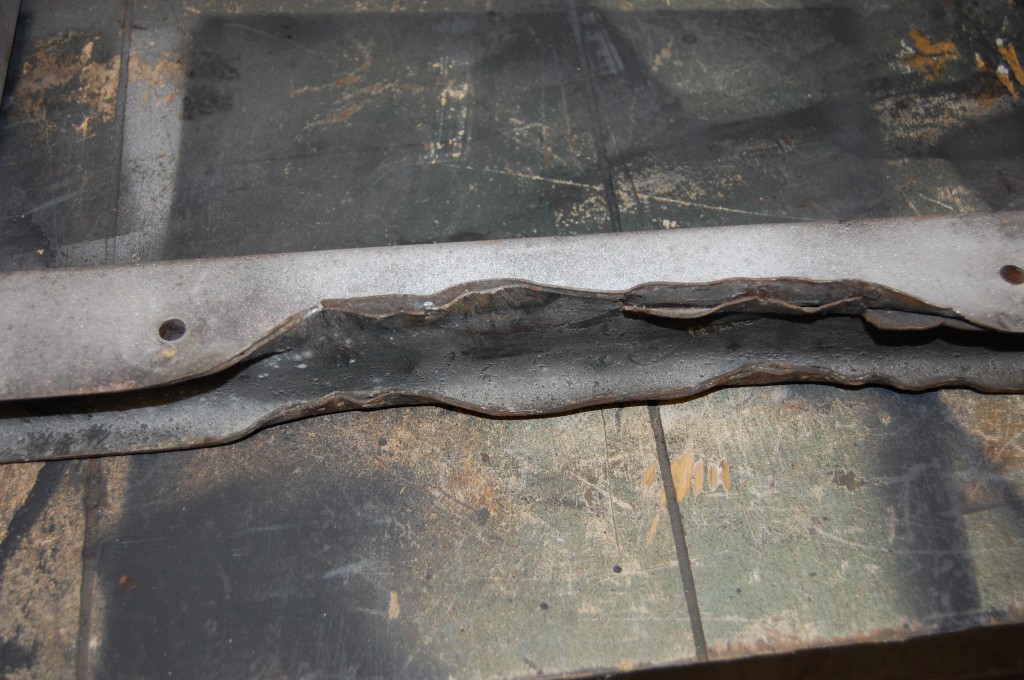
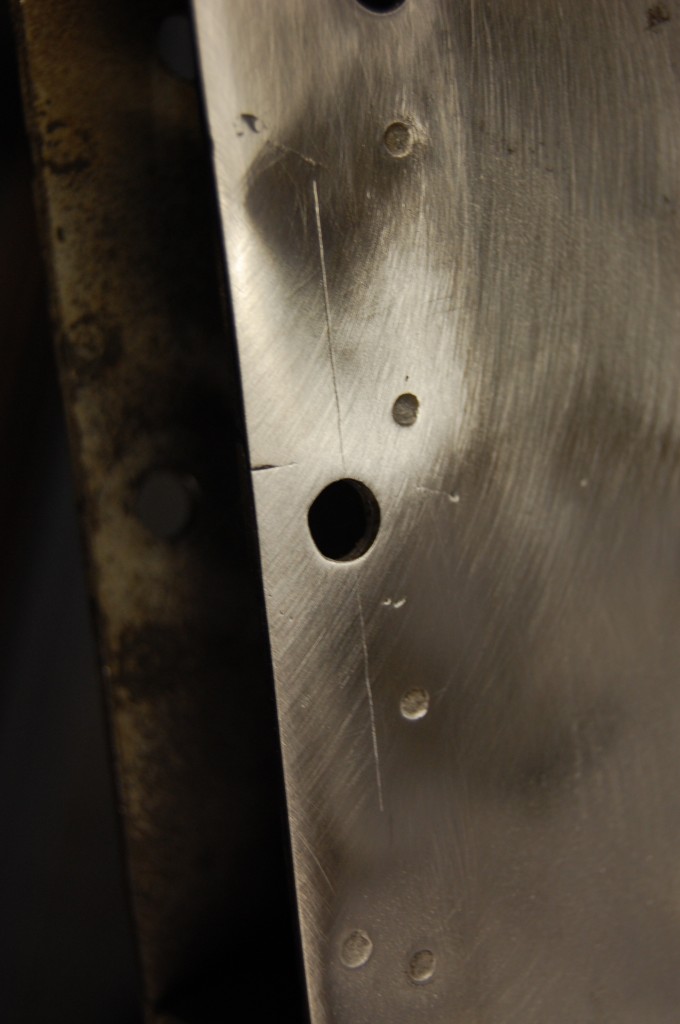
- This is the other problem that picture frames almost ALWAYS have – this is from the picture frame’s nemesis – the floor jack…
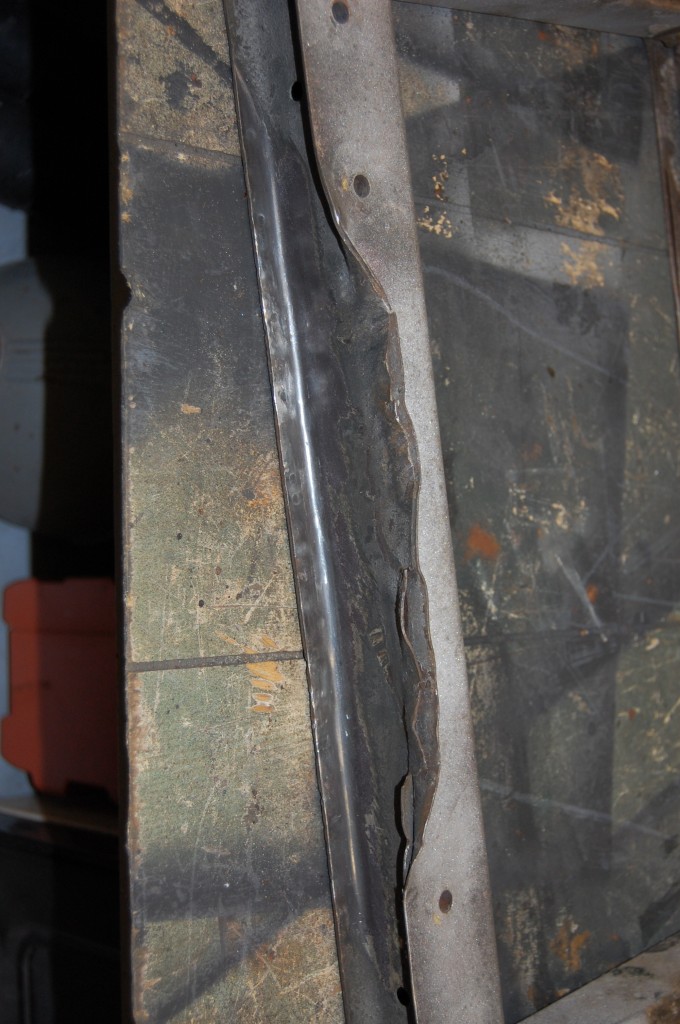
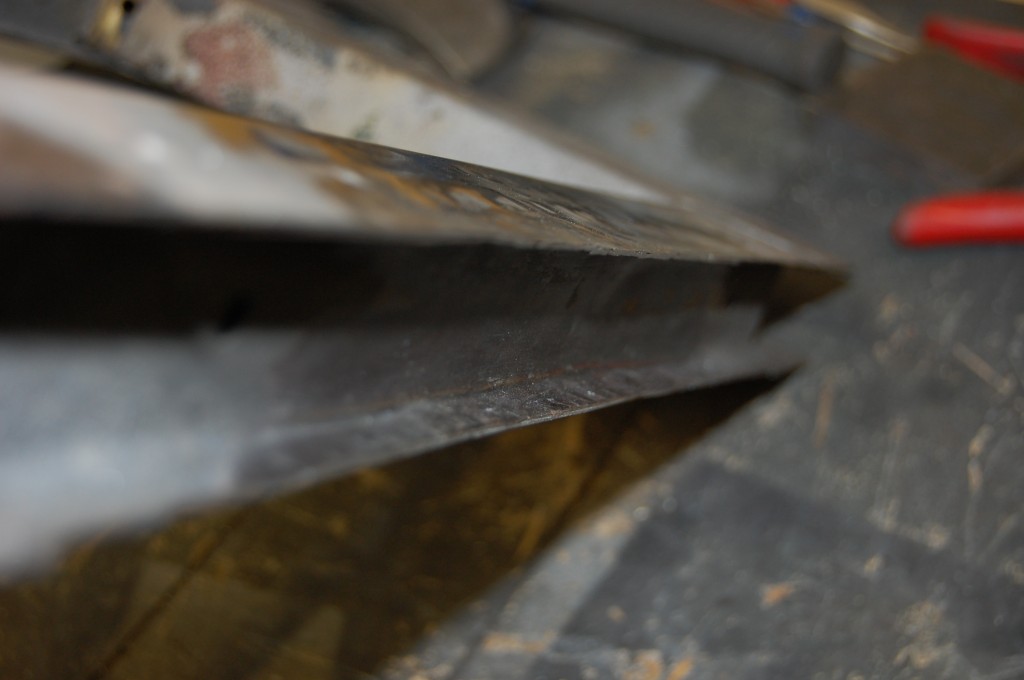
- We use a combination of heat and hammers and dollies to reshape the lower channel section of the frame. Here, you can see that one side is just about complete. DON’T TRY THIS AT HOME! I know these pictures make this look really easy, but these picture frames ARE made of the same hard steel as the frame rails. Now, I know you’ll read on the other forums that they’re not, but they are – trust me. And if you beat and bang on them without knowing what you are doing, they crack like crazy!
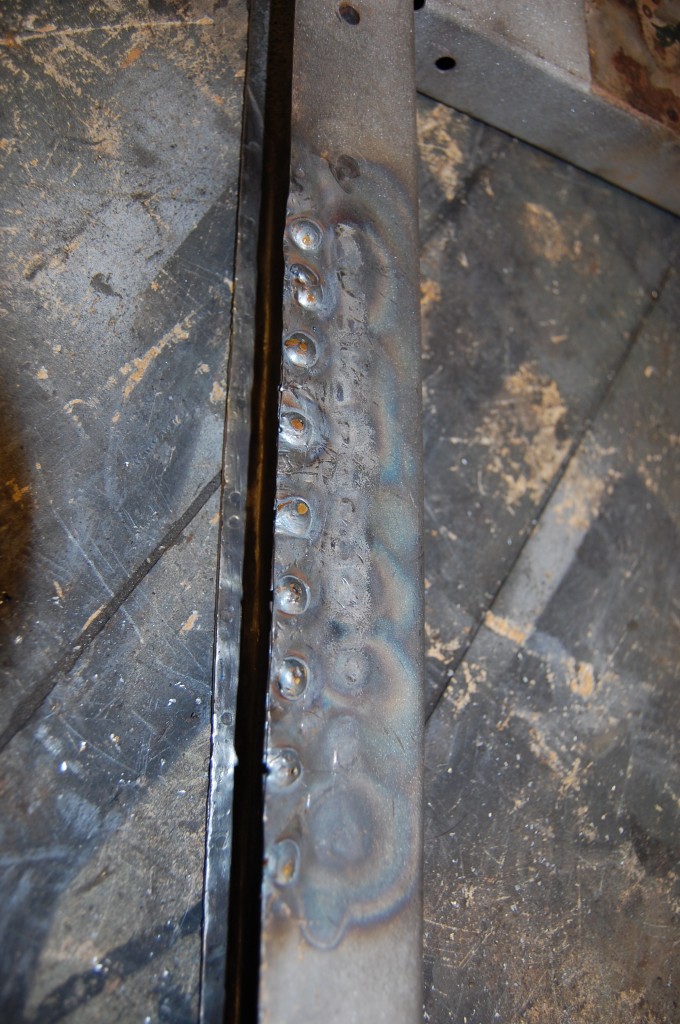
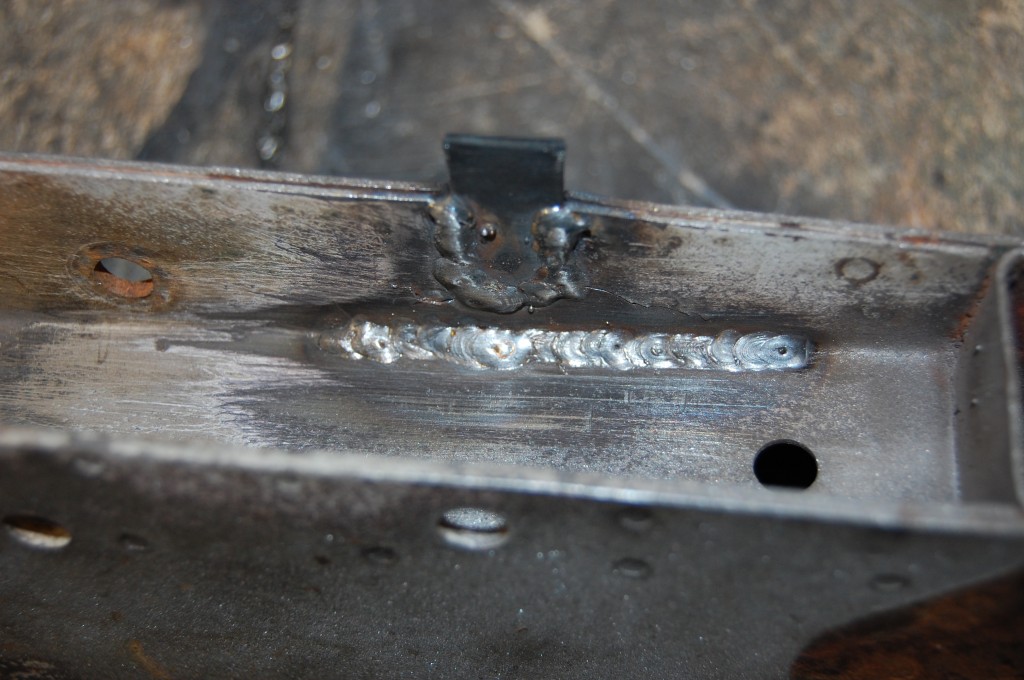
- Here is the other side after heating, reshaping, and plug-welding the bottom seam back together – the spot-welds often seperate as a result of the damage or during the repair.
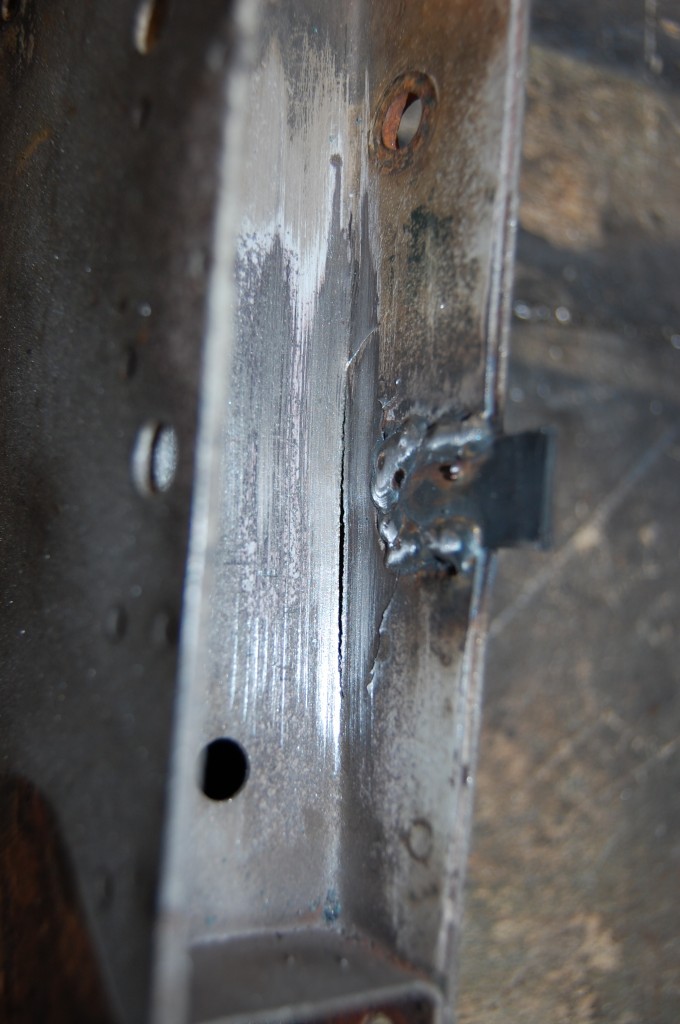
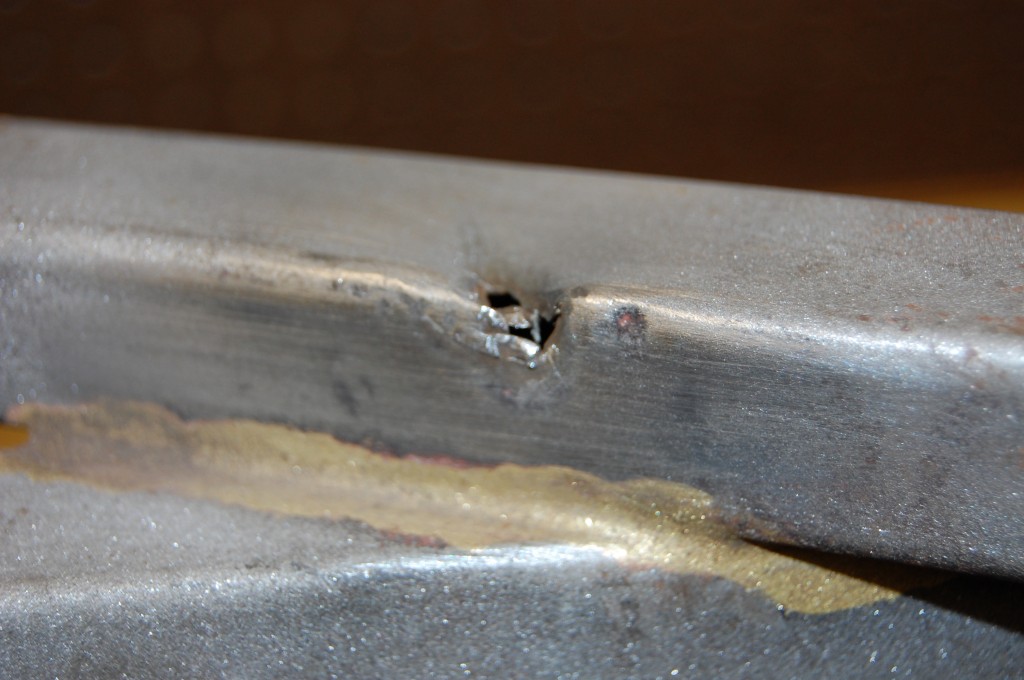
- Welding a small patch into the damaged sway-bar mounting hole. Note the crack on the inside of the frame.
- So we carefully weld that up too…
- Finally, the patch is trimmed and ground, and a new hole is located and drilled.
- Here is the finished bottom edge, cleaned up on both sides. This piece was later doctored up at the paint shop to smooth out the surface – that is OK in my opinion. What’s NOT OK is what I have seen in the past – filler in the frame rails to hide problems with them – that’s just dangerous, period.
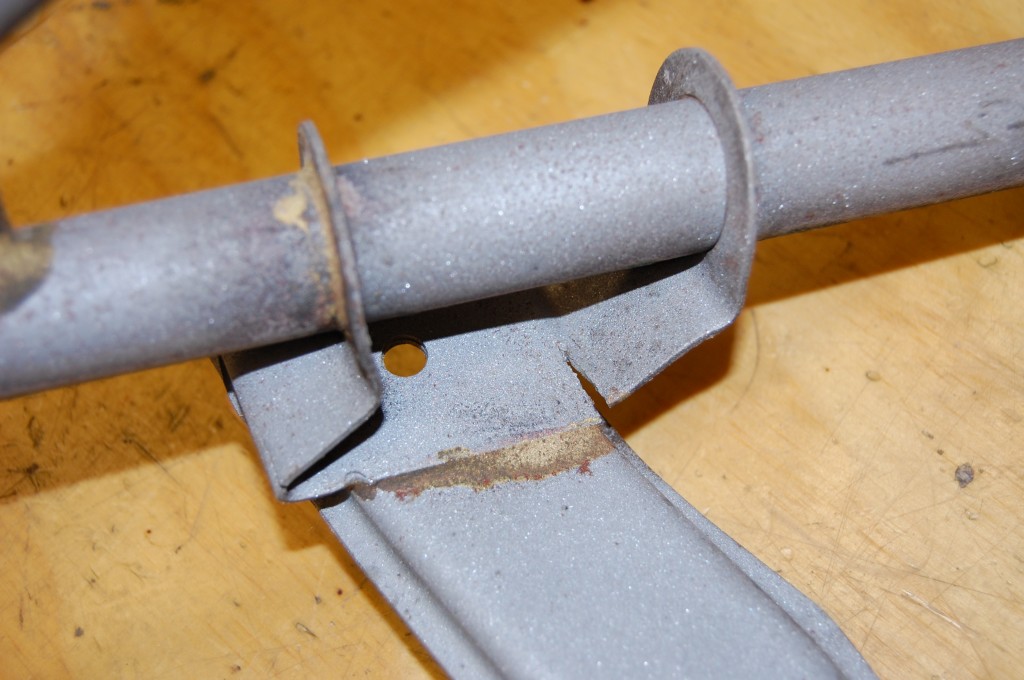
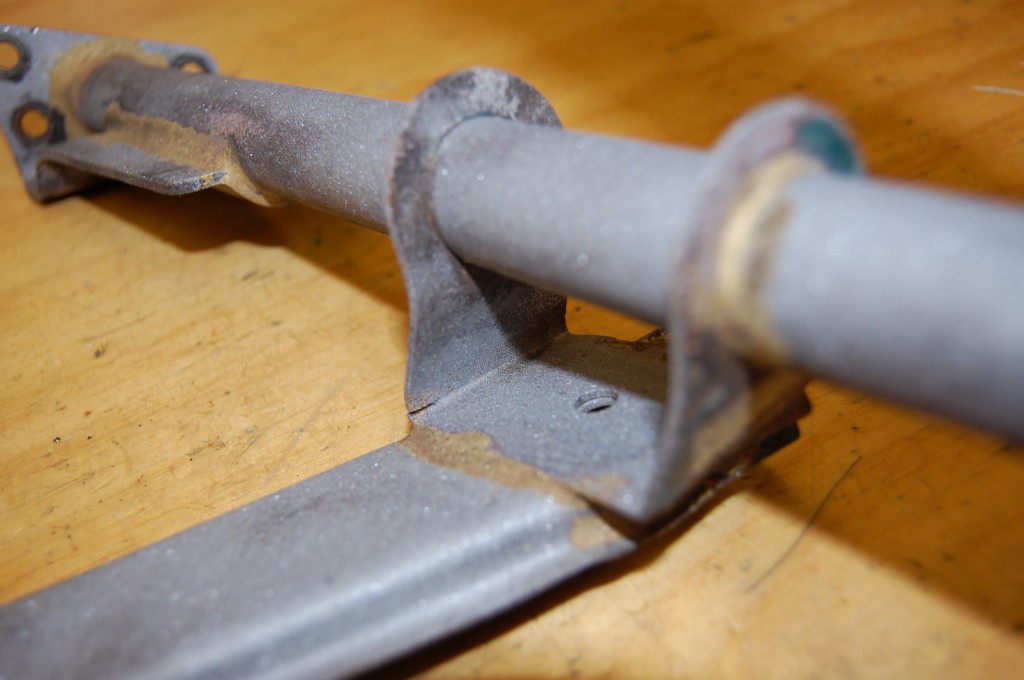
- Here is another common thing we see – the radiator ounting plate on the bonner carrier bracket all mangled up…
- Note the crack starting on this side.
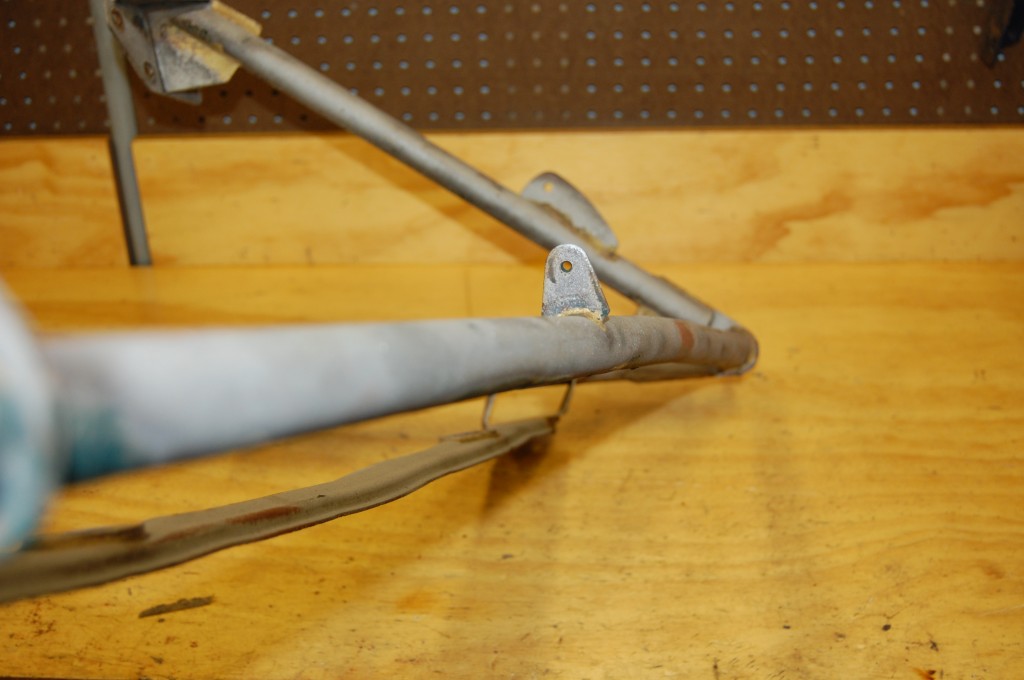
- And the front rail is bent. We straightened the front rail cold, and I ended up slicing off the radiator mount, straightening it on the bench, and then welding it back on right at the bottom corner of the side ears where it was bent.
- This is the kind of frame rail damage I’m talking about repairing – not patching rotted out tubes, etc. Bad tubes on frame rails need to be replaced in their entire length and have new tubes brazed in, and we can do that as well. This was probably an engine removal wound…
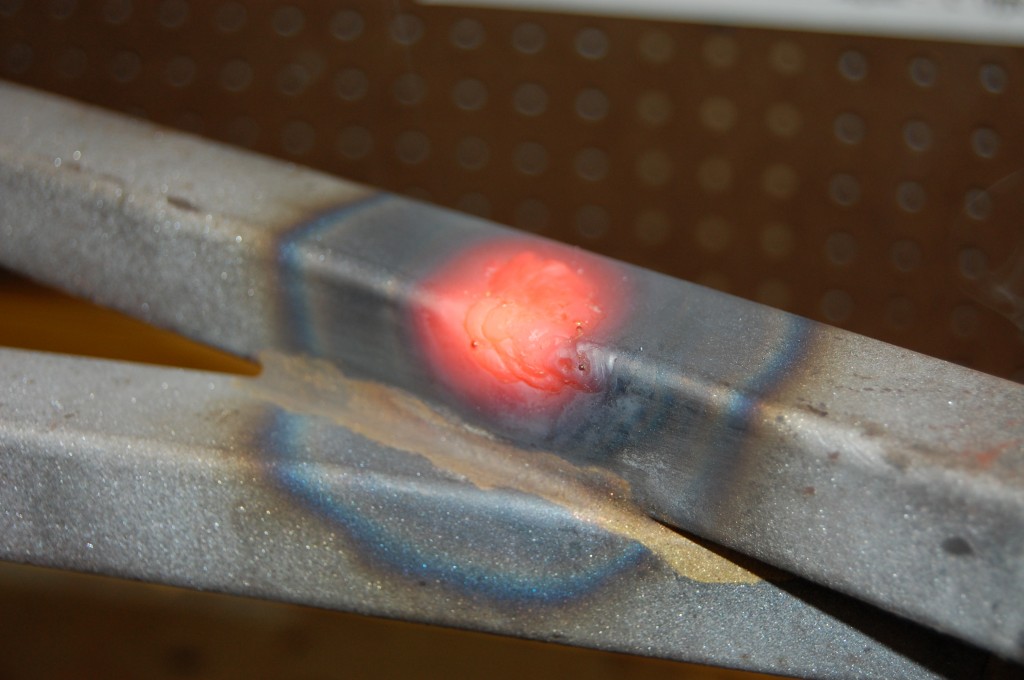
- We use the TIG to weld up the small gash, then heat the entire area immediately after the weld, and allow the whole piece to cool slowly – this helps prevent residual cracking as the piece cools. Once the piece is completely cooled, we sandblast the area clean again and check carefully for cracks, then file the weld down by hand.
- These pieces were from the ’67 Coupe we rebuilt the firewall on earlier this year. As you can see in the photos, they came out great after paint, and the radiator mount is straight and solid and the welds are barely noticable (if you look closely, you can see them right at the bottom corvers of the side pieces that hols the radiator mount to the tubes). The crossbar on the bonnet carrier is straight, and the dimensions of the end of that bar in relation to the frame rails is correct. The original picture frame has been saved and is back on the car where it belongs, and the paint shop has smoothed the face of it nicely. Give us a ring if you’d like your mangled subframe pieces to be put back in this condition!

