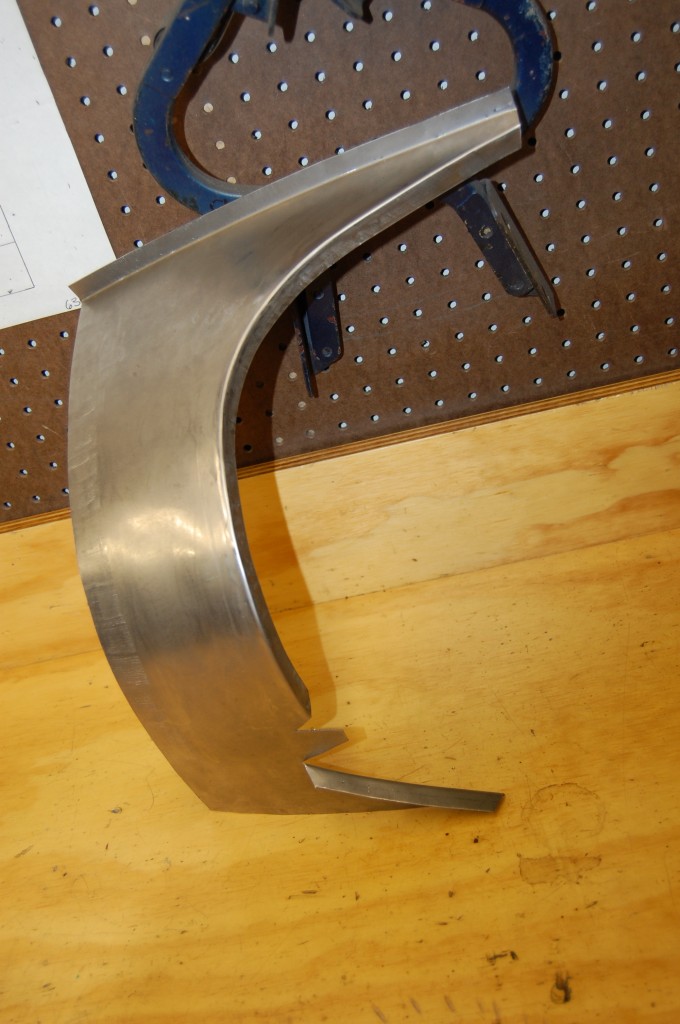
After the episode with the other side, where it took almost 4 hours to “re-form” the aftermarket panel from the “usual suppliers”… I decided to bite the bullet and finally pattern a repair piece for these panels.
Unless they get tapped in an accident, or more likely by a lawnmower or something in the garage, these panels are usually fine except for the forward 2-3 inches where they meet the inner wheel well flanges. Salt and road grime get trapped in there and rusts out the forward section. I prefer to remove and replace entire panels on an E-Type, but in the case of this panel, the rear of the panel is leaded into the boot floor and filler panels, and if you can leave that seam undisturbed by using a well-made patch, that works out well.
Here are some shots of a rear lower valance on the ’66 “lead-sled” being done that way. If you need one or a pair of these patches, give us a ring!
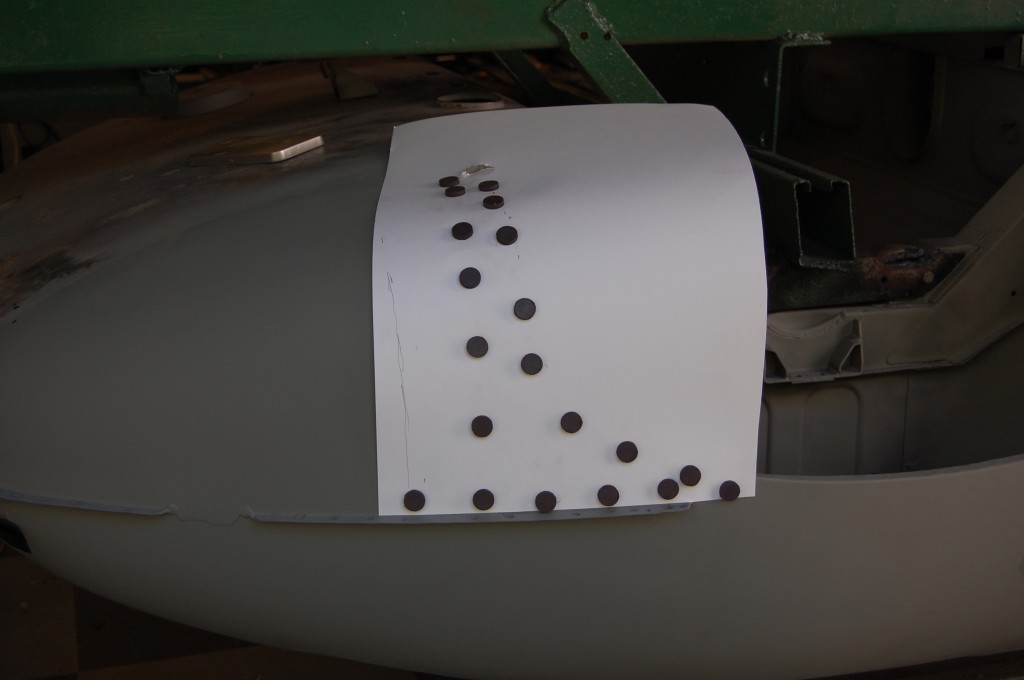
- You have to start somewhere…
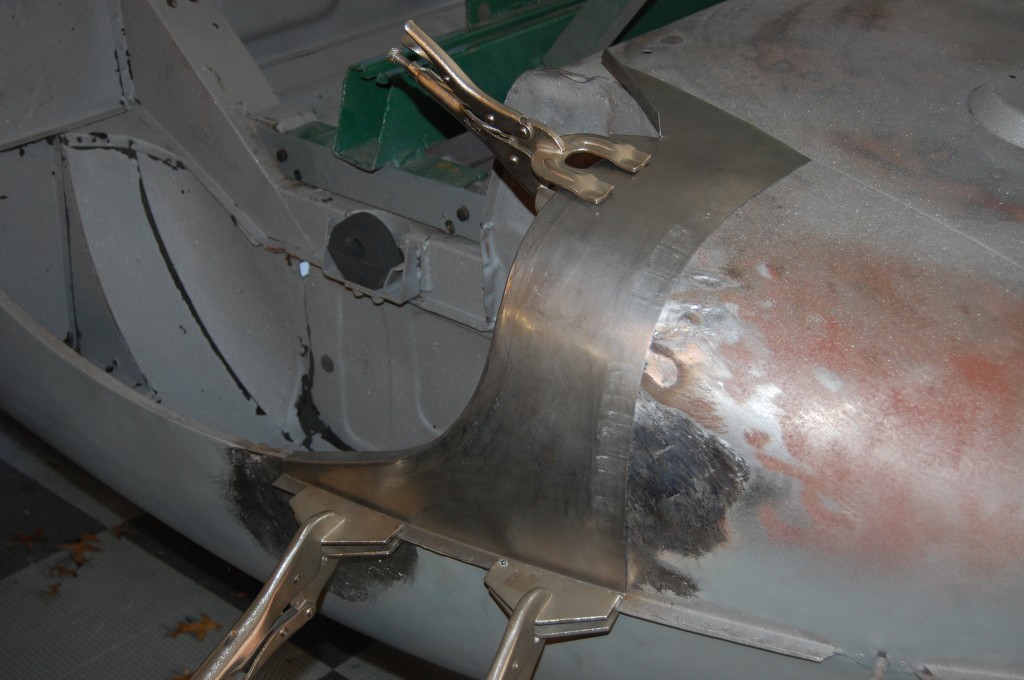
- After about 6 of the patterns above, and several hours of trial ane error with the curves, here is the piece being roughed in.
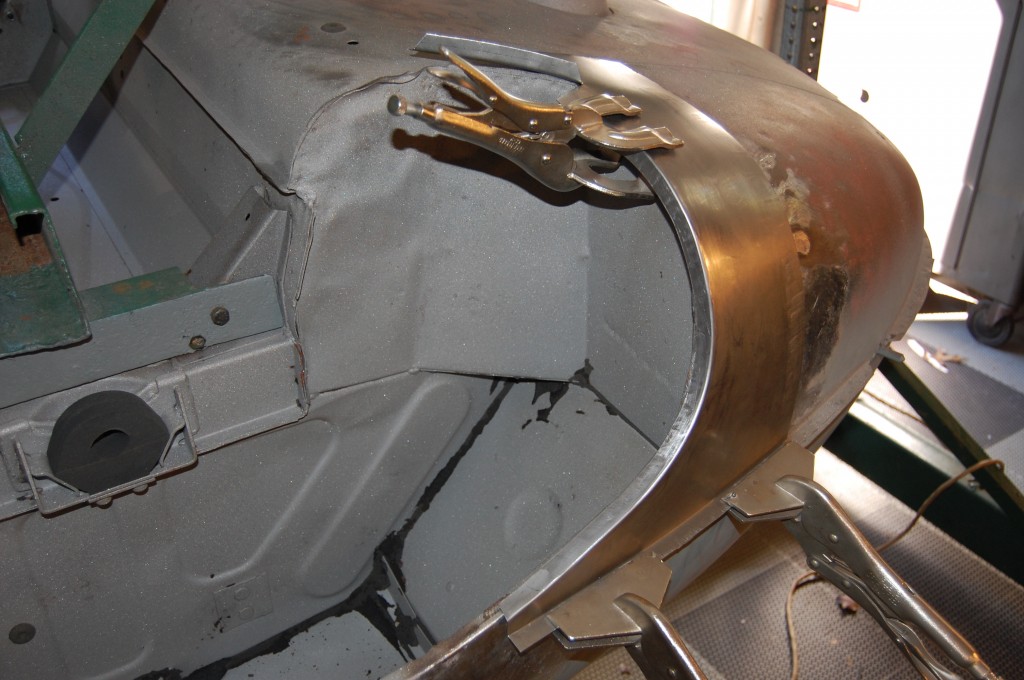
- Anopther angle of the rear lower valance repair panel.
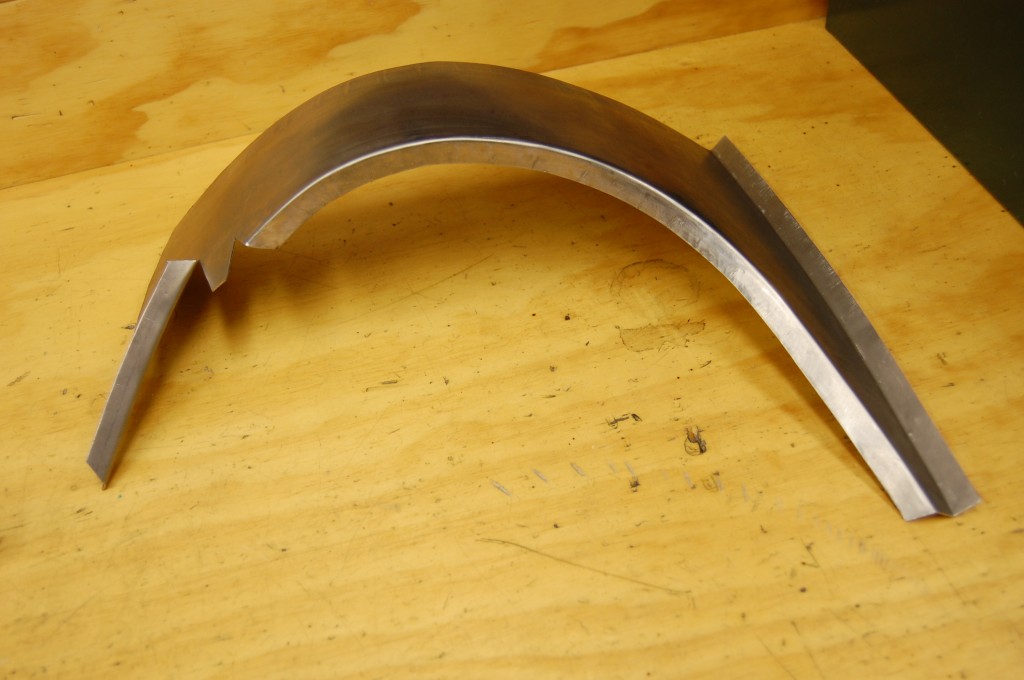
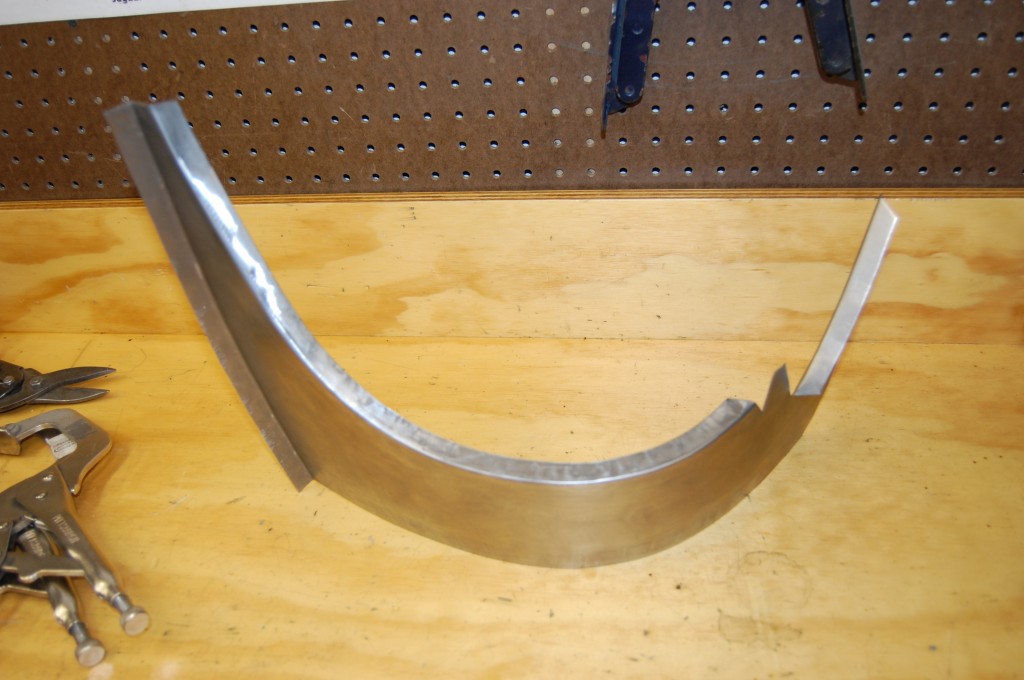
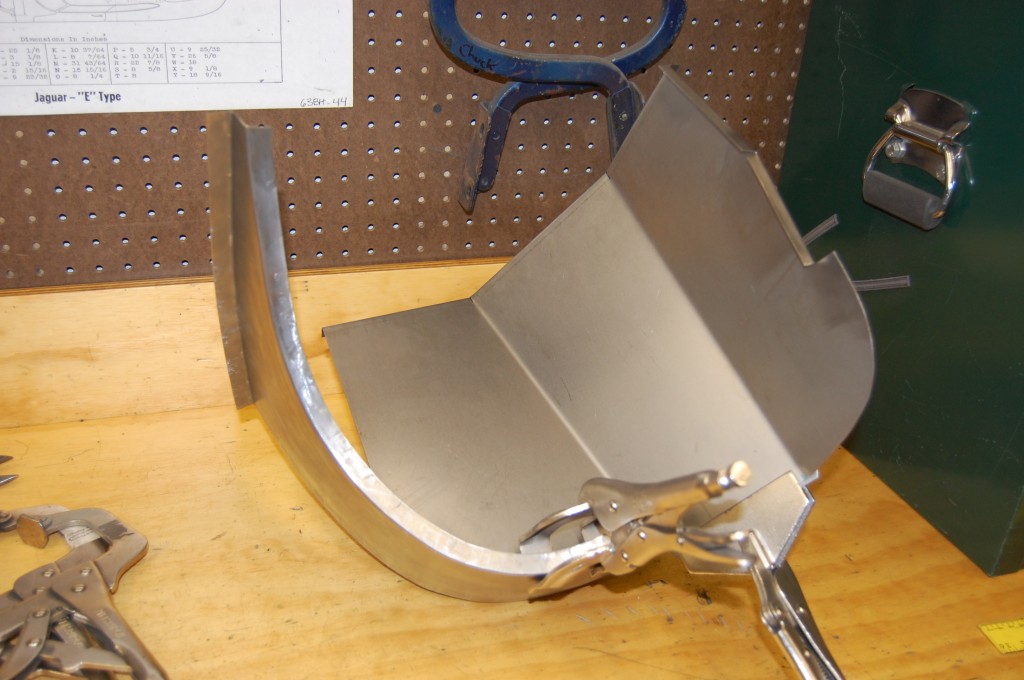
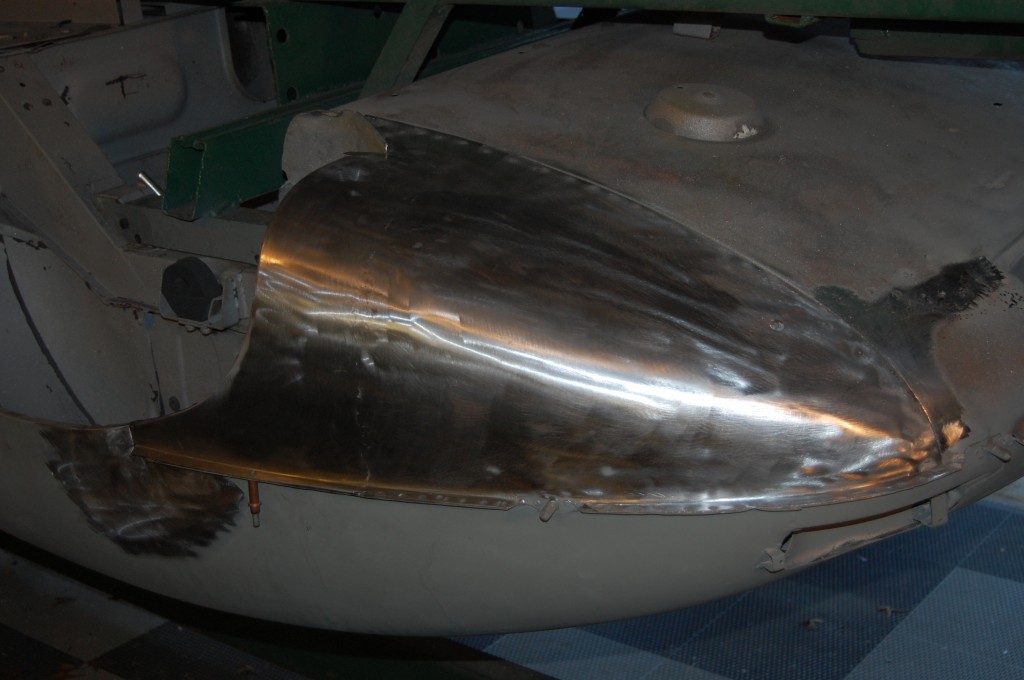
- The completed piece – approx. 4.5 inches wide – this should cover any rust damage on just about any E-Type. This piece is the same for all Series 1, 1.5, and 2 cars – SWB and LWB.
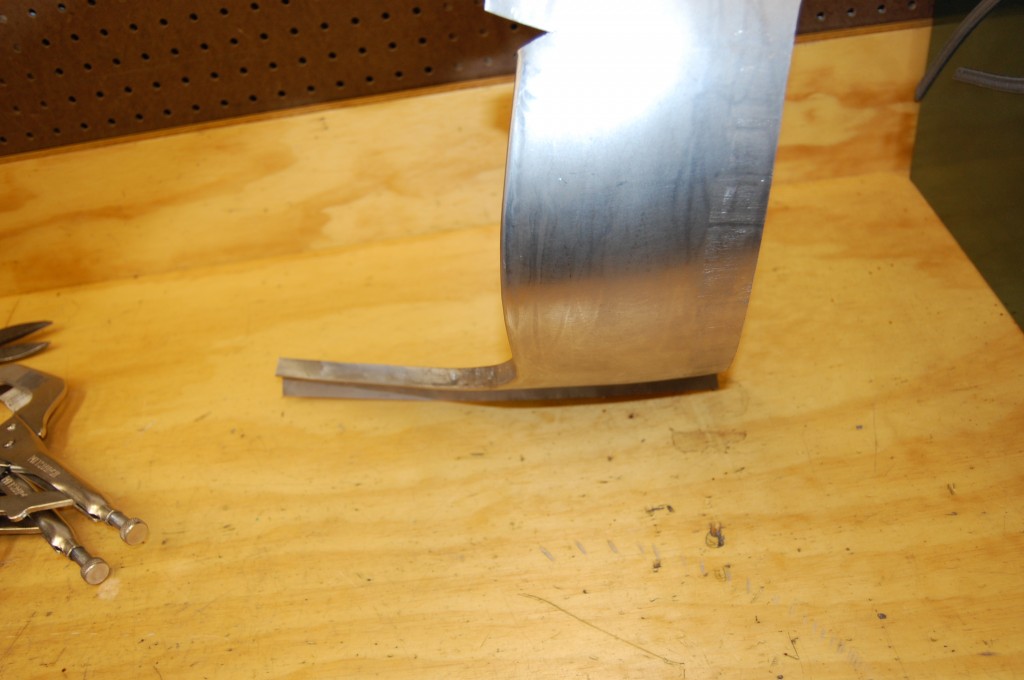
- Another angle.
- And another angle…
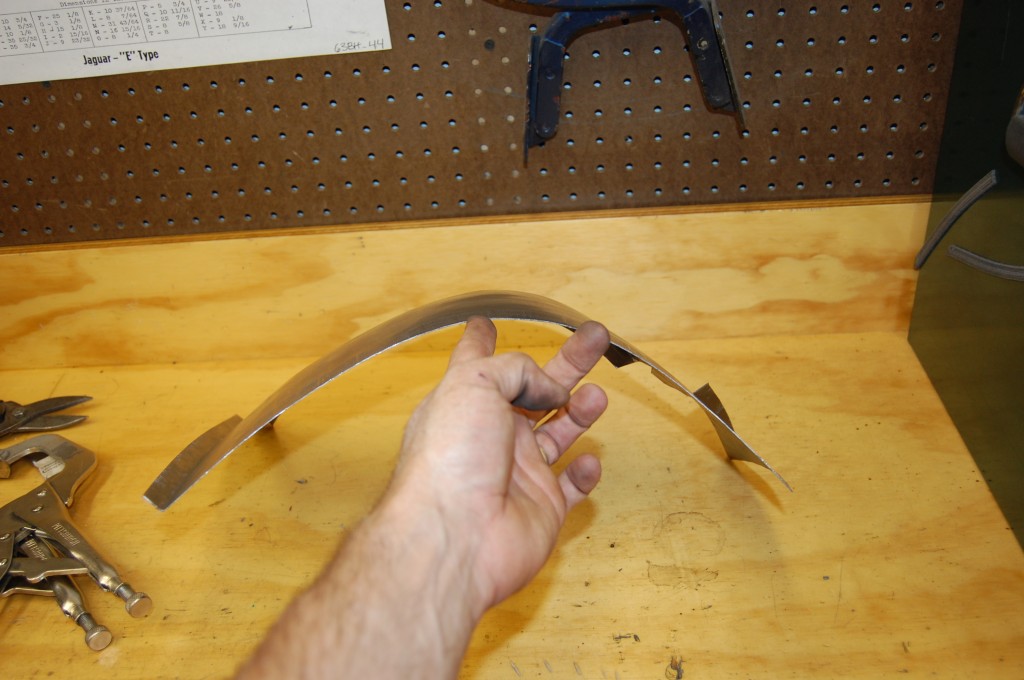
- This shot is attempting to show the compound curve that the piece has. Someone used to make these patches when I was a kid – I remember packing and shipping them, but they were flat! – aka, useless!
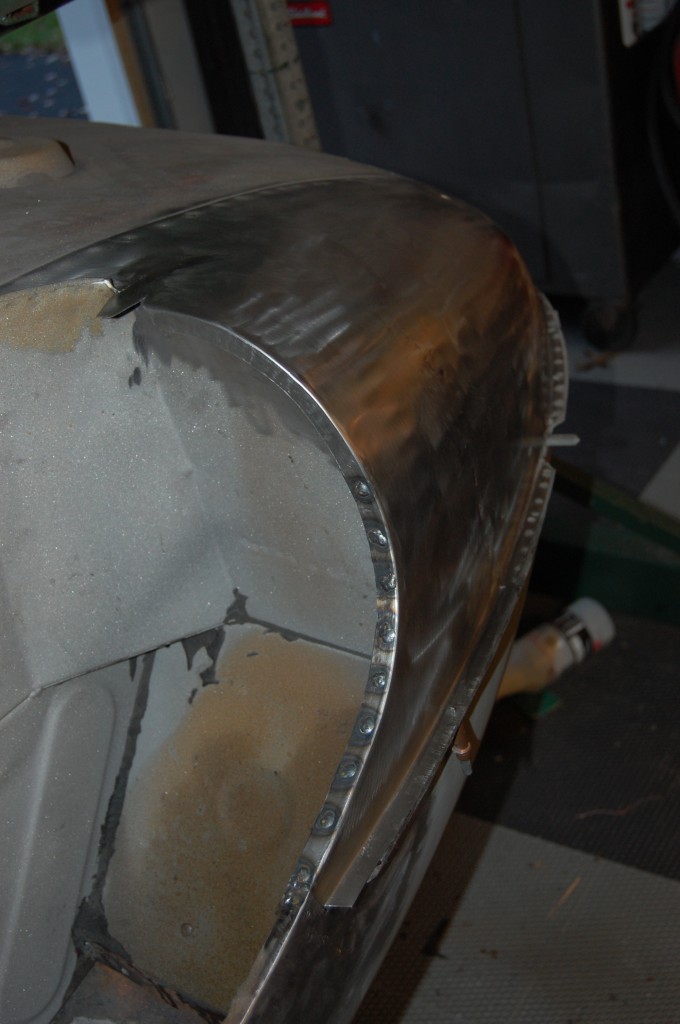
- This shows some of the curve as well – this is another one of those pieces that bends in 4 dimensions…
- Here is the panel clamped to another one of our specialties – the lower portion of the inner wheelhouse. This piece is usually badly rusted along the bottom 1-2 inches, but you can normally only get this piece as part of the complete assembly. Not any more – we make it and they are in stock!
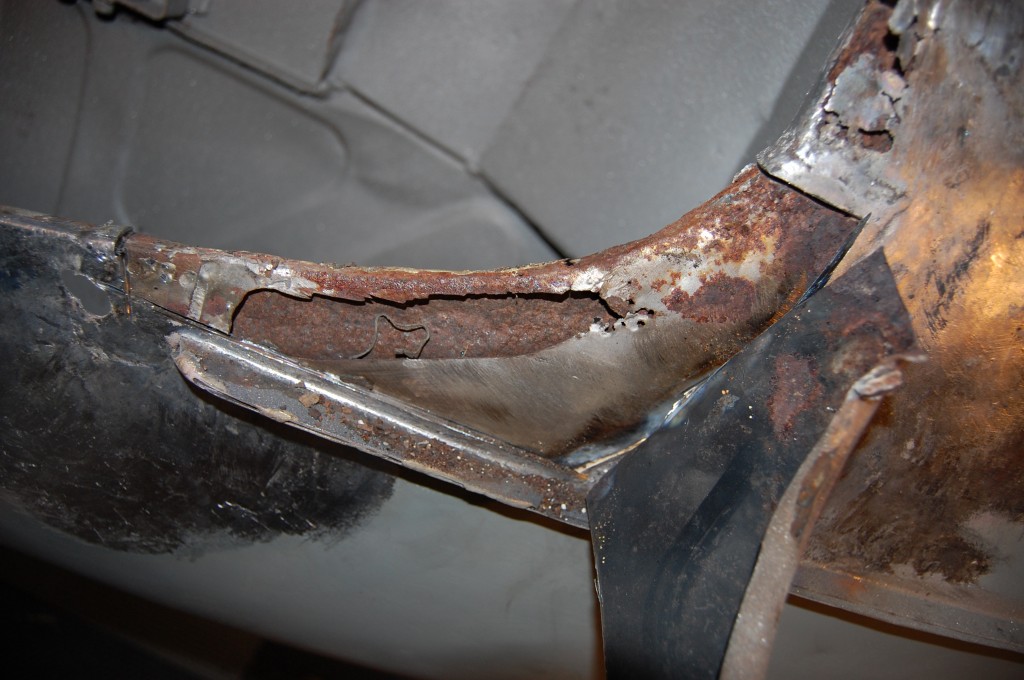
- THIS is why we’re making the piece – AAAAGGGGHHHHHH!!!!! A thin steel patch, crudely formed and brazed in, and then coated liberally with lead! The whole area looked very solid when we started, but just mis-shapen. But I have learned that’s NEVER the case, so the operation started, and soon uncovered this…
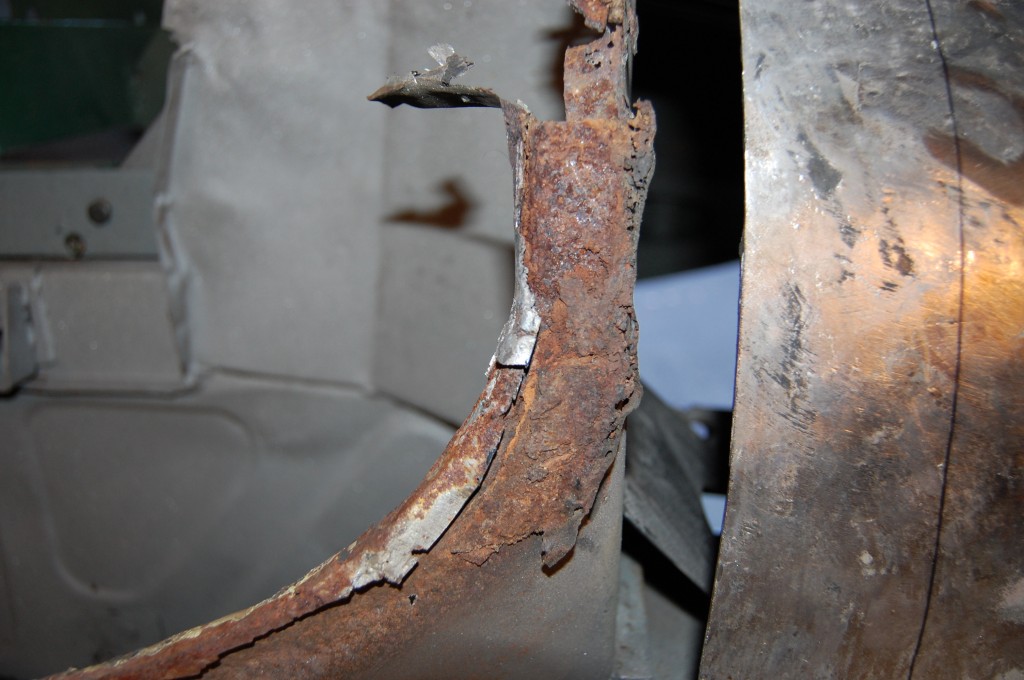
- And, as usual, a portion of the wheelhouse was also coroded. We were able to patch this without tearing out the whole assembly.
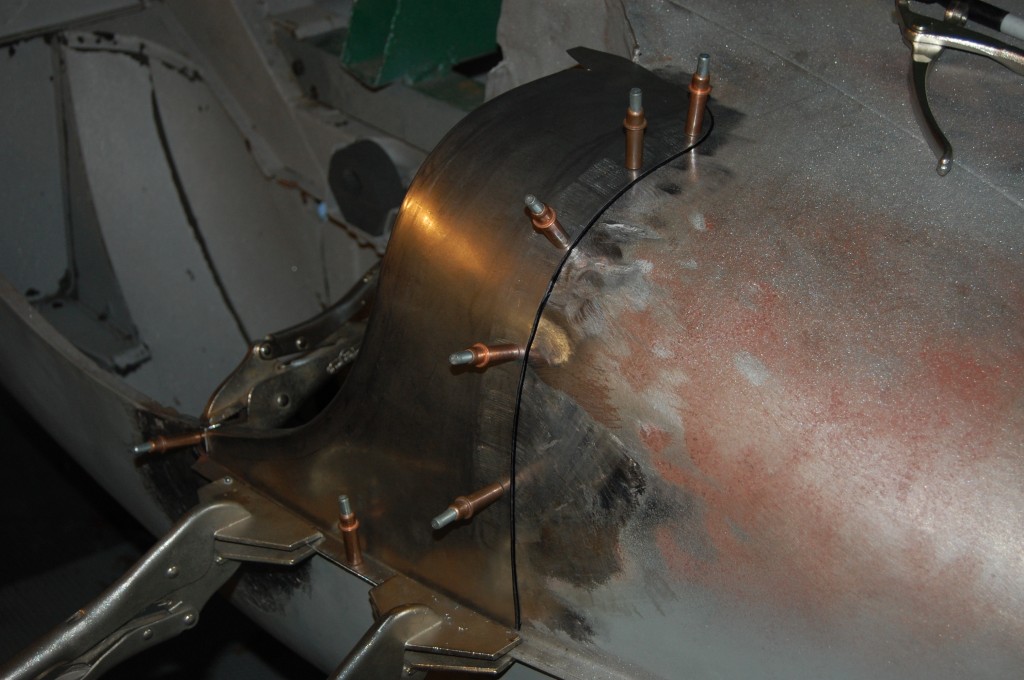
- More fitting – in the end, I sliced off the very bottom section – top in this picture – it made the most sense for this repair.
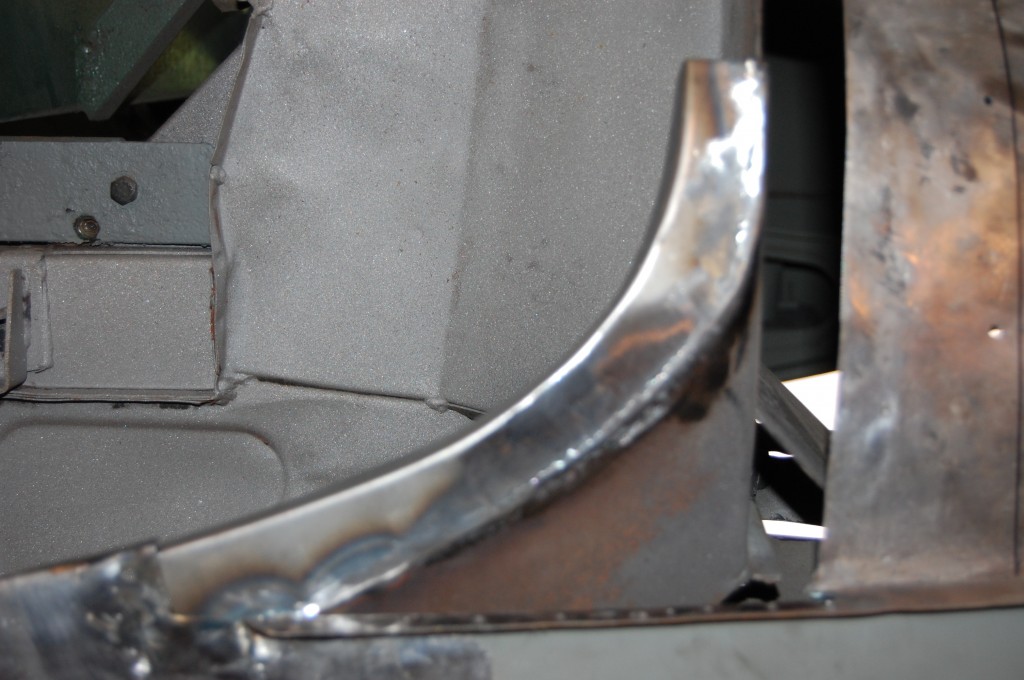
- The completed repair of the inner panel – we take great care here to make sure the arch is correct. The surface rust in here was scuffed down and we went berserk with red oxide in here before closing up.
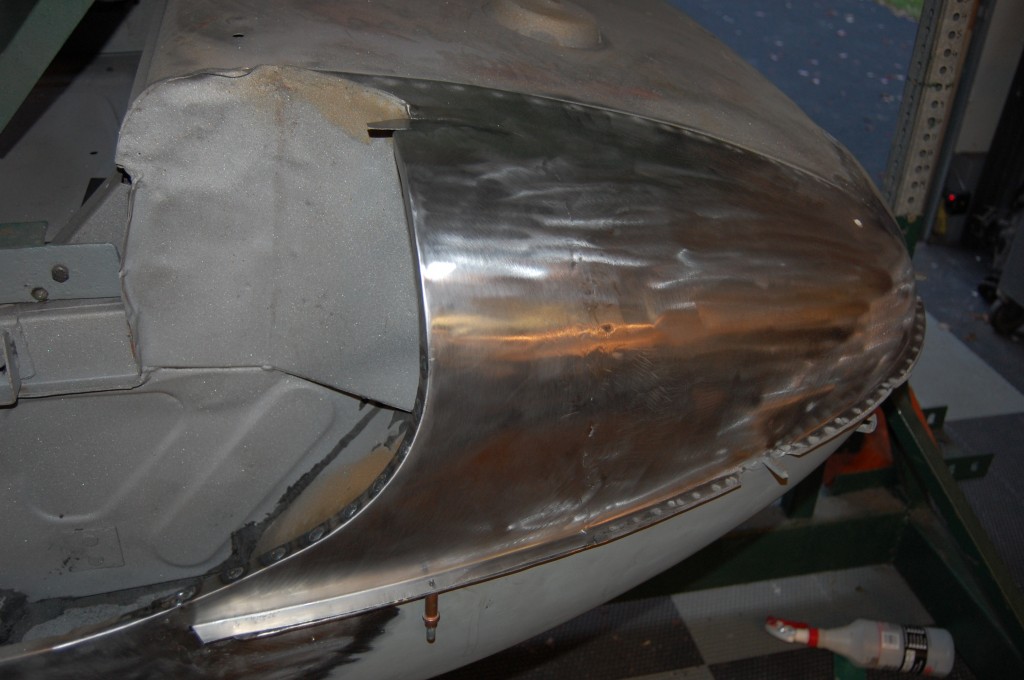
- All finished! The area will need a light coat of filler and block sanding to smooth out the weld seam, but this will be VERY minor – a thick coat of slick-sand might even do the trick.
- The edge is plug-welded and will be ground down because I could not reach around here with the tongs and wanted a strong, smooth finish to this edge. The light surface rust on the wheelhous will be scuffed before primer – it is a result of the watr-quenching from using the shrinking disc on the welded seam of the patch to get the absolute smoothest seam possible.
- Success!

