Here’s another proprietary trick that I probably shouldn’t be giving away for free, but the truth is that I HATE this job because it is a HUGE MESS!!! So if by putting this out there, we lose business with this task, I’m not really going to lose sleep over that!
Frame rails are made from a high-tensile strength British tubing called Reynolds something or other… If you need to repair them you need to TIG them like chrome-moly, and then heat the welds and allow them to cool slowly – this guards against cracks.
We see alot of cracked main tubes, some even snapped in half, but the real problem with frame rails is that like everything else on an E-Type, they rust from the inside out. When you take the frame rails off the car, you’ll hear stuff rattling around inside – those are rust flakes – some the size of corn flakes – and occasionally you’ll find big chunks of coagulated flux from the brazing process in there.
You need to get all of that out, and seal the inner tubes to stop the rust and make sure it doesn’t start again. This might be one of the few places where I could recommend using POR-15 or a similar product, but DON’T! If you’ve ever gotten that on your hands, etc., you know what a mess it is, and it is almost impossible to get off surfaces you did not want it on. When you do this job, your sealer is going to be EVERYWHERE! – Inside the rails, all over the outside, on your hands, your clothes, your hair, the bench, the floor – and that’s with making every effort possible to prevent it!
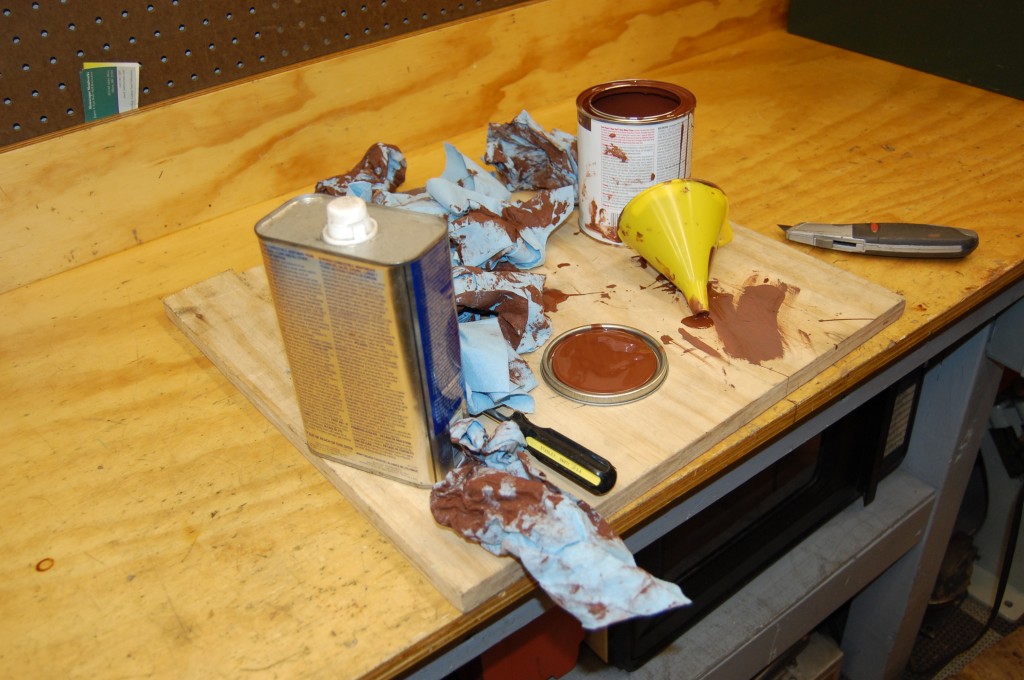
So I use the trusty red oxide rusty metal primer. It sticks to rusted metal great, it’s cheap, and it cleans up easily while it is still wet with odorless mineral spirits.
Take a look at these photos and do this to your frame rails when you have them off – after you make repairs or braze in new tubes where they are rusted out badly, etc. Make sure you give yourself about a 4 hour window – preferably when your wife isn’t home!
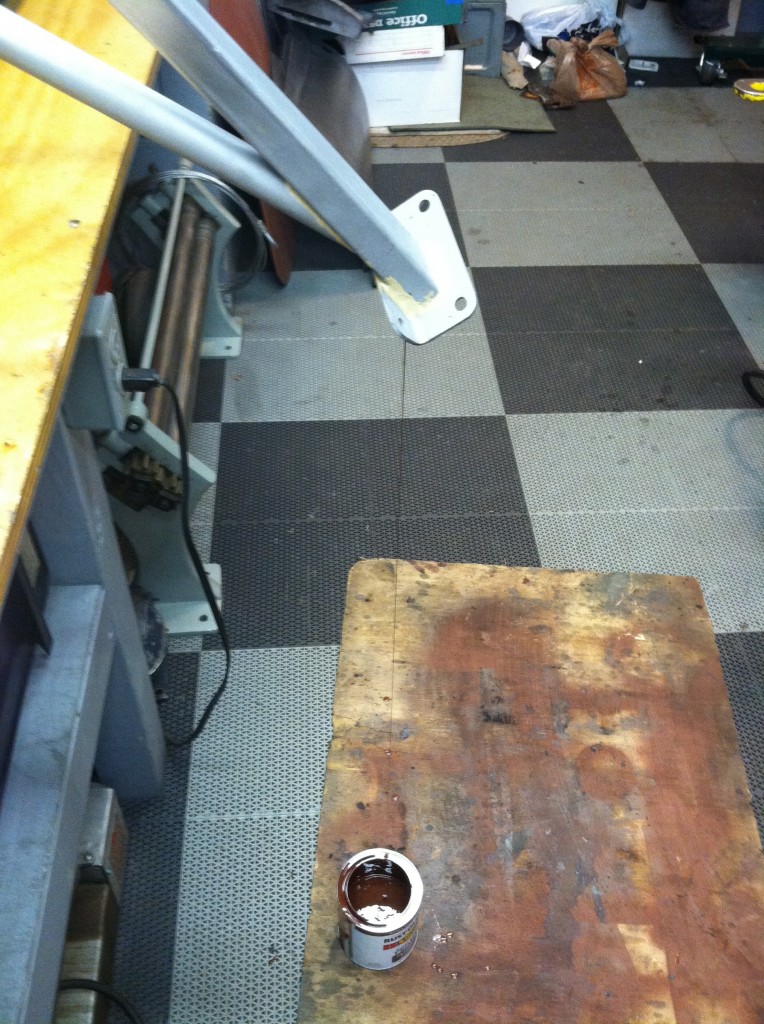
- This was one of the cleaner episodes, actually.
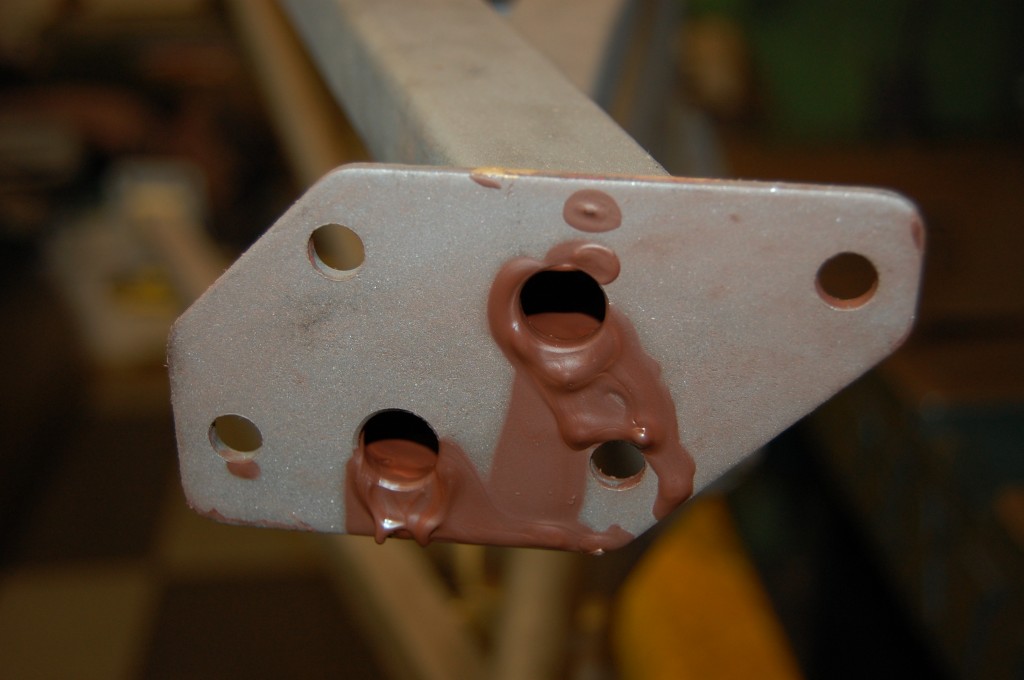
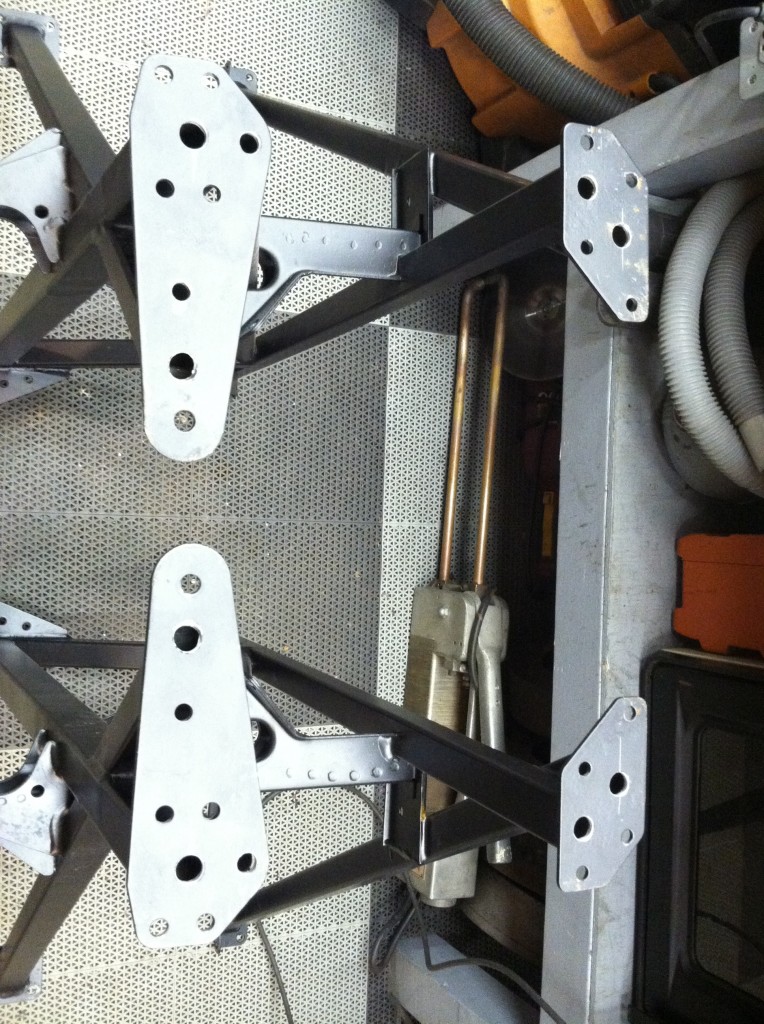
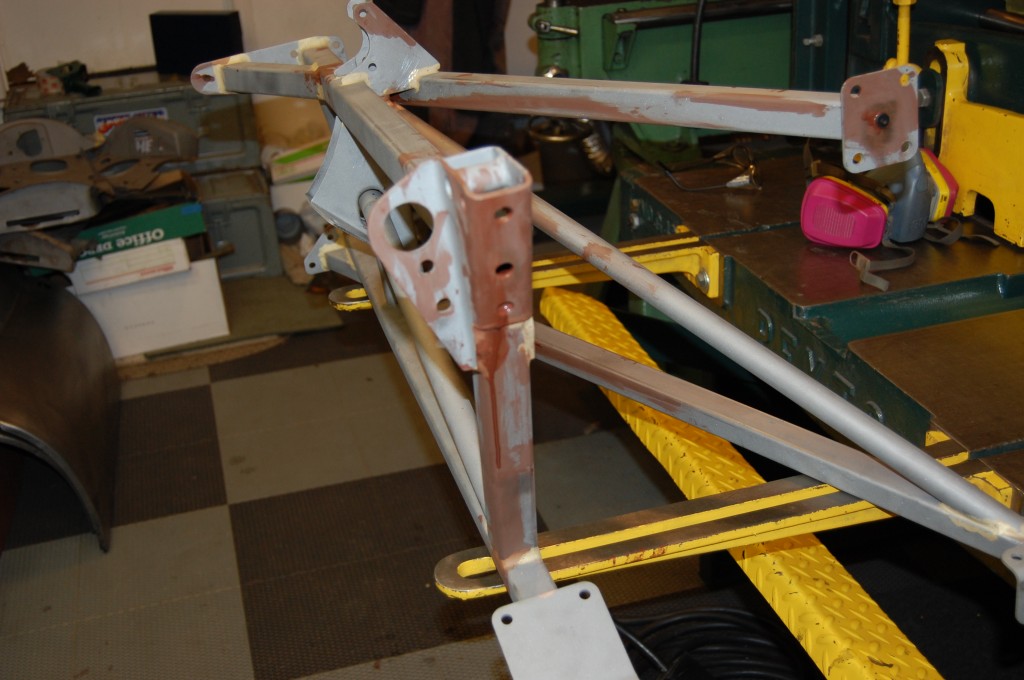
- Here are those rails 48 hours later. These holes in the end are normally 5/16″ and I believe are there to relieve heat and pressure during the brazing process. We add some where ther are none, and use a step drill to get them as close to 1/2″ as possible. That allows you to get most of the flakes inside the rails out.
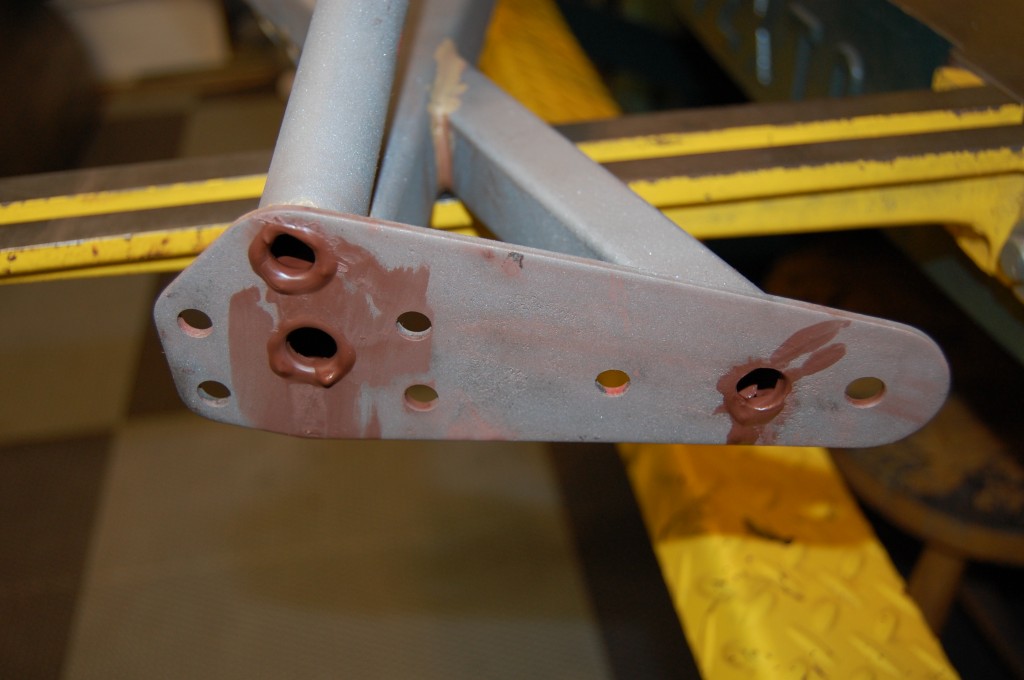
- More enlarged holes in the center of the mounting pad. This is also unseen and does not harm the strength of the rail in any way.
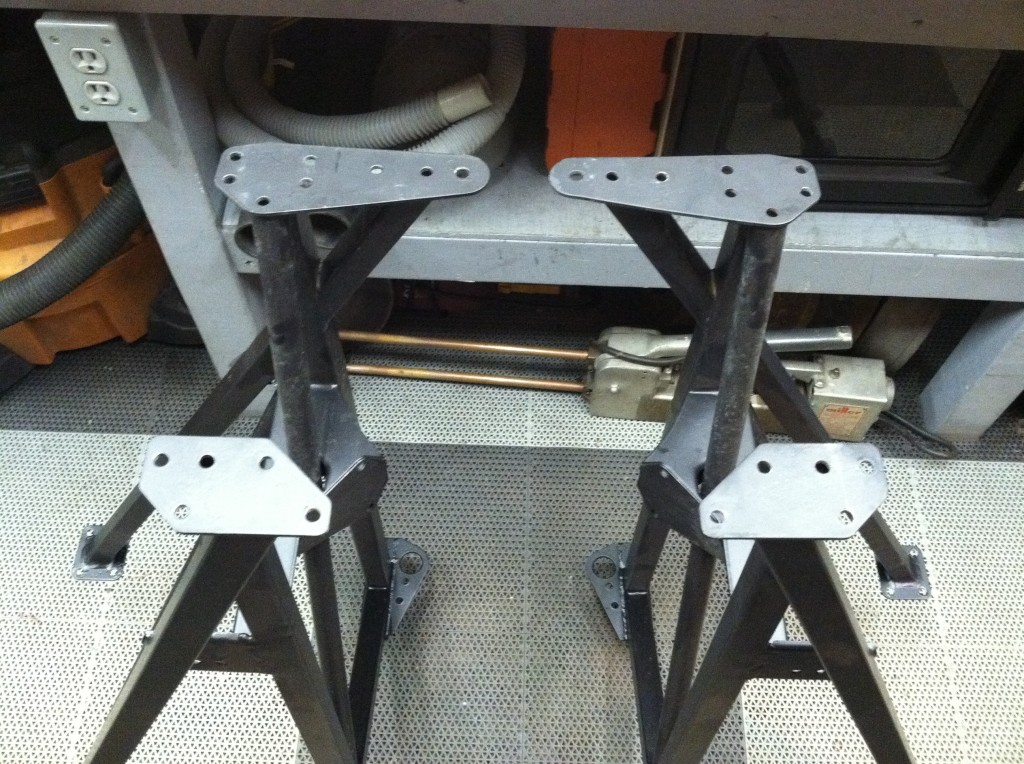
- Here is another set showing the factory pads before drilling.
- Same set, after some new holes and some enlarging. Use rubber stoppers in these during the filling and turning. FILL the tubes one by one, then dump them out. WARNING! – sometimes the brazing burns holes in the tubes inside of the joint. You think you are filling one tube, but it internally spills into another – this is where things get messy. Duct tape also helps with any minor pinholes that you have determined you can live with (one or two pinholes is OK – any more and you need tube replacement) – Duct tapoe also helps on the weird rear end of the main tube.
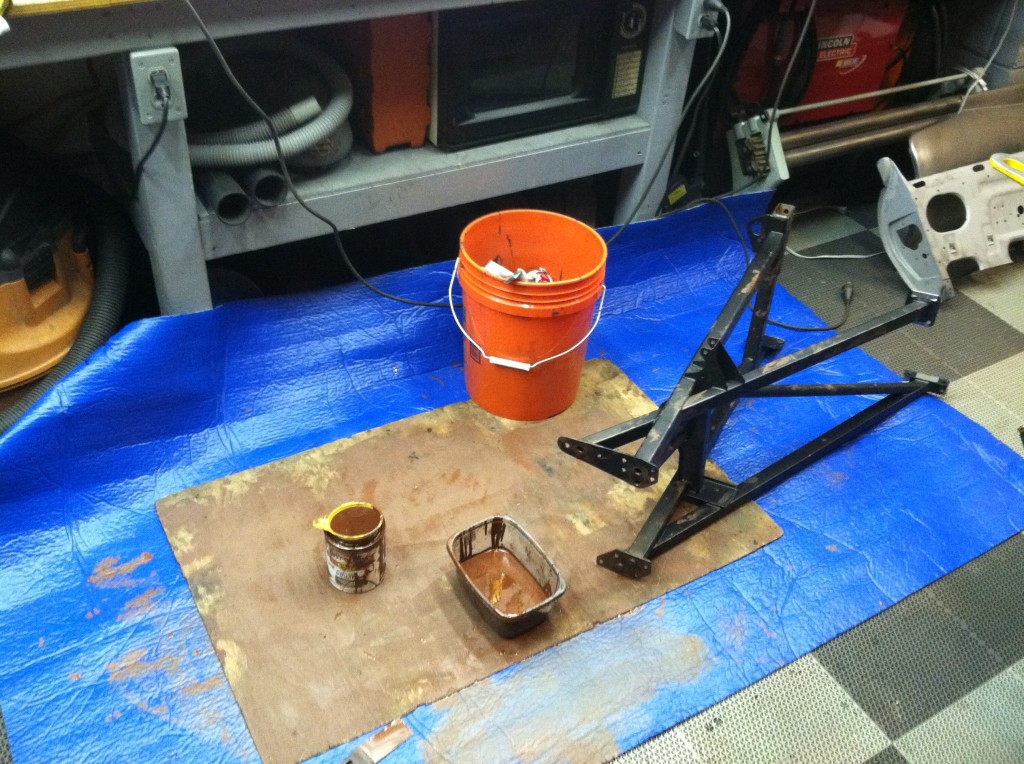
- Have buckets, tupperware, boards, tarps – whatever all ready to go. It gets frantic when red oxide starts gushing out of a tube you didn’t expect!
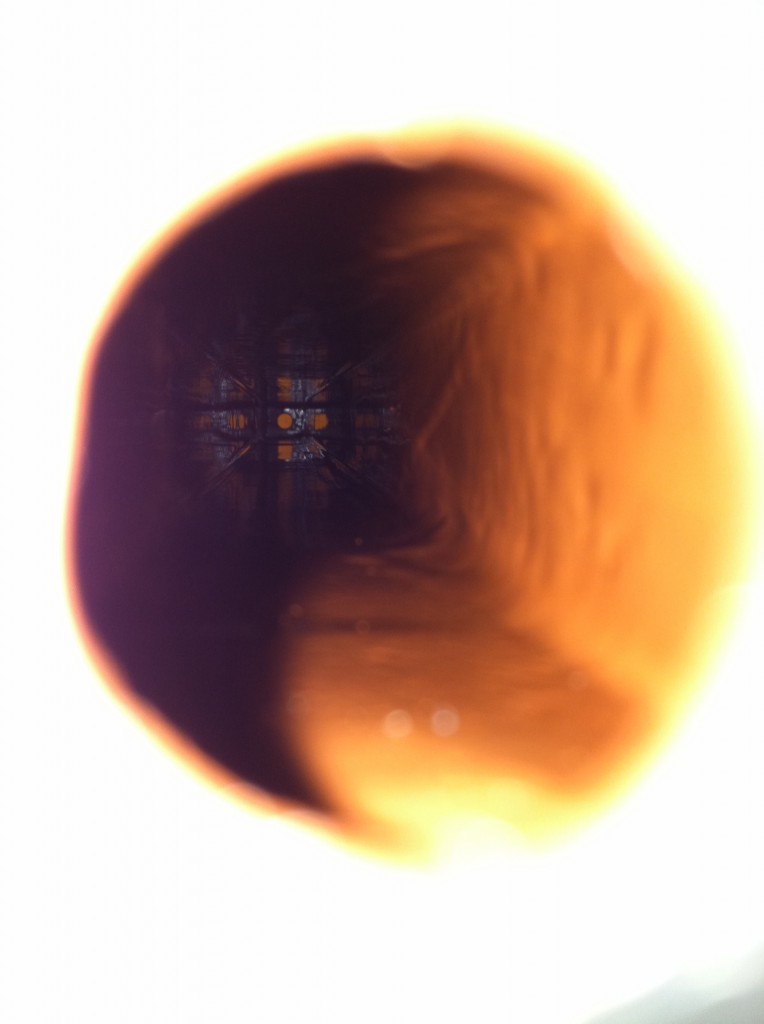
- Here is a shot inside the tube. I used to thin the red oxide, but now I use it full strength – the thickness makes things a little more manageable and gives a thicker coating that takes a little longer to dry. Try to get as much out as possible, and have the frame rails positioned in their flat normal position during the final drying. That keeps the thickest layer on the bottom edge, where most of the rust was.
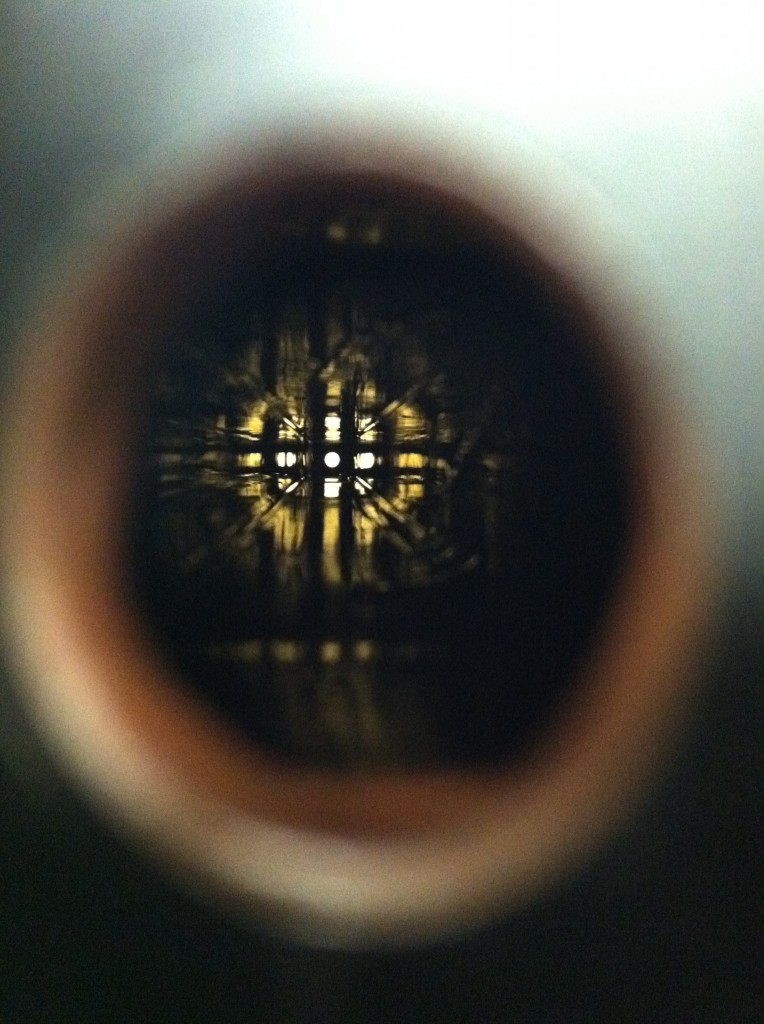
- Here’s another shot down in there when still wet – don’t skimp on the red oxide – fill the tubes and pour them out. As you can see by the kaleidescope effect here, these tubes are well coated internally. Good luck!
- This process always starts out well-controlled with the first one or two tubes, but quickly sprials out of control into a real mess.
- You can see here on this sandblasted frame rail that things have gotten a little crazy. If this was POR-15, you’d never get it off the sandblasted surface, and have issues with future layers of paint. Note that we have drilled a new hole in this photo – it is the second hole down and lined up with the main tube. It’s a necessary part of this process and does not harm the strength of the frame rail because it is in this reinforced section. It is also hidden when the rails are on the car.

