It was finally time for the ’66 OTS in the shop to get new floors and sills. This is almost always a “package deal” – where you’re kind of “in for a penny, in for a pound….”
It makes the most sense to do full floors, inner and outer sills, all of the internal gussets, and all of the closing panels at the same time. You pretty much have to do it that way to do it right, and since that’s the only way we do things here – we dive in and do it all.
This E-Type received an additional internal “hidden subframe” – it adds rigidity to the entire monocoque, additional strength and safety in a side collision, and ties the front subframe mounts in the sills to the radius arm mounts – while adding much needed strength to the jacking points as well. And the best part is that it does it all and is TOTALLY HIDDEN within the box structures of the monocoque!
I came up with this design decades ago – it hits all of the main points that it needs to and it works! There are alot of pictures in this post – enjoy!
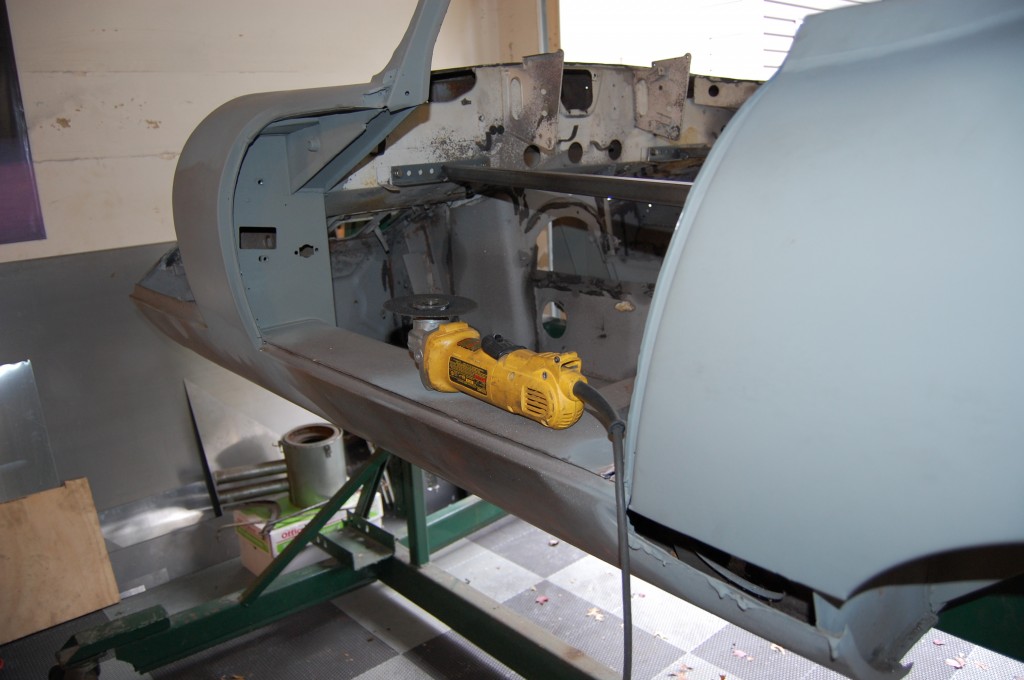
- Time to start cutting…
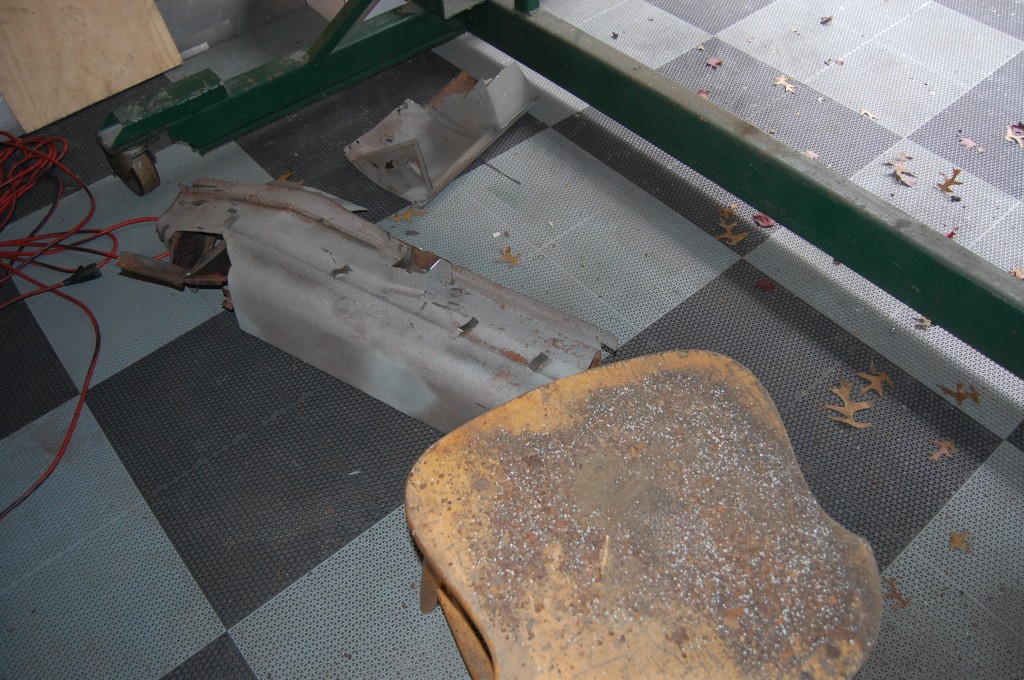
- Once the sill is cut out – just rough at first, sand, sode, and rust flakes come POURING out!
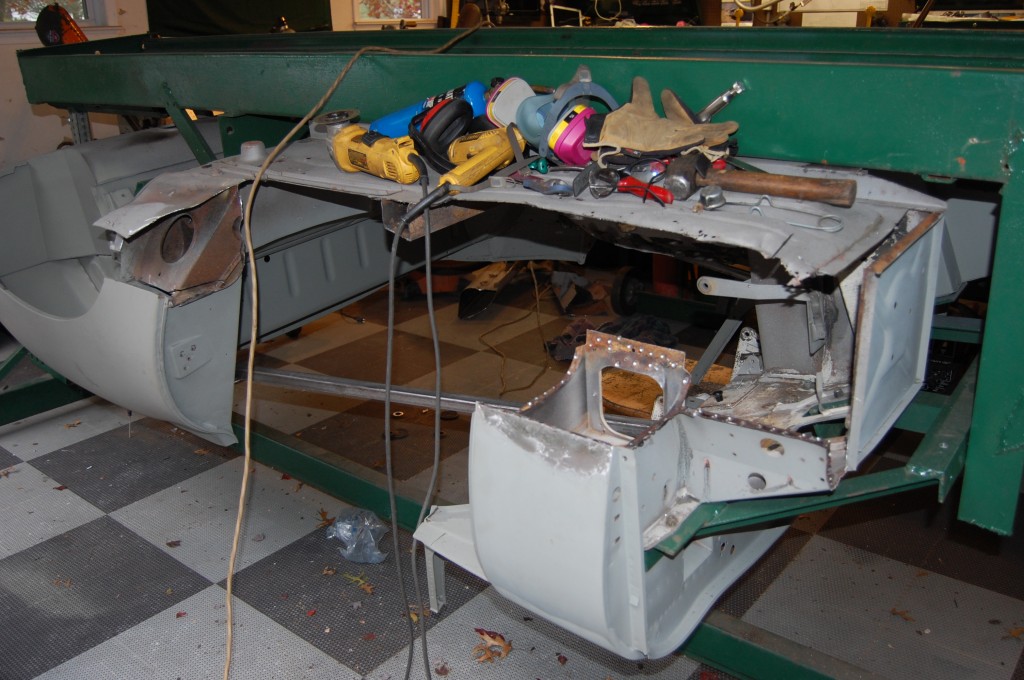
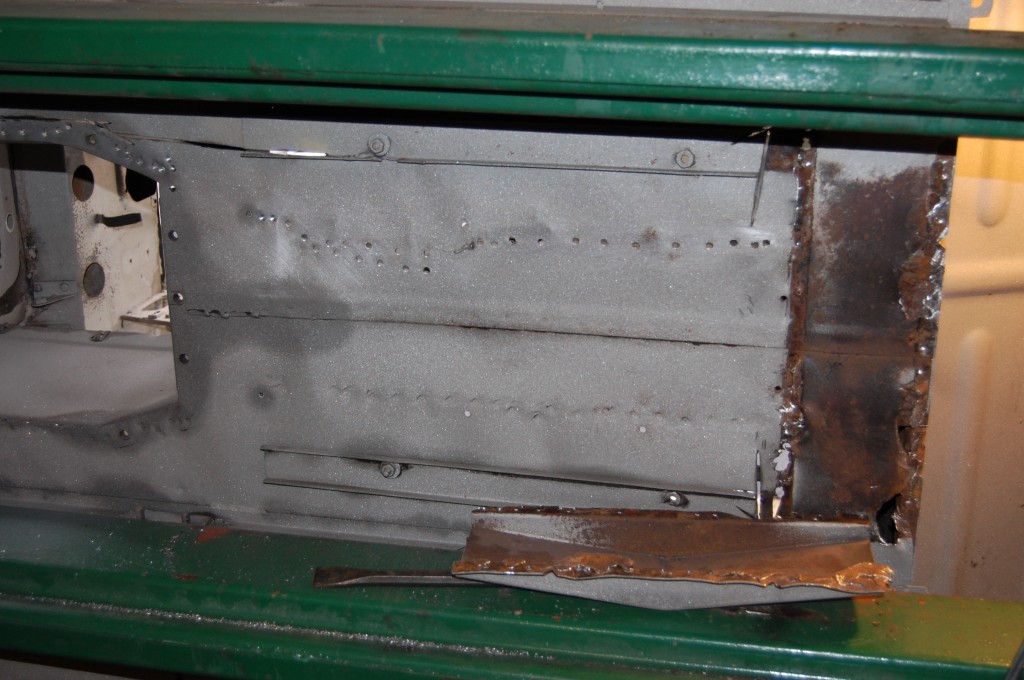
- Now we’re getting somewhere – getting the big pieces out is easy and relatively quick – dressing up the flanges you intend to save is what takes the time. Cutting out floors and sills is a pain – it’s messy, and you ALWAYS get hurt – mostly nicks and stuff on your hands – even with the gloves! I try to keep the customers out of the shop duirng this phase of the project – it really freaks them out!
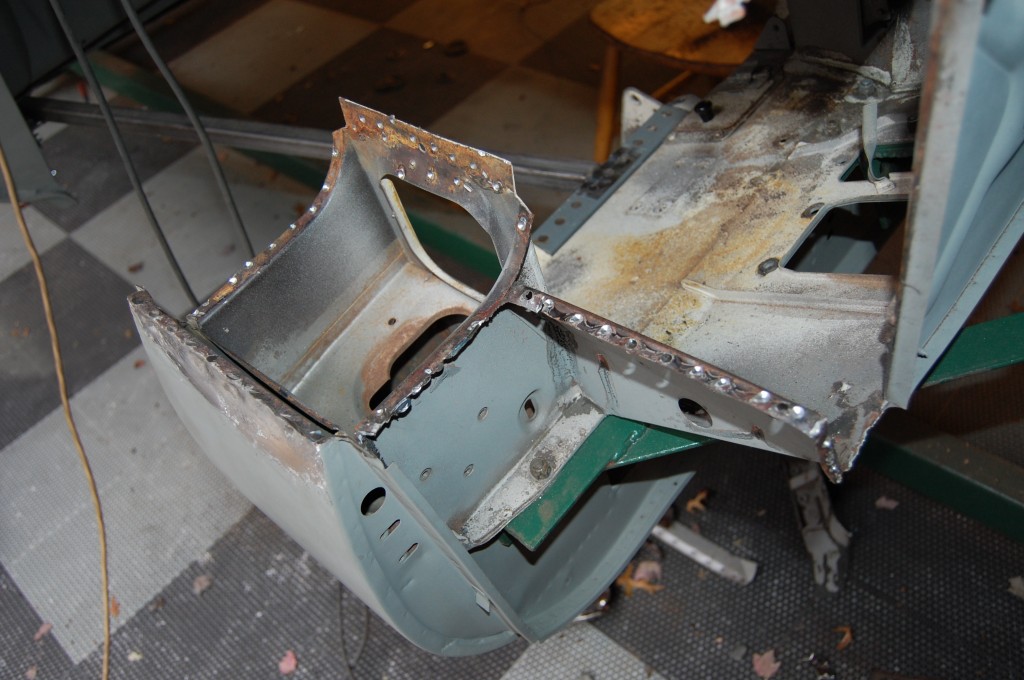
- Here’s a close up of some flanges starting to be smoothed and straightened.
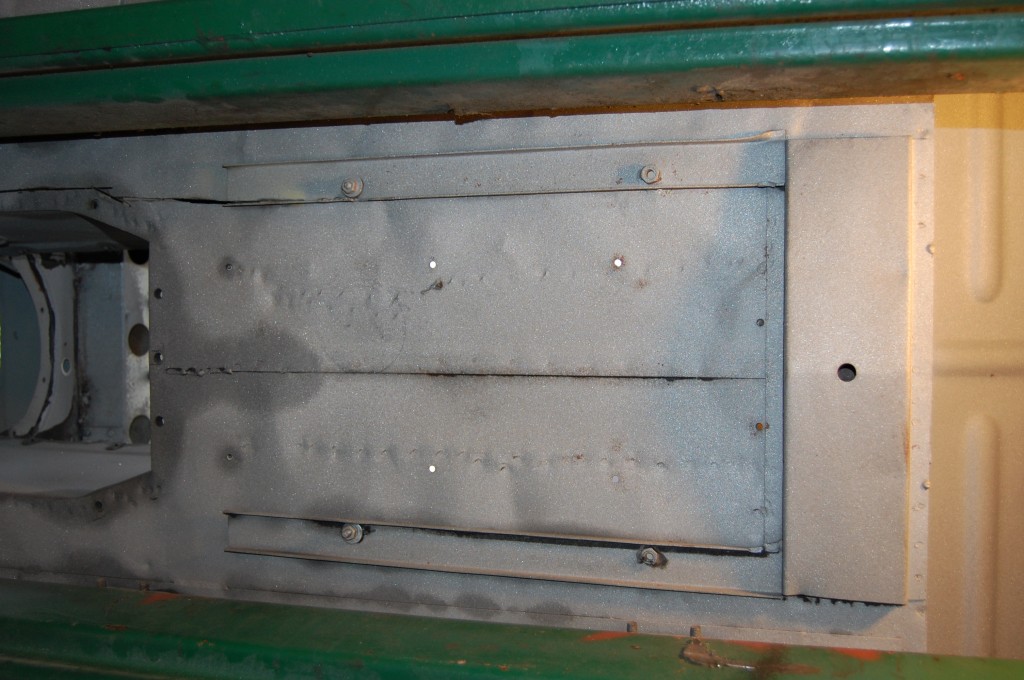
- Even a sandblasted E-Type can be very deceiving as far as the level of rust is concerned.
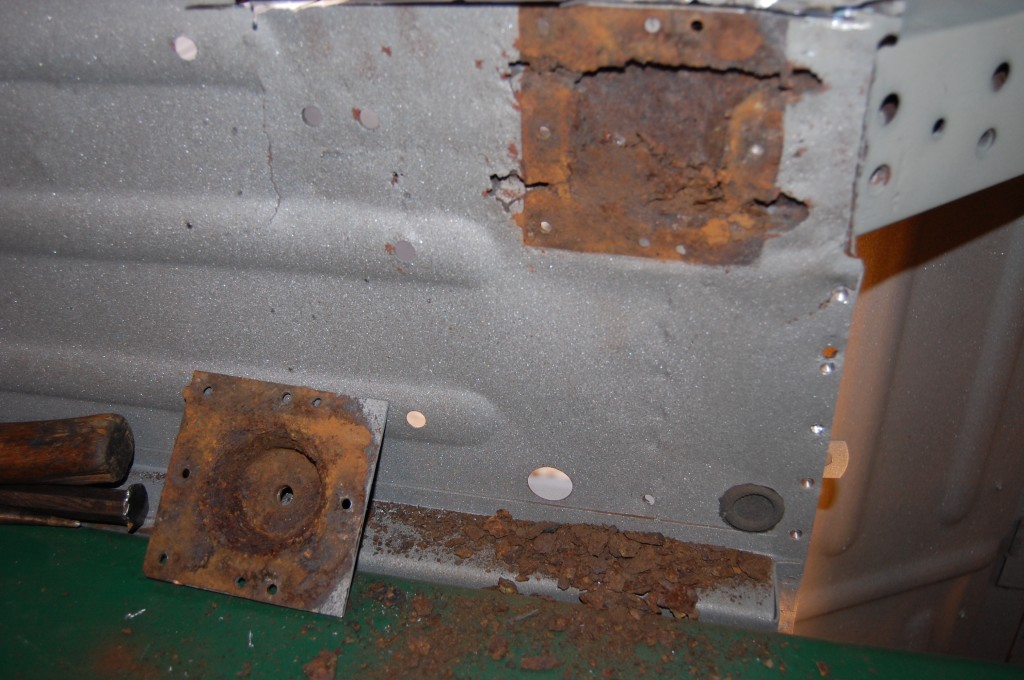
- Here is the tie plate coming off from the rear of the underside of the floor. There is not alot of rust here because this is an “open” section – the ends are open to the air and there is a drain hole, so this rarely rusts out and usually isn’t too bad.
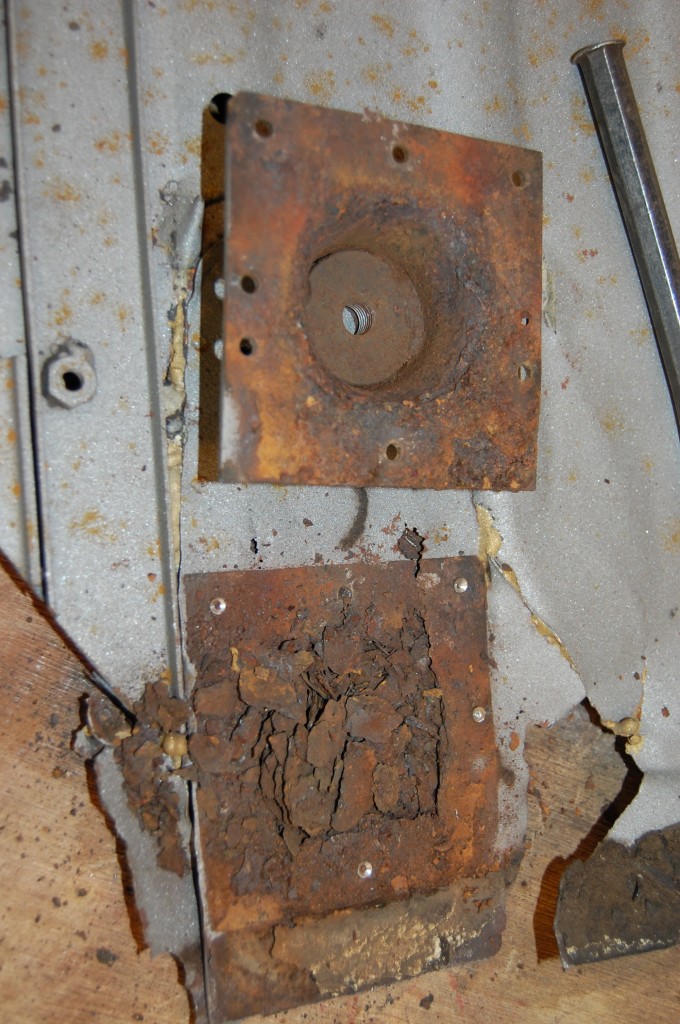
- The enclosed area under the radius cups, on the other hand, often look like this. What you are seeing here is the rusted away pieces of the floor panelm, which is sandwiched between the radius cup and the reinforcing plate on the top side.
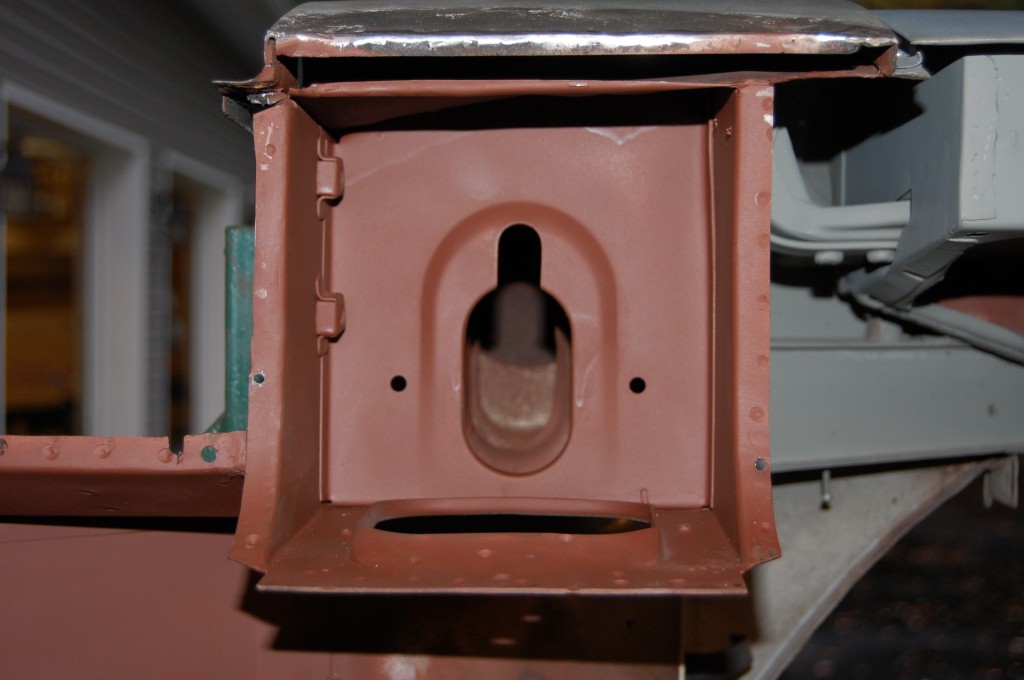
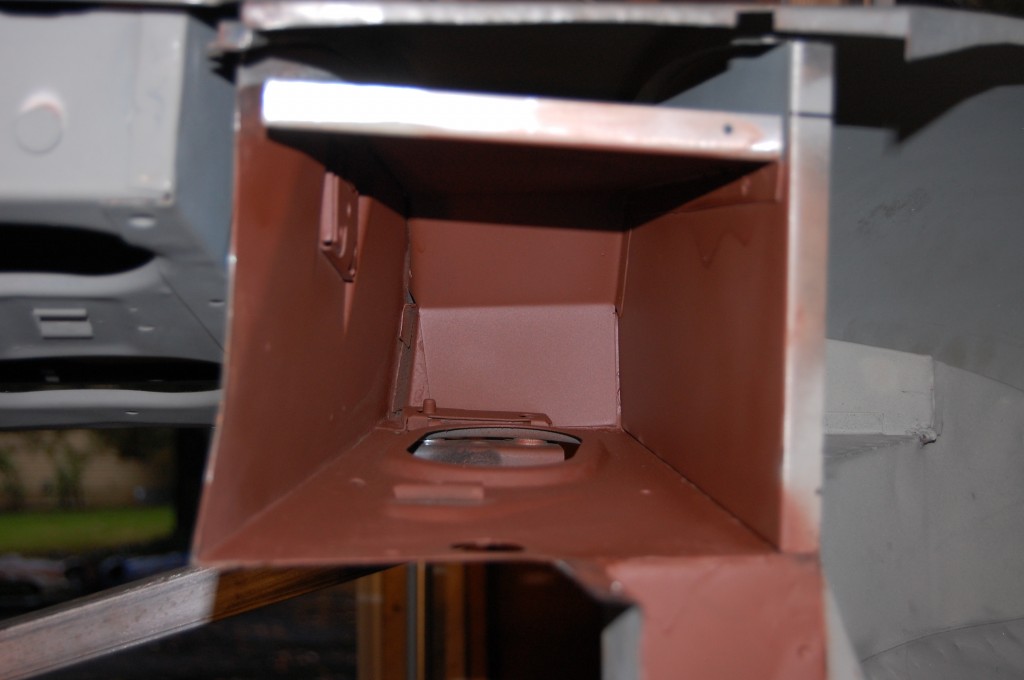
- This is the inside of the “A-pillar” – looking in from the bottom. it is cleaned up and ready to receive the new inner sill.
- But not before we go berserk in there with red oxide – we hit all box sections that will be enclosed by the new panels – liberally. We get it up in there as best we can – wherever we can.
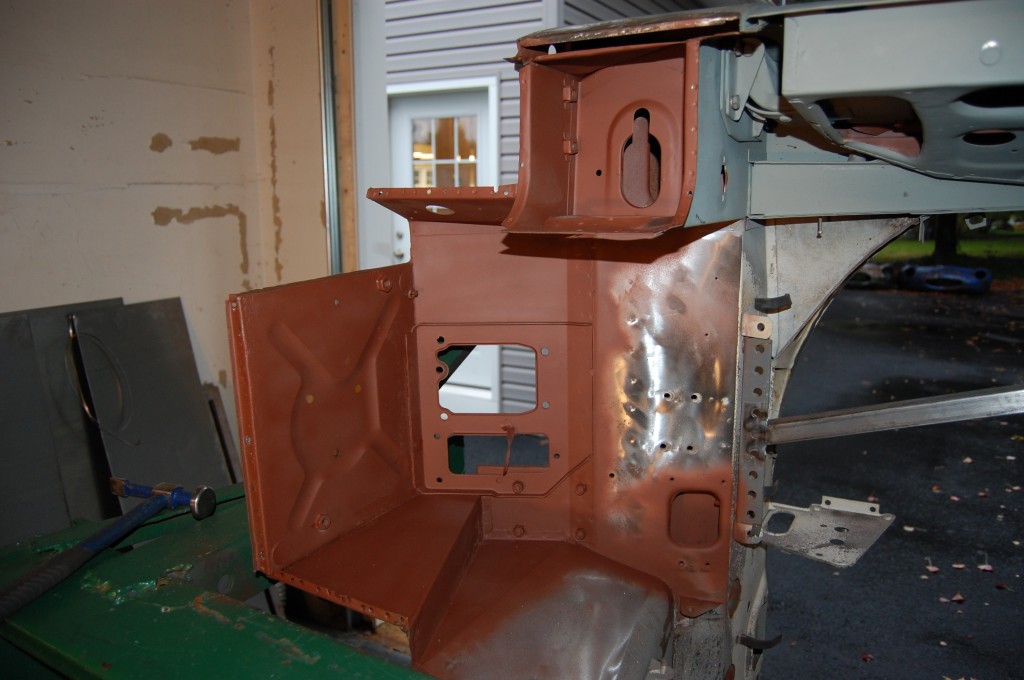
- Here is a wider shot where we have chosen to put red oxide on some panels that had surface rust (which we always scuff off, but we still like to put red oxide on when rust WAS there…)
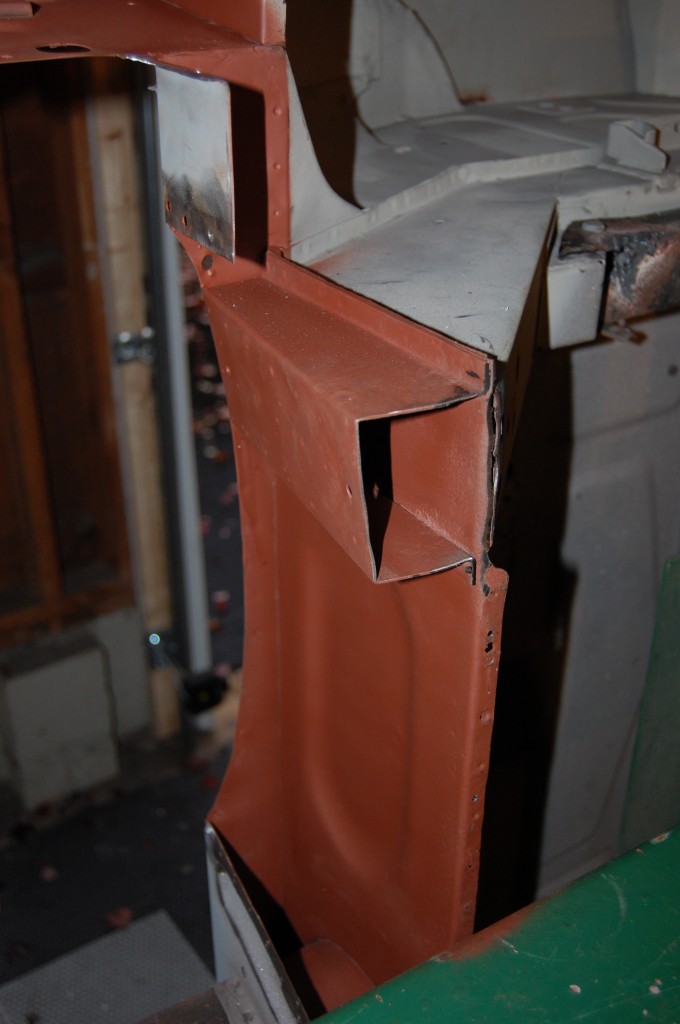
- This shot shows the inside of the “B-pillar” on the LH side. This area was badly rusted and was rebuilt on this car in an earlier posting.
- Finally – the area behind the LH seat.
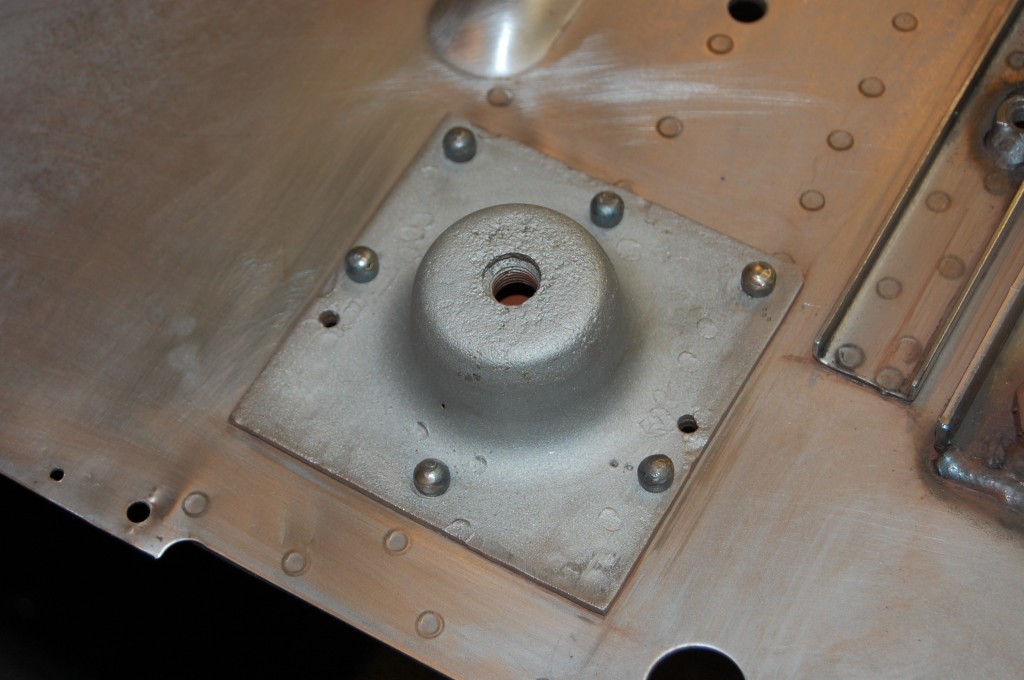
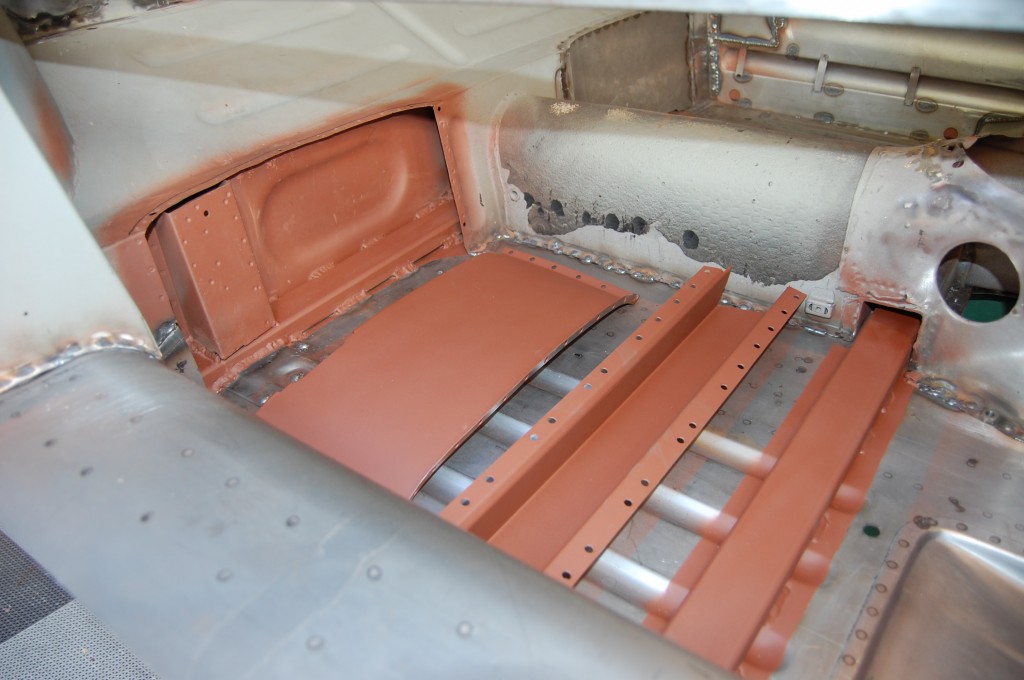
- The radius cup has been blasted inside and out and attached to the new floor with cold rivets. You can’t weld this to the floor – if you do, the stress will eventually crack and tear the floor. We did coat the inside and the floor with red oxide first – as always.
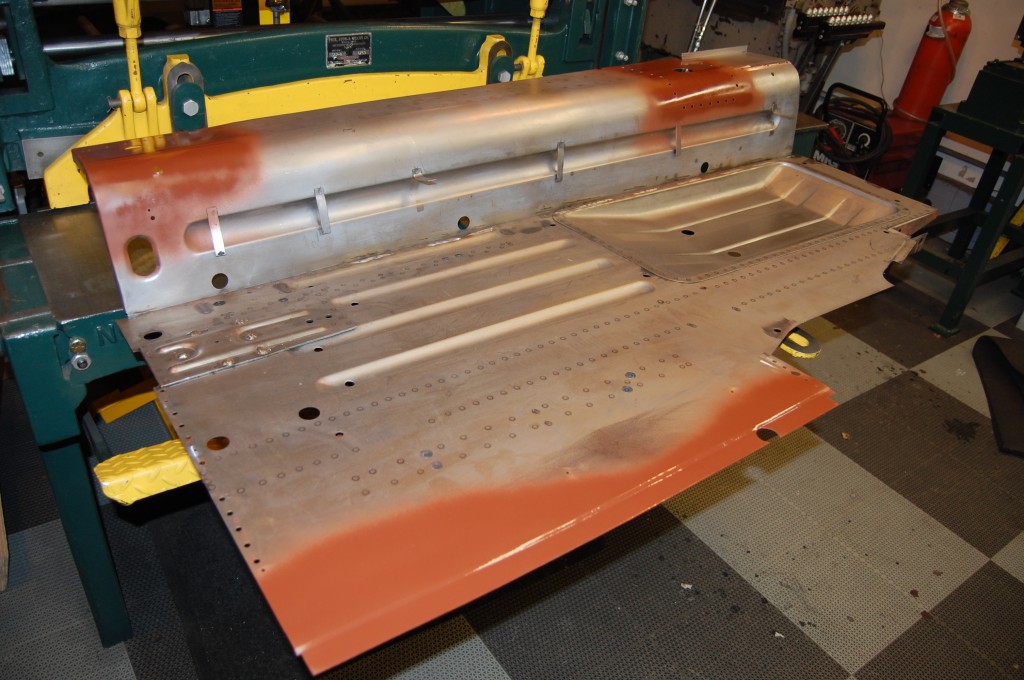
- Next we spot-weld the new inner sill to the new floor panel, then coat areas that will be enclosed. Most people don’t know this, but at the factory, this is all one continous piece of steel sheet – only in the aftermarket restoration of these cars is the floor and inner sill seperated into two pieces. For strength, we will attach the inner sill to the A and B pillars with plug welding instead of attempting to spot-weld the new panel to the old, tired flanges of those pillars.
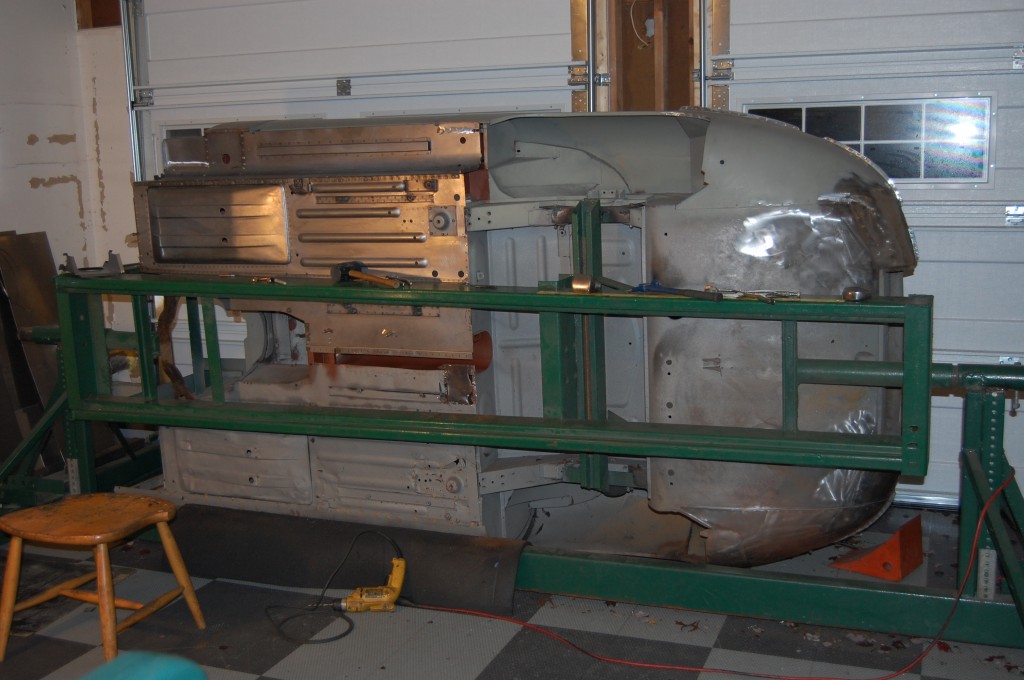
- The new floor and sill fitted into place.
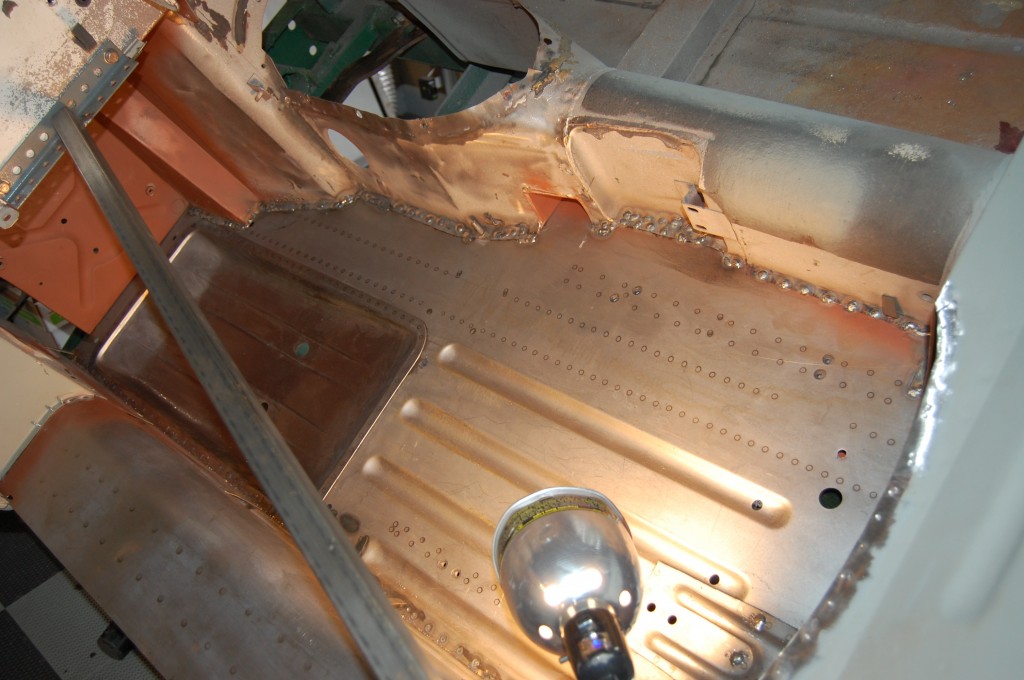
- Plug wleding has also been used along the flanges of the driveshaft and trans tunnel – utilizing the same holes drilled into these flanges when removing the original floor.
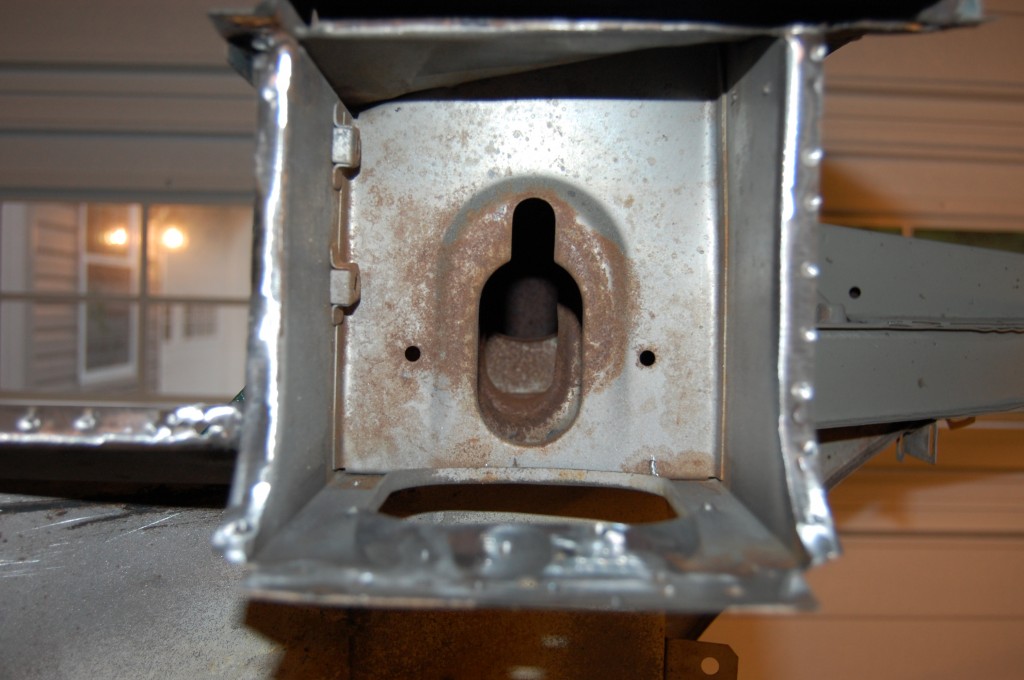
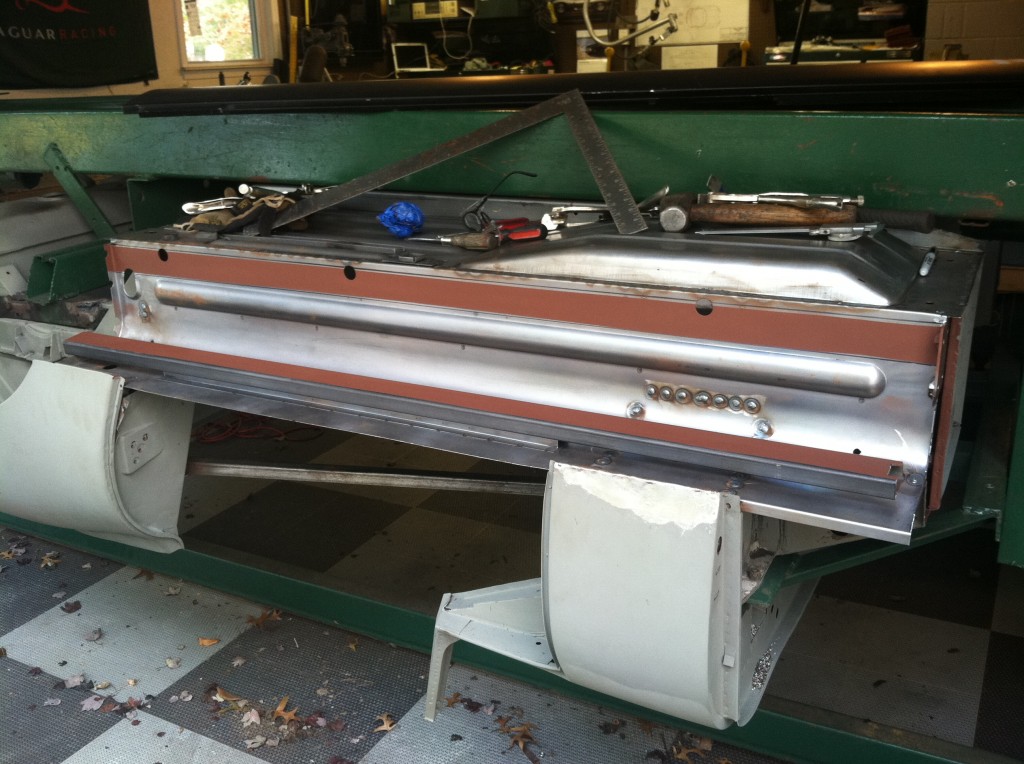
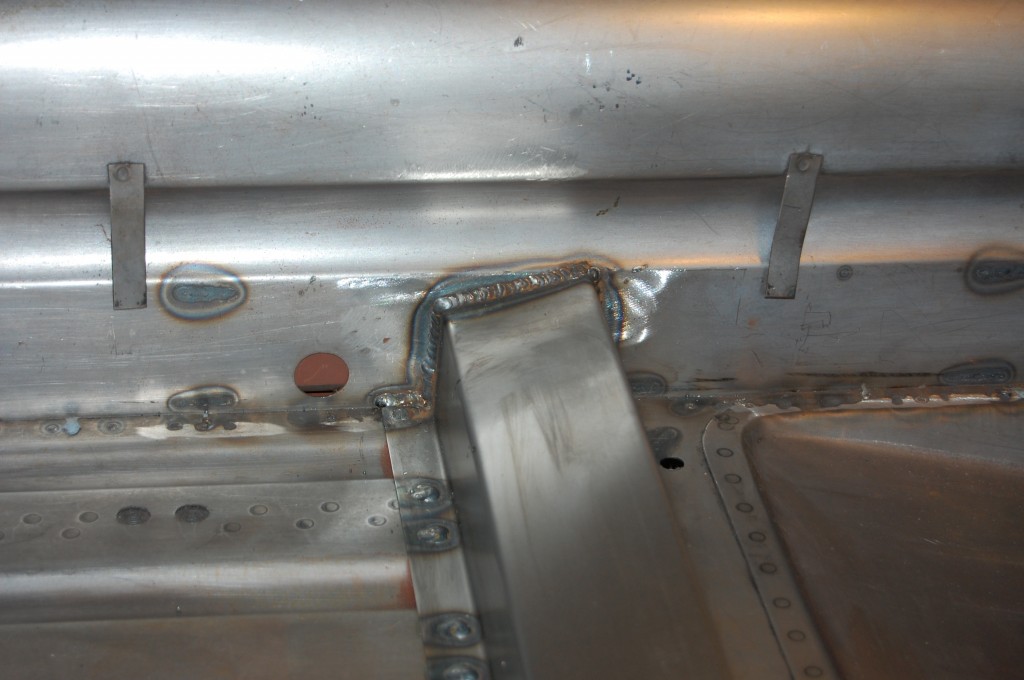
- Here is where we leave the other shops behind. This is a piece of 1″ by 2″ rectangular steel tubing being fitted into the sill, lengthwise. This is the side bar of our hidden subframe.
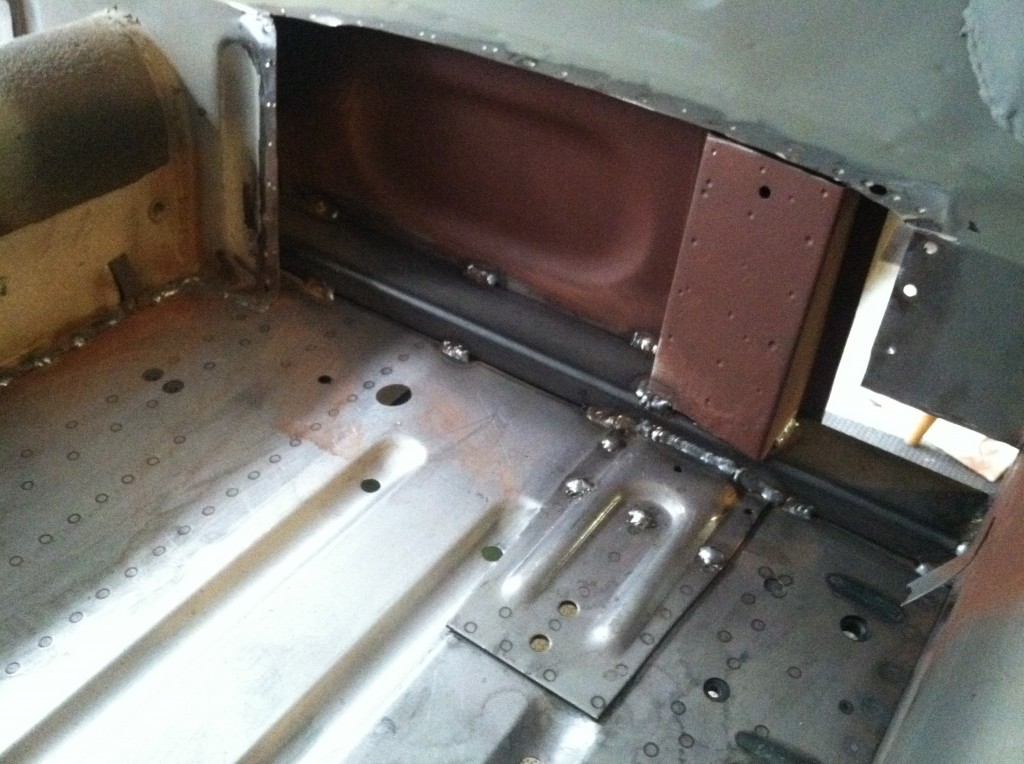
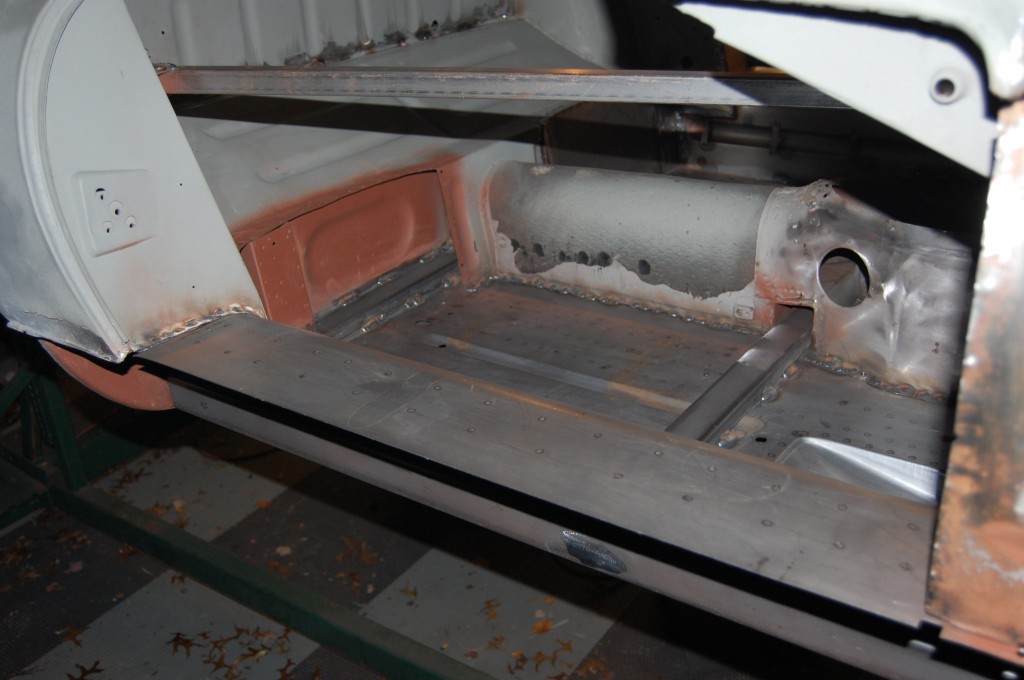
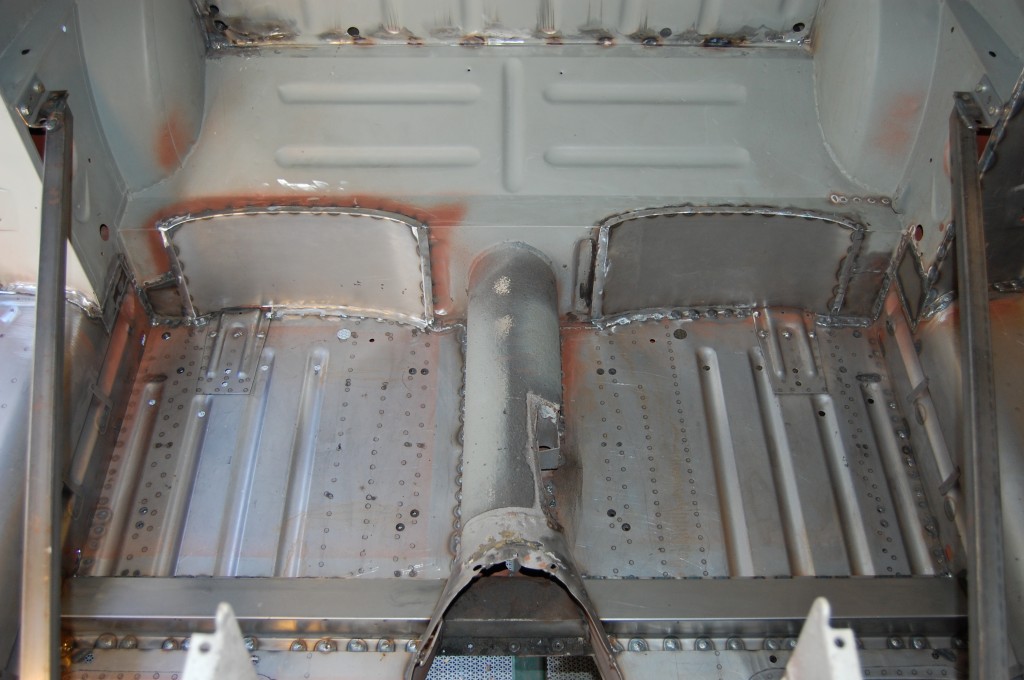
- We also add this tubing to the rear of the floor, and hide it inside this box section behing the seats. The tubing has been notched for the radius cup plate, and welded across the top.
- Here is a shot of the side tube again – right side up. Note how the internal gussets are cut back and welded to the subframe tube across their length.
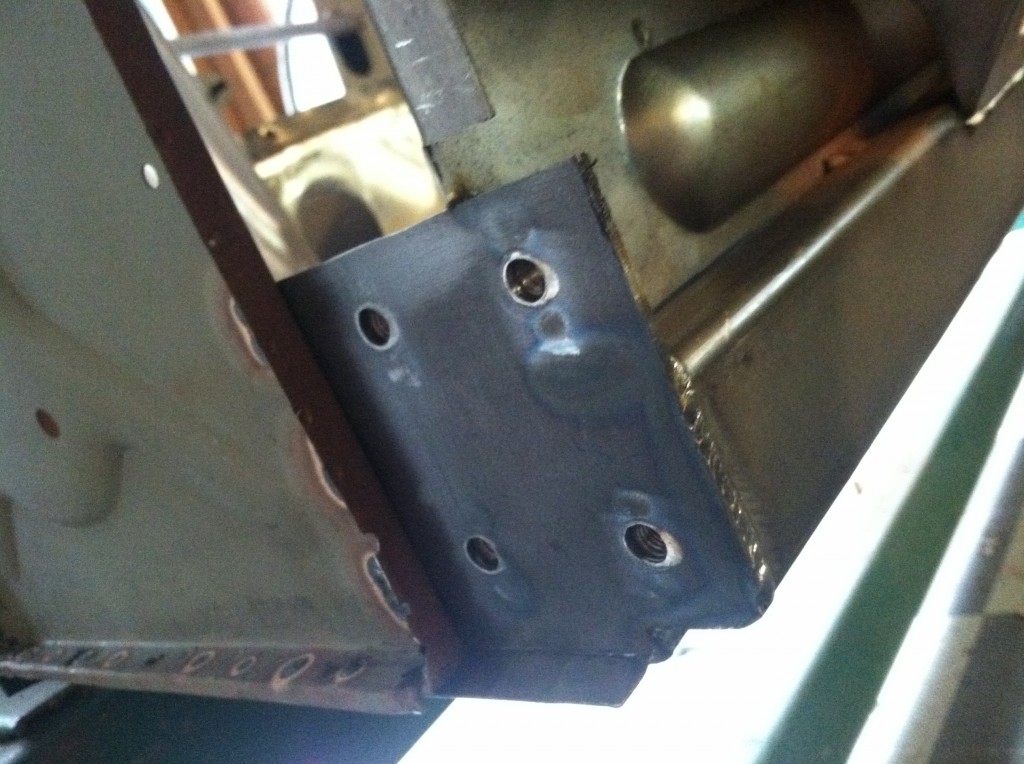
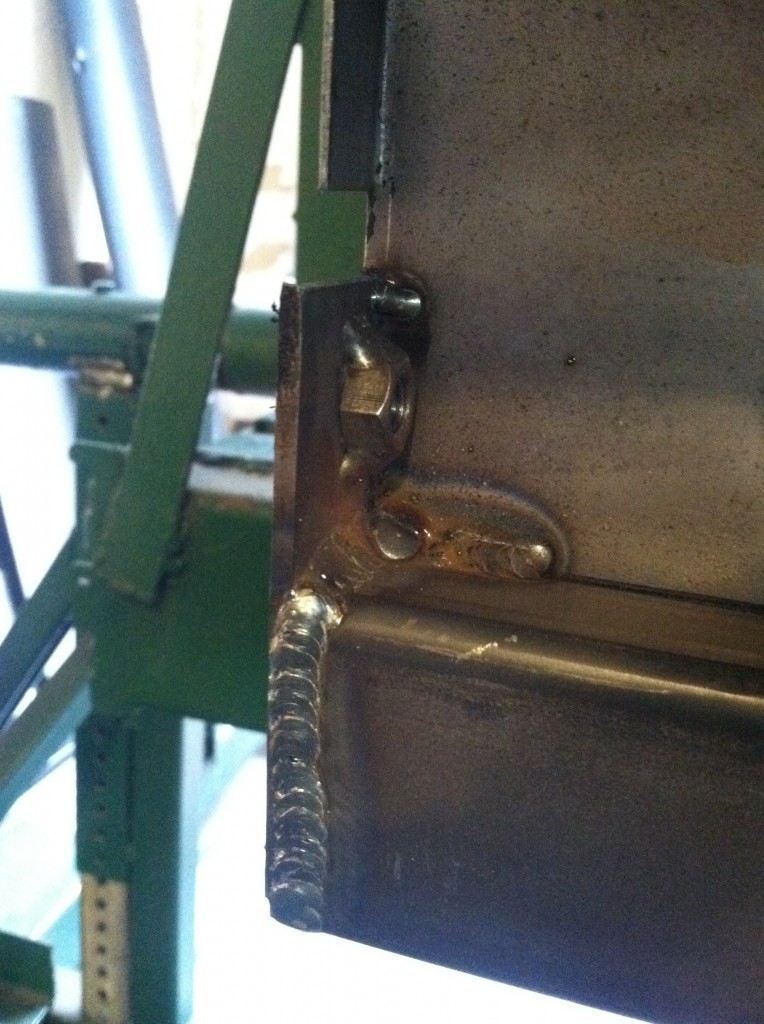
- We have welded 5/16″ SAE nuts to a 1/8″ steel plate and welded that to the forward end of the side tube, rather than use the stock 16-gauge brackets here. This mounts the lower, outer leg of the frame rail directly to this tube.
- The tubing and the welds are roll-cage strength.
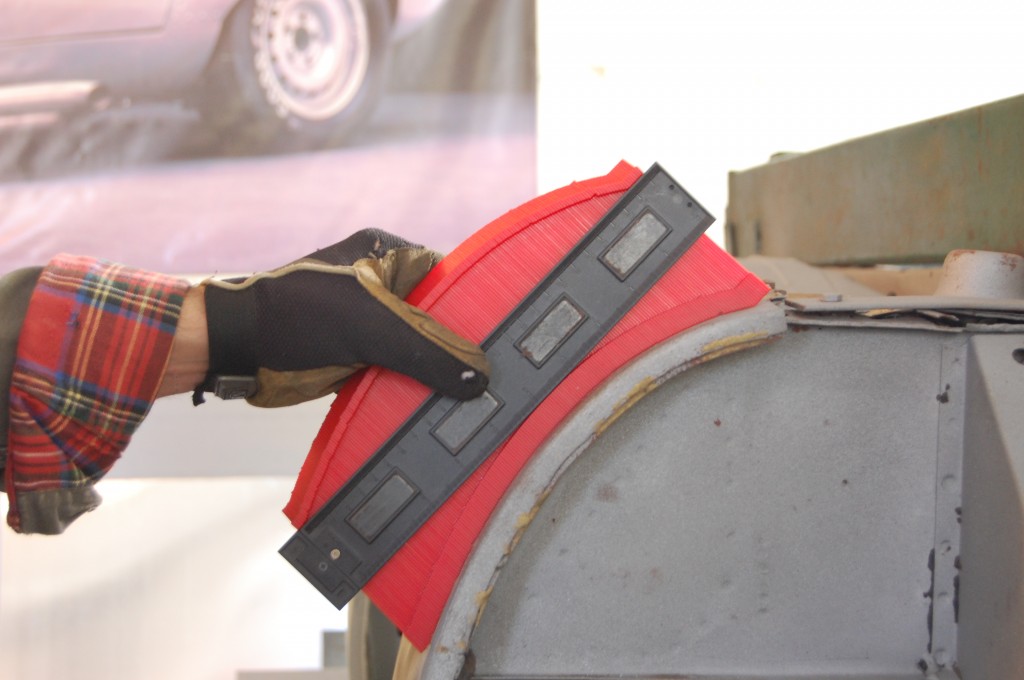
- Time to fit the outer sill – here is the contour gauge on the RH factory sill.
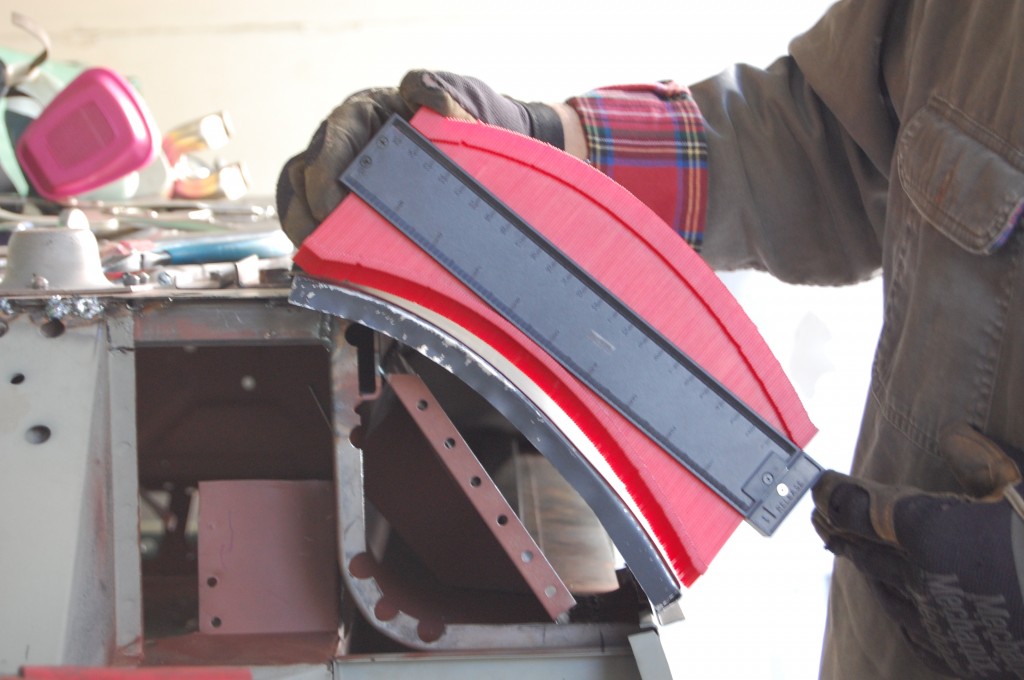
- Same contour gauge on the new aftermarket sill on the LH side. These are notoriously bad, and this one is no exception. We do not have a roller long enough to form our own sills, or we would – that is a very heavy machine to roll a panel this long. I feel sorry for the guys at home who attempt this themselves and can’t re-shape this sill like we can – they just have to weld it in like this… Other shops without our fabrication capabilities are stuck here too…
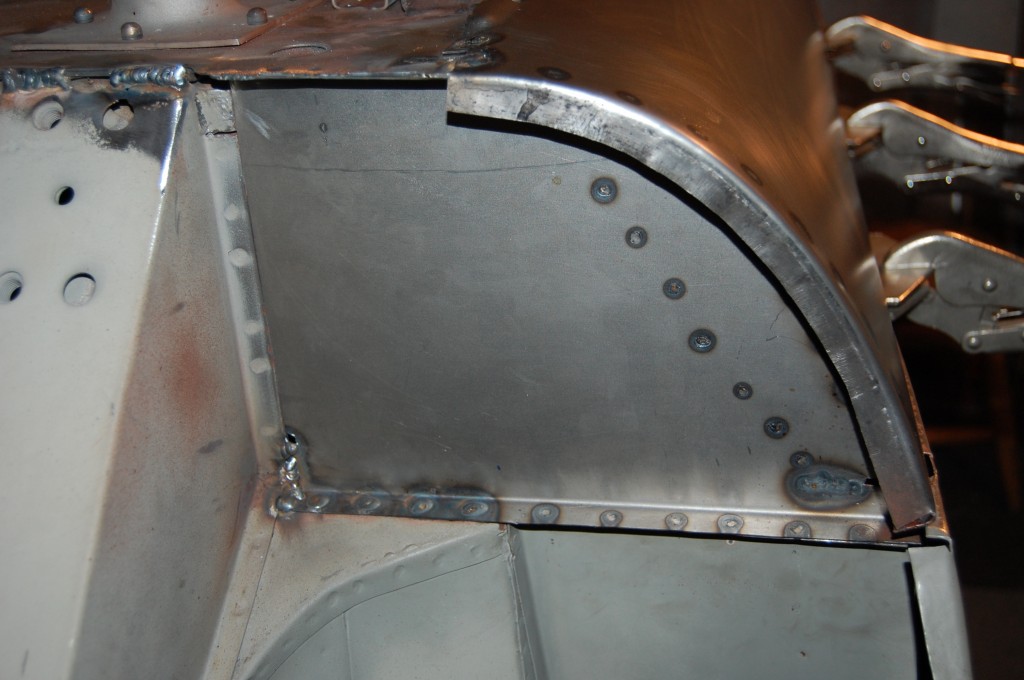
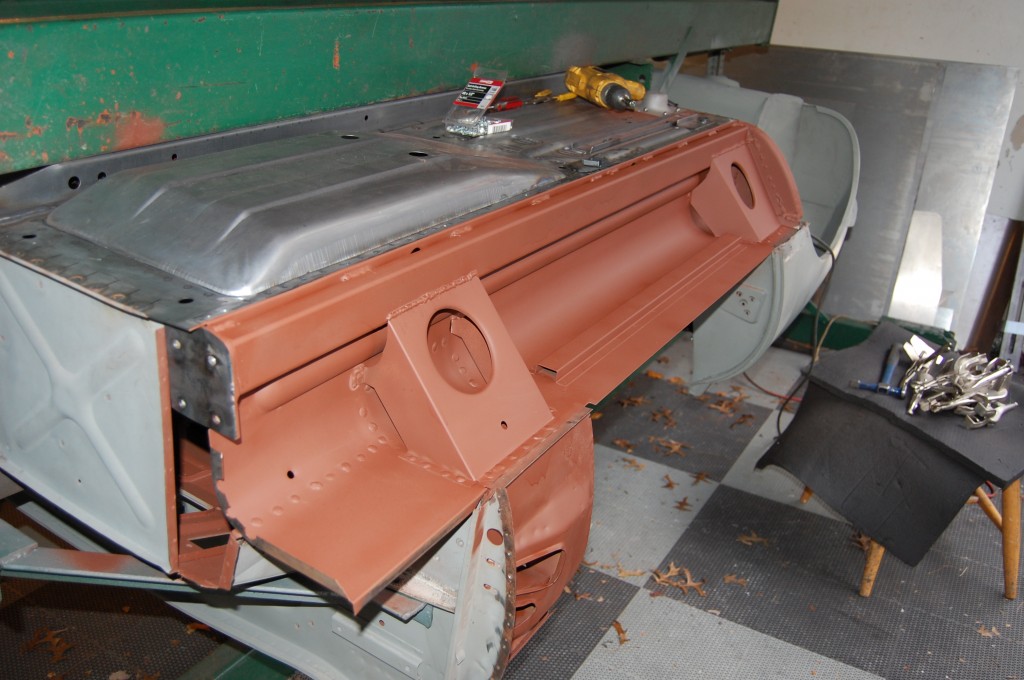
- So, we re-arch the sill, AND form a custom rear closing panel to match the final shape – here you can see it already installed on the left end of the photo. Then everything gets coated with red oxide before being closed up.
- Once the sill is welded on, we weld around the jacking point like the factory. Note that we plug weld the outer sill on. We have tongs that will reach around, but because the inner sill and floor are already spot-welded at this seam, the outer sill introduces a third layer, which is tough to get a strong spot weld on with big tongs – you lose clamping force. This is undoubtedly why the factory made the floor and inner sill as one – so that this was a “one-on-one” seam here – the optimum for a strong weld. The sills hols the car together, so we use super-strong plug welds.
- Here is a shot of the rear closing panel – note that the rear edge of the internal gusset has been spot-welded to this panel.
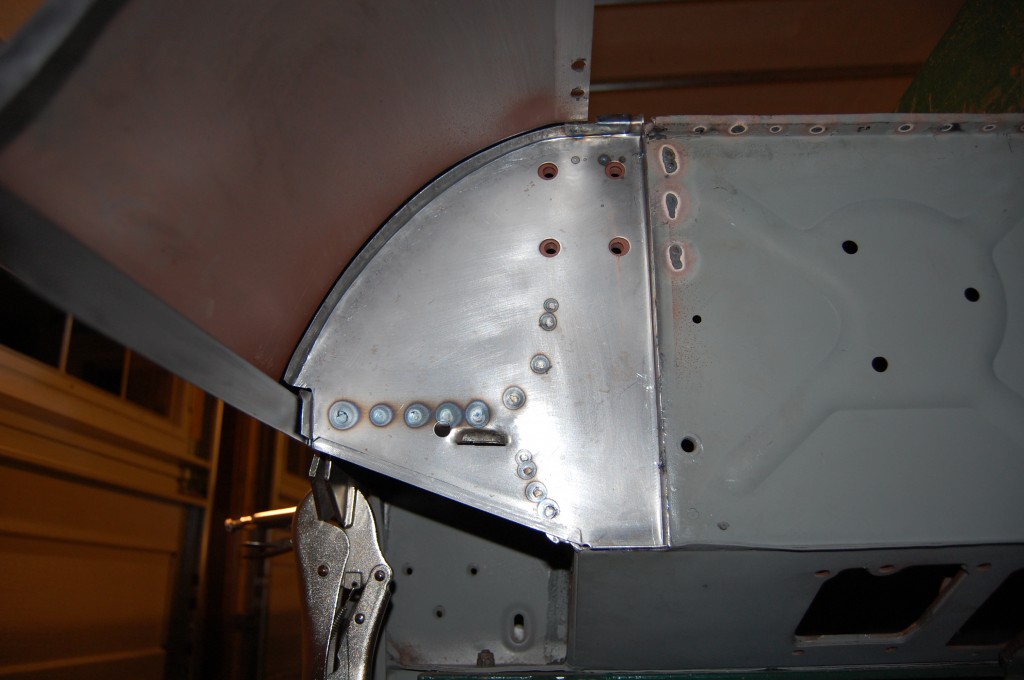
- We also custom form the forward bulkhead closing panel to match the curvature of the replacement sill.
- The RH side radius cup reveals the same rust as the LH.
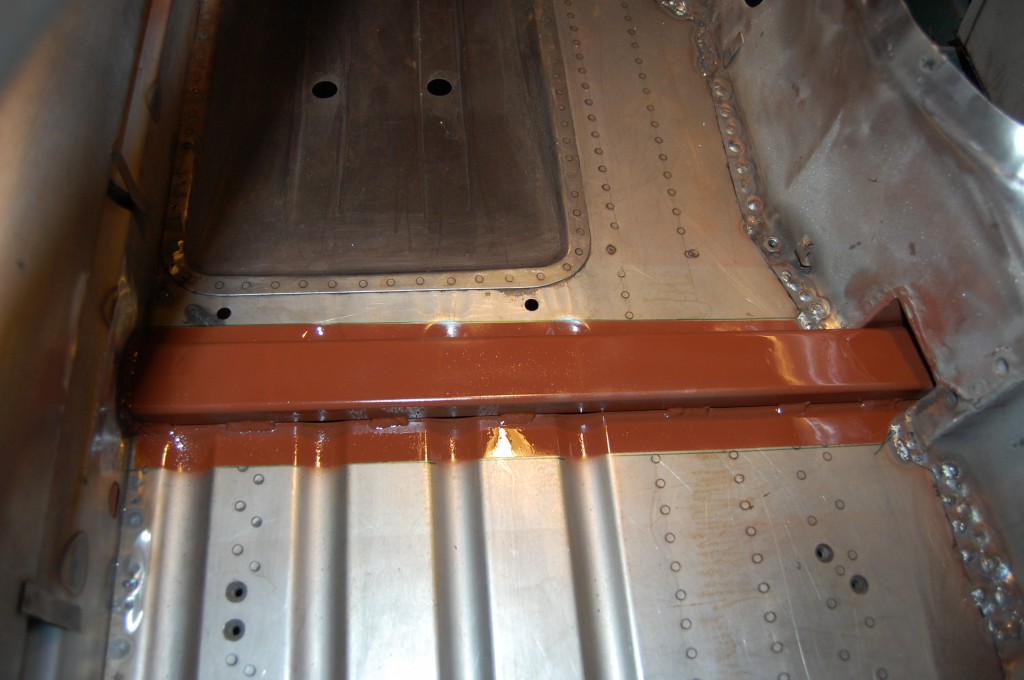
- This is the cross-bar of the hidden subframe. We weld it directly to the floor panel, and slide it right in under the factory crossmember. It intersects with the side bars at the jacking pad – exactly. Crushed sills from the weght of the car on the jack will not be a problem that this E-Tpe ever suffers!
- Closed in with an exact reproduction of the factory cross-member. You can see the side tube hidden inside the sill through the hole in the inner sill. These holes are not necessary for any fittings when assembling the car from here – to be honest, I don’t know what they’re for – ventilation? If so – that didn’t work – all E-Types have rusty sills anyway!
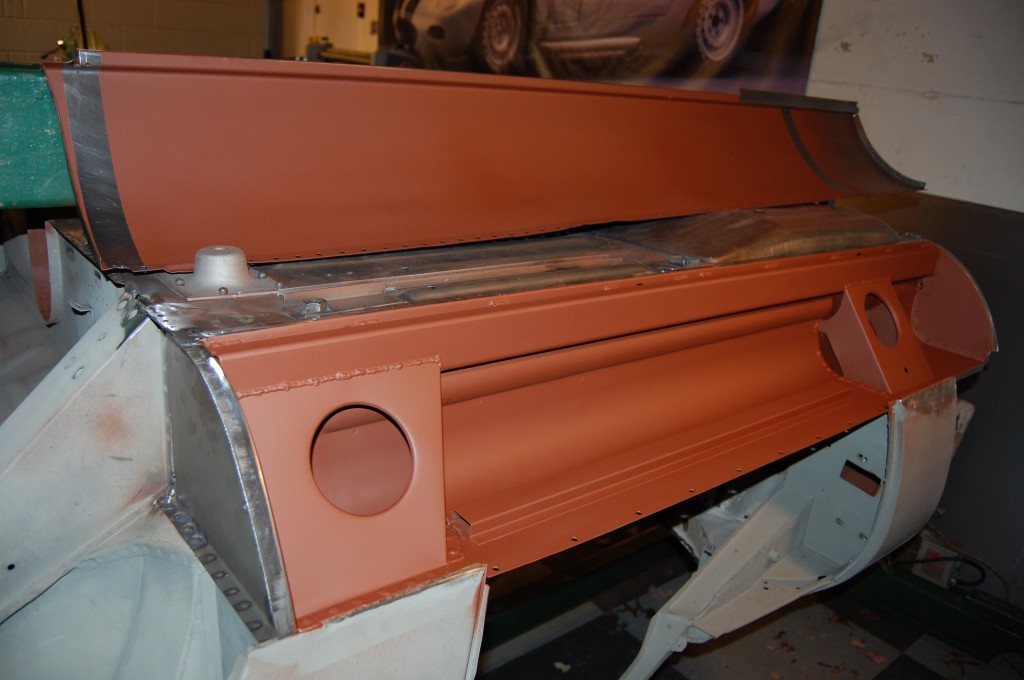
- This is a great shot, showing you on the right that the completed shell is EXACTLY like it left the factory, but that hidden inside the box sections is a well-engineered subframe that REALLY stiffens the monocoque, and prevents the structure from collapsing in a collision.
- This shot also shows the hidden subframe pieces on the side and going across. This subframe is built of .125-wall tubing and adds 32 pounds to the monocoque shell. BUT – since the entire structure is right at the floor line, it actually LOWERS the center of gravity of the car!
- When we say all enclosed sections are well sealed, we mean it!
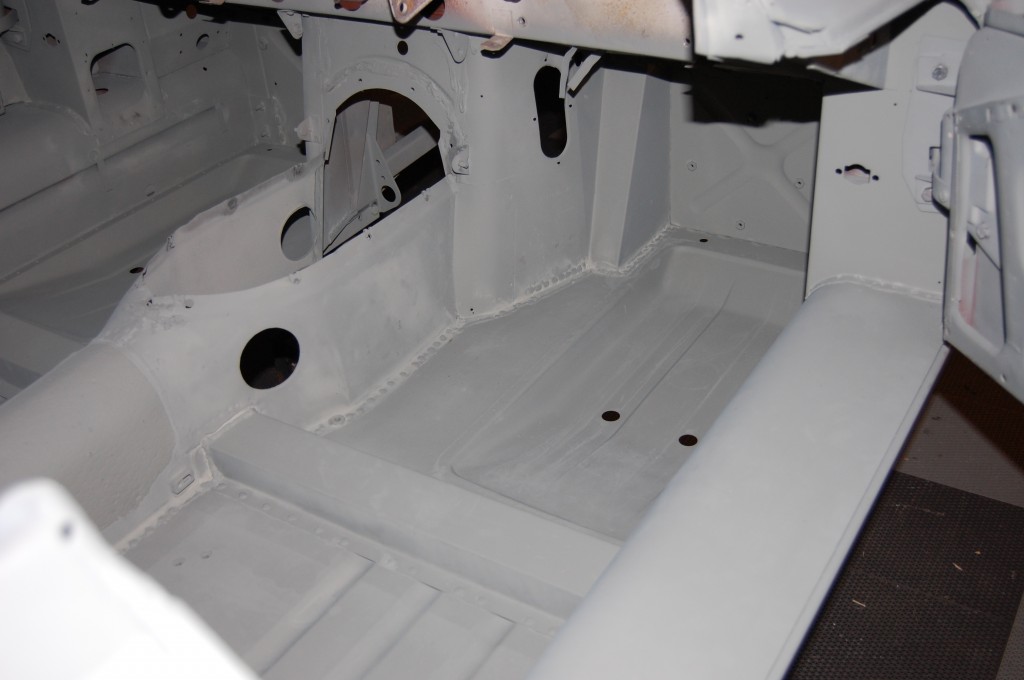
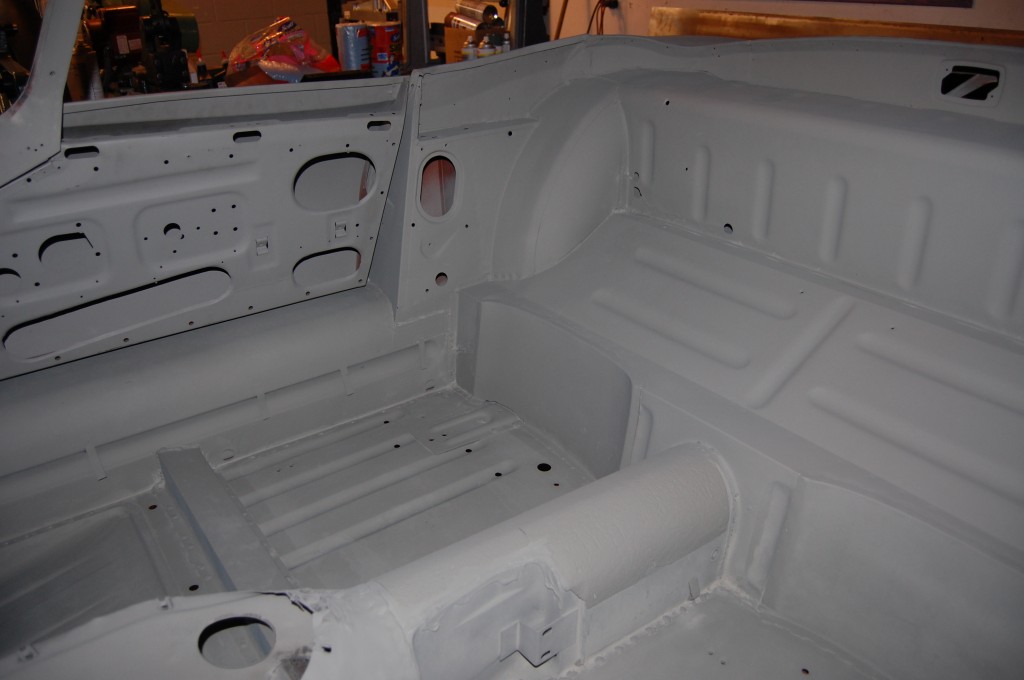
- Bone stock. Even with the shell in bare primer, you’d never know the subframe is there.
- Closing up the RH sill.
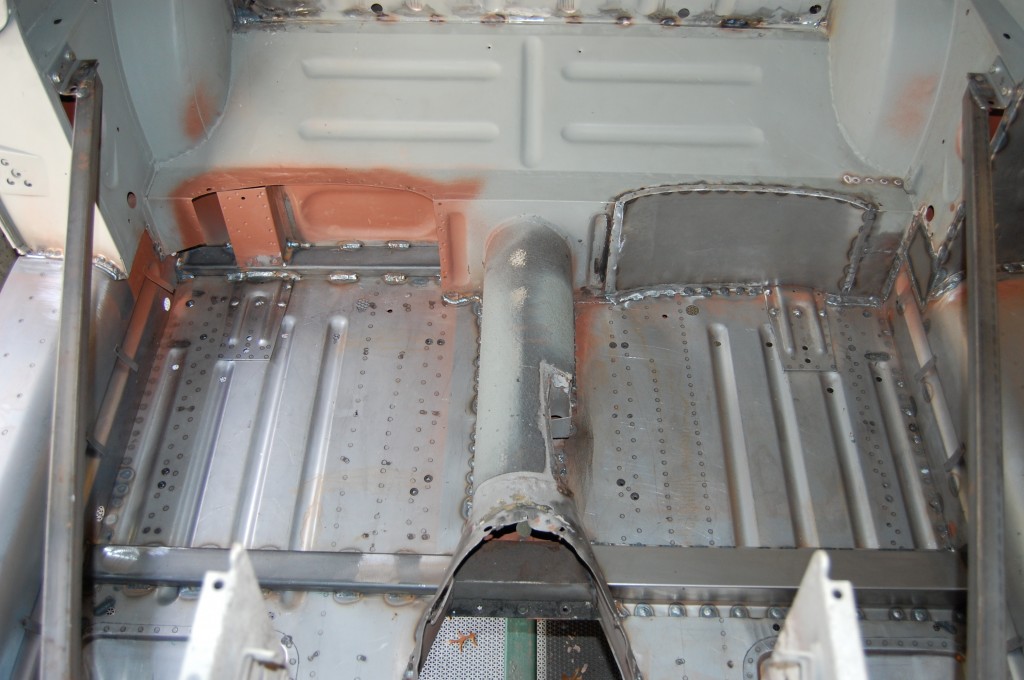
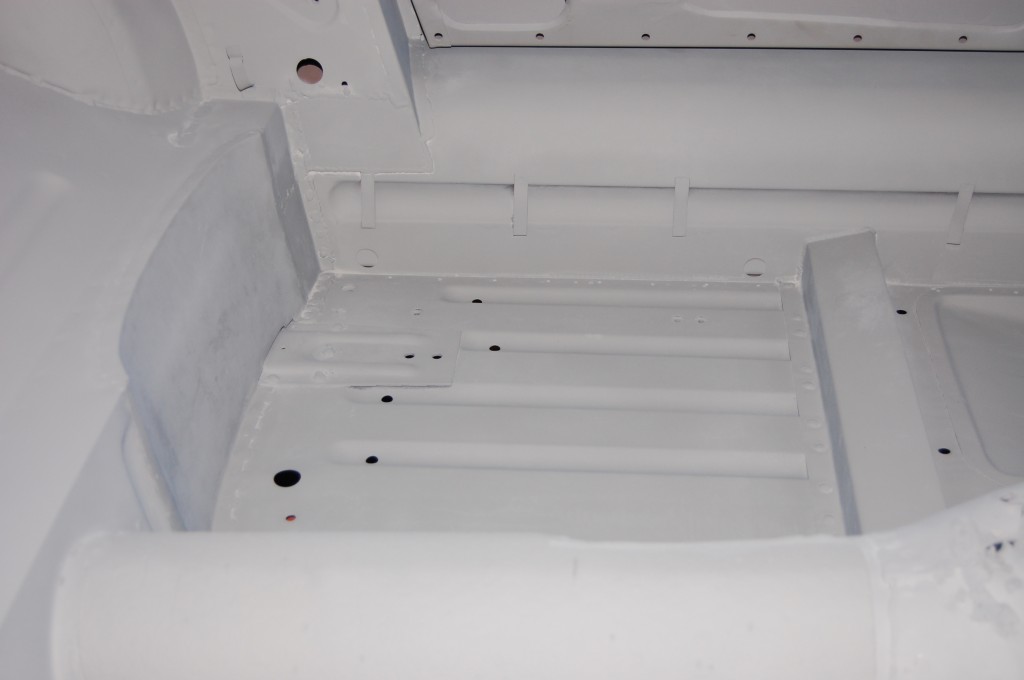
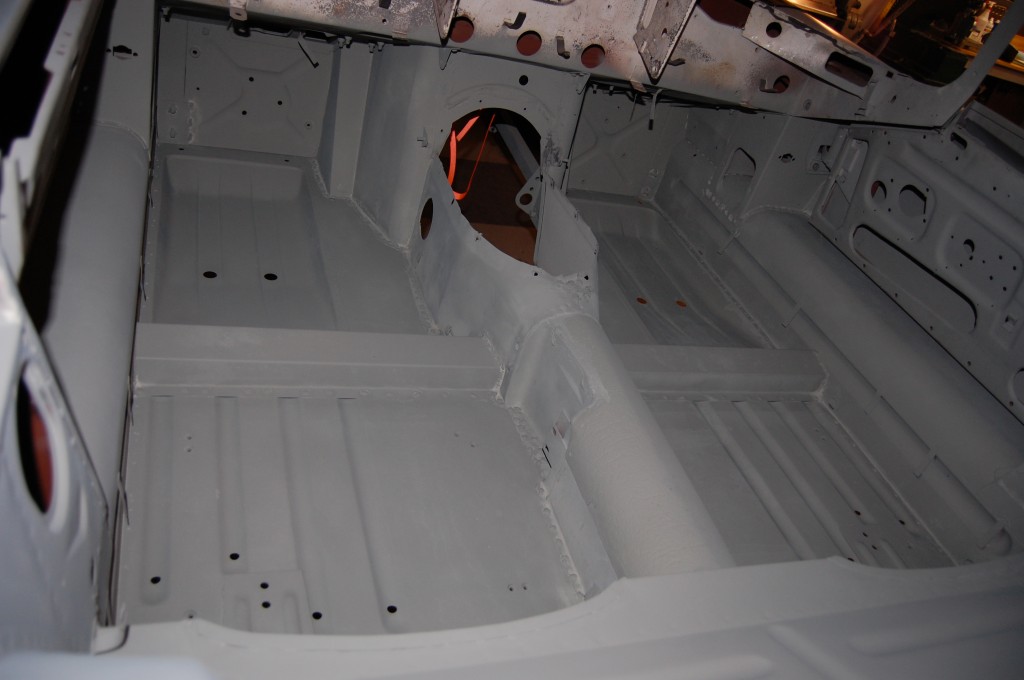
- Floors and sills finished and etch-primed!
- Factory perfect dimensions and appearance, with the strength of a racer!
- Another shot of the completed floors – the only original steel in this photo is the trans and driveshaft tunnel, and the forward bulkhead.
- Another shot showing one of the restored doors fitted – having received new steel in the lower two inches of the inner door shell, and a new outer door skin.
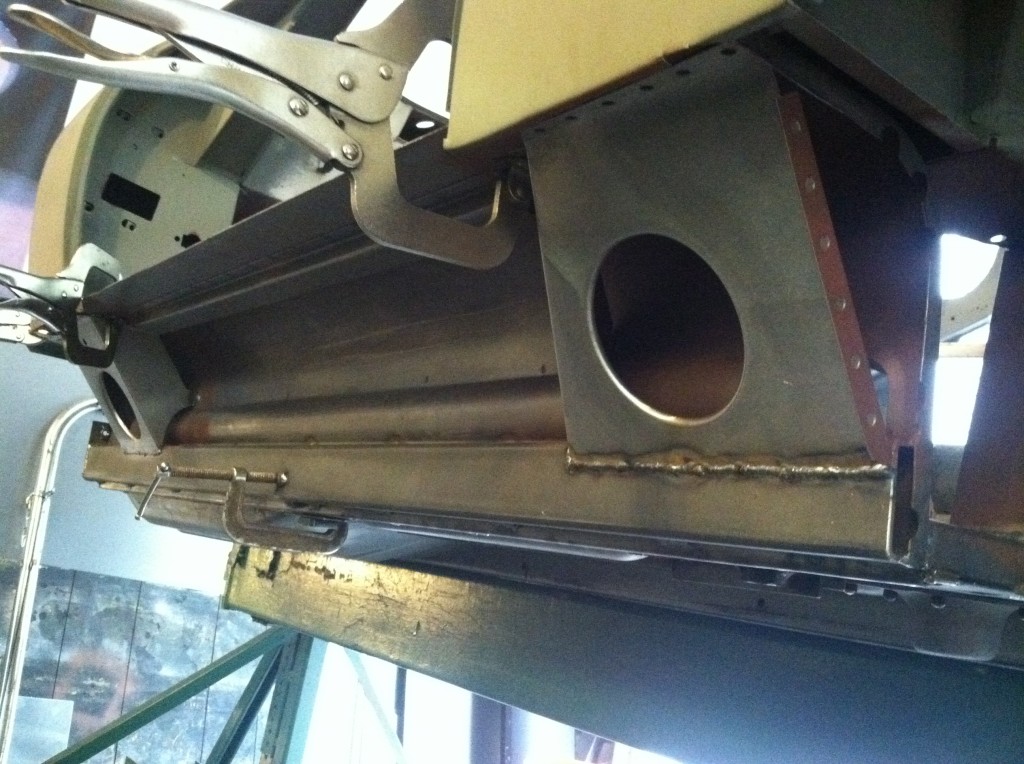
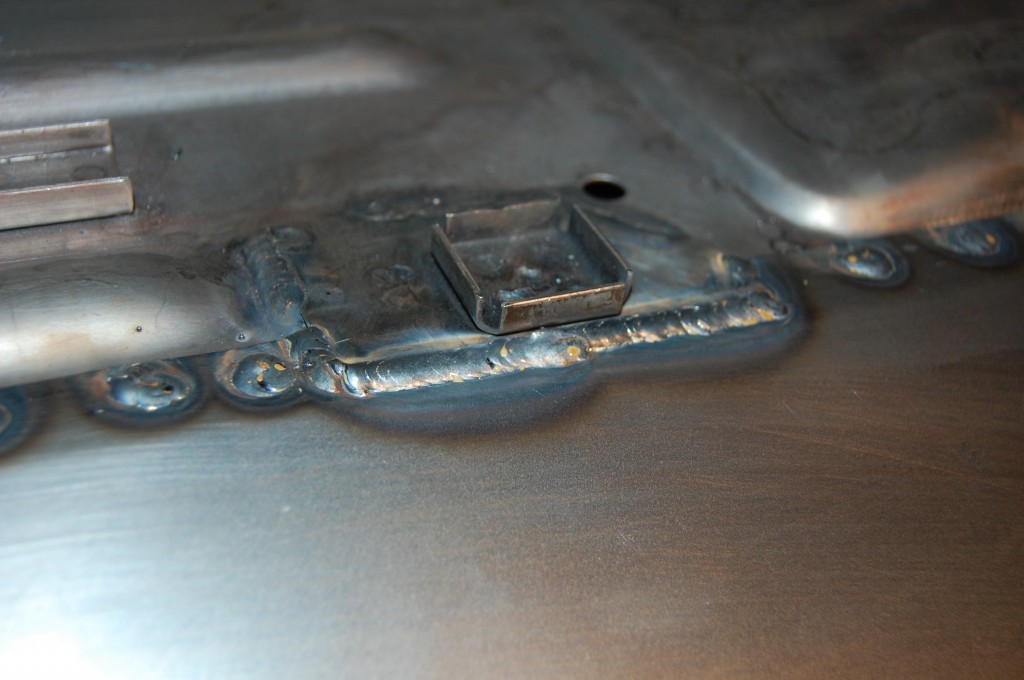
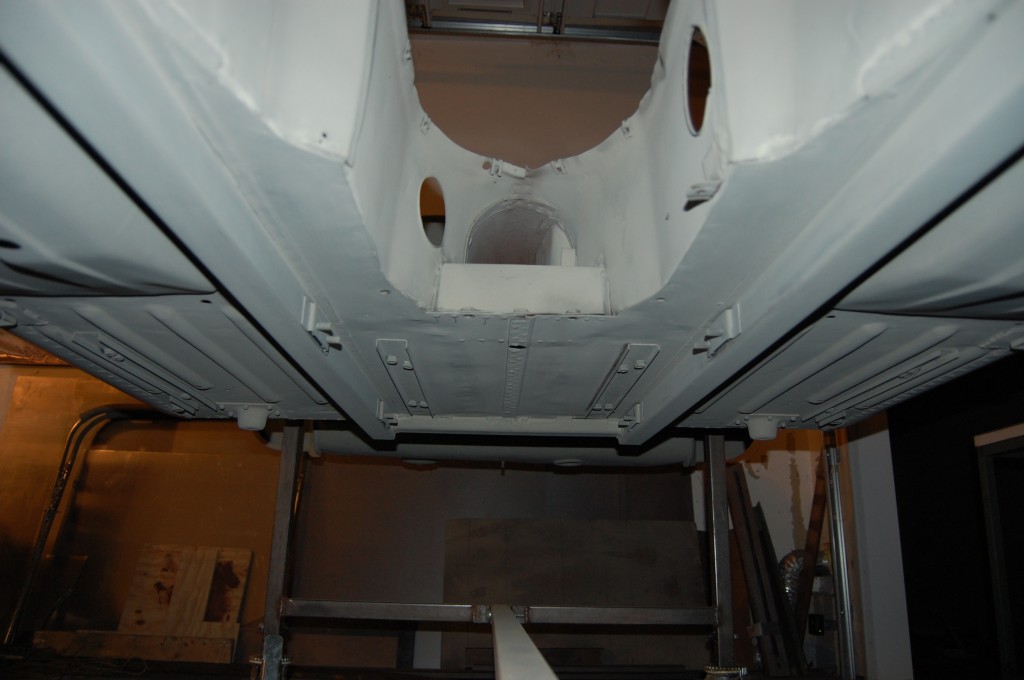
- Finally, there is one piece of the subframe exposed – underneath the car. Because the rear cross pieces installed and hidden in the box sections behind the seats must stop at the driveshaft tunnel, we complete that crossbar by adding a piece of the same tubing under the floor below them instead of the stock tie plate. This is stronger, completes the crossbar, and is welded directly to the main floor runners which are another main structural member of the monocoque. I also like it because it adds about an inche of clearance over the stock tie plate for larger and more aggresive exhaust systems.
I grew up around vintage racing E-Types, and they all had additional support like this, but it was always added after the fact, and got in the way of the seats, driveshaft, and everything else. This system adds even better rigidity than anything else I’ve seen AND it’s TOTALLY HIDDEN!
If you want your E-Type’s shell restored right – AND want the added strength and safety of our years of experience with improving the monocoque, call me and we’ll talk about what the right solution is for YOUR Jag!
On the other hand, if you “steal” this design for use in your own car or another shop, that’s OK I guess – maybe one of these subframes will save a life someday… Just be sure to give me credit for the design! Thanks! – Chuck

