Get ready for the scariest thing you’ll see this October…
This was actually SO bad, that I originally had no intention of blogging it… Taking over someone else’s mess is something we have to do occassionally – and unfortunately… This was a “rescue” from another shop – the metalwork on this car was BAD – but the car was already painted. However, under the bonnet was completely unrestored, and what a mess it was…
In the end, we turned this around to the point where I DID want to blog it just to show what we can do here – but mostly to warn you about what happens when you take your E-Type to the local “body shop”…
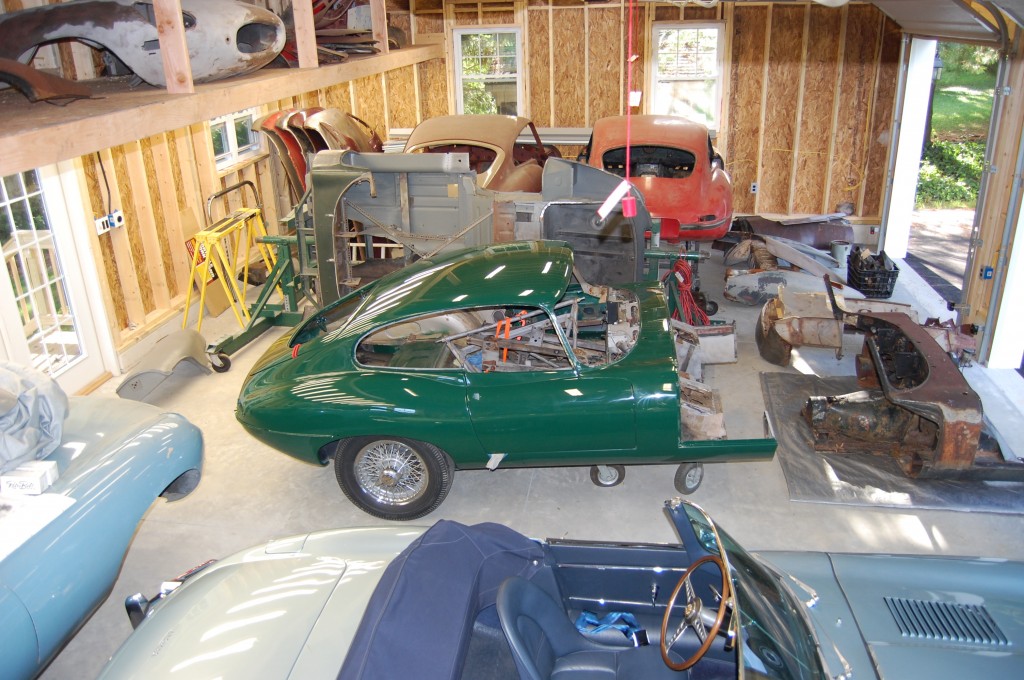
- The E-Type that’s been abused is the green ’67 FHC in the middle of the photo – it’s been “restored” and painted – but all is not what it seems…
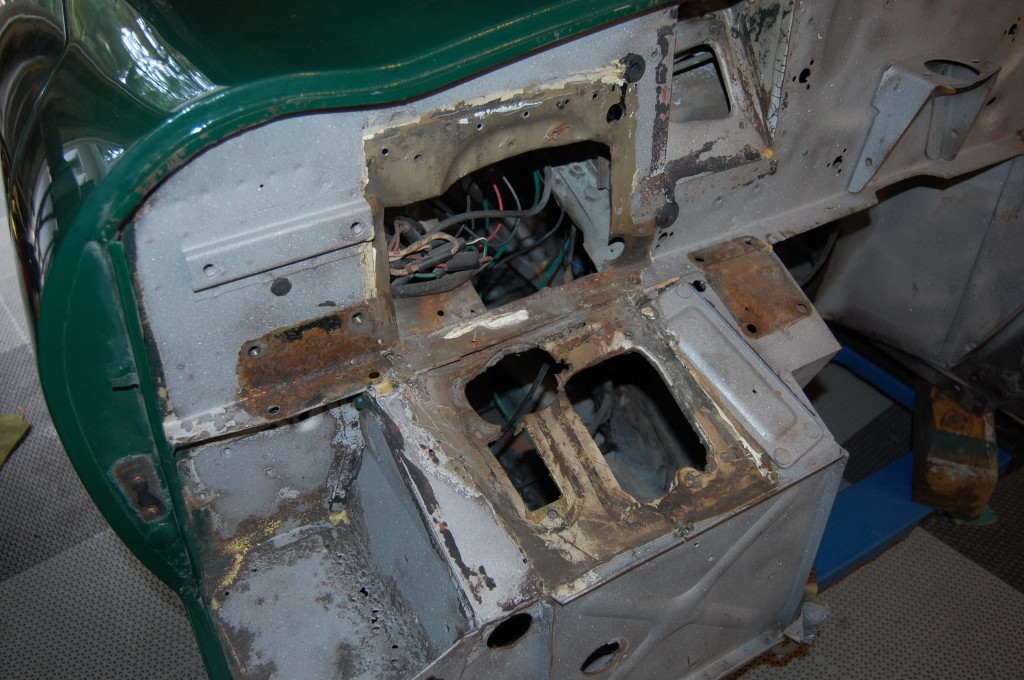
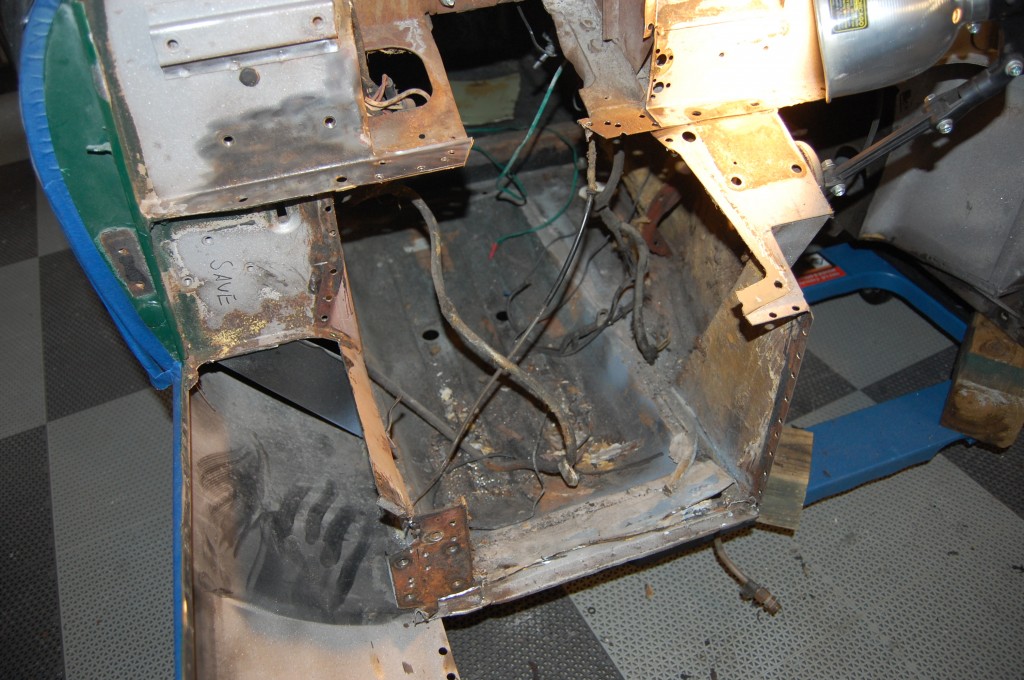
- Here is where things were left under the bonnet – AAAAGGGGHHHHH!!!!!!
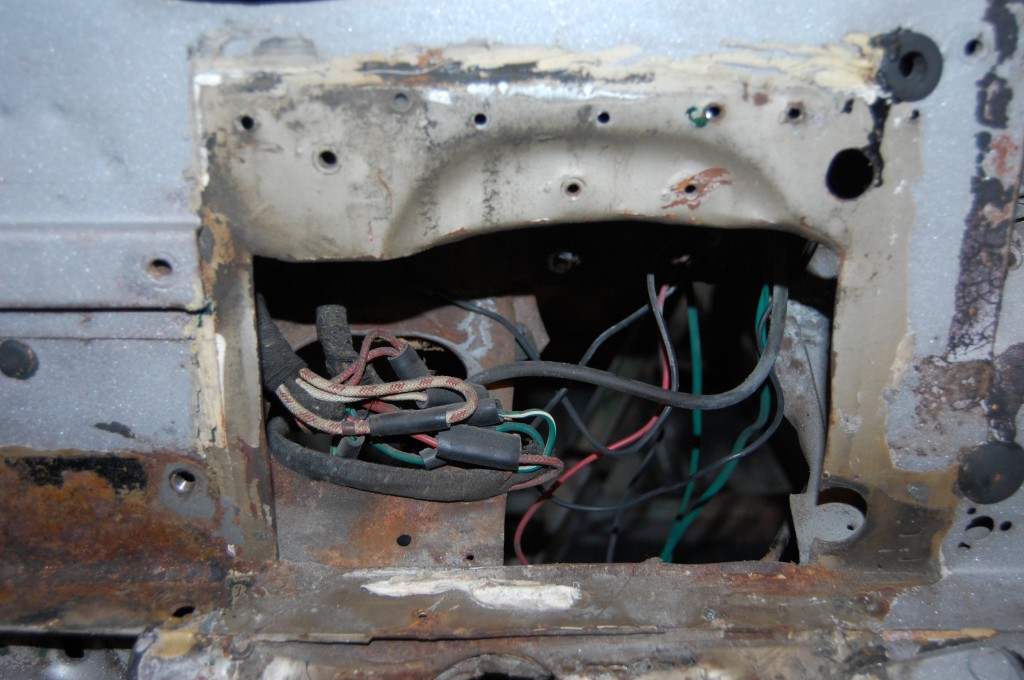
- This is actually carnage I see VERY often – this has been done to install an aftermarket Air-Conditioning system.
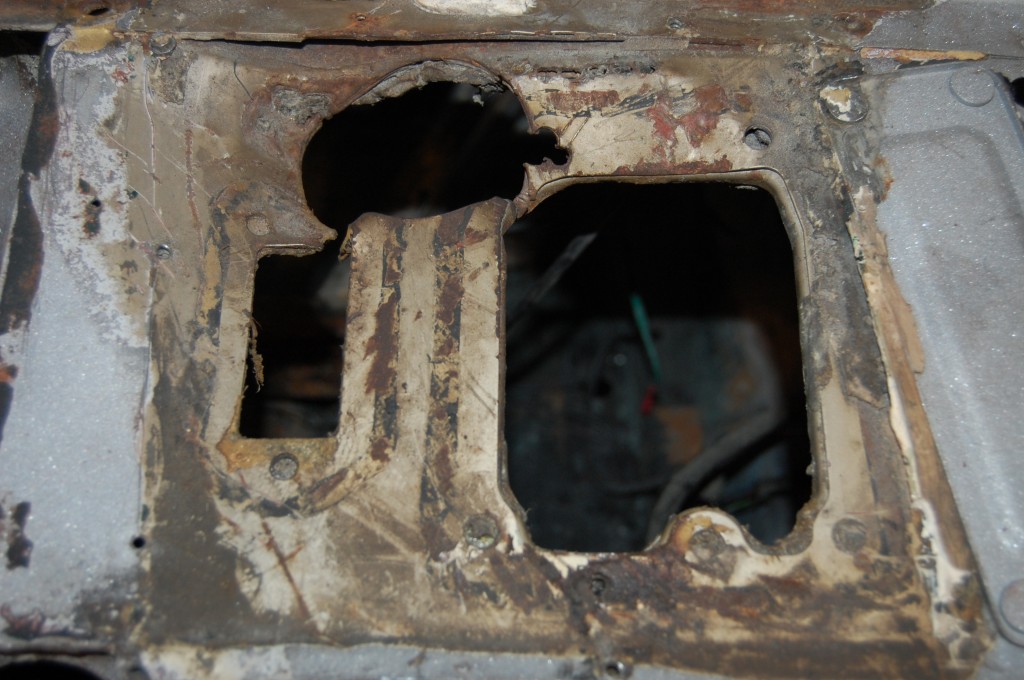
- And whatever animals installed these things back in the day would just hack away at the cowl anywhere they had to – this is the RHD pedal box area.
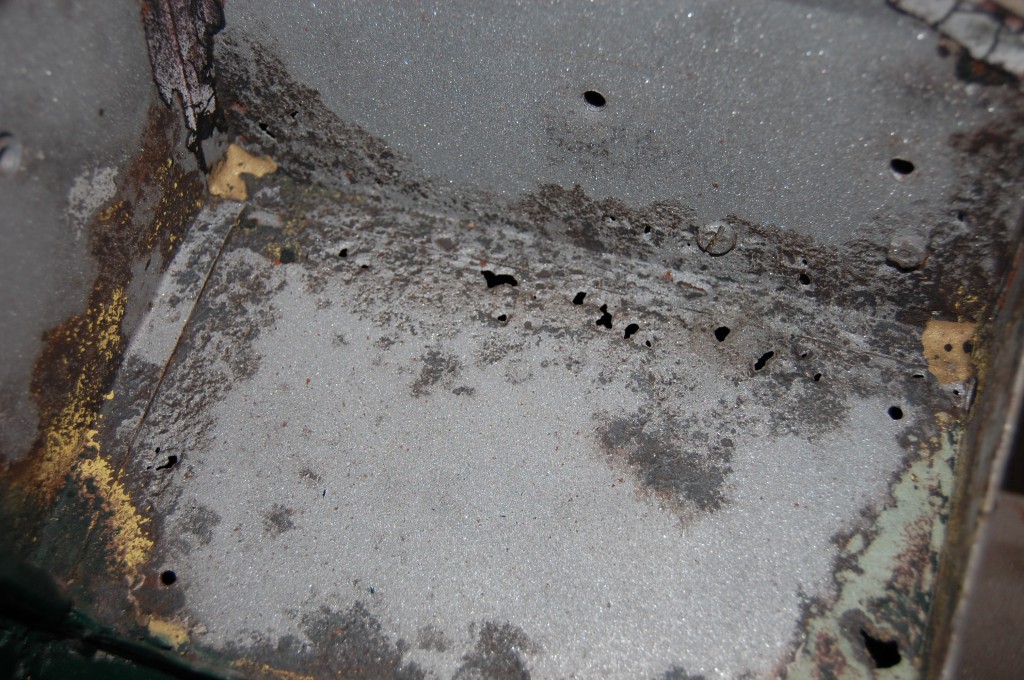
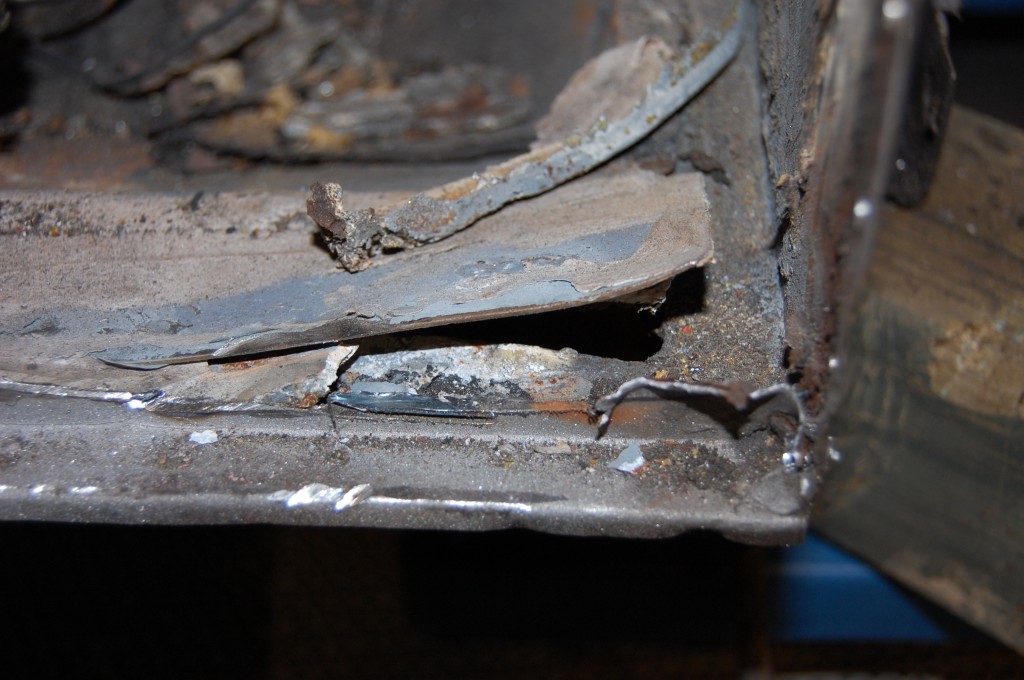
- Here’s the area where the data plate goes – the inner sill was patched on the bottom, but this was just left… This car SHOULD have had a completely new inner sill.
- More holes for AC hoses and God only knows what else…
- Now here is some of the other shop’s work – “the floors were replaced” – the owner was told…
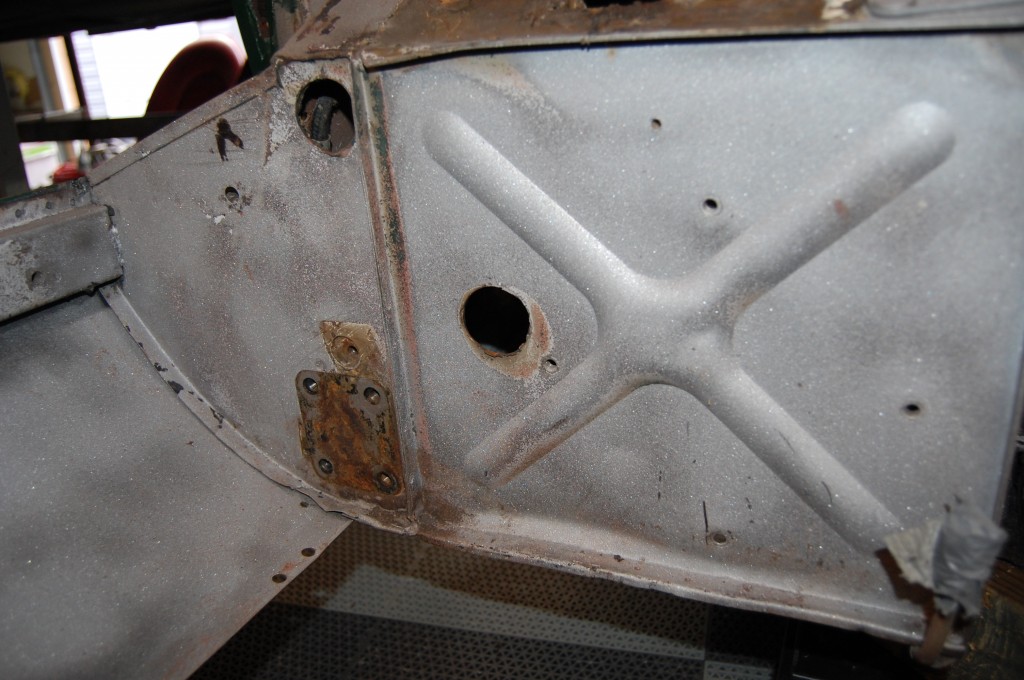
- Look closely – the “new floors” have been welded to the X-panel – AN INCH ABOVE THE FLOOR LINE!
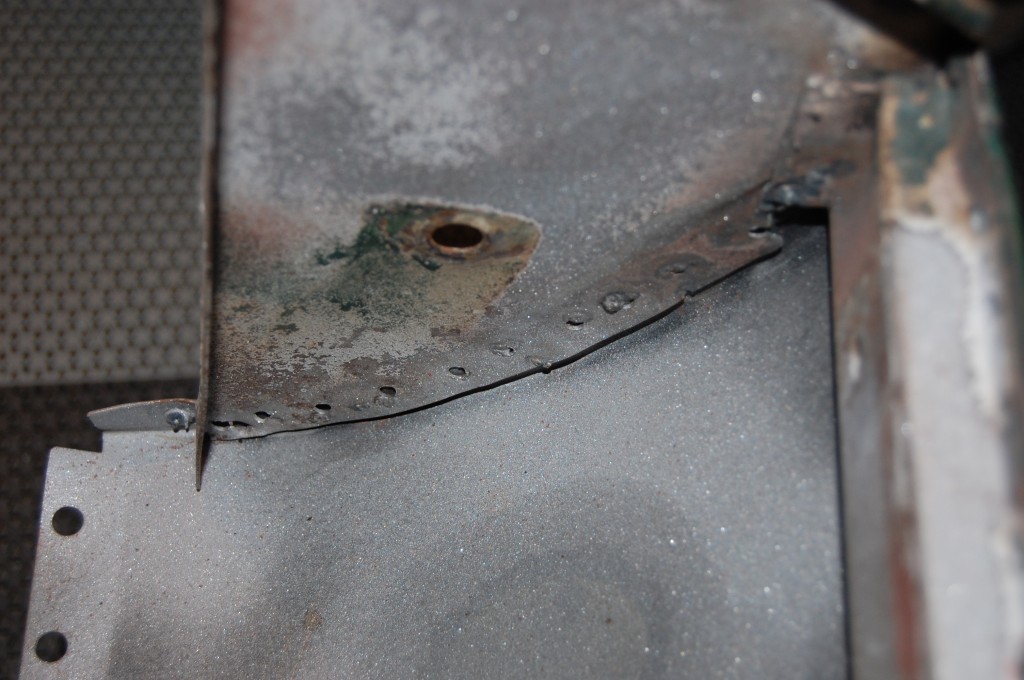
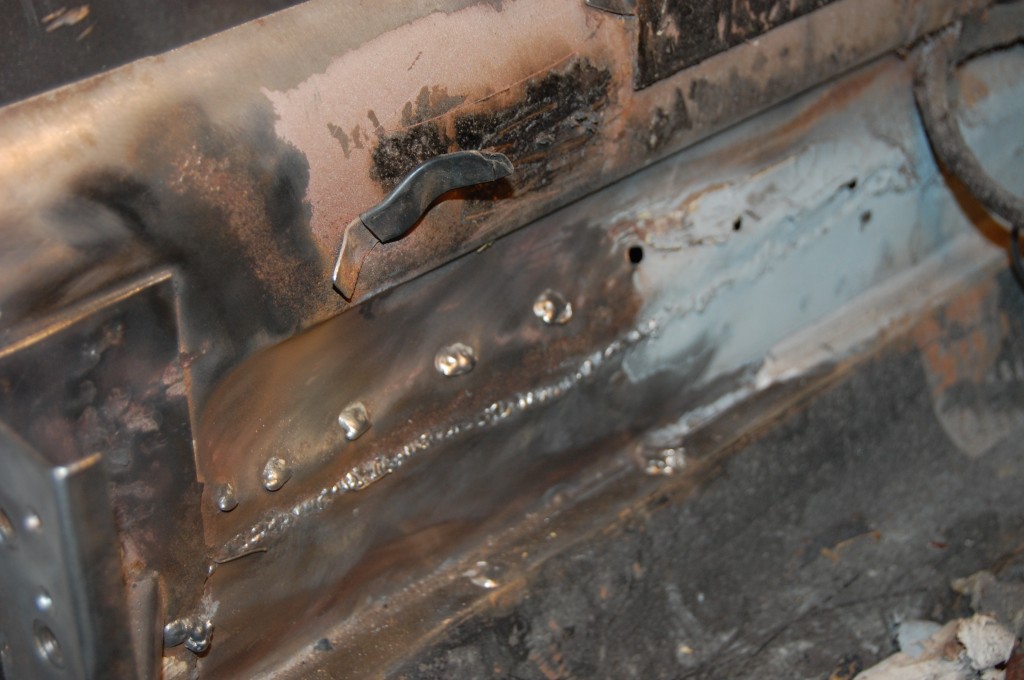
- New outer sills – unattached to the forward closing panel – and I don’t even know WHAT to say about that “patch”!
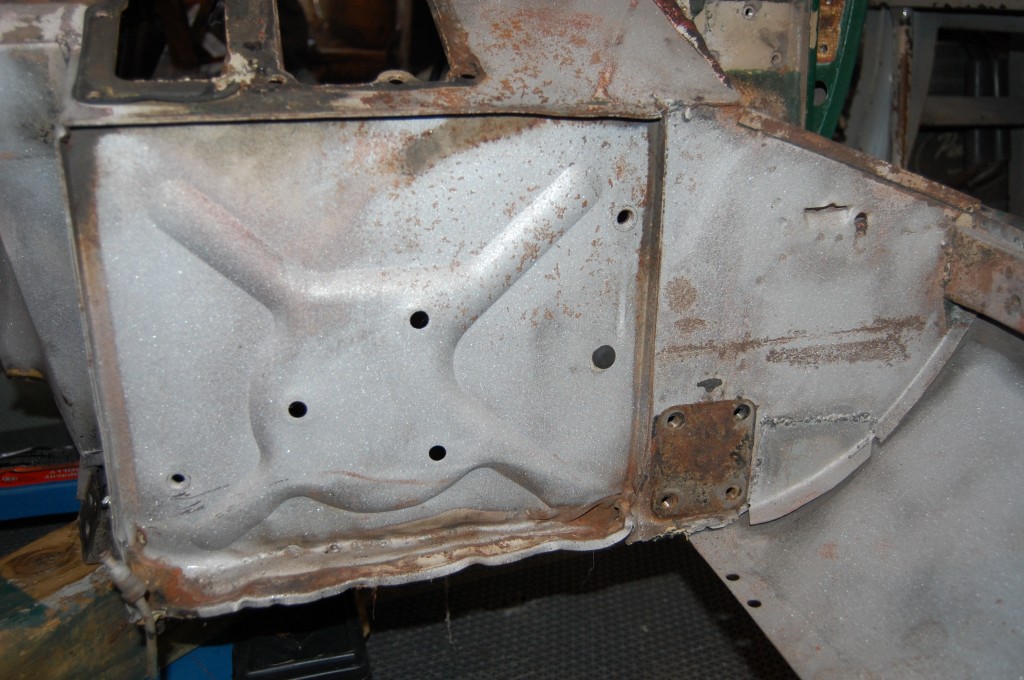
- Halloween came early at MM this year, because the horrors on this car just kept coming! New outer sill, used battery bracket, shameful welding…
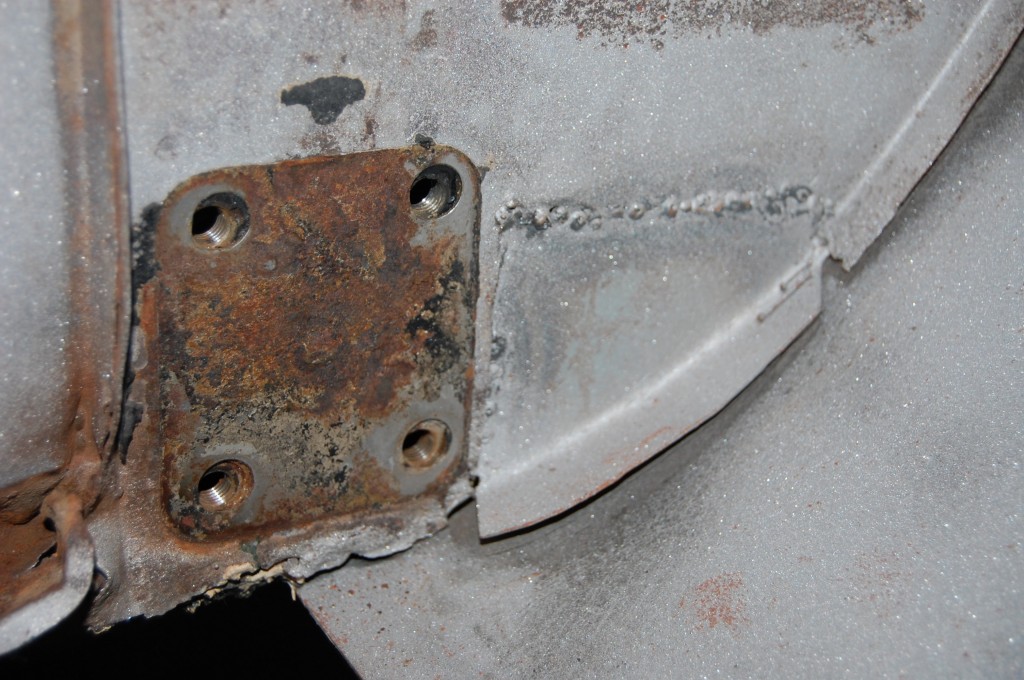
- More used panels MIG welded to the new outer sill. Come on – this panel is only $22.00!!!
- So I grabbed a grinder and a slicing wheel and began dissecting the car as best I could – WITHOUT damaging the paint – something I’m not usually required to do – painted cars always make me nervous – I’m not used to it!
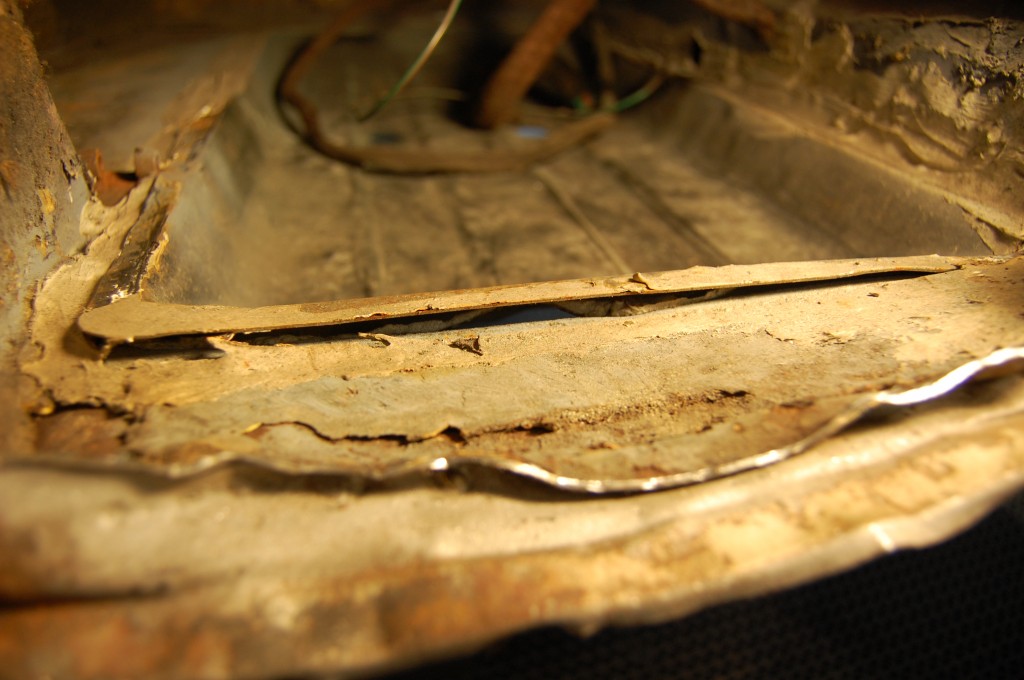
- Then the REAL nightmare started! Here is a shot of the “new floors”!!!
- Here is the “repair” done to the lower portion of the inner sills – I feel like every one of these photos needs a disclaimer “NOT MM WORK!!!” This is just bad…
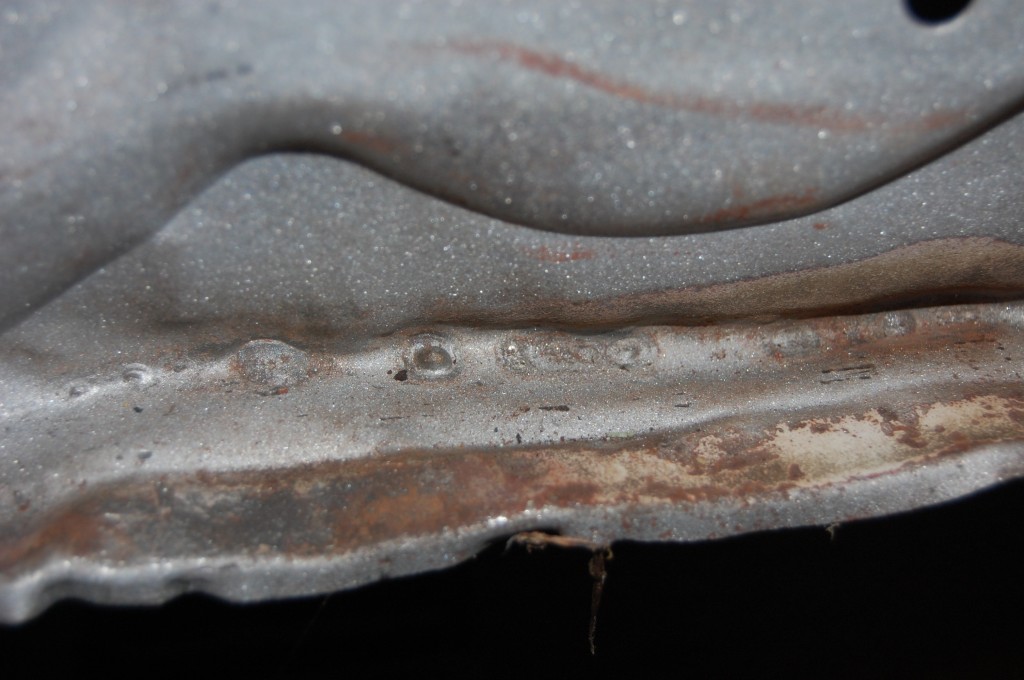
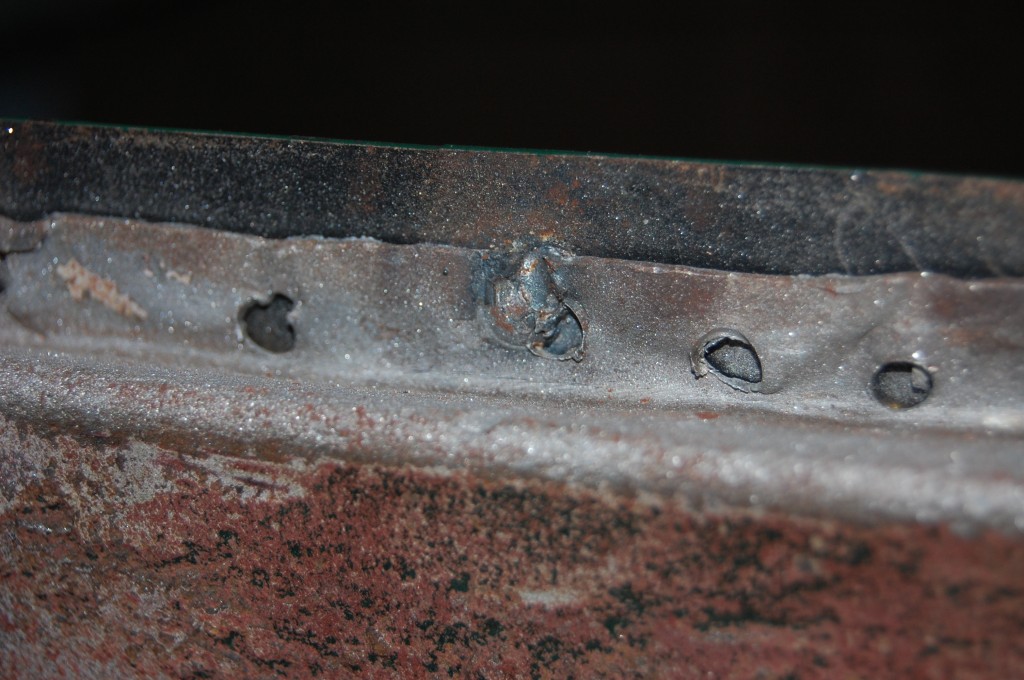
- PLEASE make it stop!!! The LH footwell has NO welding for the forward 12 inches – you know, the part that’s hard to reach… This is actually a new footwell, lightly MIG welded in spots, and then CAKED with bathtub caulk. And that is over ANOTHER new footwell put in years ago, and cut out, but the flange was left, so this latest footwell is HALF AN INCH above the floor line in the front! LOOK AT THE CAULK ON THE INNER SILL – AAAAGGGGHHHHHH!!!!!!!
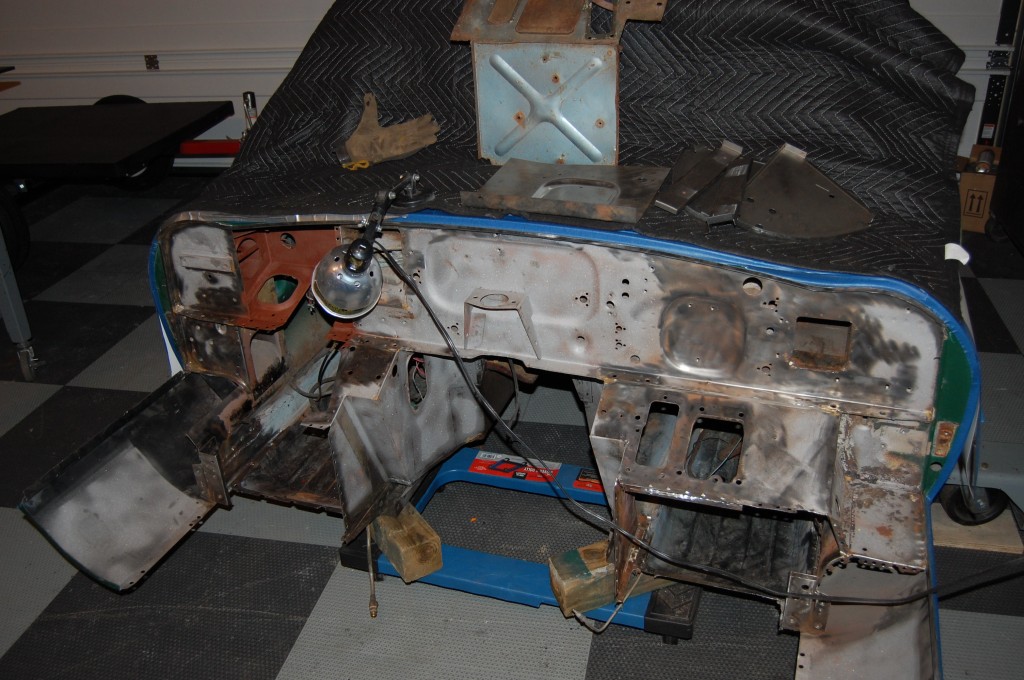
- So enough of that, let’s look at what we did to get her back into shape…. The dissection is complete, and we’ve hit everything we can with red oxide just for good measure.
- Here’s an overall shot…
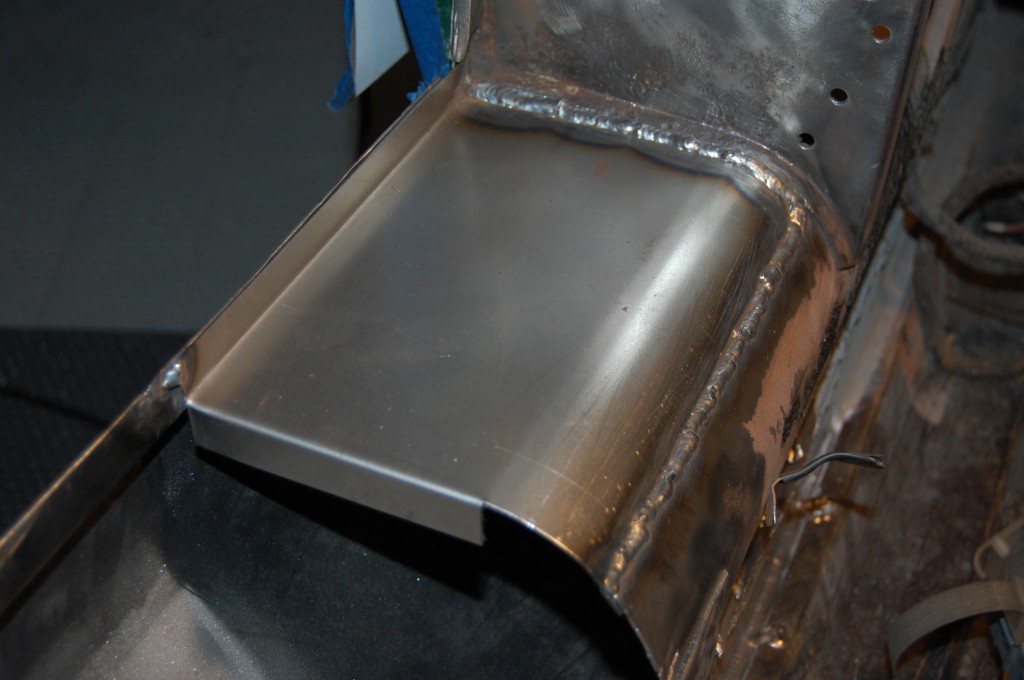
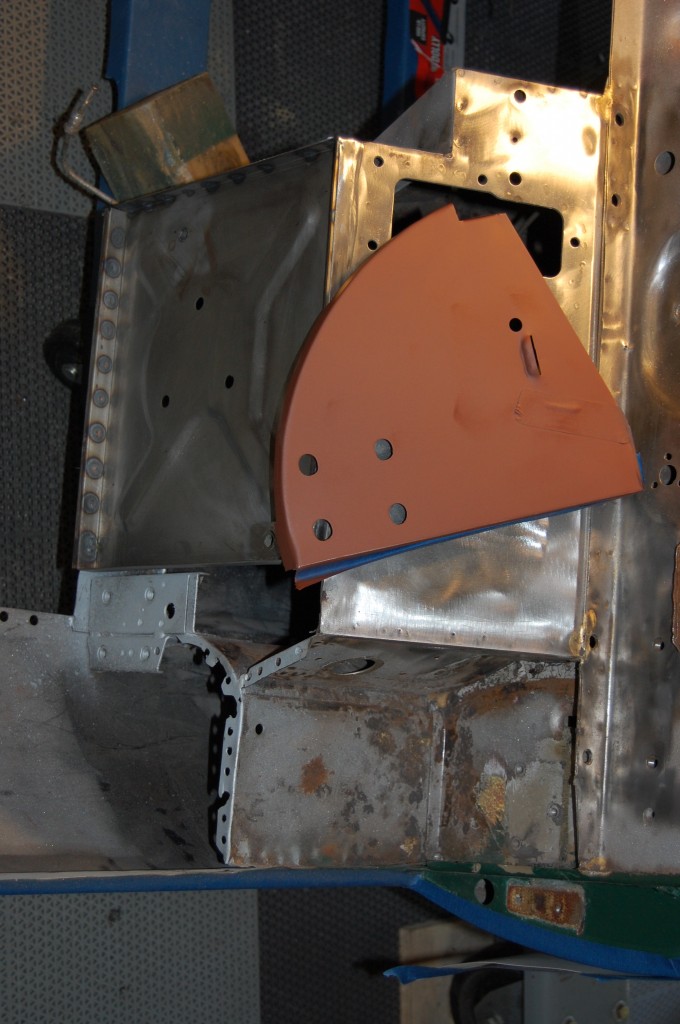
- This is the piece we made to patch the inner sill in the data plate area. Water had sat there and rusted it badly, but the rest of it was very solid, so I don’t feel like this patch is trying to hide anything. IT’s a string piece of 18-gauge welded in solidly.
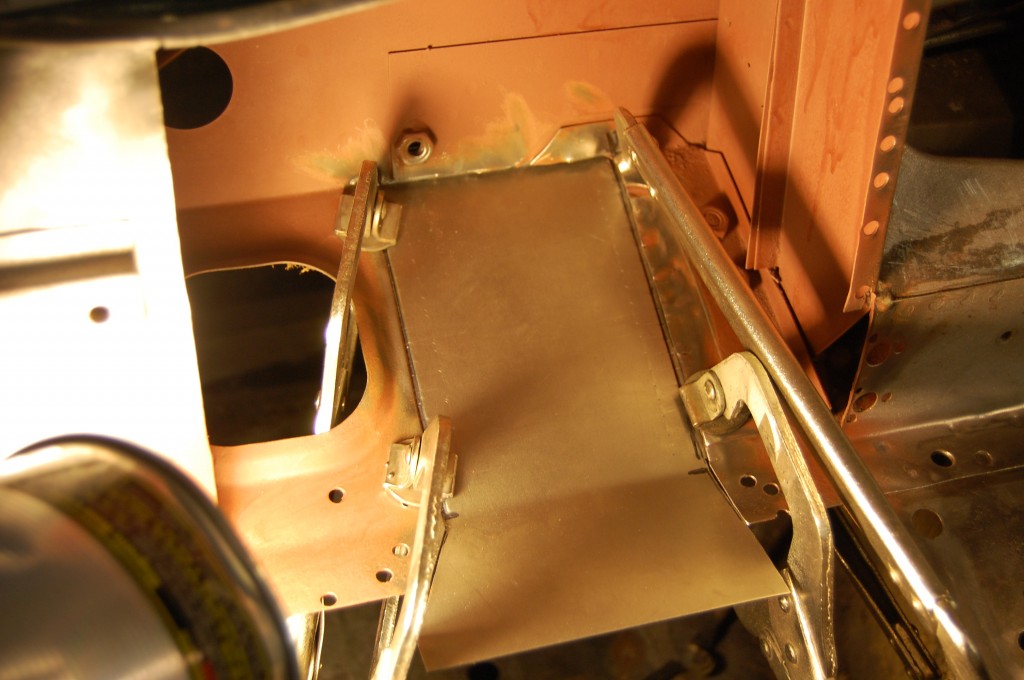
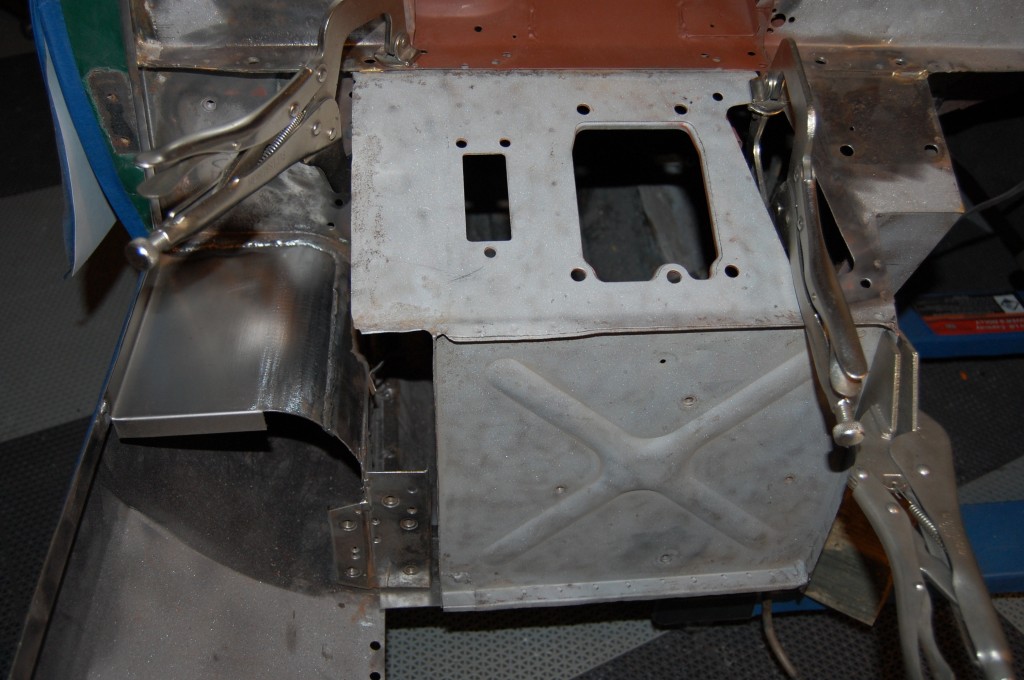
- Next we patched the cut in the lower cowl panel. This one was not super fancy because it’s completely hidden, but was very solid and airtight.
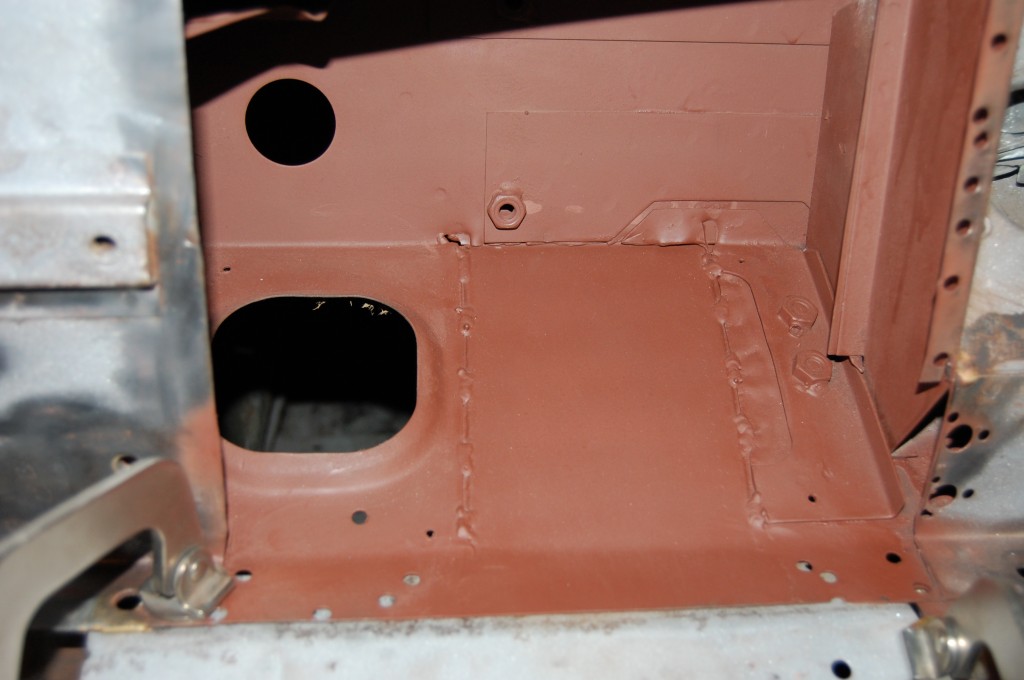
- Here’s that area completed and primed – yes, I skipped making the mounts for right-hand drive – it was just an unnecessary expense for a very hidden area, and this is a driver.
- This is a RHD pedal-box section we removed from a dead cowl – the X-panel was decent so we included that.
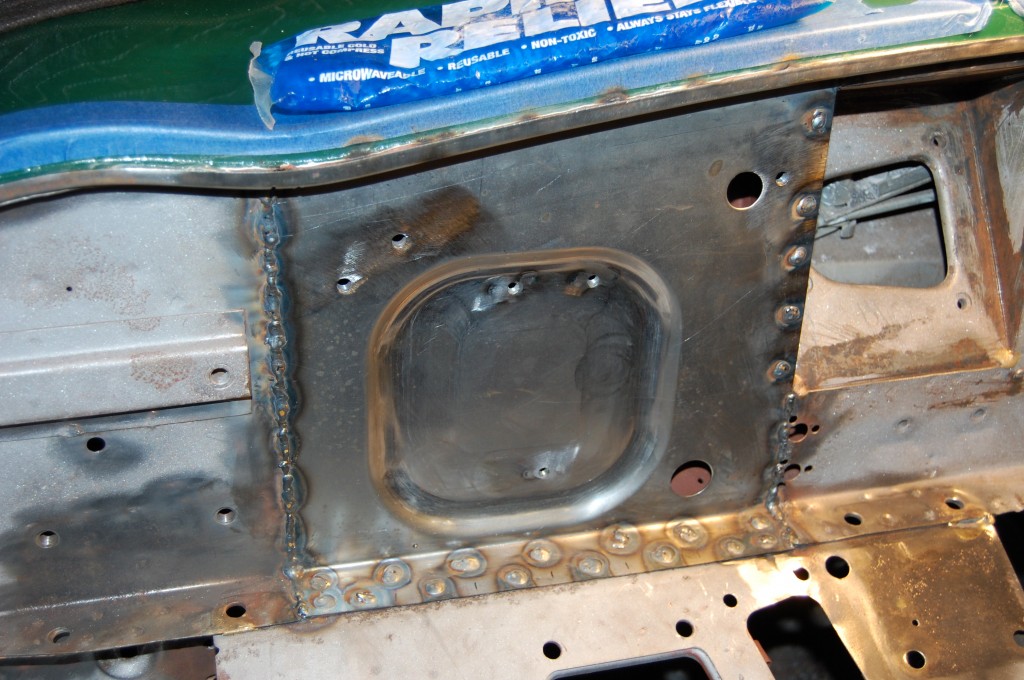
- Now we’re installing a Monocoque Metalworks specialty – the firewall patch. Earlier this year we patterned the E-Type firewall and tooled up for it, and we can make a patch for any sectiuon or the whole thing. Our firewall pieces are is perfect – it took four tries to get the tooling on that recess correct!
- Now we’re getting somewhere!
- Here’s an overhead shot showing the side panel we’ve made for the data plate area.
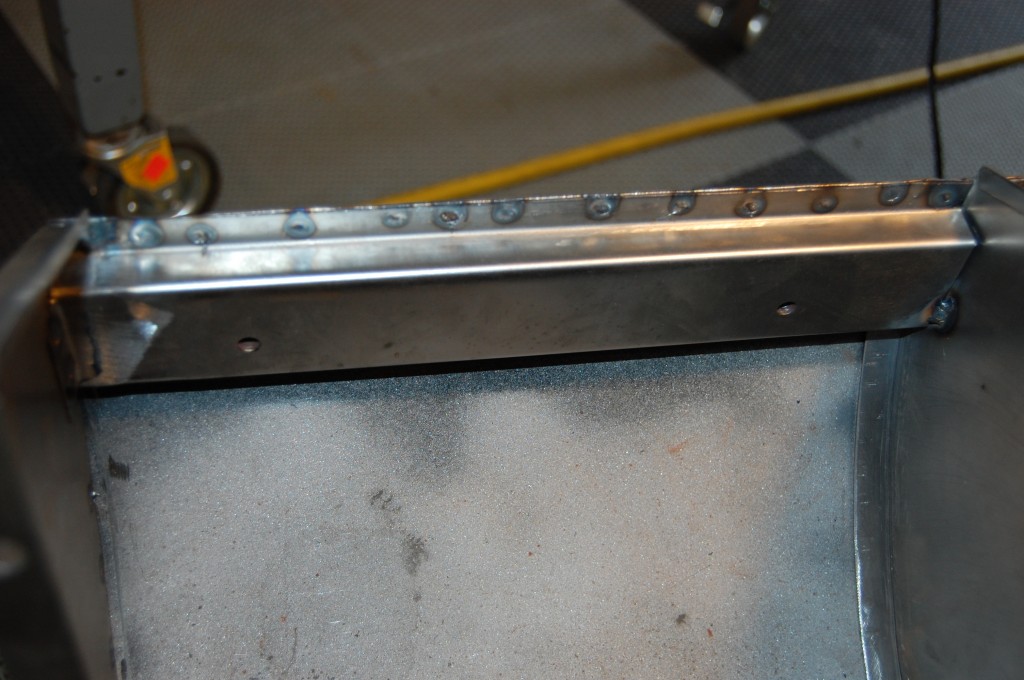
- THAT’S how you attache these brackets – not the mess shown in the photos above!
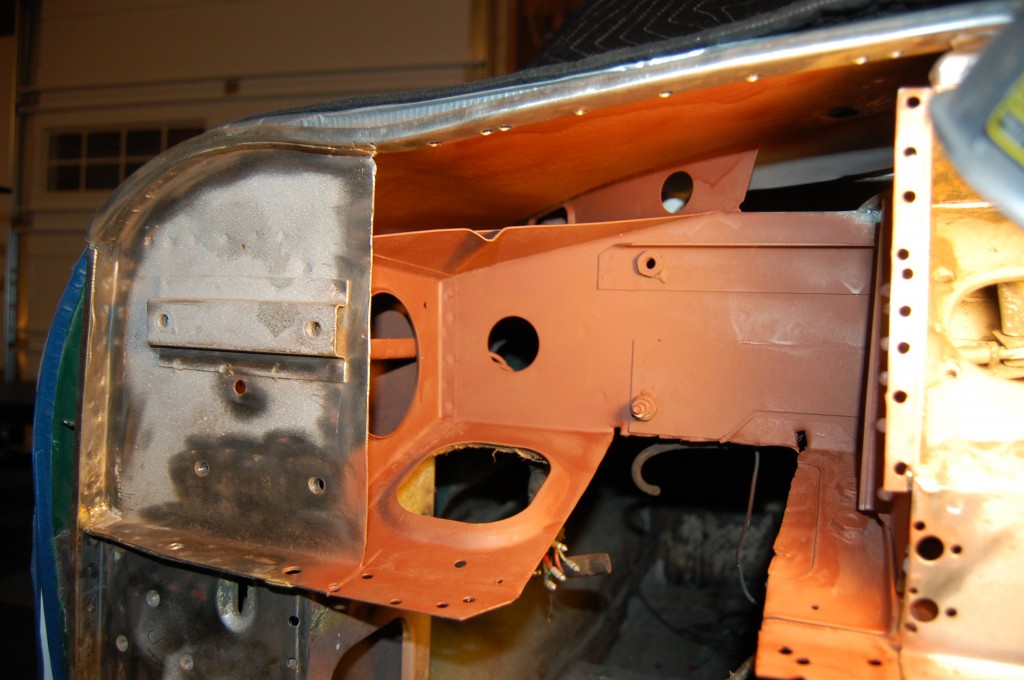
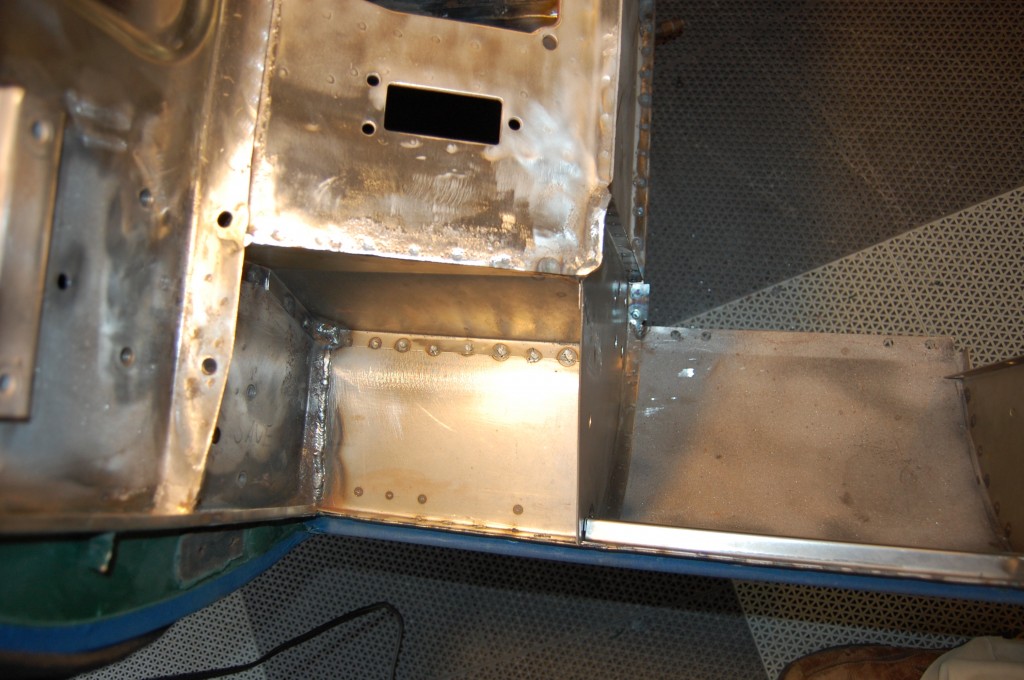
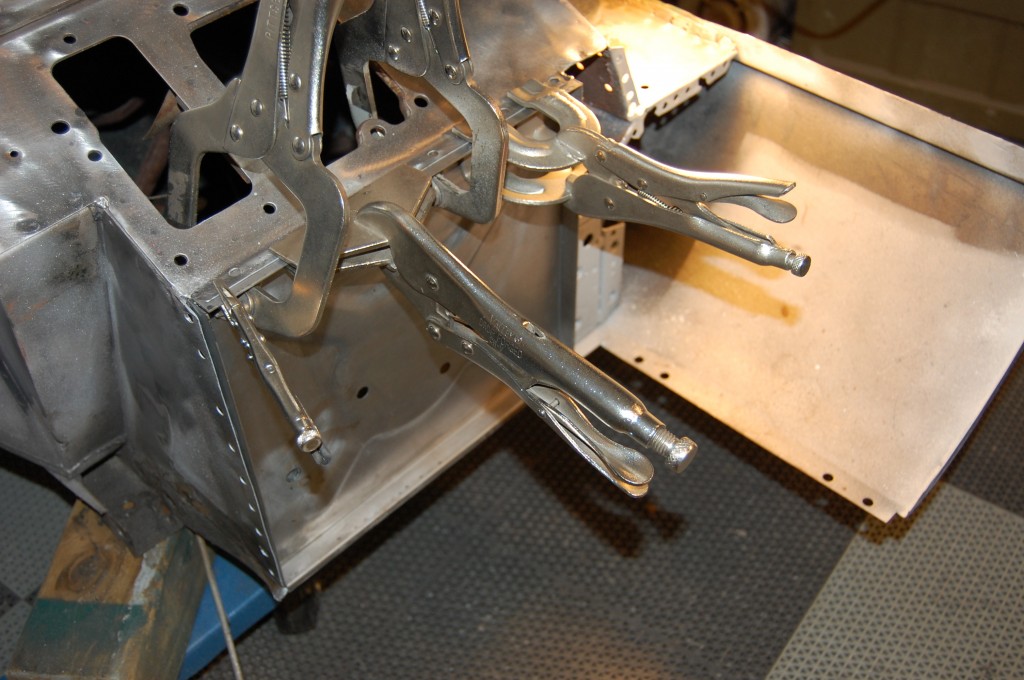
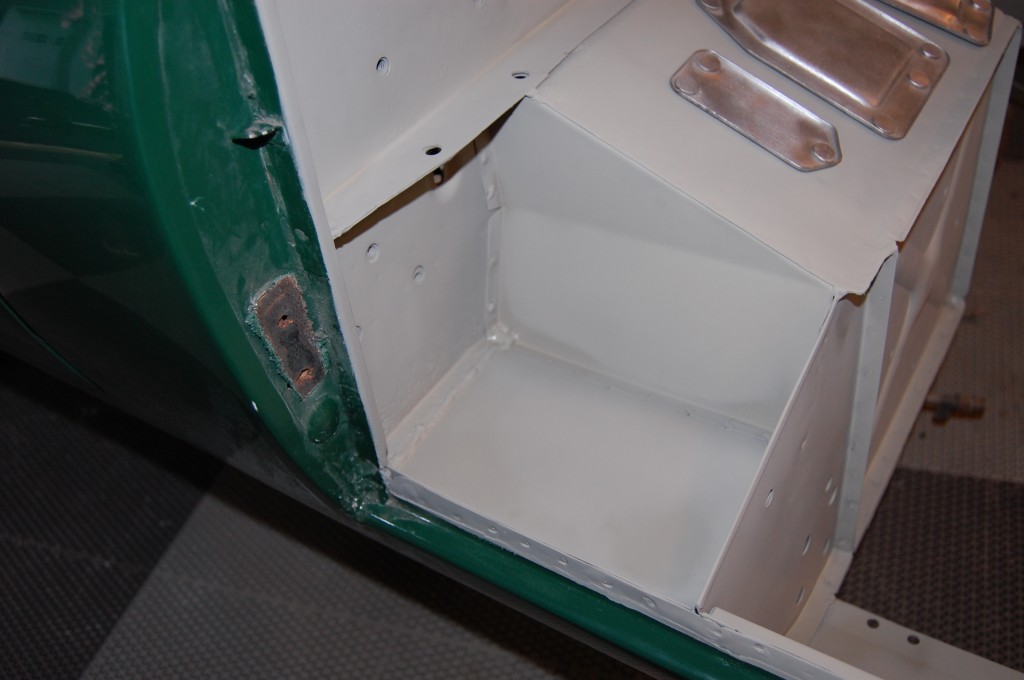
- Over to the driver’s side – we replaced the bulkhead panel and the sill closing panel.
- Here’s a sill closing panel made in our fabrication shop – specifically for this car, and the exact curvature of its outer sills…
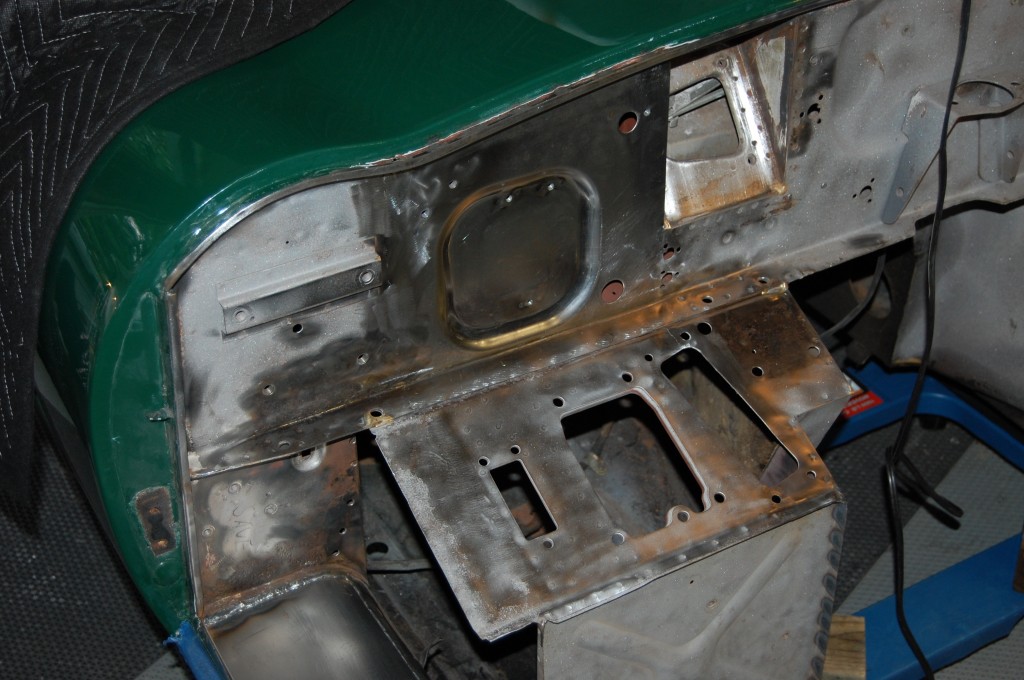
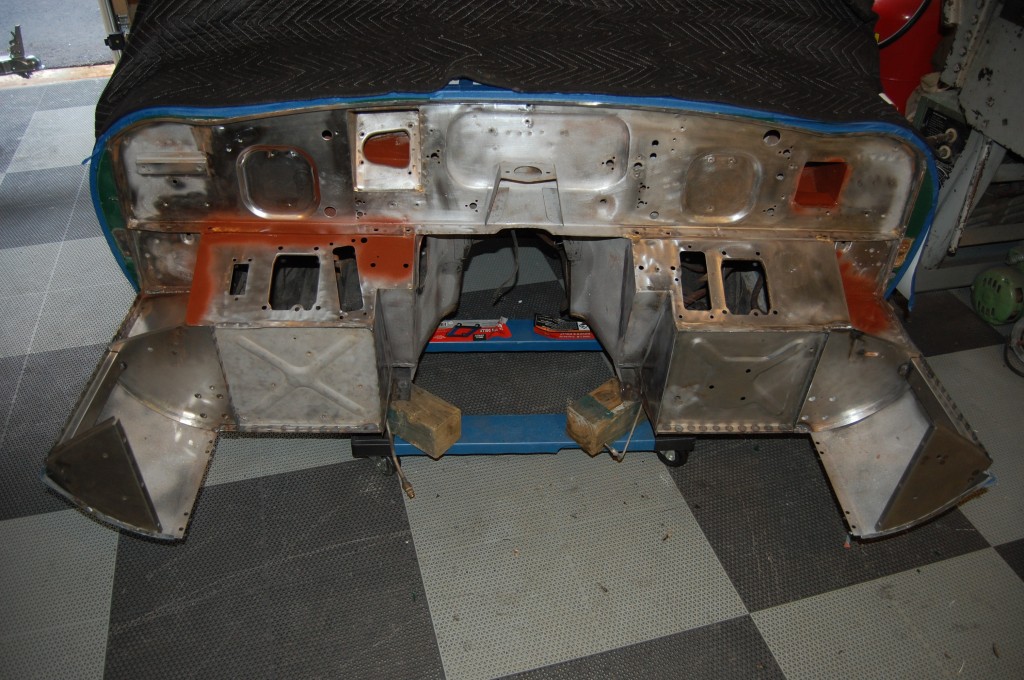
- Repairs are done and we’re ready to prime. We hit a couple areas with red oxide – these were used pieces that had some surface rust – we use red oxide on these areas even after they are blasted bare – it helps.
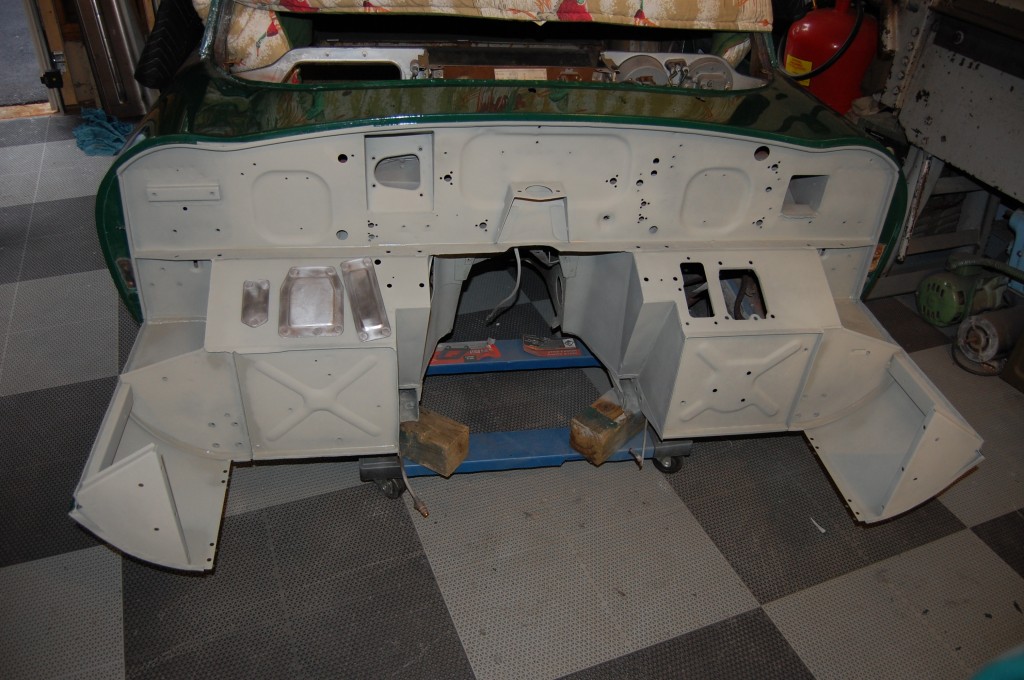
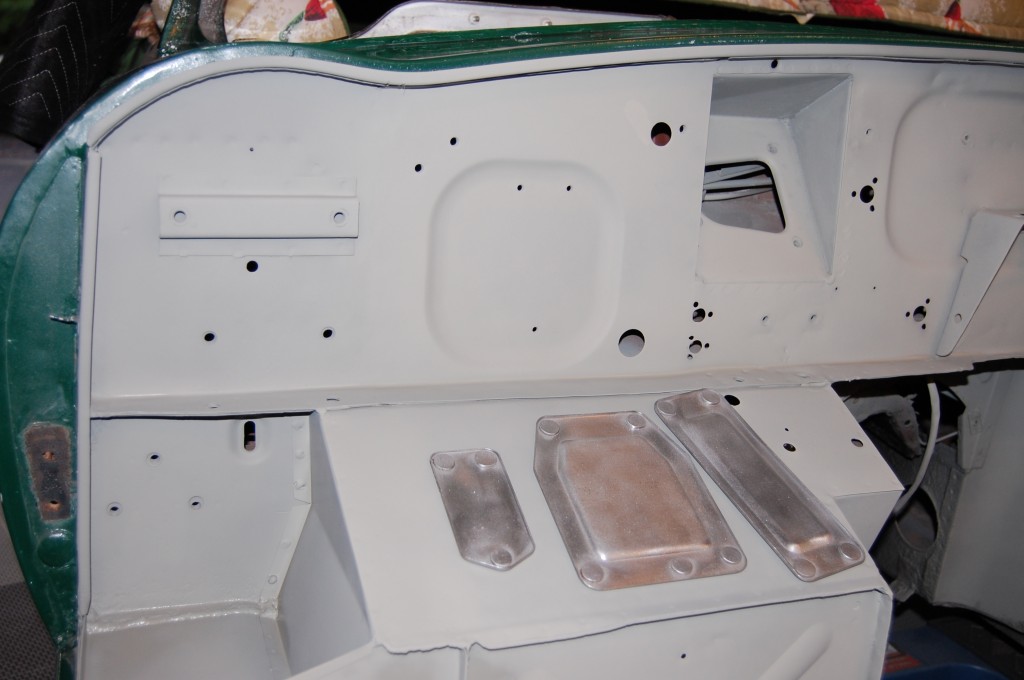
- Mission Accomplished!
- These are original blanking plates from our extensive stock of used E-Type panels.
- No more rust!
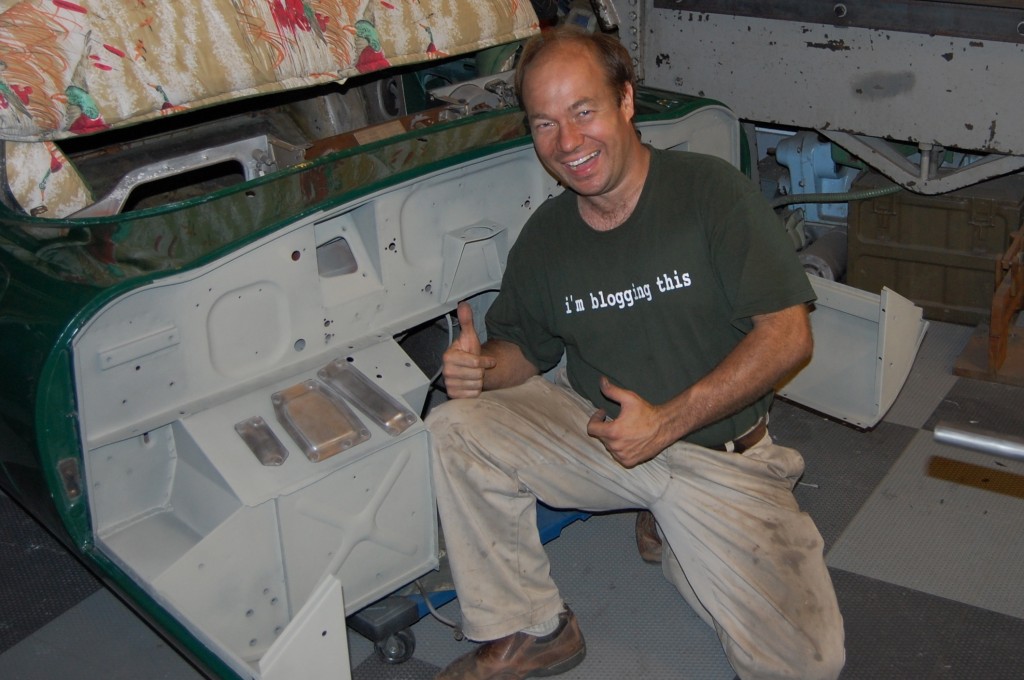
- I knew we could help this car, but I really had no idea we could get her all the way back! The firewall area of this coupe is now 100% perfect and concours quality. She’s off to our sister shop to be painted and assembled, and unlike the other hacks out there, these guys will treat this car right from here on out. Another E-Type rescued – and in case you didn’t notice, I was proud of this one! – AND I didn’t screw up the paint! 🙂
- Our sister shop does incredible work at very reasonable prices – contact us for more details if you need help with your restoration beyond the metalwork – we can get your car in the right hands!
- Several weeks have passed now, and I just got these photos from the other shop – this E-Type is back on track for a QUALITY restoration!

