We’ll back up a little and show you this project from start to finish – in the end, we replaced almost every panel in the LH rear quarter – and it came out GREAT – have a look!
-
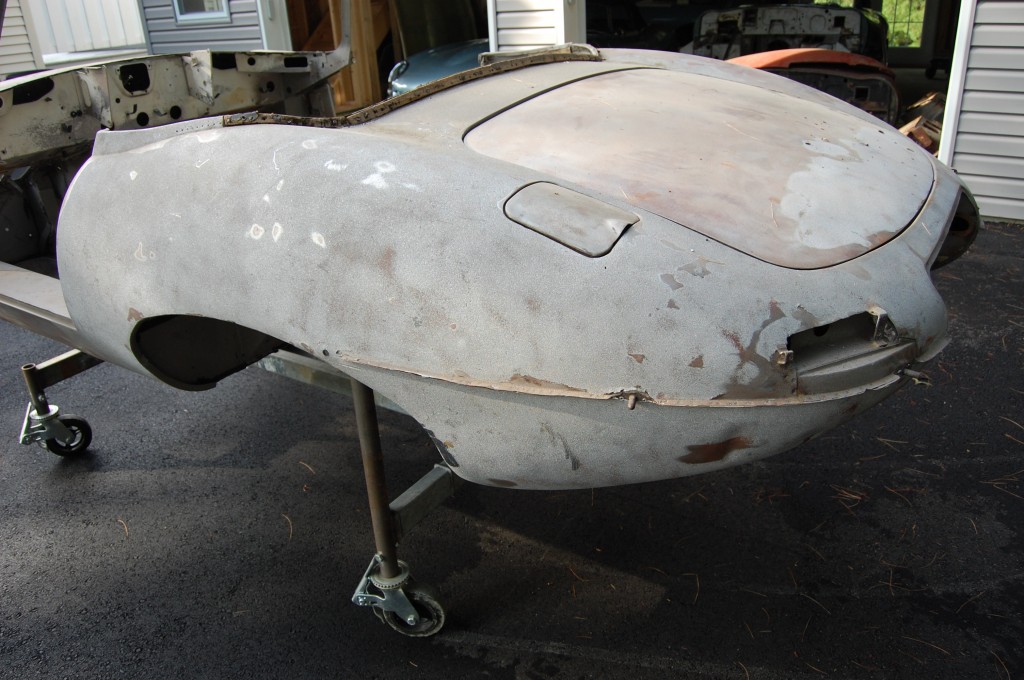
- Remember the starting point? Lead city…
-
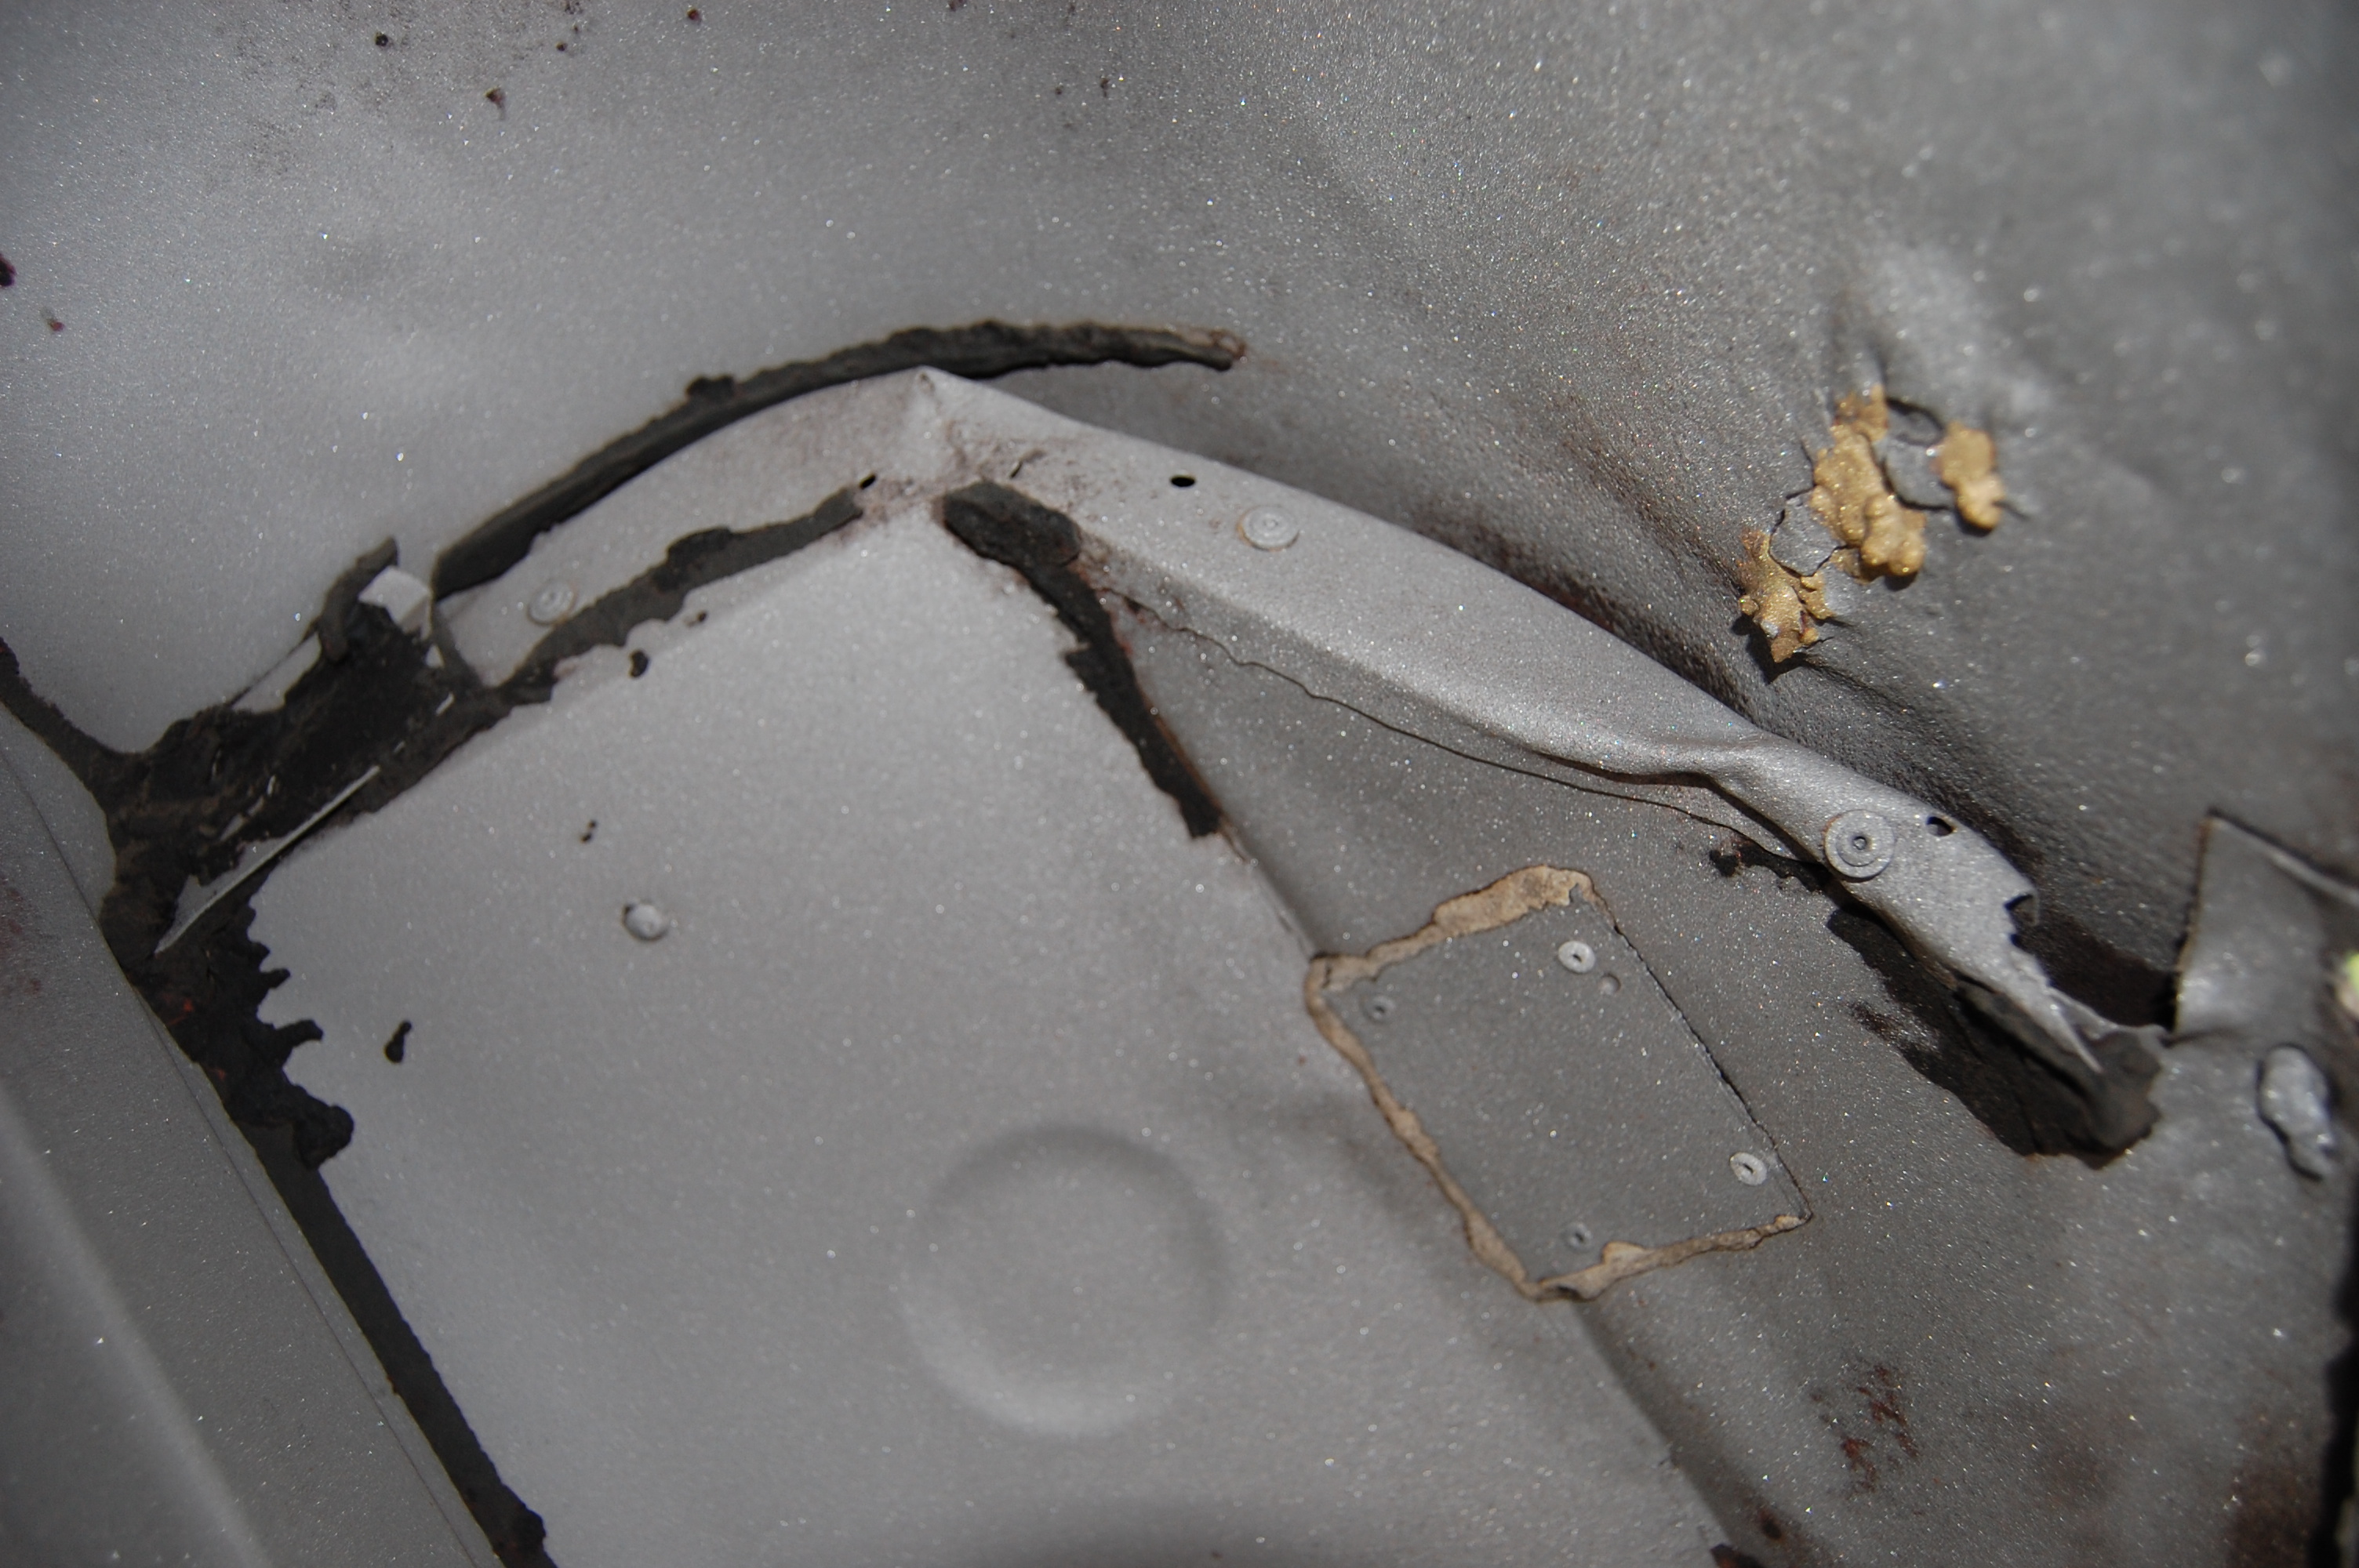
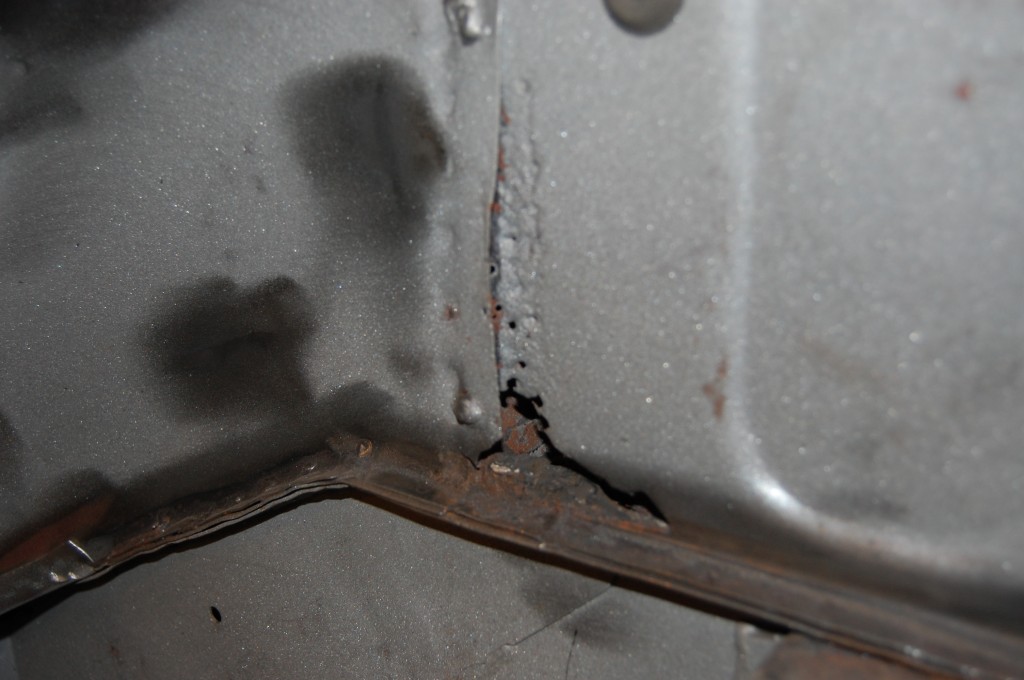
- This was a nice little treat down in the forward lower corner of the boot.
-
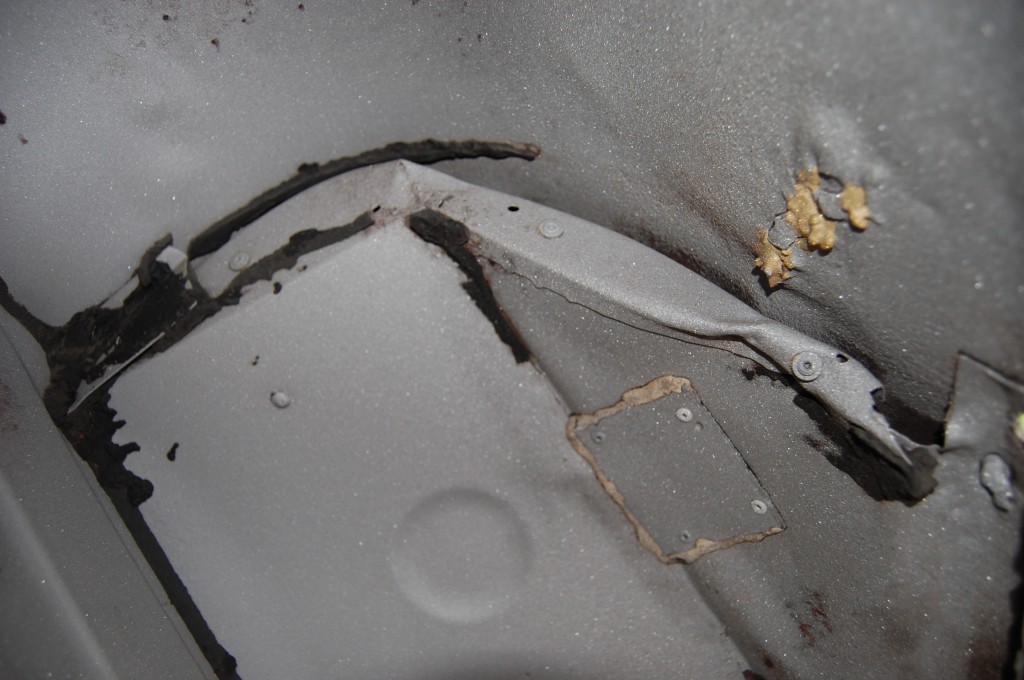
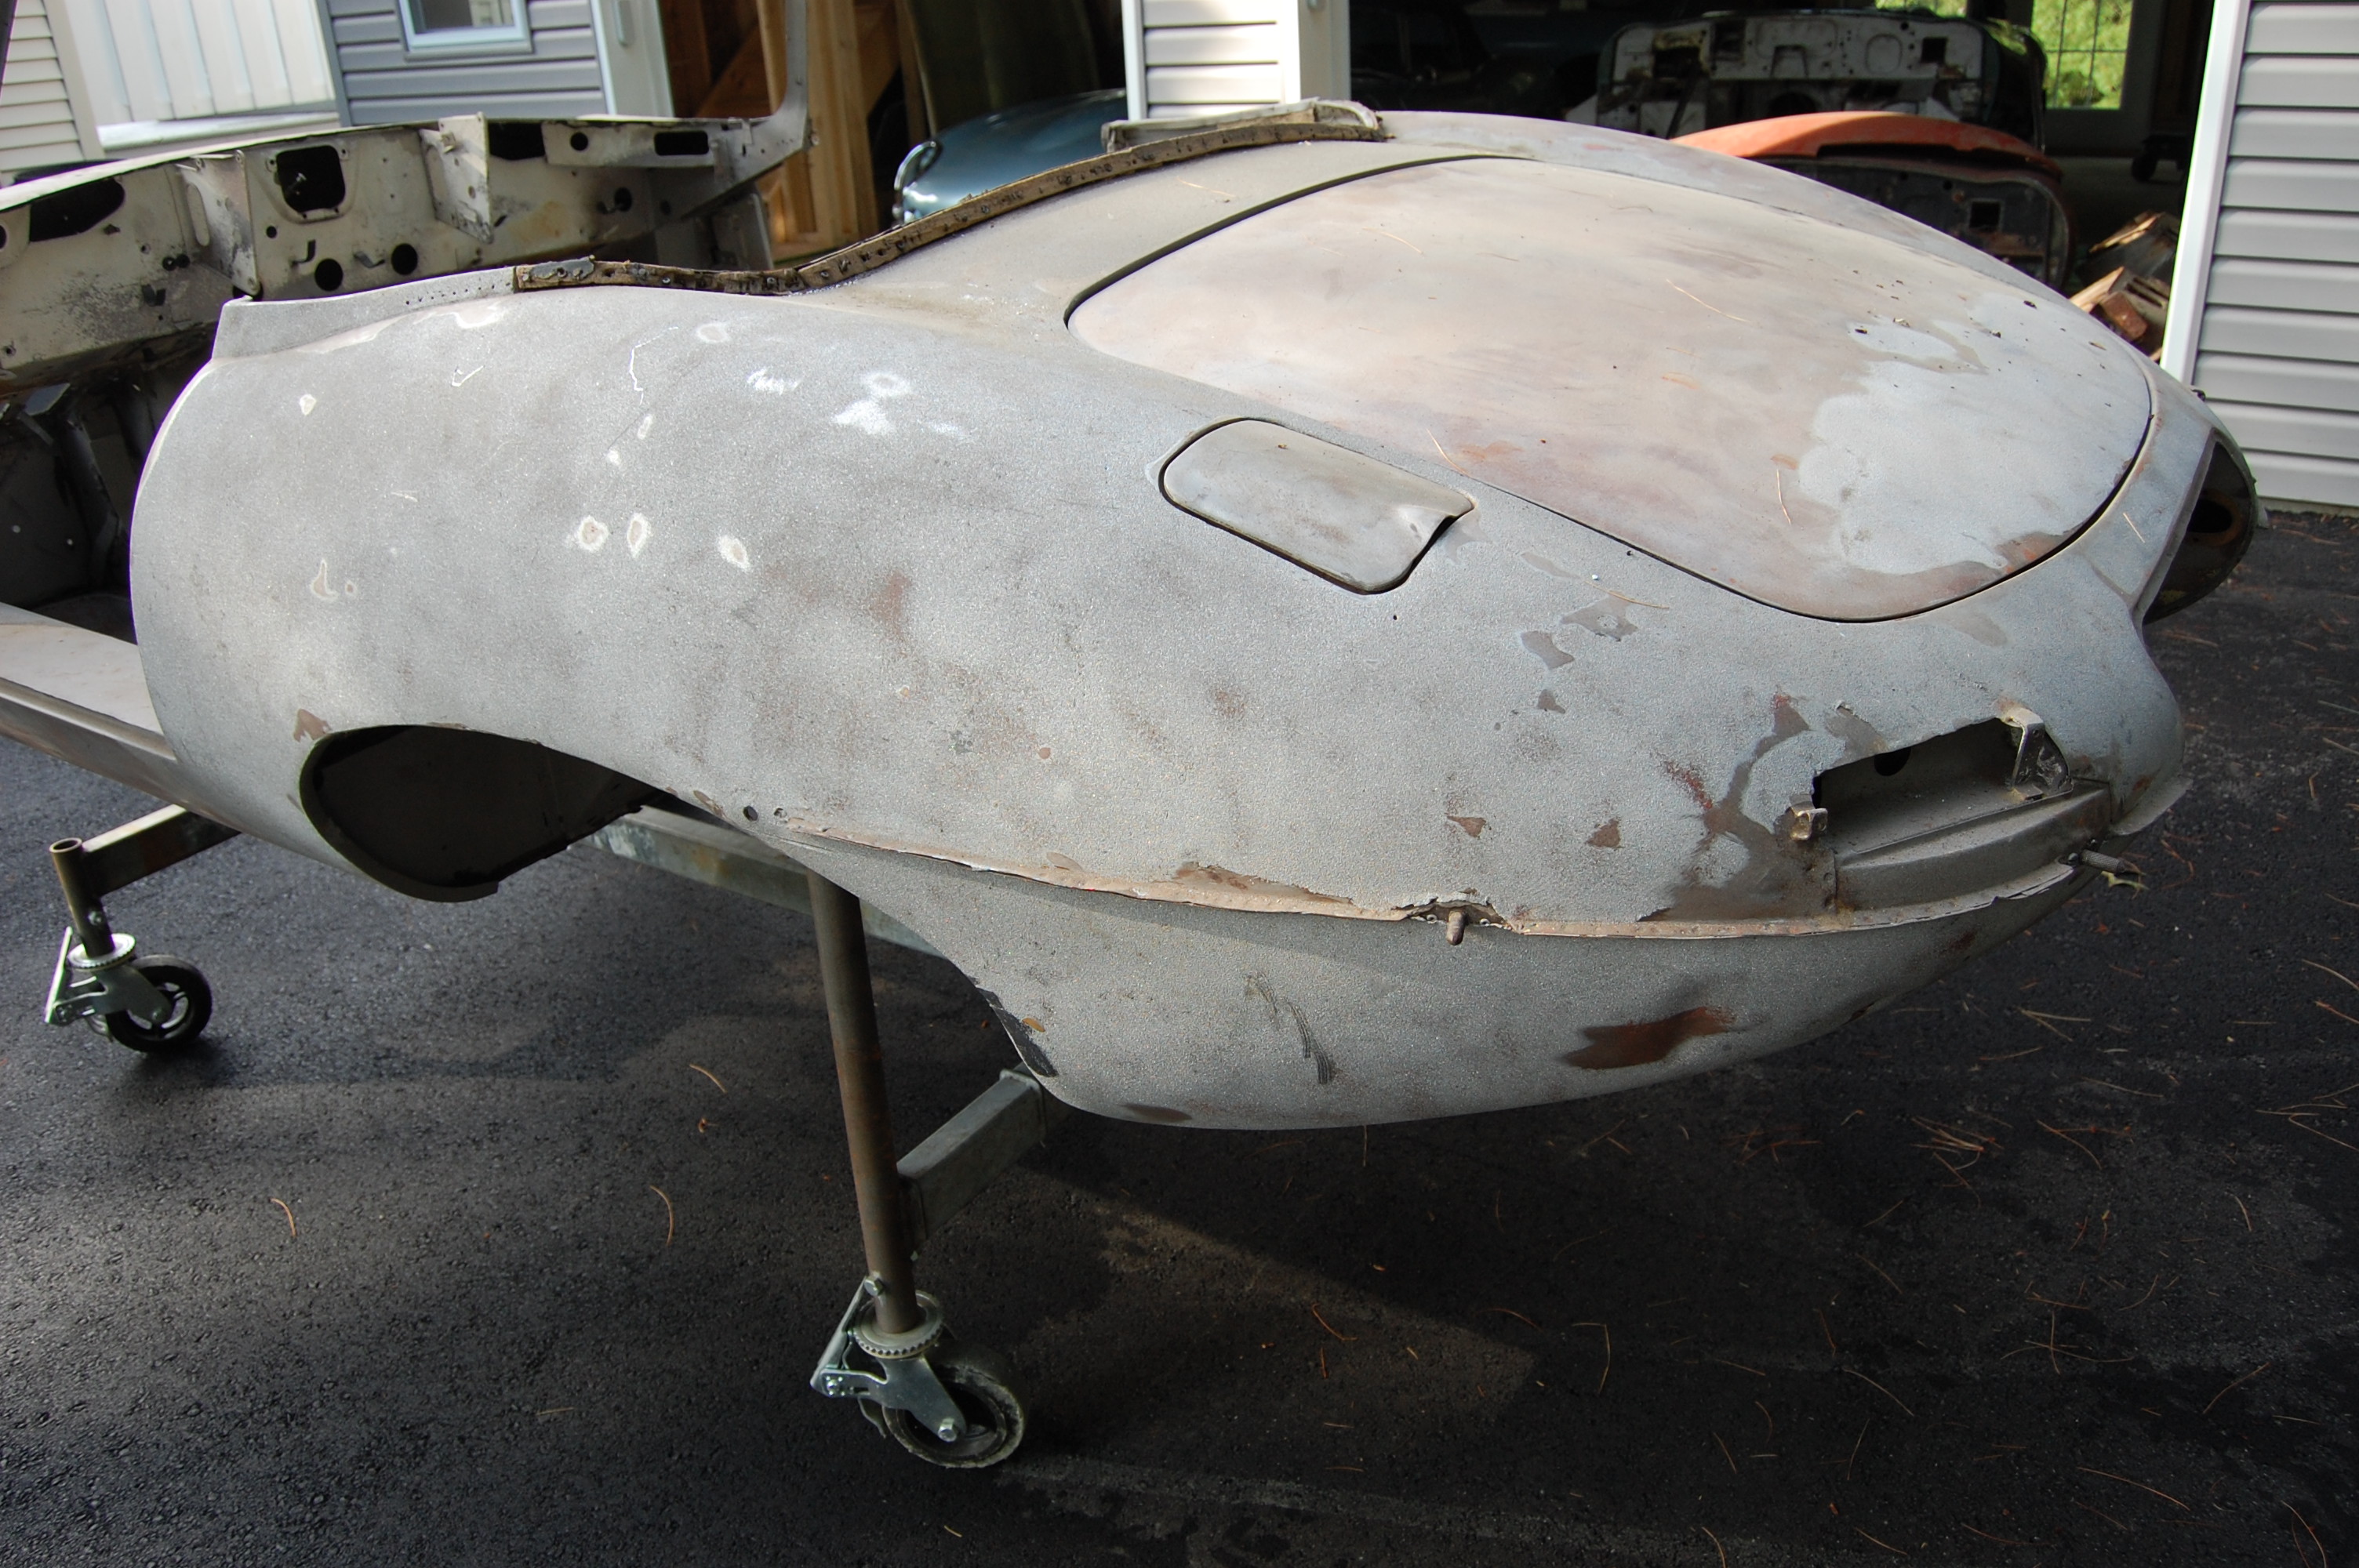
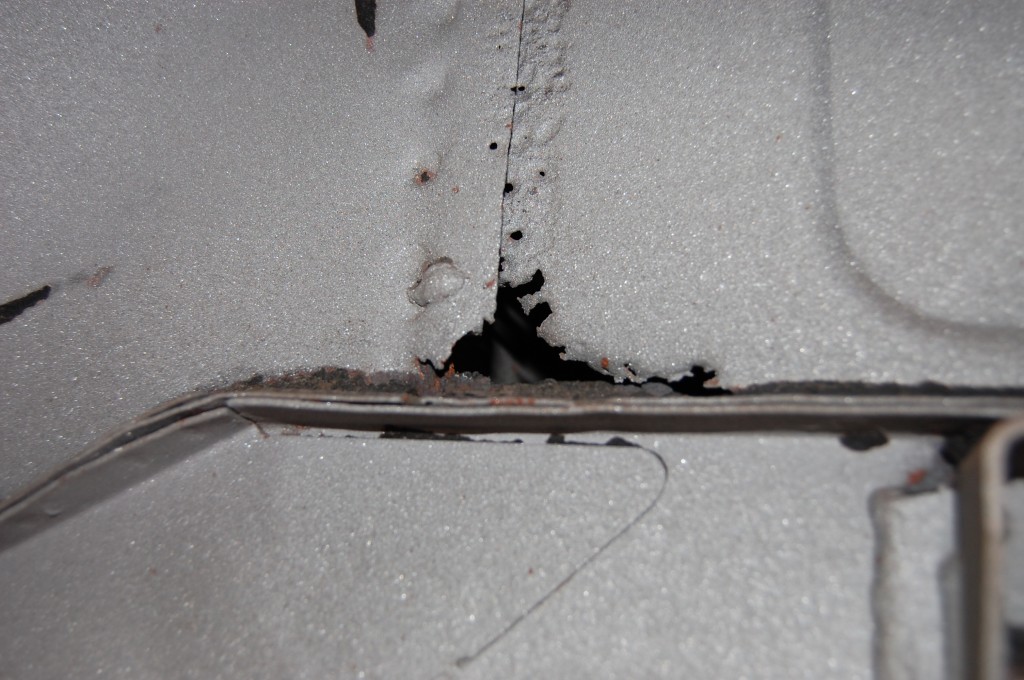
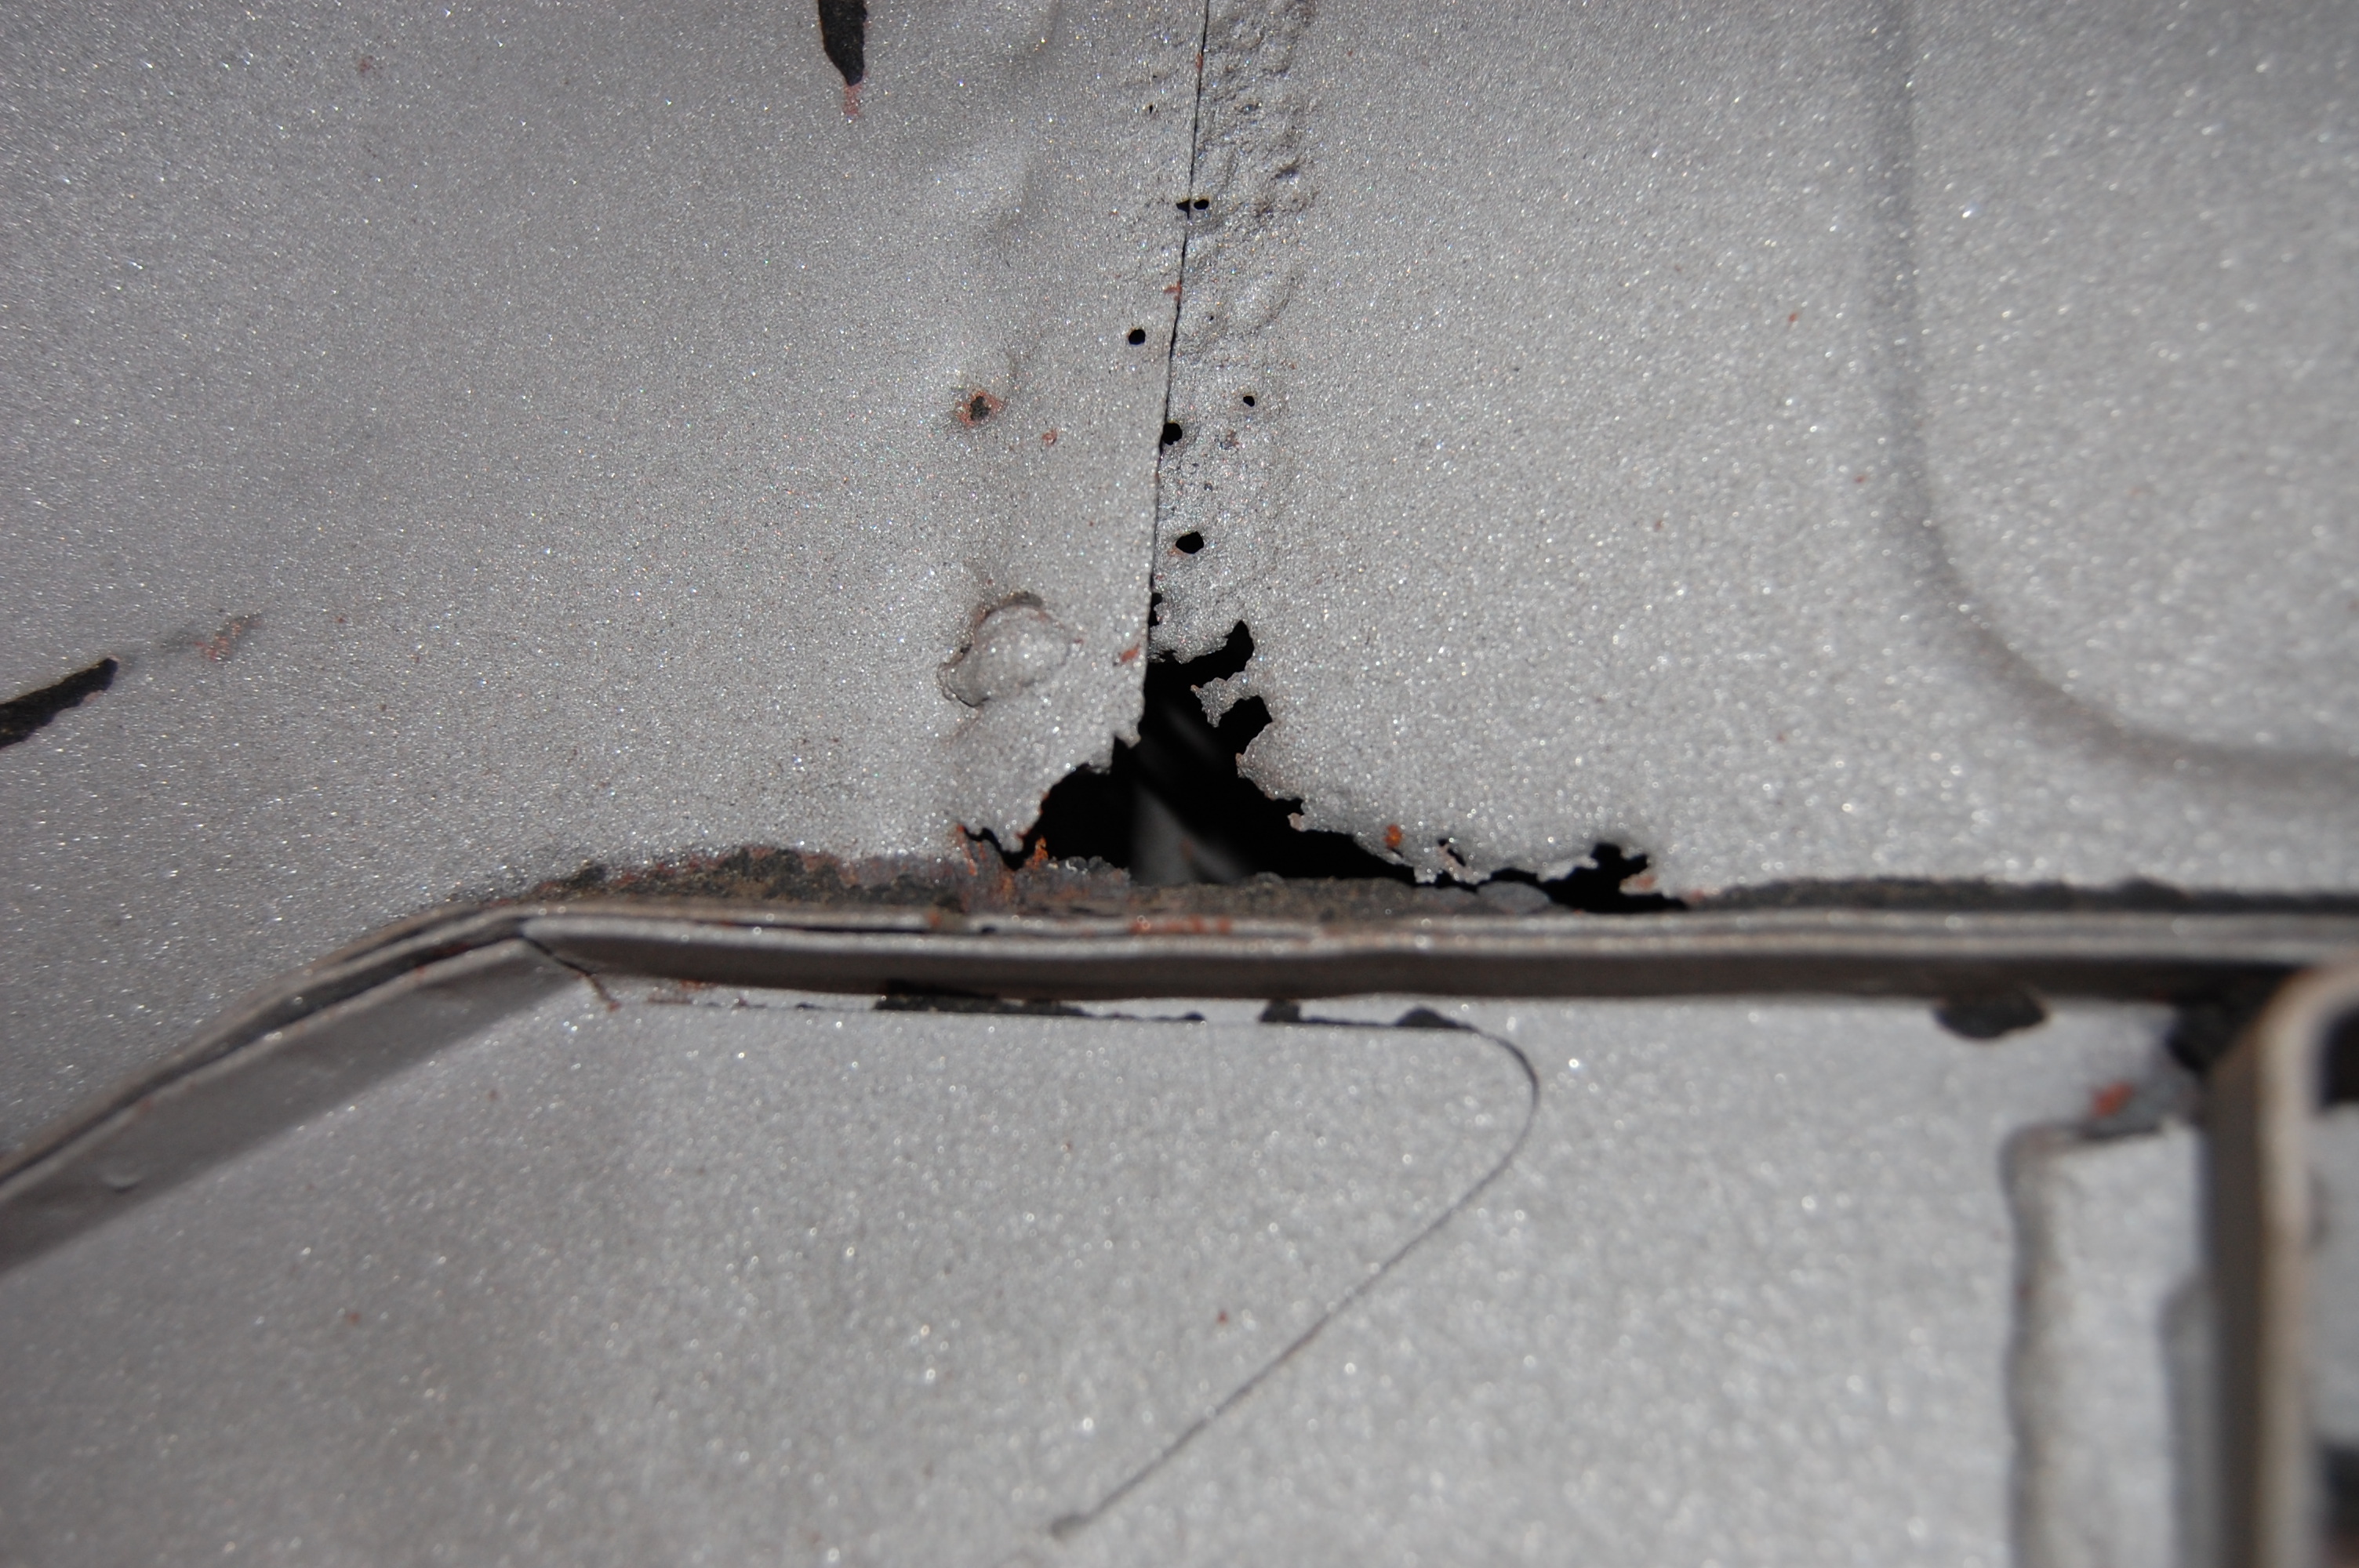
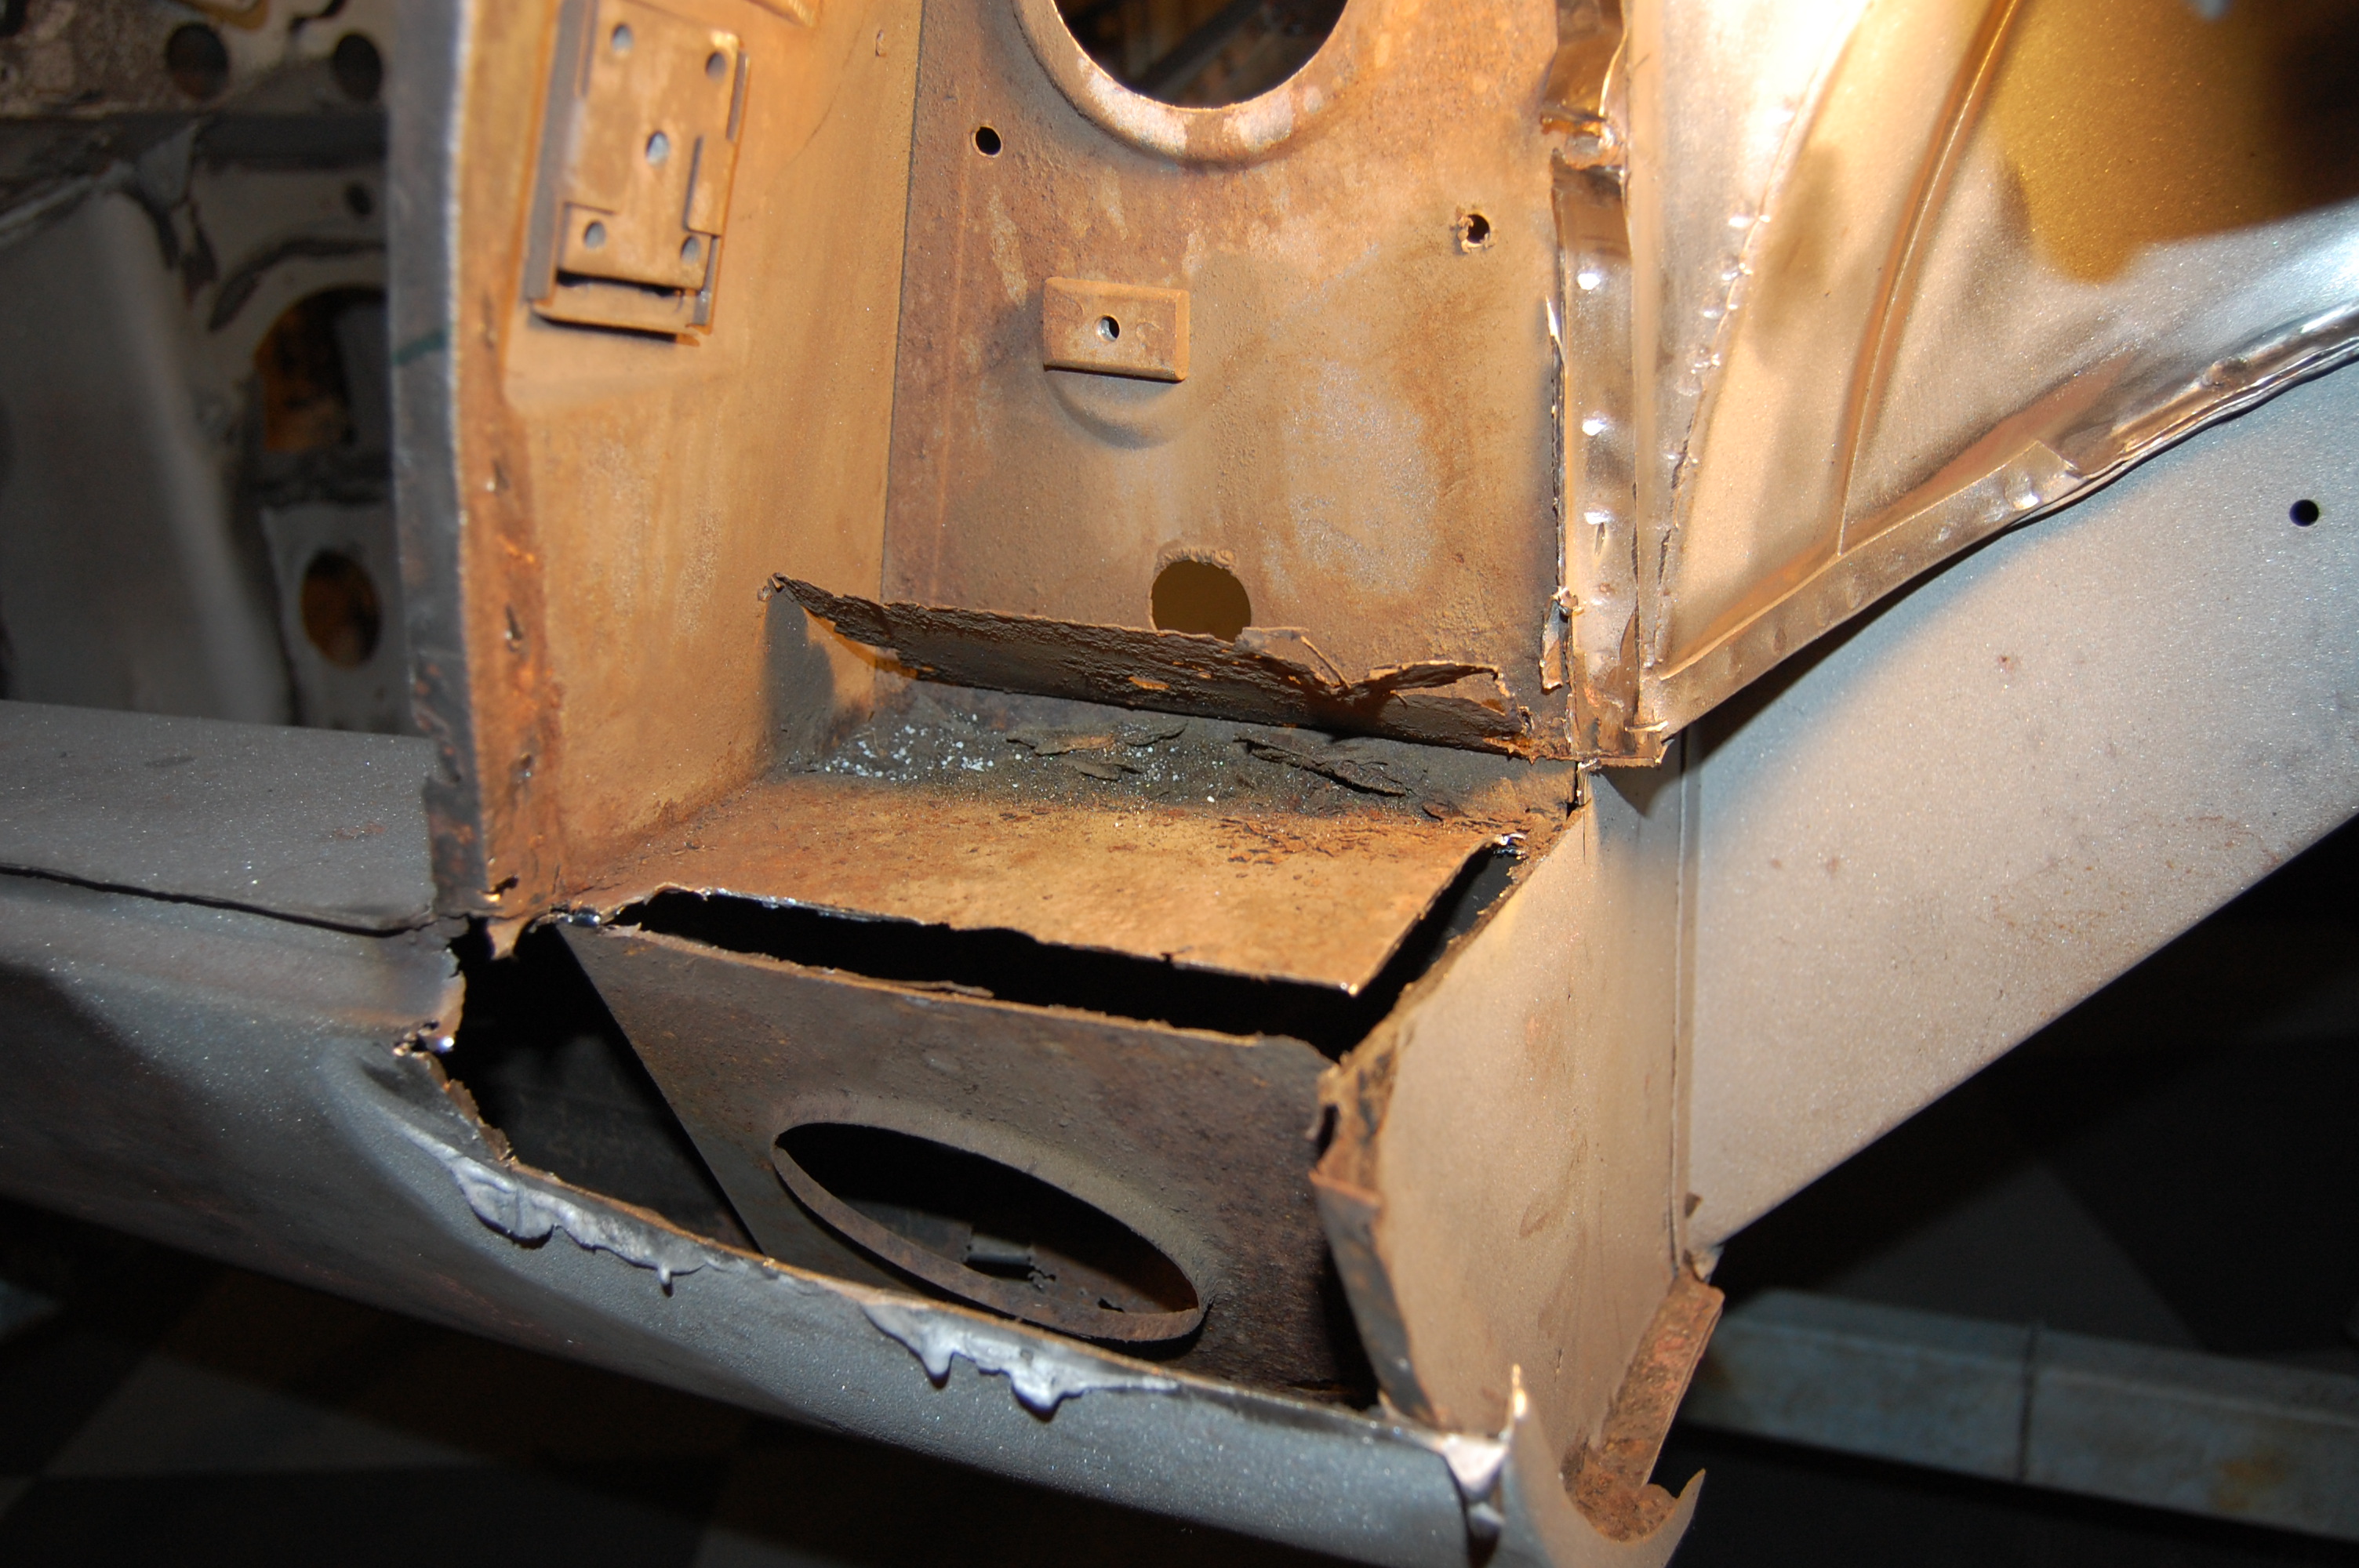
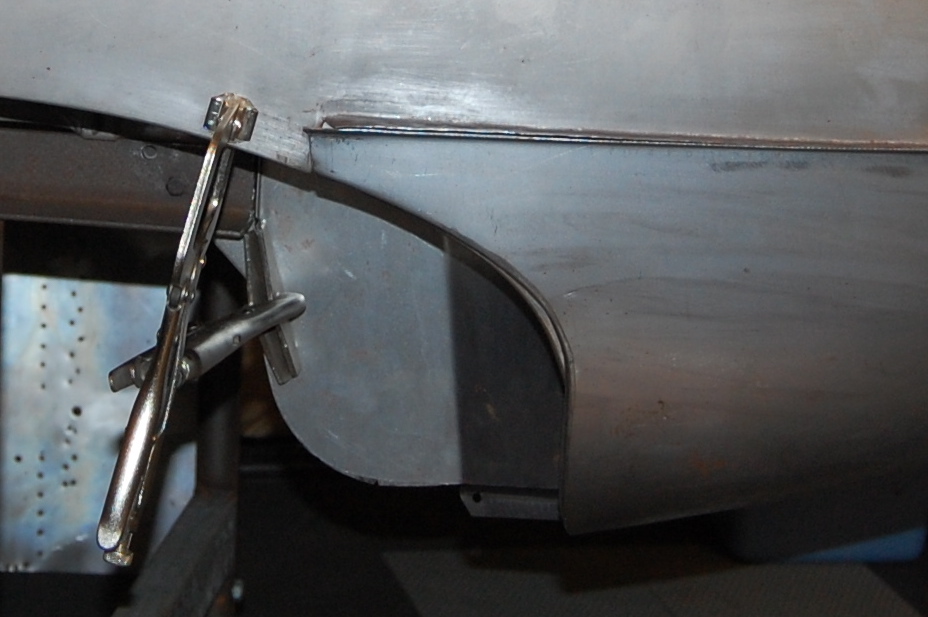
- We began to get an idea of the mess when the wing was still on the car, but had no idea how bad it really was! The little patch is hiding “the hole”…
-

- There’s part of the hole, and also a glimpse of how twisted to boot side panel was – though it was solid.
-
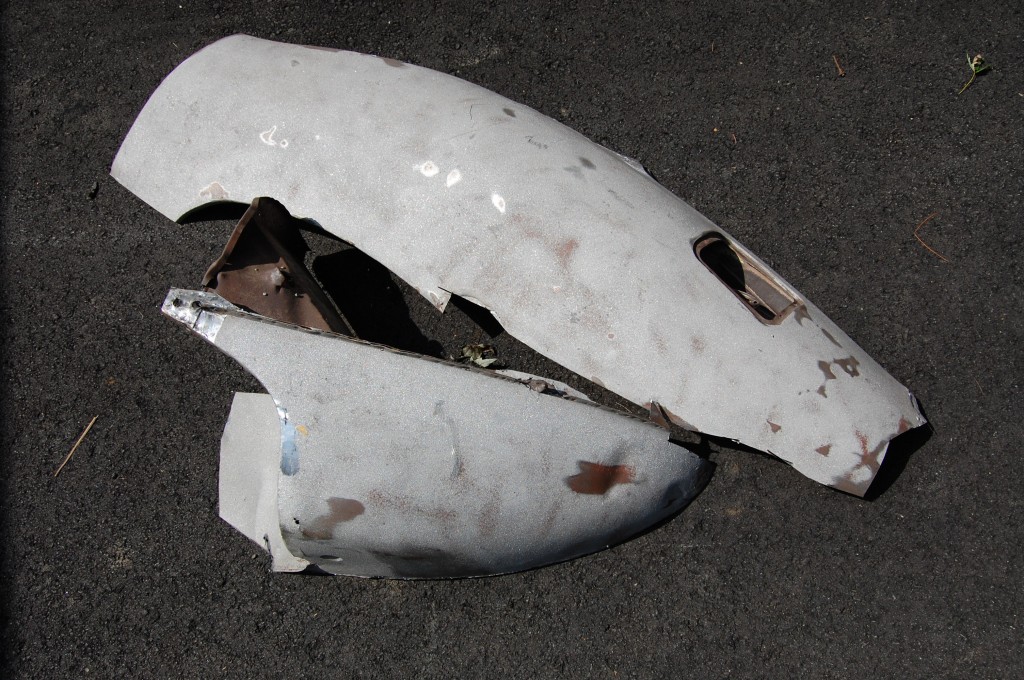
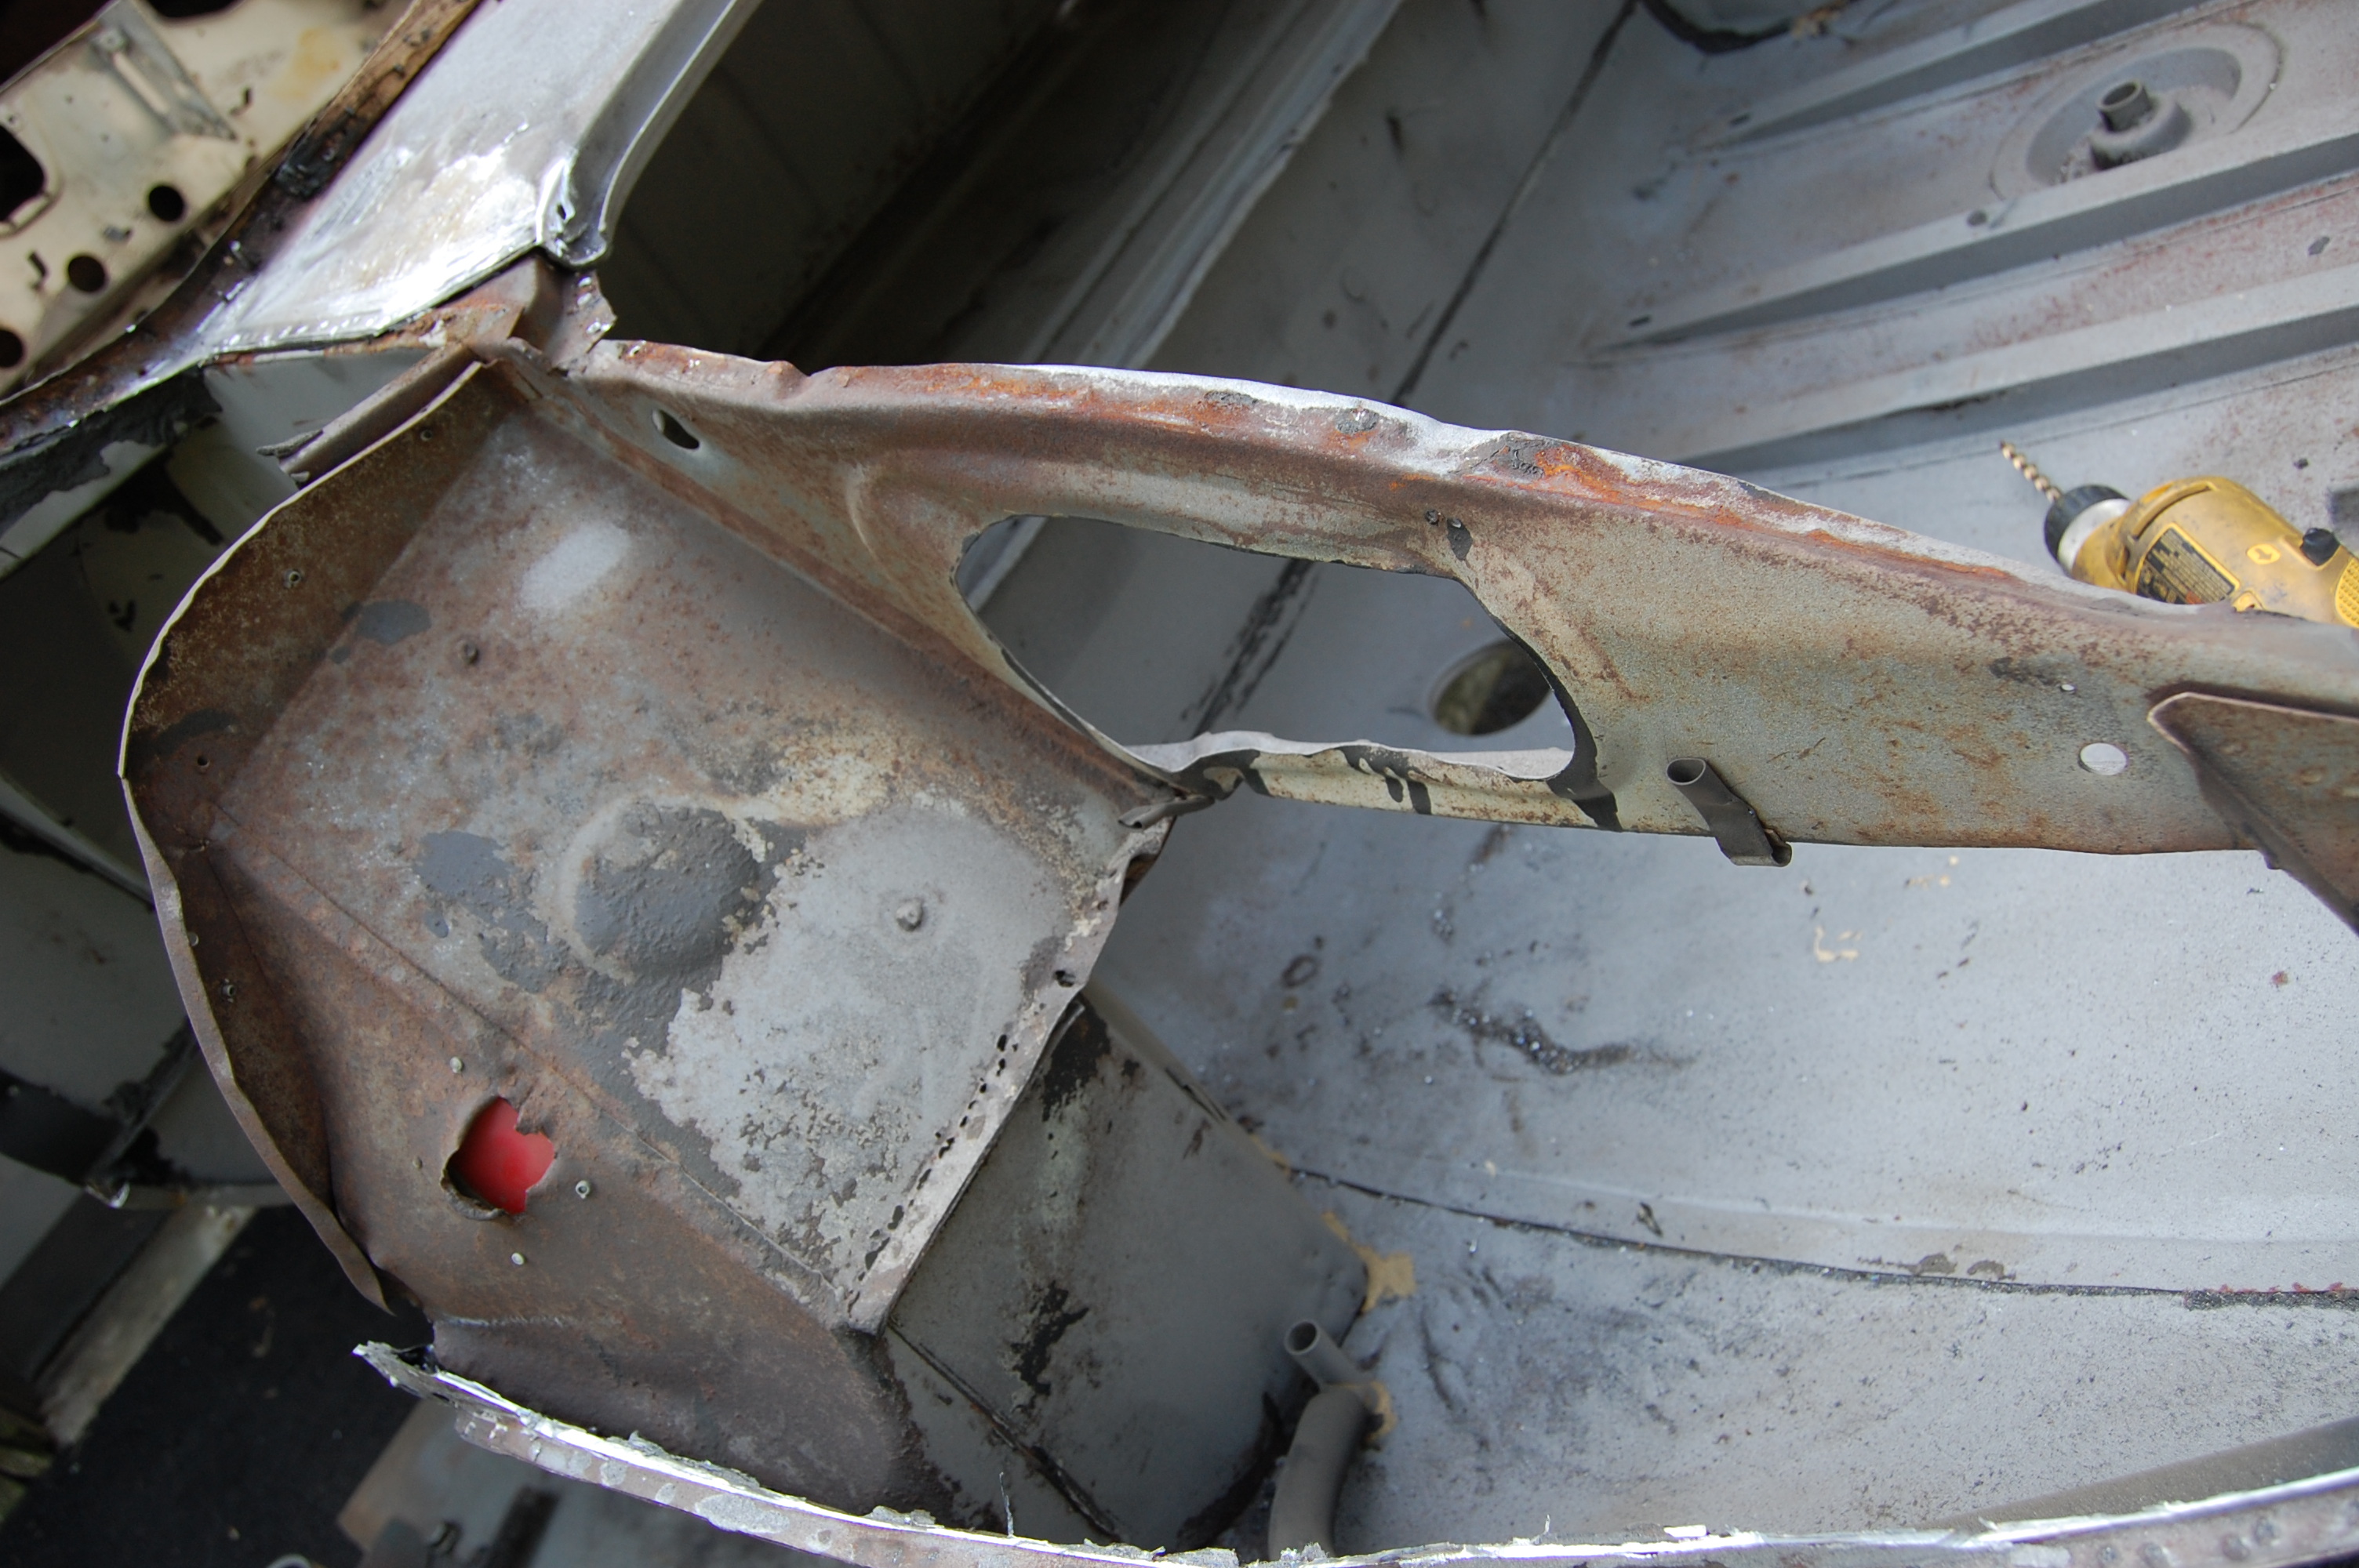
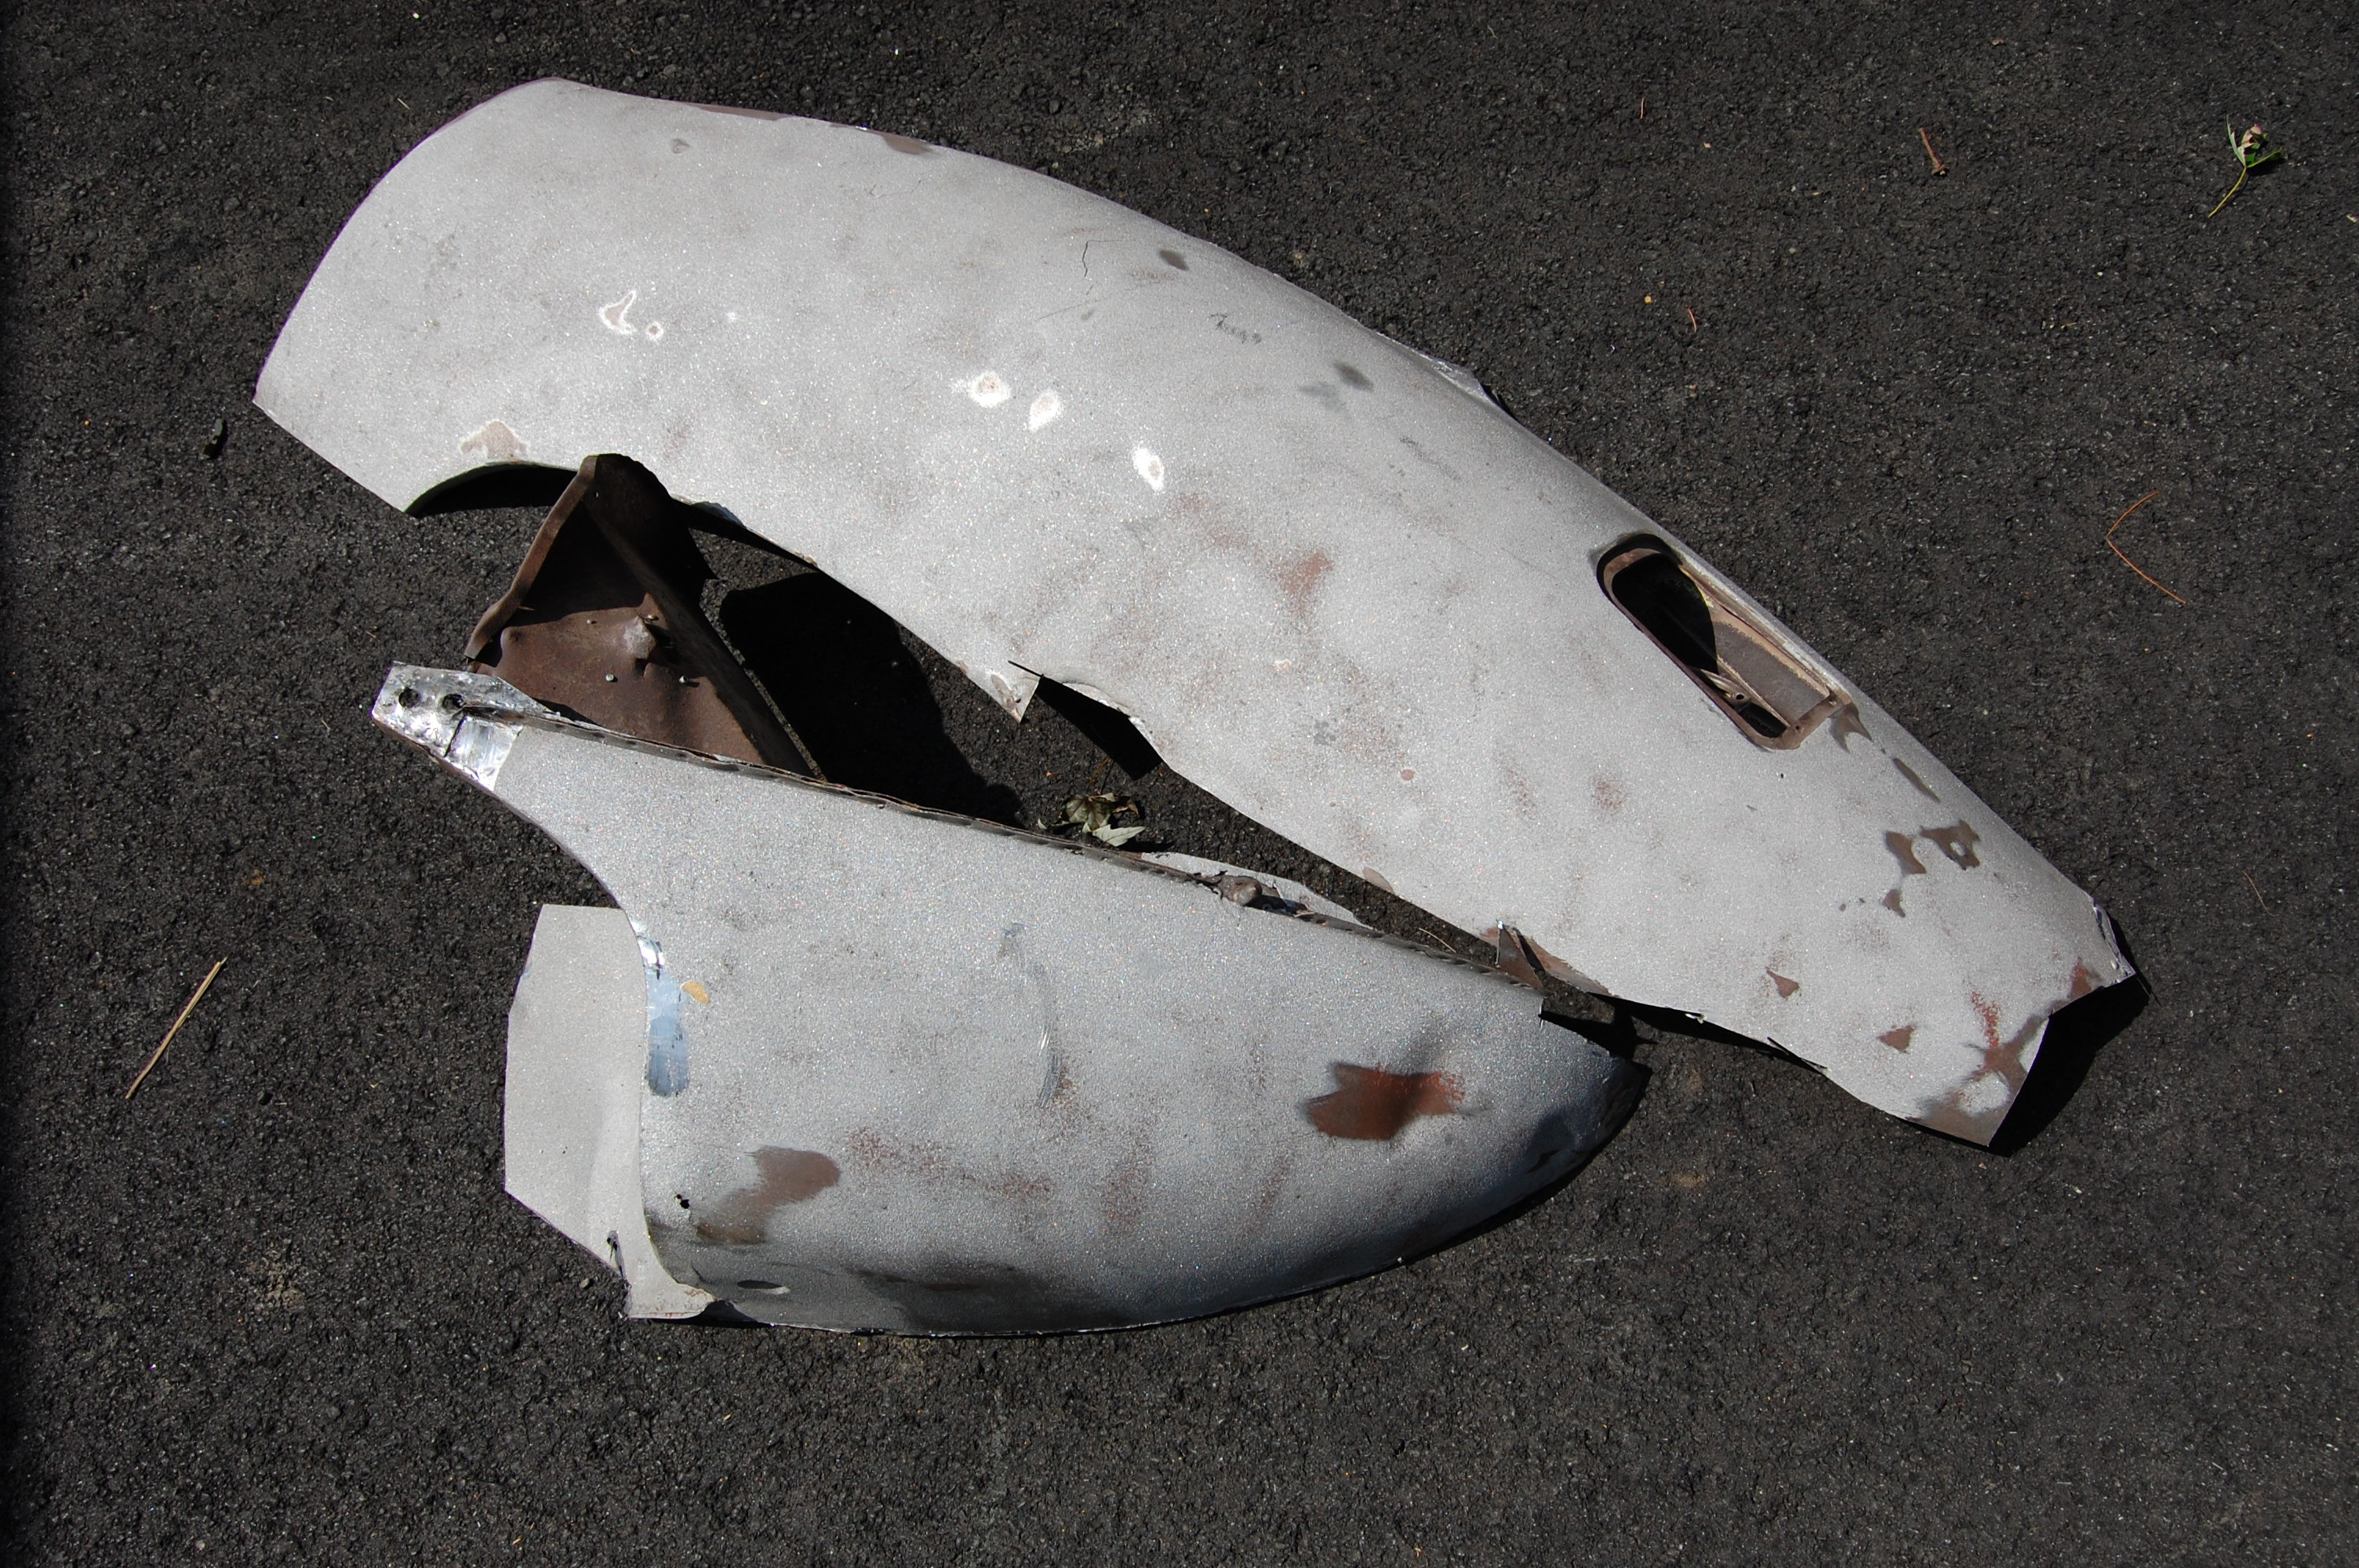
- Now the wing and lower valance are out – and good riddance!
-
- 8 pounds of original factory steel – twisted, and 16 pounds of additional steel and lead! What a train wreck – actually – this may have been HIT by a train!
-

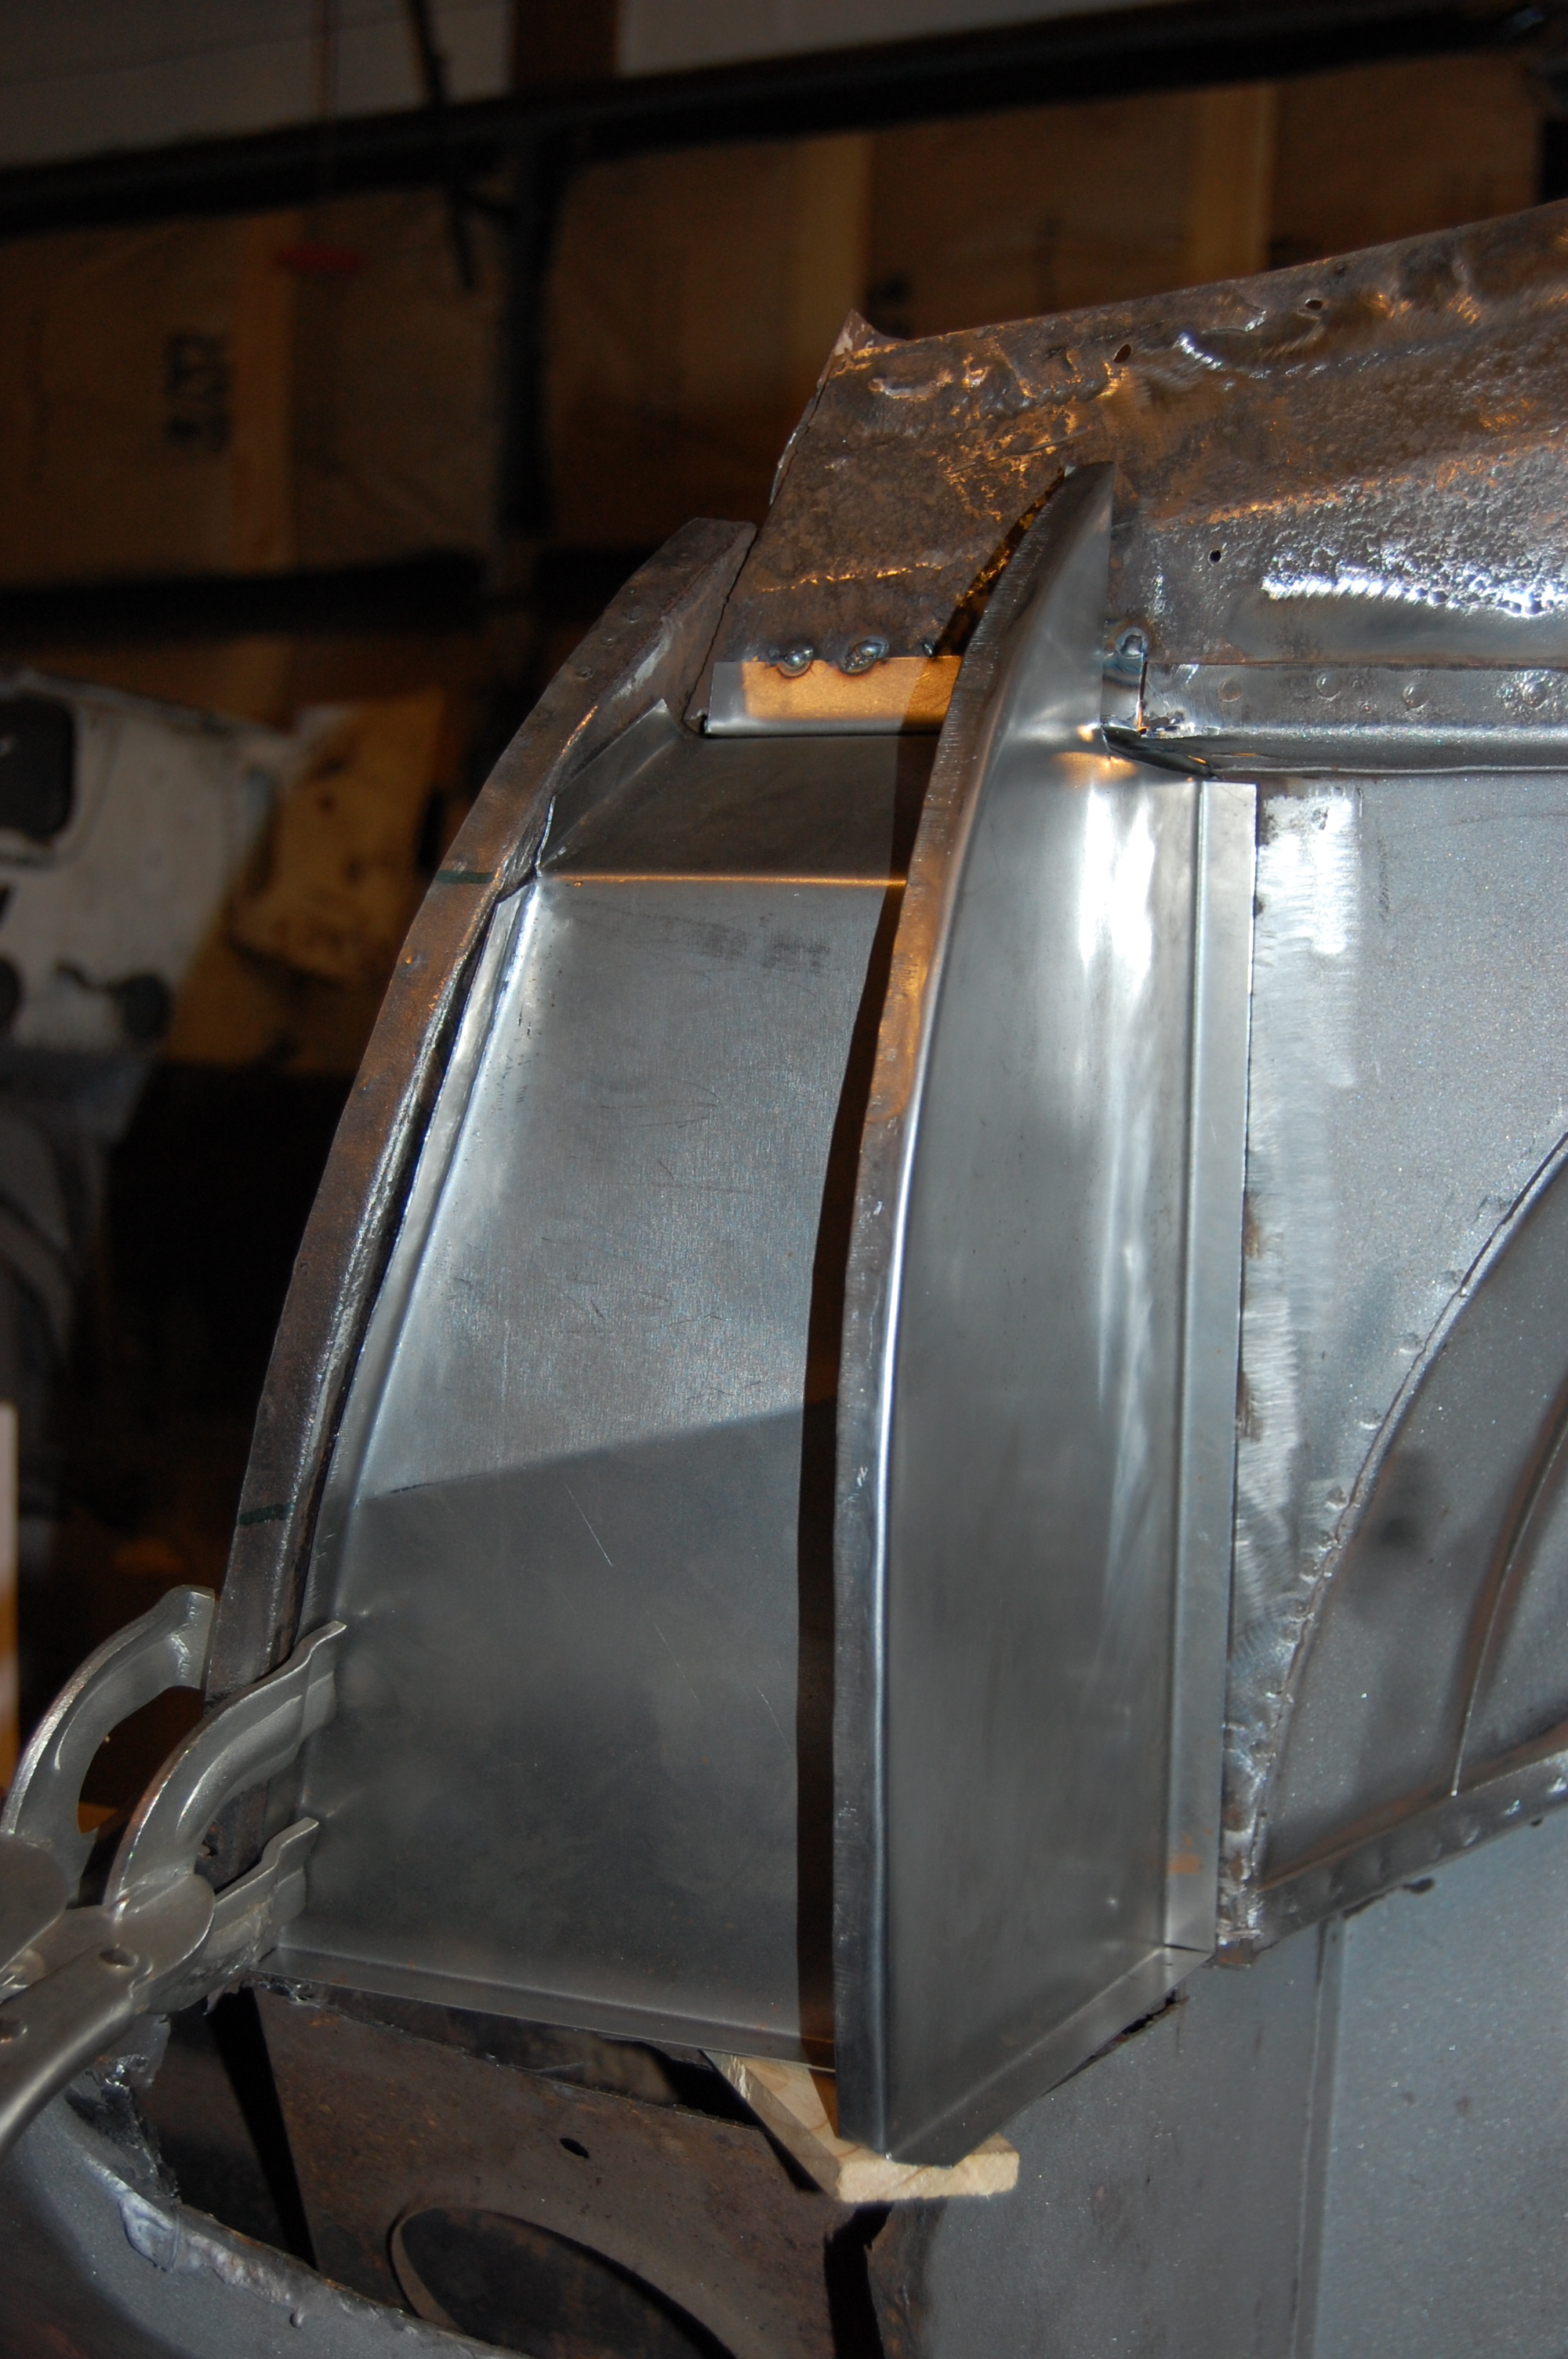
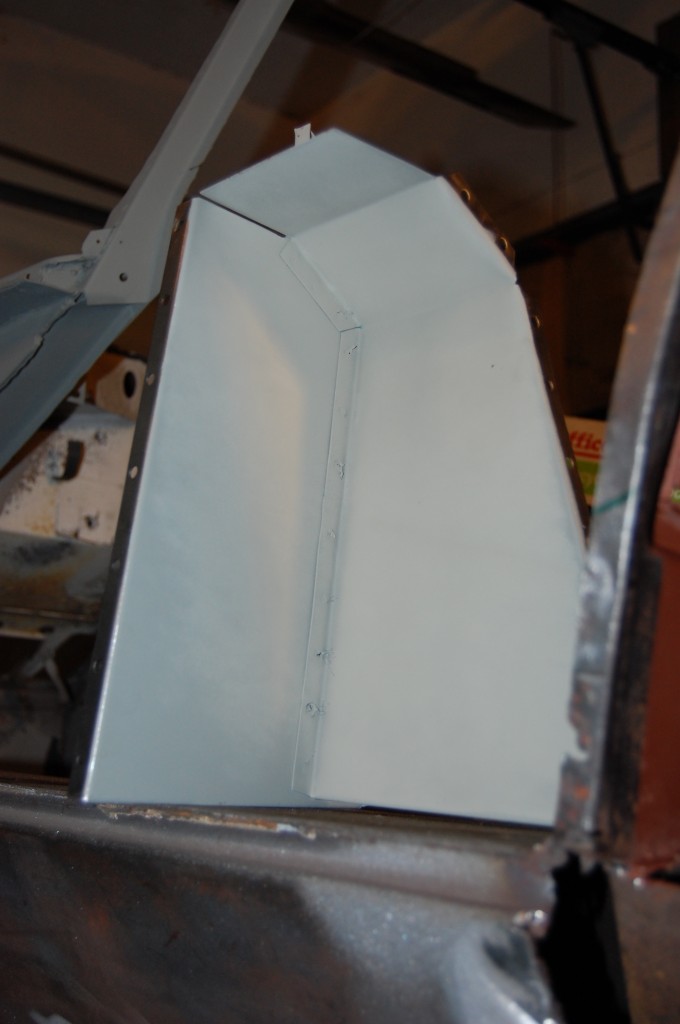
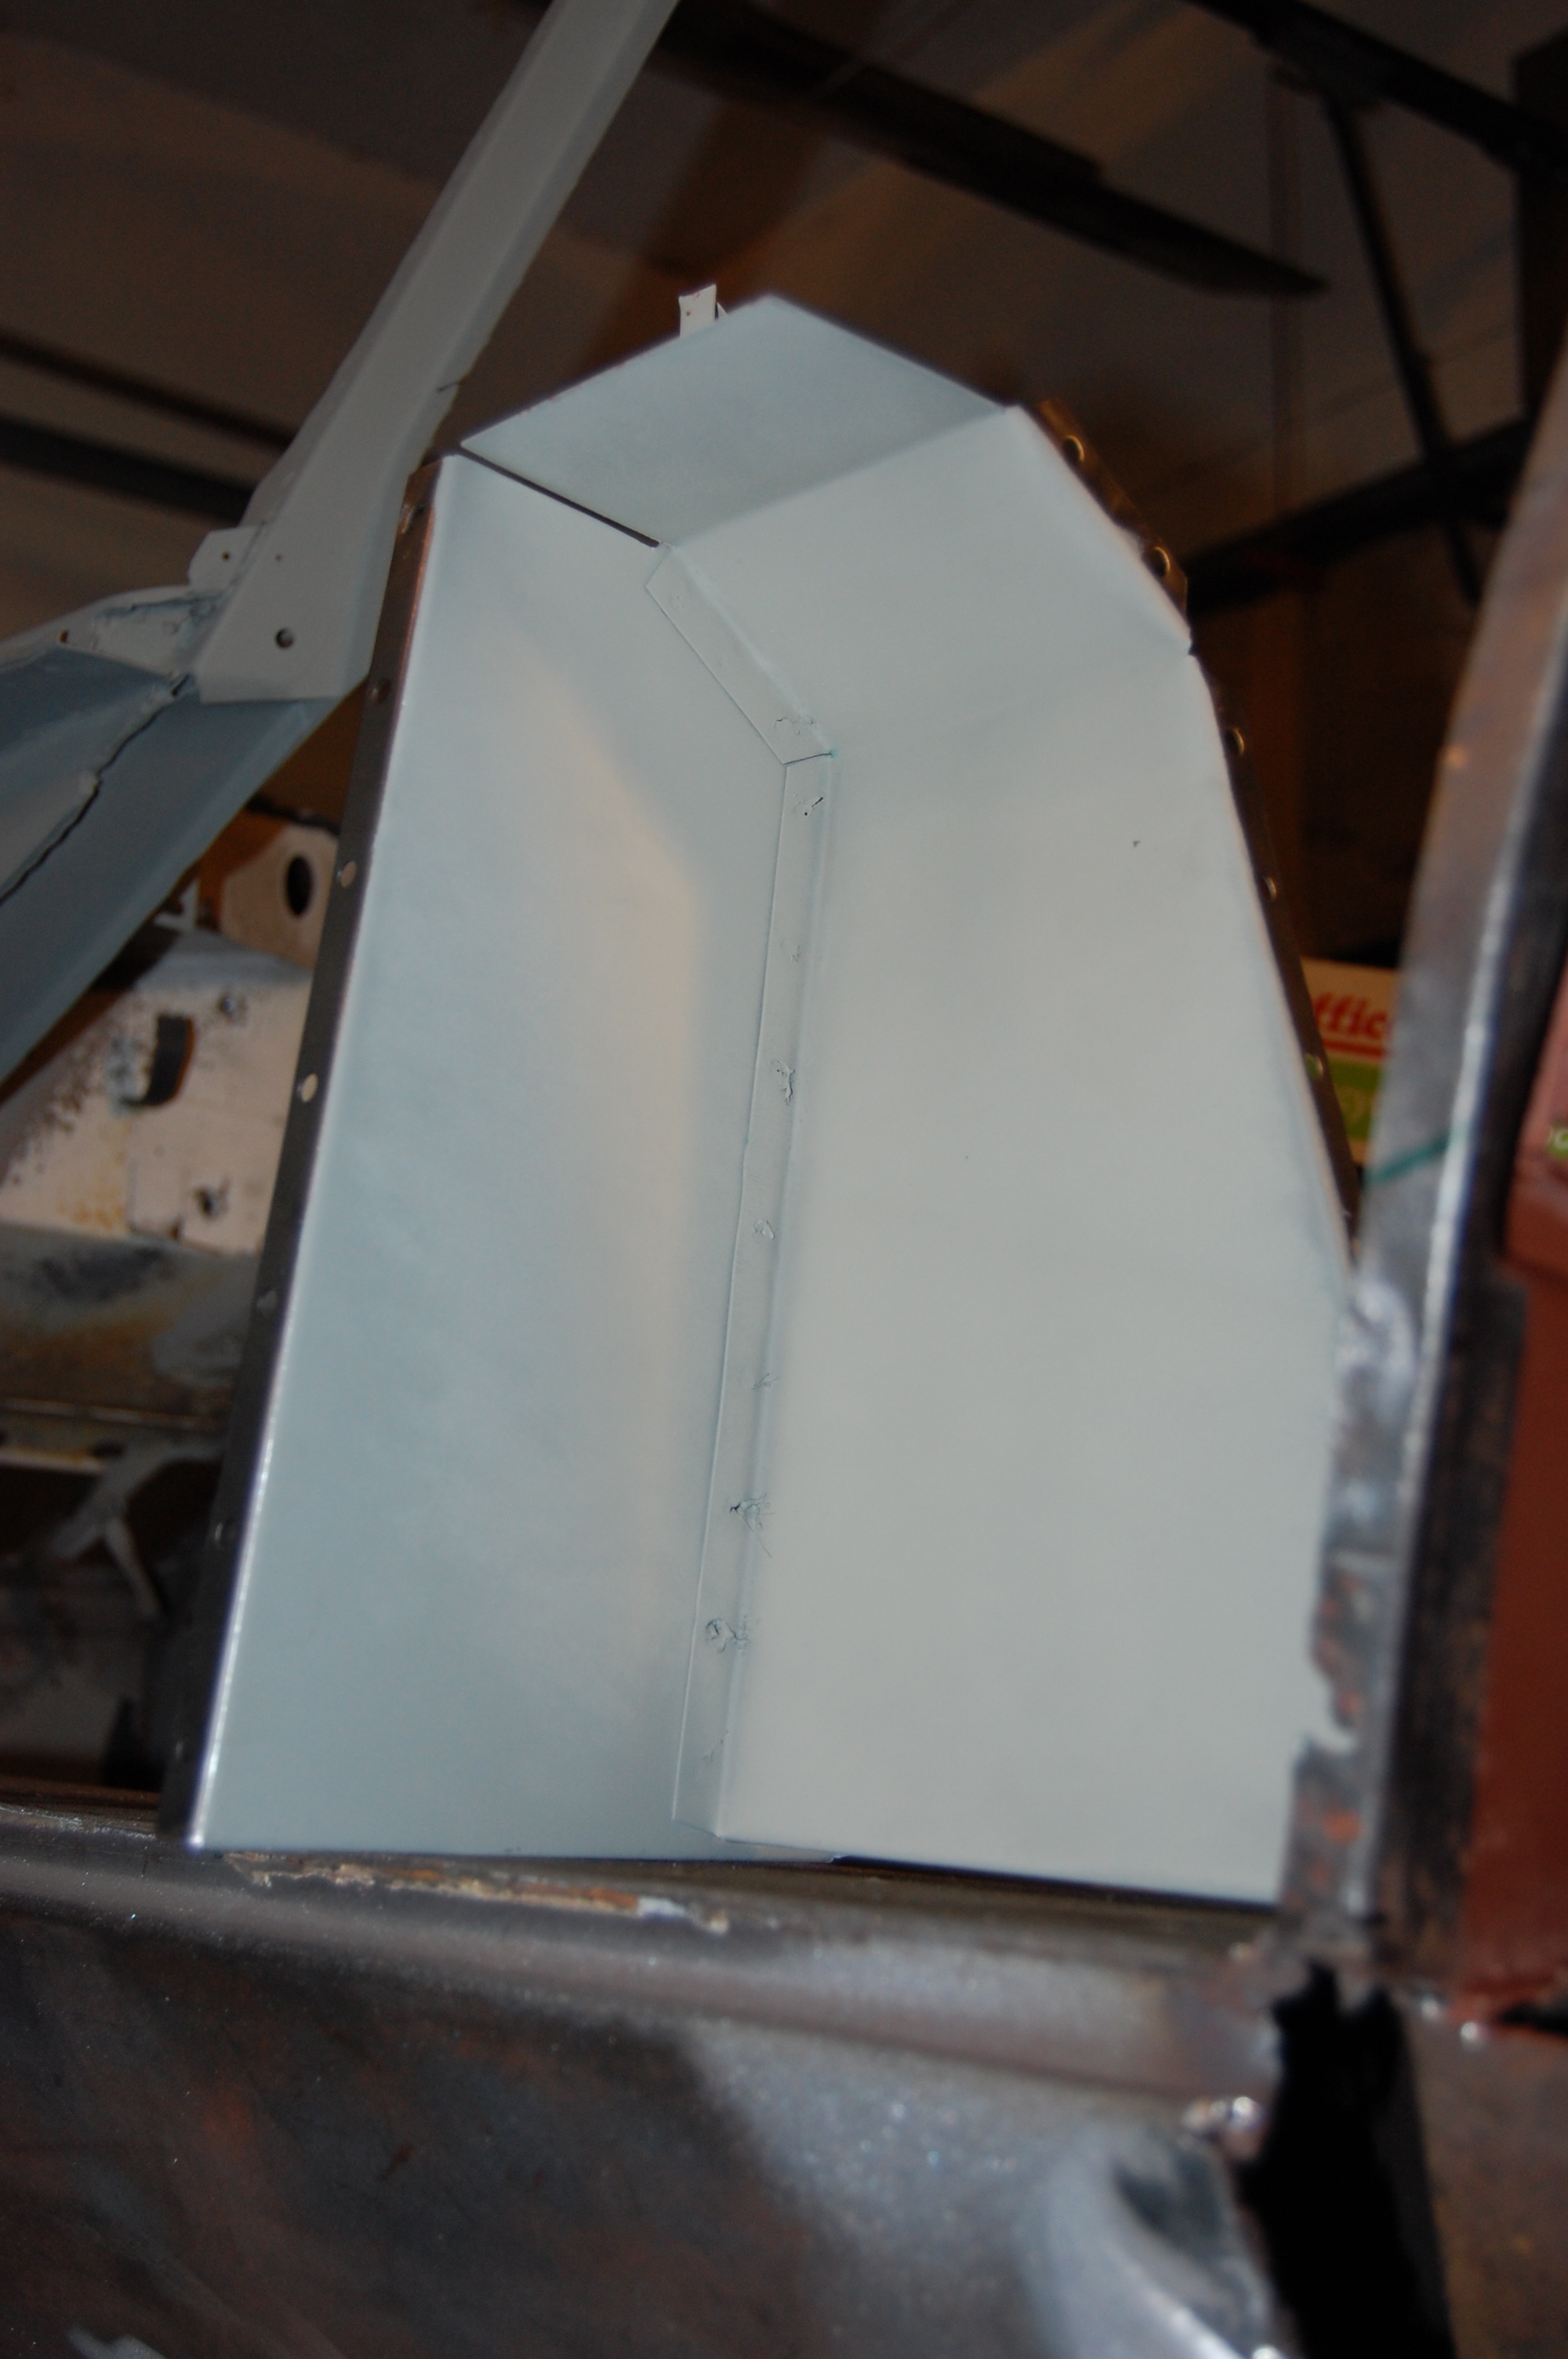
- Here’s the new wheelhouse we fabricating fron scratch using patterns from the original, as well as careful measurements of at least half a dozen E-Types around the shop – this was a tricky piece and we did an earlier blog post on it.

-

- Here it is fitted in place against the re-shaped inner boot side panel.
-

- Next came the B-post – there was a little cancer in this panel so we decided to pull it out and replace it…
-
- – a close up…

-
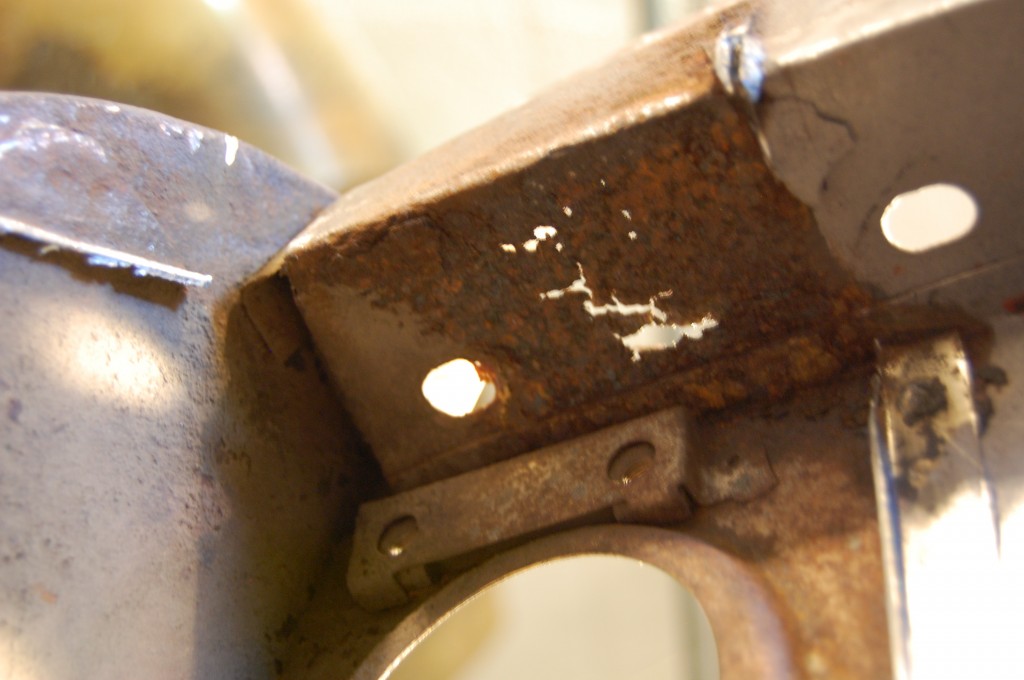
- …and SURPISE! – the whole B-post is shot – including this cancer lurking under the top frame mount.

-

- We don’t give the sills any respect – that is all coming out when the car is mounted into the rotisserie. Massive rust flakes were everywhere – the sills had rusty flakes and leftover sand and soda TWO INCHES DEEP!!!
-

- This section will get a small patch.

-

- Here are the new B-post panels from our fabrication shop.
-
- All of our newly fabricated inner panels clamped into place.

-
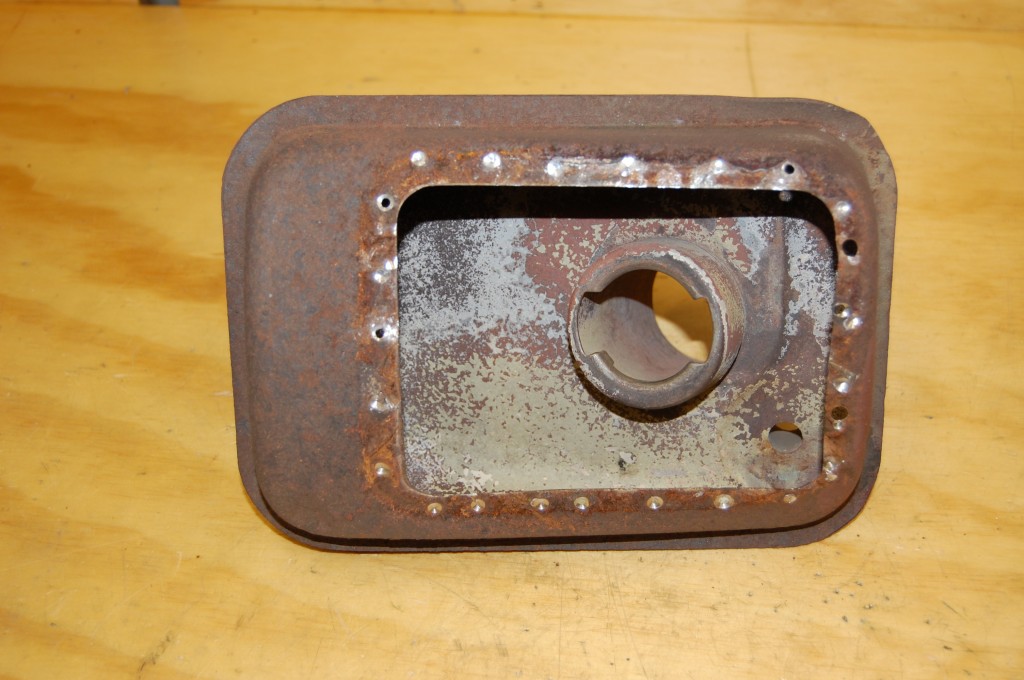
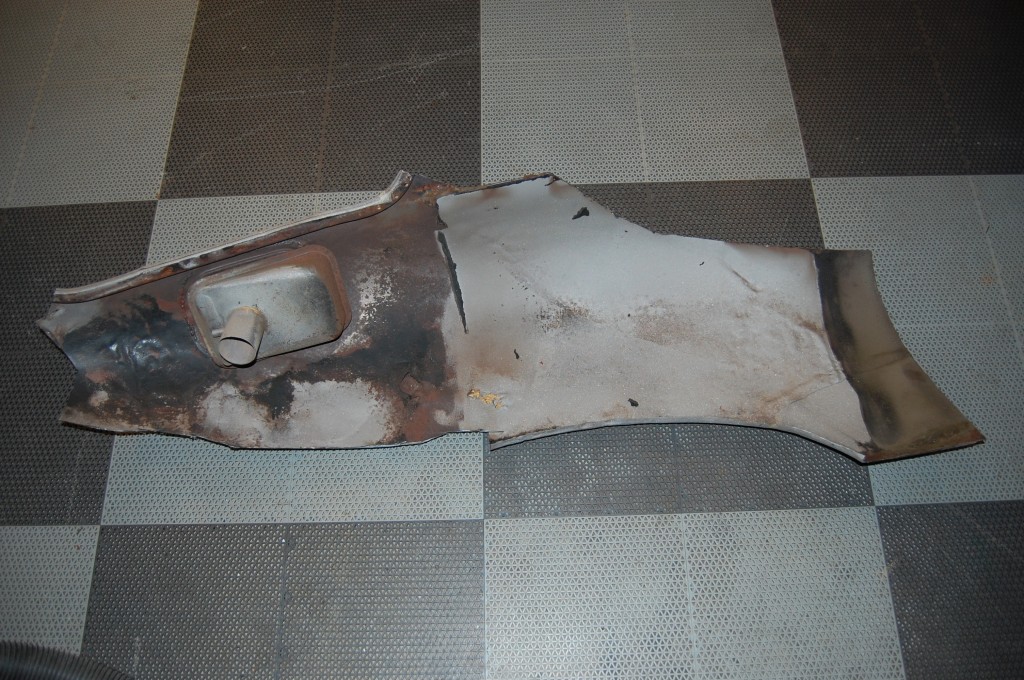
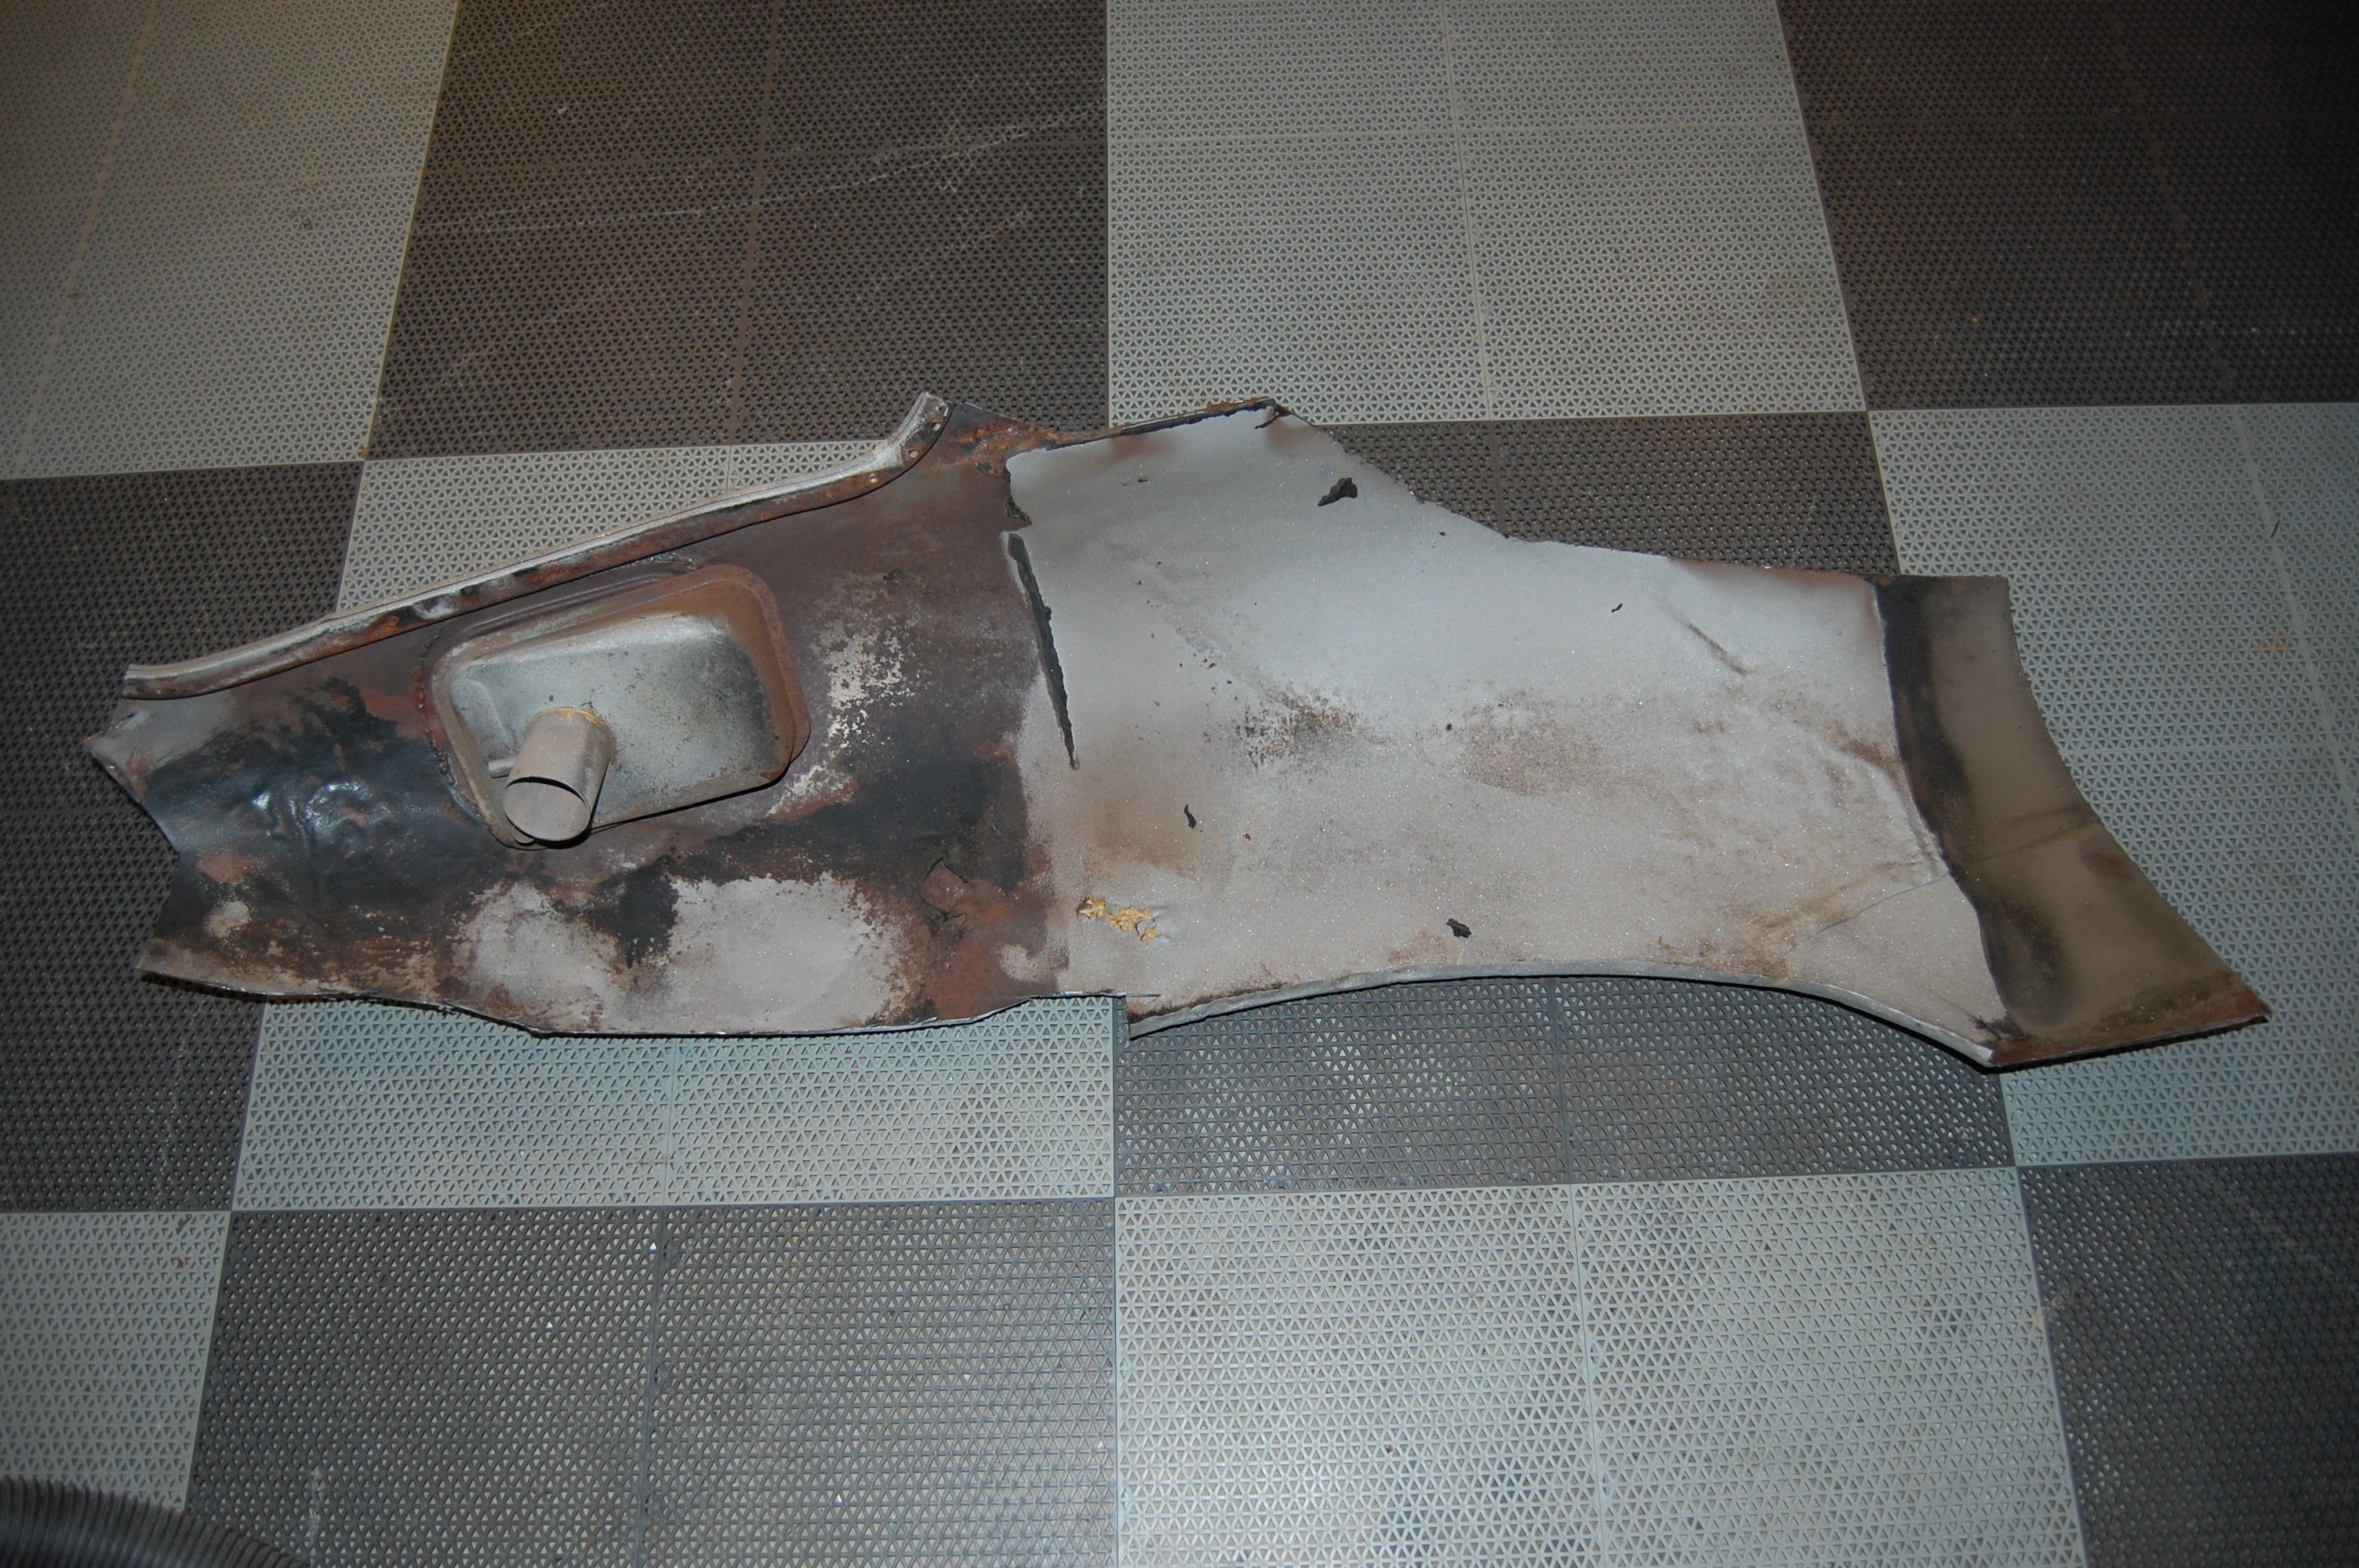
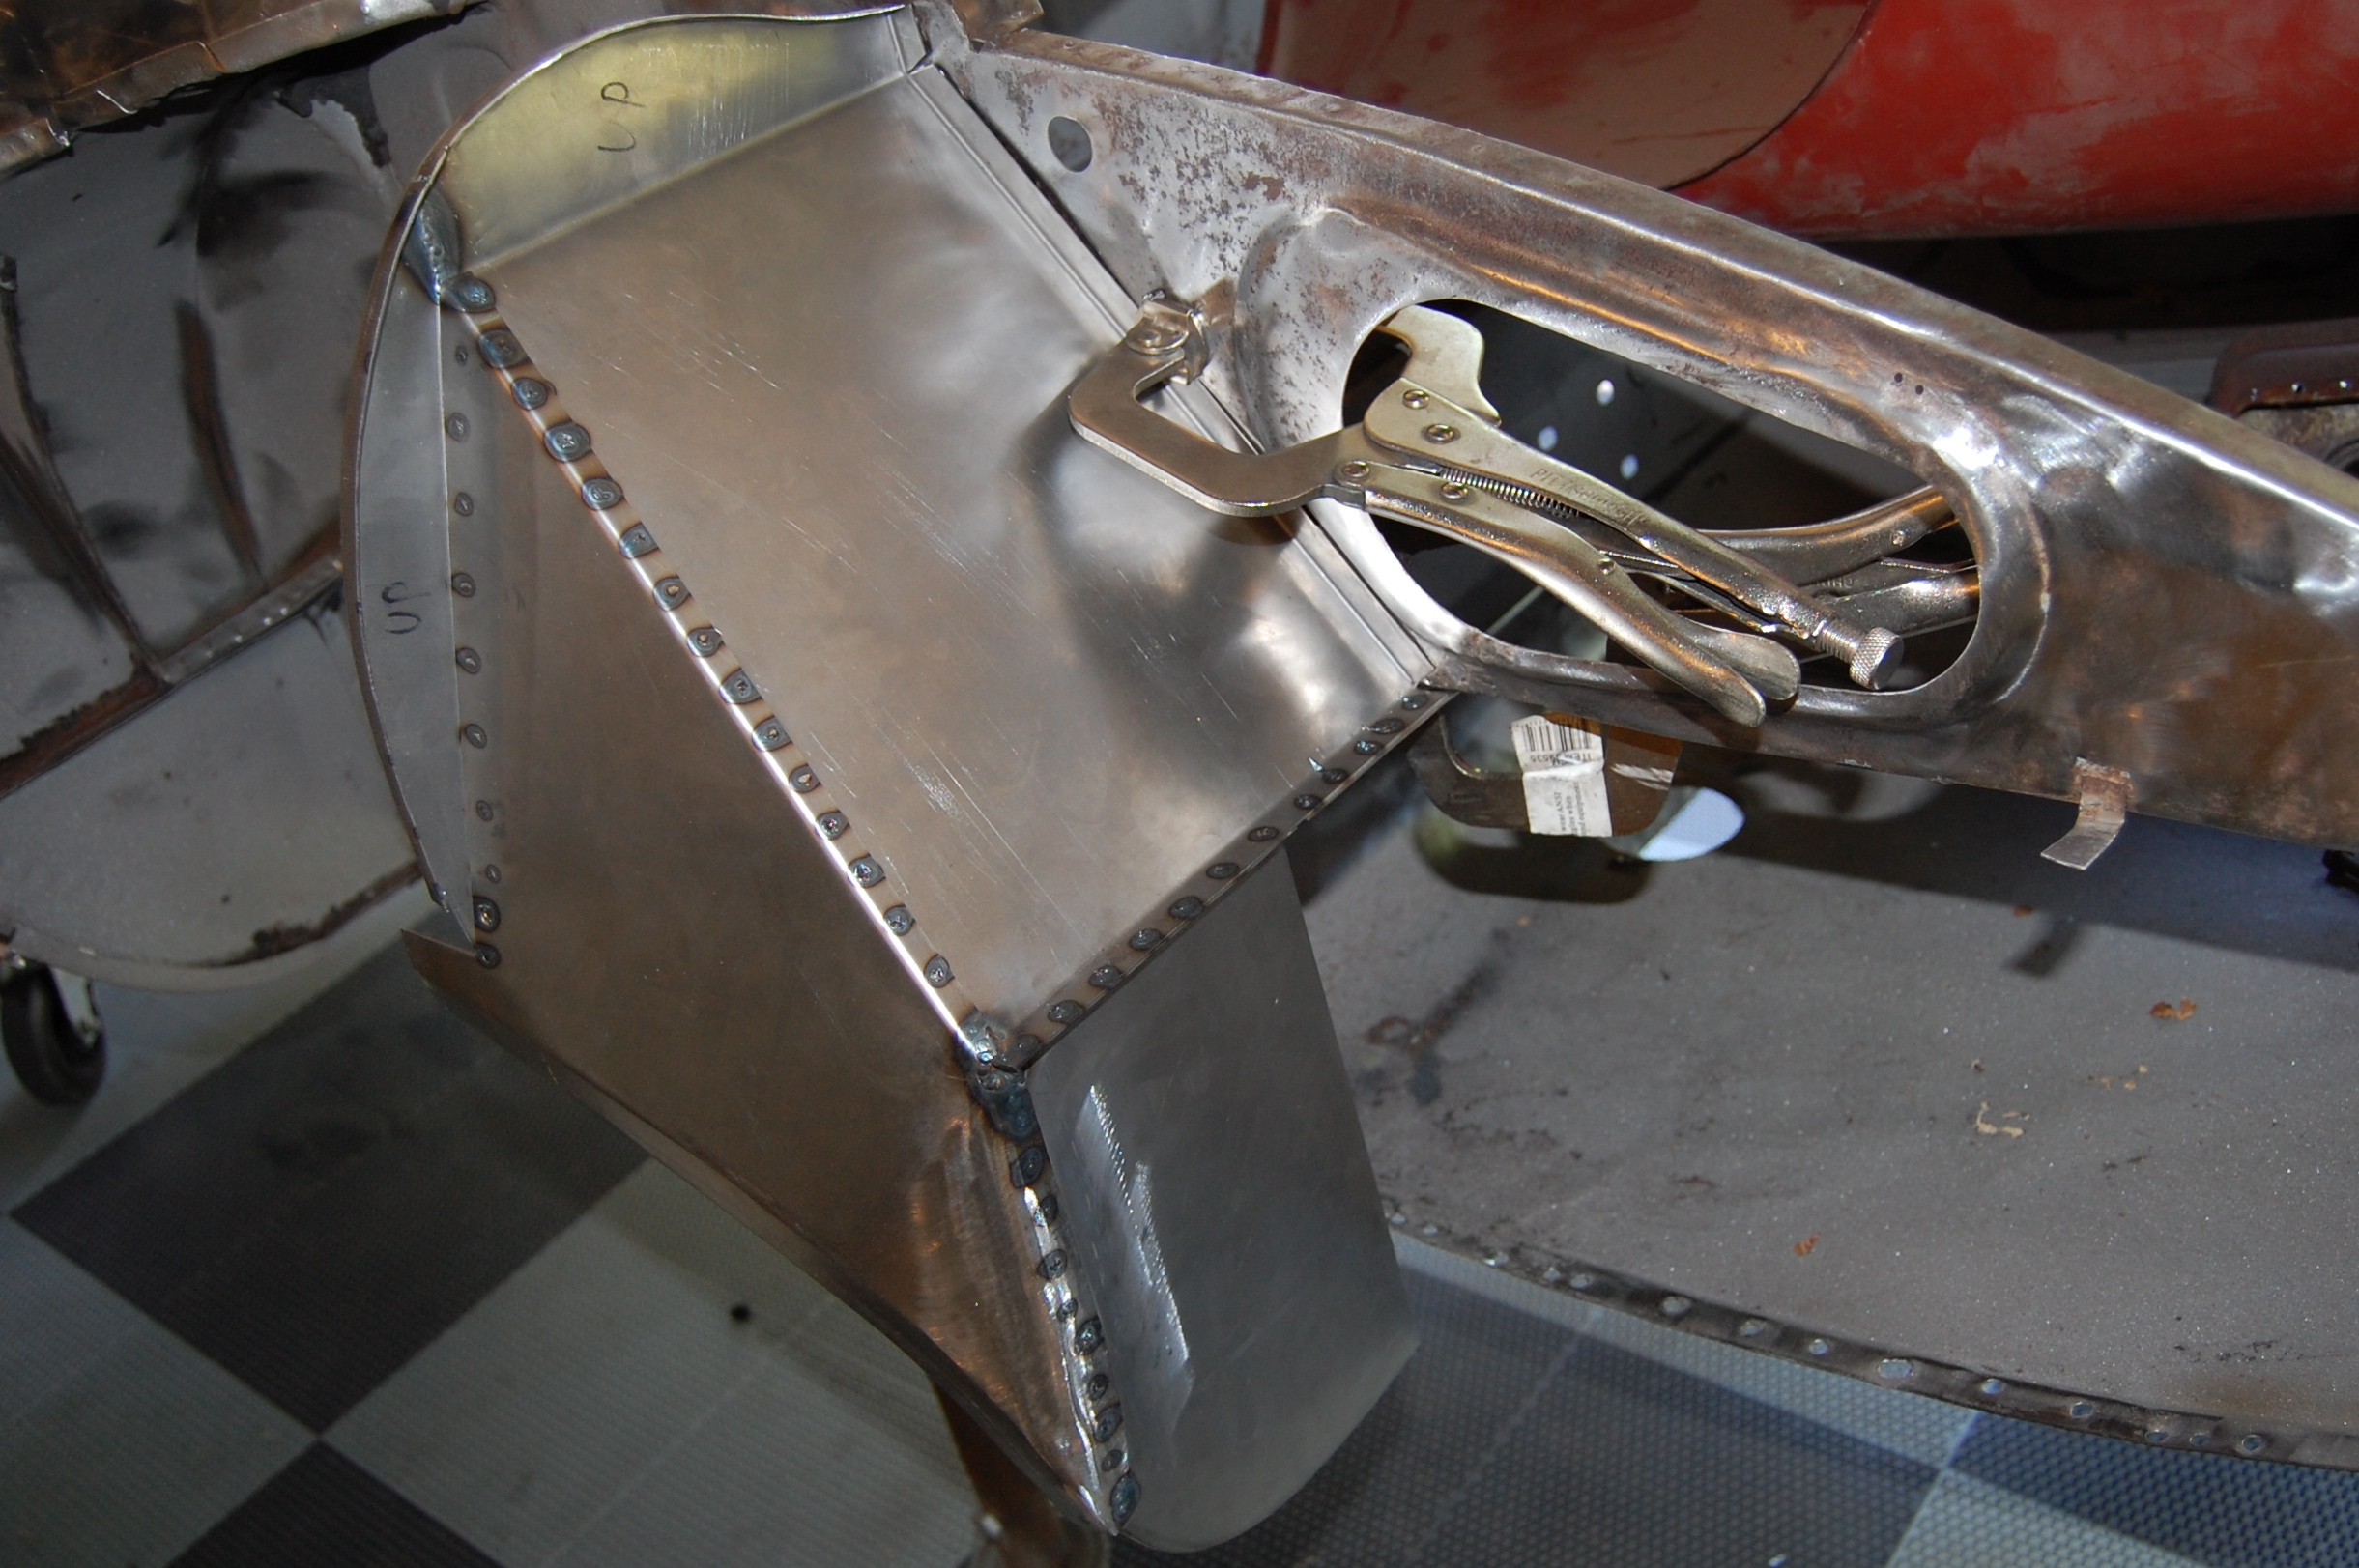
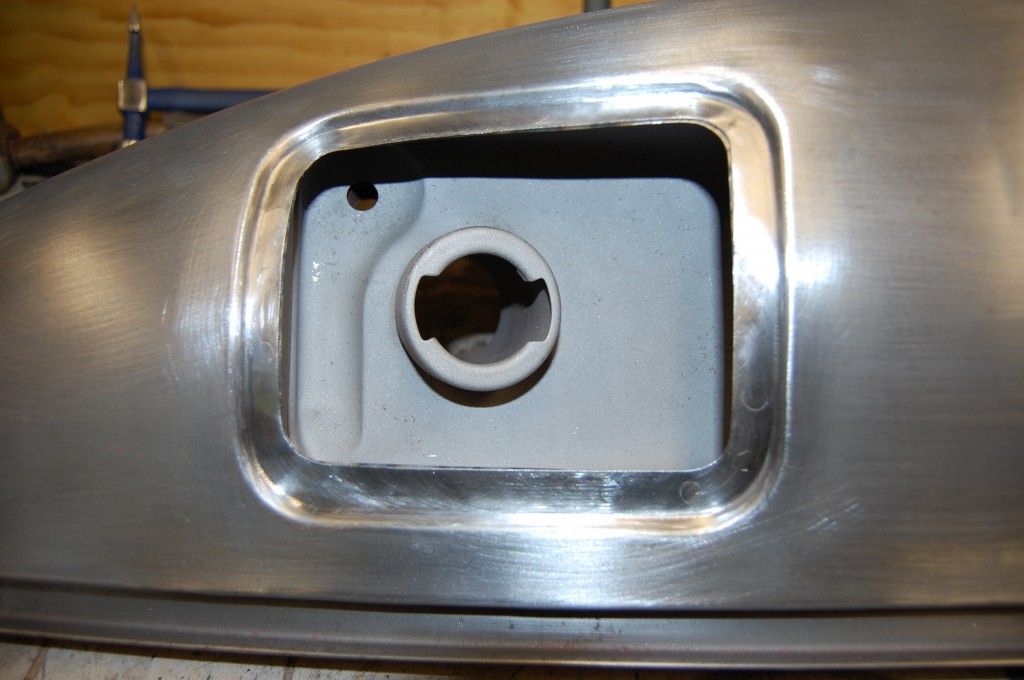
- The fuel box has been carefully removed from the original wing and will be blasted and primed.

-
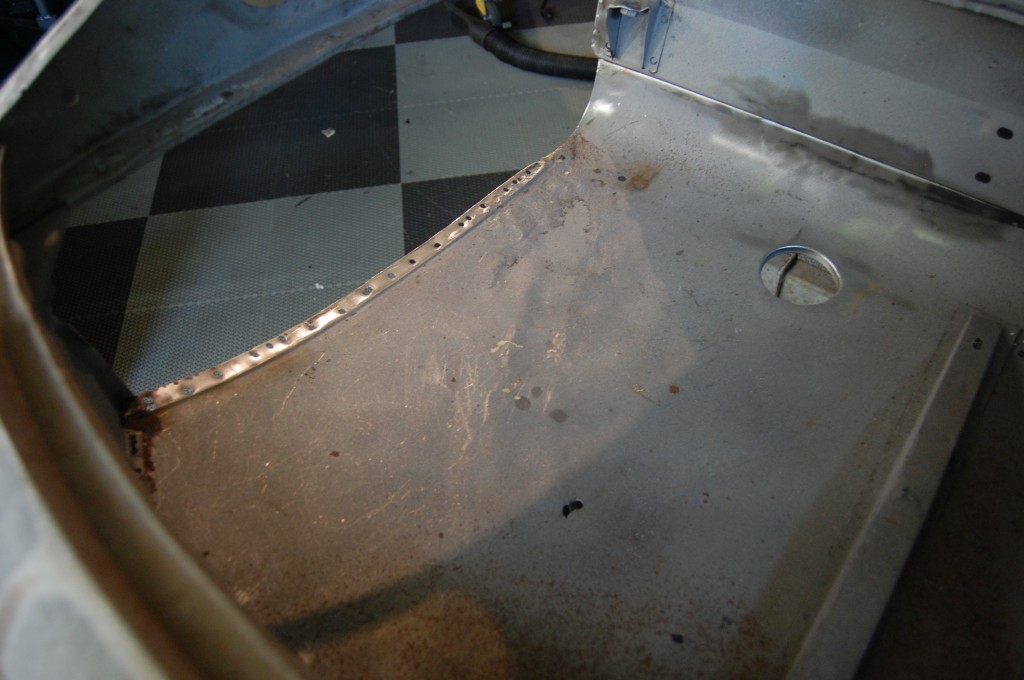
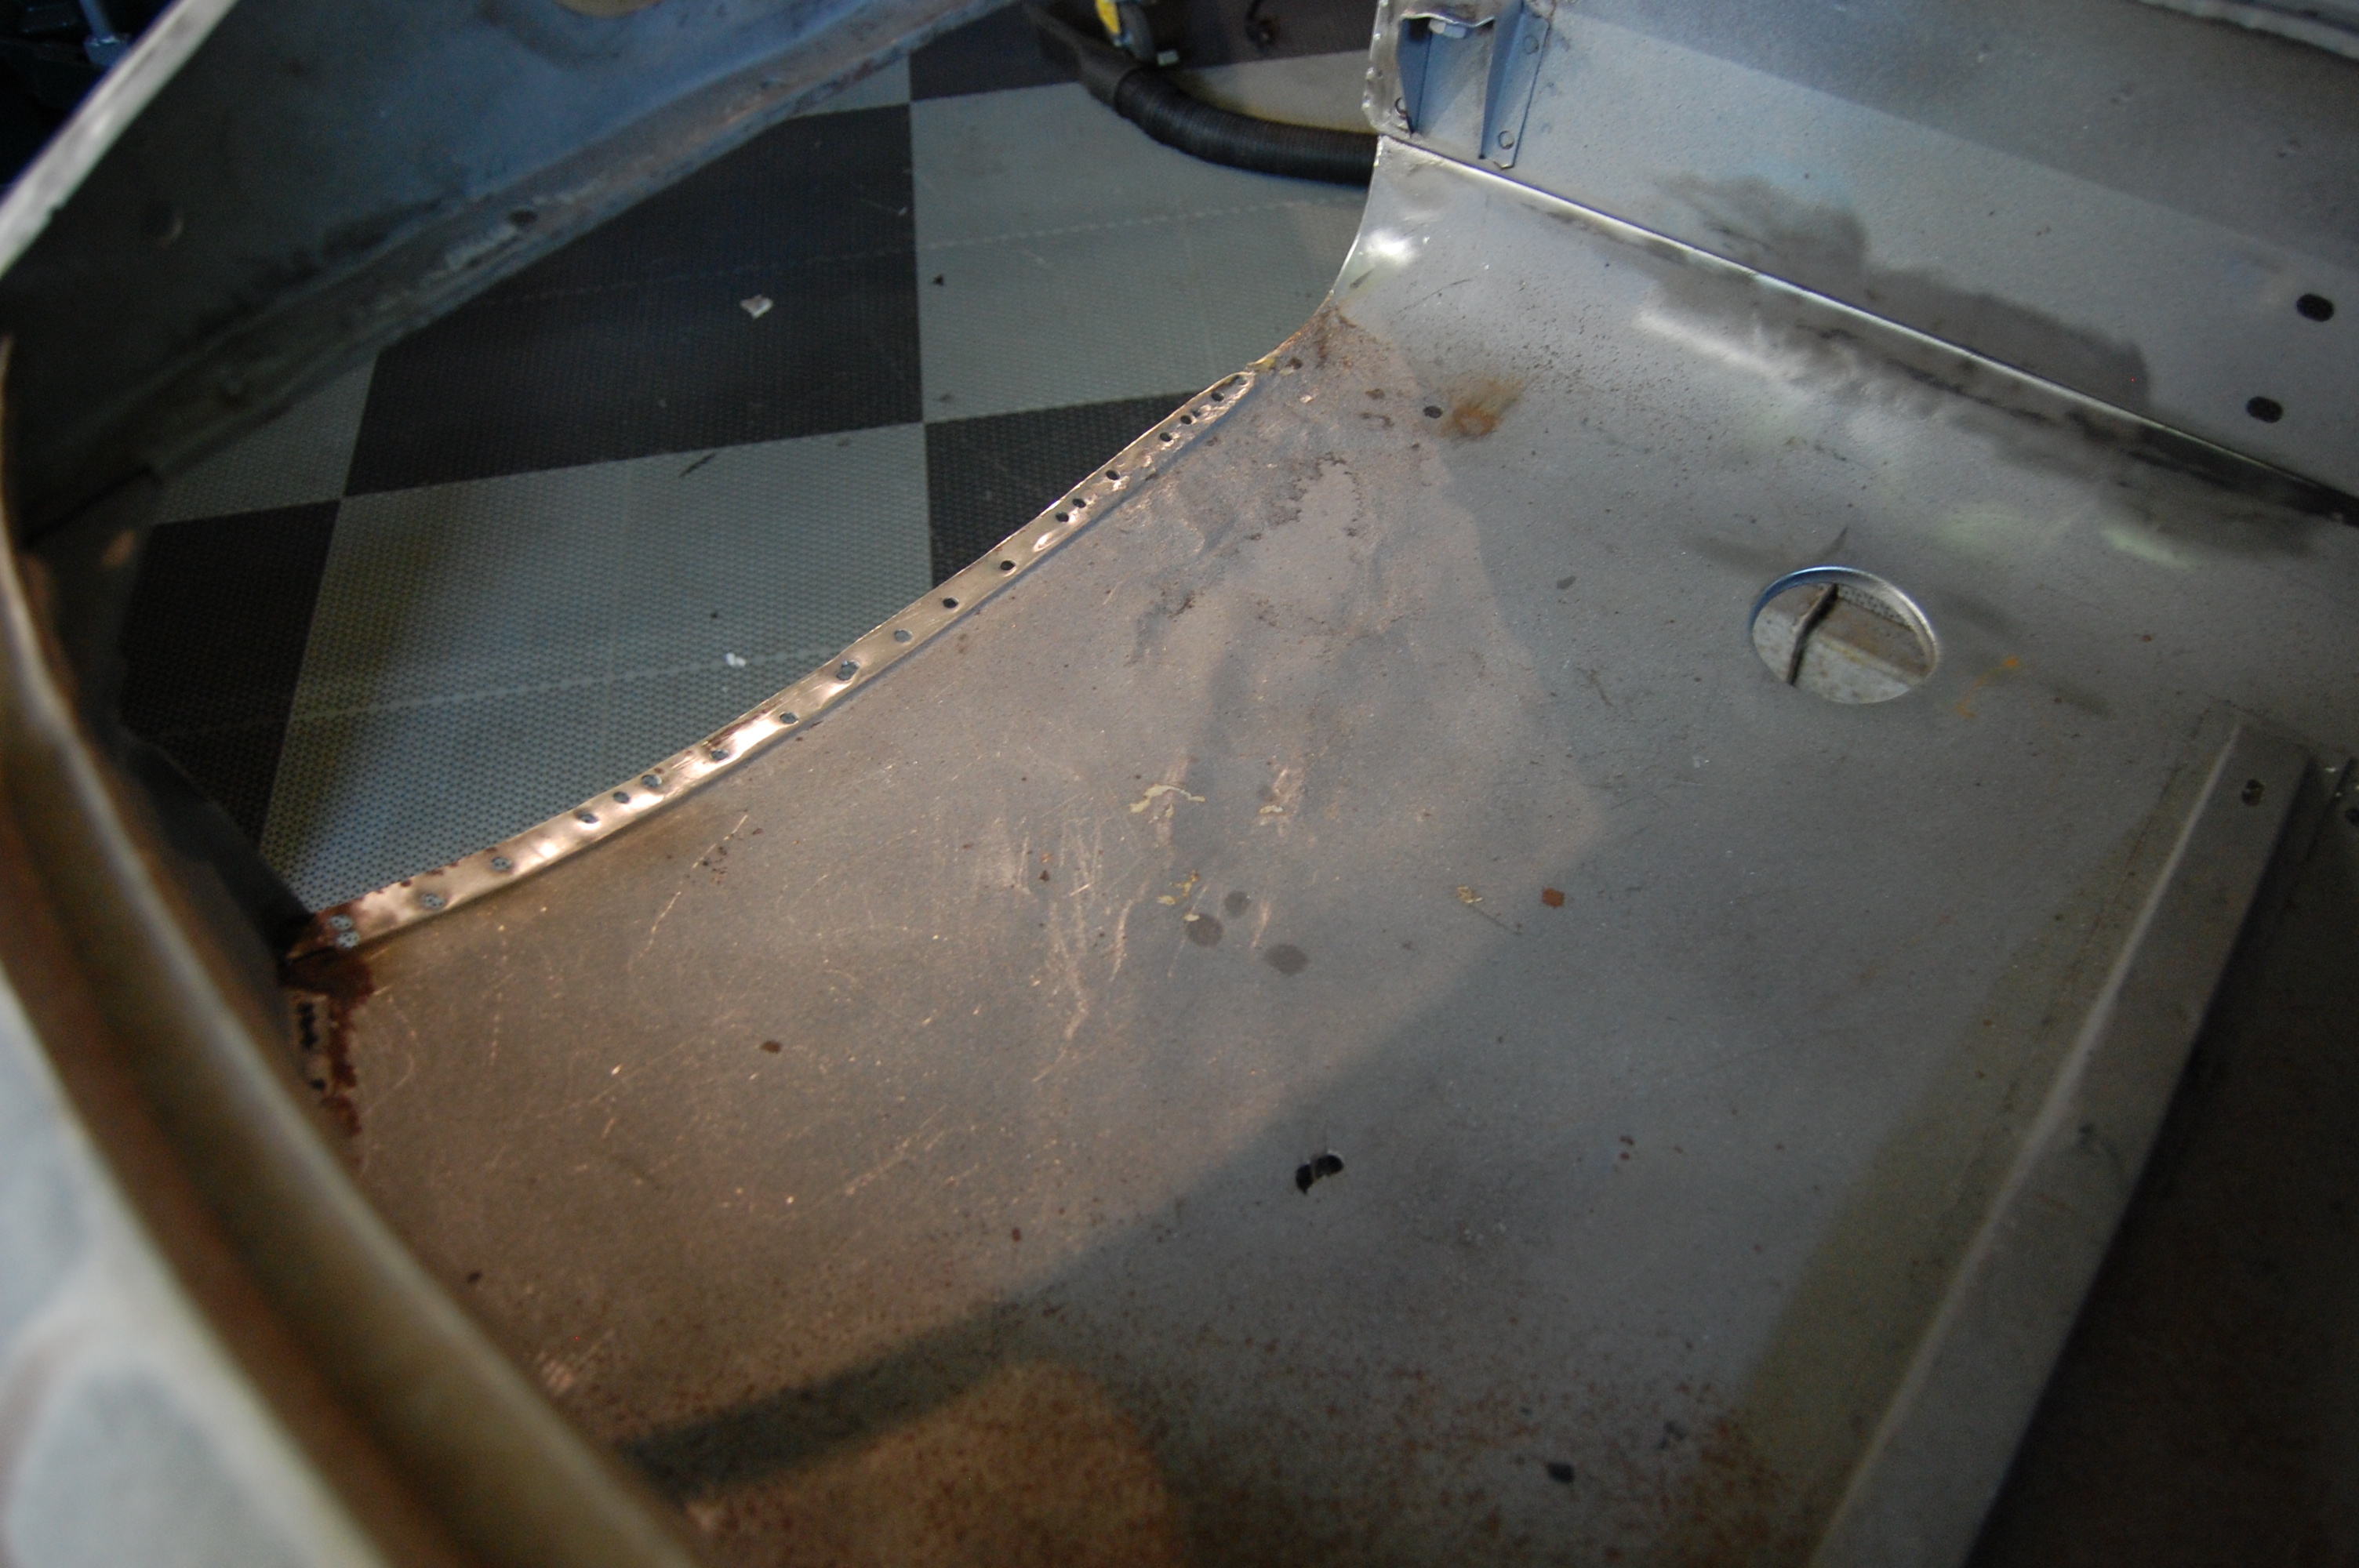
- Boot floor is solid, but wrinkled…
-
- Miraculously, we were able to snake the planishing hammer in there and smooth things out considerably!

-

- All new wings are setup for Series 2 cars, so we need to do some trimming here.
-

- We restored the doors so that they could be used to help fit the wing properly. Things look like they are generally in the ballpark.

-
- All inner panels were fabricated by us, the wing is NOS Jaguar, and this ONE PANEL was brought in by the “usual supplier” – and of course, it does not fit… These lower valances are notorious for fitting poorly. Soon, we’ll just start making them here.
-
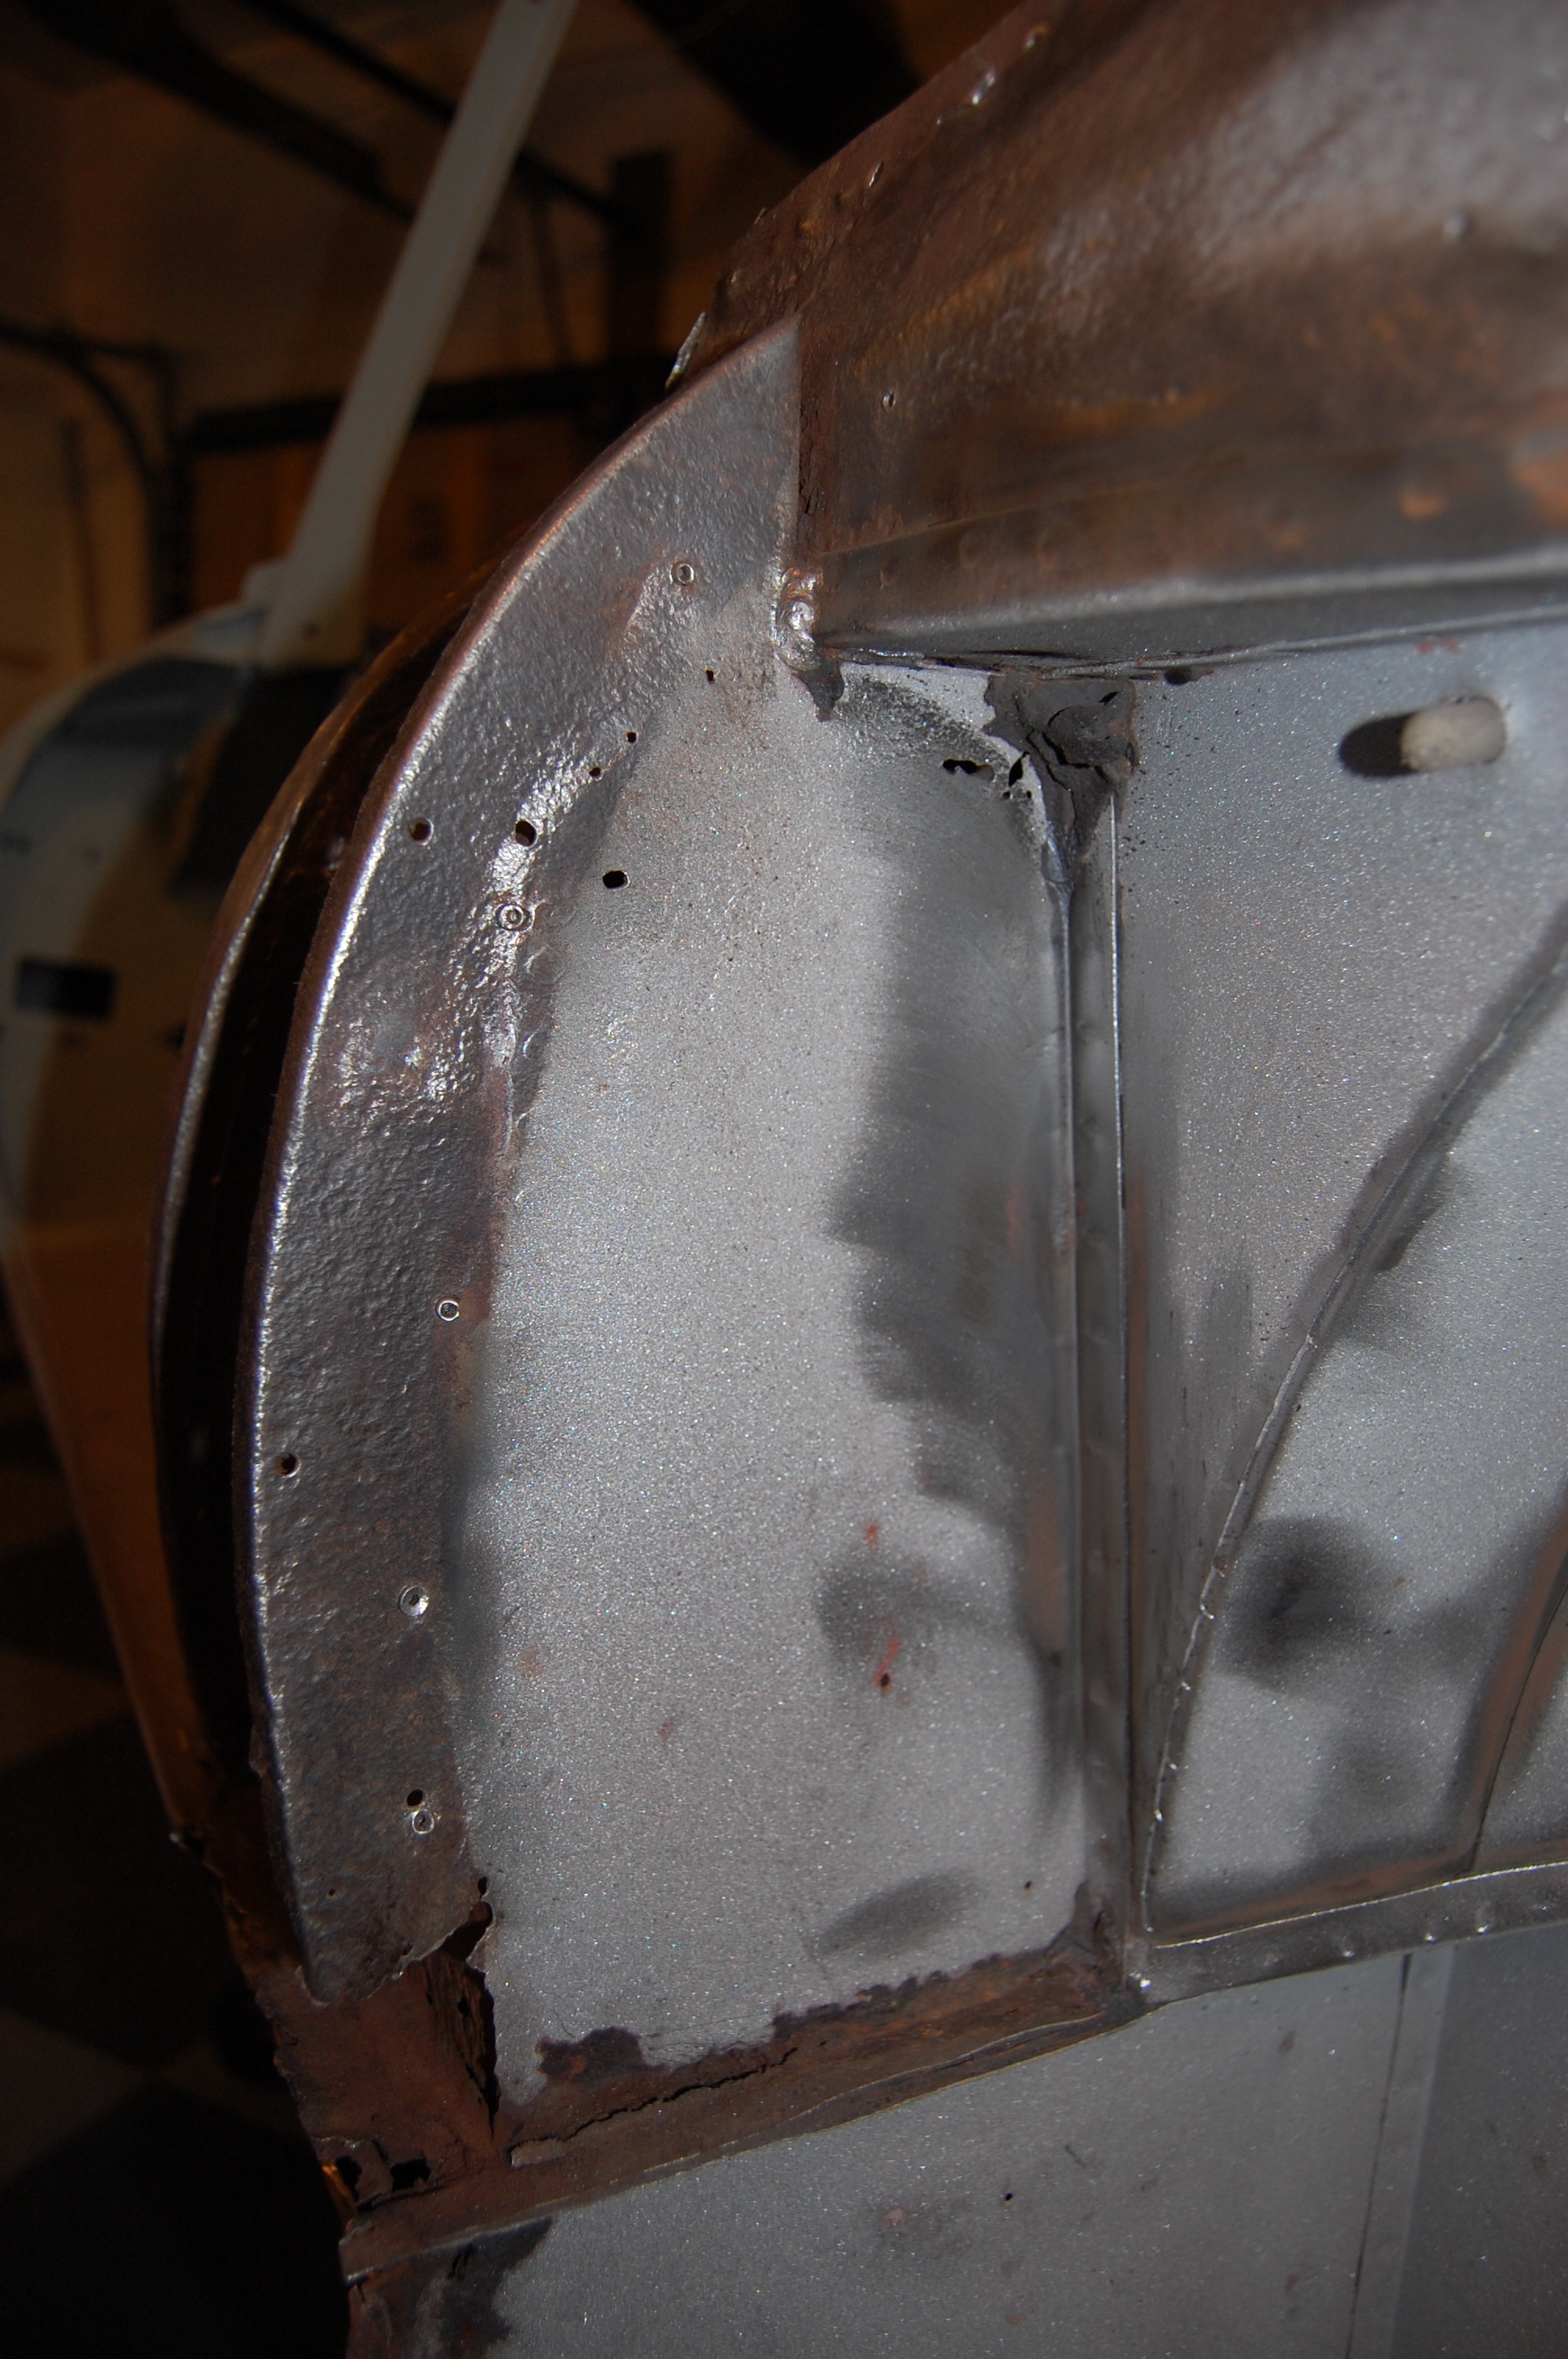
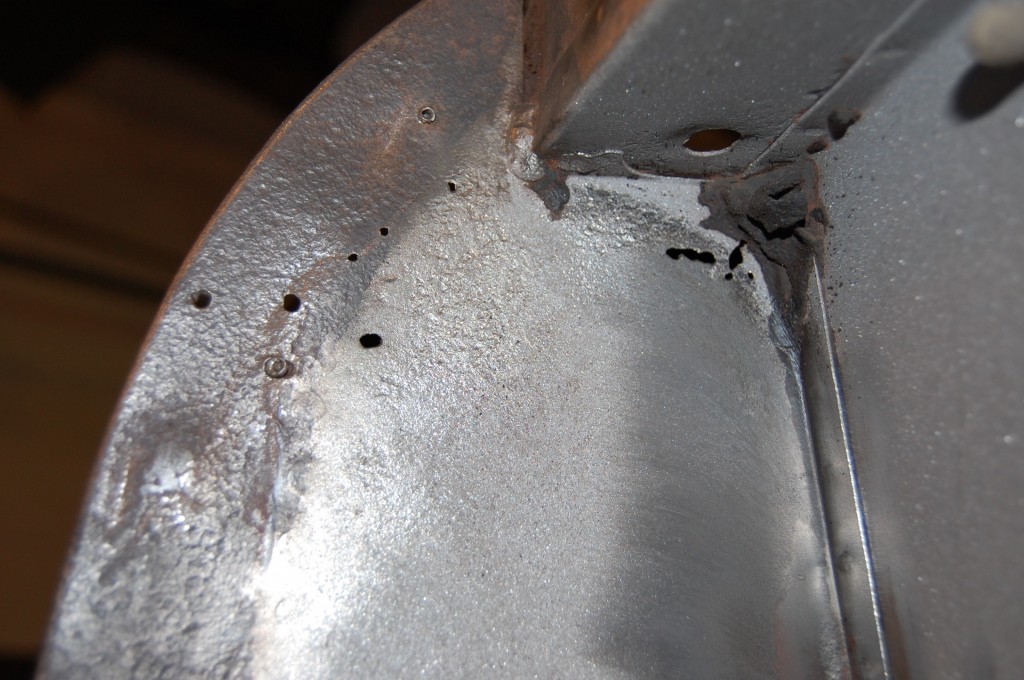
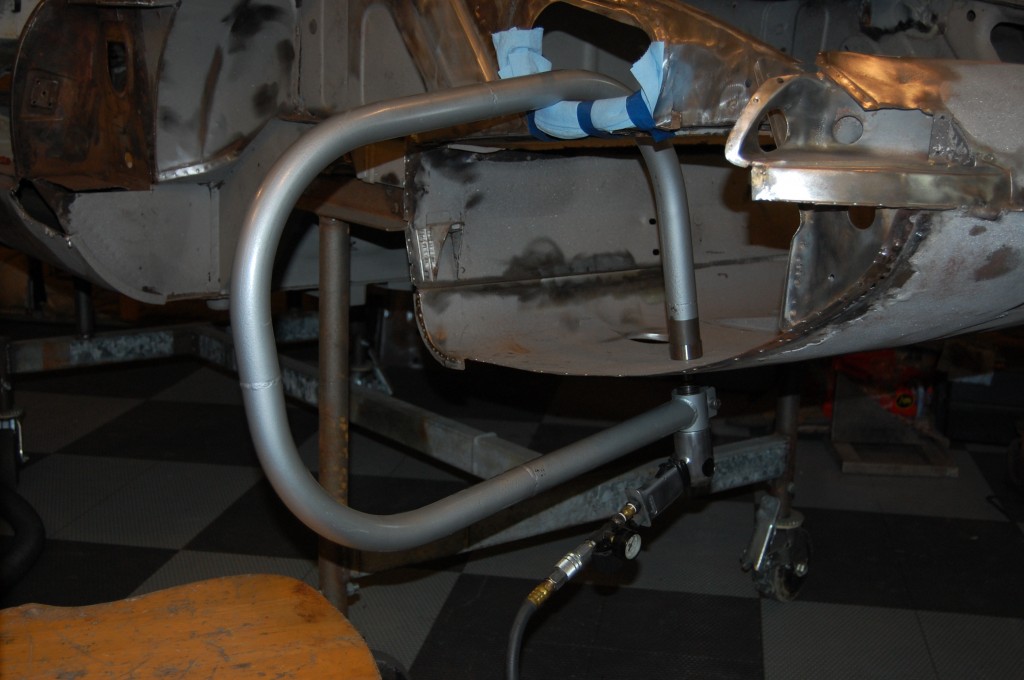
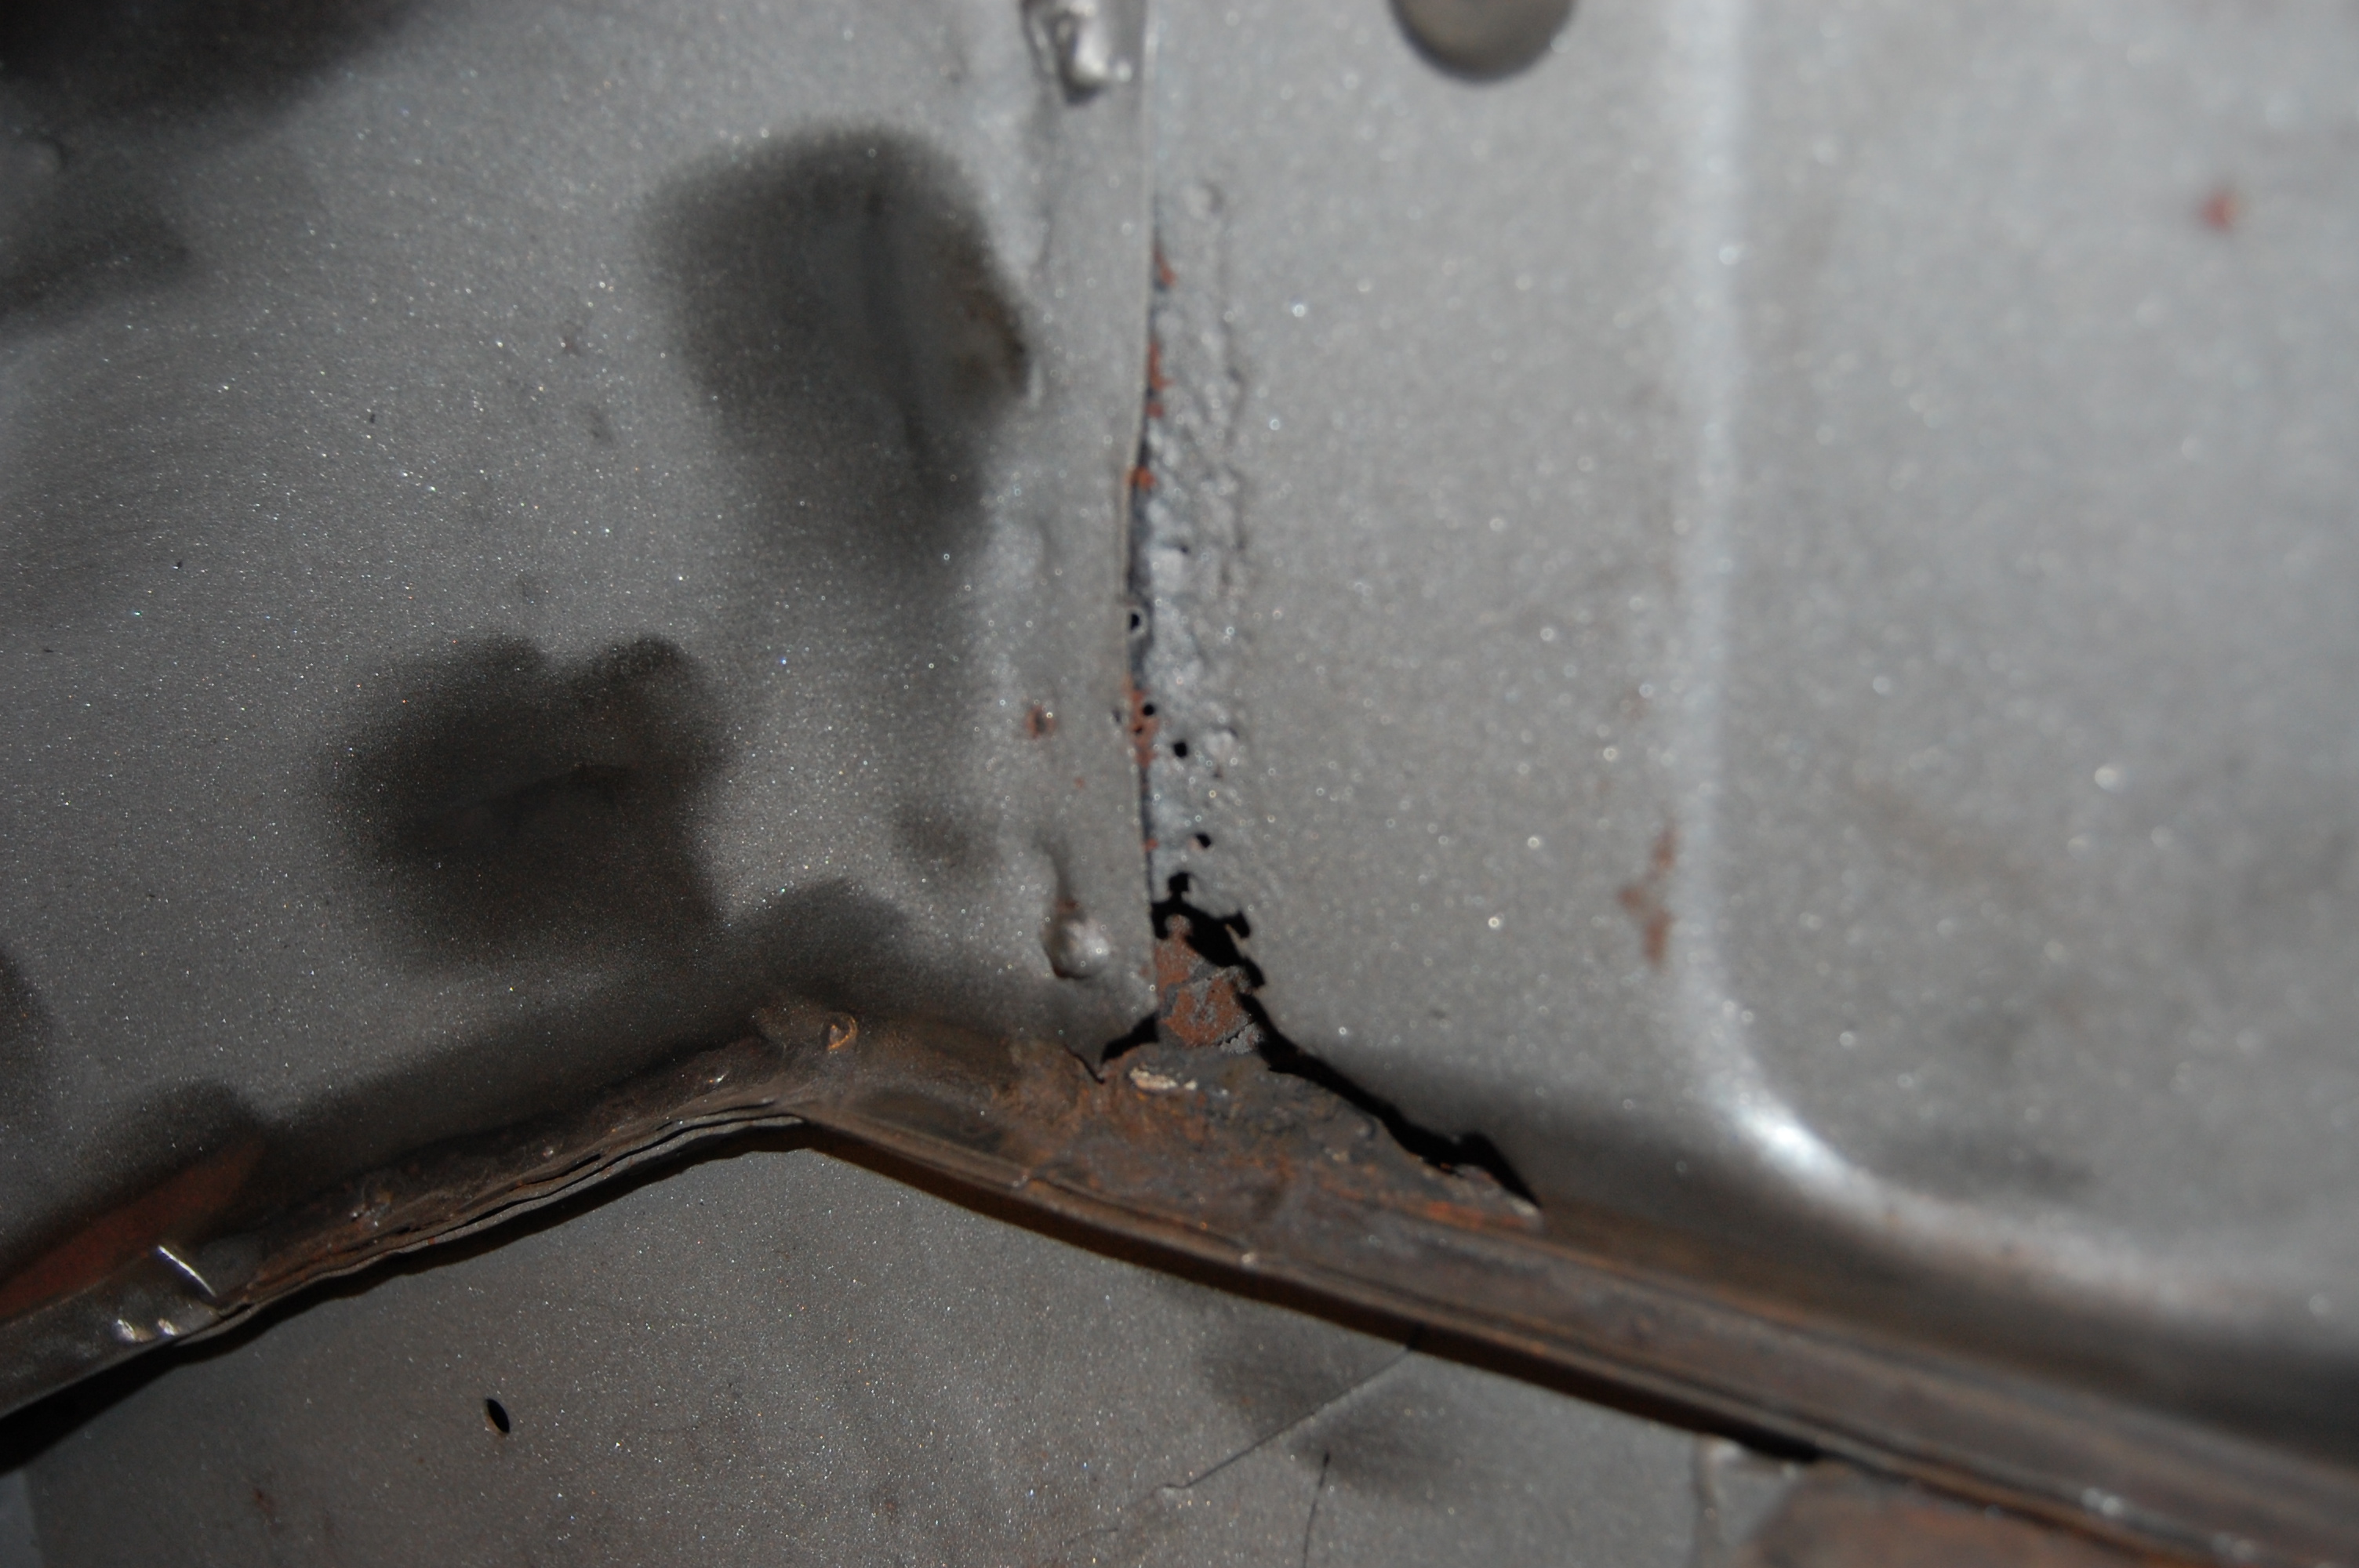
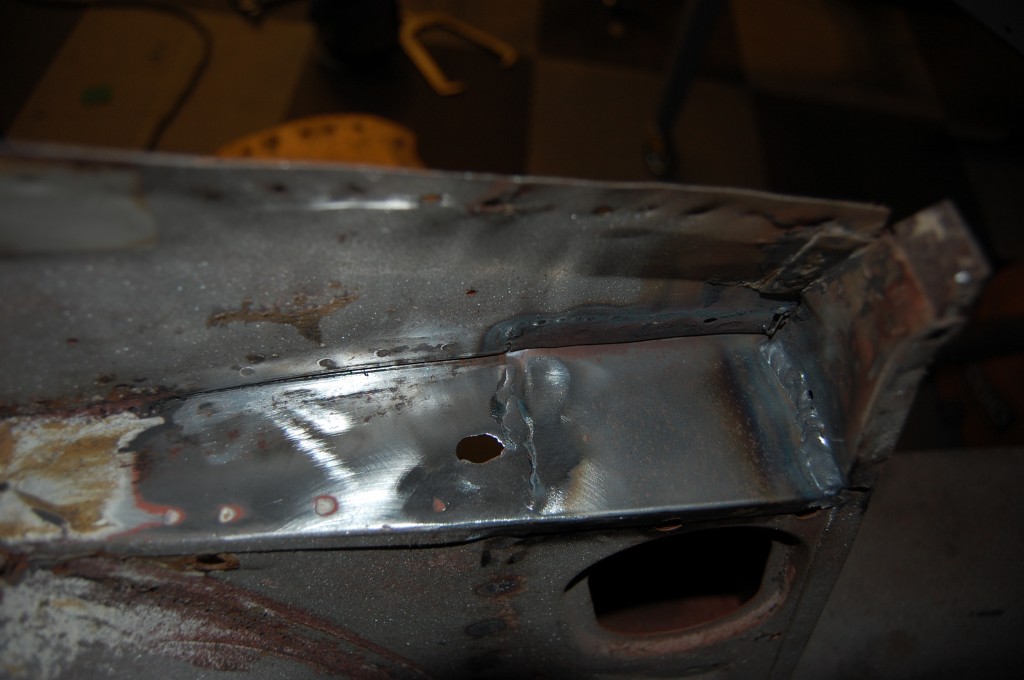
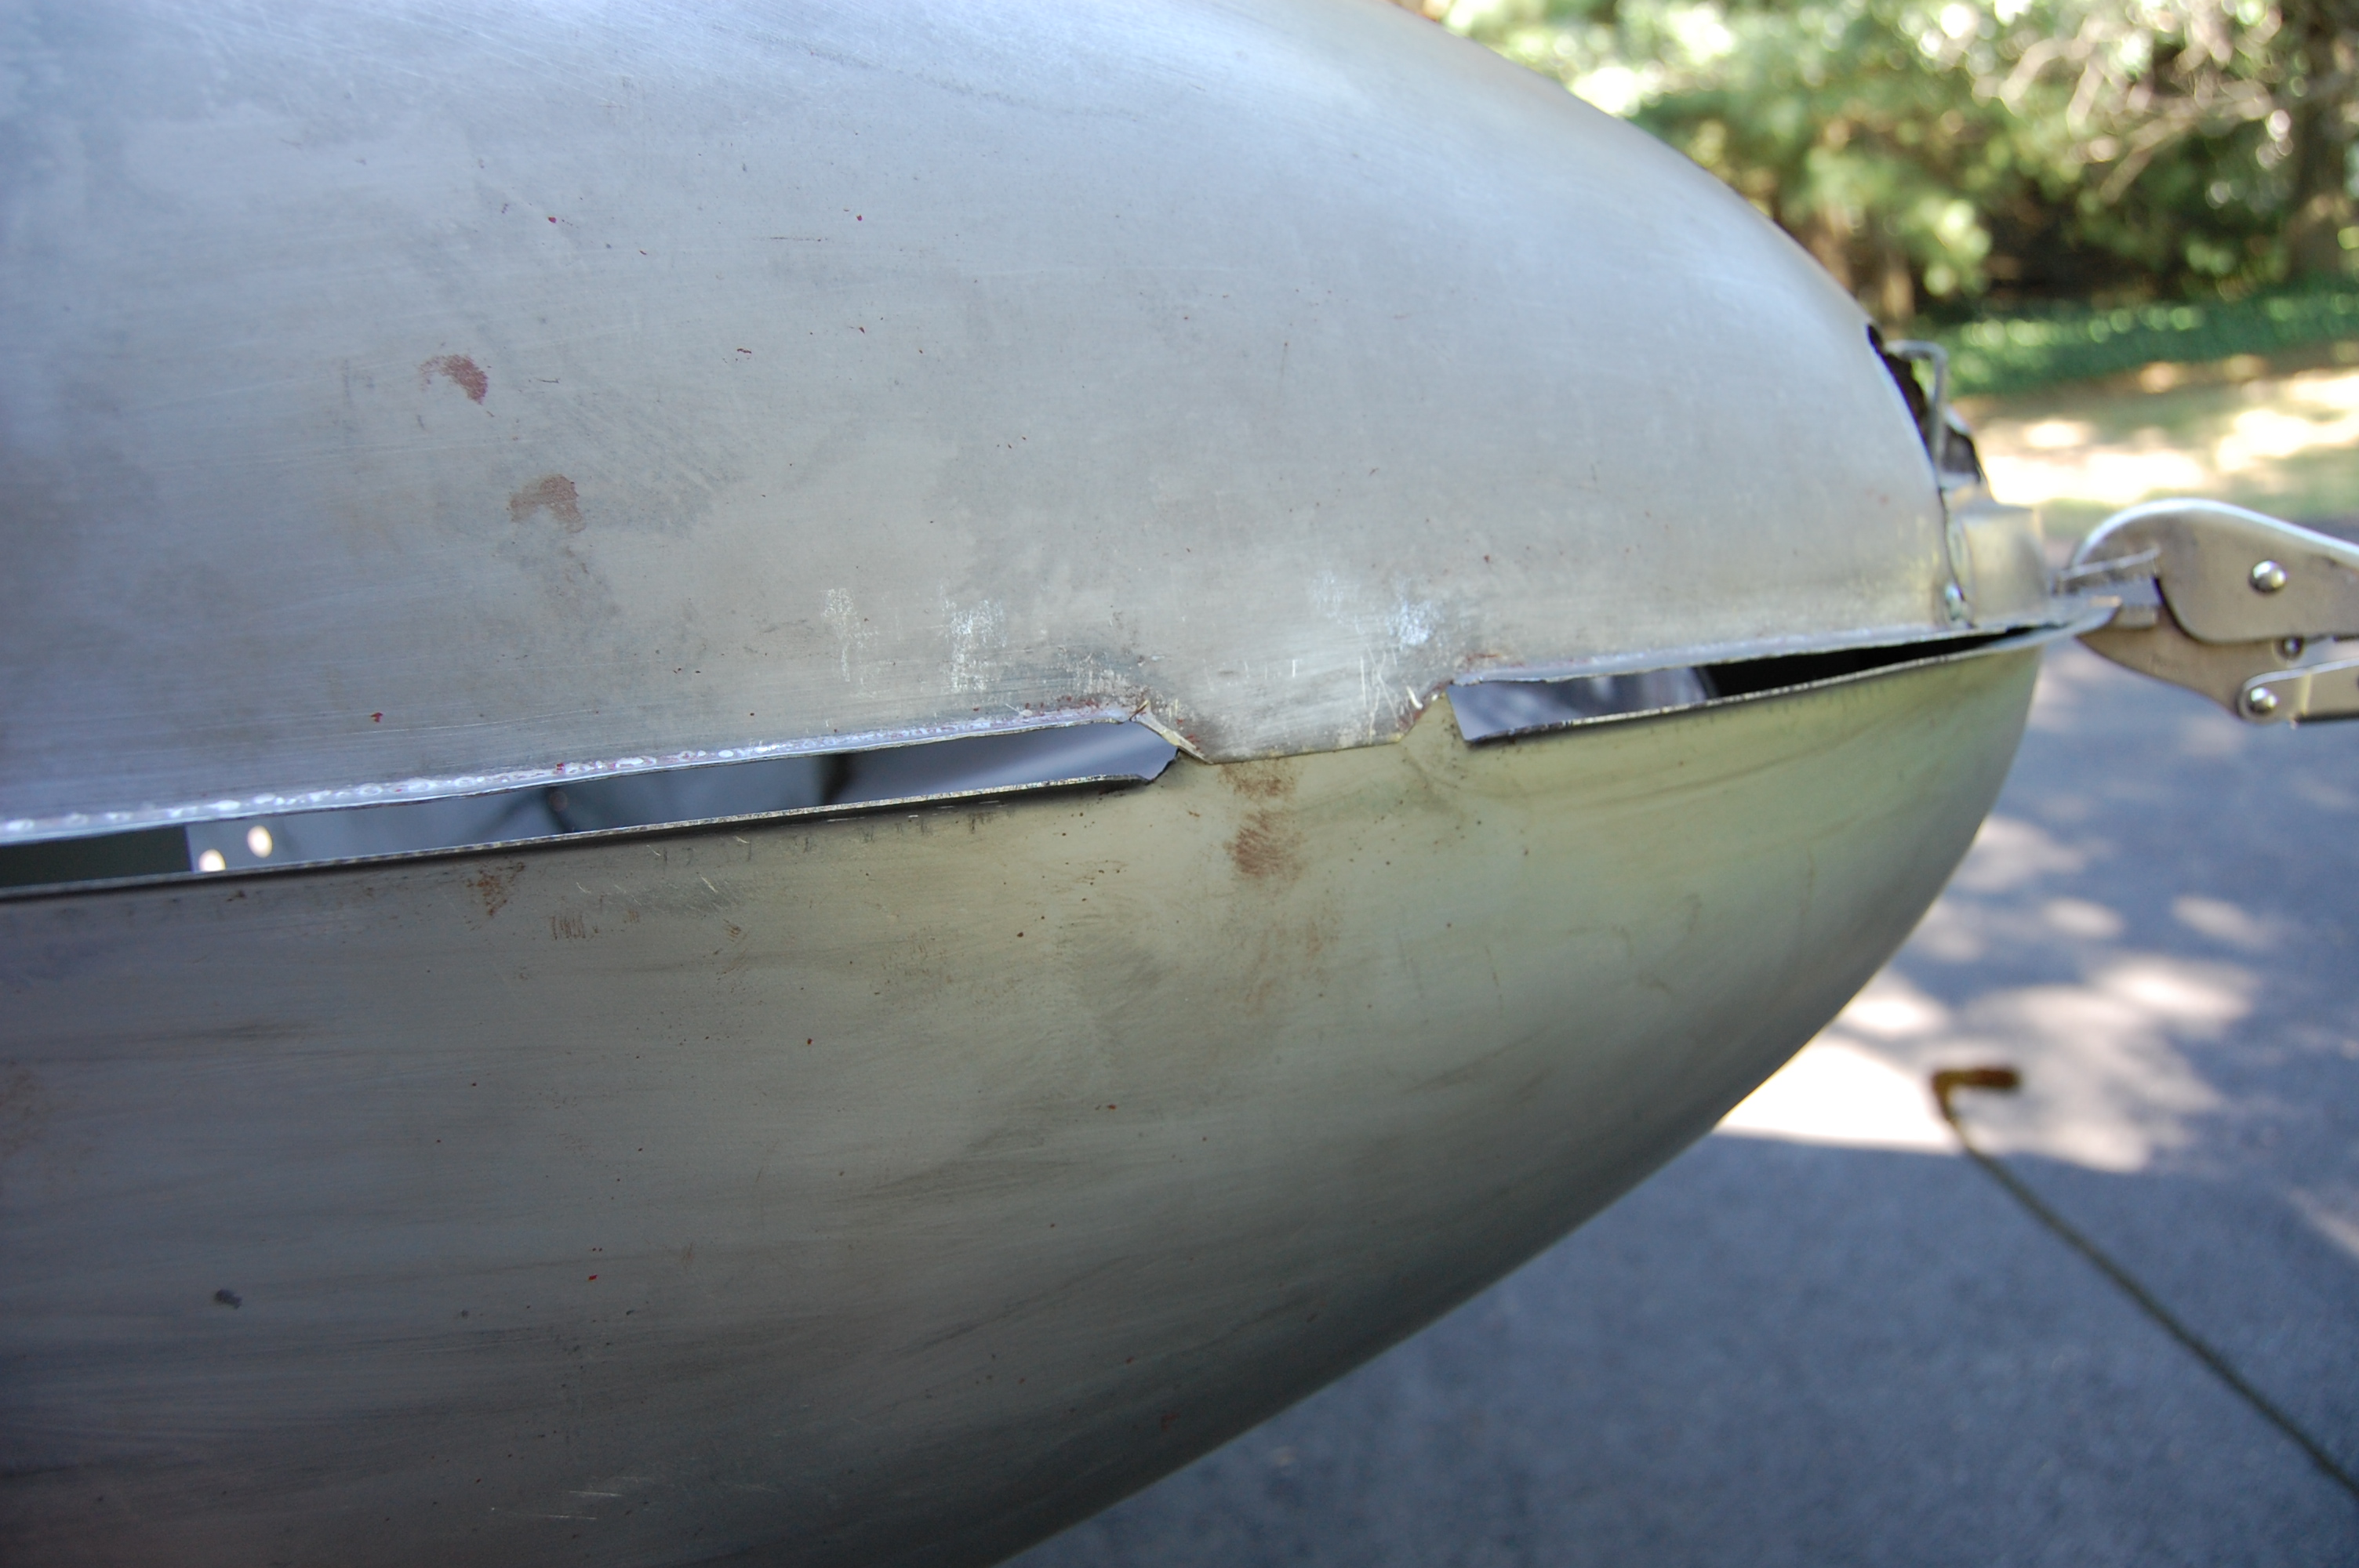
- Back to this area – we have to repair this before the wing goes on.
-
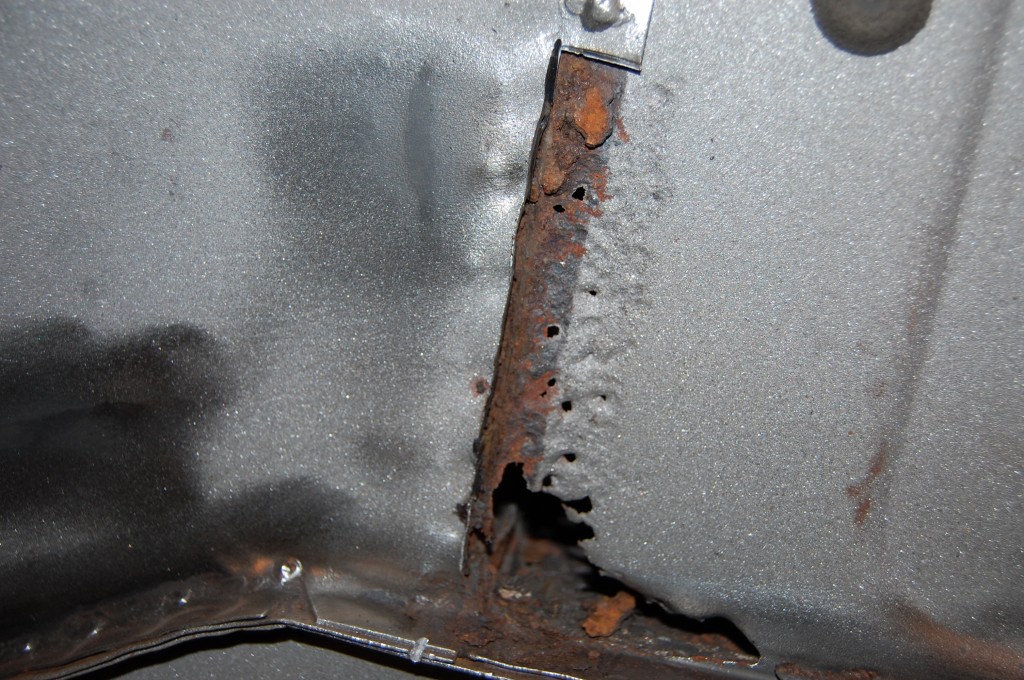
- …and as usual, opening it up shows that the damage we can see is just the tip of the iceburg.

-
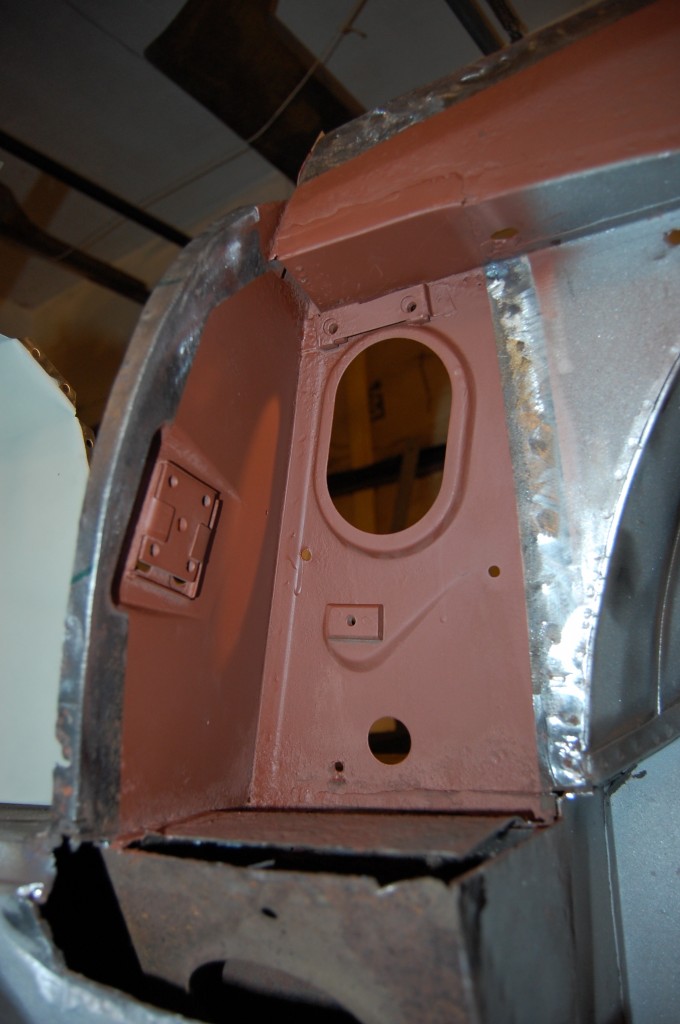
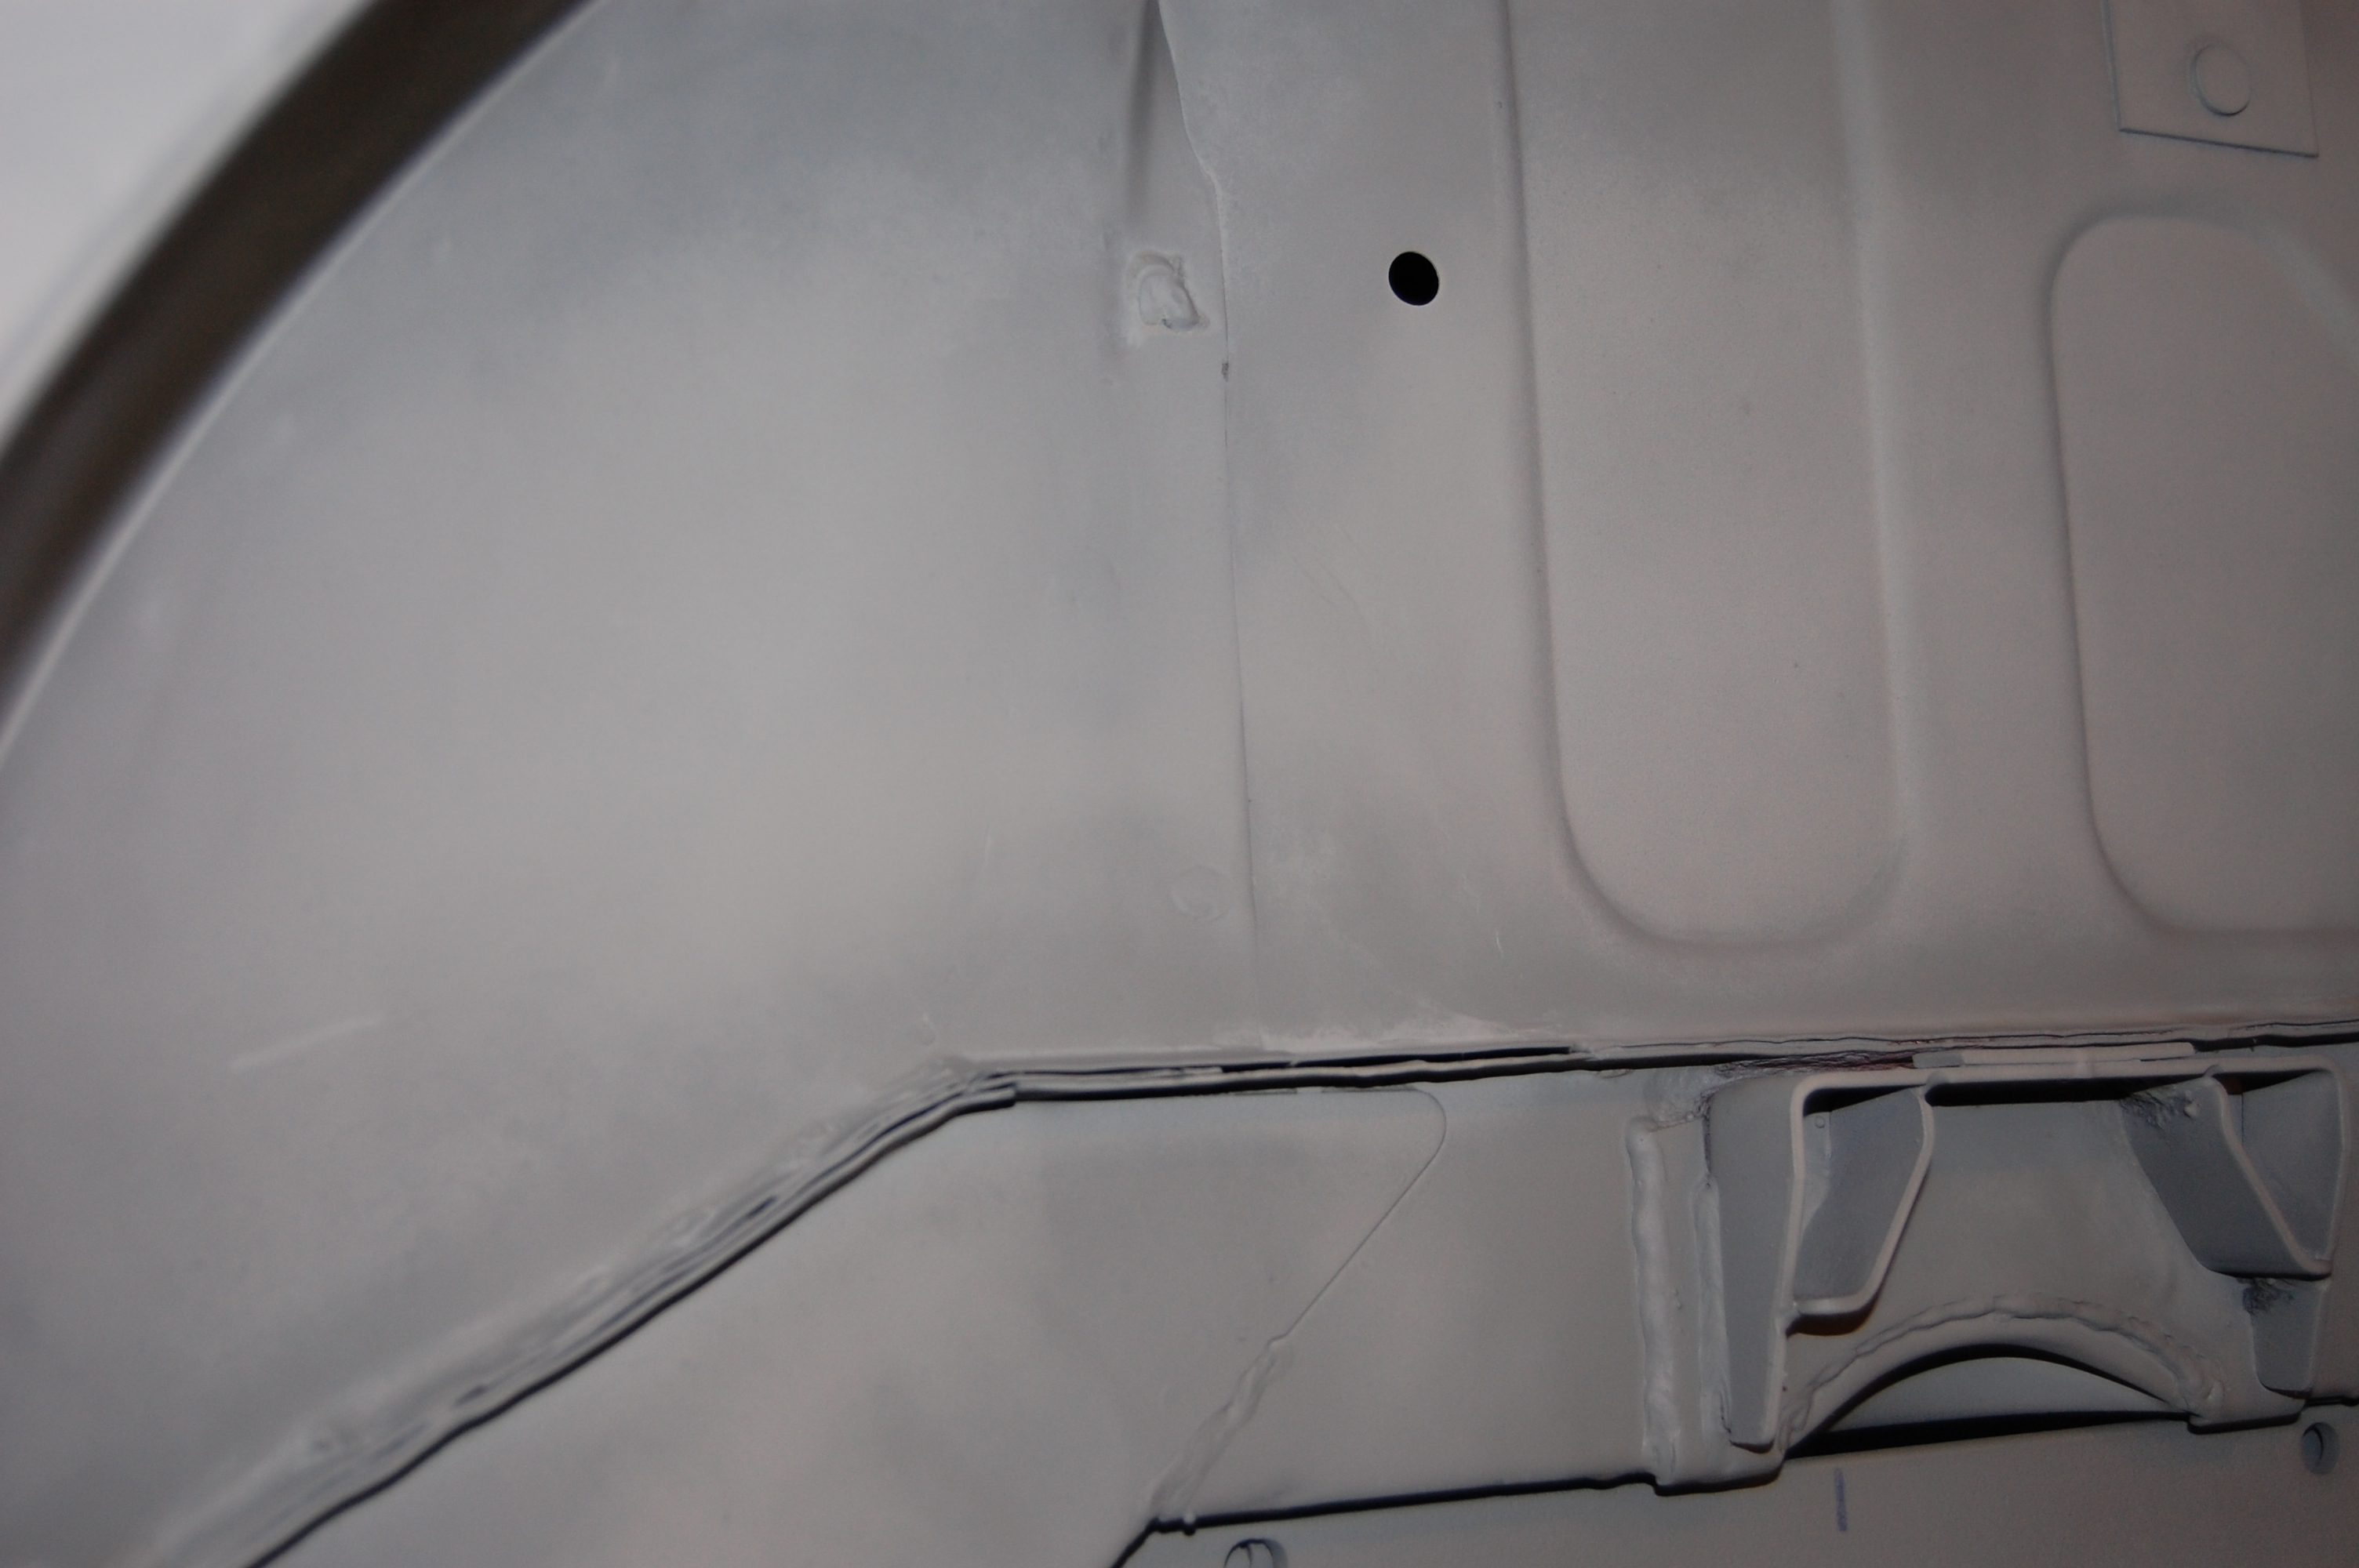
- The B-post repairs are complete, and the surface rust has been removed and the entire area has been coated with red oxide.

-
- The inner side of this new metal has been coated with etch primer, after the two pieces were marked and assembled with the spot-welder.
-
- Because we were attaching new panels to old ones, we decided to play it safe and plug-weld the new B-post support panels in place.

-
- This little top patch has been welded into place as well.

-
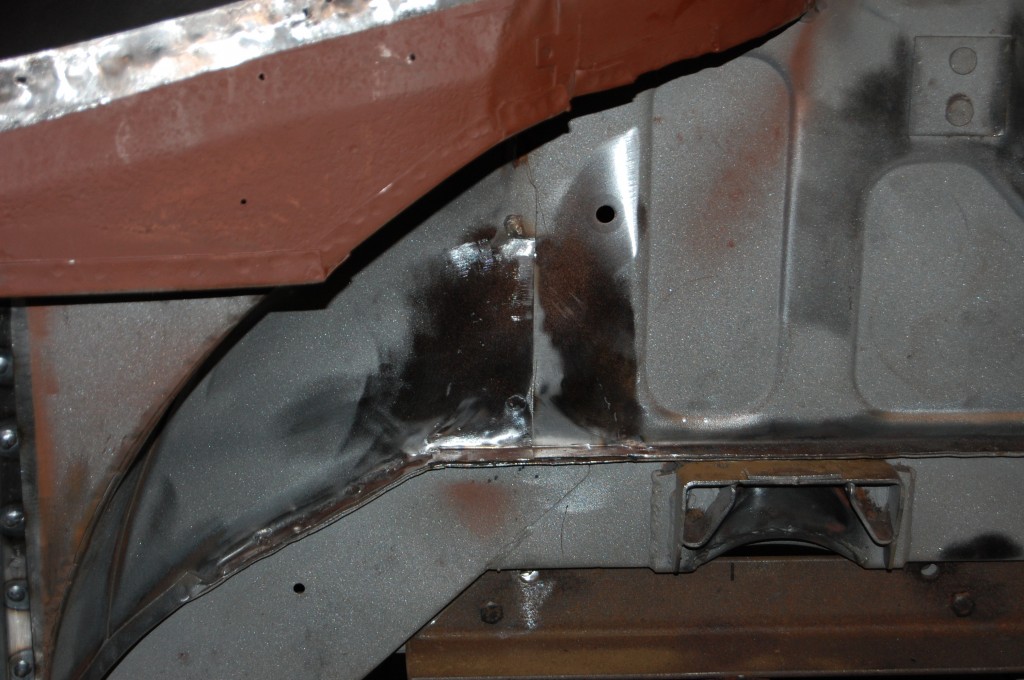
- Remember this little mess? This repair is now complete as well.

-
- …and once primed, completely invisible.

-
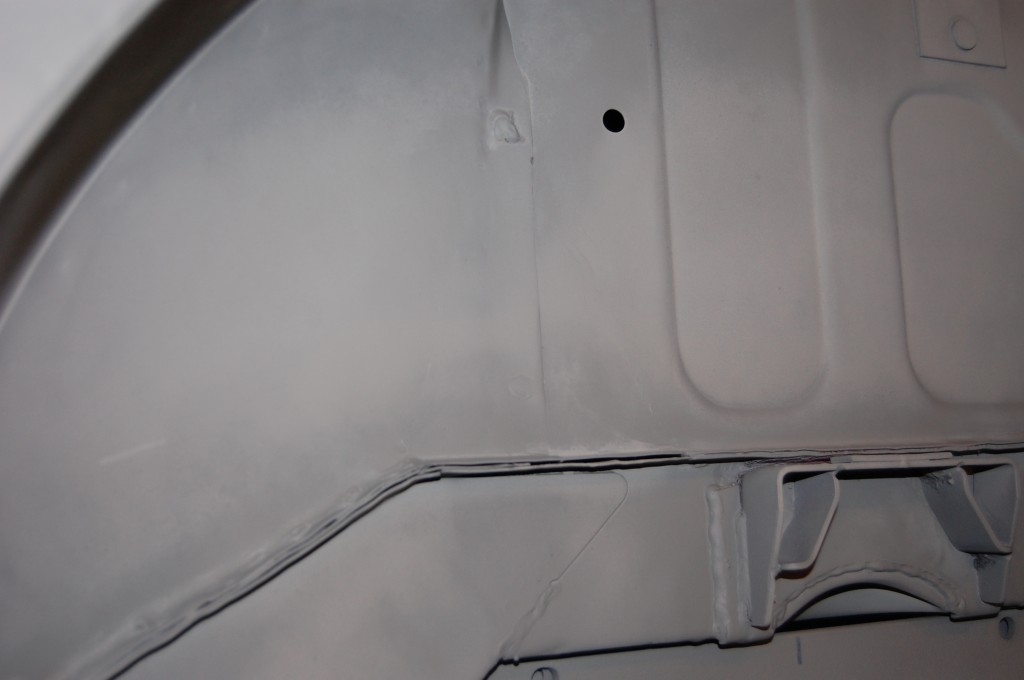
- Here is a close-up of that repair.
-
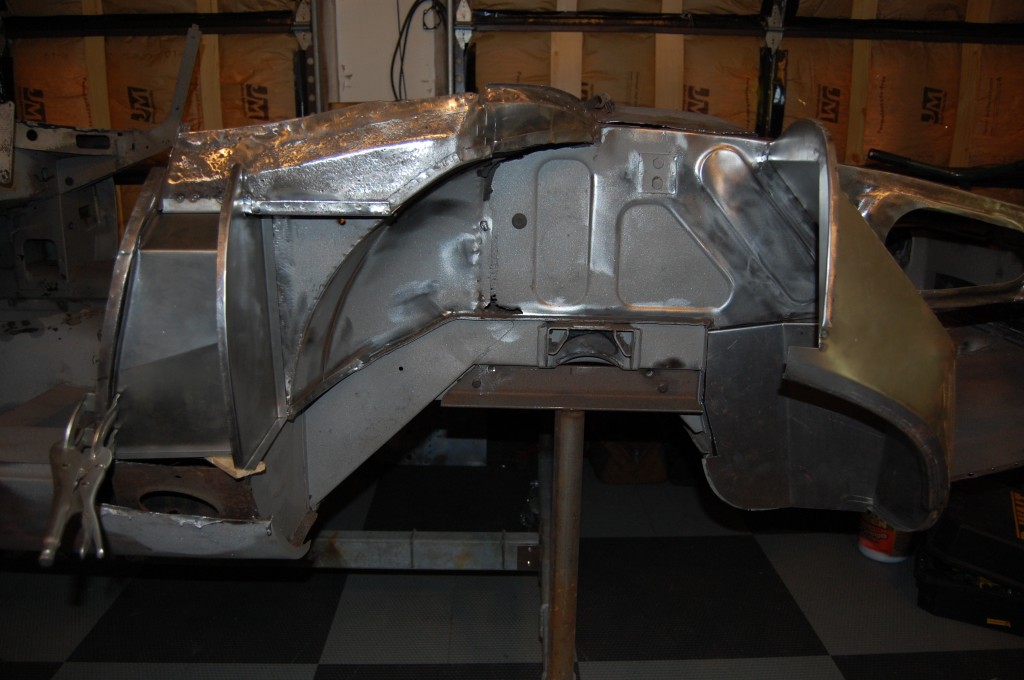
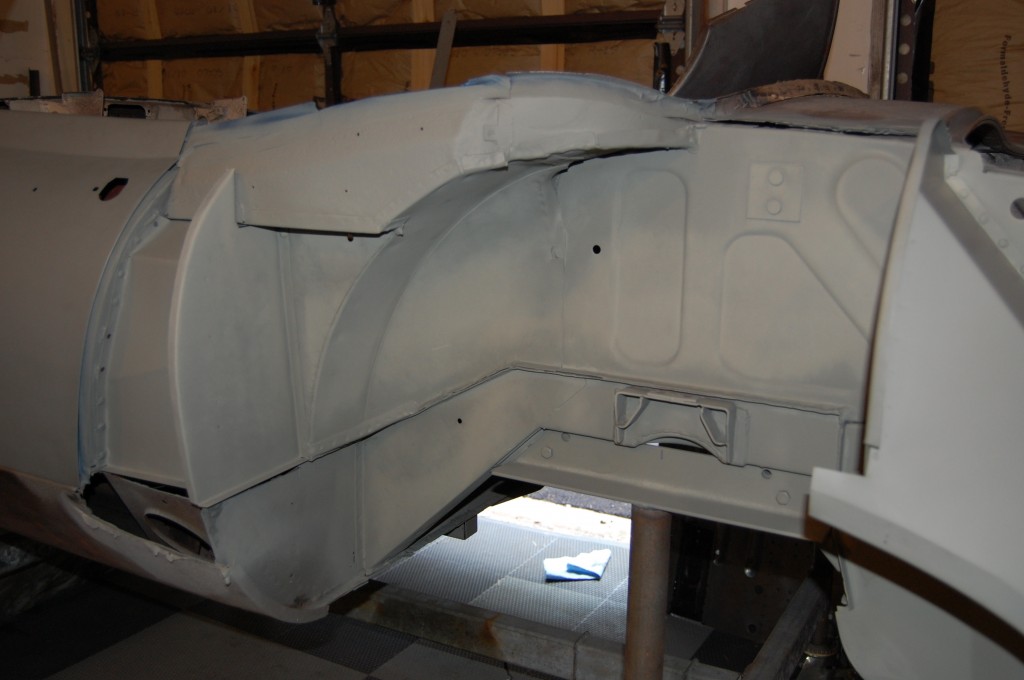
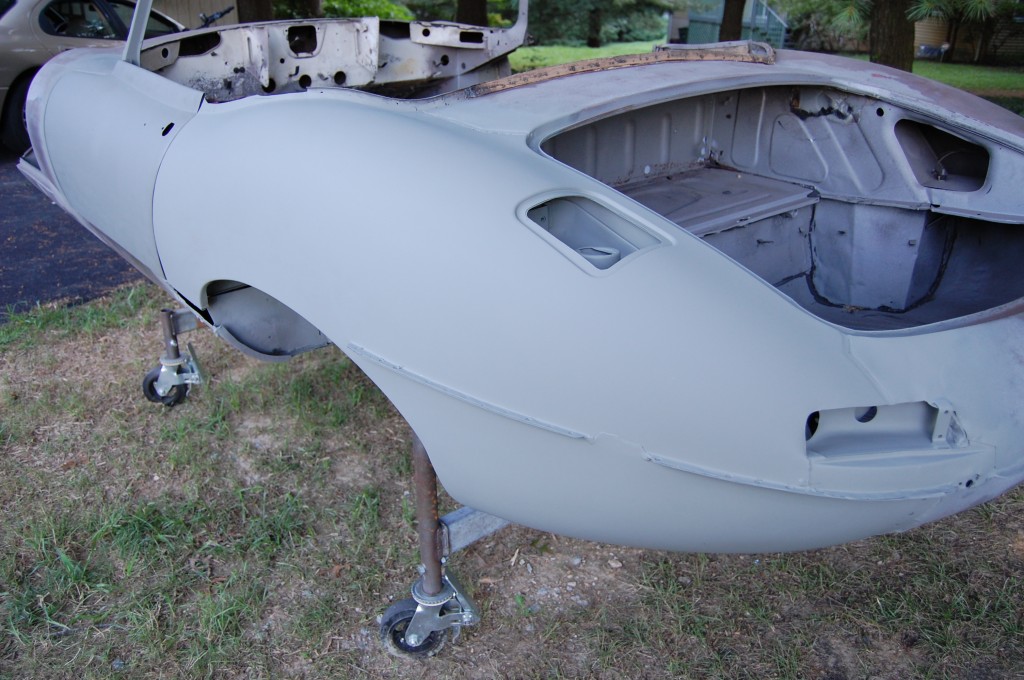
- The shell is now repaired structurally and ready to receive the wing.
-

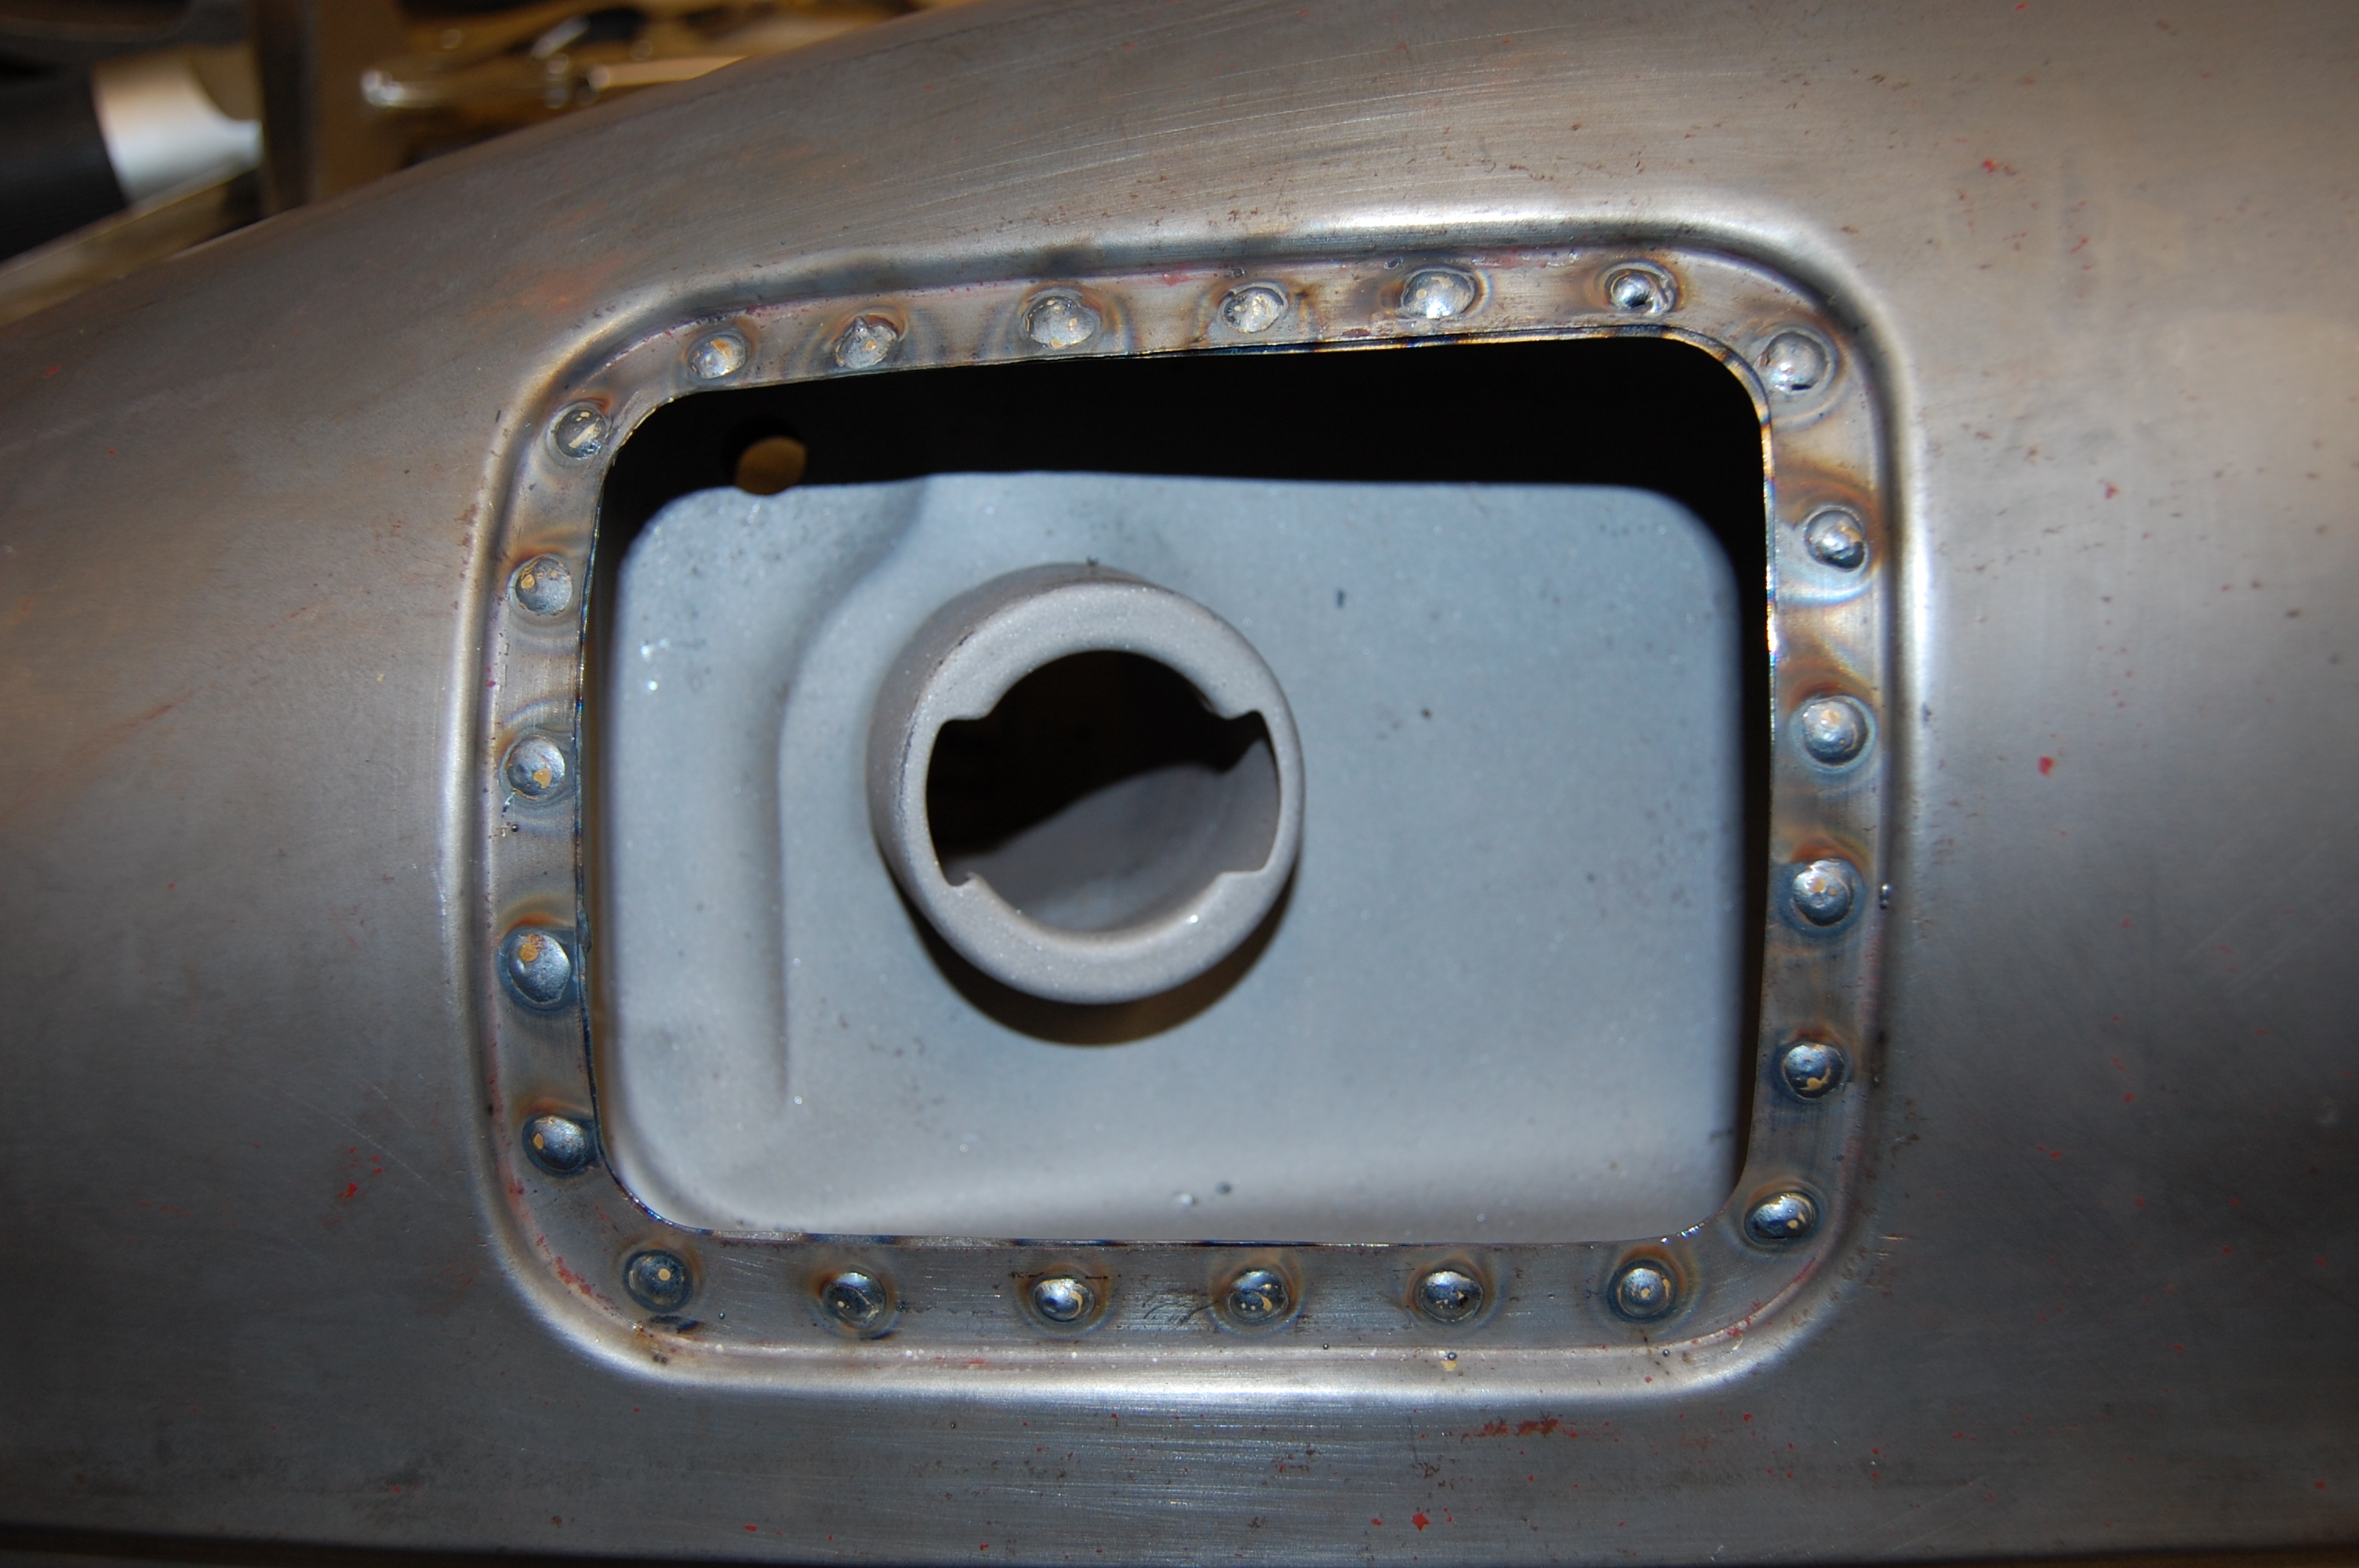
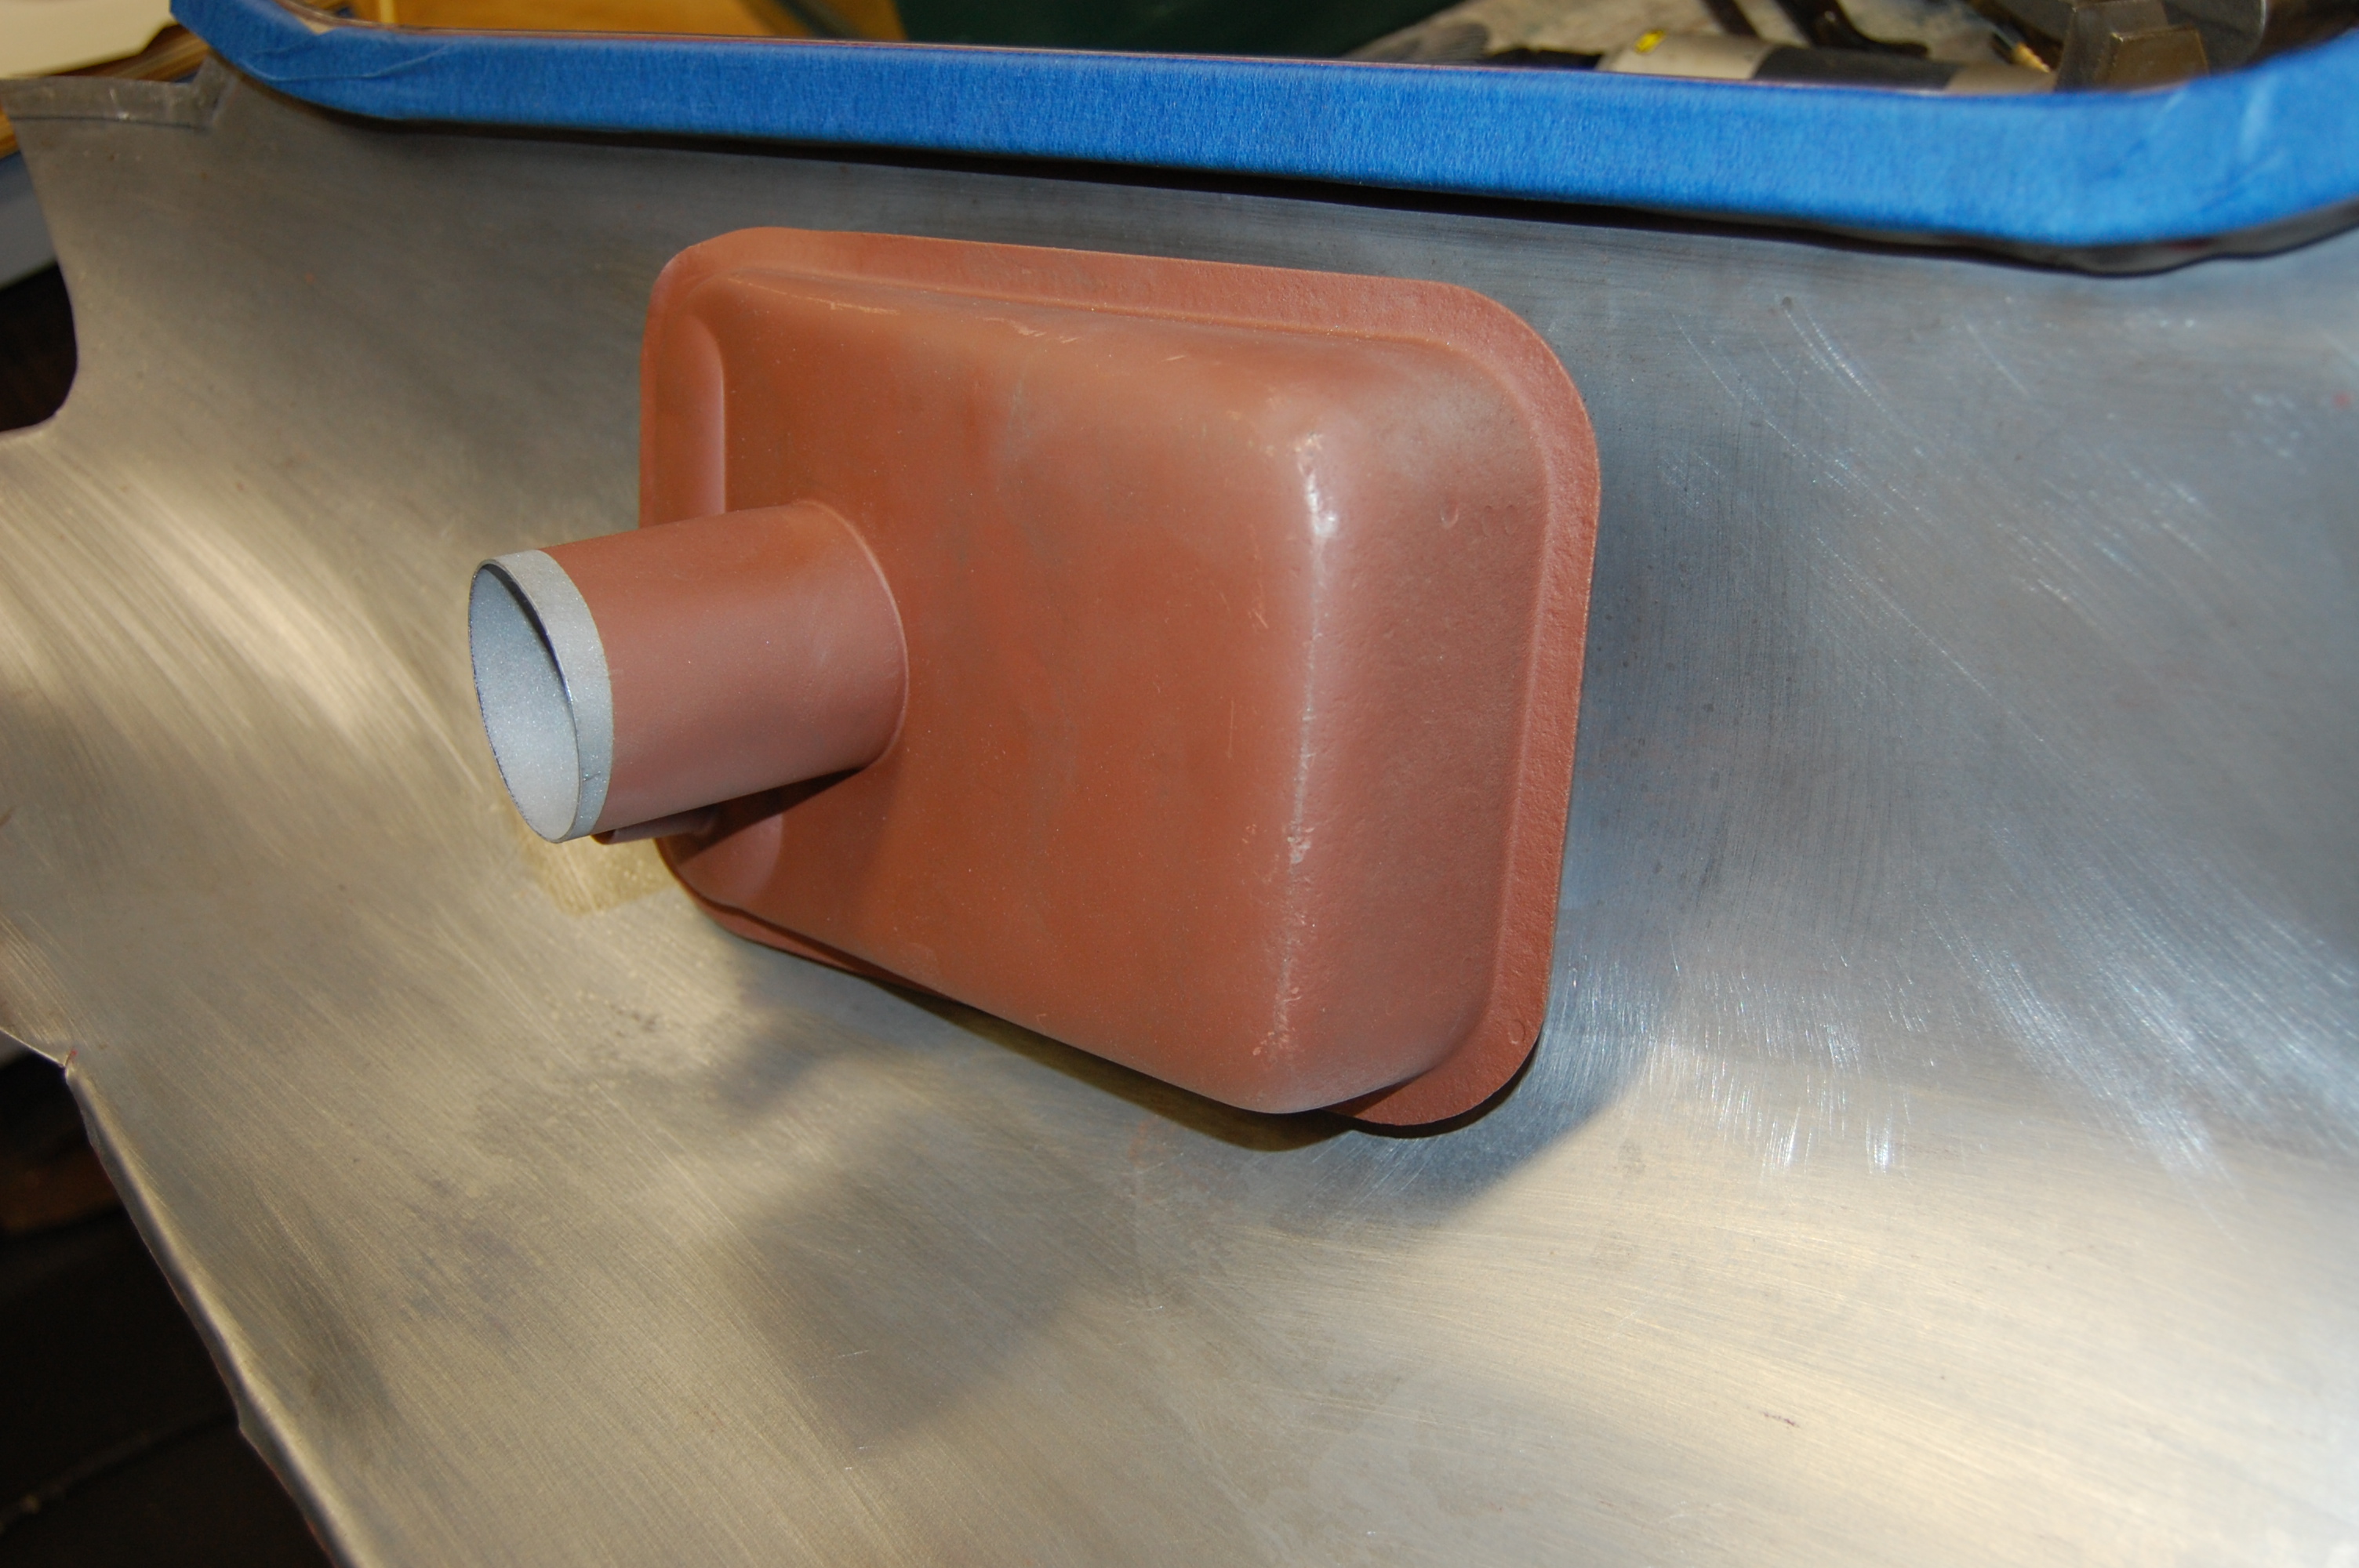
- Once again we have chosen plug-welding over the spot-welder when joining old metal to new. The fuel box’s flange was solid but scarred in several places from removing it from the old wing. Rather than risk blowing out a couple spot welds and making a mess, we did it this way.
-
- The finished piece is rock-solid with crisp results on the flange.

-

- Underside shot of the fuel box in red oxide.
-
- Wing is etch-primed on the underside before attachment to the shell.
-

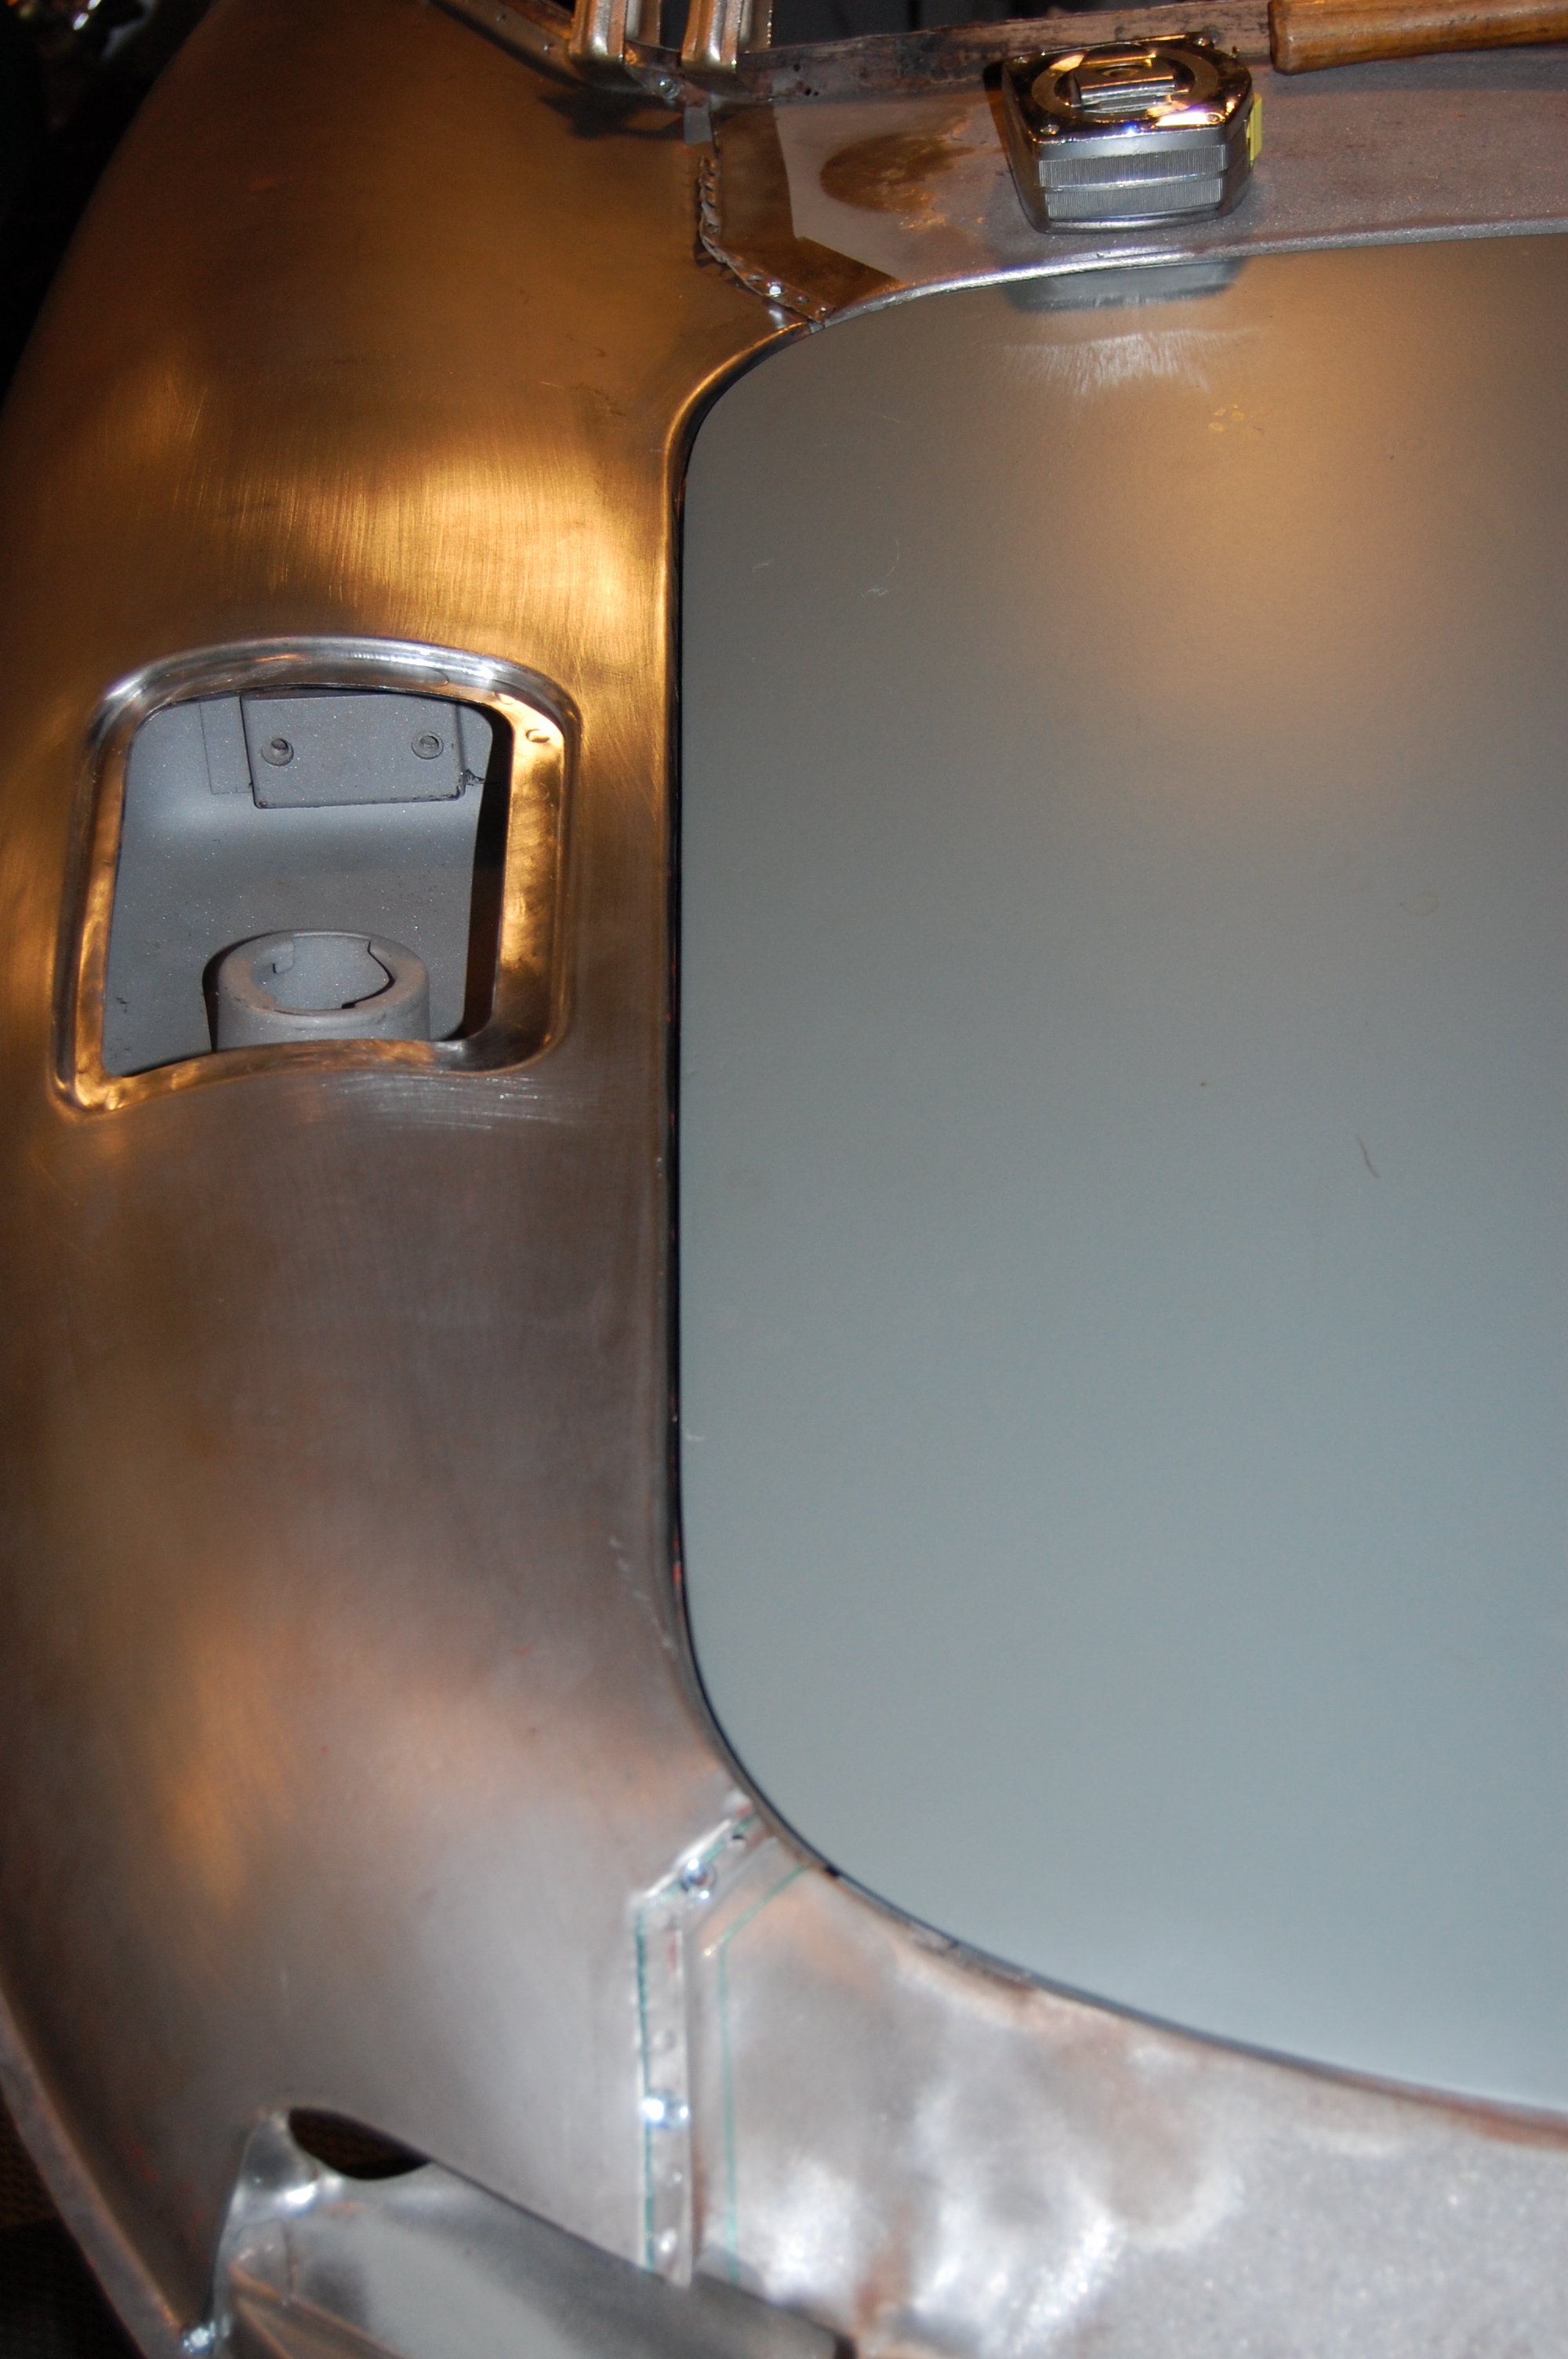
- Here we are using a virgin 3.8 boot lid to ensure that the boot opening is correct on all sides.
-
- We also use an original bumper blade to ensure that this arc is correct as well.

-
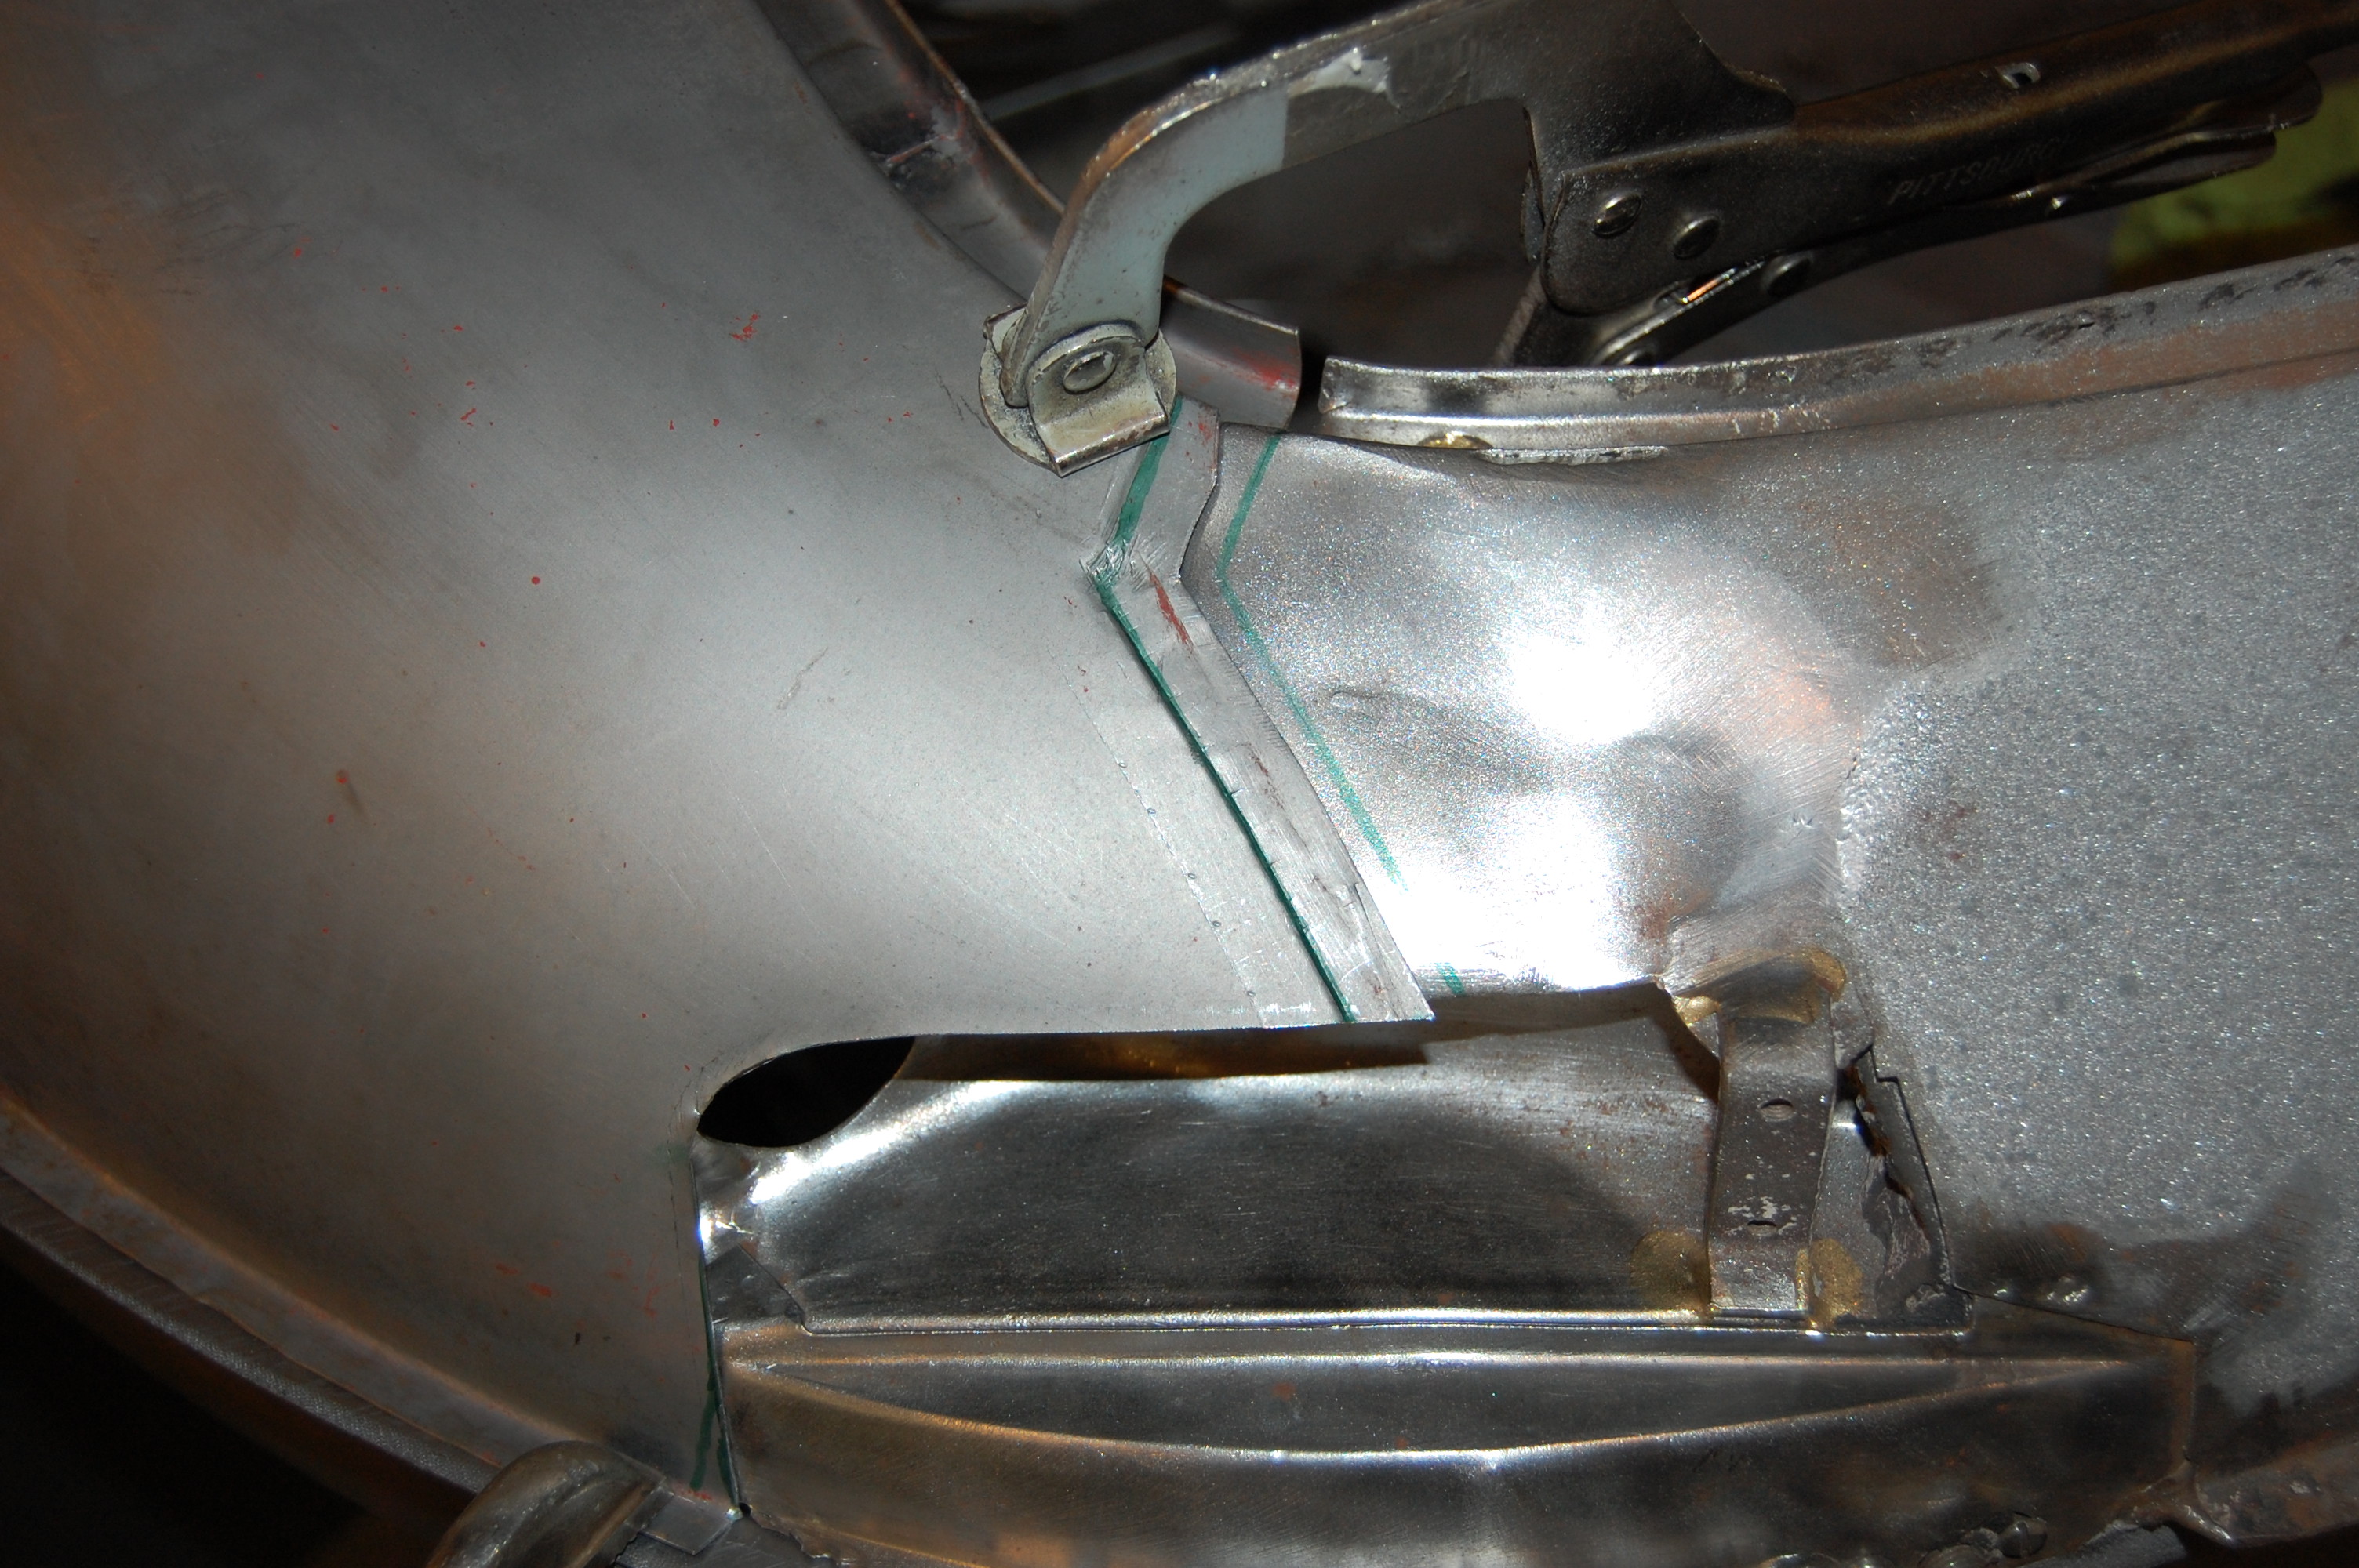
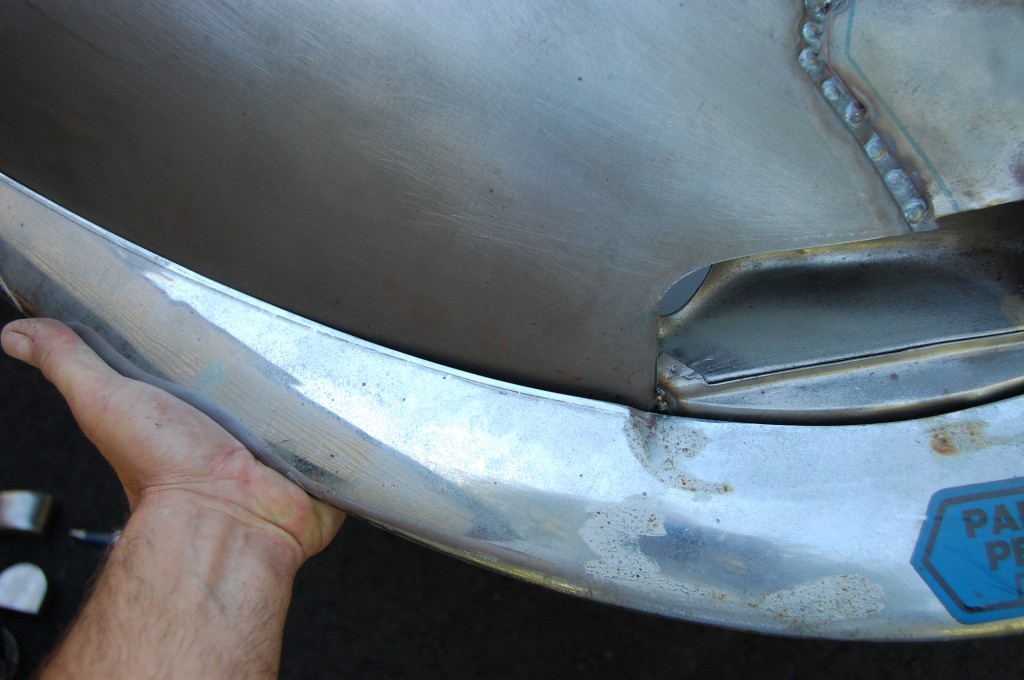
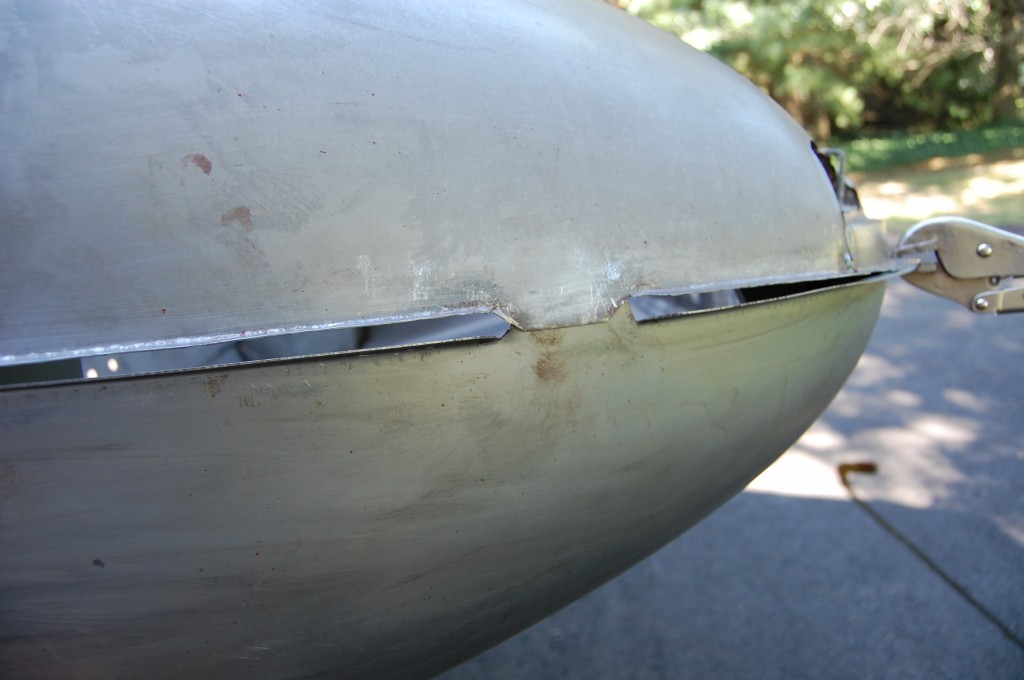
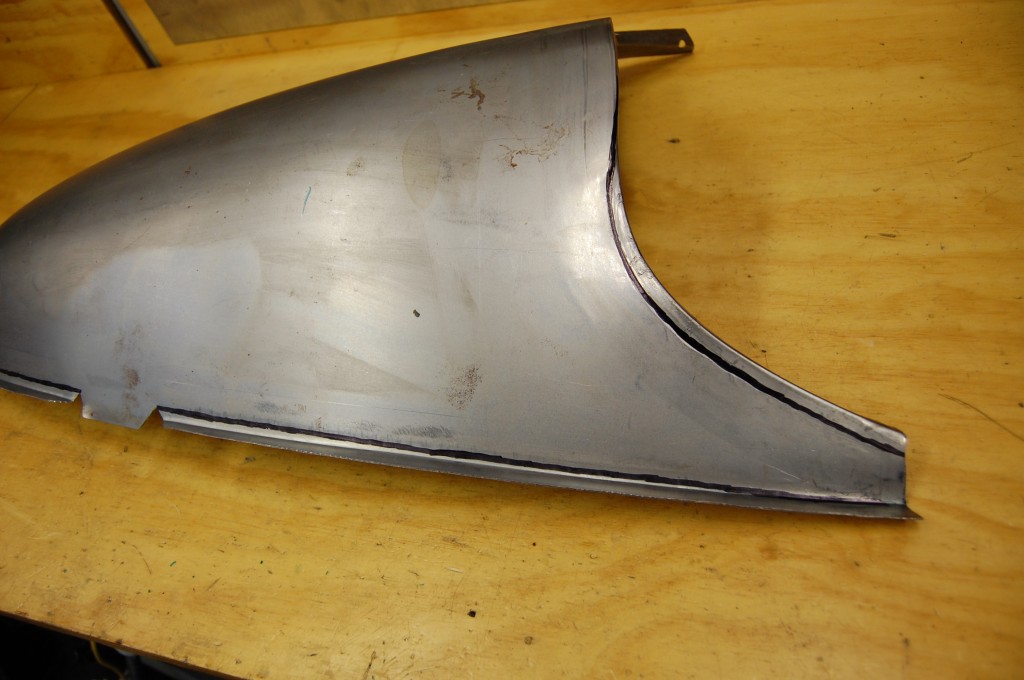
- This is where things got interesting… Here, we have strated to unroll the flanges of the lower valances so they can be re-rolled in the correct arc and location.

-
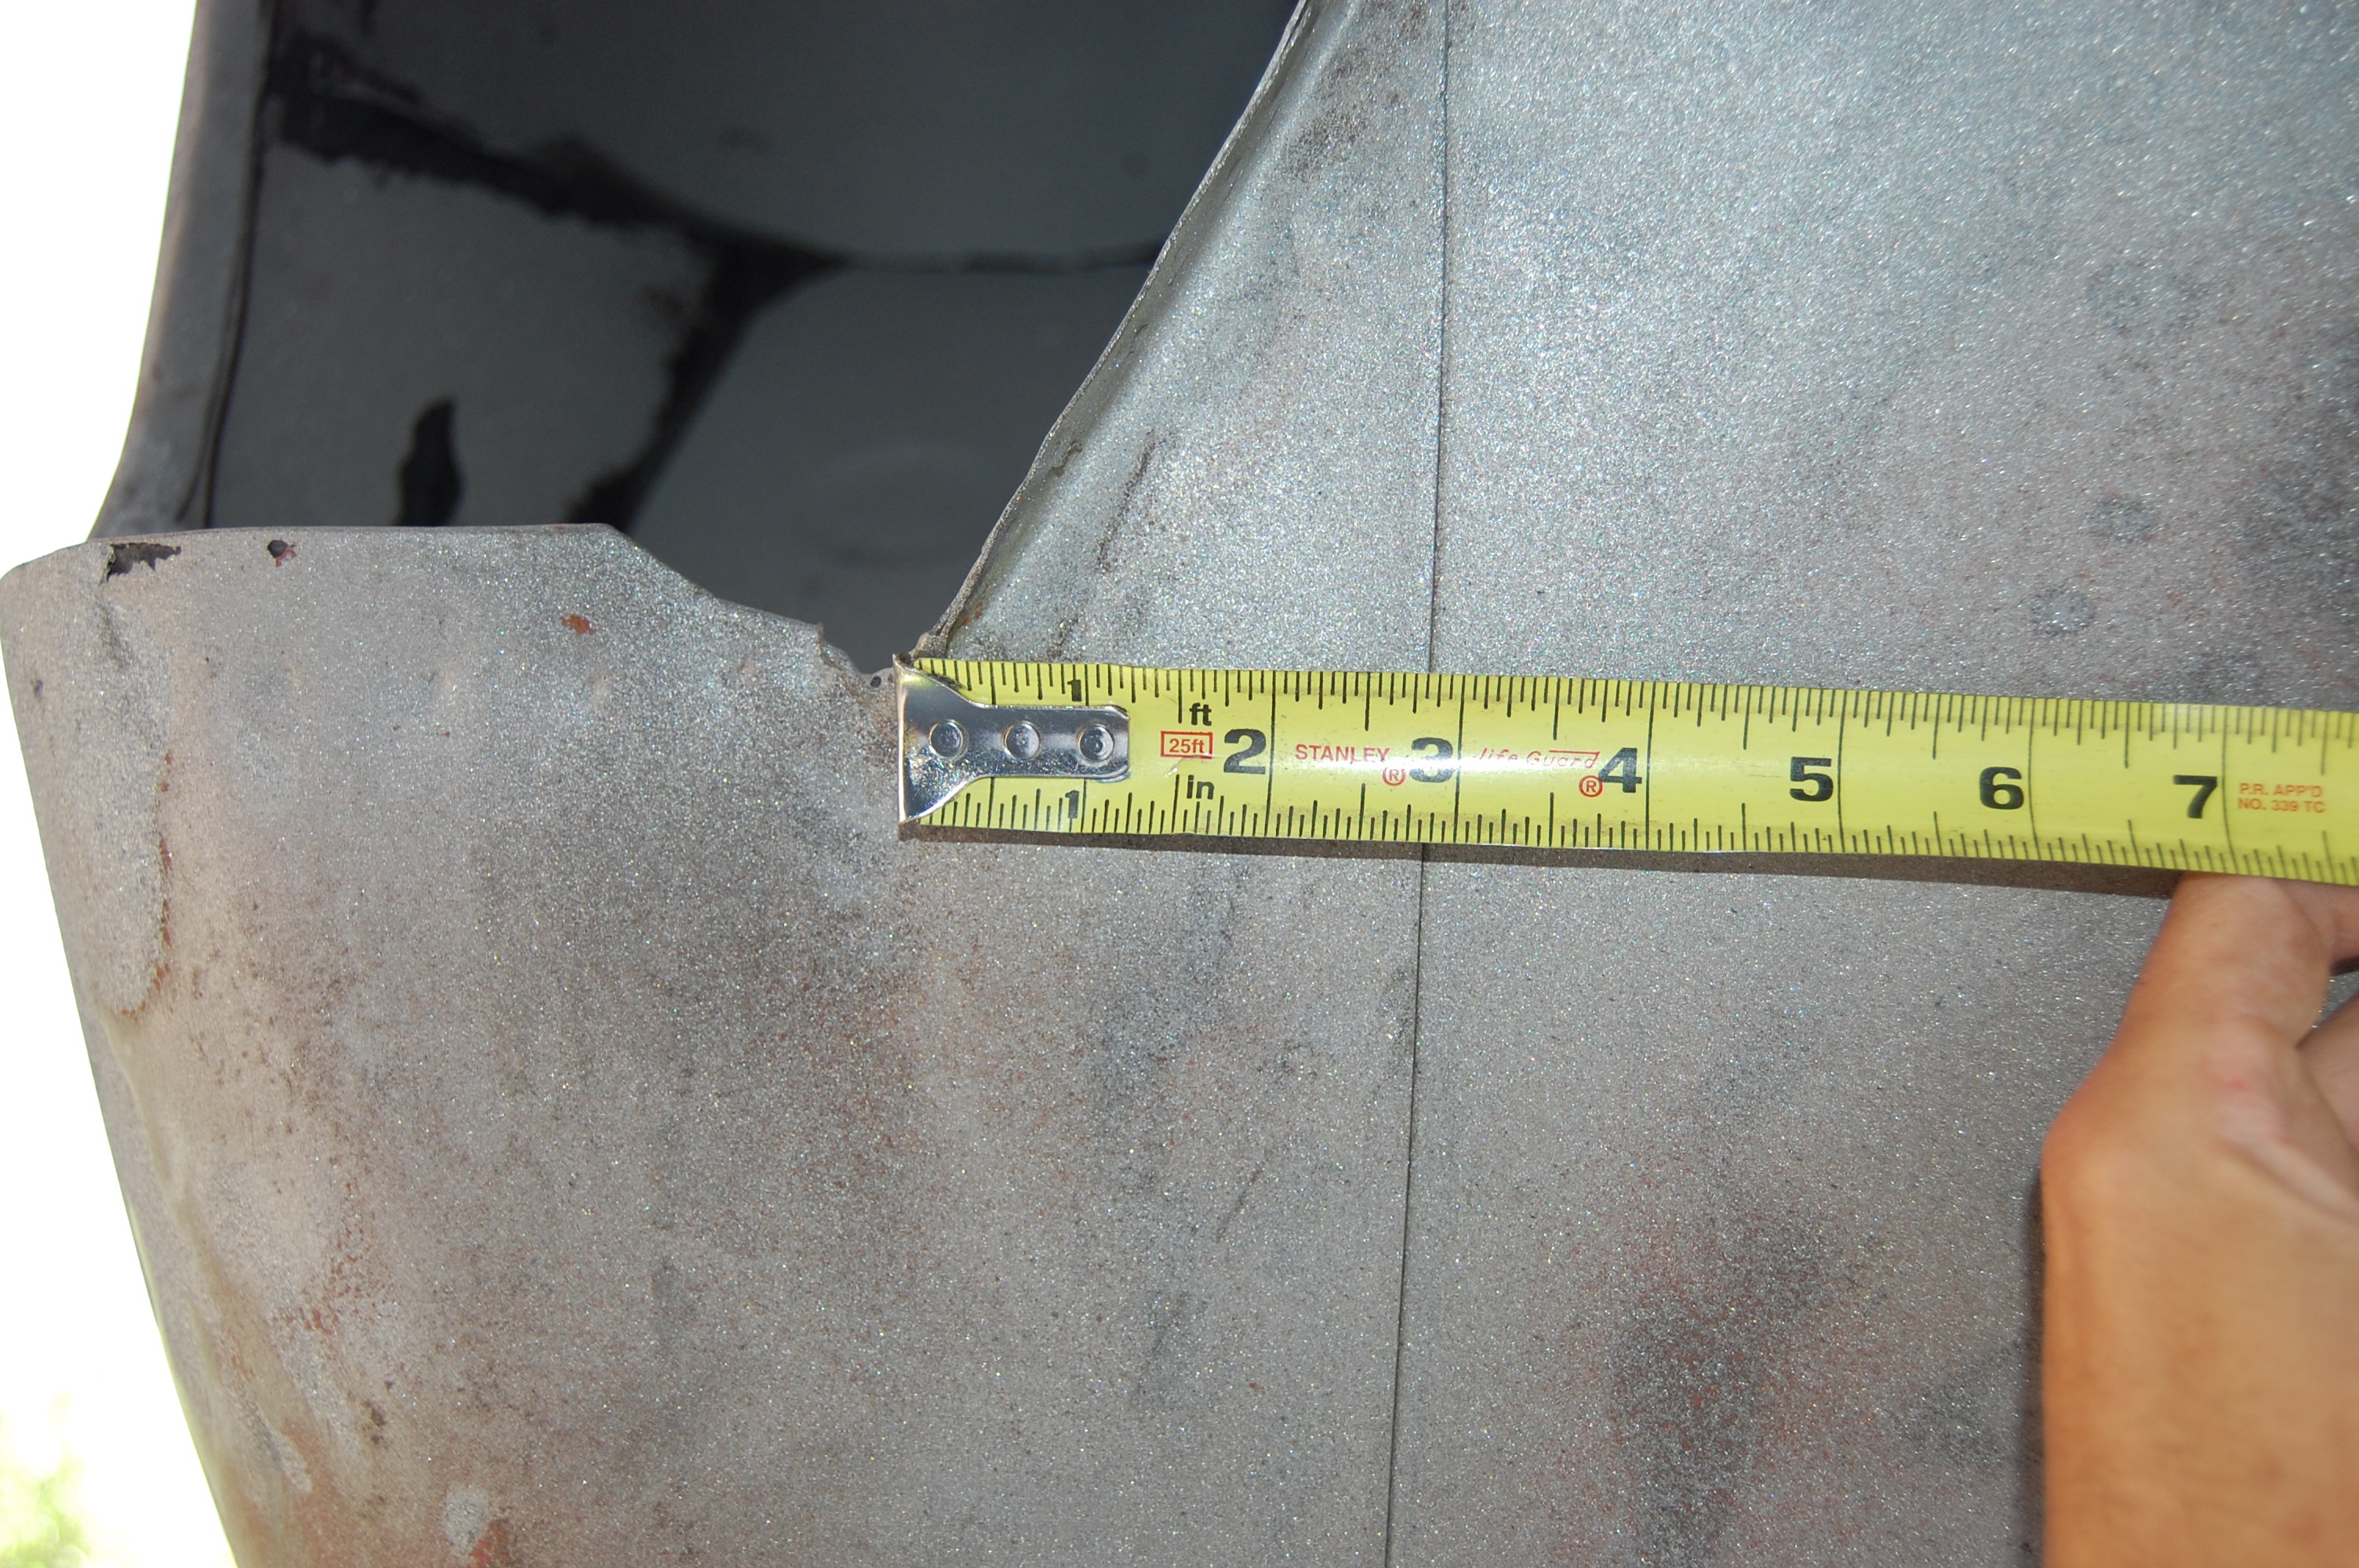
- This flange underneath was 1/4″ off as well.

-
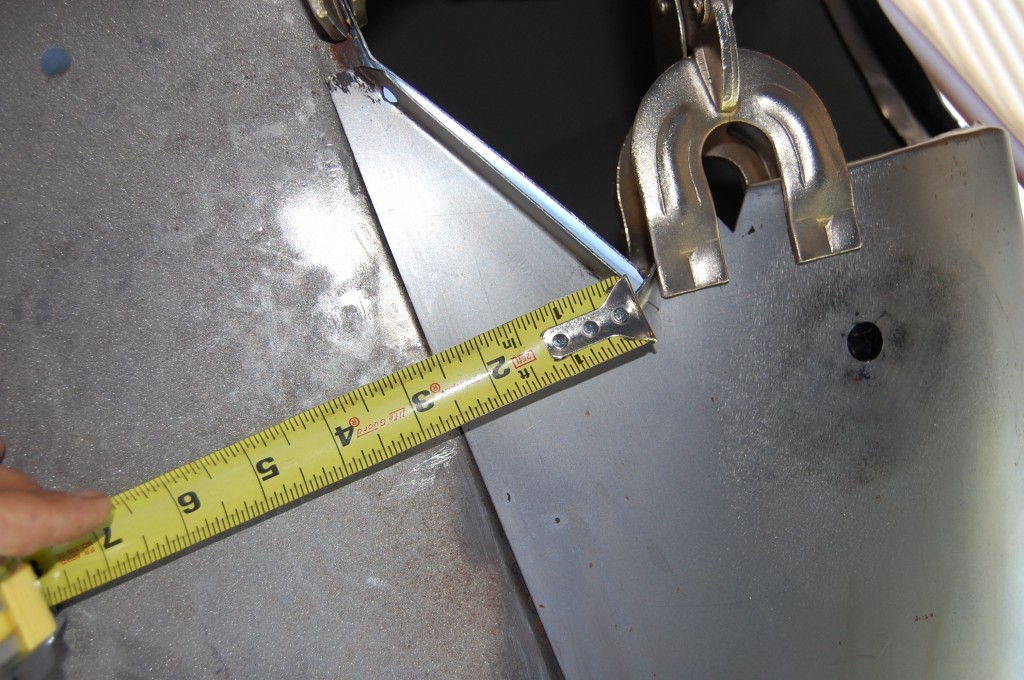
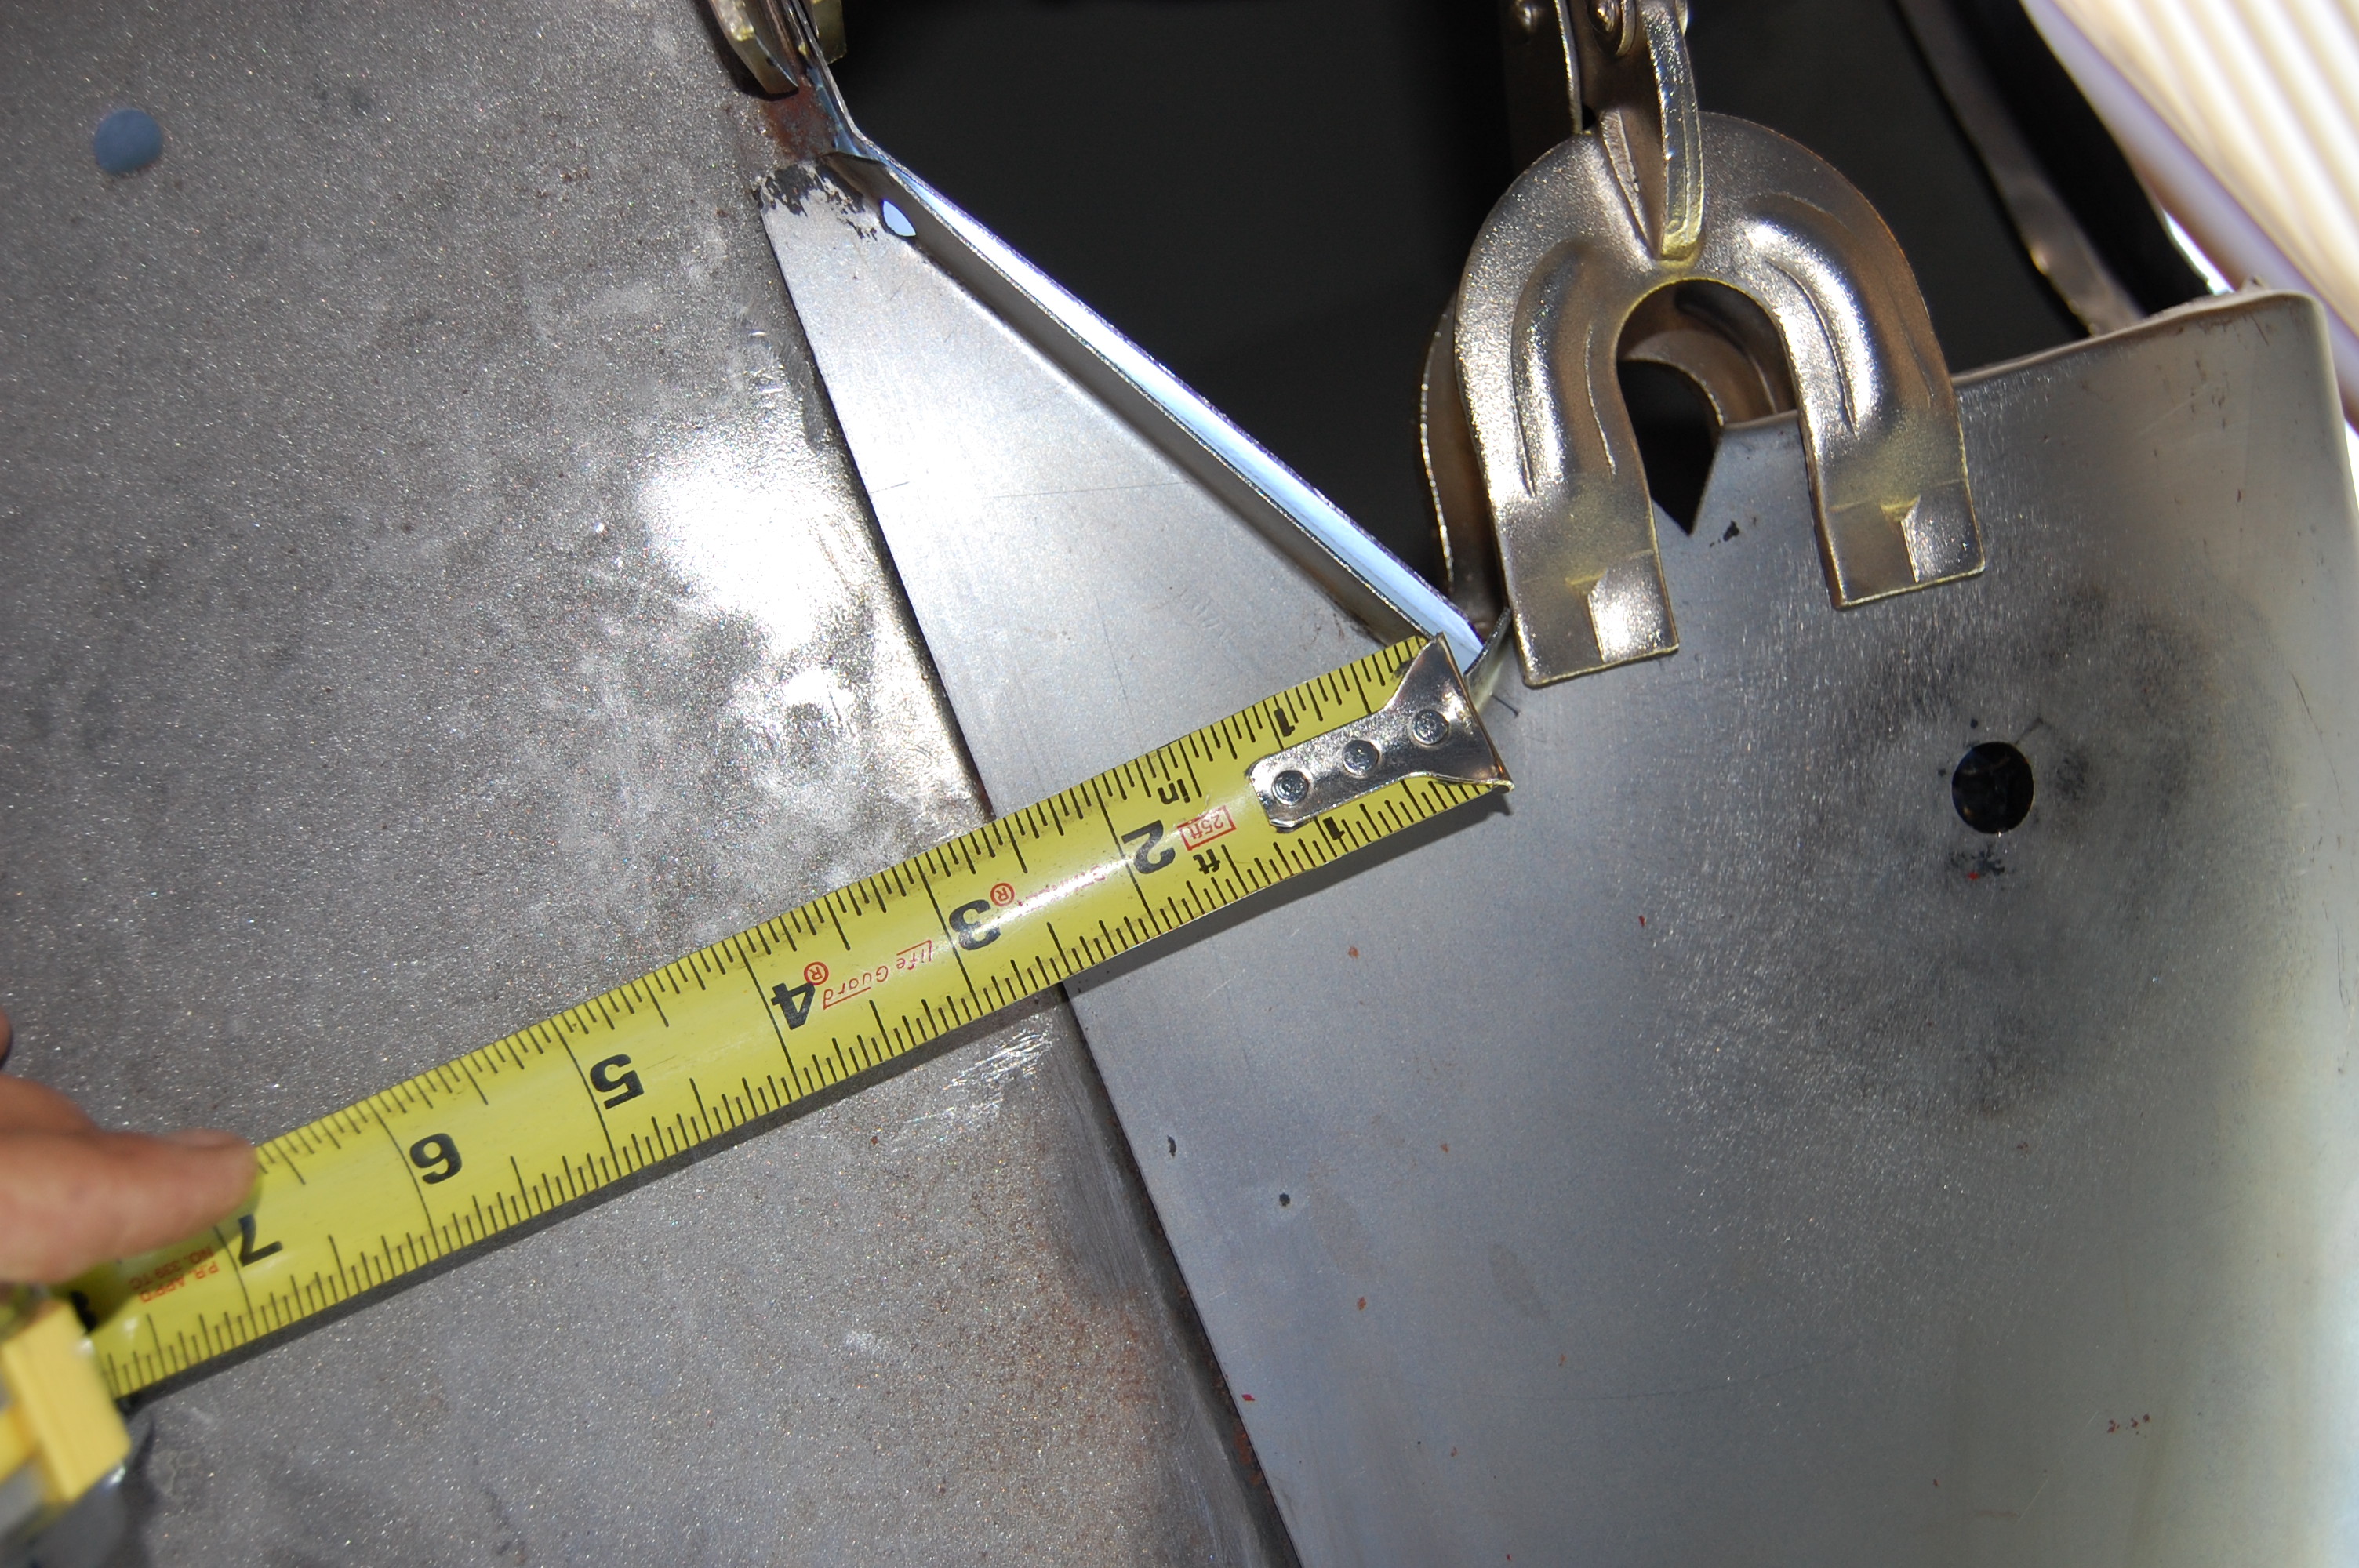
- about 2.5 inches…
-

- versus the original 3 inches… Total lack of attention to detail from another supplier…
-
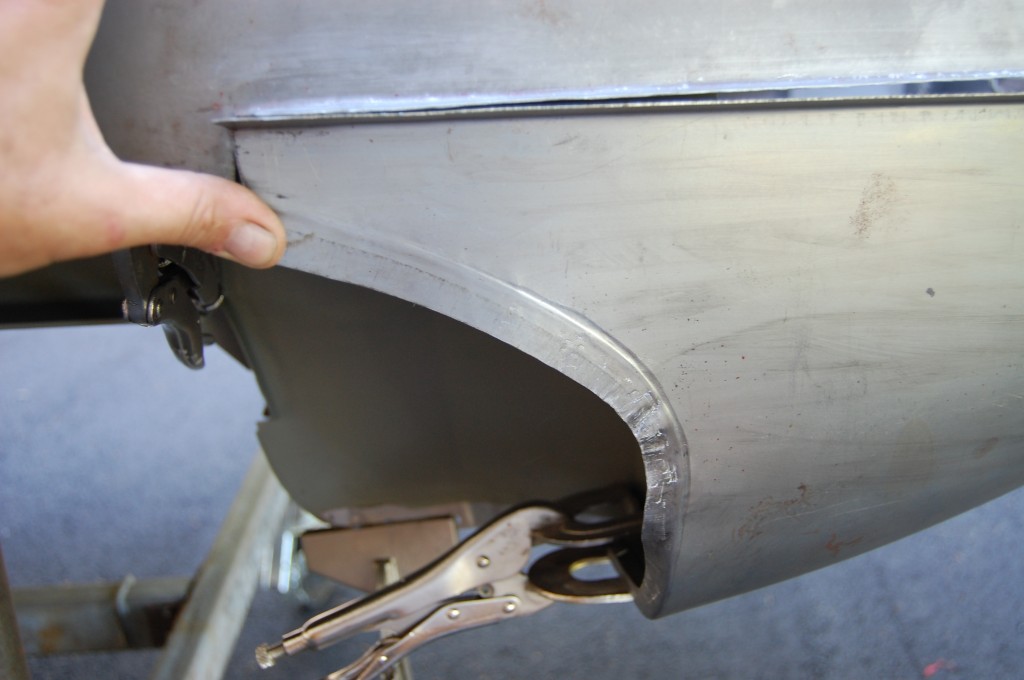
- This flange is too wide, and hmmmm – also too short.
-
- After several hours of fitting, reshaping, and some colorful language, every singlt flange on this aftermarket panel has be re-done. What bothers me most about this is that for hobbyists at home attempting to do this work themselves, this piece is completely useless without industrial-grade fabrication machinery to re-shape it.

-

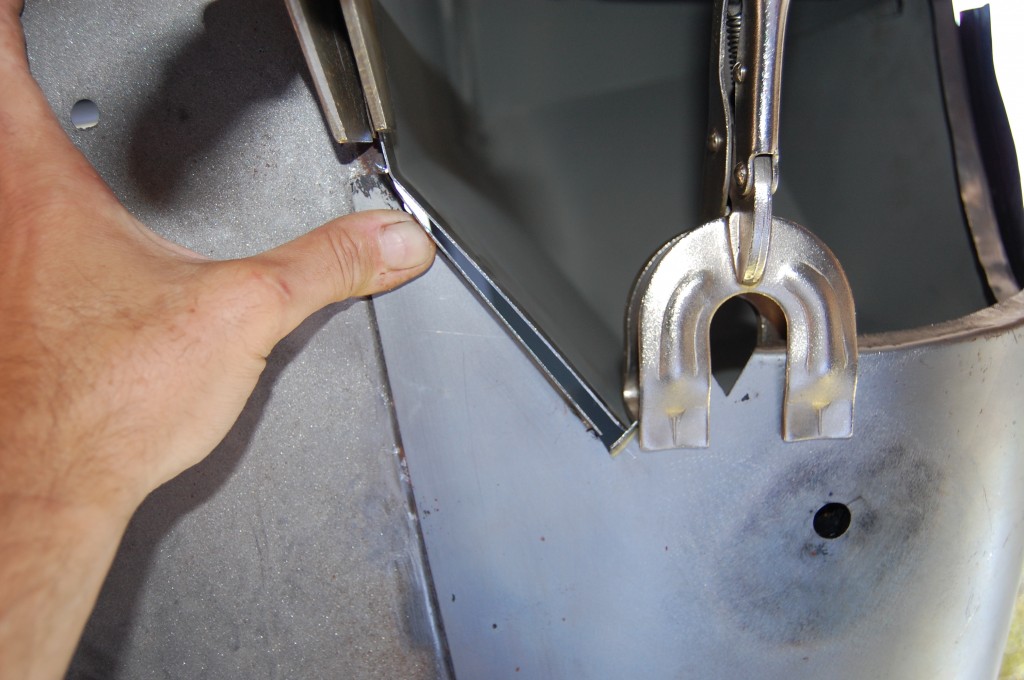
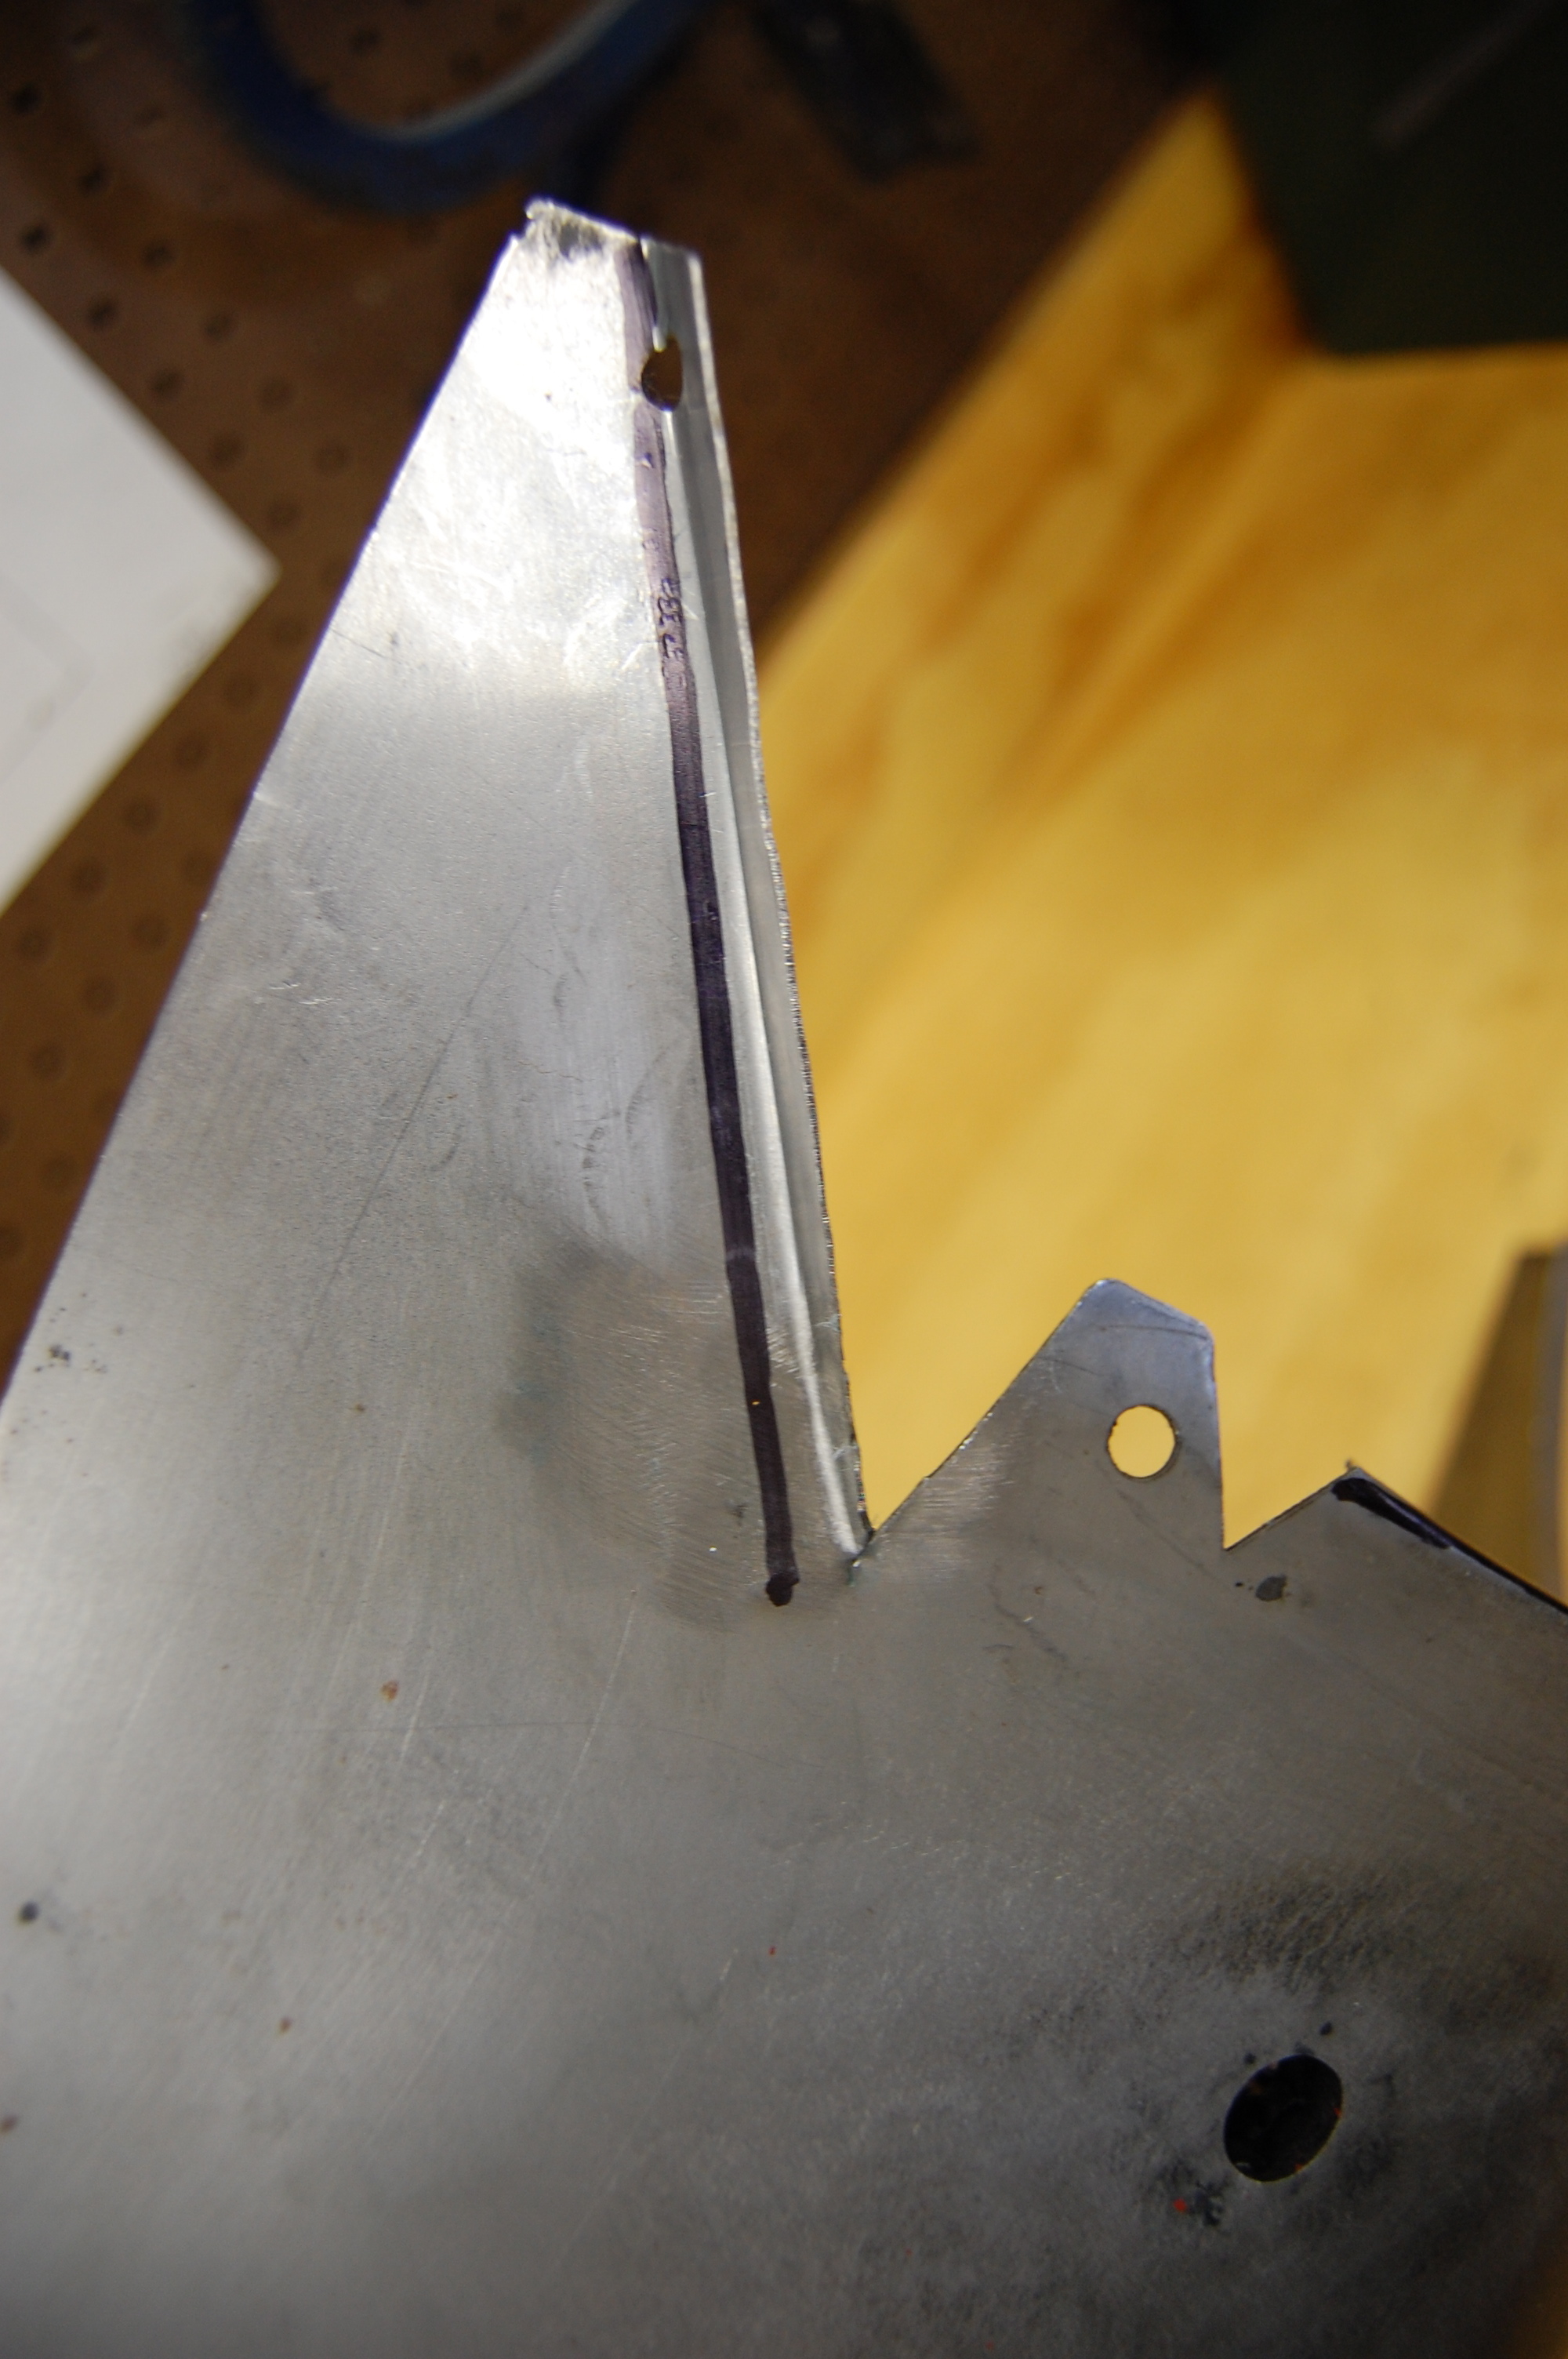
- The black line shows the old location of this flange.
-

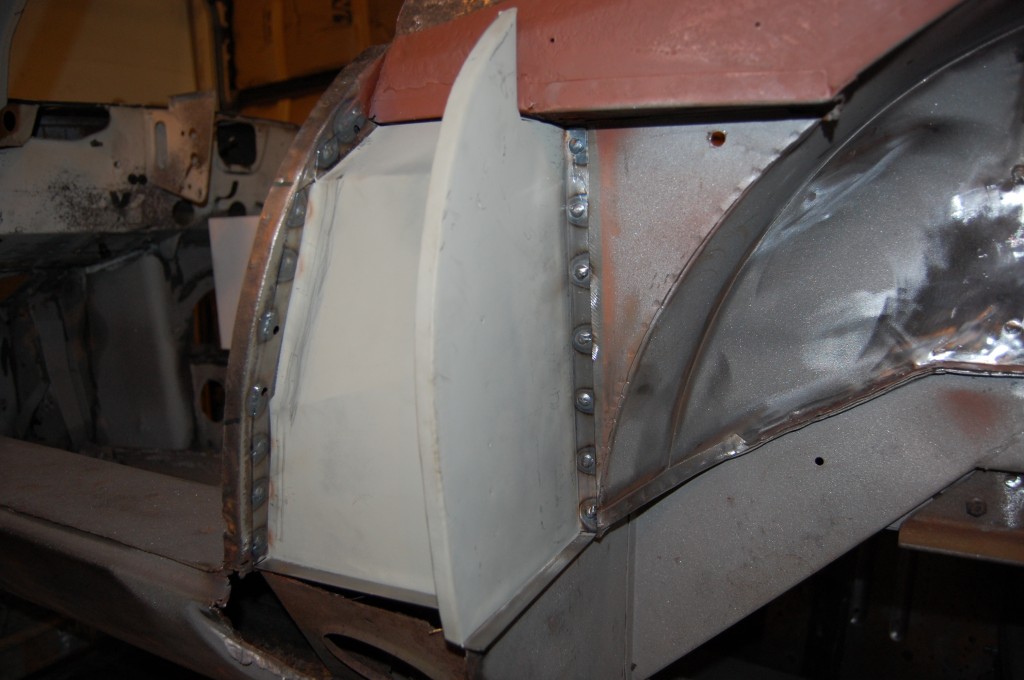
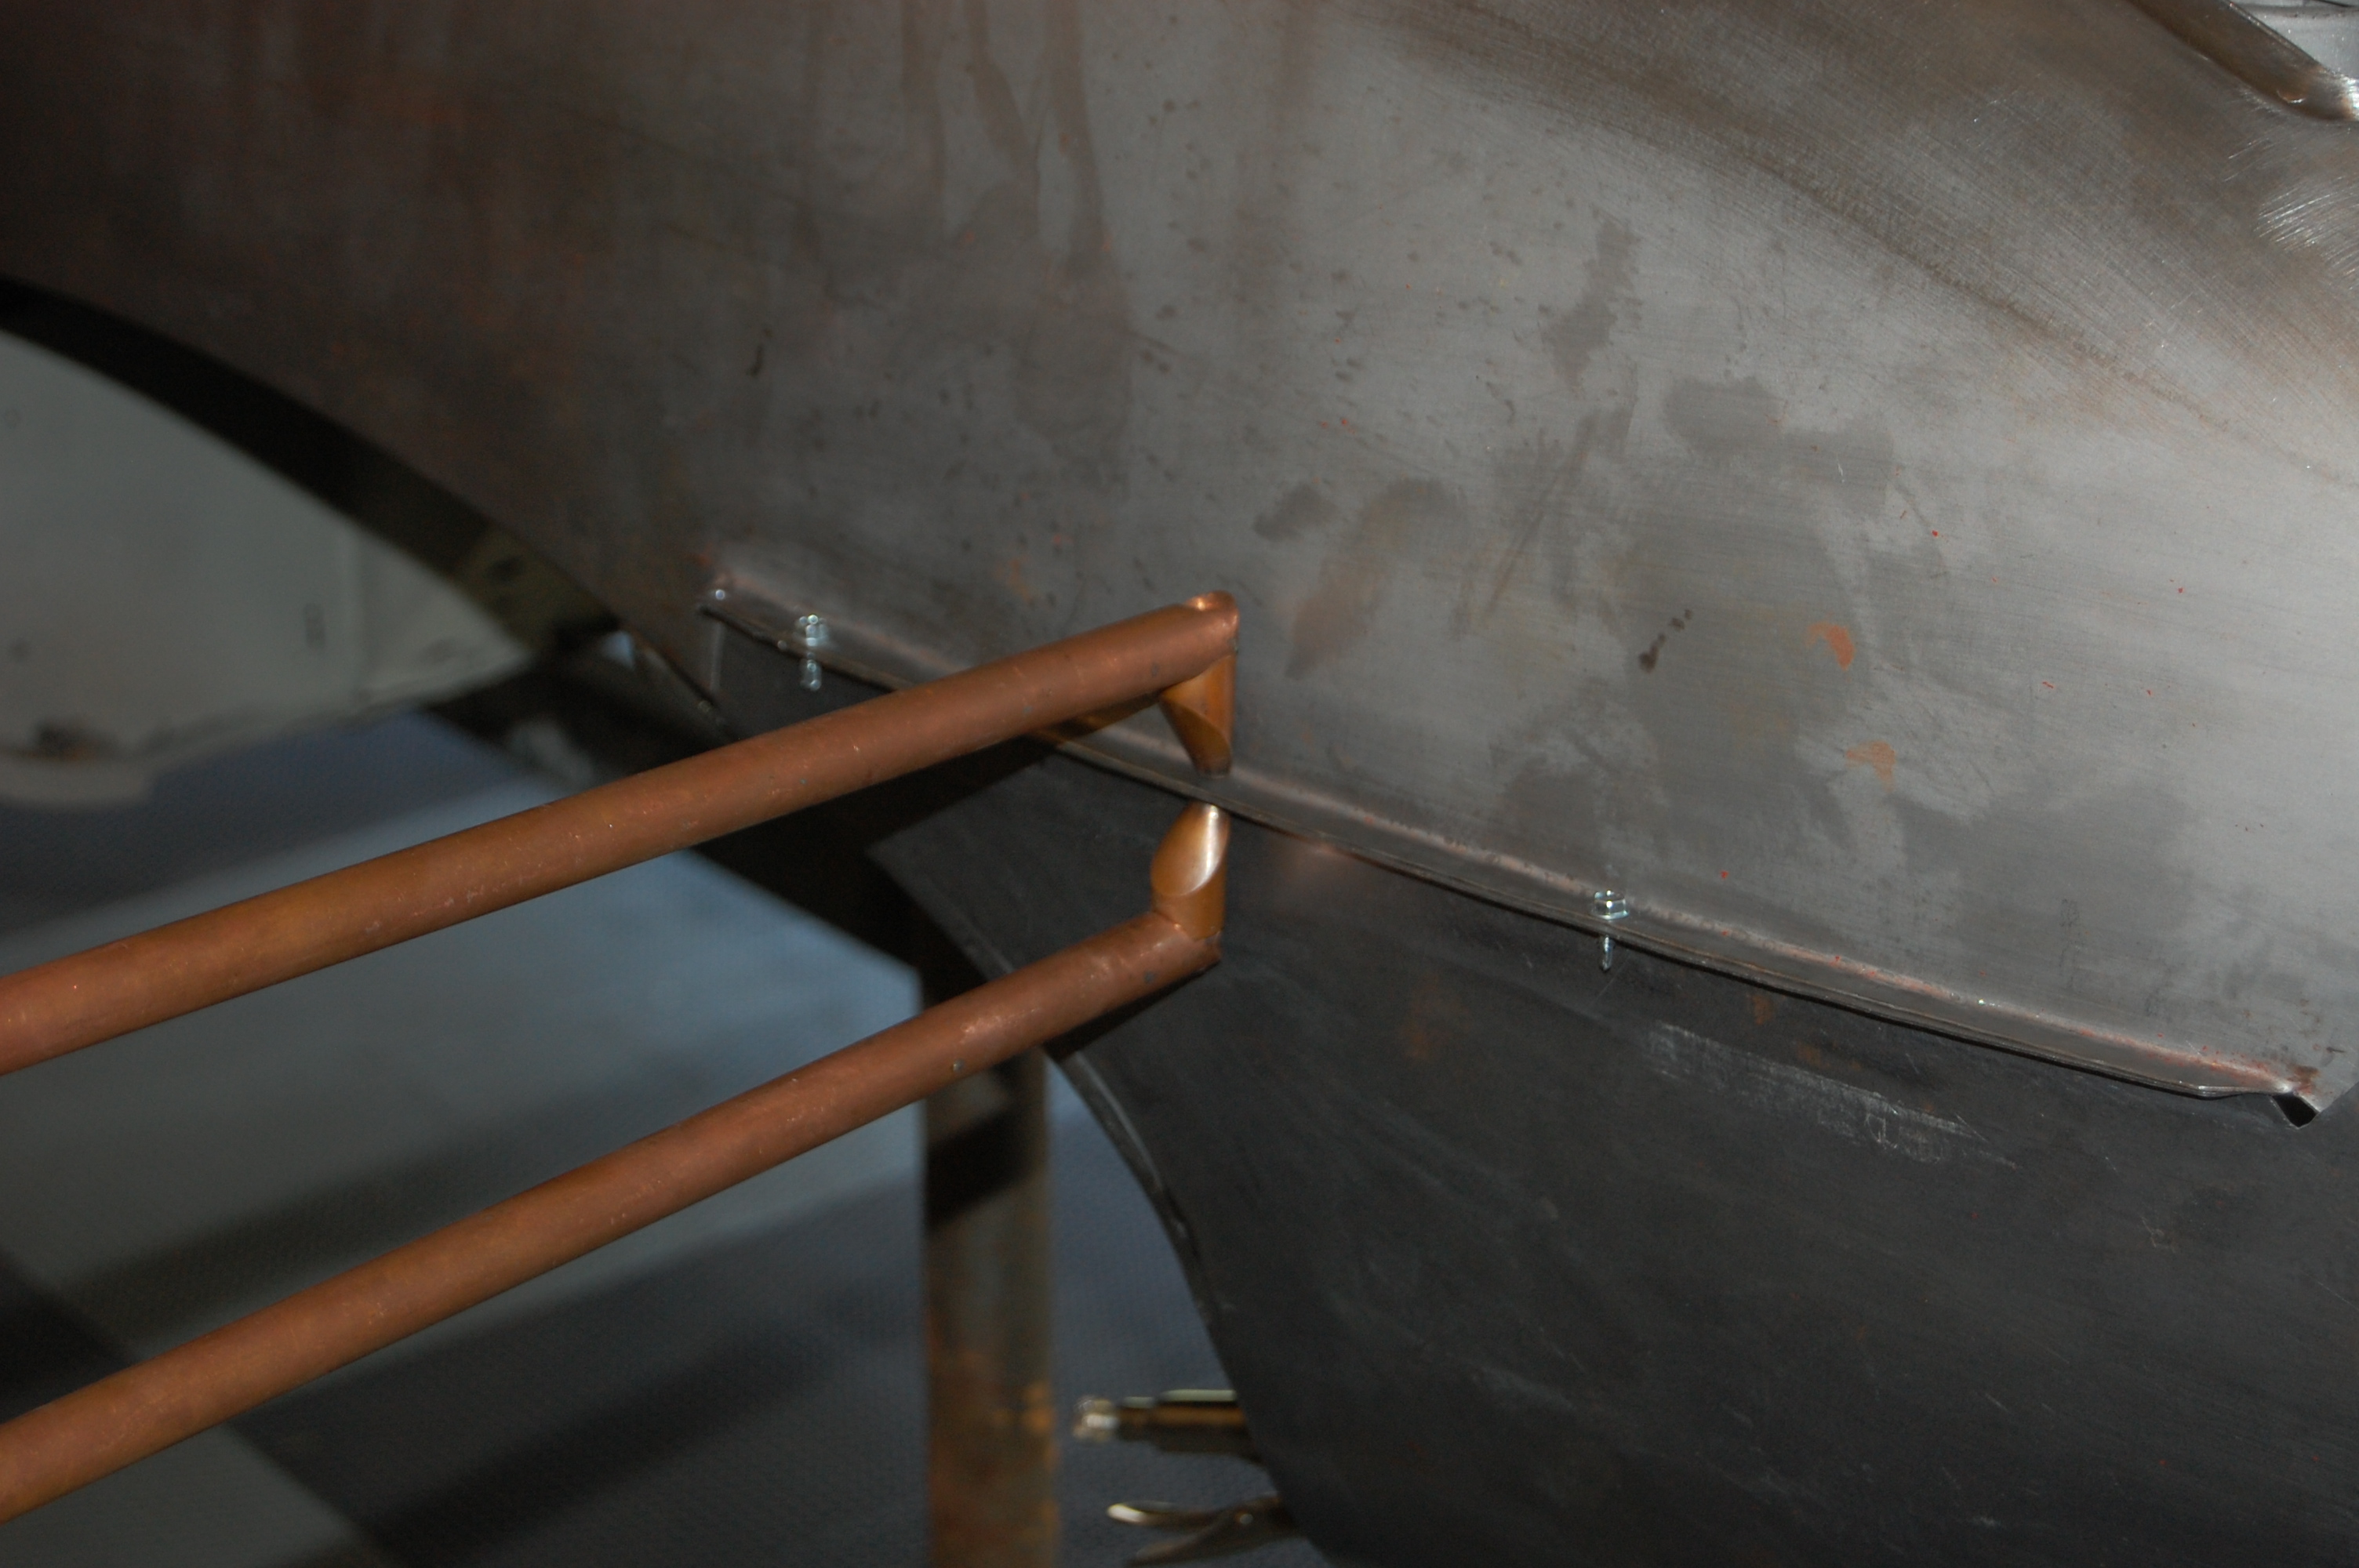
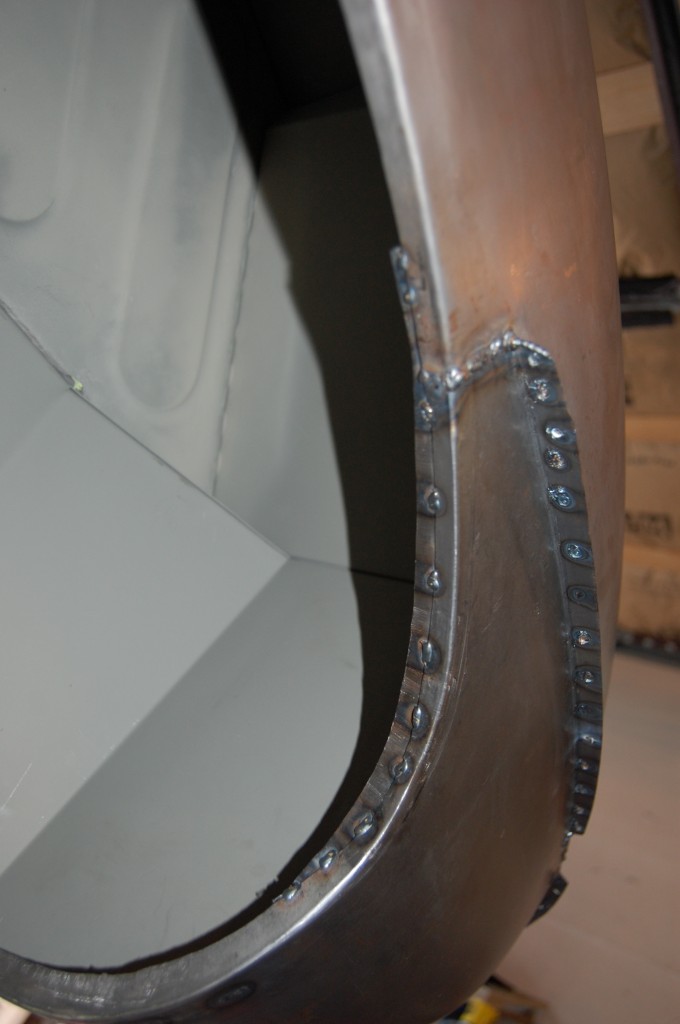
- Now that the piece is reshaped, we are ready to spot-weld it into place with the close-fitting tips.
-
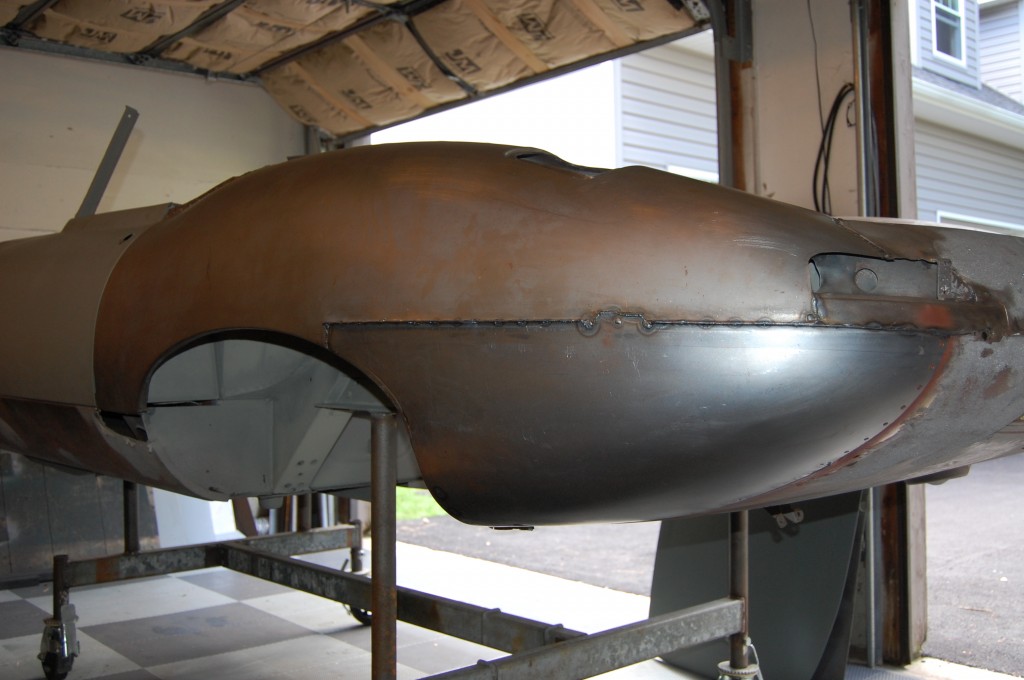
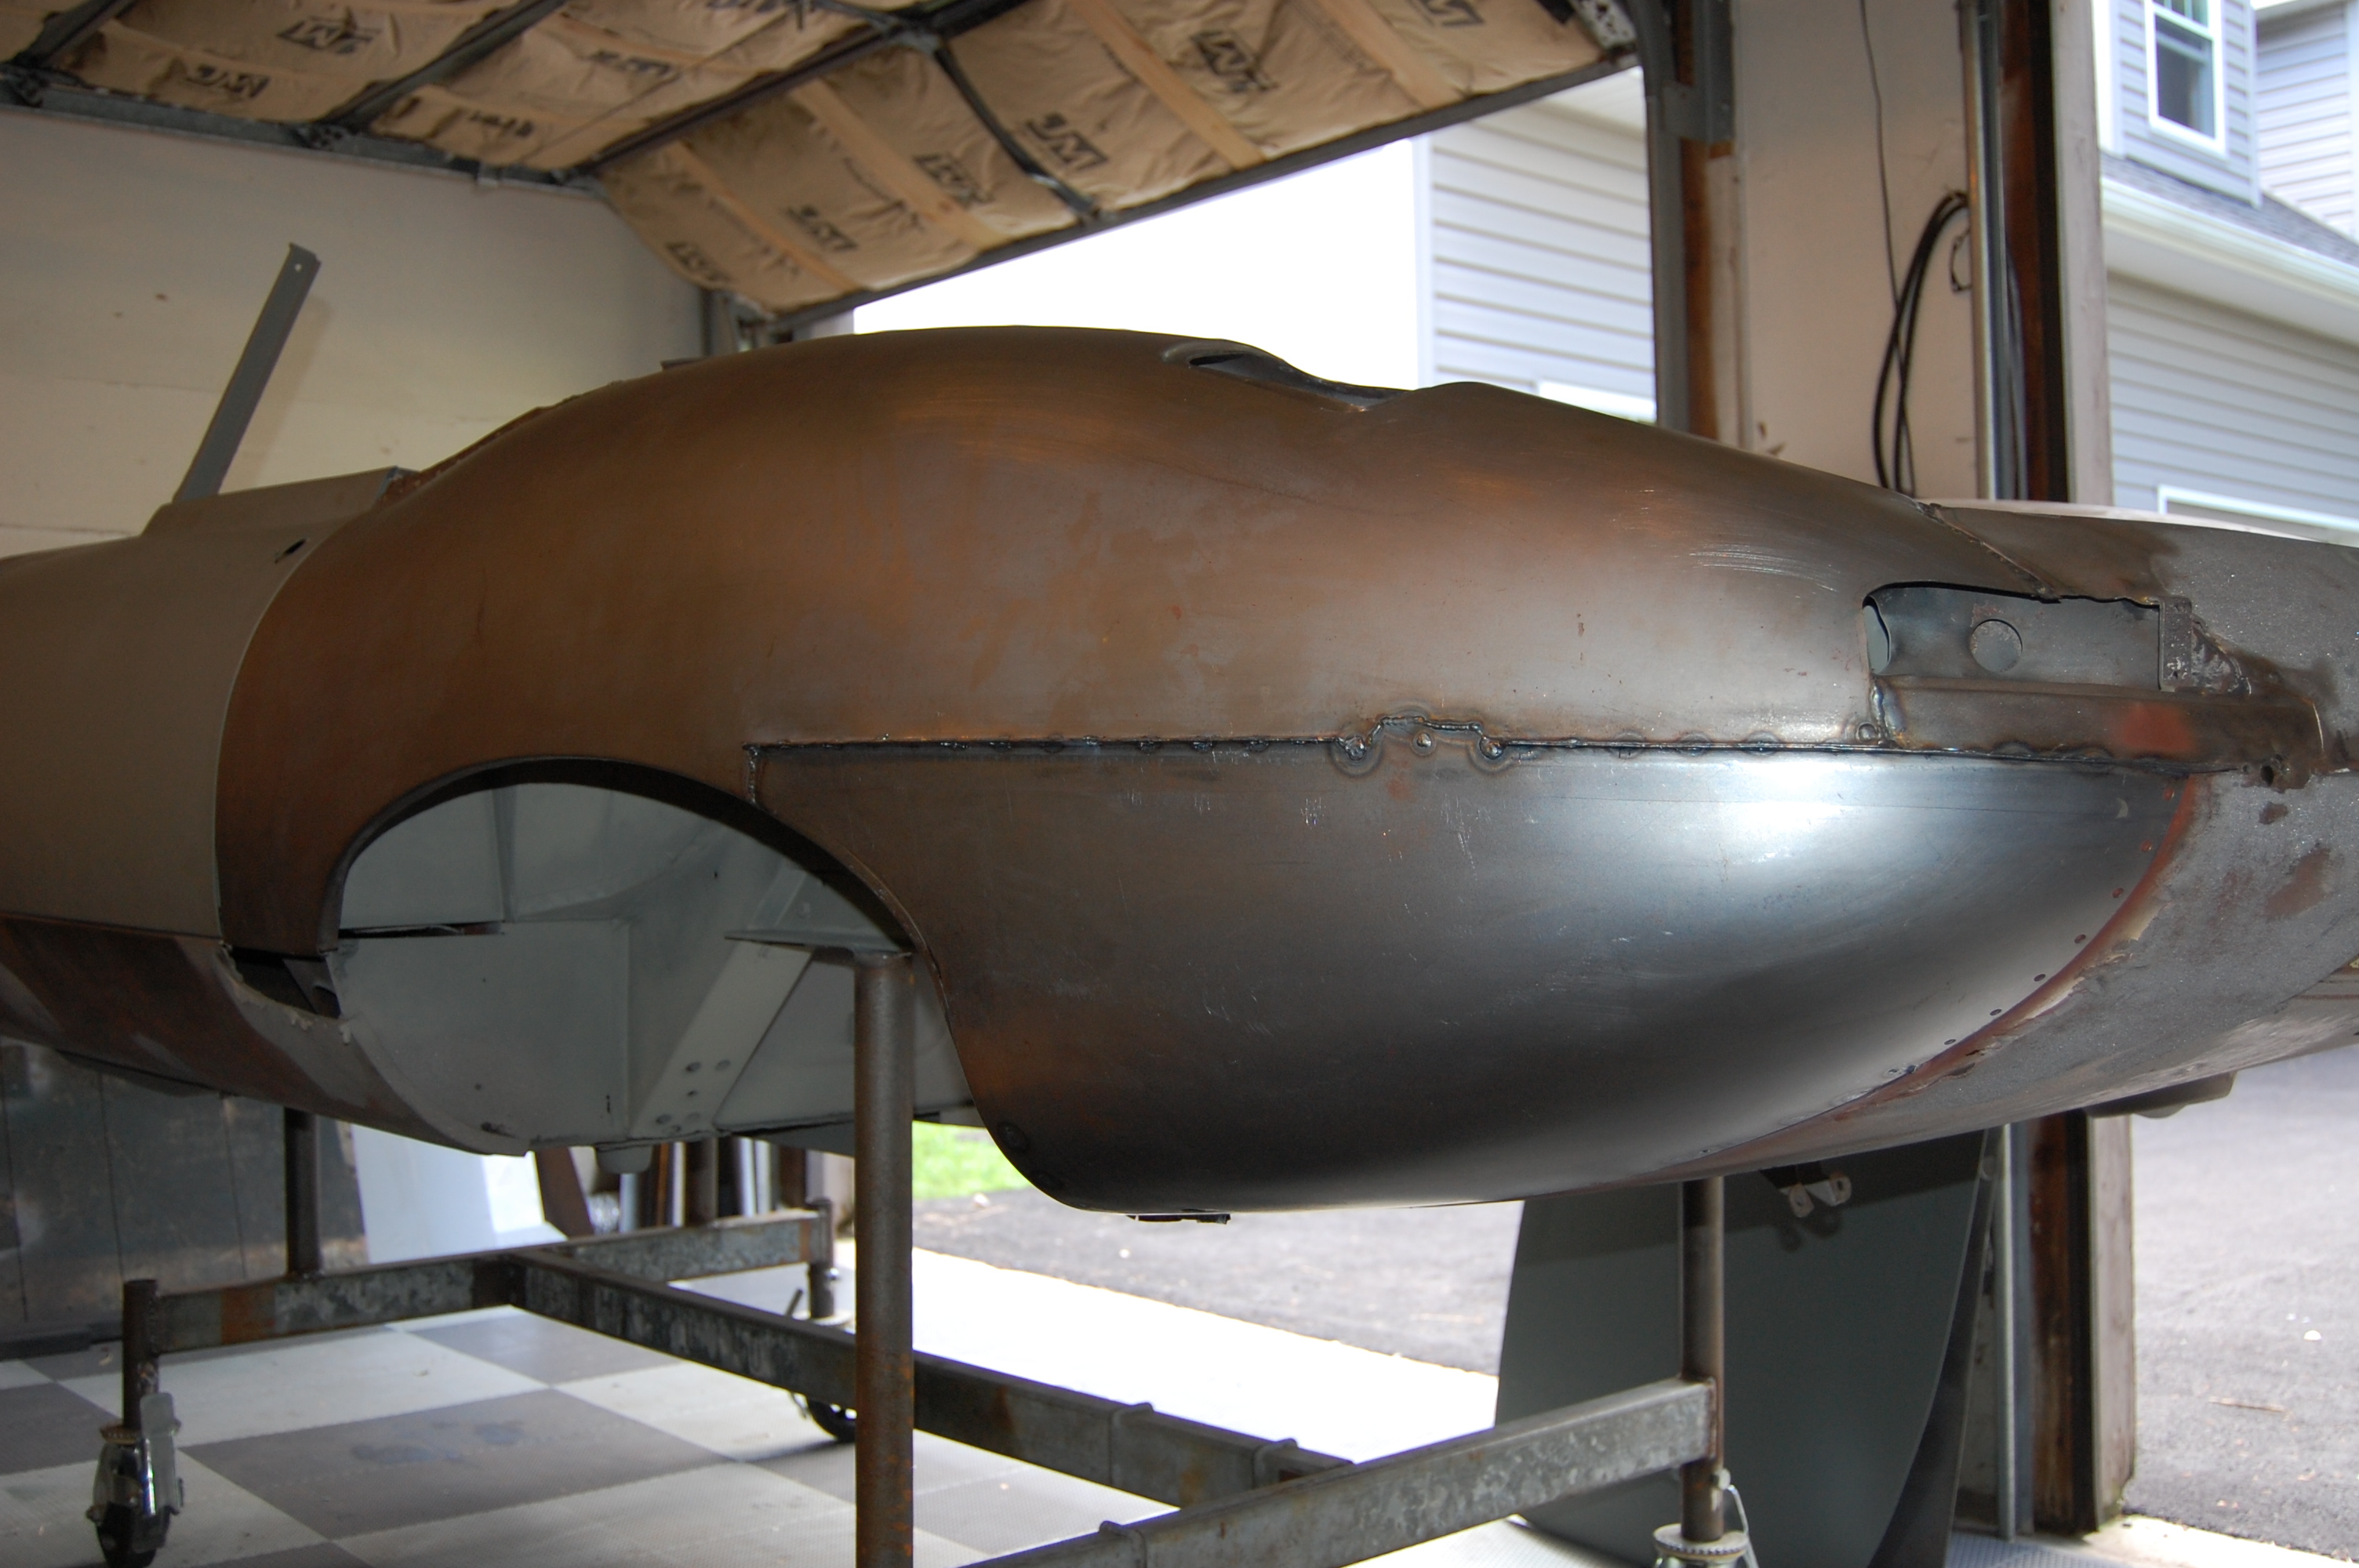
- Voila! Everything is now welded into place – and you’ve just got to love that wide expanse of flawless stell – AND that shape!
-
- IN the end, this flange was a little narrow, but we’ll complete this weld with the TIG when the car is upside down and finish it perfectly with some careful grinding and sanding.

-
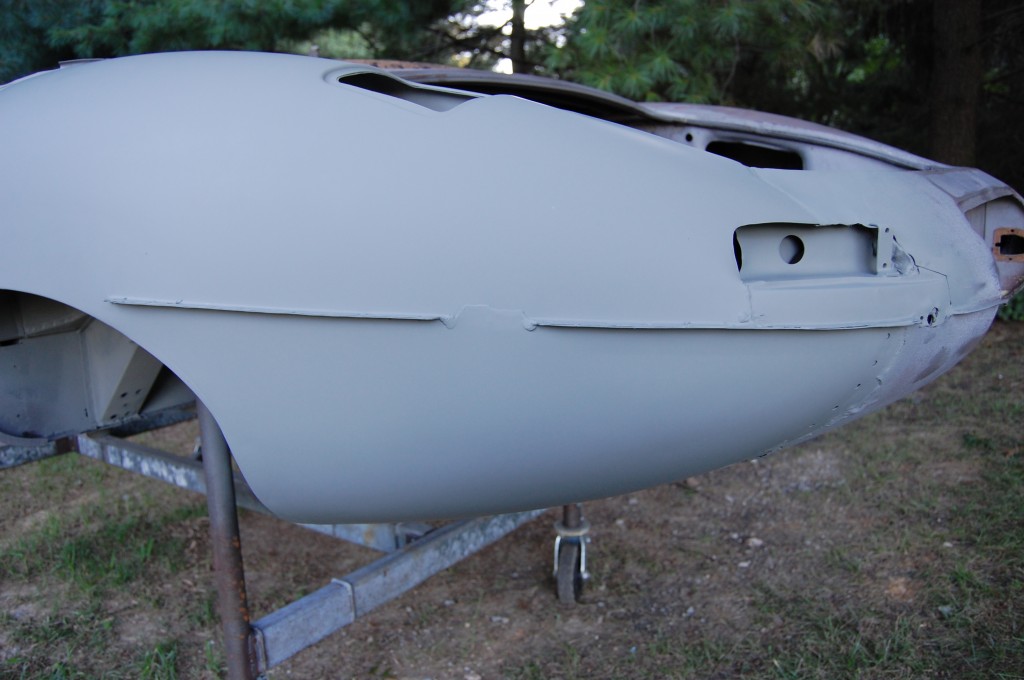
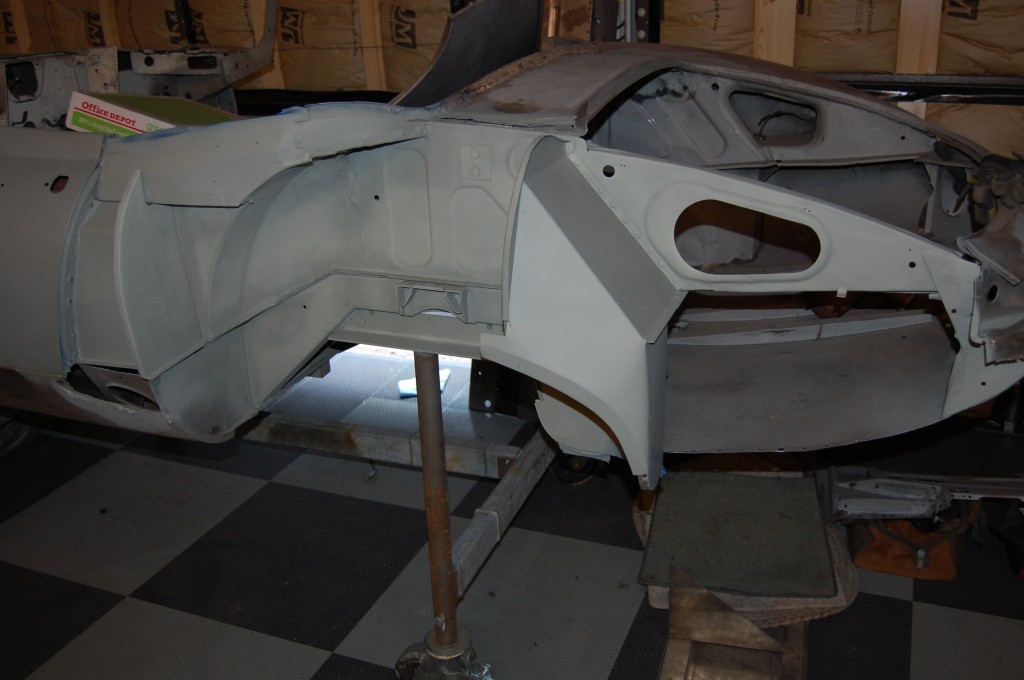
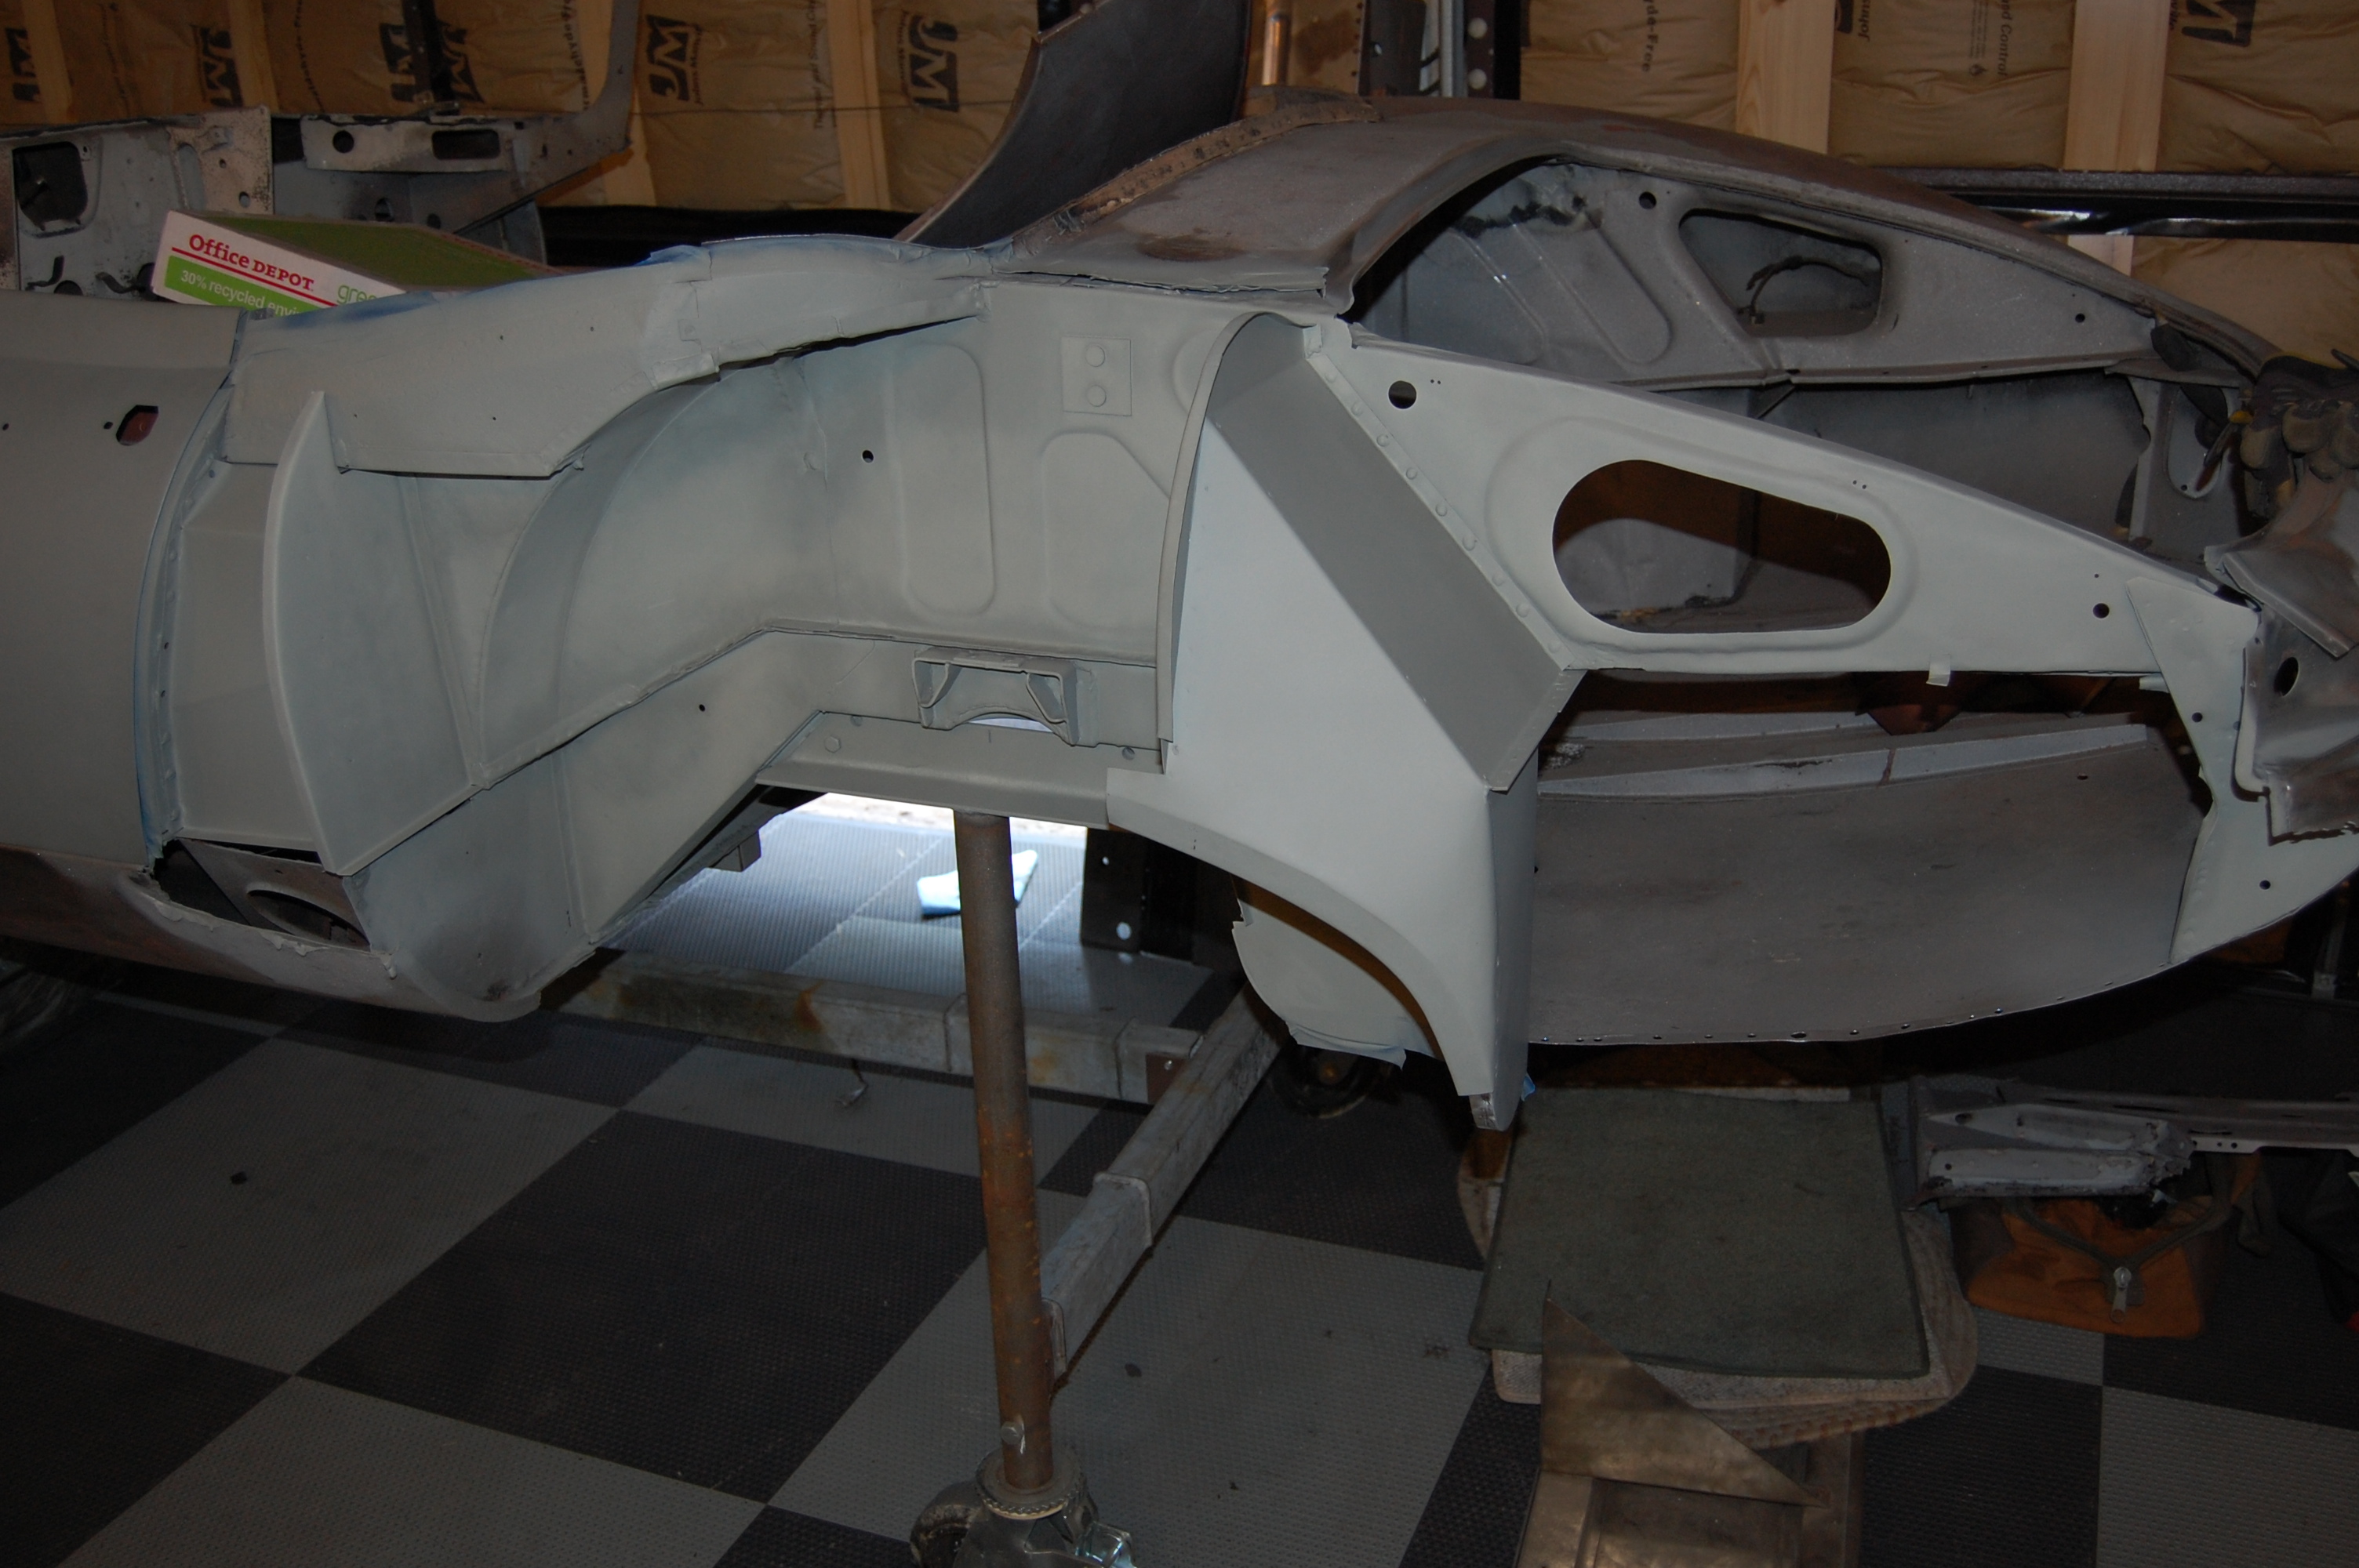
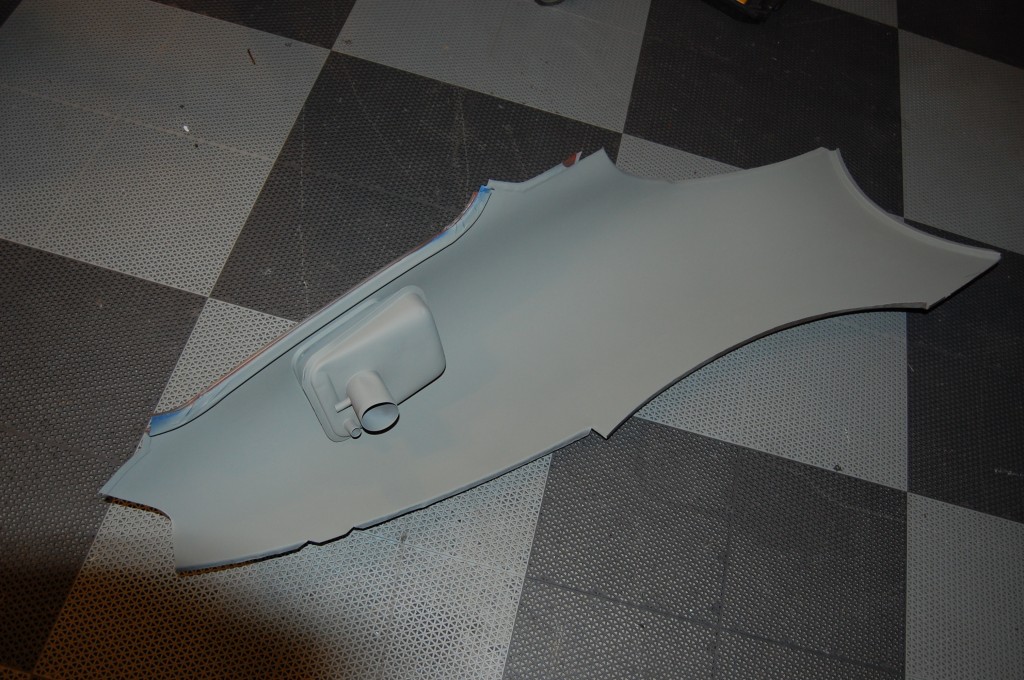
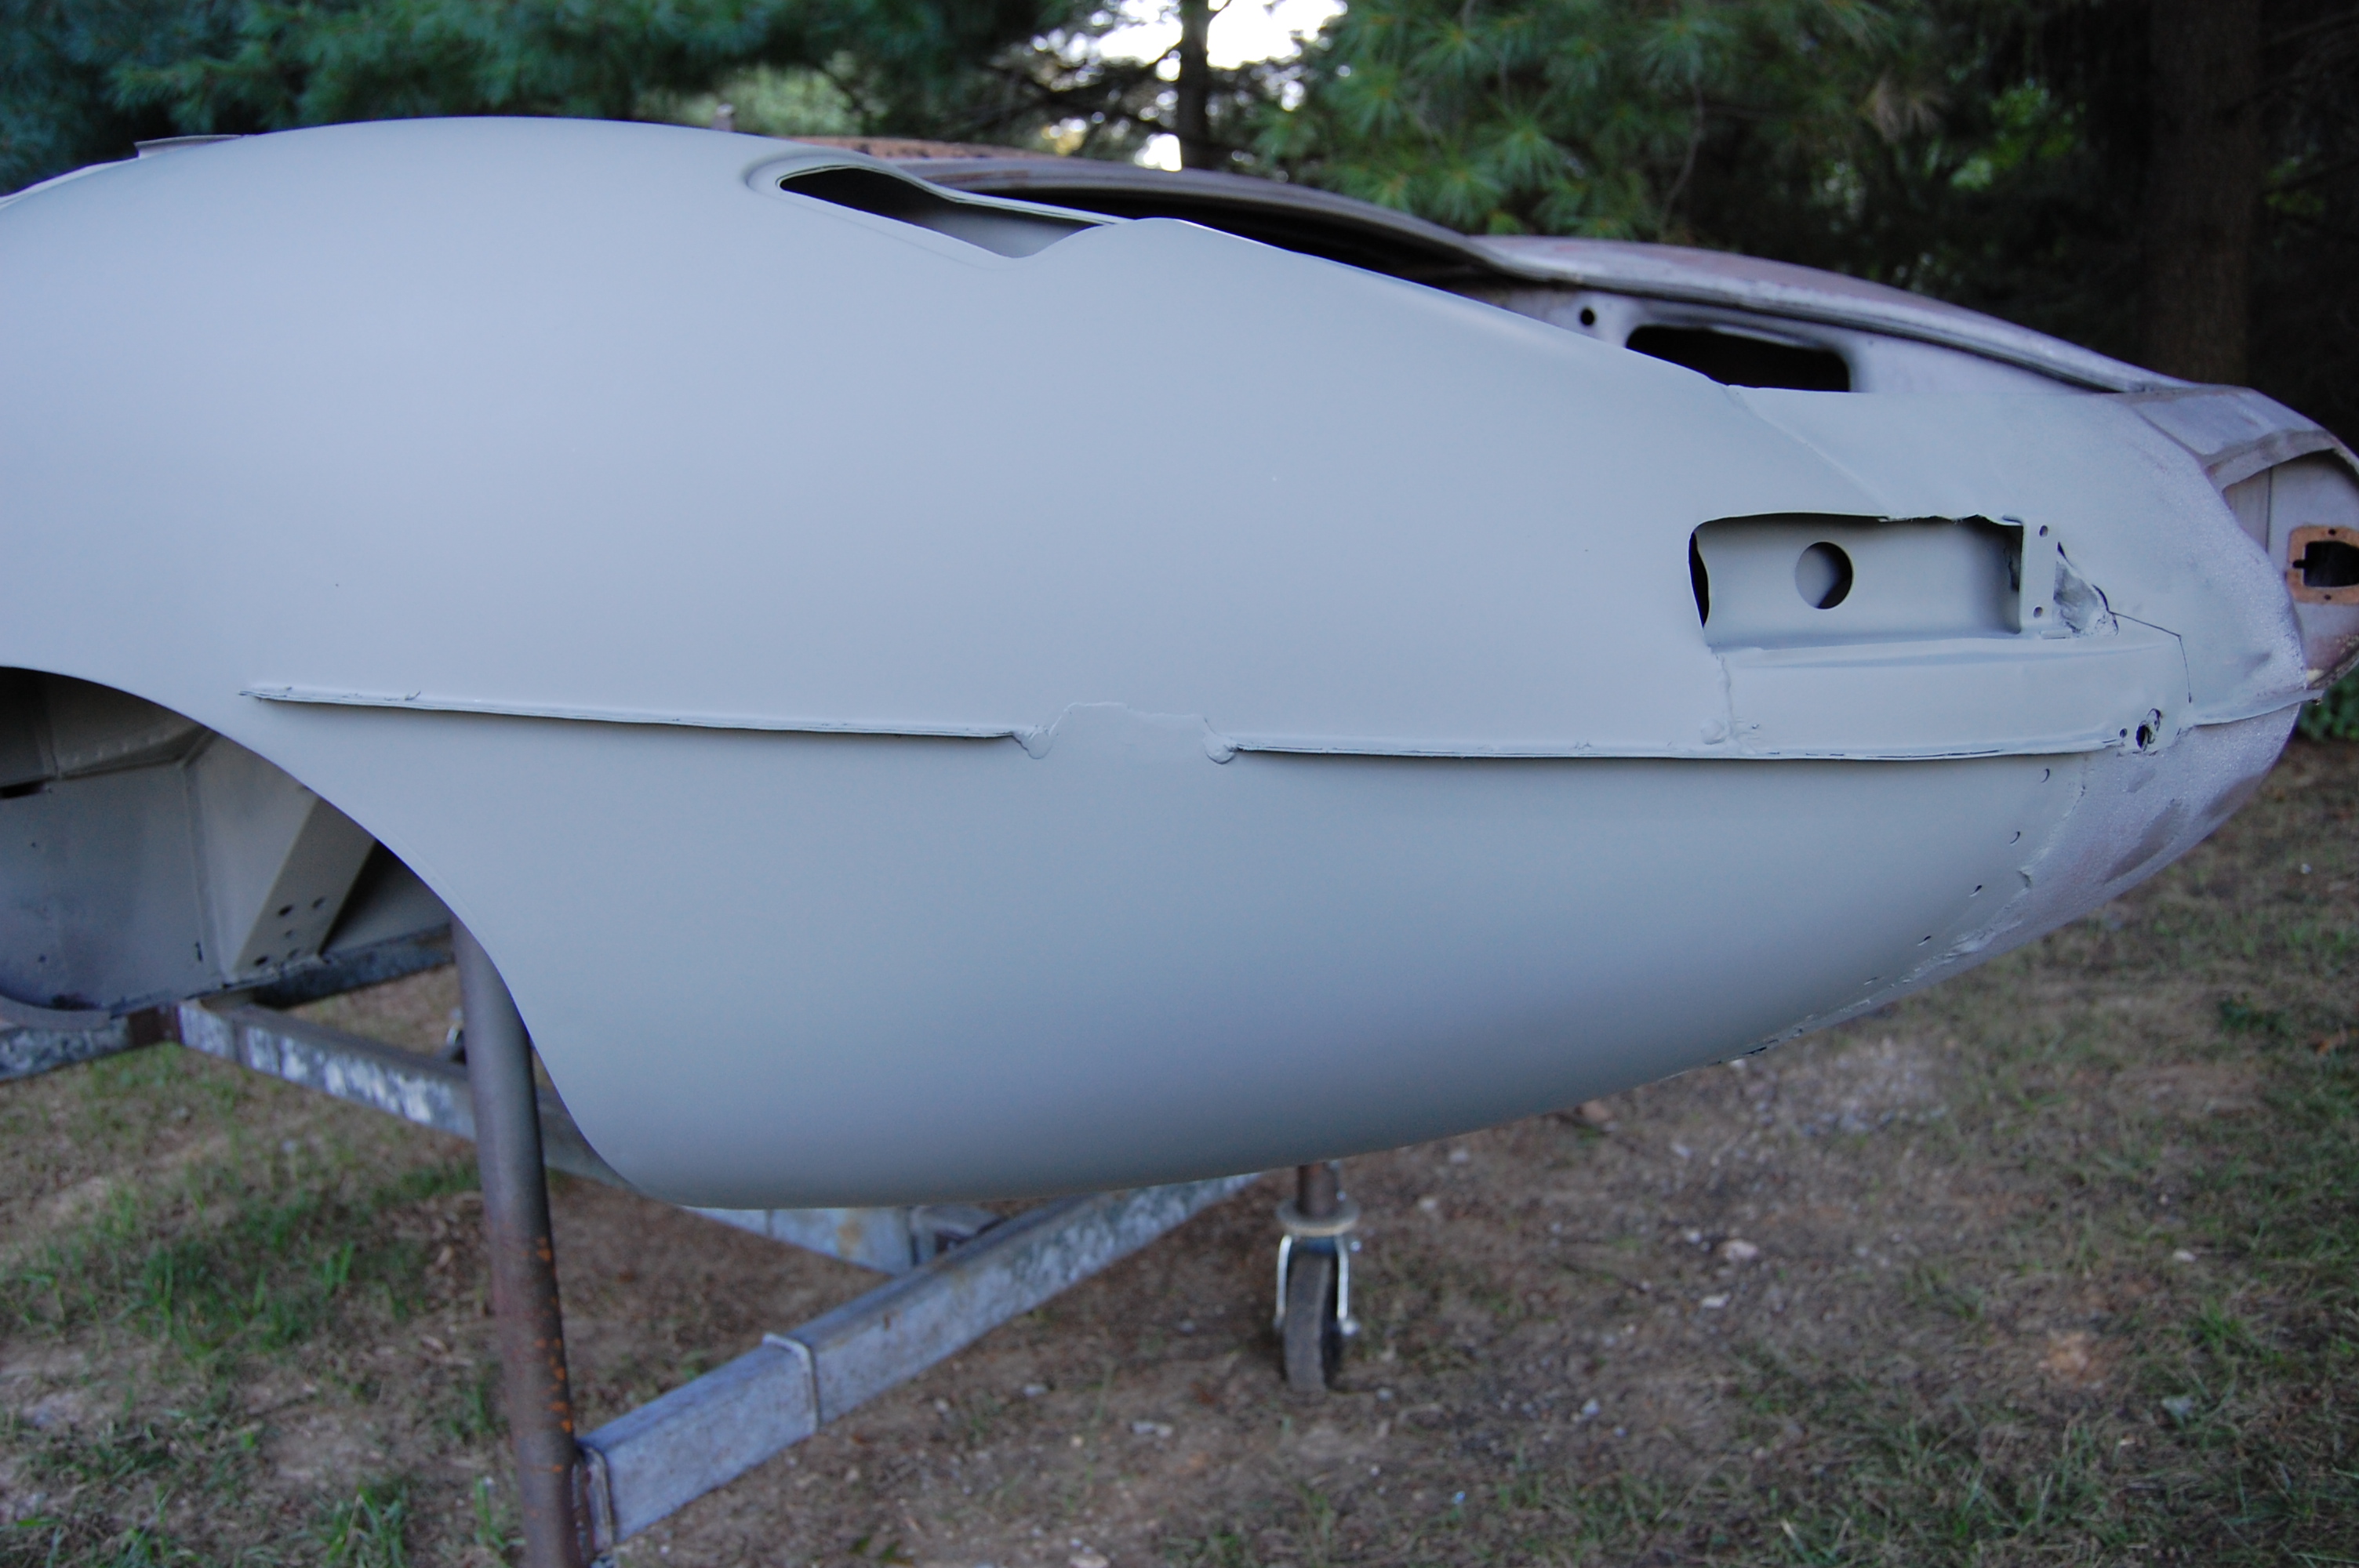
- Etch-primed.
-
- Now that’s MUCH better than what we started with – and it’s straight, rock-solid (I love that phrase…) and significatly lighter!

-
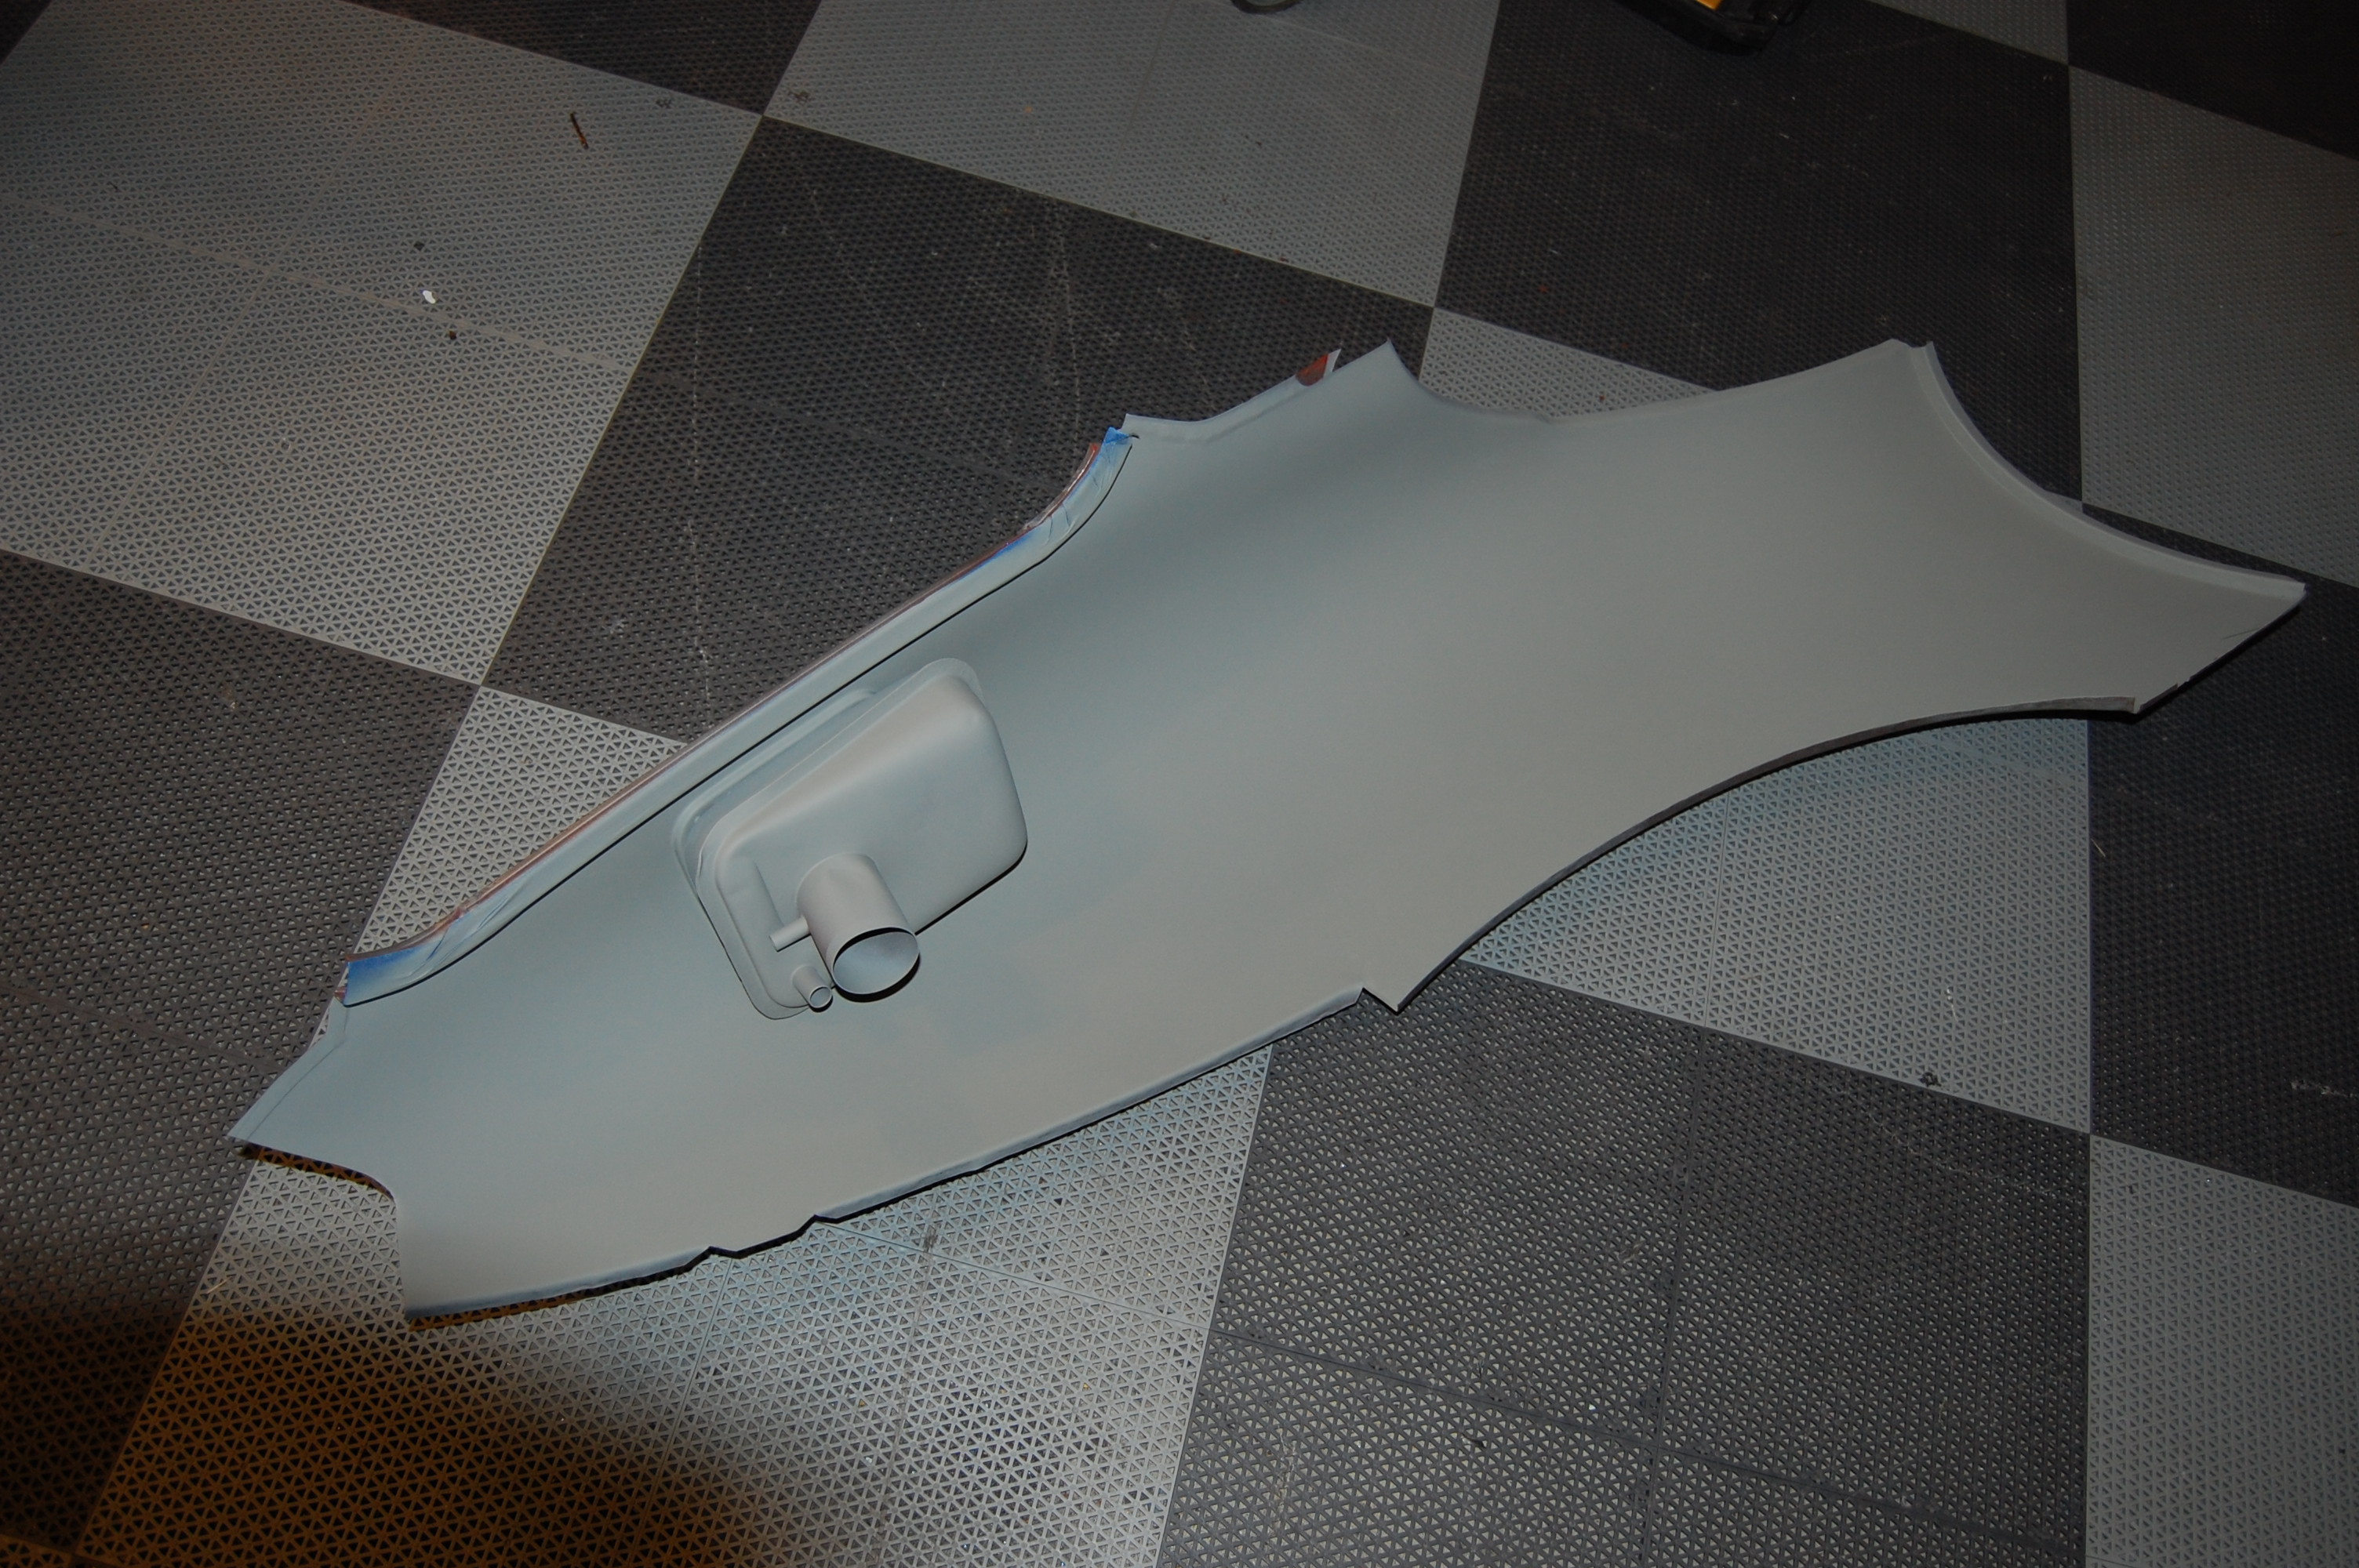
- No filler needed here!

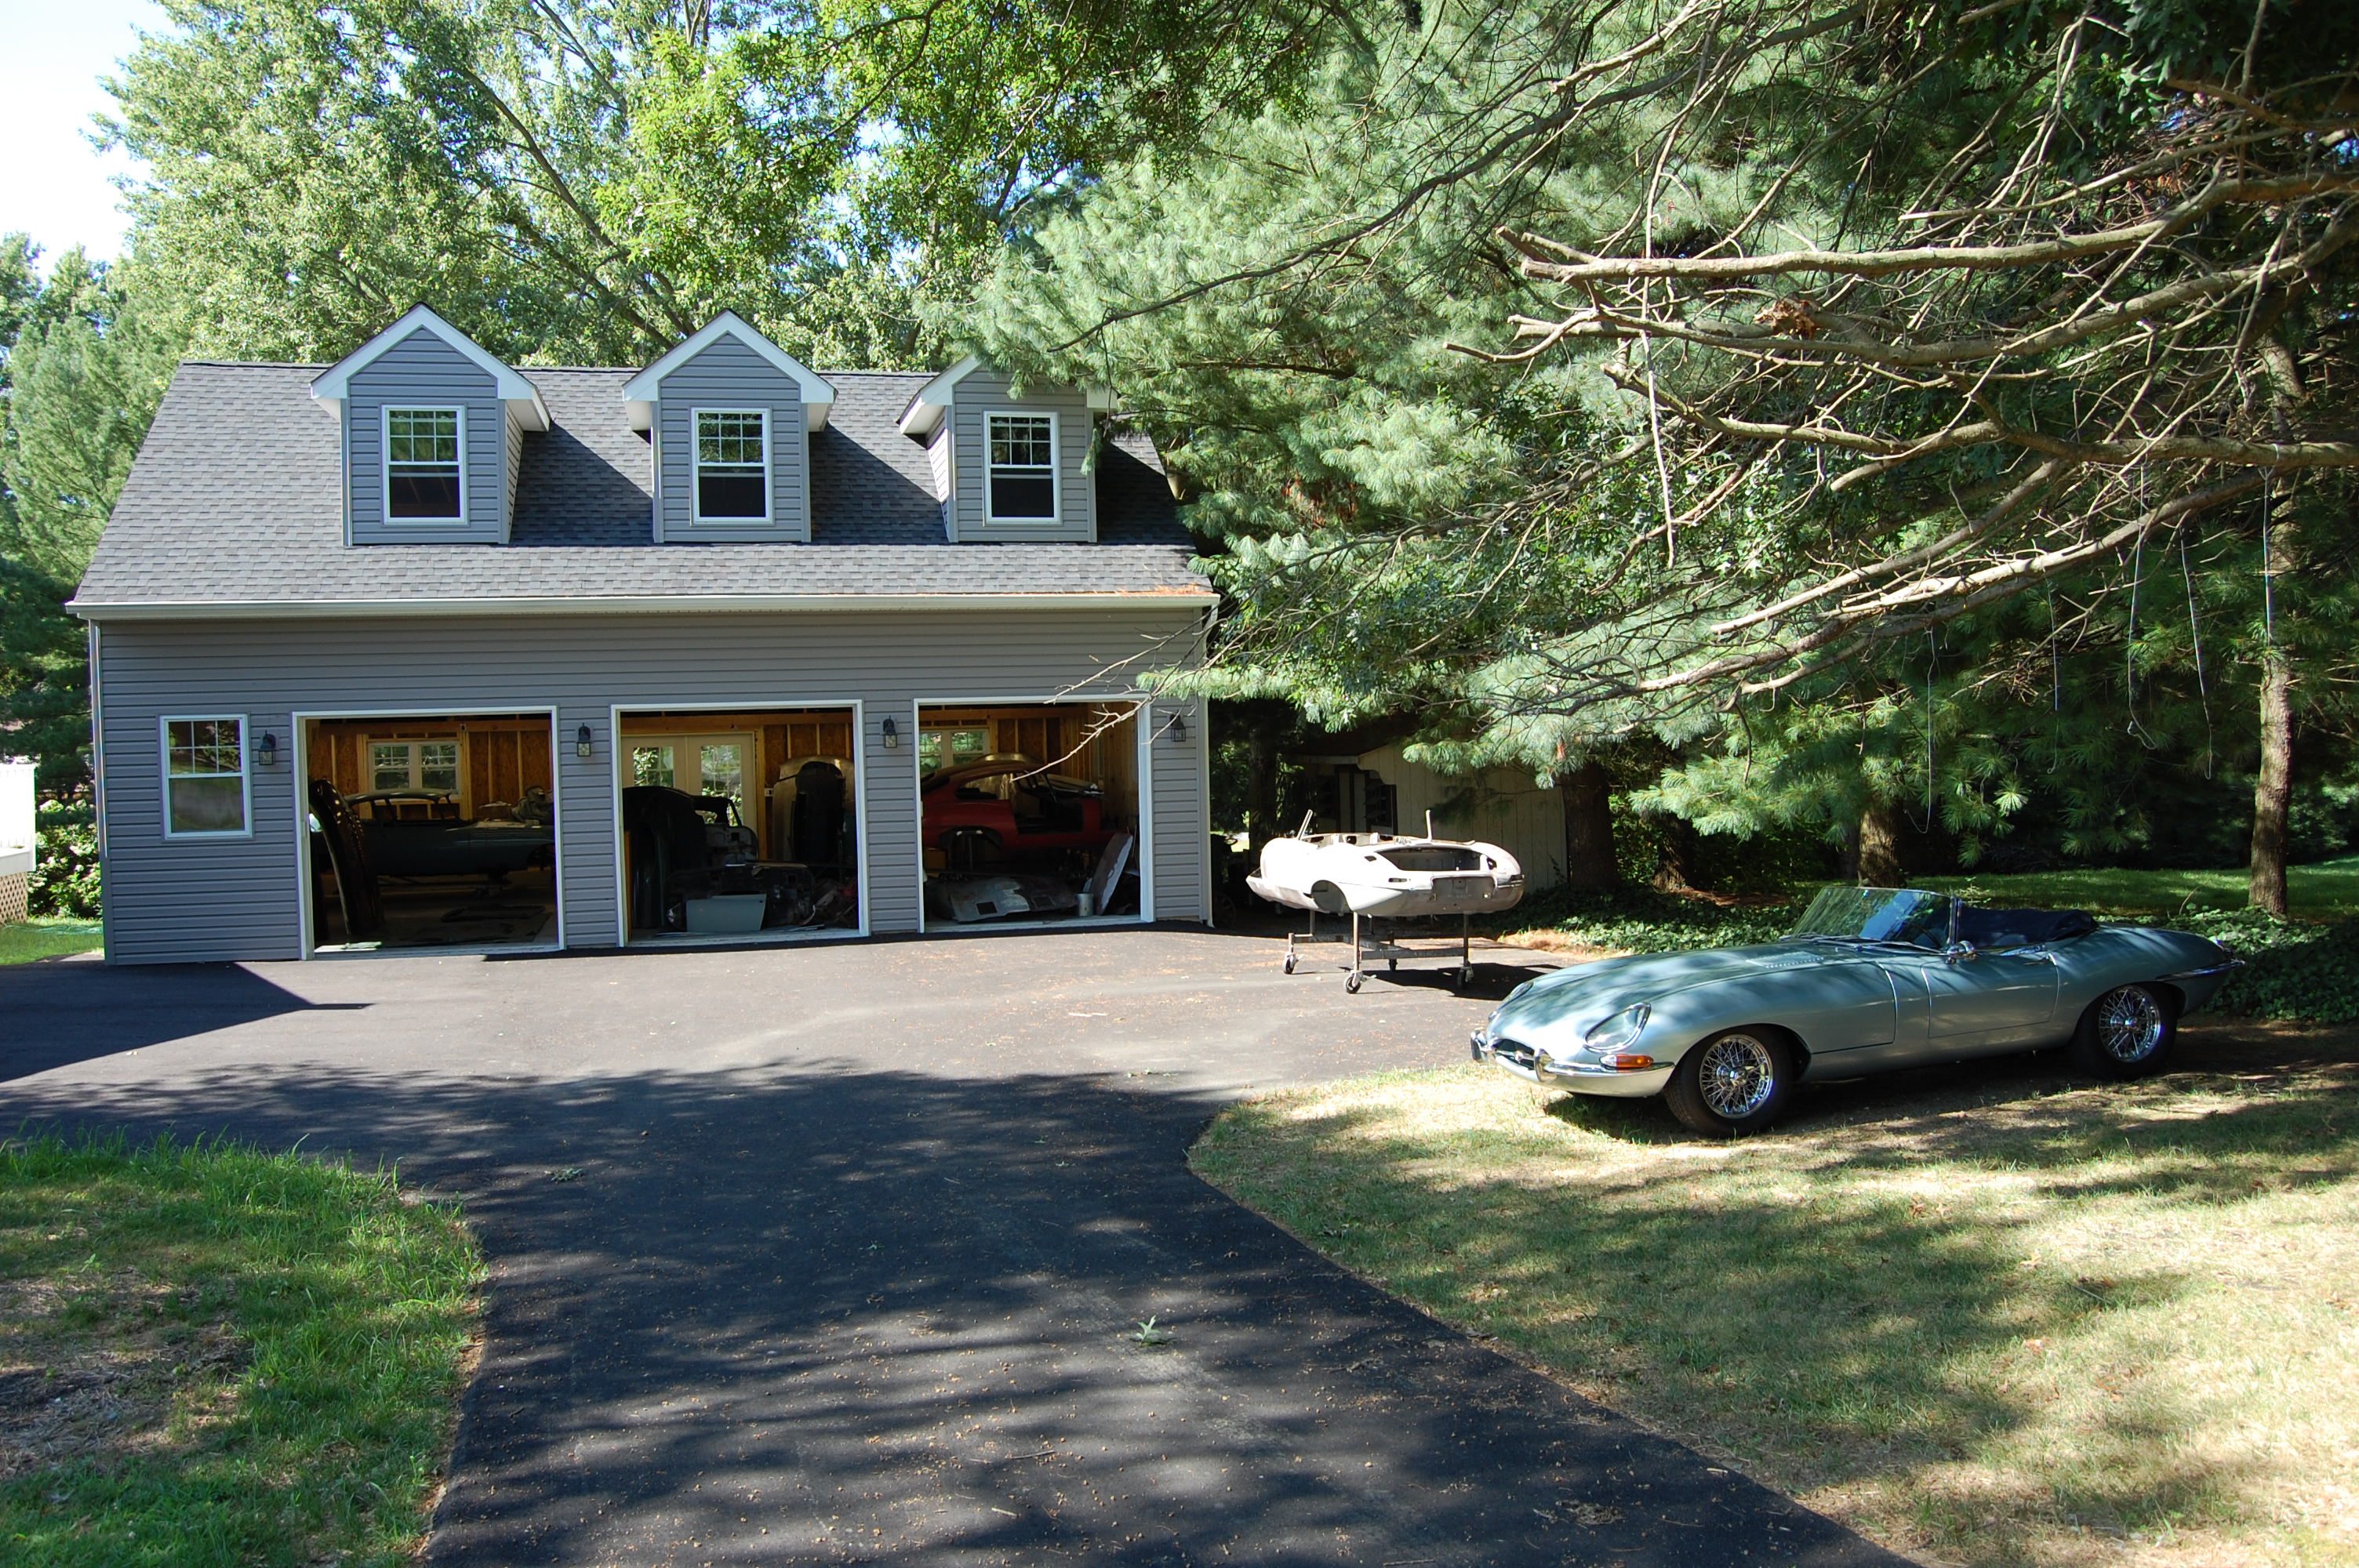
-

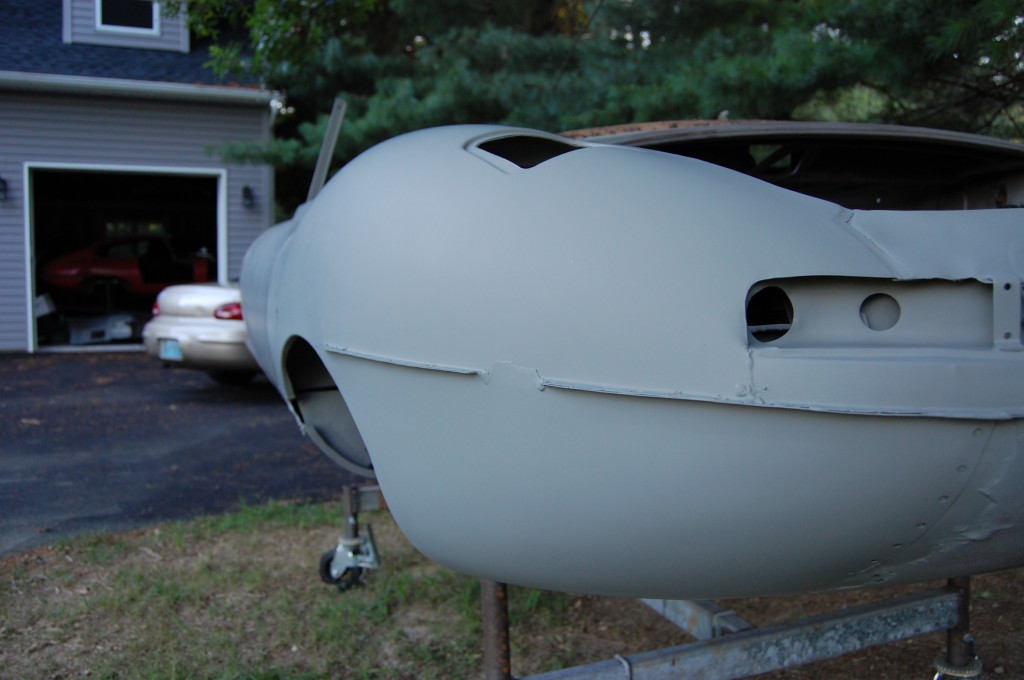
- The next morning we pushed here out to help the primer cure a little more – soon she’ll look as good as her older sister in the foreground! Keep checking back as we continue to bring this one back from the lead – I mean dead…