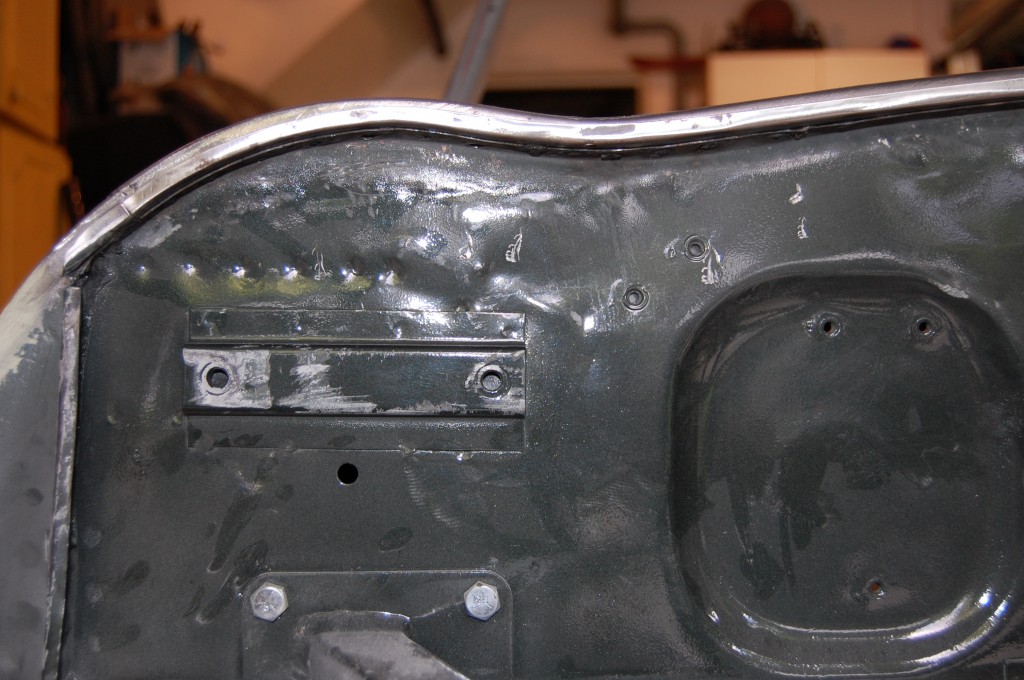
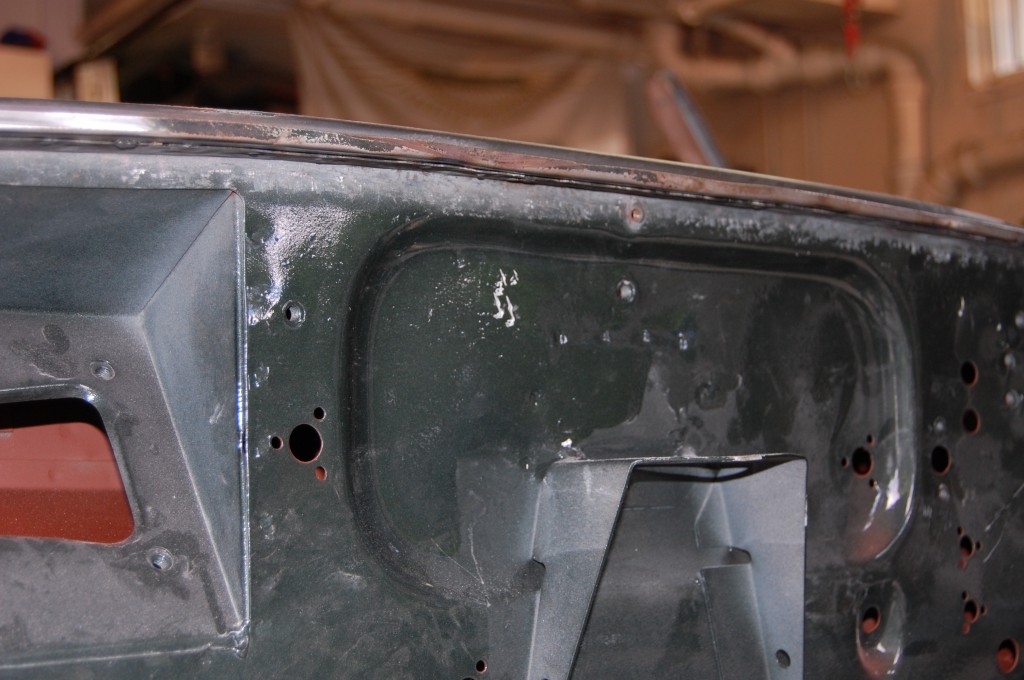
This is a cautionary tale about choosing your body shop wisely… In the Spring, I sold a Series 2 center section to a customer and did some reshaping on the power bulge, etc. so that there would be minimal work at the body shop.
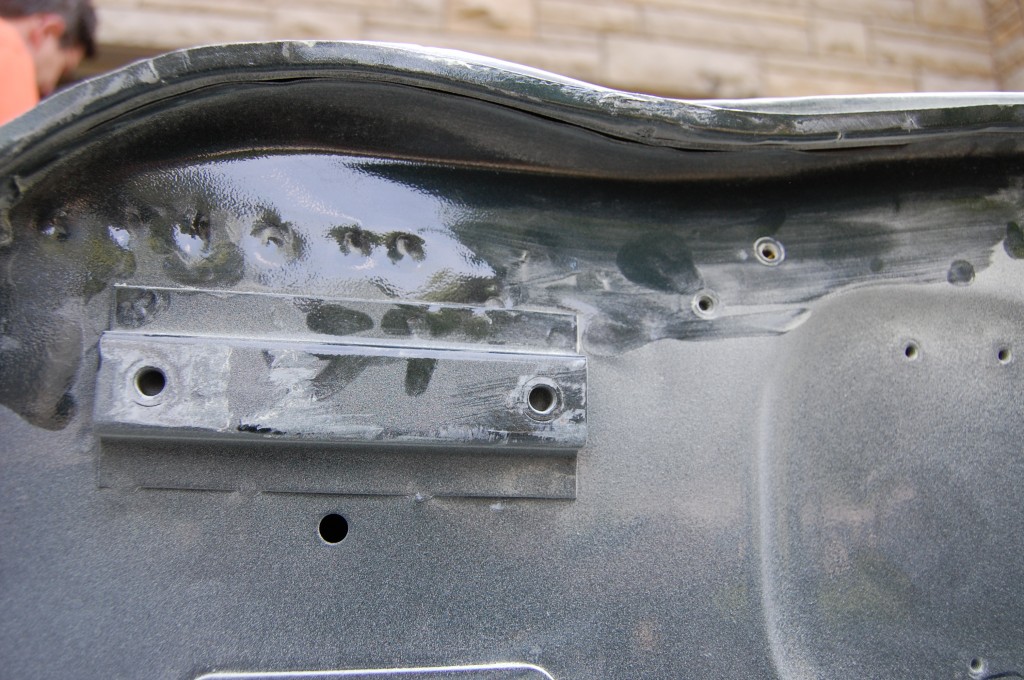
Unfortunately, whenever the body shop ran into a high spot (and the high spots on this panel were very minimal and shallow – like thousandths of an inch – I would have just laid in a little more slick sand and covered the issues in the block sanding…) – but anyway, when this shop hit a high spot while sanding the filler, they just smacked it down with a pick hammer, smeared in more filler, and went on their way. This is VERY common – your run of the mill body shop has NO CONCERN whatsoever for the underside of the panel – and that’s no good on an E-Type bonnet!
So, earlier this Summer, I stopped at the customer’s house and spent a couple of days re-re-shaping the center section, and smoothing out as much of the pick damage as I could with the planishing hammer.
In addition, we worked on another major issue with the top of the bulkhead in front of the windshield. If you remember from my earlier post this year, this car is a ’69 roadster that was dropped from the slings coming off the ship in ’69, and landed on the dock upside down – AAGGGHHH! The car was then shipped to a Jag dealer in Arizona, and they simply bent the windshield pillars back up, and pounded everything out with a BIG hammer and then loaded it up with filler…
The current owner replaced the entire bonnet, and the rear wings were smoothed and filled, The cowl, however, was mashed in substantially, and although he had asked for it to be repaired as well, the new body ship filled that with filler too – LOTS of it. I took up an old panel I picked up from another Jag shop years ago, and we made the best of it with the tools at his home – including a flux-core MIG.
- Here is our starting point – a really bashed in cowl panel…
- The big problem was that the firewall had been buckled and the cowl panel was sitting over 1/2″ too low – it did not match the bonnet AT ALL.
- Not exactly fine coachwork…
- The firewall was buckled over from the RH side shown above to about the far LH wiper stalk – note how the firewall top lip is folded over so that the bolt for the safety catch won’t even come out!
- Here is the used panel I had. I’m not sure what the story is on this and why someone cut it out – it was very straight and solid. I guess they were looking for access to rust issues within the bulkhead structure itself. Other than being slightly smaller than it should be so that we could not tie it in at the factory seam, this was a very nice piece.
- The internal sections of the bulkhead were in excellent condition – no rust.
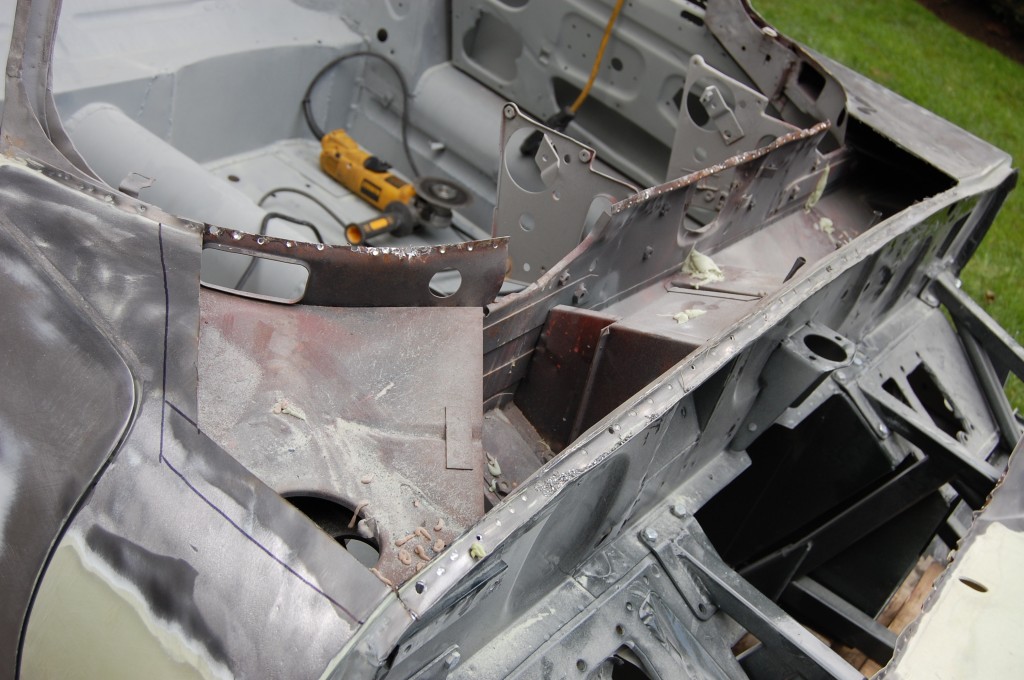
- Here’s another shot showing the cowl we’ve removed.
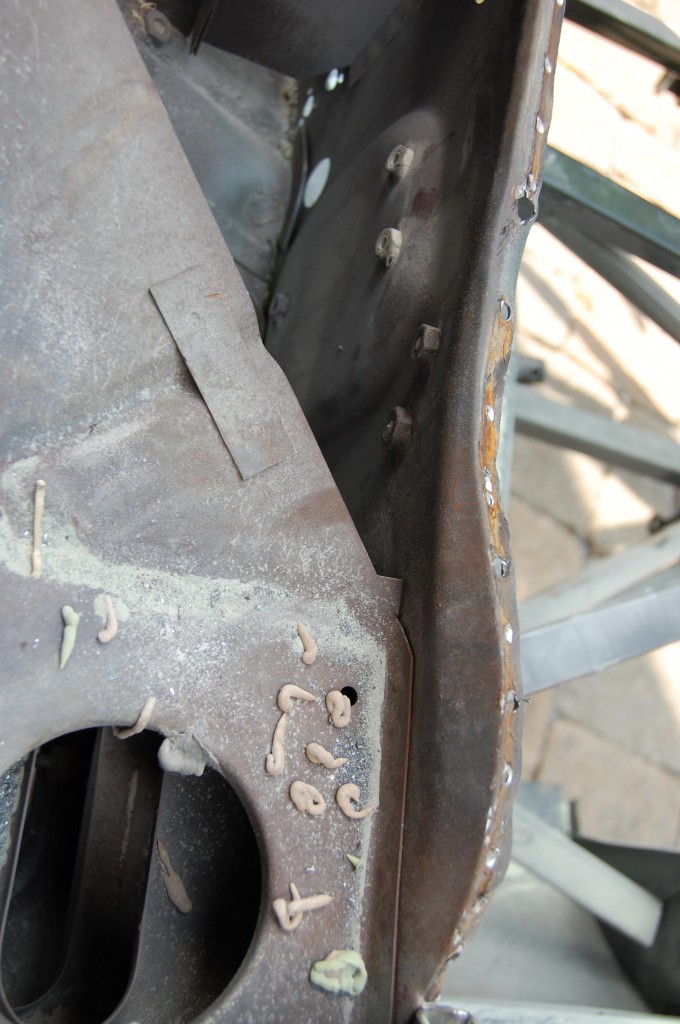
- “Bondo worms” from the dent puller holes above – barbarians…
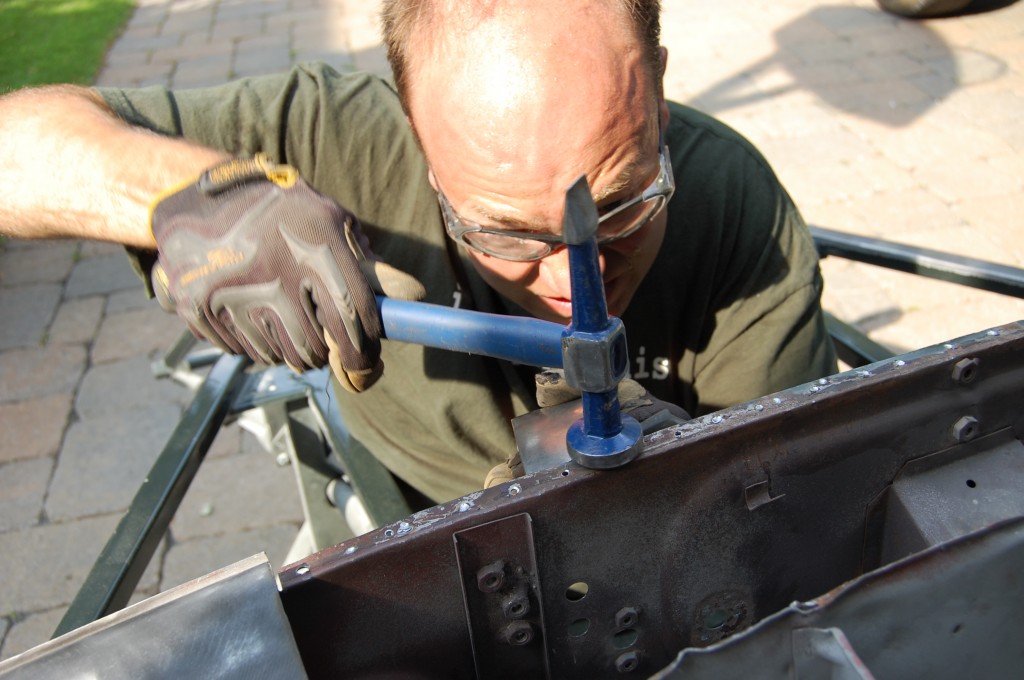
- Here I’m smoothing the firewall flange with a hammer and dolly.
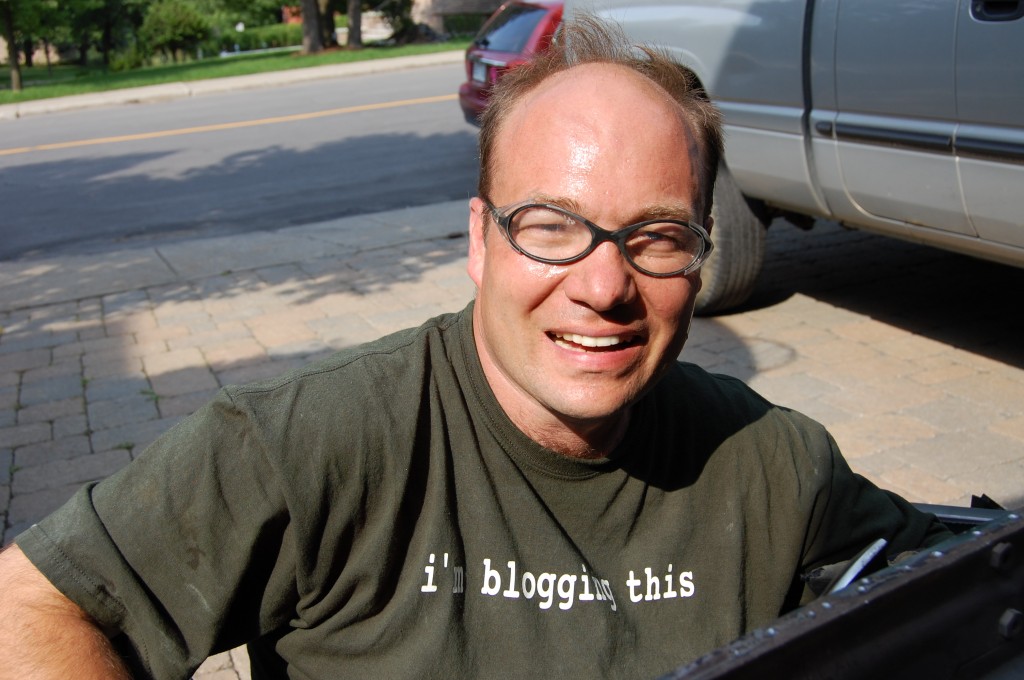
- “I’m blogging this”… 🙂
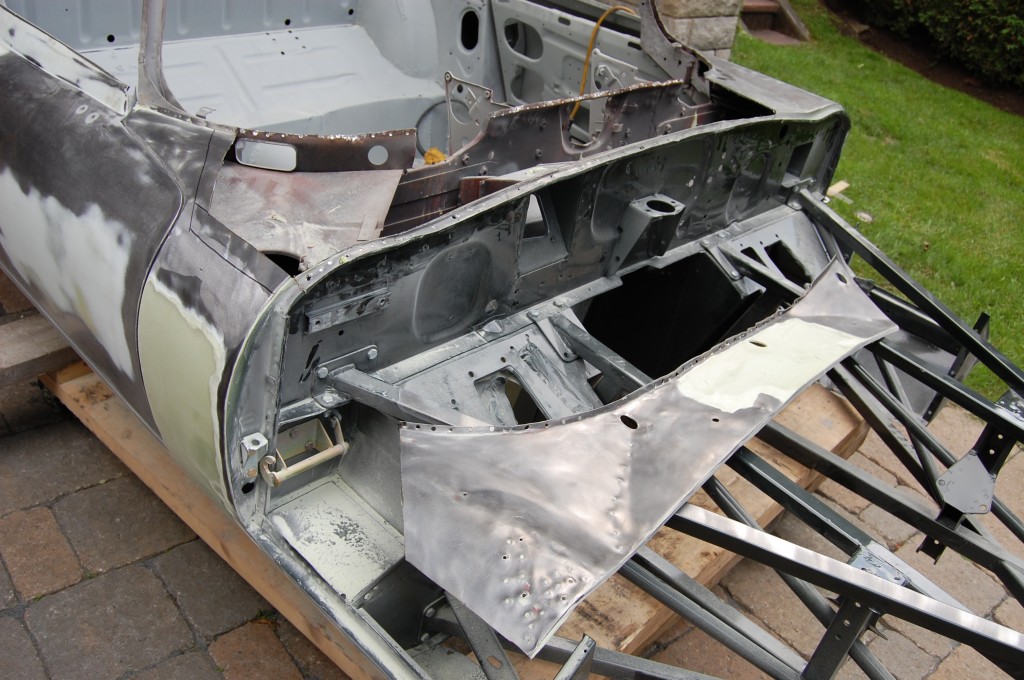
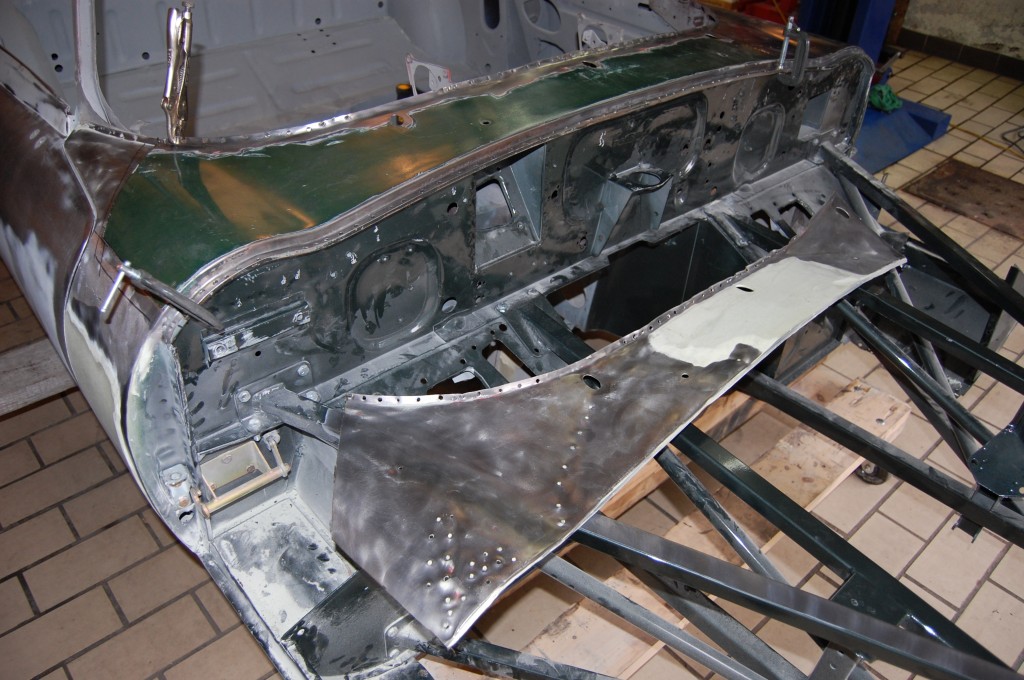
- Here we’ve begun to fit the new cowl panel into place.
- We scuffed the inside the bulkhead and went nuts in there with red oxide. The replacement panel had already been sanded and coated with something – HARD – pretty sure it was POR-15 or something like that, so we just left well enough alone there. I will use the holes drilled into the flange of that panel to remove it as plug-weld holes to attach it to this car.
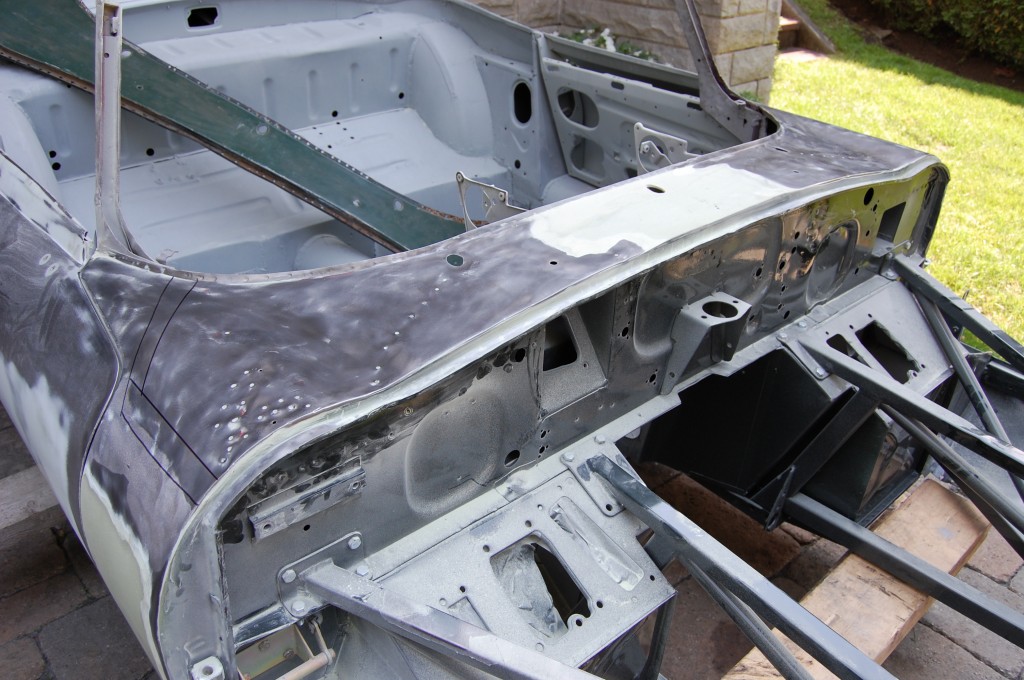
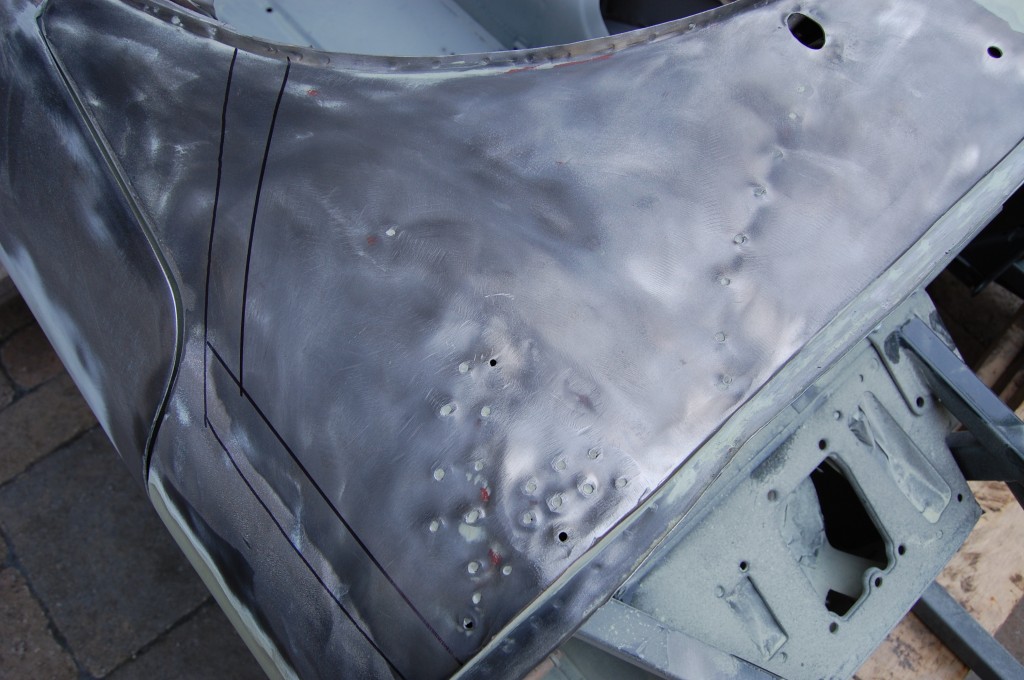
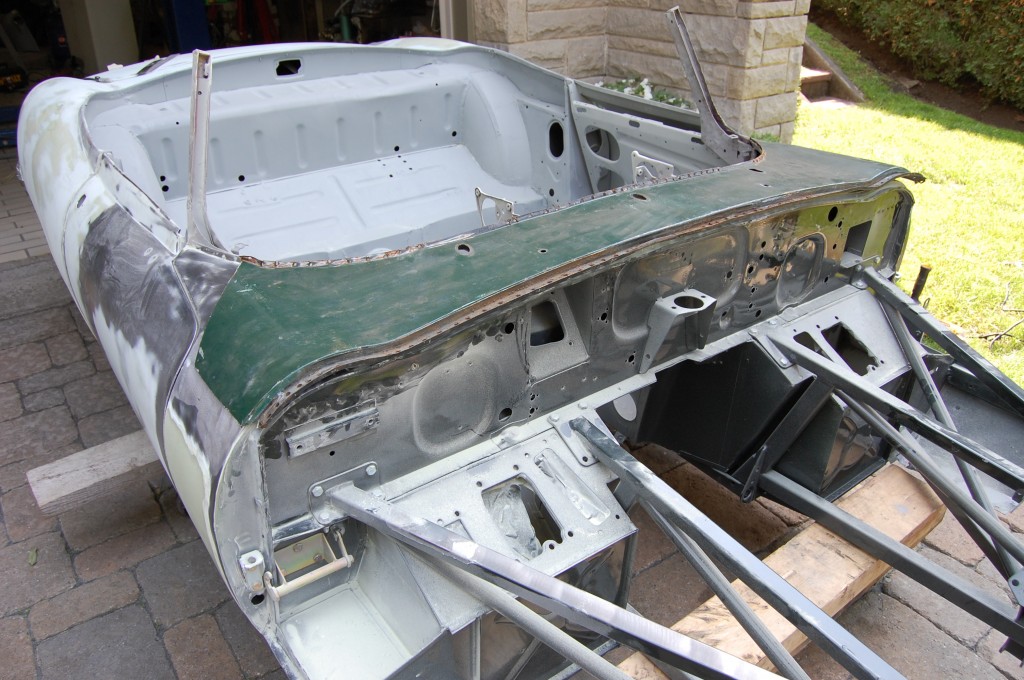
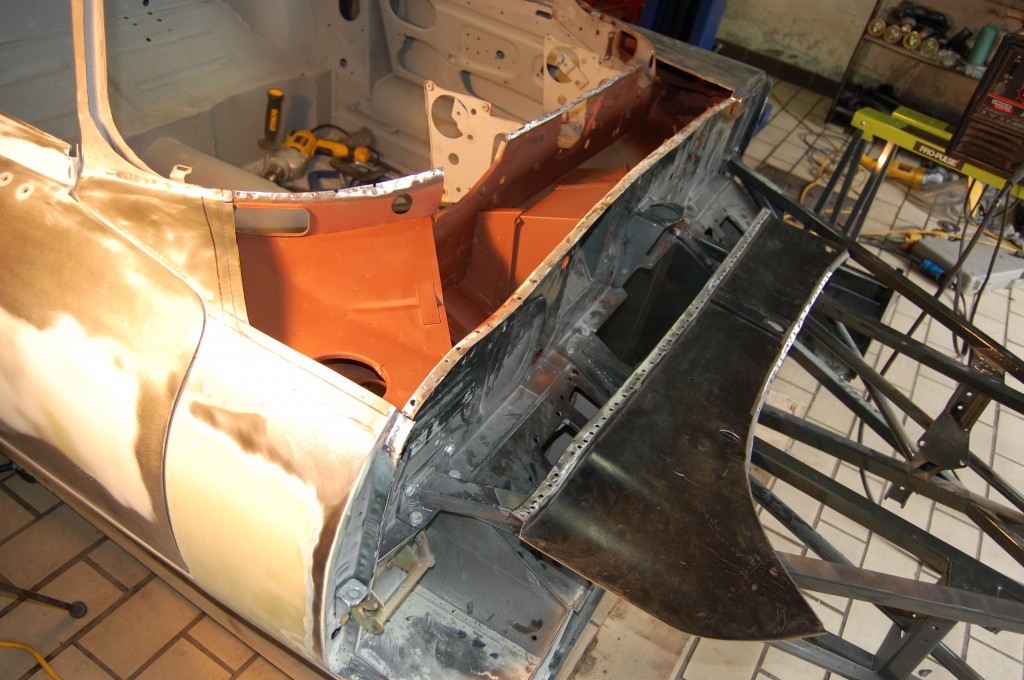
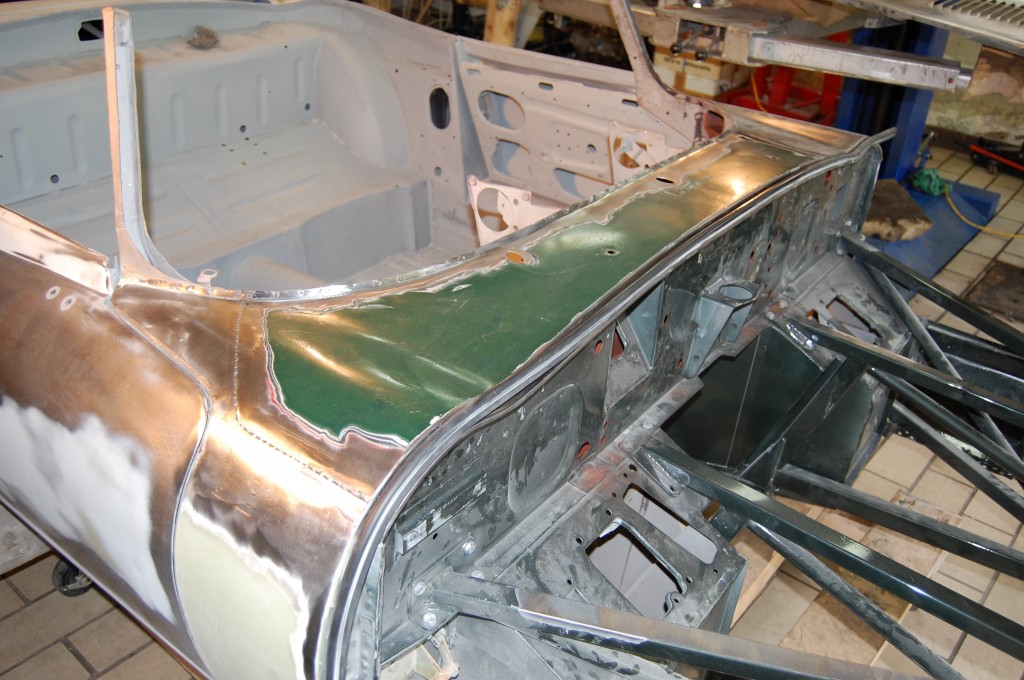
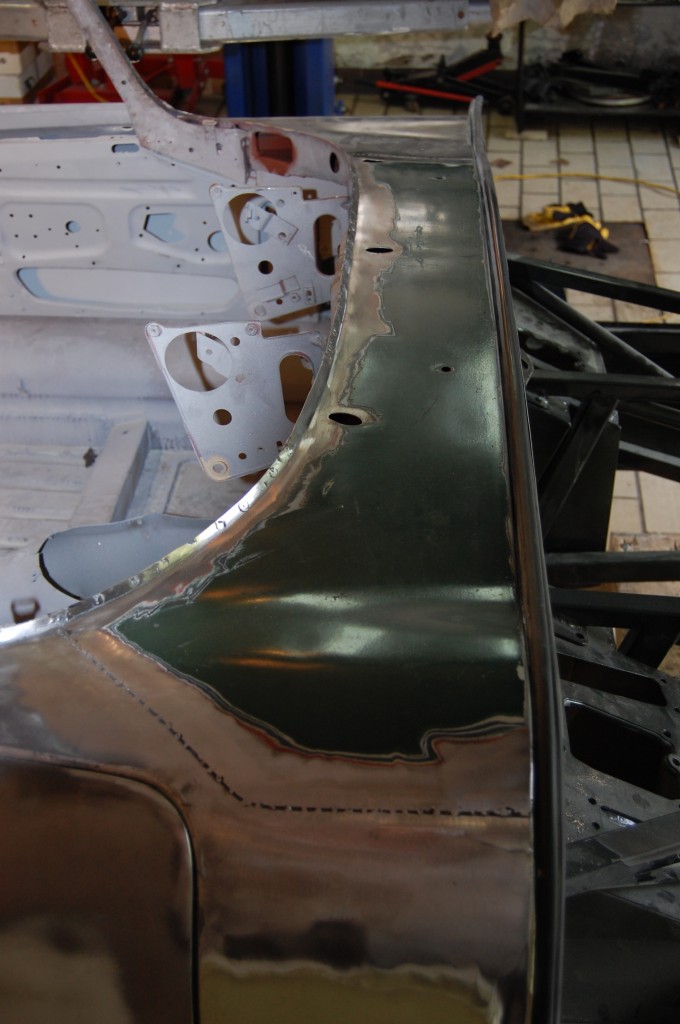
- Here’s the final result – the new cowl panel is shaped properly, and most important – at the correct height!
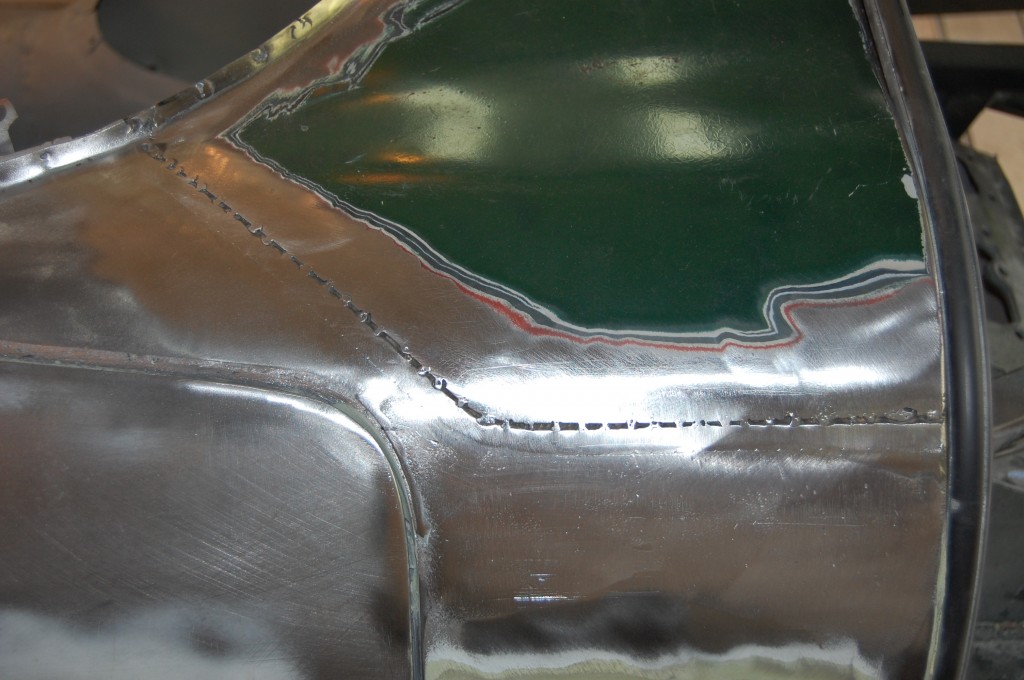
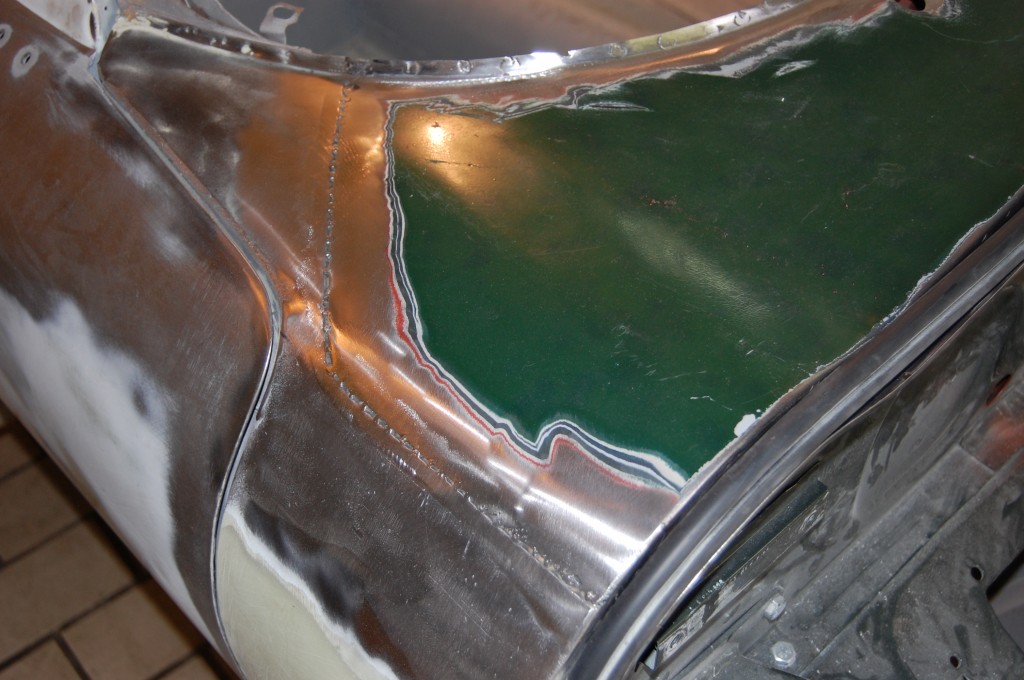
- Back at the shop, I’d have TIG-ed the entire seam here, but with the flux-core MIG I had to work with, I was only comfortable with a series of strong tacks. Because of this, I also chose to flange the seam rather than butt-weld the panel. I was actually very happy with how this turned out – very strong, very smooth, and no warpage whatesoever.
- Here’s another shot. Just a little filler will handle this seam nicely – none will be required past that.
- We located the other seam right at the wiper hole – this helped to make sure that we had everything located properly side-to-side.
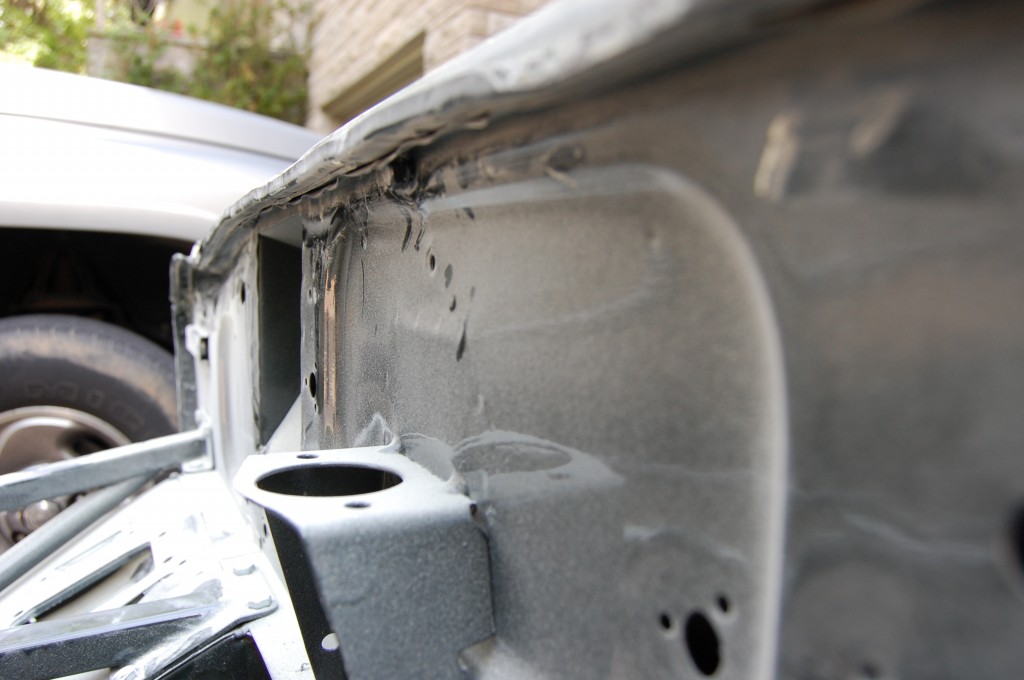
- THIS is what we were REALLY after! When the bulkhead was opened up, I worked at this area for a while with the hammers and dollies to straighten it the best I could and get that top flange up where it is supposed to be!
- Here’s another shot of the flange further down the line. Remember the safety catch bolt that was jammed in there? Also note that the top flange was folded down so far that the firewall was not sprayed. Incidentally, after the pick incident and shoddy paint in the engine compartment, the customer got the car out of that body shop FAST, and we made these repairs at the customers home. Needles to say, they are shopping for a better painter…

