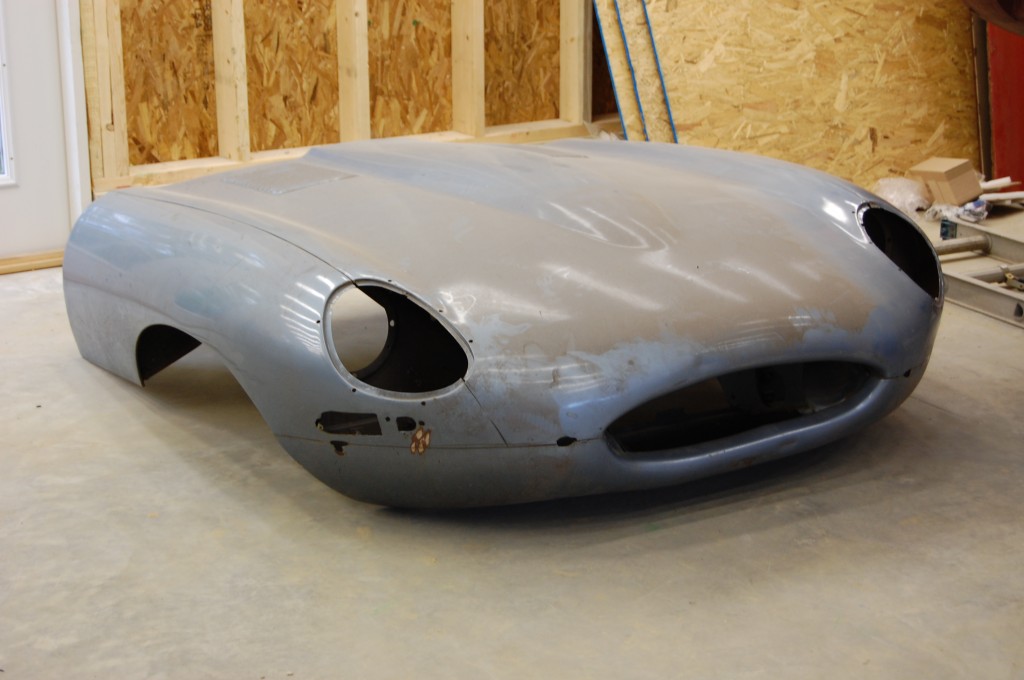
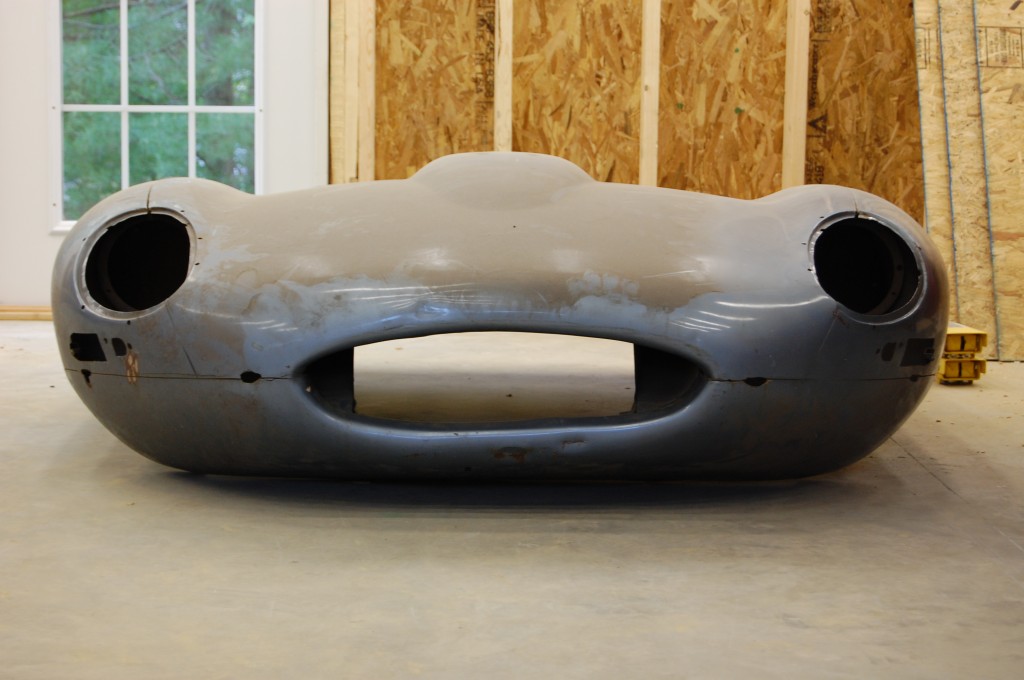
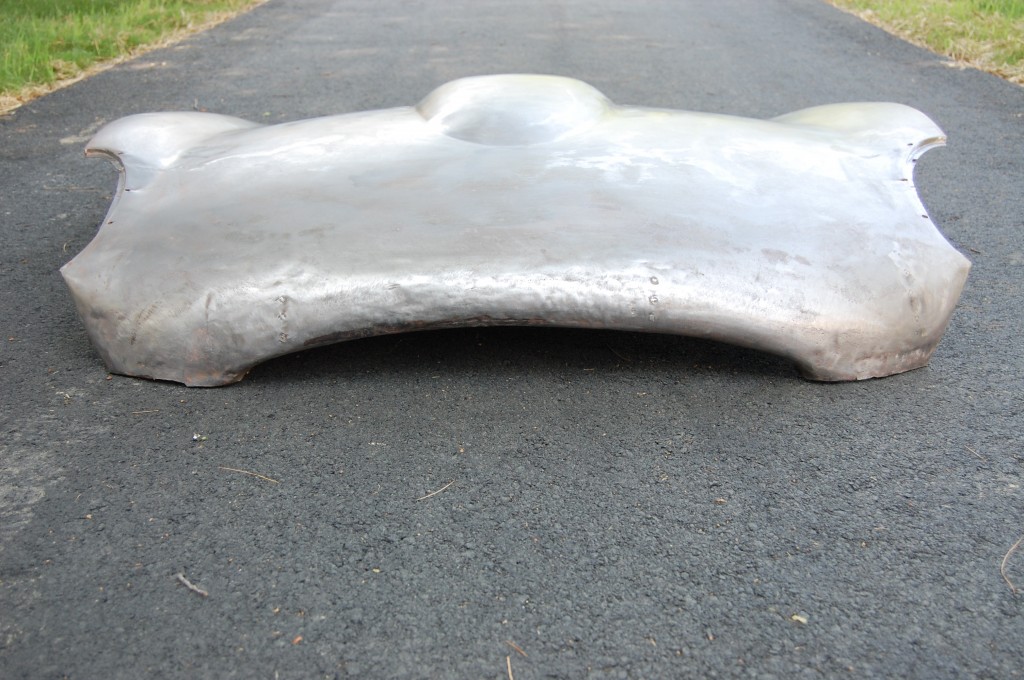
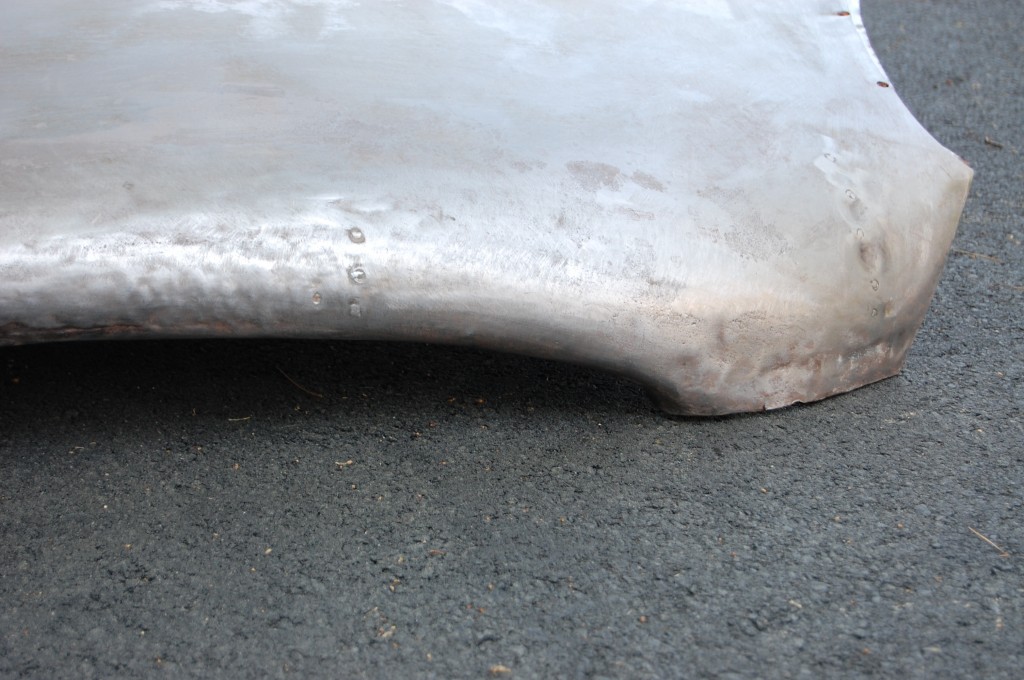
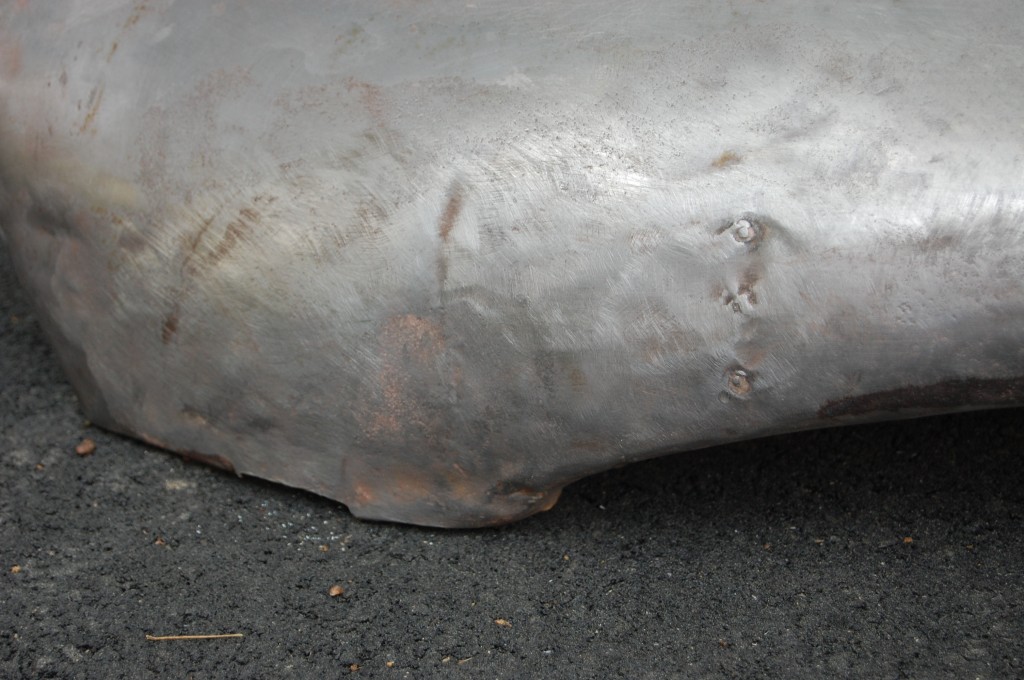
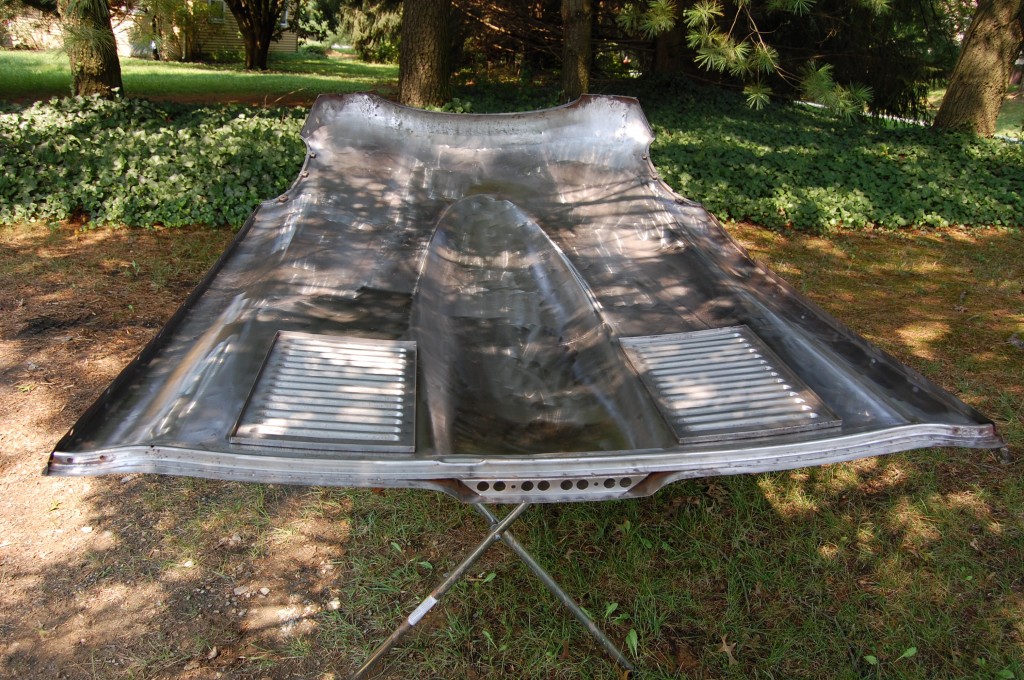
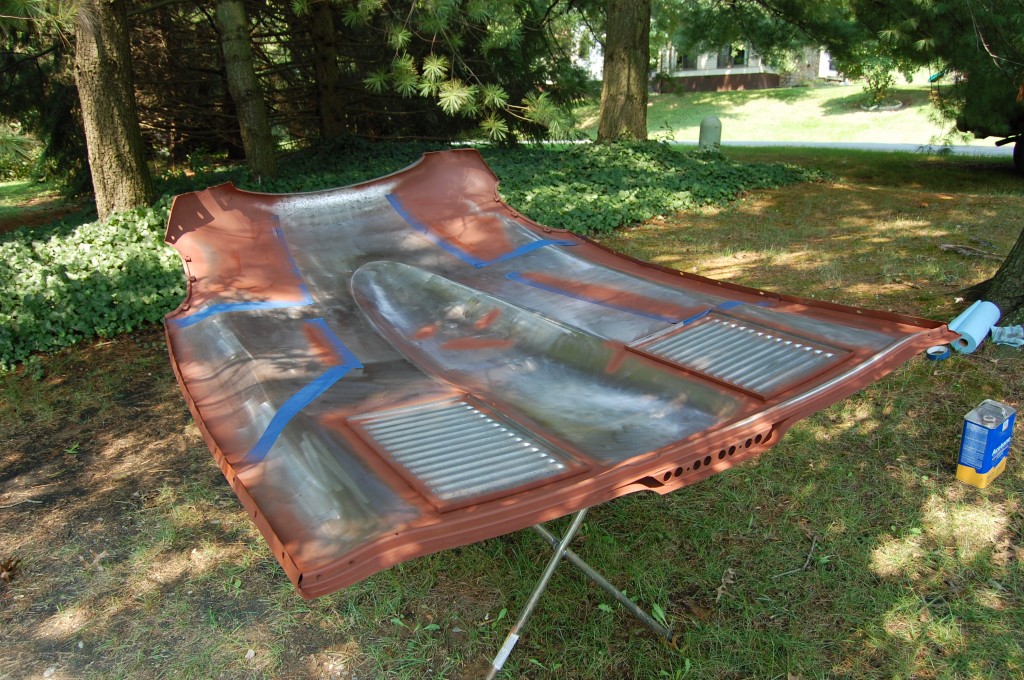
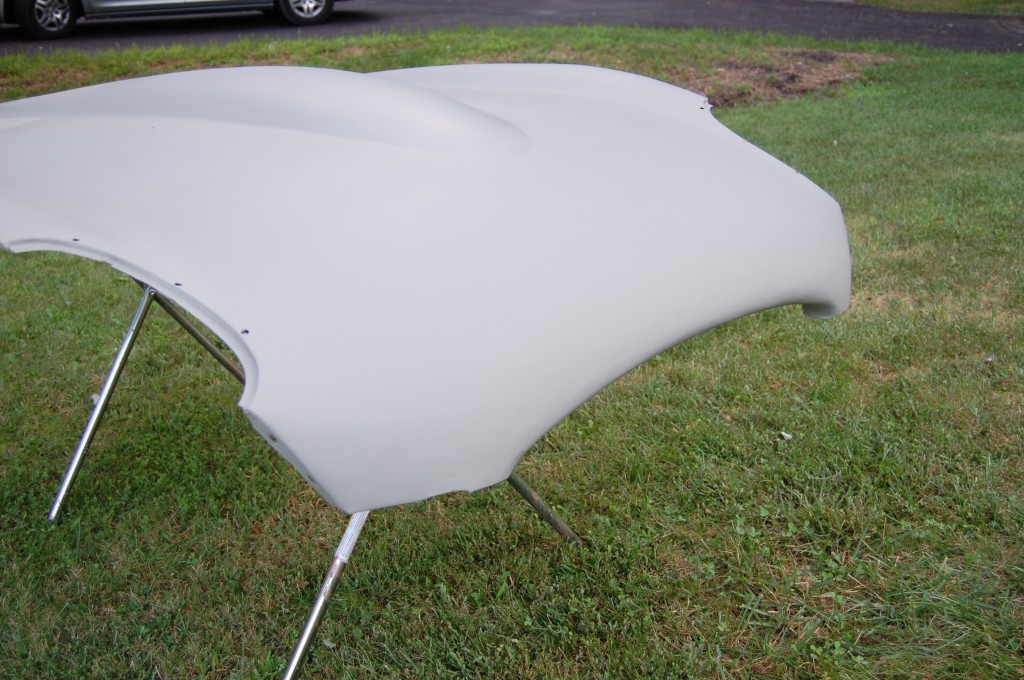
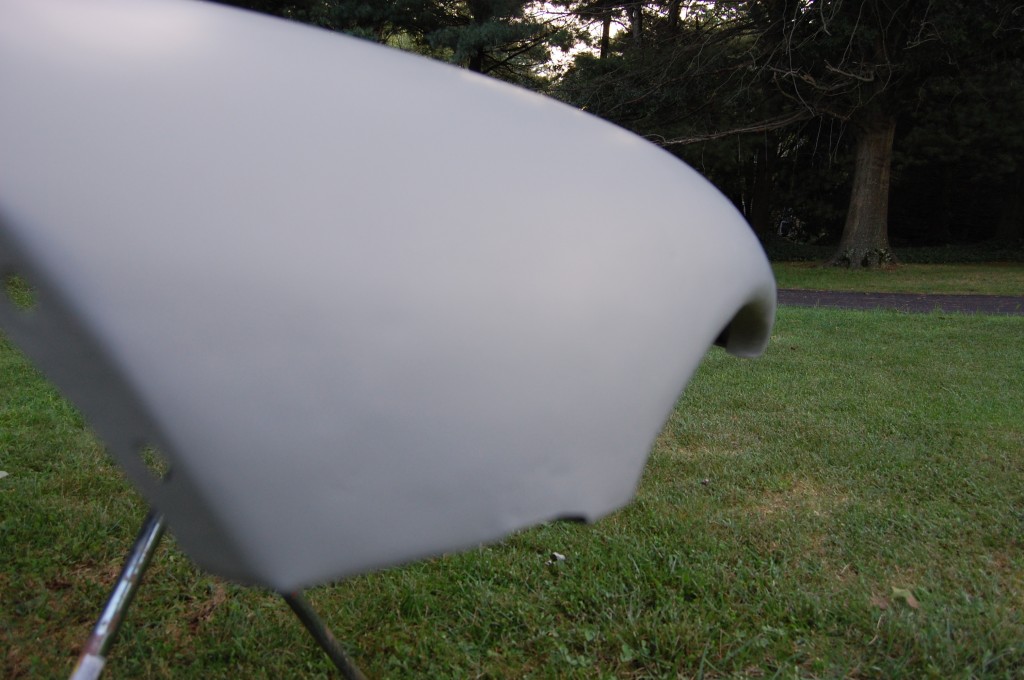
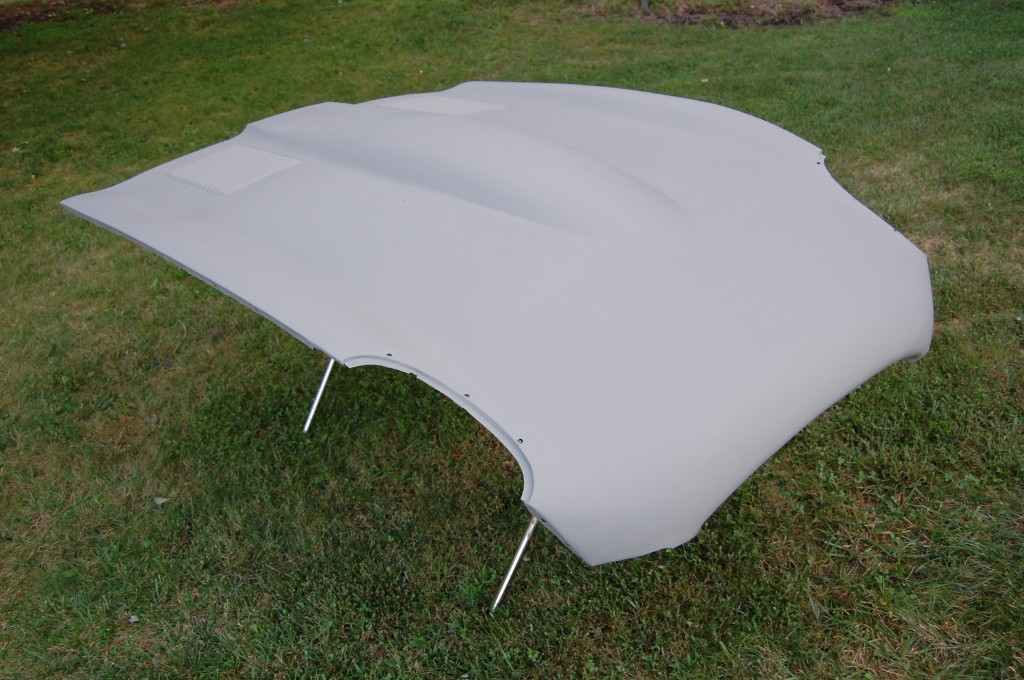
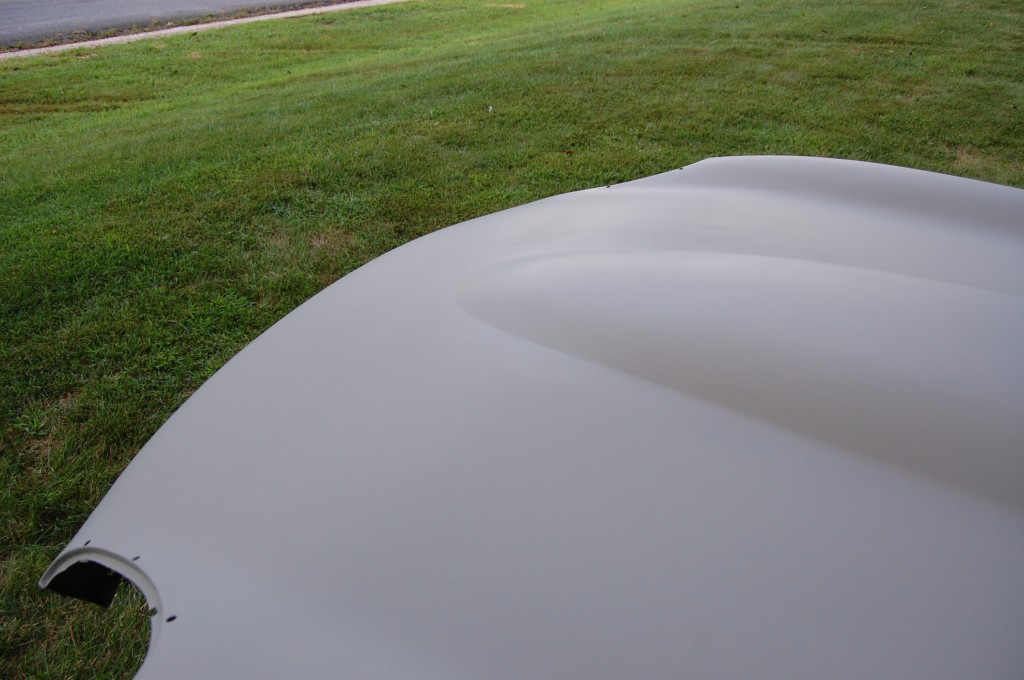
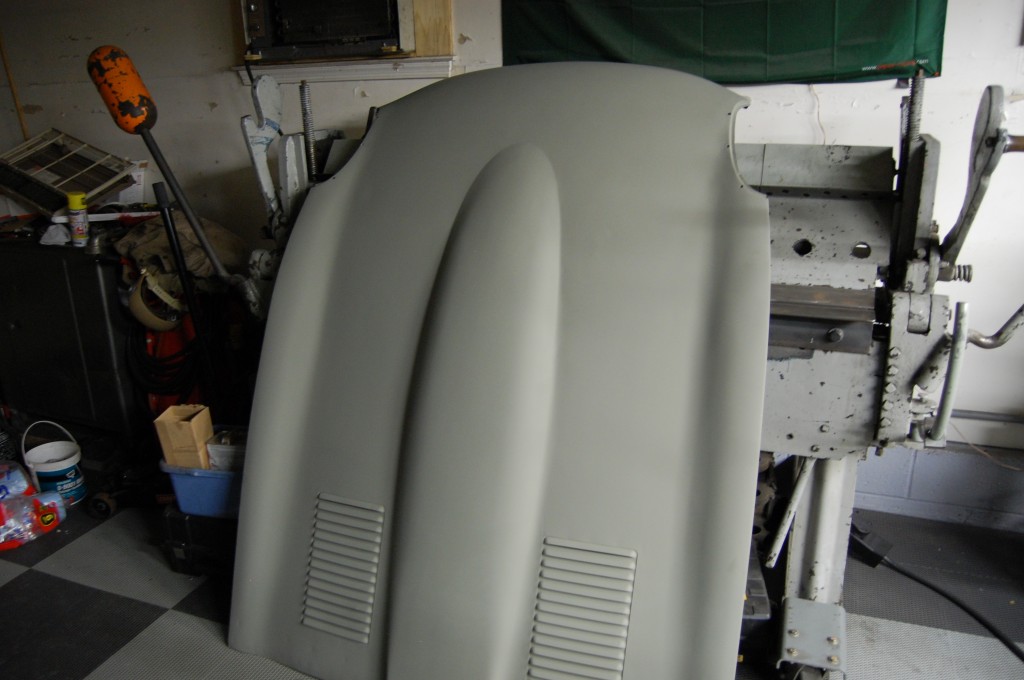
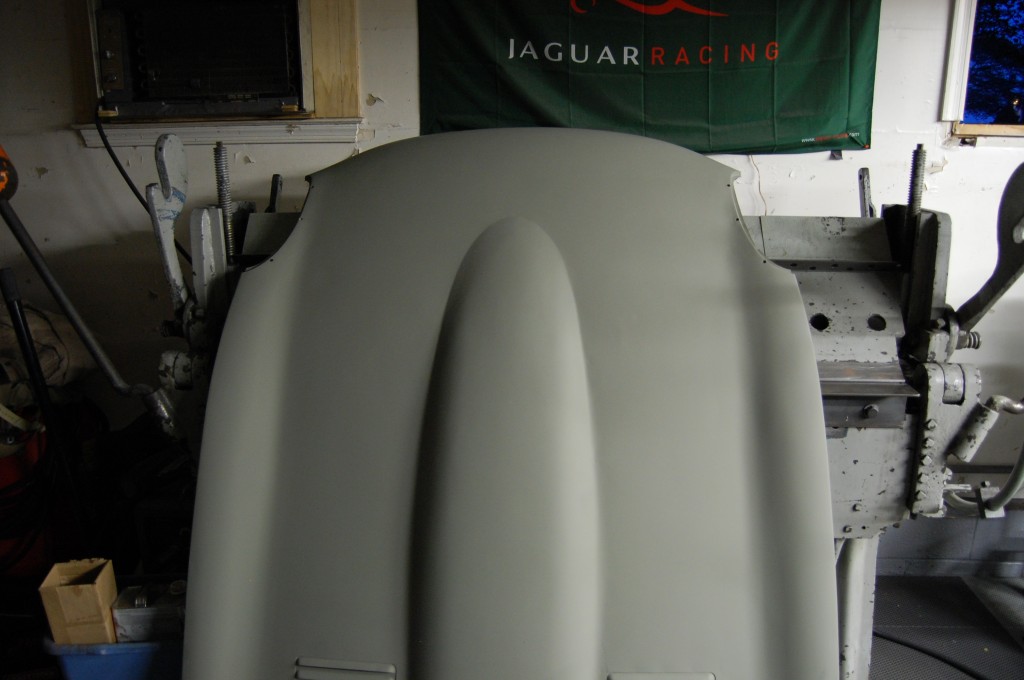
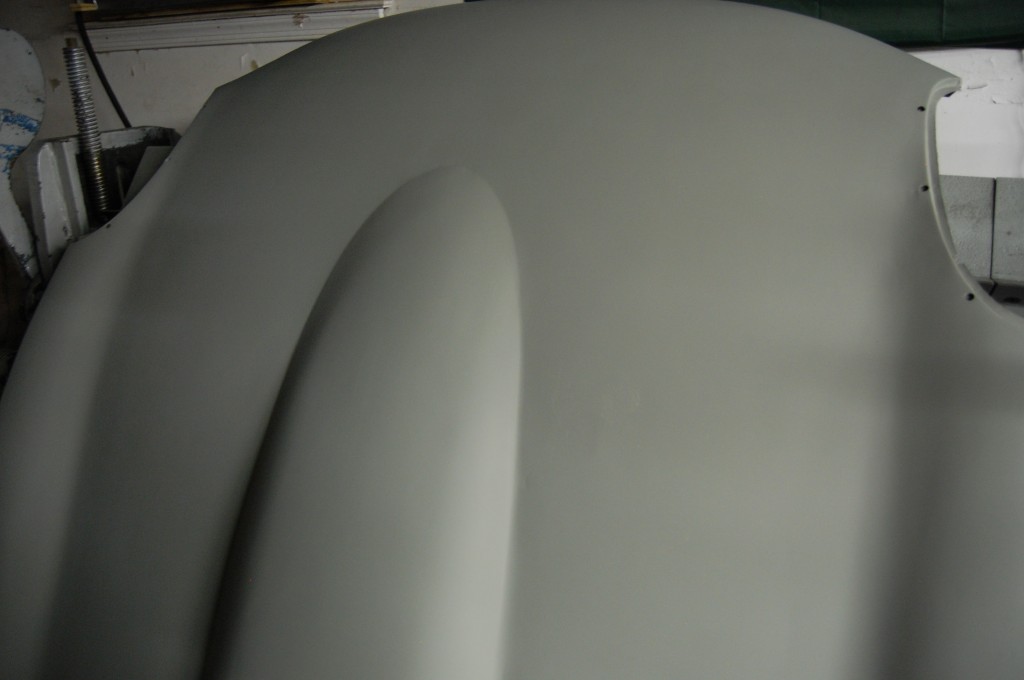
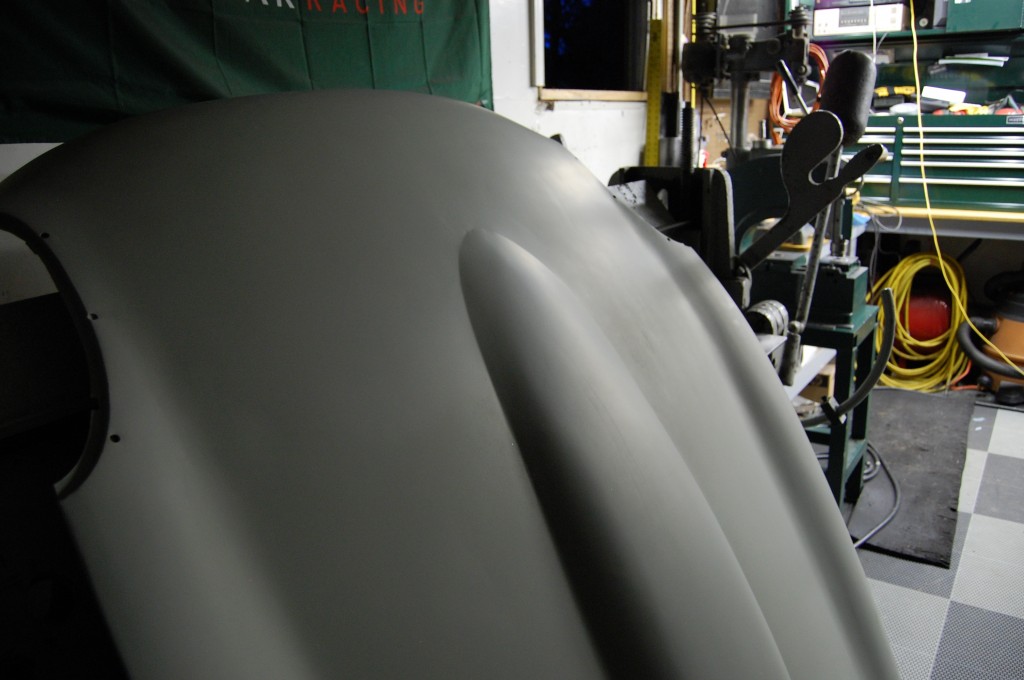
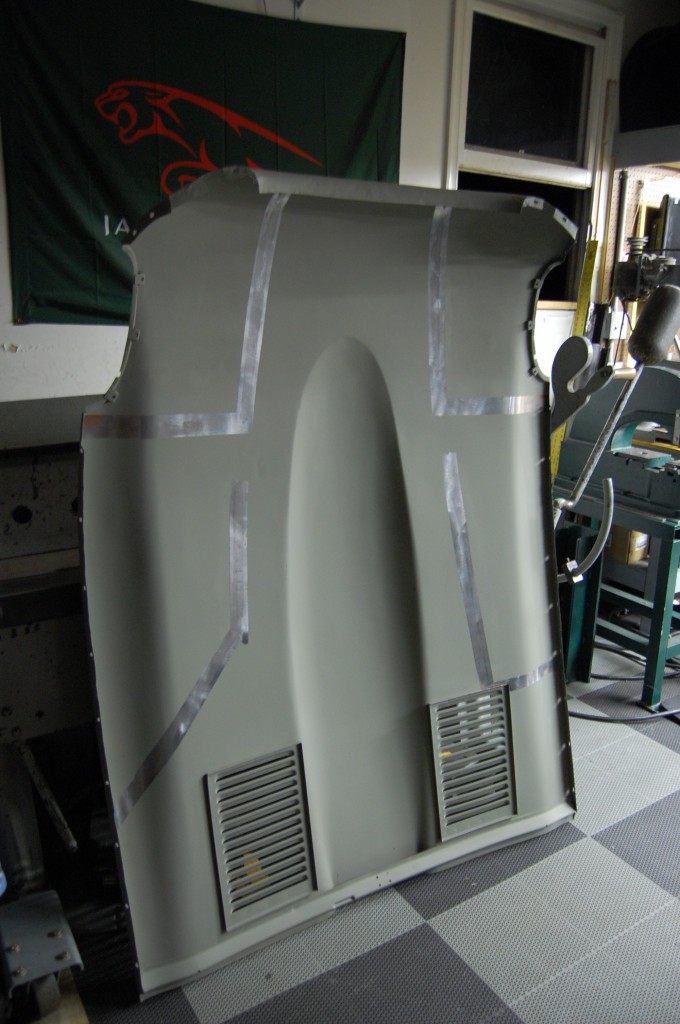
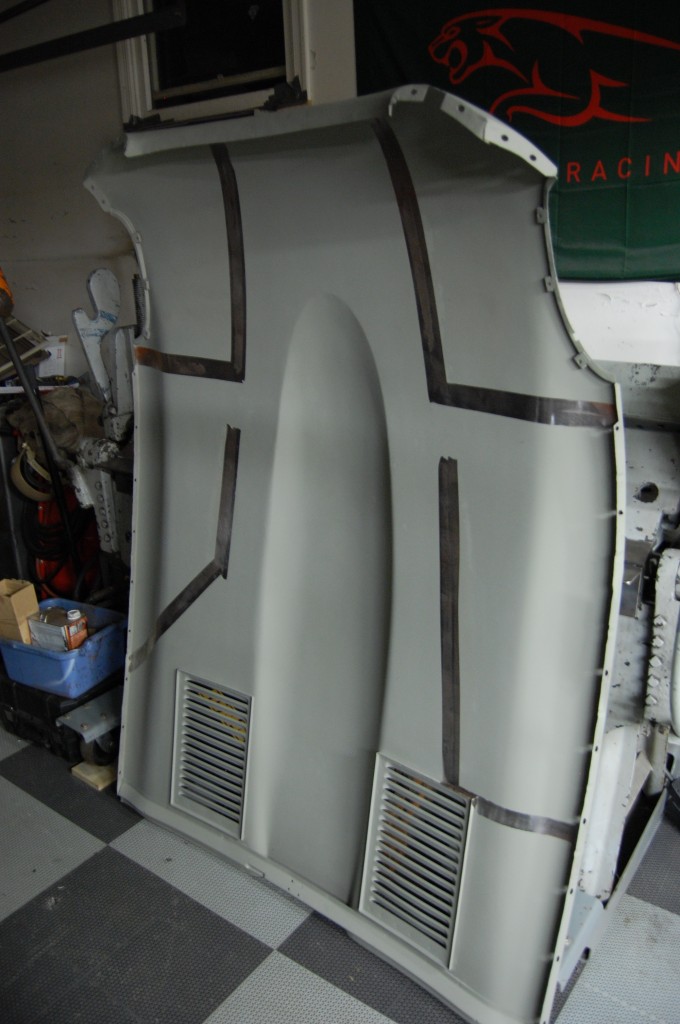
Earlier today we finally got the welded-louver center section for this bonnet cleaned up and into a coat of etch-primer. Alot of hours were spent earlier this week getting this piece from a very poorly hammered and bondo-filled mess into a nearly perfect panel. Next, we’ll assemble the bonnet to determine the proper locations of the spot-welded flanges.
This piece turned out really well – the hammering done on it to this point did not introduce too much stretch, and we were able to bring her back to where everything should be – have a look!
- Here’s the bonnet that donated the panel – a hodge-podge of early and late pieces… However, this turned out to be the best center section we could have ever hoped for – it had the welded or “let-in” louvers, but had never had welded flanges so there were no rust isues there. It was perfect for our build – but needed lots of help!
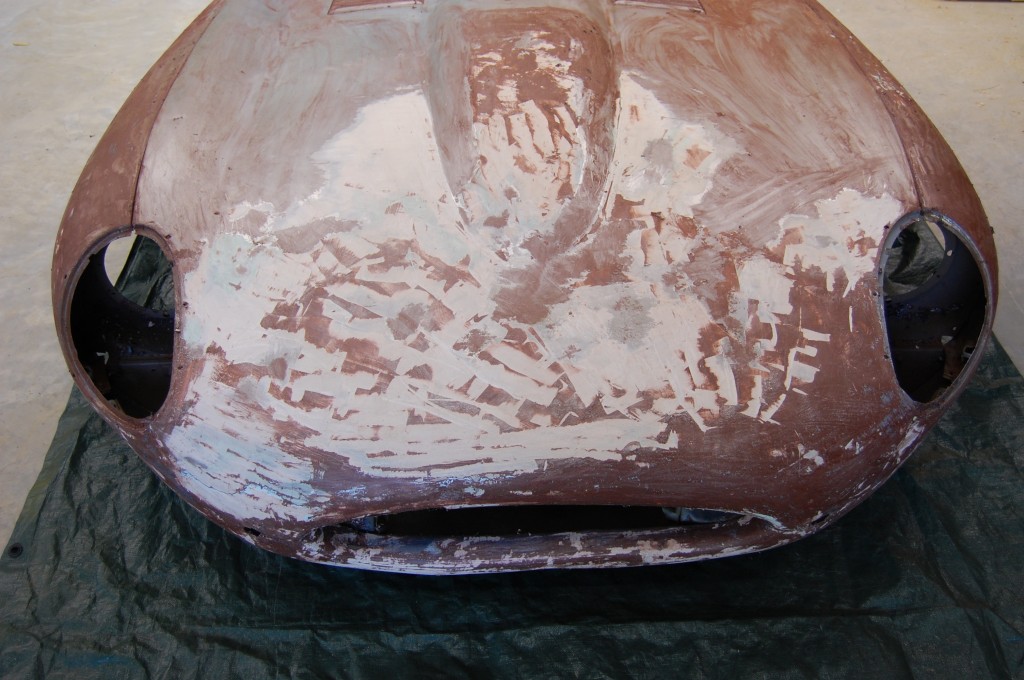
- I could tell there was filler in here at first glance…
- …sadly, and as usual, it was even more than I thought.
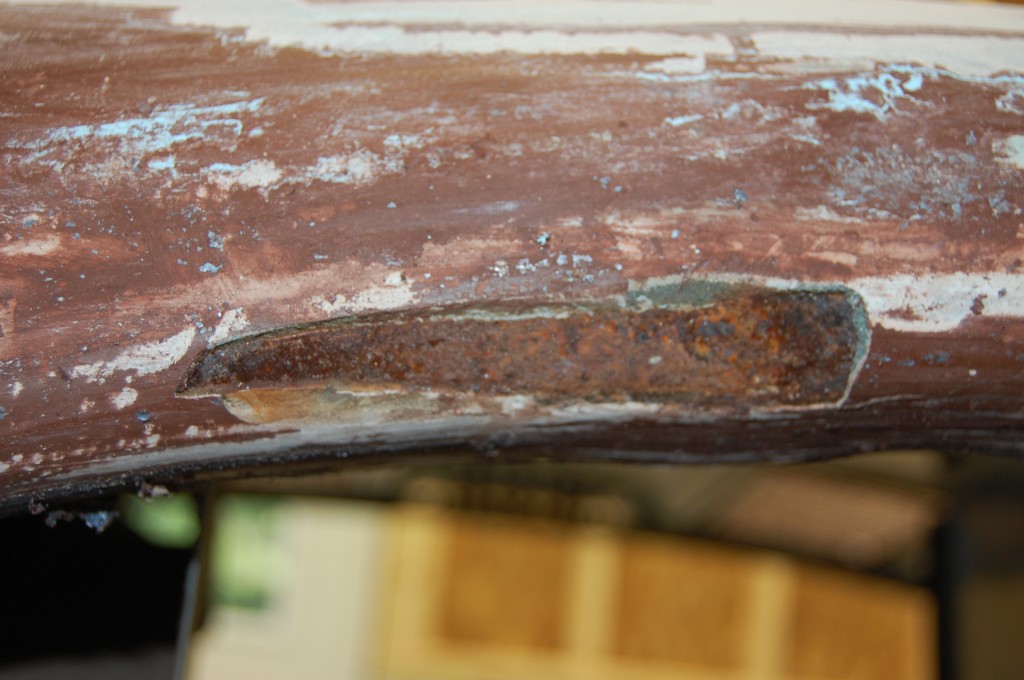
- A little picking at a crack in the nose with a putty knife and this whole chunk of filler popped right out – revealing a total lack of adhesion and deeply pitted rust – YIKES! Is this what is under your paint?…
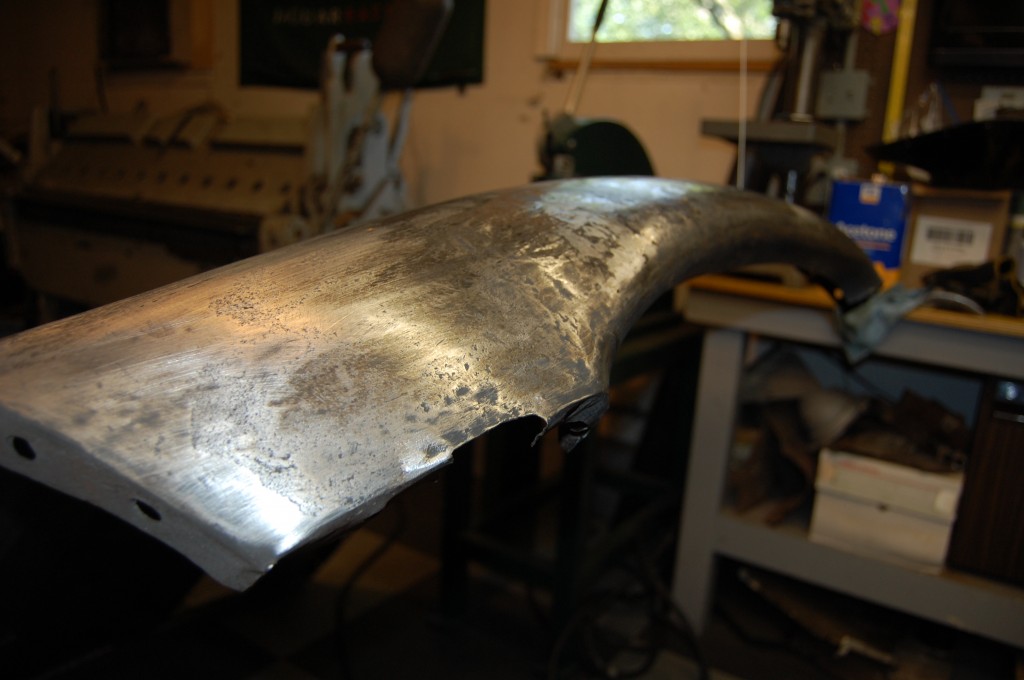
- Here is the panel after careful stripping of the paint and filler from the topside. This piece seems to have had a run-in with a ball-peen hammer in its past.
- Another common abuse that we often see – dent puller holes. At least these guys welded them up, though it looks like Frankenstein…
- Close up of the hammer work – all covered with over 1/4″ of filler…
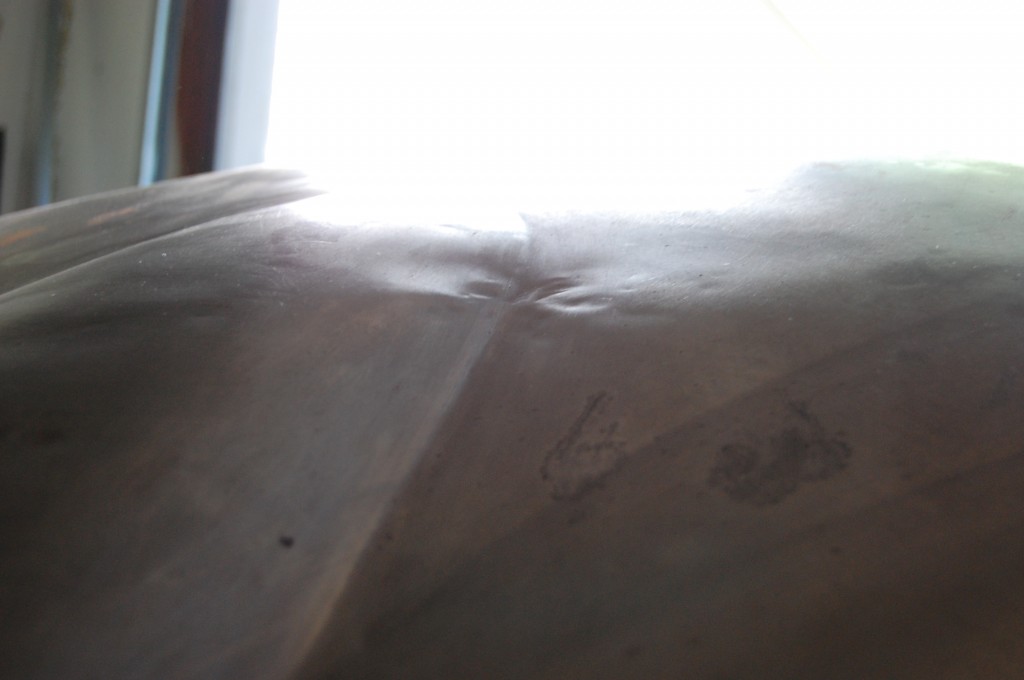
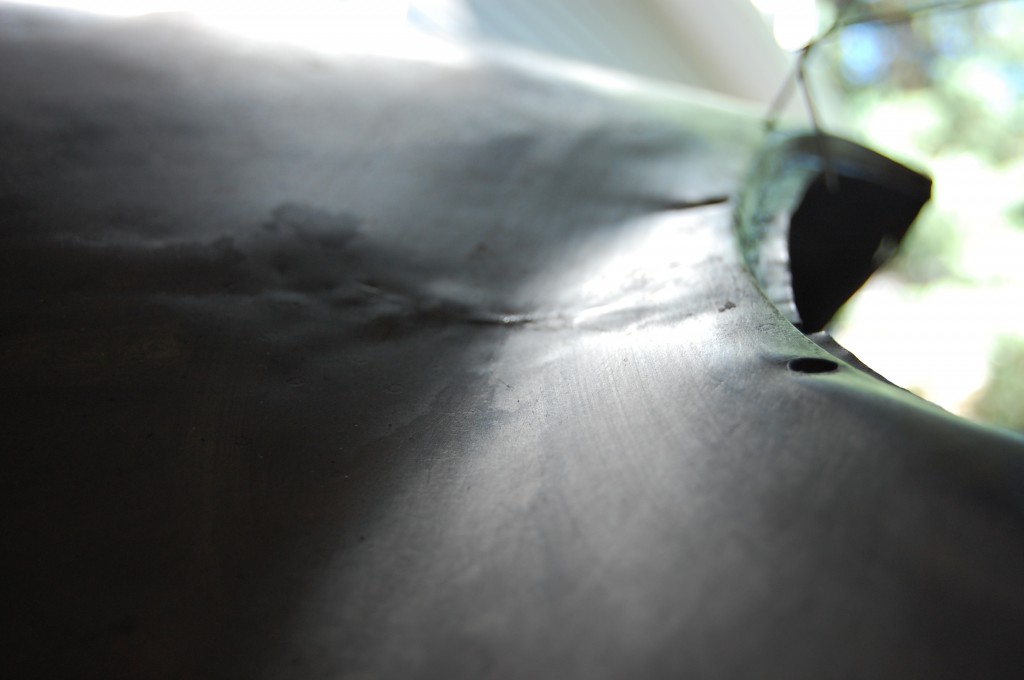
- There are a couple of things going on here… This is the edge where the power bulge meets the flat section, about 12 inches back from the tip on the LH side. This is a buckle from a minor collision that was just crudely knocked down and smeared with filler. This is the toughest area to work on a center section, but we’ll make it perfect again. You can also see evidence of heavy pitting from a bare rust patch many decades ago.
- Same buckle on the RH side (there’s always two…) and more crude hammering.
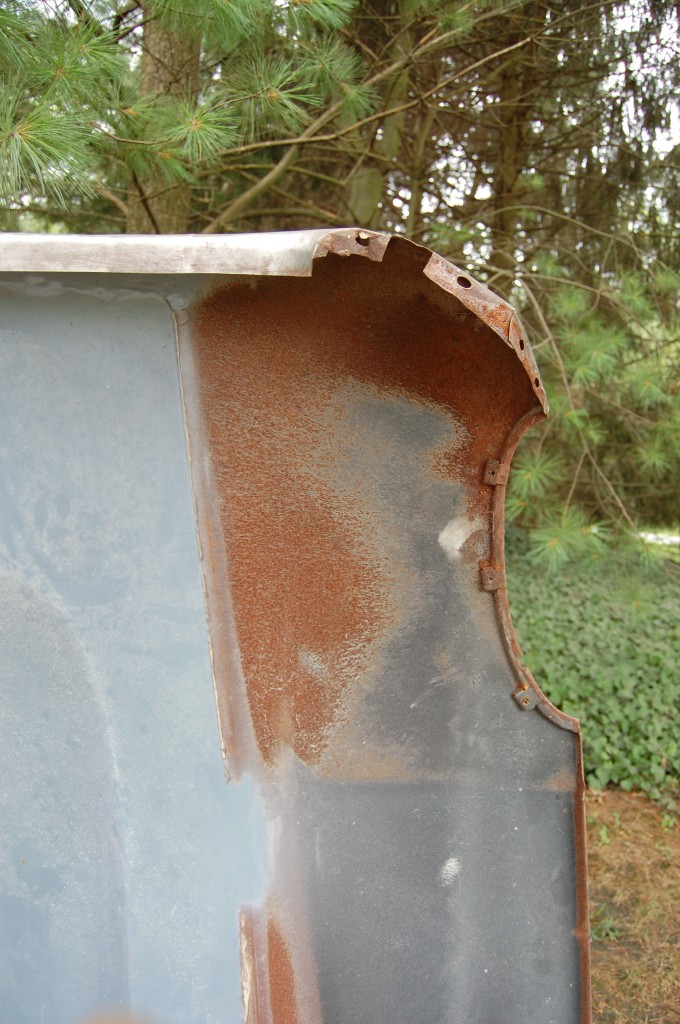
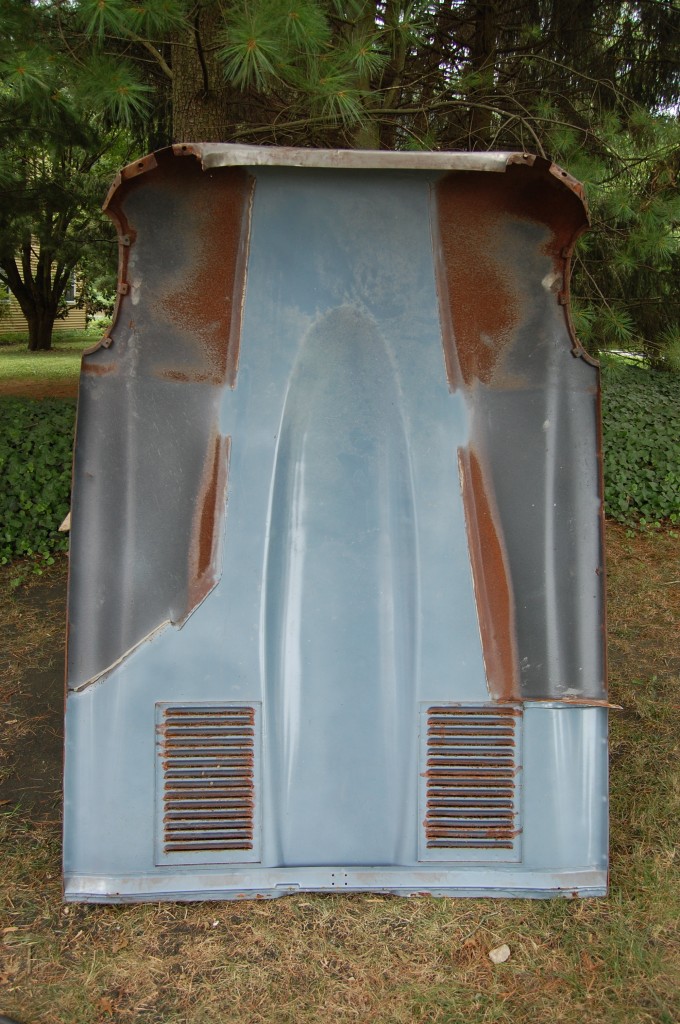
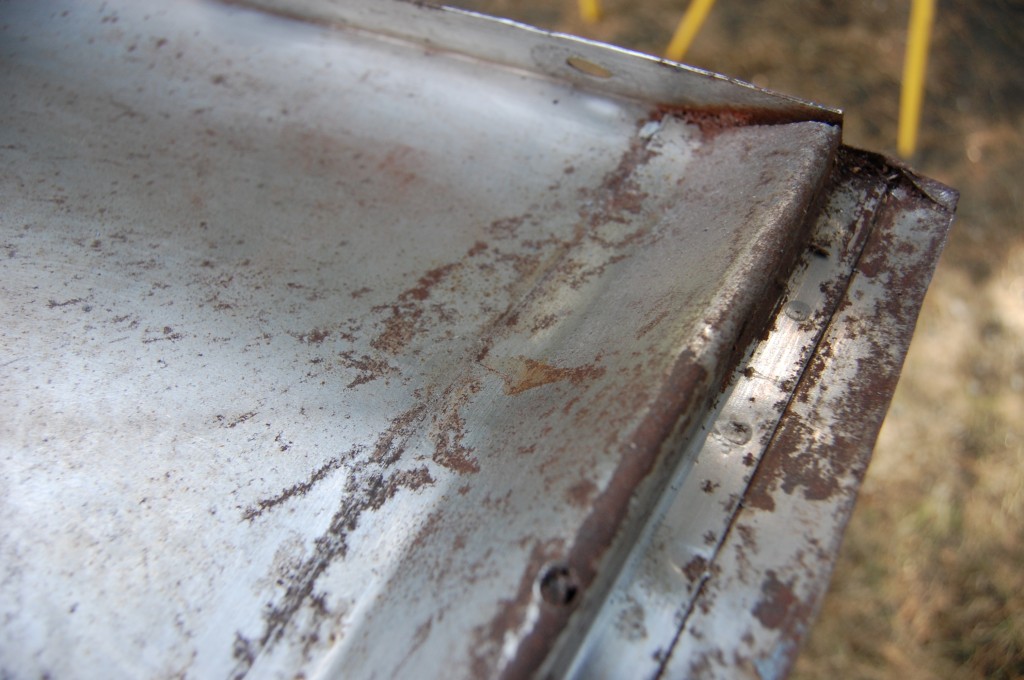
- Next we need to address this surface rust from a sloppy priming and paint job that never covered these areas and left them bare.
- Just pure laziness – this rust is where a spray-gun will not reach in the paint booth. Not even Jaguar was THIS bad!
- This panel is worth its weight in gold to this early coupe, so we only blast what we absolutely have to – at low pressure.
- This pitting can be filled with a light cream filler in the paint phase.
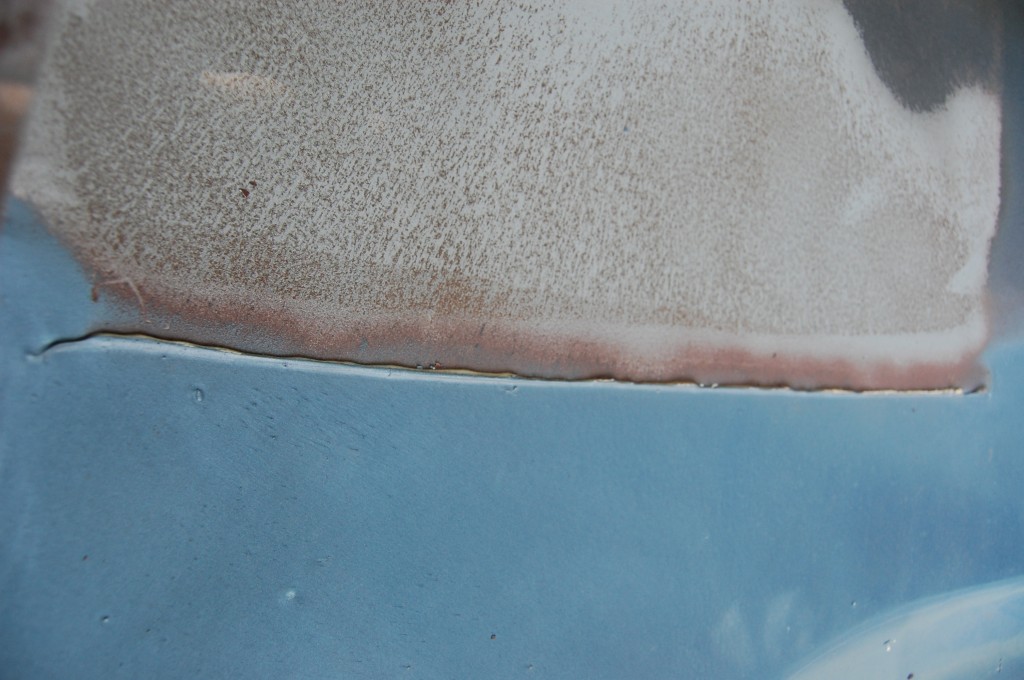
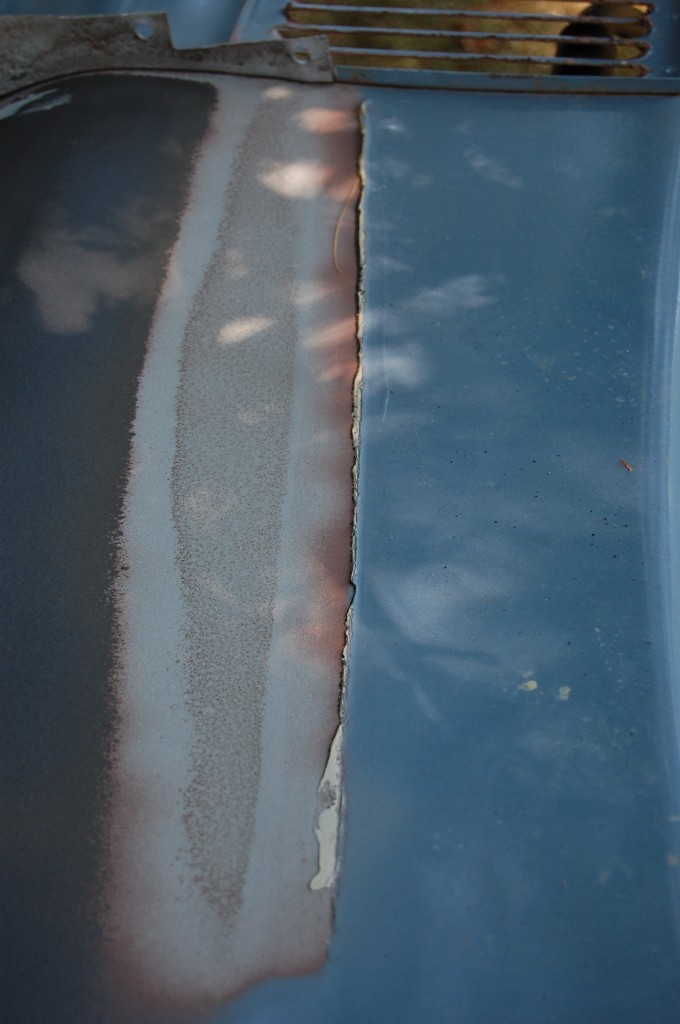
- More laziness from another shop in the past – they positioned the bonded flanges and then just hit the very edges with a caulk gun – and adhesive white bath caulk…
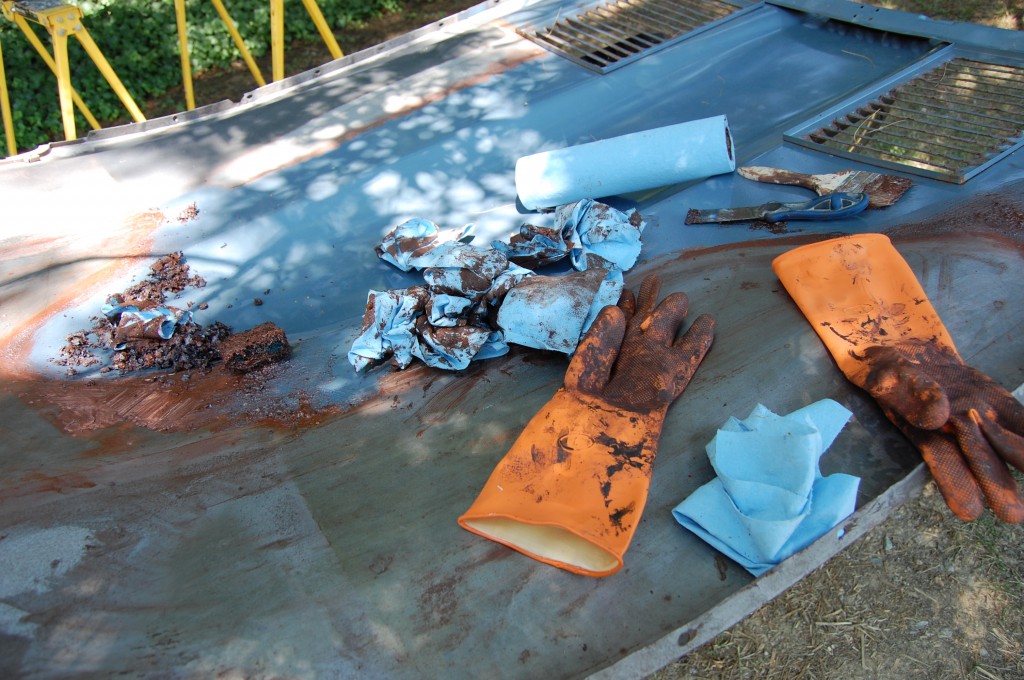
- Next we stripped the underside by hand with chemicals.
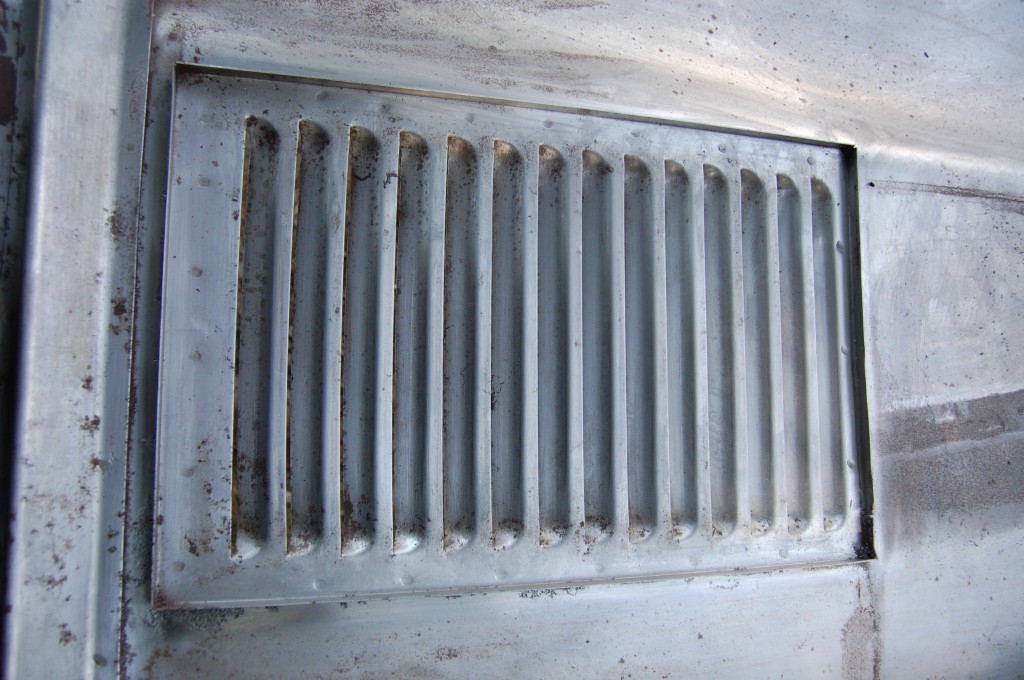
- The holy grail – perfect early louvers! These were painstakingly stripped with a toothbrush.
- More horrors from the previous restoration shop… This bonnet had a SUPER-THICK layer of red-oxide primer/sealer on it, now we know why – they had just sprayed right over this rust!
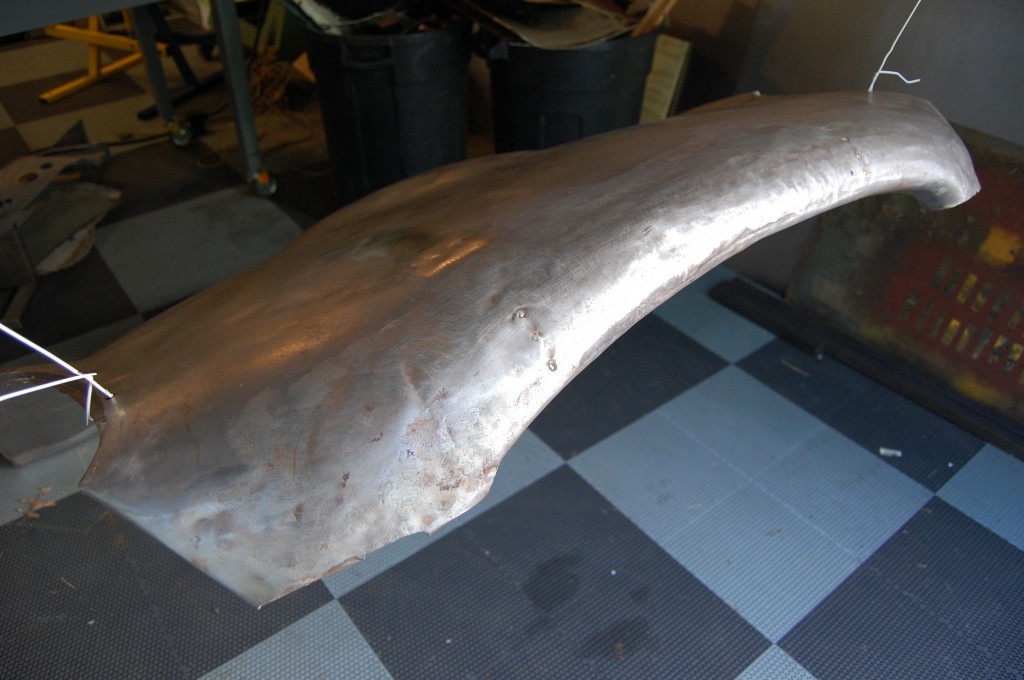
- The panel is now hung and we’re ready to begin the shaping.
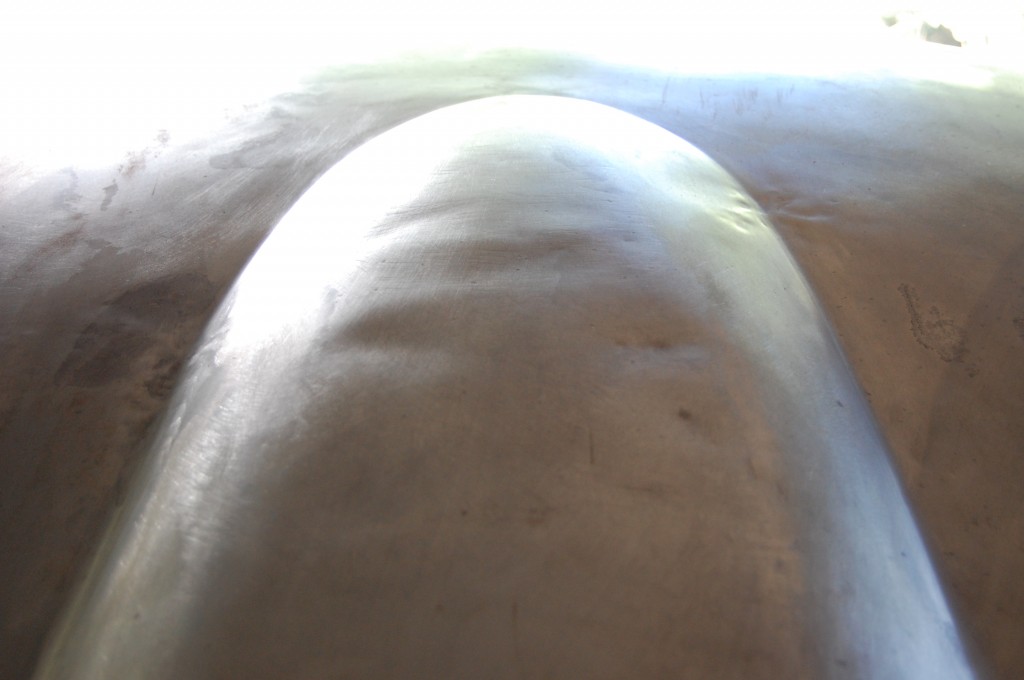
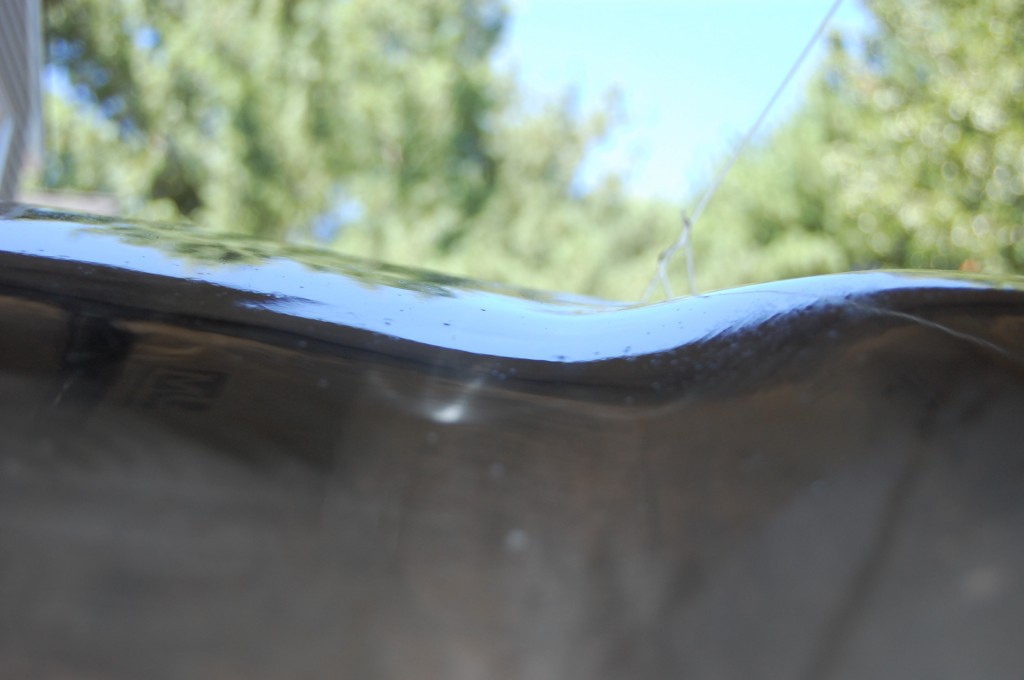
- It’s very tough to get these photos – the lighting has to be just right – you need shadows. This was alot worse in real life than it looks here. As a matter of fact, the UNDERSIDE of the power bulge had 1/4″ of filler in it – that’s how bad these dents were!
- Here’s a good “before” shot of the buckle on the RH side.
- It had damage in the RH valley as well – also a very tough area to work with – and it’s even worse when someone has been in there bashing around like this…
- Here’s the same area from the photo above after some hammering, slapping, and shrinking – it’s wet in this photo after having just been quenched.
- The re-shaping process is a very involved and active ordeal, so I don’t usually get alot of “during” photos. Here I’m just about done the work on the nose.
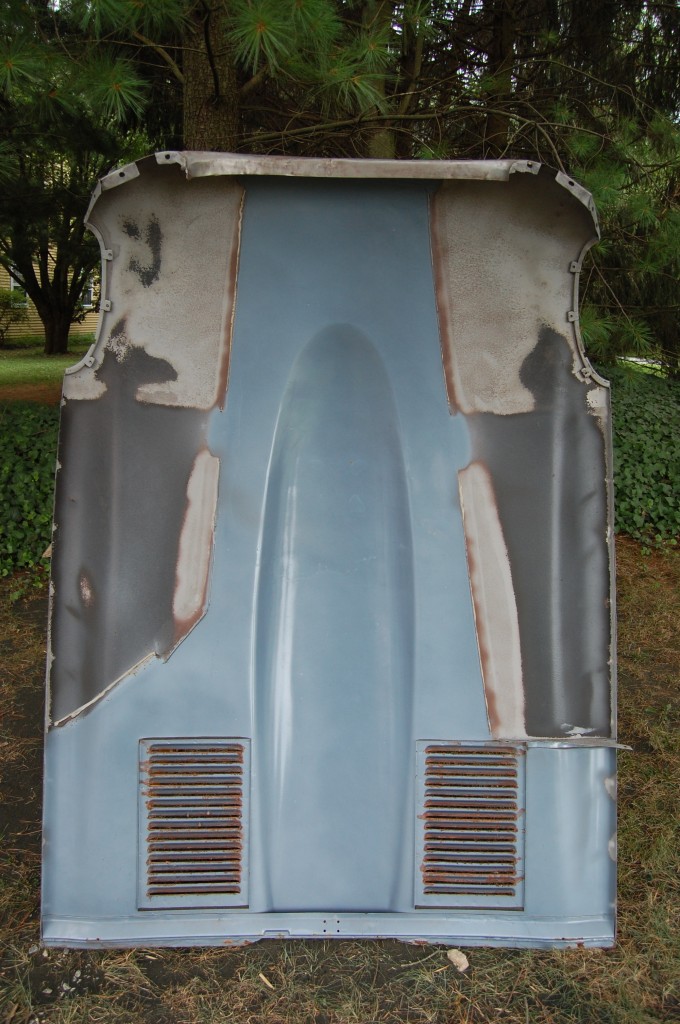
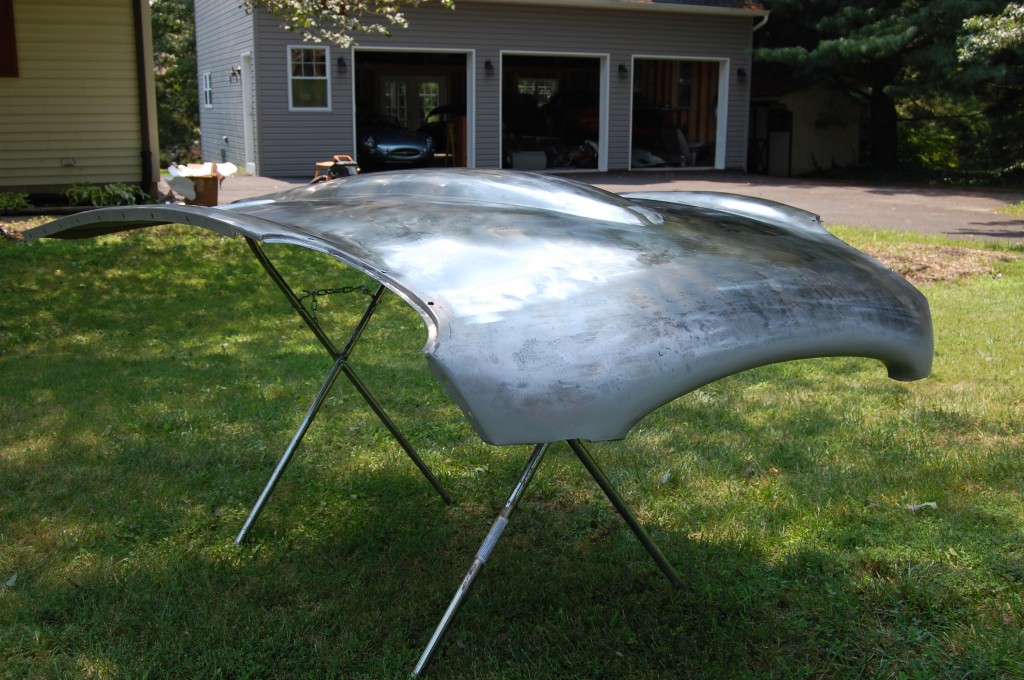
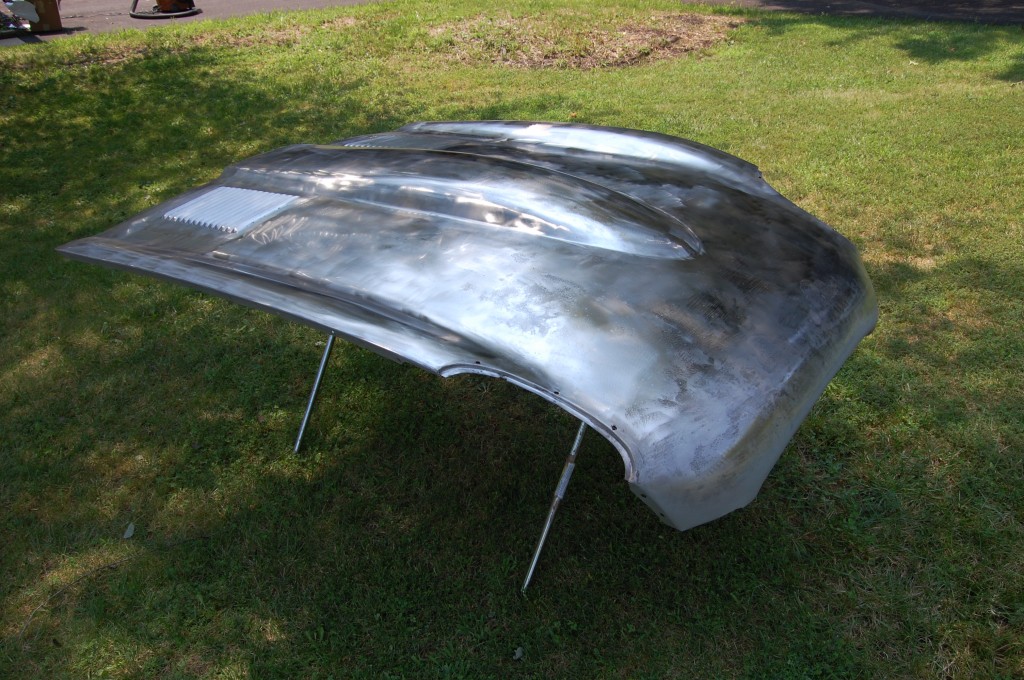
- All of the reshaping is done, and we’ve sanded, scraped, and scuffed ALL surface rust off.
- We hit the pitted areas with a little red oxide for good measure before the etch primer goes on.
- The bottom is now etch primed and we’re ready to spray the top.
- Here’s another shot – we’ll still need to weld in the flanges, but all of the water from quenching during shrinking rusts the panel literally overnight, so as soon as the shaping is complete, we scuff everything and get some primer on there to prevent that.
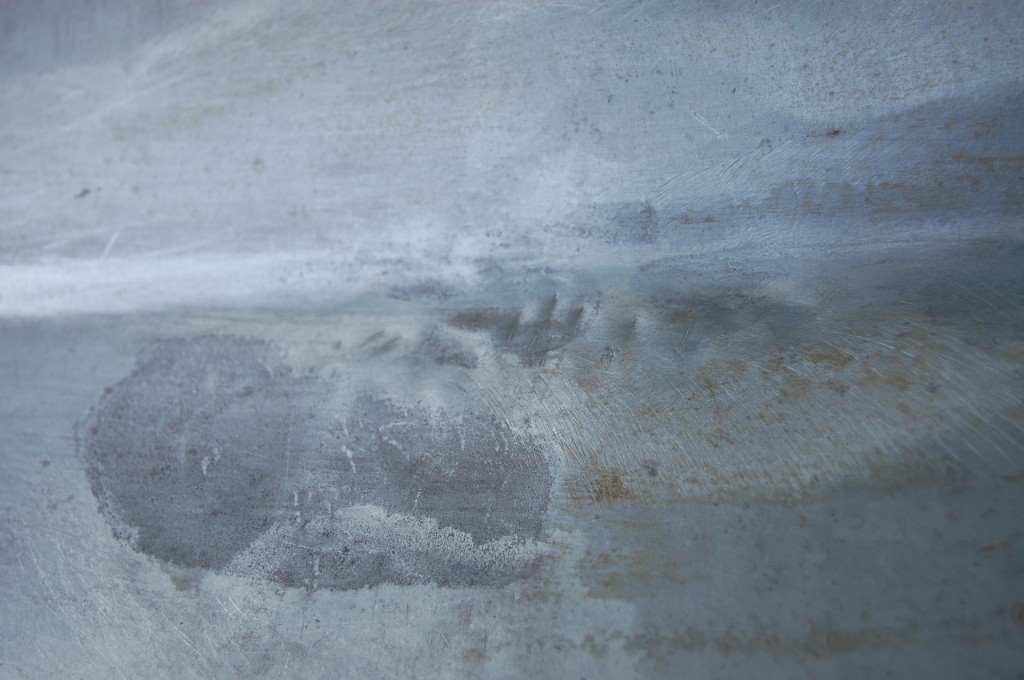
- That’s steel and etch-primer – NOTHING else.
- Here’s how the nose ended up – we’ll still need a little filler in this panel – there’s no escaping that after damage like this had, but it looks like we are well below 1/16″ everywhere. In the sun from 10 feet away, this looked brand new and perfect.
- Not bad! This piece turned out great. 🙂
- Remember that angrily hammered buckle 12 inches back from the point of the power bulge on this side? Where did it go!?!
- Back in the shop at night, the shadows highlight the success we’ve had with the reshaping – for example, the power bulge dents, RH buckle, and damage in the RH valley are all GONE!
- Here’s another shot – the shadows never lie…
- Another closer shot…
- From the other side…
- So why go to all this trouble? Why not just get close and then fill it? Two reasons – A) Thick filler cracks and falls out – remember the photo above?, and B) E-Type bonnets should look as nice underneath as they do on the topside…
- …And proper metalwork is the ONLY way to make the underside look this good. Next, we’ll weld in our flanges – something that can only be done after the panel is properly shaped. No matter how wrecked, rusted, or poorly repaired your bonnet is, we can bring it back. This panel turned out great, and we’ve done others that were MUCH worse with similar results in the past – give us a ring!

