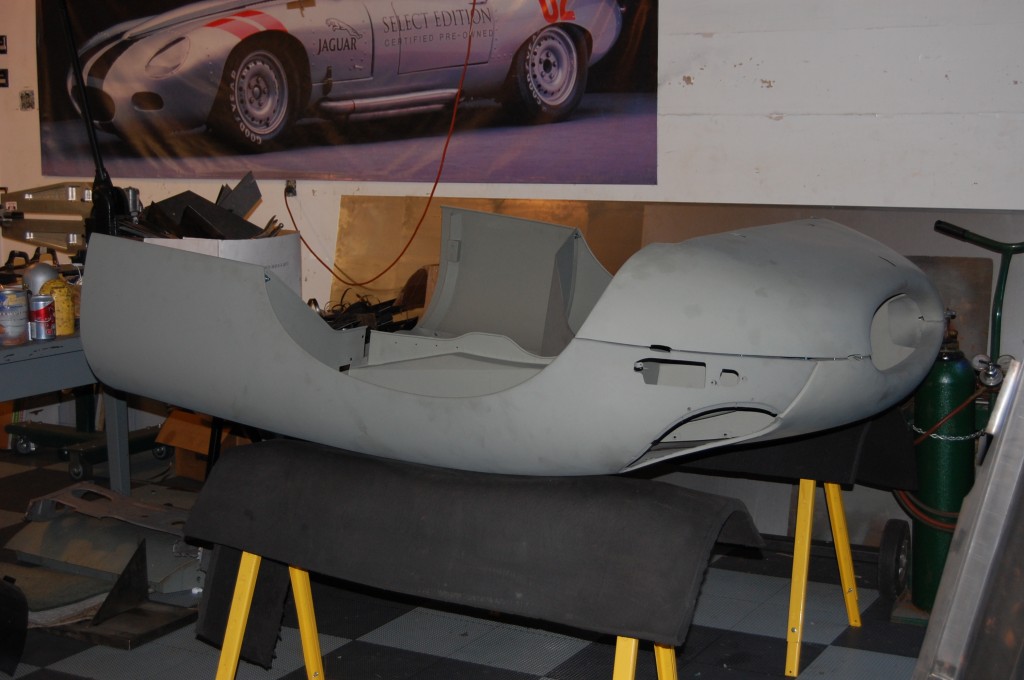
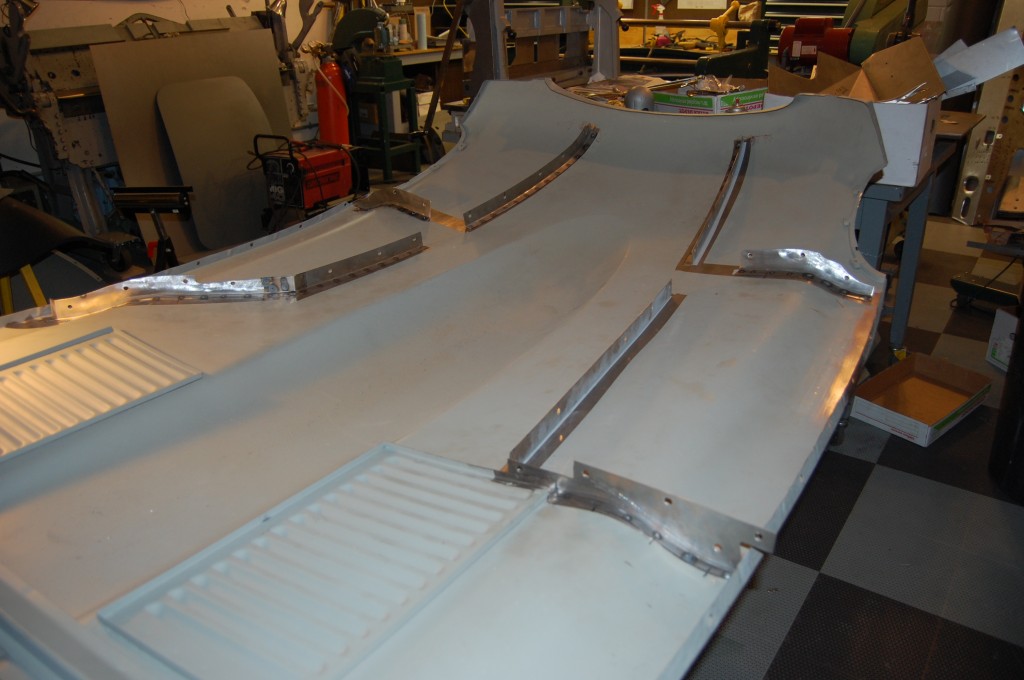
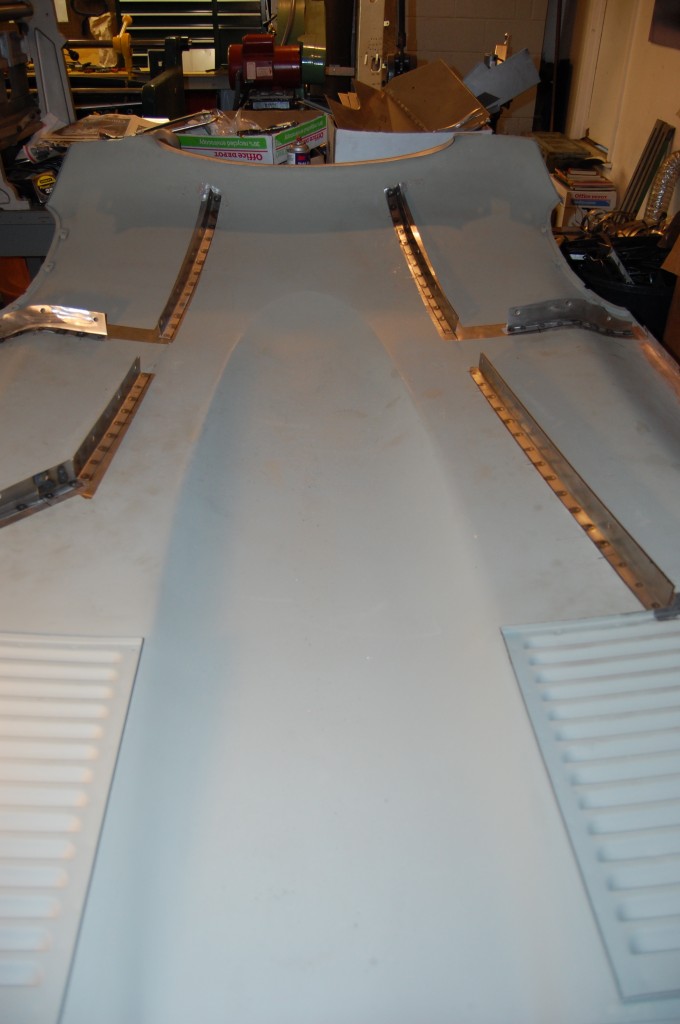
Most people know that the early bonnets have welded louvers, but many do not realize that all of the flanges are also welded versus the later models which are bonded.
For this bonnet, we re-created the welded flanges on the wings earlier this summer by removing the bonded flanges, reshaping them a bit, and spot-welding them directly to the skin. That works on the wings because the flanges are the same. For the center section, the flanges are different – their configuration is slightly different and they are also noticeably wider. Have a look at the photos below as we fabricate an entirely new set of custom flanges EXACTLY like the original 1961 welded bonnets.
If you have an early car and either need repair to your welded bonnet, or need a new one altogether, call us – we can fabricate the flanges AND the louver panels, and will build you one that is absolutely correct in every dimension.
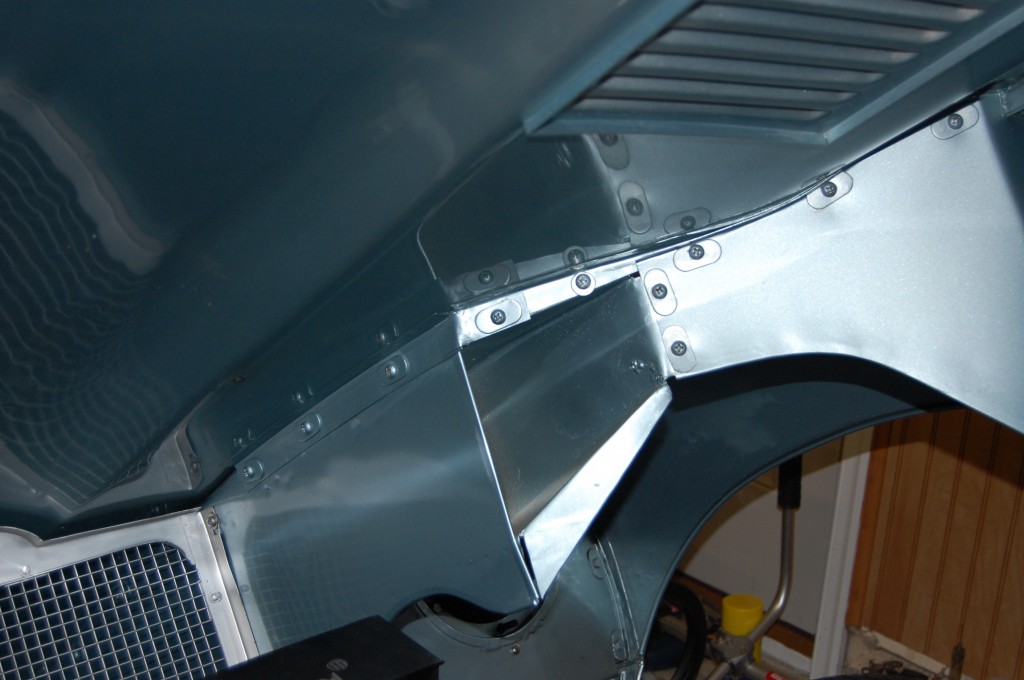
- Our first shot is from another early roadster in the shop – this shows the welded flanges with no bonding compound.
- We started with one of the tougher ones – you have to pattern and fabricate these flanges with the bonnet assembled – the curvature of the outer skin and all dimensions must be EXACTLY where they will be upon final assembly. We have actually taken things back apart here to snake this flange into place.
- Here is a shot of the bonnet assembled and adjusted so that the inner valances are riding the proper distance from the outer skin. Too close and you risk a puncture in the front edge down the road, too far and the flanges will be too wide…
- This area is always a wide spot – even on the bonded cars.
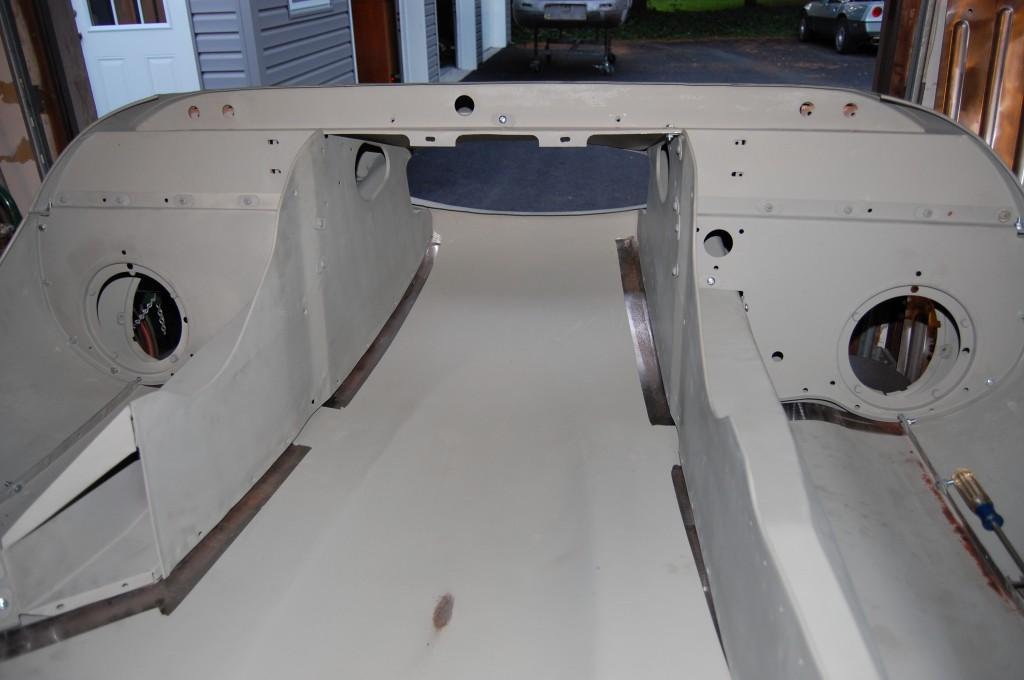
- I shouldn’t give away all of the secrets we have learned over the years, but this photo could save someone days of frustration… When you assemble a bonnet, you must support it right under the chrome beading strips. Placing your supports ANYWHERE else will collapse the skin and you will get a false shape for all of your flange attachment.
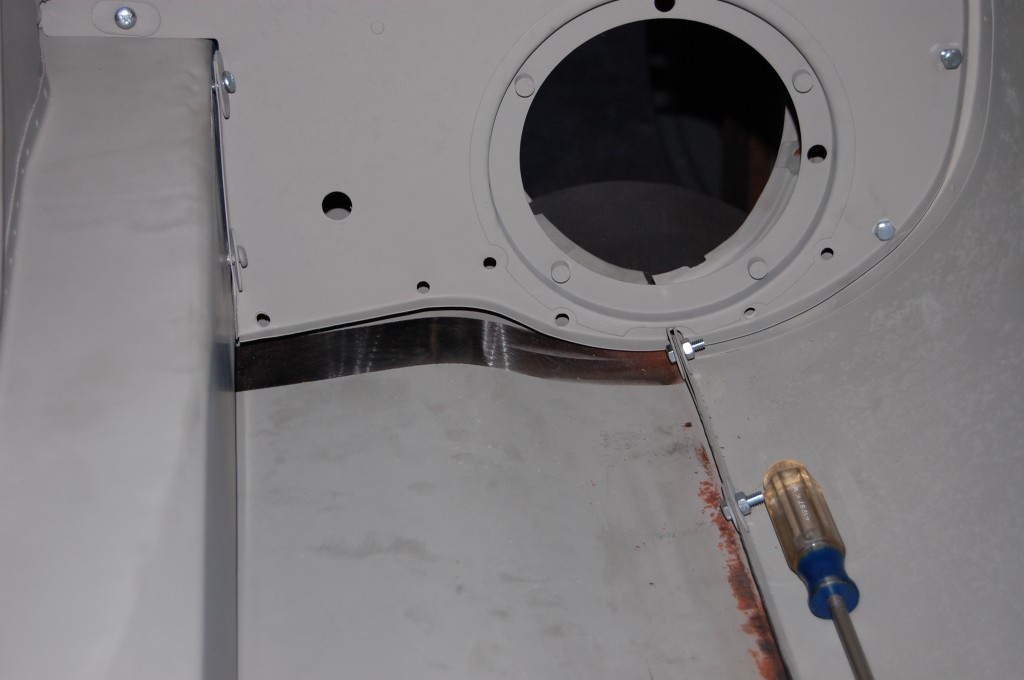
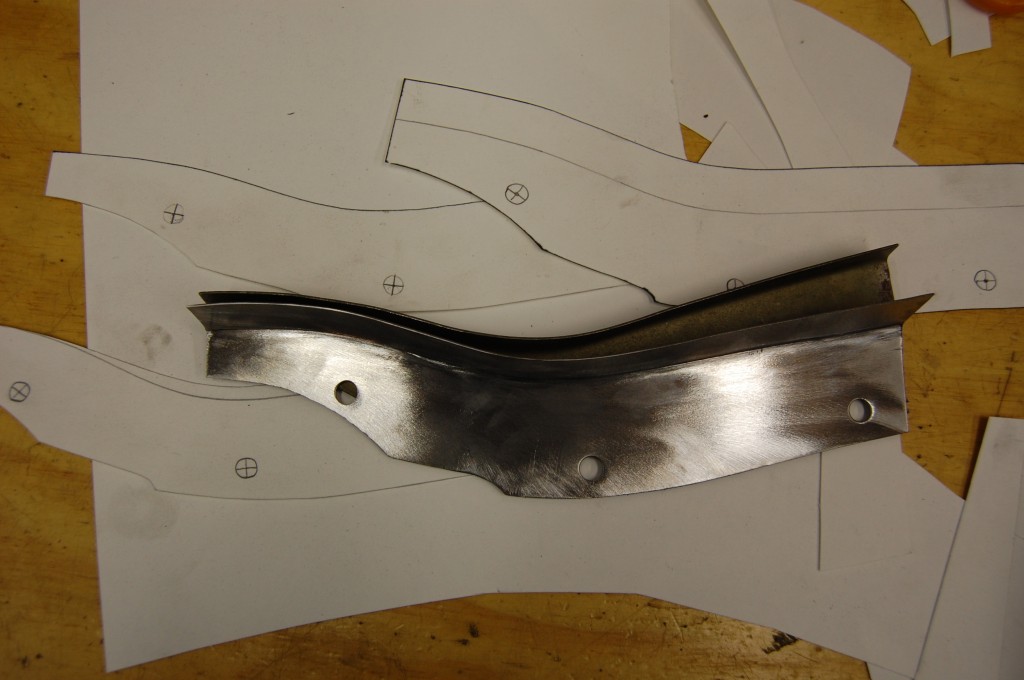
- We started with our patterns for the factory bonded flanges (which we make here and sell in our online store…), and then made adjustments from there. This photo shows the difference between the bonded and welded flange. These headlamp diaphragm flanges are always “high” in the center – the factory did not want to risk interference in the bump so they overdid it and the bonding is thick there…
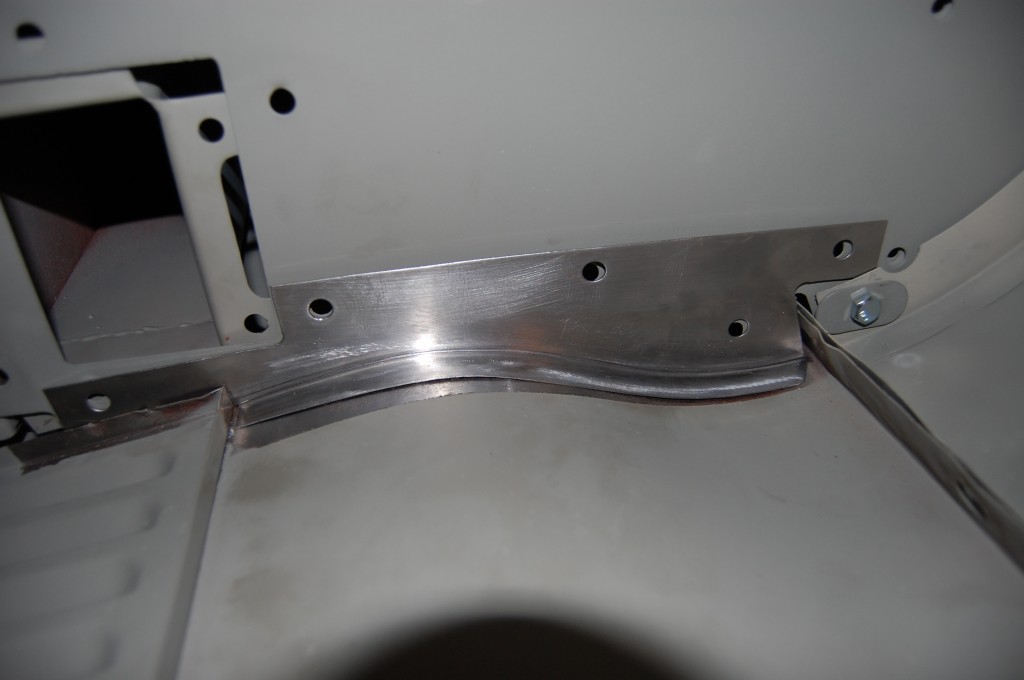
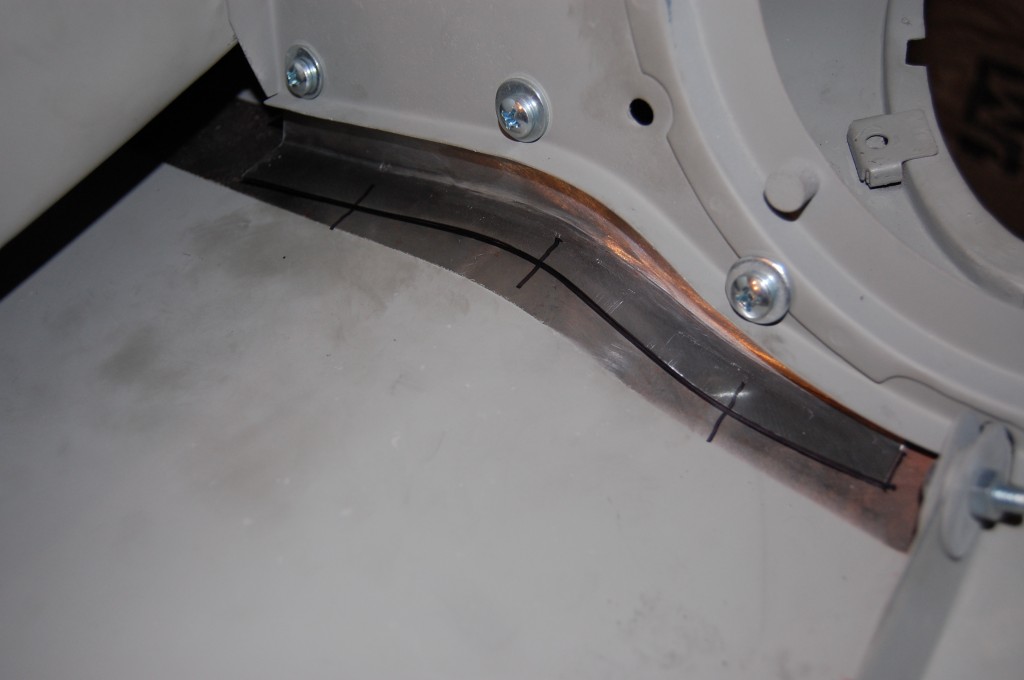
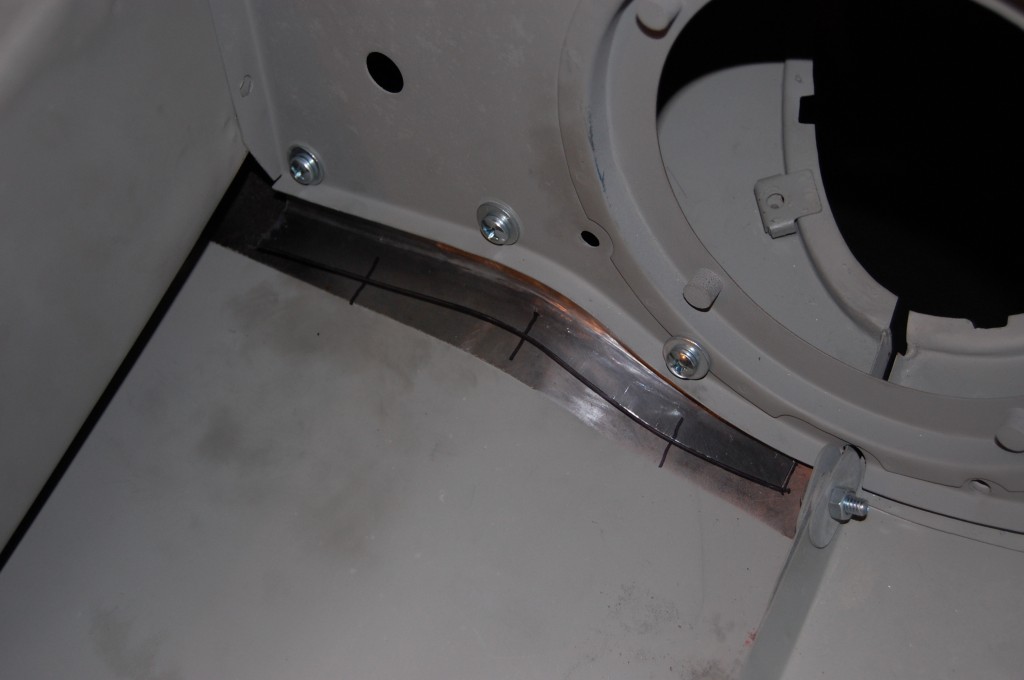
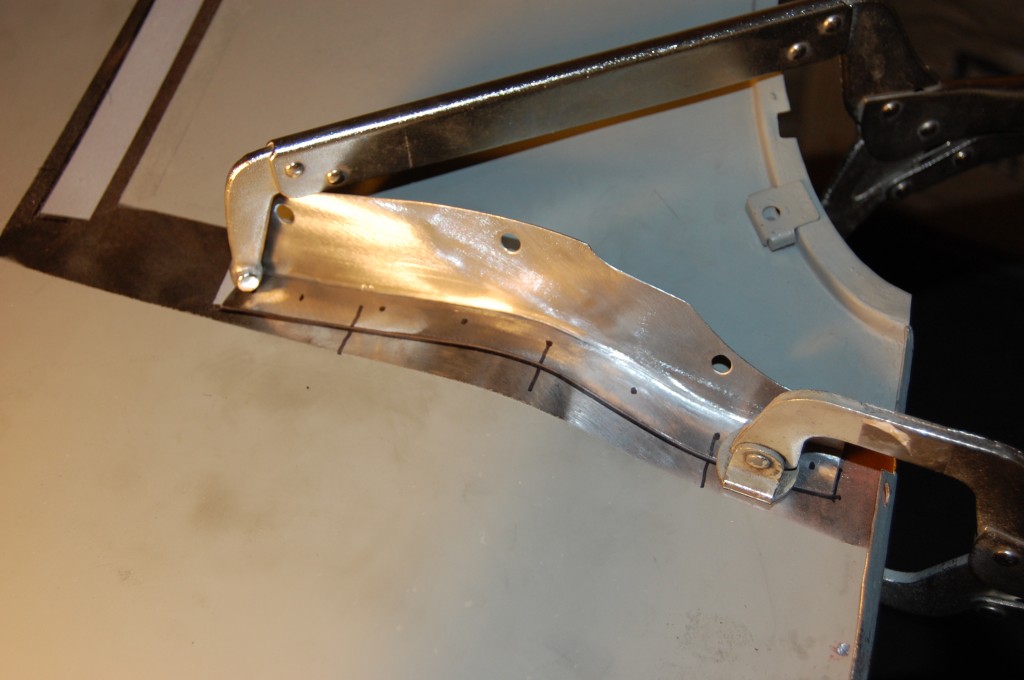
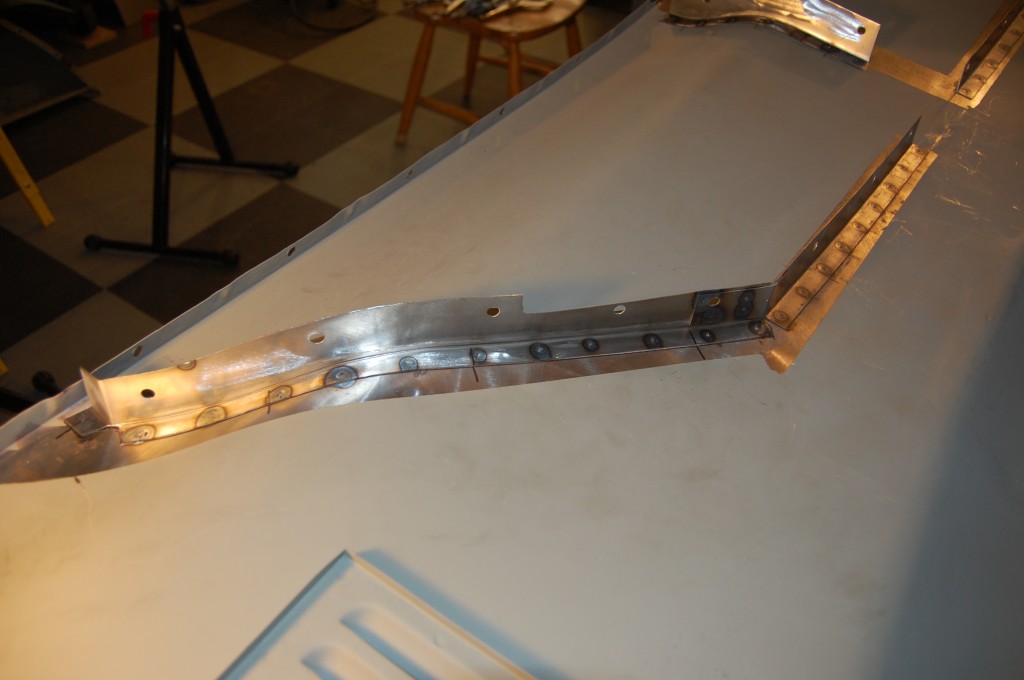
- Here is our flange – notice that it follows the skin precisely – as it MUST to be spot-welded. This is what took excessive time with these flanges – the bonded ones are 1/8″ away here, 3/16″ away there, and it all gets filled with bonding. These must be a precise fit along their entire length.
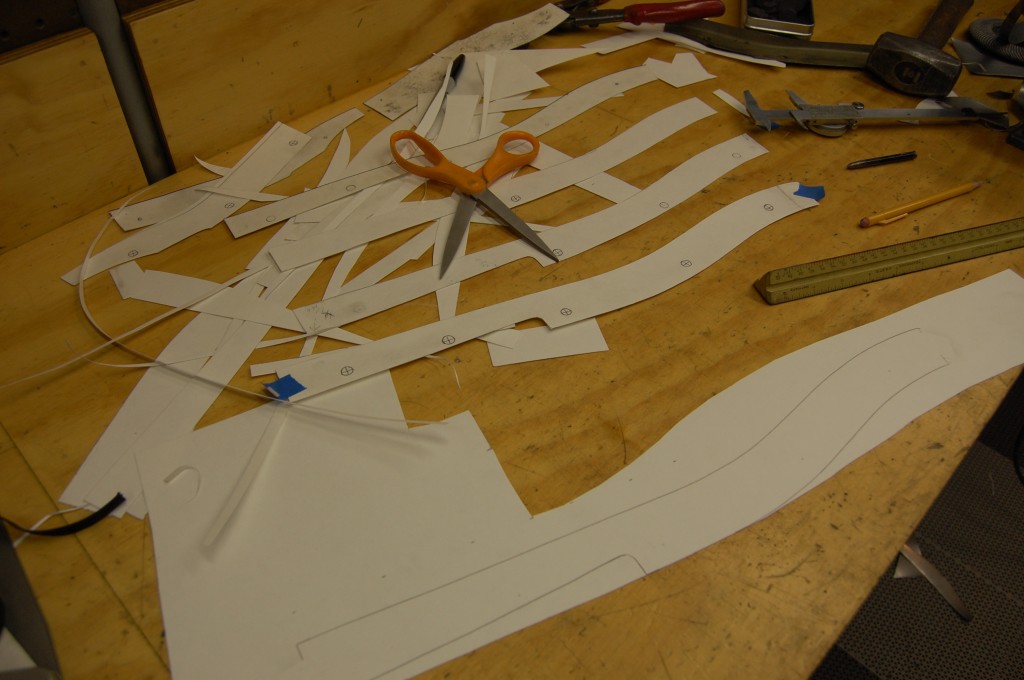
- …and so you pattern it, see where you are, make adjustments, make a new pattern, see where you are, make adjustments, and so on… 1/16″ of an inch accuracy here is WAY off on these – we are dealing with thousandths of an inch on this job. This is the most difficult flange on the bonnet.
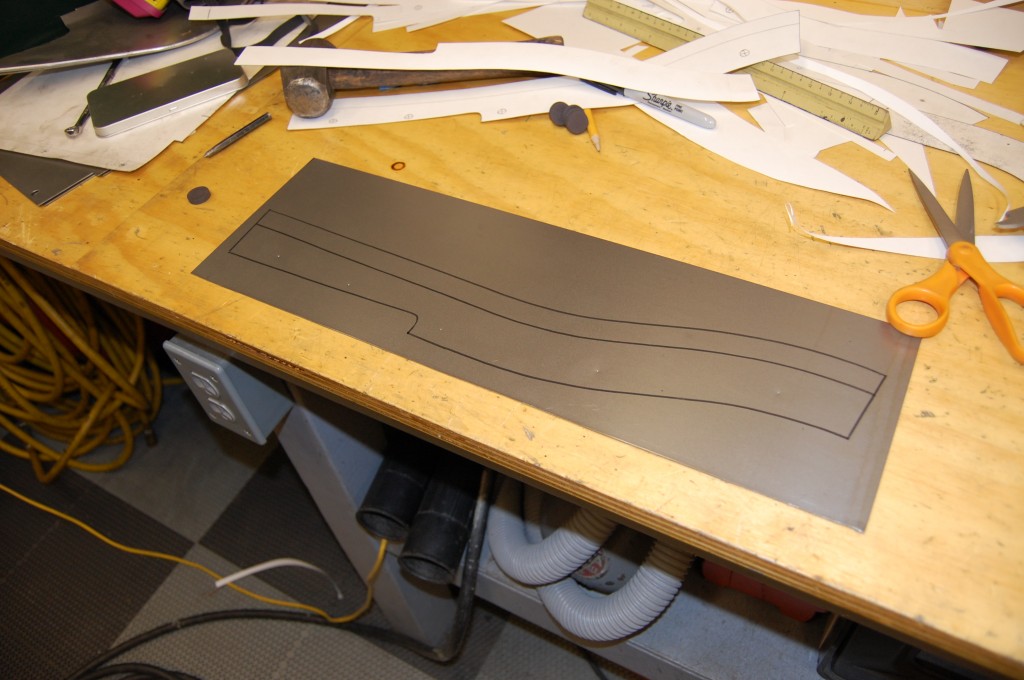
- Once we finally have the pattern nailed, we trace and start the forming.
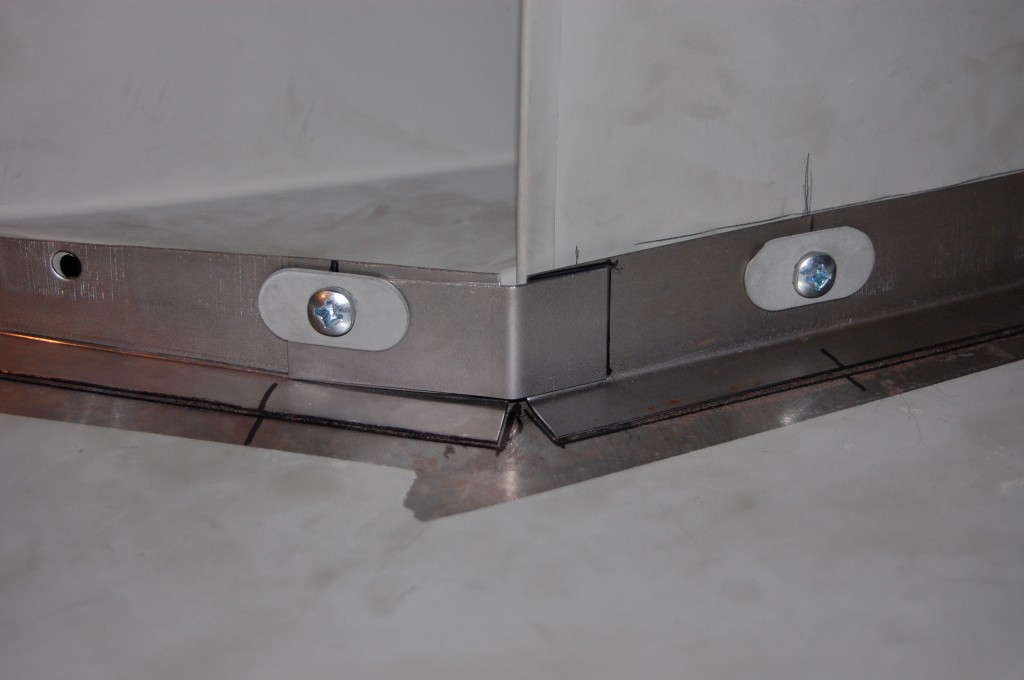
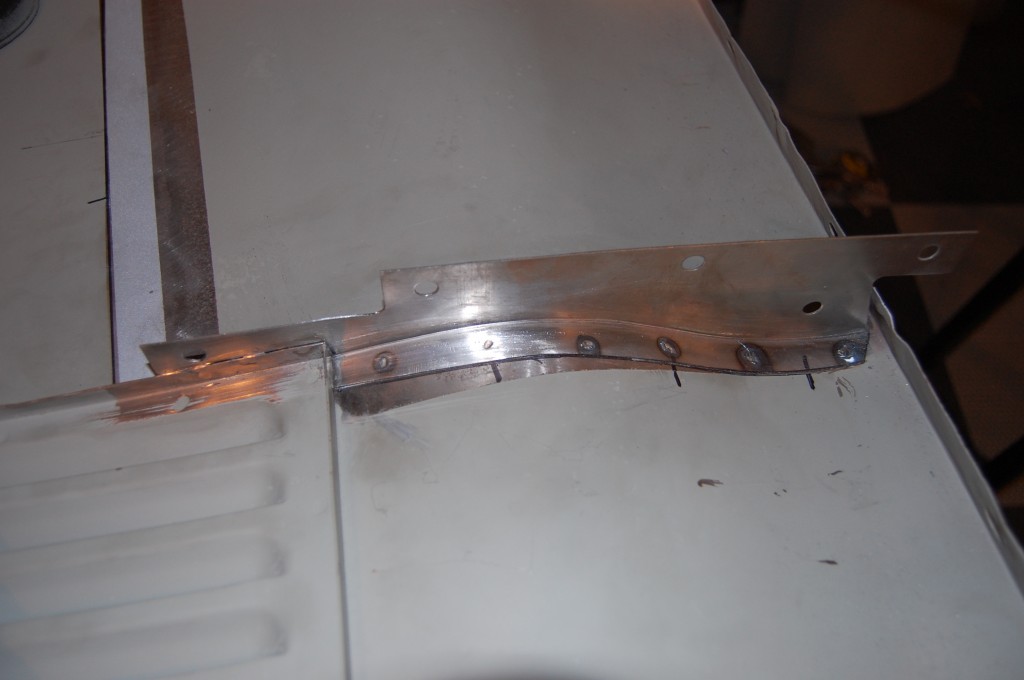
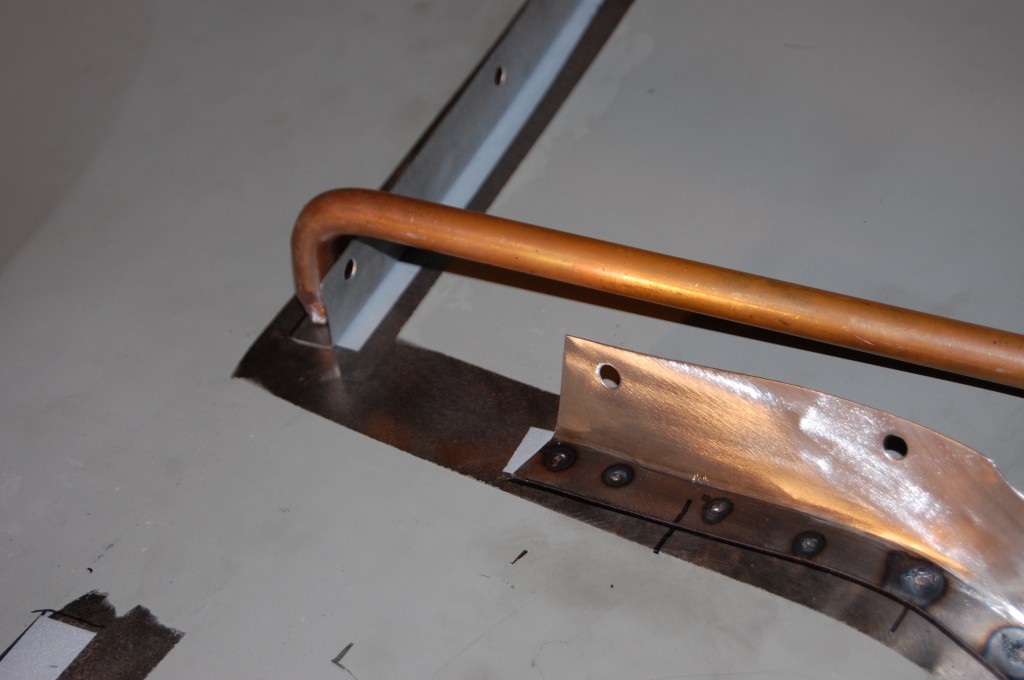
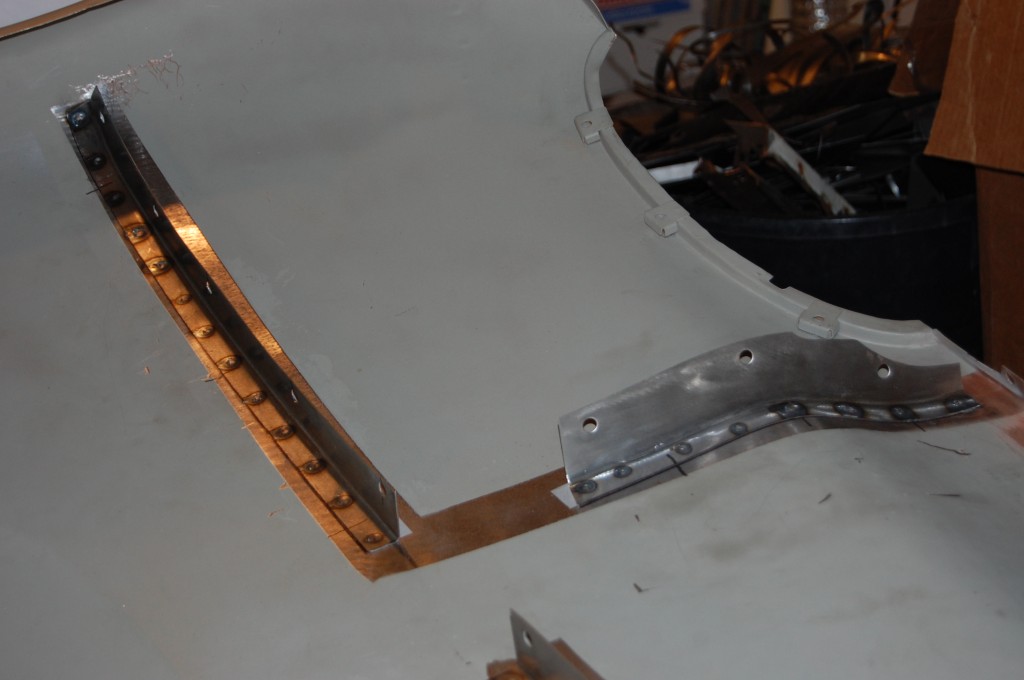
- Here is that piece in place – on the left of the photo. Note the precise fit against the skin. Also note the welded tab here – this tab is spot-welded to both flanges.
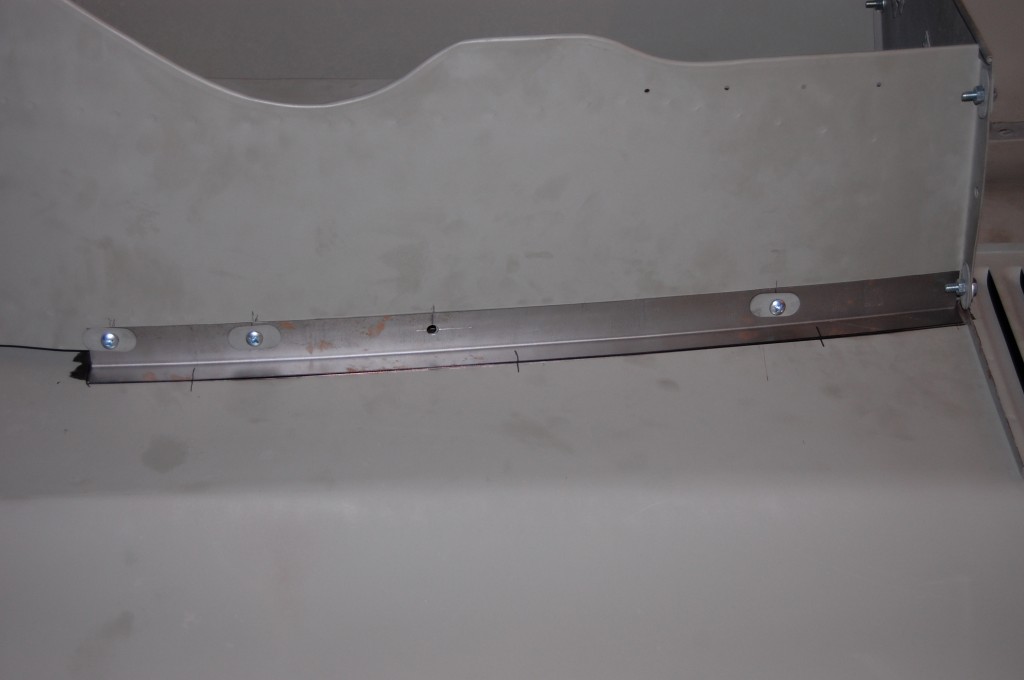
- Here is a shot of the long flange.
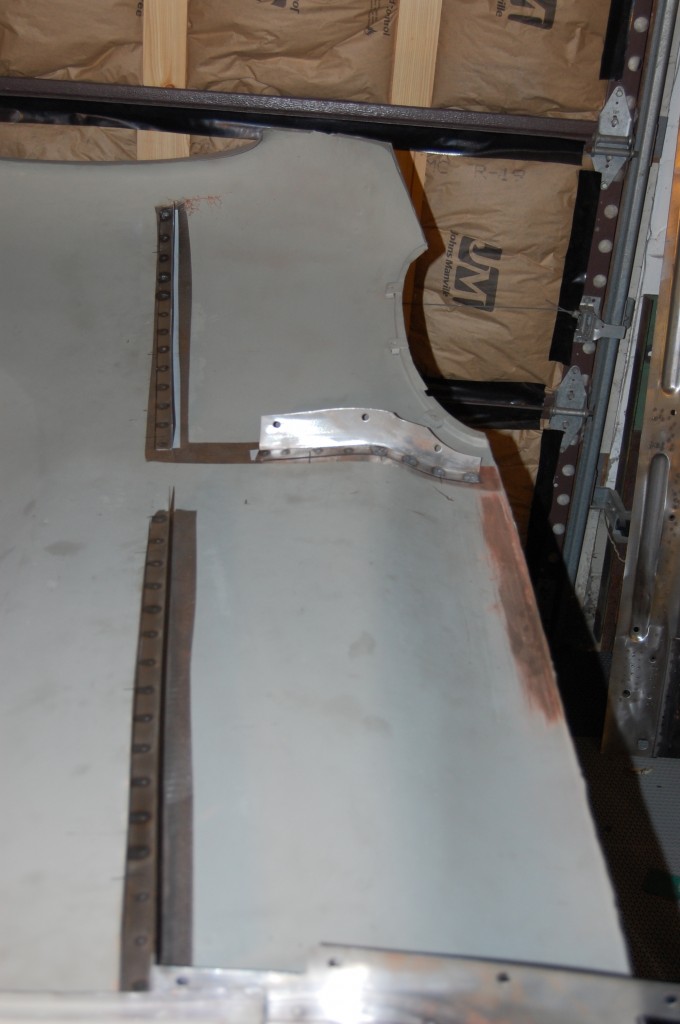
- The RH headlamp diaphragm flange. We mark the flanges heavily so that they can be accurately spot-welded into place. We must do this with the bonnet dissasembled and stripped down to just the center section because the tongs won’t reach otherwise. DON’T DO IT THIS WAY on your bonded flanges! Once you get this far, remove the flange, load it and the skin up with bonding, and bolt it back into place.
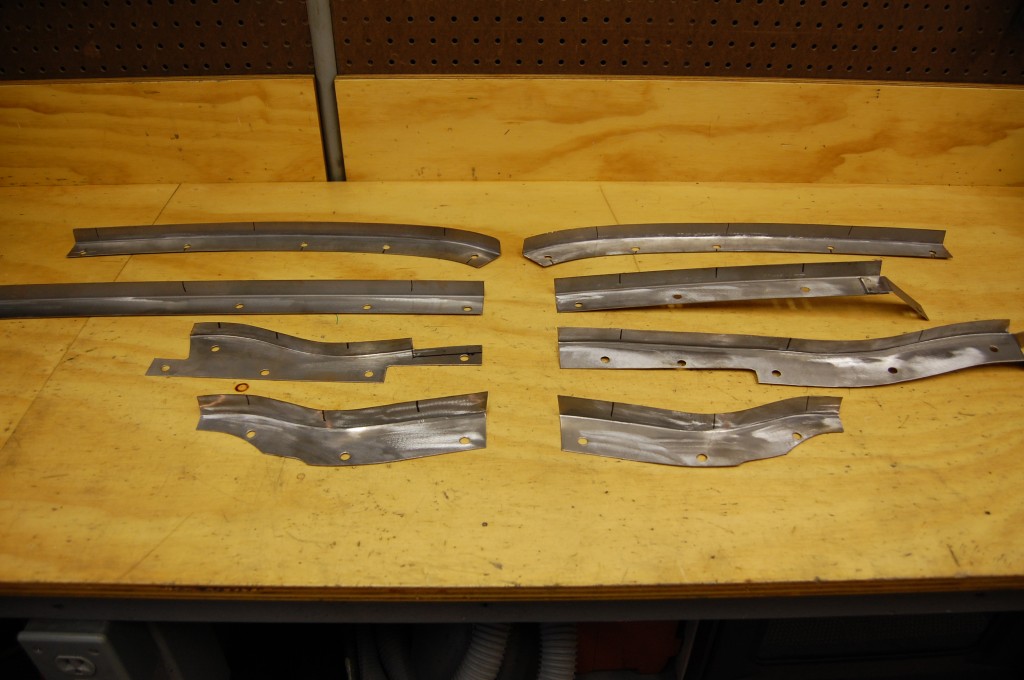
- Here is the completed set of early 1961 flanges for the center section. We have the patterns and could make another set, but there would still be trial and error and these do need to be fitted to the center section they will be welded to.
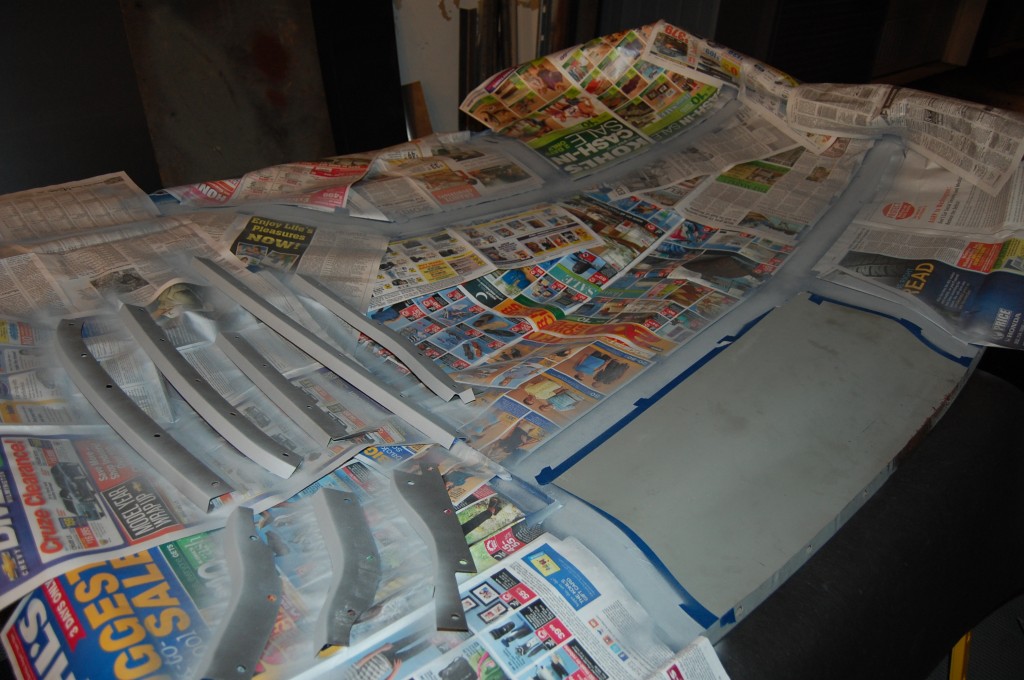
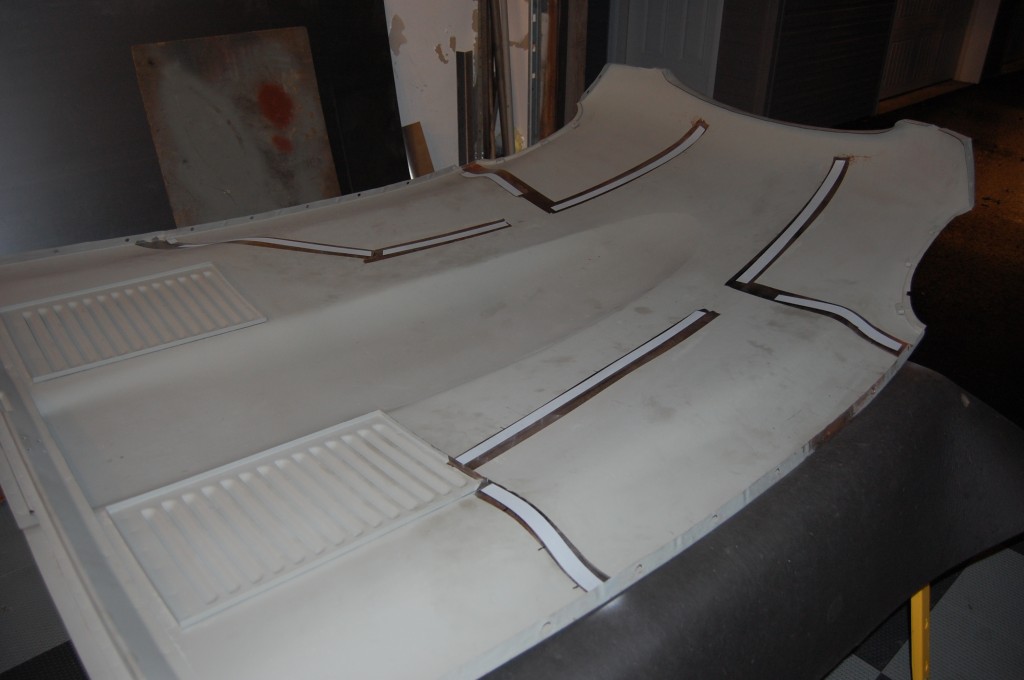
- This is the step that the factory skipped over, and the reason why most welded flange bonnets are LONG GONE… We apply weld-thru primer to the flanges and the skin. Most 1961 bonnets rust through the outer skin badly along the flange lines as rust builds up between the flange and skin. When I was a kid, NOBODY wanted the welded bonnets, not even people who should have had it on their car – they were all pretty much wiped out with bad rust. What was really great about this panel was that it had the welded louvers, but had never had welded flanges – weird! I figure it was either a replacement panel from Jaguar from the early days, or, more likely, just happened to be from a transitional car right at the point where they were switching over to the bonded flanges. Interestingly, the rear LH mudshield flange WAS spot-welded to the louver edge, but bonded the rest of the way…
- OK – time for the fun to begin – welding on the flanges without ruining the skin – YIKES! I put it off until the following morning when I would be fresher…
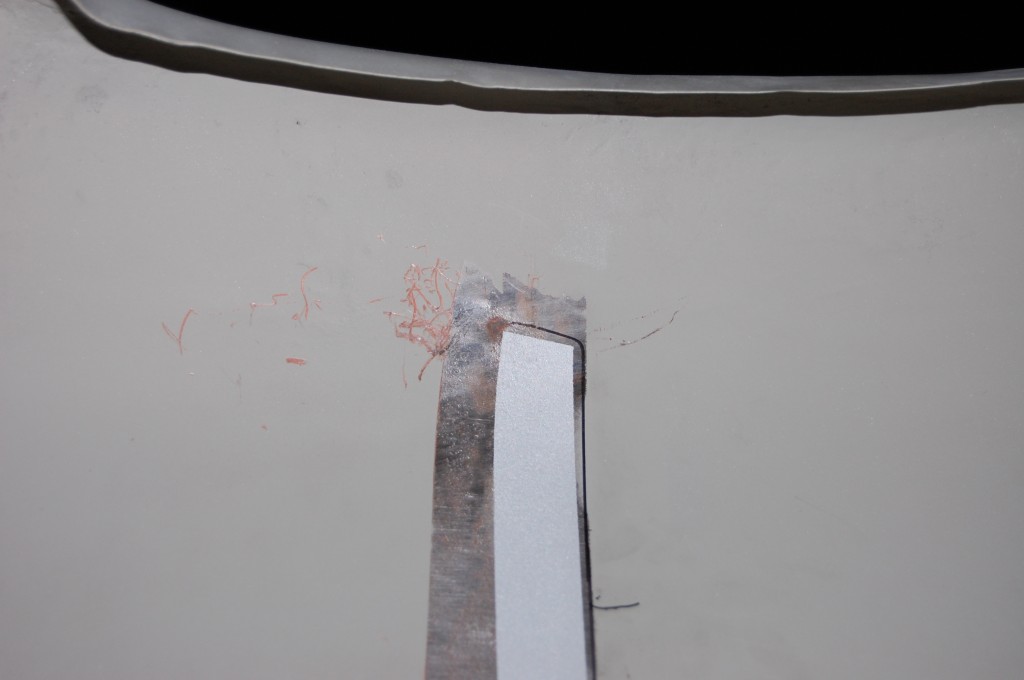
- We spent MANY hours lining up the pieces of this bonnet – the wings and lower valance were from one bonnet, the center section and inner valances were from another, and there were some new panels as well. In the end, I noticed this while photographing the weld-thru primer – that little brown circle in the corner of the primer strip is a planished out dent from where the corner of the original flange pushed into the skin in an accident long ago. So I guess these flanges are going to end up where they should be! But don’t think we could have just lined them up where they were originally in the first place – it doesn’t work that way. All of the scratches are from the front corner of the inner valance wall during all of our adjusting. Make sure this corner is AT LEAST 1/8″ away from your outer skin during final assembly – gring it down if it isn’t. Otherwise, you risk a puncture of the skin over a big bump down the road – OUCH…
- We started with this one again. That went pretty well and we’ve got the feel of it now and the correct welder settings – let’s go for it!
- Second flange is positioned…
- …and welded! Let’s move on to #3!
- The LH side came out GREAT! The bare metal (and some red oxide primer under our etch primer because there was pitting on those flanges and even though we blasted them bare, we like to play it safe…) on the outer wing flange is where we had to do some re-arching to match the wing during assembly. These should be close but they don’t have to be perfect – that’s what the factory added the chrome beading for – it hides that the two panels don’t match each other perfectly. We have the machinery here to re-arch these edges so that they are a dead match, but you don’t have to sweat it at home unless you are WAY off…
- Phew! Done! Now THAT was nerve-wracking!
- But the final result was AWESOME! We spent alot of time staring at this and patting ourselves on the back…
- Close-up of the RH side.
- Close-up of the LH forward area. Welding in these flanges stiffened up the panel SUBSTANTIALLY – Wow! The bonded flanges do as well, but we seldom have them bonded and dried onto a bare center section – we bond them in during final assembly. One downside to this though is that these welded bonnets do not do well in crashes – on bonded bonnets, the bonding seperates and the panels bend, but on these welded bonnets, the whole thing gets crunched badly and the spot-welds tear – it’s a real disaster, and just another reason why so few survived.

