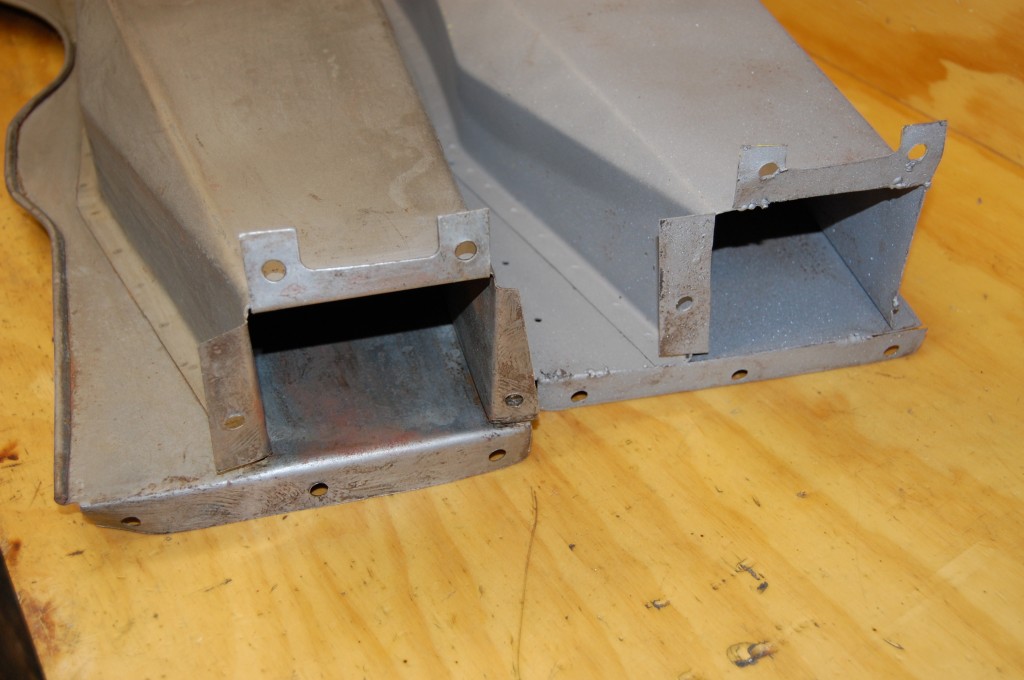
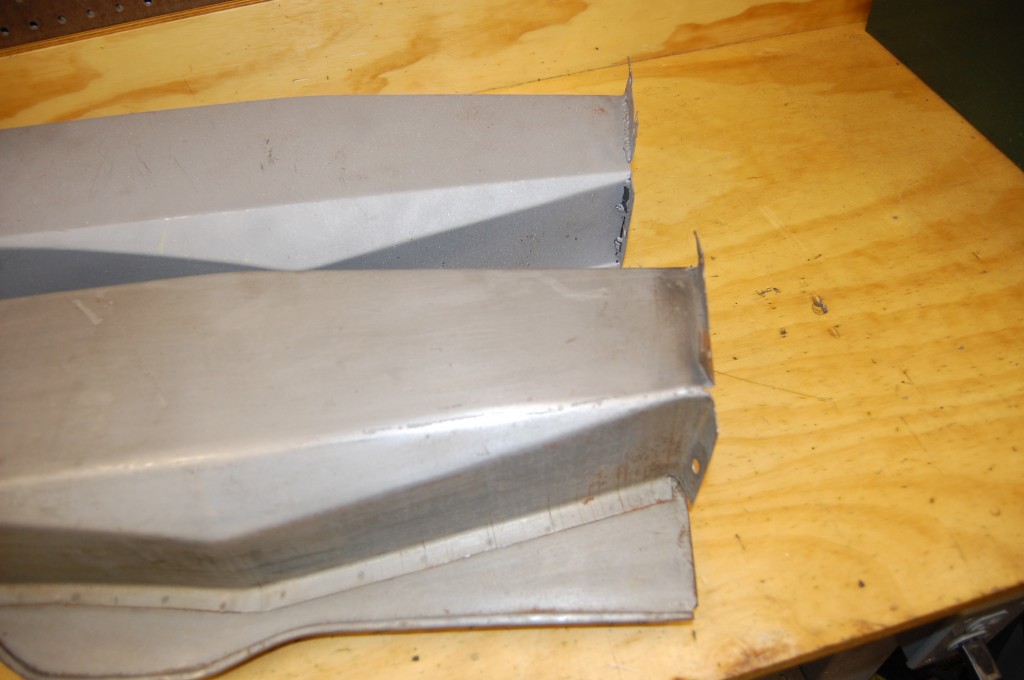
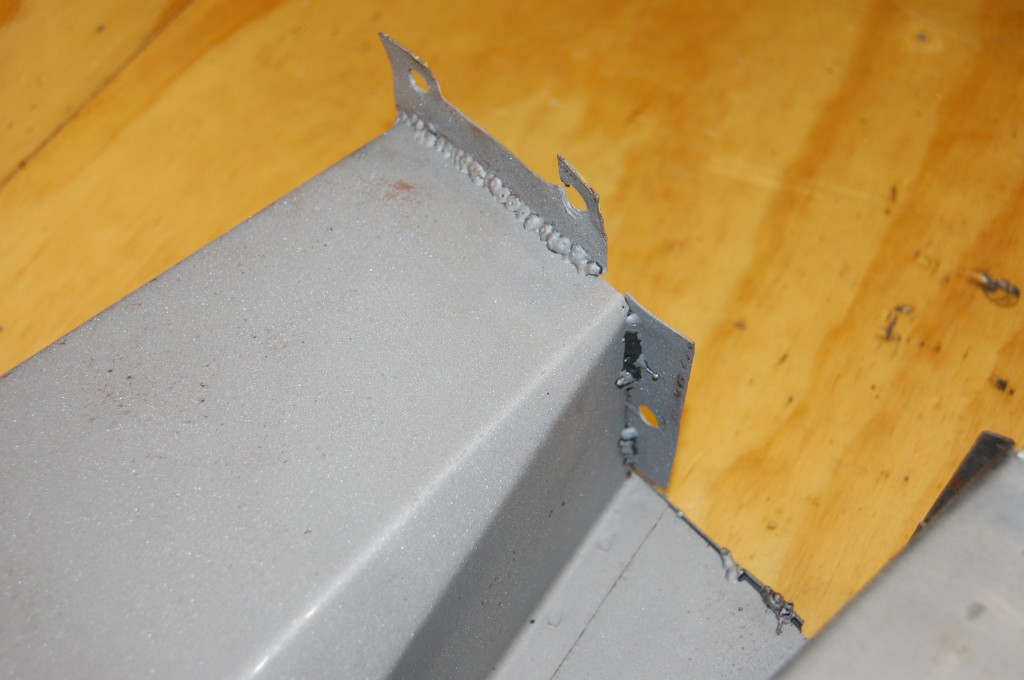
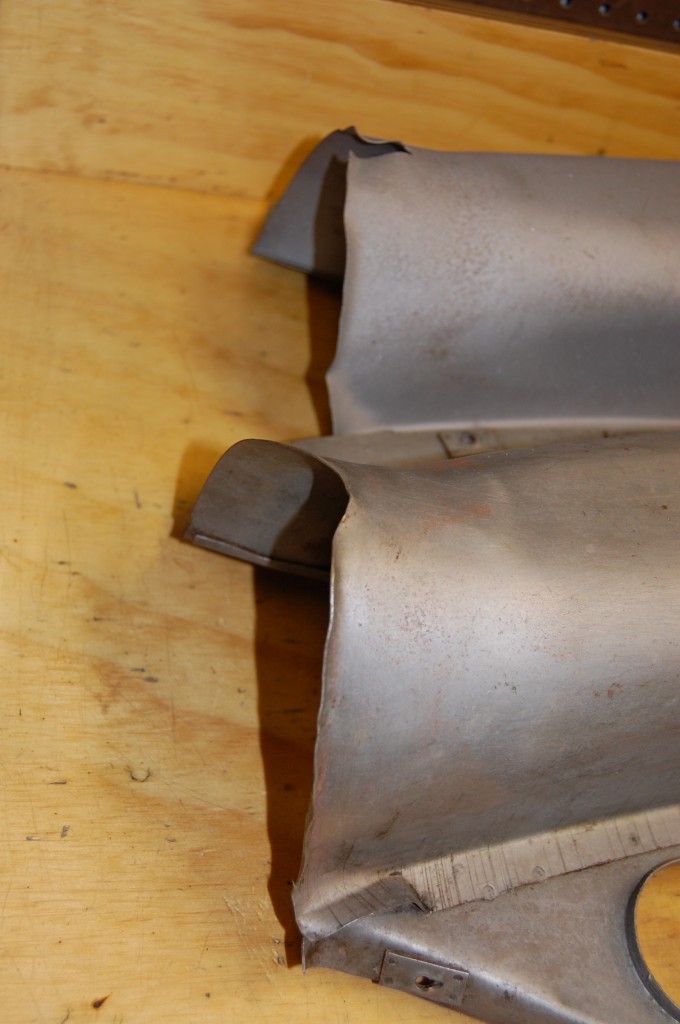
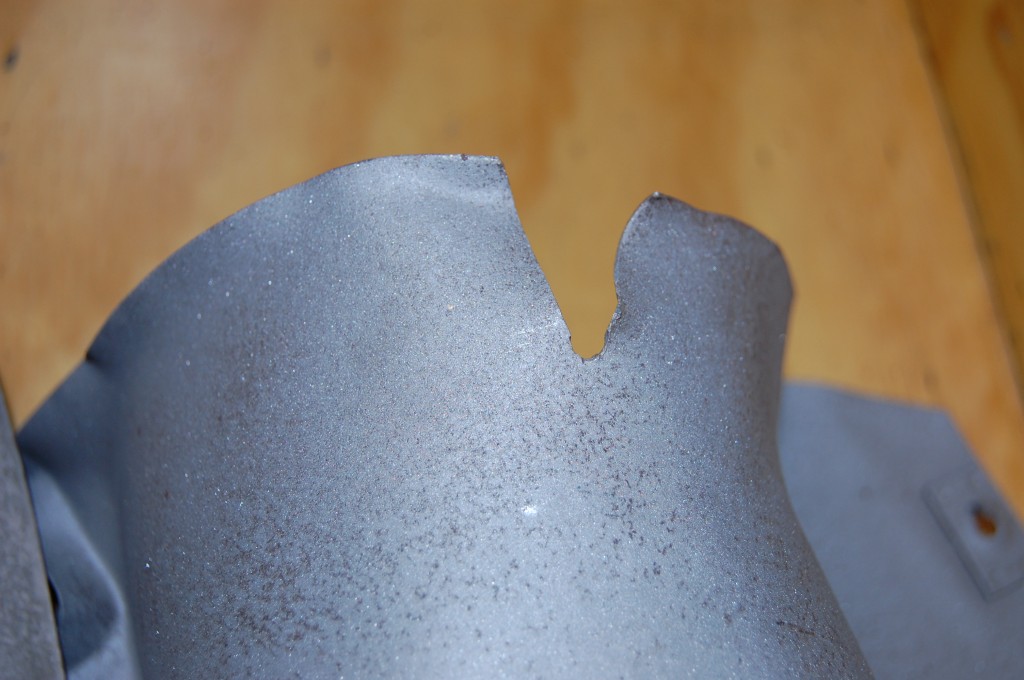
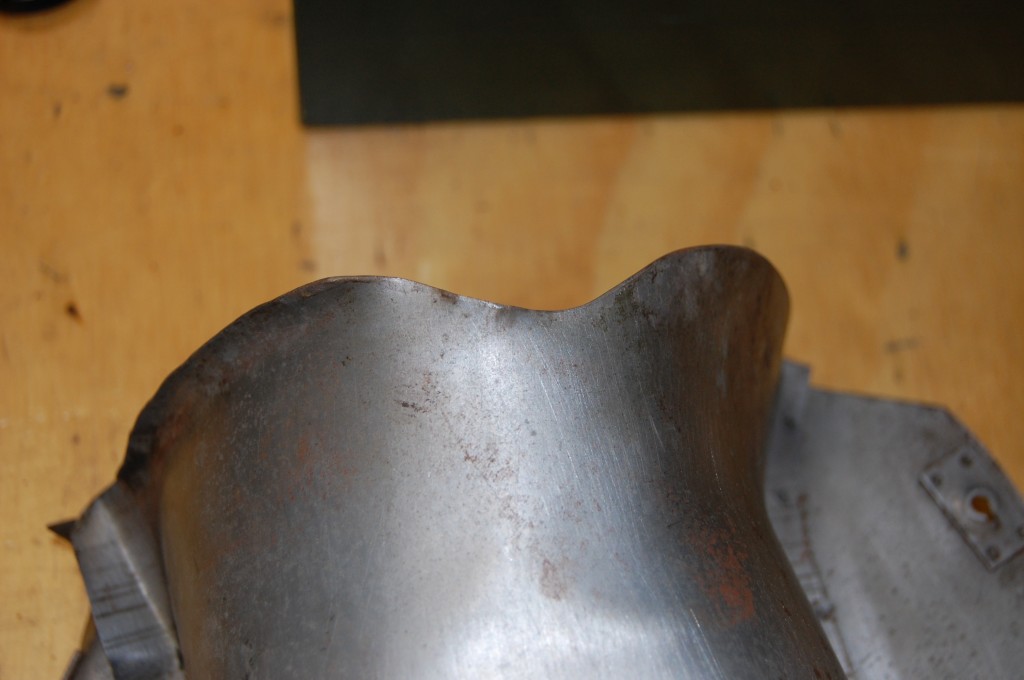
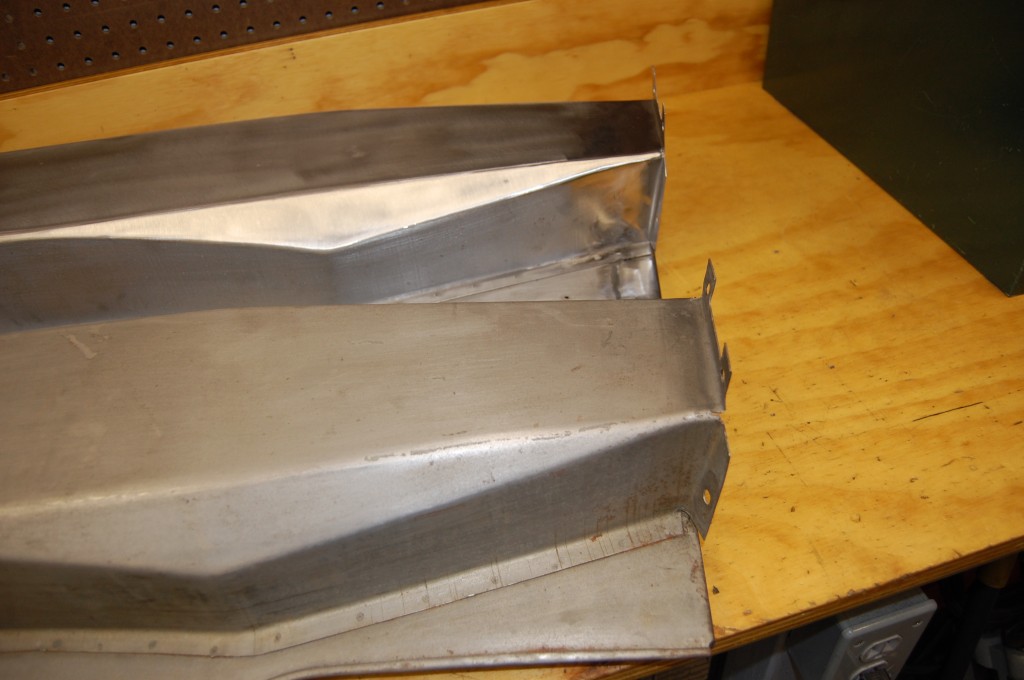
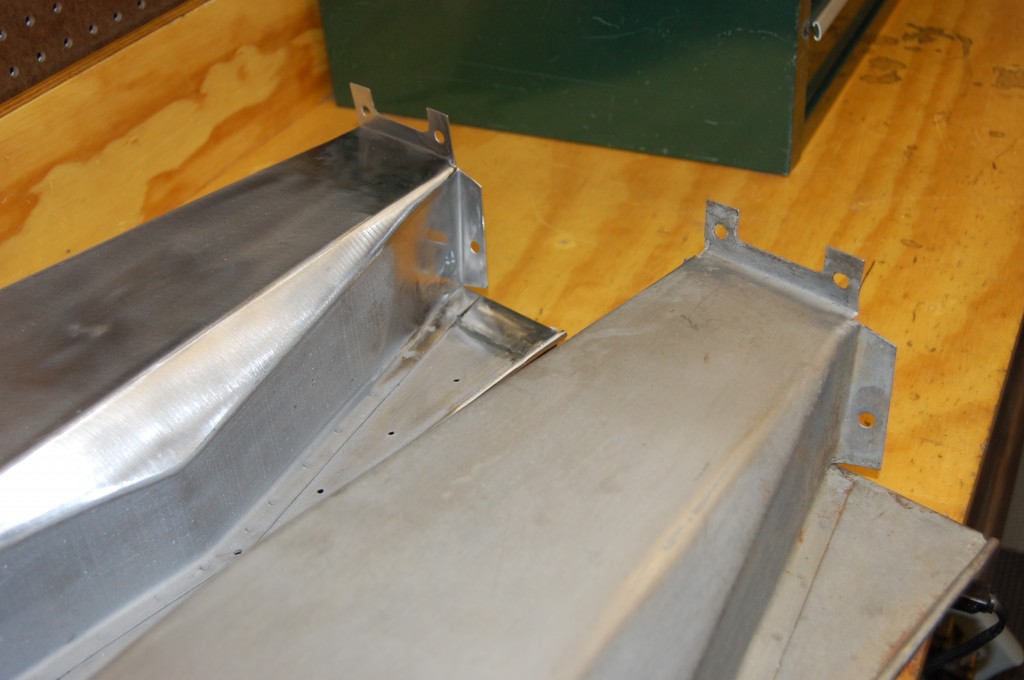
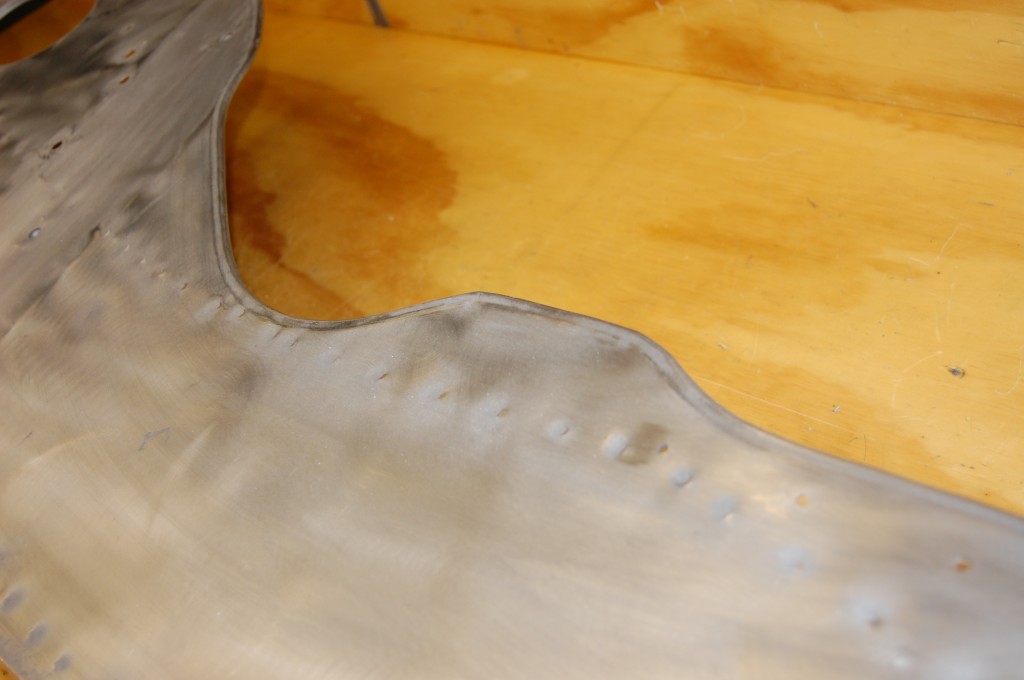
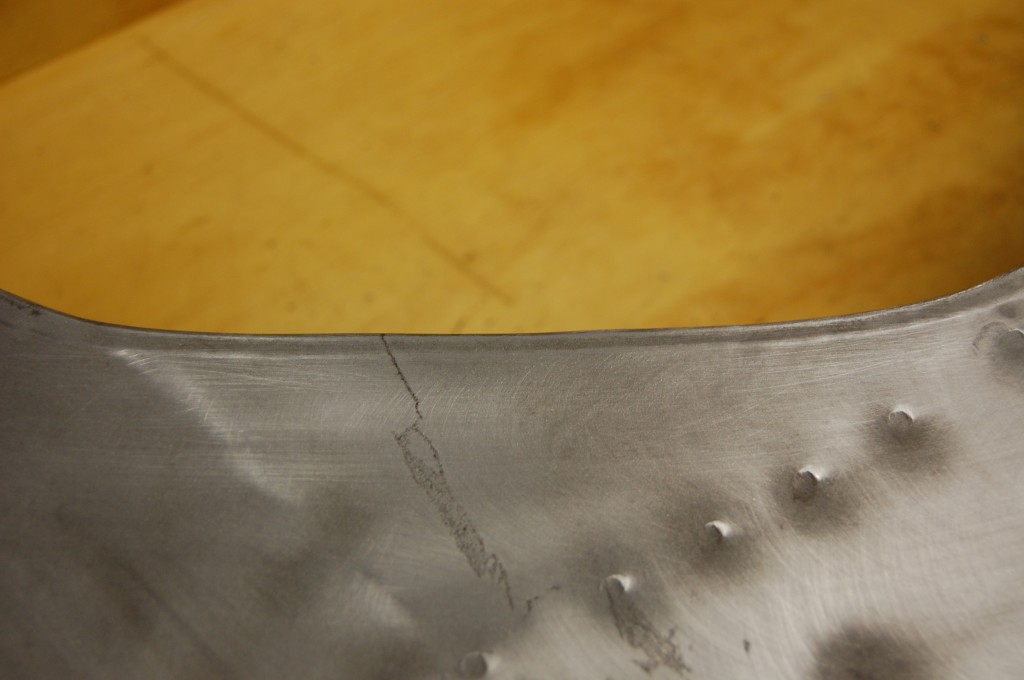
The inner valances we are using on this early bonnet are a solid set of original 1961 valances. You can tell that because the RH side has one fold in the opposite direction from the later valances, and also because there is a tooling mark about 1/4″ above the beaded lower edge that the later valances do not have. Unfortunately, the assembly of the bonnet that these came out of was SO bad, that the person doing the work in the past could not make the LH valance fit properly – so they cut 1-inch from the rear of it off – AAAAAGGGGHHHHH!!!!!! Sadly, we see this kind of thing all the time…
Here are some photos of the restoration of this piece as we add back what was removed:
- On the left is a normal Series 1 LH valance, on the right is our early valance – butchered by 1″…
- Here’s a shot clearly showing the missing section.
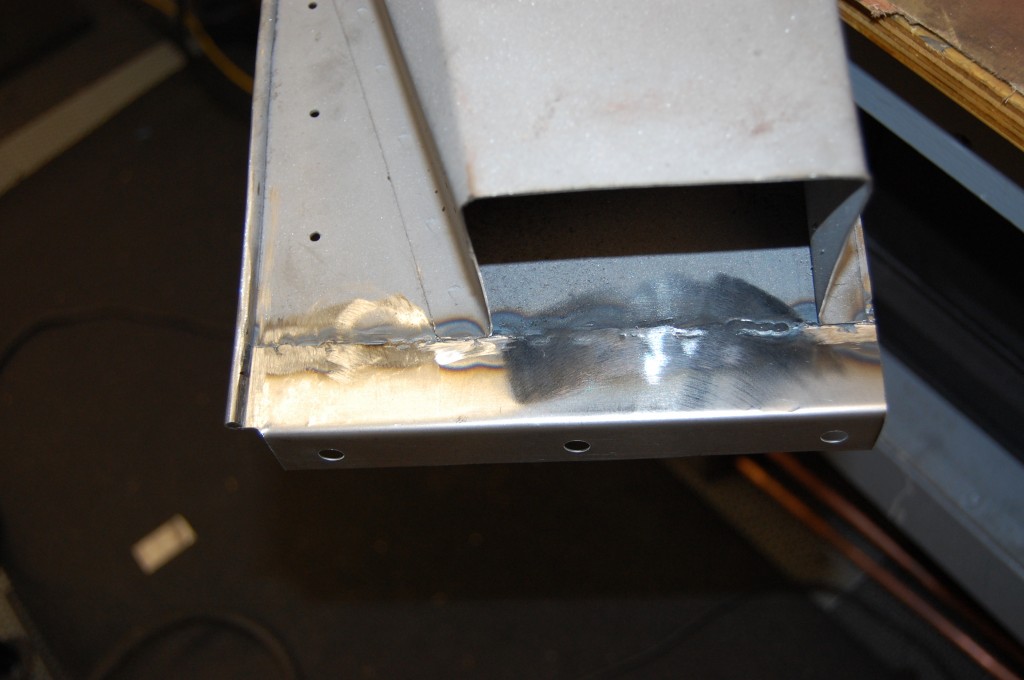
- And poor welding of the flanges…
- This is interesting – our “normal” valance has a slightly short and different front edge of the air tube from the factory – we do see weird things like this often – remember, these cars were hand built…
- This is what they usually look like up front.
- Our “normal” and un-cut valance looks like this. We will use this on another car later in this form – it is correct.
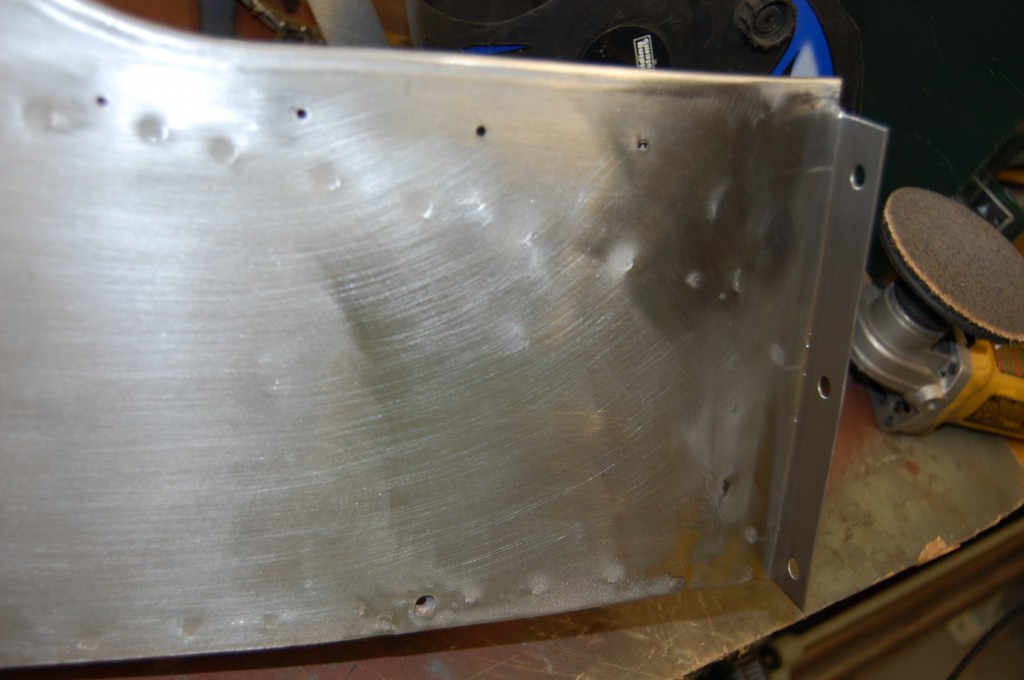
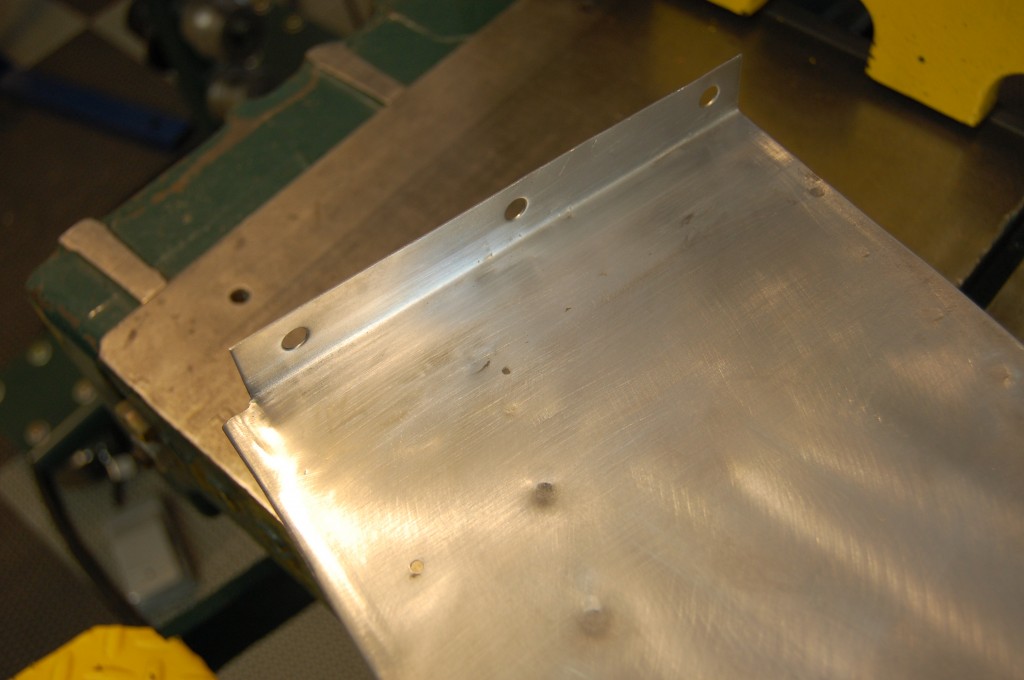
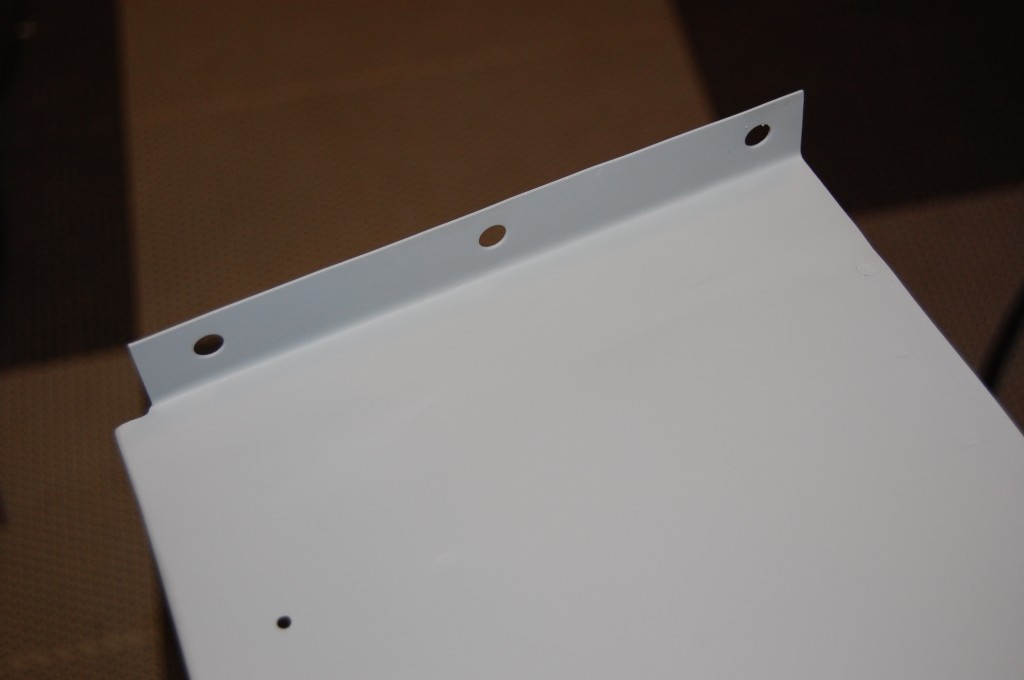
- We start by welding in a patch for the main side plate – including the flnage, holes, and an extension of the beaded edge.
- Here is another shot after grinding and sanding to make the repair seamless.
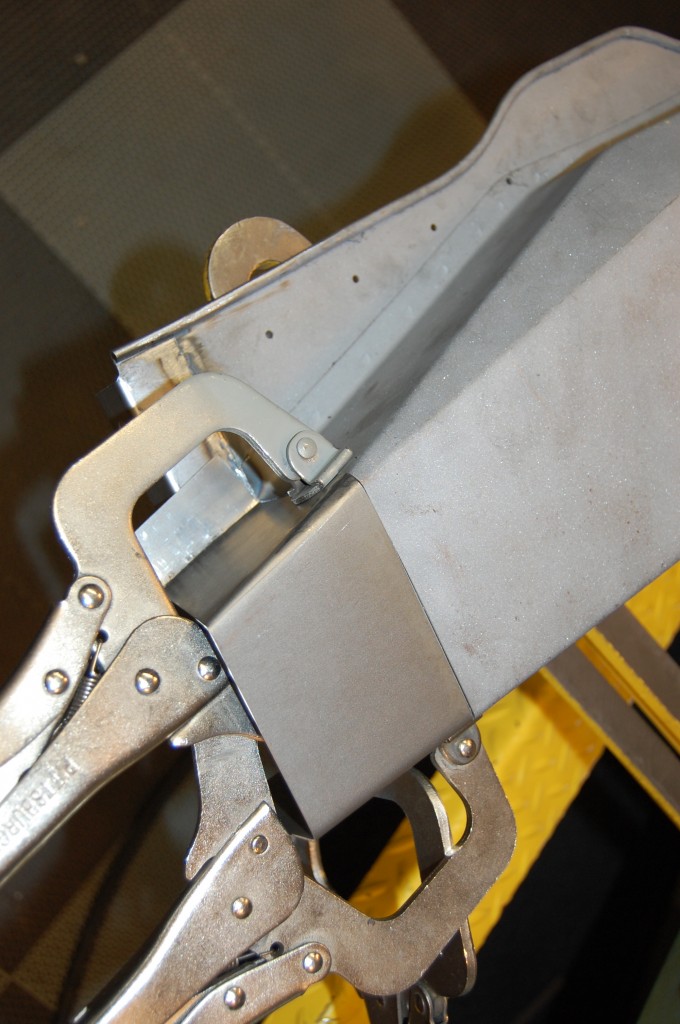
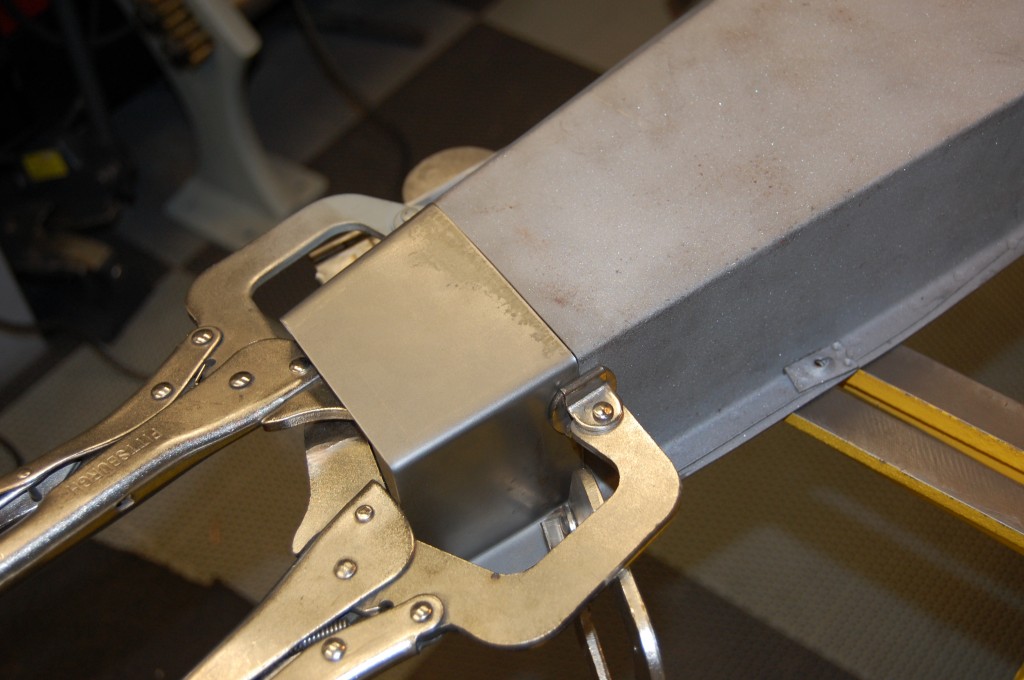
- Next we begin to form the patch for the fresh air tube.
- Another angle – this piece was tricky – on top of everything else, the bends were a soft radius that you had to get just right…
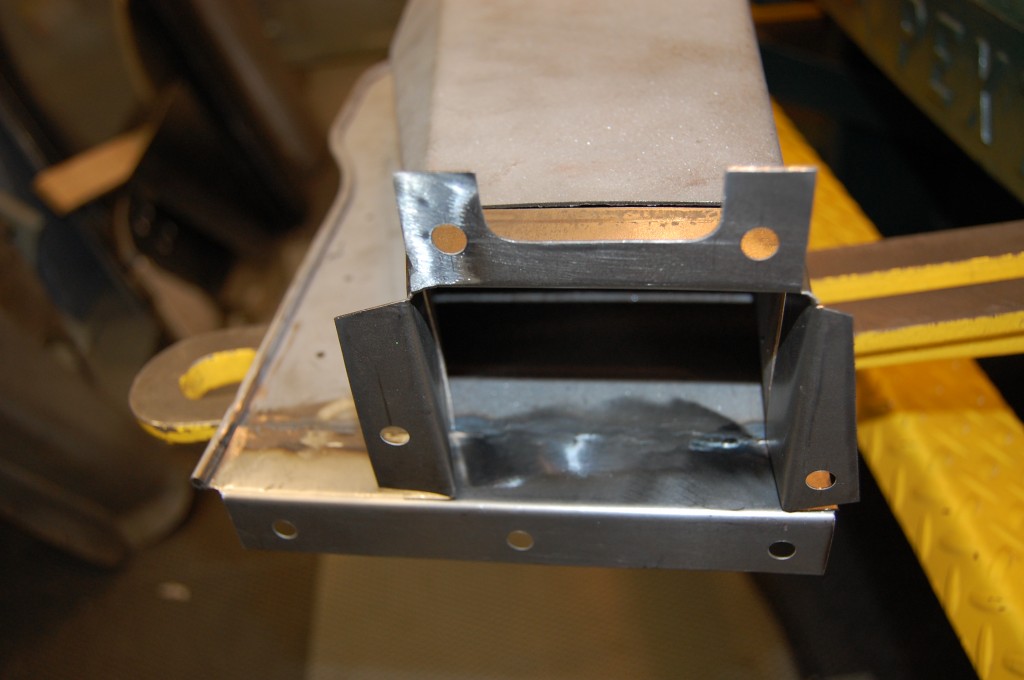
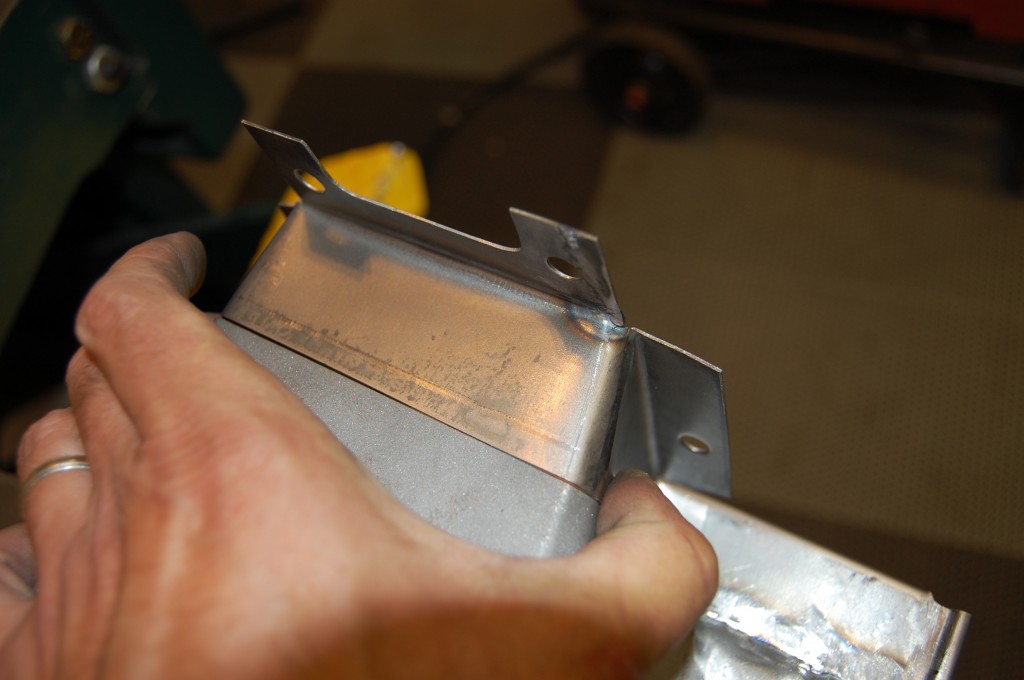
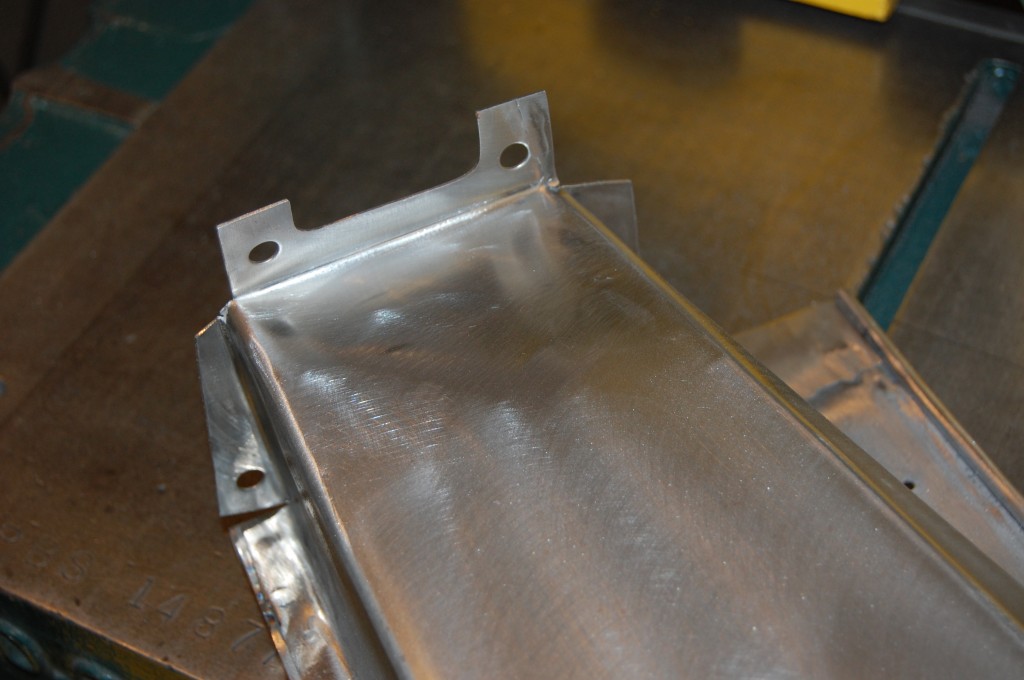
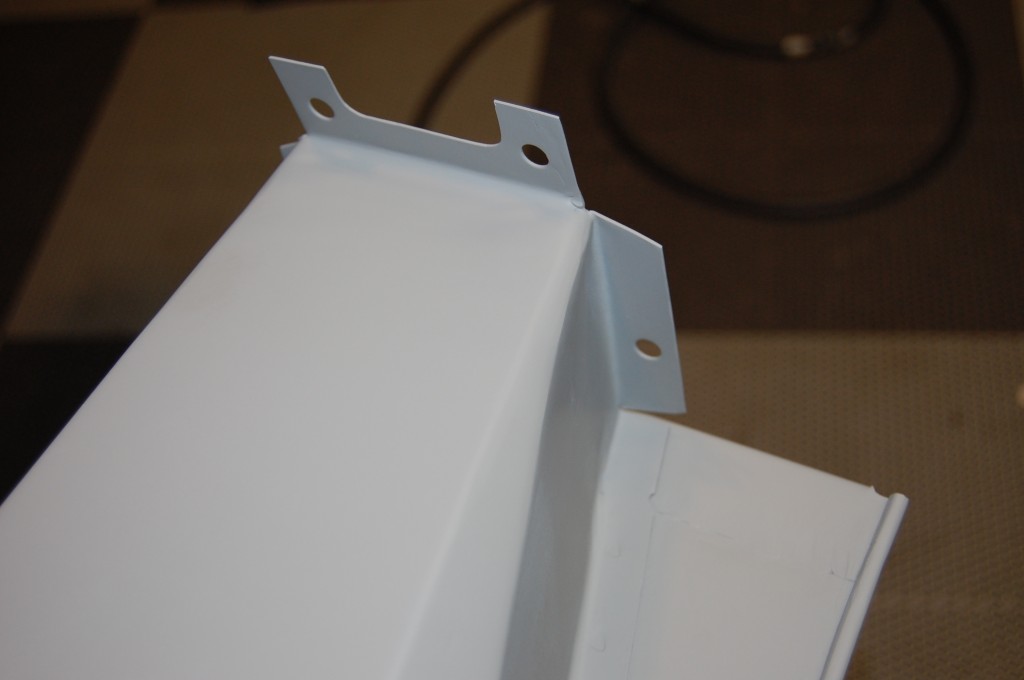
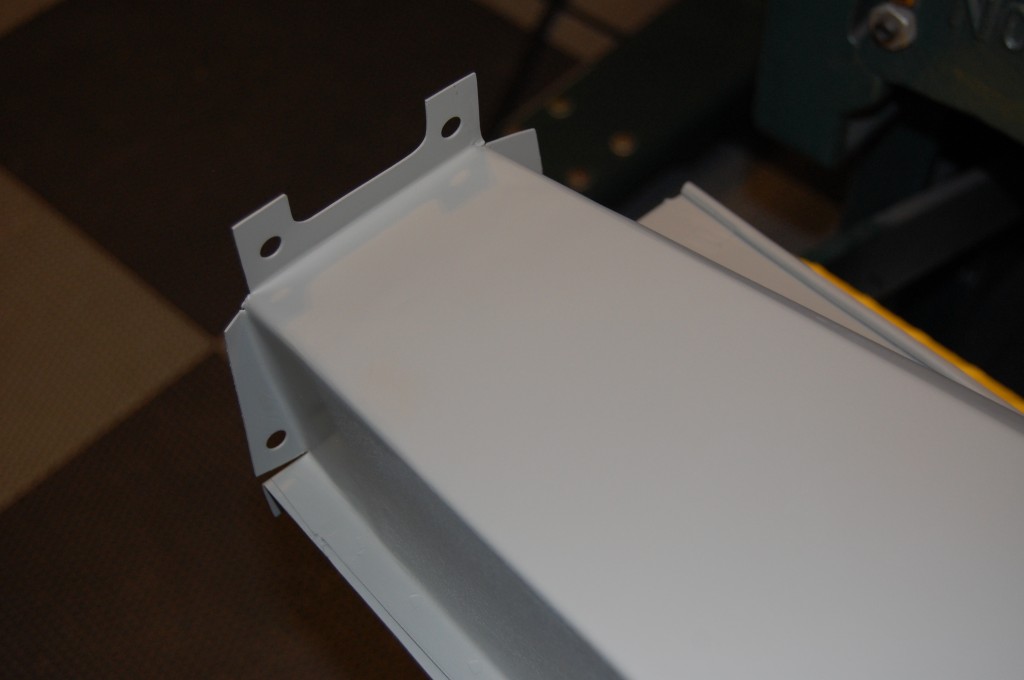
- Once we get the shape right – we fold, shape, and punch the flanges.
- Another shot – that little funny corner by my thumb was the toughest spot.
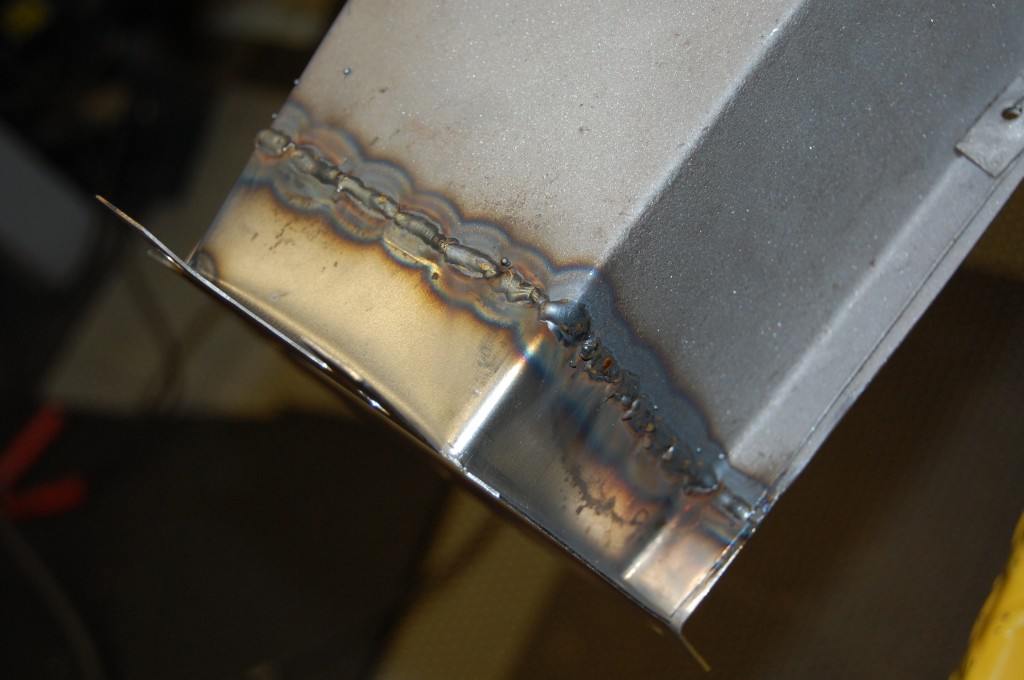
- Next we weld it on – keeping the heat to a minimum with short runs.
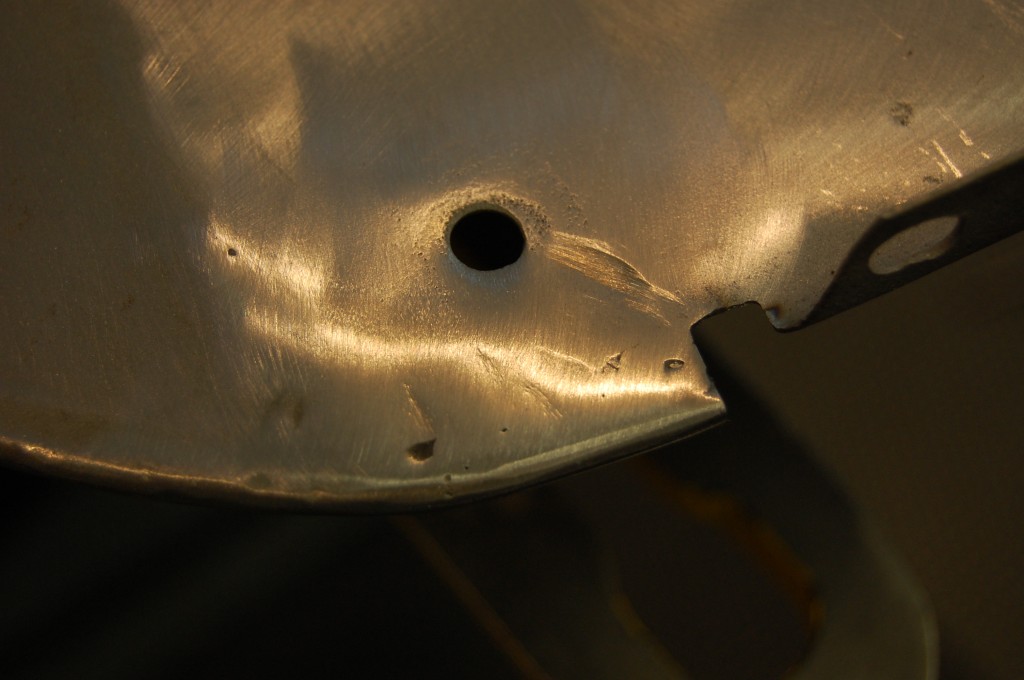
- This area was also cut and torn – and also repaired.
- The finished repair.
- Sanded smooth and invisible.
- Back to the correct length!
- Another angle – this should look perfect when painted.
- Here is a shot of why we went to all this trouble instead of just using another one – this tooling mark is specific to the early cars, and does show when painted.
- Another shot of the tooling mark. This bonnet will be EXACTLY correct for 1961 – not something “kind of like it” made from a new aftermarket bonnet…
- We were very proud of how this turned out – flawless!
- This picture speaks for itself I think…
- This area is all straightened out and back to normal as well.
- When you want nothing but the best for your E-Type’s shell – in accuracy and craftsmanship – call us. We treat every shell like it is our own.

